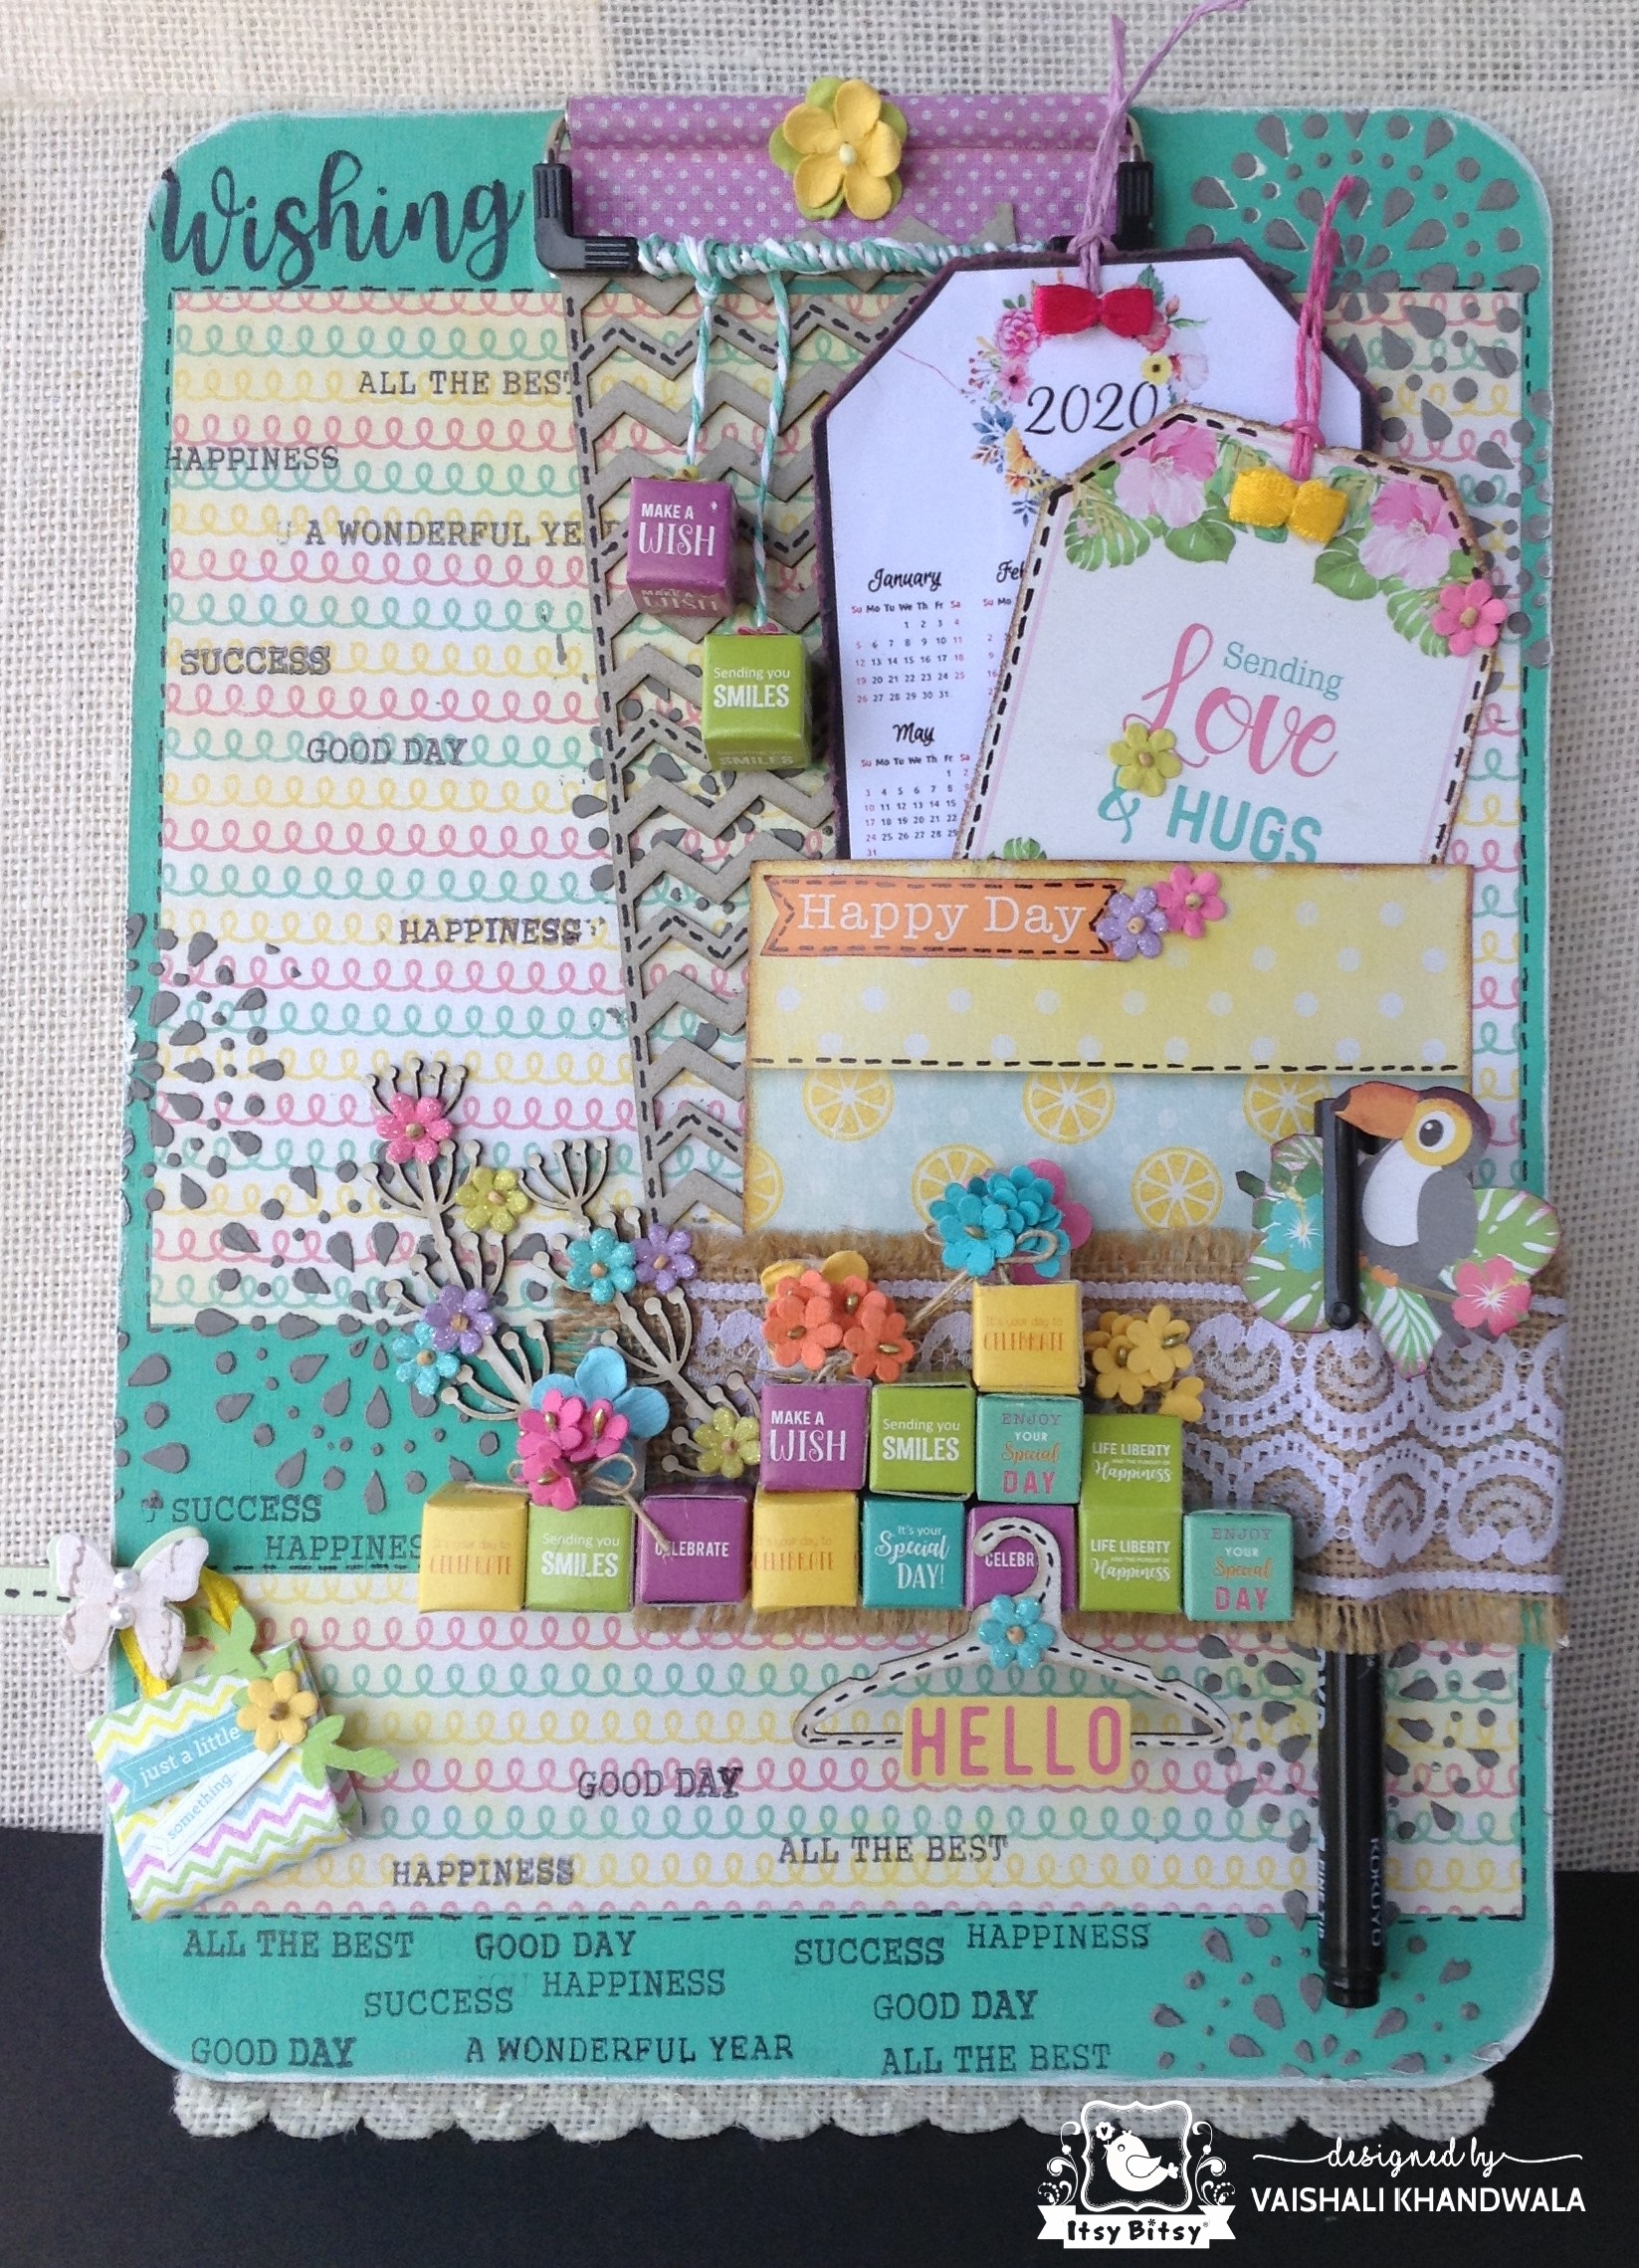
Hello everyone… Hope all are crafting great. DT Vaishali on the blog today. The current month’s blog challenge is very interesting- Anything goes with Itsy Bitsy Paper Crafting Supplies- with Tic-Tac-Toe. You can choose products from a horizontal, vertical or diagonal line as seen in the image below. I have chosen to play the tic- tac-toe horizontally from the top line (Stencils, Paper pack and Chipboard ). Have also used some beautiful flowers, embellishments and one of the new released Read more…
Category: Altered projects
Gilded Rosy Gift Box
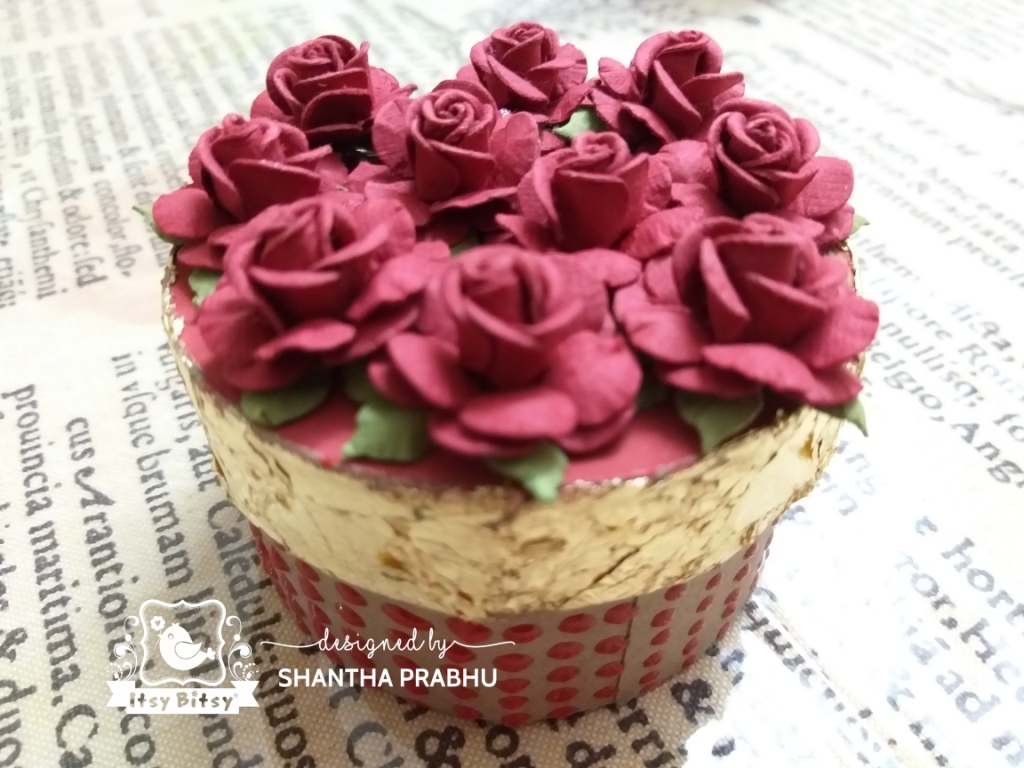
Hello everyone, Shantha here today on the blog. Valentine’s Day is round the corner and the store is all stacked with lovely flowers and paper packs for the season! I couldn’t resist picking up a pack of roses and decided to use them to make a gift box using these. HOW I MADE THE GIFT BOX I used a circular box and gilded a portion of the lid using Little Birdie’s newly launched gilding flakes. I then painted the top portion of the lid with Salsa Red chalk paint. Using Pearl Read more…
Upcycled Tissue Box
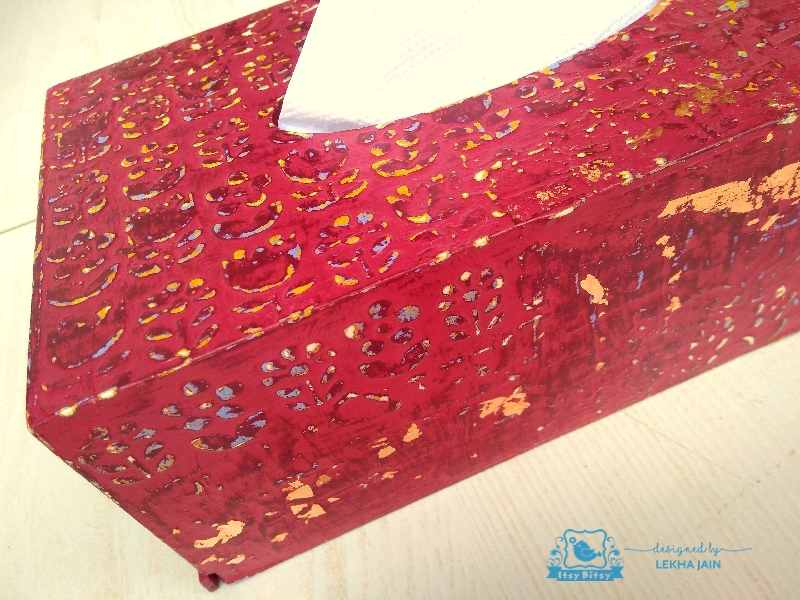
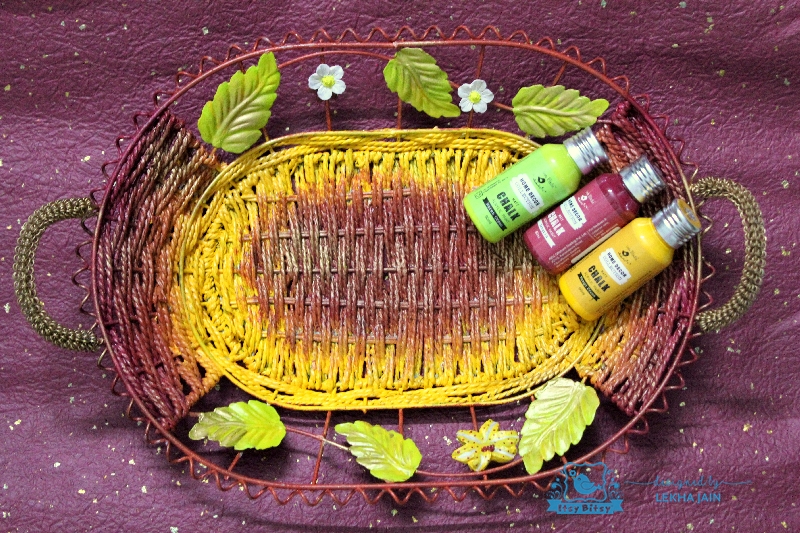
Hi arty-crafty people, Lekha here today! In my last blog post I had upcycled an old tray using the Little Birdie chalk paints and today its time to reclaim an old tissue box(which incidentally I had made a few years back for my home). I had done decoupage on the tissue box previously, so the first step was to remove the decoupage paper. You can try using some sharp knife or a spatula to tear off the paper or use a sandpaper to get the surface of the box as smooth as possible. Next, I applied Read more…
Altered Changeable Customized Photo Frame
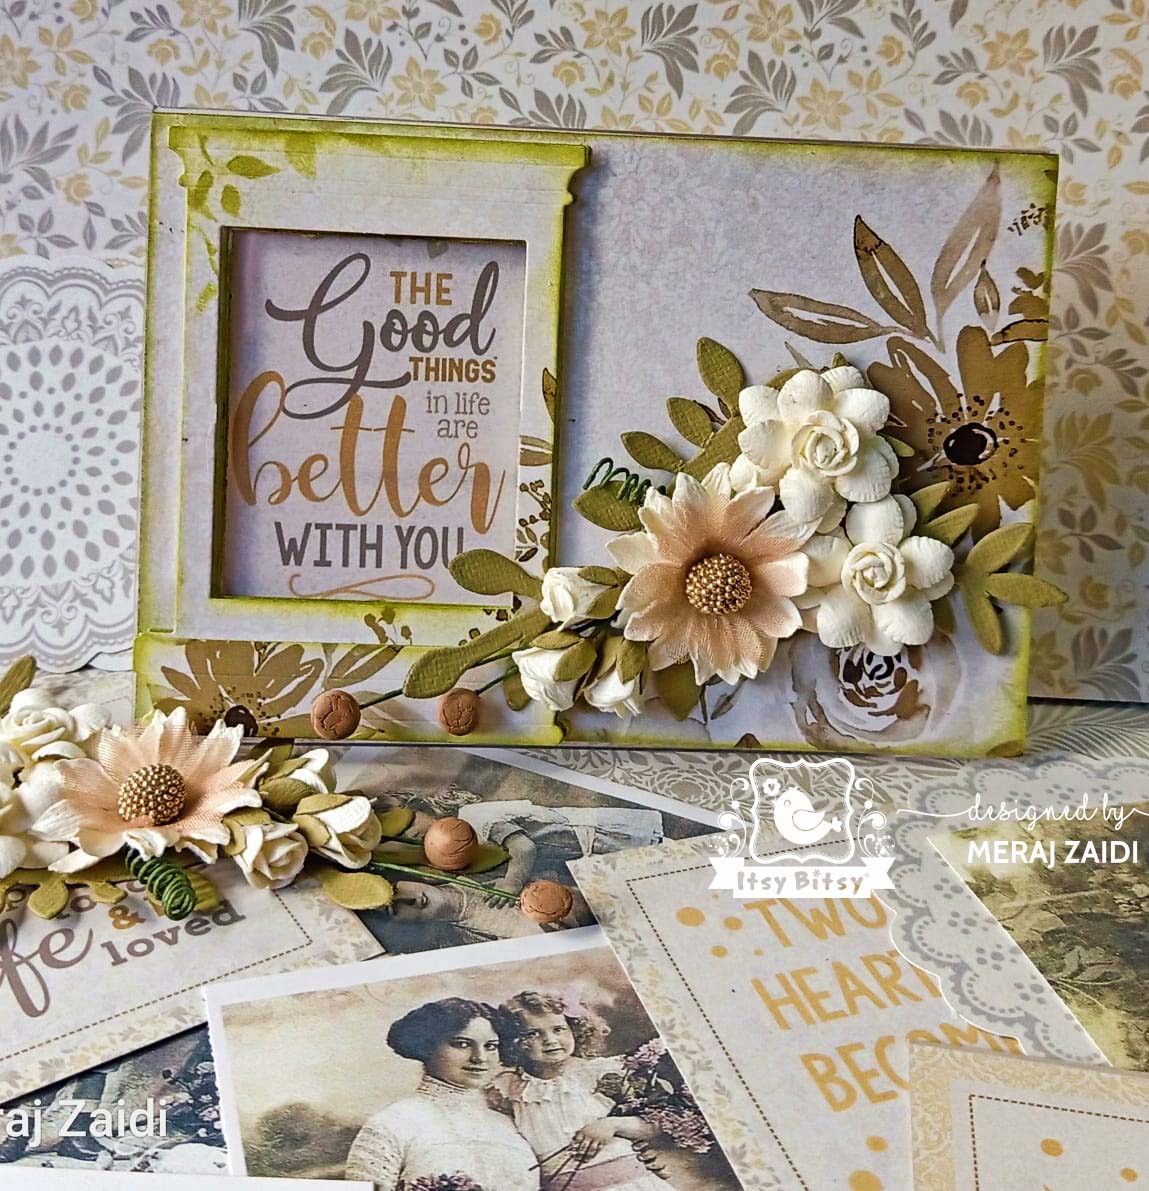
Hello Friends! I hope you all are doing great! Today I am here on the blog with a new project of mine using the awesome Amor Mio Paper Pack. Itsy Bitsy’s home brand Little Birdie has launched some new really amazingly beautiful paper packs with which you can create some awesome projects like albums, cards, tags, altered items and so on…the list is never-ending….just let your imagination go free and create! Here we go to create an altered customized photo frame where you can slide Read more…
Antique Door in a Fairy Garden
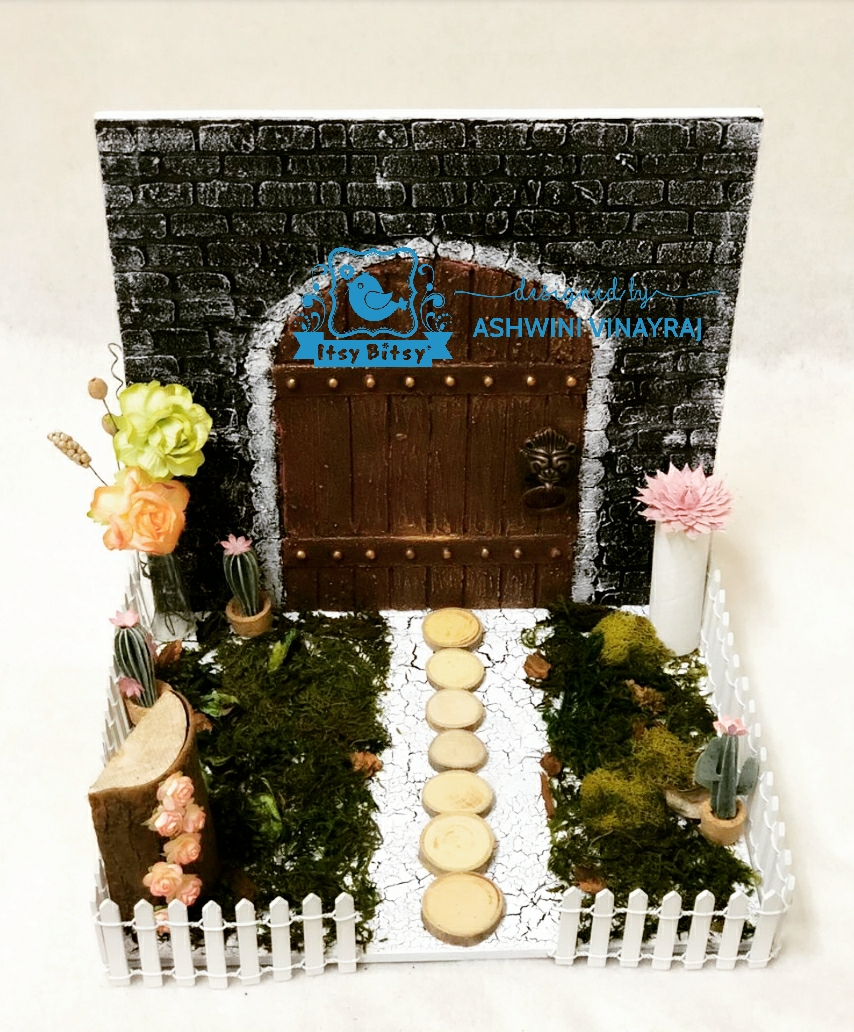
Hi Creatives, Ashwini here! I am fascinated with fairy gardens and antique creations is my craze. I have mixed both my favourites to create this beautiful concept. Will be showing you the procedure of creating an antique door in a fairy garden in a step by step process. Let’s get started. Step 1: I have taken a MDF board measuring 10″ by 10″. i have cut down the chipboard in a door pattern in the form of strips and stuck them on the MDF board. Read more…
Door Hanger With Chalk Paints
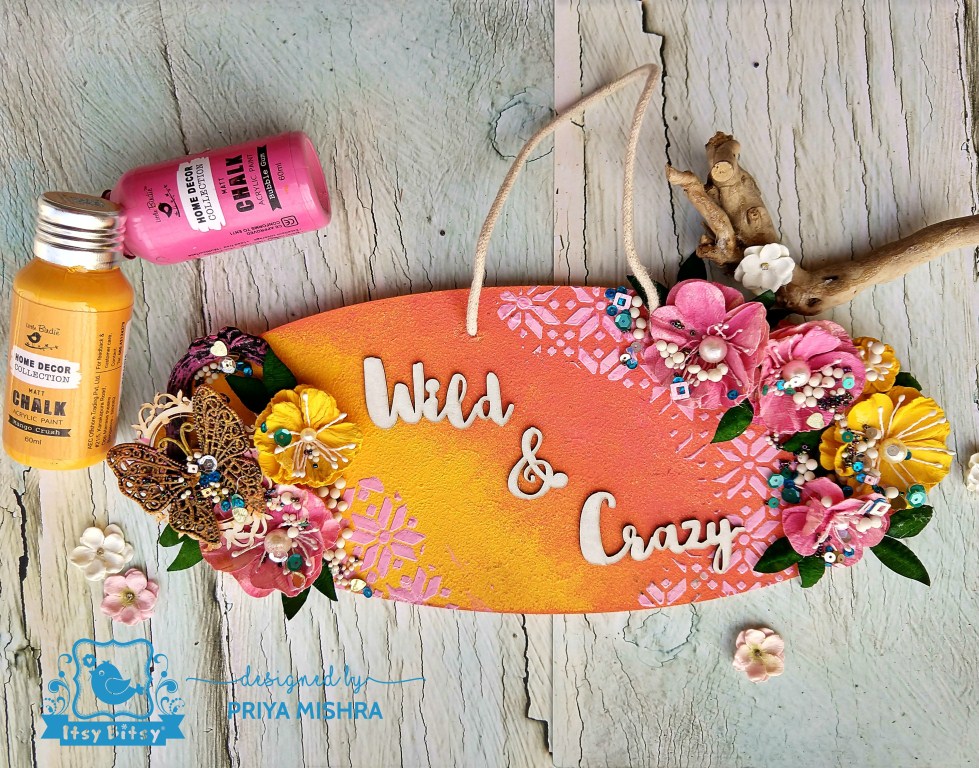
Hello Crafty Friends, Priya Mishra here with a new project. It’s winter, a season when we get to enjoy the cold and the warm sun. I am sure you all love a warm and cozy place to work in, at this time of the year. I am giving a makeover to my craft room. Recently I bought a beautiful big storage organizer and now I’m sorting everything, labeling, and trying to be more organised. When I had to make my DT project, I thought of making a ‘Door Hanger’ for my Craft room. Whenever I see that, I feel Read more…
Altered Box with Chalk Paints and Decoupage
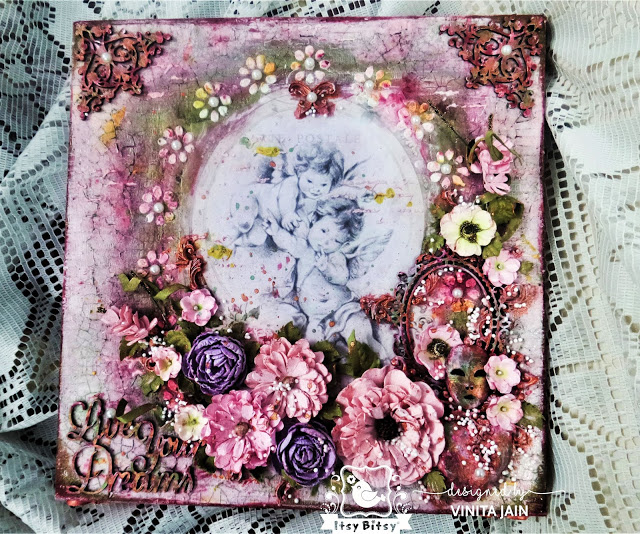
Hello everyone! Vinita here today on the blog with a beautiful altered gift box. I enjoy using Little Birdie Chalk Paints a lot because of their versatility and the amazing choice of shades. I had a very beautiful dry-fruit box in my stash for a long time and wanted to use it for making something useful. The moment I saw the newly launched chalk paints, I knew how I wanted to use it with decoupage papers and metal charms. Here is how I gave it a makeover… Firstly, I primed the box Read more…
Mixed Media Alphabet ‘R’
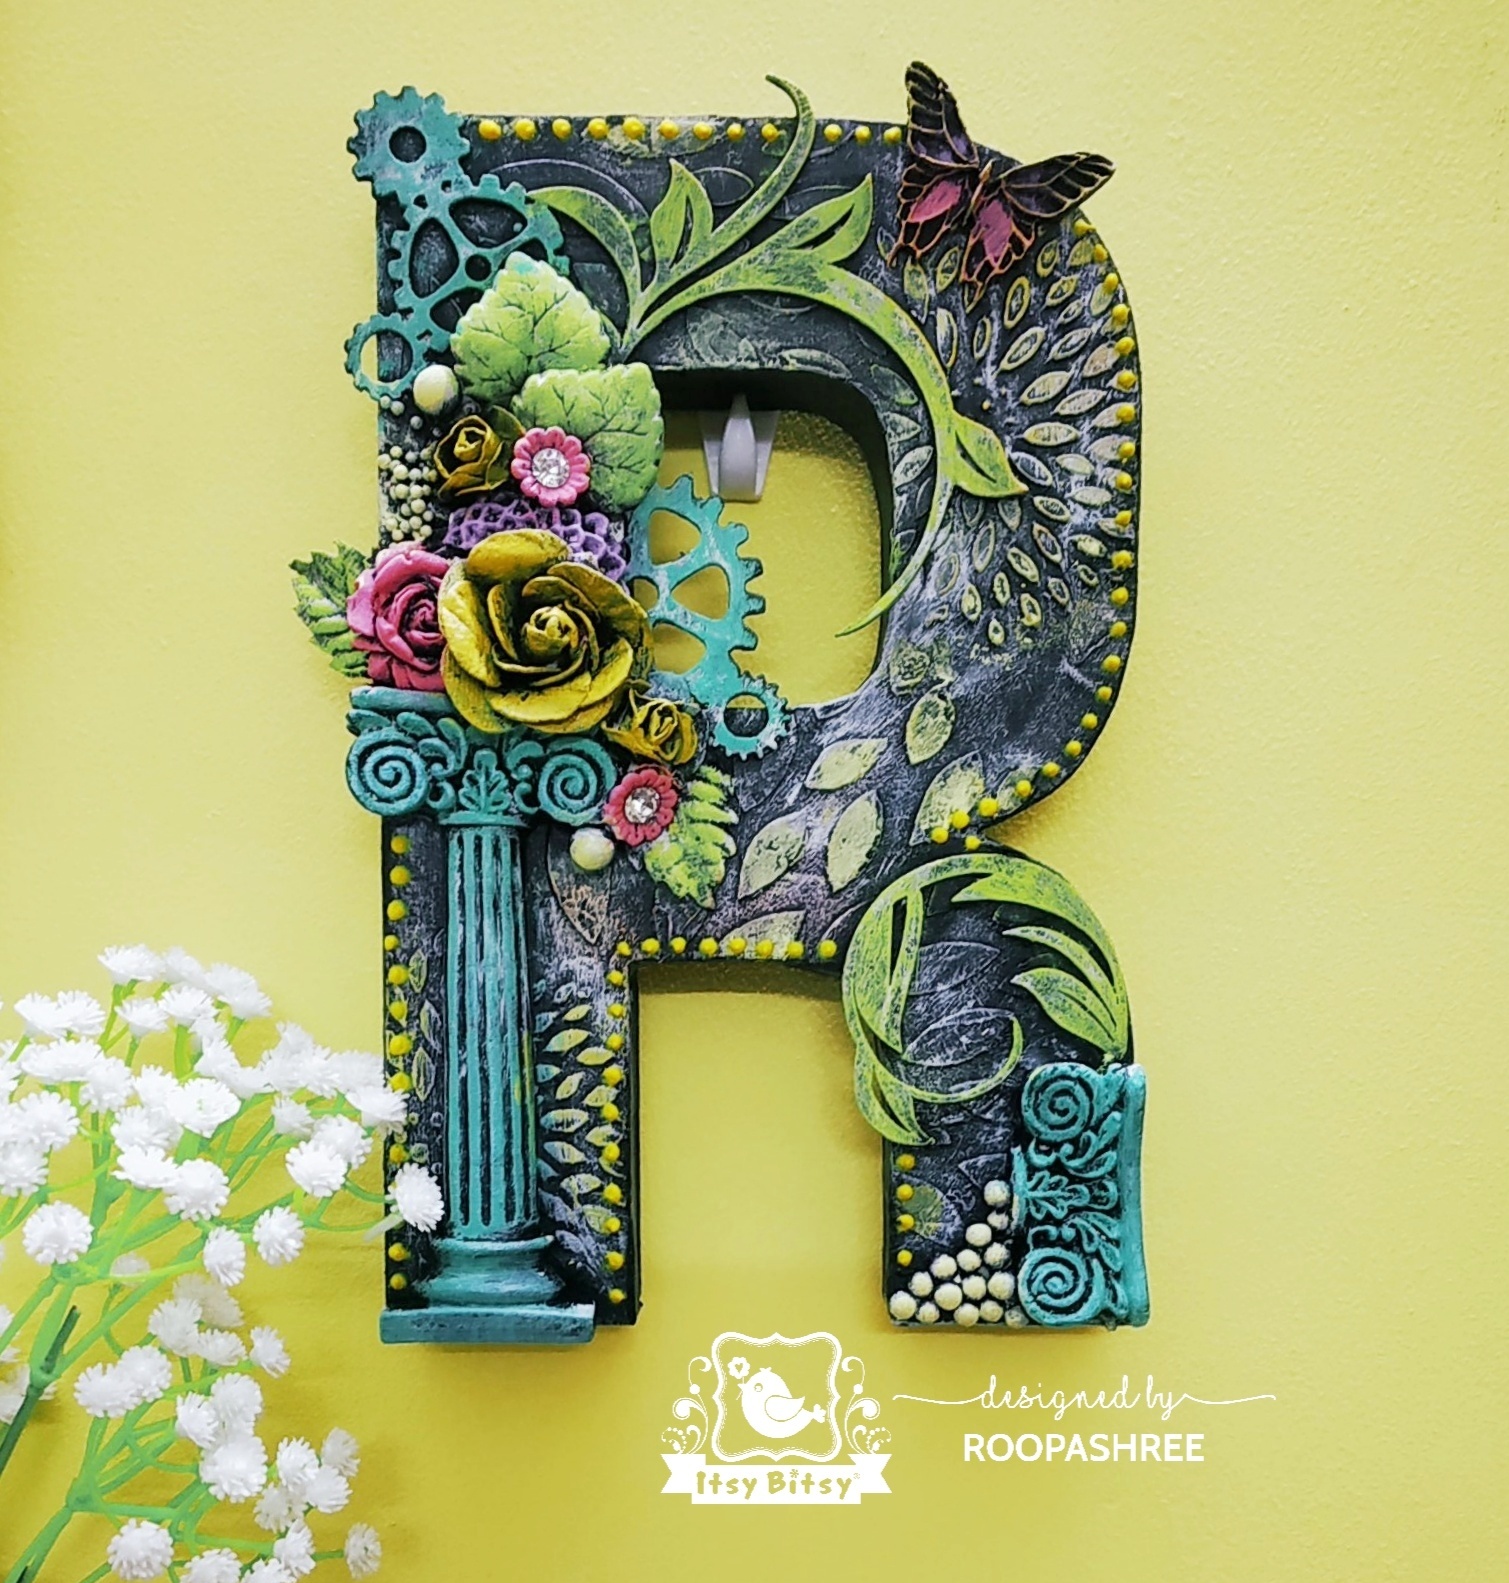
Hi Creatives, Roopashree here, bringing you a simple yet classy & easy mixed media art on paper mache alphabet. Will be altering an alphabet ‘R’ as my name starts with R & would be a great decor piece. Let’s get started. Step 1: I have taken paper mache letter R. To make the surface workable, I primed it with a coat of White Gesso and allowed it to dry. Step 2: Next, I added some texture to the surface by stenciling with 2 in 1 Mixed Media Paste. Step 3: Next, I made some Read more…
Rags to Riches
Hi crafty people, Wishing you all a very Happy New Year !! May this year bring loads of craft supplies to your desk! 🙂 I started my year with up cycling this lovely tray for a client. The tray had been part of the family for sometime and she asked me to give it a new look. And what could be better than Itsy Bitsy chalk paints to brighten up an old and dull tray. Its a photo heavy post, so sit back enjoy the transformation. For the first step I cleaned the entire tray with a hard brush to Read more…
A Magical Conversion with Little birdie metallic paints
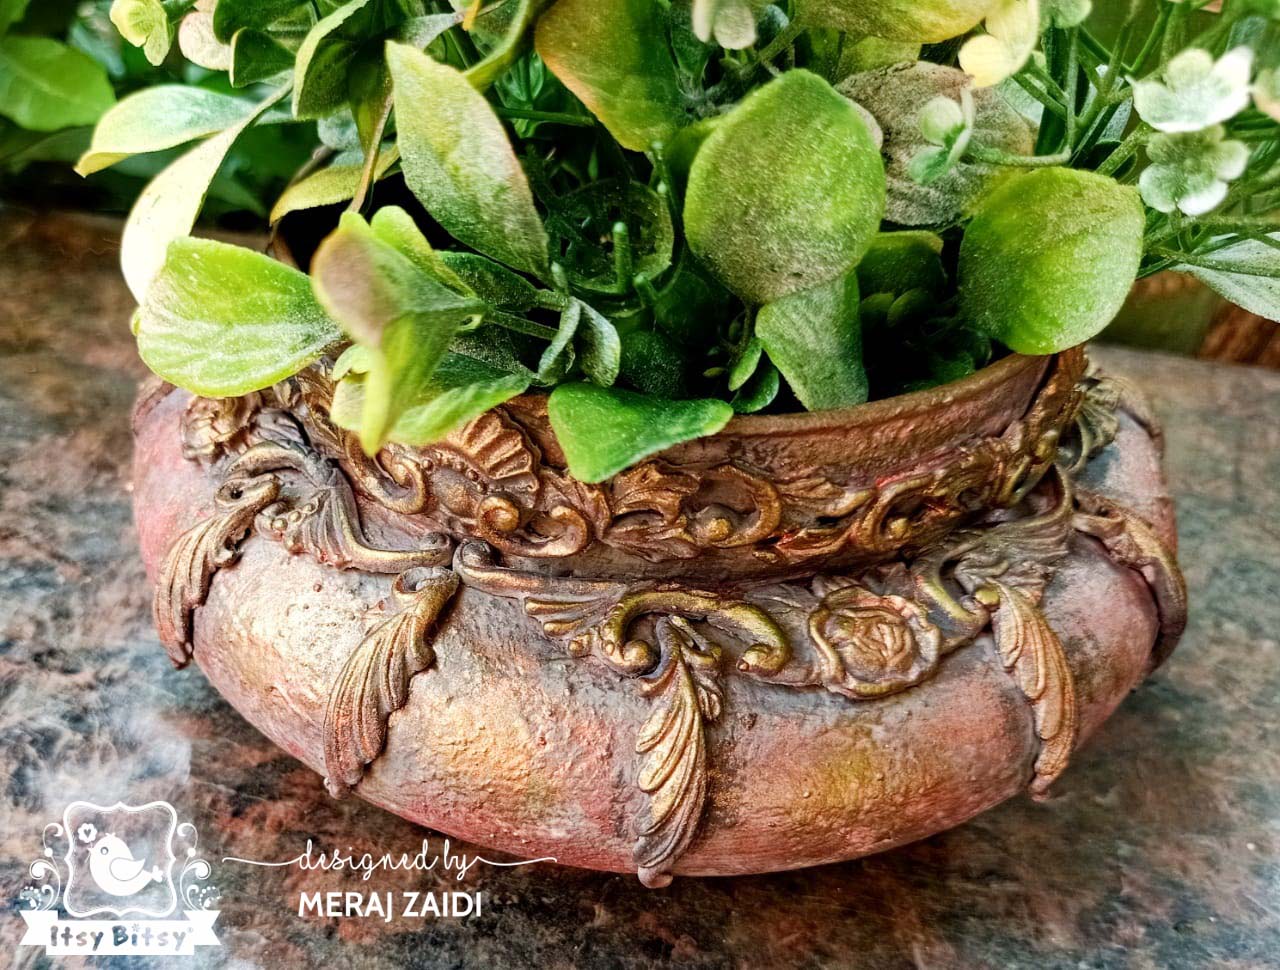
Hello my Crafty Friends! Meraj here! Here’s wishing you all a very very Happy New Year filled with all the joys and smiles 🙂 Today I am sharing here a creation where you can convert a glass object to a copper looking one just by using the awesome Chalk Paints with some other basic supplies and paints. Hope you liked the above finished pics of the glass bowl being converted with the looks of a copper bowl. Below is the step by step picture tutorial for the Read more…