
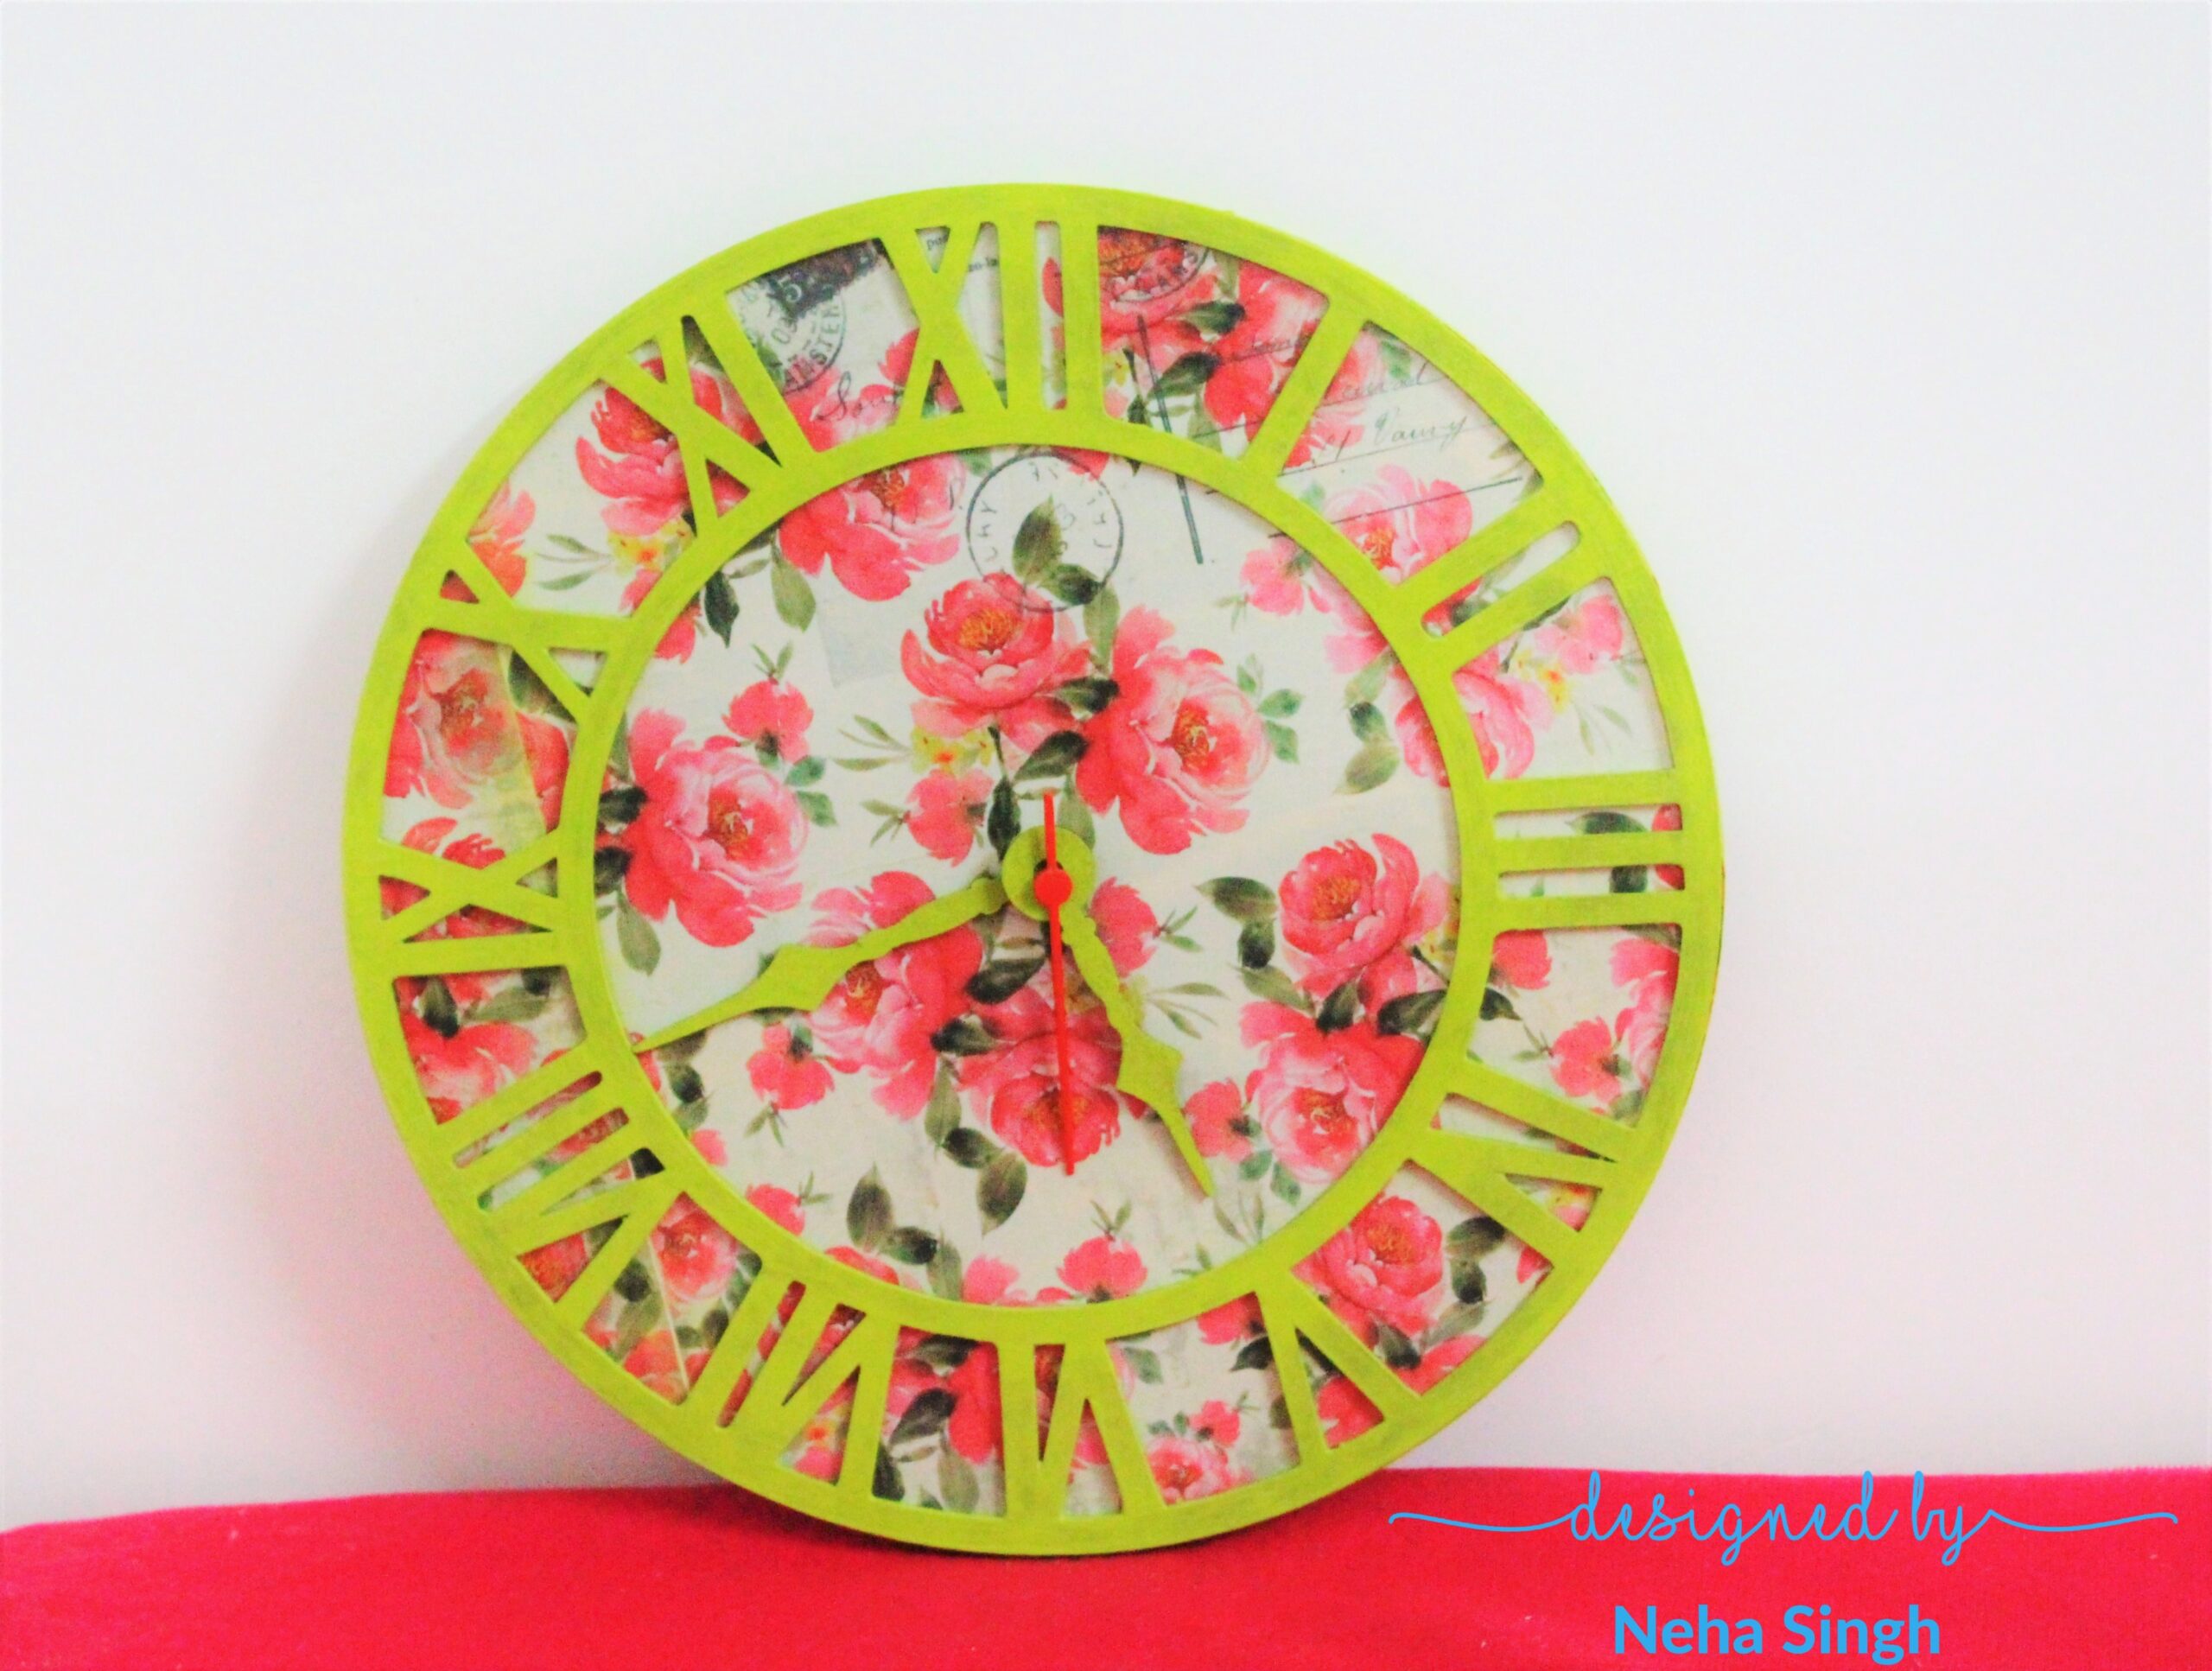
Hello crafters, Neha here and todays blog is about floral themed wall clock.
For this project I have used Little birdie PVC Clock face round- White , 10 inch Dia as base and Mdf clock- 10 inch for the numbers.
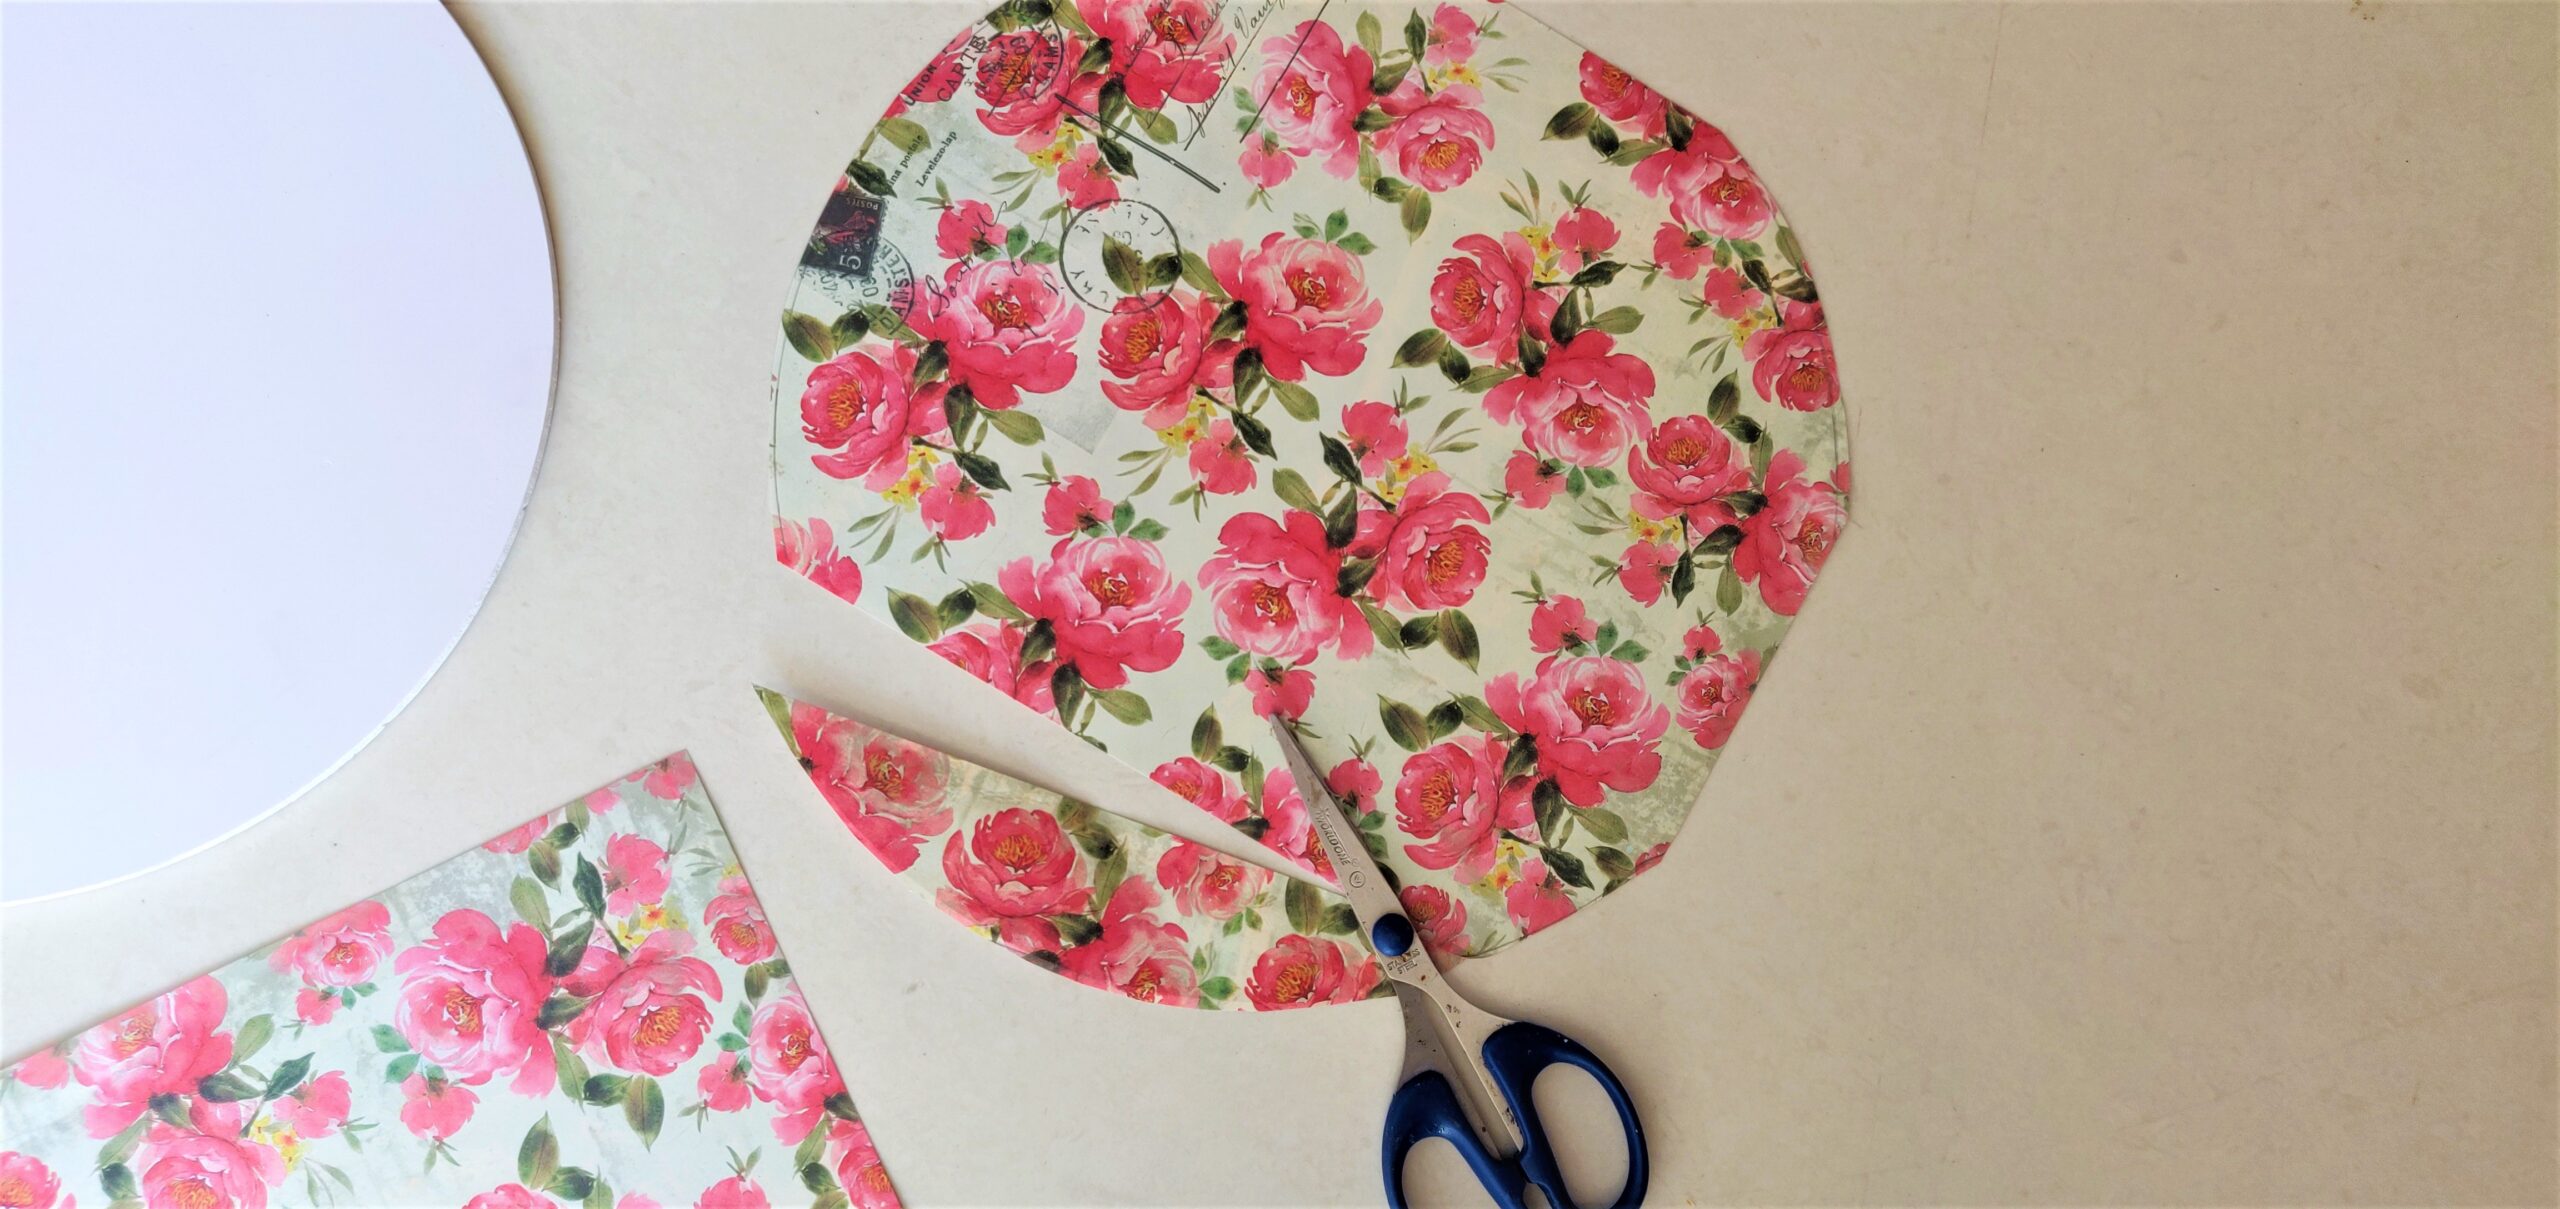
I started by cutting the decoupage paper according to the size of the PVC Base using scissors.
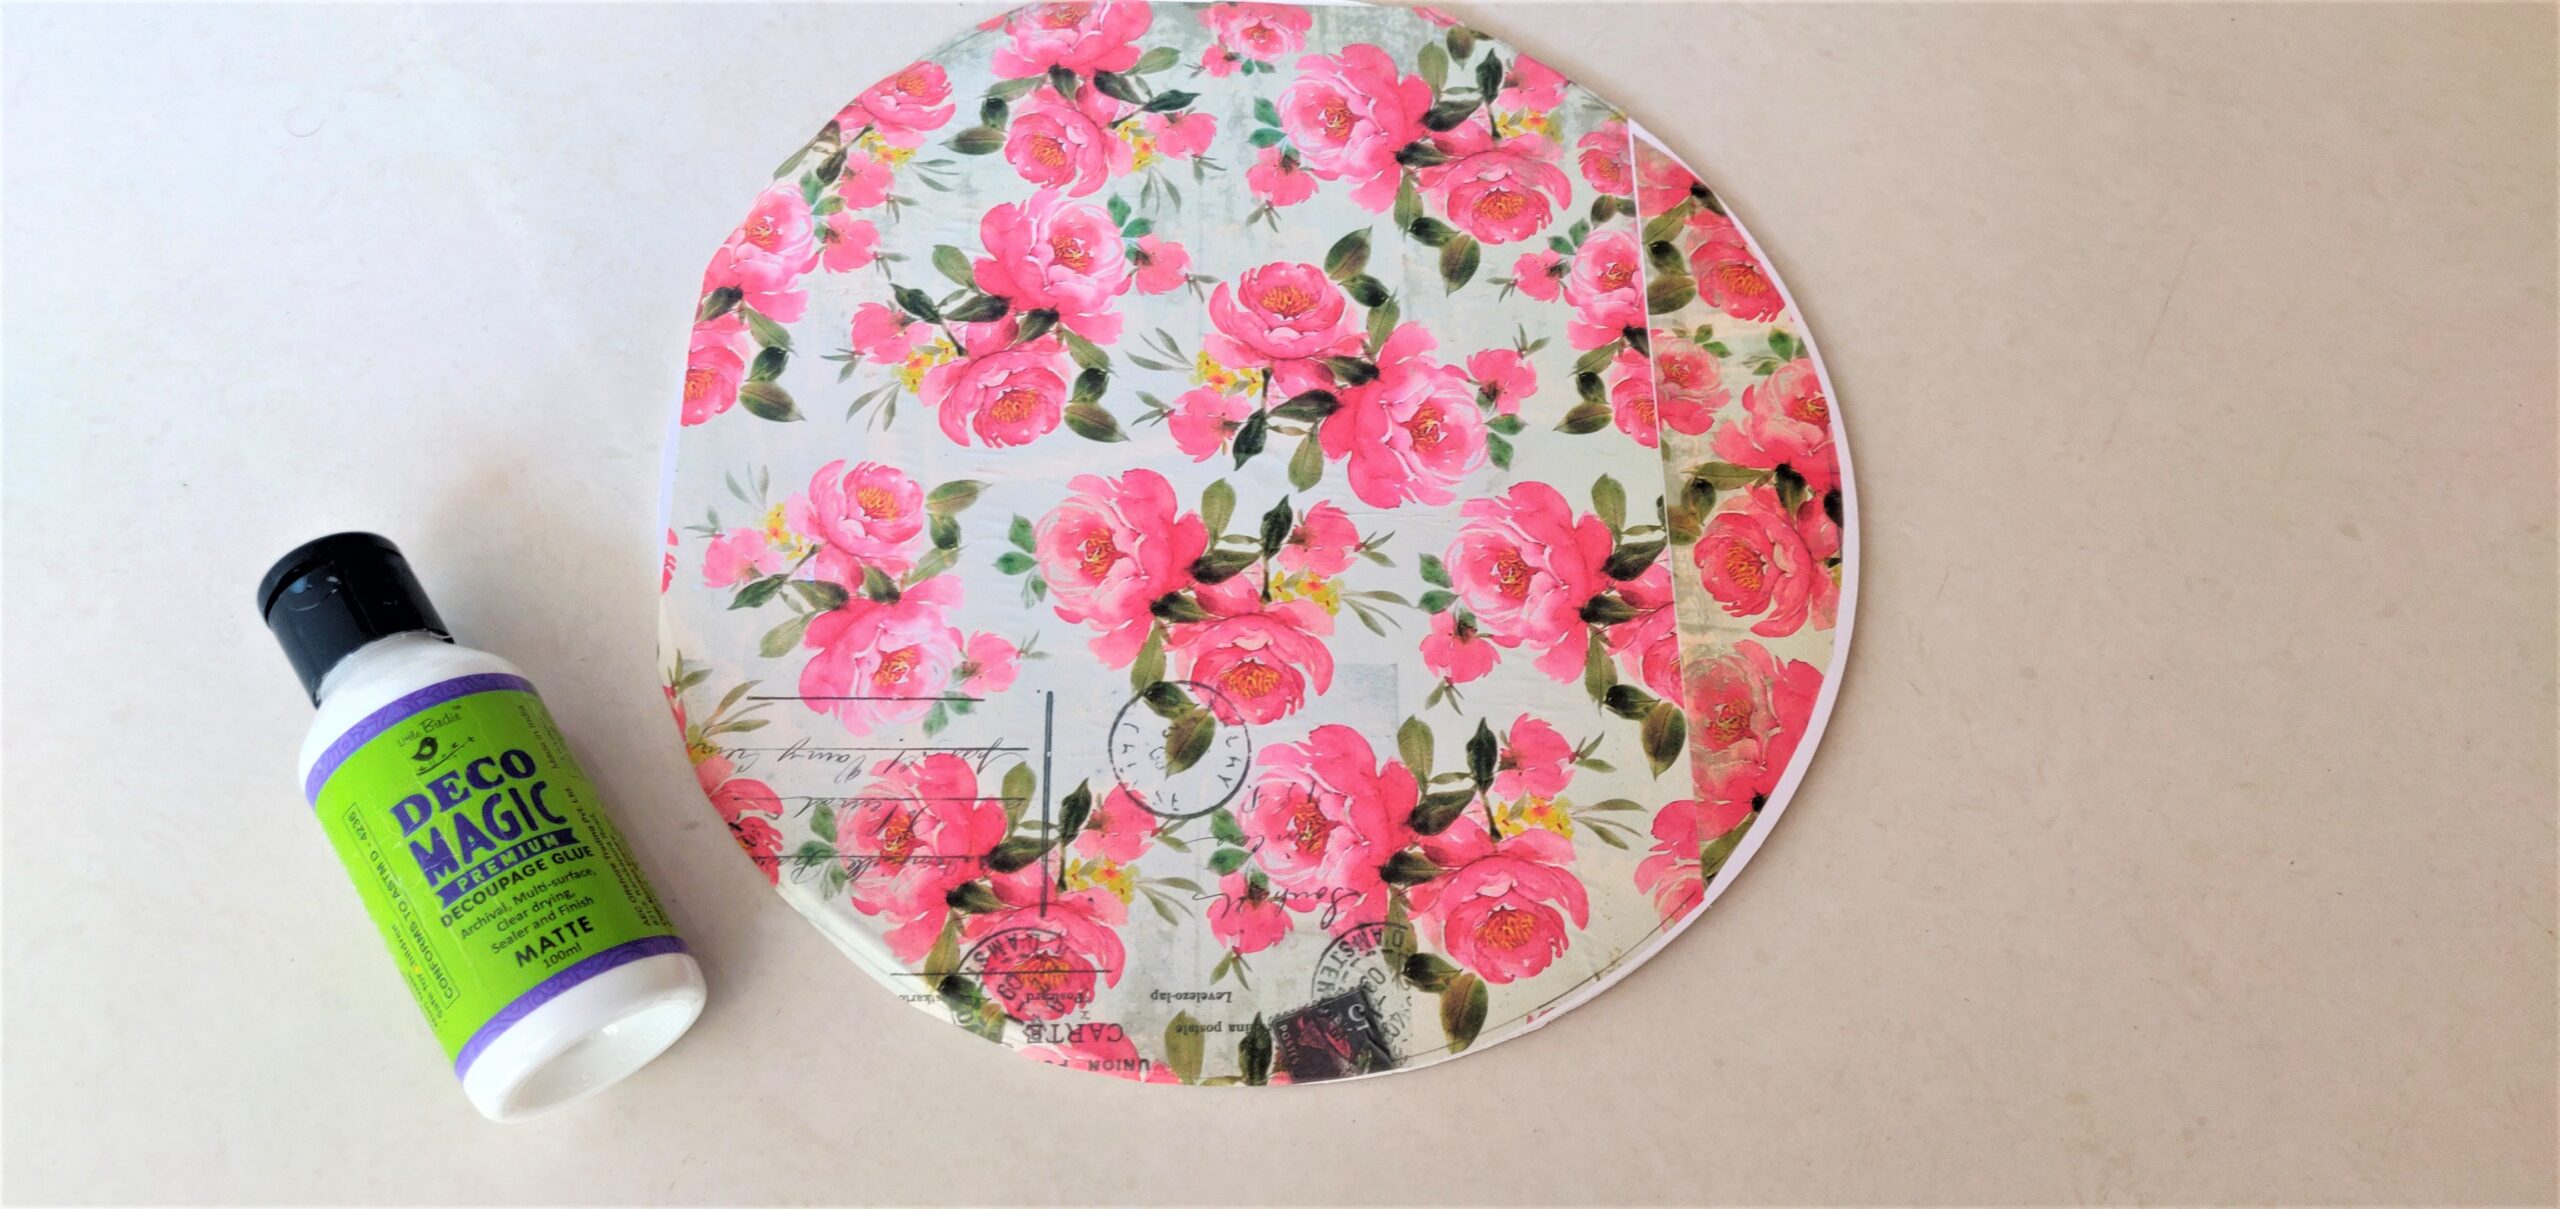 After that, I applied the decoupage paper over the base using Deco Magic glue. After drying, I applied another layer of Deco Magic glue over the print in order to seal it further and left it to dry.
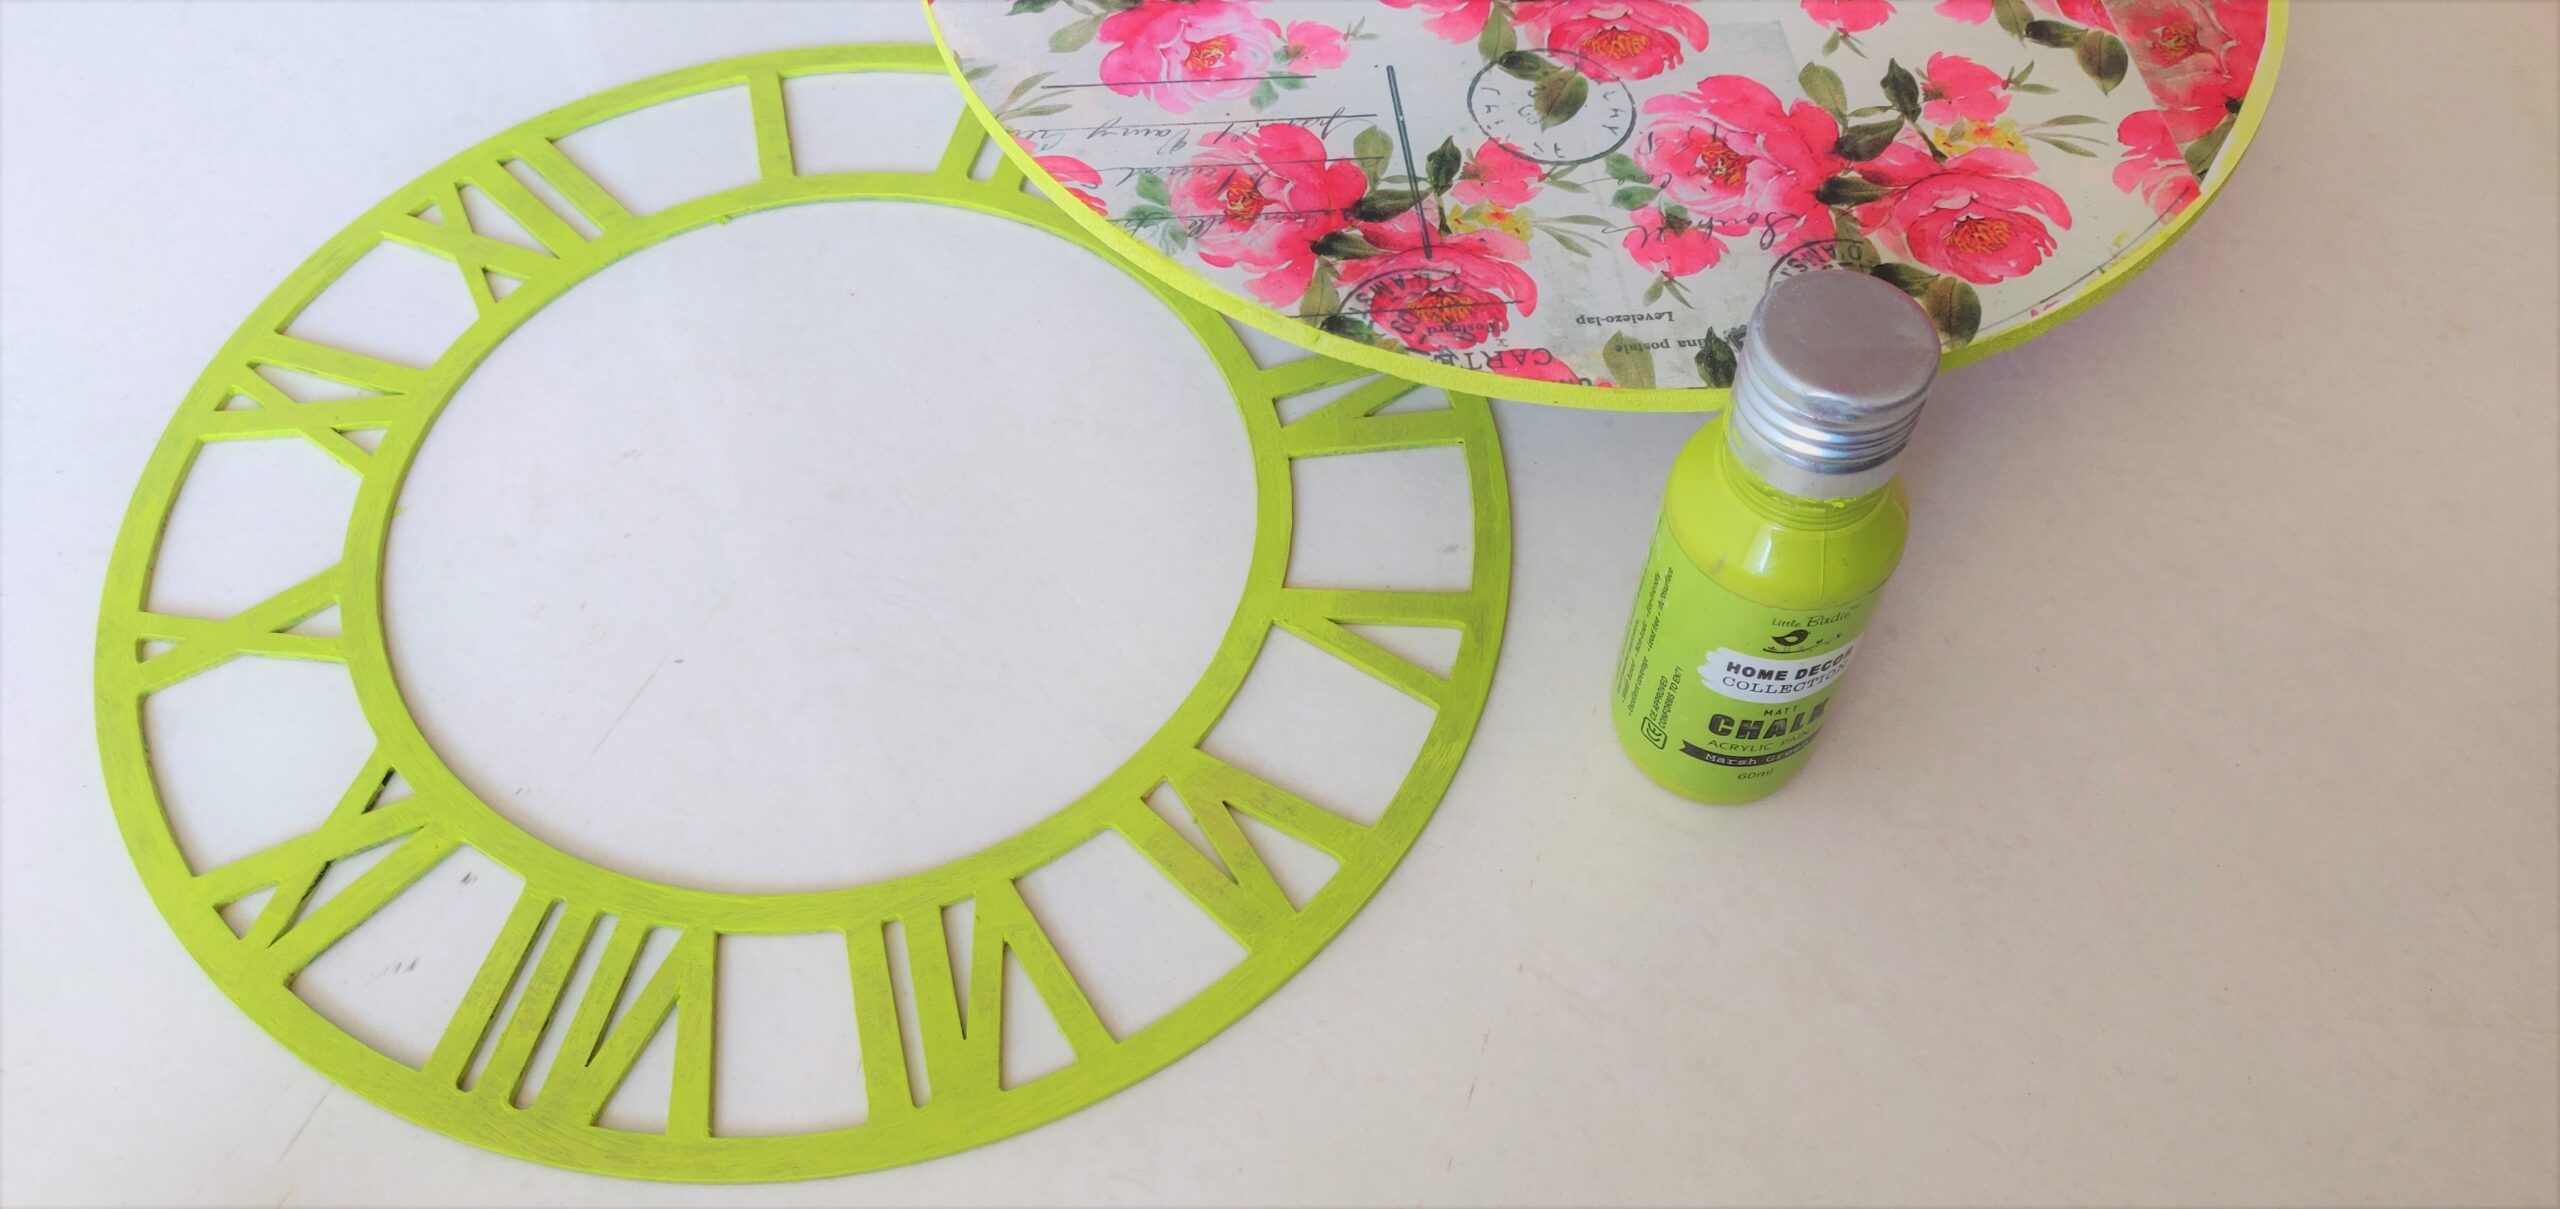
After that, I painted the MDF Numbers ring and needles using Little Birdie chalk paints-Marsh Green and left it to dry.
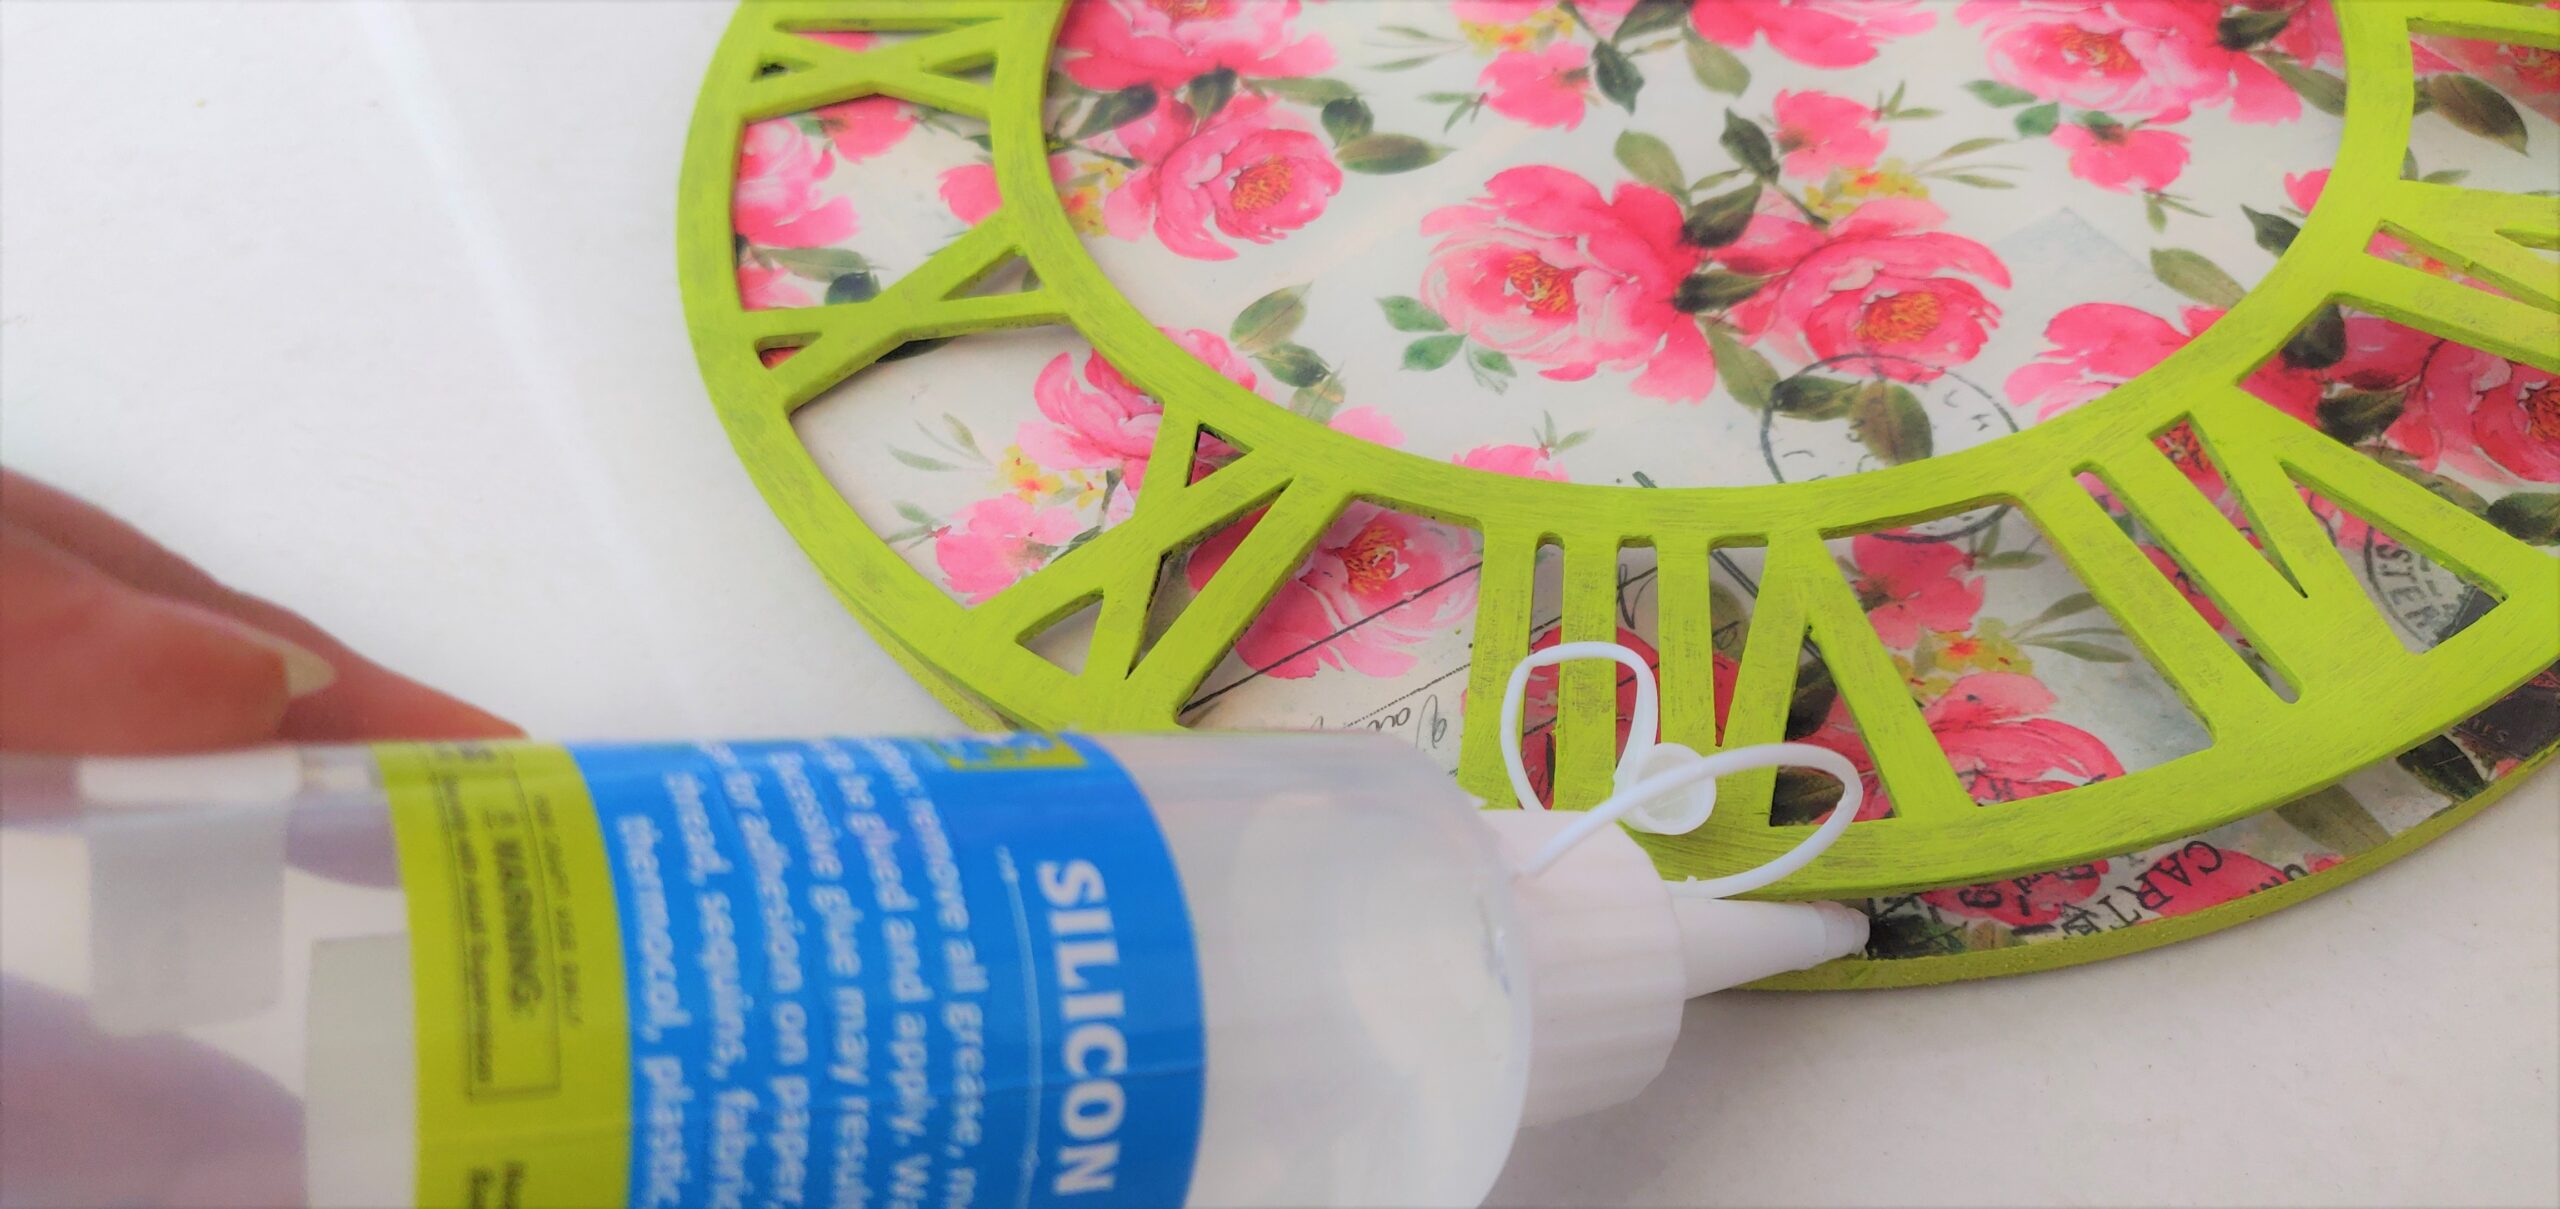
After that, I glued the MDF numbers ring to the PVC Base using Little Birdie silicon glue.
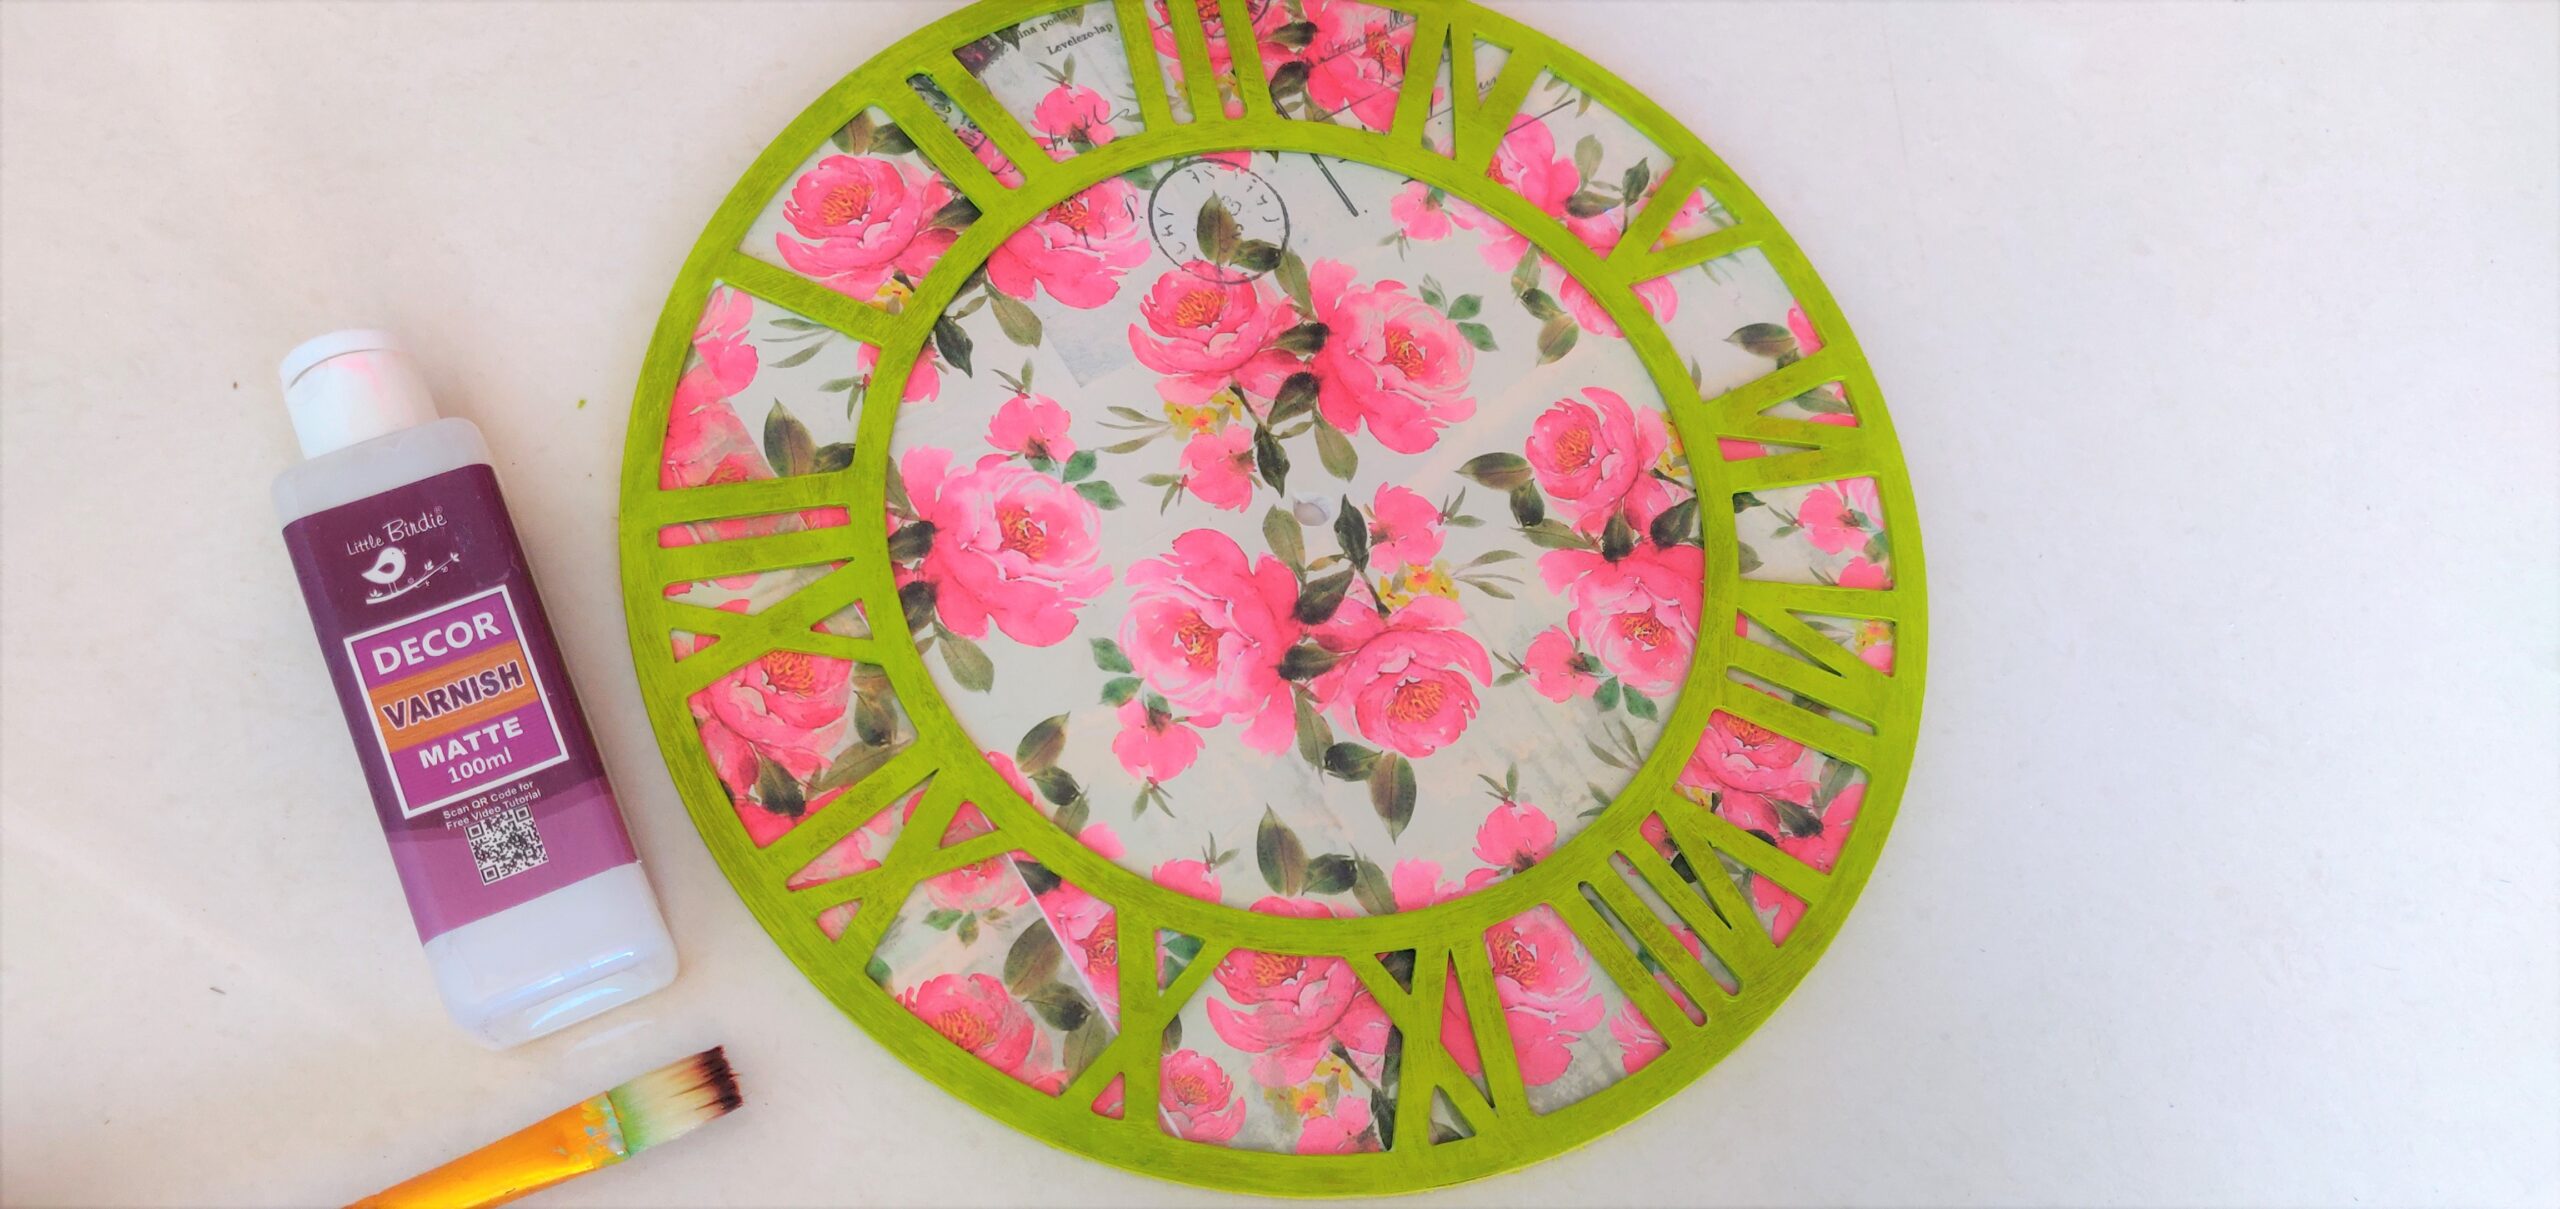
After that I applied a layer of Little Birdie Decor Varnish – Matte all over and then I left it to dry for 10-15 minutes.
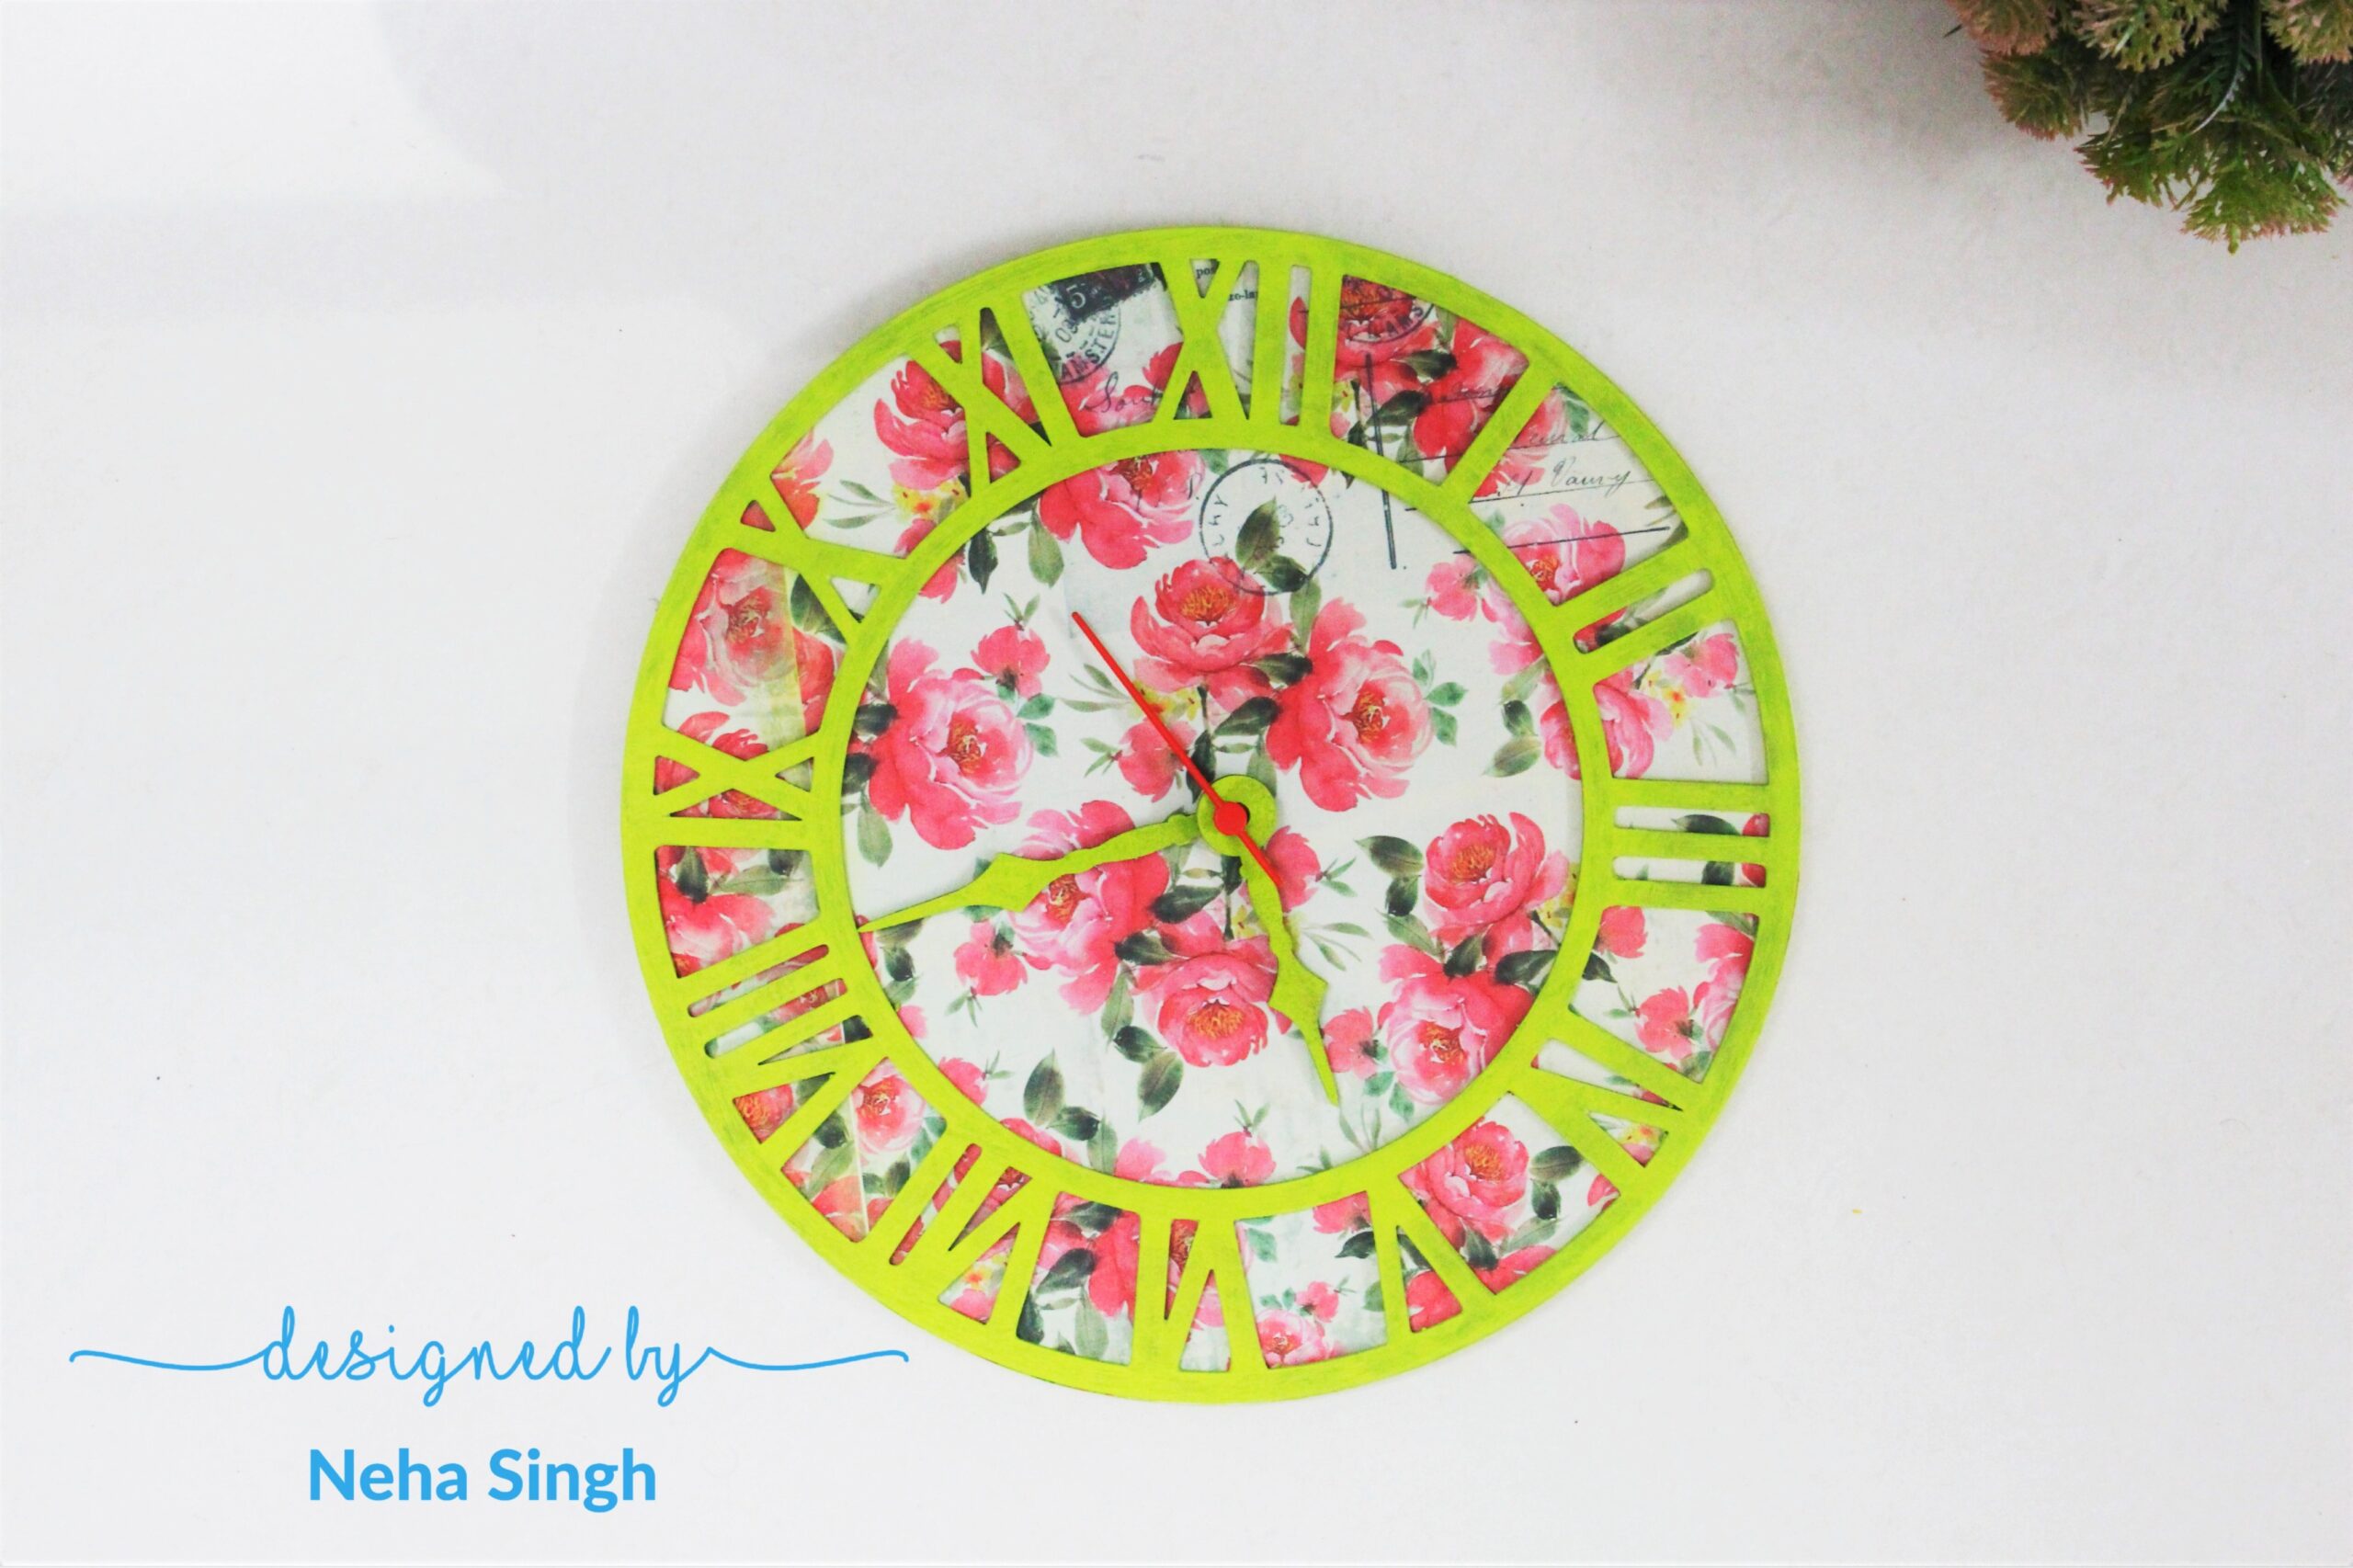
Lastly I fixed the clock movement machine and the MDF needles to the PVC Base.
And done!
I hope you enjoyed today’s blog and I also hope that you find this tutorial inspiring enough to try this project on your own. If you do so, then do share it on Itsy Bitsy Crafters Café and other social media platforms and do not forget to tag ITSYBITSYCRAFTSTORE.
Thank you for stopping by.
Use code NEHA5 to buy any product at www.itsybitsy.in and get 5% discount on your total bill.
Here is the list of products:


