Hello Everyone! So glad you are here to read this blog!!
Today’s blog post is very beautiful yet simple and interesting. We are going to make some DIY tea coasters which will be a unique collection to your kitchen.
So let’s start quickly.
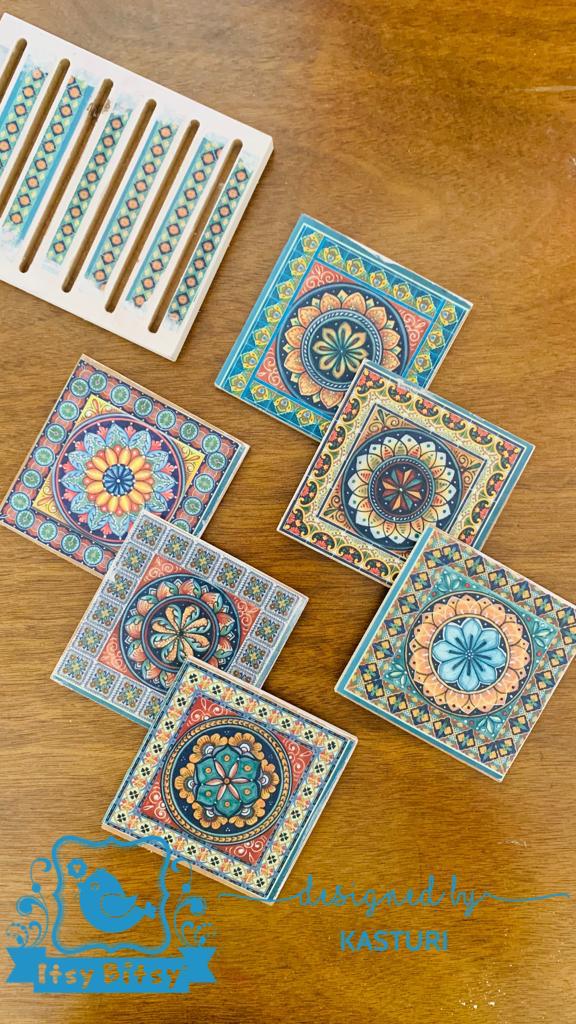
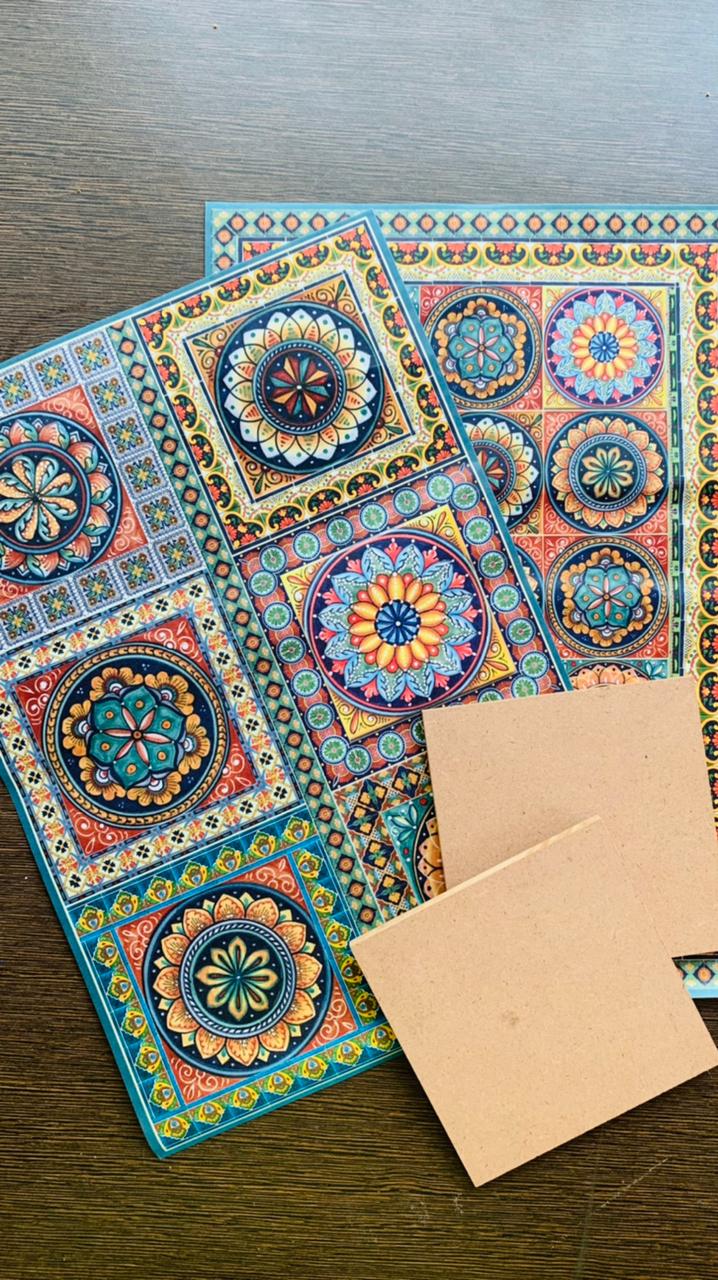
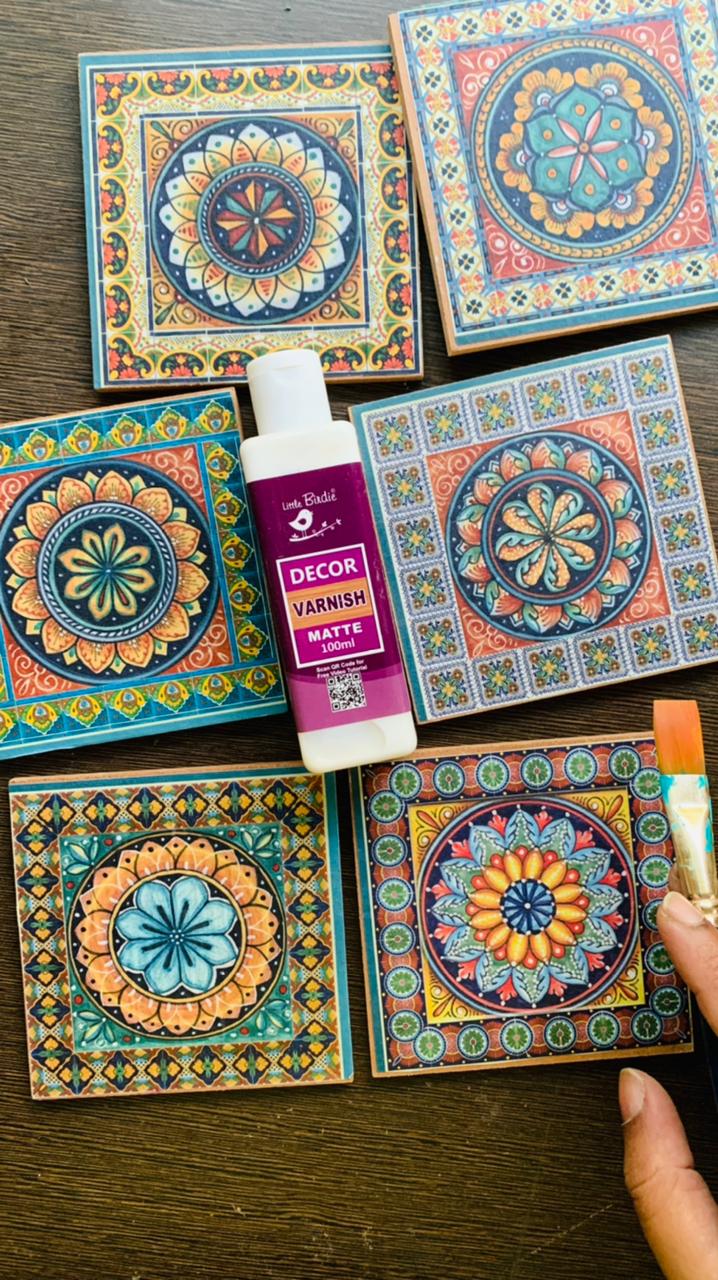
STEP 1 – I have here 6 Itsy Bitsy MDF coaters (square) 4” . These are approximately 5mm thick. I have a coaster stand too. Select the decoupage sheet of your choice. After that please cut the sheet with the help of a scissor and keep it aside.
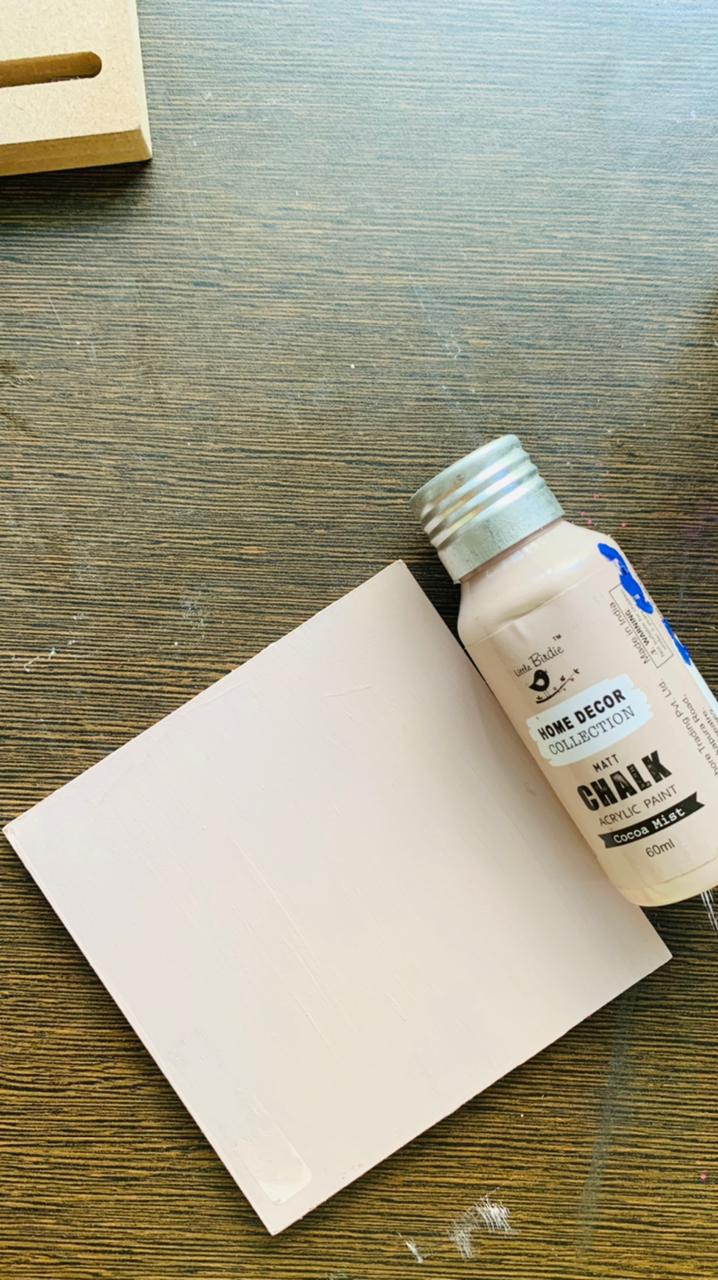
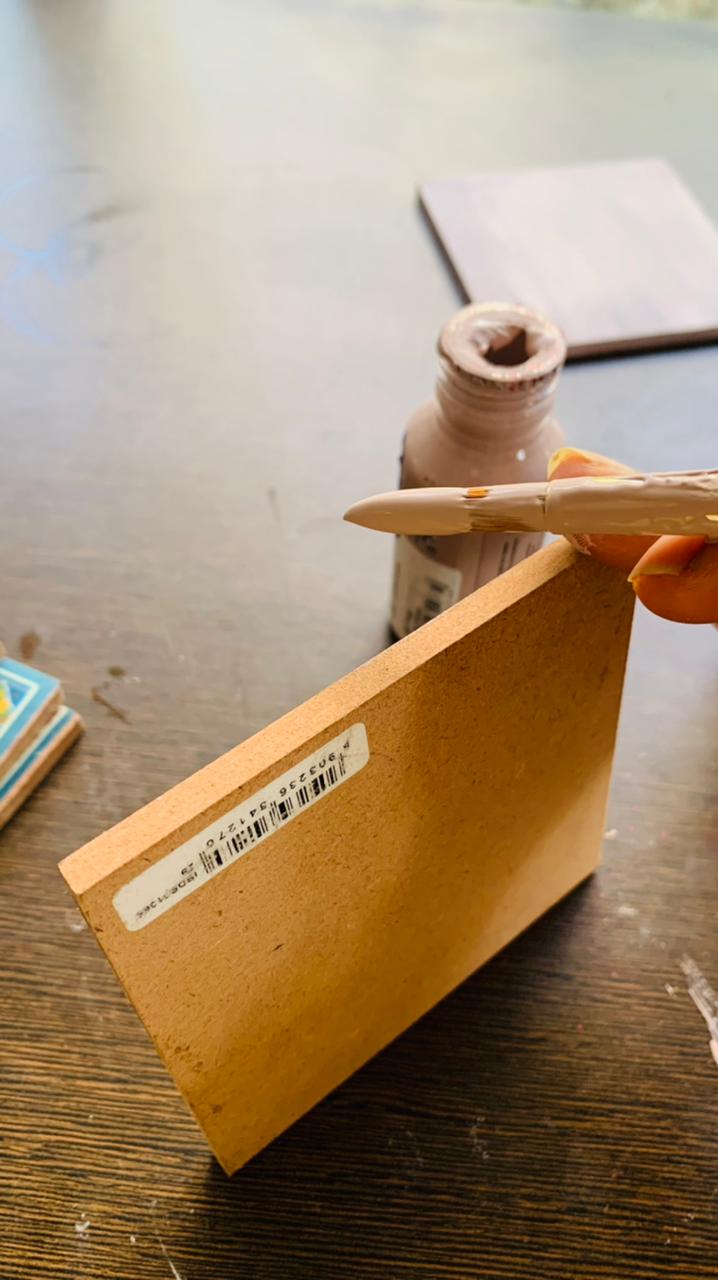
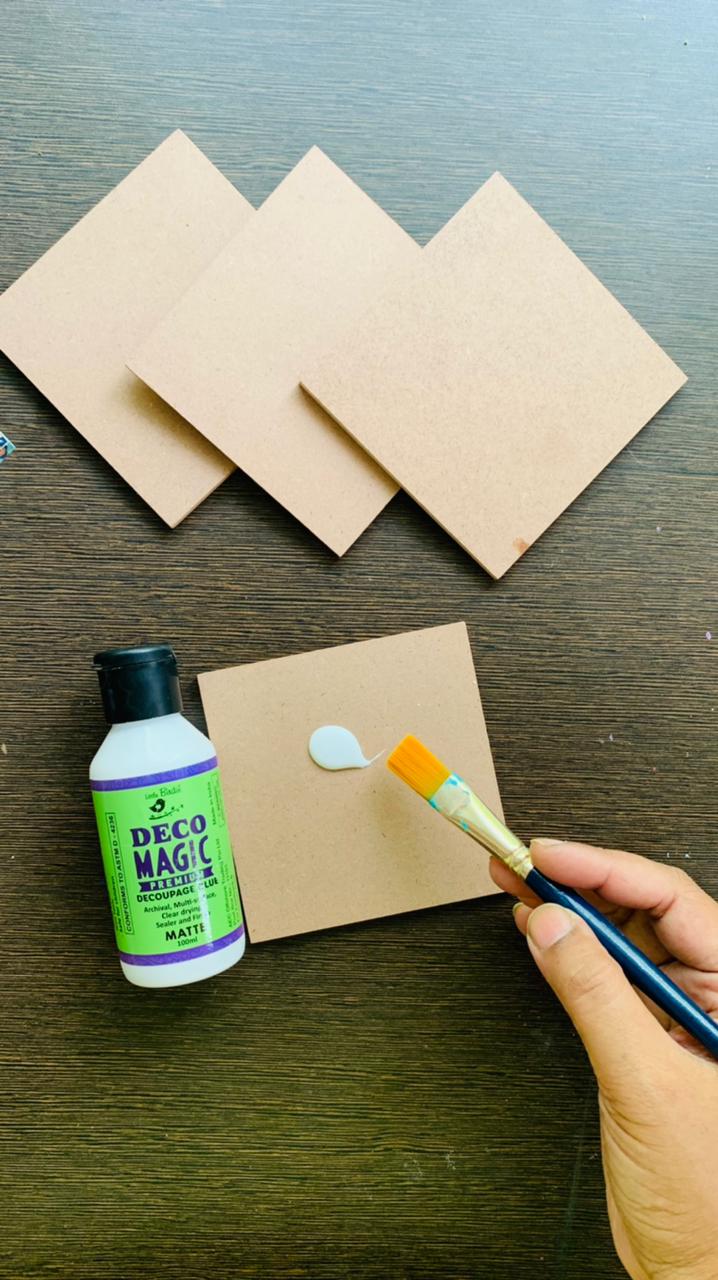
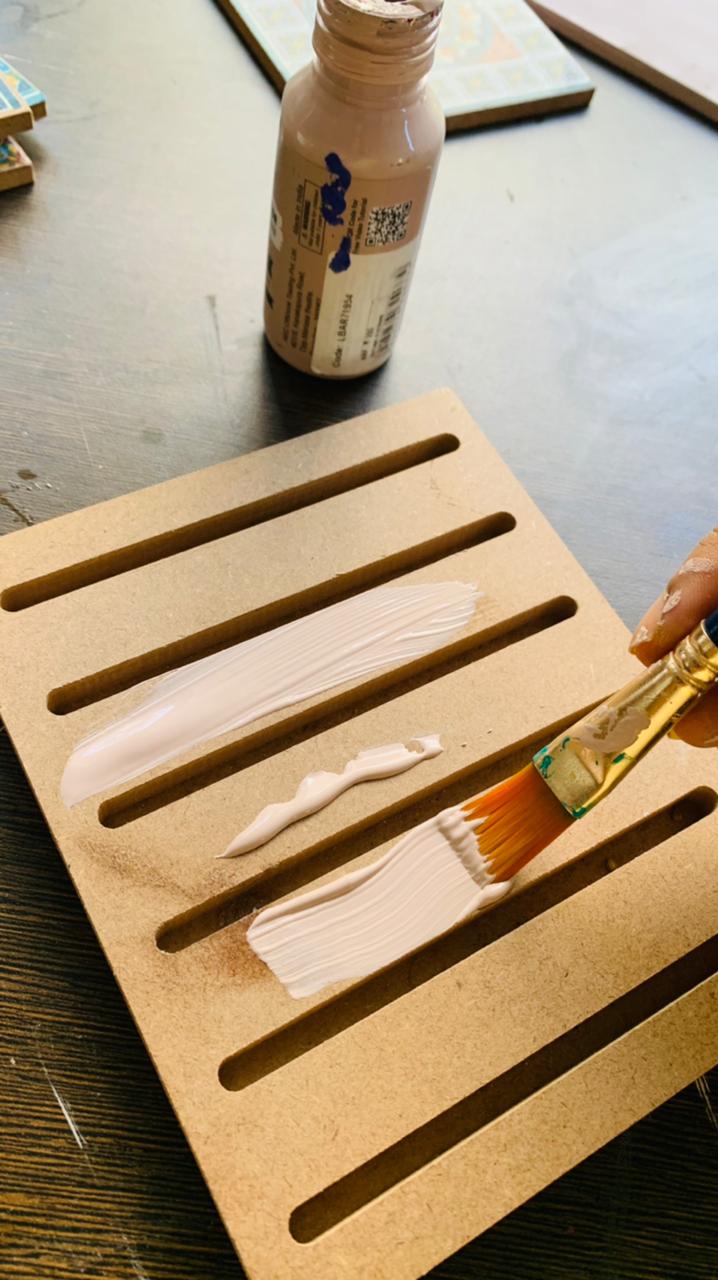
STEP 2- Apply Little Birdie chalk acrylic paint – Cocoa Mist on one side of the coaster and on the edges using synthetic brush. Let it dry.
STEP 3 – Adhere the cut paper on the front side (non-painted side) of the coaster with the help of Deco Magic decoupage glue using a brush.
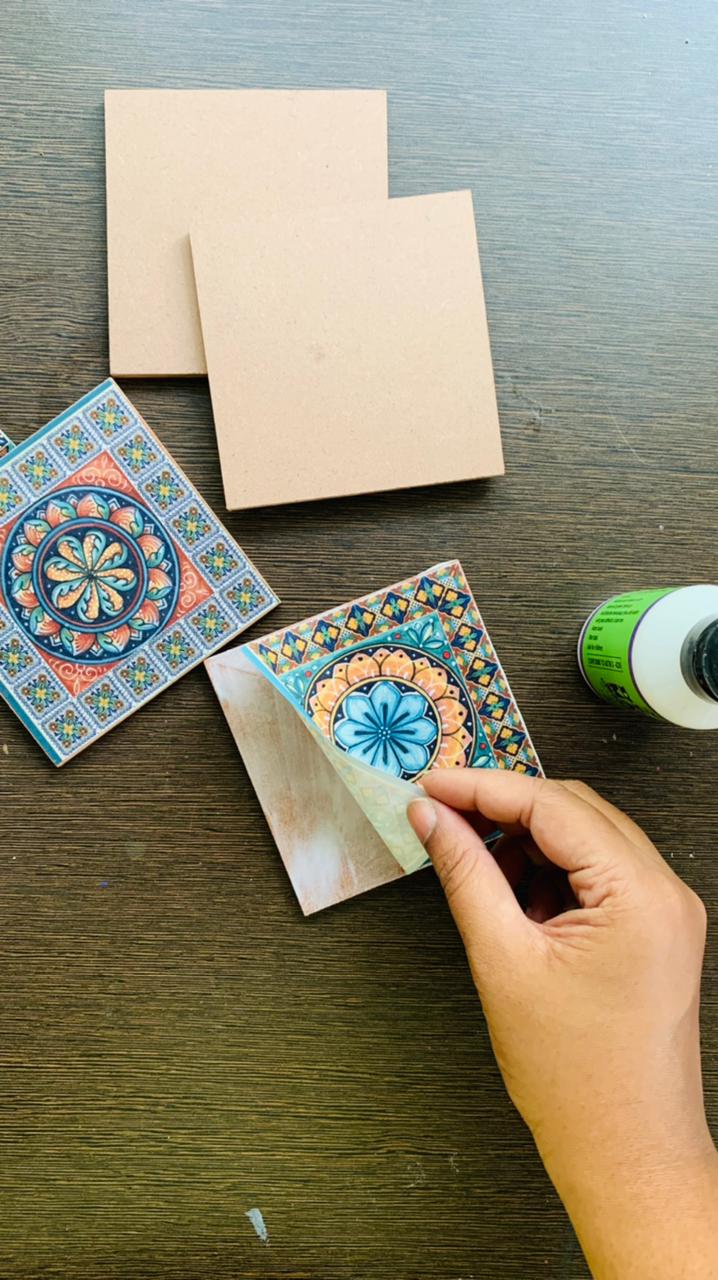
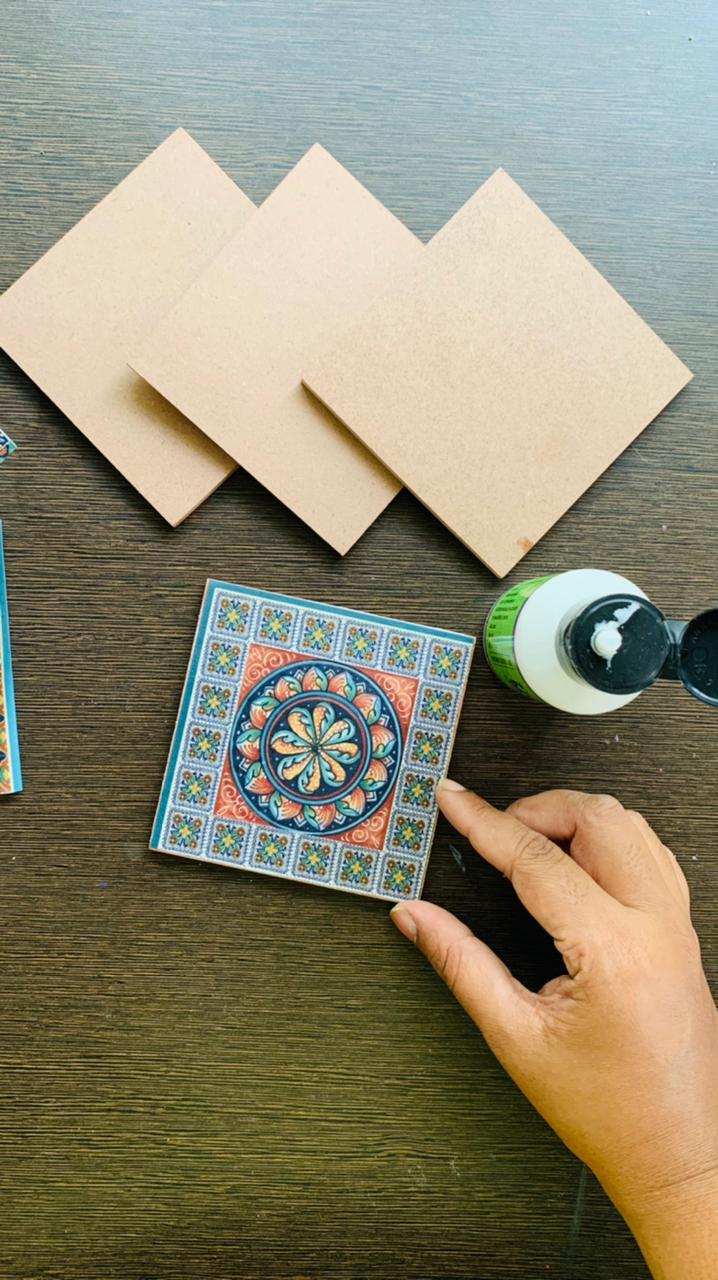
Repeat the same process for the remaining coasters.
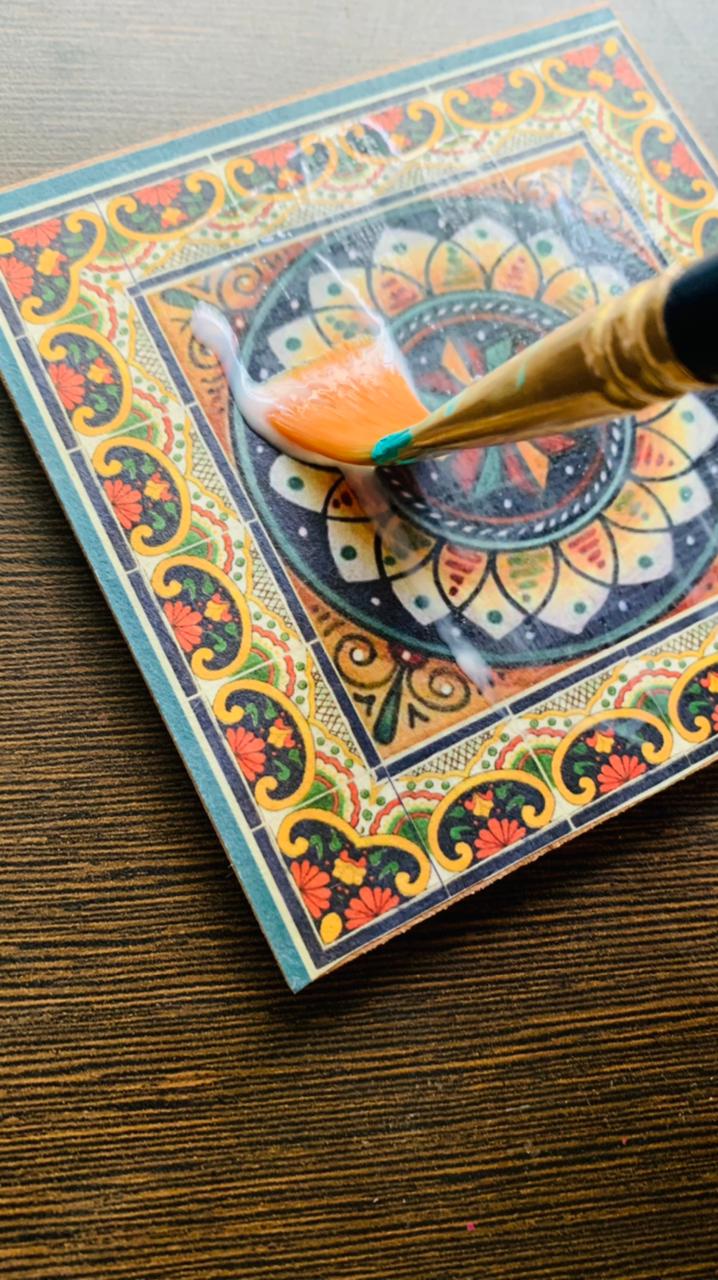
STEP 4 – Seal the adhered decoupage paper by applying a top coat of Deco Magic decoupage glue. Let it dry.
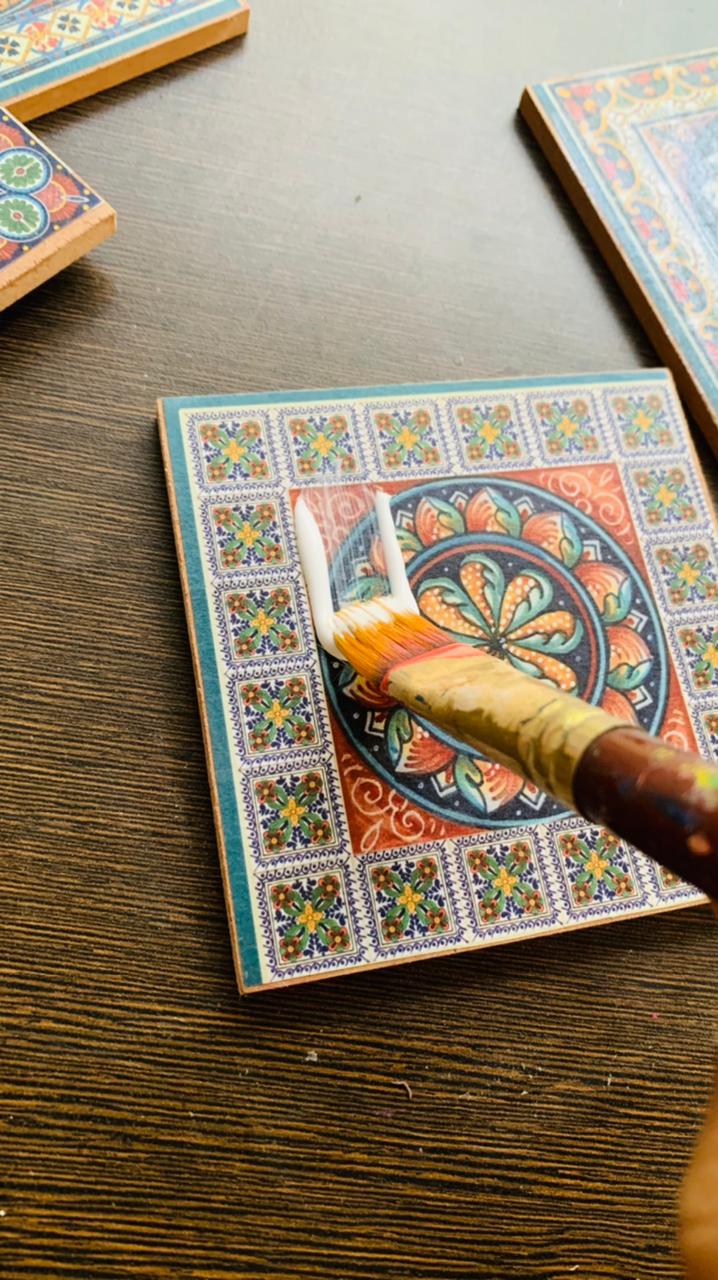
STEP 5 – Once the glue dries, apply two coats of decor varnish for the further protection and to make the coasters wipeable. Let it dry!!
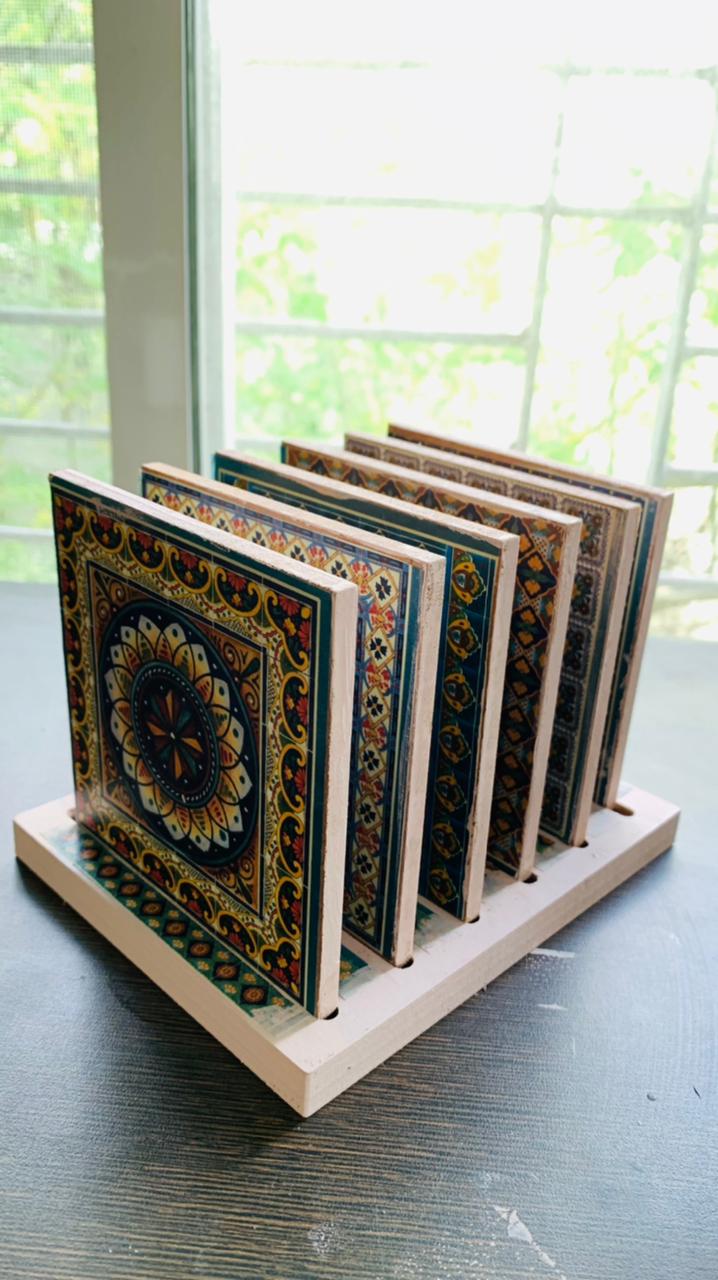
Now that our coasters are ready, we will move ahead and make our coaster stand.
We have to follow the same process as we did with the coasters. Please see the below images.
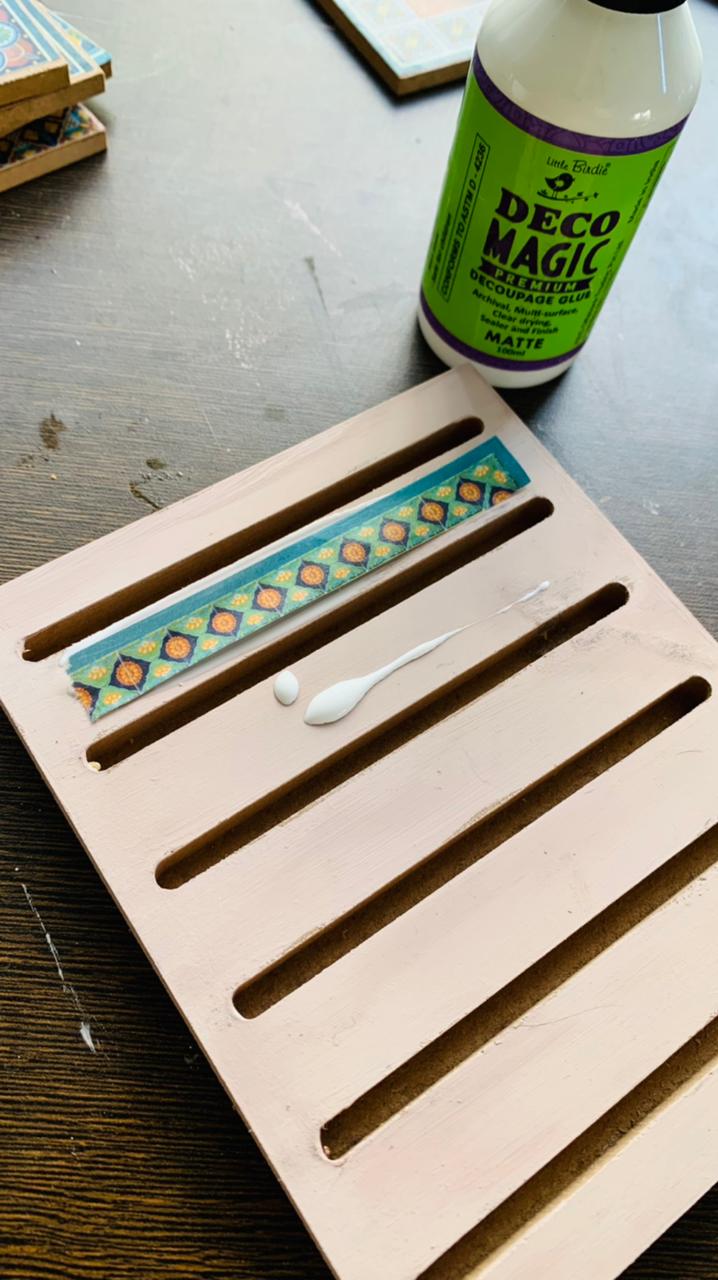
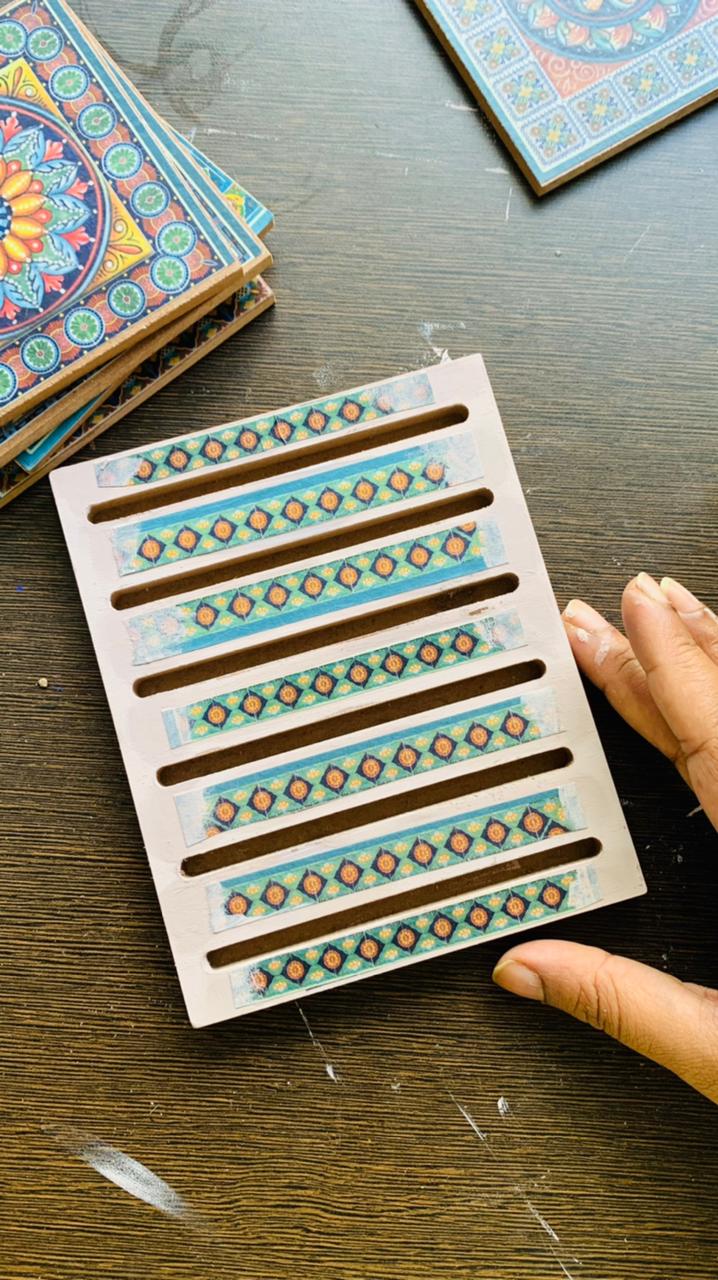
Apply chalk paint to the whole stand. Then apply Deco Magic decoupage glue and adhere some extra stripes (optional) and seal it with the decor varnish. (apply 2 coats for better results).
Please see the list of all the materials mentioned below. Happy shopping and don’t forget to use this unique code KASTURI5 for extra discount.
I hope you enjoyed the blog and will give it a try. Share pics on social media. Tag itsybitsycraftstore
Thank you, take care.


