Hello Friends. I hope you all are doing great. DT member Vidhu Thareja back on the blog with a new inspirational project.
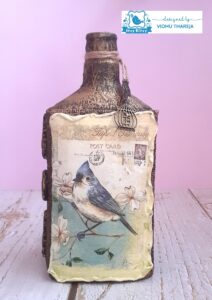
Today I am presenting an altered bottle project. I personally love to upcycle discarded and unattended objects. I believe that this way we can contribute to our mother nature. So I have done a make-over of an empty glass bottle and converted it into a beautiful decor piece. I have a step wise picture tutorial for you all. So let’s start this exciting project…But first have a look at my project….
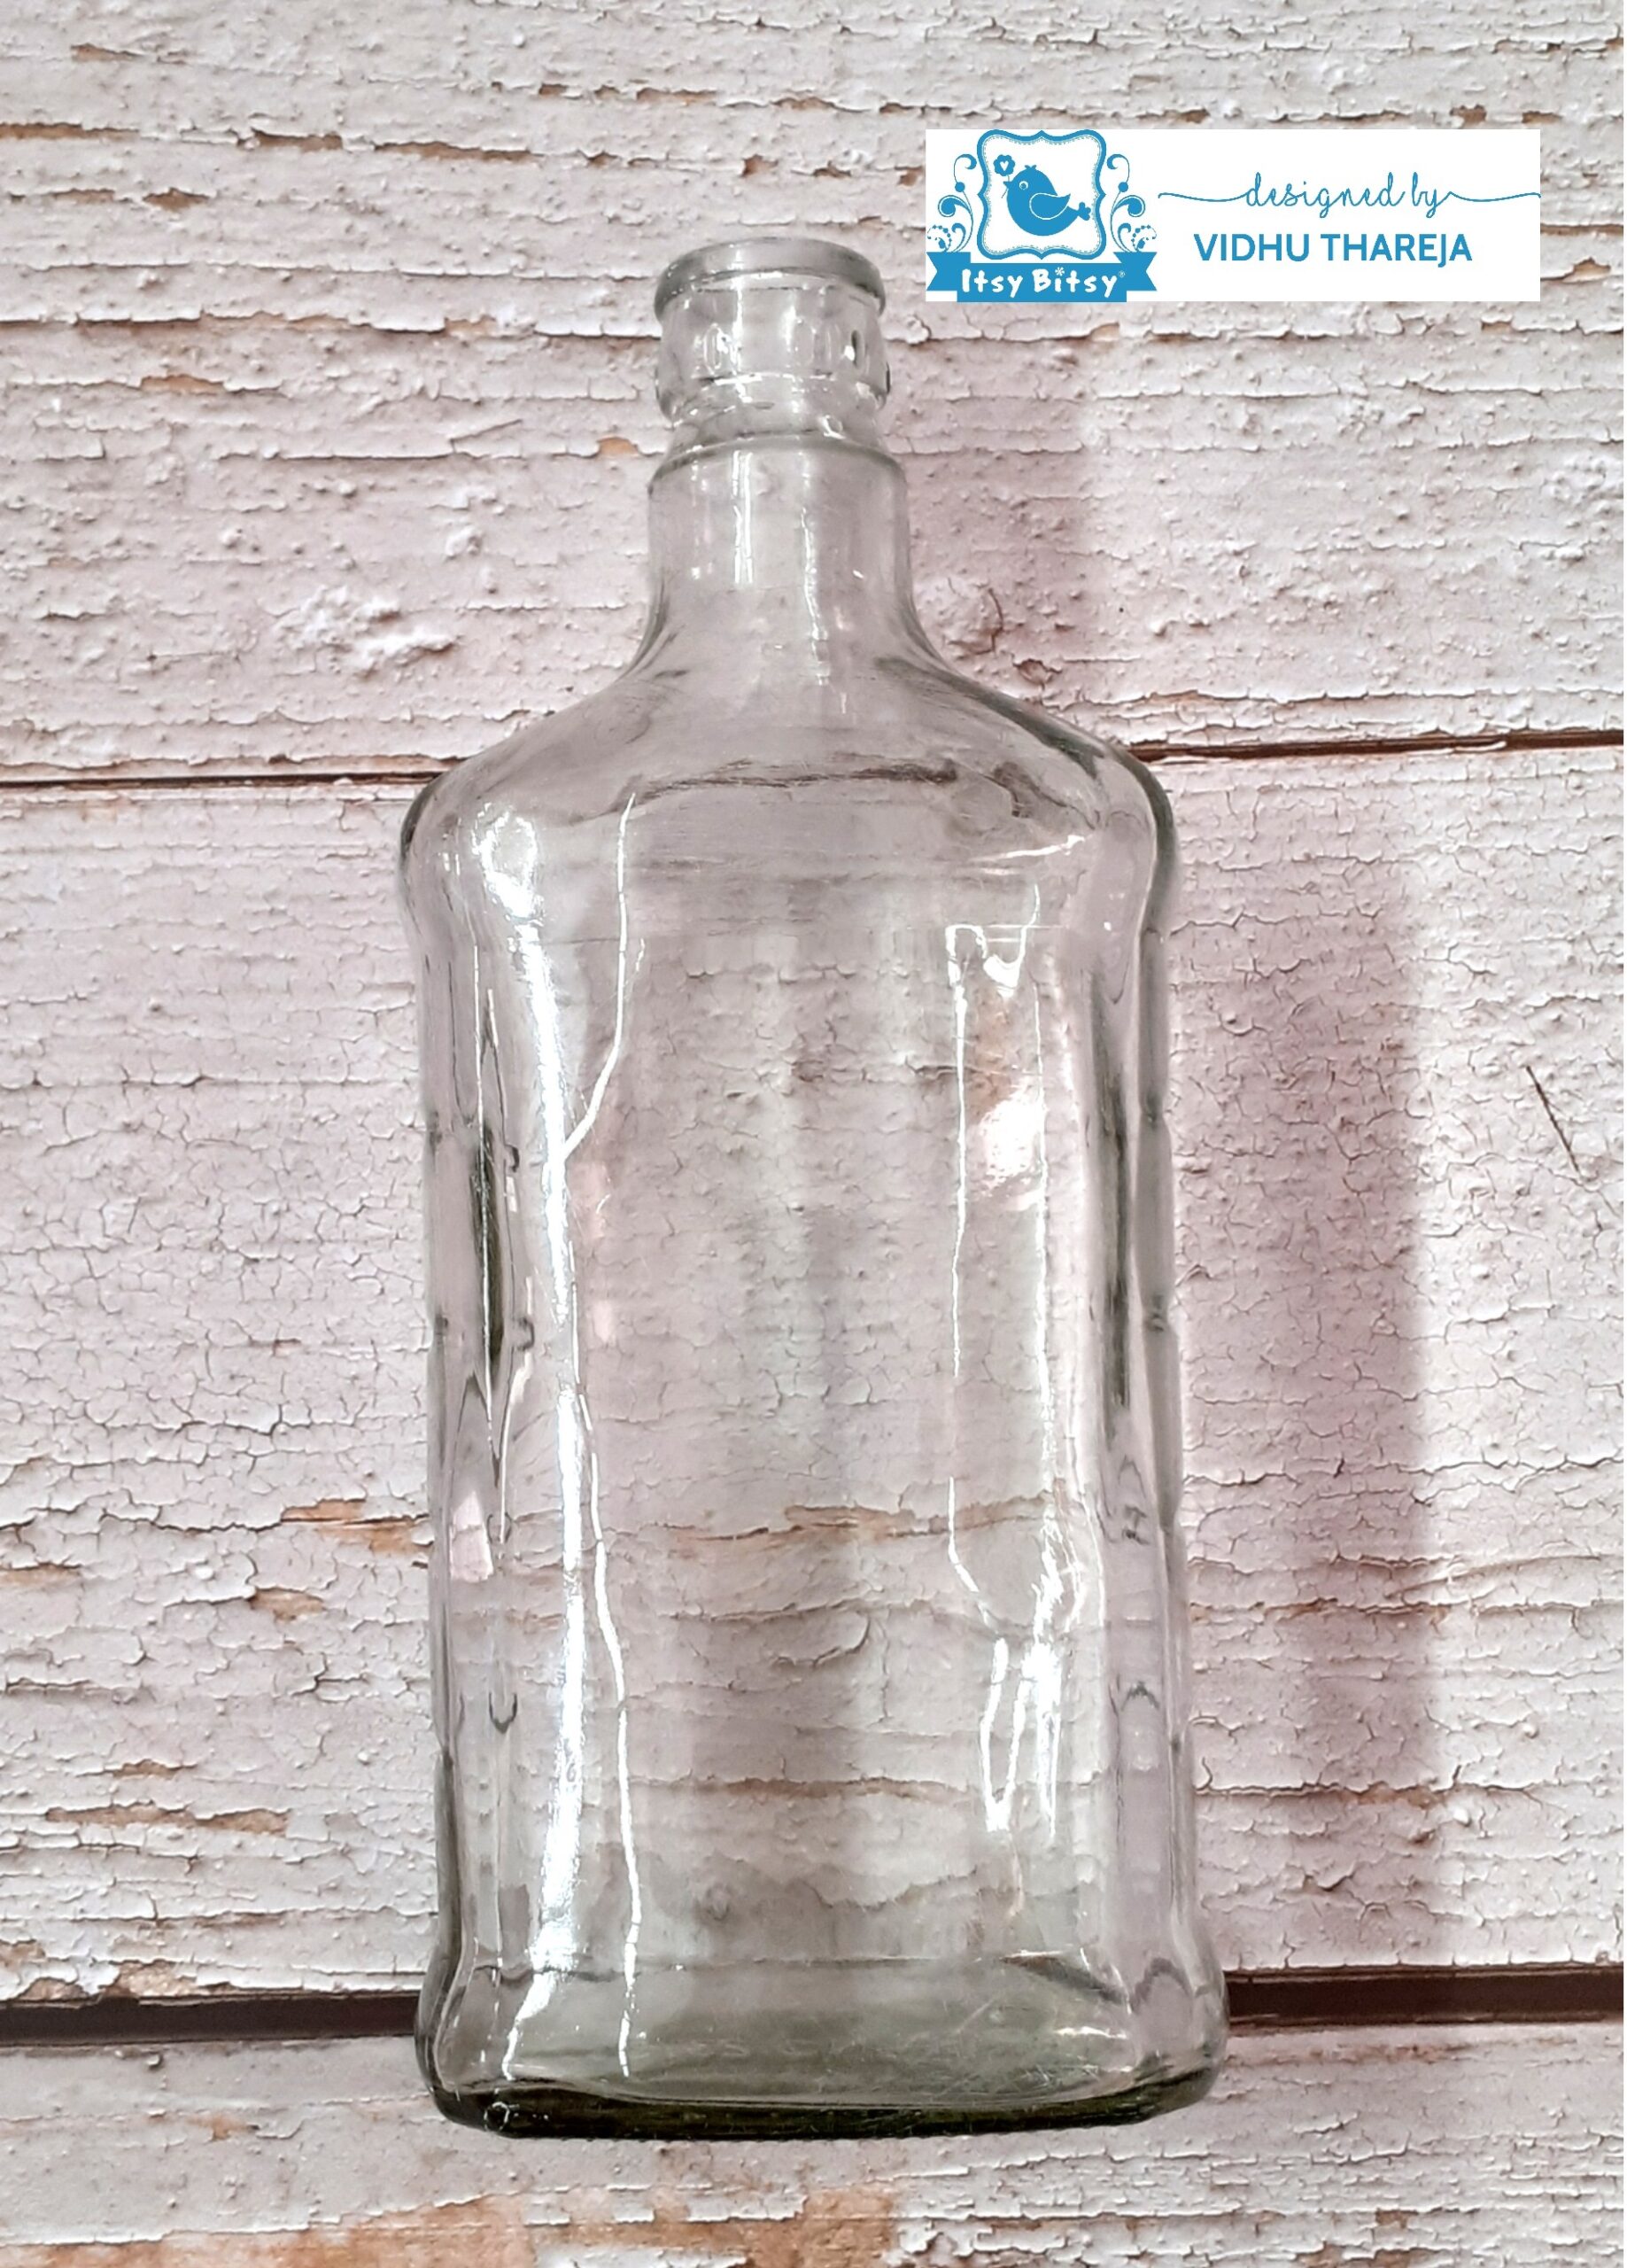
I started with cleaning the bottle by soaking it in warm water mixed with vinegar. I removed the labels and dried it. After that, I cleaned the bottle with rubbing alcohol.
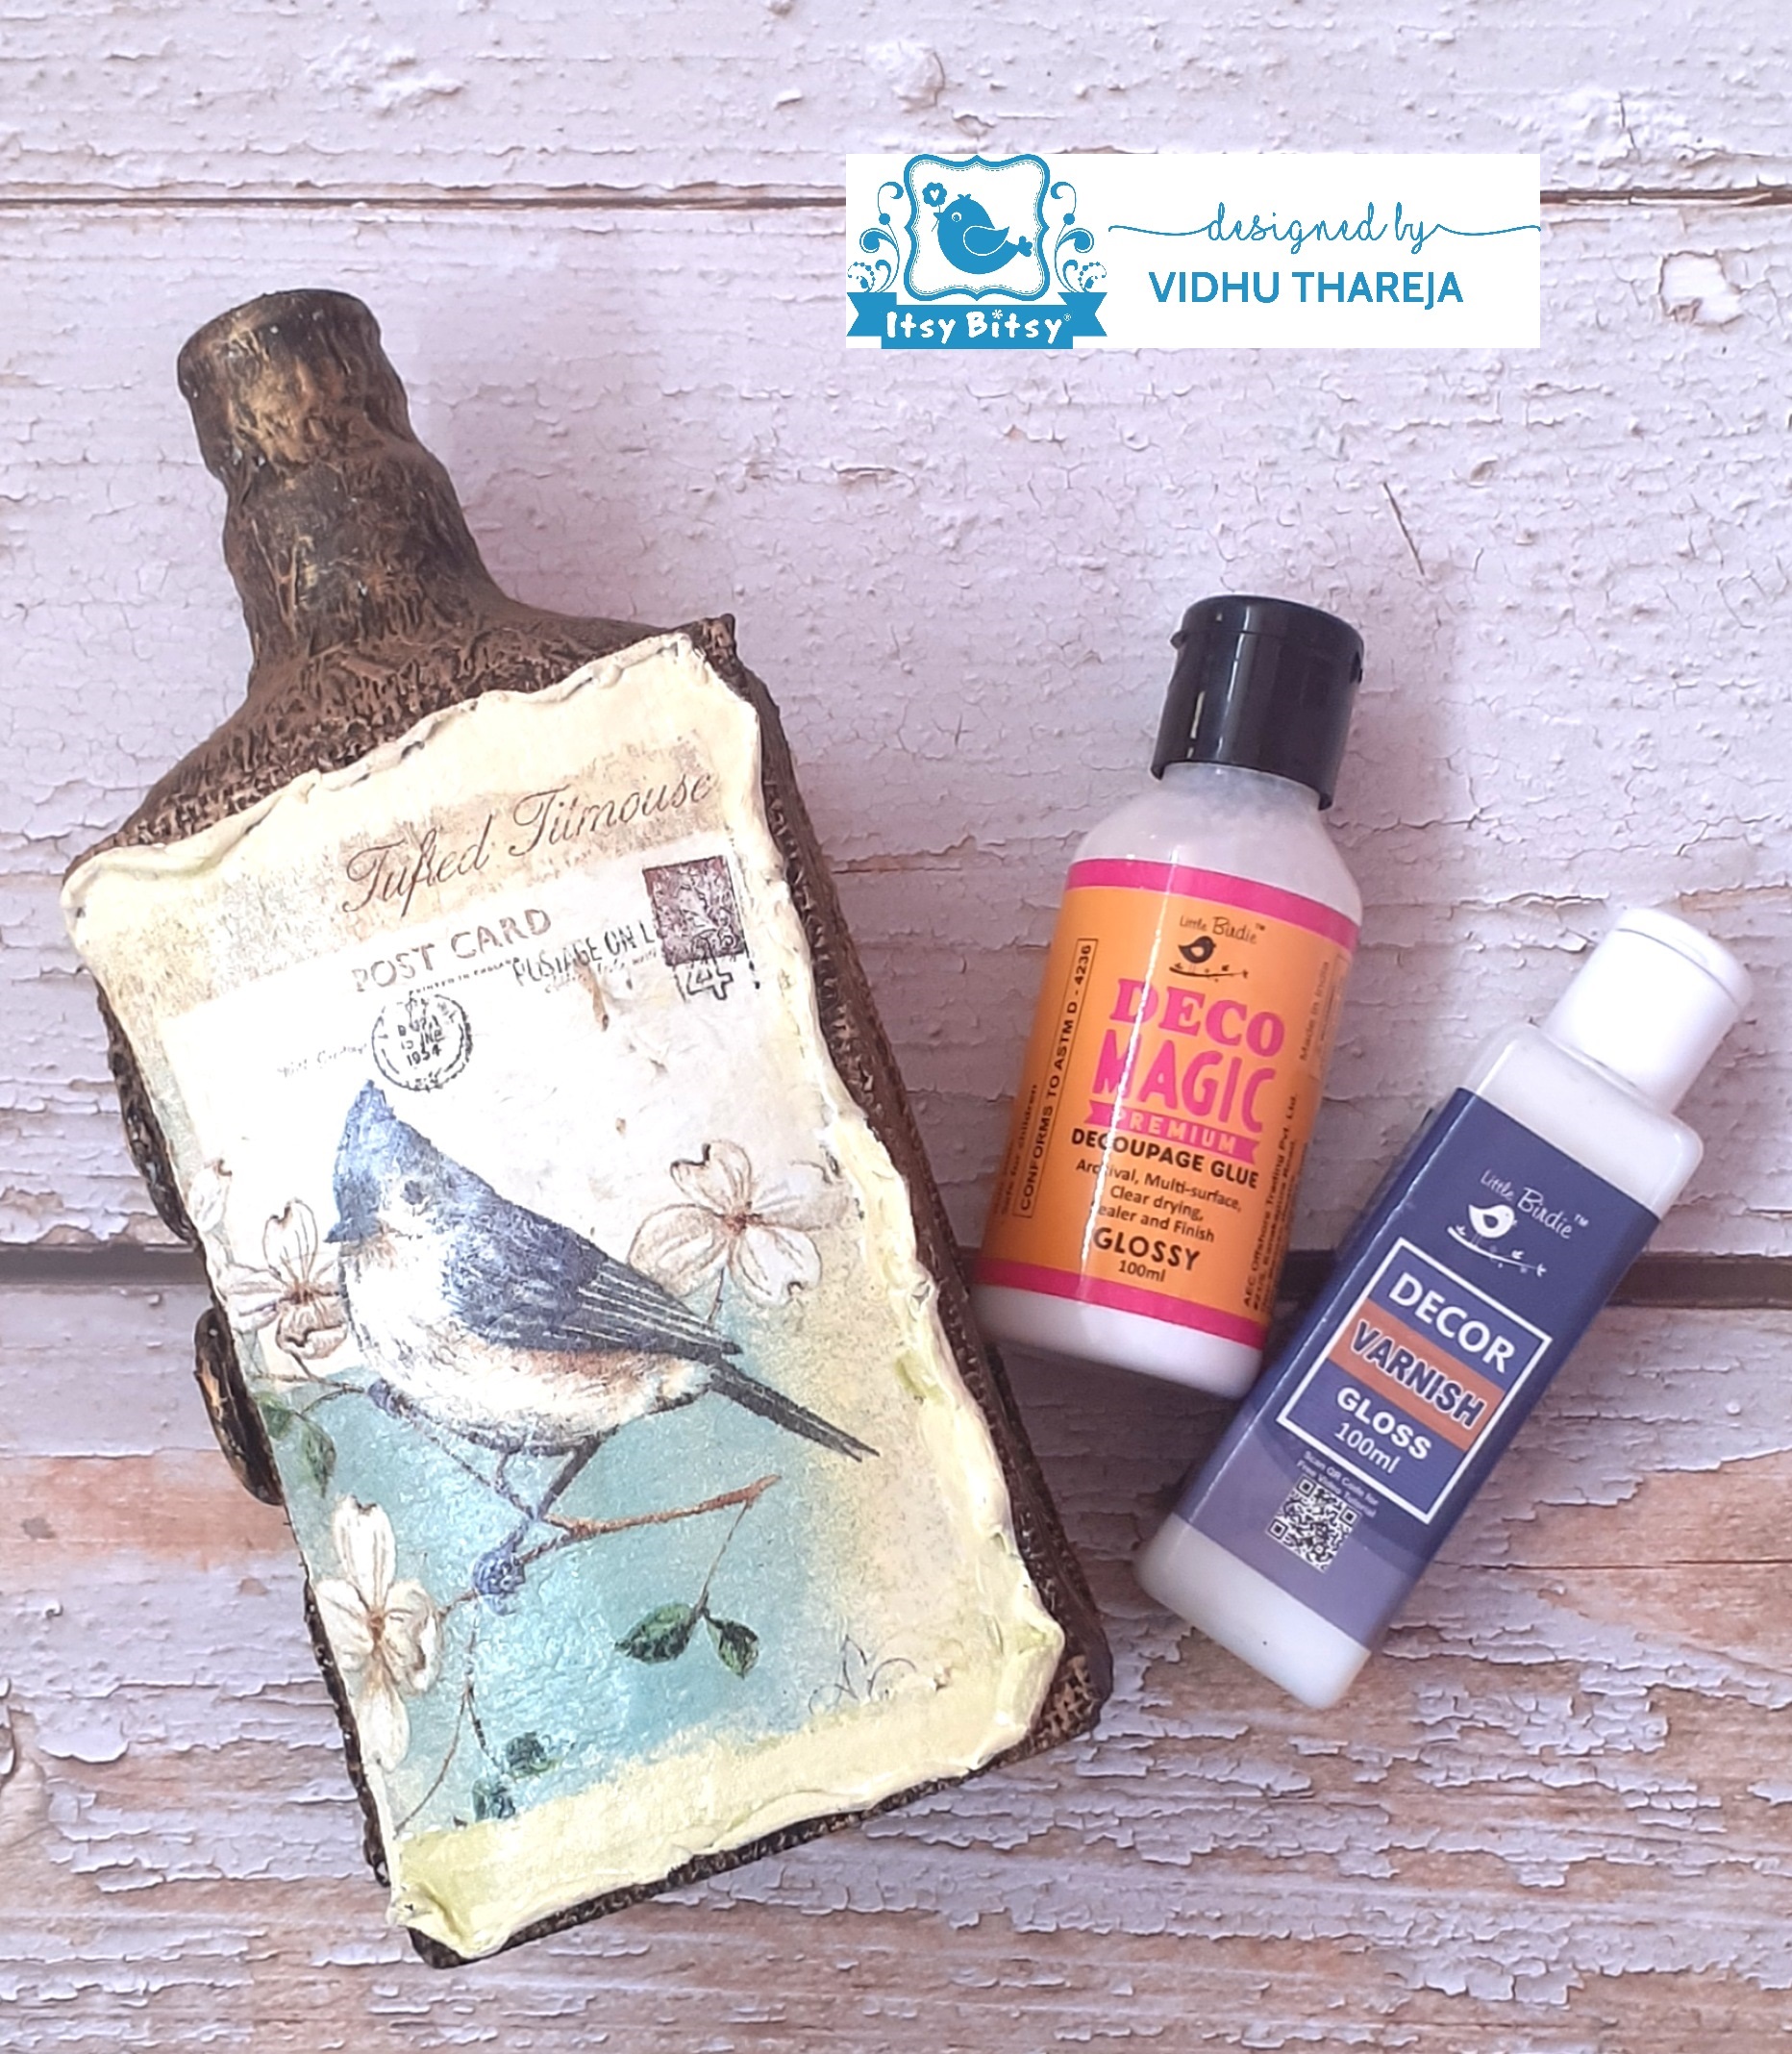
 I wanted to create some texture on the bottle so I have pasted pieces of kitchen towel with the help of Little Birdie Deco Magic Glue. I have diluted the glue with very little water. Pasting tissue not only creates a texture but it prepares the base for other mediums, which you may want to use on top.
 I left it to dry and then applied a thin coat of Deco Magic Glue so that the pieces of the kitchen towel do not peel off.
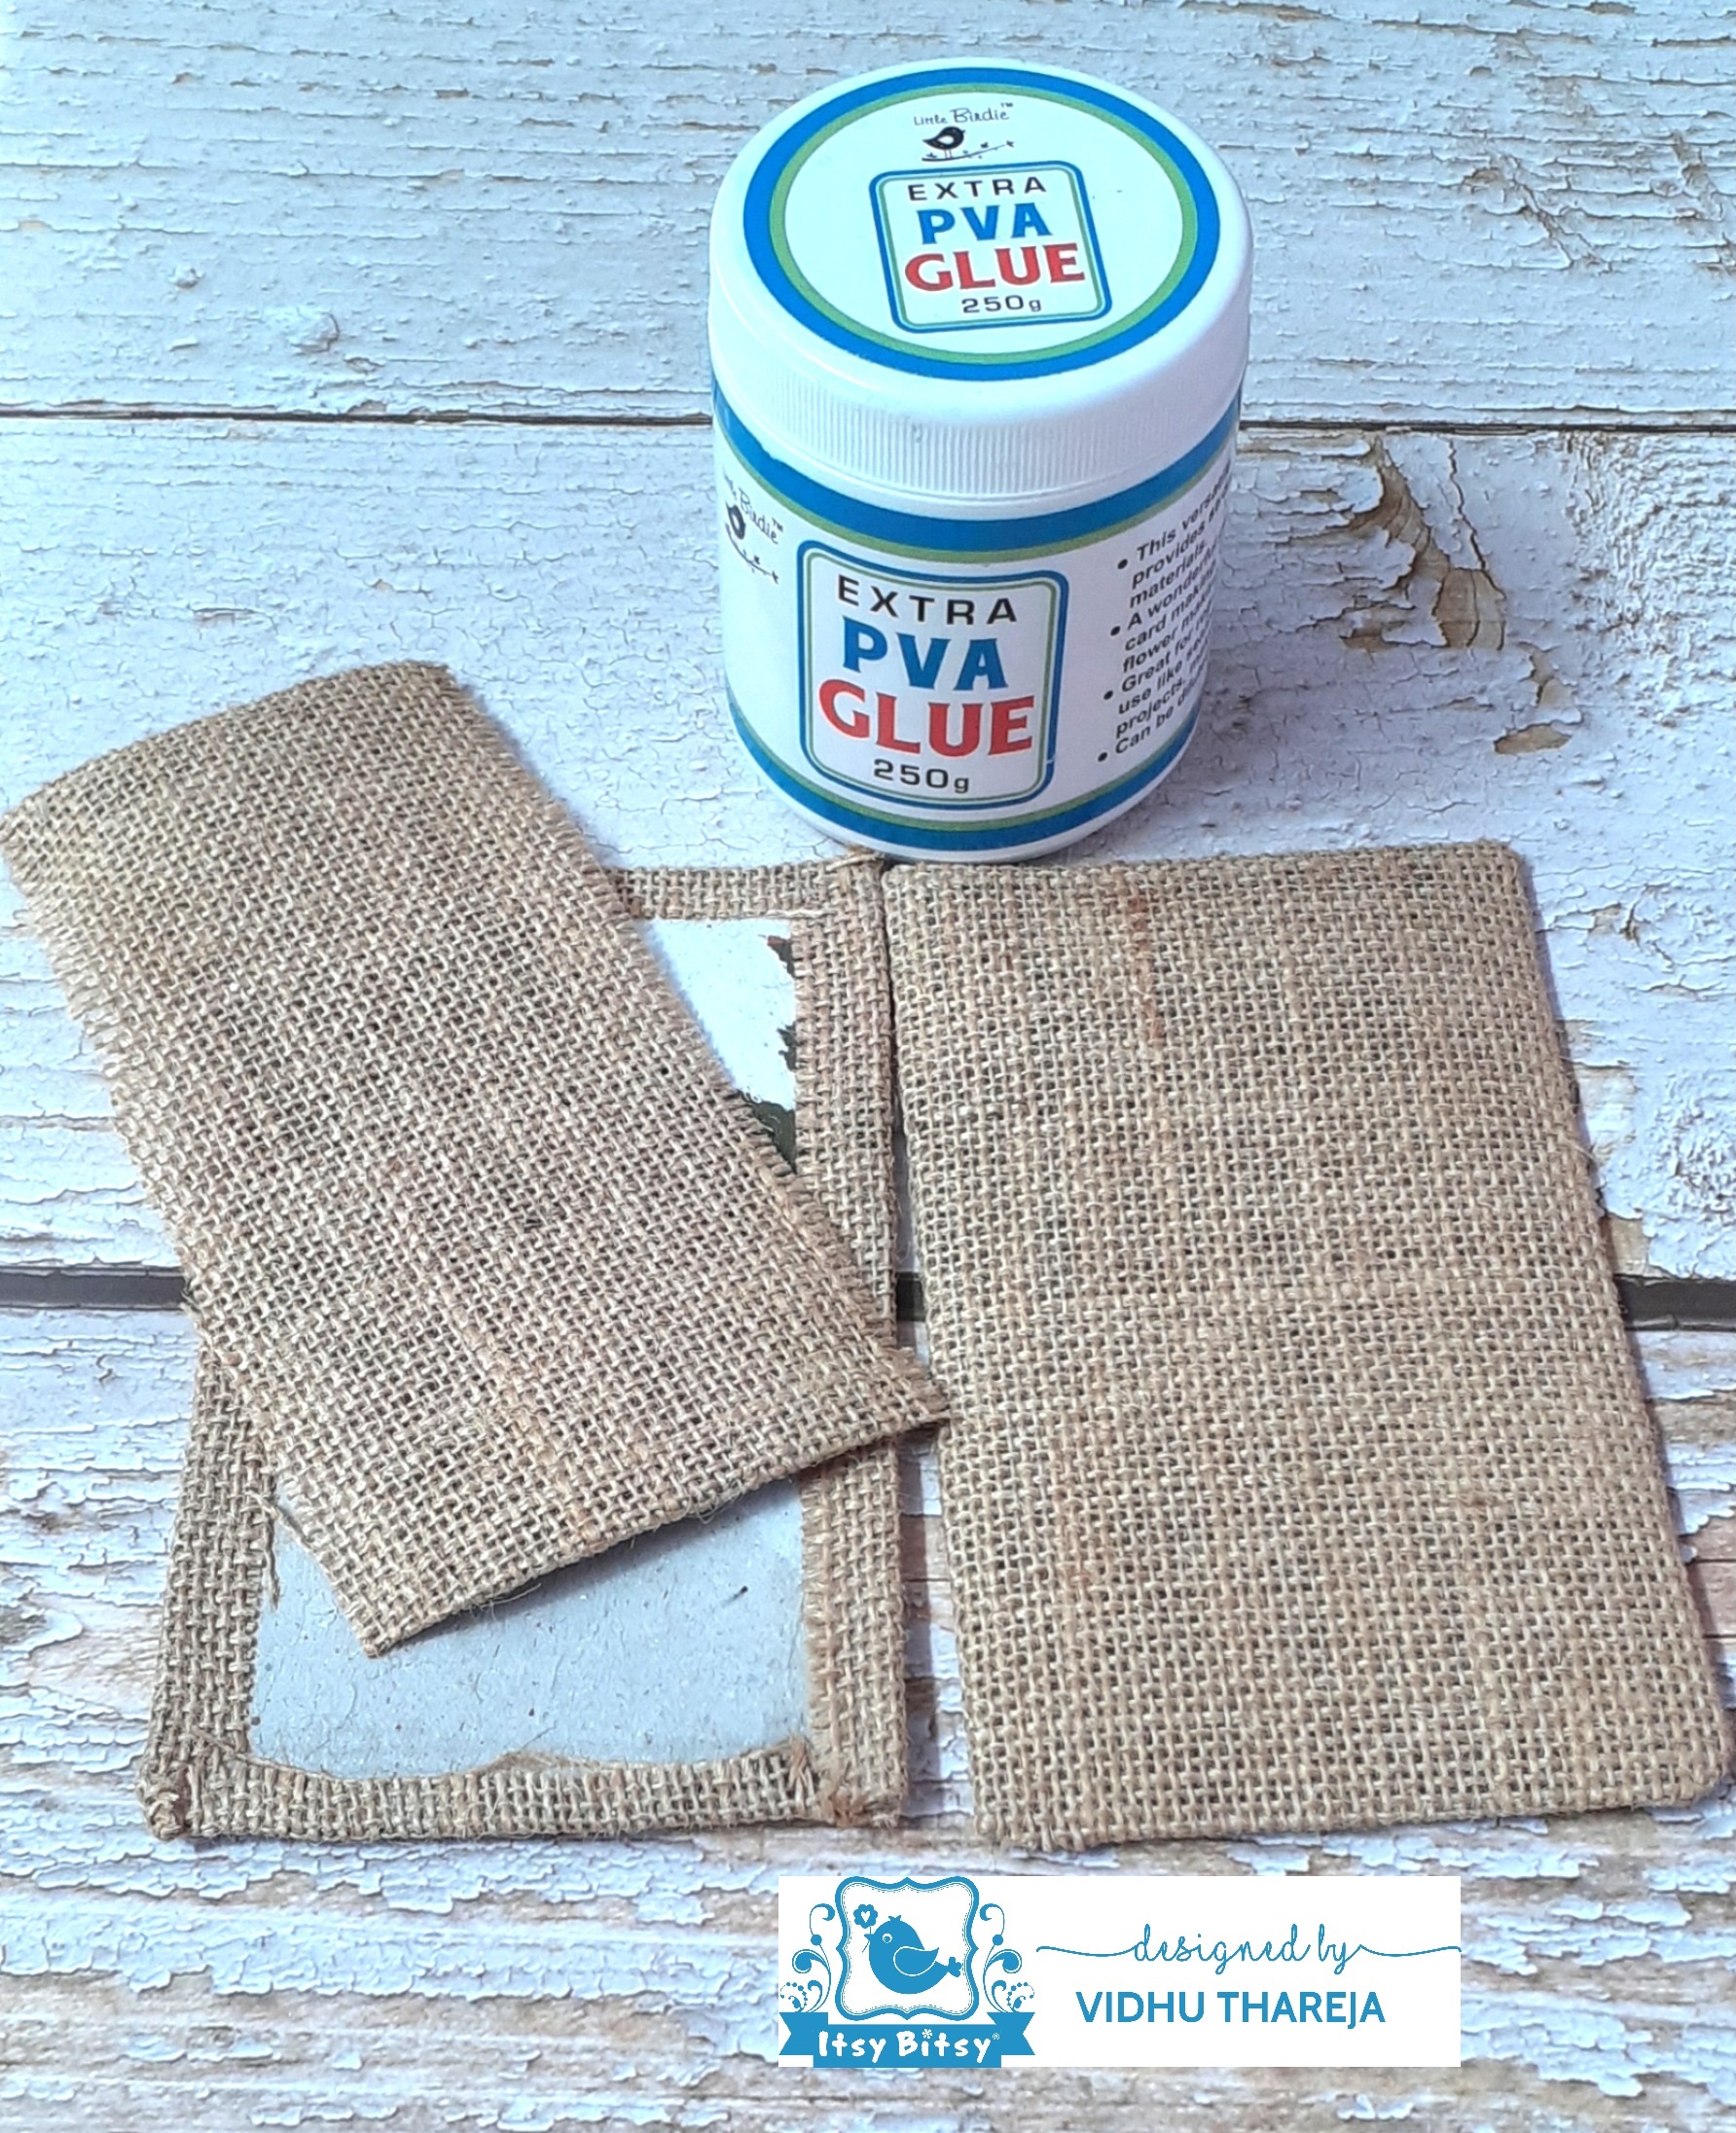
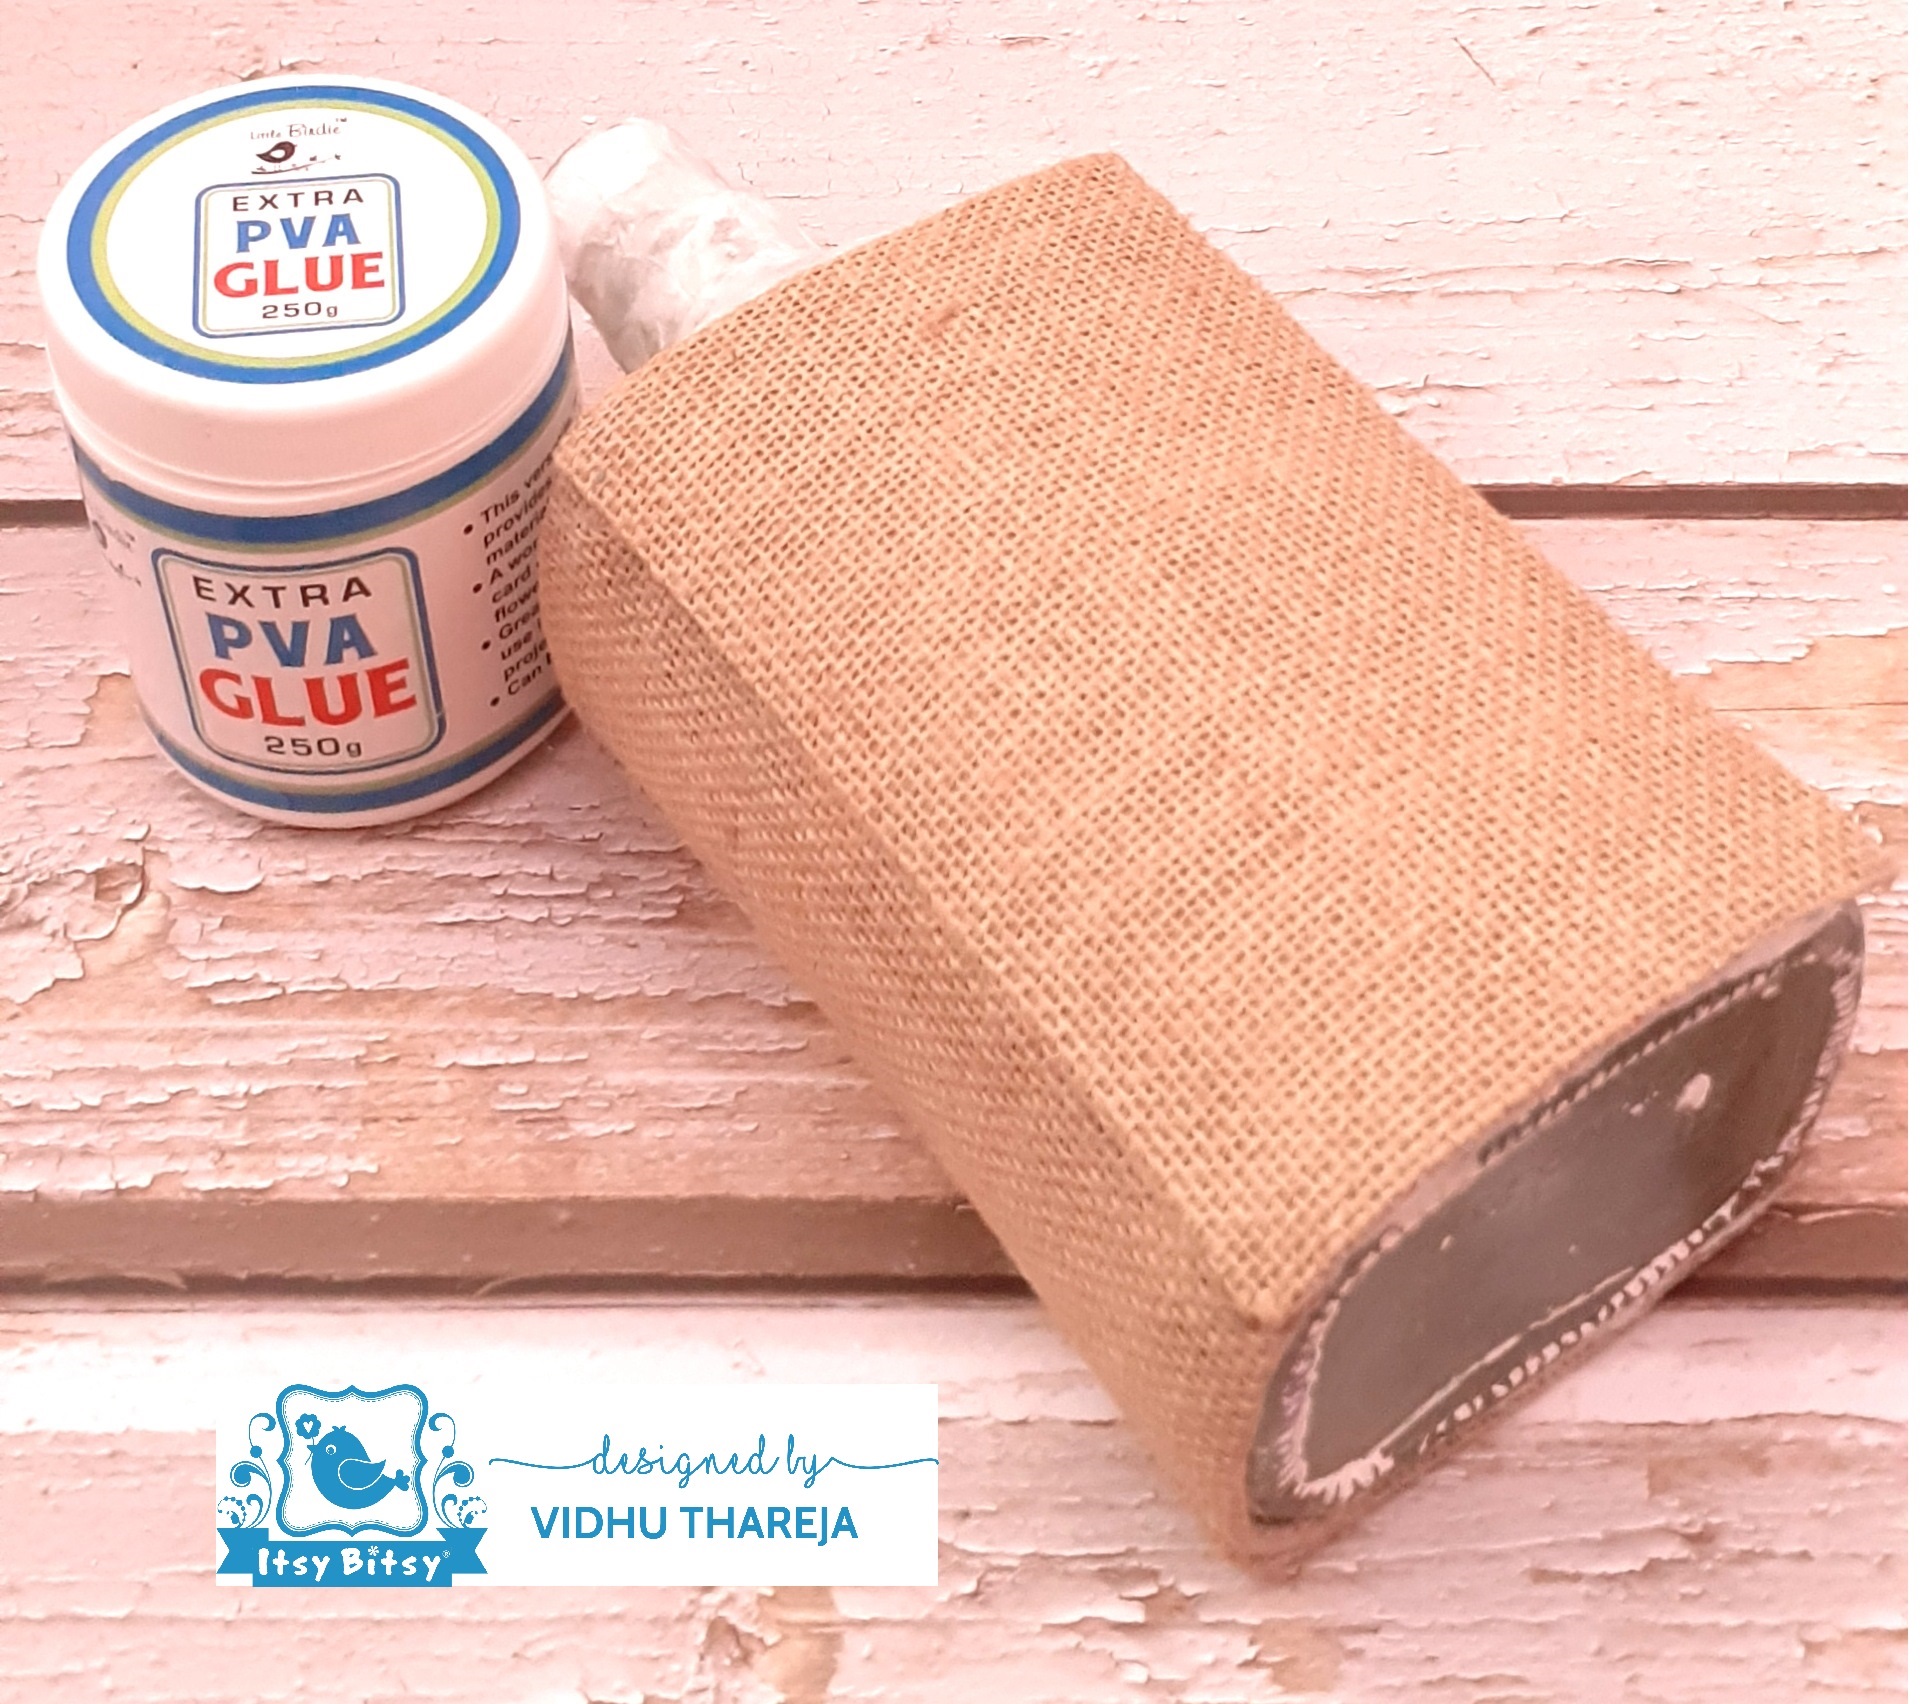
 Now comes the most interesting part of the project. I wanted to give a look of a book to my bottle. So I needed a base for that. For the purpose I used cardboard pieces of a discarded cookie packing. I cut the cardboard into 3 pieces, according to the size of the bottle. I had burlap sheets in my stash., bought from the store. I cut the burlap and pasted them on one side of the cardboard pieces and folded the extra on the other side. Here I have used Little Birdie Extra PVA Glue. I left them to dry.
 On the narrow side of the bottle, I wanted to create the look of pages and for that I have used Little Birdie Mixed Media Paste. I applied it with the help of a palette knife and then used an old comb to create the effect of pages.
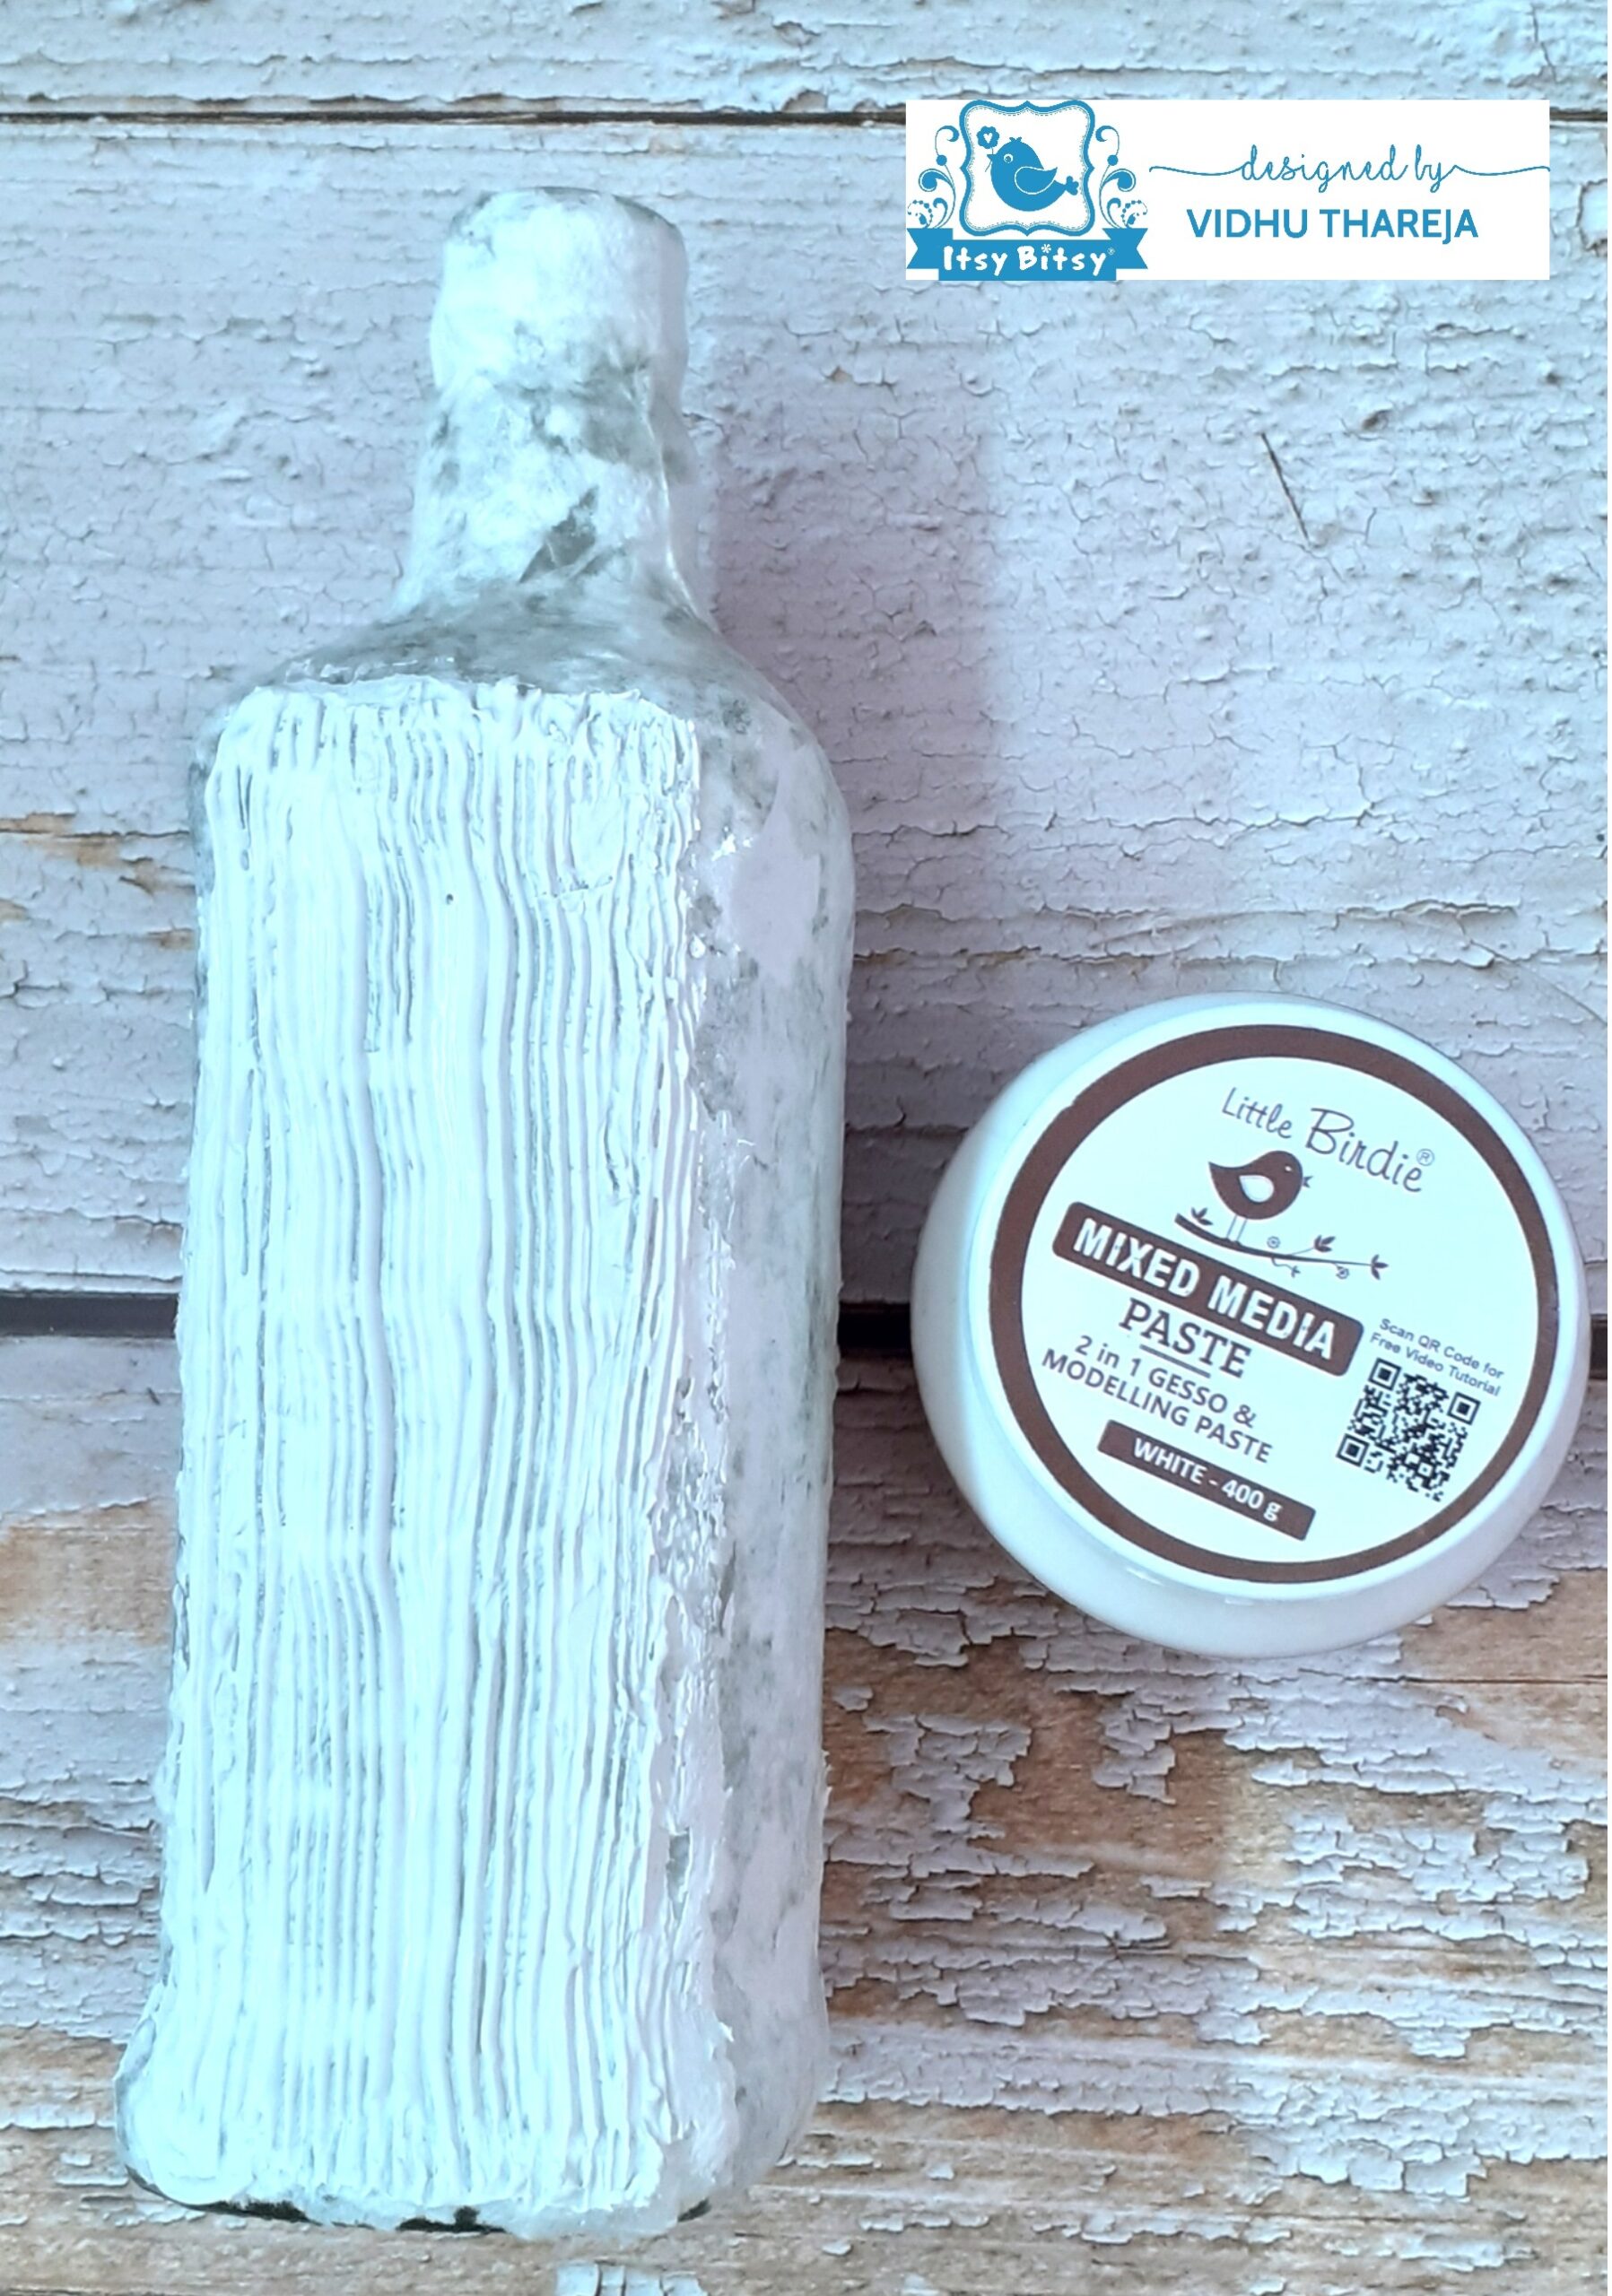
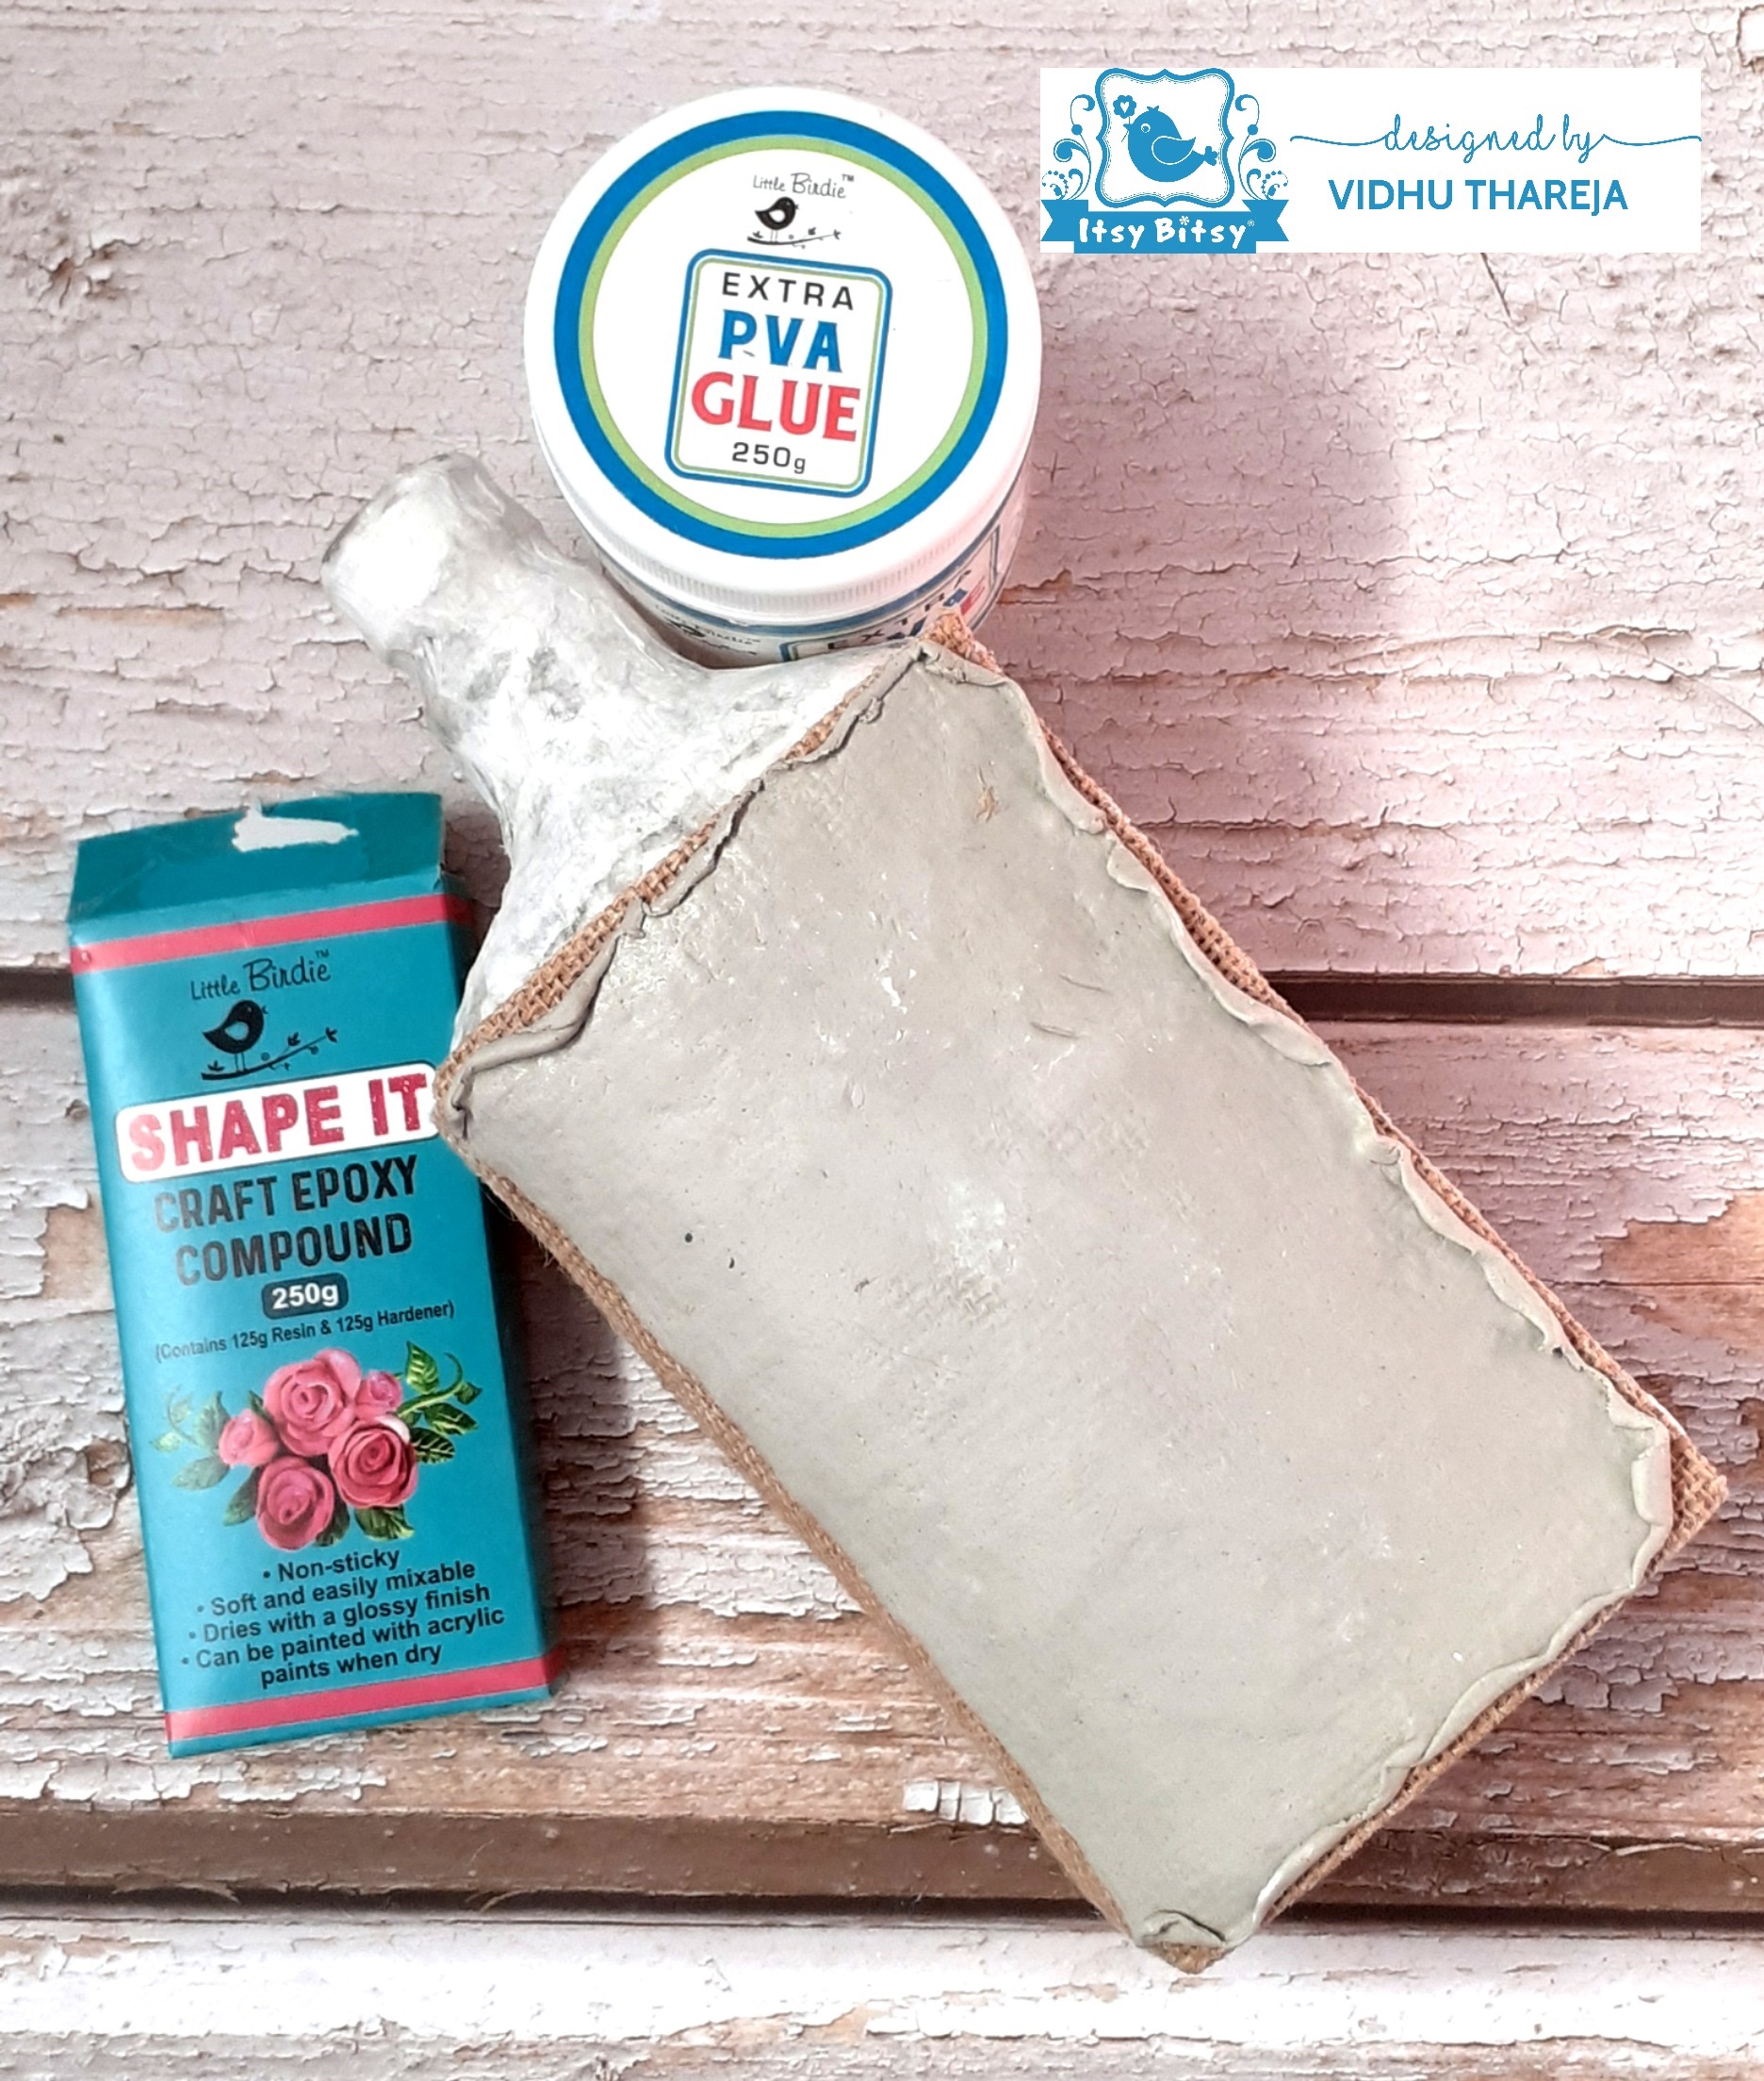
Now it is turn to create the cover of the book. I could do decoupage directly on the burlap but instead of that I decided to do something more interesting. I used Little Birdie ‘Shape It’ epoxy clay. I rolled the clay with the help of a rolling pin and cut it according to the size of the base. I pasted it on top of the cover with the help of PVA Glue and folded the edges of the clay. I left it to dry and then did the same on the other side of the cover too.

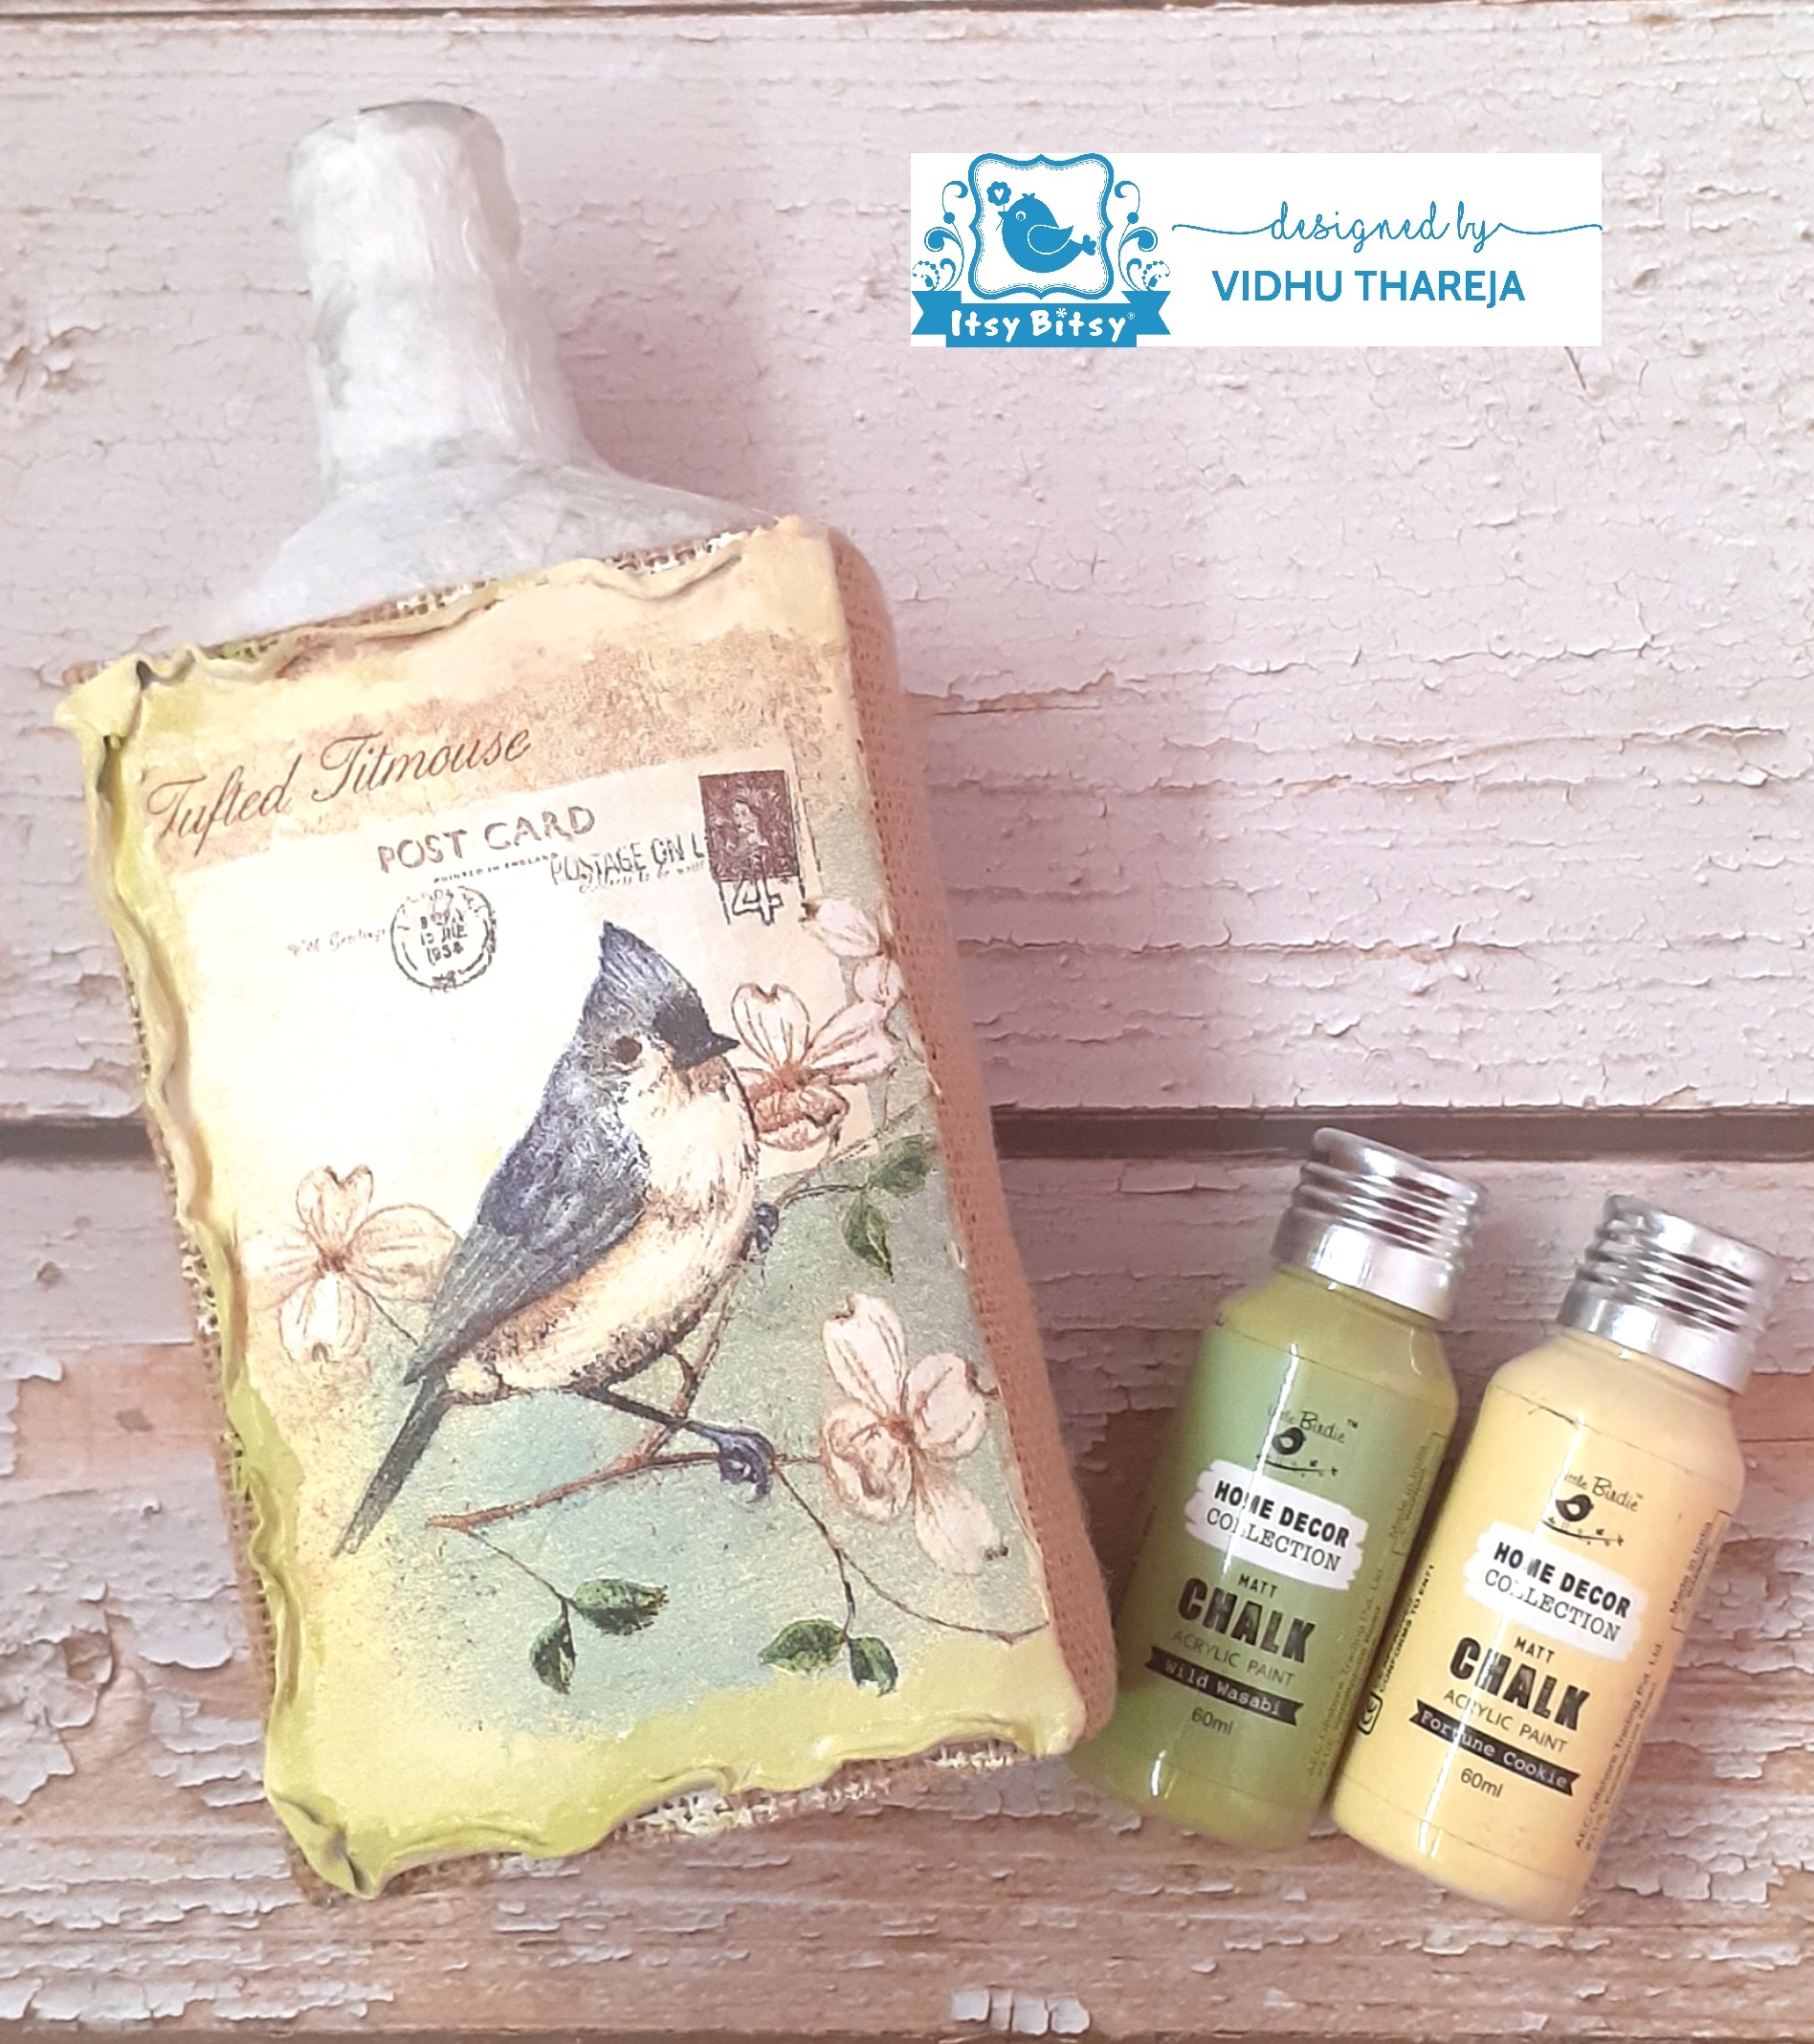
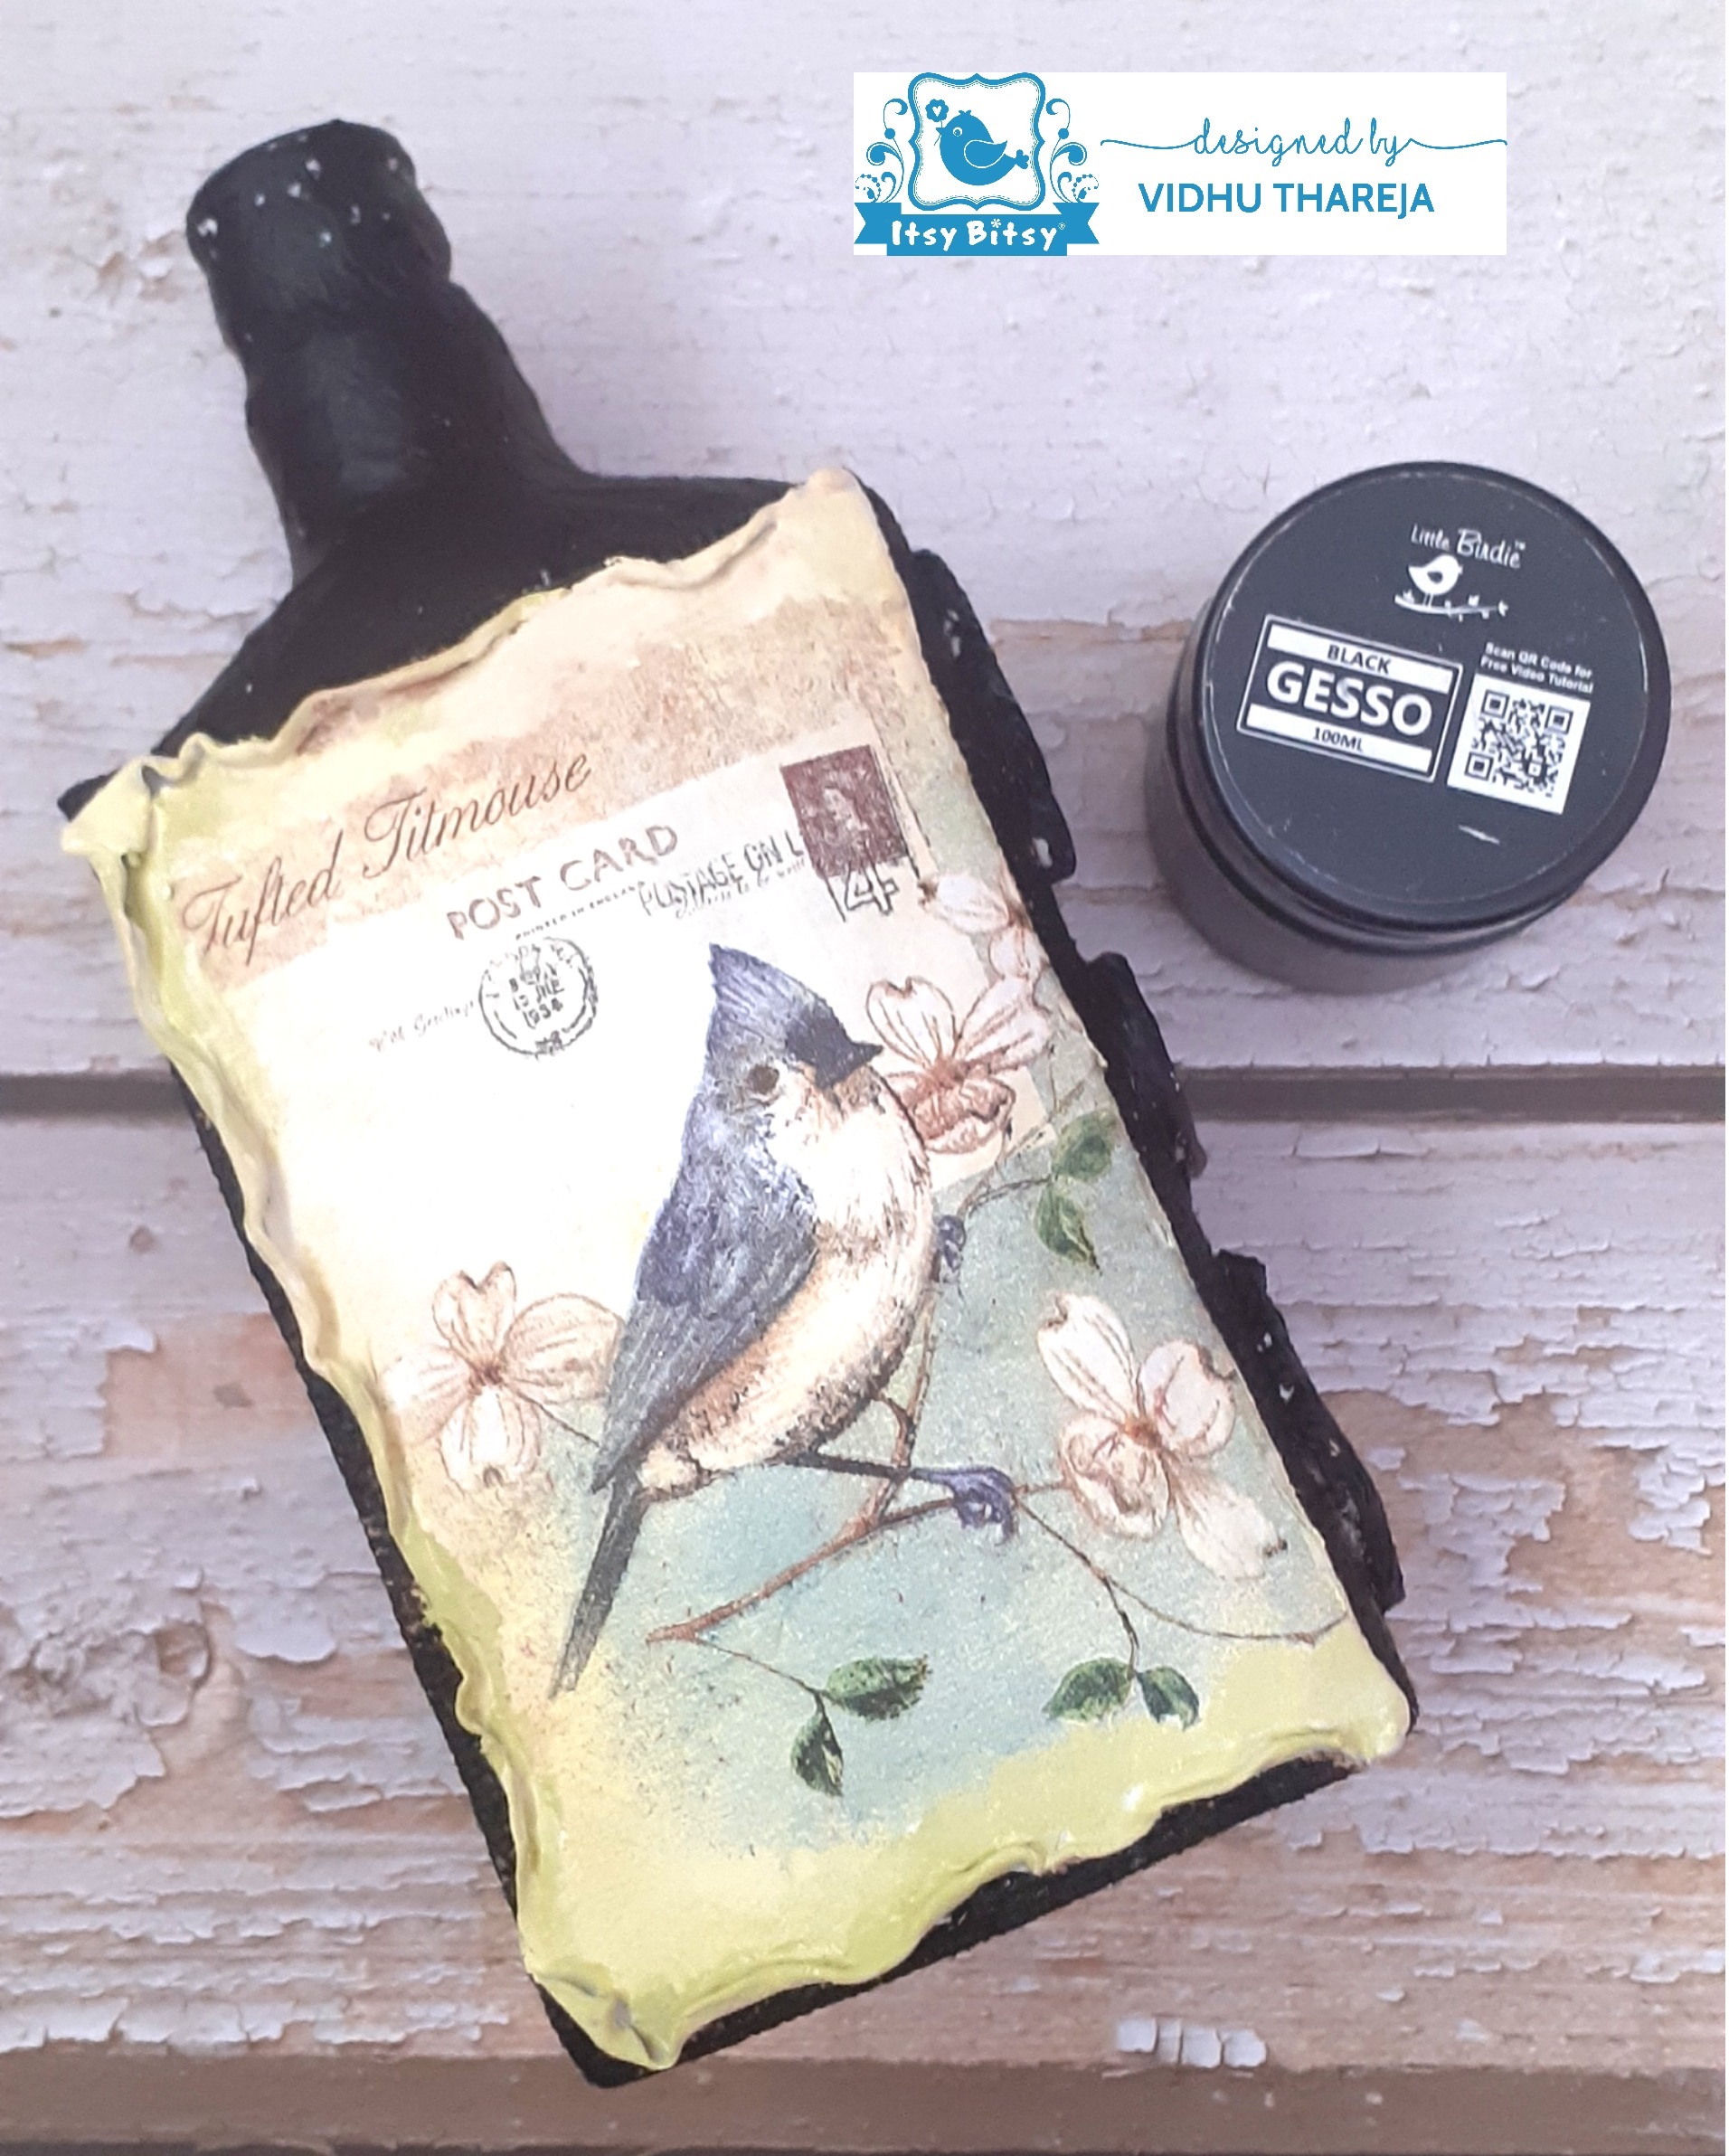
Then, I did some colour blending around the tissue with Little Birdie Chalk Paints – Fortune Cookie and Wild Wasabi.
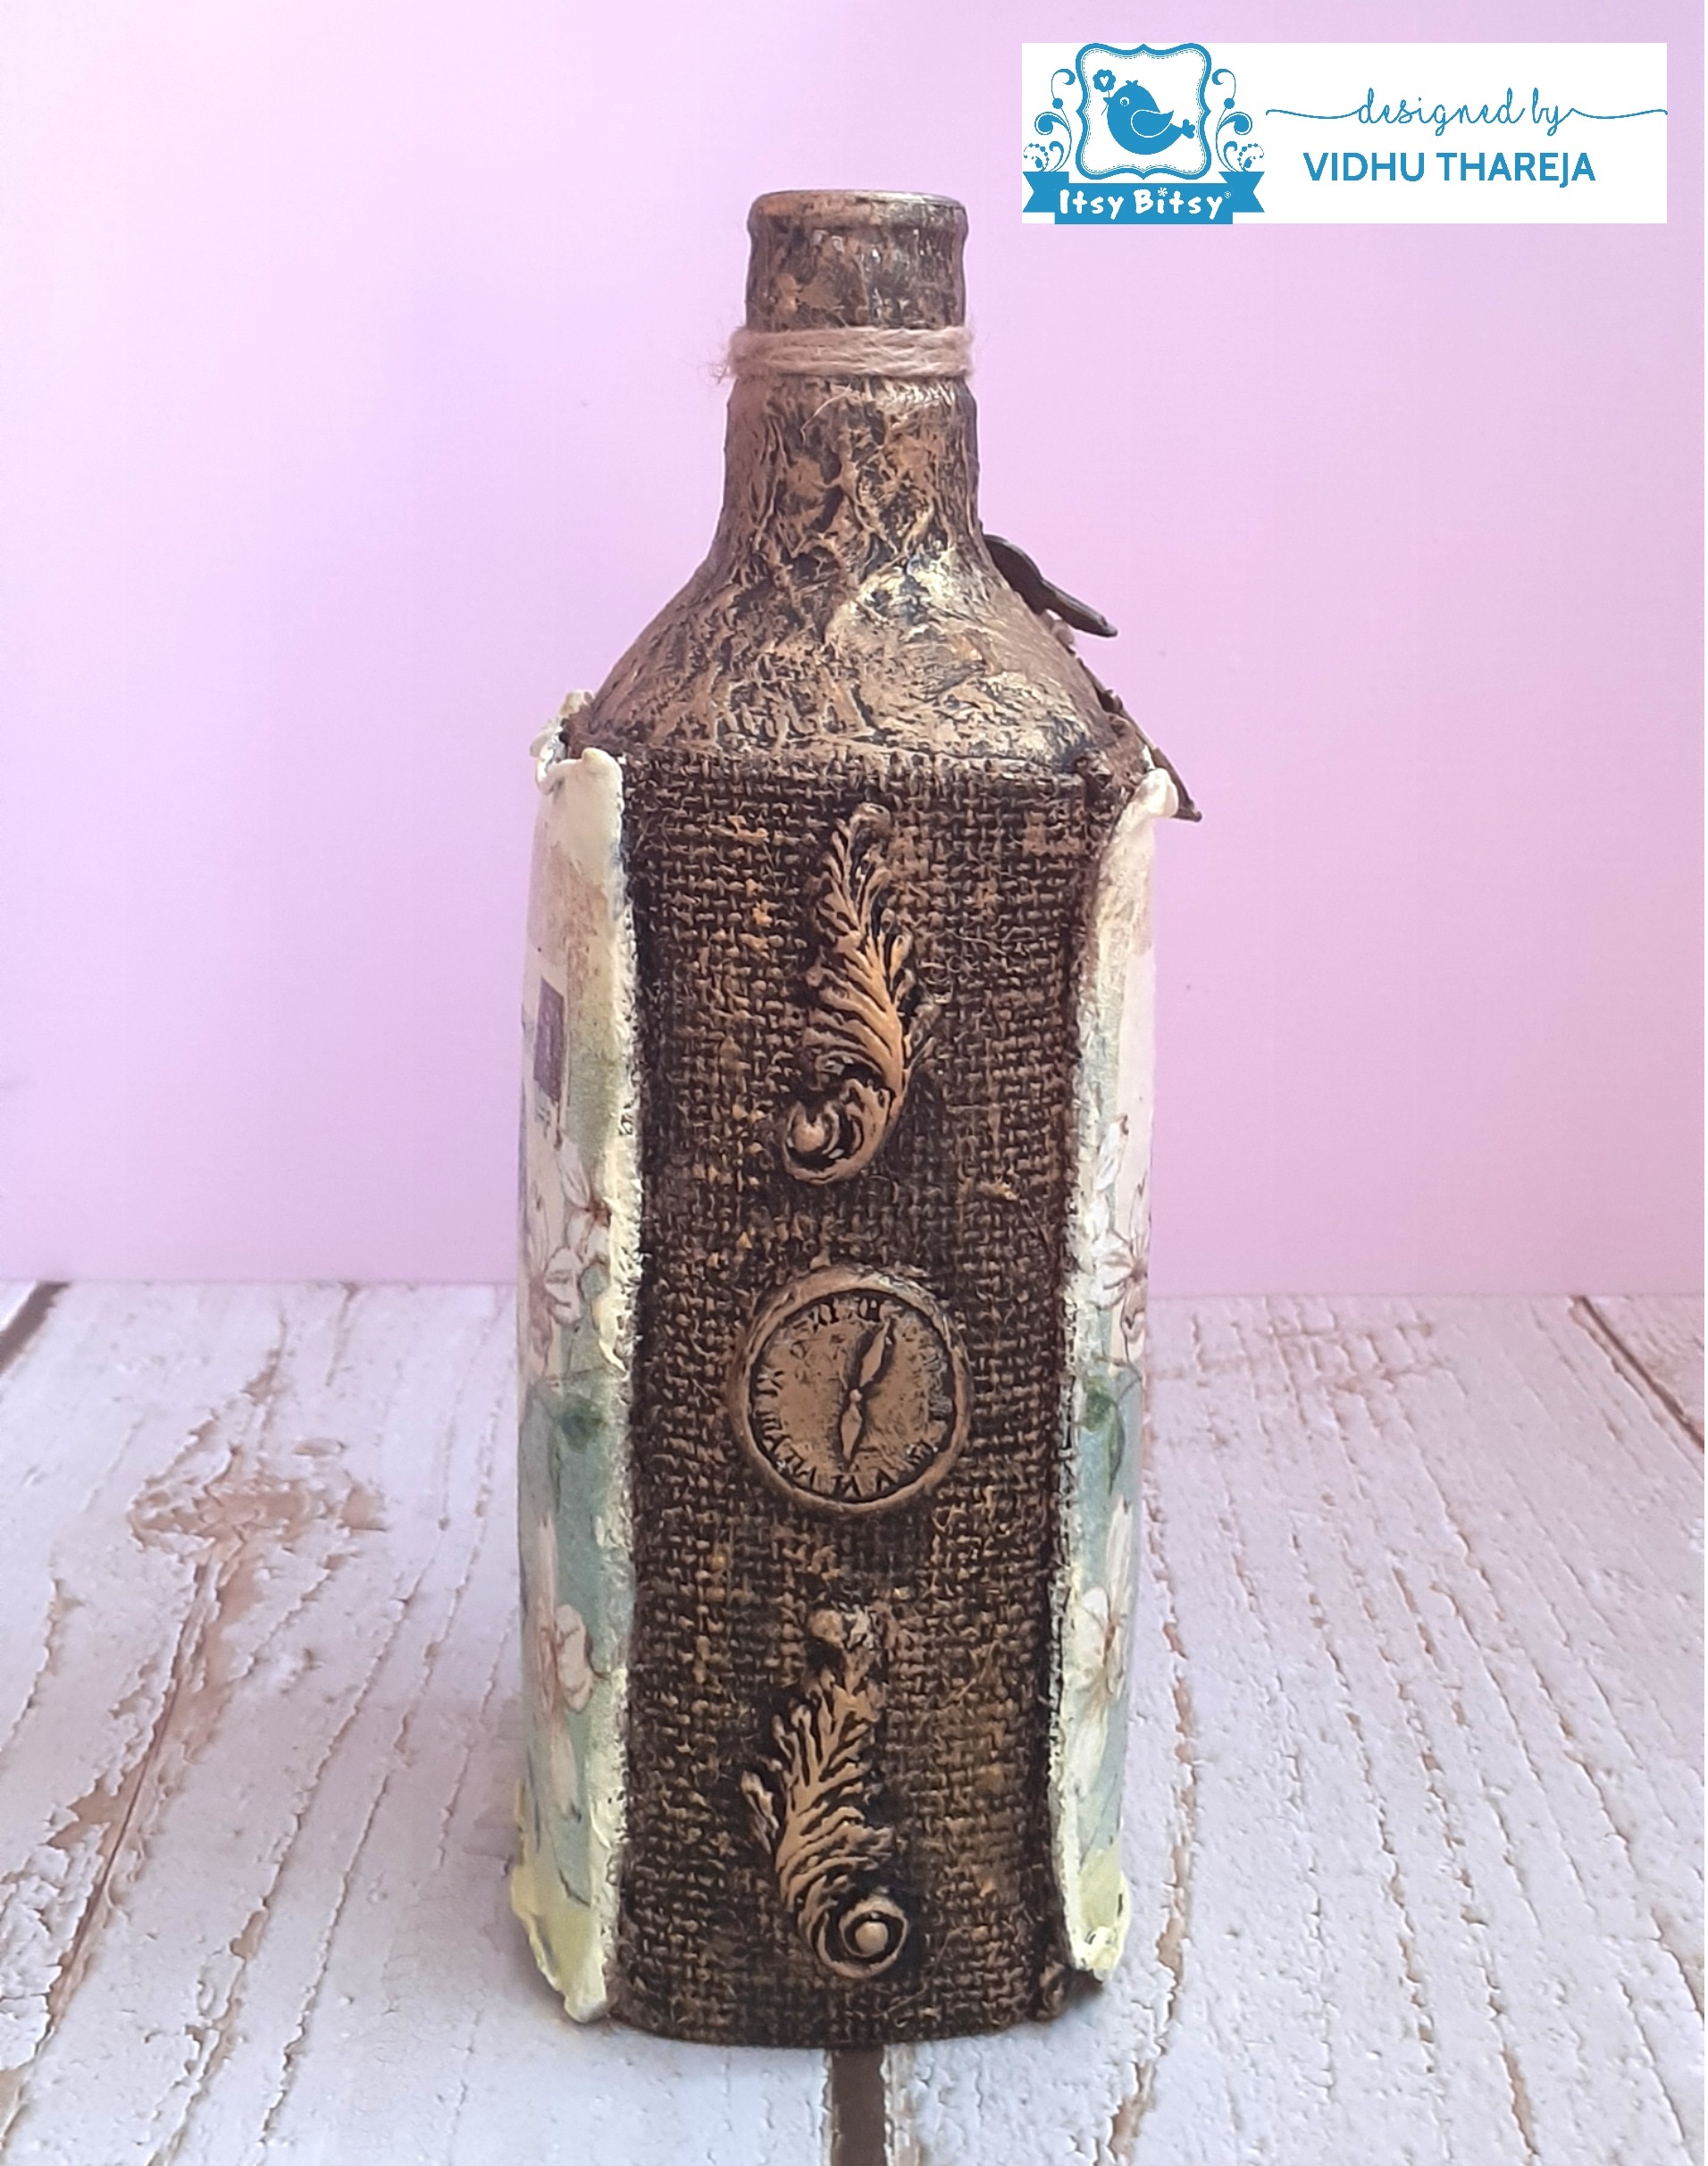
I wanted to add some interest on the narrow side of the cover. I had some clay embellishments, which I had made long back. I decided to use them now and made a ‘Clock’ shape embellishment, using the left over ‘Shape It’ clay. To do that, I have used a silicone mold ‘Antique Pillars’ from the store. I have used PVA Glue to stick them. 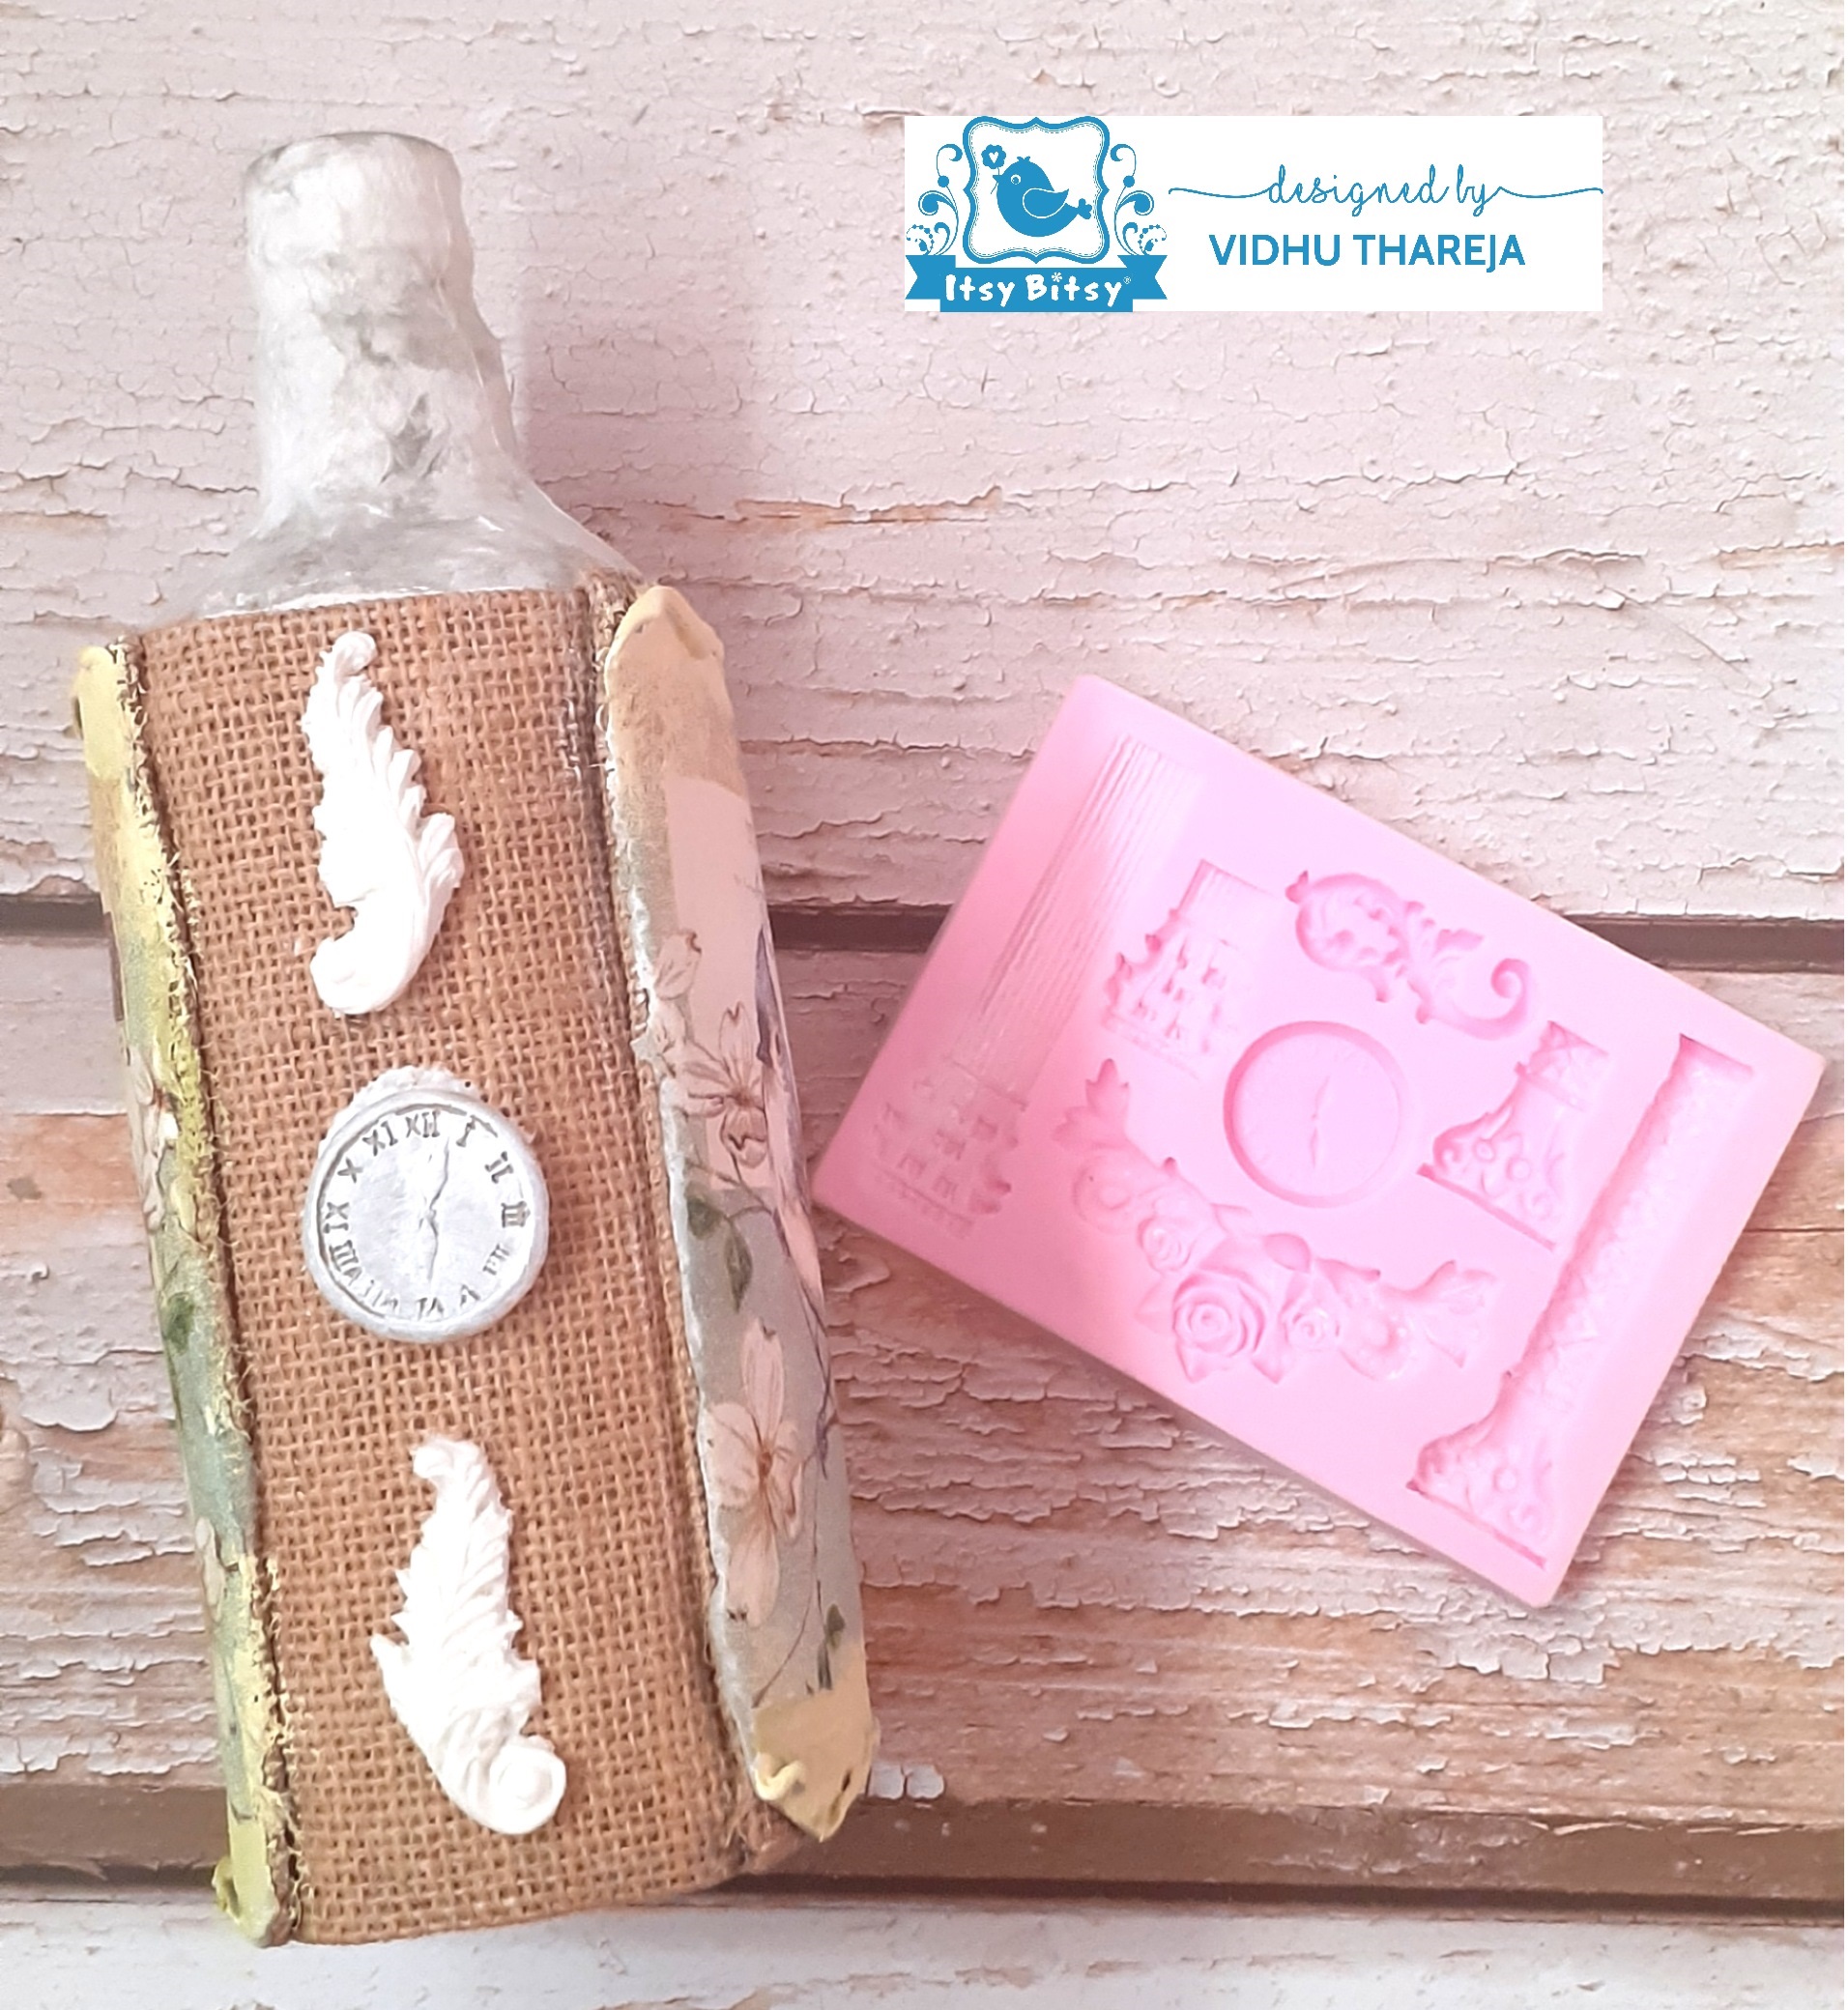
 To highlight the texture and embellishments I did dry brushing with Camel Artists Metallic Color – Antique Gold and rubbed Little Birdie Metallic Wax – Antique Gold And Rich Gold randomly to get the desired finish.
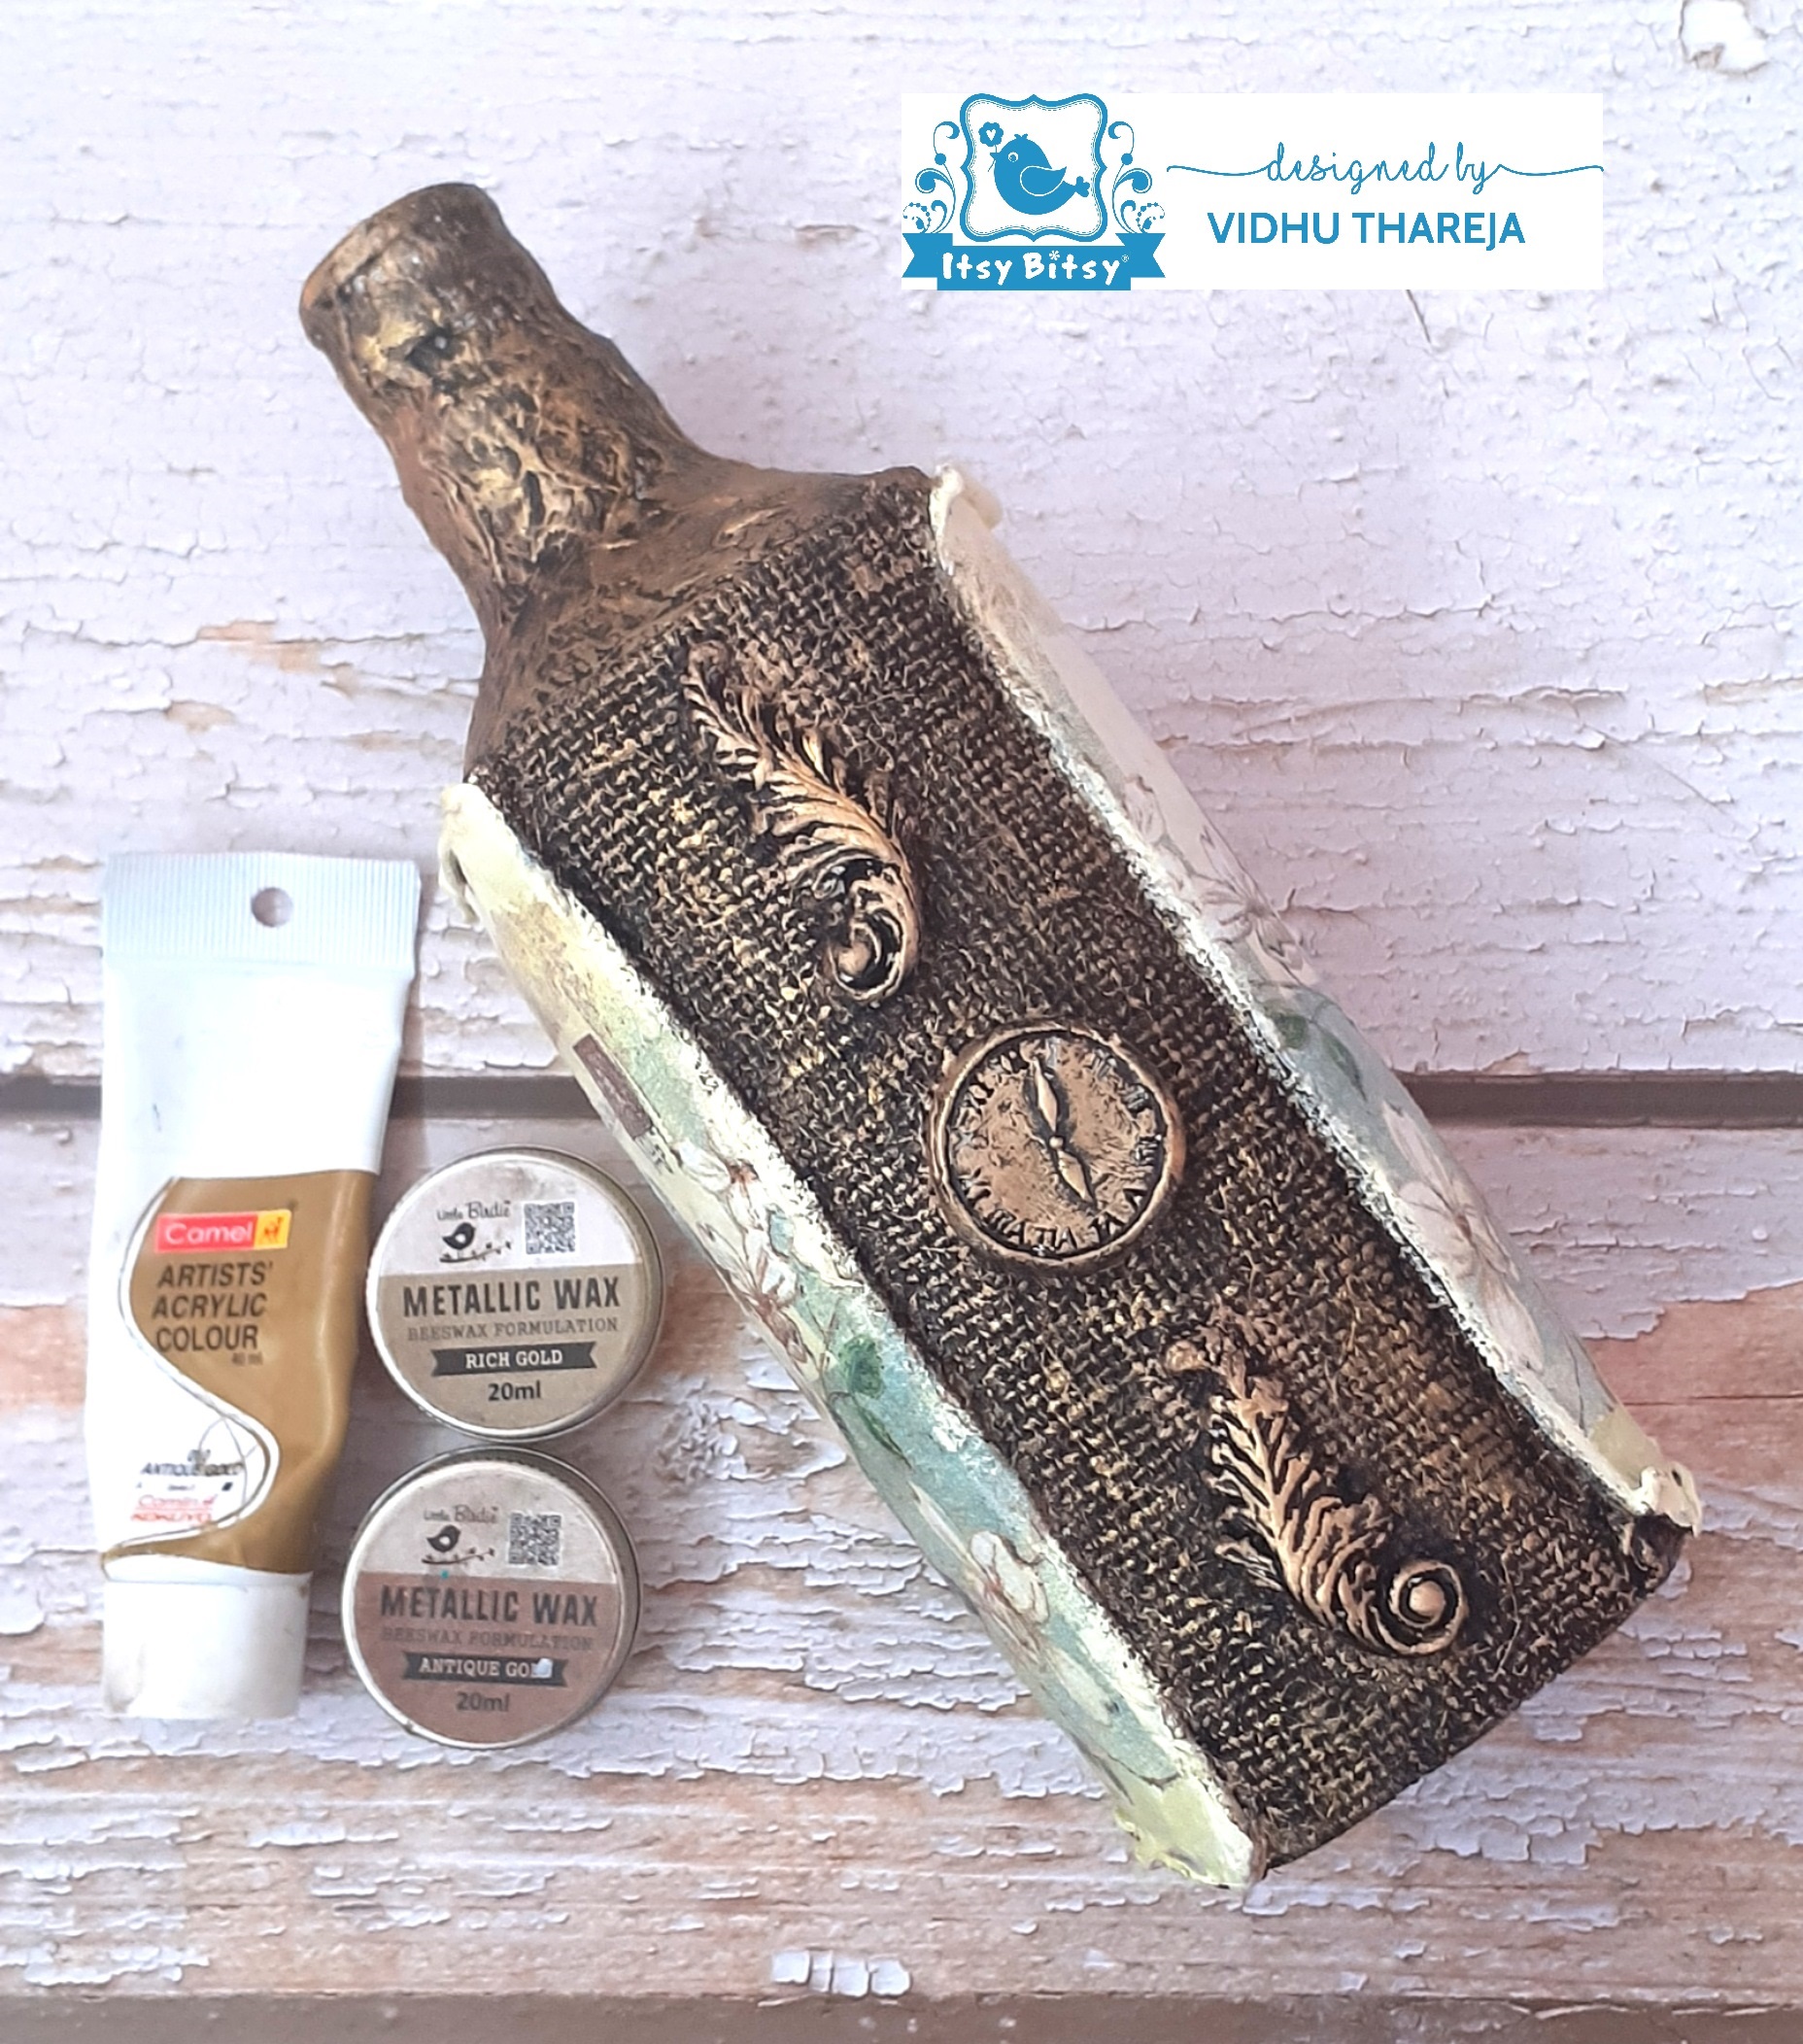
 Finally tied 2 antique charms with the help of a jute cord I had bought from Itsy Bitsy.
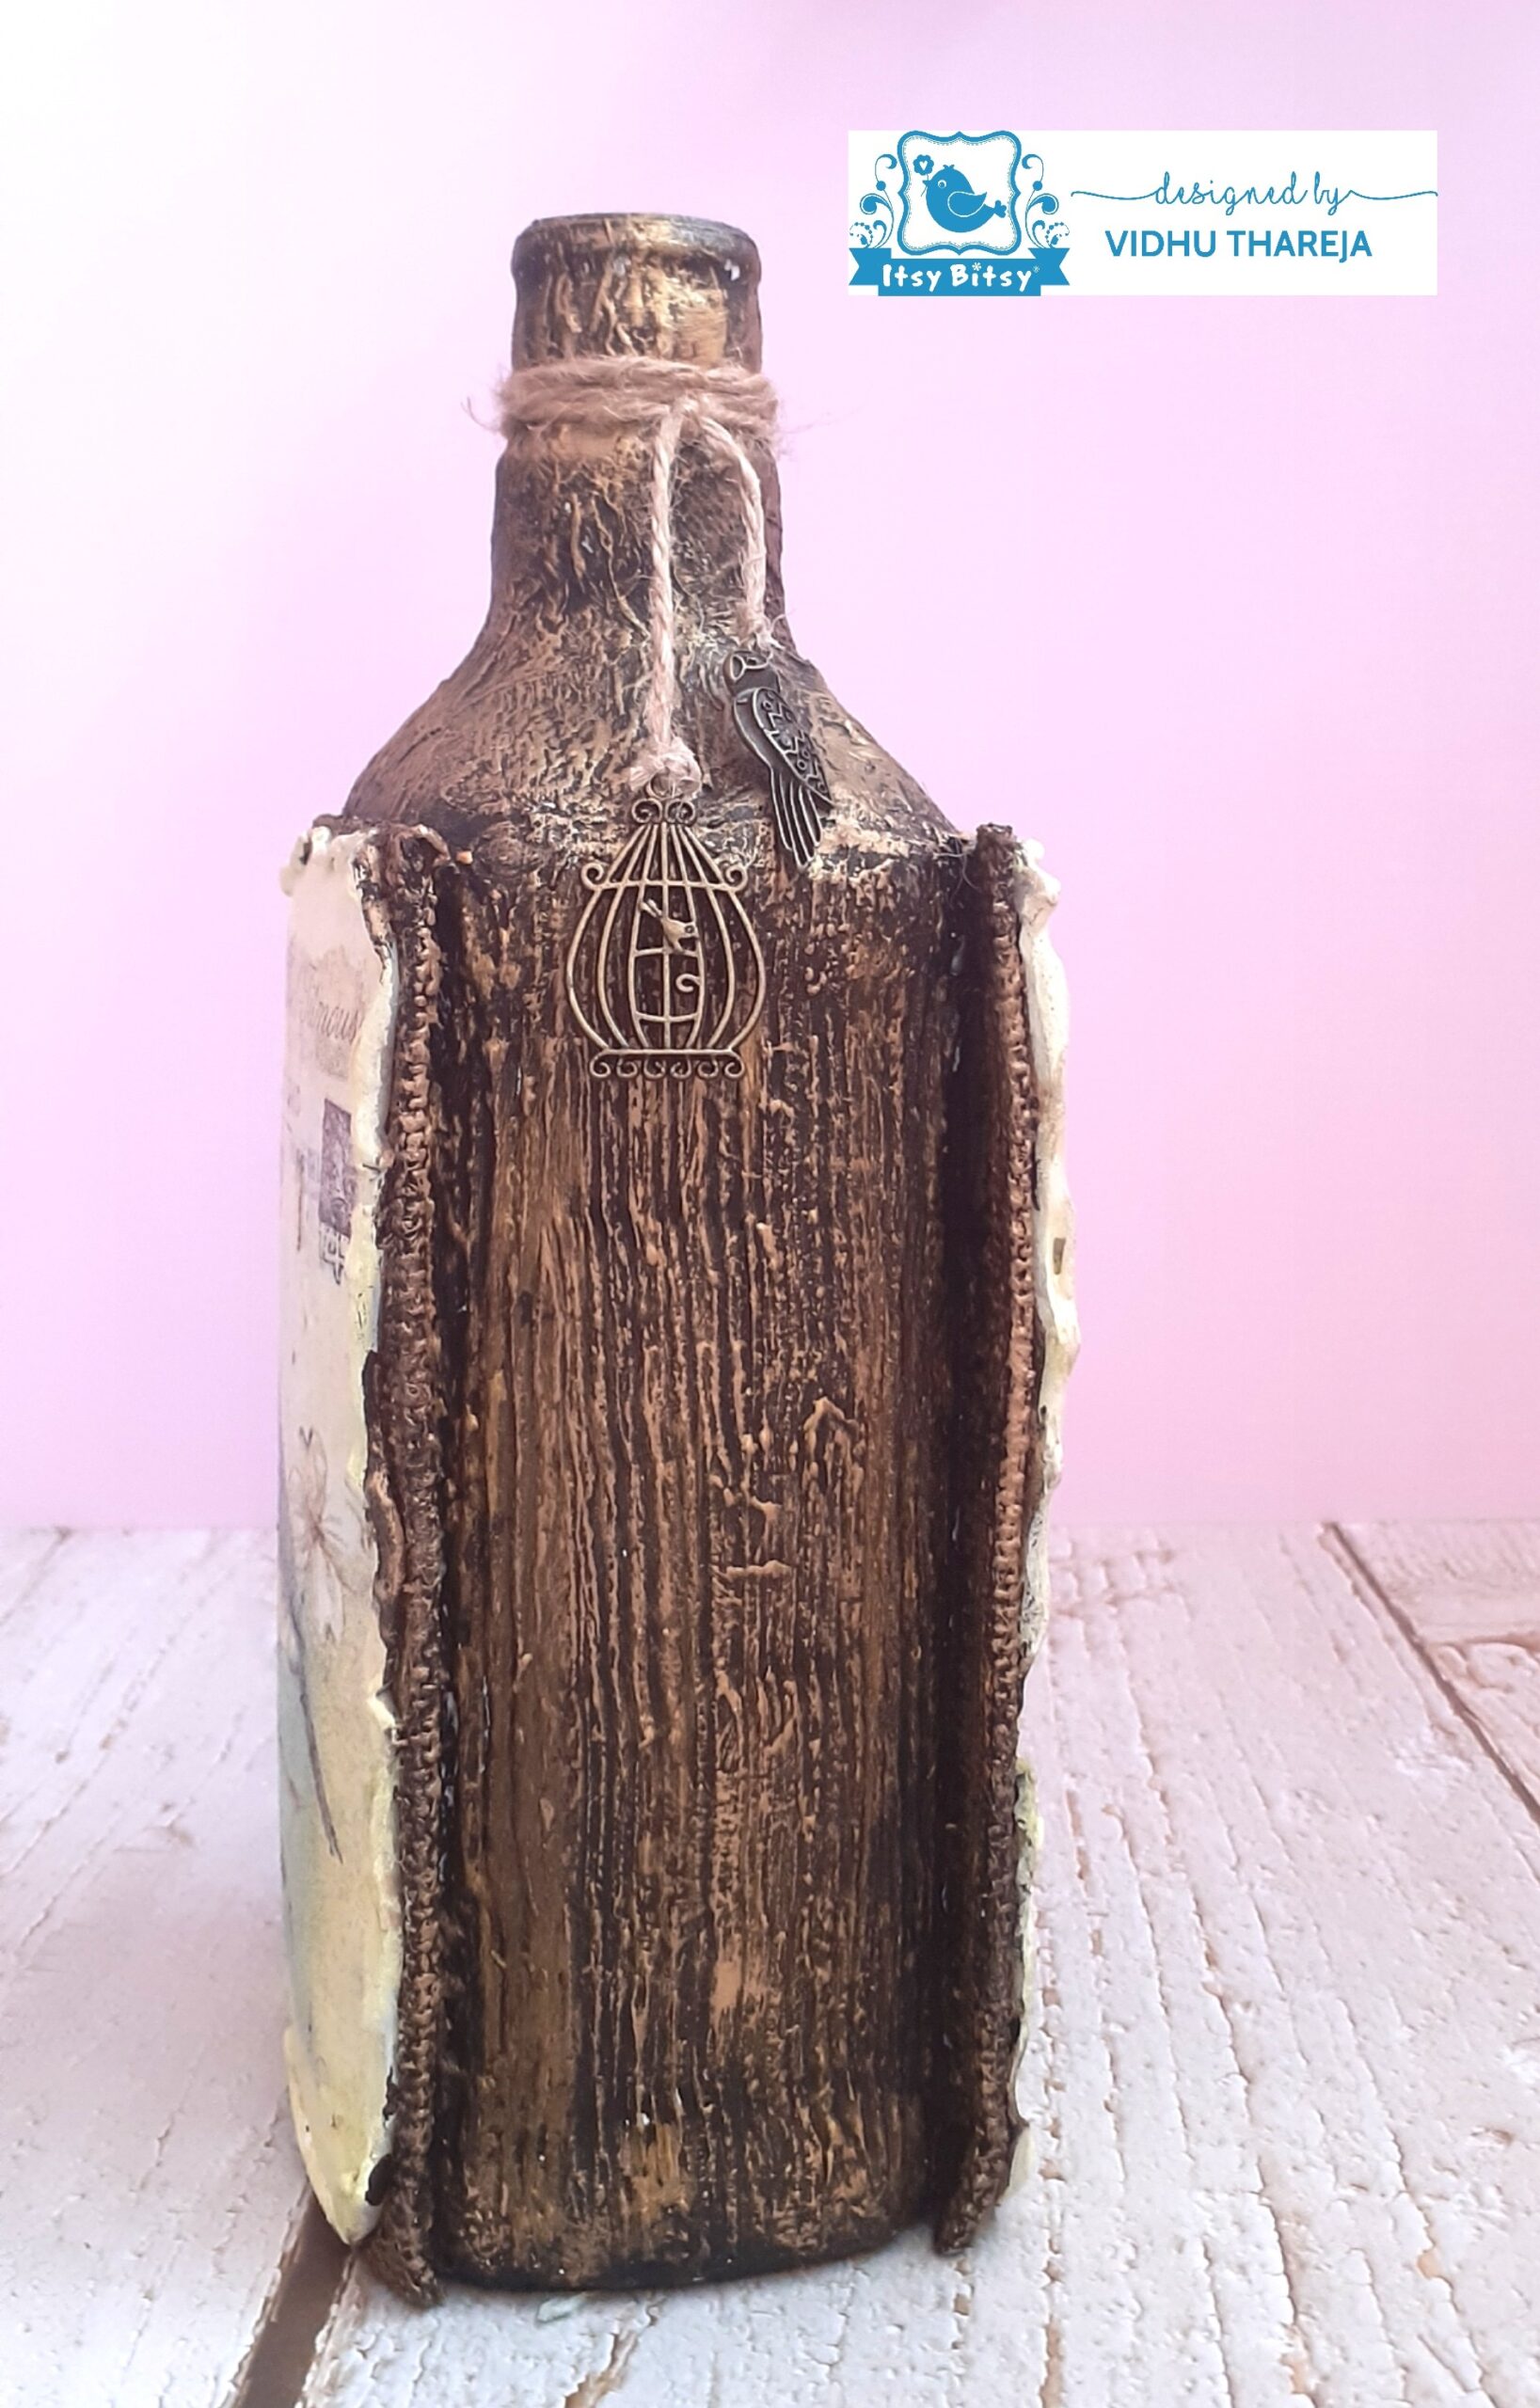 A beautiful home decor piece is ready.
Sharing a few more pictures of my project….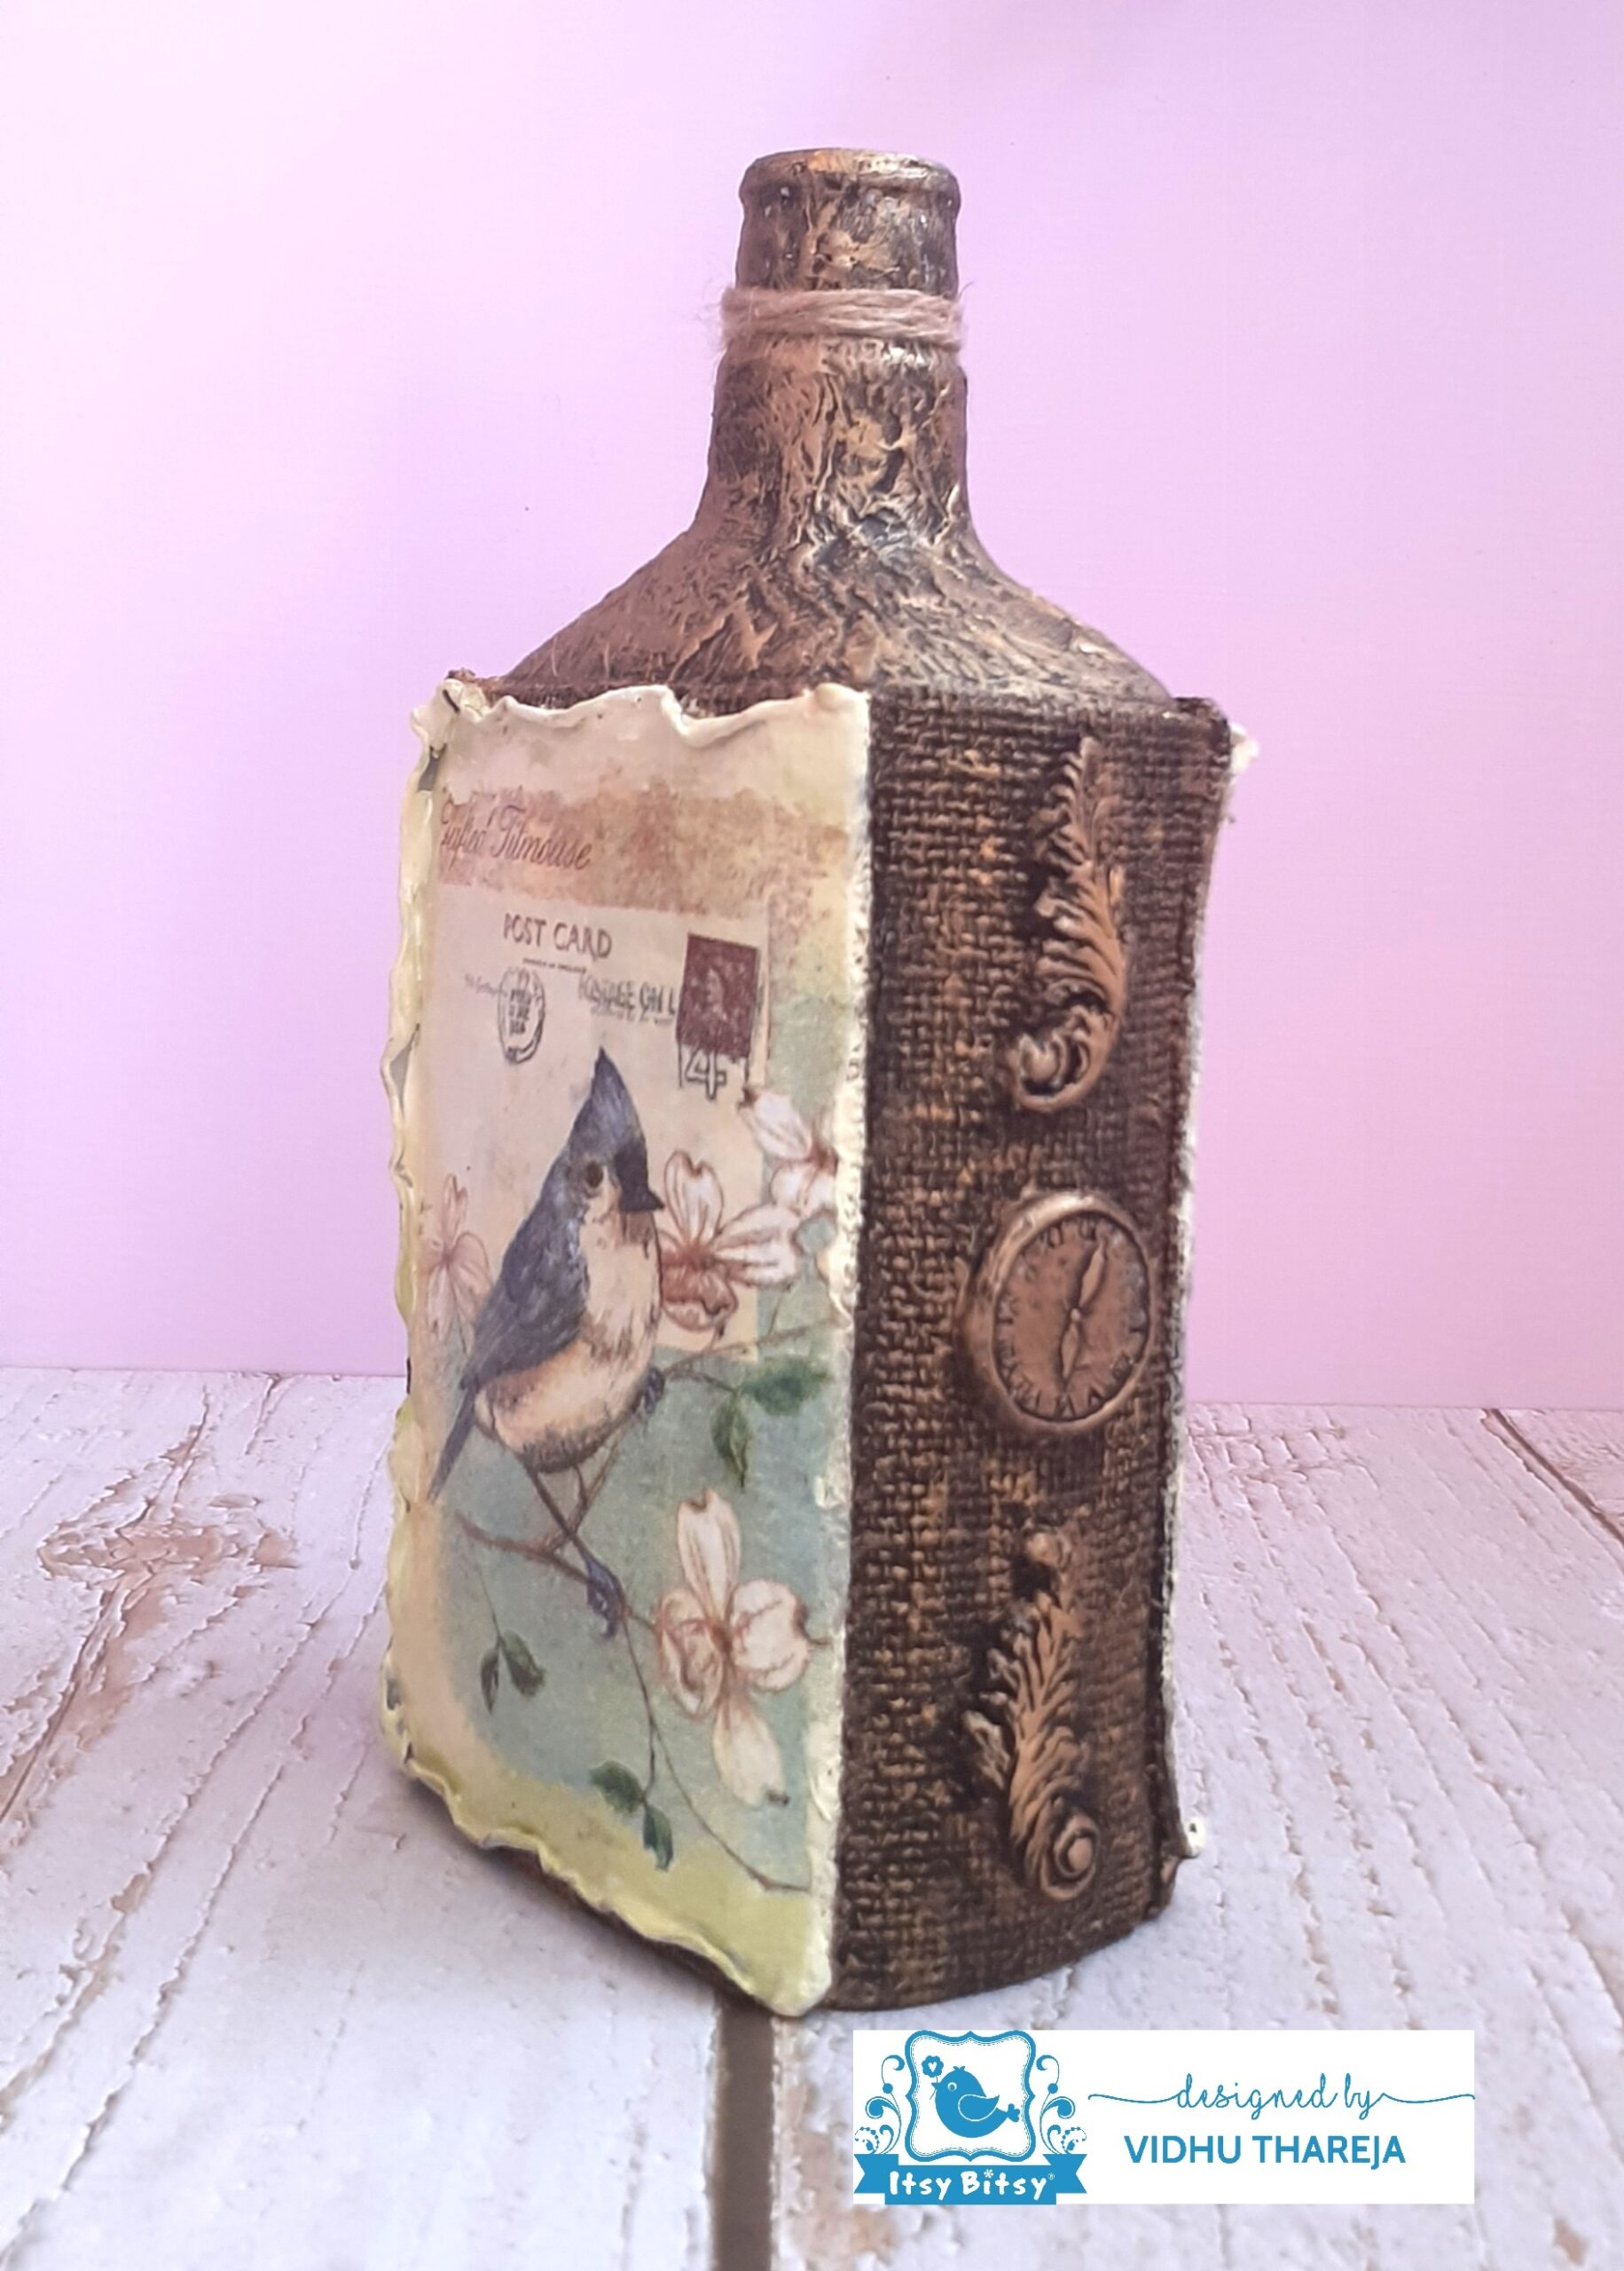

Hope you enjoyed the process as much as I did!
am excited to inform you that all these products come with a unique QR code!
Point your mobile phone at the QR code on the product & scan them to take you directly to our YouTube links where you can see how each of these products are used! Check out all our new products for QR codes in the future ( this will be either on the label or on cap of the bottle).
Use code VIDHU5 to buy any product at www.itsybitsy.in and get 5% discount on your total bill.
See you next time!
Keep crafting!
Vidhu Thareja
List of material used;


Something very unique…very creative and that vidhu man’s touch as always.
Thanks a lot Harjinder
Beautifully done n very well explained by Vidhuji..
Thank you so much Shubha
So very beautiful ❤️ Vidhu has come out really well n would make an unique table top vase👌
Thank you so much Jyotsna. I am glad that you liked the project.