Hello All….
Nupur here and this time I will be showing you how to use Little Birdie’s newly launched Gum Arabic.
People who do frequent water-coloring must be knowing, how important gum Arabic is to create a master piece in watercolor.
And thanks to Itsy Bitsy for launching this in India. This gum Arabic is of excellent quality and I can vouch for this.
So lets get started…..
Gum Arabic comes in a chunks, so what you need to do is take a airtight container and add 5-6 big chunks of Gum Arabic in it and add water, then wait for 3-4 hours for it to completely dissolve in water. It will look like a thick gum that you use for general purposes. And even this small amount can be easily used in 5-6, A-3 size paintings. Therefore it’s also extremely cost effective.
So, let’s get started….
First, I will be showing you 3 very important use of Gum Arabic in watercolor:
- When you mix this product with watercolor and apply it on paper, upon drying it really helps in lifting up the color. Below is a sample of painting, with Gum Arabic and without Gum Arabic. The picture clearly shows how easily colors can be lifted when mixed with this product.

- Watercolor mixed with Gum Arabic give an extra shine to the painting.
3 When Gum Arabic is applied on paper and if watercolor is added over it, it gives a really nice wet look (as if the surface is wet)
So now lets do some coloring with this fun product….
We will be painting this beautiful sea and the only hero is GUM ARABIC
Initially I put all my colors in my color palette and added my liquefied Gum Arabic to it.
Colors I used are:
Turquoise blue, Prussian blue, Lemon yellow, Burnt Umber, Titanium white and Black.
Note: when using Gum Arabic in you project, you really need a thick paper (I have used an artistic paper from Little Birdie of 440 gsm).
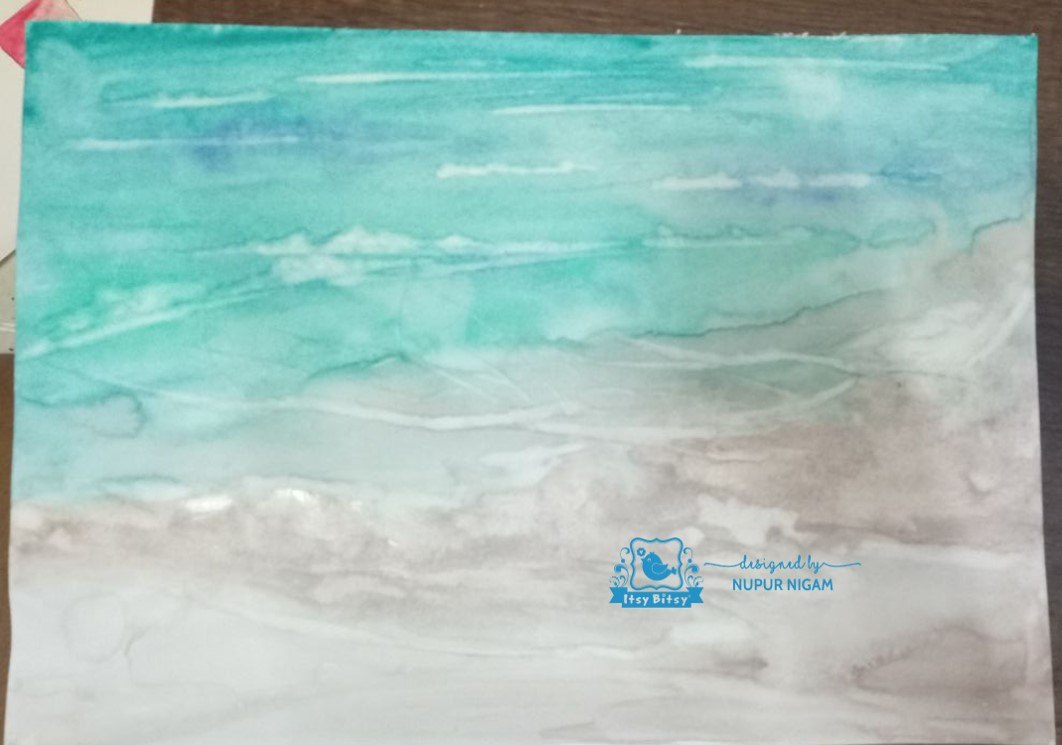
To begin, I wet my paper and added different shades of blues and greens (made by mixing turquoise blue and lemon yellow).
Now in the lower half, at some places I used Gum Arabic first and then add a mixture of Burnt sienna and White to the whole of the bottom portion. Thereafter, I added a layer of blues again on the top half, to give it some extra depth.
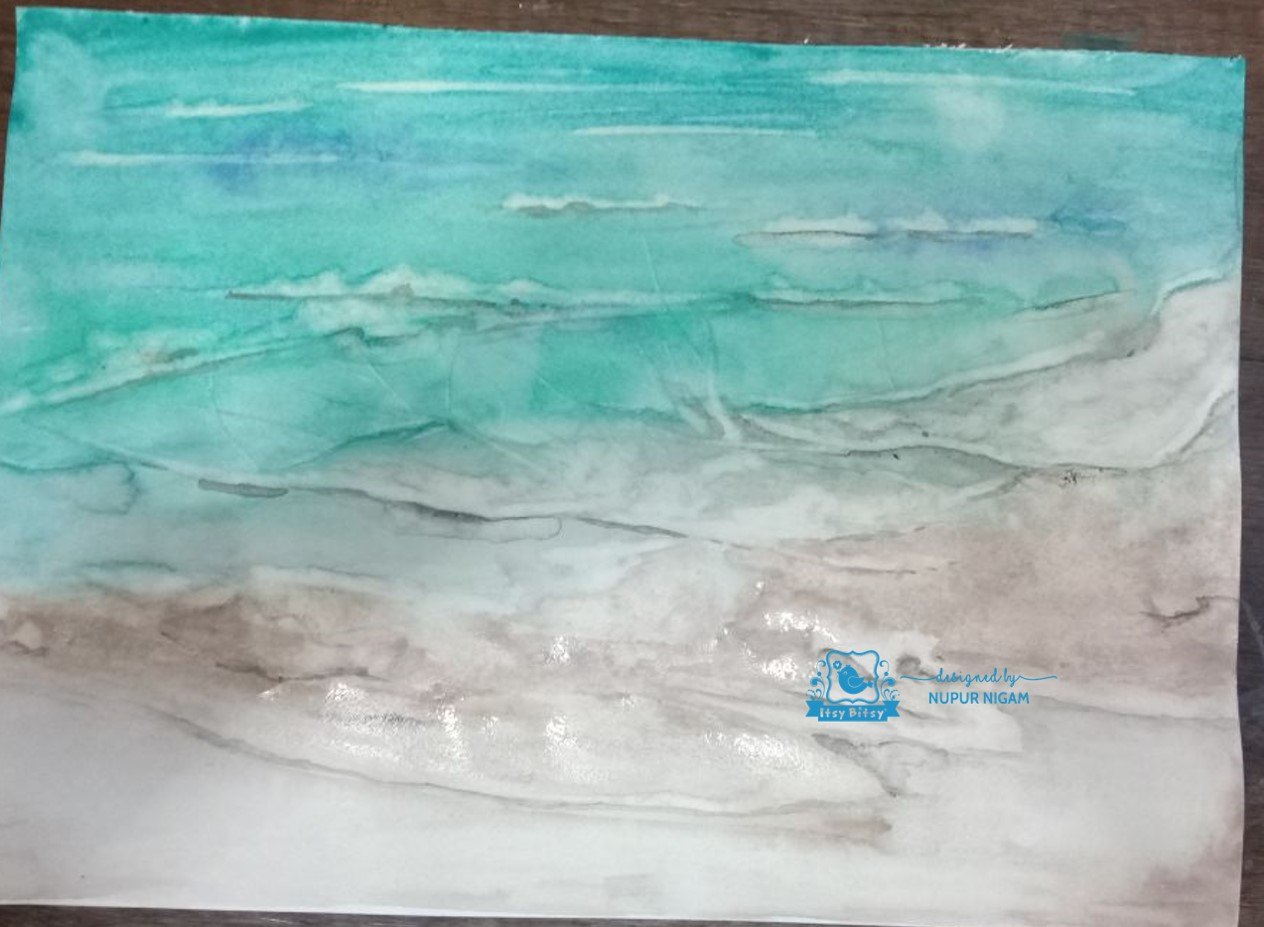
Now I started lifting up the colors to give it a wave like look( from the sand area and from the water area as well).
You can see how beautifully colors are lifted (it made it so easy to give a wave kind of look).
Otherwise traditionally I have to leave a blank white space to give this effect .
Now I added shadows to my waves with little bit of black and lots and lots of water mix.
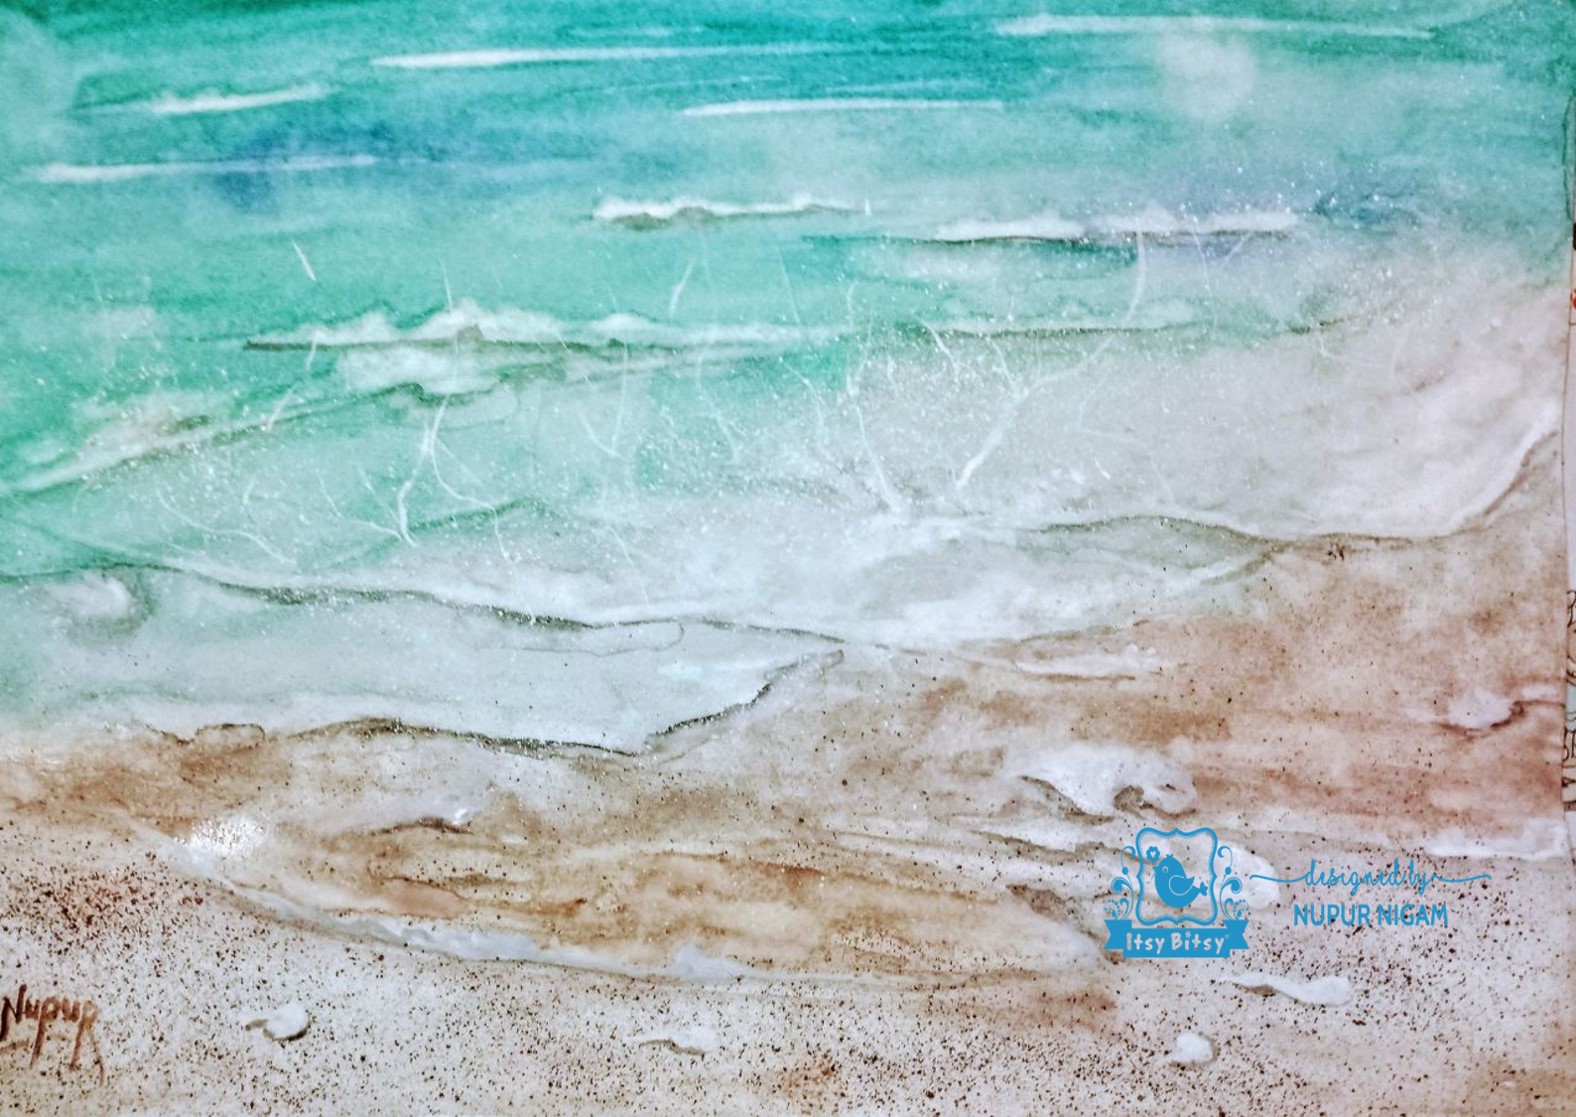
In the image below, if you observe the portion depicting sand, it looks so very wet. Appears as if the water is still there. (This is the coolest thing about Gum Arabic)
Now I added some splatters of brown to give it a sand like look.
Next, I added some white to give it some depth and to add veins of waves and also to make the waves look more realistic. I have given some finishing touch by adding some more prominent shadows.
And yes we are done……
So now you know the secret behind all the complex shiny and wet looking effect of watercolor.
Hope this blogs helps you people to try out this amazing product and inspires you to paint.
I tried to keep this as simple as possible, but still if you have any queries, do drop me a message… would be happy to help!
Till then, Happy Painting…..
Nupur
Products used are:



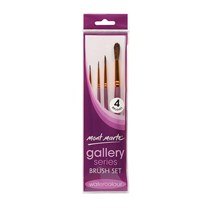
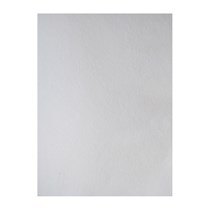
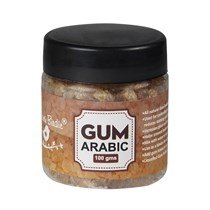
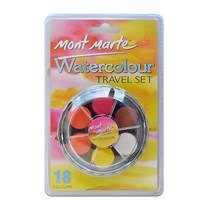 And of course some water, glasses to wash brushes and tissue paper.
Thanks for introducing me the great use of Gum Arabic product! Love the depth and dimension of this painting! Amazing!
Thankful to you for sharing detailed guidelines..its an awesome project 🙂
Thanks for this awesome tutorial. I never knew it can be used for watercolors too 🙂
This is insanely beautiful, loves the tips & techniques Nupur!
It’s just so really and amazing loved it so much
Very interesting and informative tutorial. Thank you so much.
Lovely Nupur
Lovely Nupur… Excellent explanation
Hey Nupur…this is super fun and interesting. Thank You for sharing.
Hugs
Wow…
This is just so awesome.
How beautiful is the final outcome. Amazing product too.