
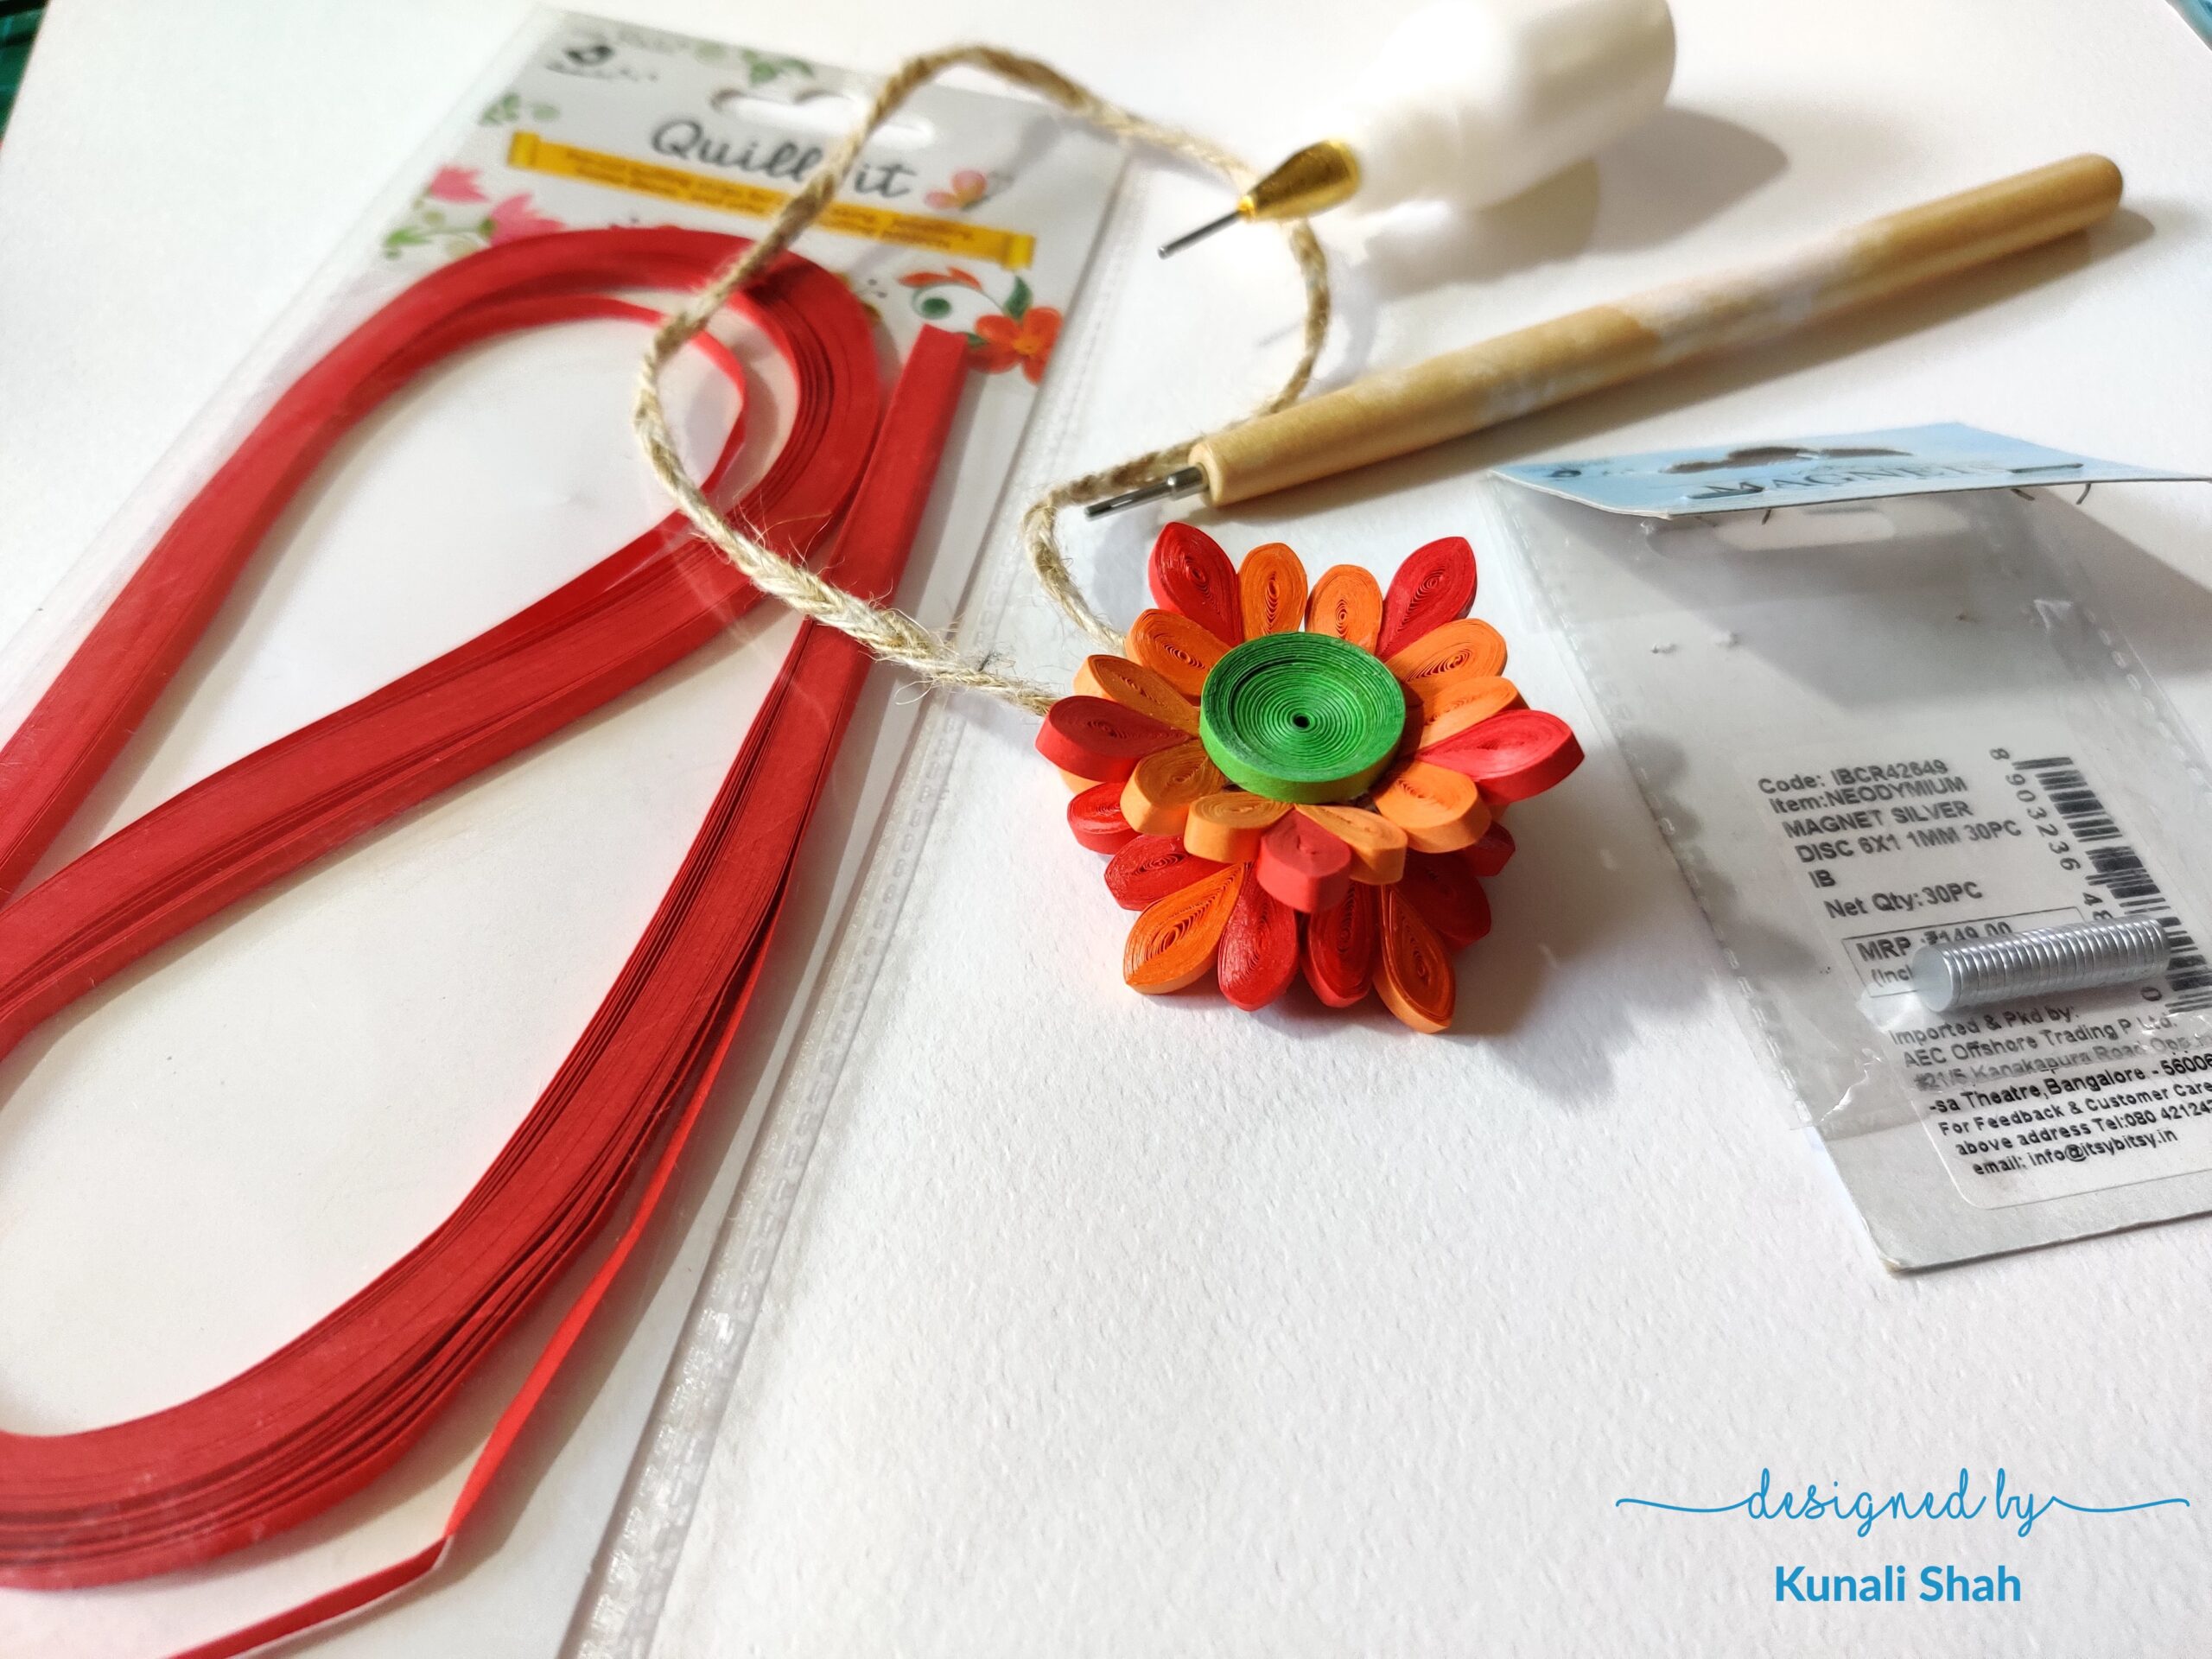
Hi! I’m Kunali and I’m going to show you how to make a beautiful quilled floral dangler in just a few steps, which is extremely easy to remove and place wherever you want. You could use this in the rear view mirror of your car, or at your home. Hang it on a nail and toggle between the colours and styles!
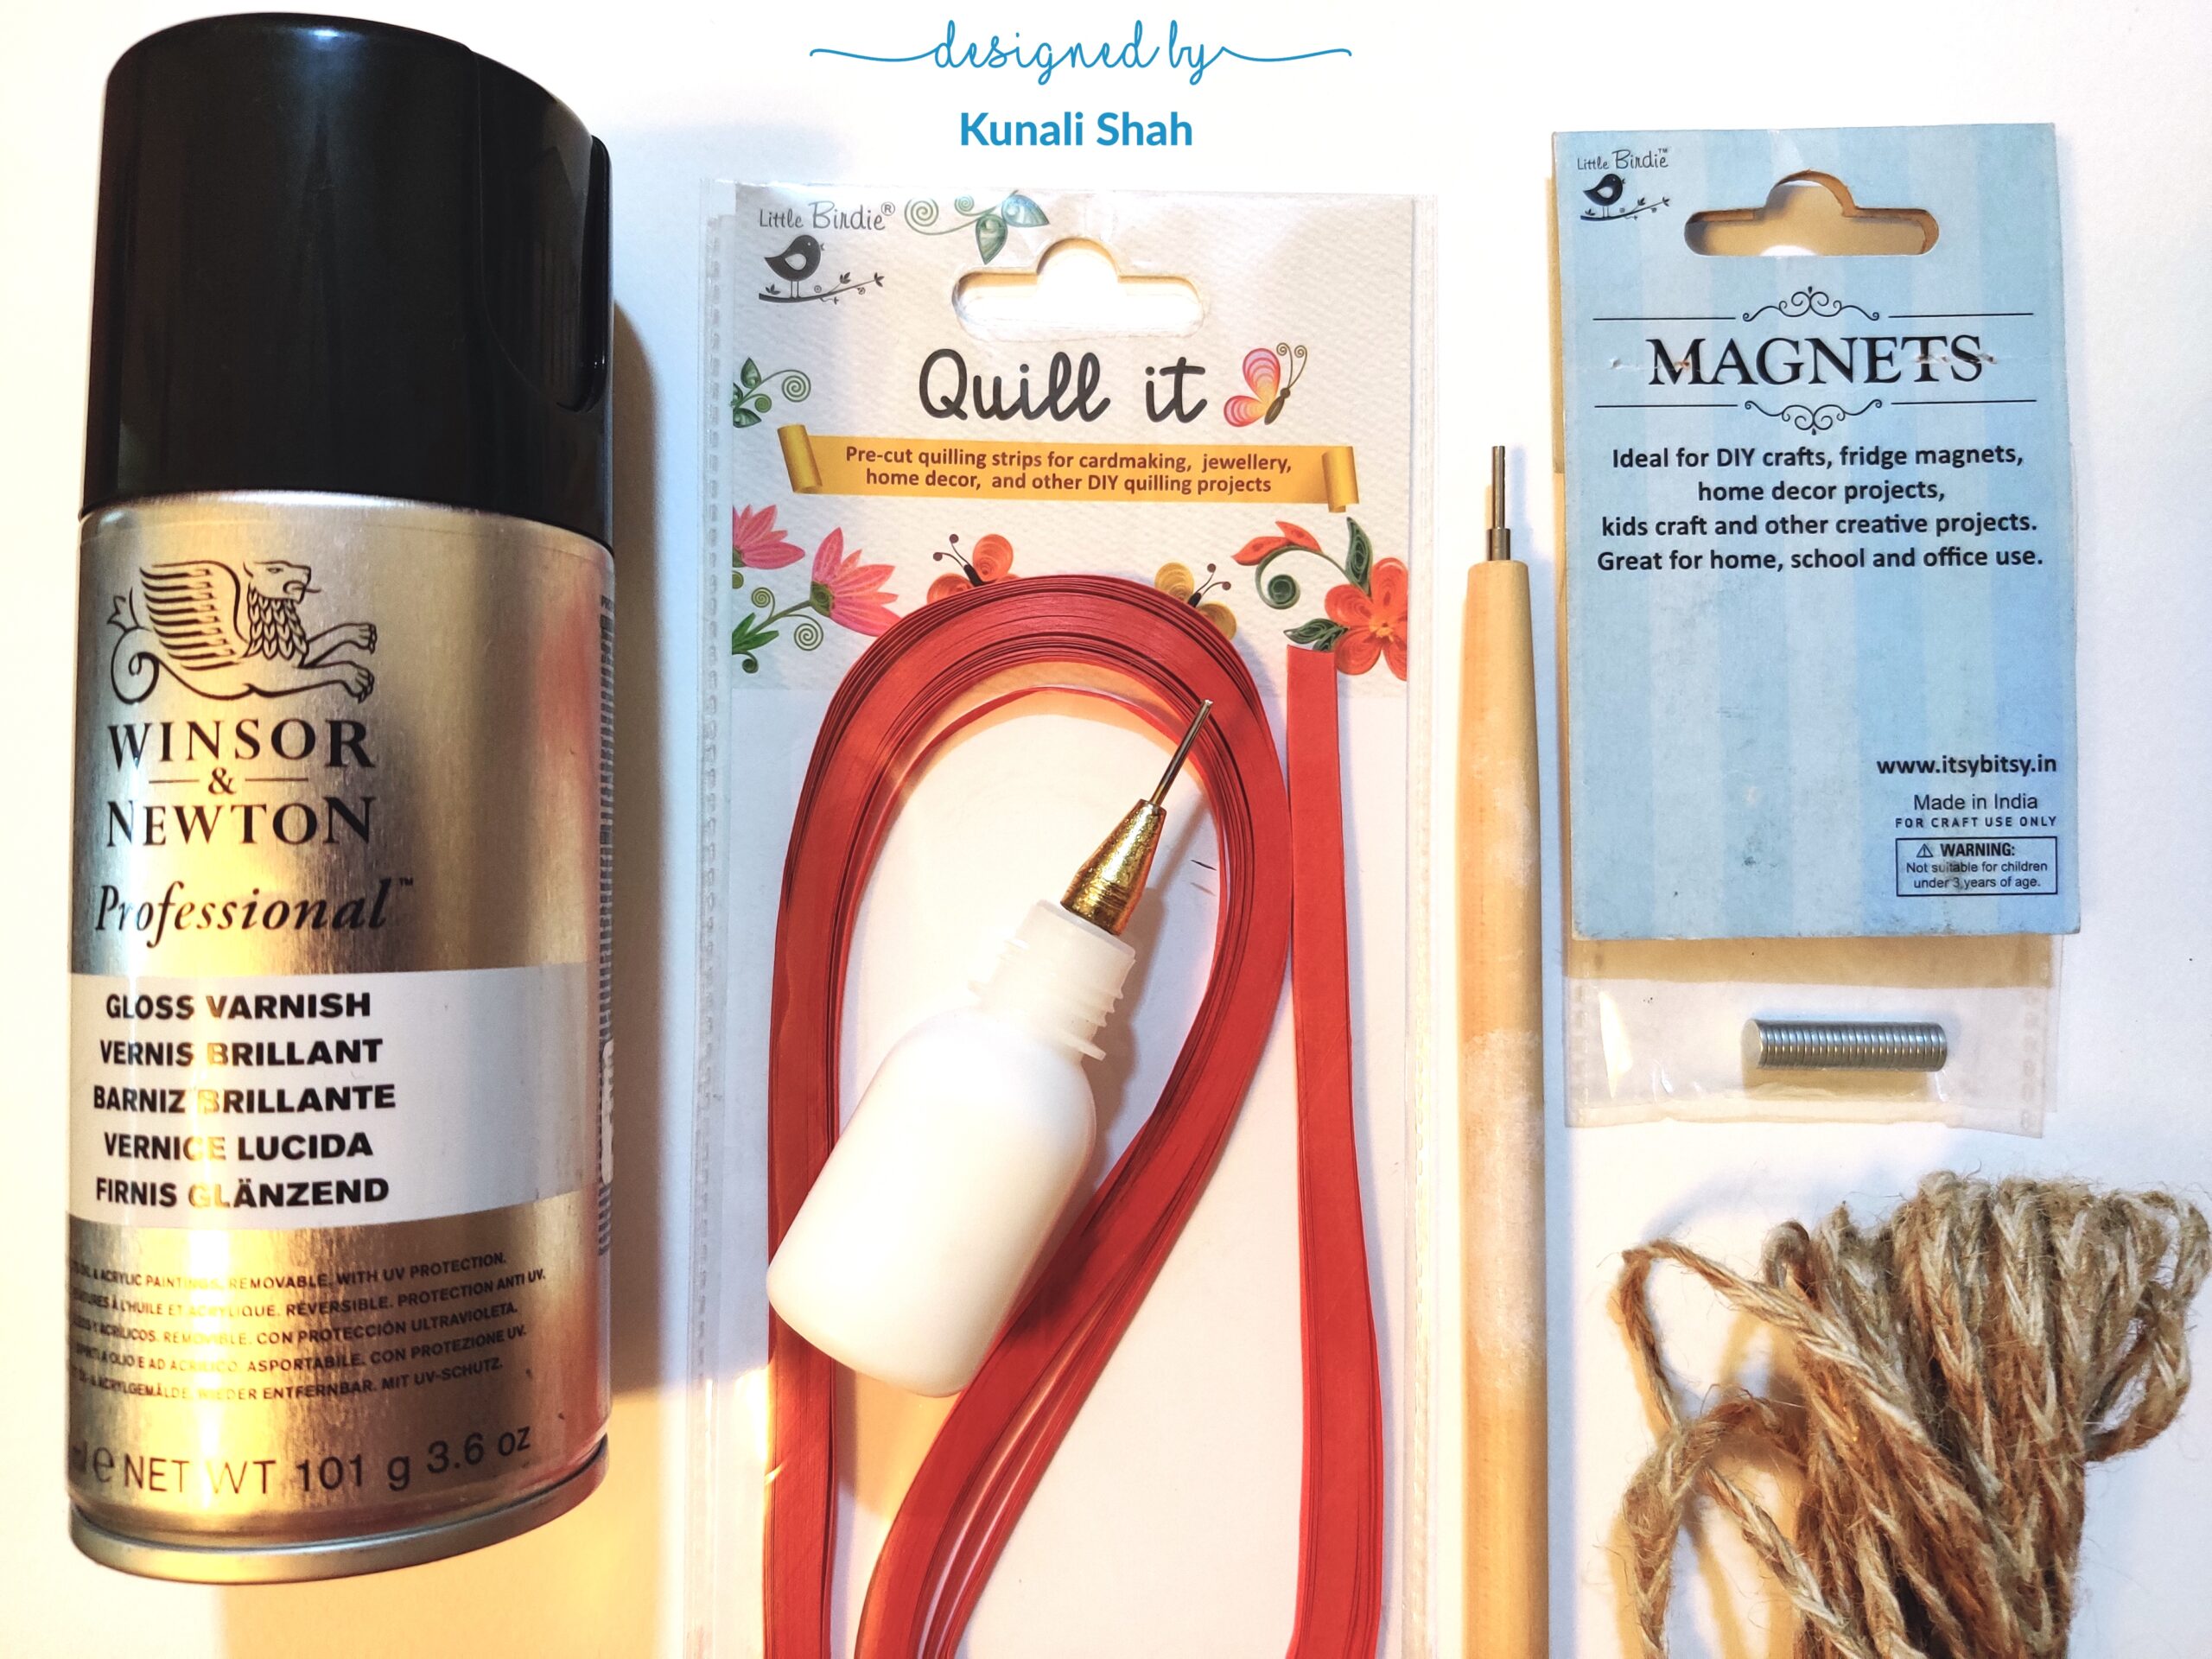
Products used –
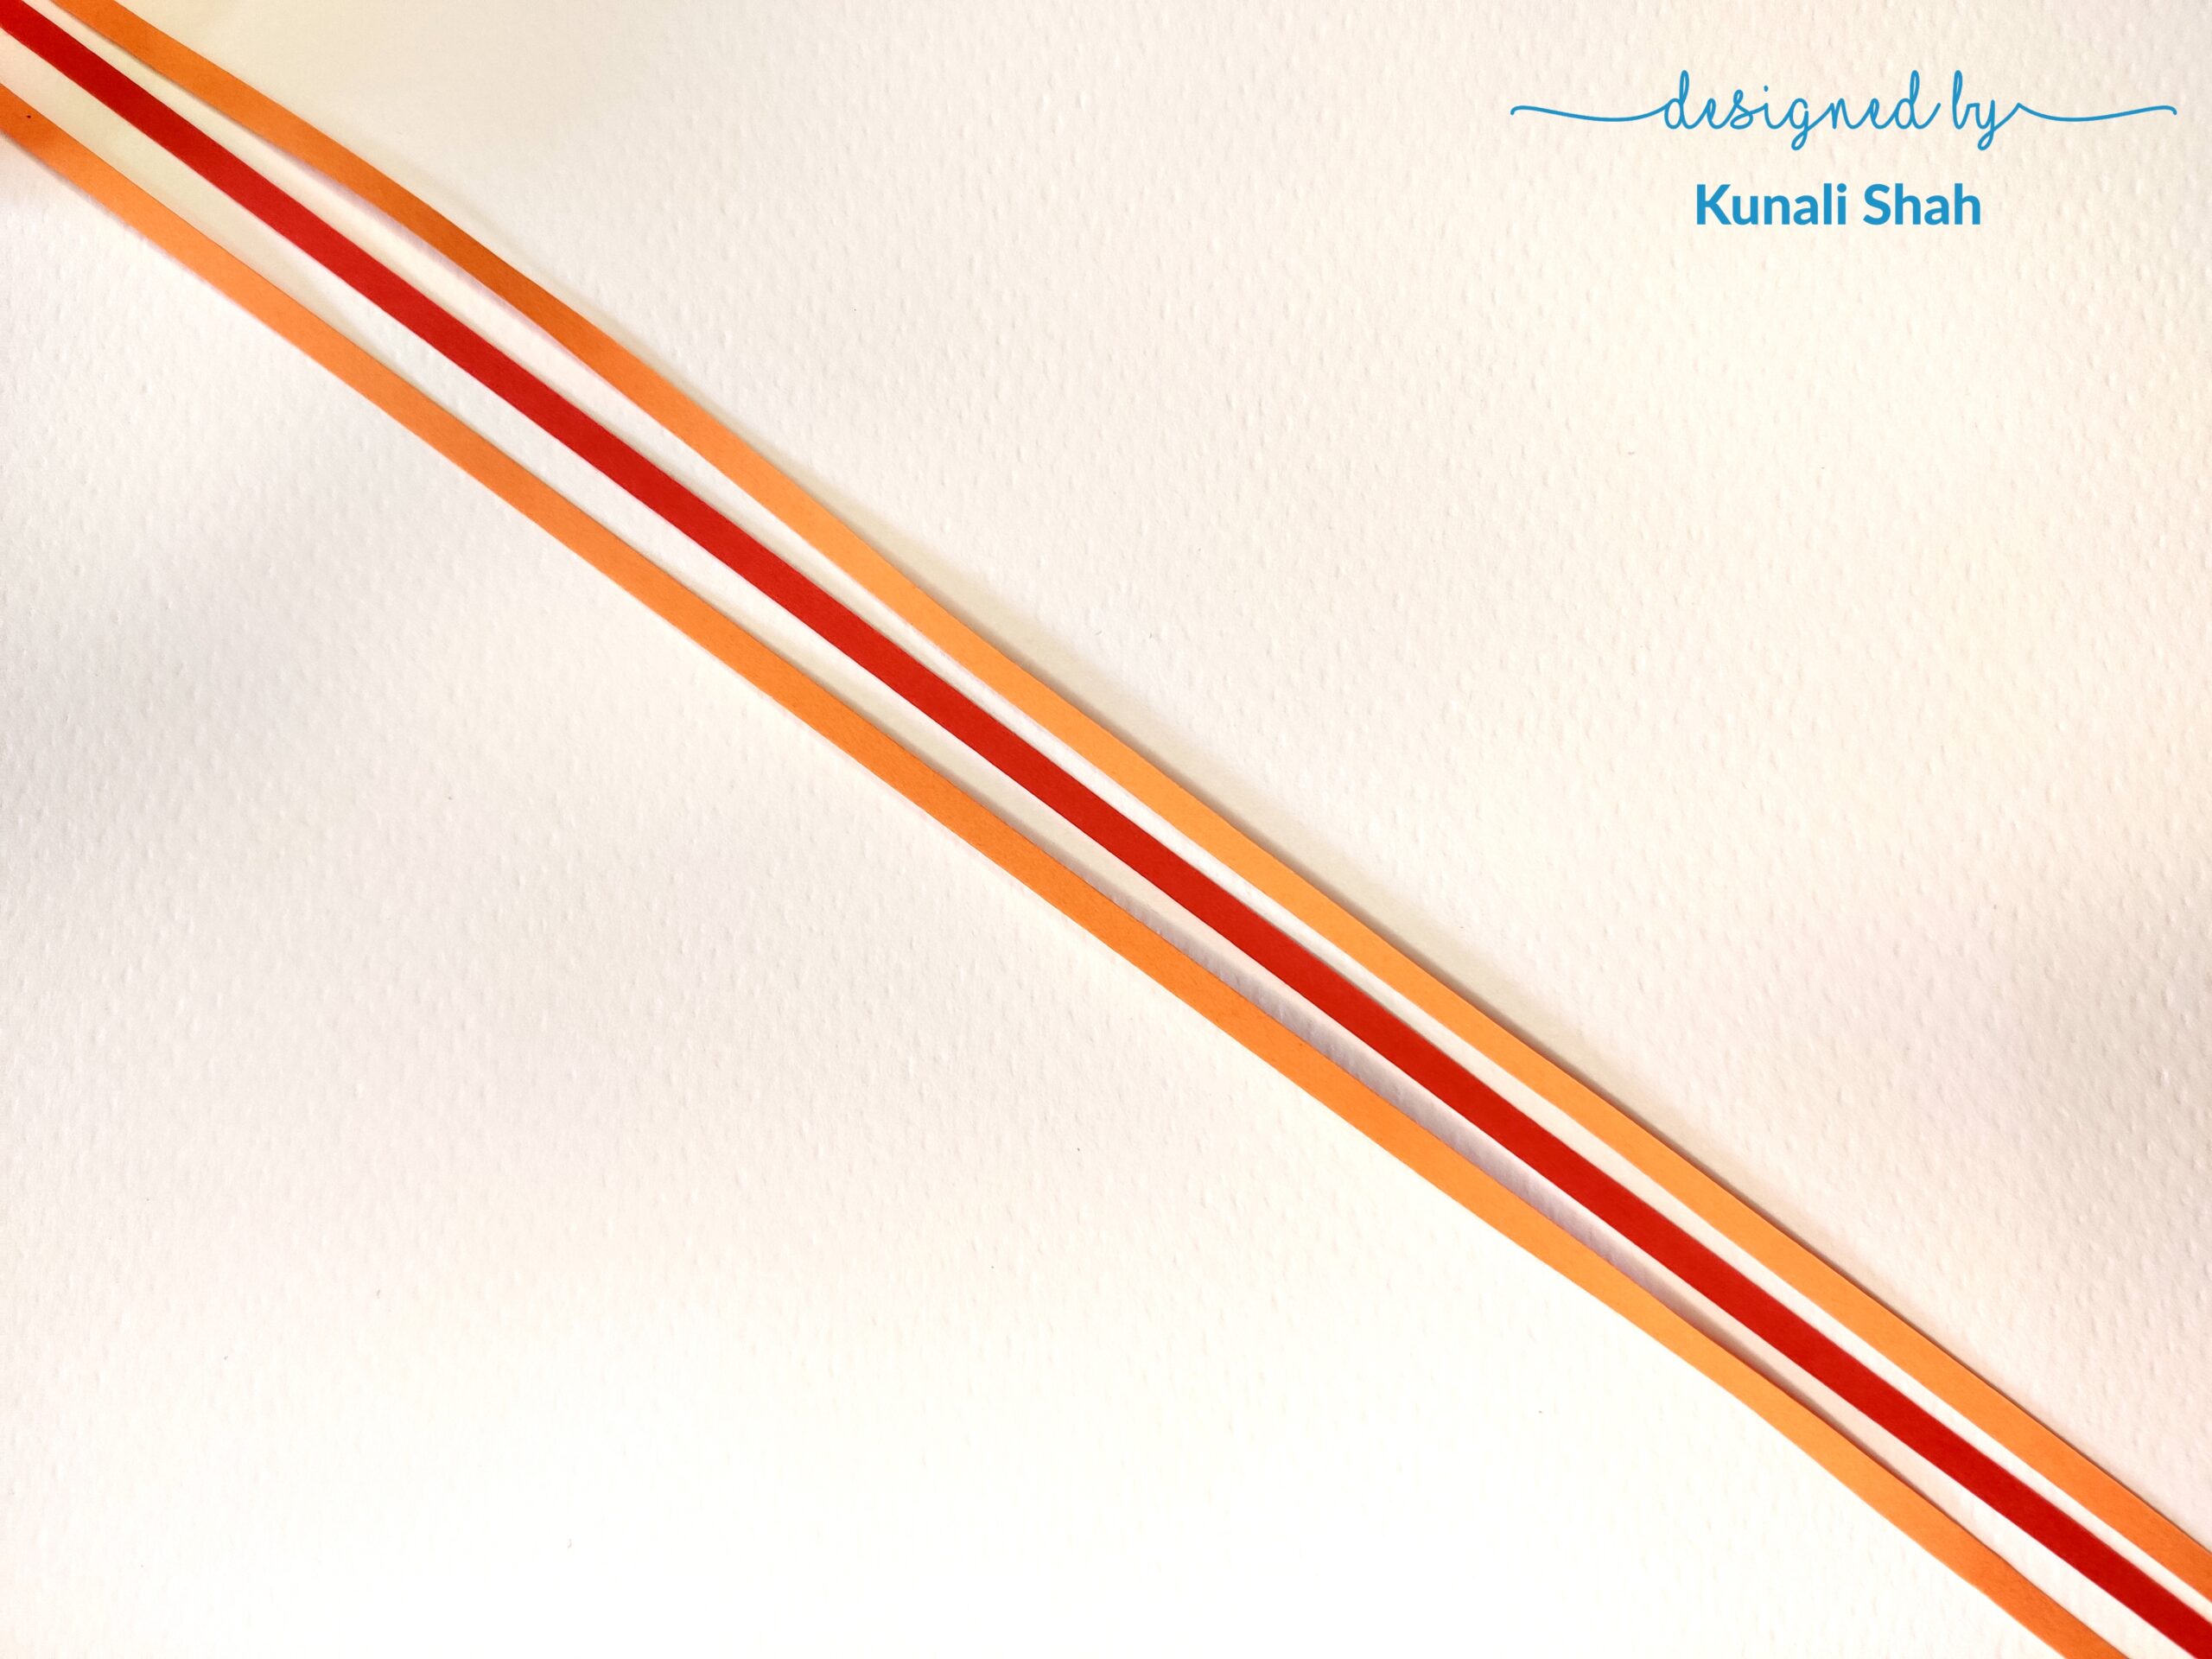
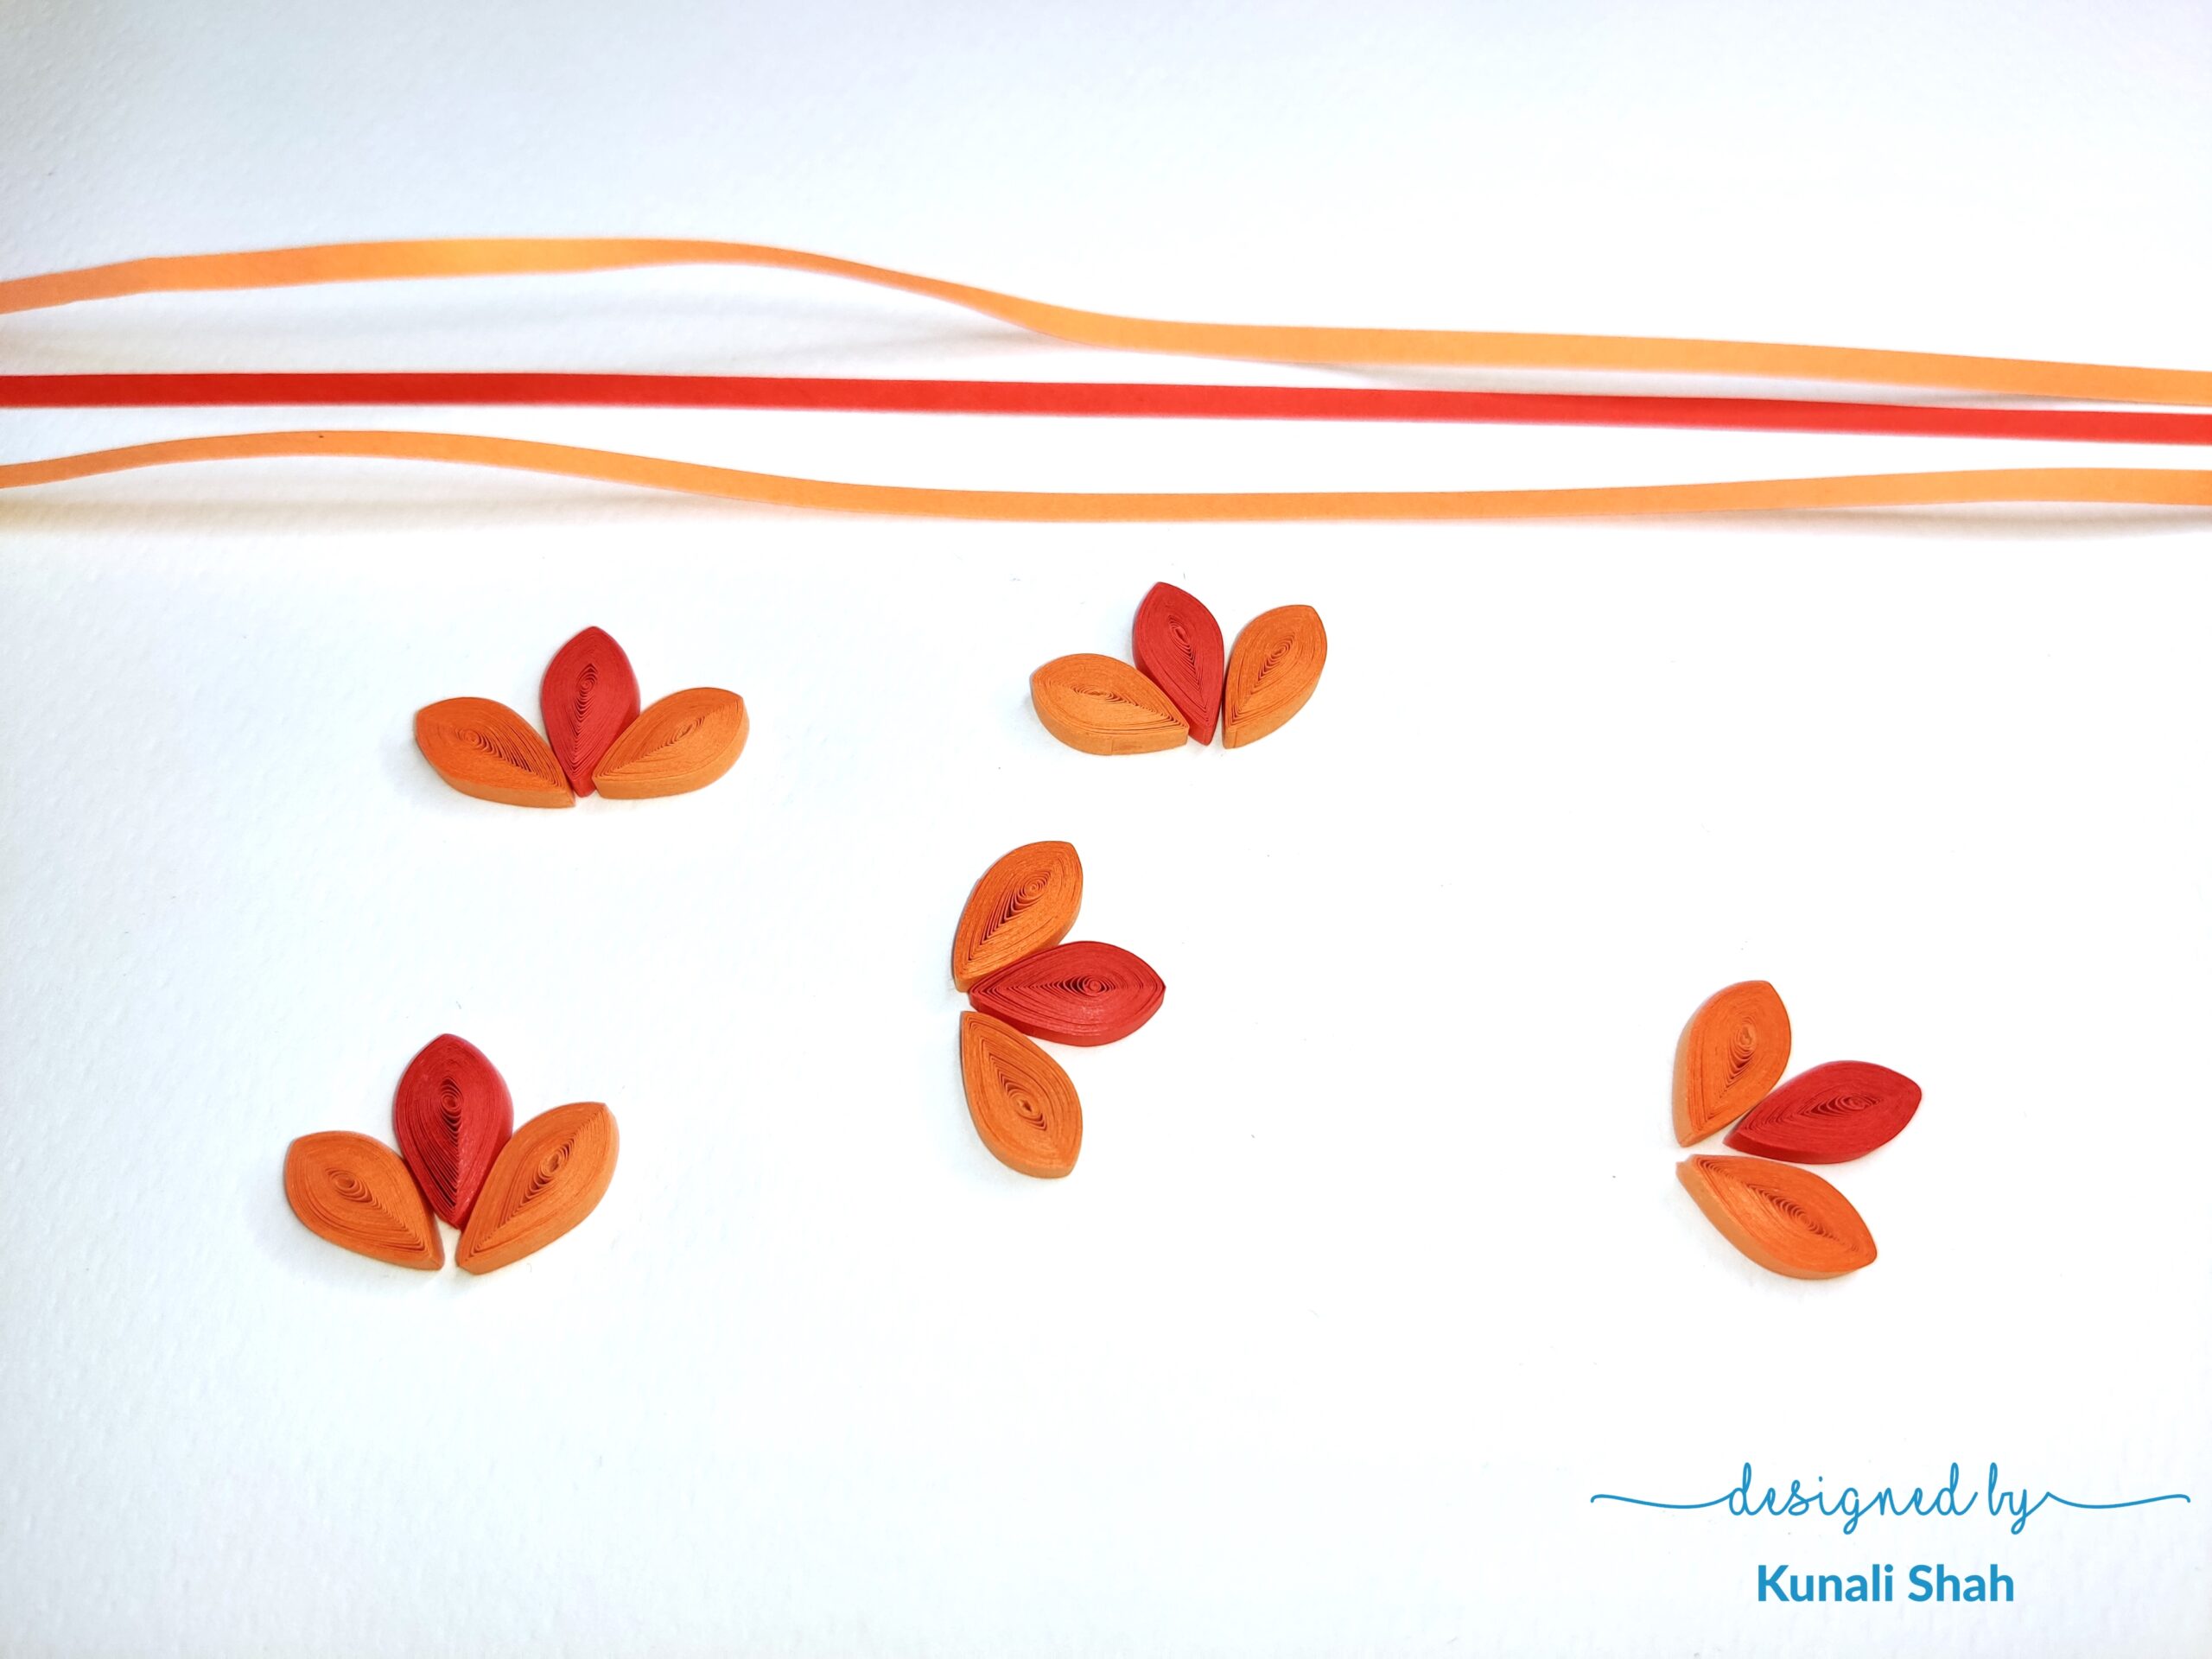
We’ll start with making a petal. For this petal, I’ve used 2 orange coloured strips and 1 red strip.
Roll them and expand to 1 cm big rolls.
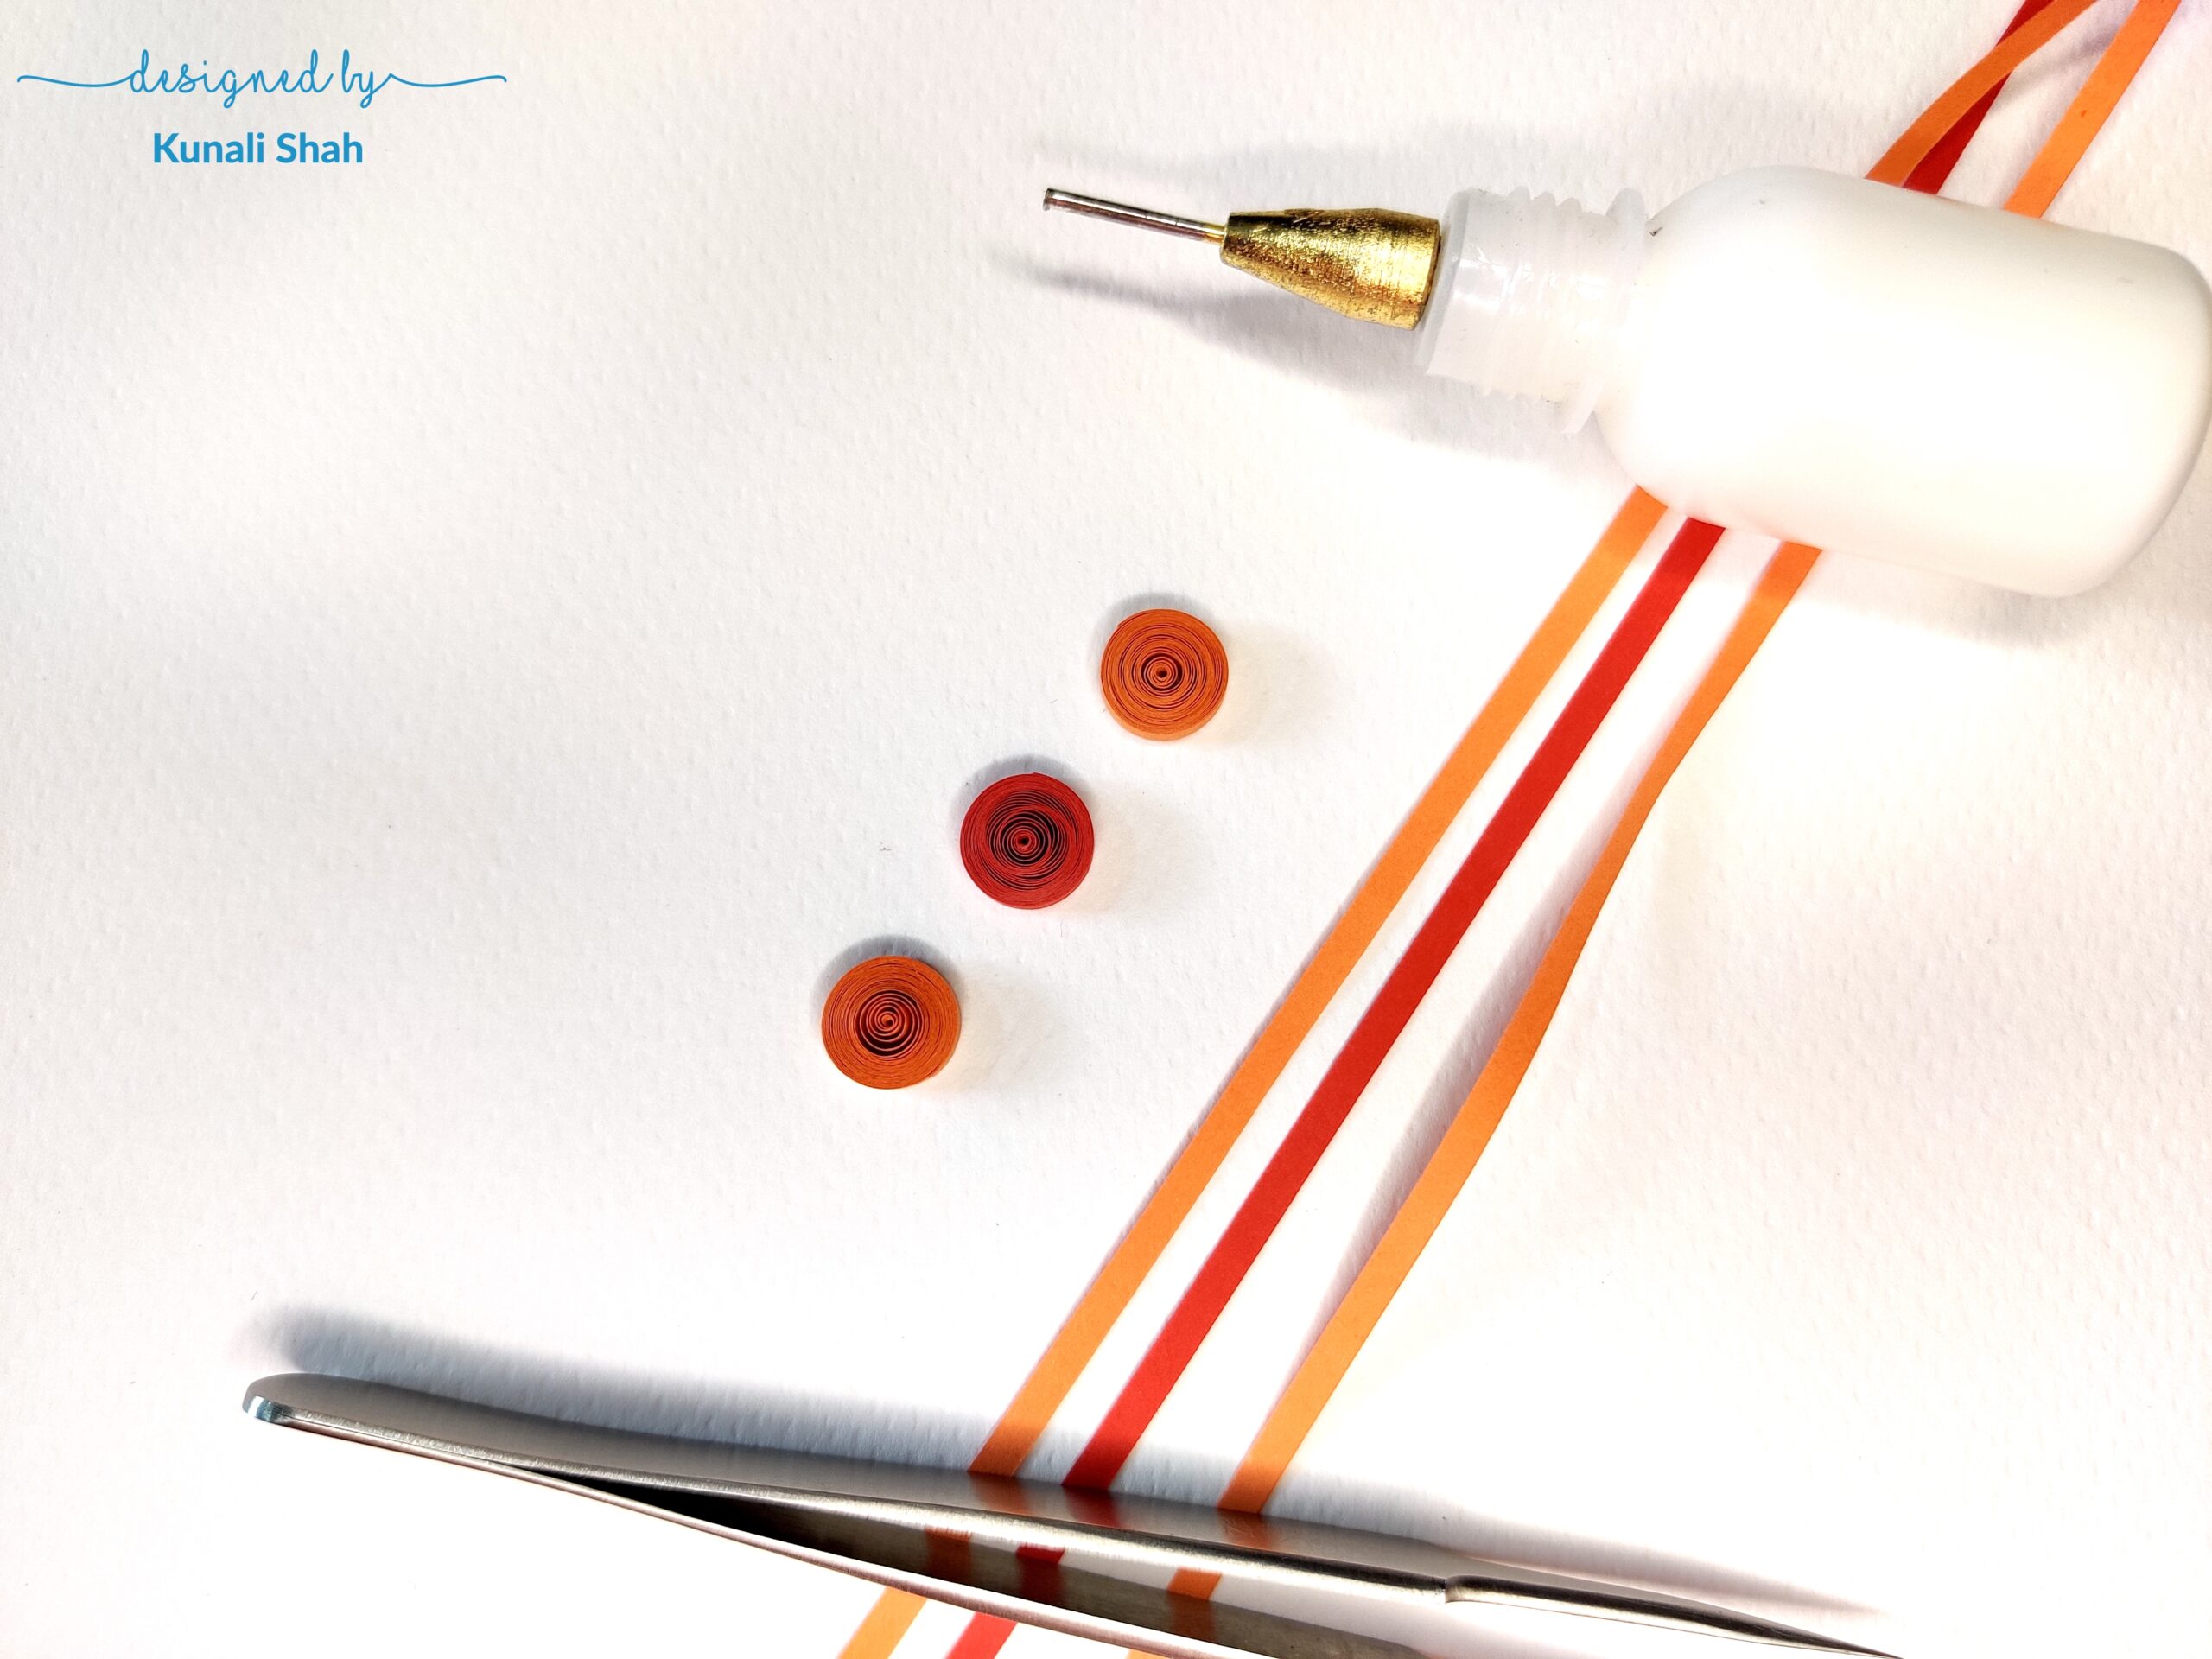
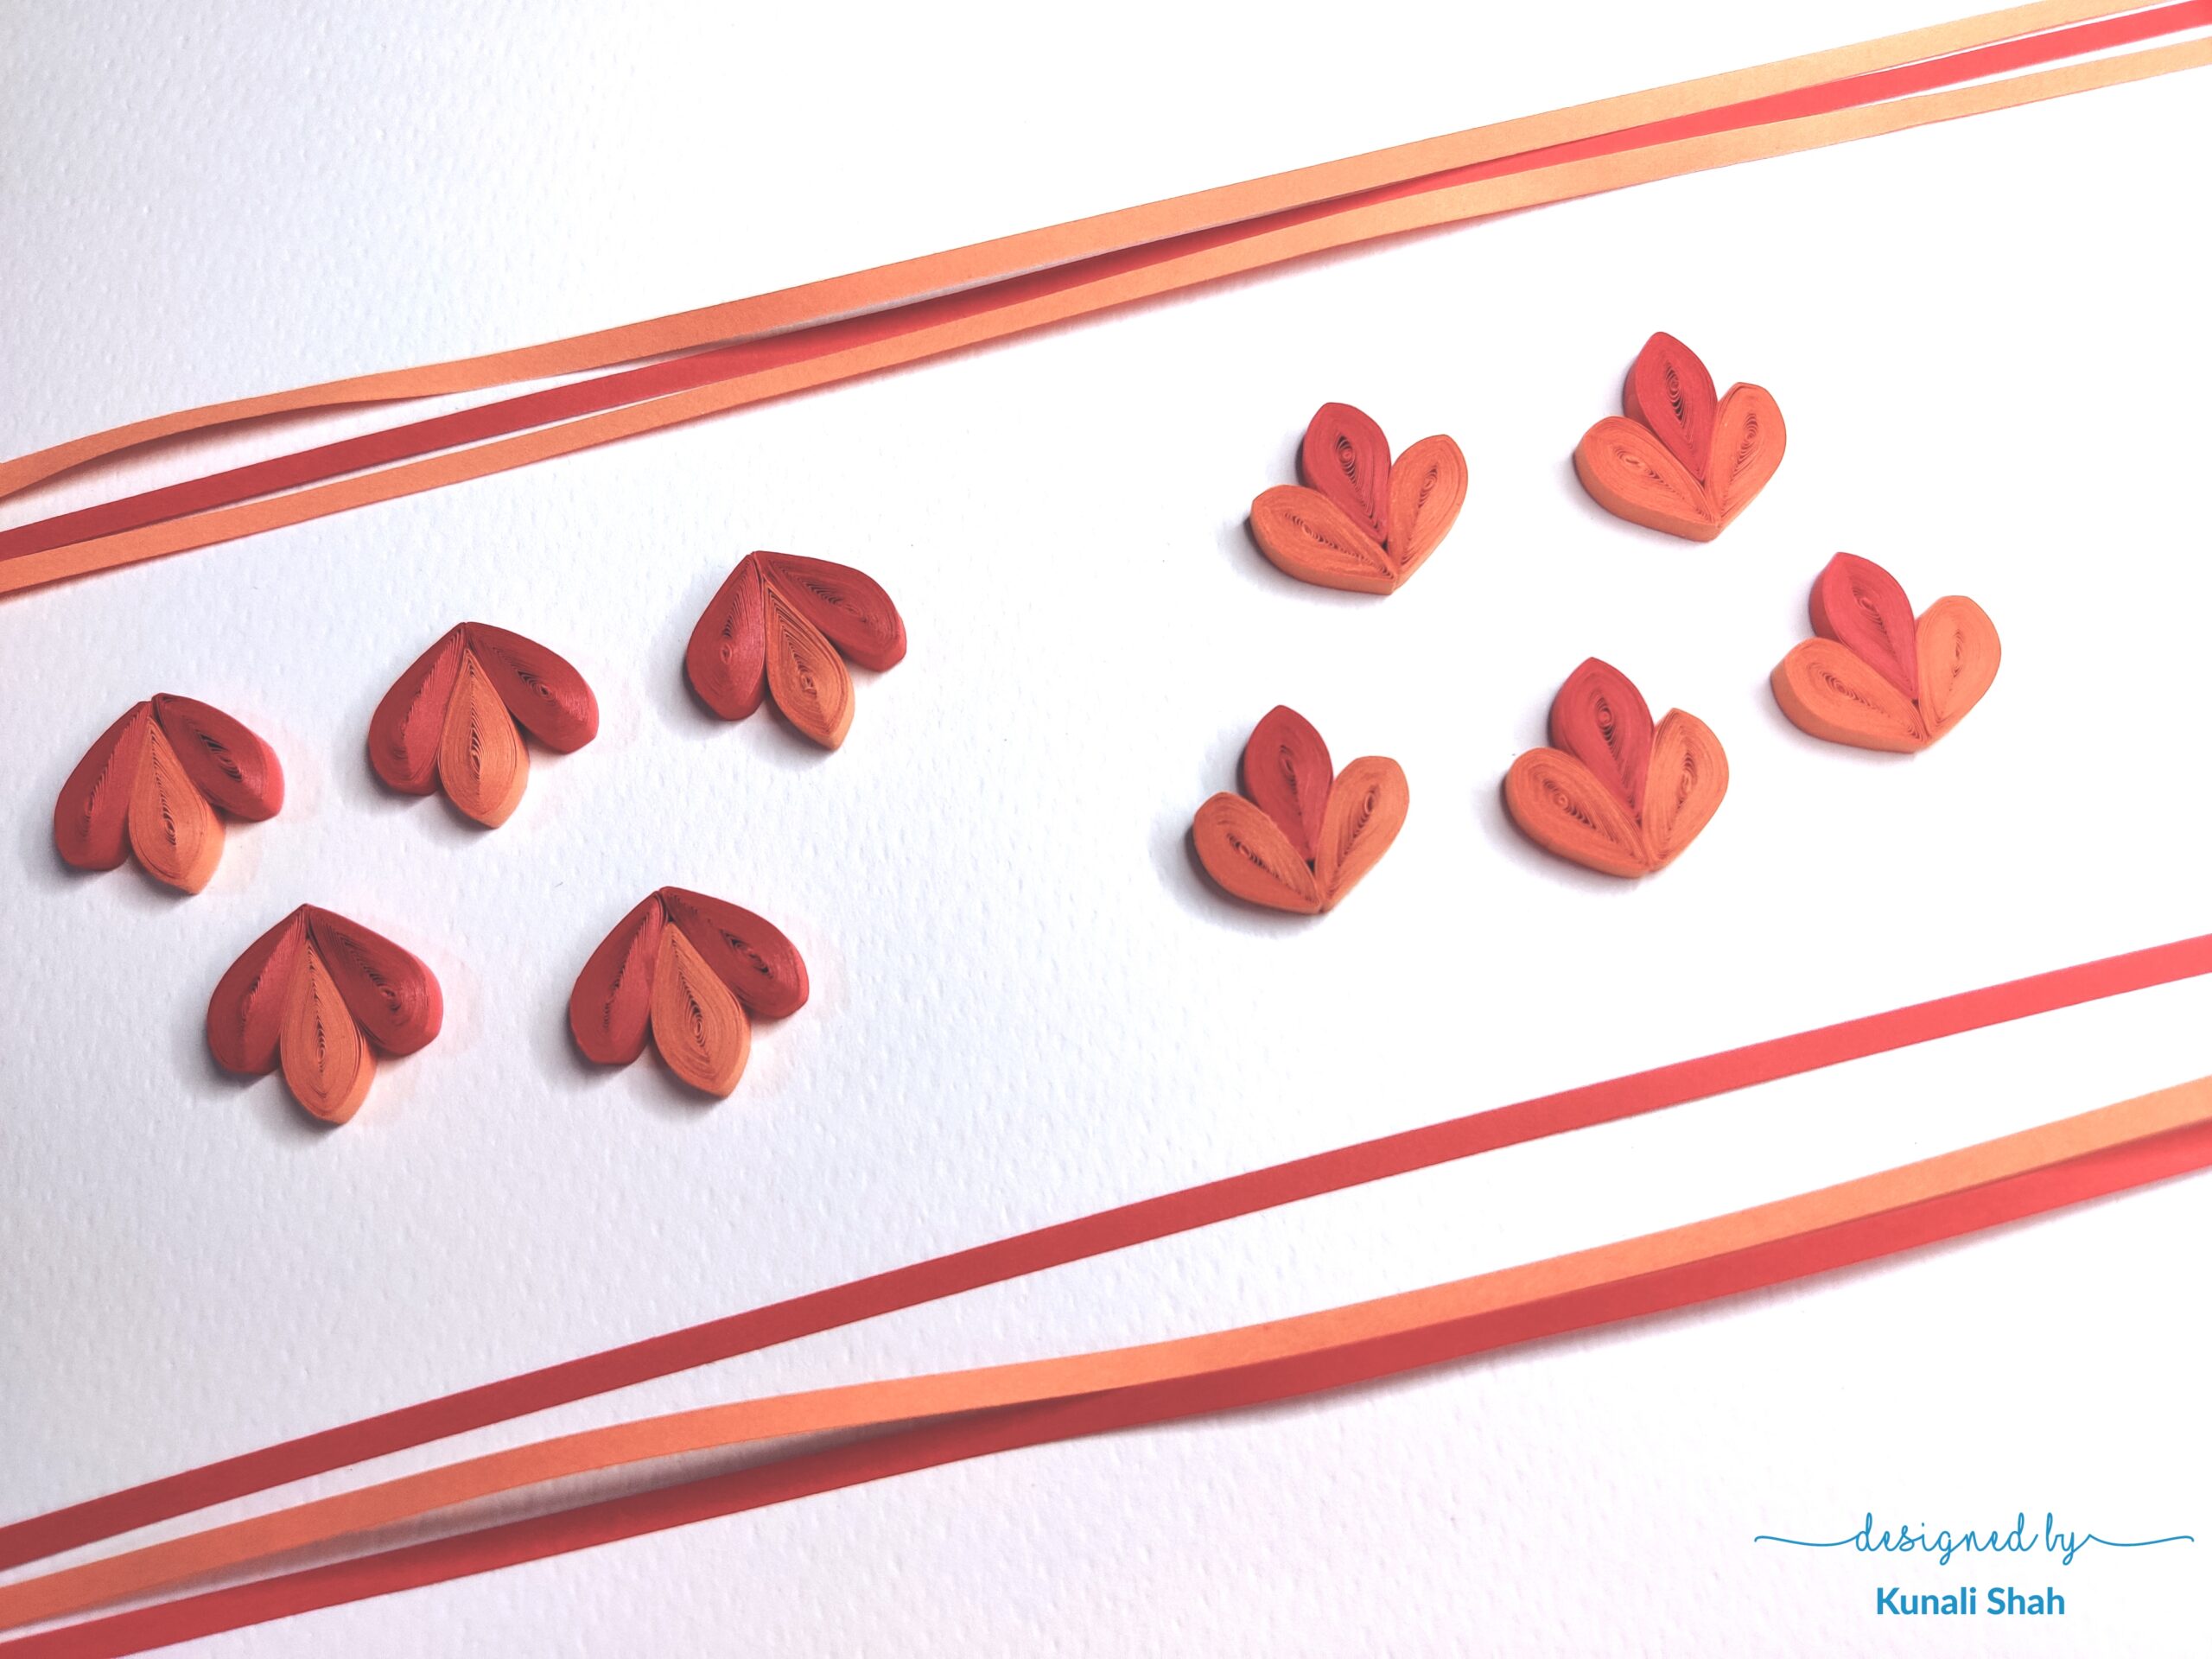
Pinch them to tear drop shapes and stick them together as shown. Make 5 such petals.
With alternating colours, 2 red strips and 1 orange strip, make similar petals and assemble as shown.
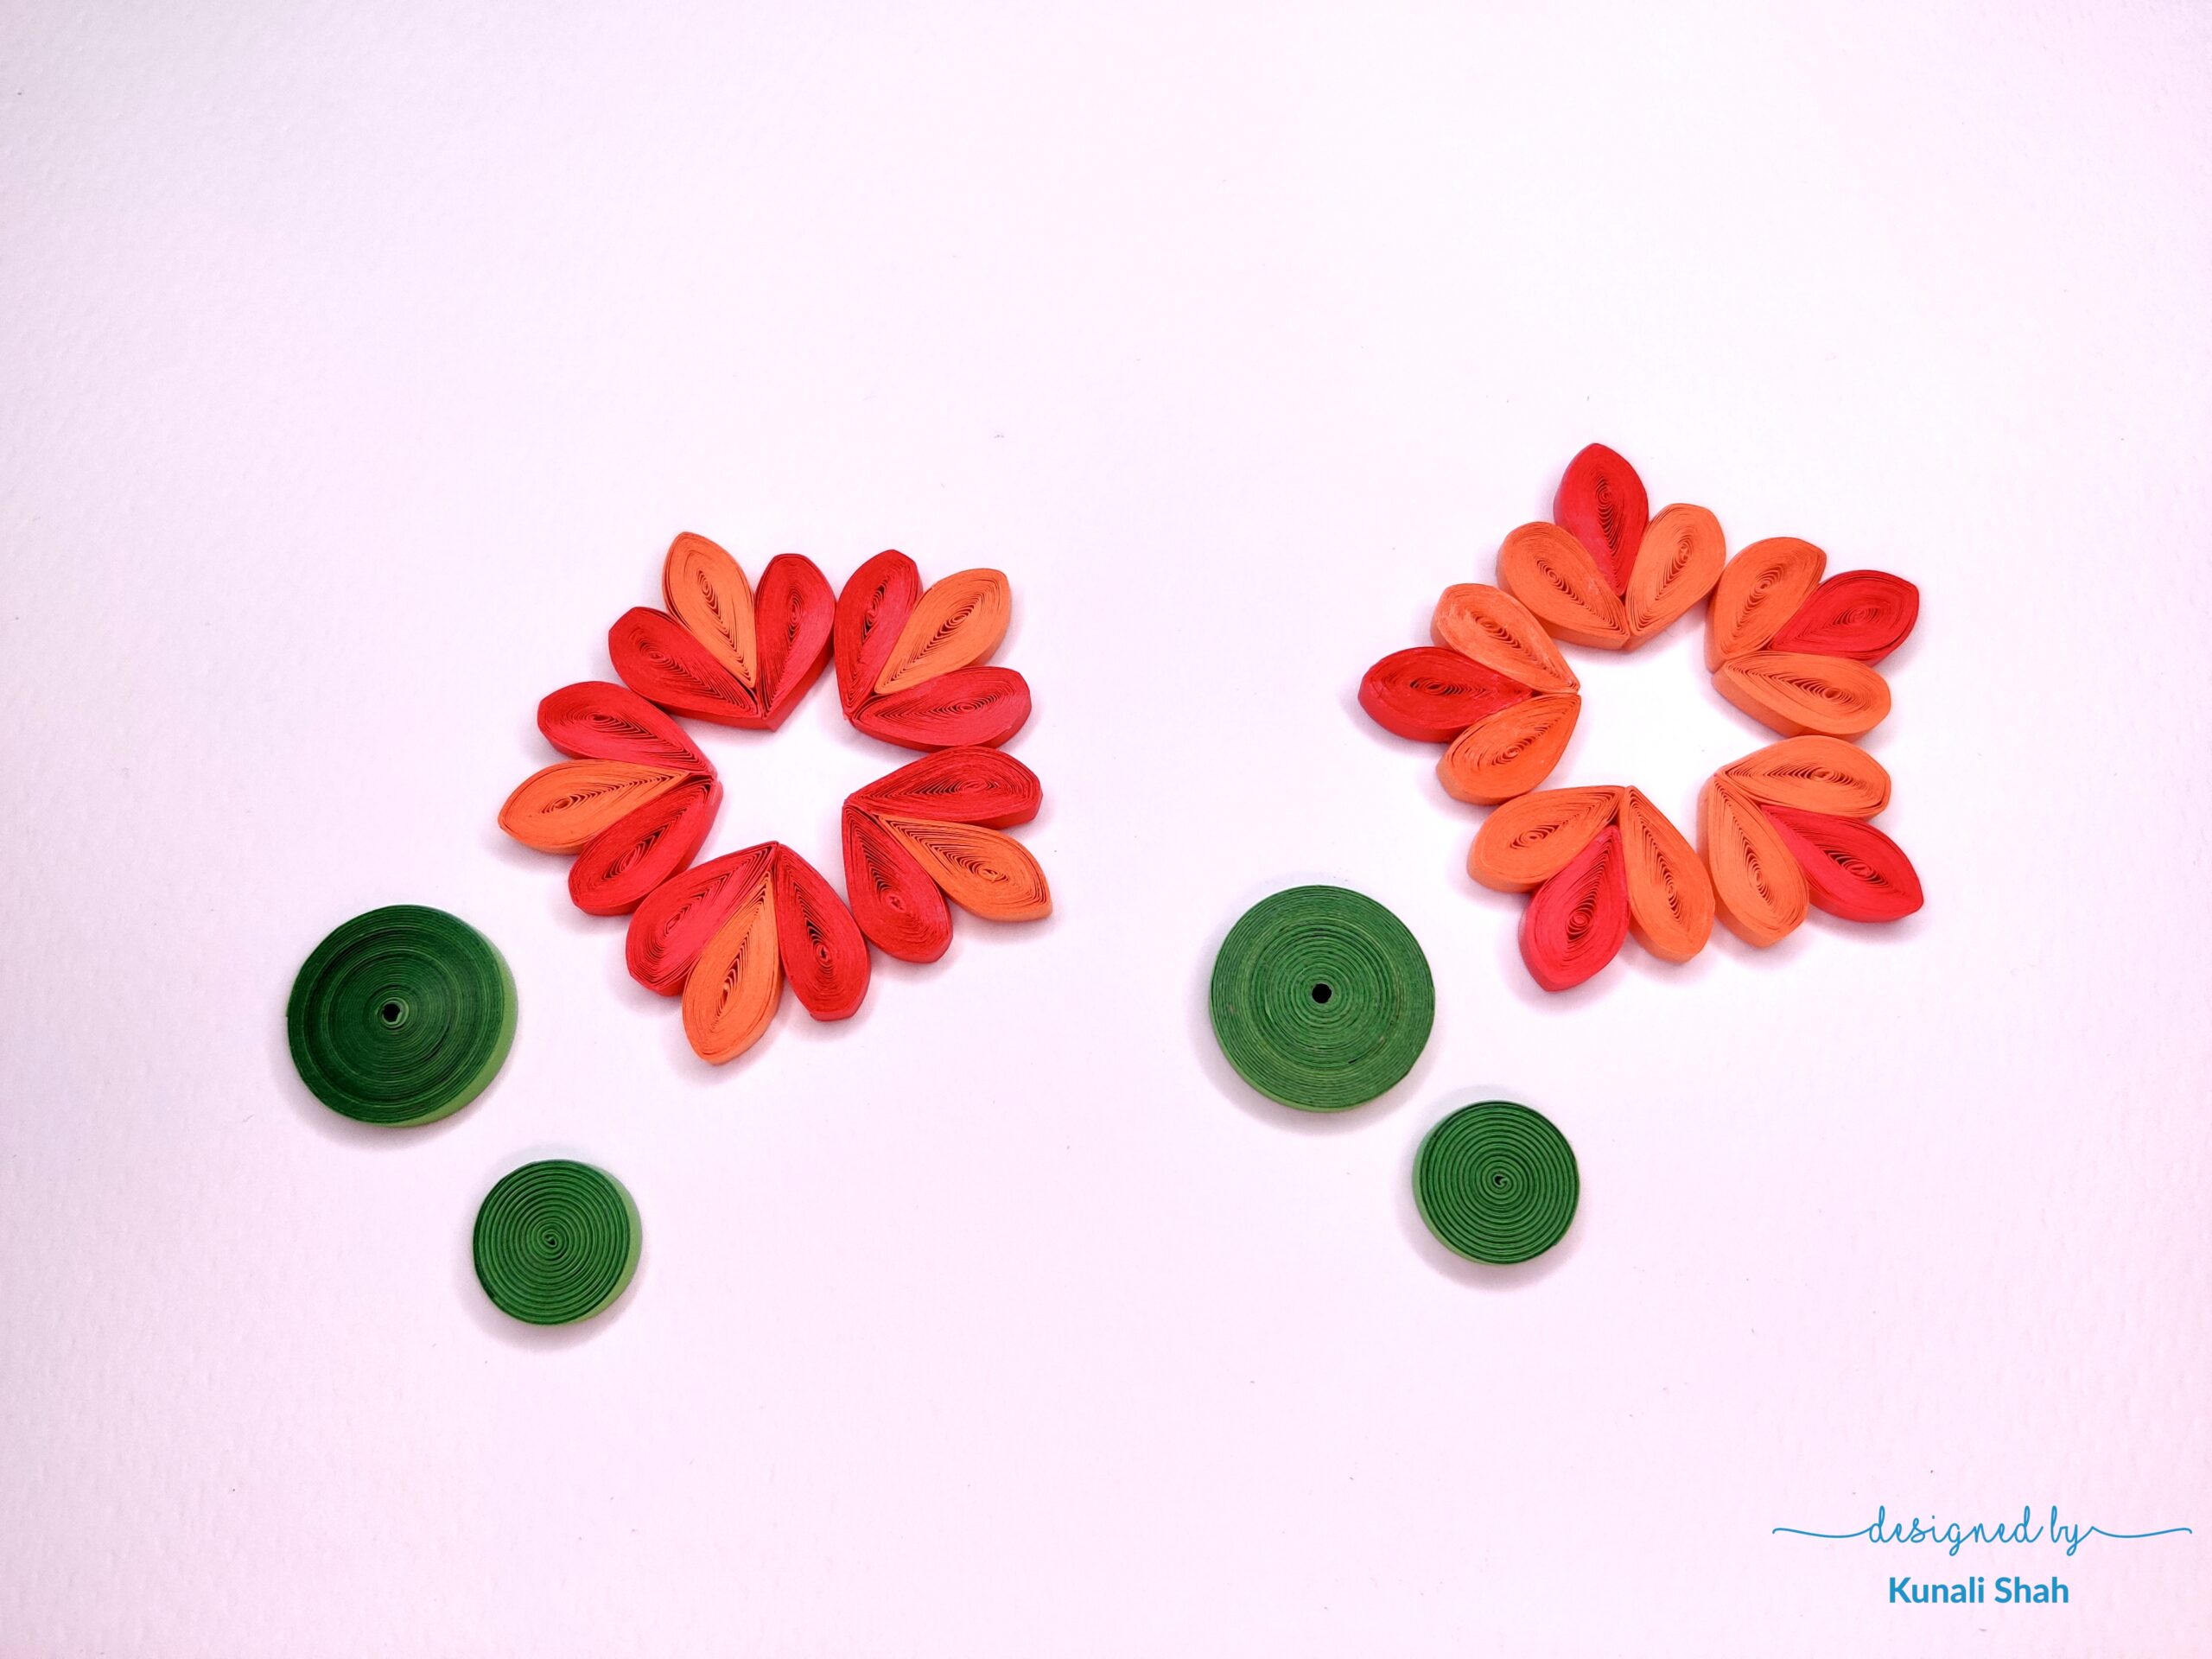
Now, we’ll place them as shown and make a big green roll. I’ve used 4 strips of green. Roll them and make a big bud. This will be a tight roll.

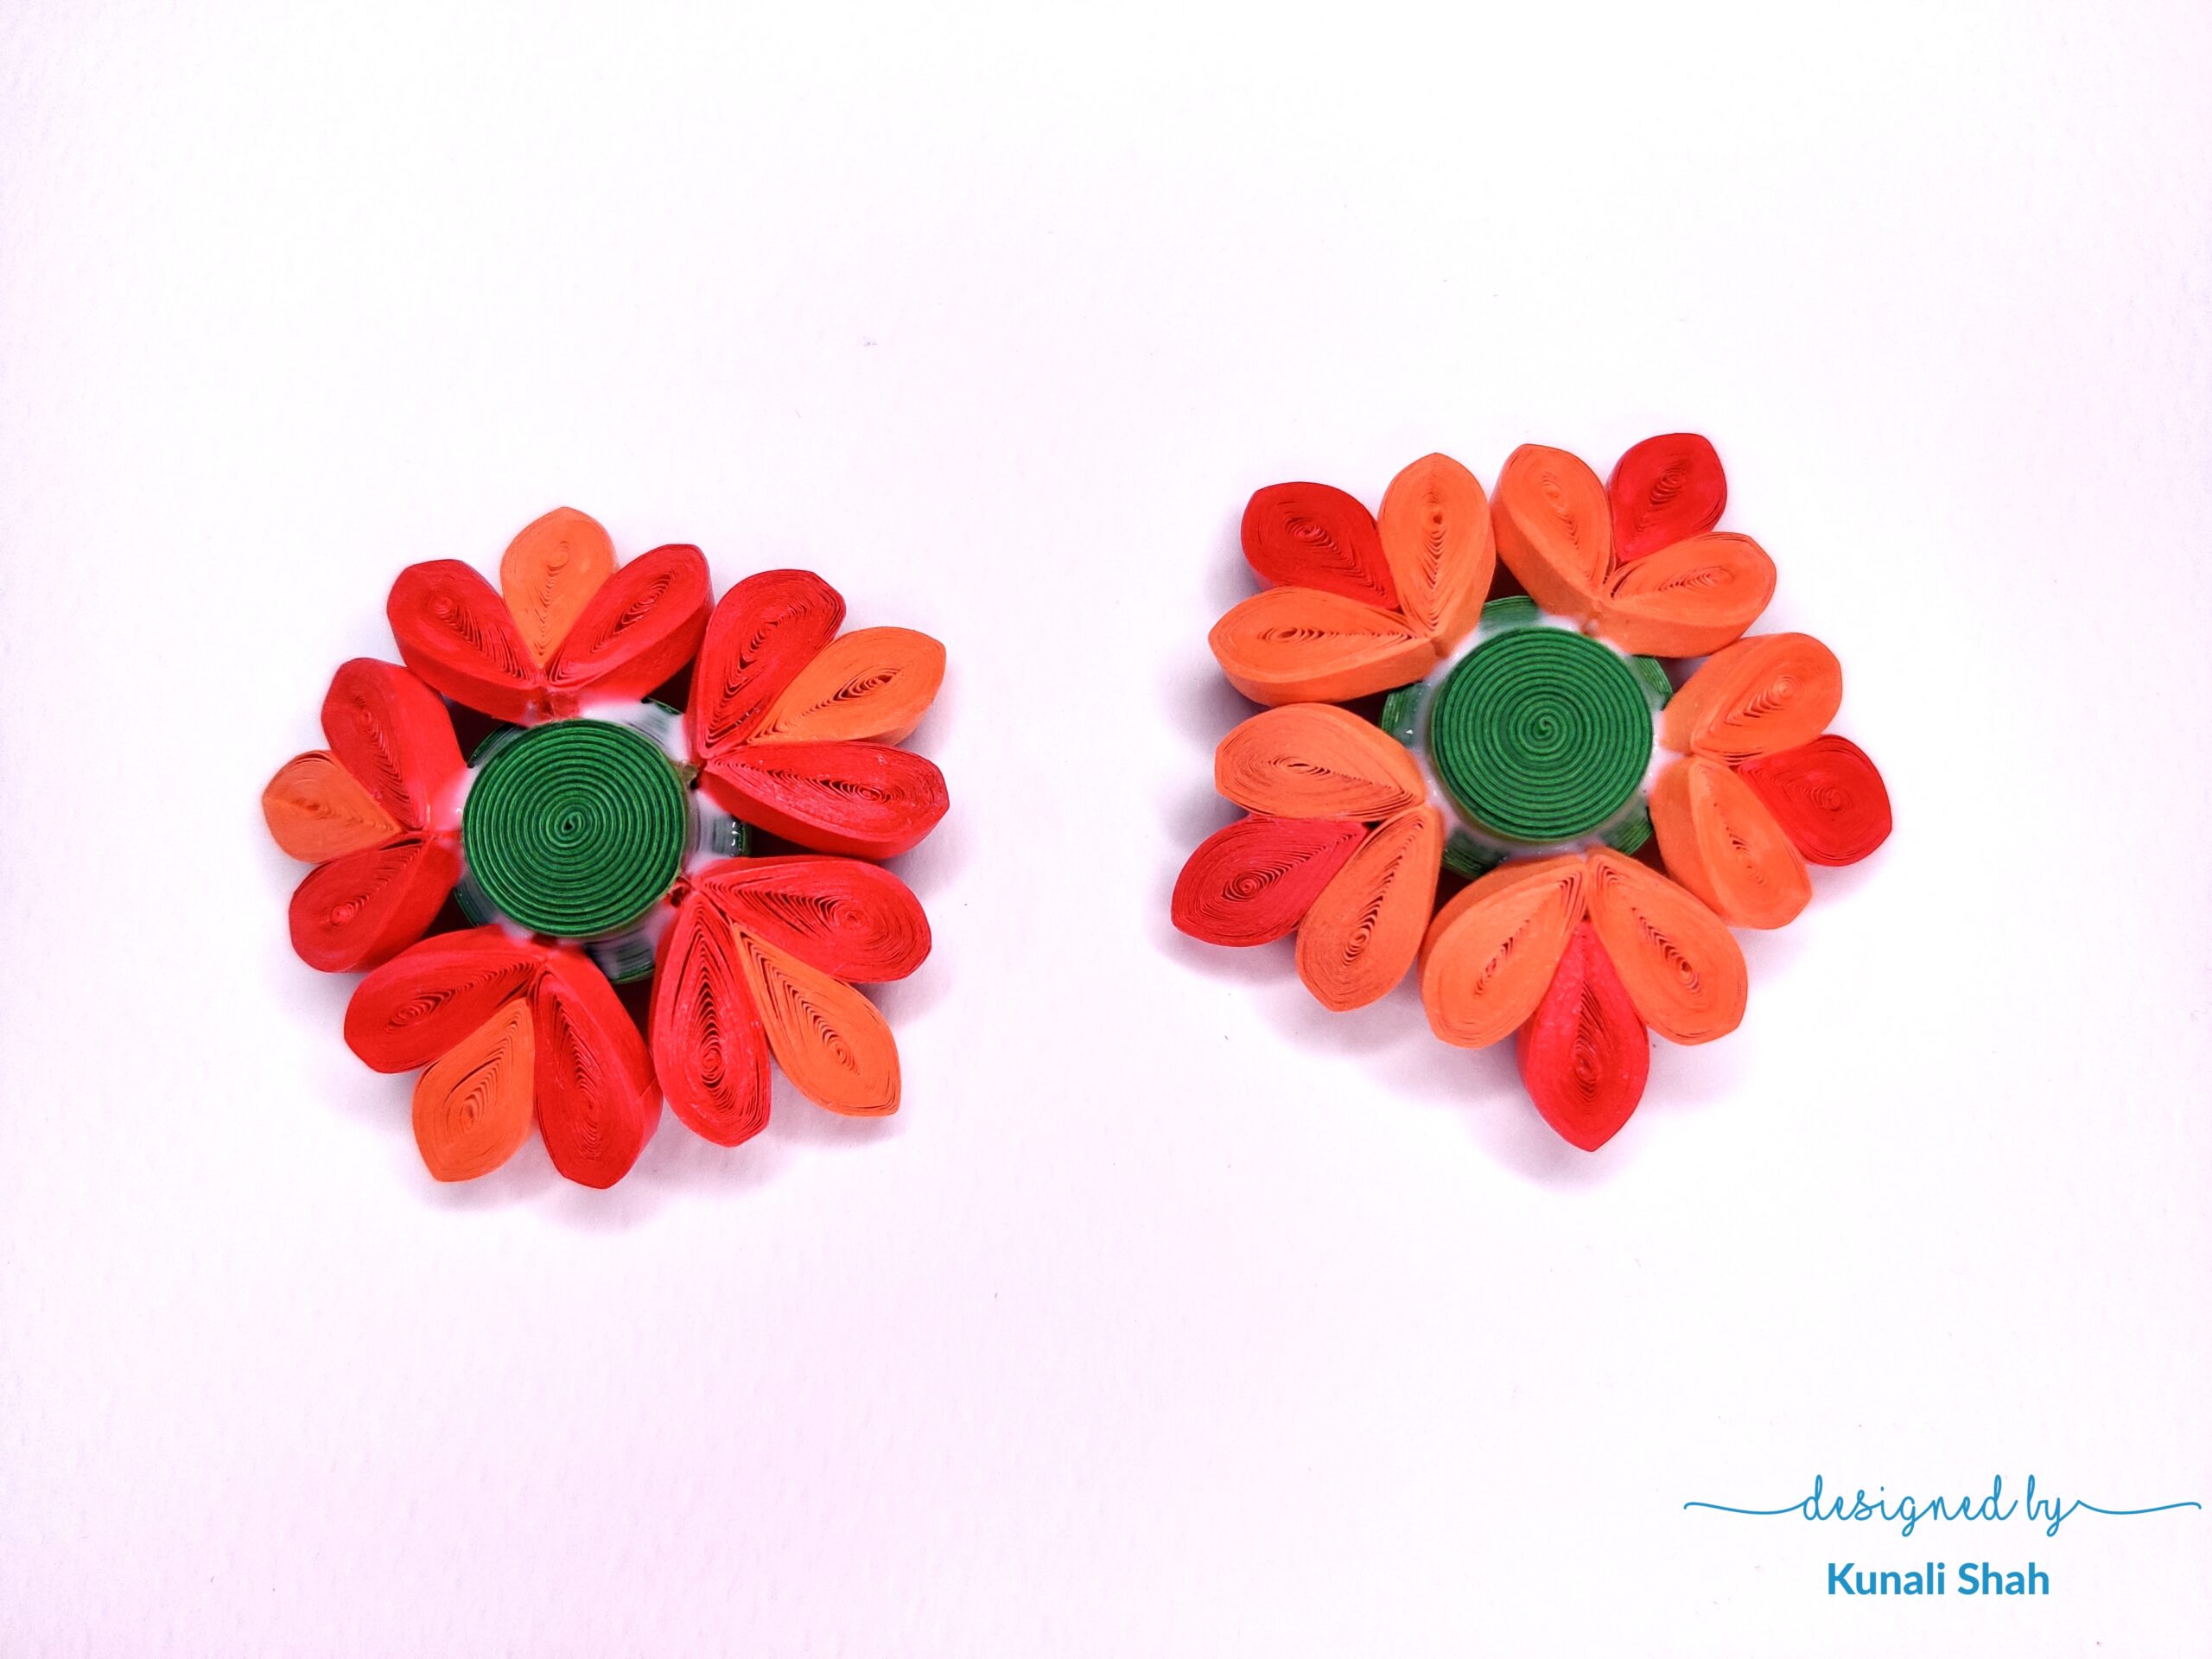
Now, we’ll stick the green roll to the petals and make a flower. But before that, to cover the blank space in between the petals, we’ll make a smaller green roll to place in-between it and it will also give the main bud some support.
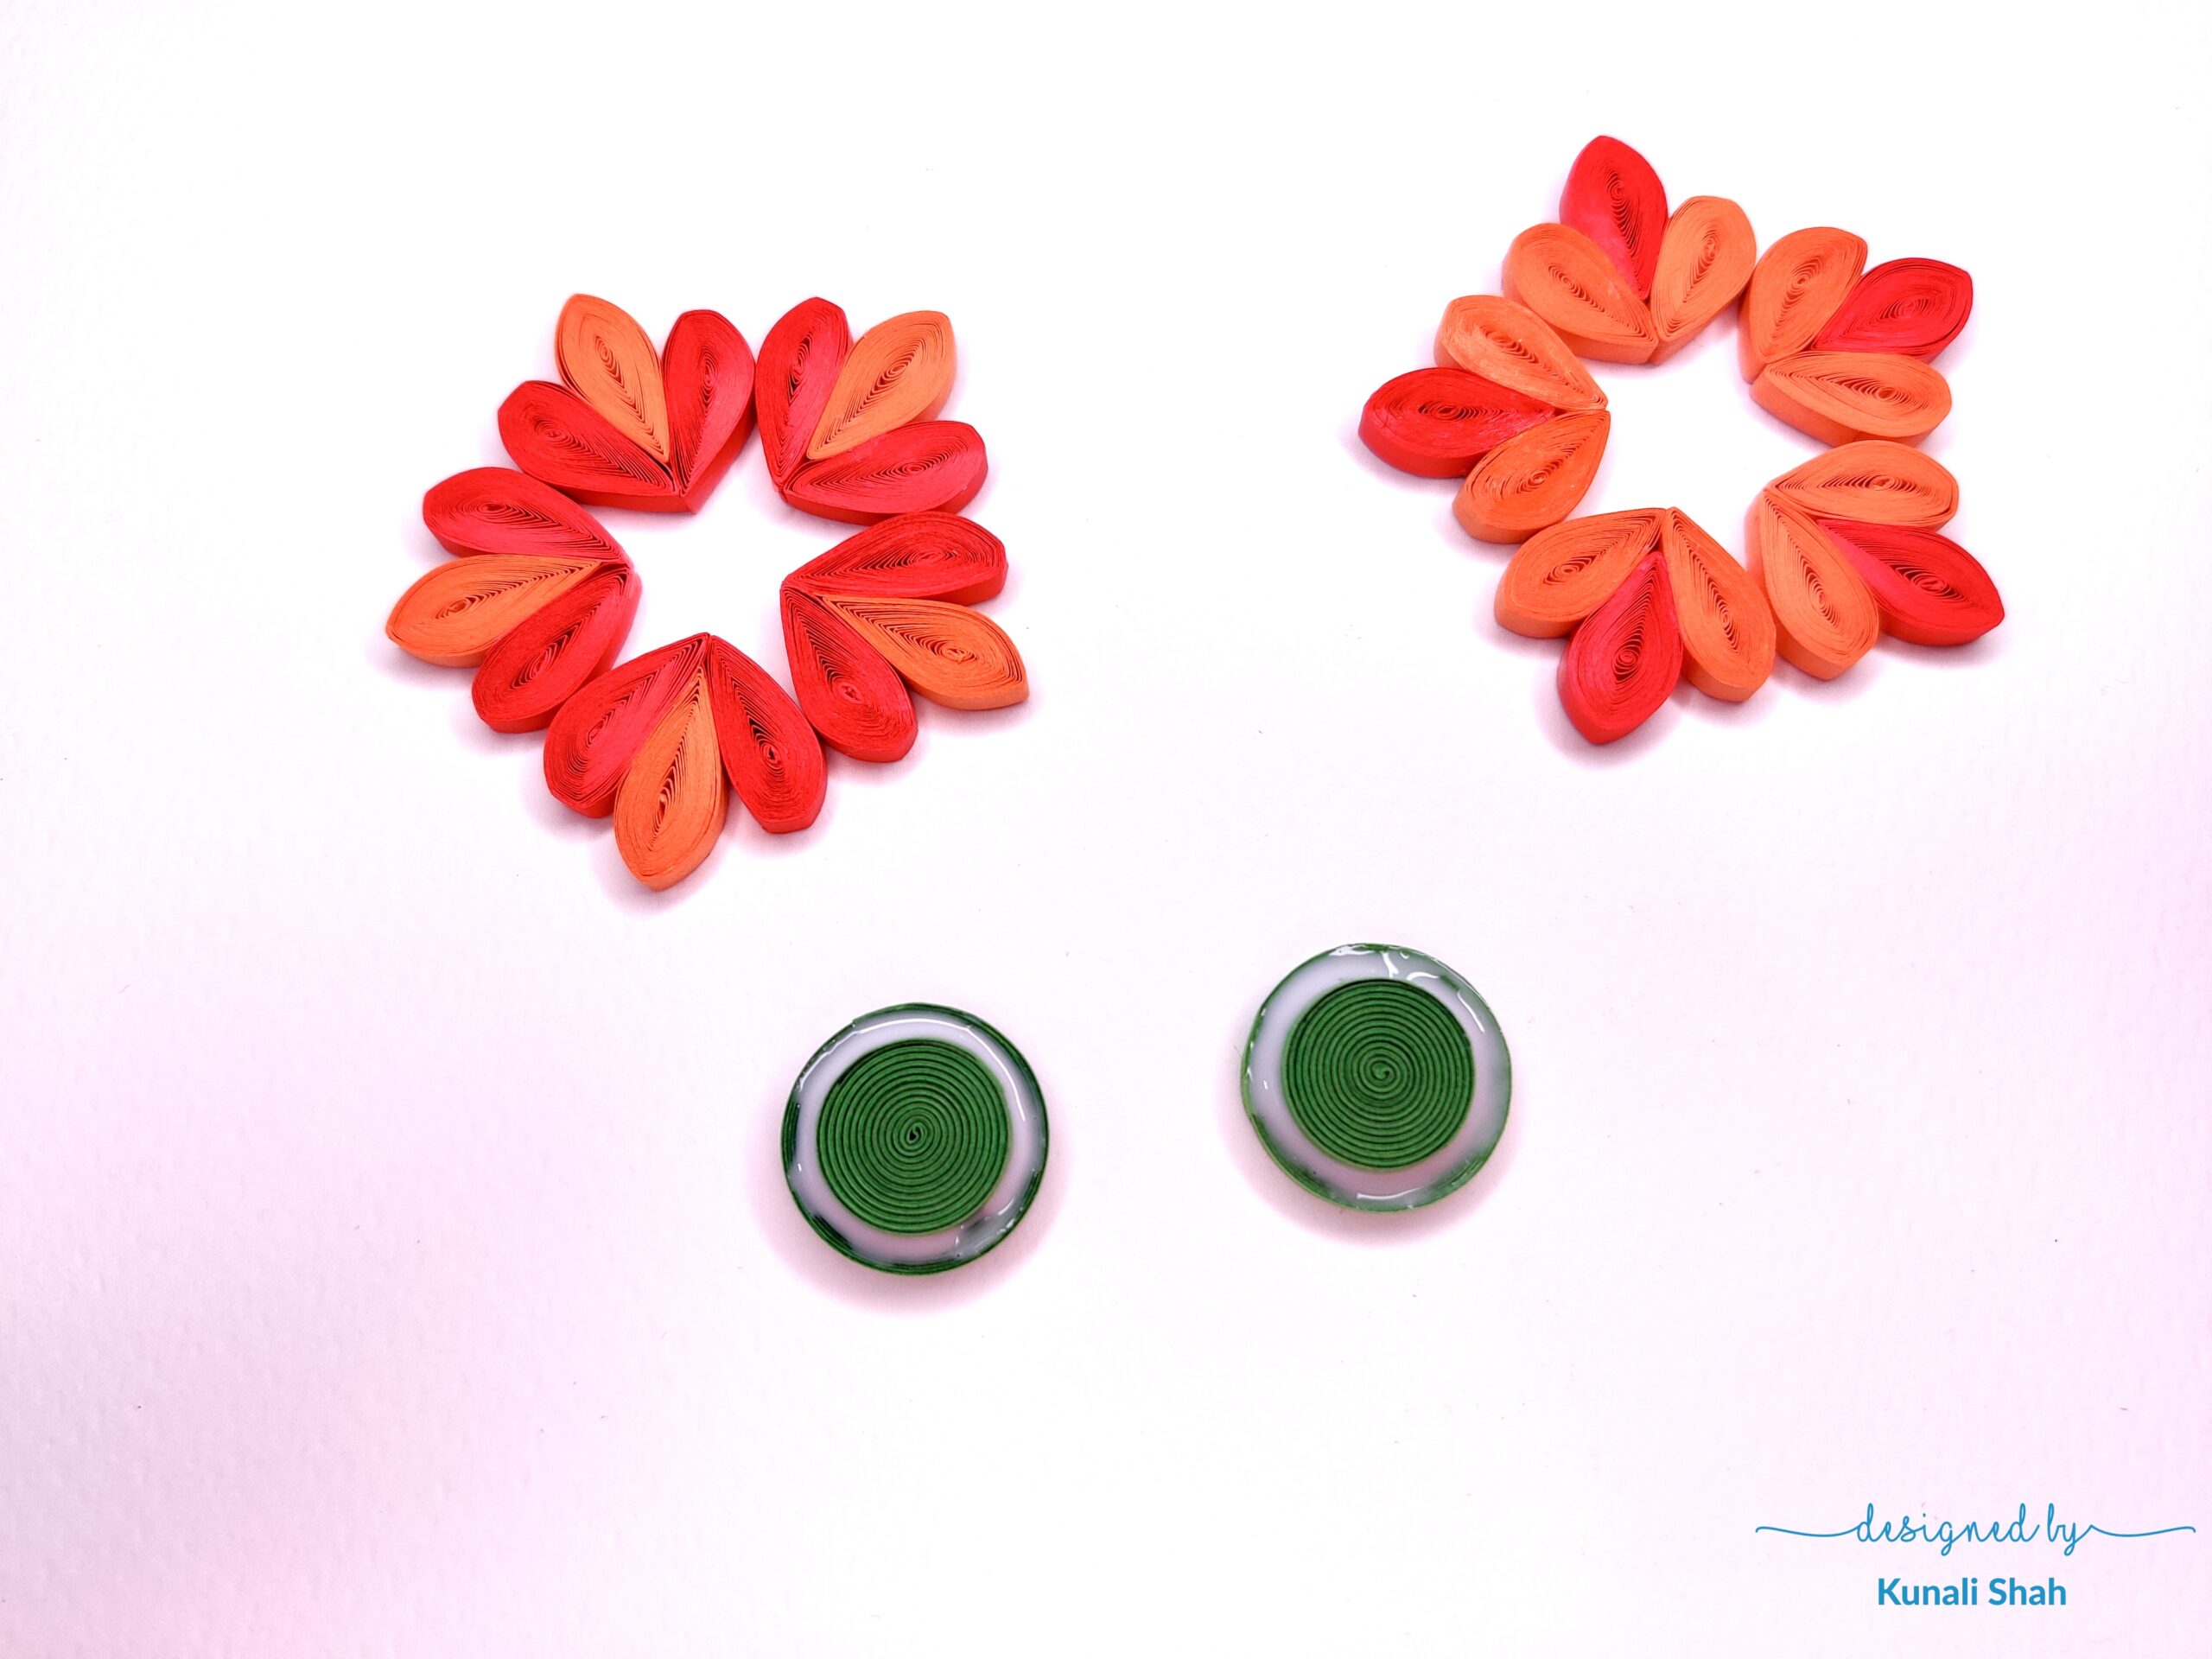
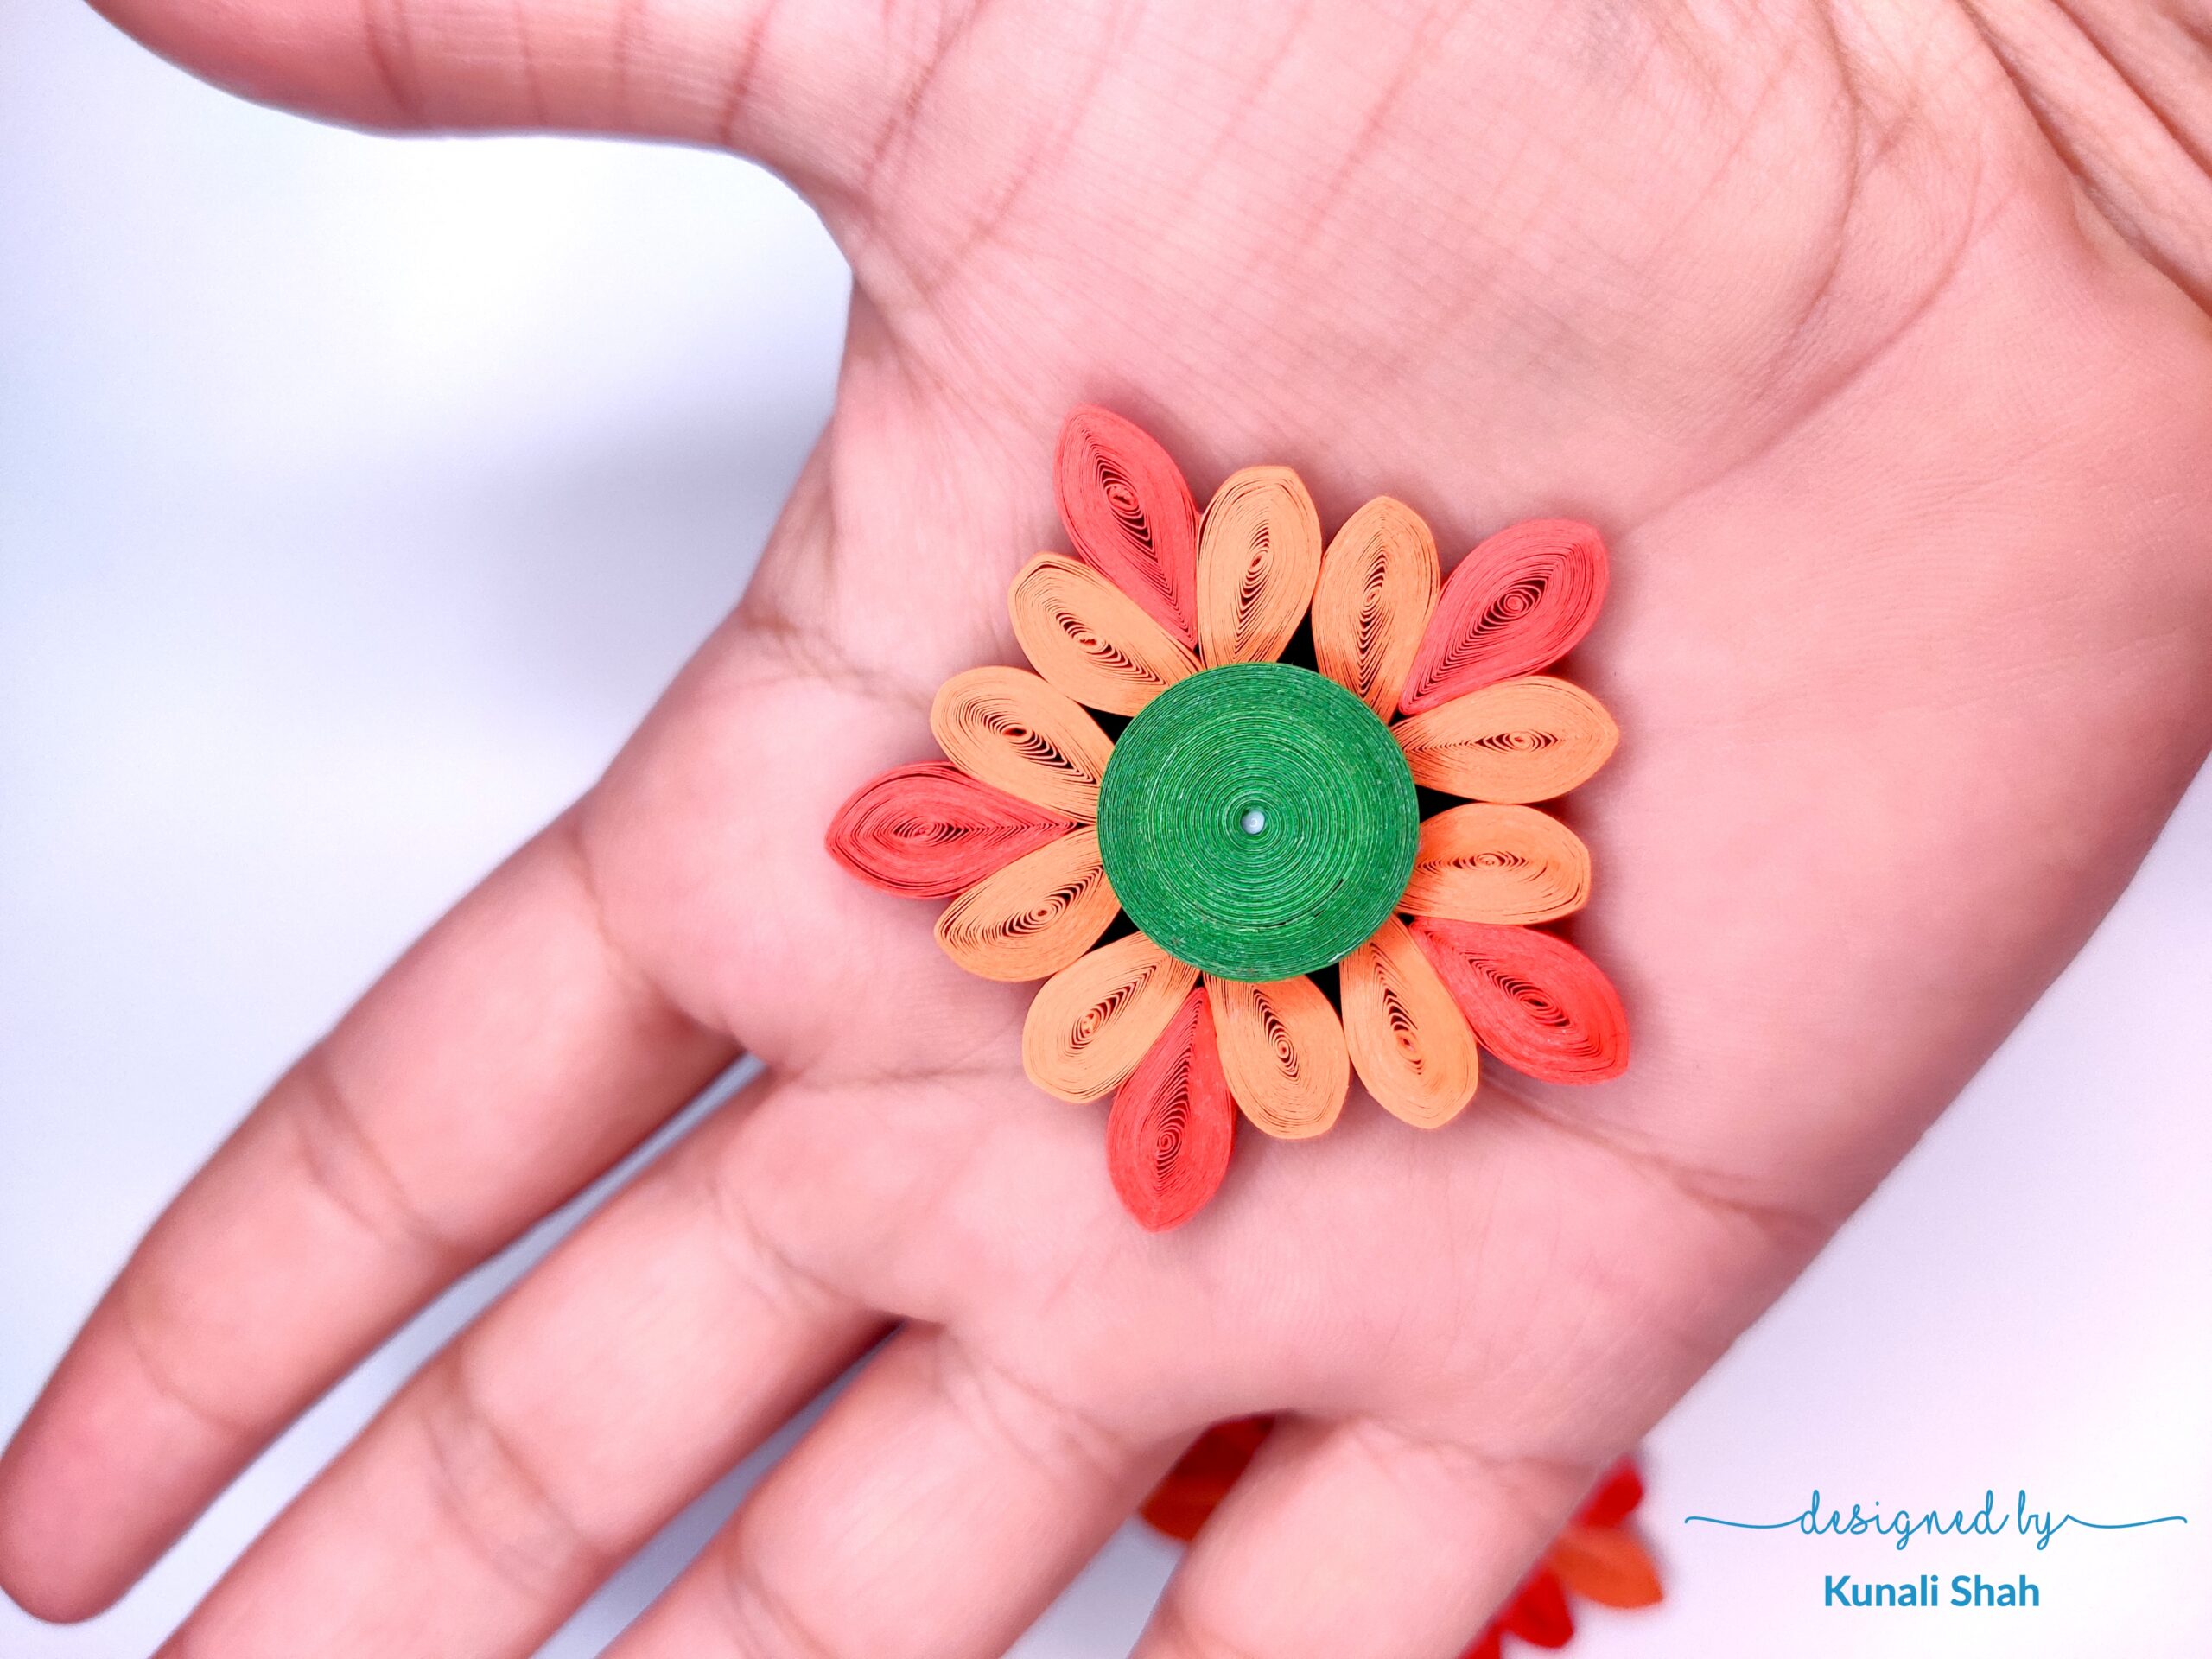
Apply pressure and make sure the petals stick to the bud properly. Once you’re sure the petals are stuck well, put the flower in the palm of your hand and press in the bud. This will make the flower into a conical shape and give it a 3D effect.
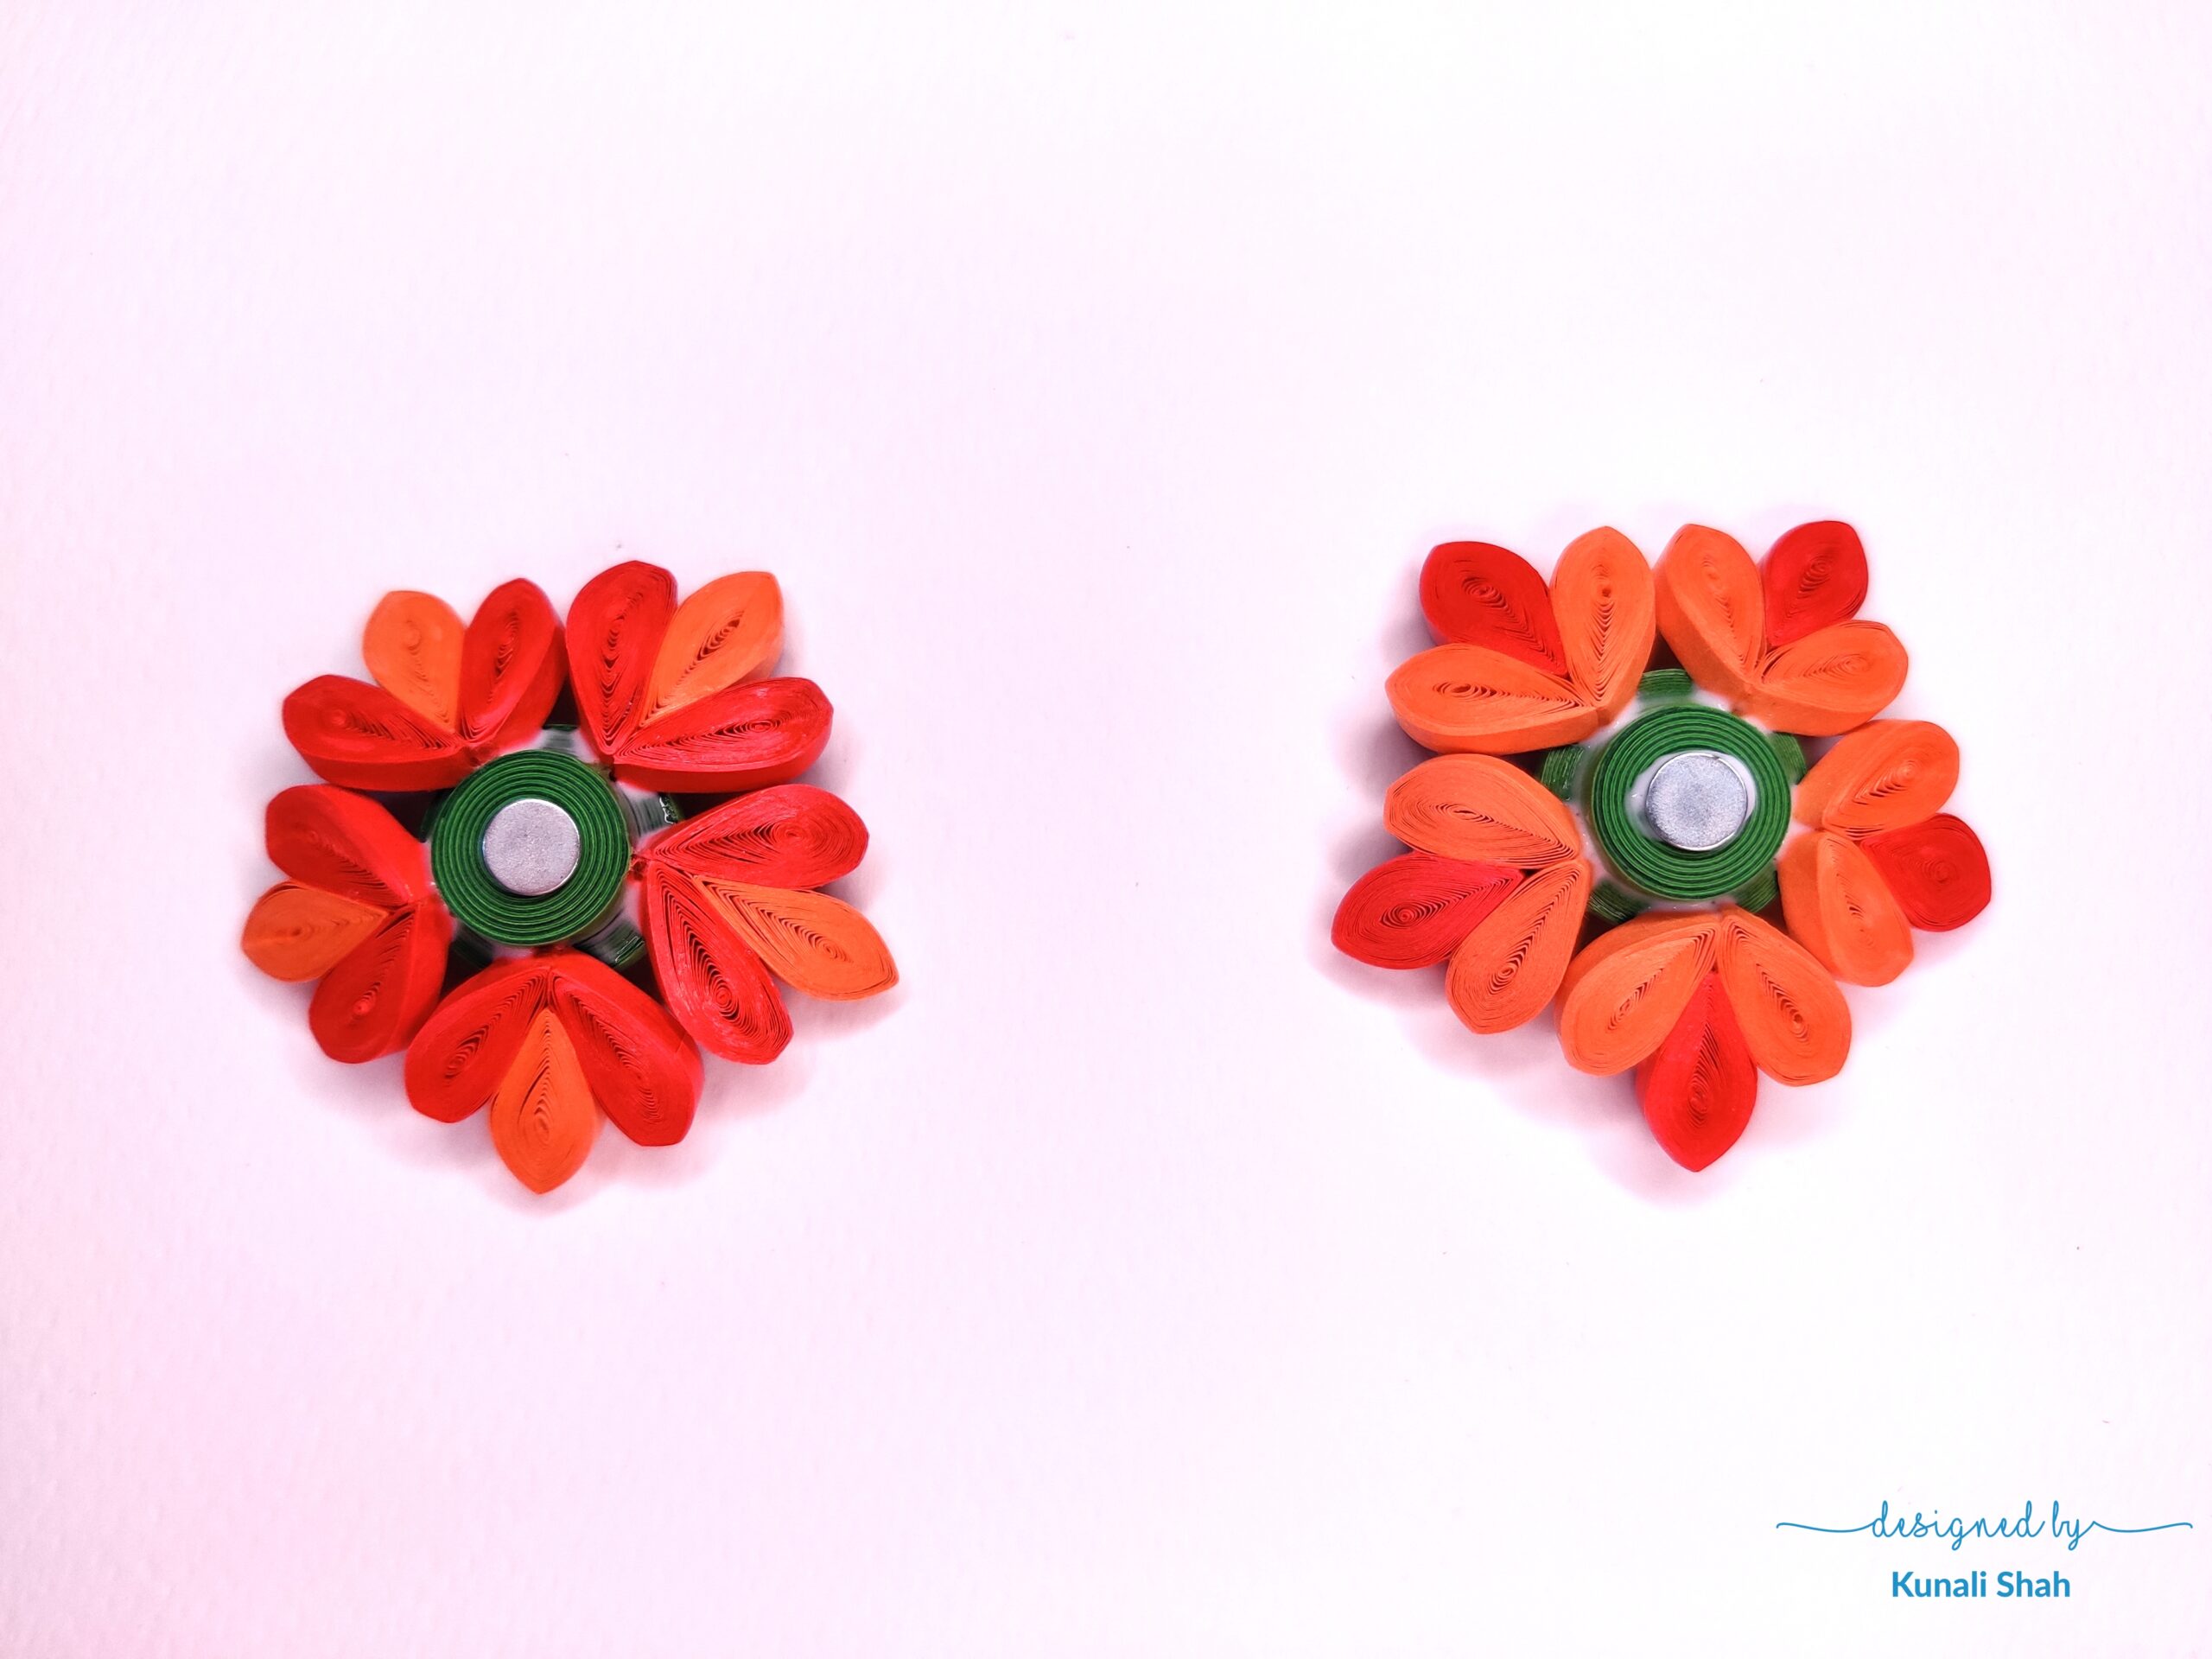
Once 2 such flowers are ready, we’ll assemble them together. For this step, I’ve stuck 2 tiny magnets behind each of the flowers. Wait for it to dry.
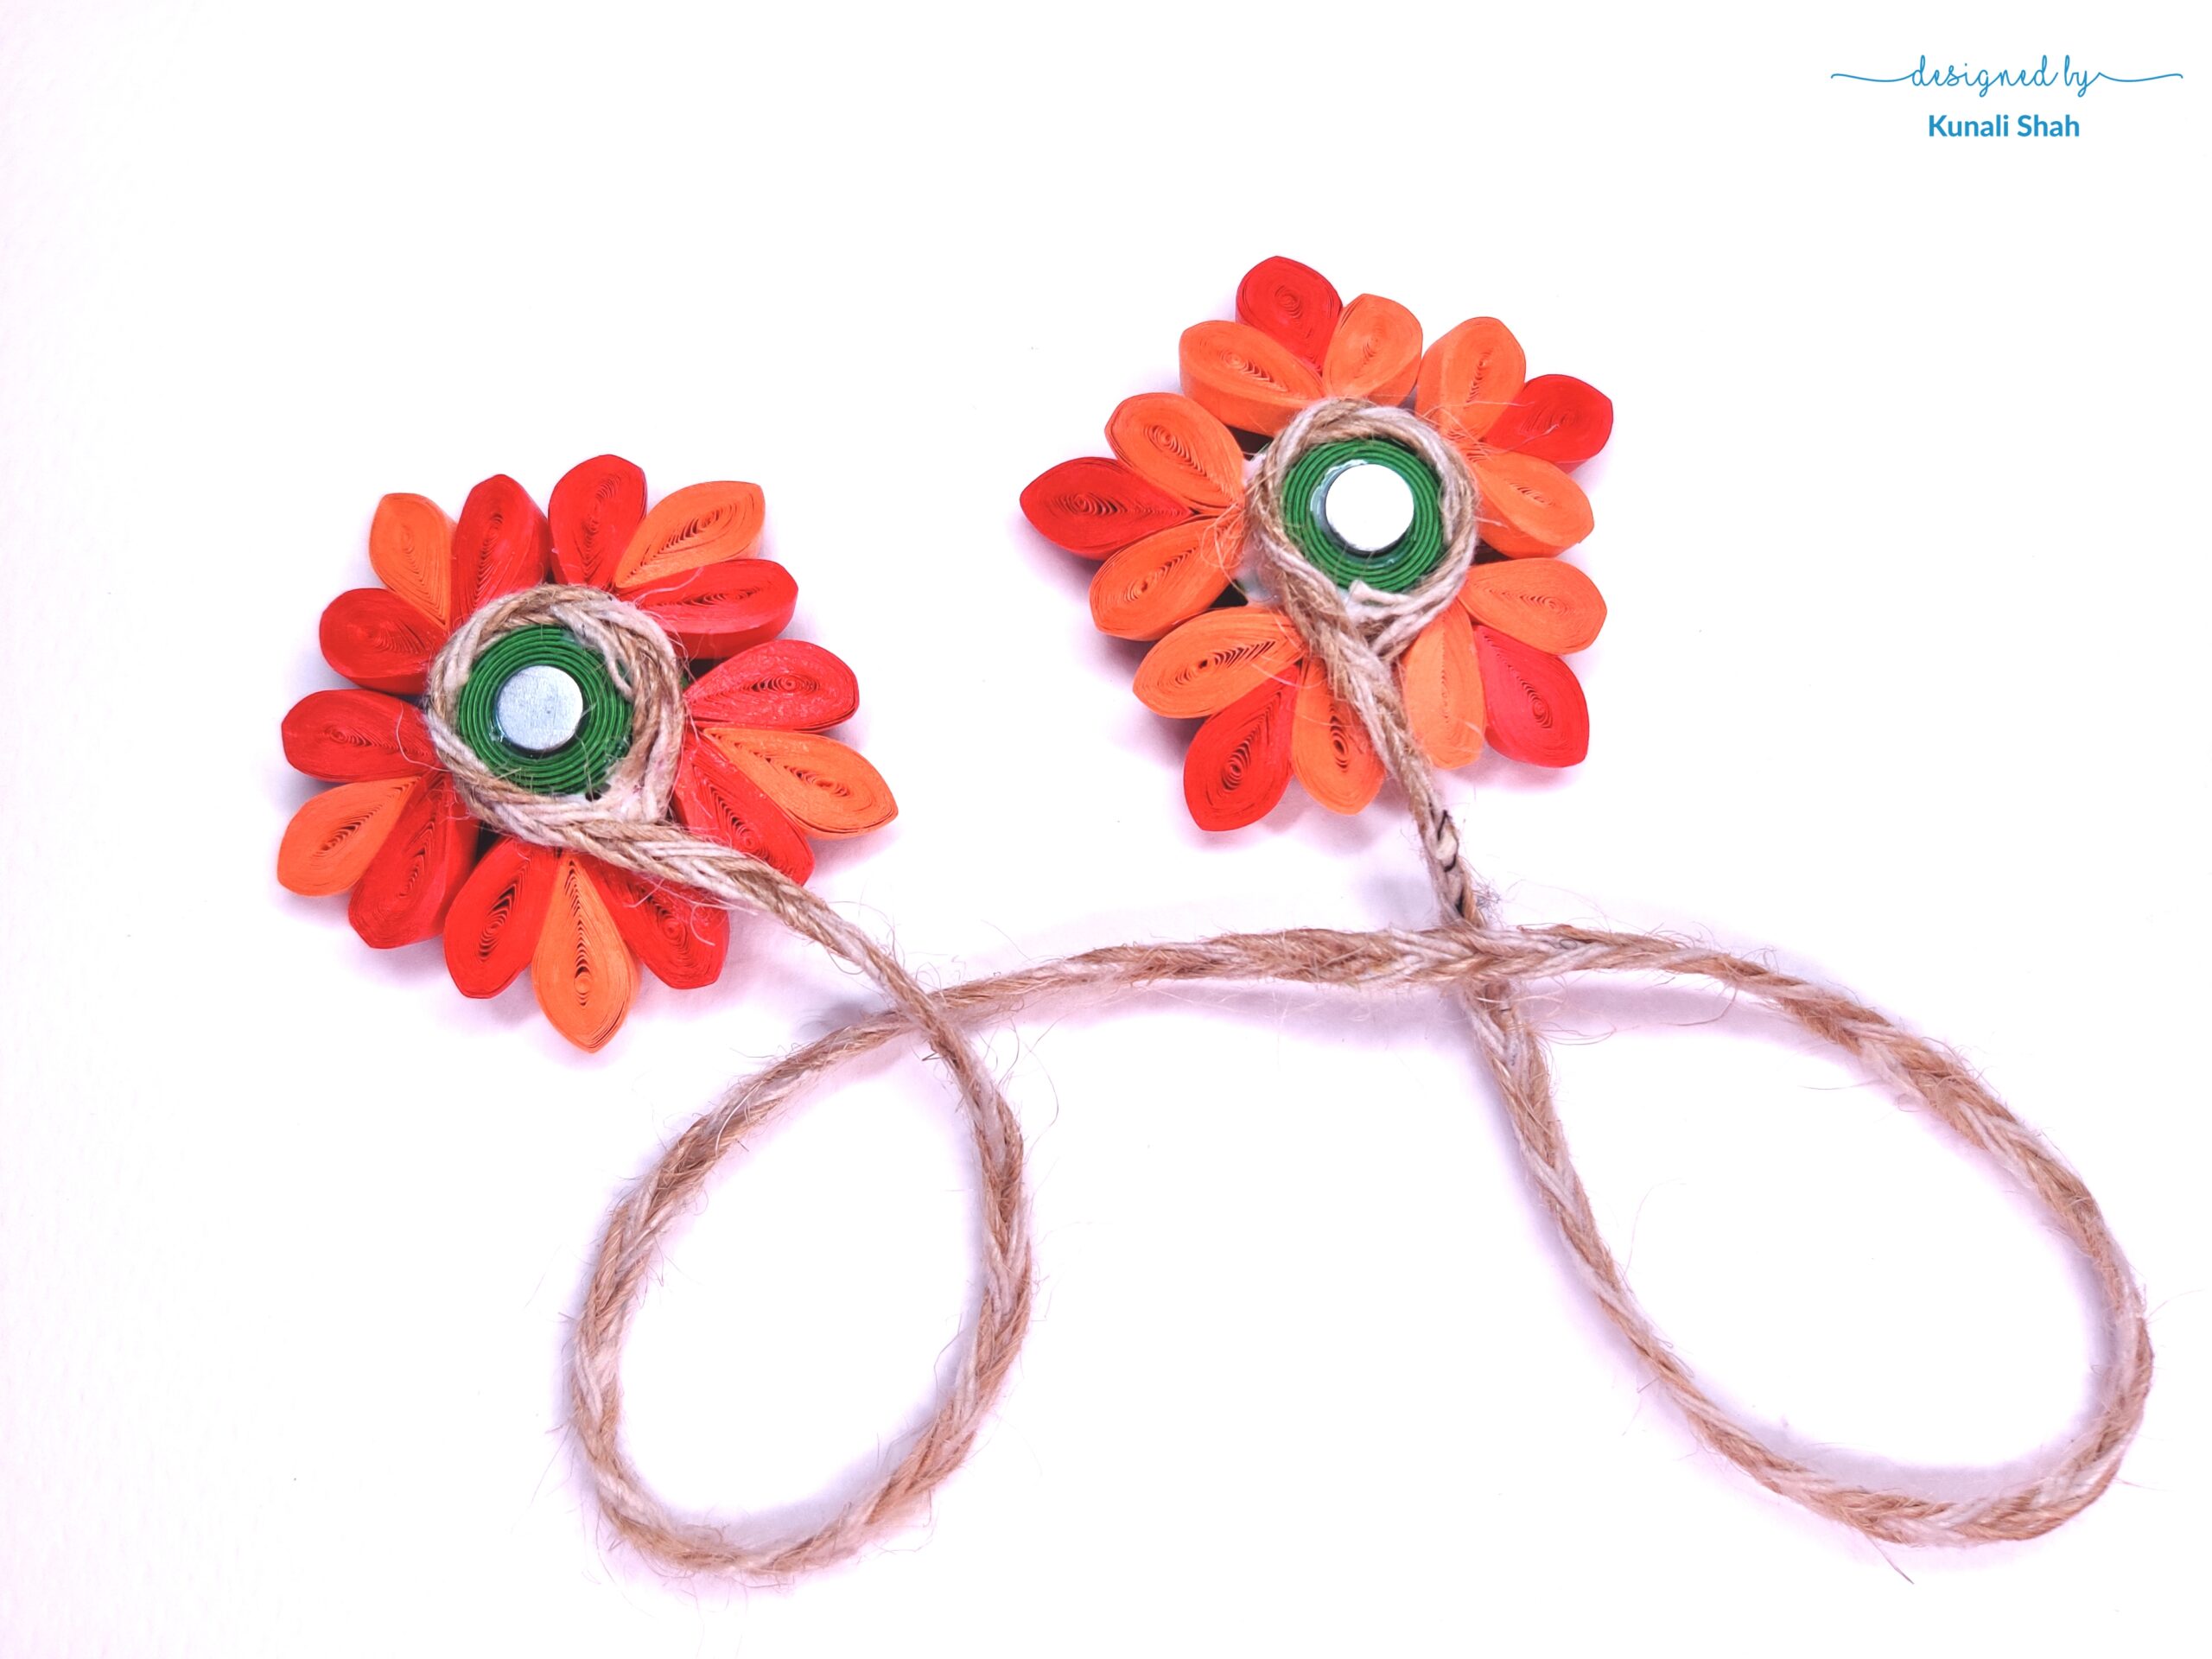
Once it’s properly dried, apply glue to the sides and stick a piece of twine between both the flowers. Allow it to dry properly.

Spray varnish on top of these flowers once they’ve dried to make these last longer and so that they don’t loose their colour in the sun.
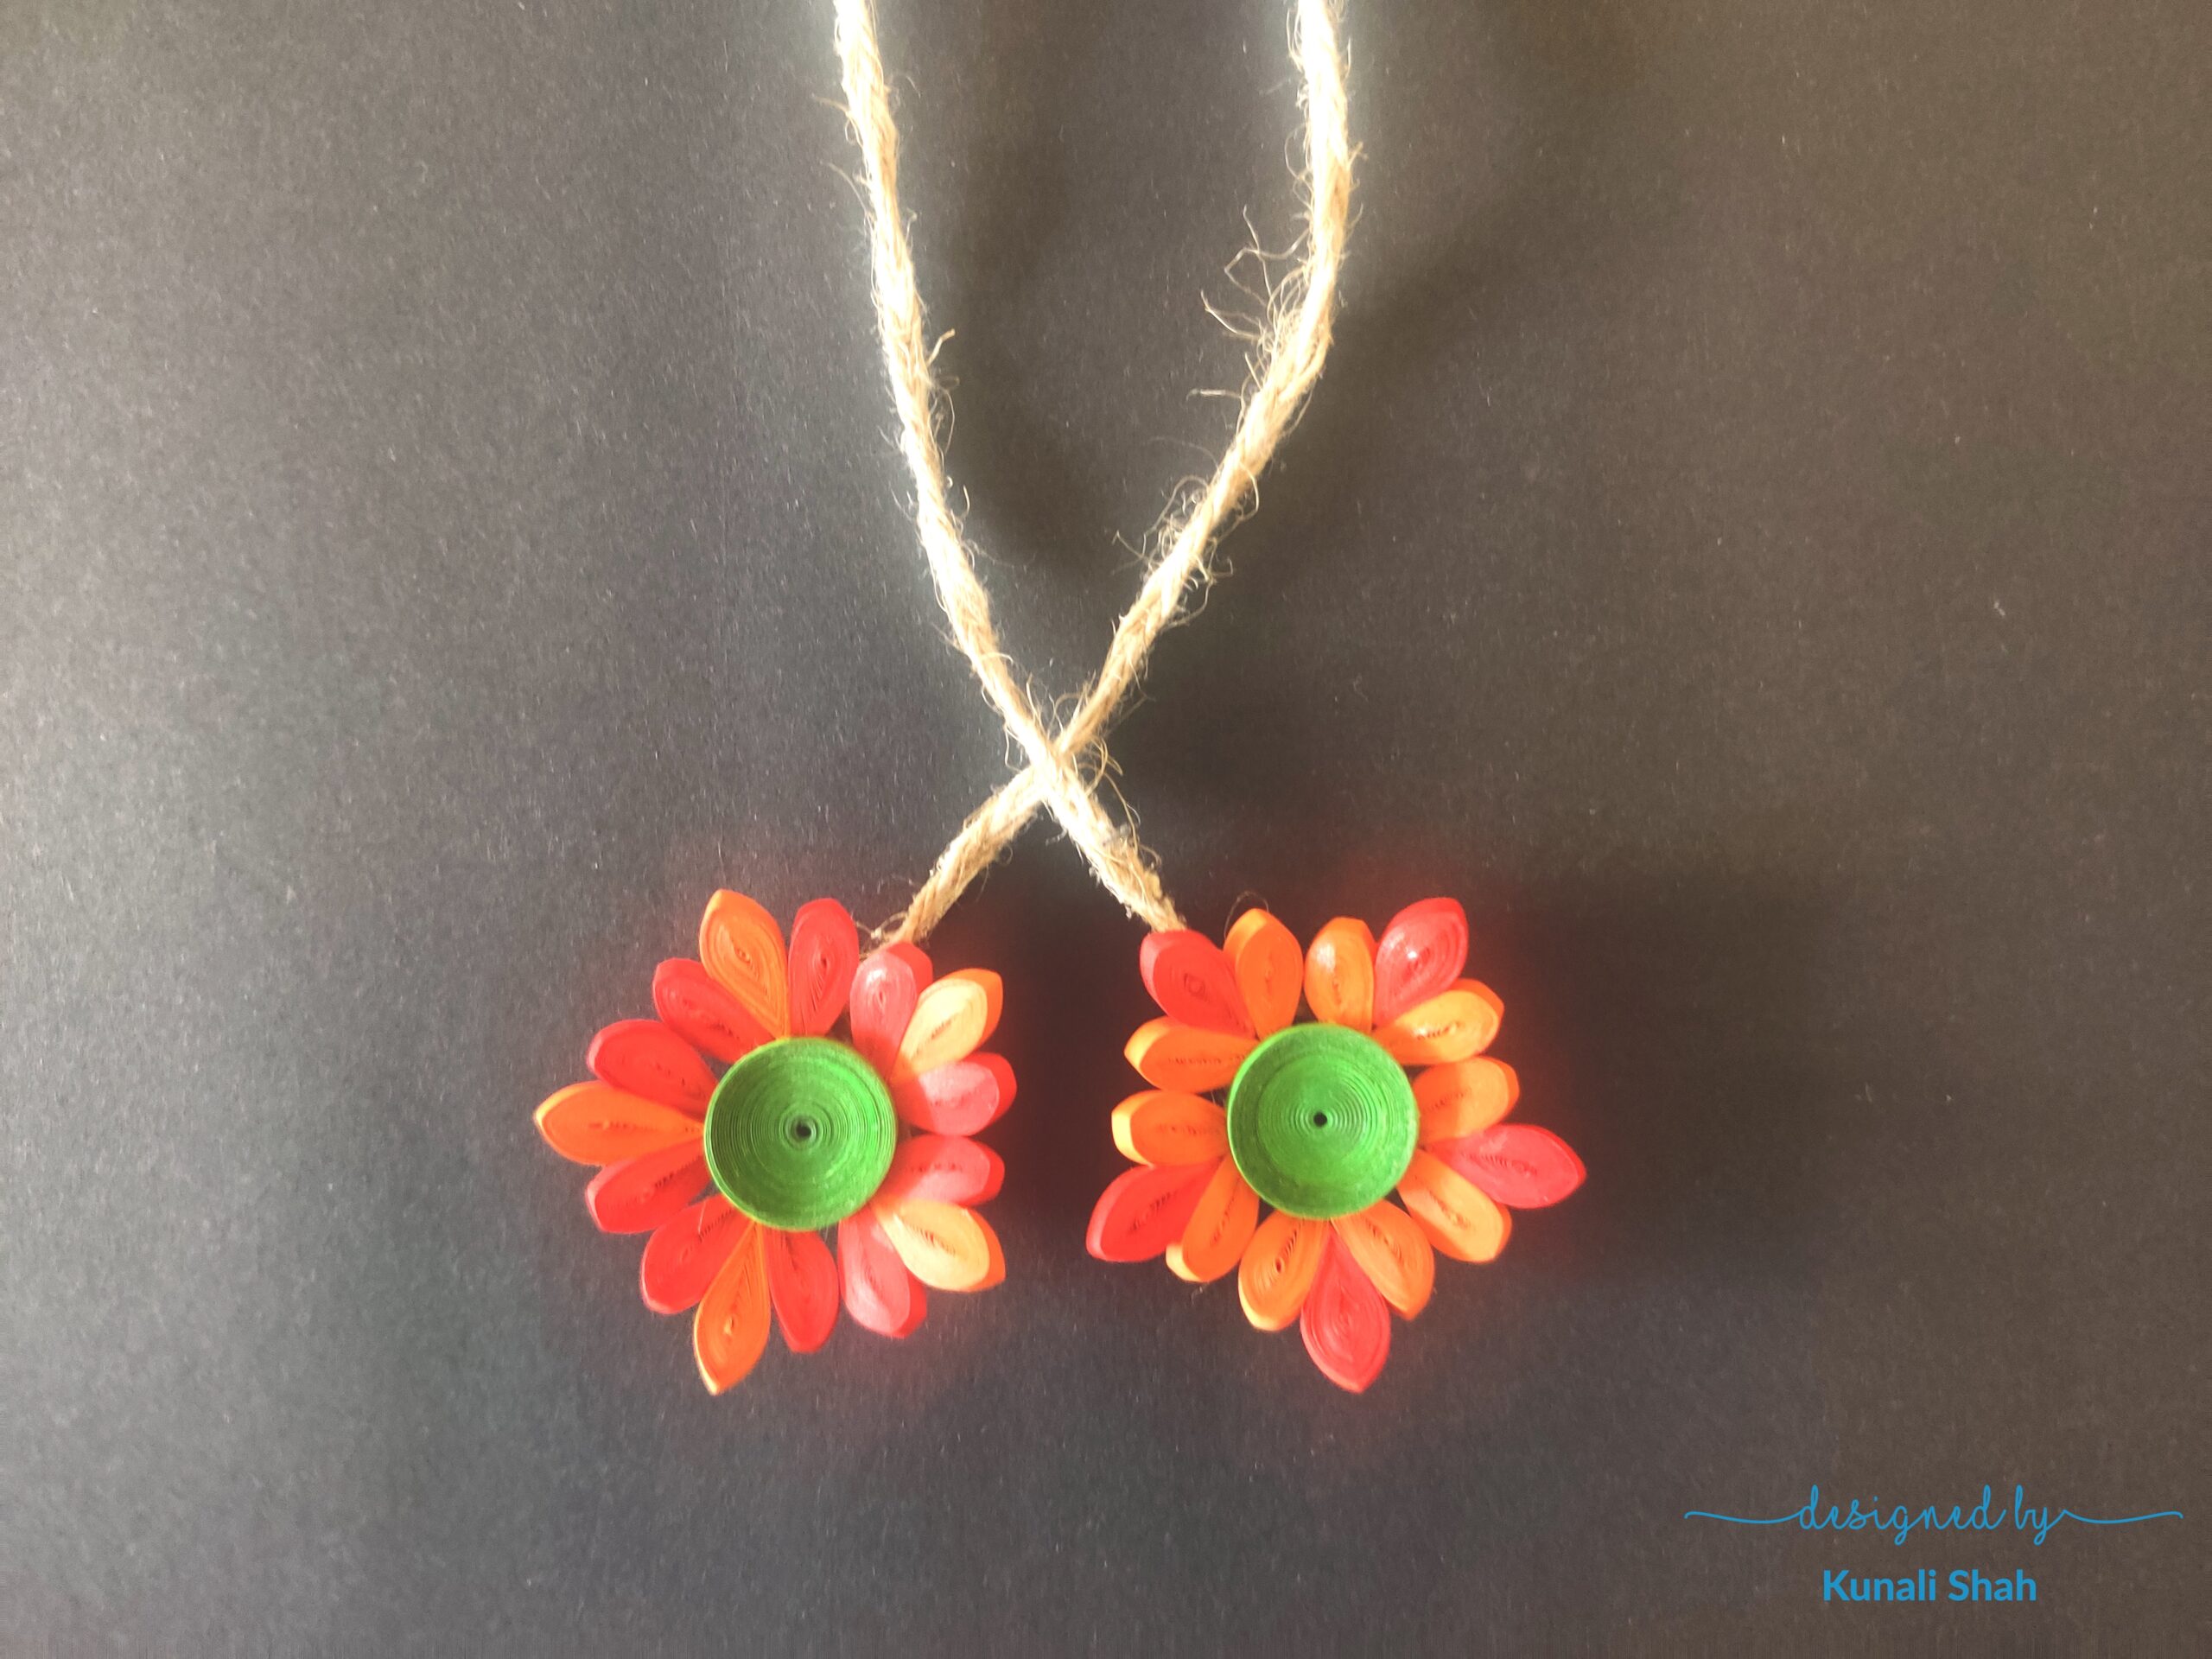 And voila, your beautiful quilled floral dangler is ready! You could exchange the flowers with butterflies or dragonflies. This will also make a beautiful return gift for birthdays or parties.
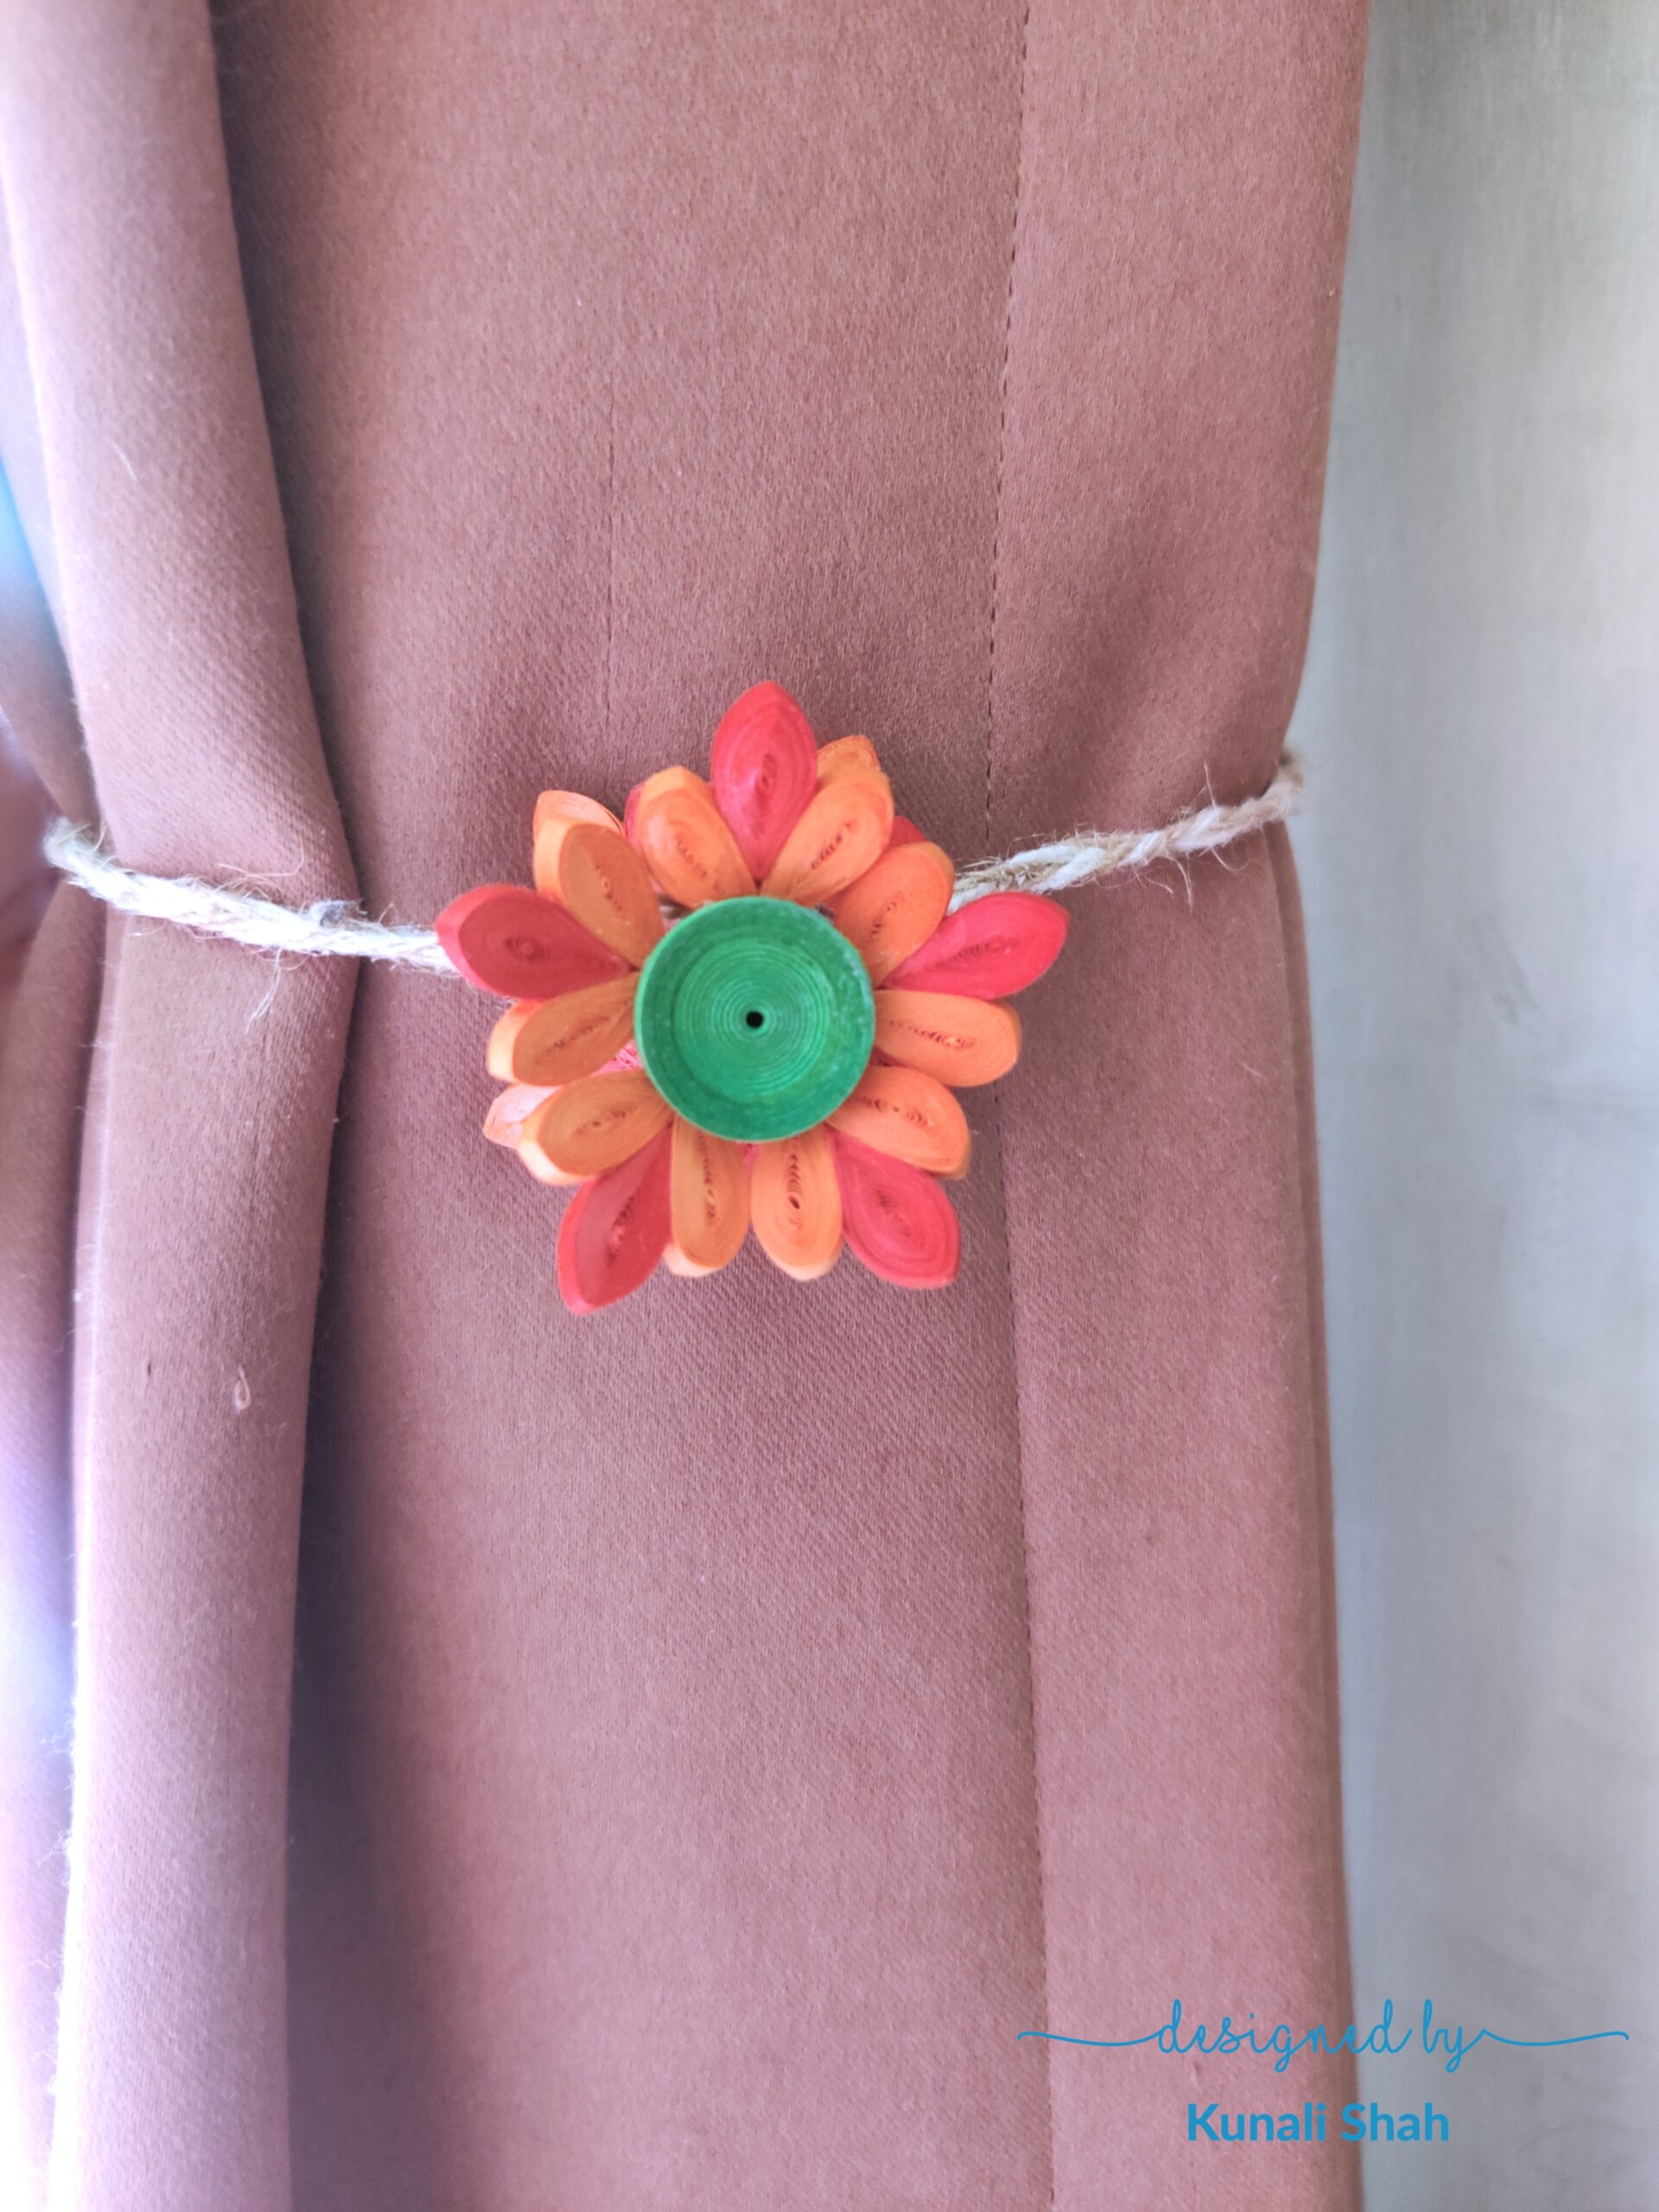
If you get tired of the dangler, you could easily remove the twine and use it as a fridge magnet! You could also use it as a curtain holder. The possibilities are endless.
Since I’ve used magnets instead of sticking the flowers completely, it gets very simple to remove it and place it elsewhere. There’s no need to adjust the height of the twine at all.
I hope you liked this idea and will give it a try. Do let me know in the comments below.
I’ve given a list of products I’ve used below.
Little Birdie Premium Quilling Extra Long – Orange, 3mm, 50 Strips
Little Birdie Premium Quilling Extra Long – Red, 3mm, 50 Strips
https://itsybitsy.in/products/little-birdie-premium-qulling-extra-long-red-3mm-50strips
Little Birdie Premium Quilling Graduation Strips – Lime, 3mm, 50Strips
https://itsybitsy.in/products/little-birdie-premium-qulling-graduation-strips-lime-3mm-50strips
Glue Applicator -1pc
https://itsybitsy.in/products/glue-applicator-1pc
Winsor & Newton Gloss Varnish Spray 150ml
https://itsybitsy.in/collections/all/products/winsor-newton-gloss-varnish-spray-150ml
Itsy Bitsy Braided Flat JuteTwine – Natural & White – 7Ply, 10m
https://itsybitsy.in/collections/all/products/jute-braided-flat-twine-10mt-natural
Round Disc Neodymium Magnet – Silver, 6x1mm, 30pc
https://itsybitsy.in/collections/all/products/round-disc-neodymium-magnet-silver-6x1mm-30pc
Ultimate Tweezer Set – 4pc
https://itsybitsy.in/collections/all/products/ultimate-tweezer-set-4pc
Kai 5135: 5 1/2-Inch Embroidery Scissors
https://itsybitsy.in/collections/all/products/kai-5135-5-1-2-inch-embroidery-scissors