Hi Everyone, Saadia here
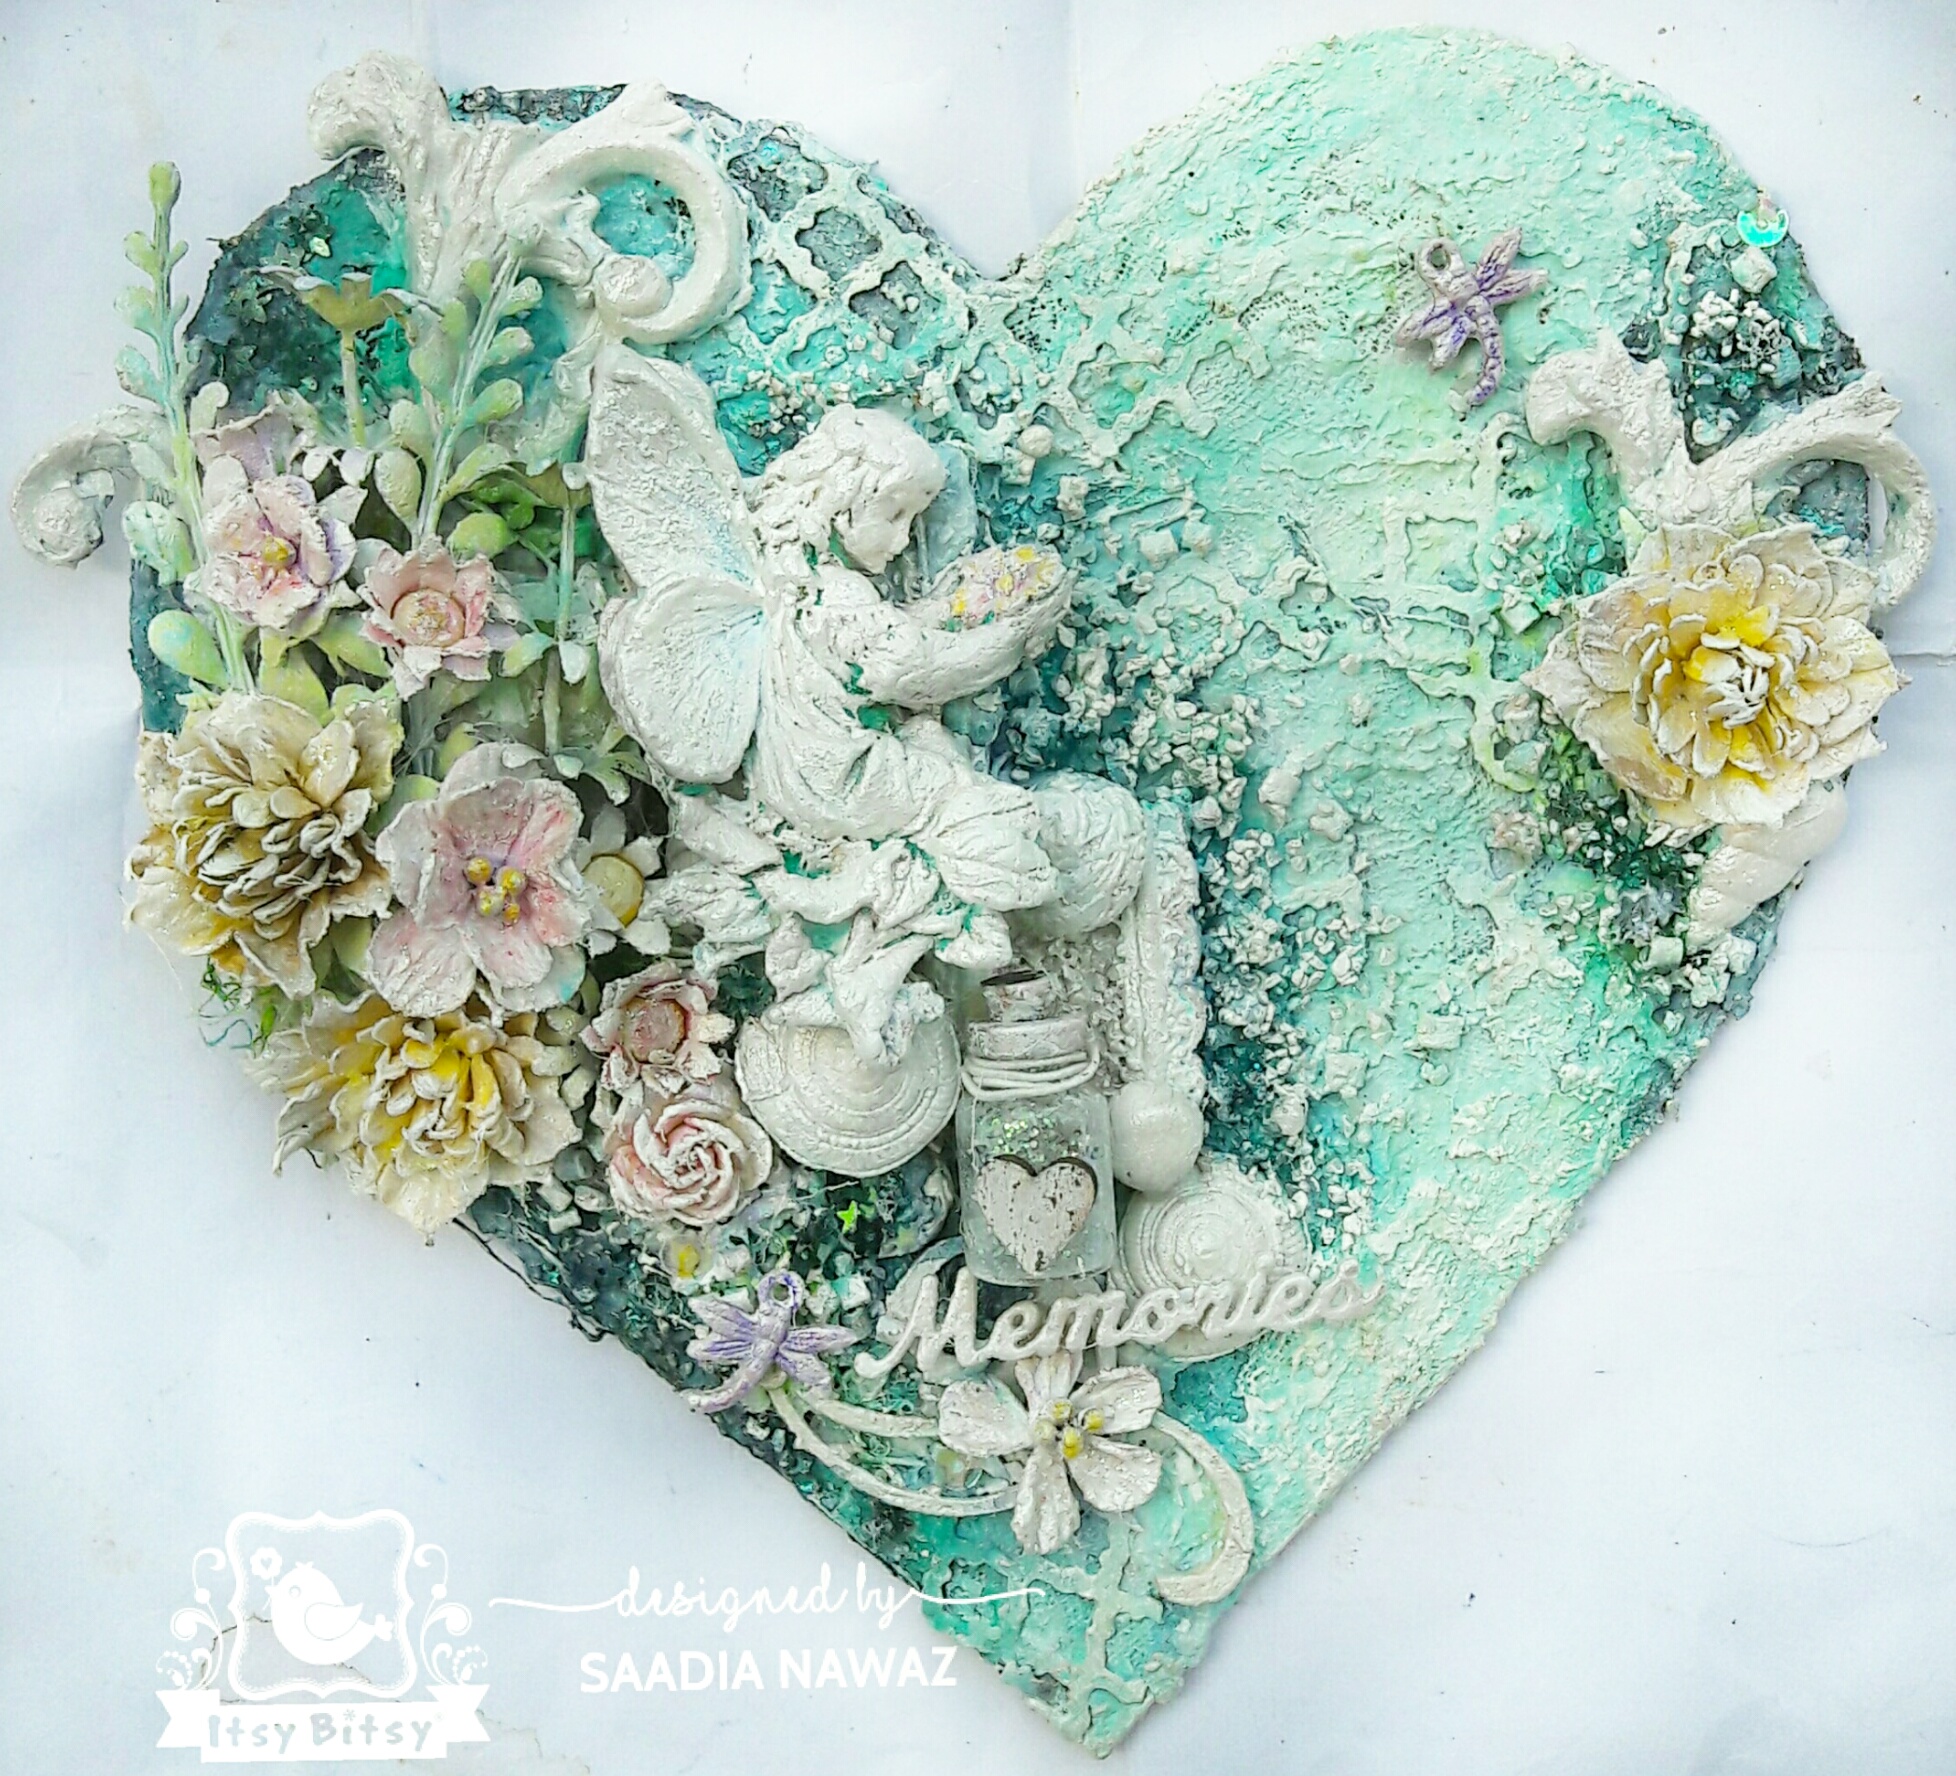
I want to share with you a mixed media project today, mostly painted with Little Birdie Chalk Paints. The range of Chalk Paints are so beautiful, easy to use and are versatile. They come in so many lovely colors.
Lets start:
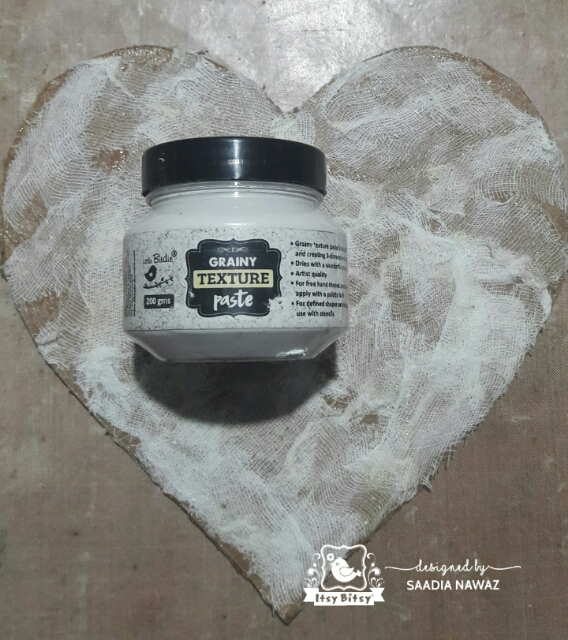
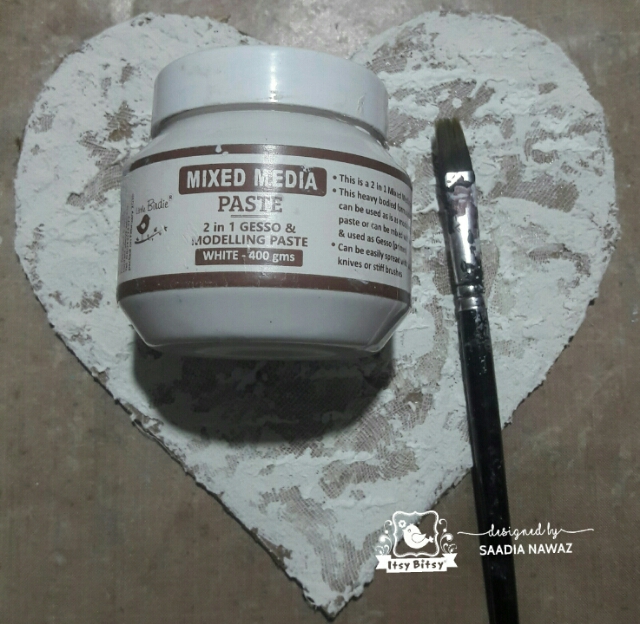
- I cut a heart shaped MDF board with a knife and covered it with surgical gauze. You can also use cheesecloth instead of gauze, to create texture.

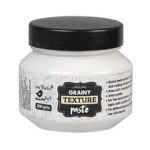
Next, I applied Grainy Texture Paste with a palette knife, mainly at the edges. Little Birdie’s Grainy Texture Paste gives a very cool gritty texture and dimension. It can be colored with ink sprays when wet, and can also be easily painted after it’s dry. It is a bit difficult to apply through a fine detailed stencil . It’s better to use palette knife/ Itsy Bitsy Texture triangles or big stencils for patterns.
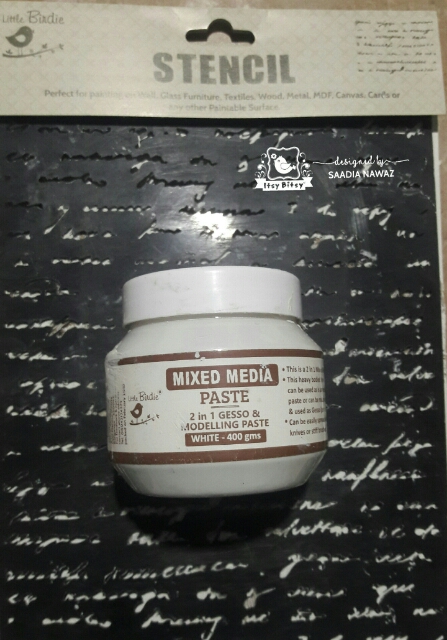
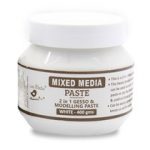
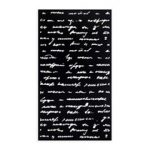
After the paste was dry, I applied Mixed Media 2 in 1 paste through a Script stencil. Mixed Media Paste is available in 2 colors; White and Slate ( grey). Here, I used the white one. I used it undiluted because I wanted texture. It can be used as gesso if you slightly dilute it with water. It can be mixed with paints, color sprays to make a customized mixed media paste. It can be colored easily after drying.
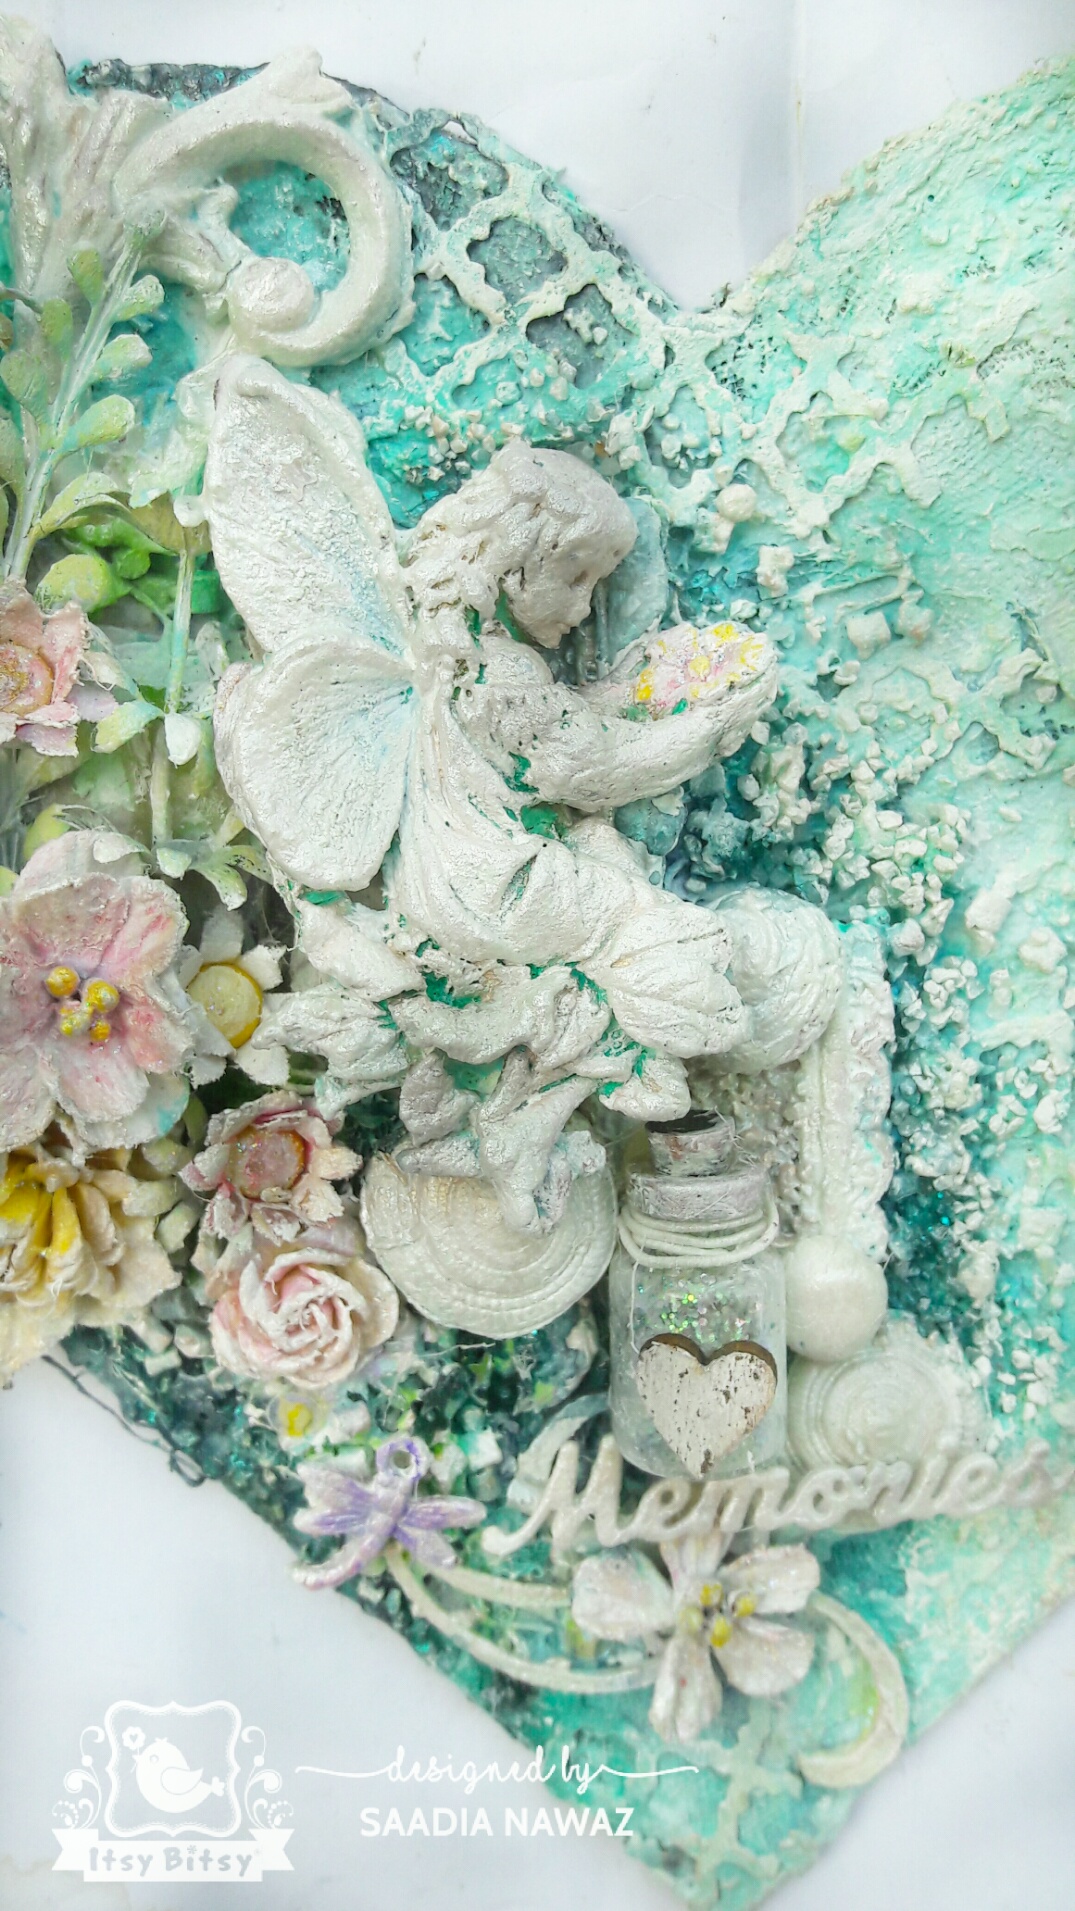
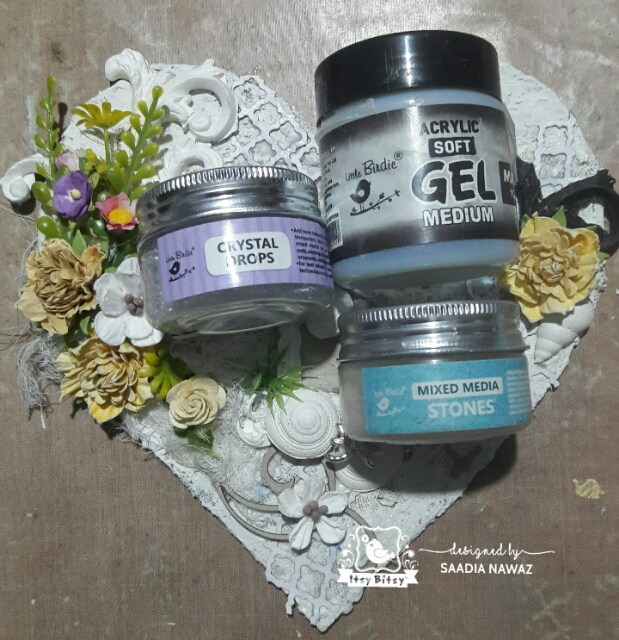
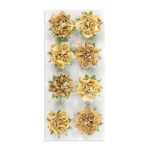
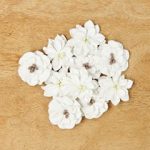
Thereafter, I gathered different embellishments. These included leftover die-cuts, some shells, clay elements and Little Birdie crafts’ beautiful flowers. Some of the flowers were a little big for my composition so, I only used their centers. I saved the outer parts of the flowers for a future project. Little Birdie paper flowers take the mixed media paste, gel mediums and colors well. The flowers retain their shape and don’t get soft and mushy with wet mediums.
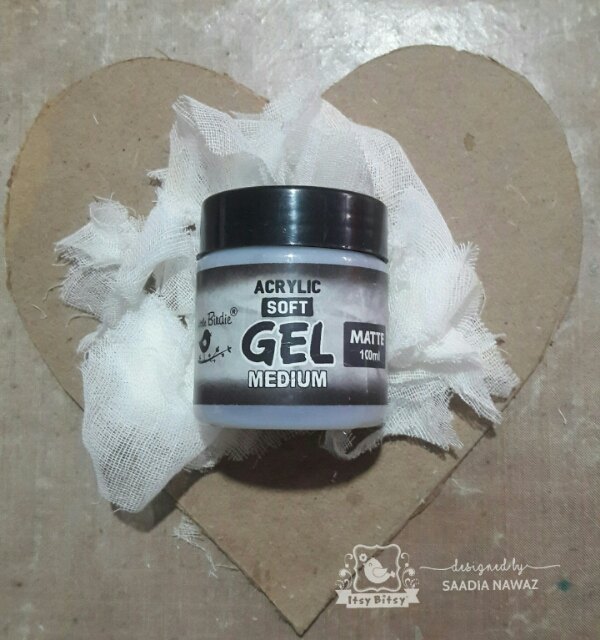
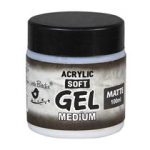
I glued everything with Little Birdie Soft Gel Medium-Matte.
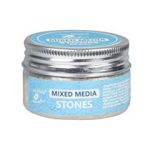
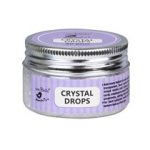
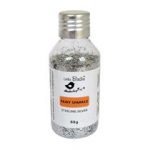
Next, I added Crystal Drops and Mixed Media Stones at different areas with Soft Gel Medium. Mixed Media Stones and Crystal Drops are great for adding extra layer of texture. They make the composition a bit more cohesive.
After that, I covered everything with diluted Mixed Media 2 in 1 white paste. This time I used the paste as gesso.
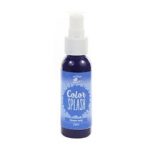
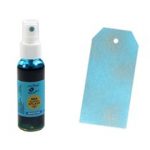
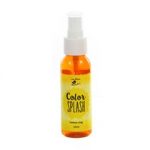
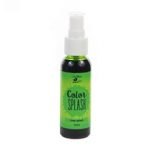
When everything was dry, I started colouring my project with Color Splash and Alcohol Splash sprays. I used the colors only on the edges and in the composition to give a bit of depth.

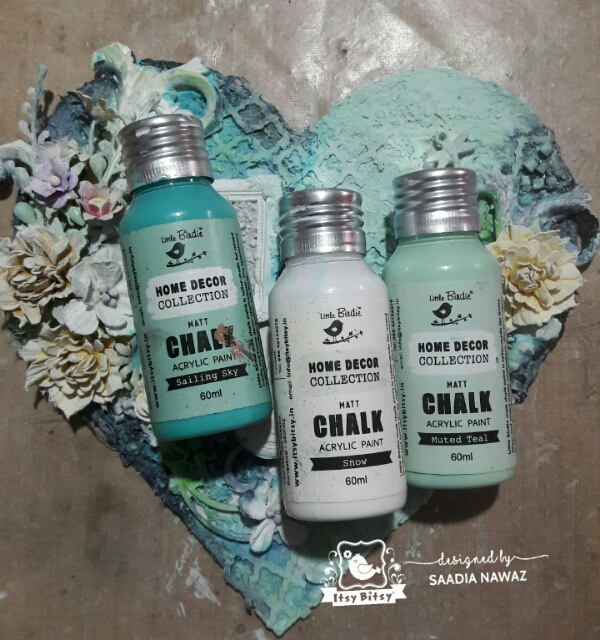
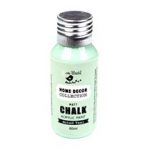
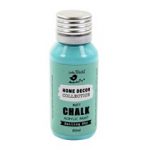
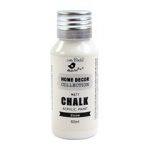
Then, switched to Chalk Paints because I wanted a chalky, soft look for my project. I applied different colors of Chalk Paints till I was happy with the result.
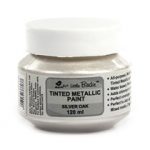
After that, I highlighted different areas with Tinted Metallic Paints. I used a dry brush and very little amount of Tinted Metallic Paint for this purpose.

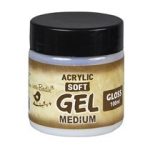
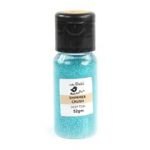
Next, I put some Shimmer Crush-Deep Teal, Fairy Glitter and some sequins into a small bottle and glued it in place with hot glue. I also added seqins and Shimmer Crush in Deep Teal color at different areas with Soft Gel Medium -Gloss.
Lastly, I added a die-cut word from my stash. I cut it multiple times and glued all the die-cuts together to get a chipboard die-cut look.

I hope you liked my project.

Thank you for visiting.
Take care and keep crafting
Saadia Nawaz
Materials used:
Beautiful project.
Lovely project dear?Saadia
Nice and beautiful ?
Wow it’s totally amazing and gorgeous Saadia loved it so much beautiful texture and colors as usual in your projects gives is extra beauty
lovely project Sadia, love the soft background and the pretty fairy !!
Lovely project…it’s beautiful
It’s beautiful
Awesome
Lovely output…thanks so much for sharing the details 🙂
Uber fantastic canvas….the tutorial is so well explained as well.
Hugs
Oh Saadia this is AWESOME. What a perfect way you arranged all the lovely elements. Love the texture and the colors. You are so creative and very skulled.
Thank you for sharing your lovely art..
PS : Is the fairy made from clay ? Did you make her yourself ???
Hugs from Monica
Spain
Saadia … Sorry in the above comment I wrote that you are very skulled…. Sorry … it should say : Skilled !!! Lol… Sorry .
Monica