
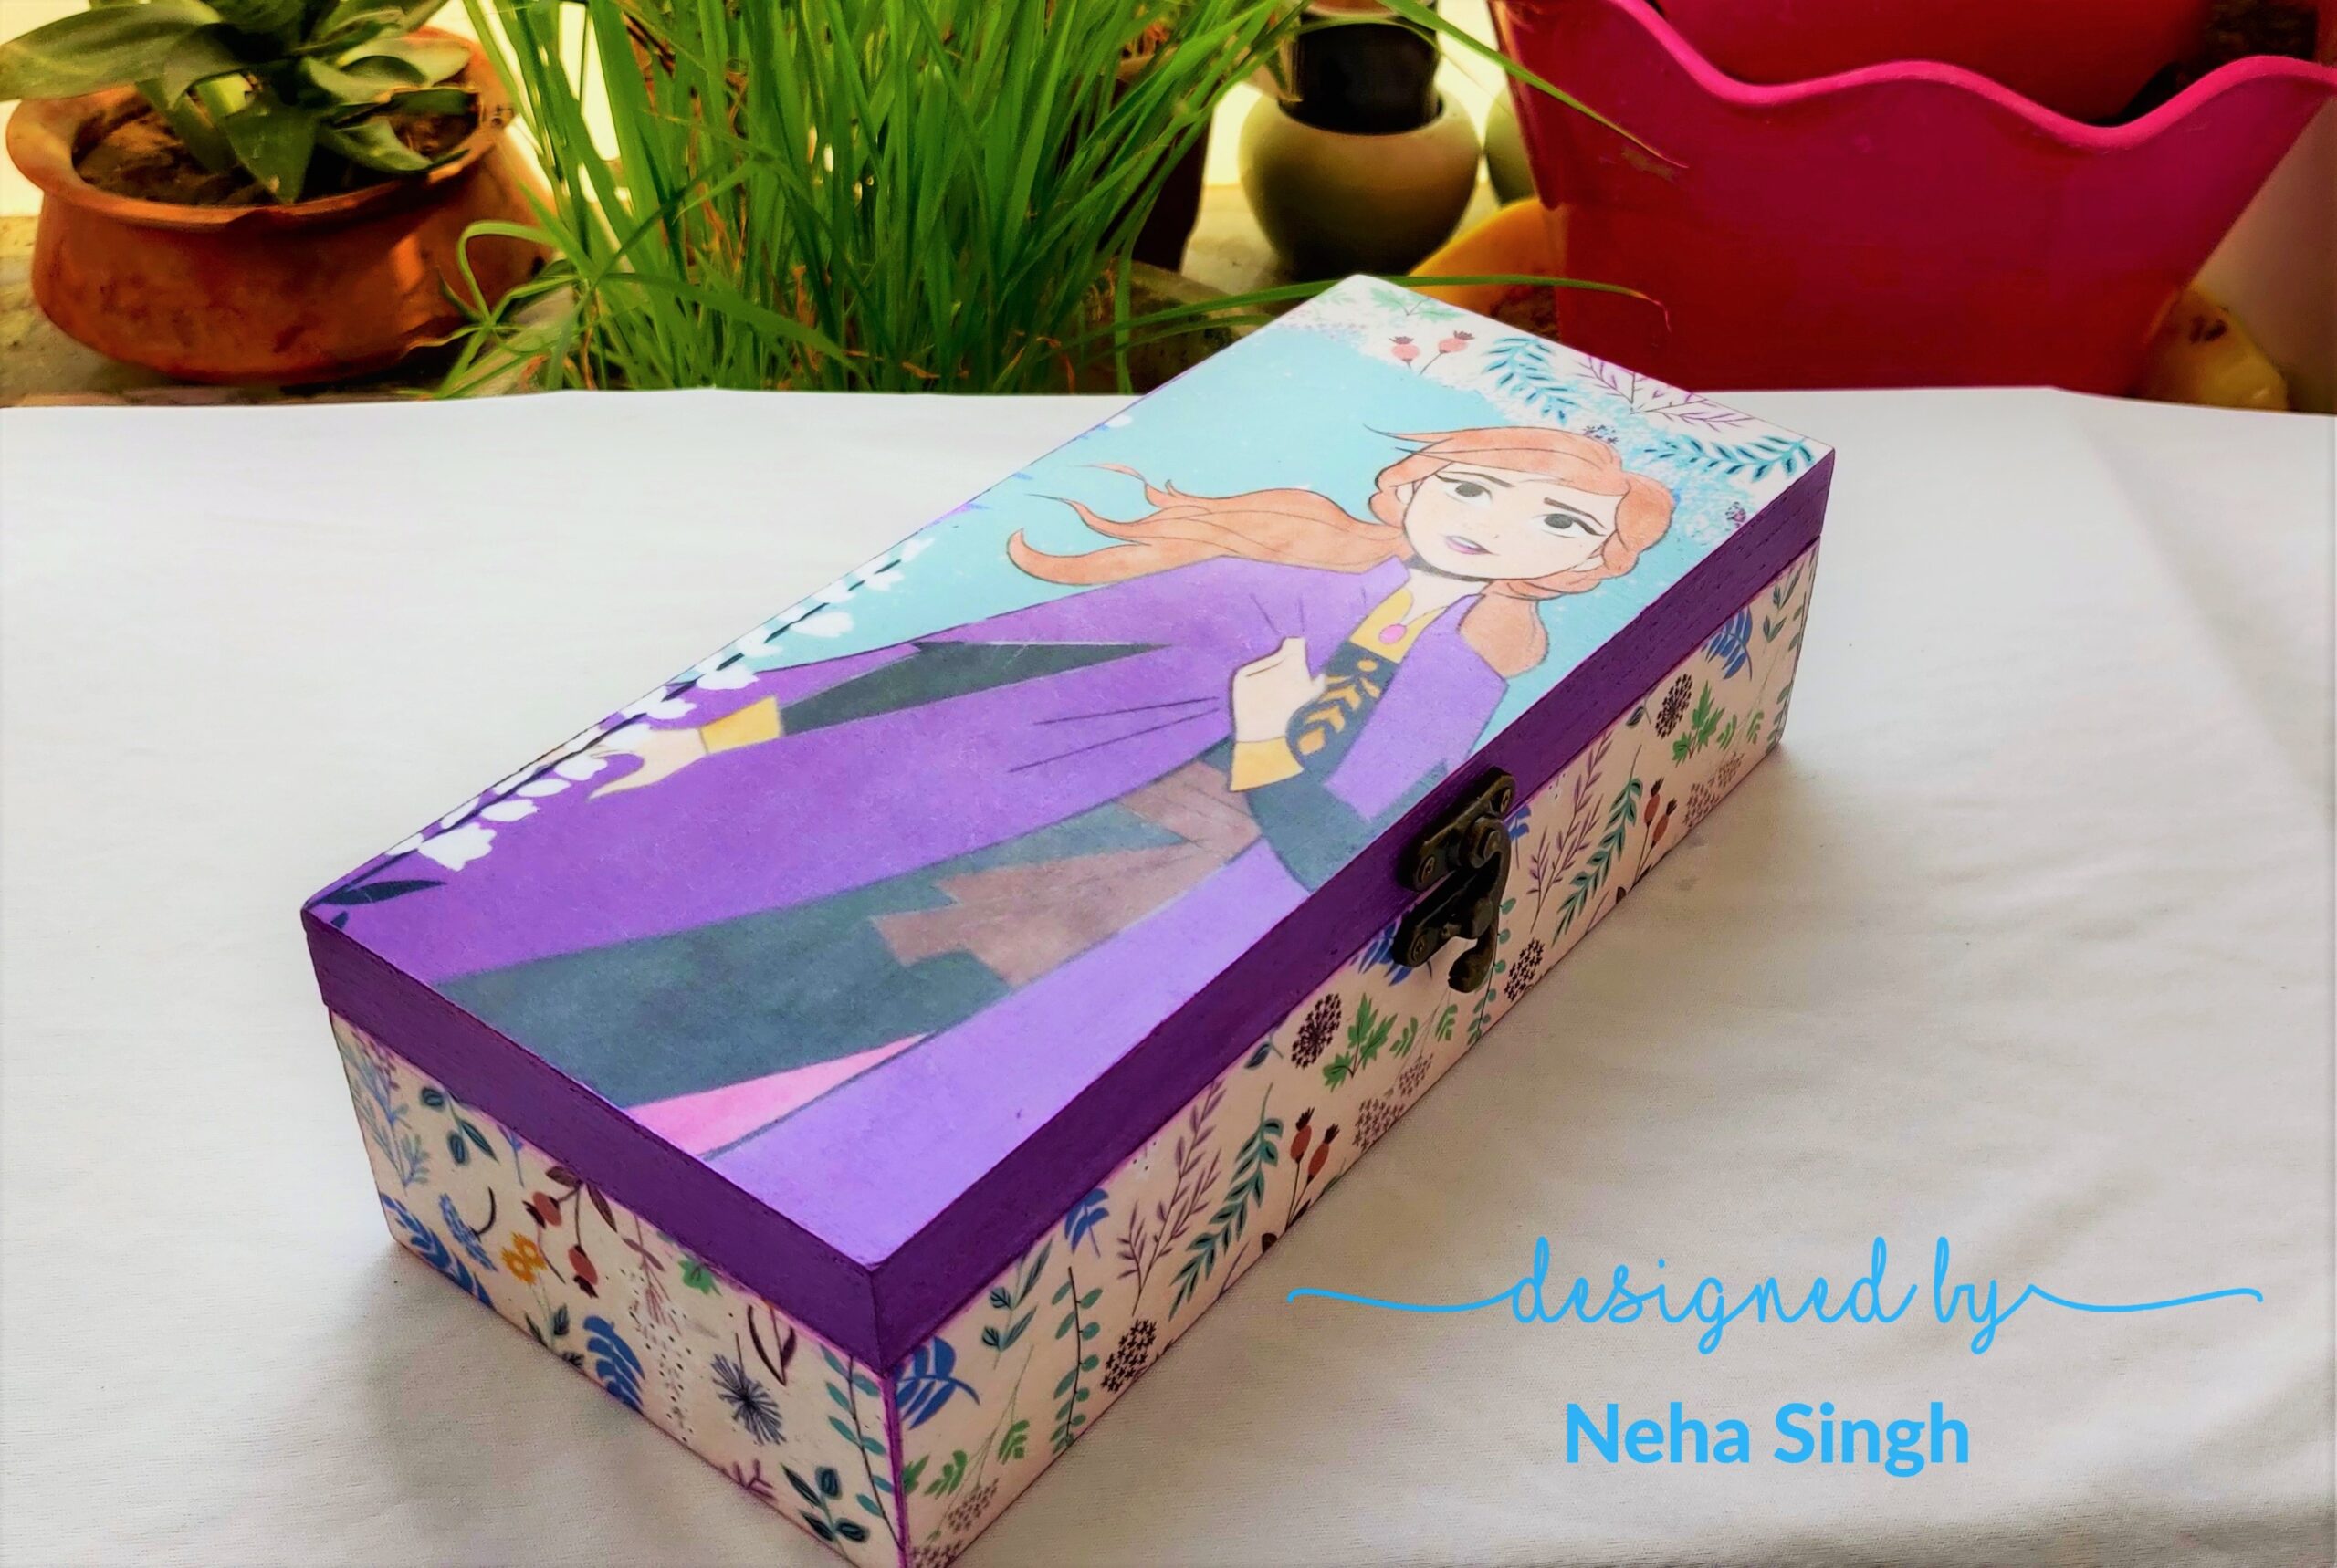
Hello crafters, Neha here and today’s blog is a kids special where I have used the newly launched Disney products by Itys Bitsy and created a Frozen themed Box.
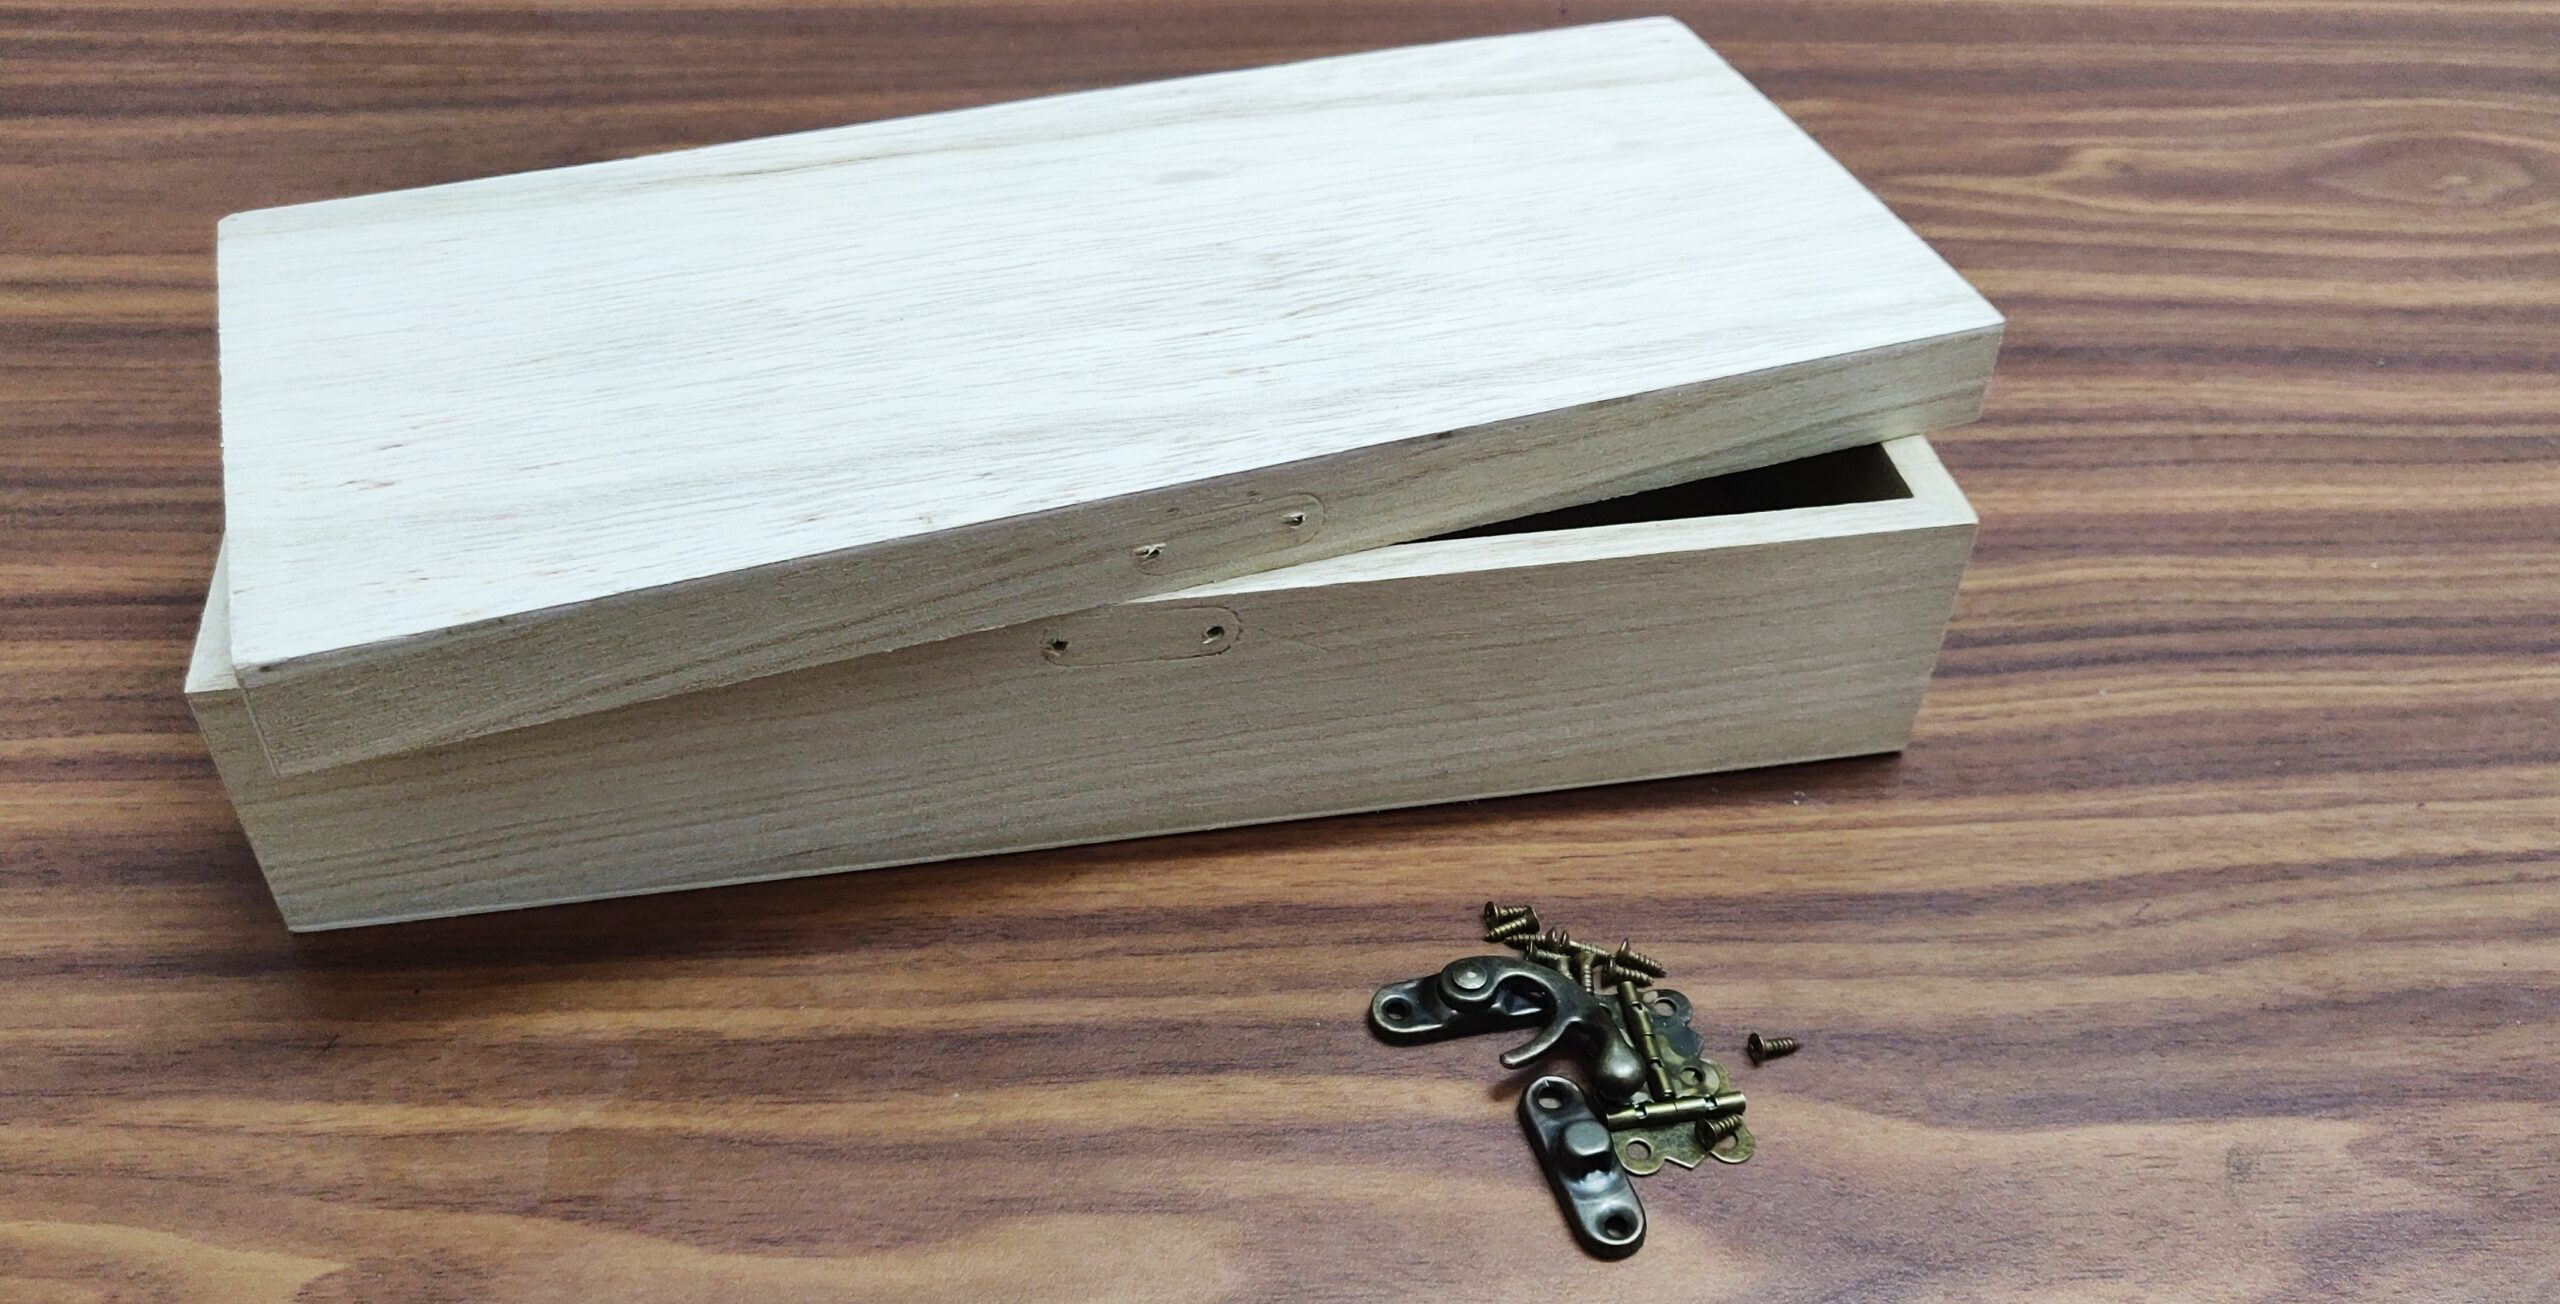
For this project I have used a wooden rectangular box. I started by unscrewing all the hardware from the box.
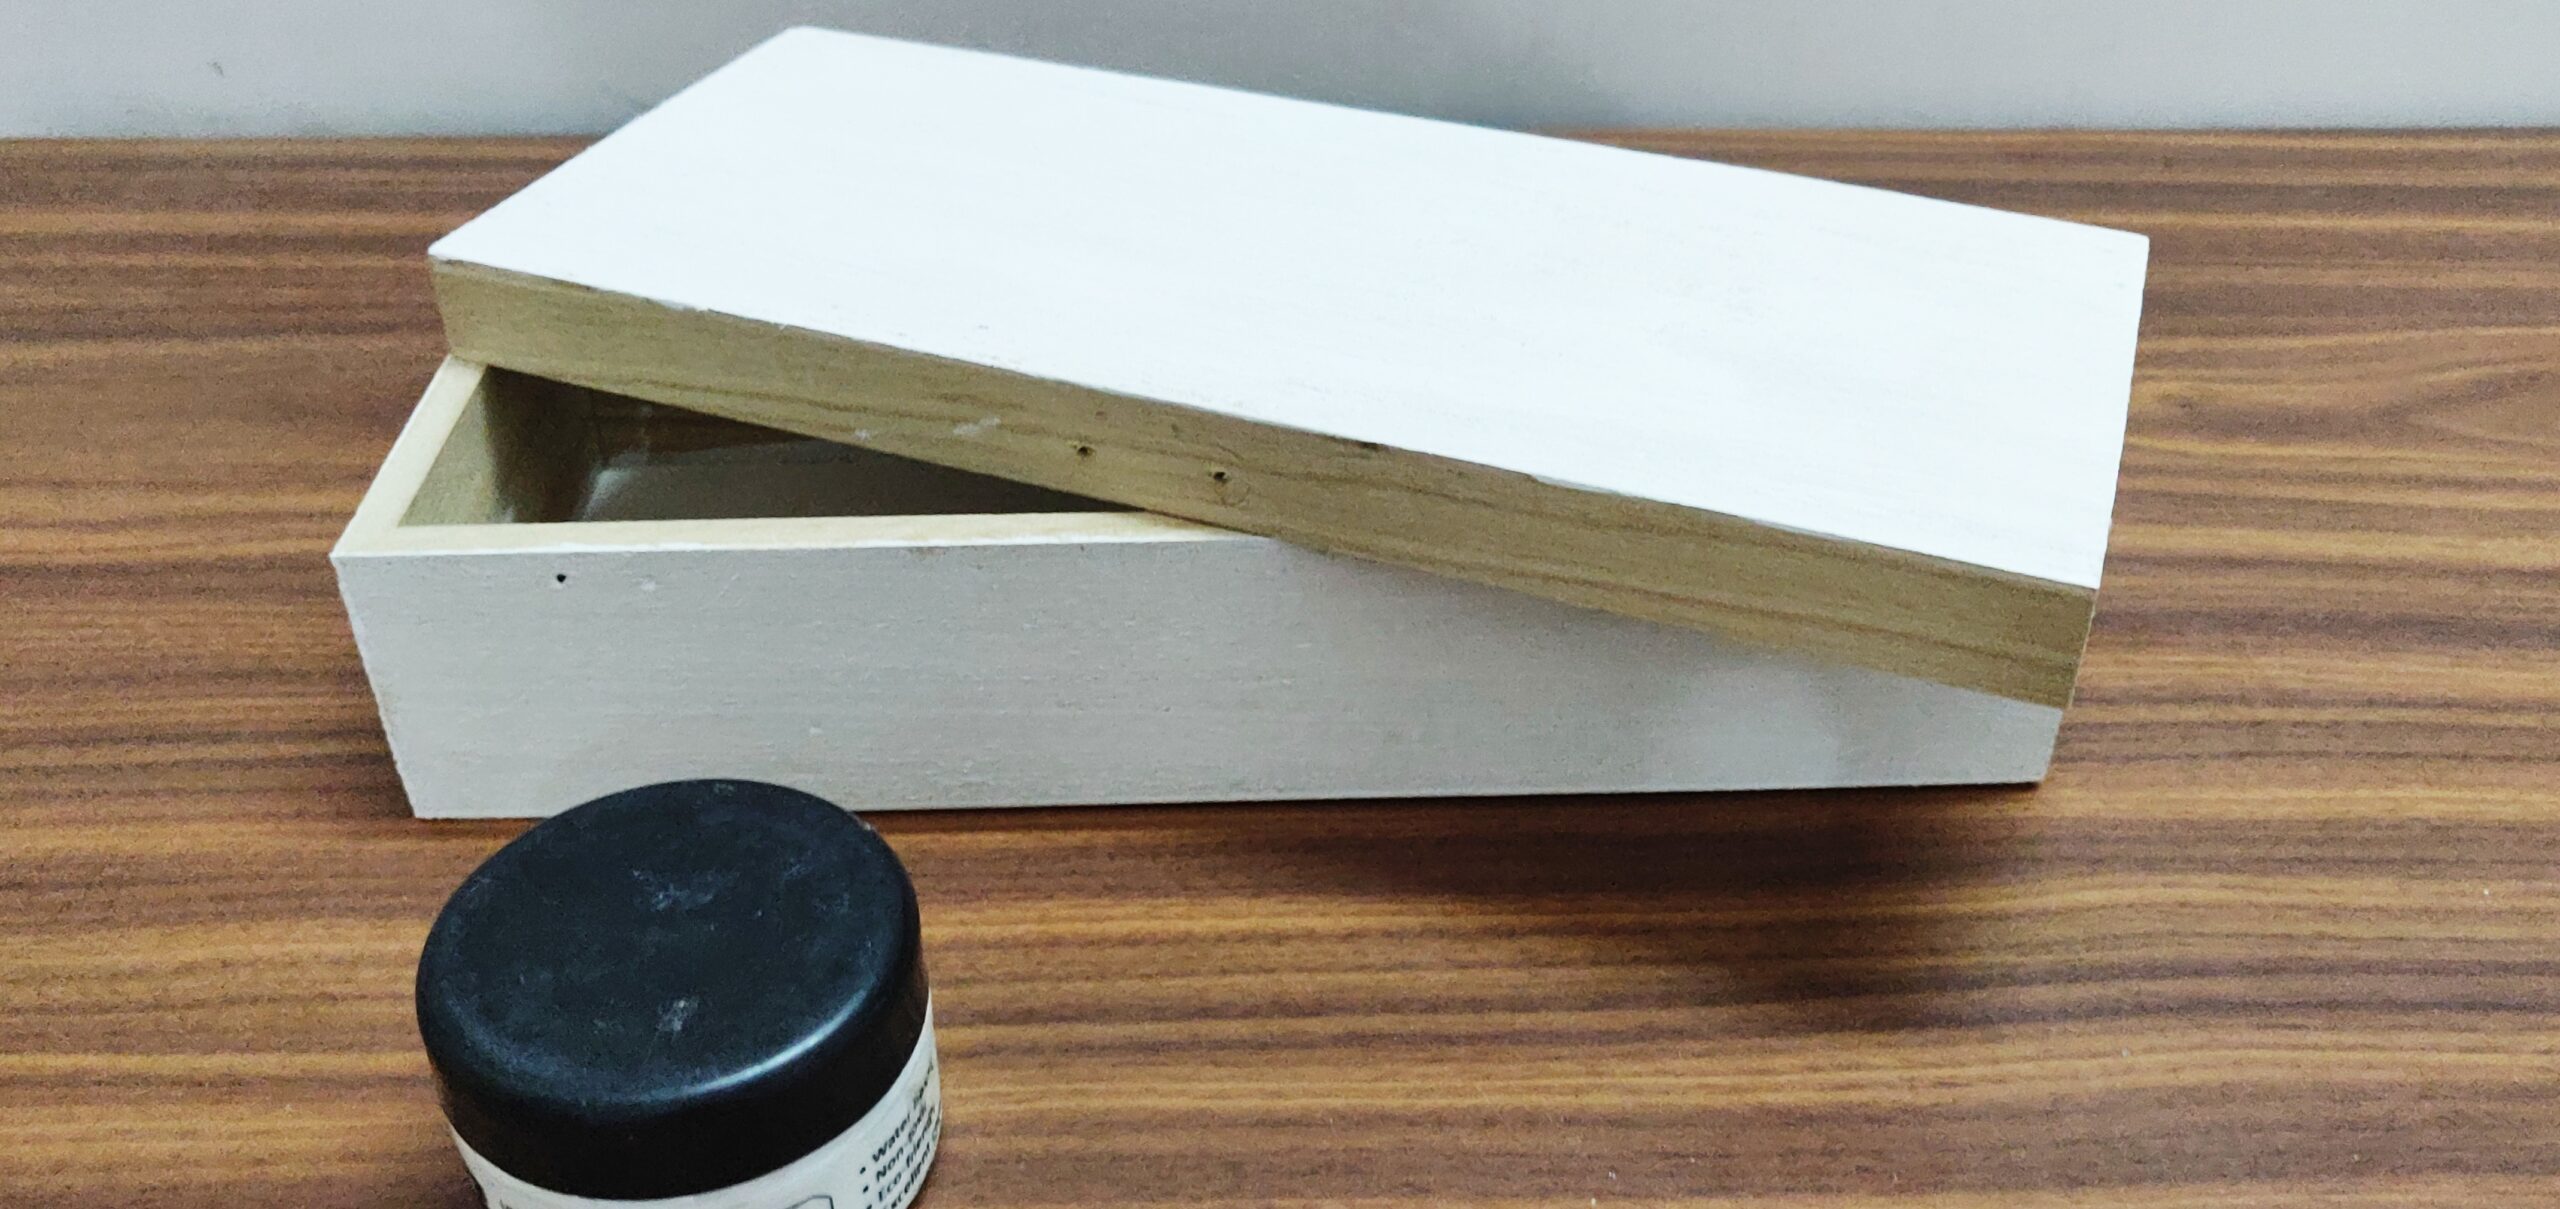
After that I applied a thin layer of white chalk paint over the surface of the box where I wanted to do decoupage and then let it dry.
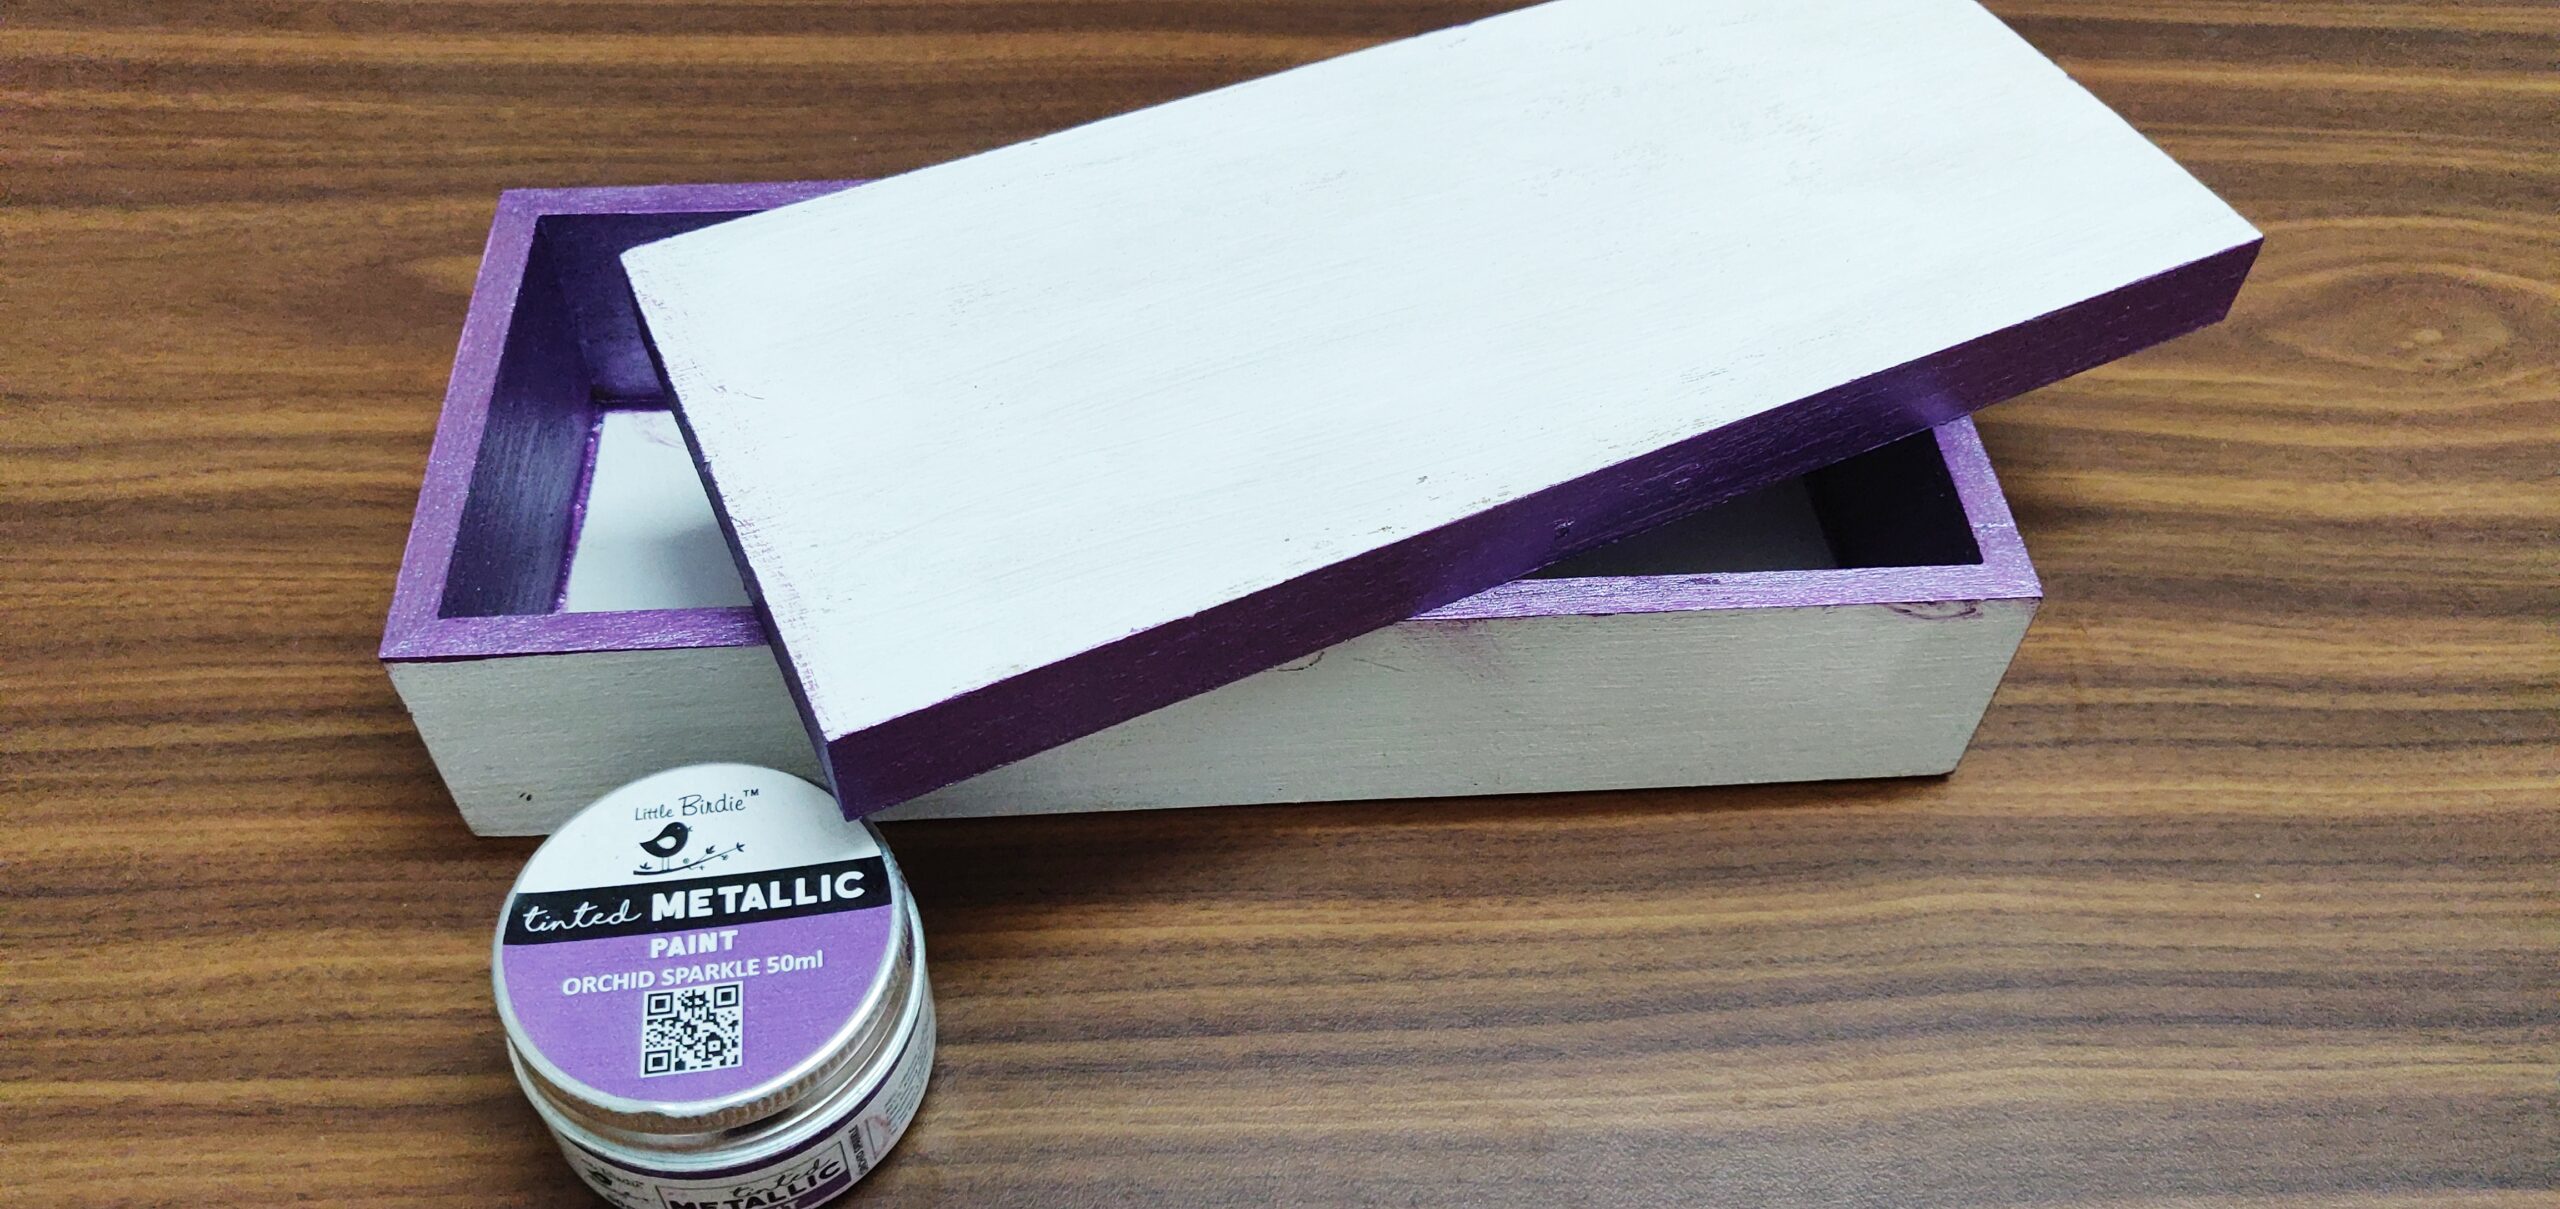
After that I painted the remaining areas using Little Birdie Orchid Sparkle – Tinted metallic paint and then let it dry.
Then according to the size of the box, I cut designs from the decoupage paper using scissors. I cut 6 pieces in total.
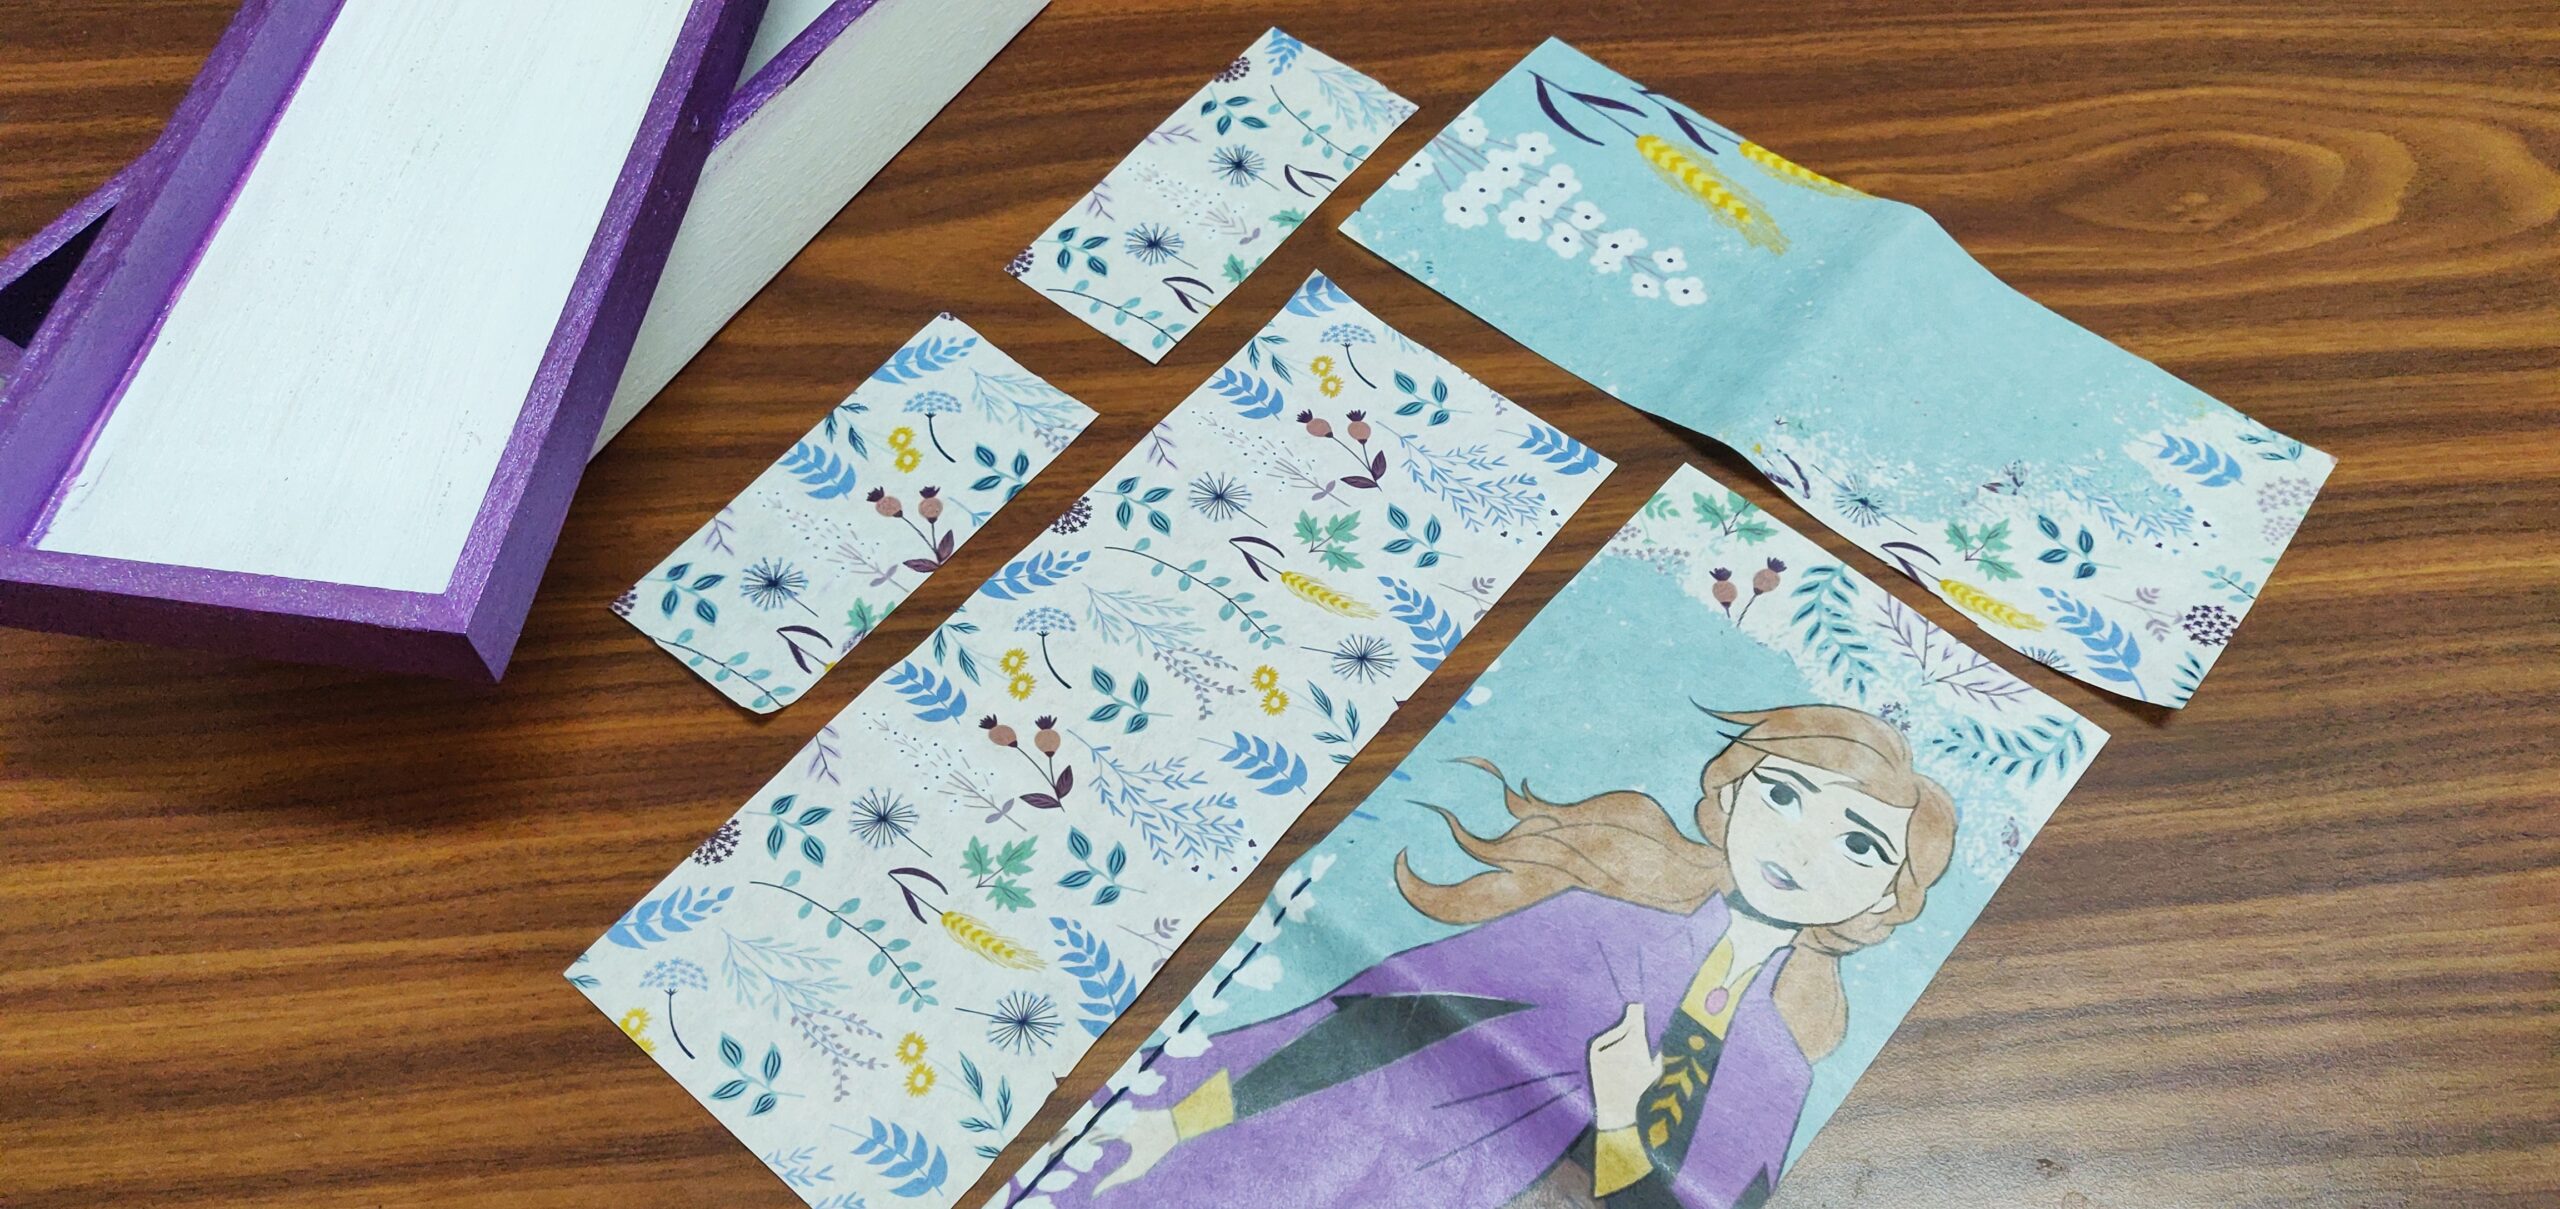
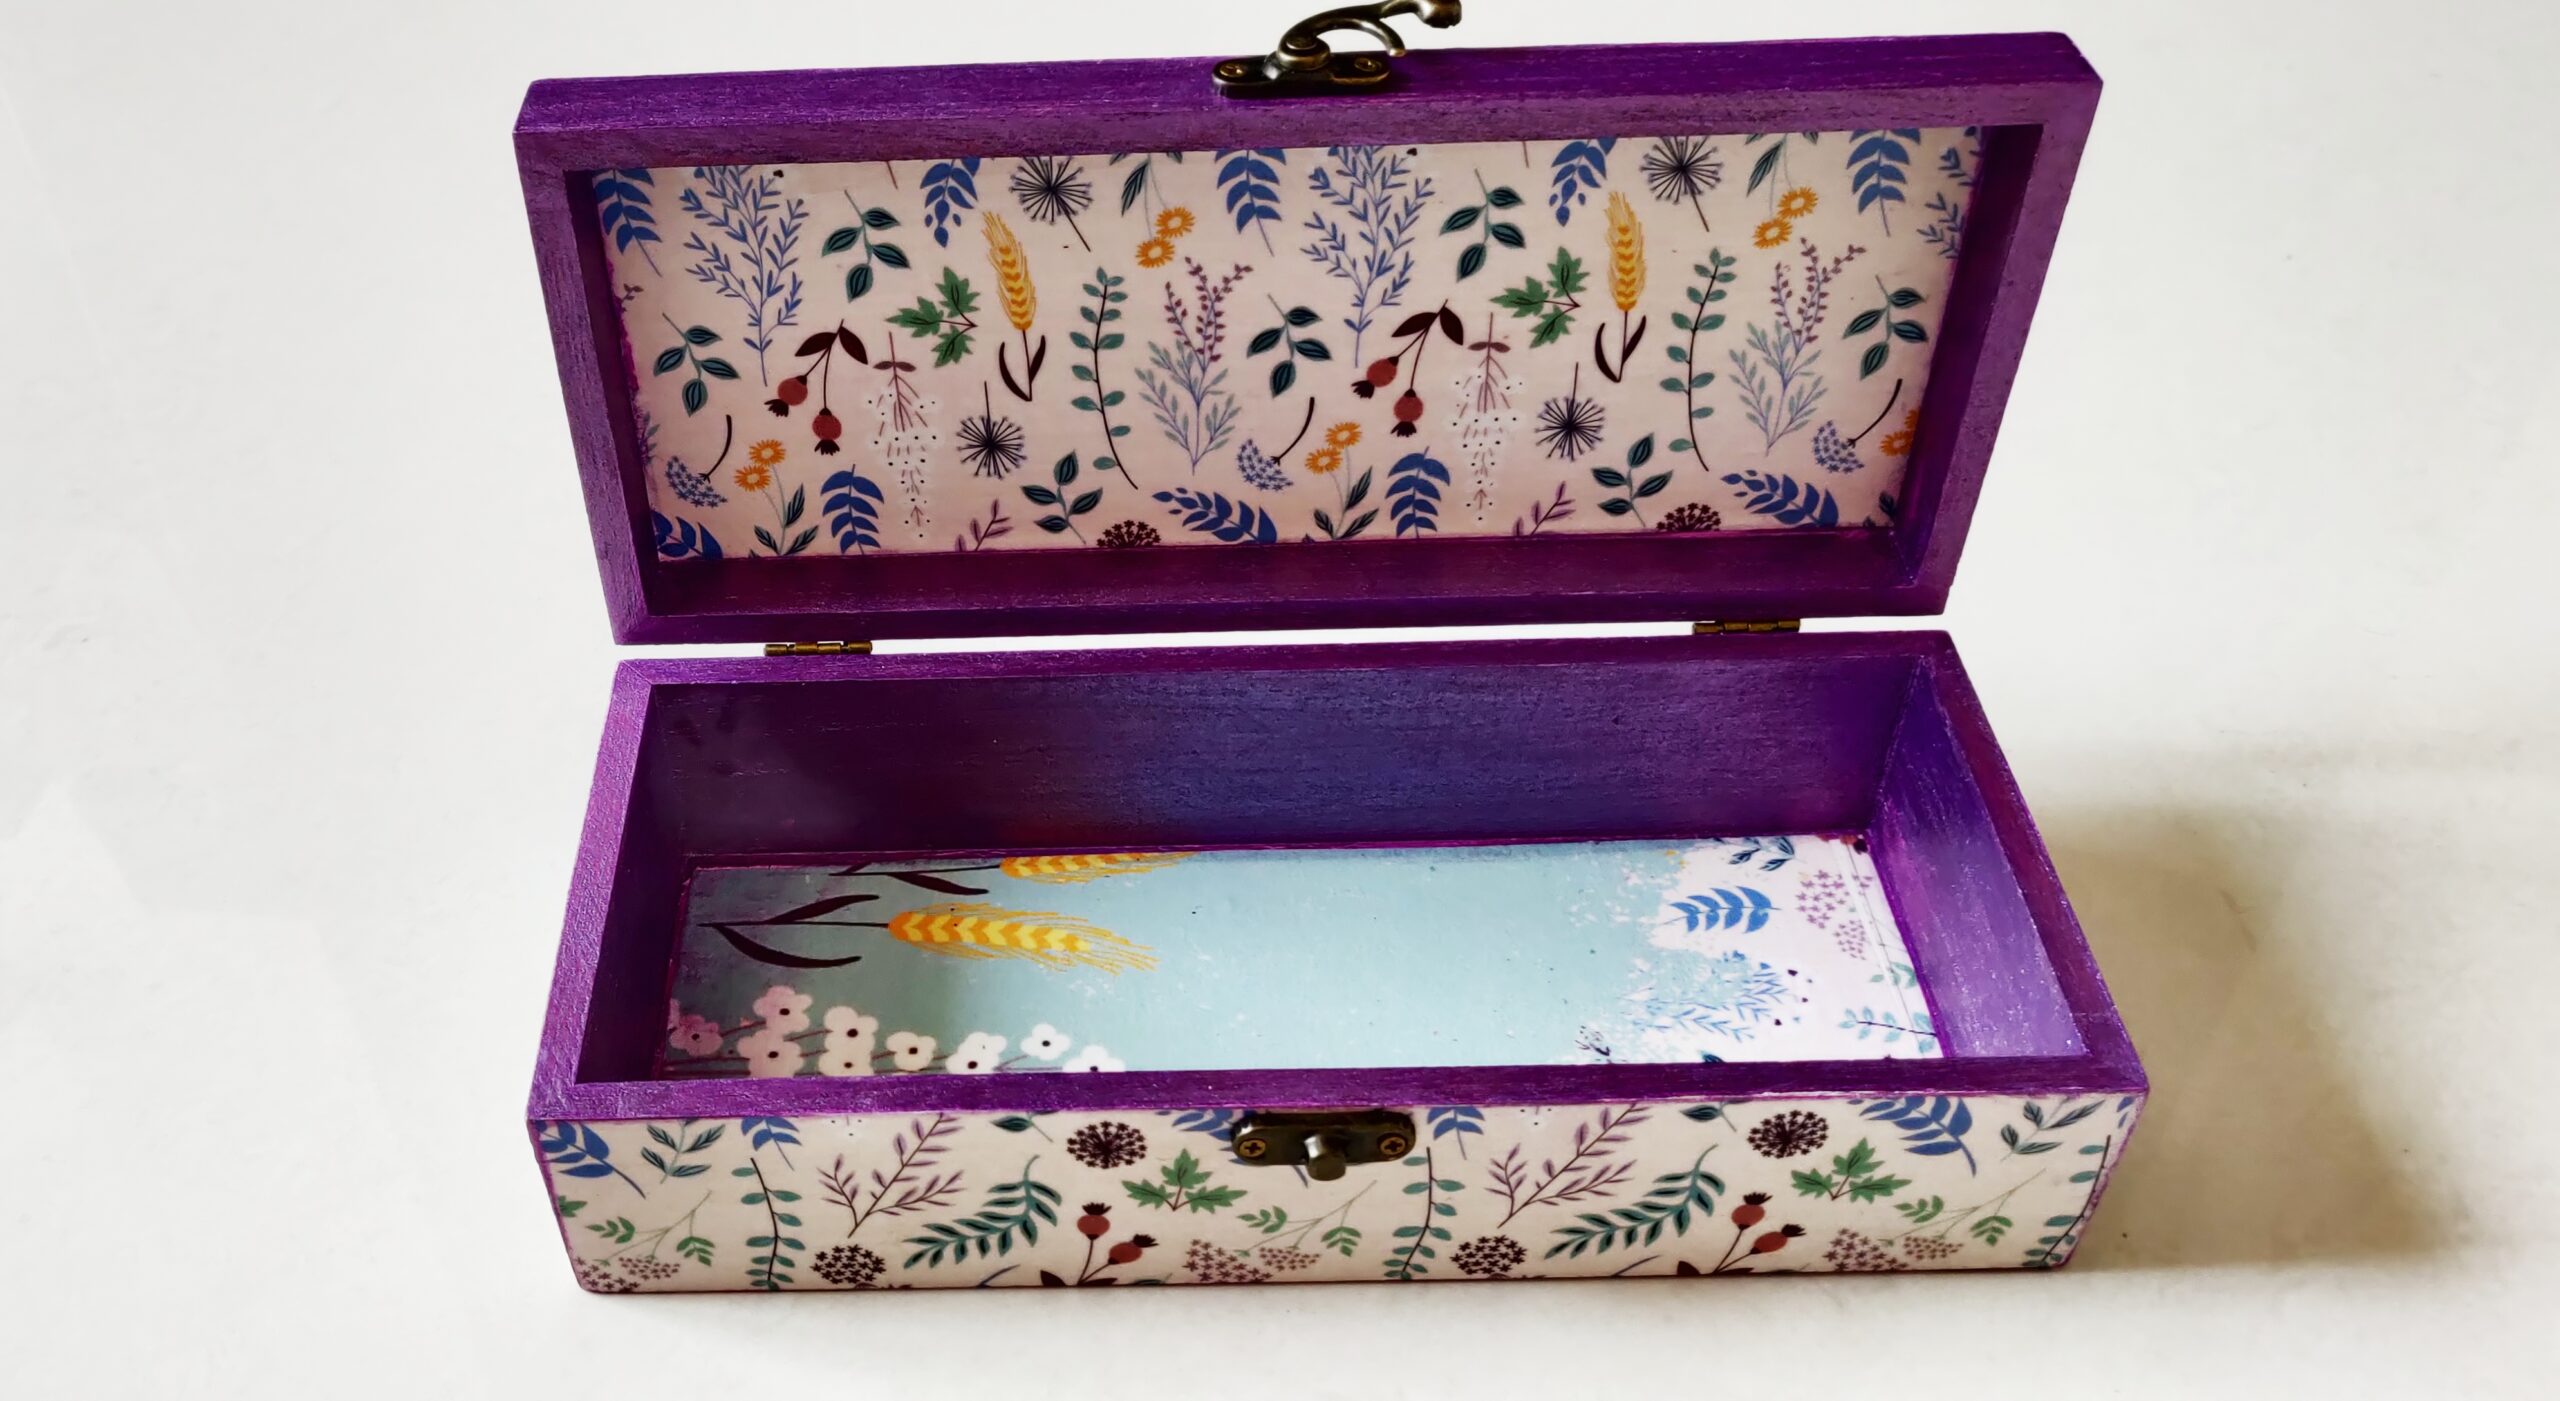
After that, I pasted the papers over the sides of the base using Deco Magic glue. After drying, I applied another layer of Deco Magic glue over the papers in order to seal it further and left it to dry.

Lastly I applied a layer of Little Birdie Decor Varnish – Matte all over and then I left it to dry for 10-15 minutes.
And Done !

I hope you enjoyed today’s blog and I also hope that you find this tutorial inspiring enough to try this project on your own. If you do so, then do share it on Itsy Bitsy Crafters Café and other social media platforms and do not forget to tag ITSYBITSYCRAFTSTORE.
Thank you for stopping by.
Use code NEHA5 to buy any product at www.itsybitsy.in and get 5% discount on your total bill.
Here is the list of products:


