Hello Creatives,
Kasturi here again your fellow artist back with another simple yet fun DIY project with Deco transfer sheets.
This DIY is super easy, anybody can try and the chances of failing this activity is 0%. Because these Deco transfer sheets are magic. They can be used on almost everything for example wood, plastic, Glass, leather, metal, painted surface, MDF, paper etc.
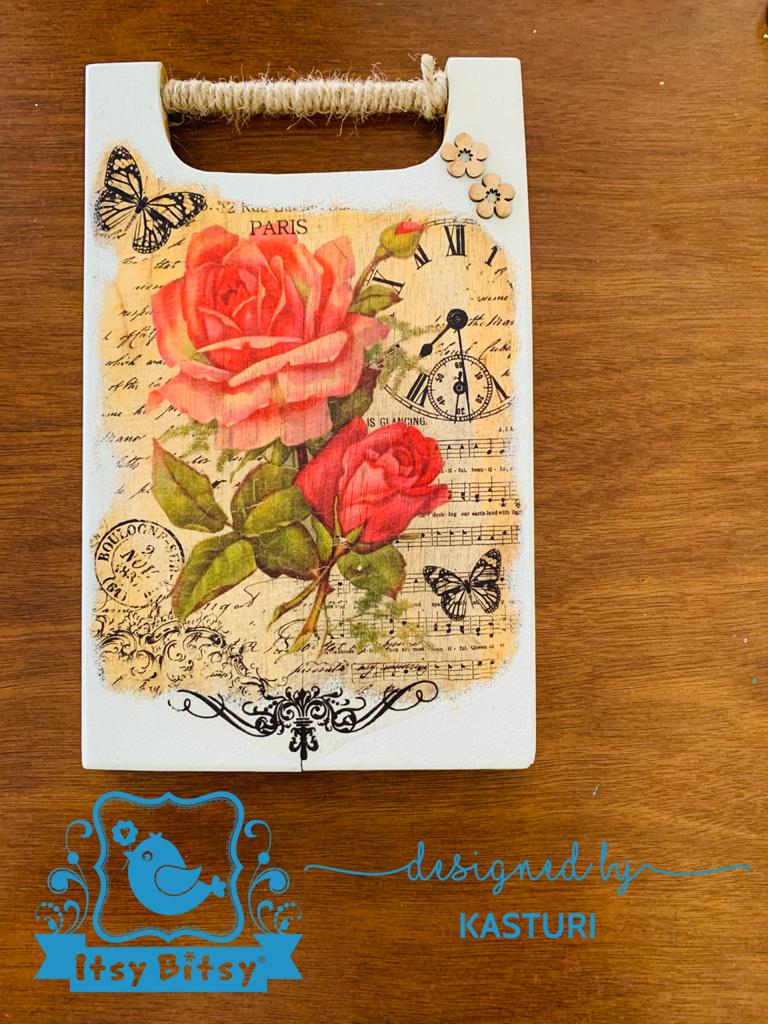
Let us start this DIY. please go through the blog till the end to see how to use this on any surface step by step. Today I selected an old chopping board, (I am sure you have it in your kitchen) . This one is a wooden board.
STEP 1 –
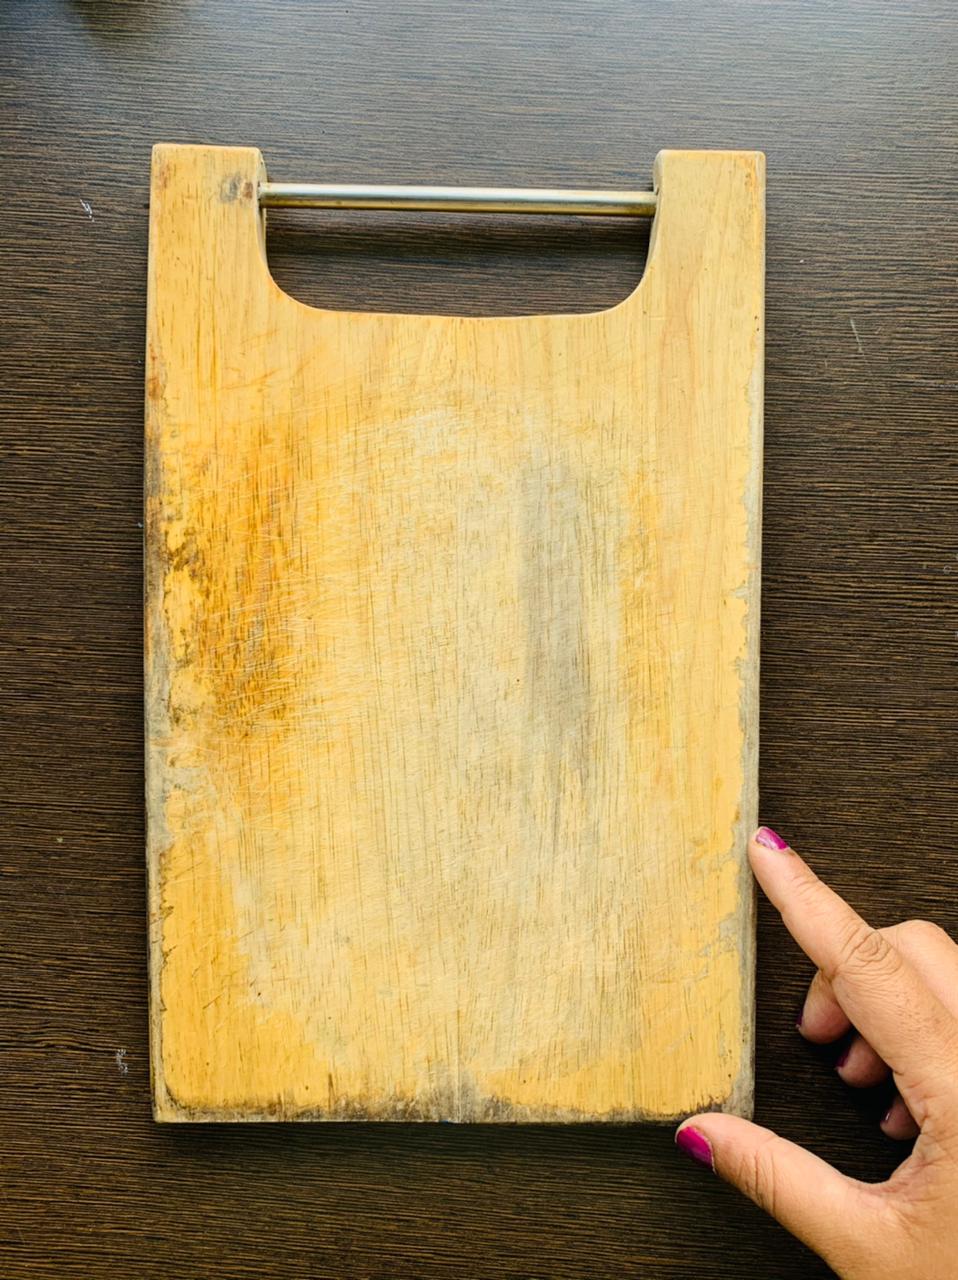
Clean the surface thoroughly and make sure it is not wet.
STEP 2 – Select the transfer sheet of your choice and cut the pattern close to the design roughly.
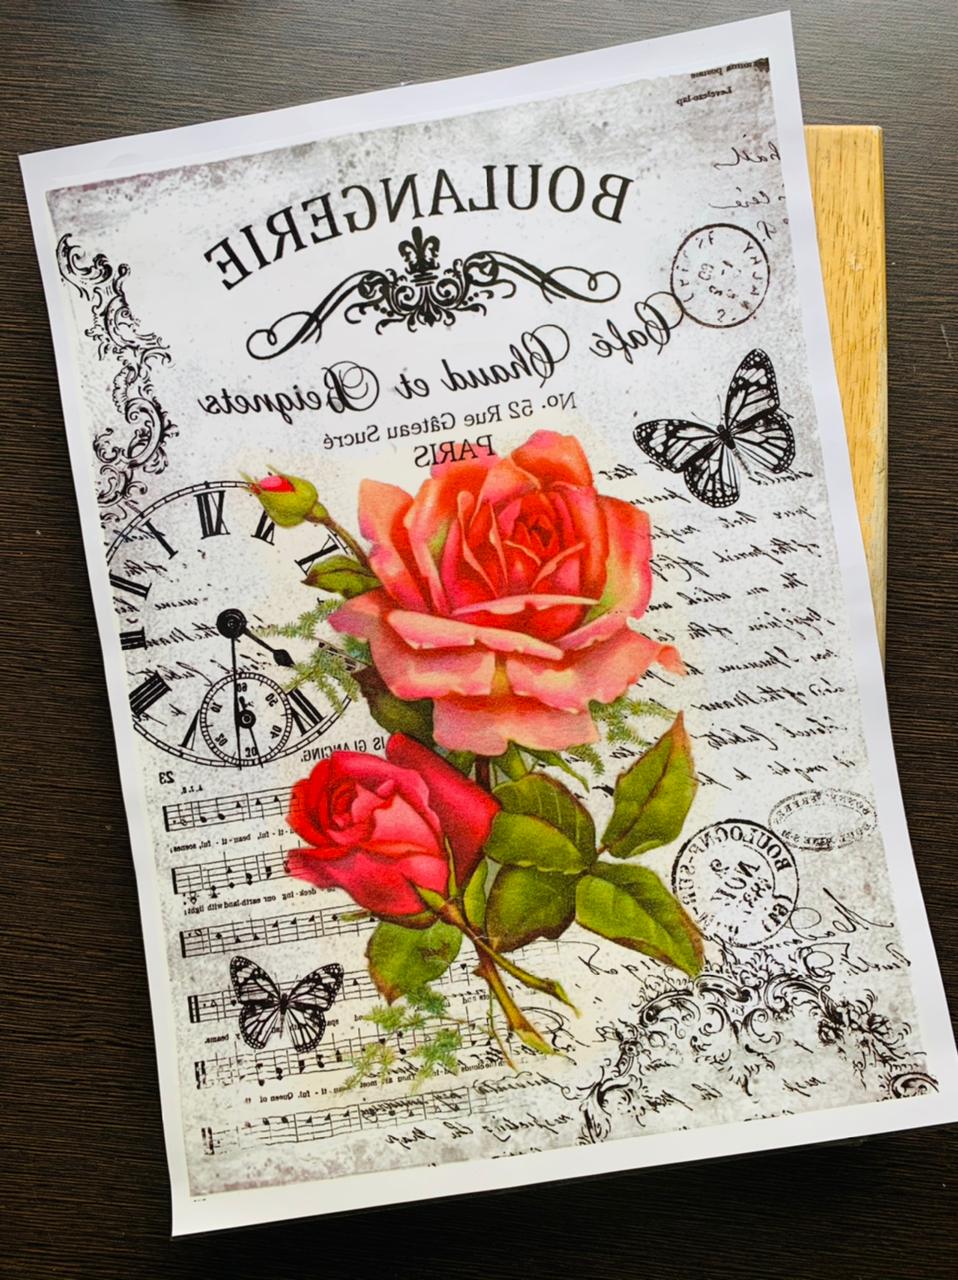

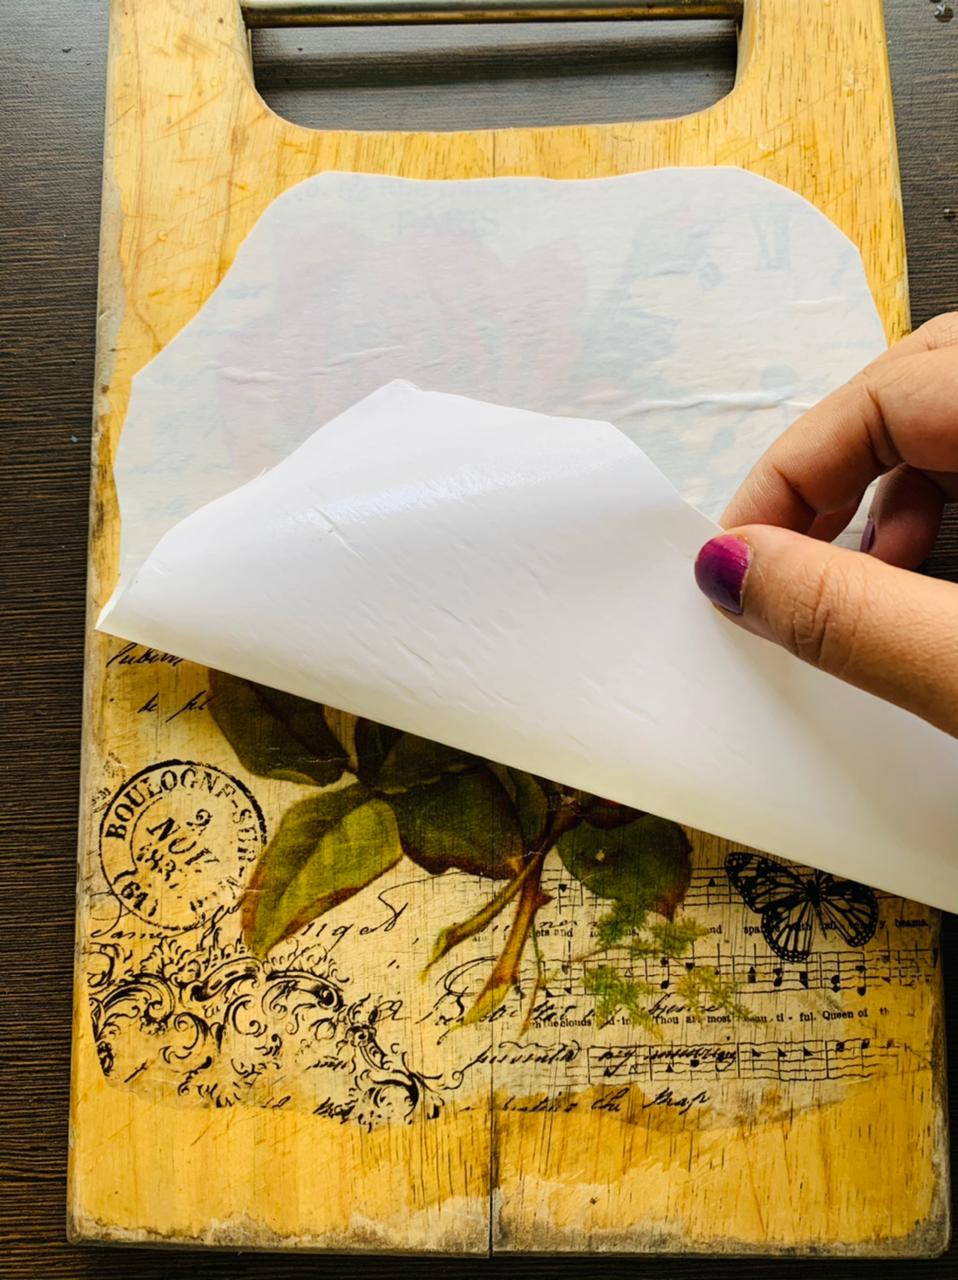
STEP 3 – Gently remove the transparent sheet. After this place the design upside down on the chopping board.


STEP 4- Now with the help of a wet sponge, dab water on the transfer paper. Do not press too much and make sure that there are no puddles of water.
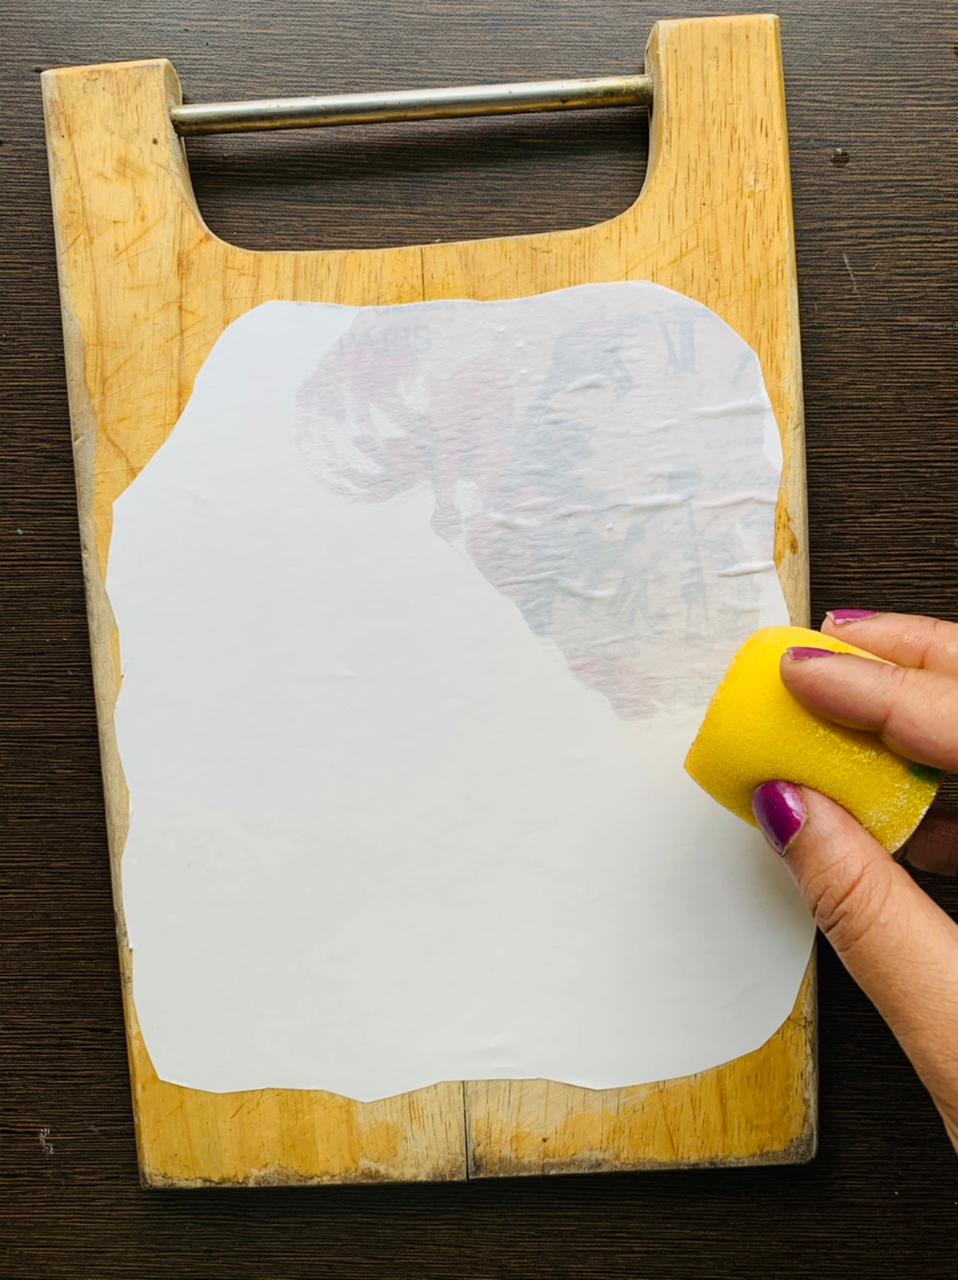
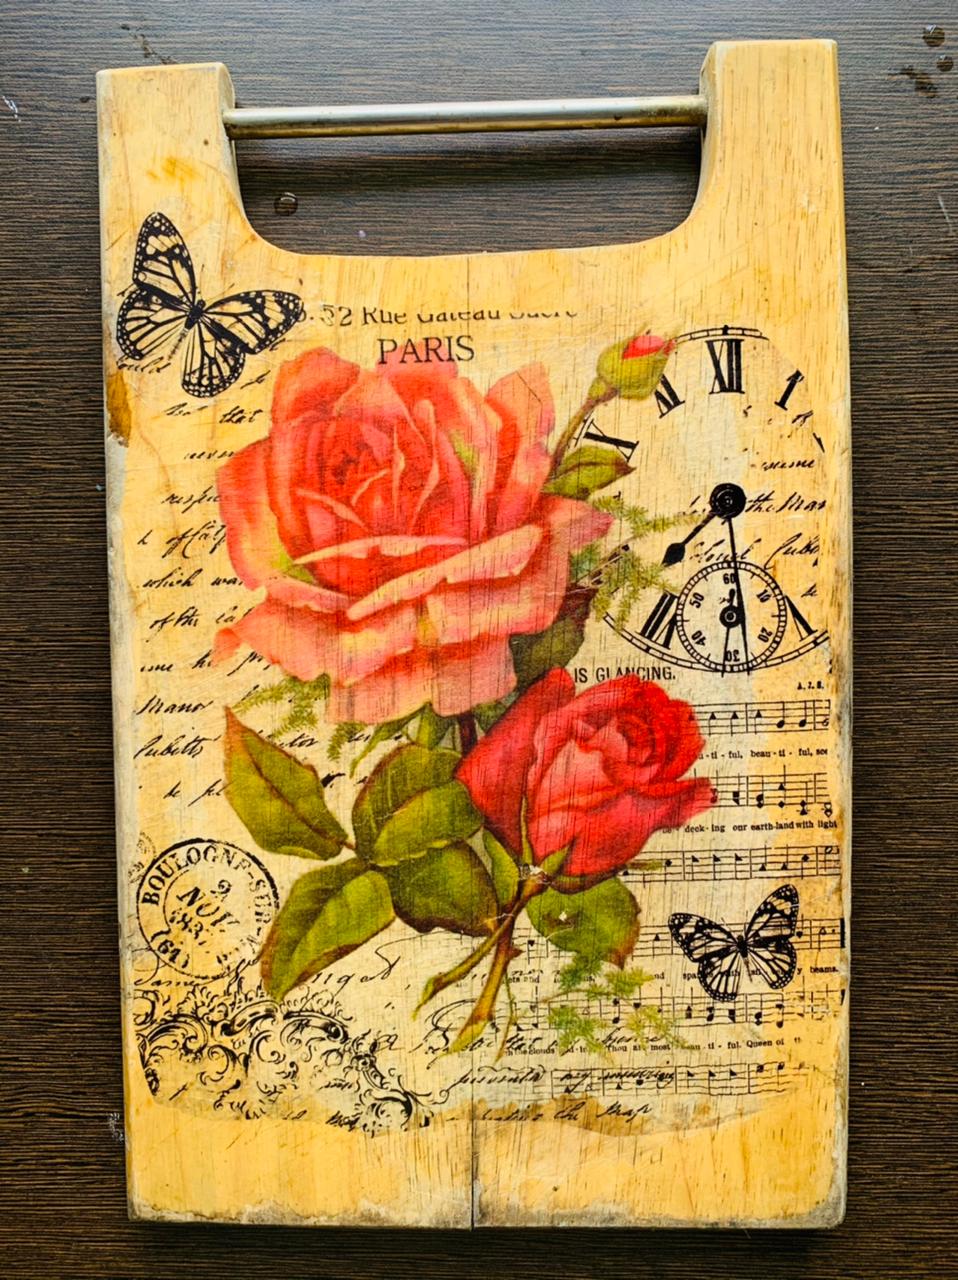
STEP 5 – Gently remove the paper to reveal the transferred image.
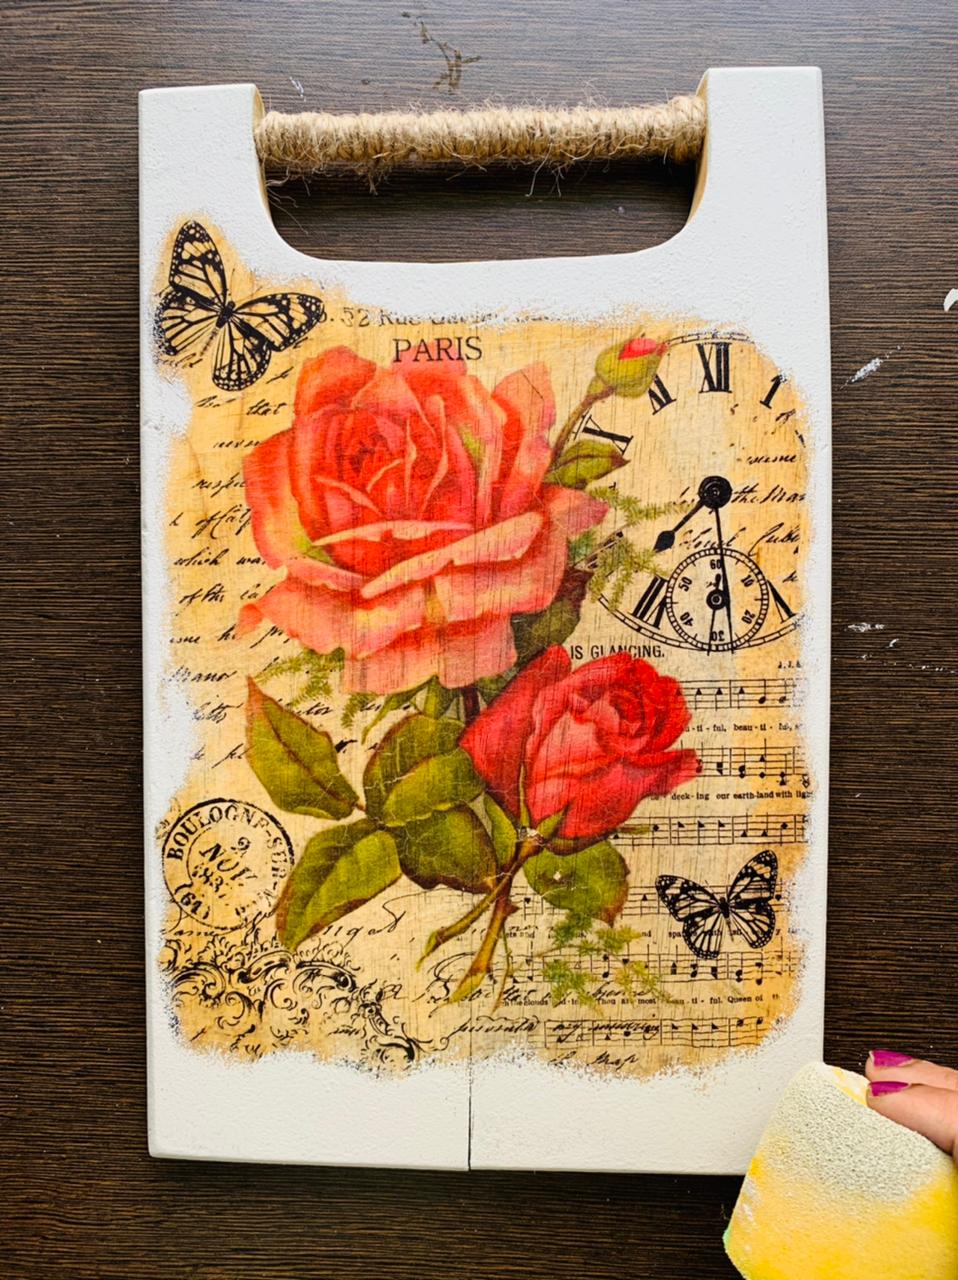
STEP 6- Take chalk paint and with the help of a sponge color the remaining side of the board. This will give depth to the board.
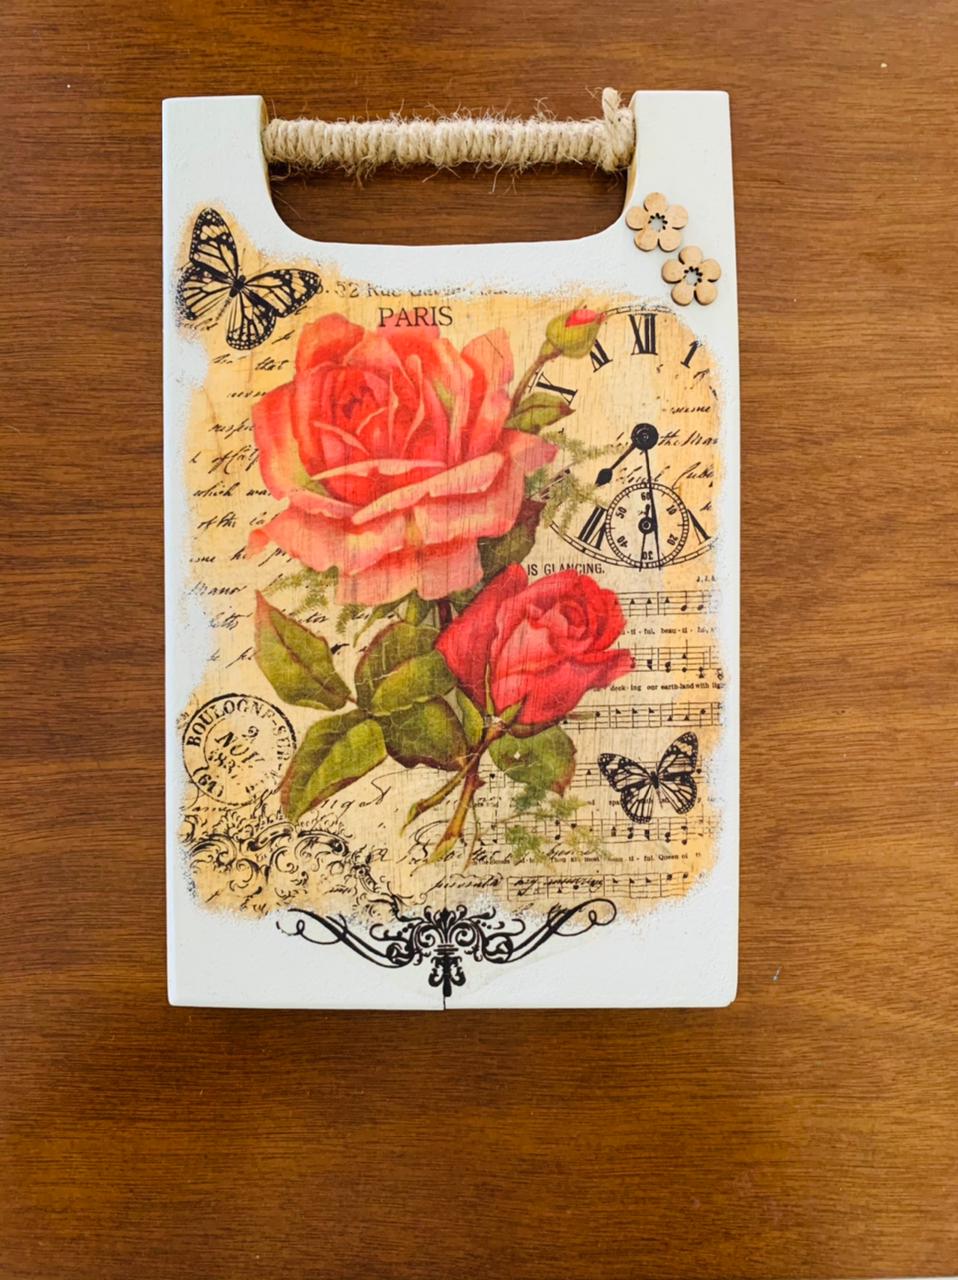
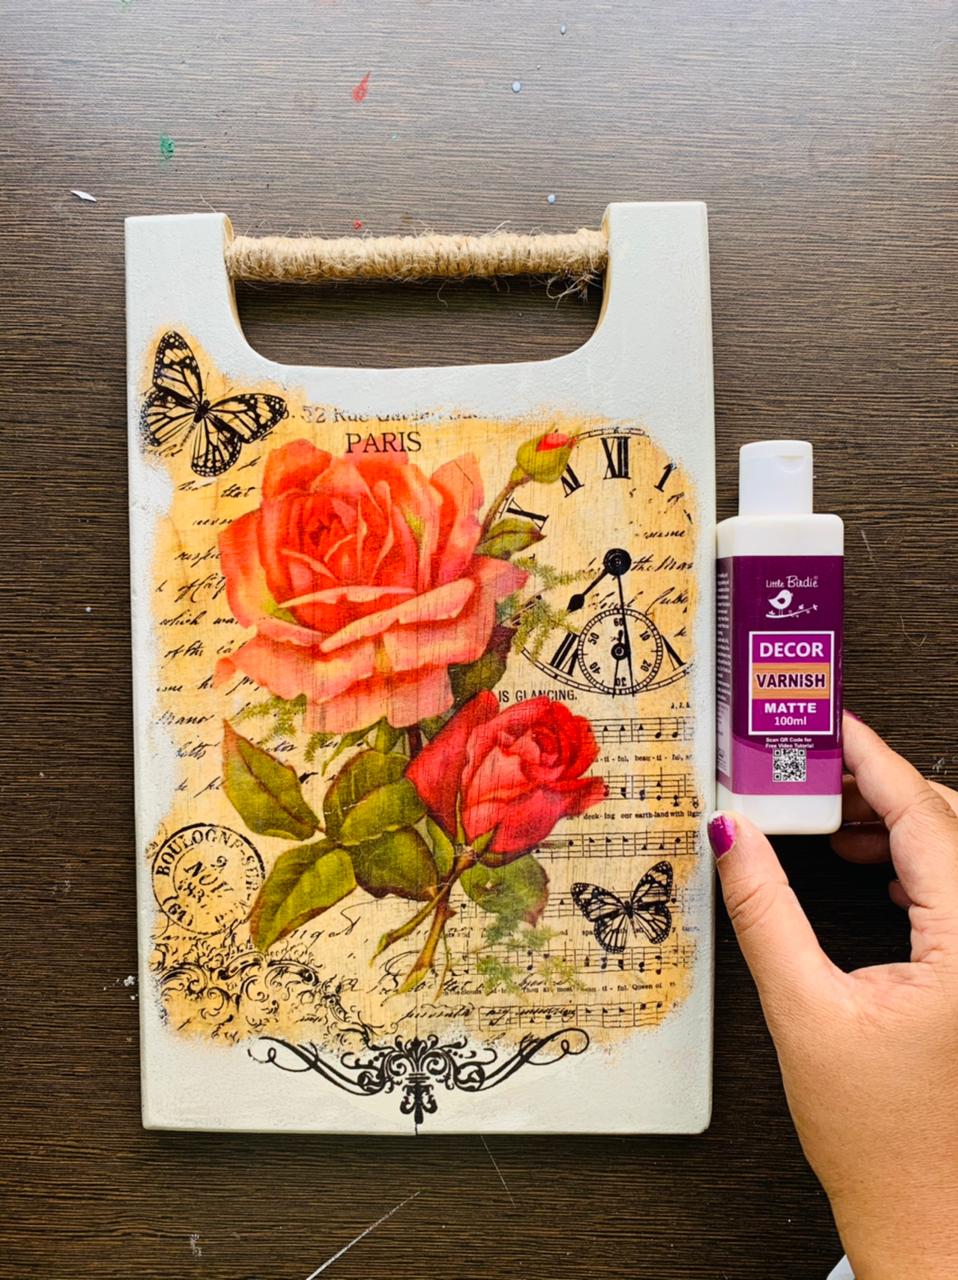
STEP 7- This one is the last step. Seal the transfer with Little Birdie’s Decor Varnish to protect it.
I hope you enjoyed this DIY. Please try this out and share the pictures on social media and tag @itsybitsy .
Don’t forget to use KASTURI5 code to get some extra discount on your final purchase.


