
Hi everyone, I am Priyanka Shashi Agarwal and this is my first blog post as Itsy Bitsy’s Brand ambassador. The patriotic fervor is all around as we just celebrated our Independence Day. I could not stop myself from sharing this super easy tricolour candle project with you.

For this project I have used Little Birdie candle making supplies. The complete list includes Paraffin Wax, Stearin, Wax Coated Wick (7 inch), Candle Making Dyes (Blazing Blue, Pear, Neon Orange), Candle Making Fragrance (Peach) and Pillar Glass Mould (5 inch). Other supplies includes permanent marker, ruler, double boiler, pouring pitcher, wooden cloth pin and bamboo skewers.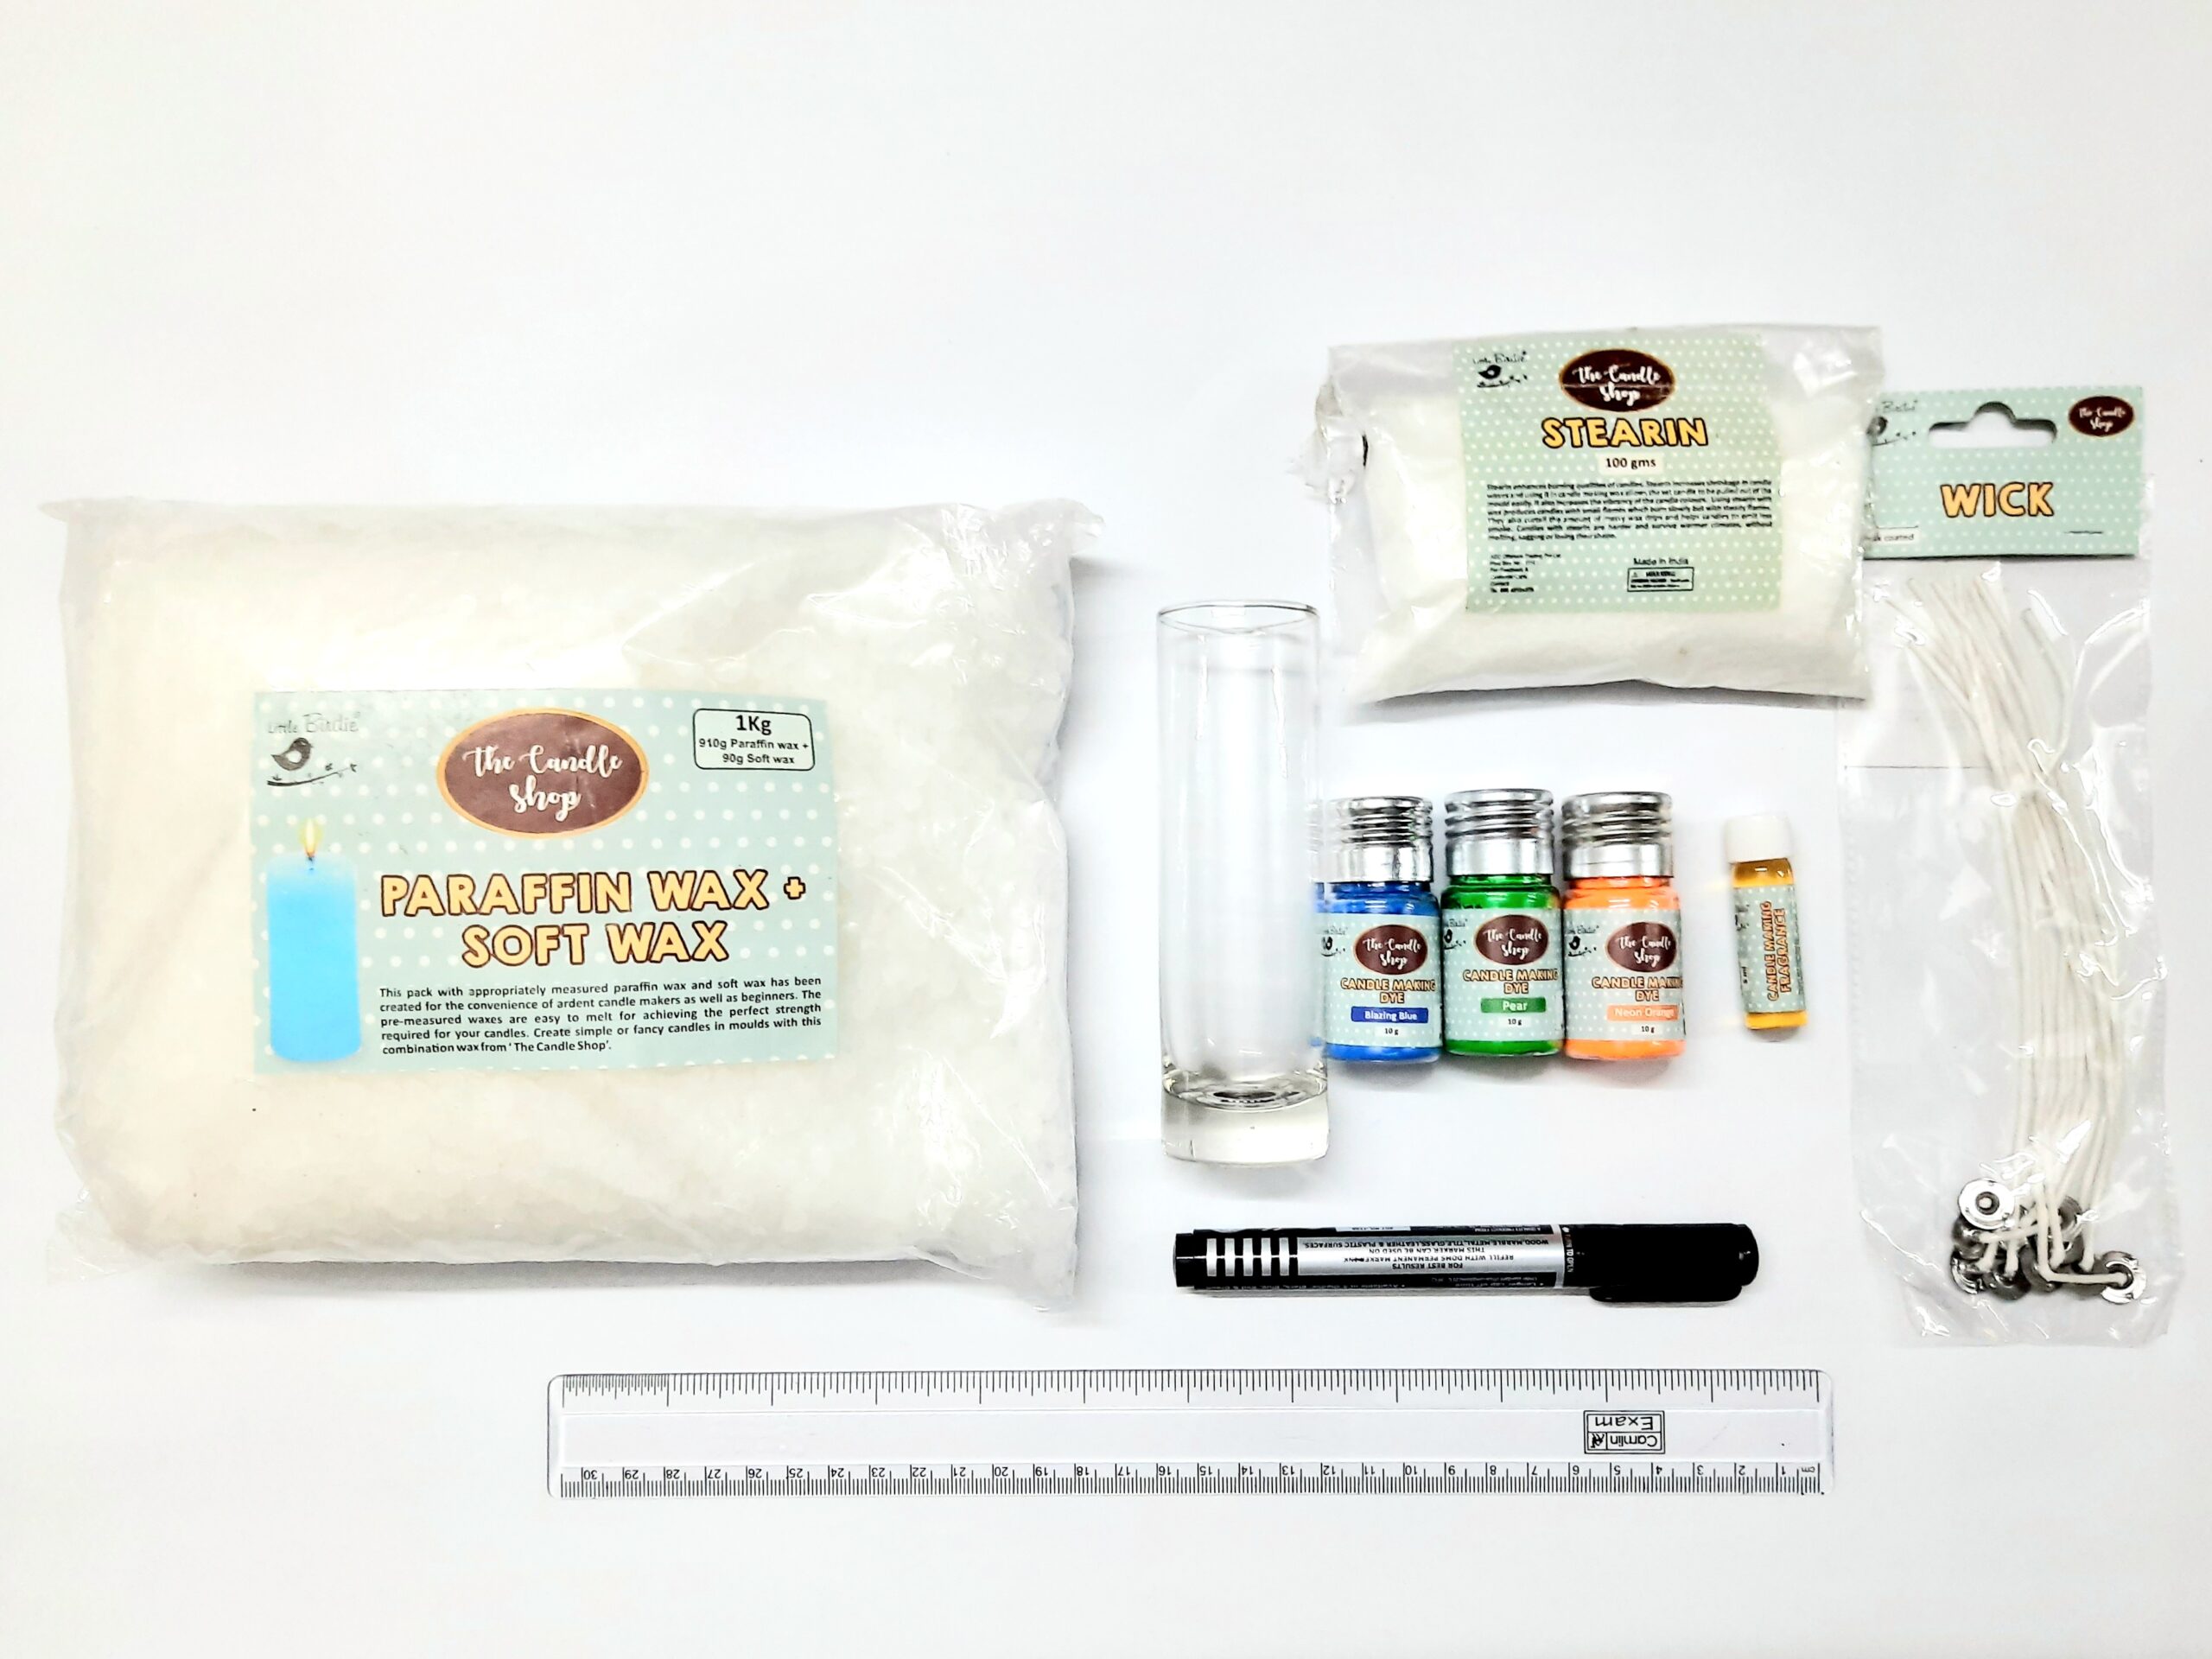
Step 1 : Preparing the mould
I marked the glass mould in 3 equal parts with the help of a ruler and a marker.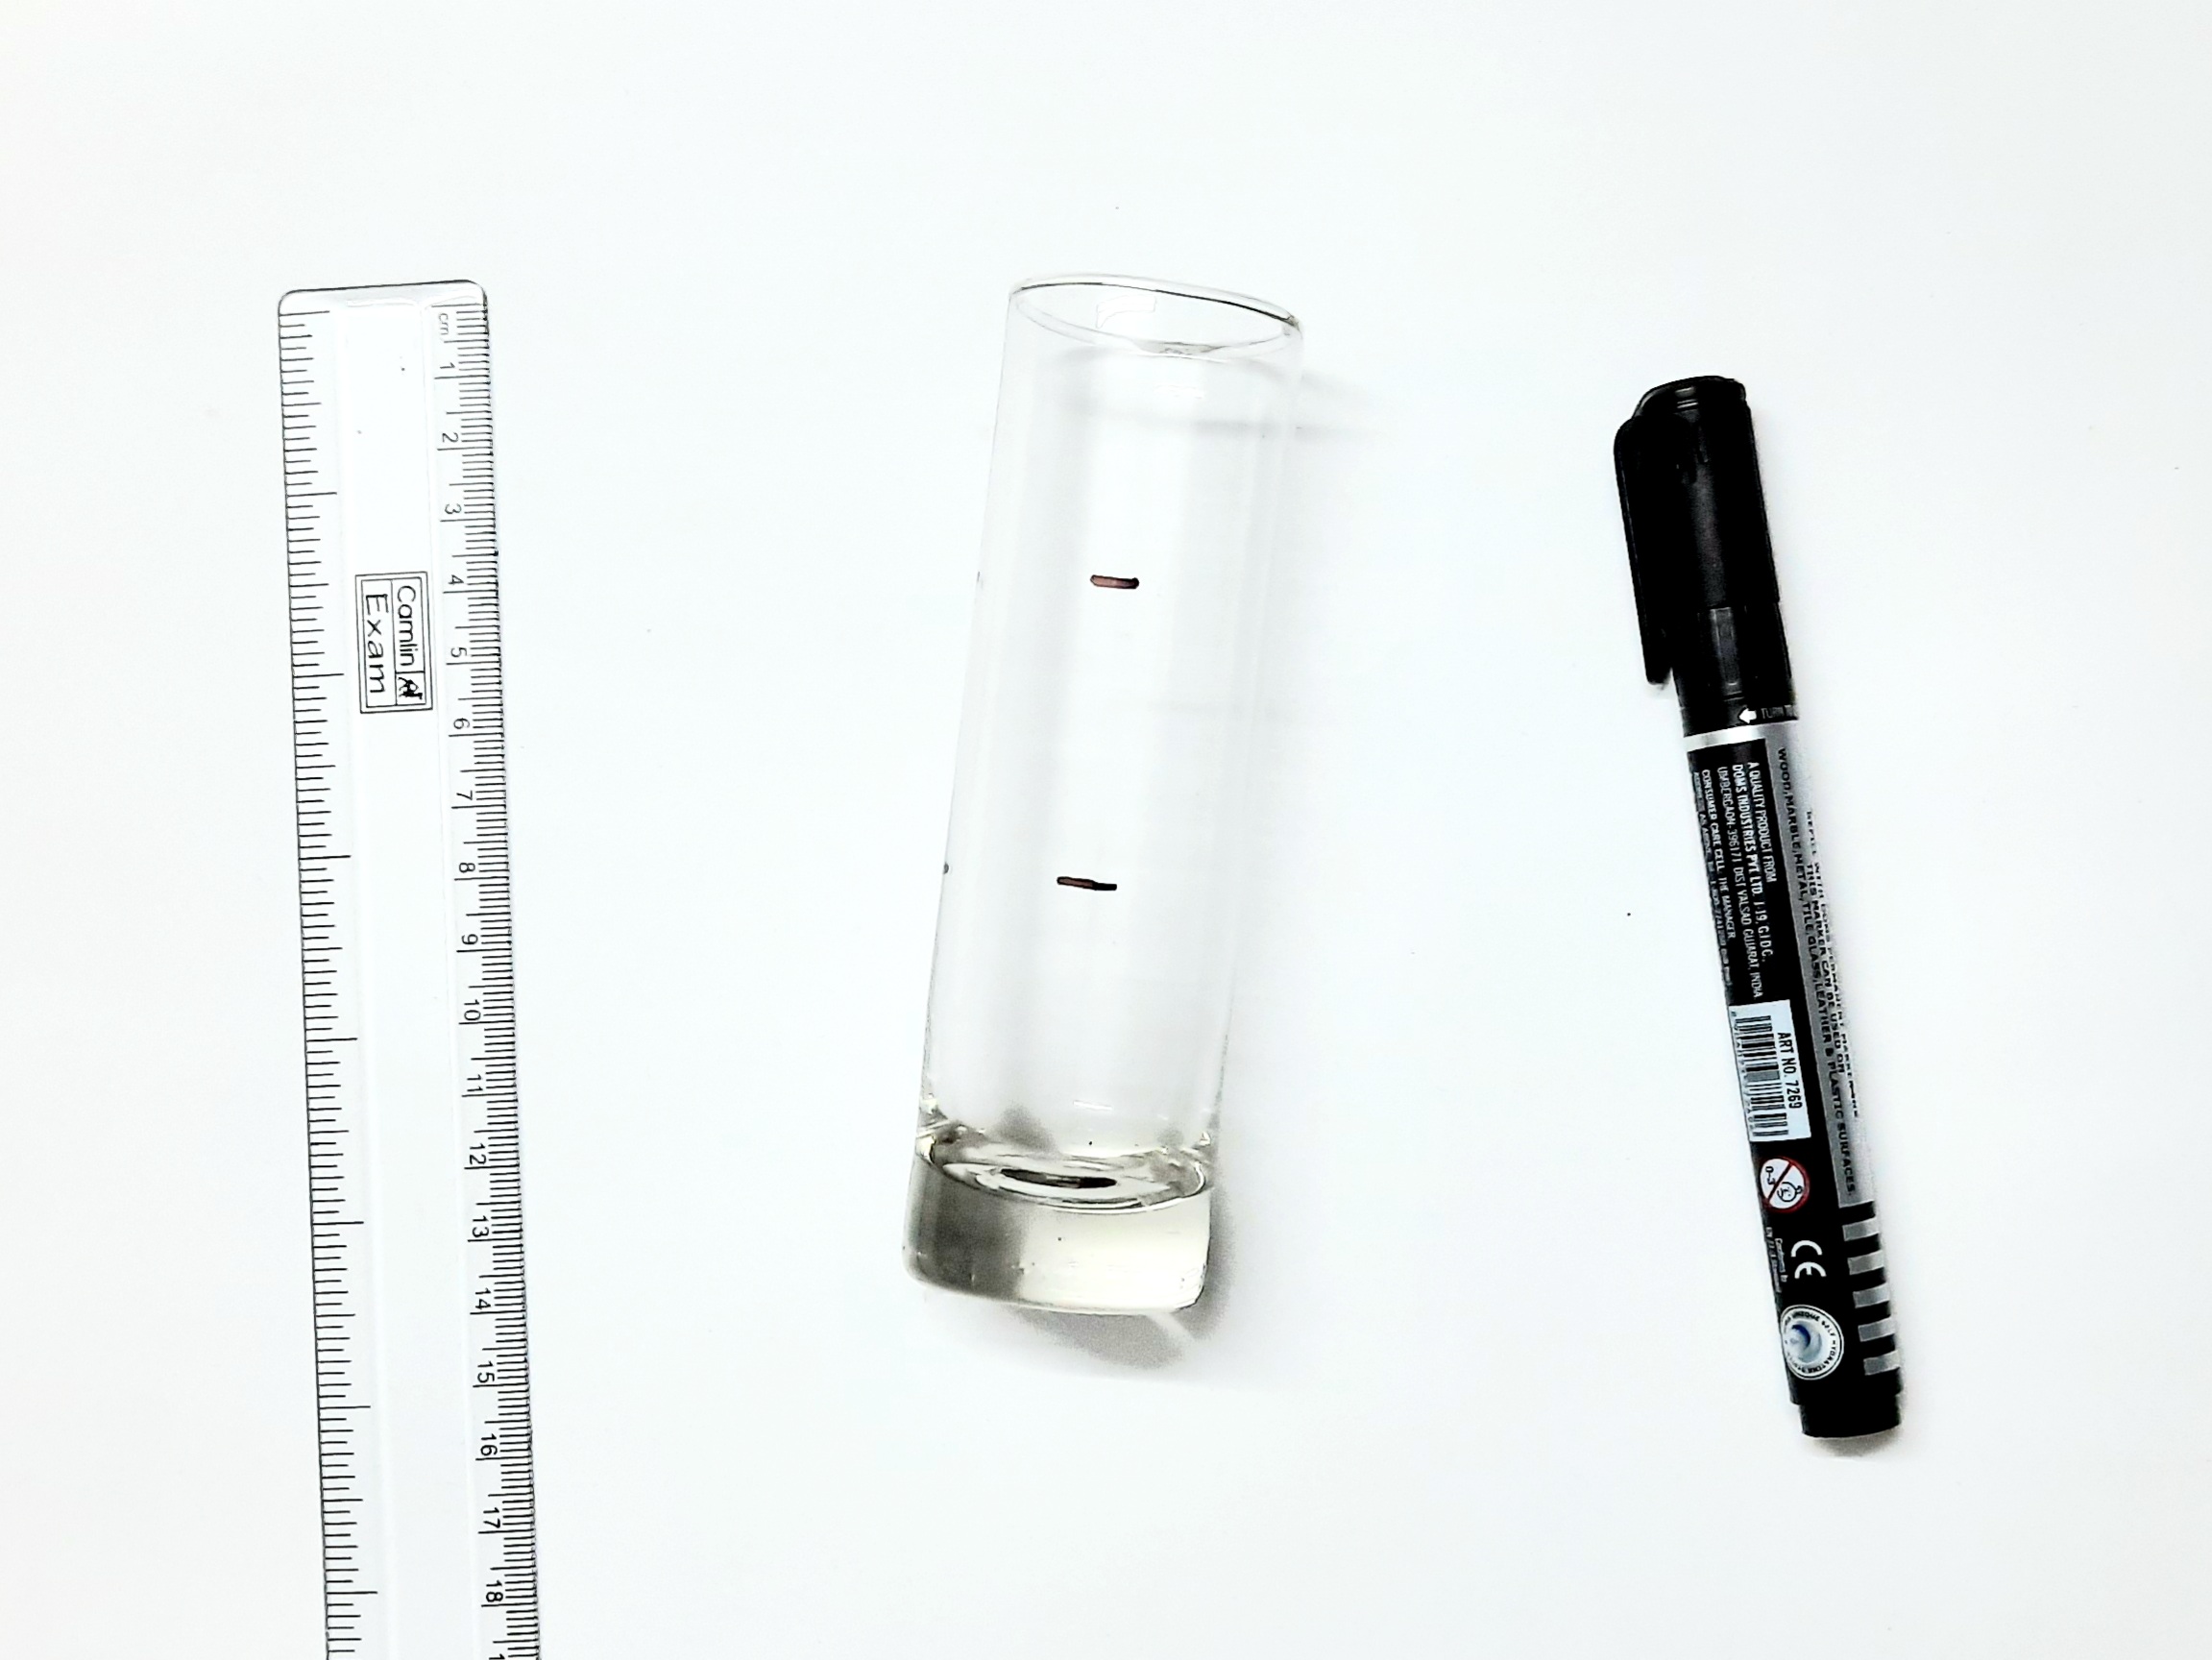
Step 2: Preparing the wax
I took the paraffin wax chunks (around 2 parts of the mould for each layer (3 layers) and kept it aside (in 3 portions). Then I mixed one pinch of stearin in each portion as per the ratio of 1:10 of stearin and wax. Though its optional to add stearin but it enhances the burning quality of the candle and also increases the vibrancy of the candle colours.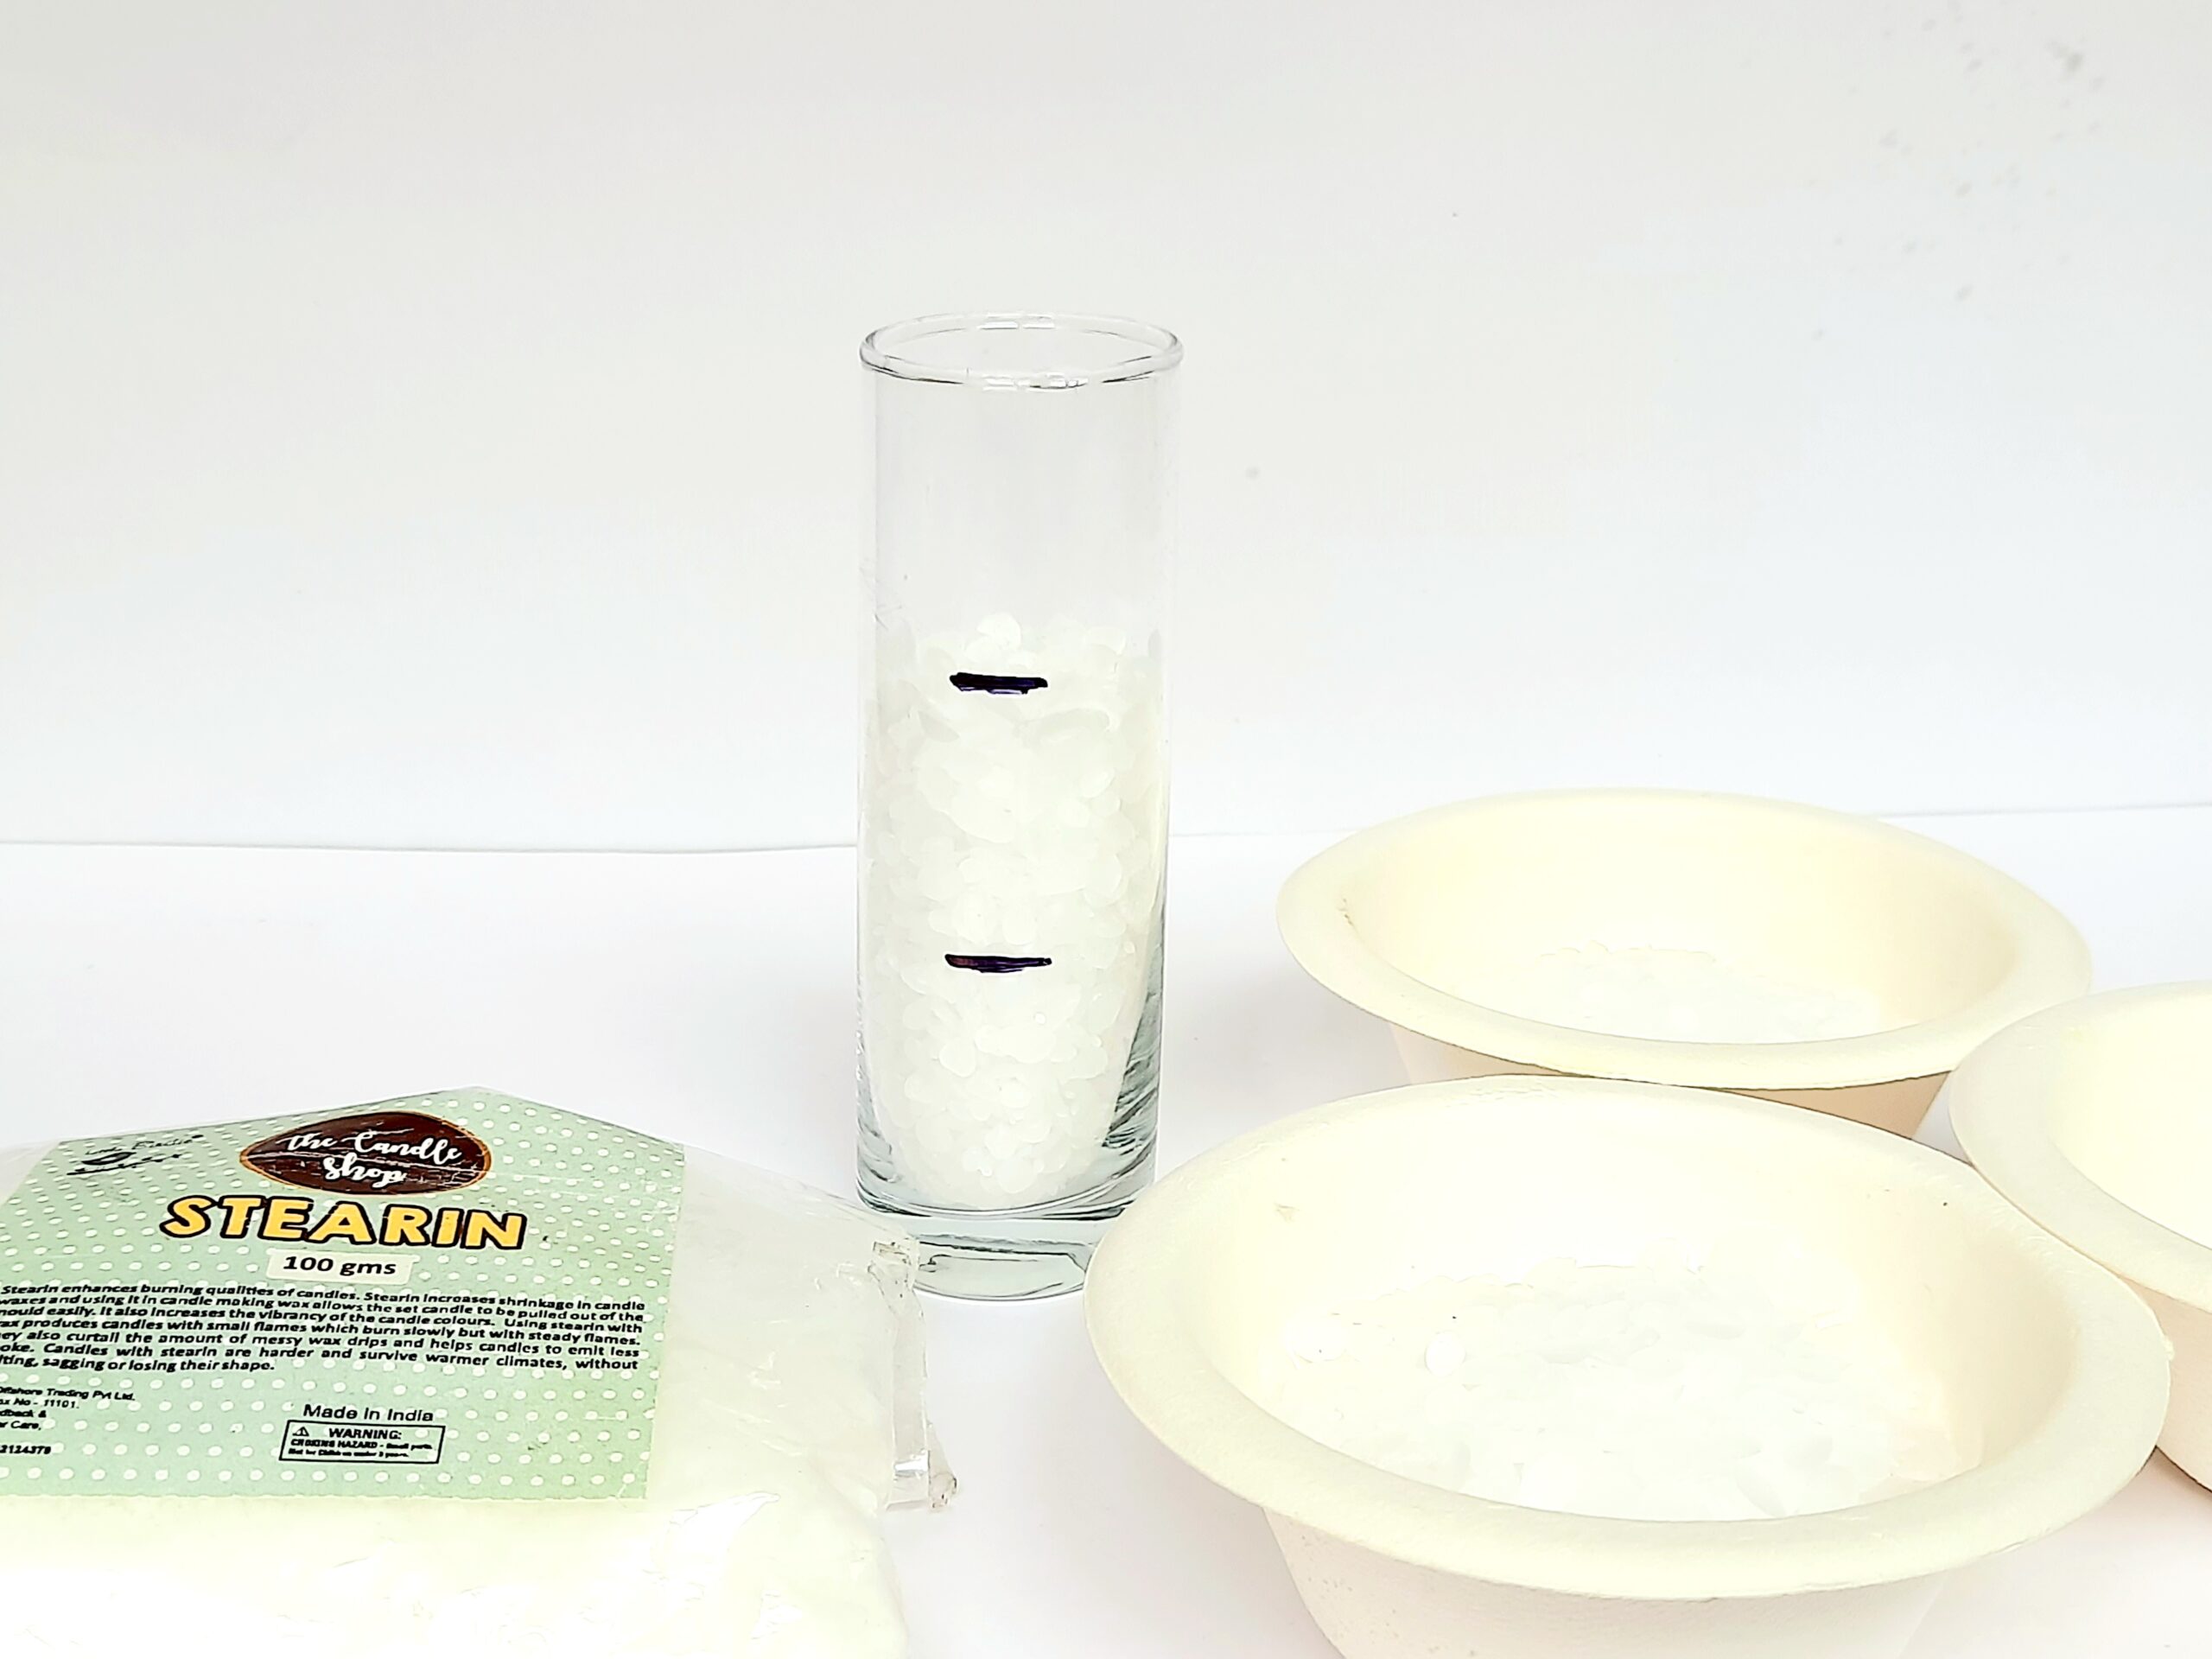
Step 3: Melting the wax
I melted 1 portion of the wax in a pouring pitcher on the double boiler and added candle dyes: Pear and Blazing Blue to get the desired dark green colour and mixed it well (I checked the colour of wax by dropping it a bit on white paper and it was perfect!).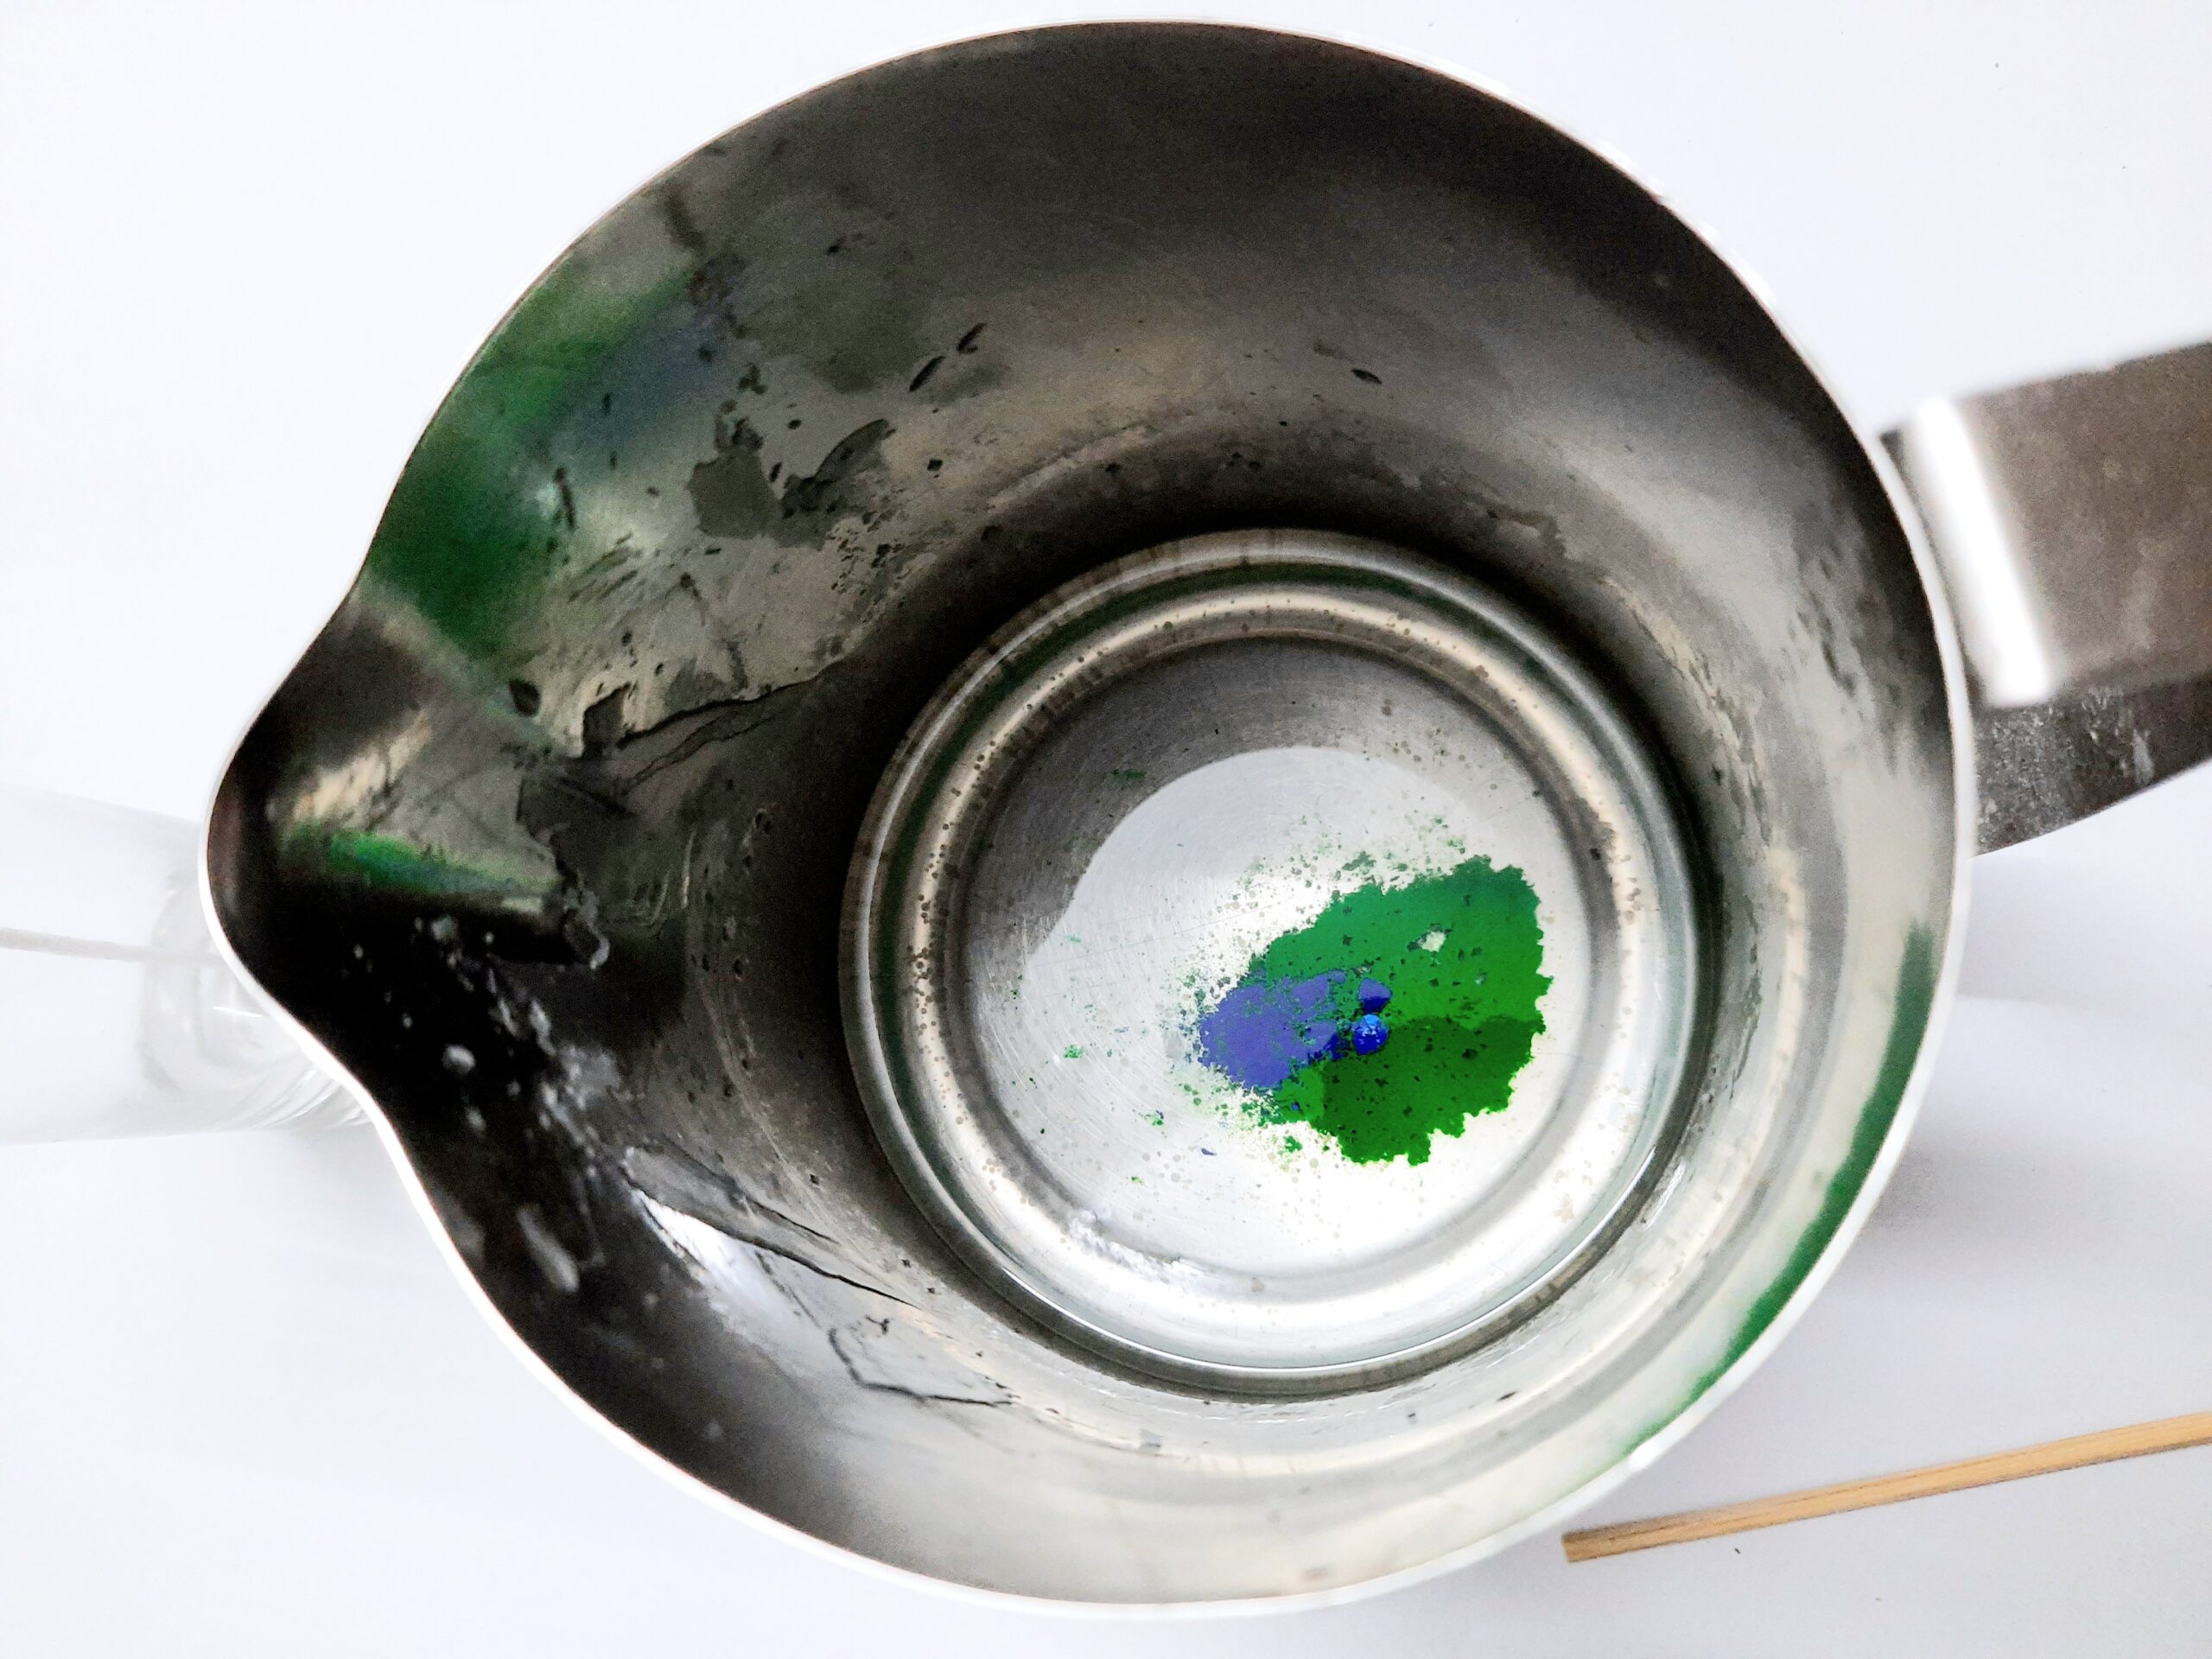
Step 4: Assembling the wick
While the wax was melting I set the wick with the help of some adhesive at the bottom of the mould and pressed it using a bamboo skewer.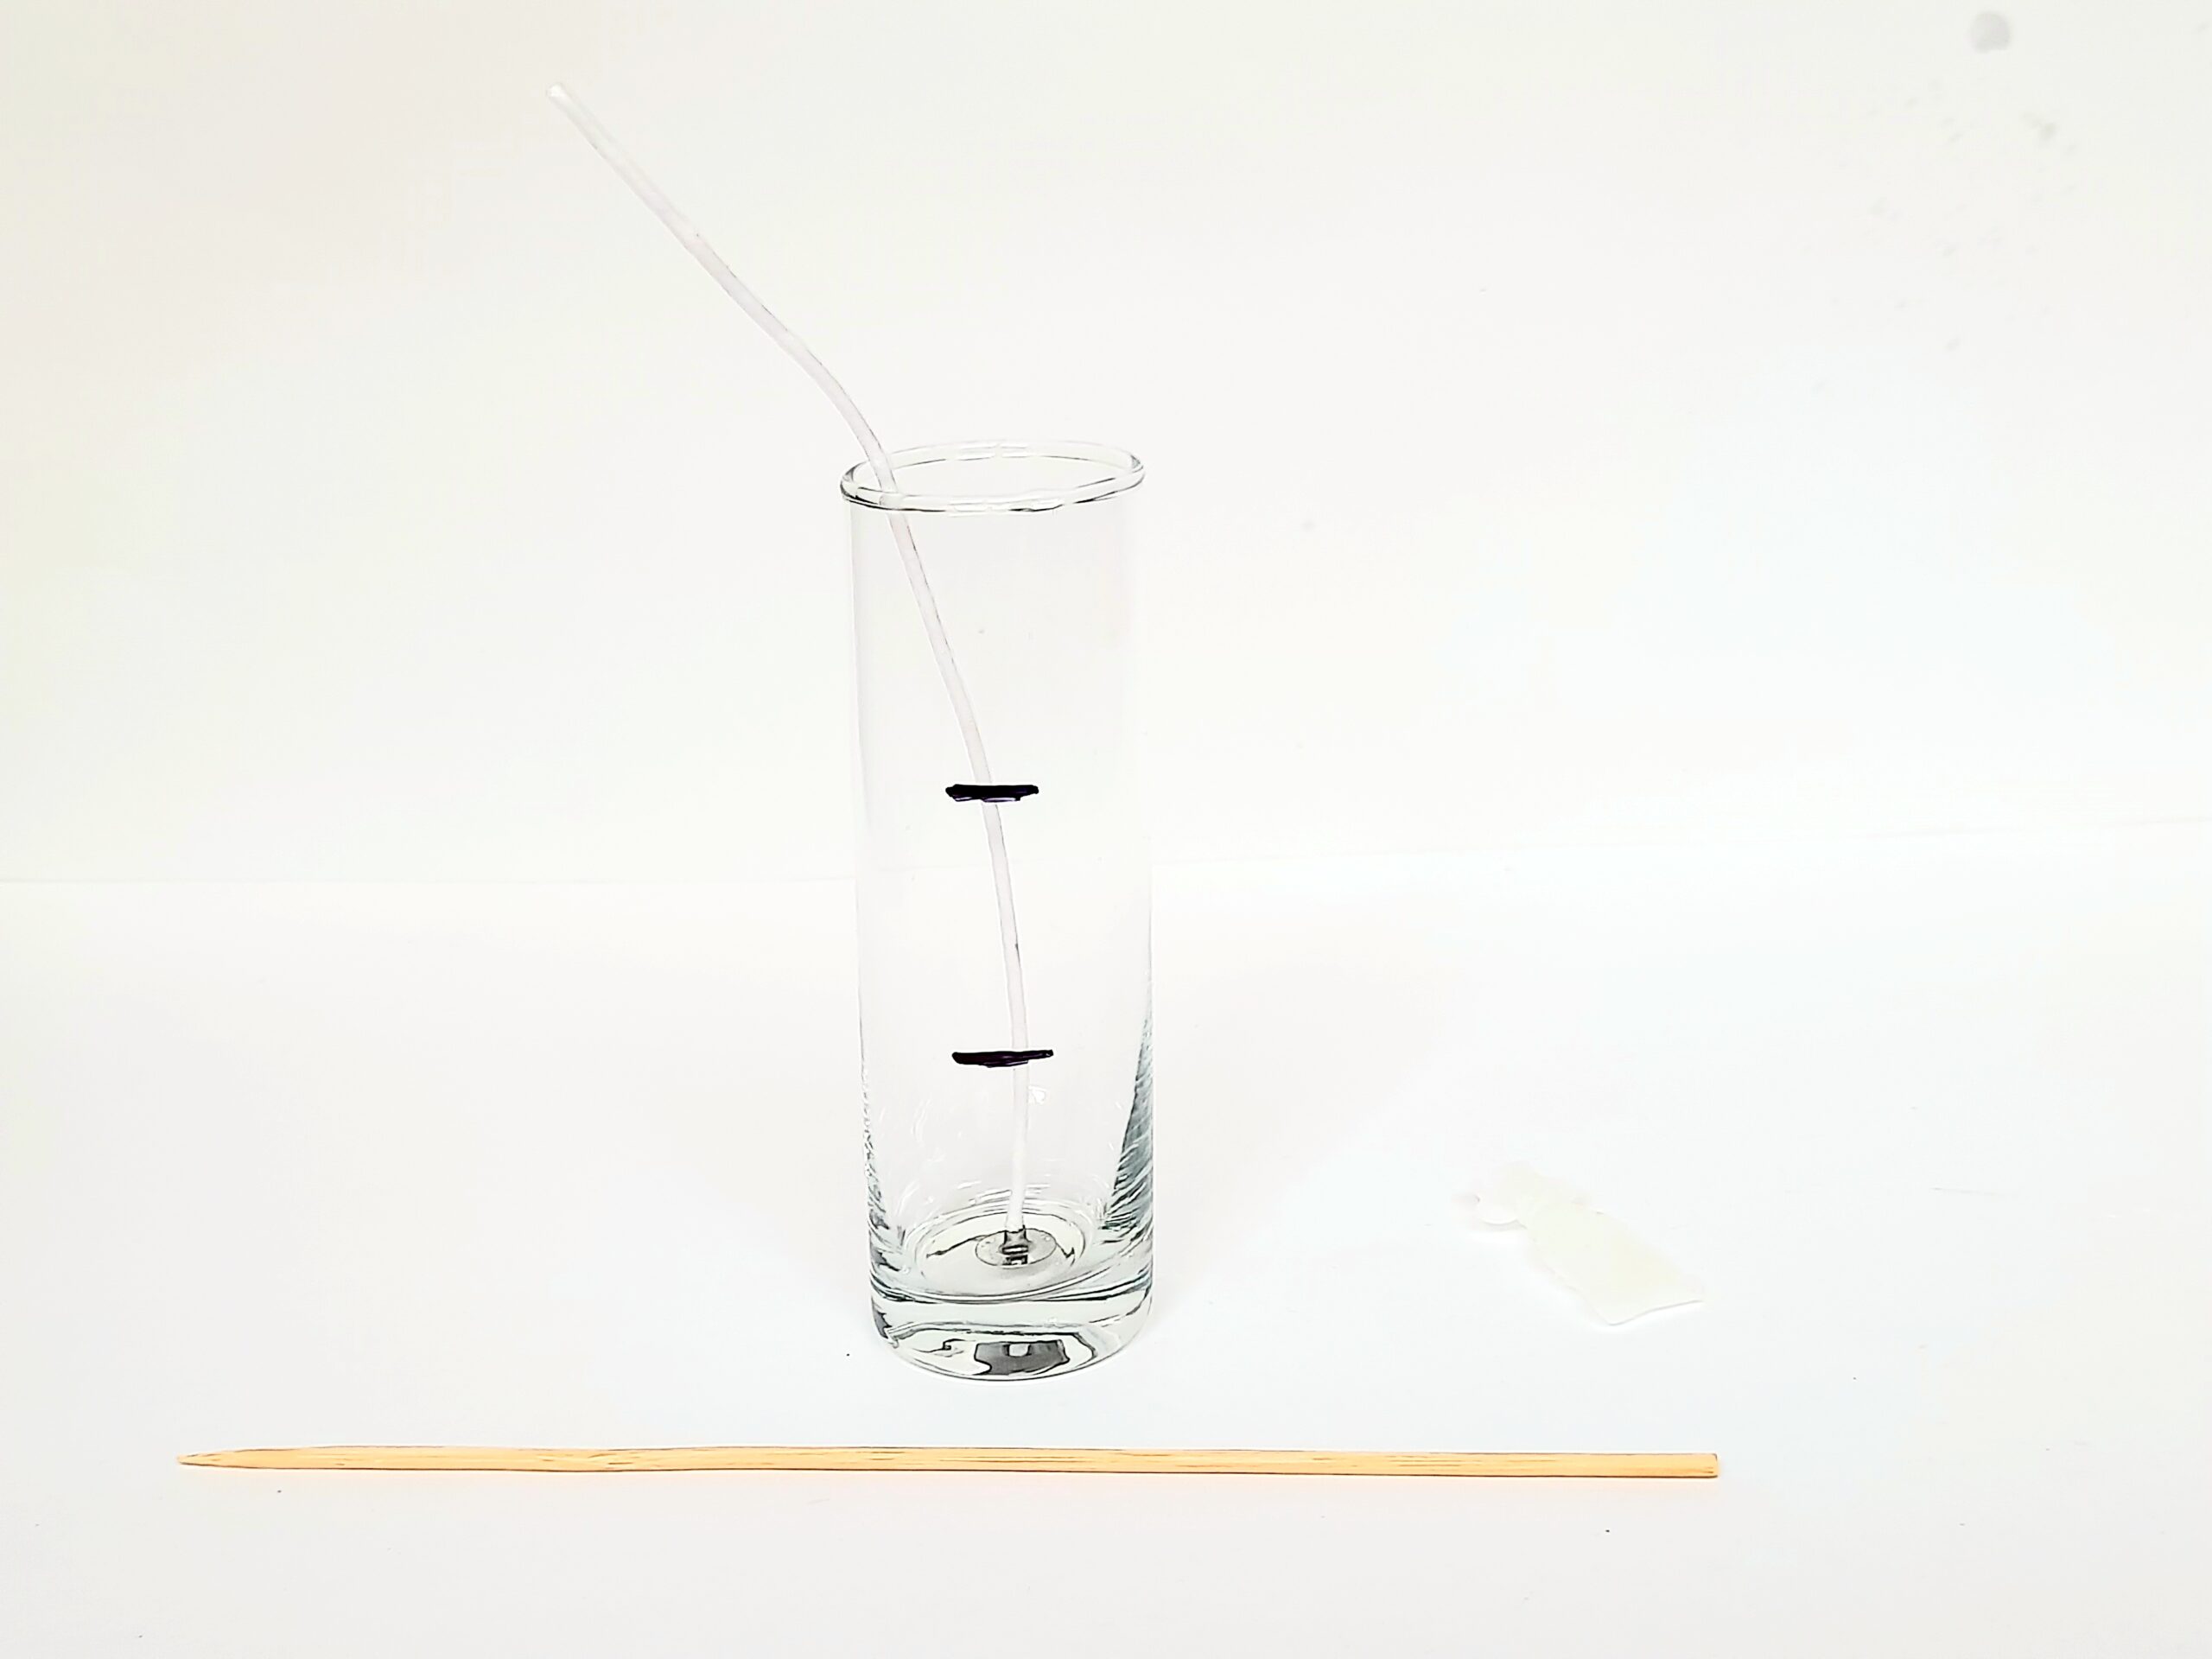
Step 5: Pouring the wax
First Pour: Once the wax melted fully, I removed it from the double boiler and added the fragrance of my choice and mixed it well with the bamboo skewer. I poured the wax into the centre of the mould (to avoid any spillage of wax on the walls of the mould) until the first mark. Then I used the clothes pin to centre the wick on top.
Second Pour: Just after the first pour I removed the remaining wax and cleaned the pitcher nicely for the second pour. I took another portion of wax, melted it but didn’t add any dye this time as I needed it to be white. When the first layer of wax hardened to form a skin on its surface but it was still warm I poured the second layer until the second mark and centred the wick on top again.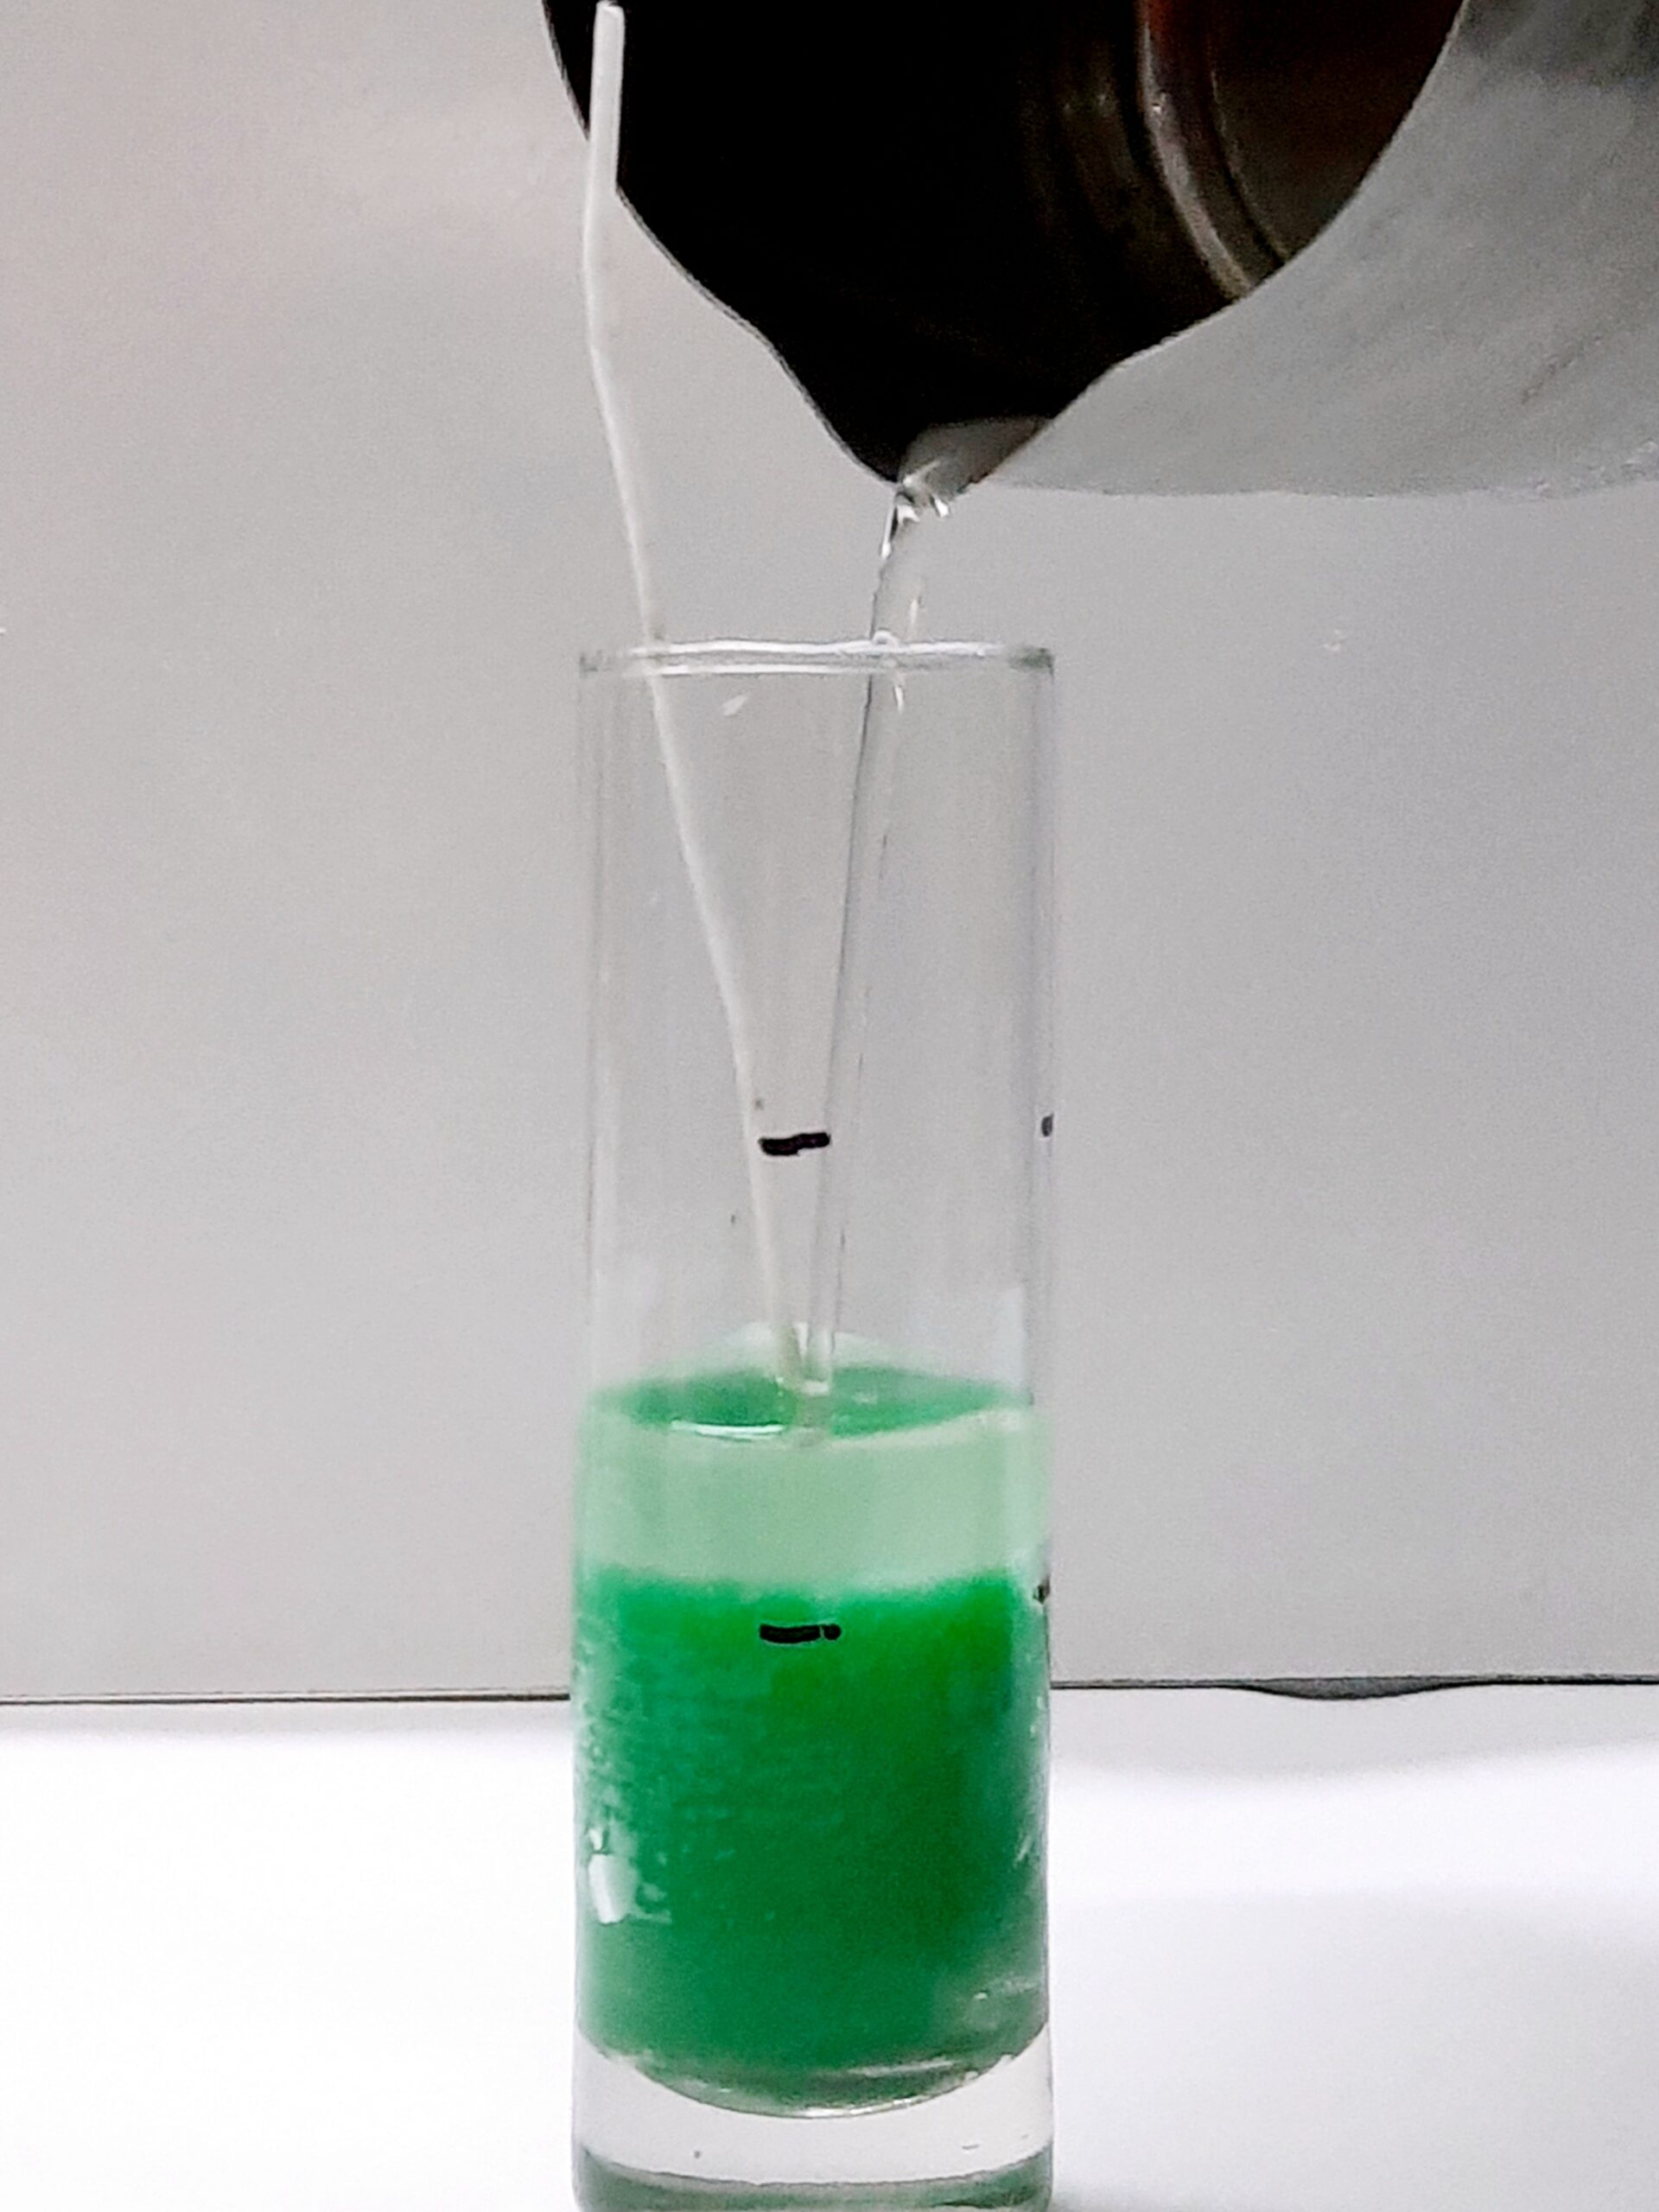
Third Pour: I repeated the process with the last portion of wax. Only the change was in the candle dye. I used neon orange colour and poured the wax until the top of the mould when the second layer had hardened a bit.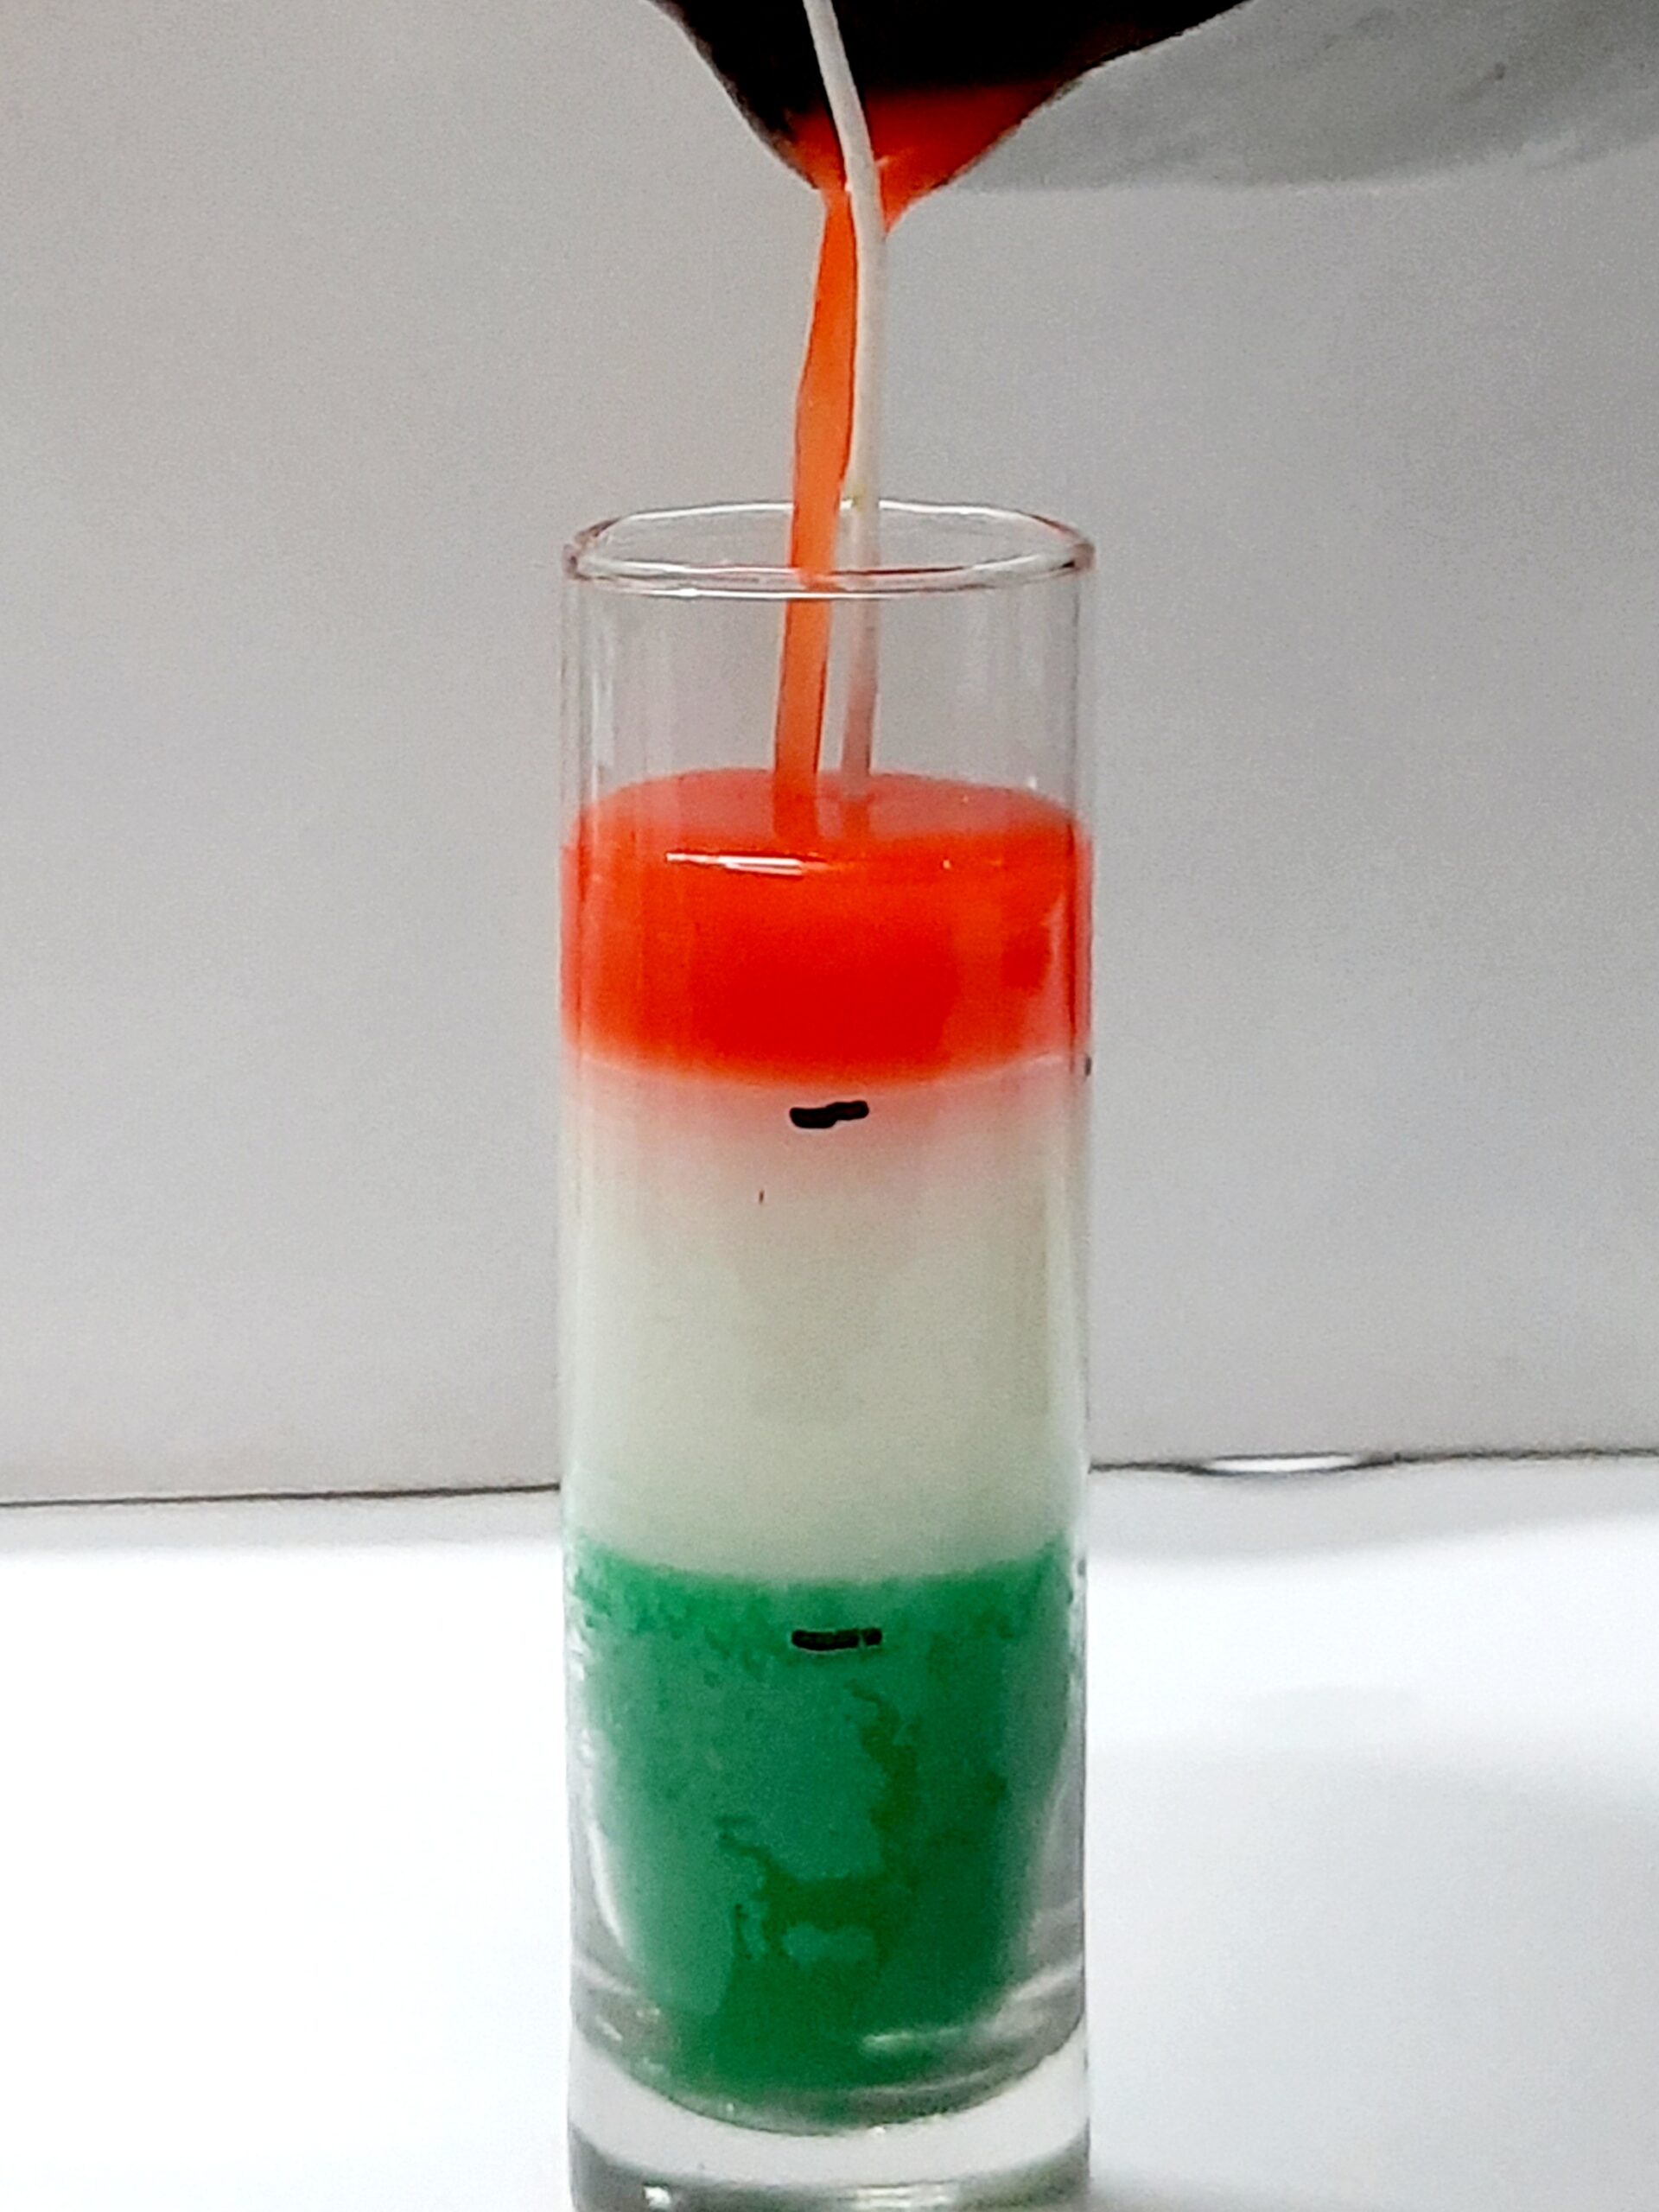
Then I left the mould untouched until it had completely hardened and cooled down (approximately 2 hours). 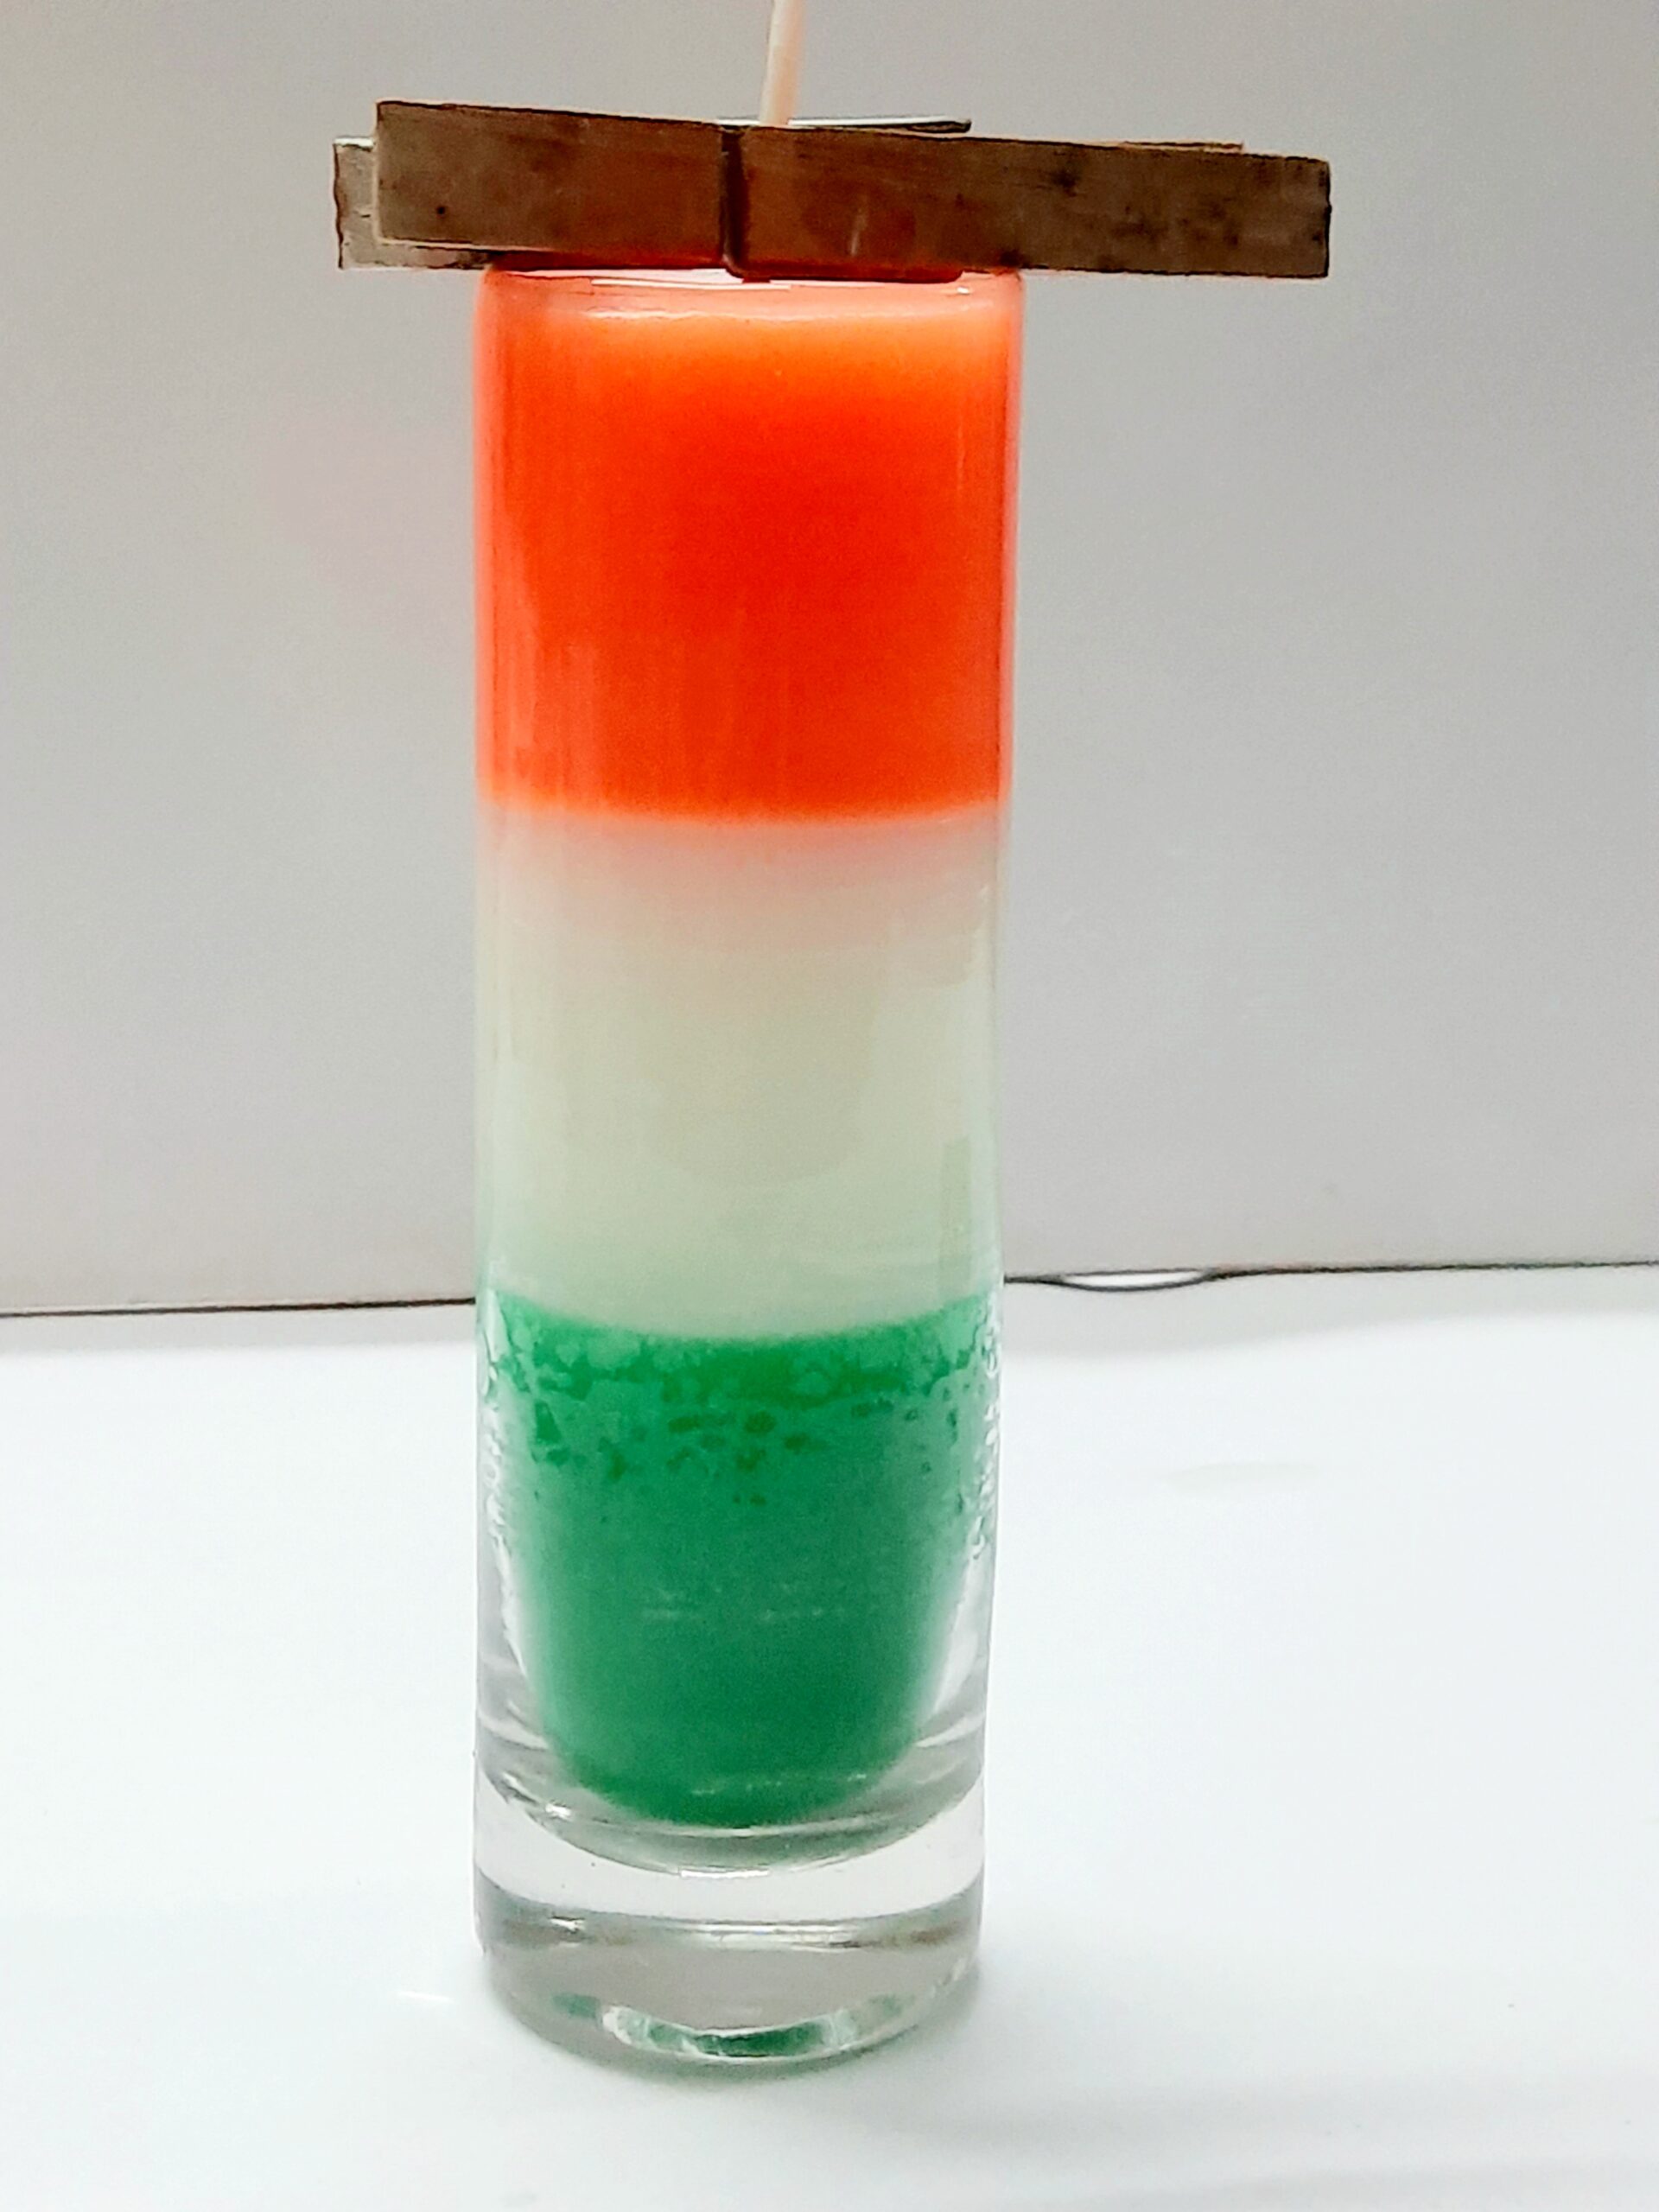
6. Final Touches
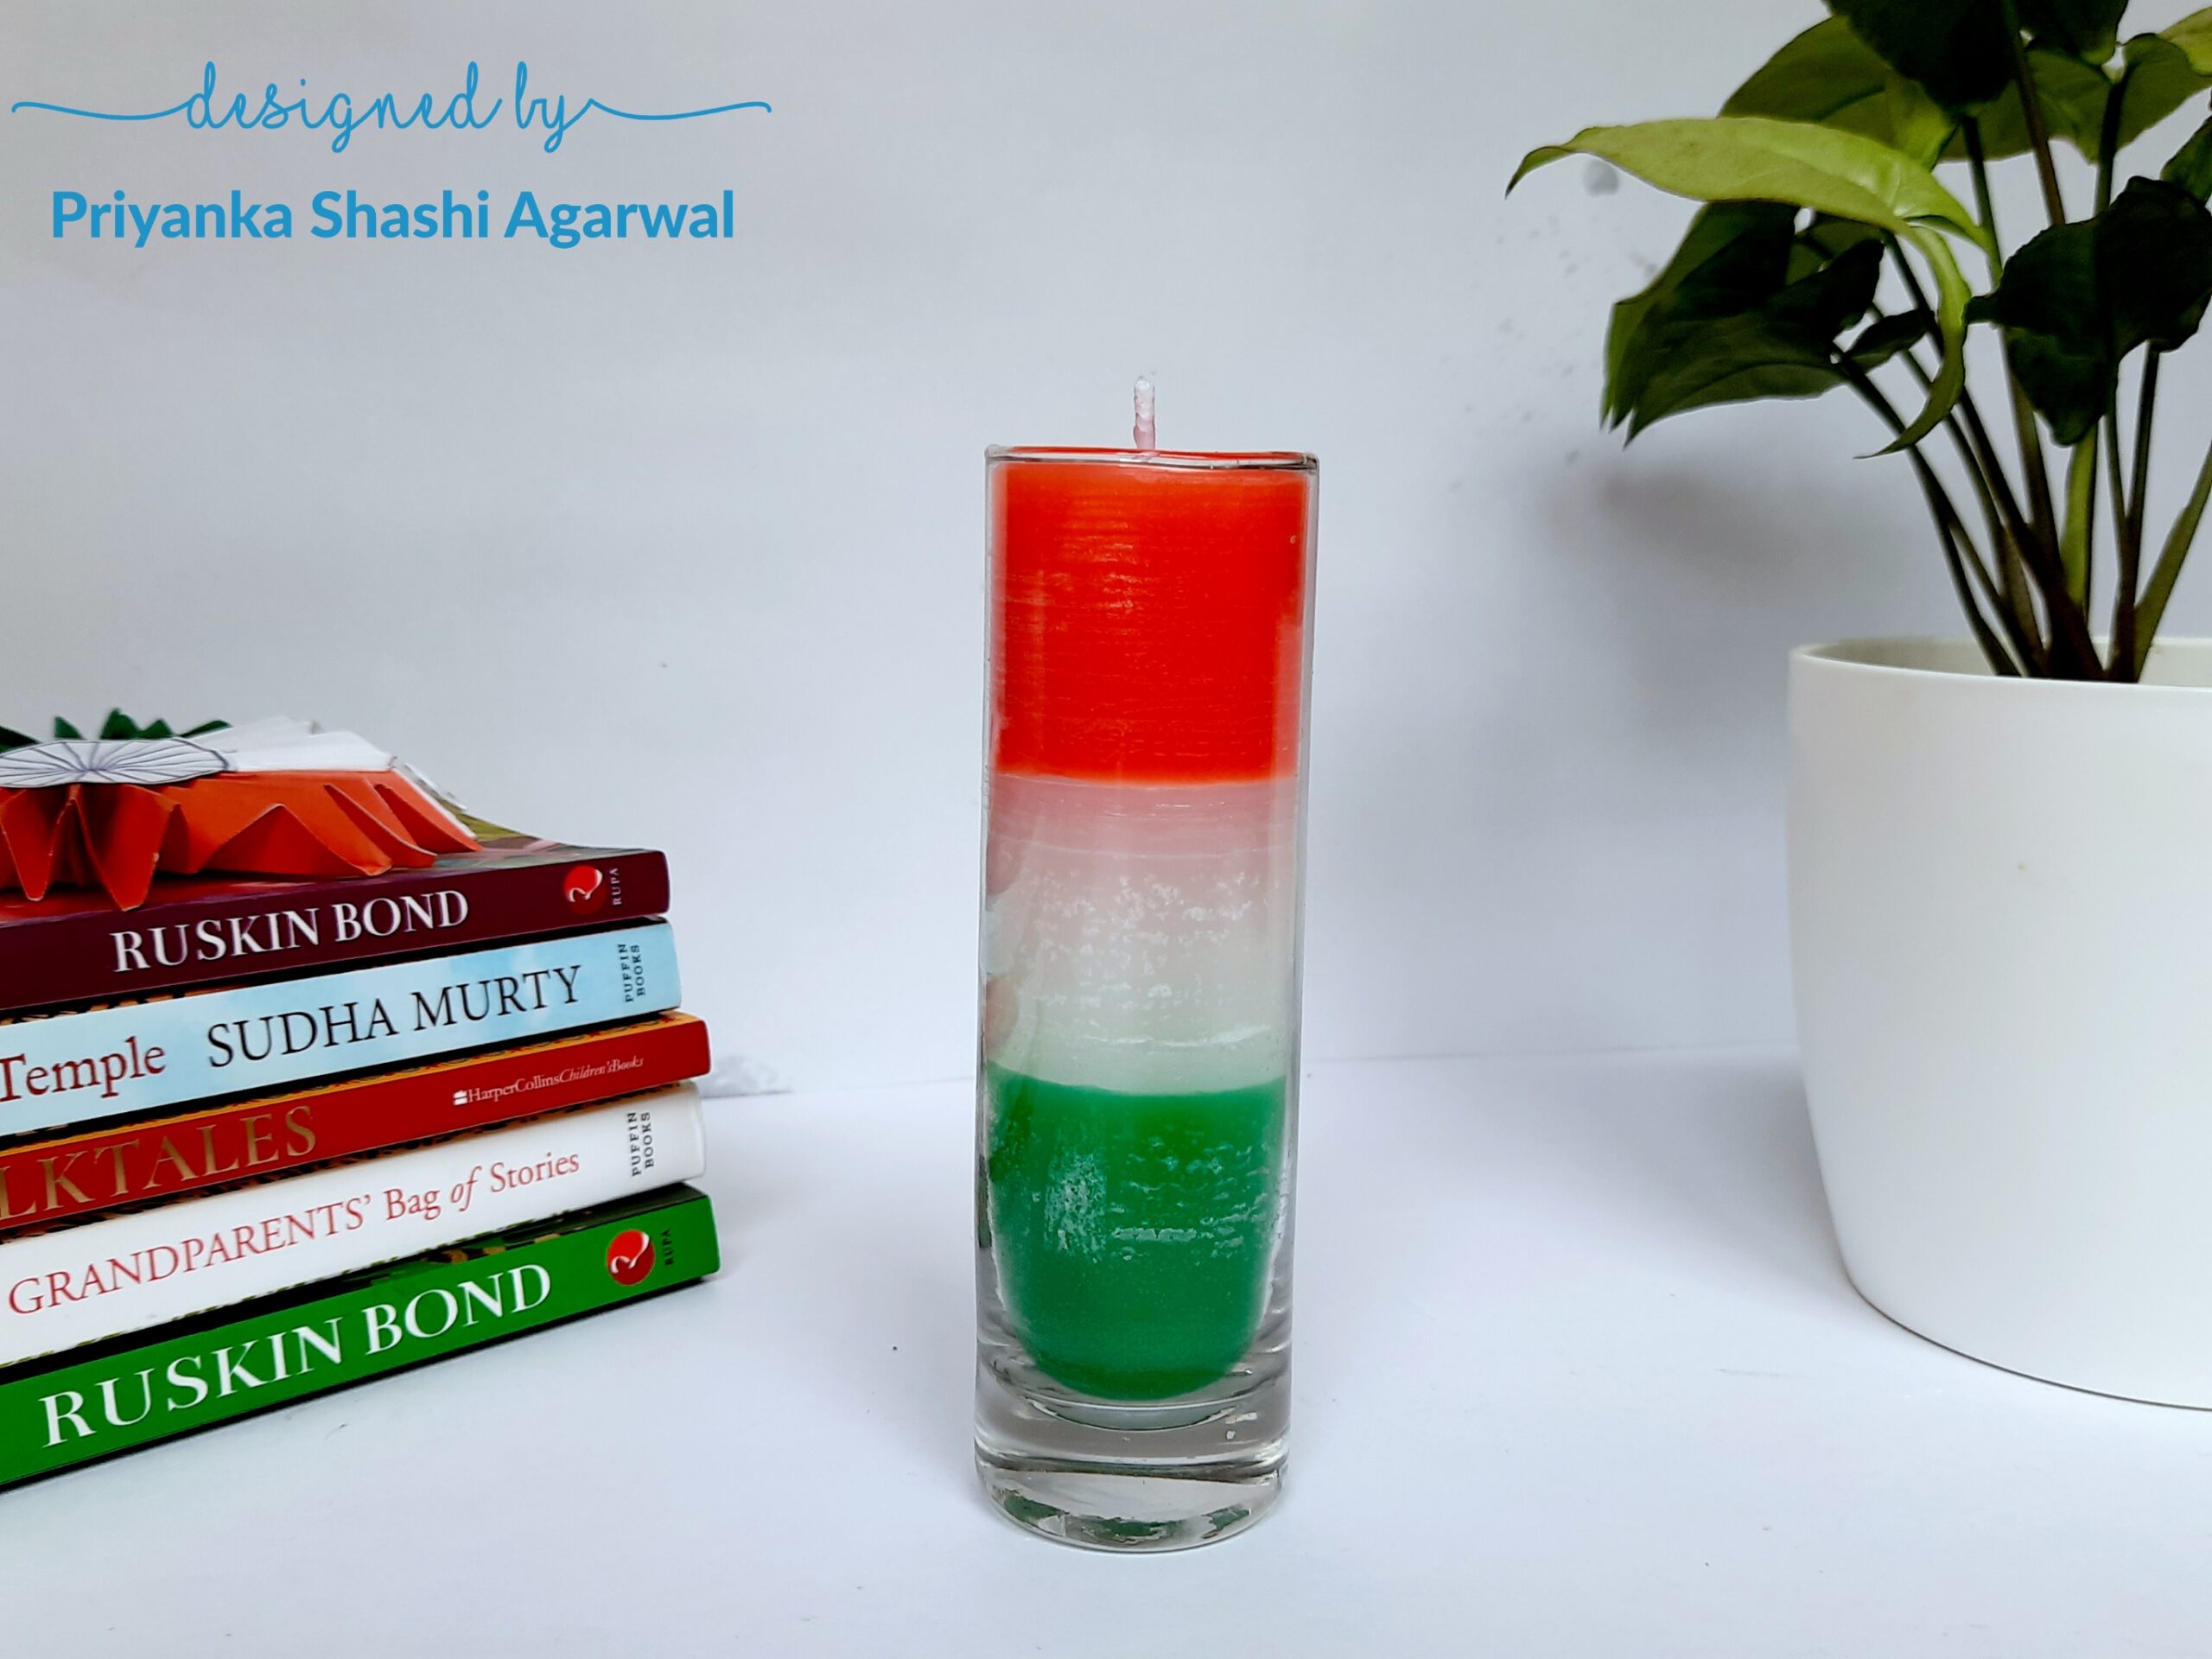
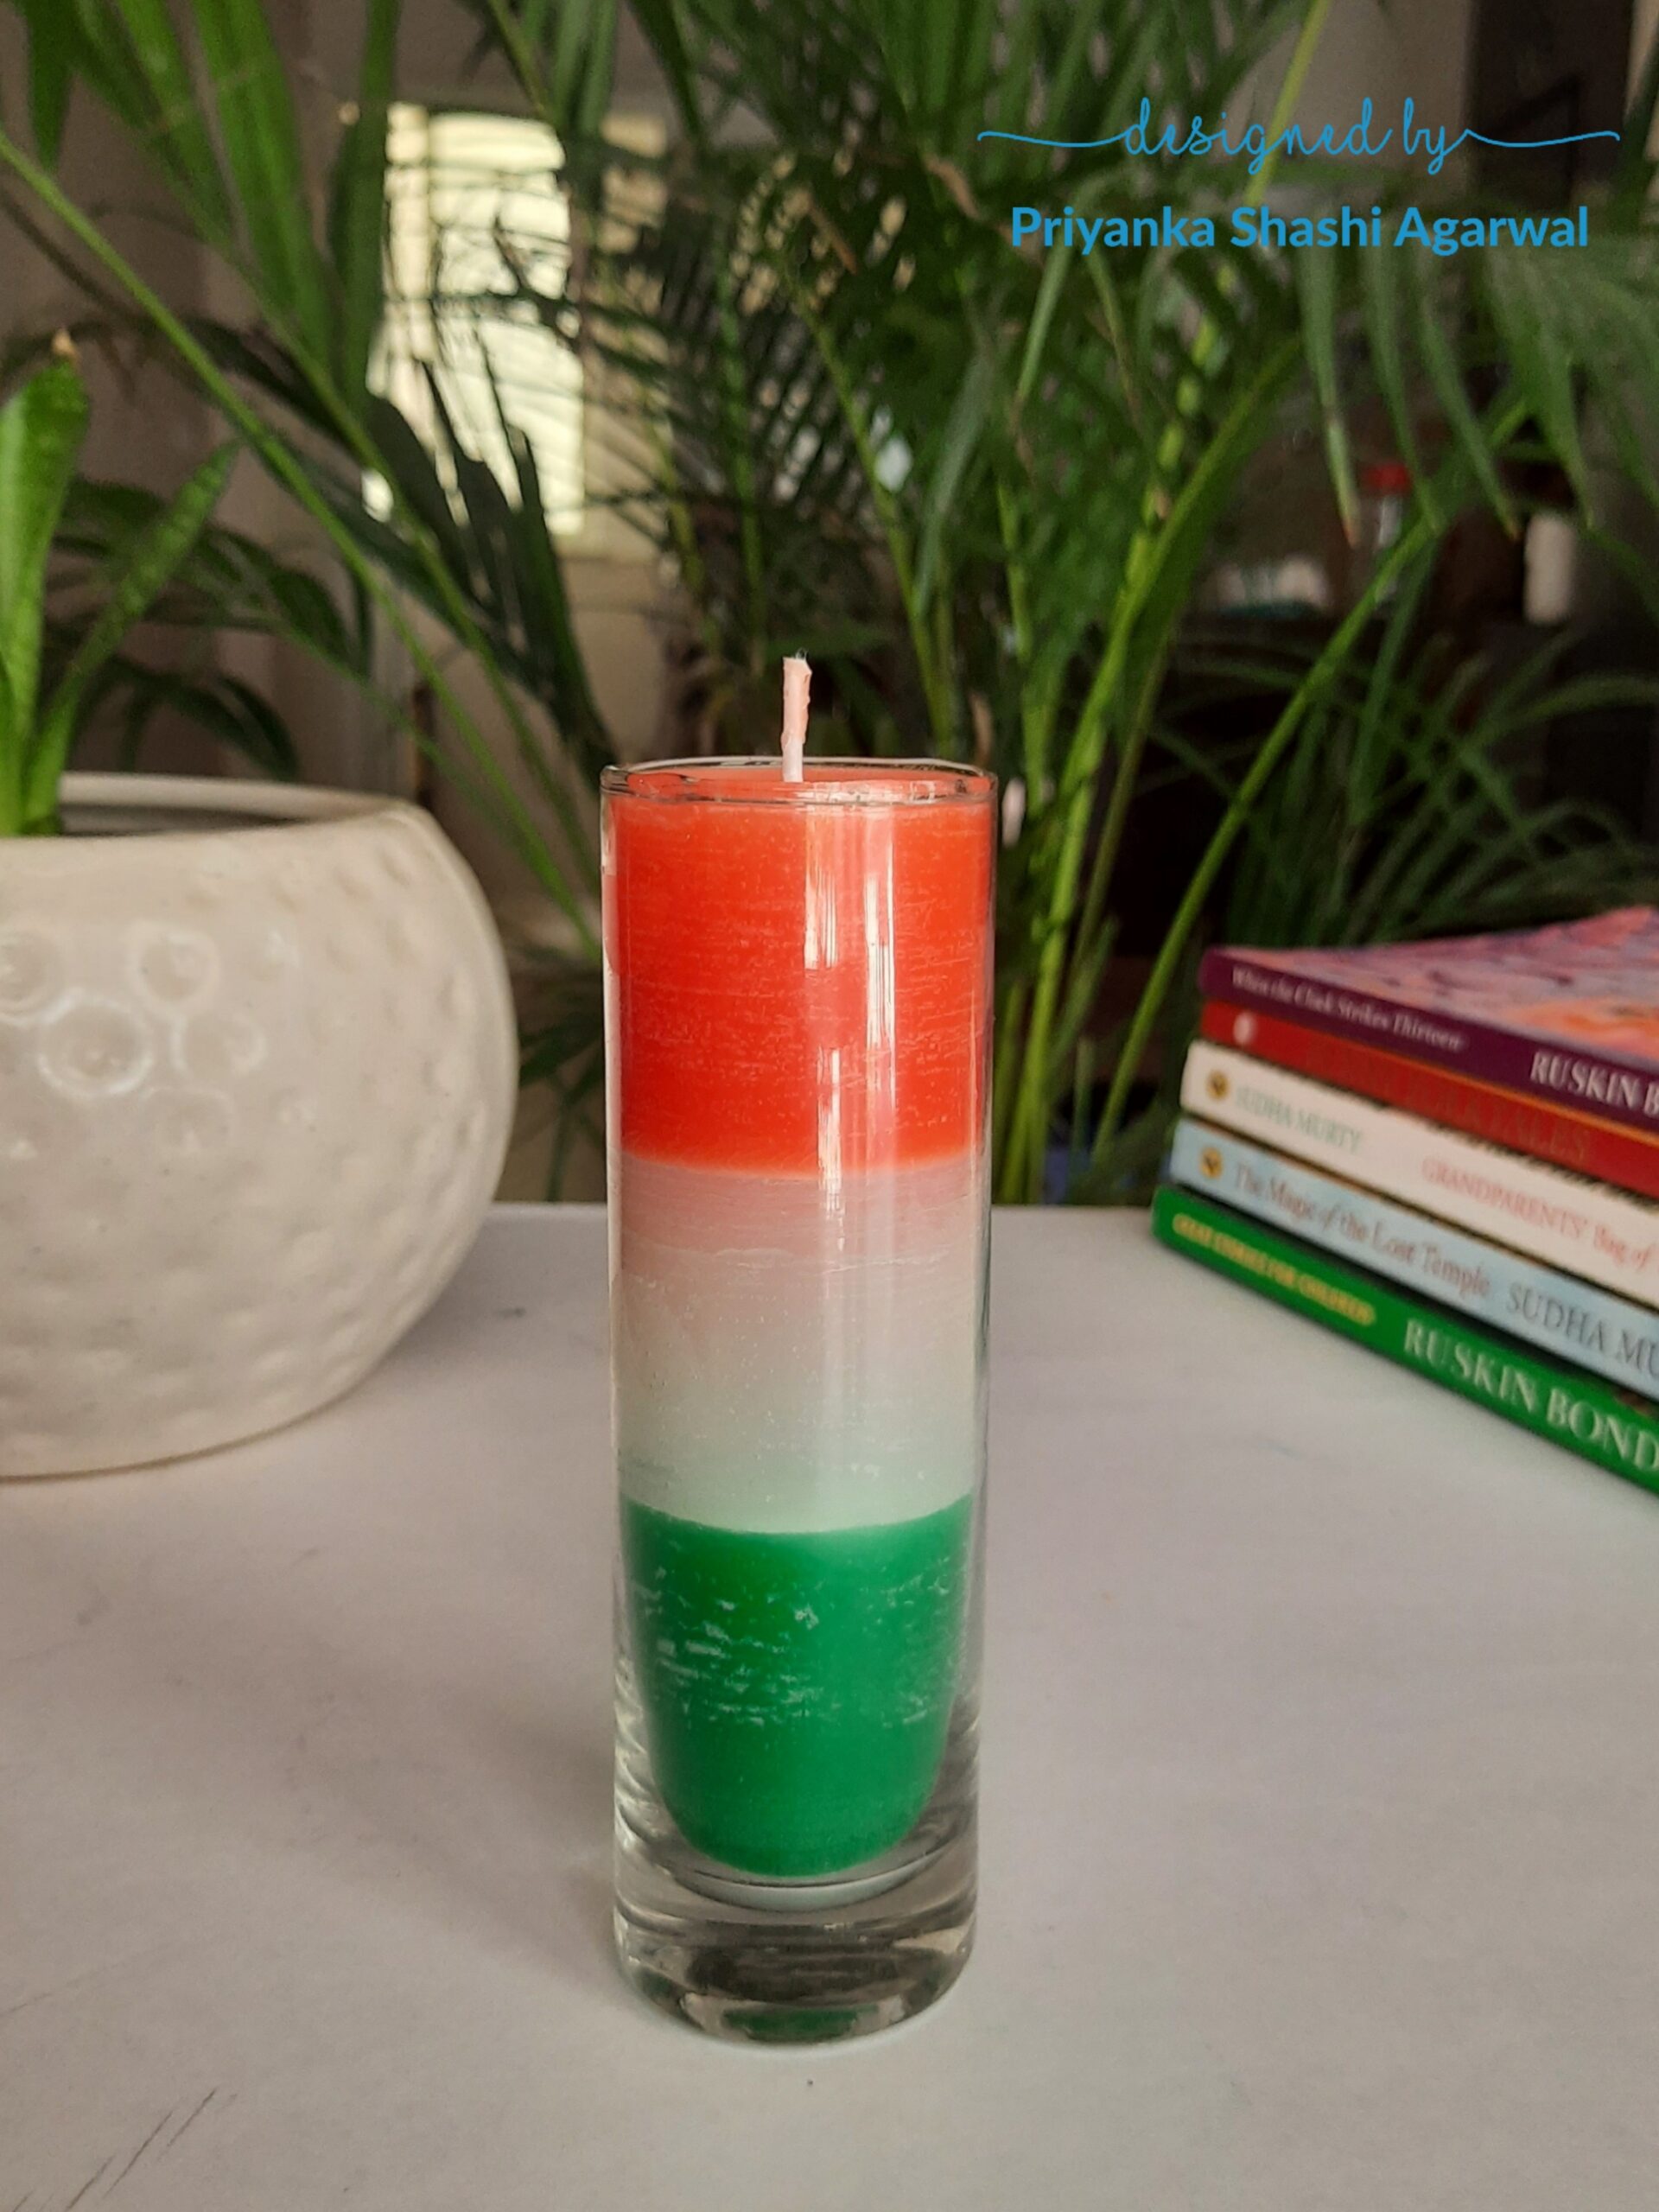
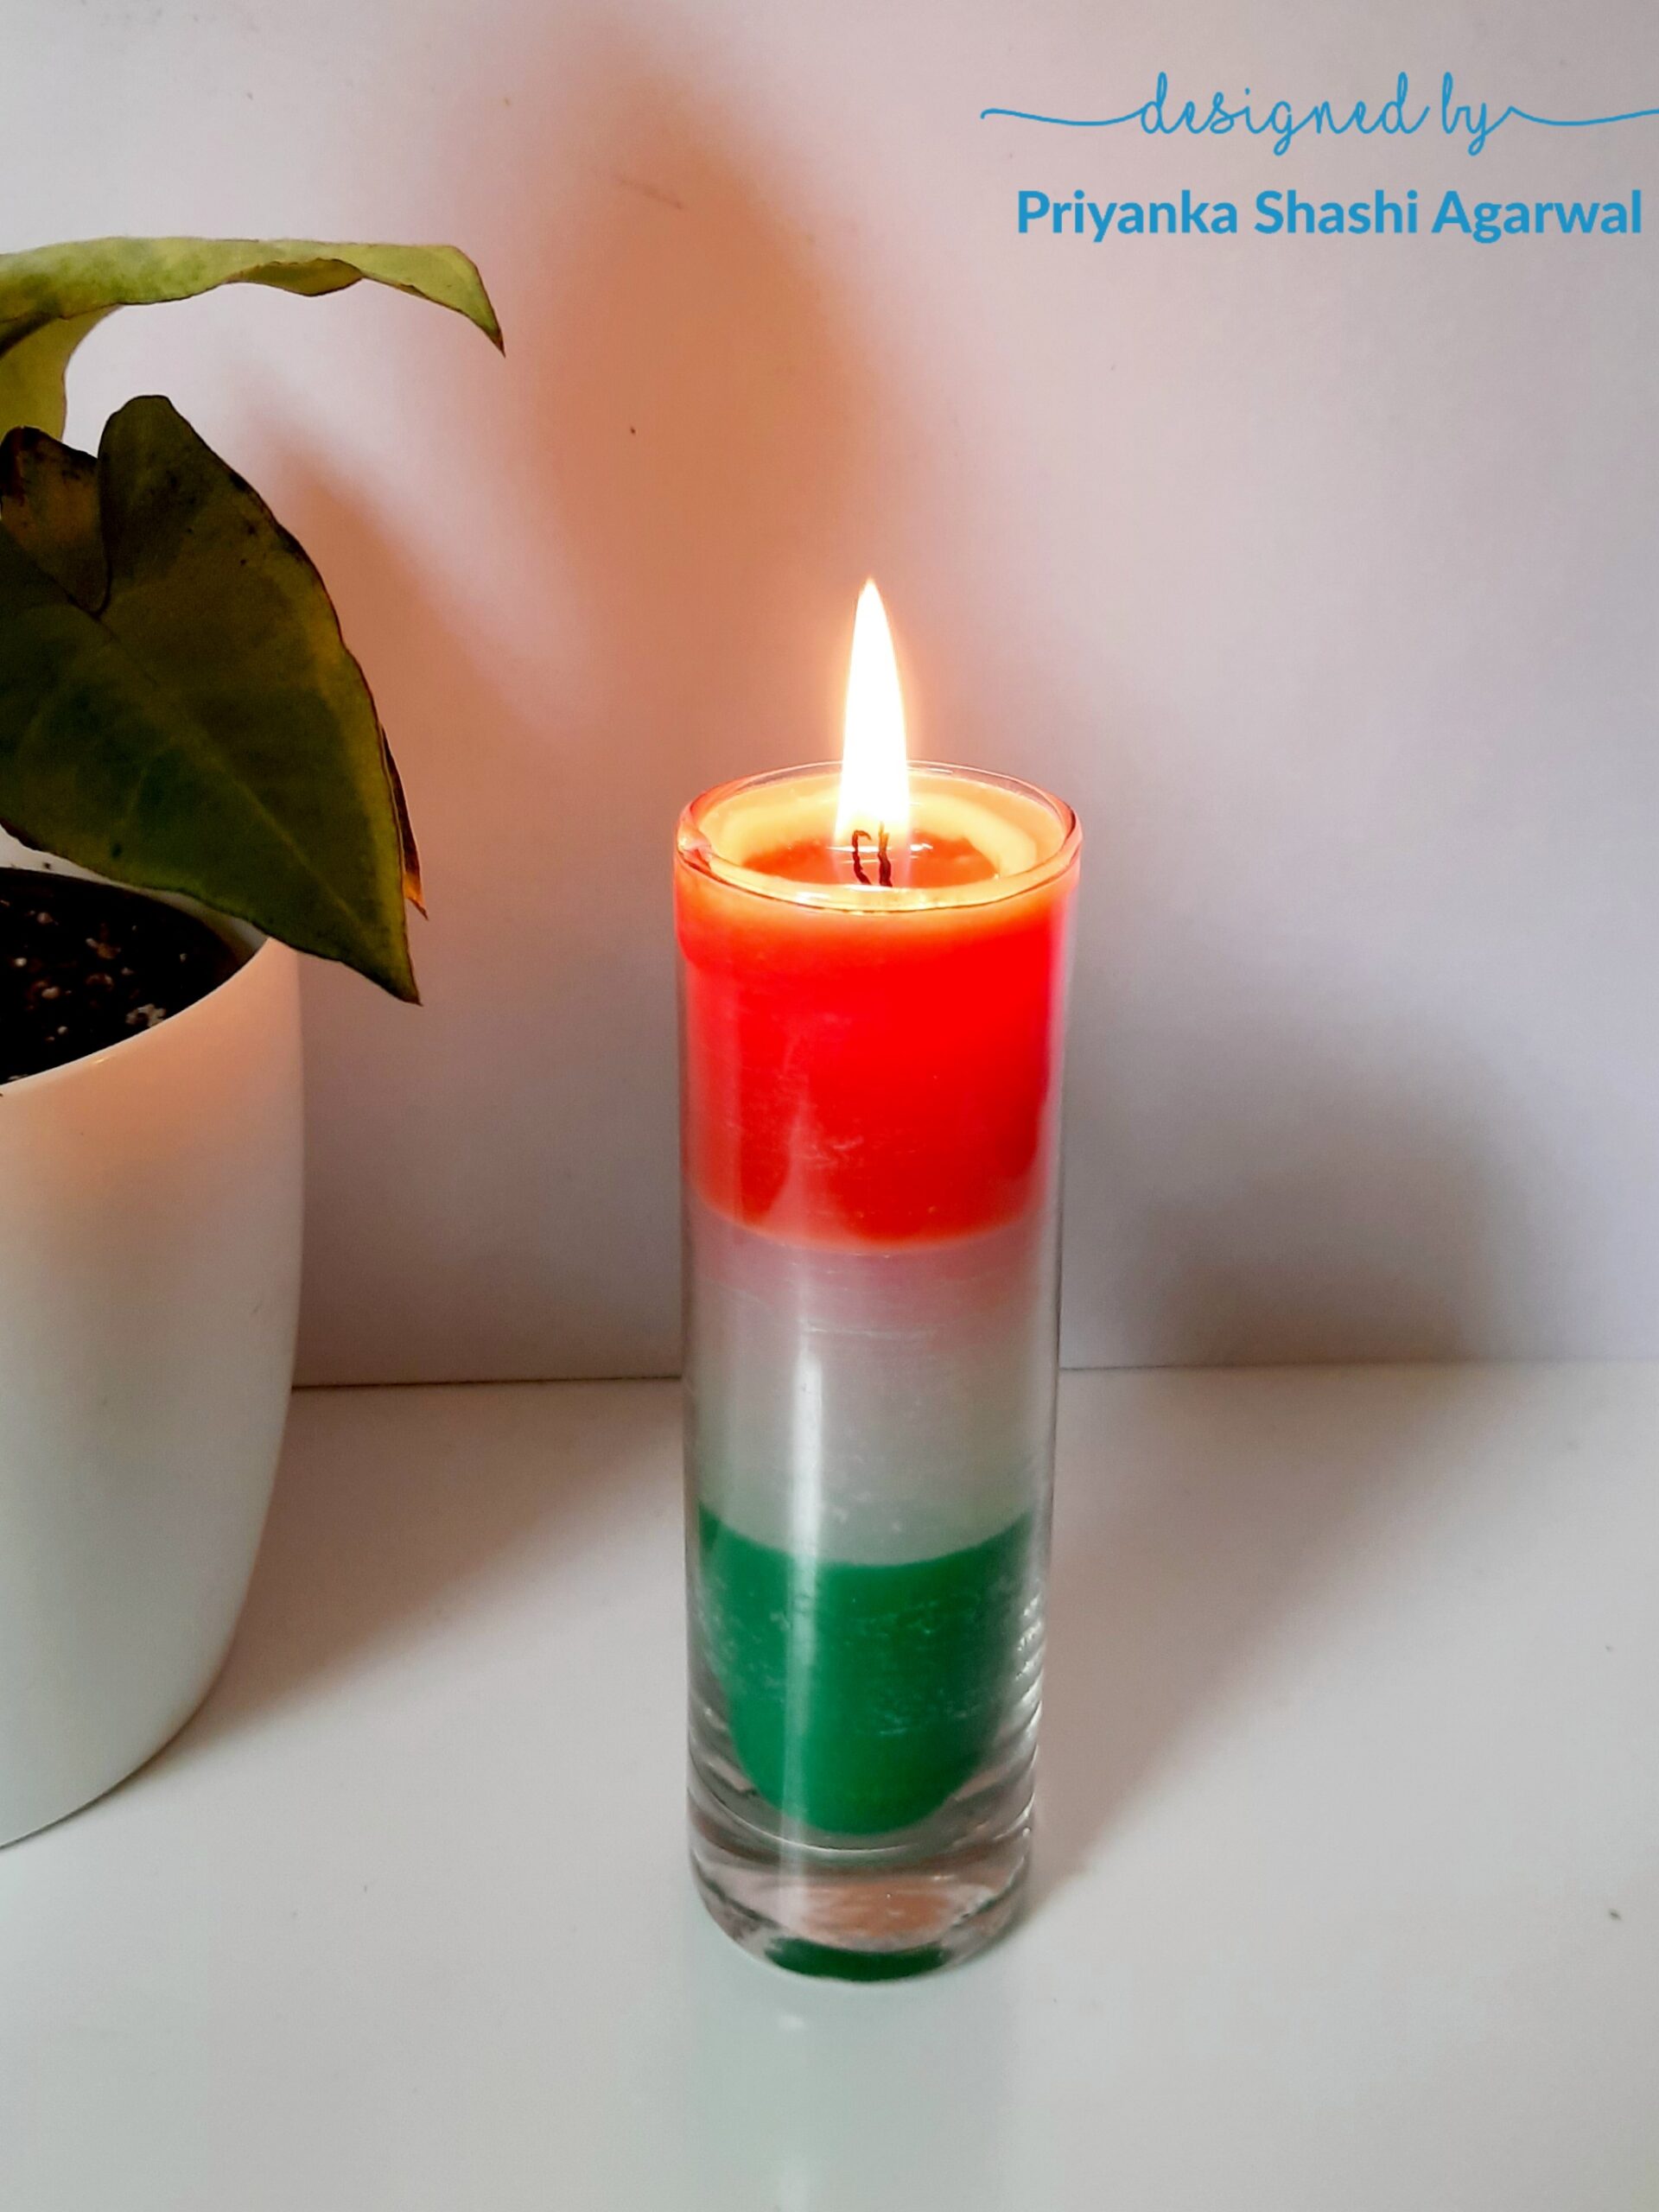
I removed the marks from the mould, trimmed the excess wick and tadaa…the beautiful tricolour candle was ready to be lit in the house to create a perfect patriotic atmosphere for independence celebration.
Here are some pictures of the finished project.

Hope you like this project. Leave your love in the comment section. The same process can be done in any three colour combination for any occasion. Do give it a try with Little Birdie candle making supplies which make it really easy to make DIY candles at home. All the supplies are available on Itsy Bitsy Craft Store (online and in stores).
Here is the list of products:
Little Birdie Candle Making Paraffin wax & Soft Wax
Little Birdie Candle Making Stearin


Itsy Bitsy Hard Wax Dye 10gm -Pear
Itsy Bitsy Hard Wax Dye 10gm – Blazing Blue
Itsy Bitsy Hard Wax Dye 10gm – Neon Orange

