
Hello All,
This is Bela Shah on Itsy Bitsy’s blog today!!! First of all I want to thank Rashmi Harish, Harish Closepet, Anitha Mallesh and the entire Team of Itsy Bitsy for having me on board as a design team member once again !!!
This is my first blog post of this year and I hope you all are as excited as me for something different and amazing . This post is about Little Birdie’s Instant Image Transfer Gel. This awesome product saves loads of waiting time and gives you get immediate results without wondering for an entire day and going crazy thinking about the end result of your project!
So, without further ado, lets hop on to the step by step pictorial for this amazing project I have created…. I hope you all love this project just as much as I do.
I do lots of different crafts like decoupage, flower making, altered arts , calligraphy, paintings etc…. however now a days I am high on mixed media as it’s very versatile and can be merged with any other kind of art. Also, it triggers your imagination till the very end. I absolutely love the surprise element of it so I thought why not merge the image transfer with mixed media.
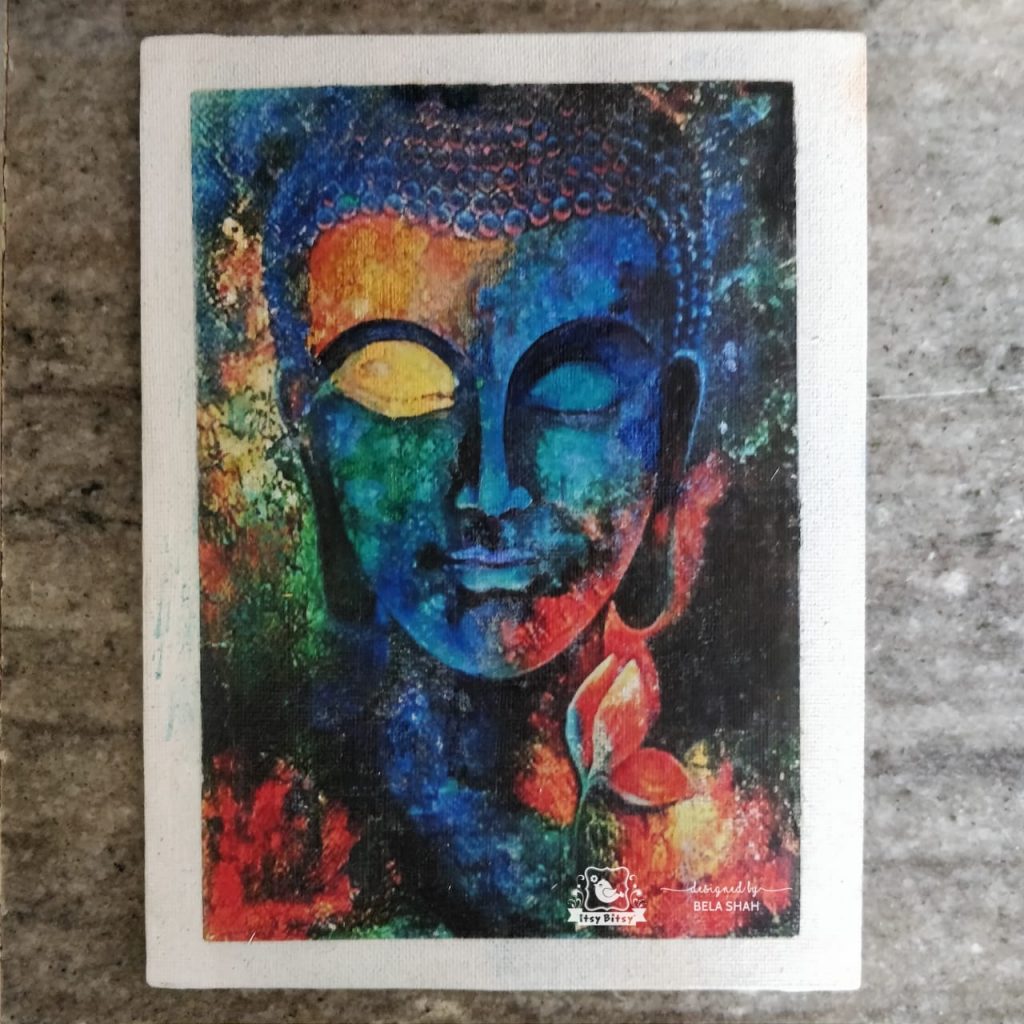
I selected a beautiful and artistic image of Buddha for my project. I took a laser print on a normal paper. Applied a generous quantity of Little Birdie’s Instant Image Transfer Gel onto my canvas. After that I stuck the image face down on to the canvas and pressed it gently and firmly to stick it properly on to the canvas. Also, this step helped me spread out the gel evenly and also removed any trapped air bubbles . The heat of the hand and the friction produced enough heat to help the image get transferred onto the canvas thoroughly. Once I was satisfied with the adhering part, I sprayed some water to moisten the canvas and started rubbing the paper gently and it started peeling off. First layer of the paper comes of super easily .
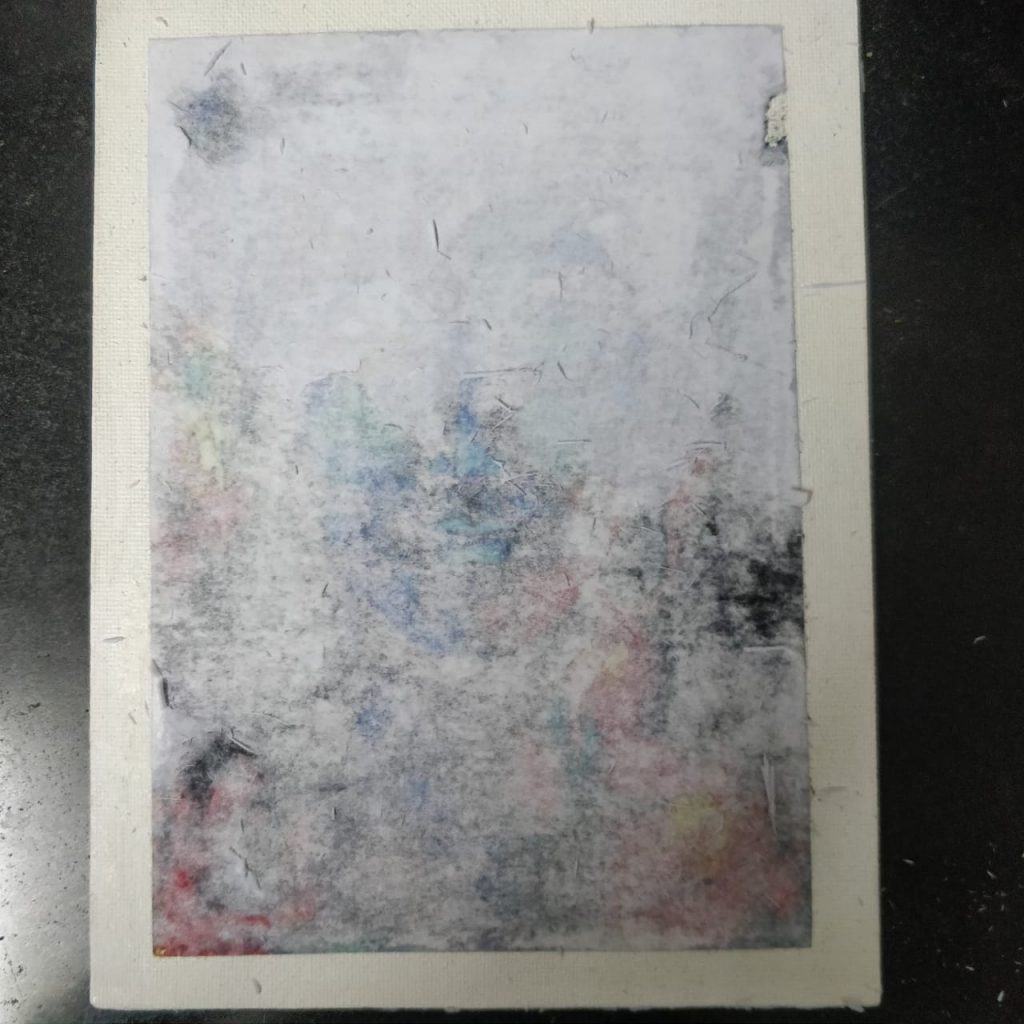
After that step, comes the most important part. Just as the title says, the greatest prayer is patience …. this is a project which needs loads of patience….. I guess the title is apt for this project. Slowly and steadily with gentle hands start rubbing the paper in circular motion… it will peel the paper away.
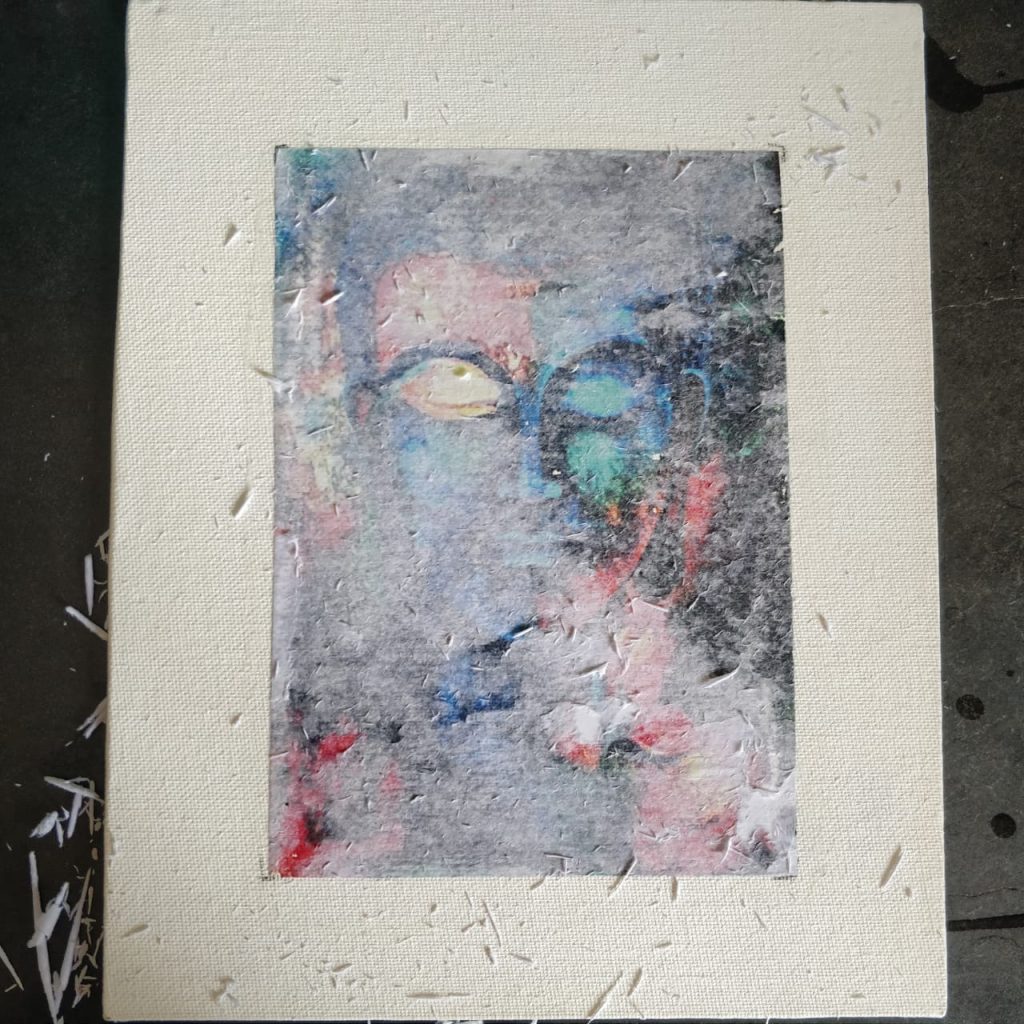
Try and remove all the peeled paper from the canvas every time you start rubbing again. I know its little messy and time consuming, but trust me its worth every effort. These are the pictures of the different stages of peeling off the layers of paper.
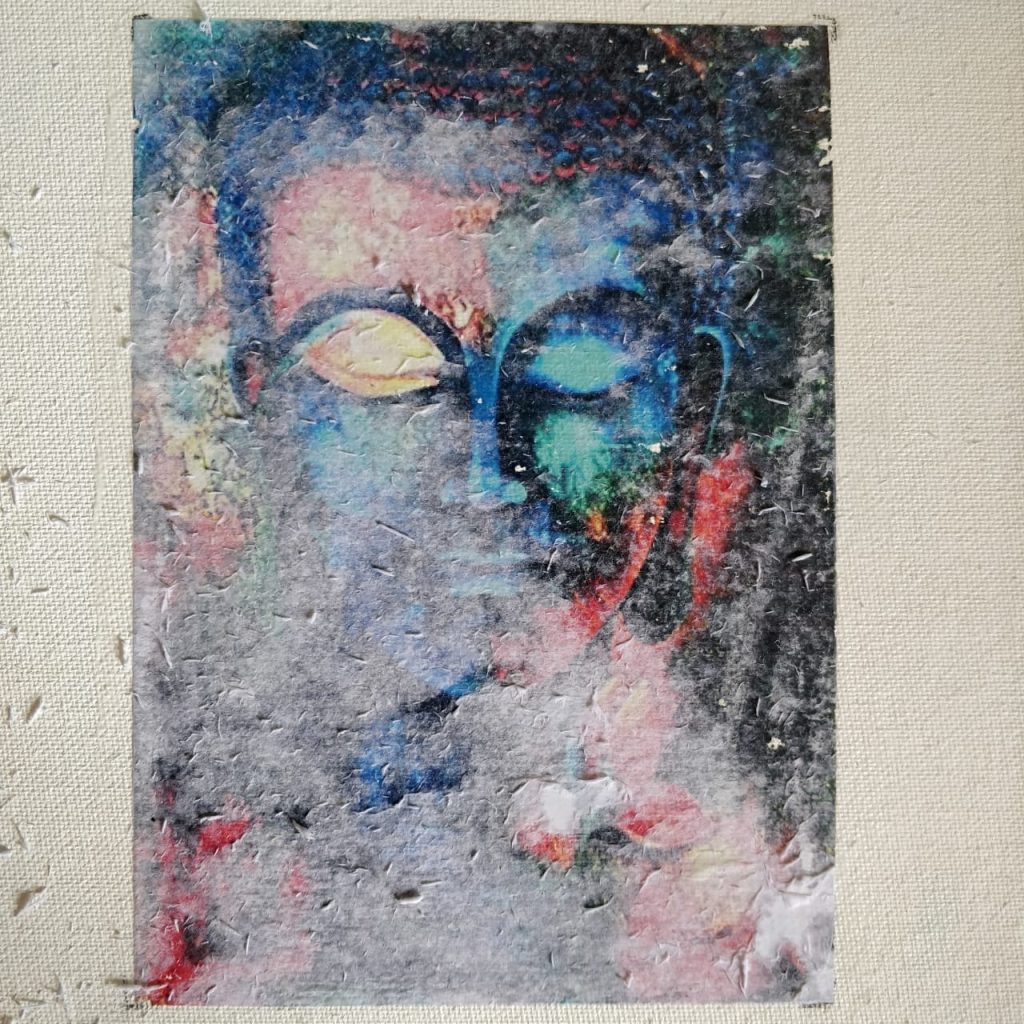

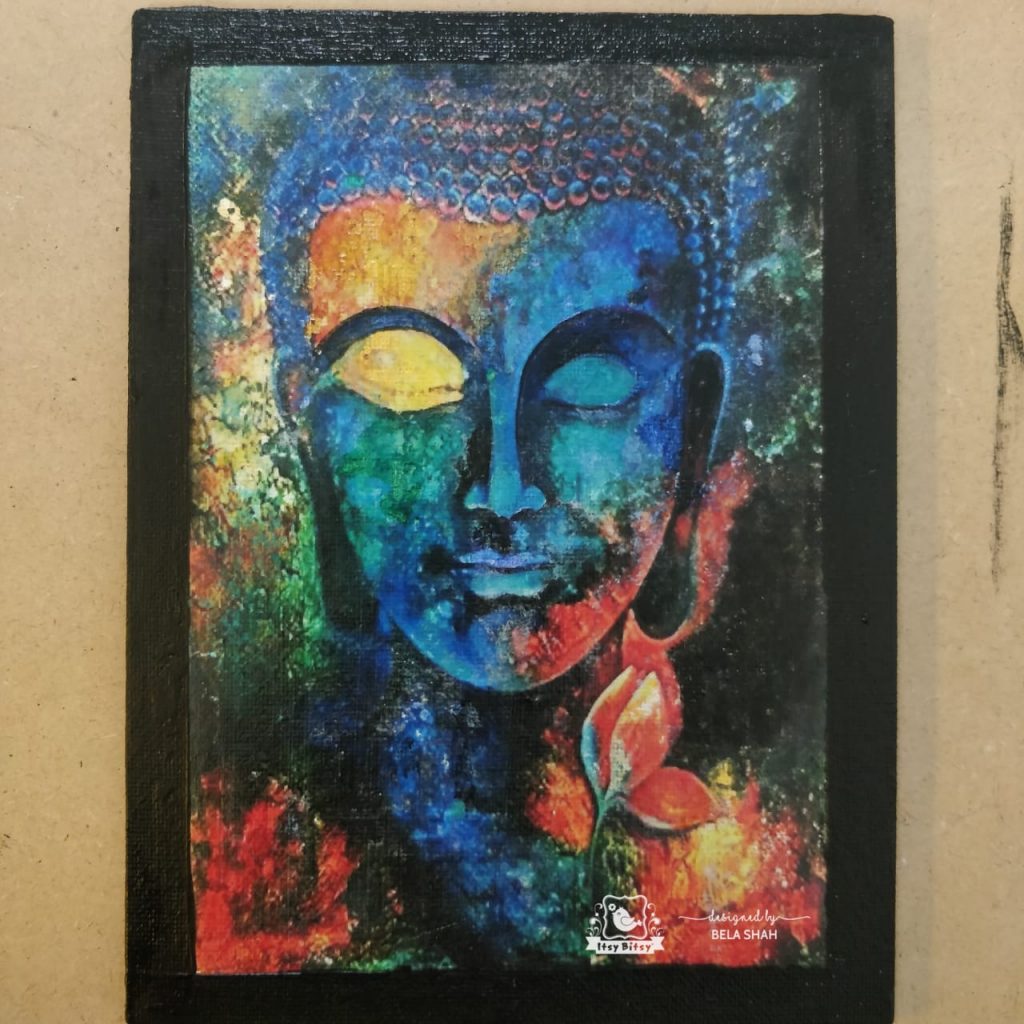
Once all the paper peels off and you are satisfied with the way the image looks you are ready for the next step. The perfect way to know that the transfer process is complete is when you see a proper image without any white haze. If you see a white haze after drying that means there’s a still a layer of paper that needs to be peeled.
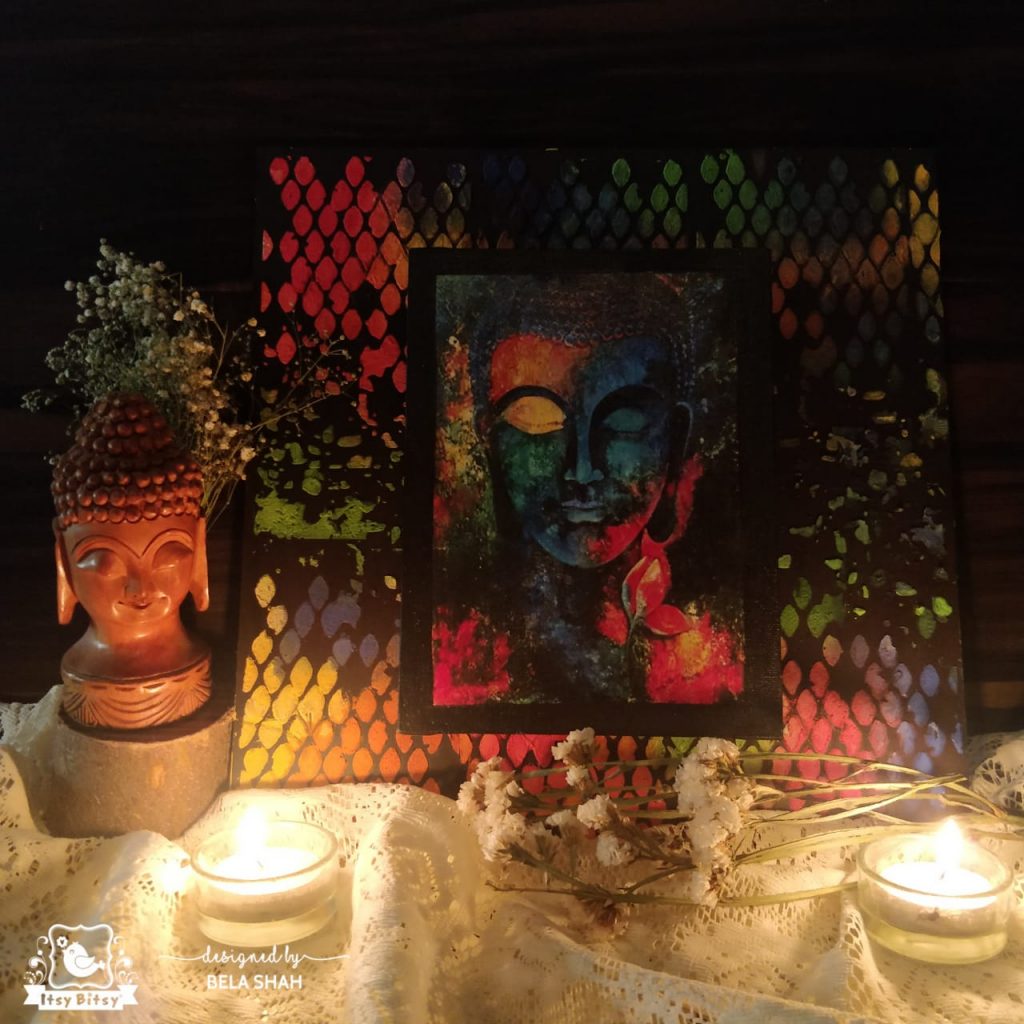
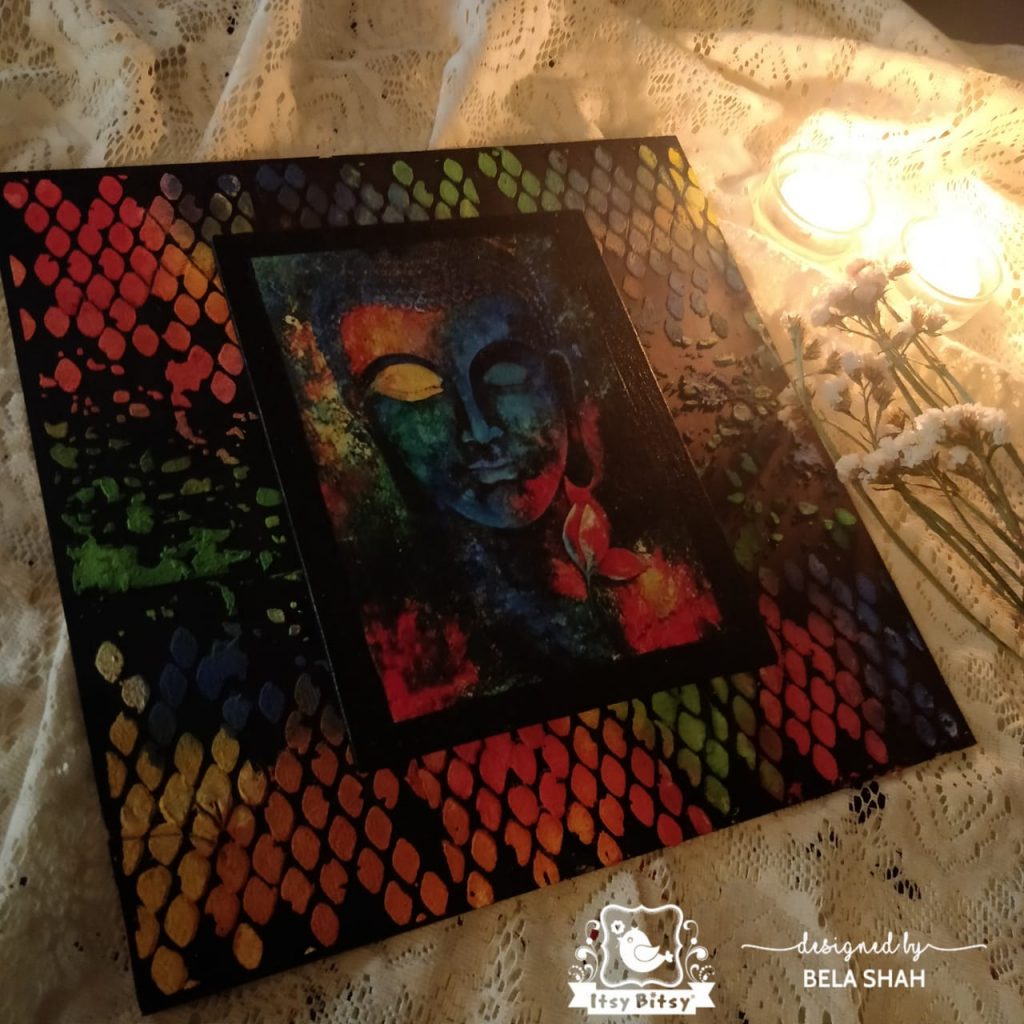
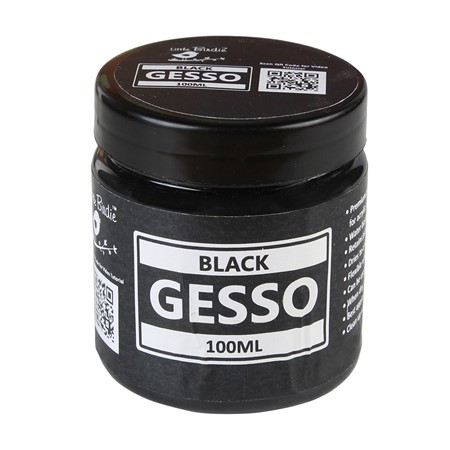
I wanted to create a beautiful home decor piece with my image transfer canvas. So, I took a left over piece of MDF. Primed the whole piece with black gesso.
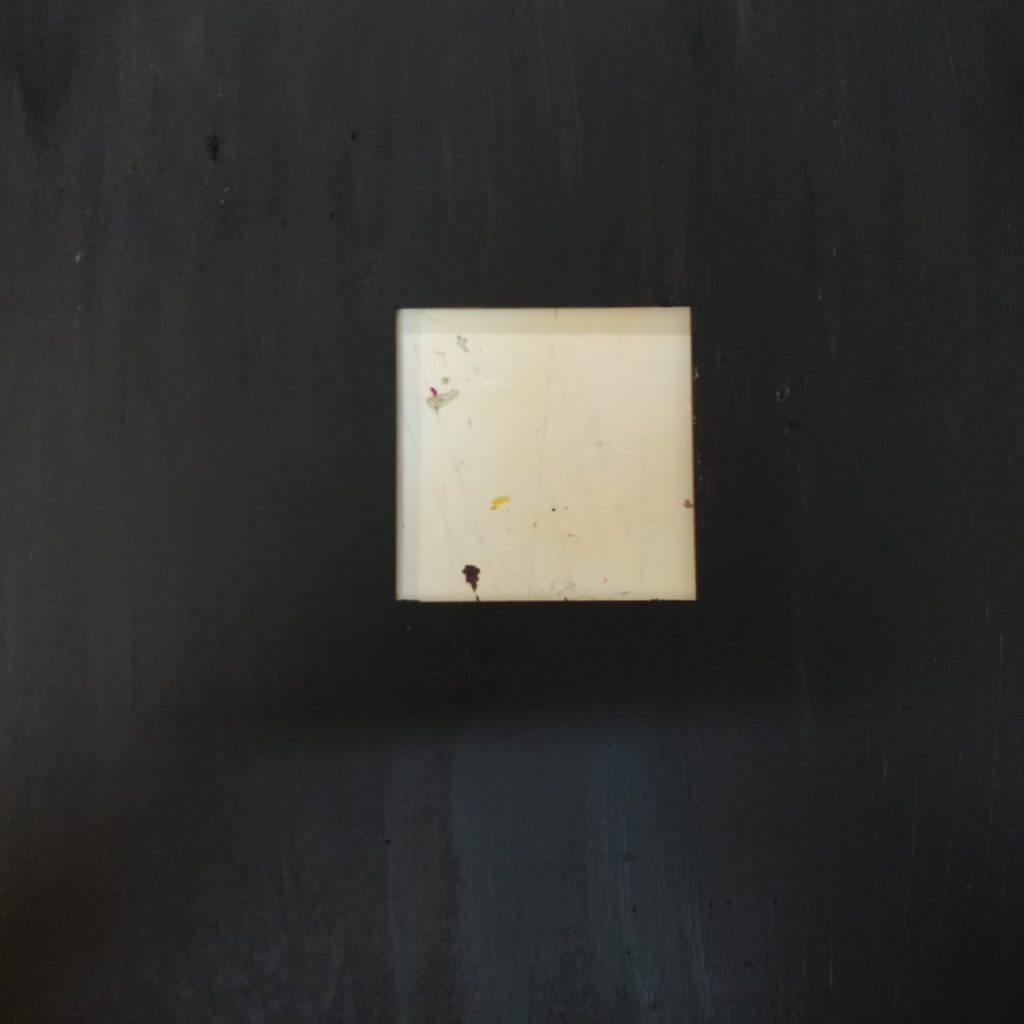
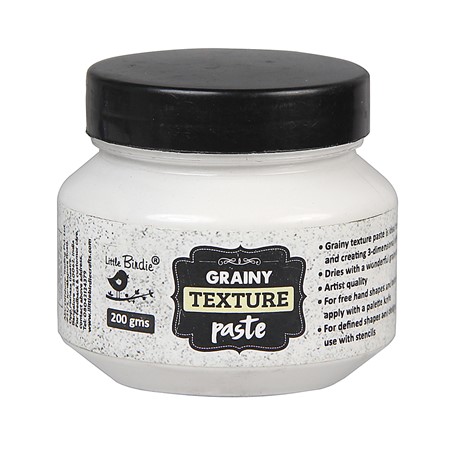
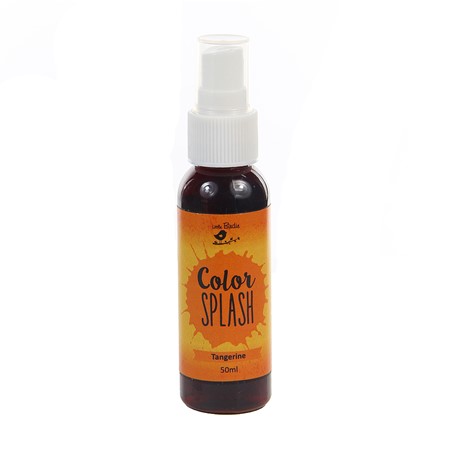
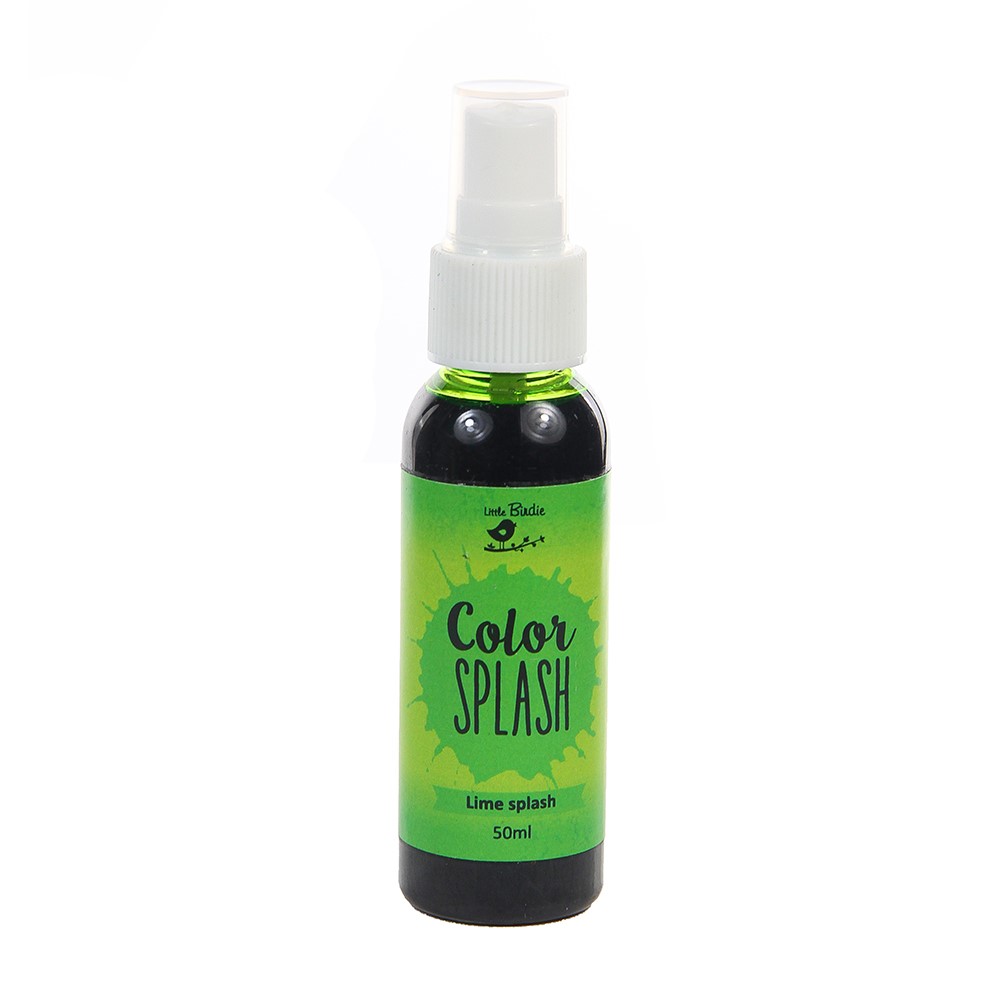
I chose a beautiful stencil …one of my favorites, and added texture on the whole panel with Grainy Texture Paste. Once it was dry, I sprayed bright shades of color splashes which matched the colors of Buddha’s image .
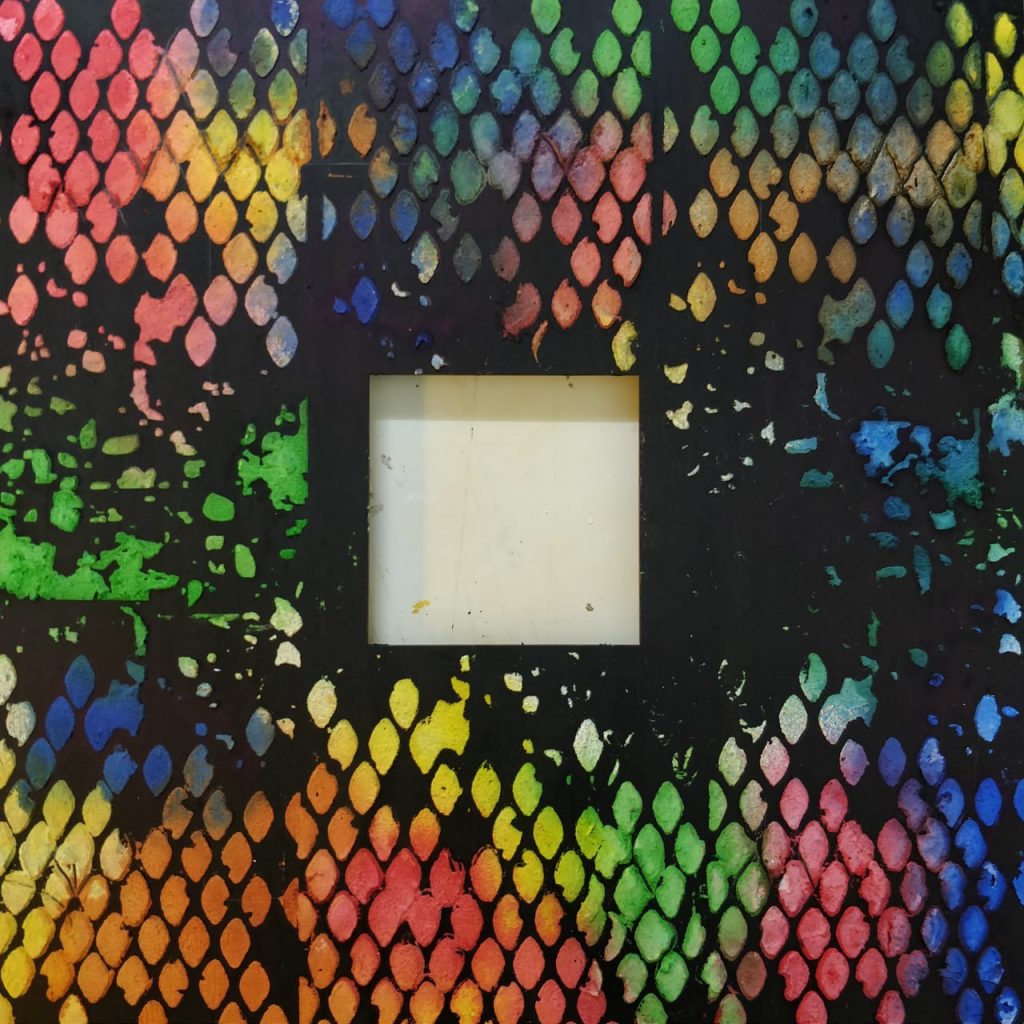
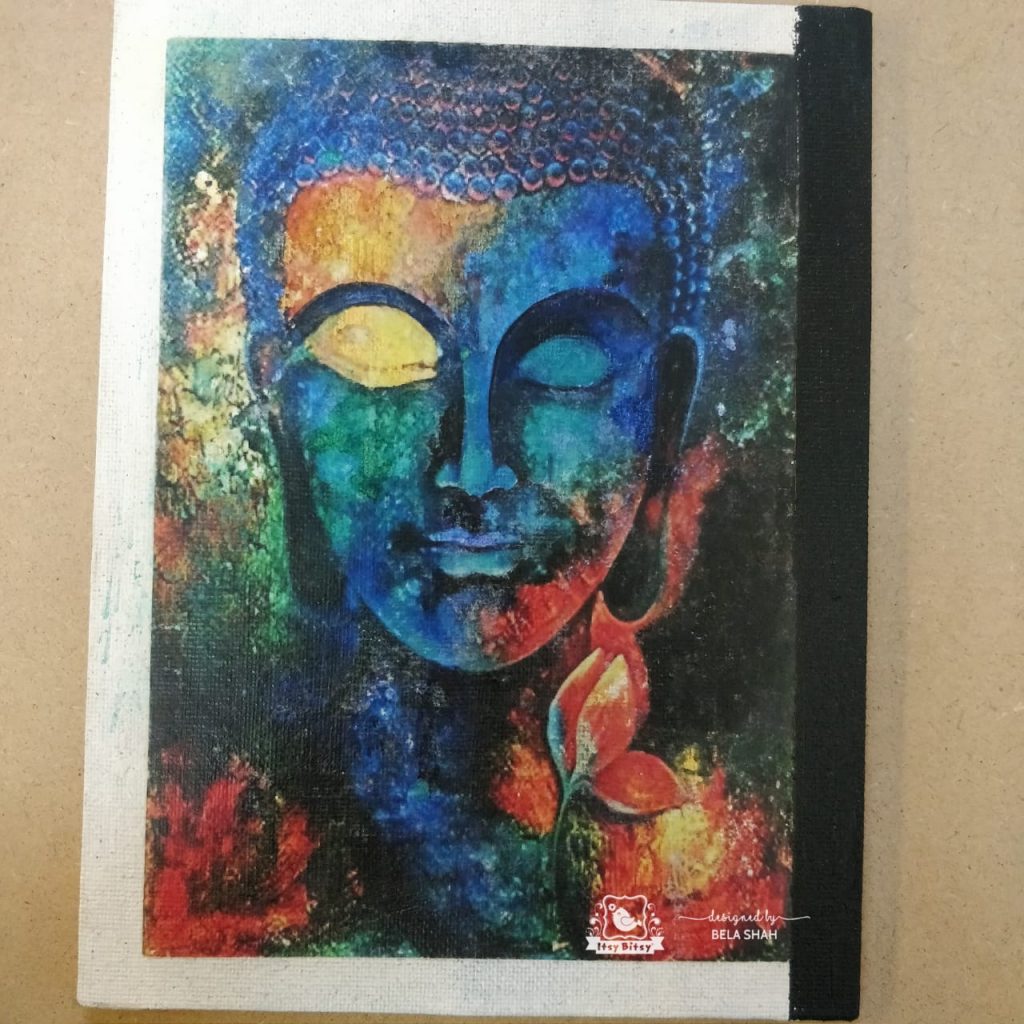
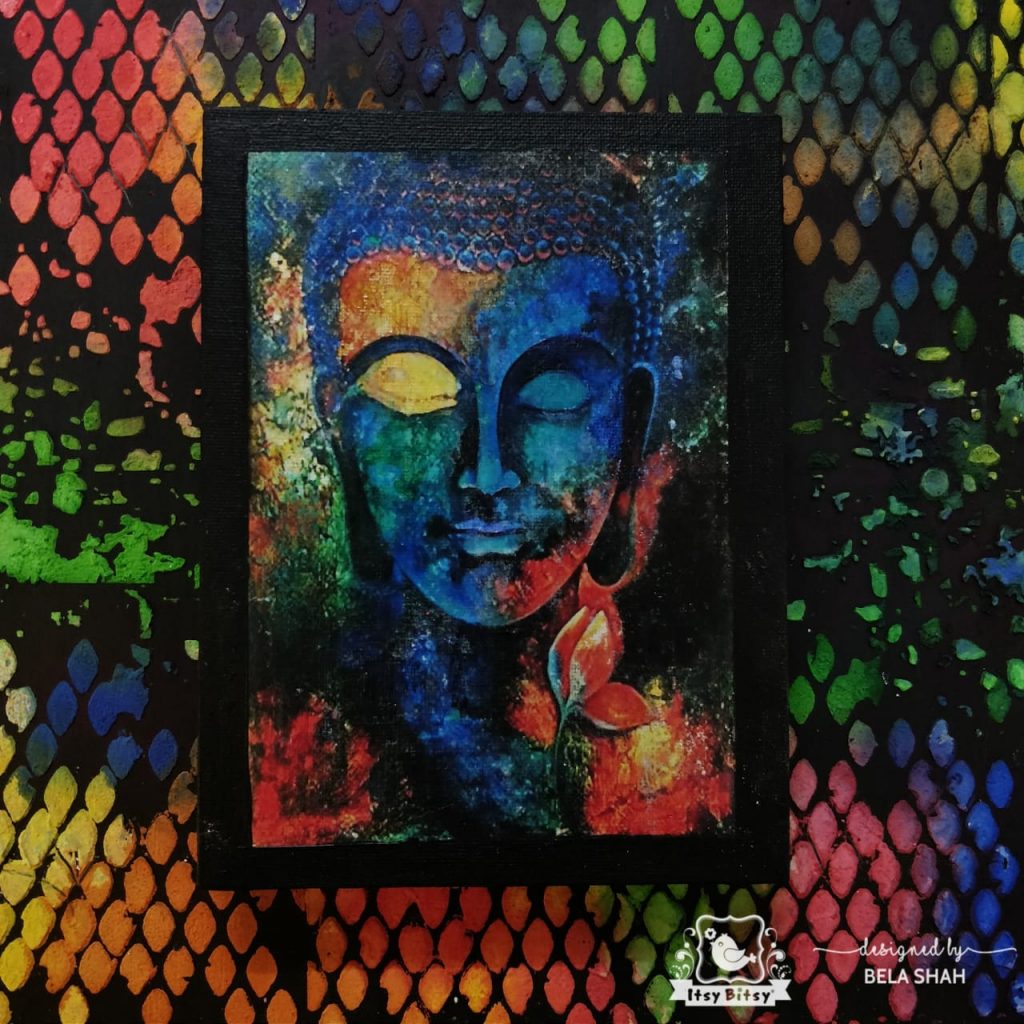
I added a backing to the Buddha canvas to elevate it and give it a dimension. Next, I adhered it onto the MDF. My mixed media with Instant Image Transfer was ready.
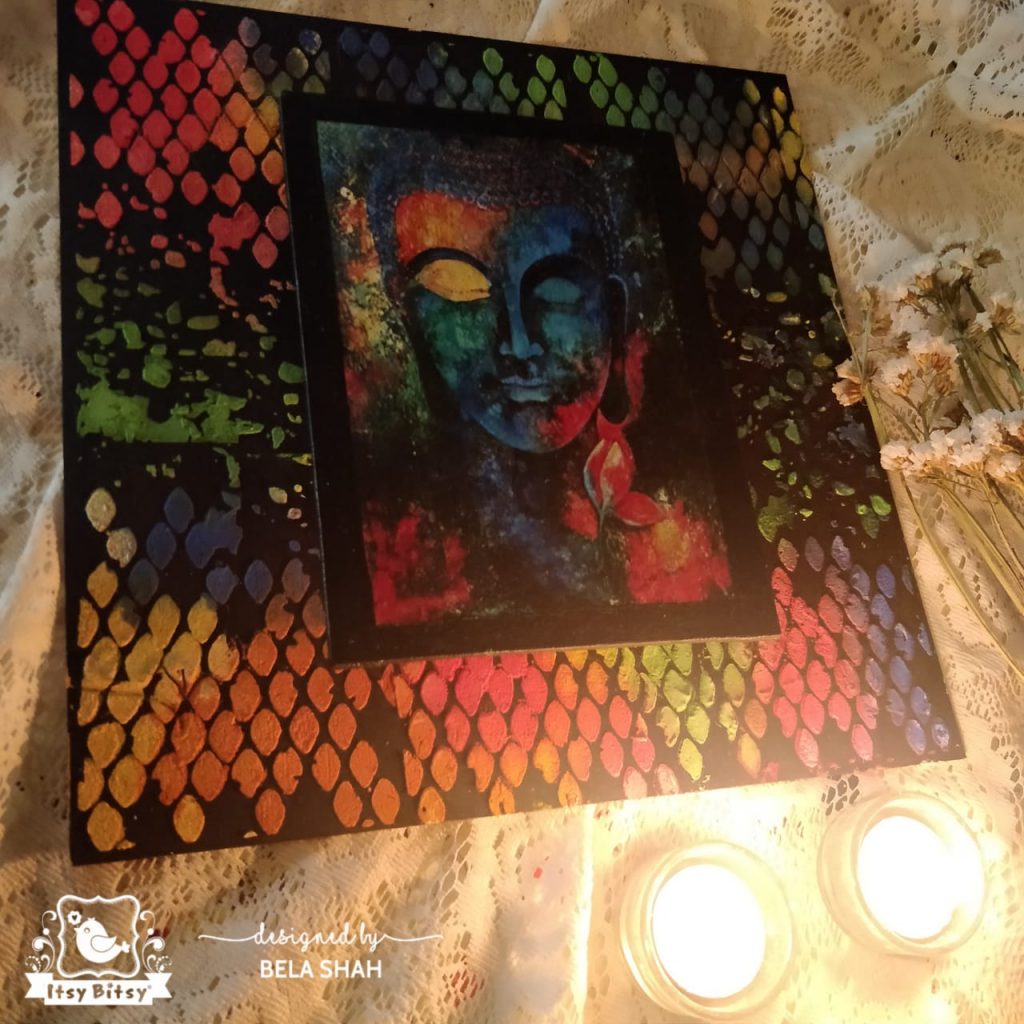
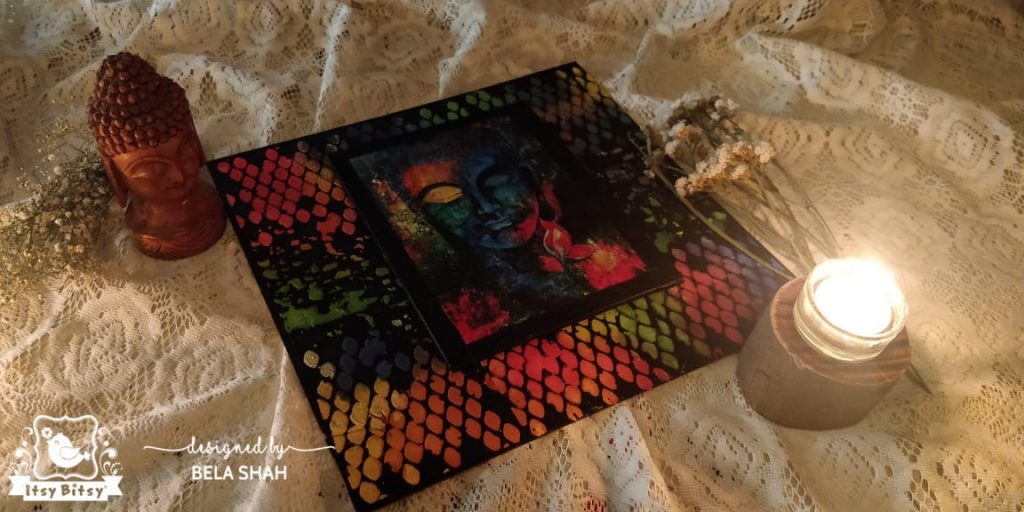
More Photos:
I hope this post creatively inspires you all…
Love & Hugs
Bela
List of supplies used:
Instant Image Transfer Gel 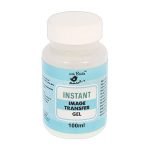 Black Gesso
 Color splash – Ocean mist
Amazing..
thank you so much
It looks just awesome…??
Thank you so much Hetal
Absolutely gorgeous and we’ll explained project bela
thanks a lot pooja
Fantastic home decor piece Bela
Thanks a ton smita
Loved it
Thanks for stopping by
Beautiful project
Thank you so much charu
Love this project Bela…super zen.
Hugs
Thanks buddy
Lovely home decor piece Bela! 🙂
Thank you priyanka
Beautiful project.
Thank you