Hello friends!
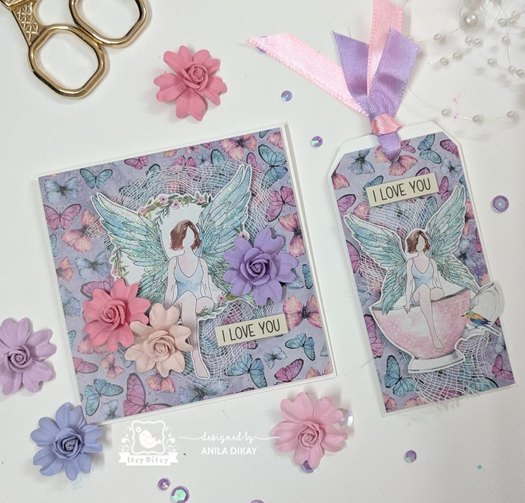
DT Anila here on the blog today with a shabby chic mosaic card and a coordinating set of card & tag.
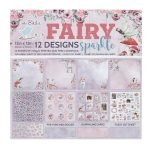
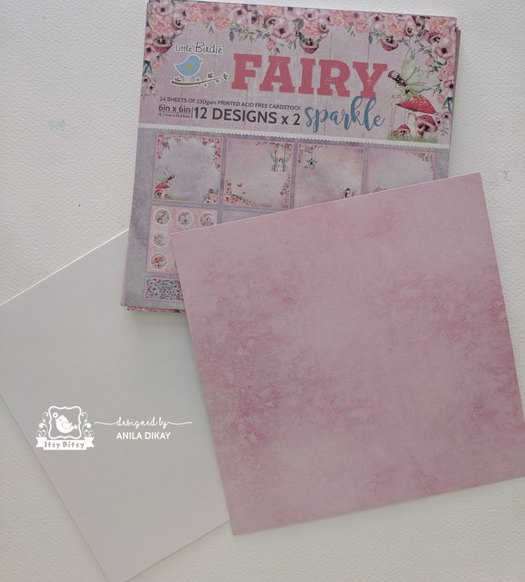
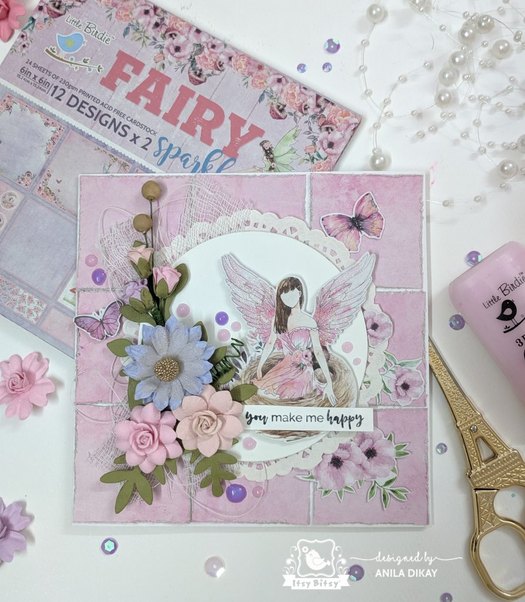
I have used the Fairy Sparkle paper pack for making them.
This paper pack is of 230 GSM and is available in two sizes. The 12″x12″ pack has 12 sheets of 12 unique designs, journaling cards, pre-cut doilies, and a fussy cut sheet.
And the 6″x6″ has 24 sheets of 12 designs (2 each design) along with some fussy cut sheets.
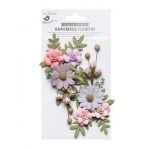
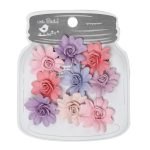
The coordinating flowers for this paper pack are adorable. I am sure you cannot let them go once you lay your eyes on them. They come in a varied range.
Over to my projects now!!!
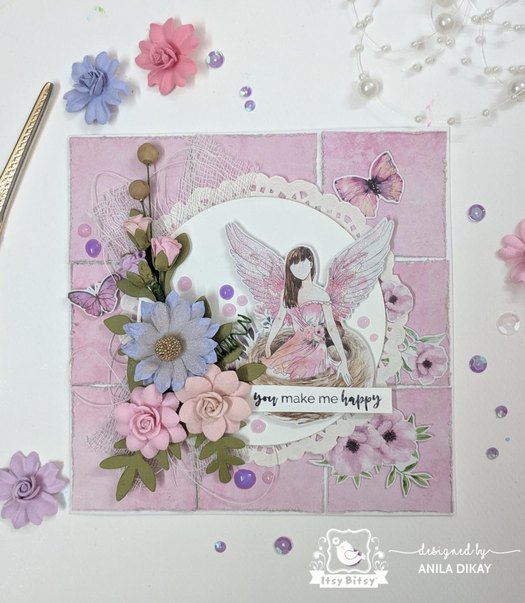
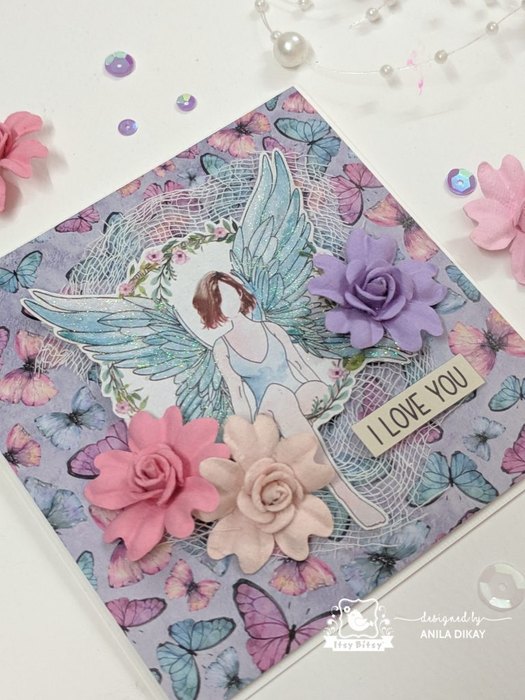
MOSAIC CARD.
For this card, I have used a 6″x6″ card base. I took a pink paper from the Fairy Sparkle paper pack.
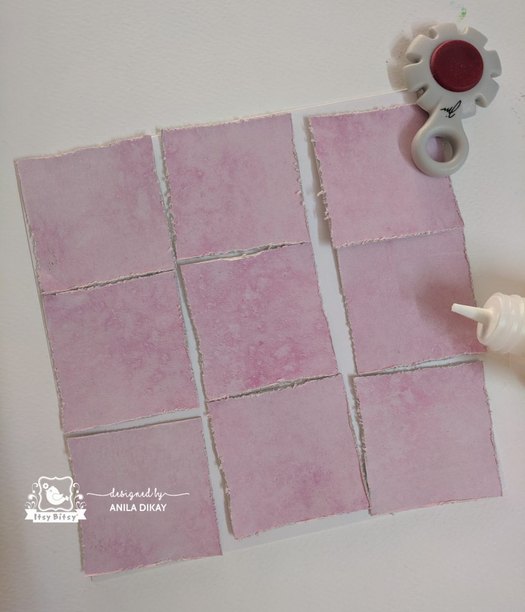
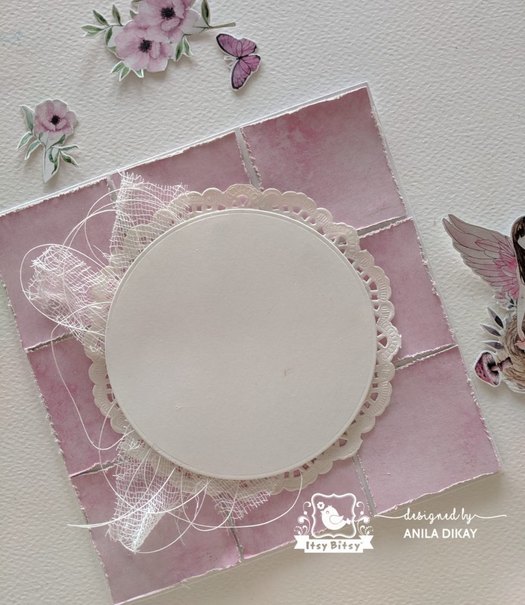
On the rear side of the paper, I made a few pencil markings to divide the paper into 9 squares. I trimmed the squares separately and distressed each of them using the distress tool.
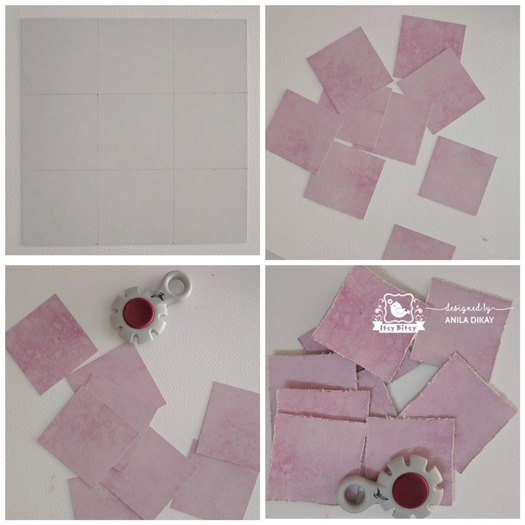
Arranged and glued each square on the card base. I didn’t bother to maintain the sequence of the design here.
I took the element sheet from the 12″x12″ paper pack and fussy cut a few images.
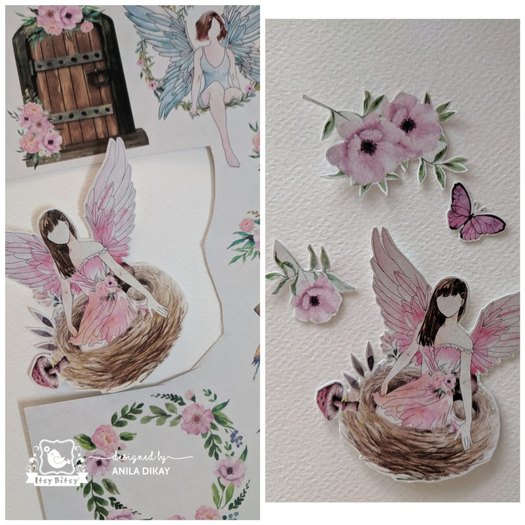
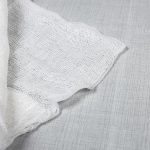
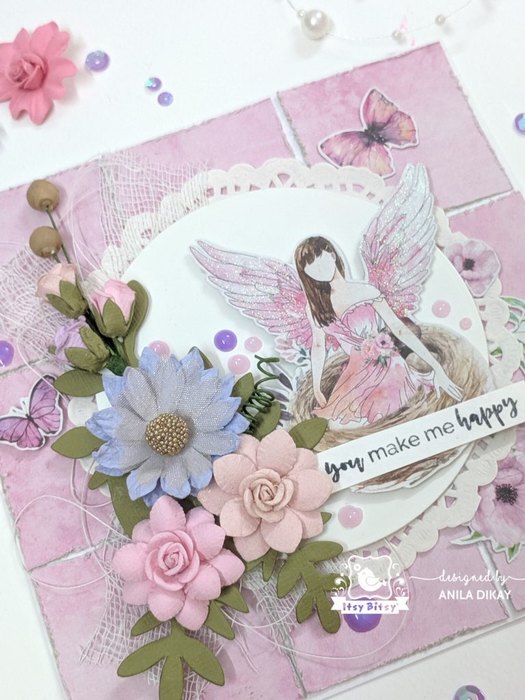
I collected all the embellishments I wanted to use on the card. I have used a die-cut circle, a doily, cheesecloth, white thread, and a few flowers.
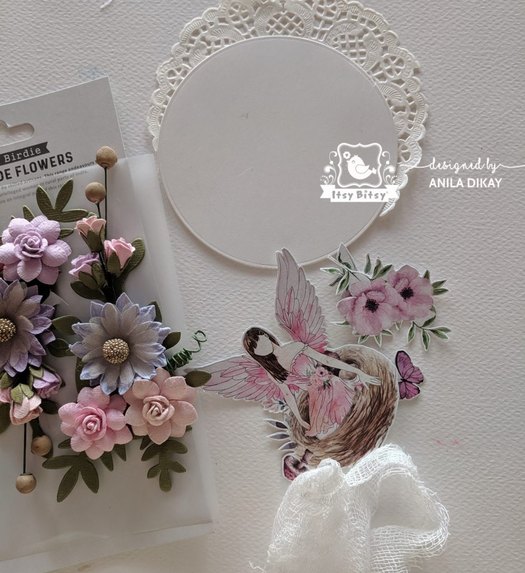
Assembled the cheesecloth, thread, doily and the die-cut circle on the card base, over the distressed mosaic pattern.
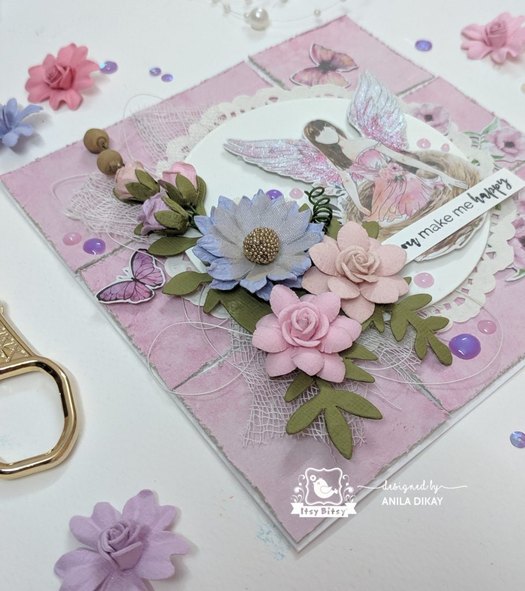
Assembled the fussy cut images, flowers, etc. Added a strip of sentiment from my stash and a few Pearl Drops. Lastly, covered the fairy wings with Whipped Cream Sparkle Paste.
Final images!!!
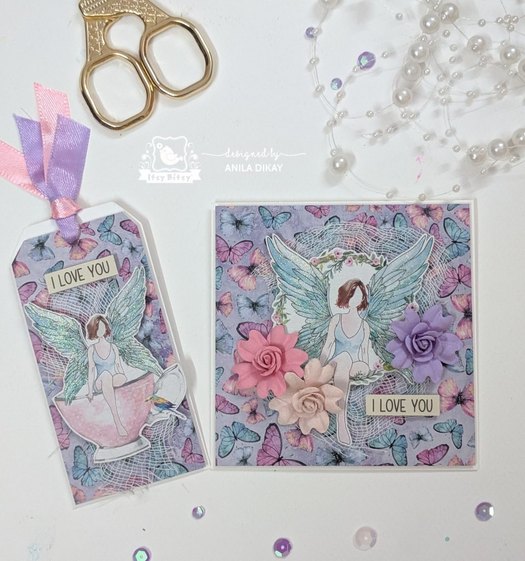
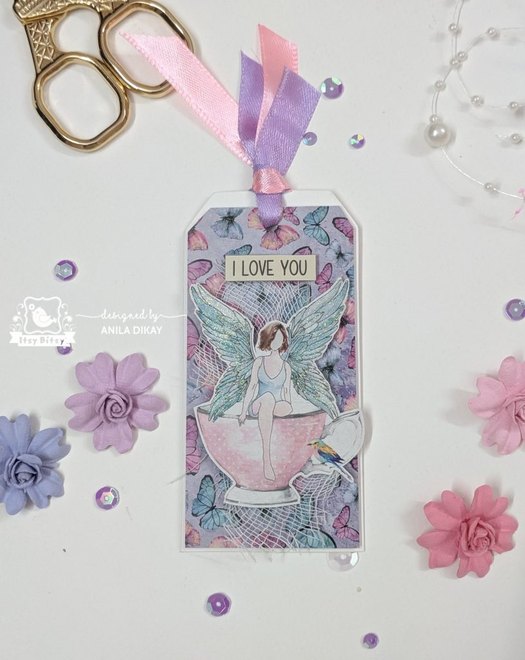
CARD AND TAG SET.
I made a mini 4″x4″ note card and a coordinating tag.
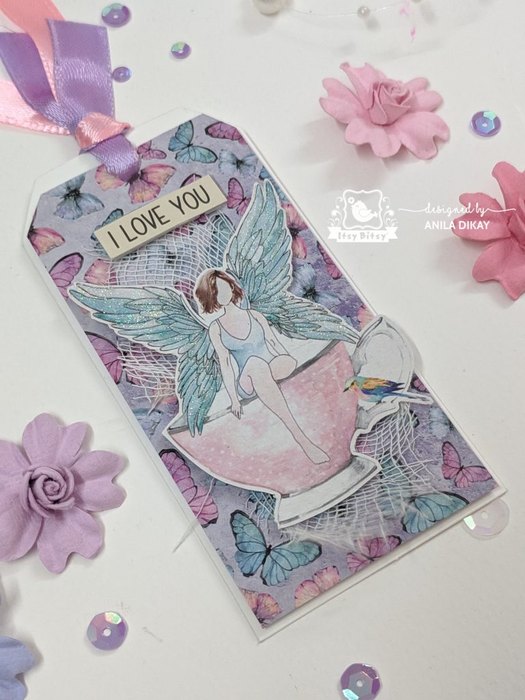
I began by cutting a sheet from the pack as per the size of my card/tag. Foam mounted it on the base of the card/tag. Added cheesecloth to fade out the background and added some fussy cut images over it. Added sentiments to the card and the tag. Lastly, added Whipped cream sparkle paste to the wings of the fairy.
Final images!!!

That’s all from my end today. Hope you like the projects made.
Until next time, Keep Crafting!!
Anila.

Supplies used: