
Hi! I’m Kunali and today i’m going to show how I made this beautifully painted greeting card with quilled line art. This is fairly simple and looks really pretty. It’ll make a lovely gift for any of your friends or loved ones. Use this technique to also use in wall decor or tiny magnets. You could make cute car danglers or use this idea for your projects.

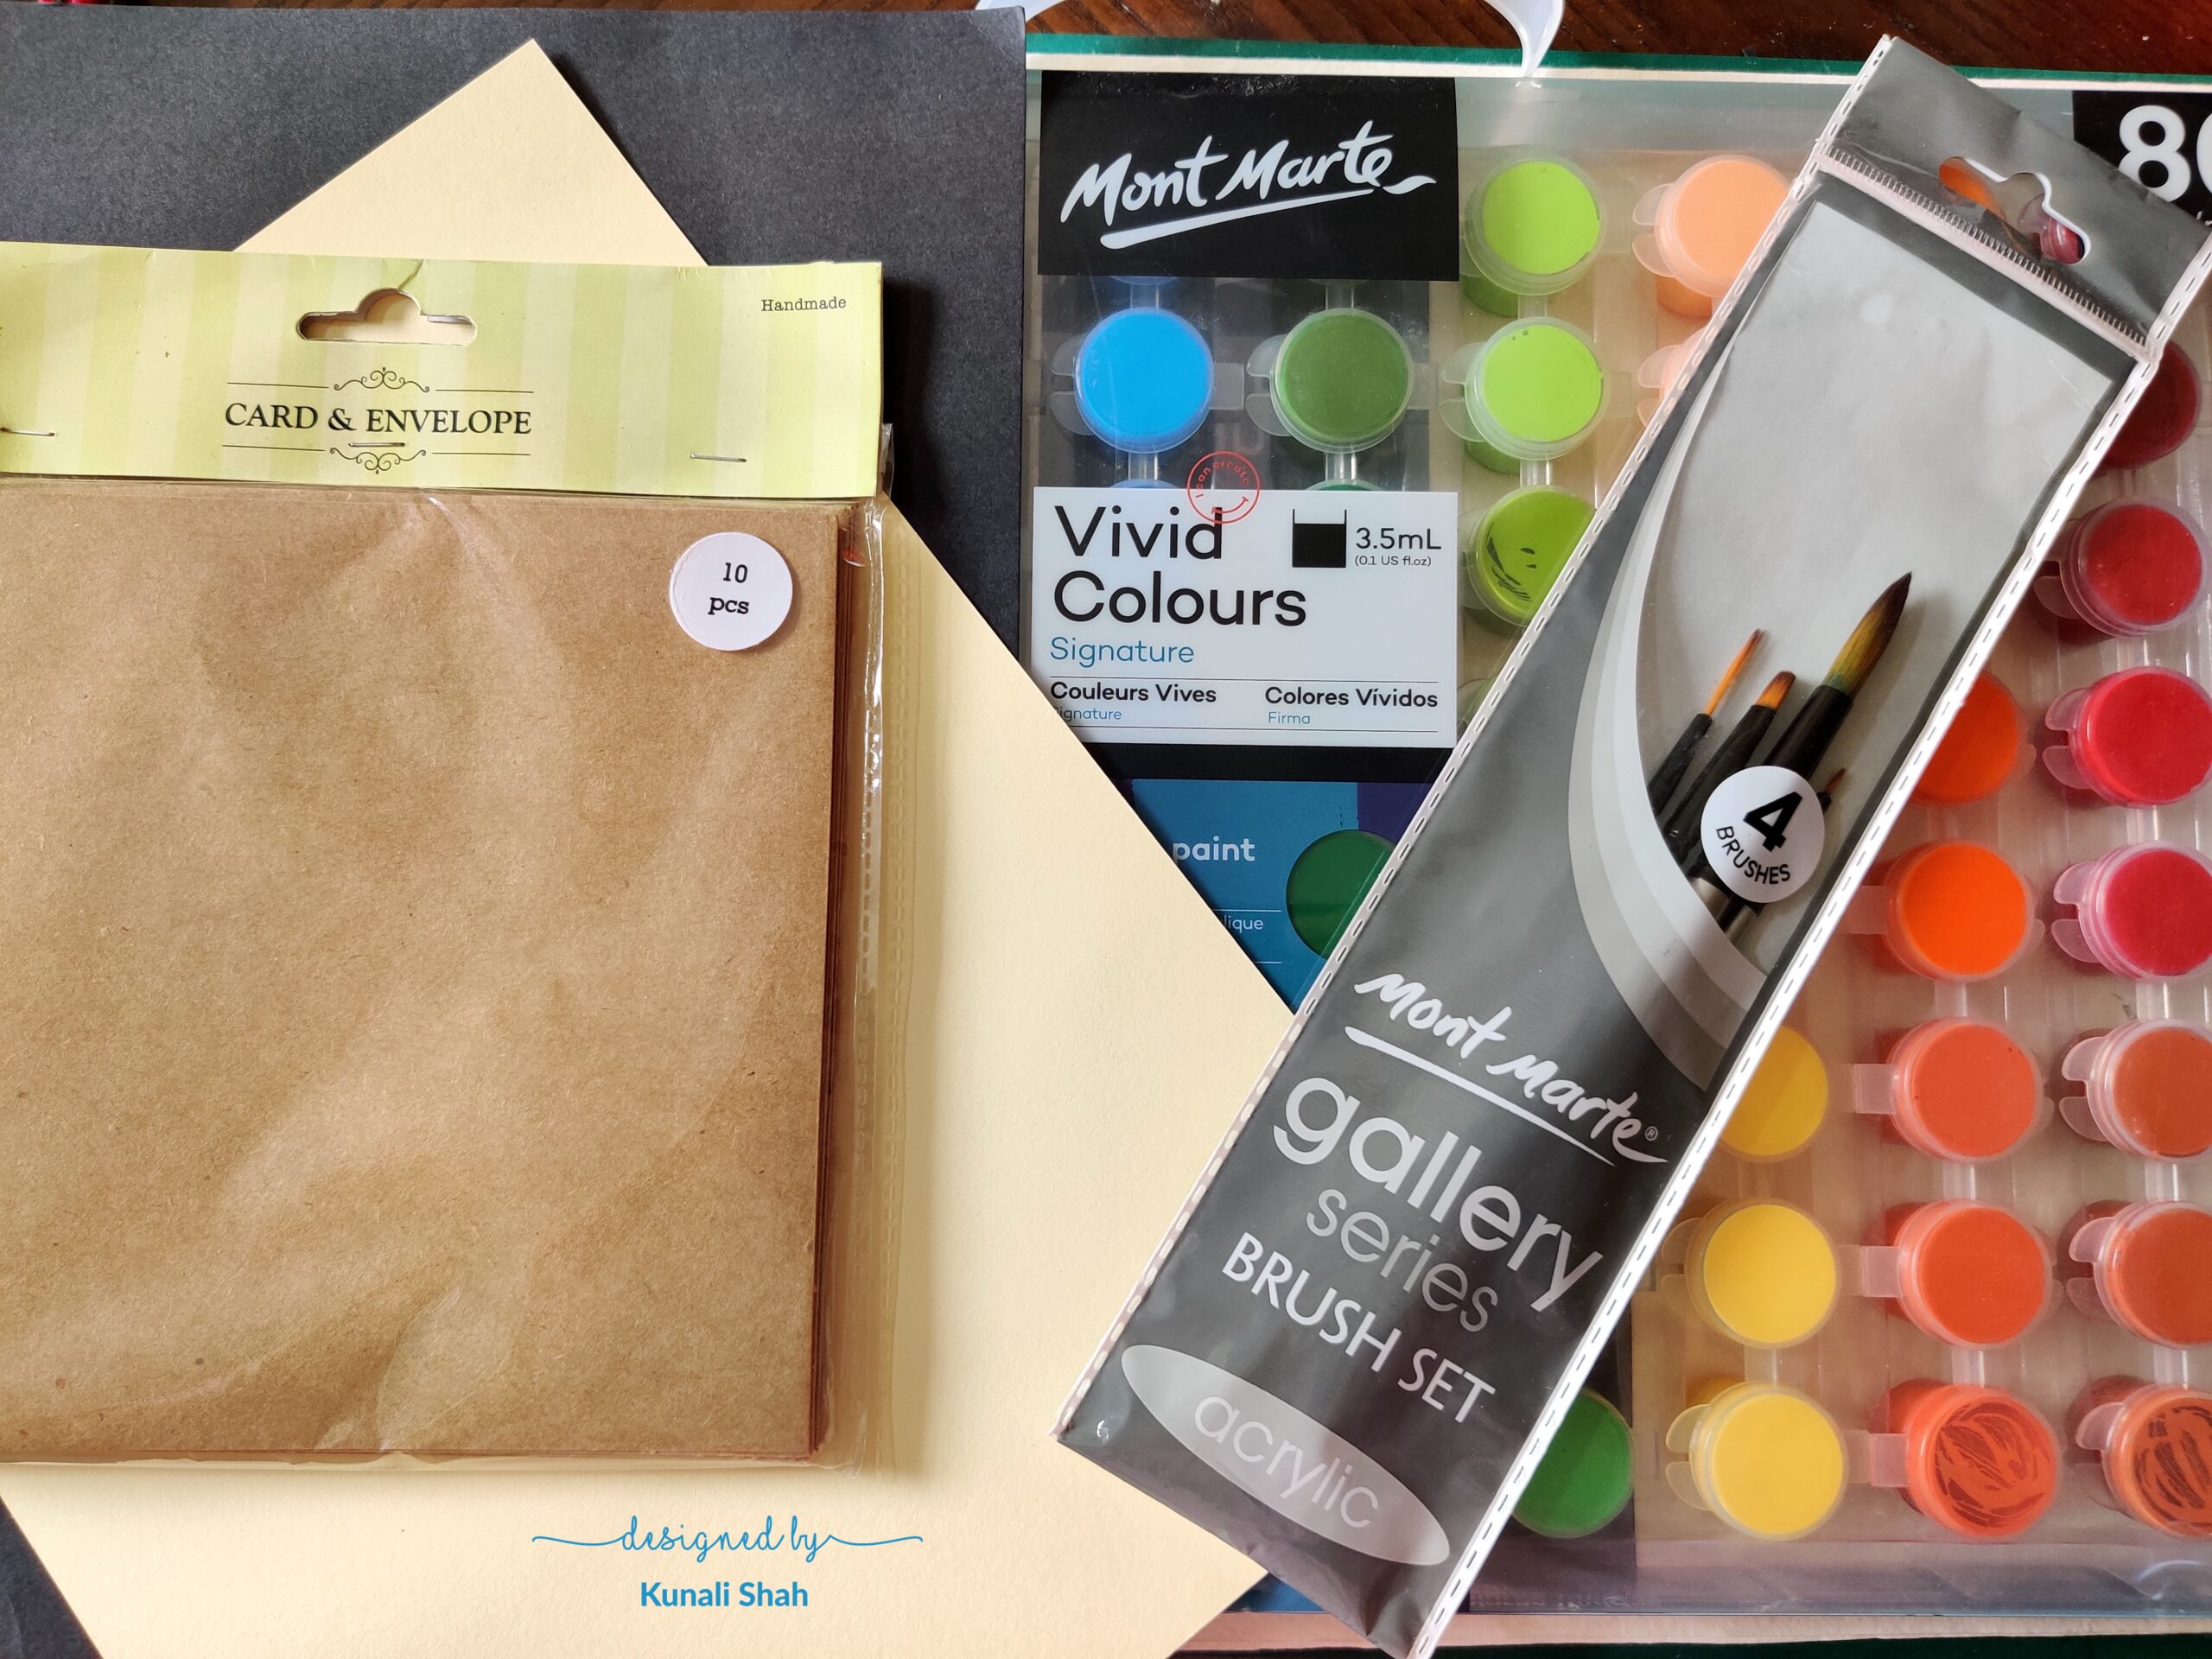
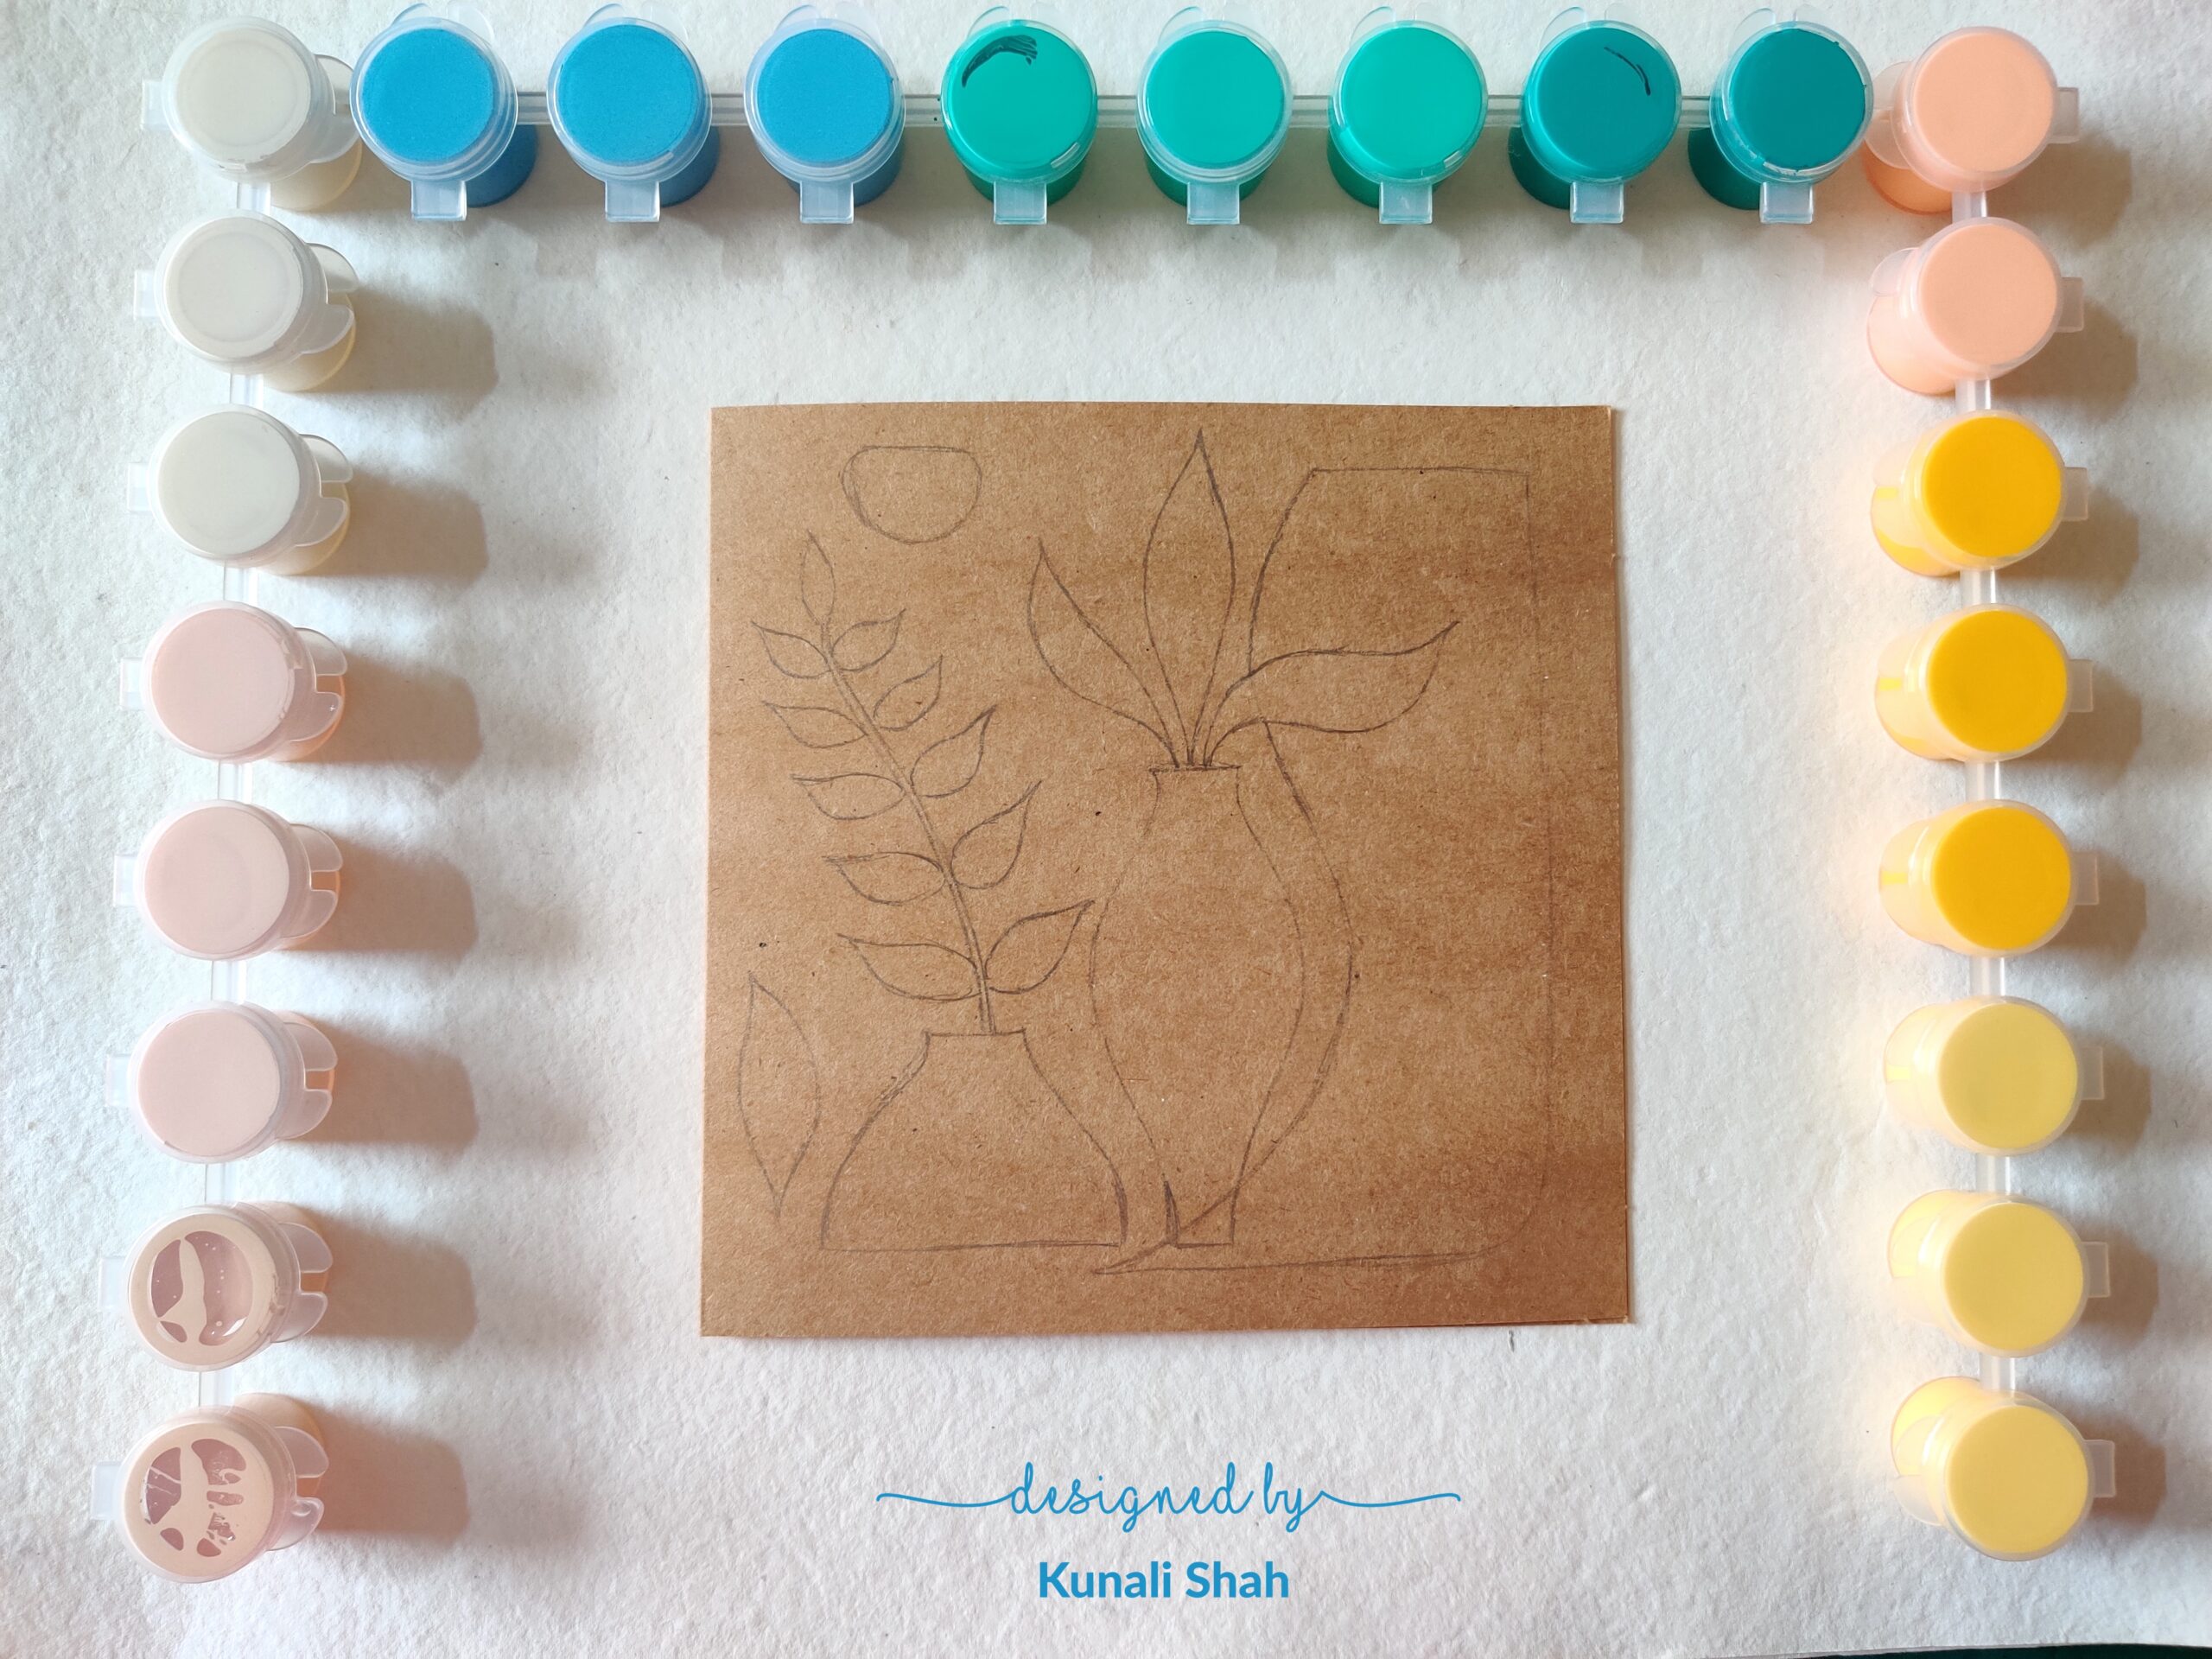
For this card design, I’ve used the products shown below.
So, let’s begin.
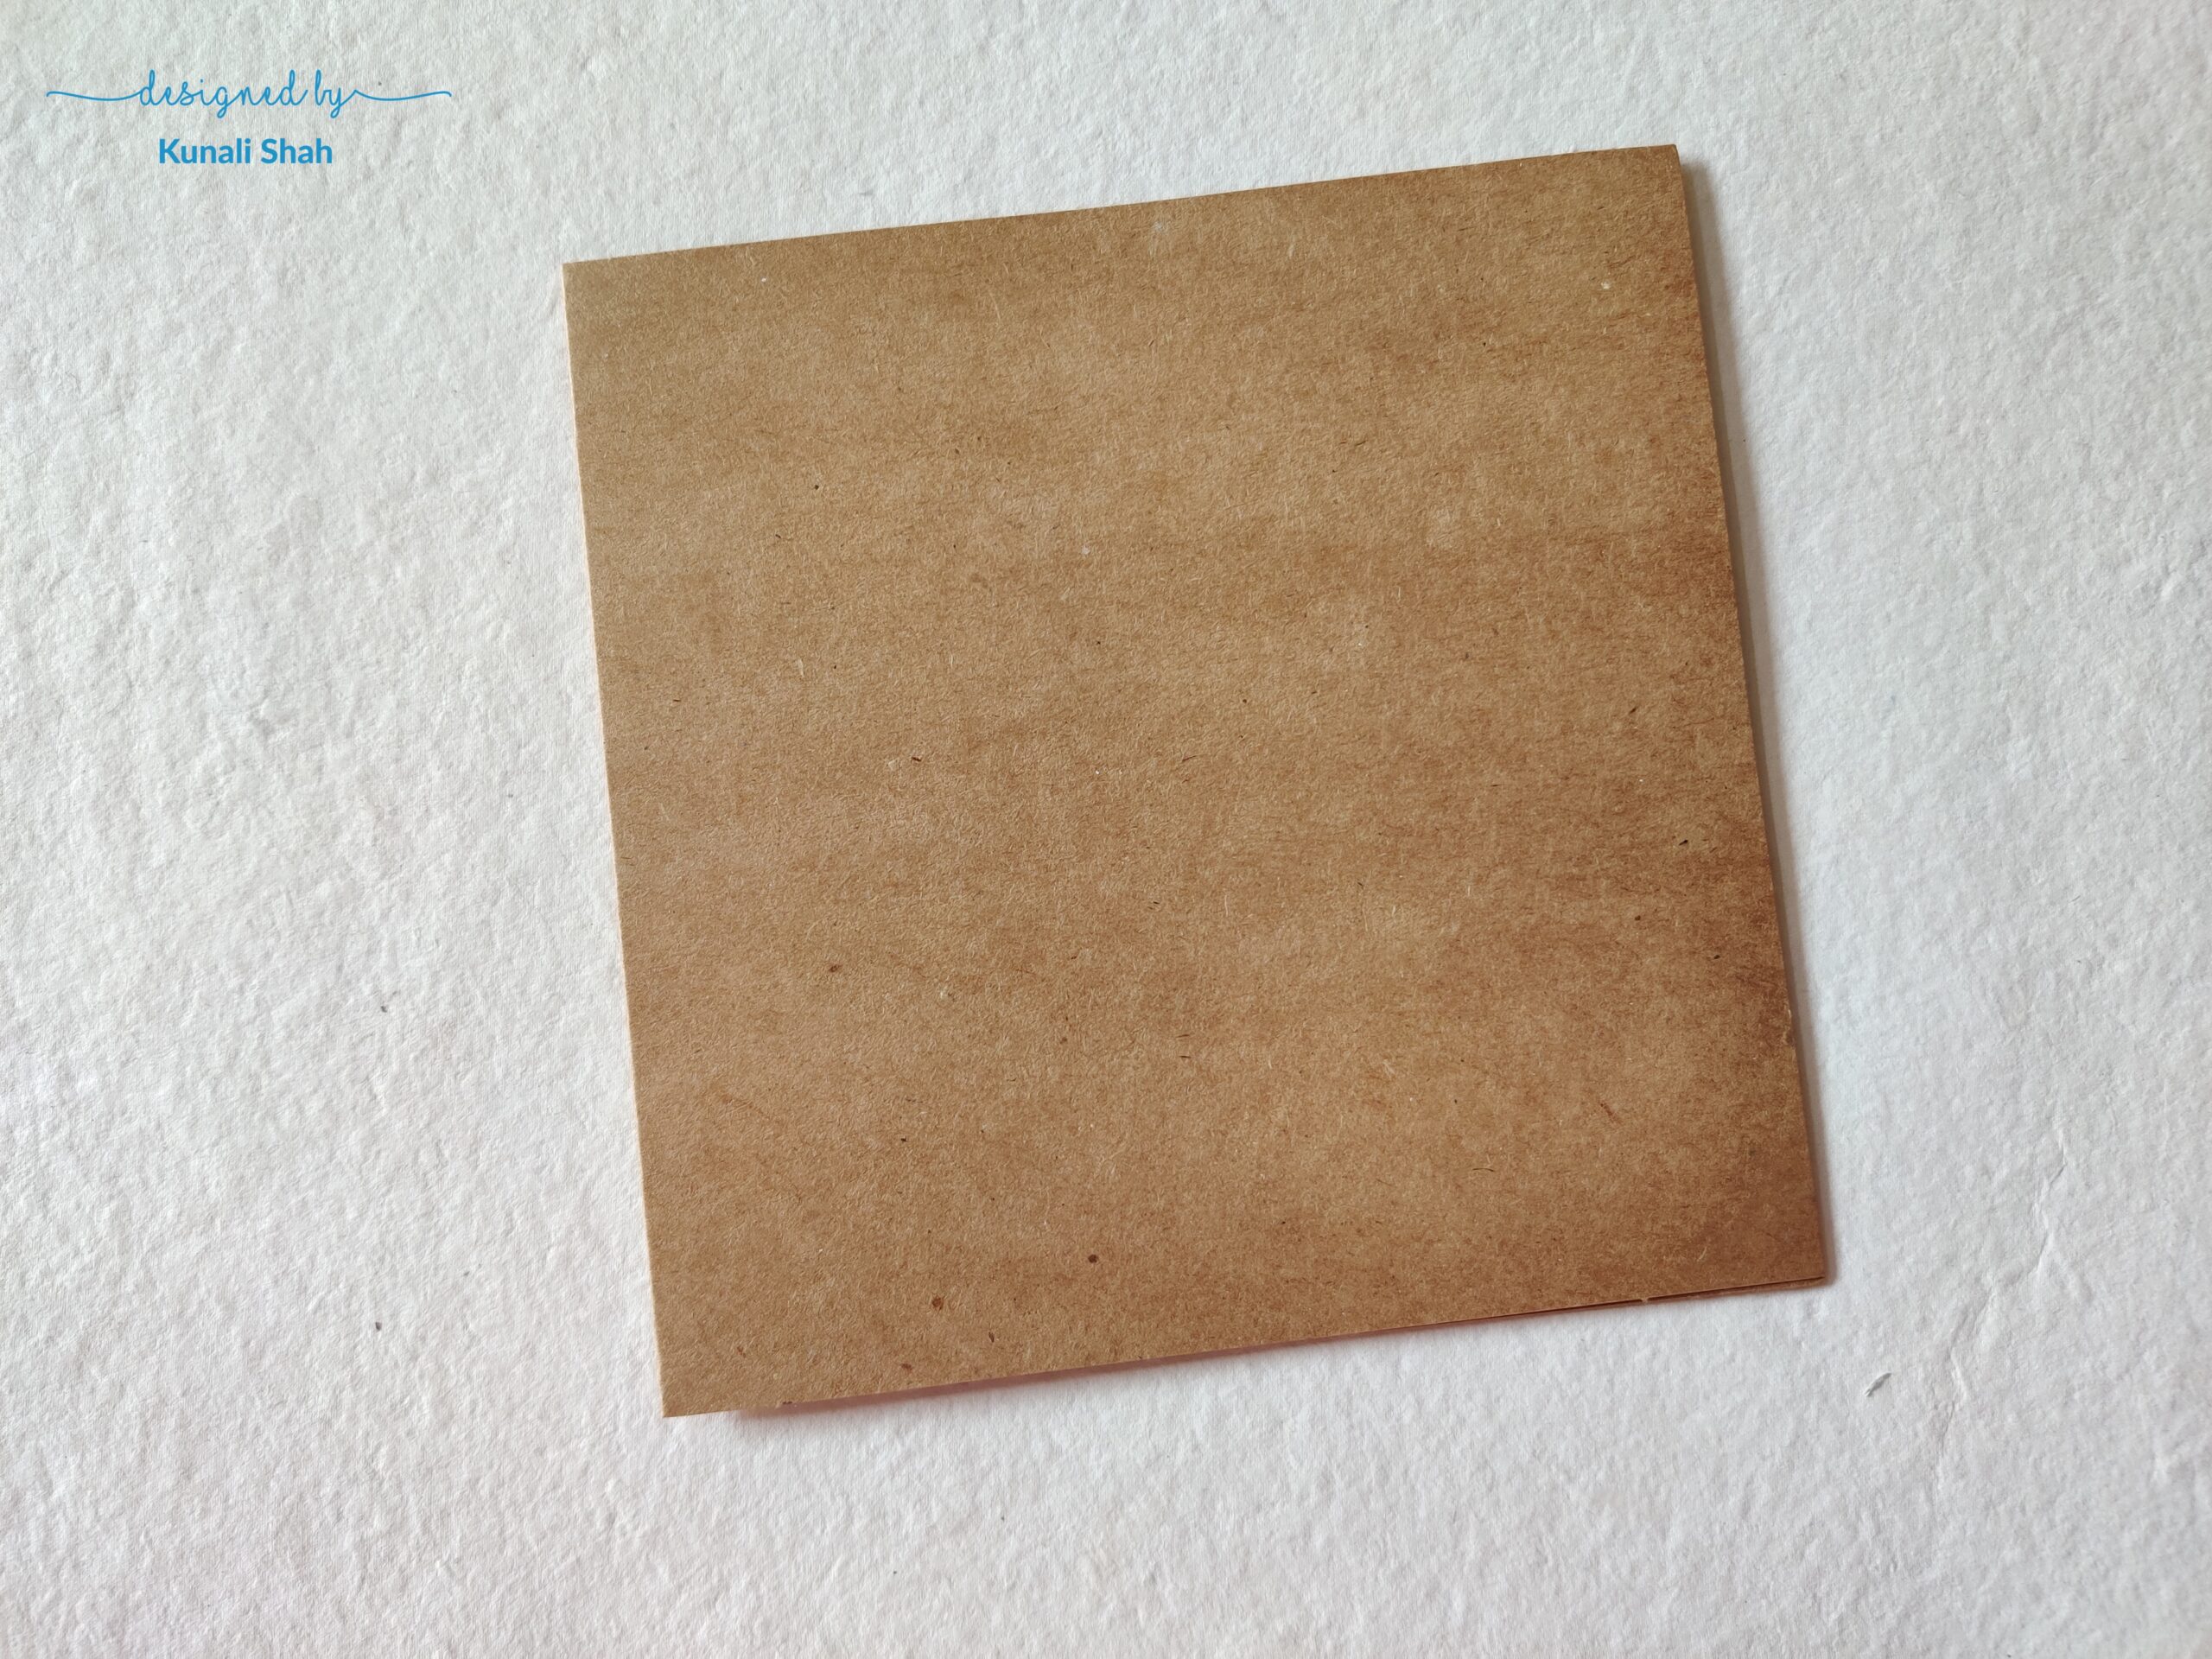
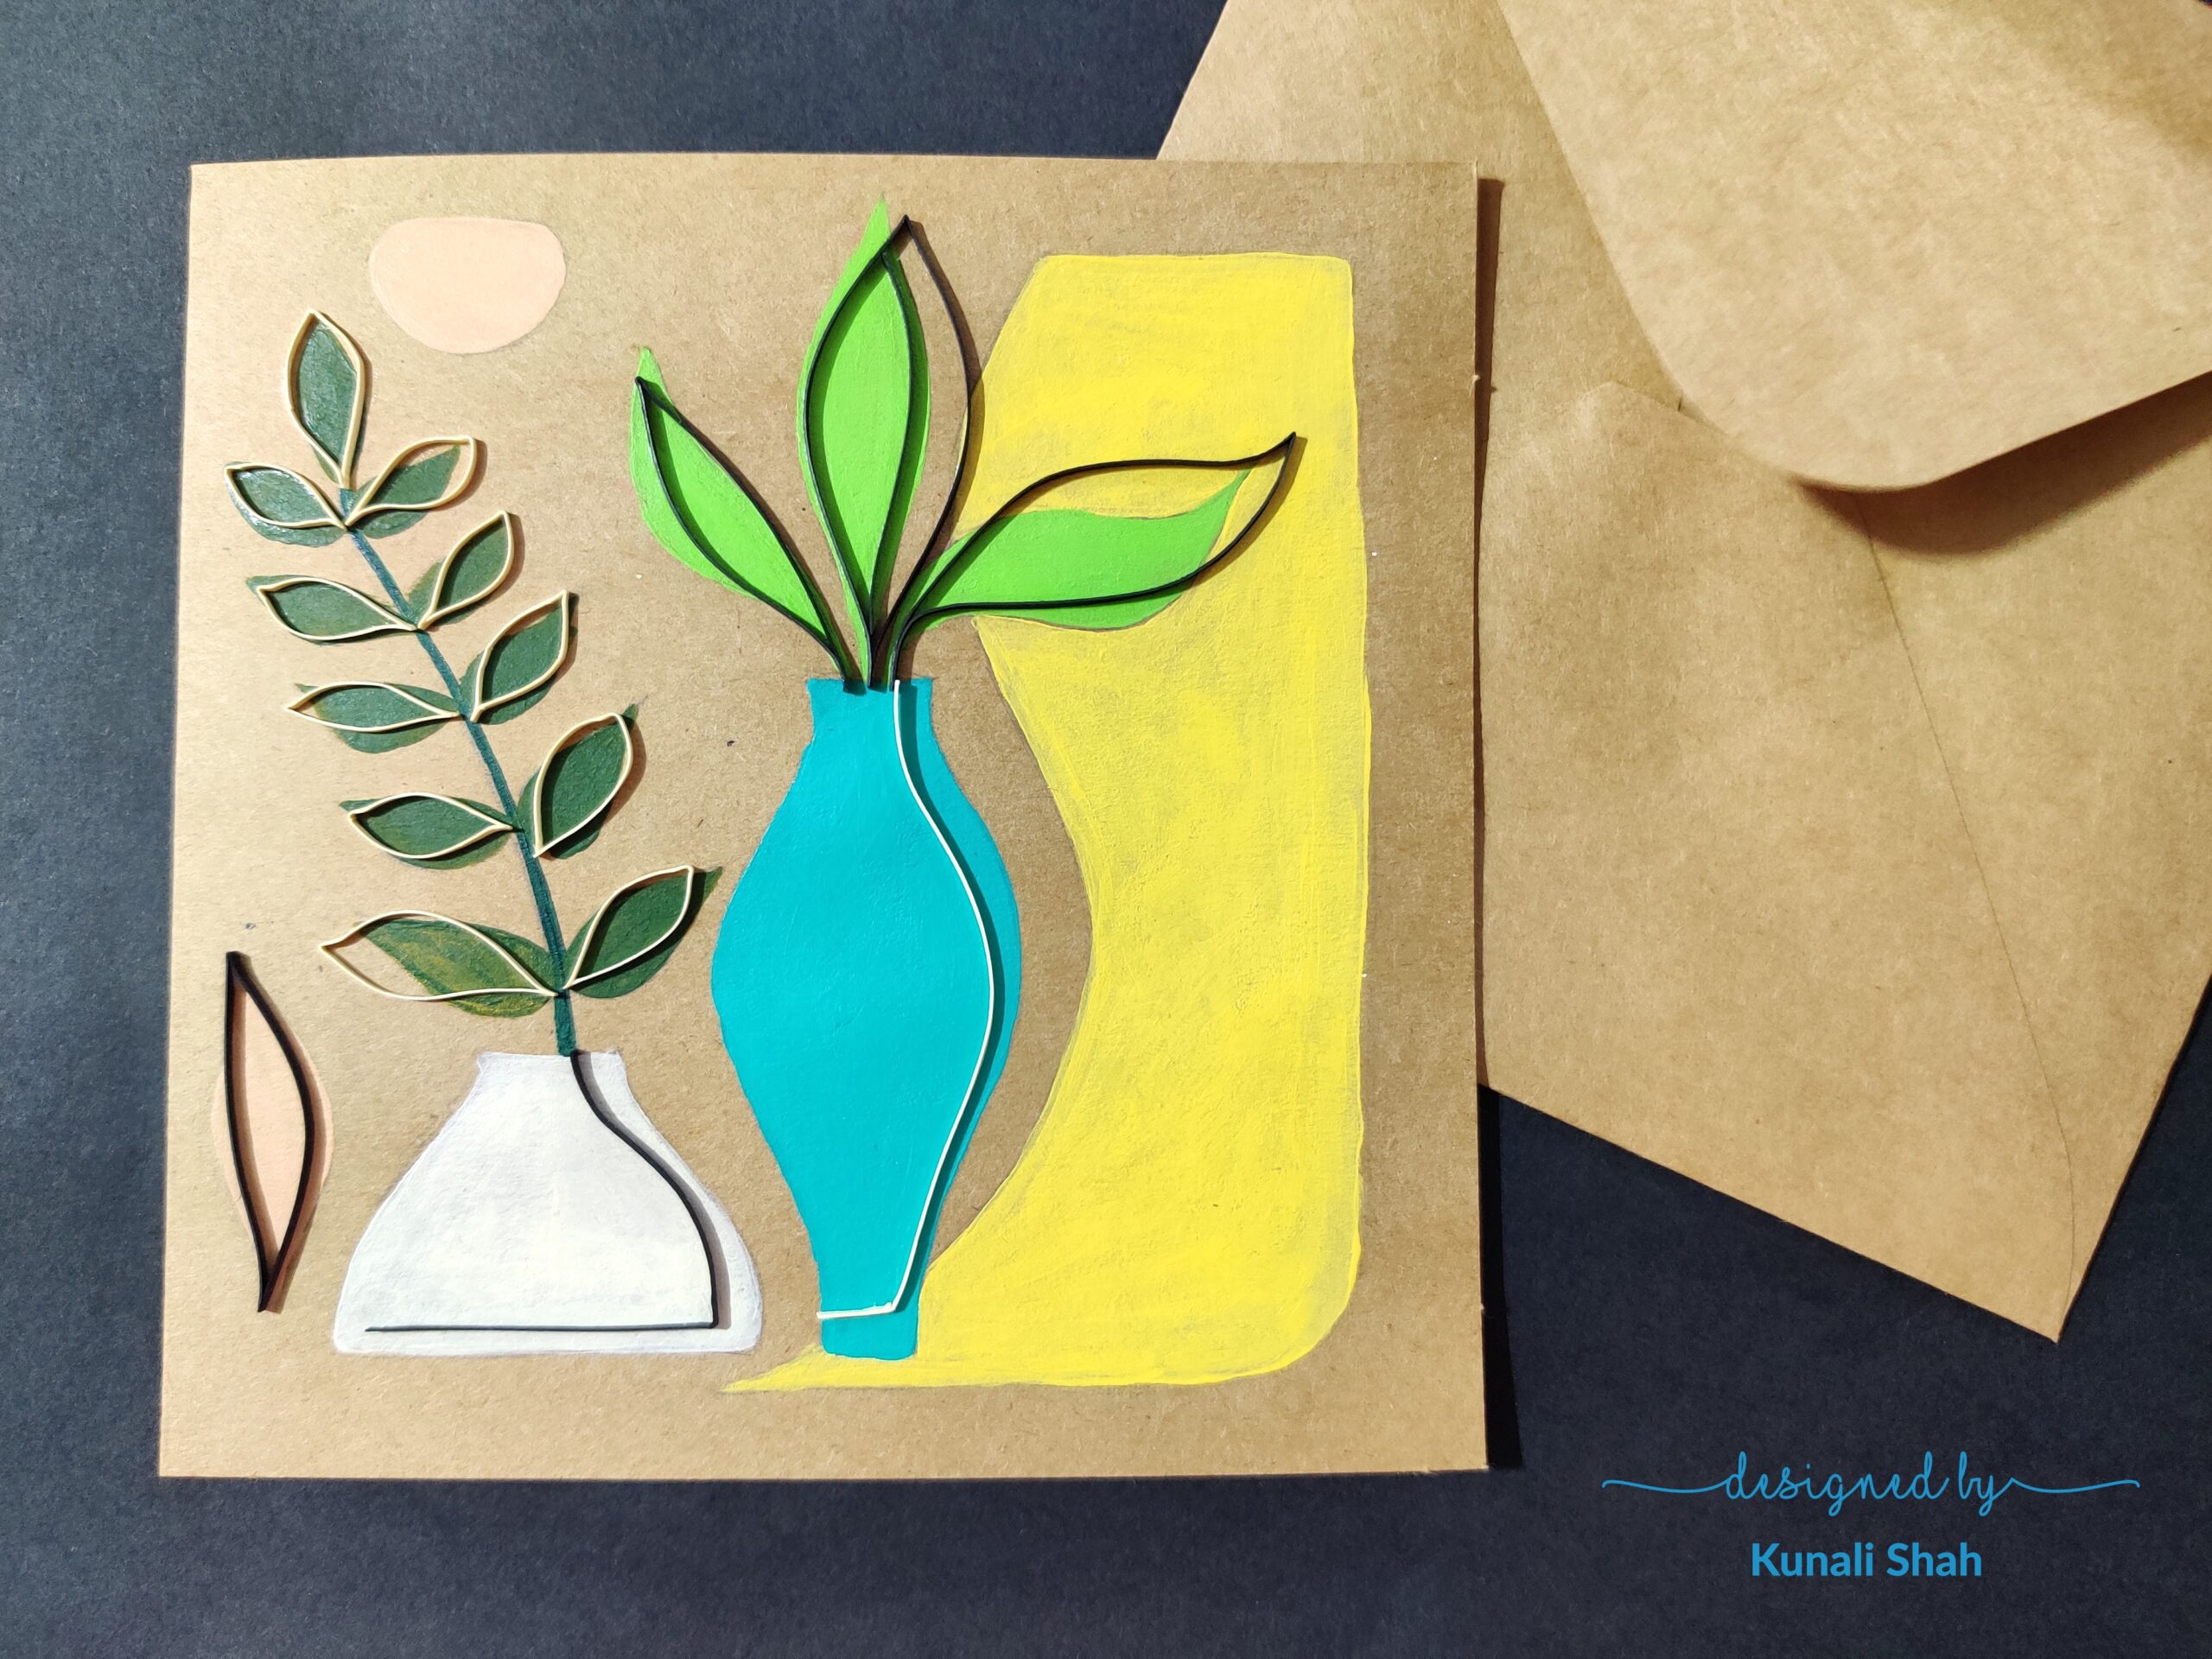
We’ll start with taking a pre-cut Little Birdie card and envelope set.
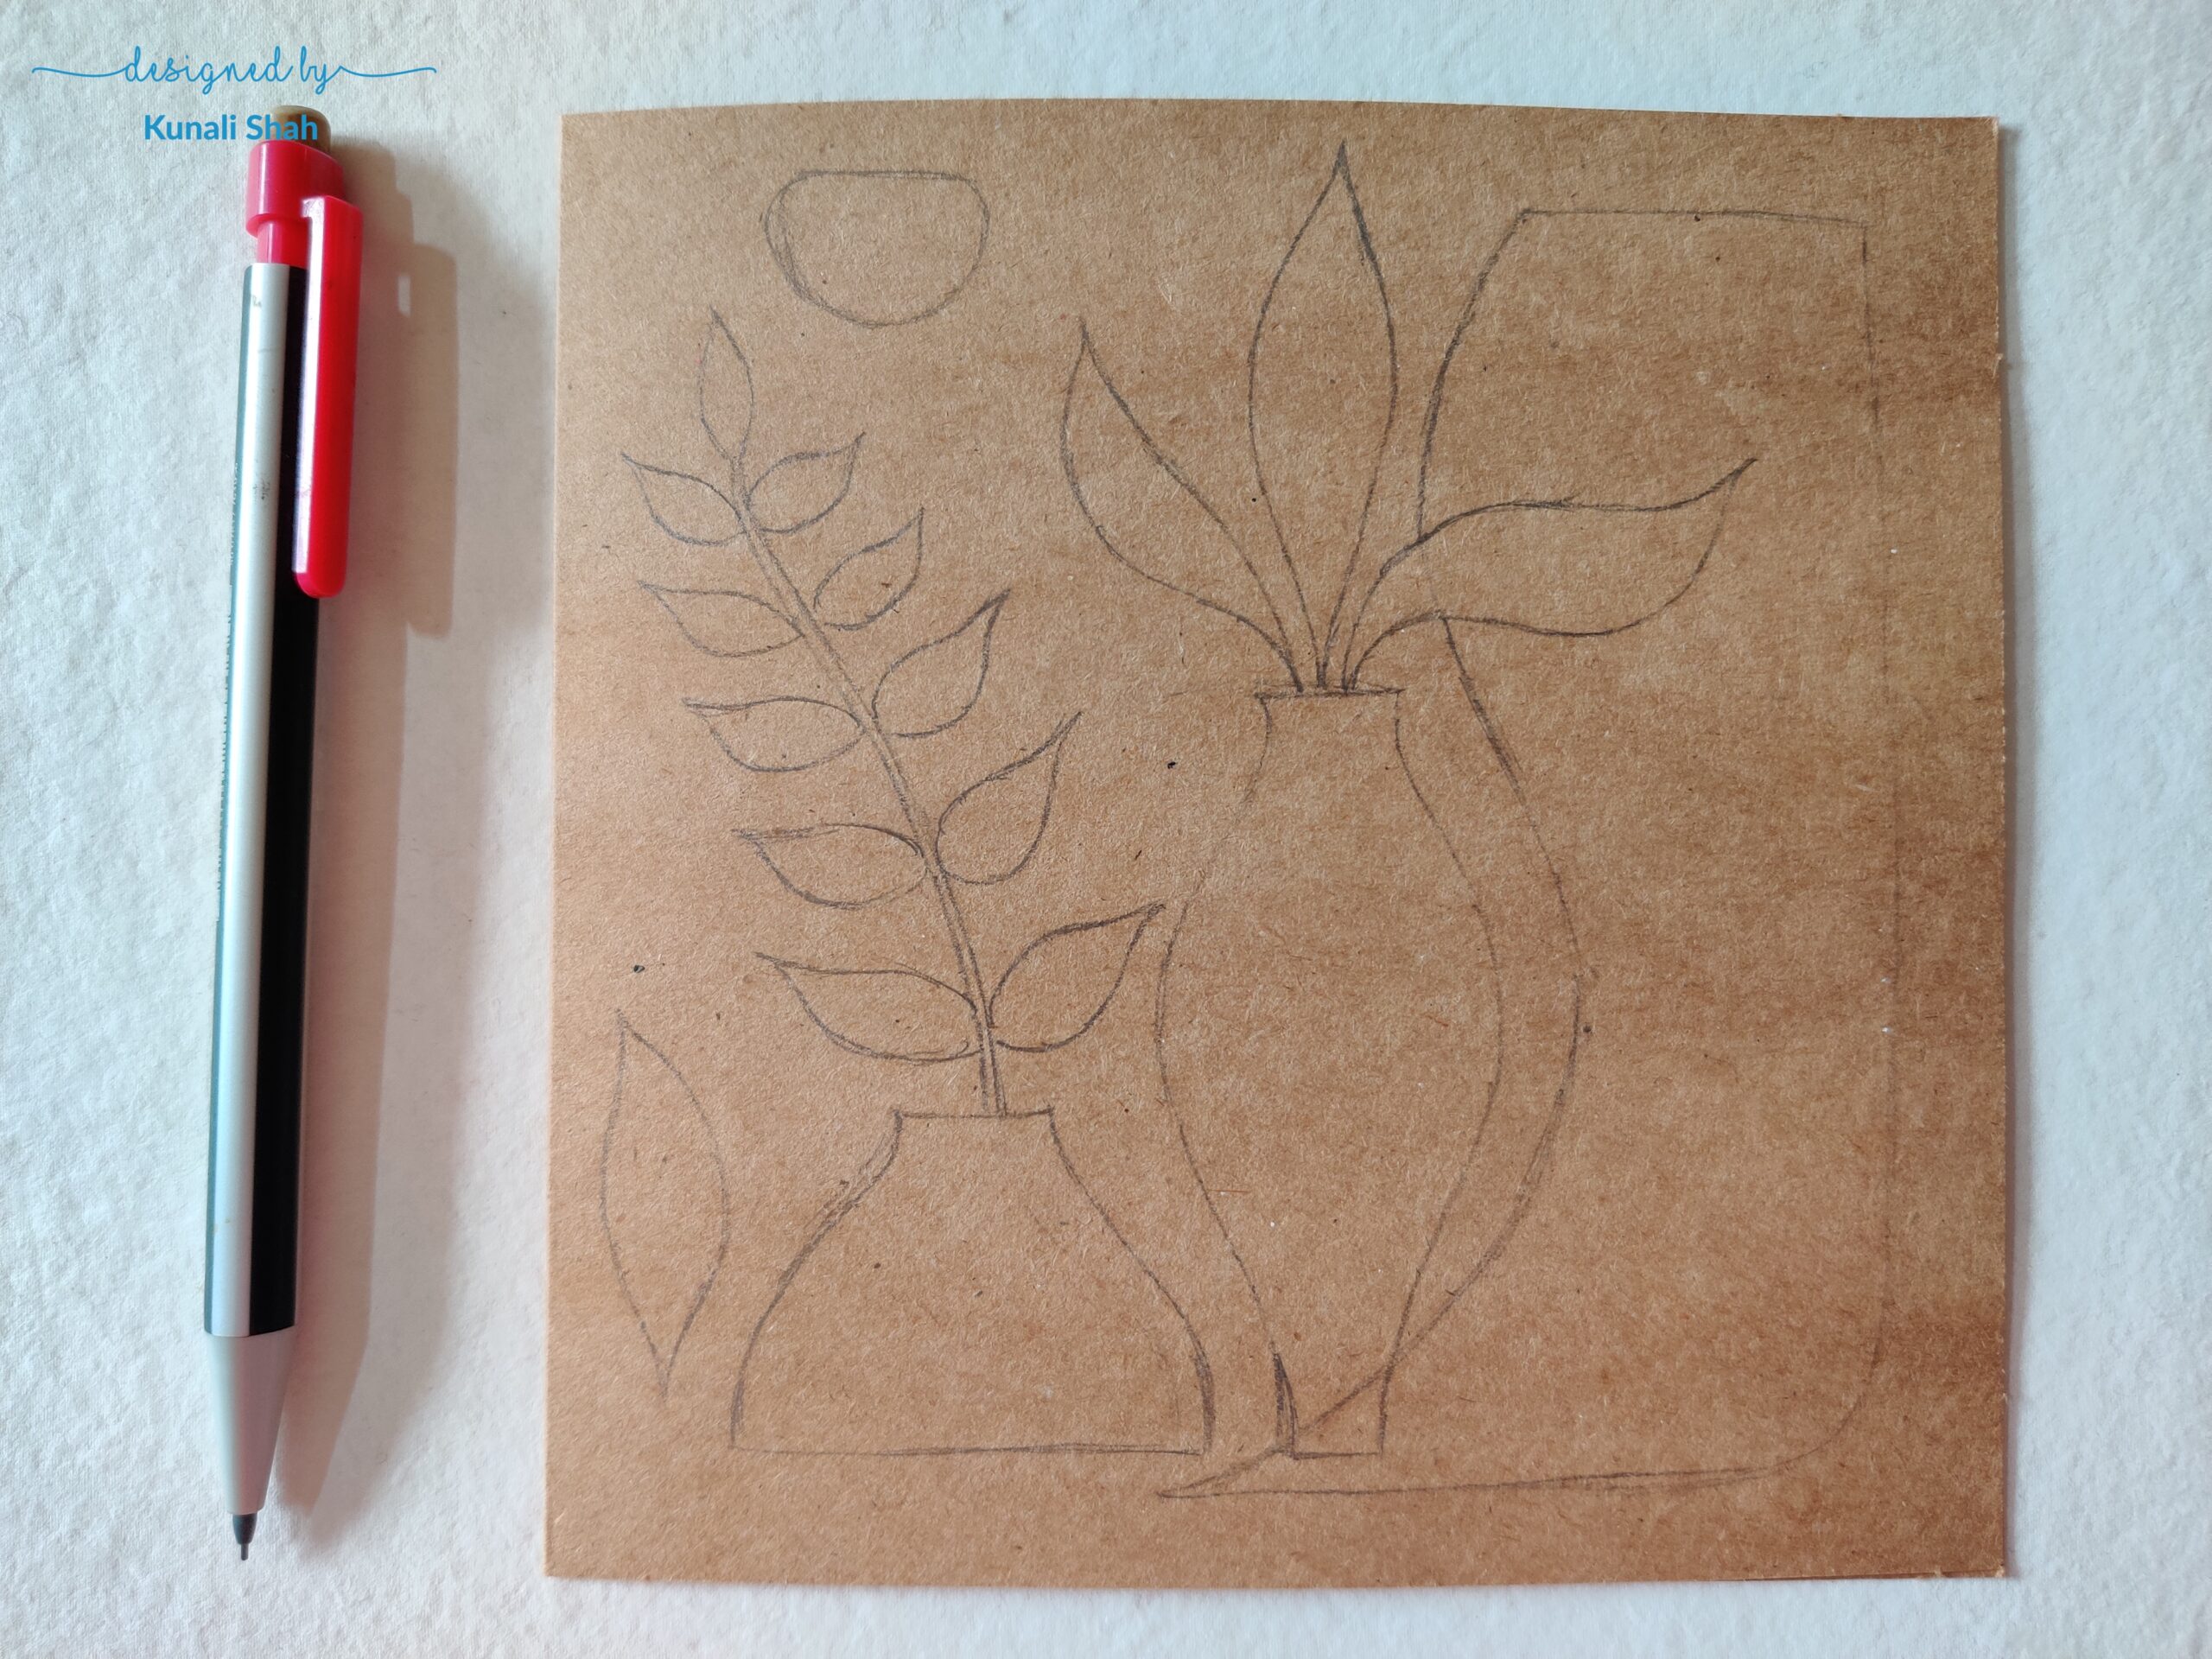
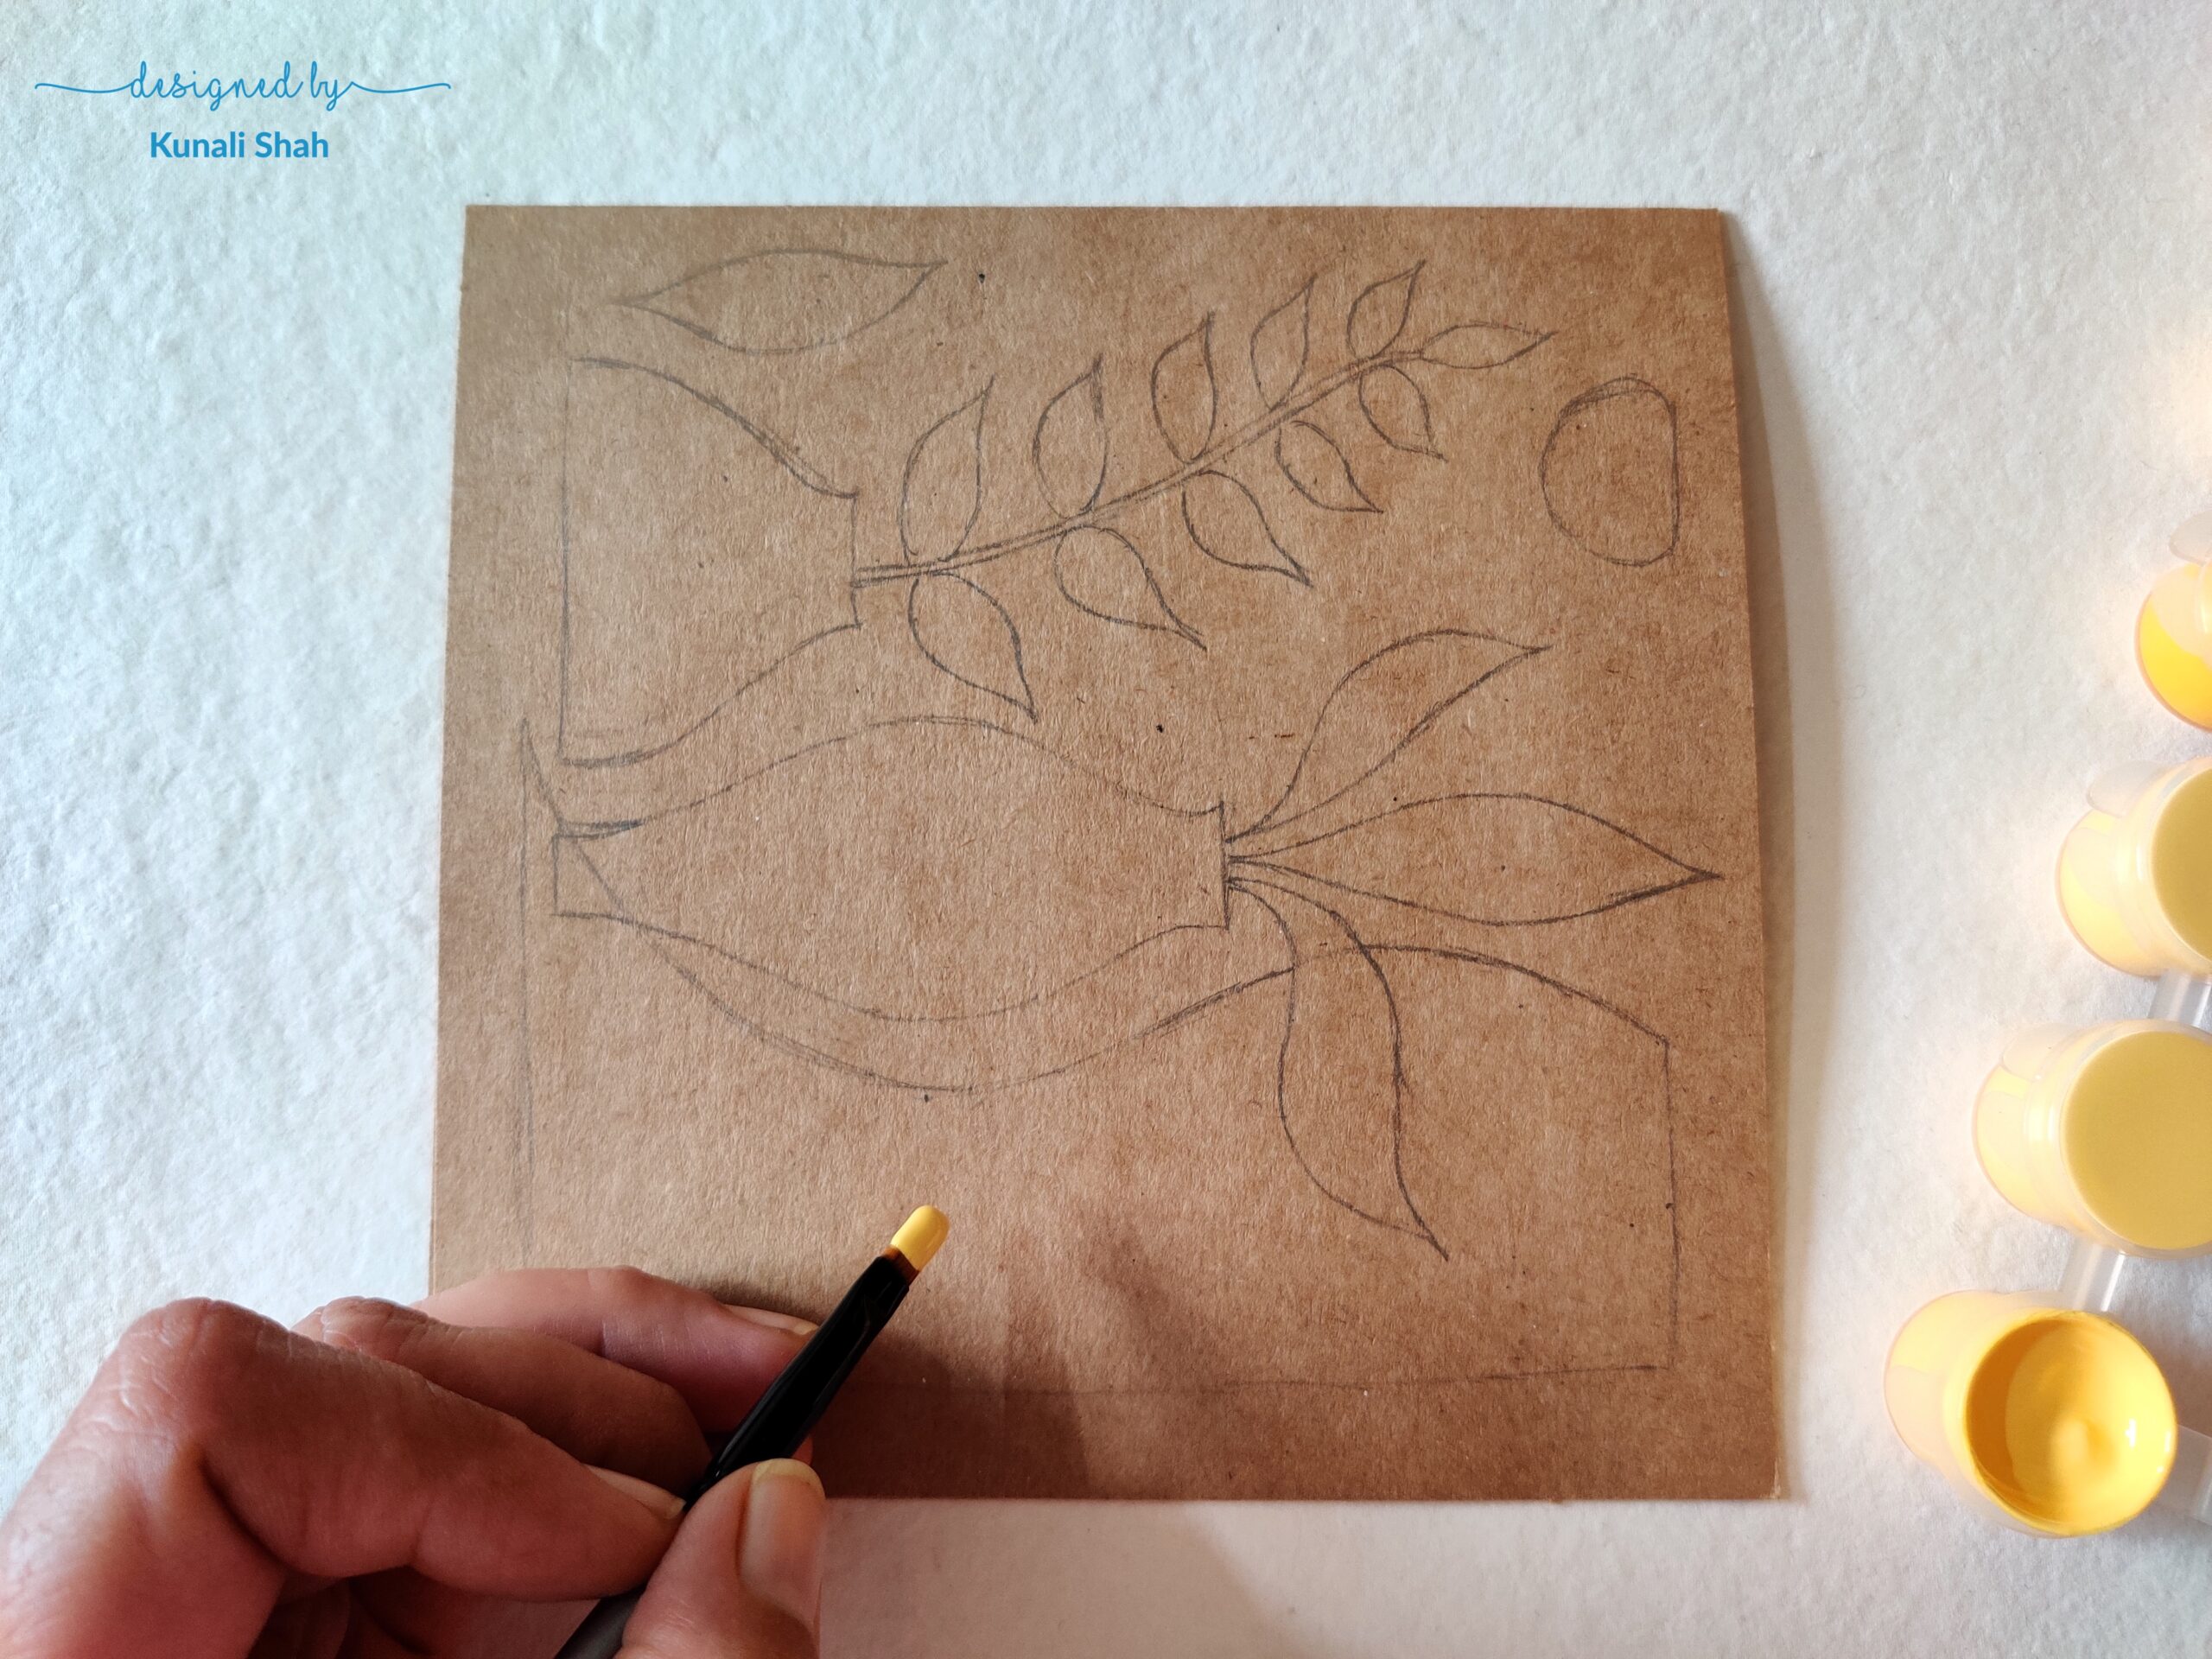
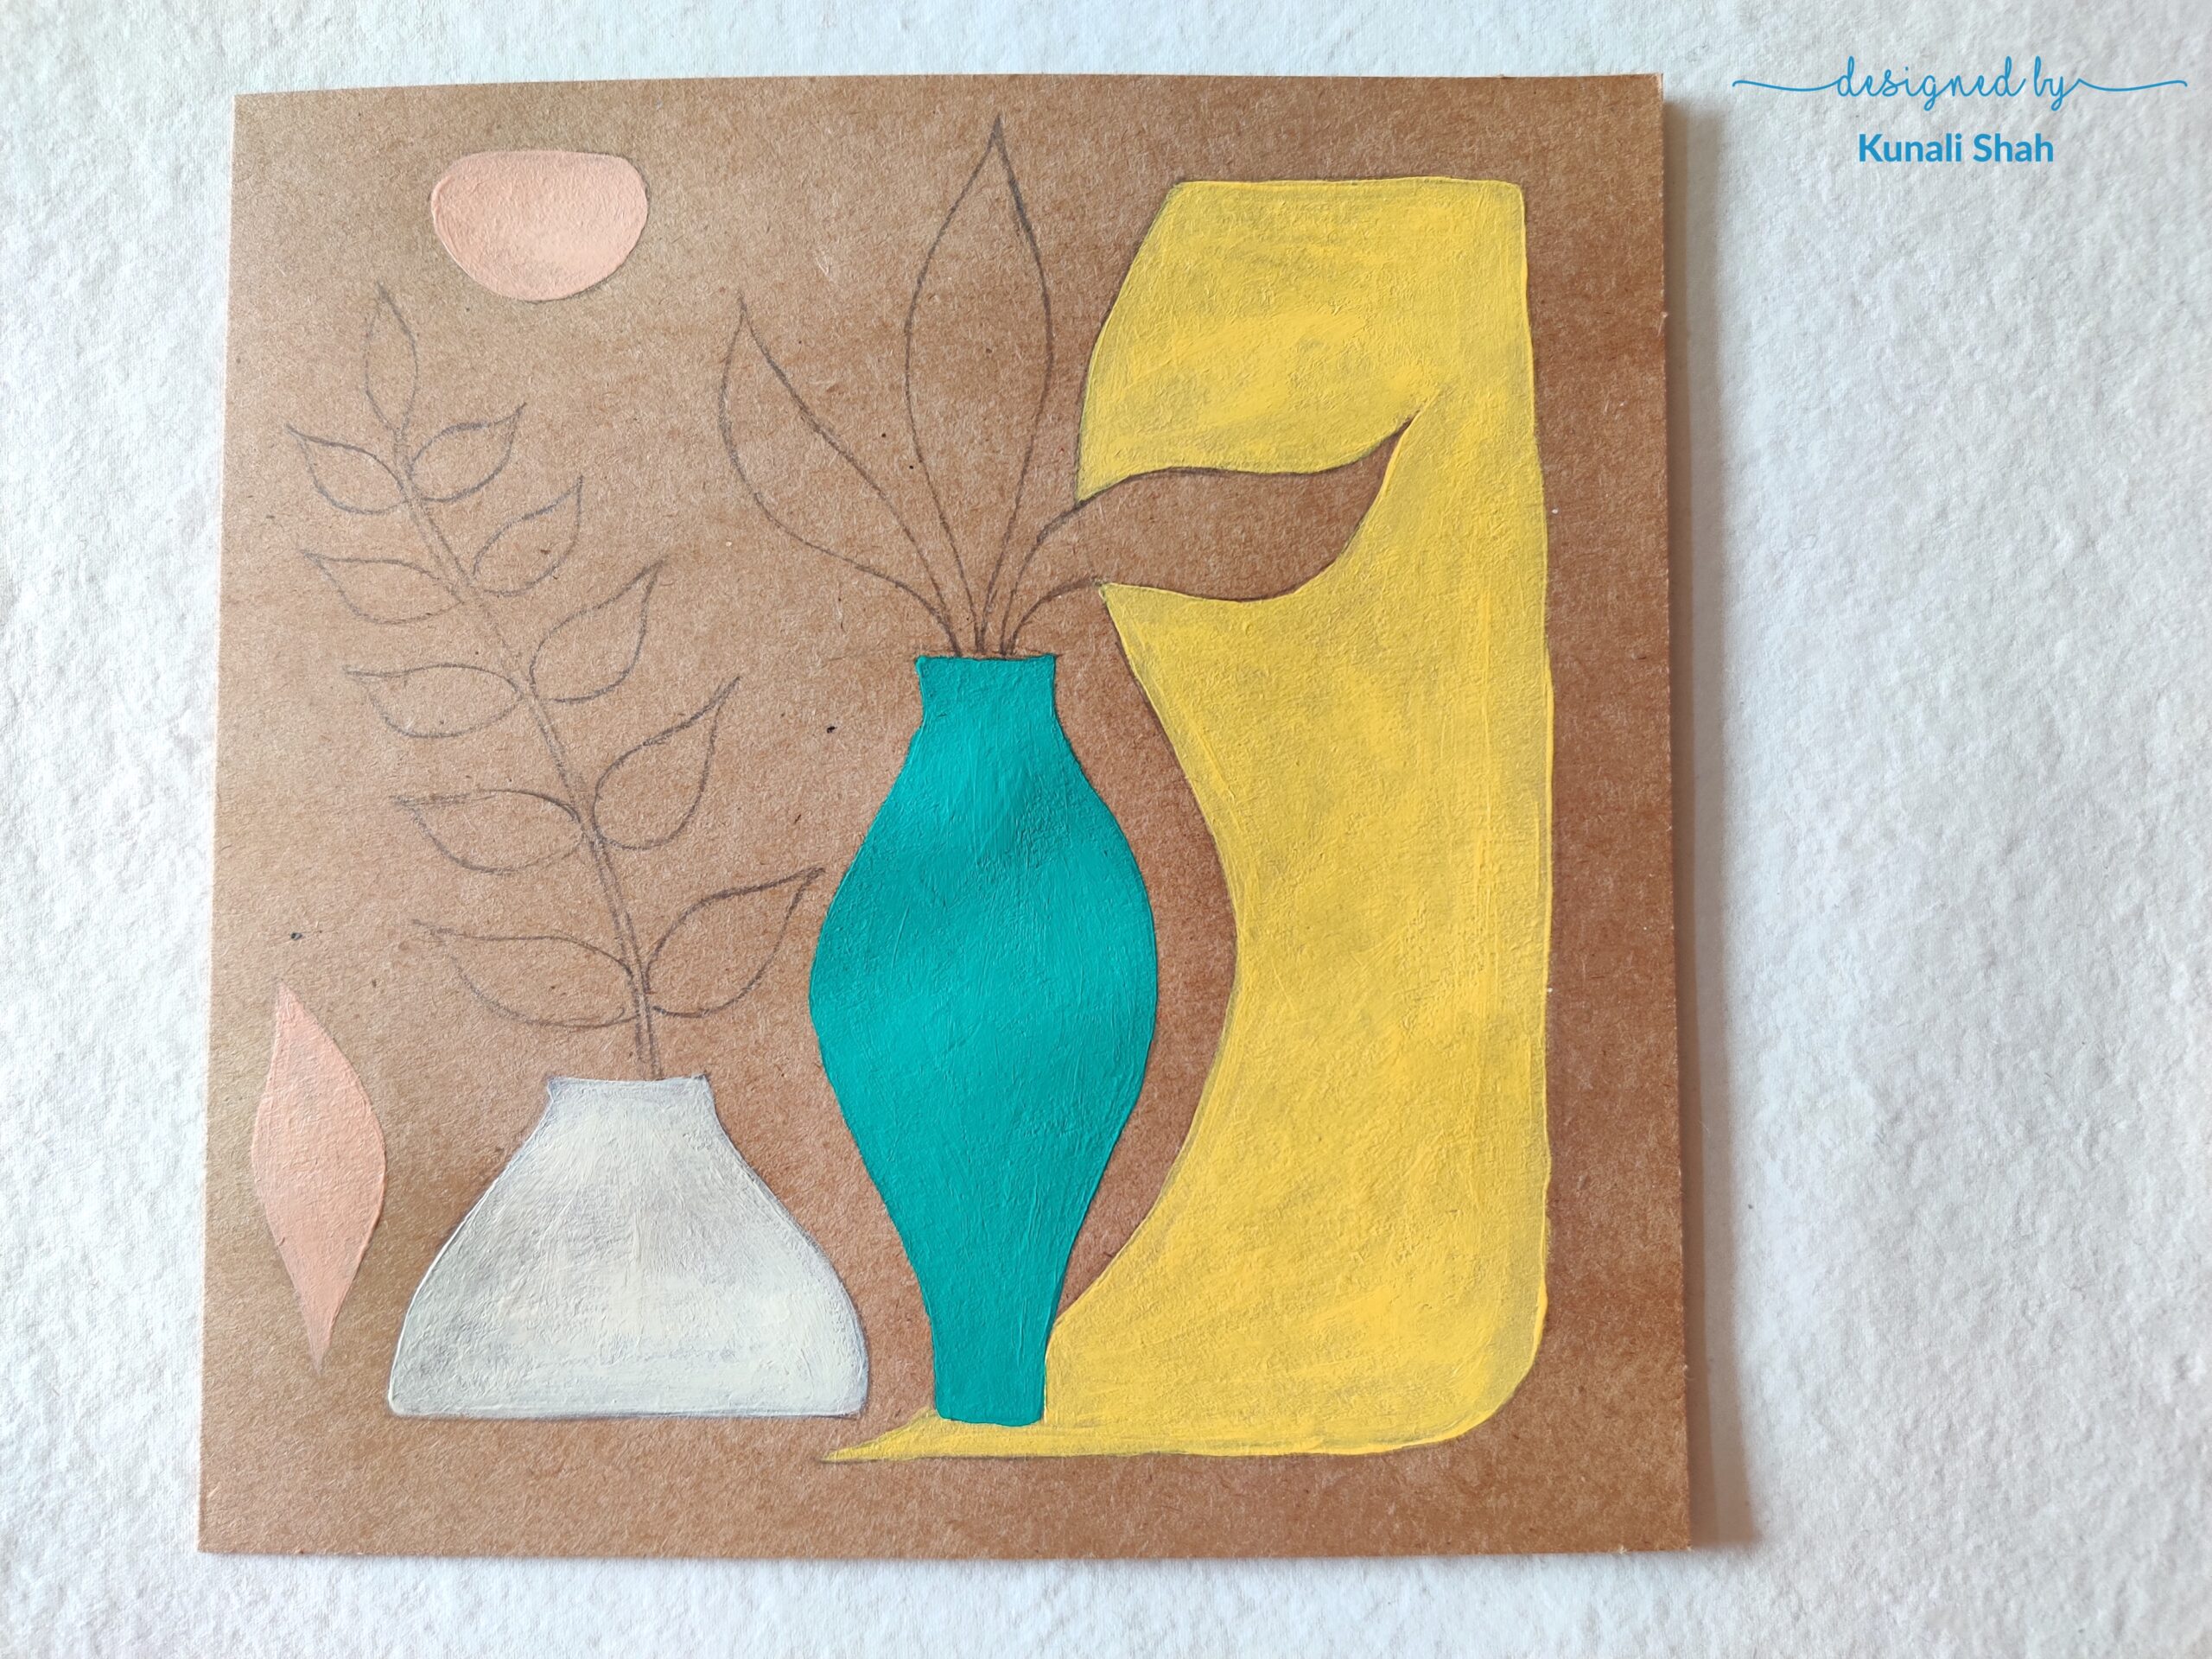
Now, we’ll draw a simple pattern with a pencil. You could try simple boho art or just basic shapes. Here, I’ve drawn 2 vases with leaves and a few abstract shapes. Since this is line work, try to keep the shapes fairly simple. For beginners , if you’re new to this, don’t draw difficult curlicues etc.
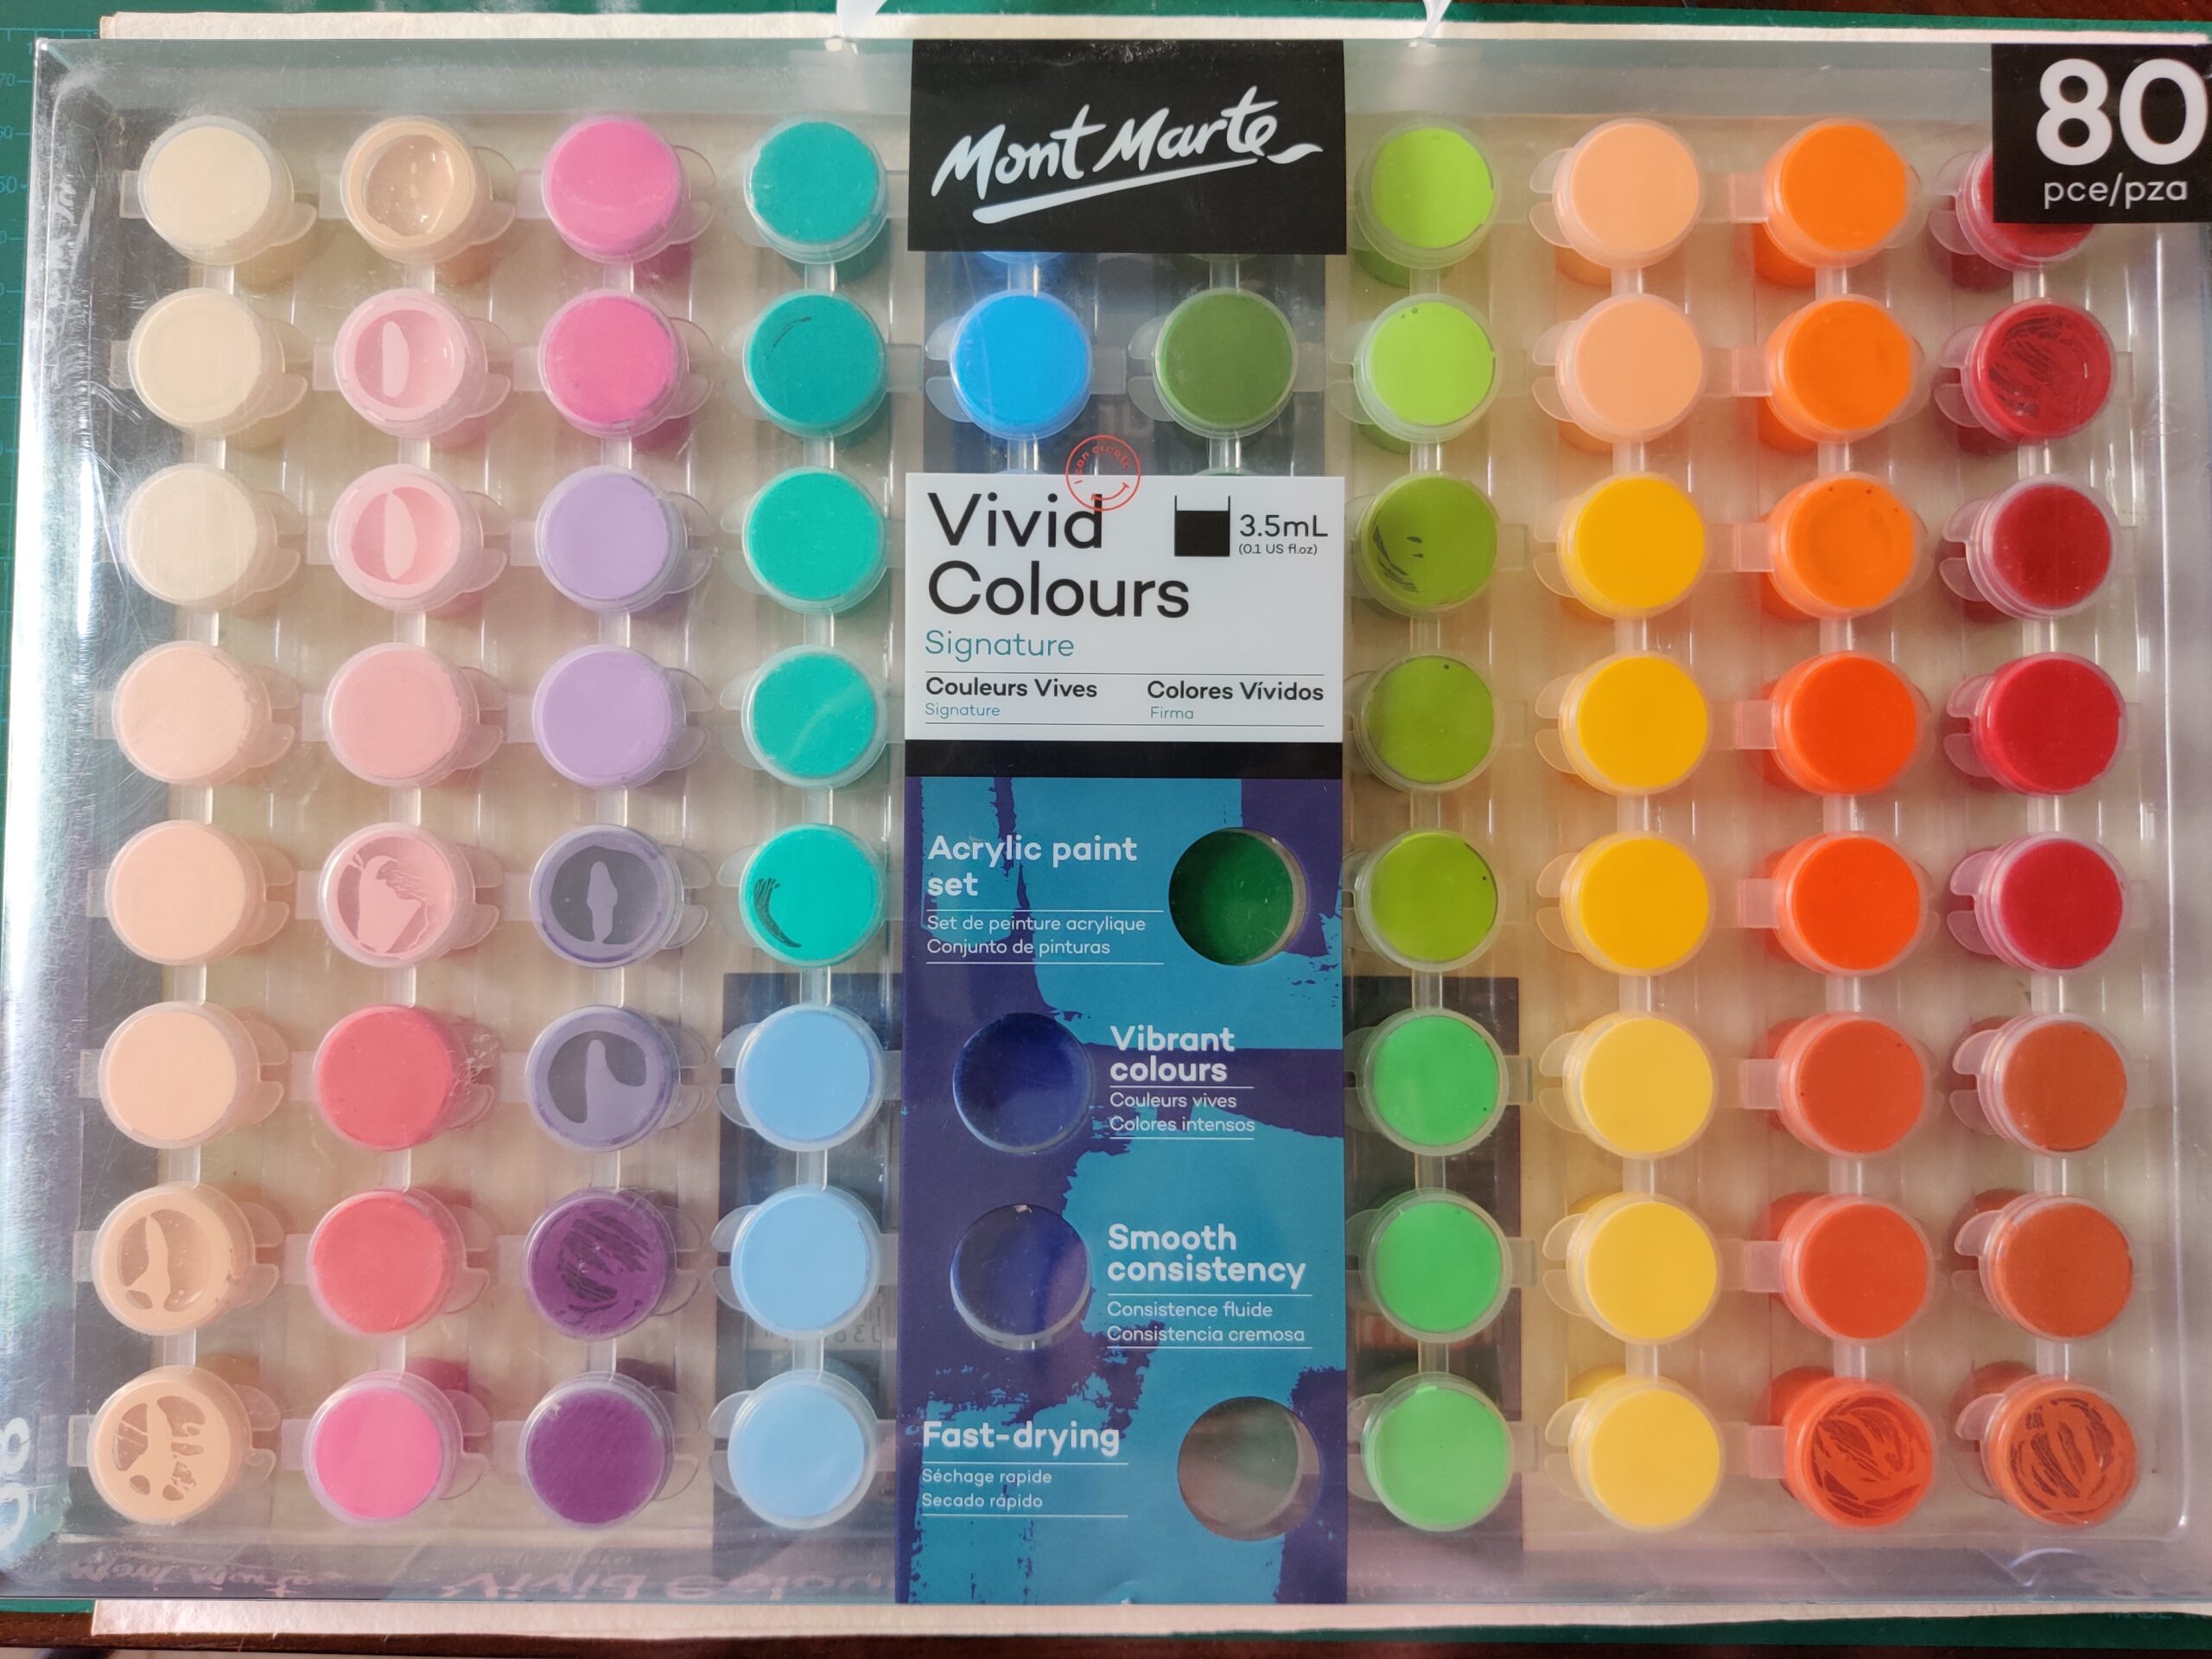
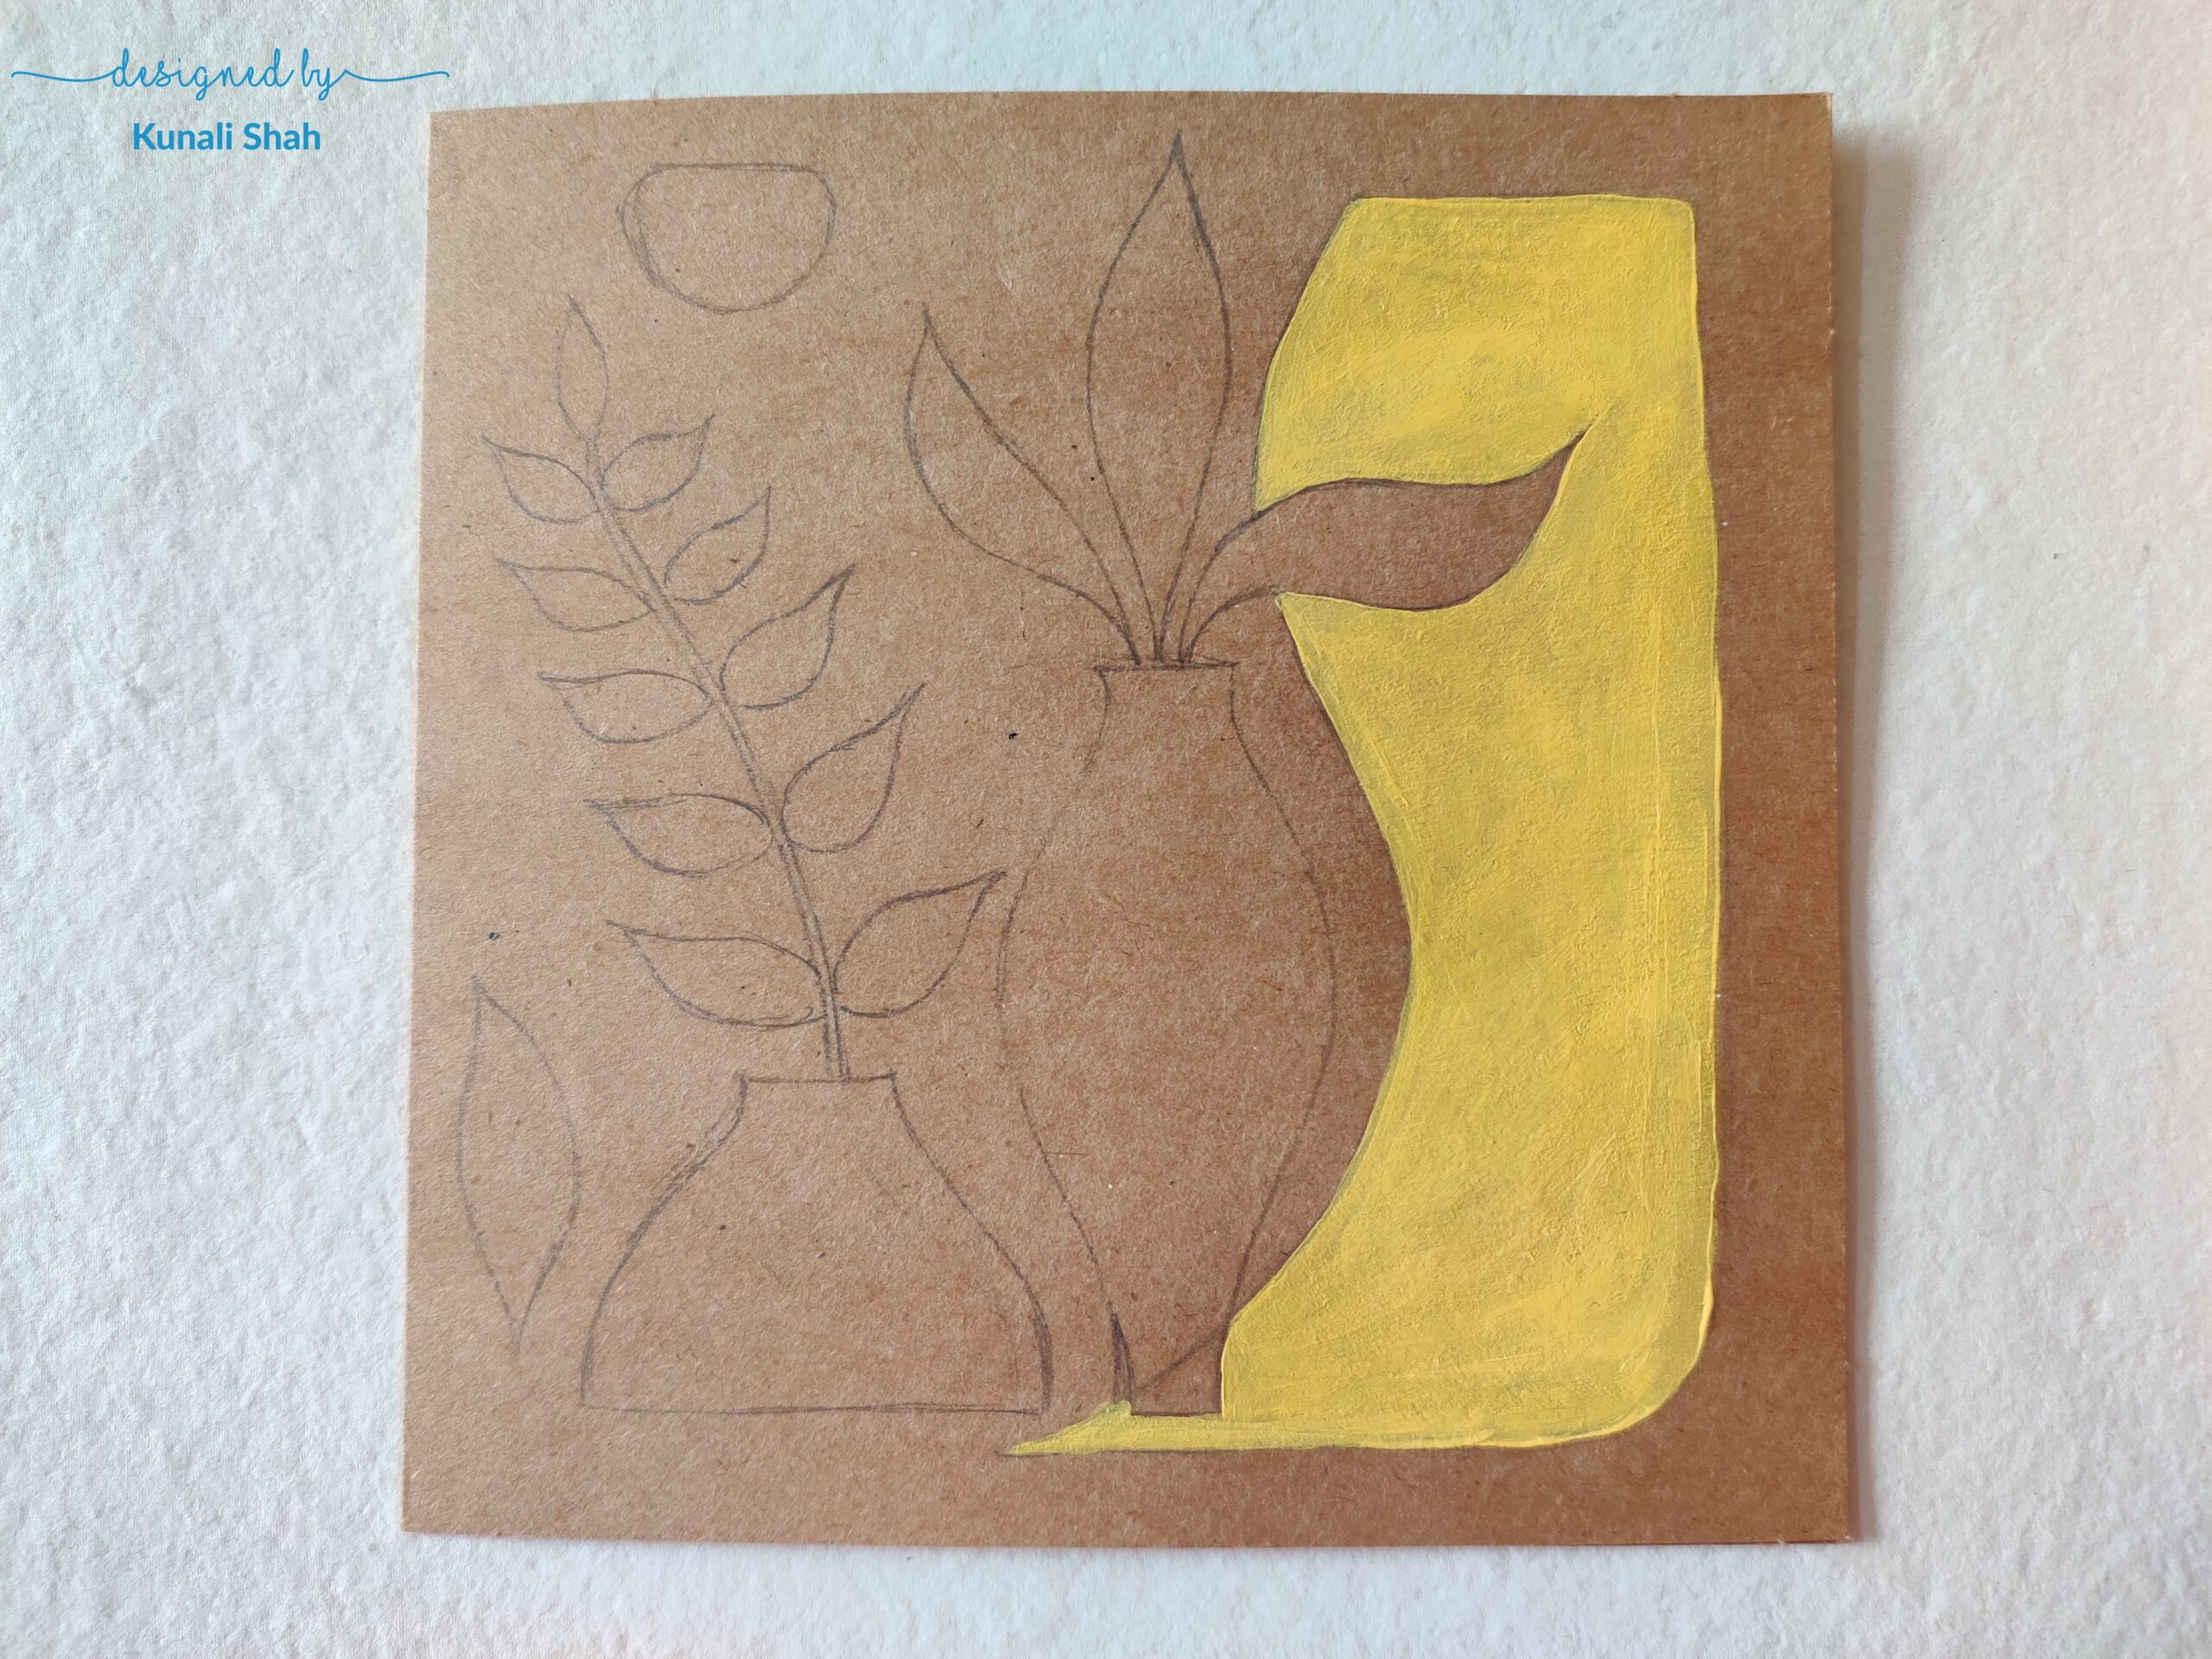
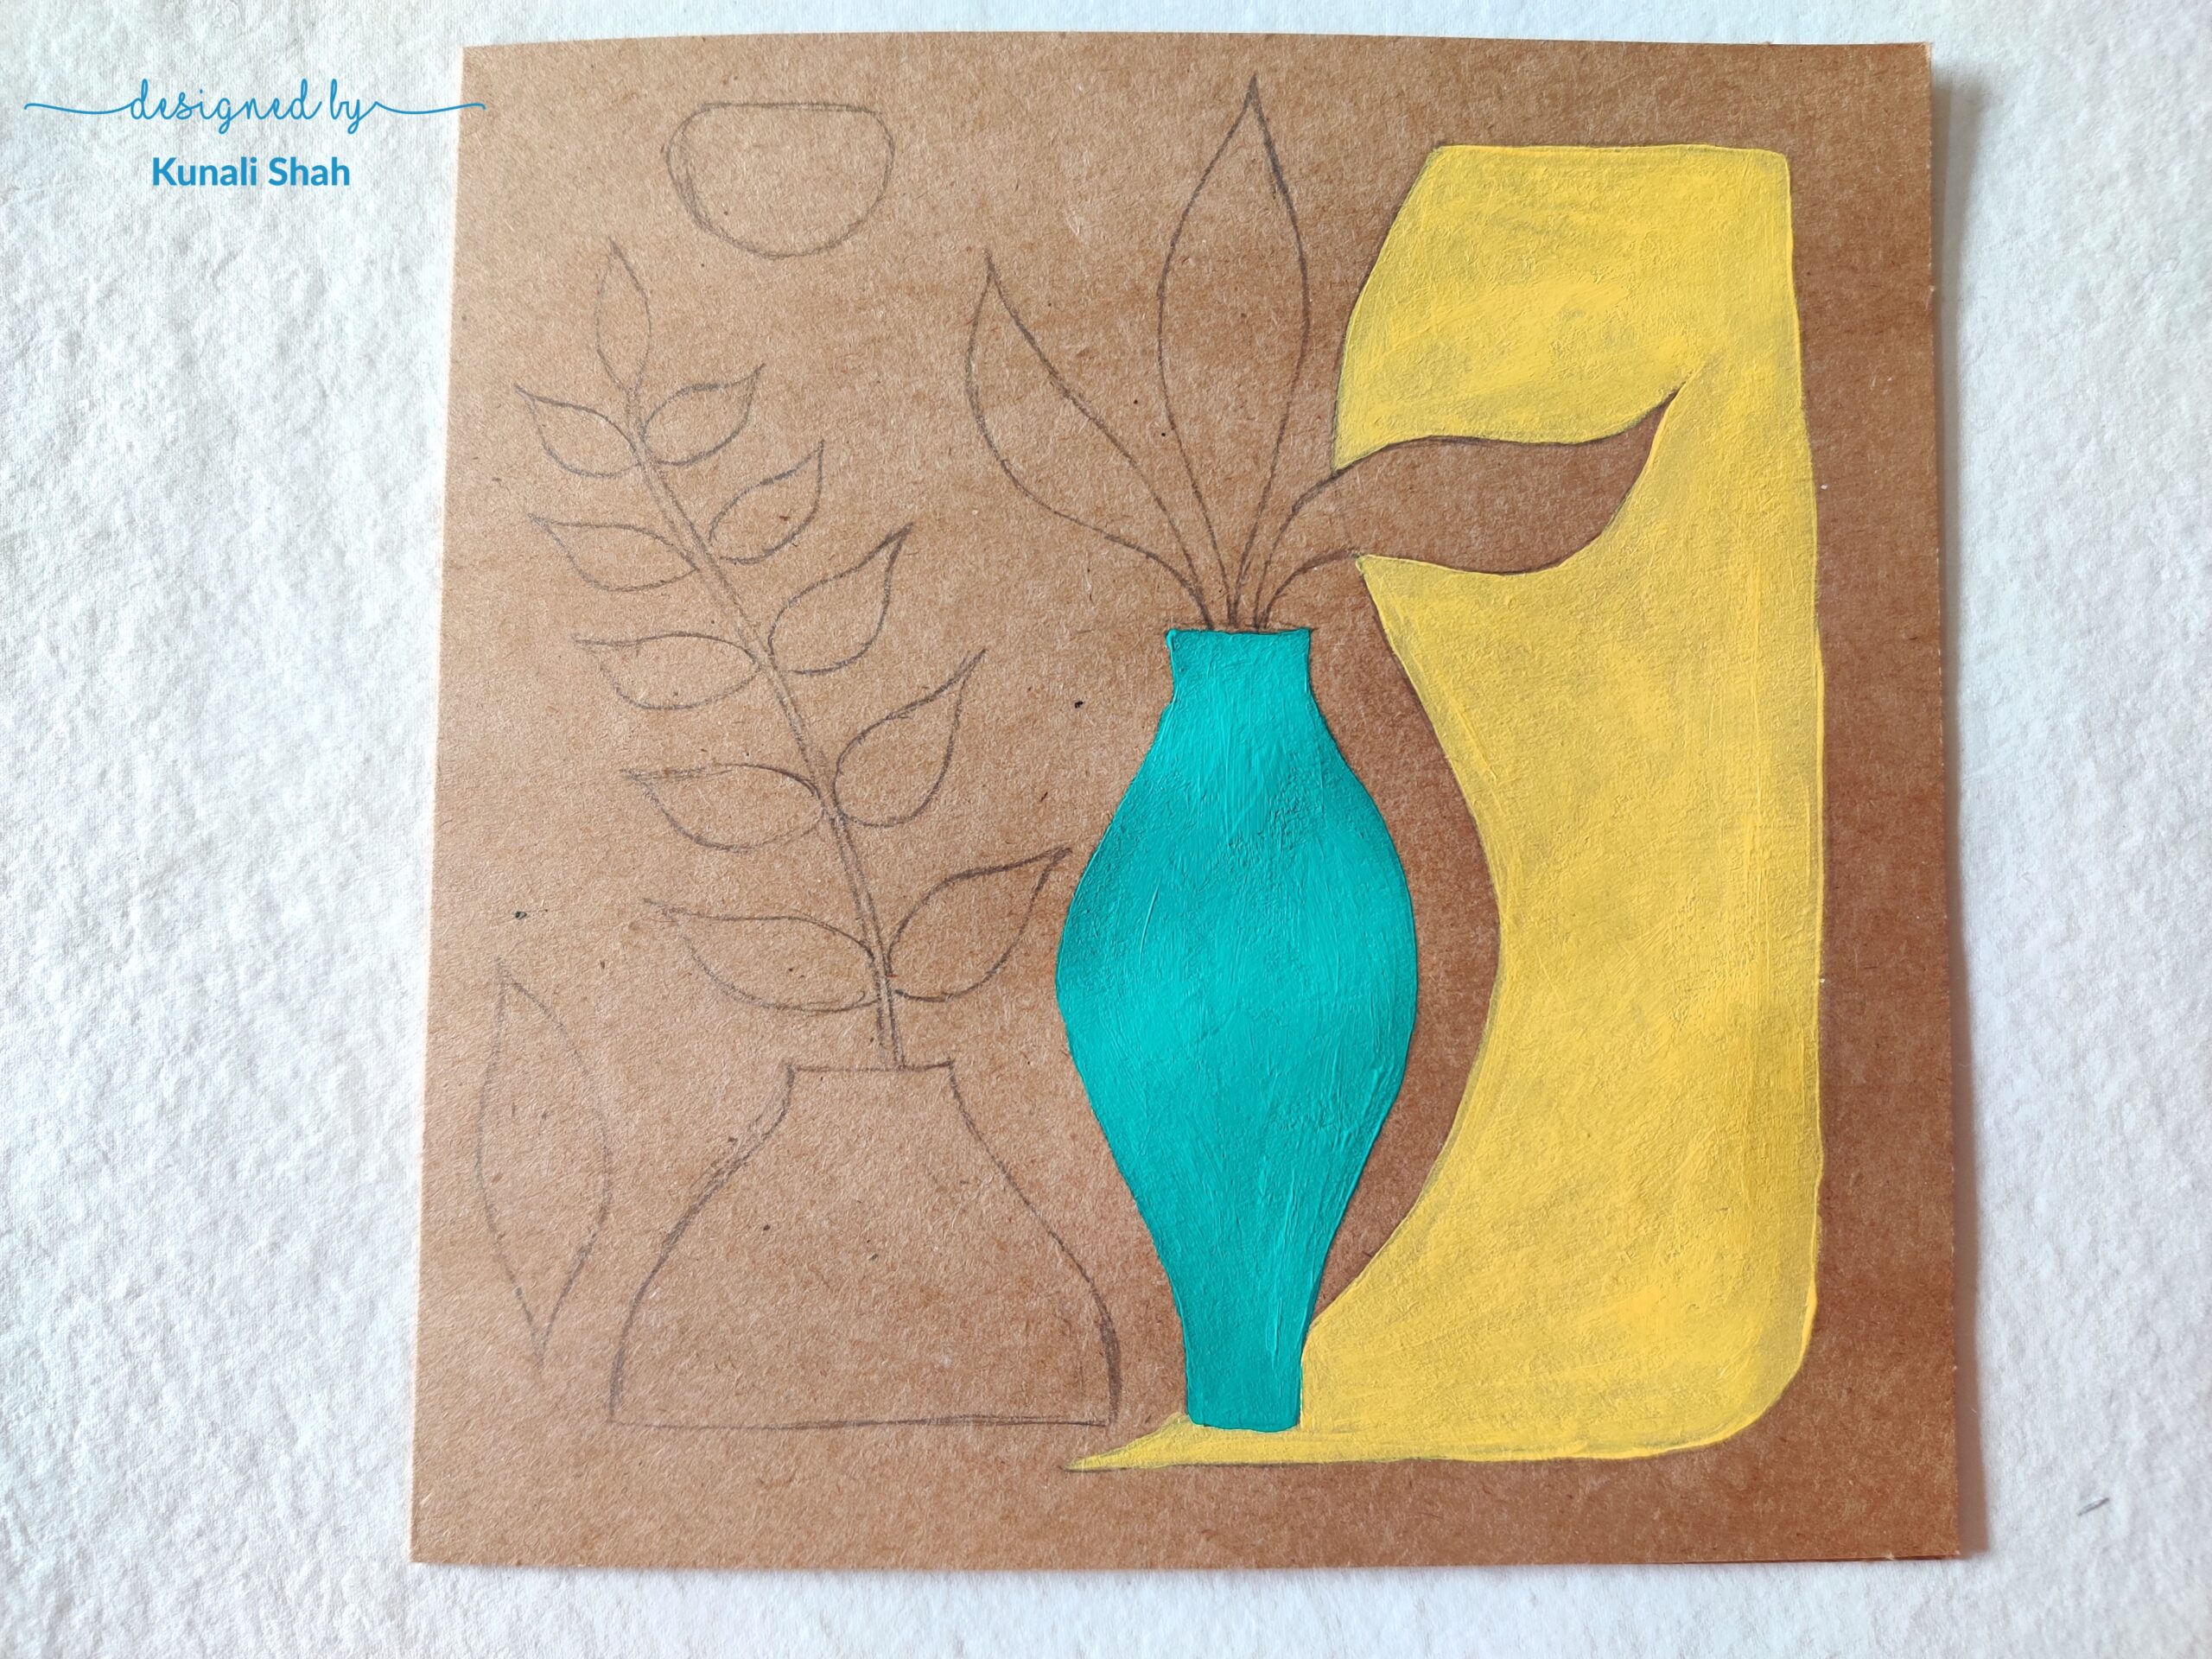
Now, once this is ready, we’ll start filling the shapes with simple acrylic colours. I’ve used the Monte Marte Signature Vivid Colour acrylic paint set. This set has 80 different shades and they’re all very beautiful. I’ve used the Monte Marte Gallery Series Brush set to fill in the colours.
One after the other, fill in different colours in different shapes. Since this is a darker background, you’ll have to apply the lighter colours a couple of times.
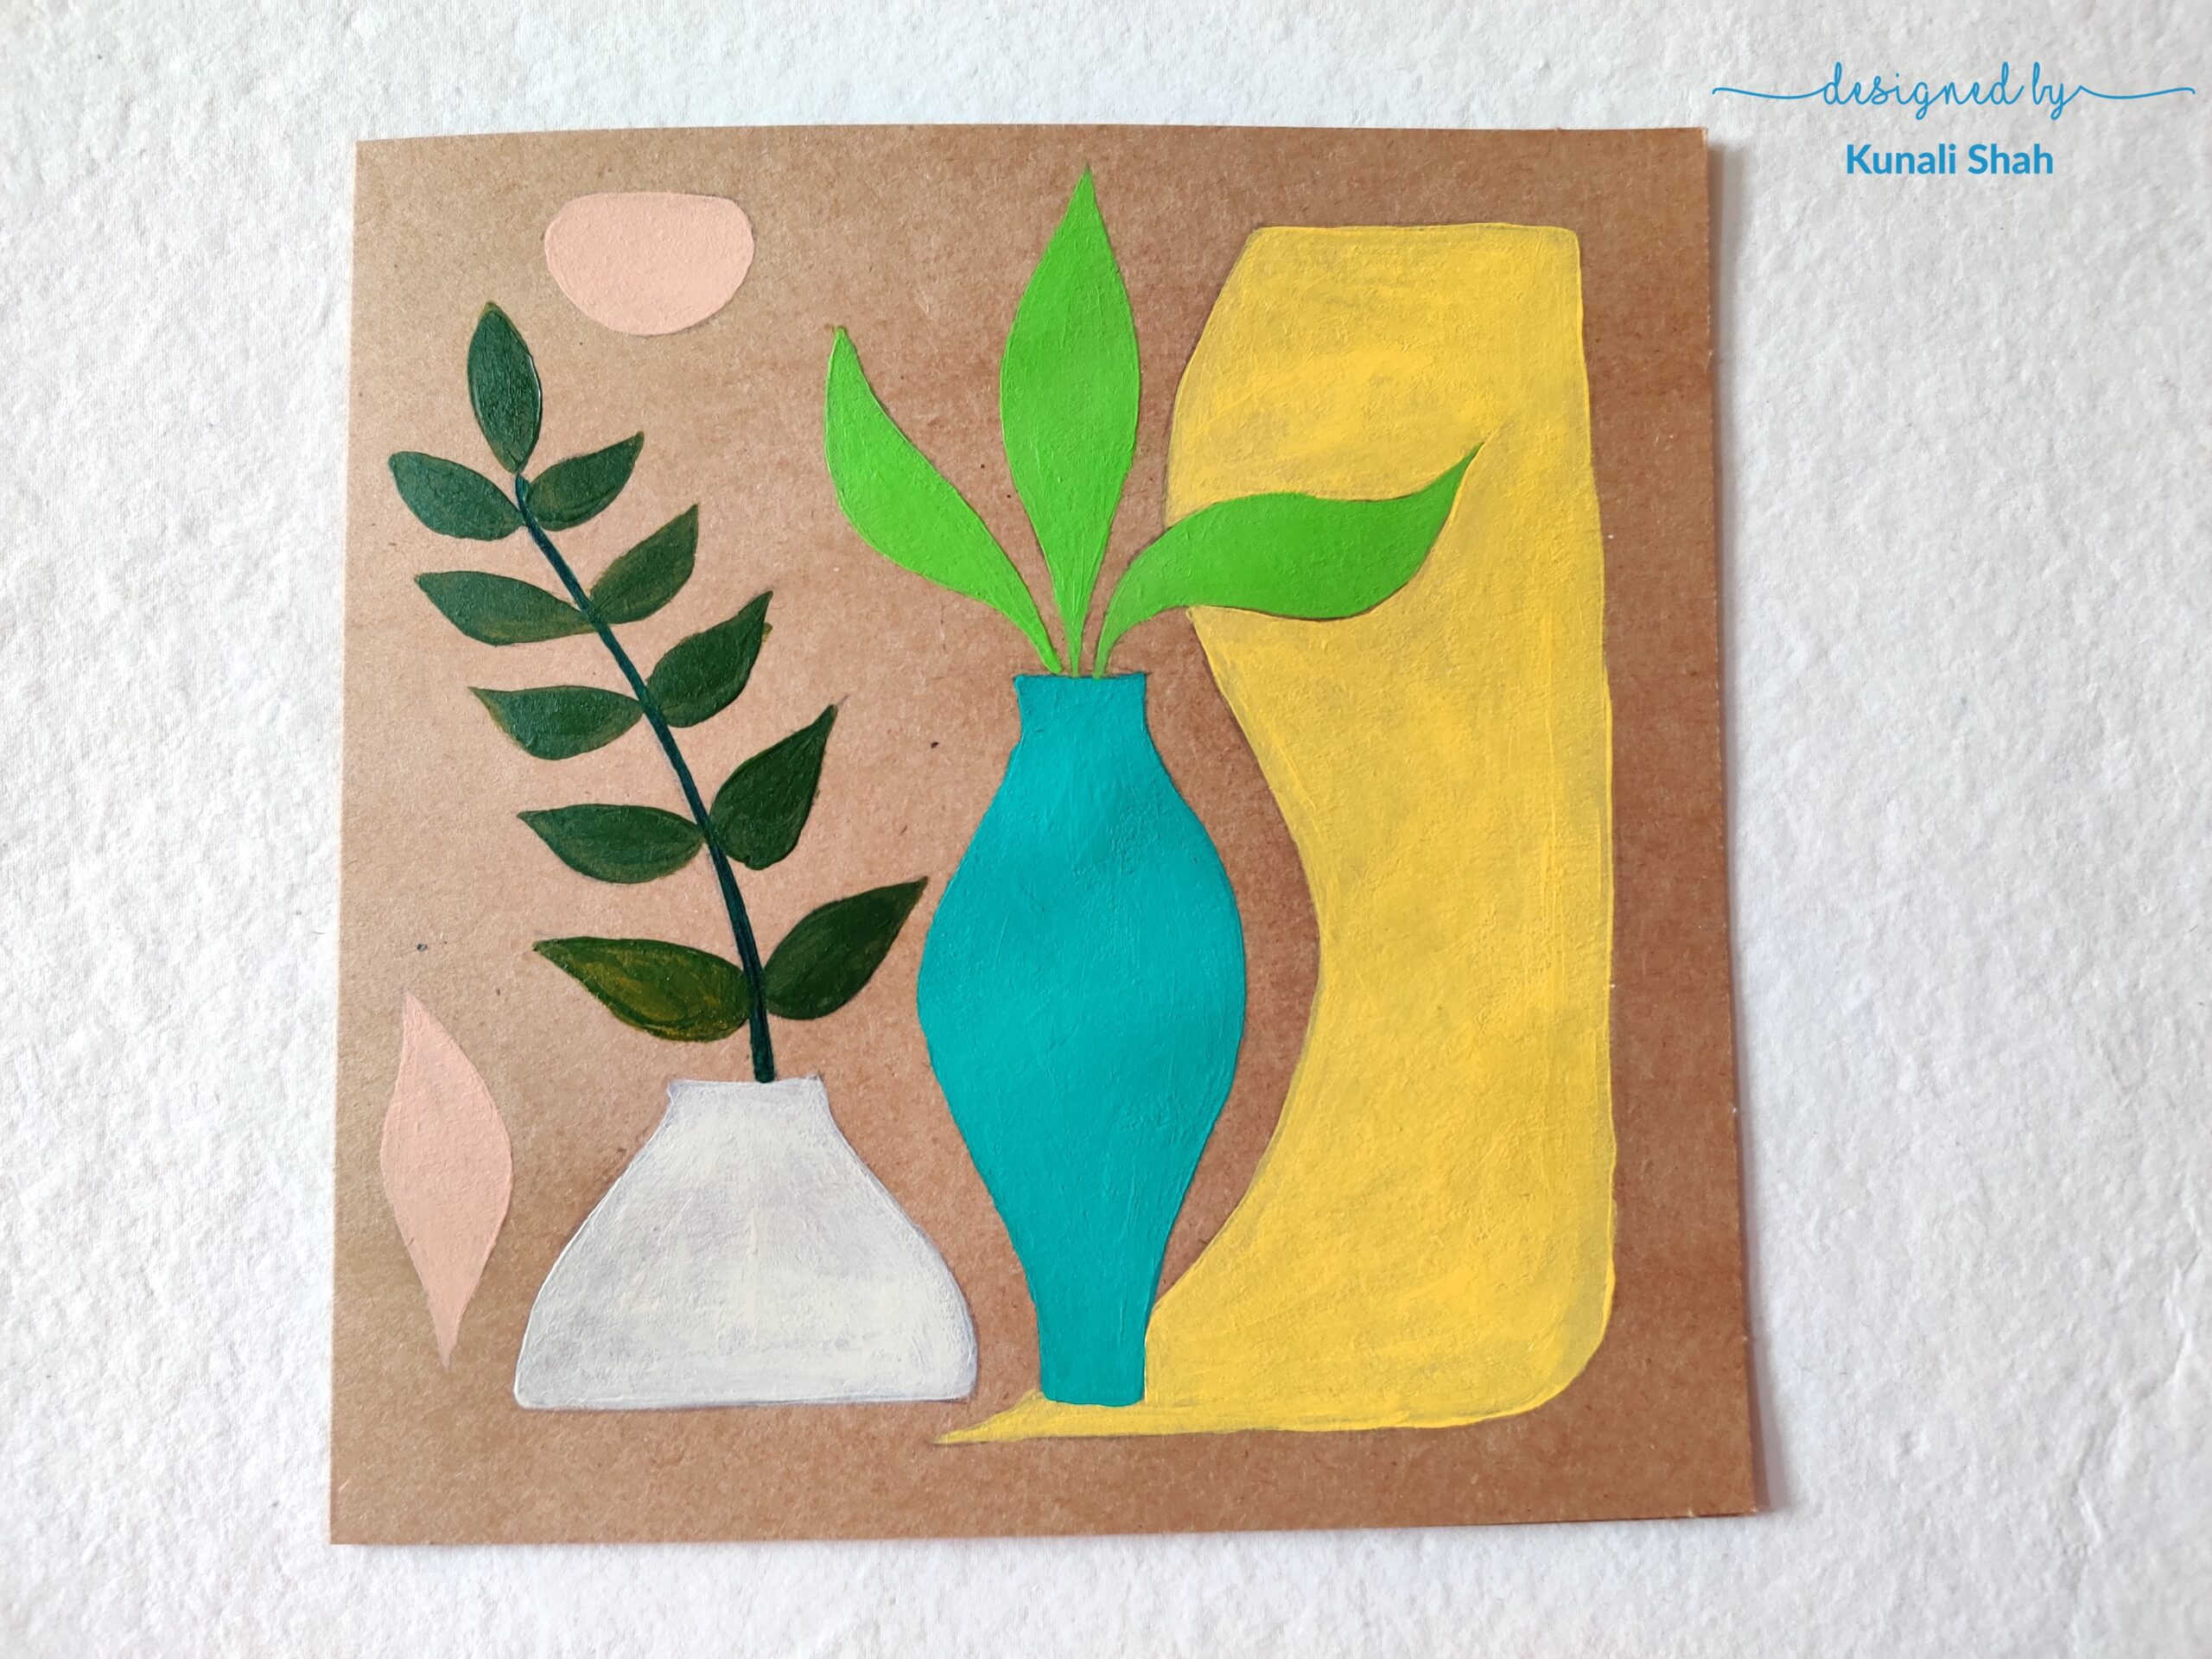
Allow the colours to dry. Keep the card aside and in the meanwhile, cut strips of paper from the Cream and Black card stock. I’ve used a cutter and scale to cut 2 mm wide strips.
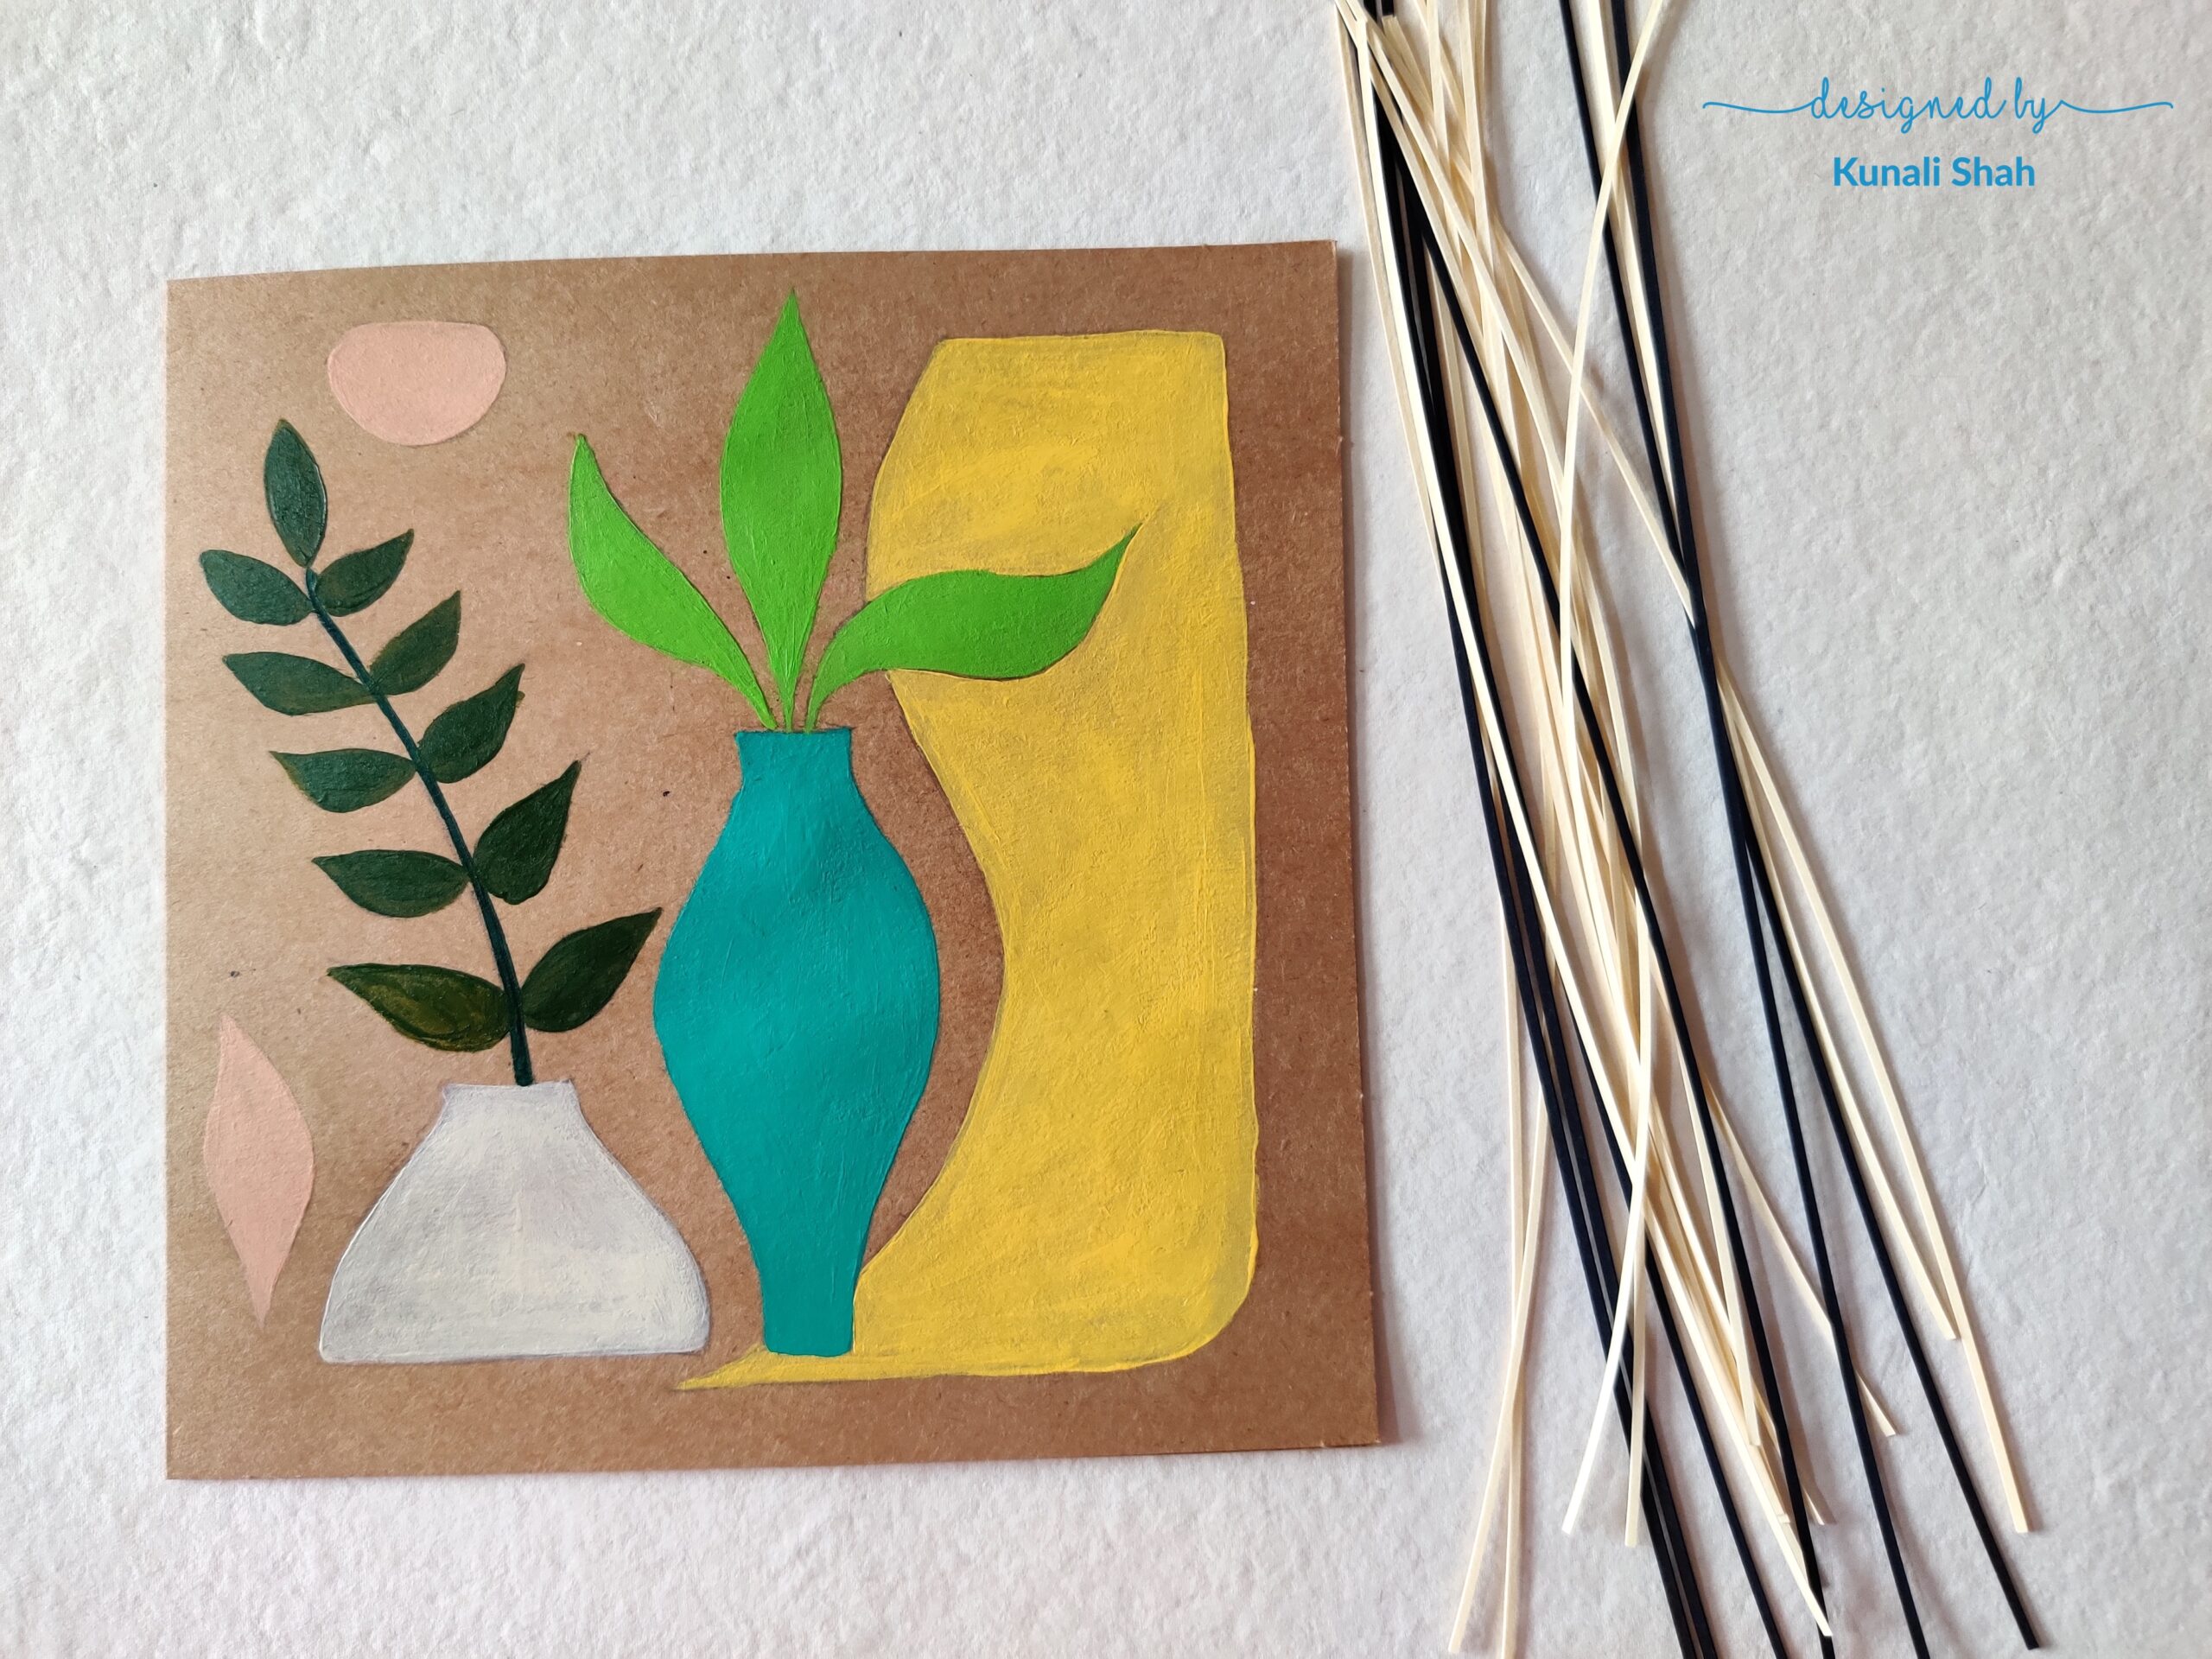
Now, we’ll shape the strips in the shape of the leaves. Keep the shapes vague. We don’t want exact shapes.
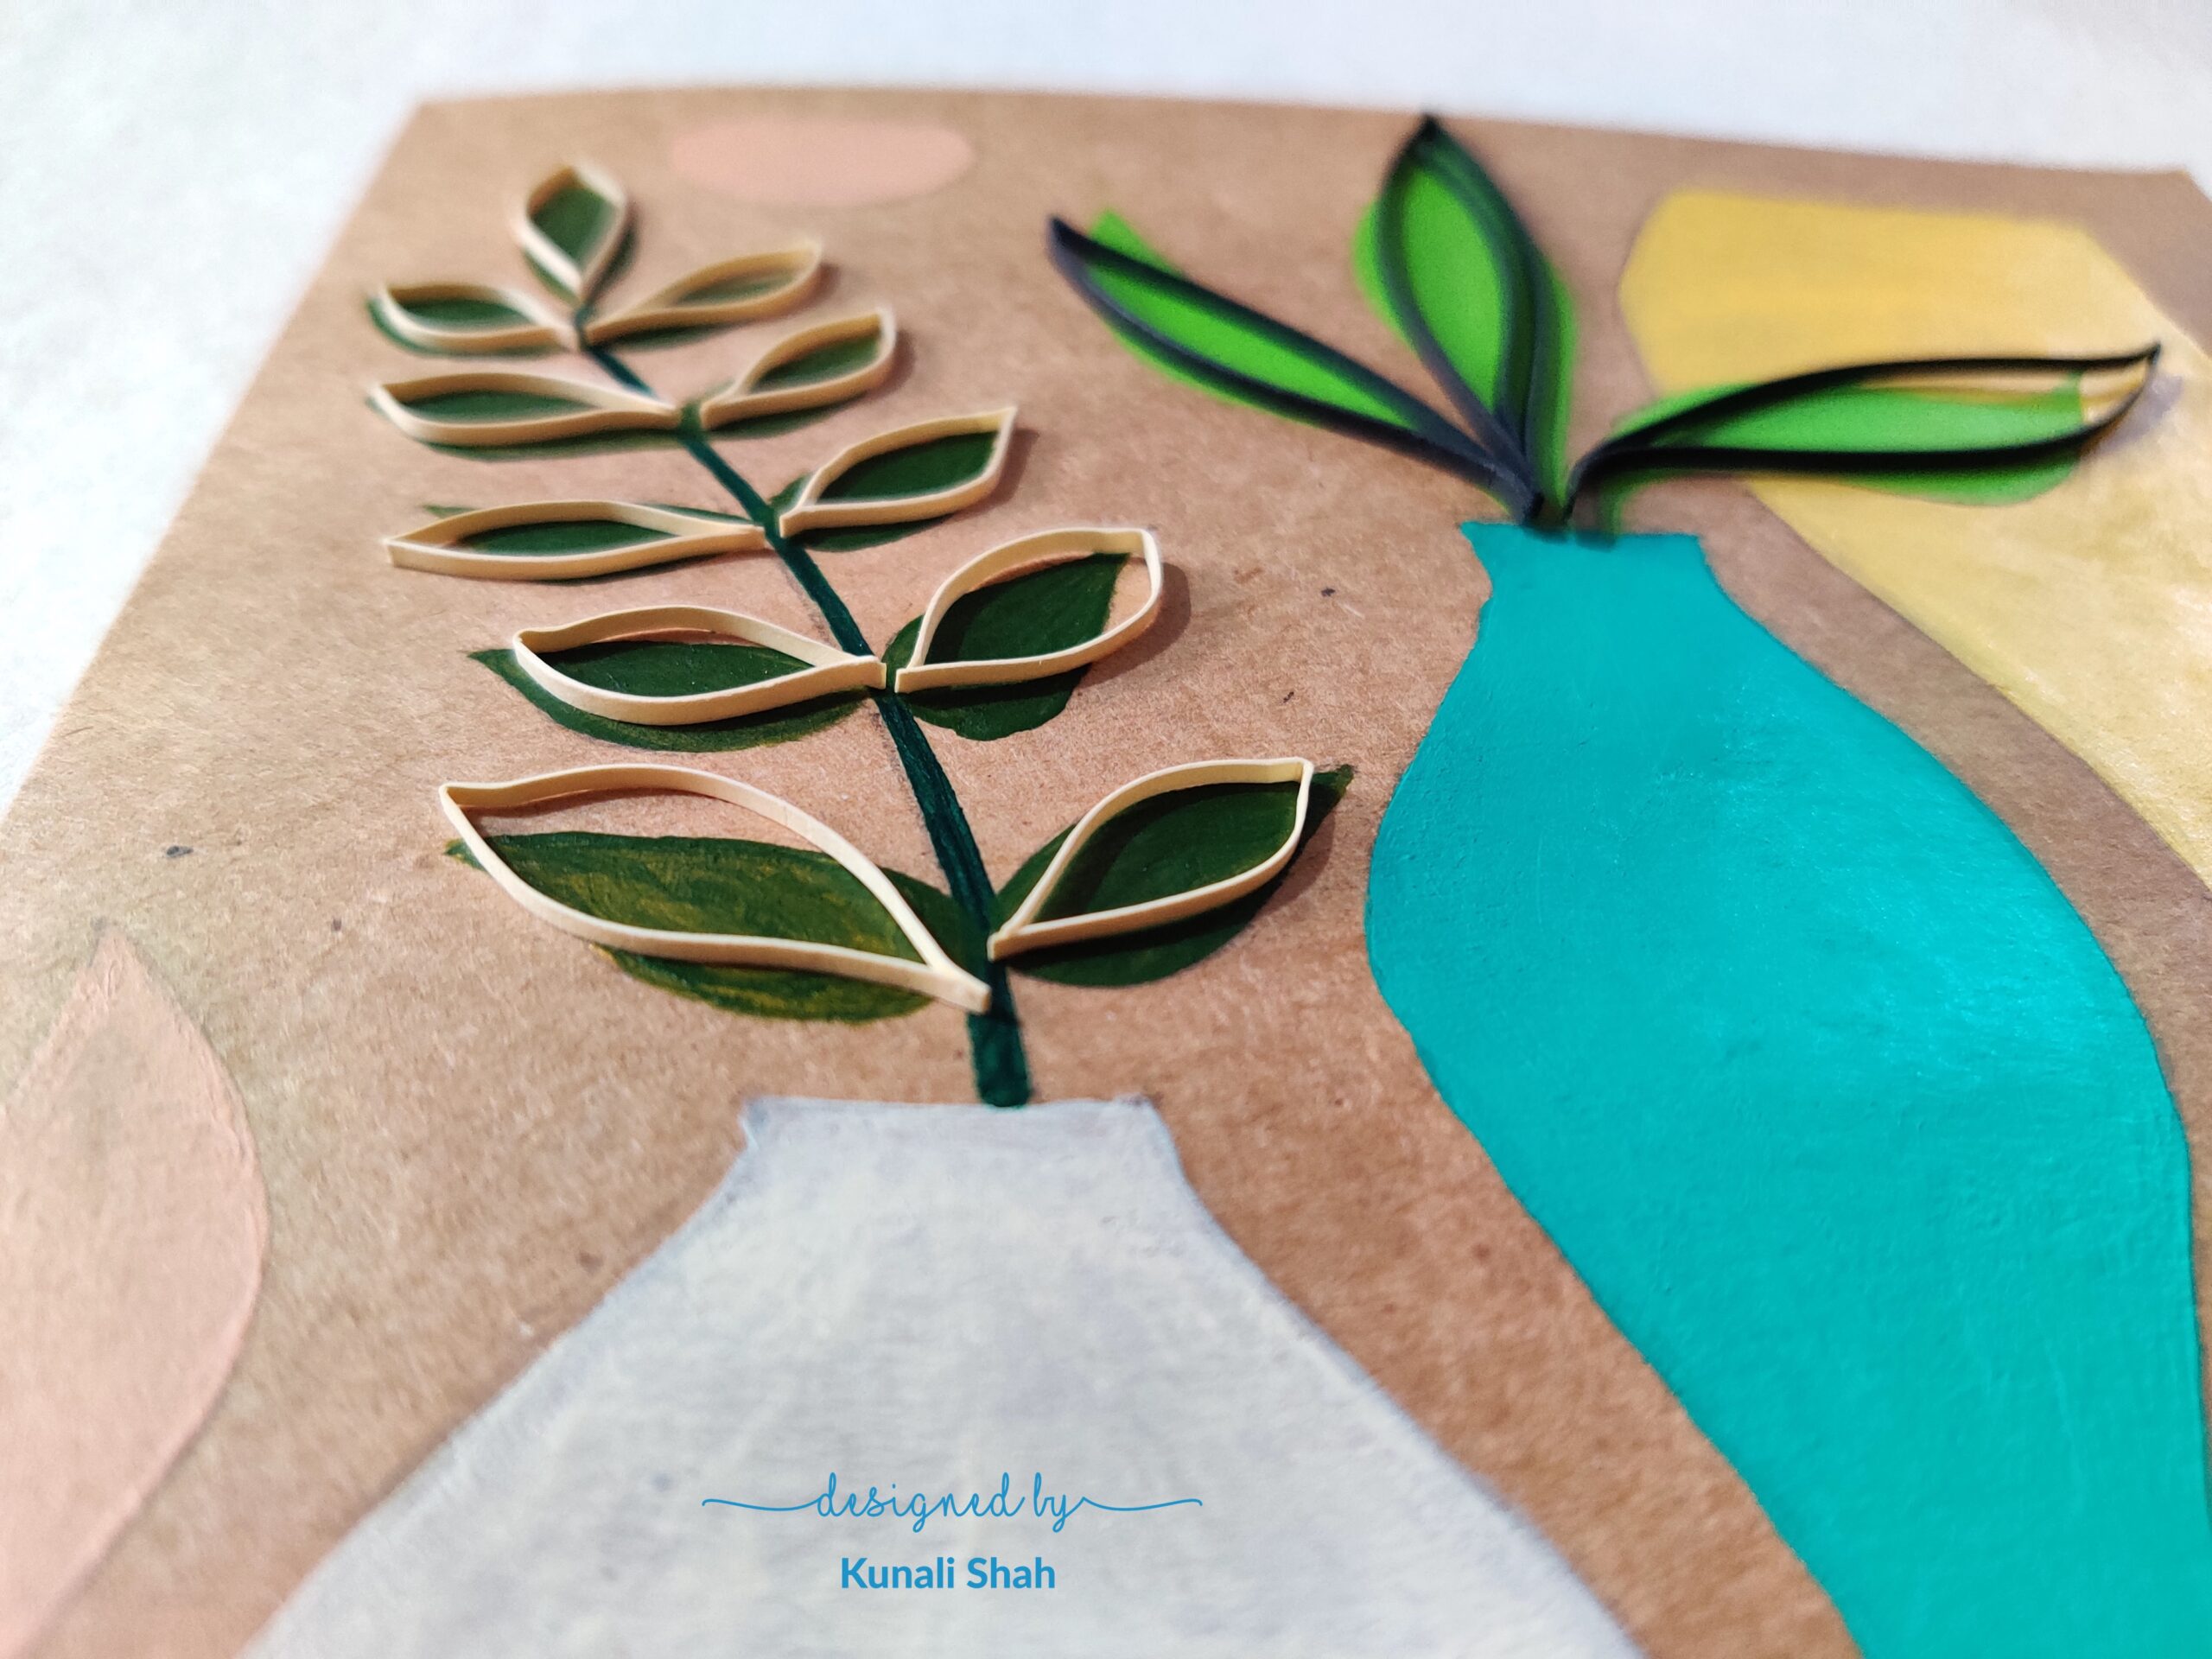
Once the shapes are ready, we’ll stick them to the card on top of our leaves. Spread some glue on a plastic lid, dip the shapes in the glue using a tweezer and stick them on the card as shown.
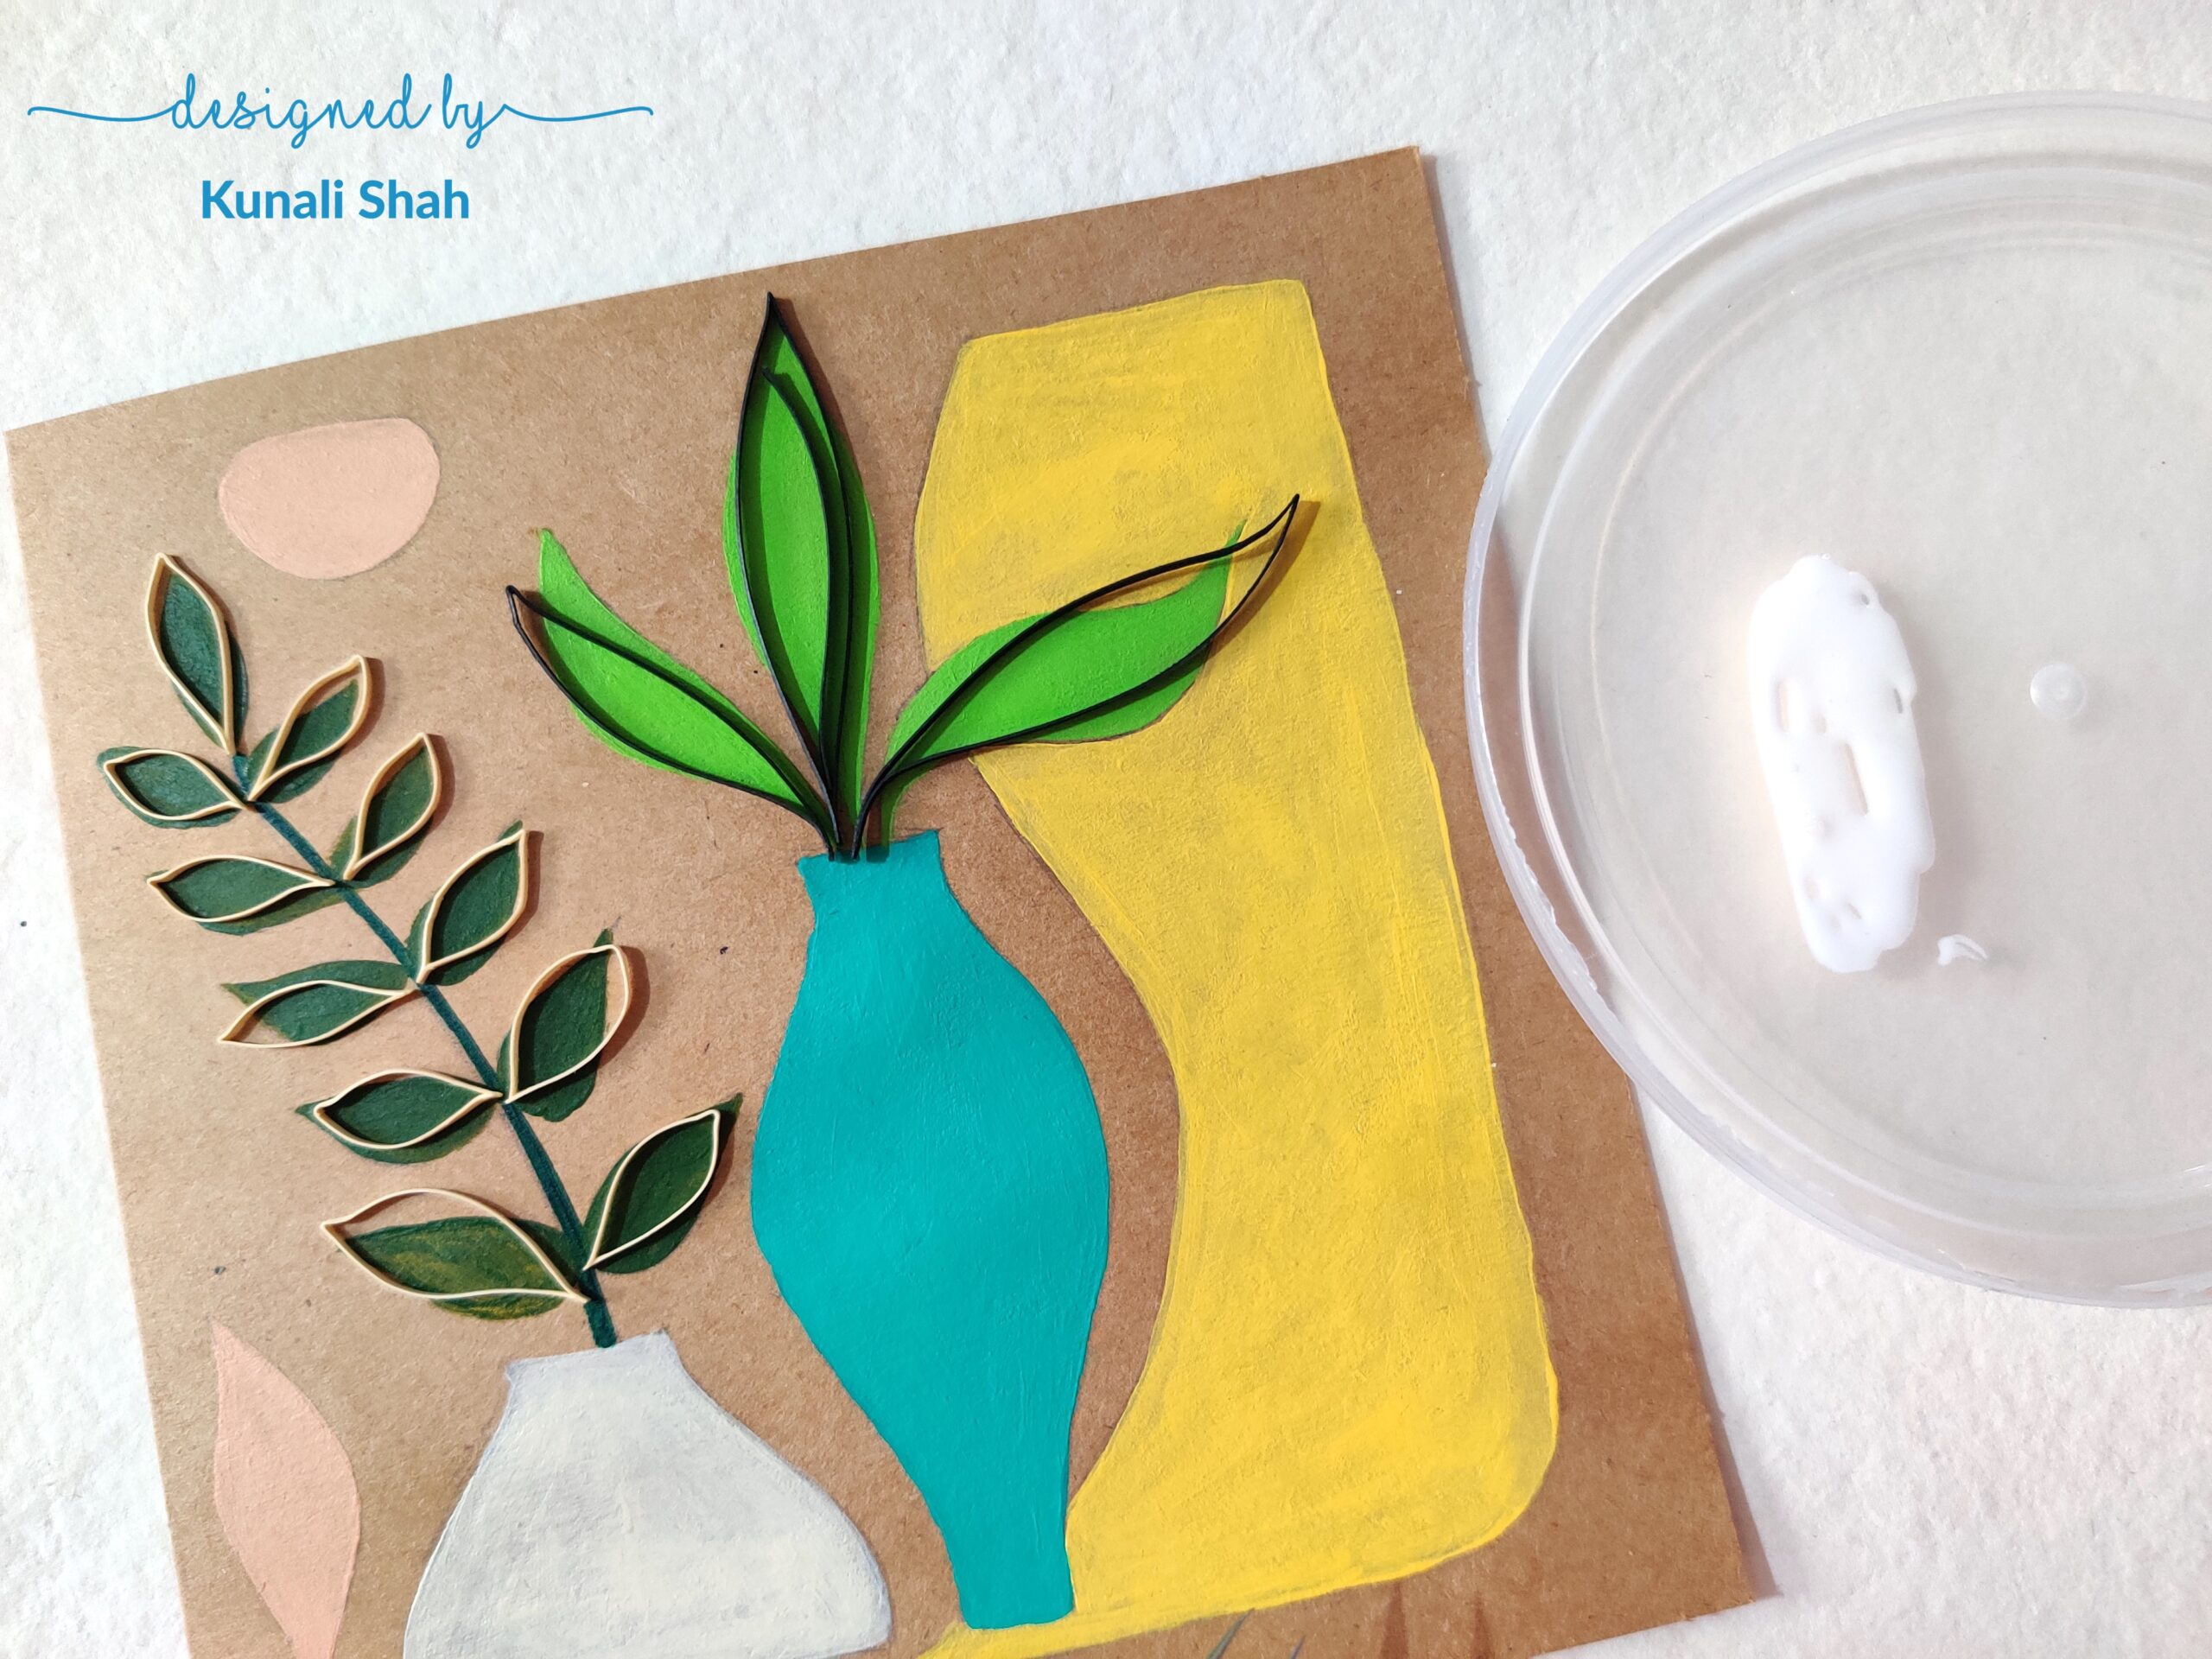
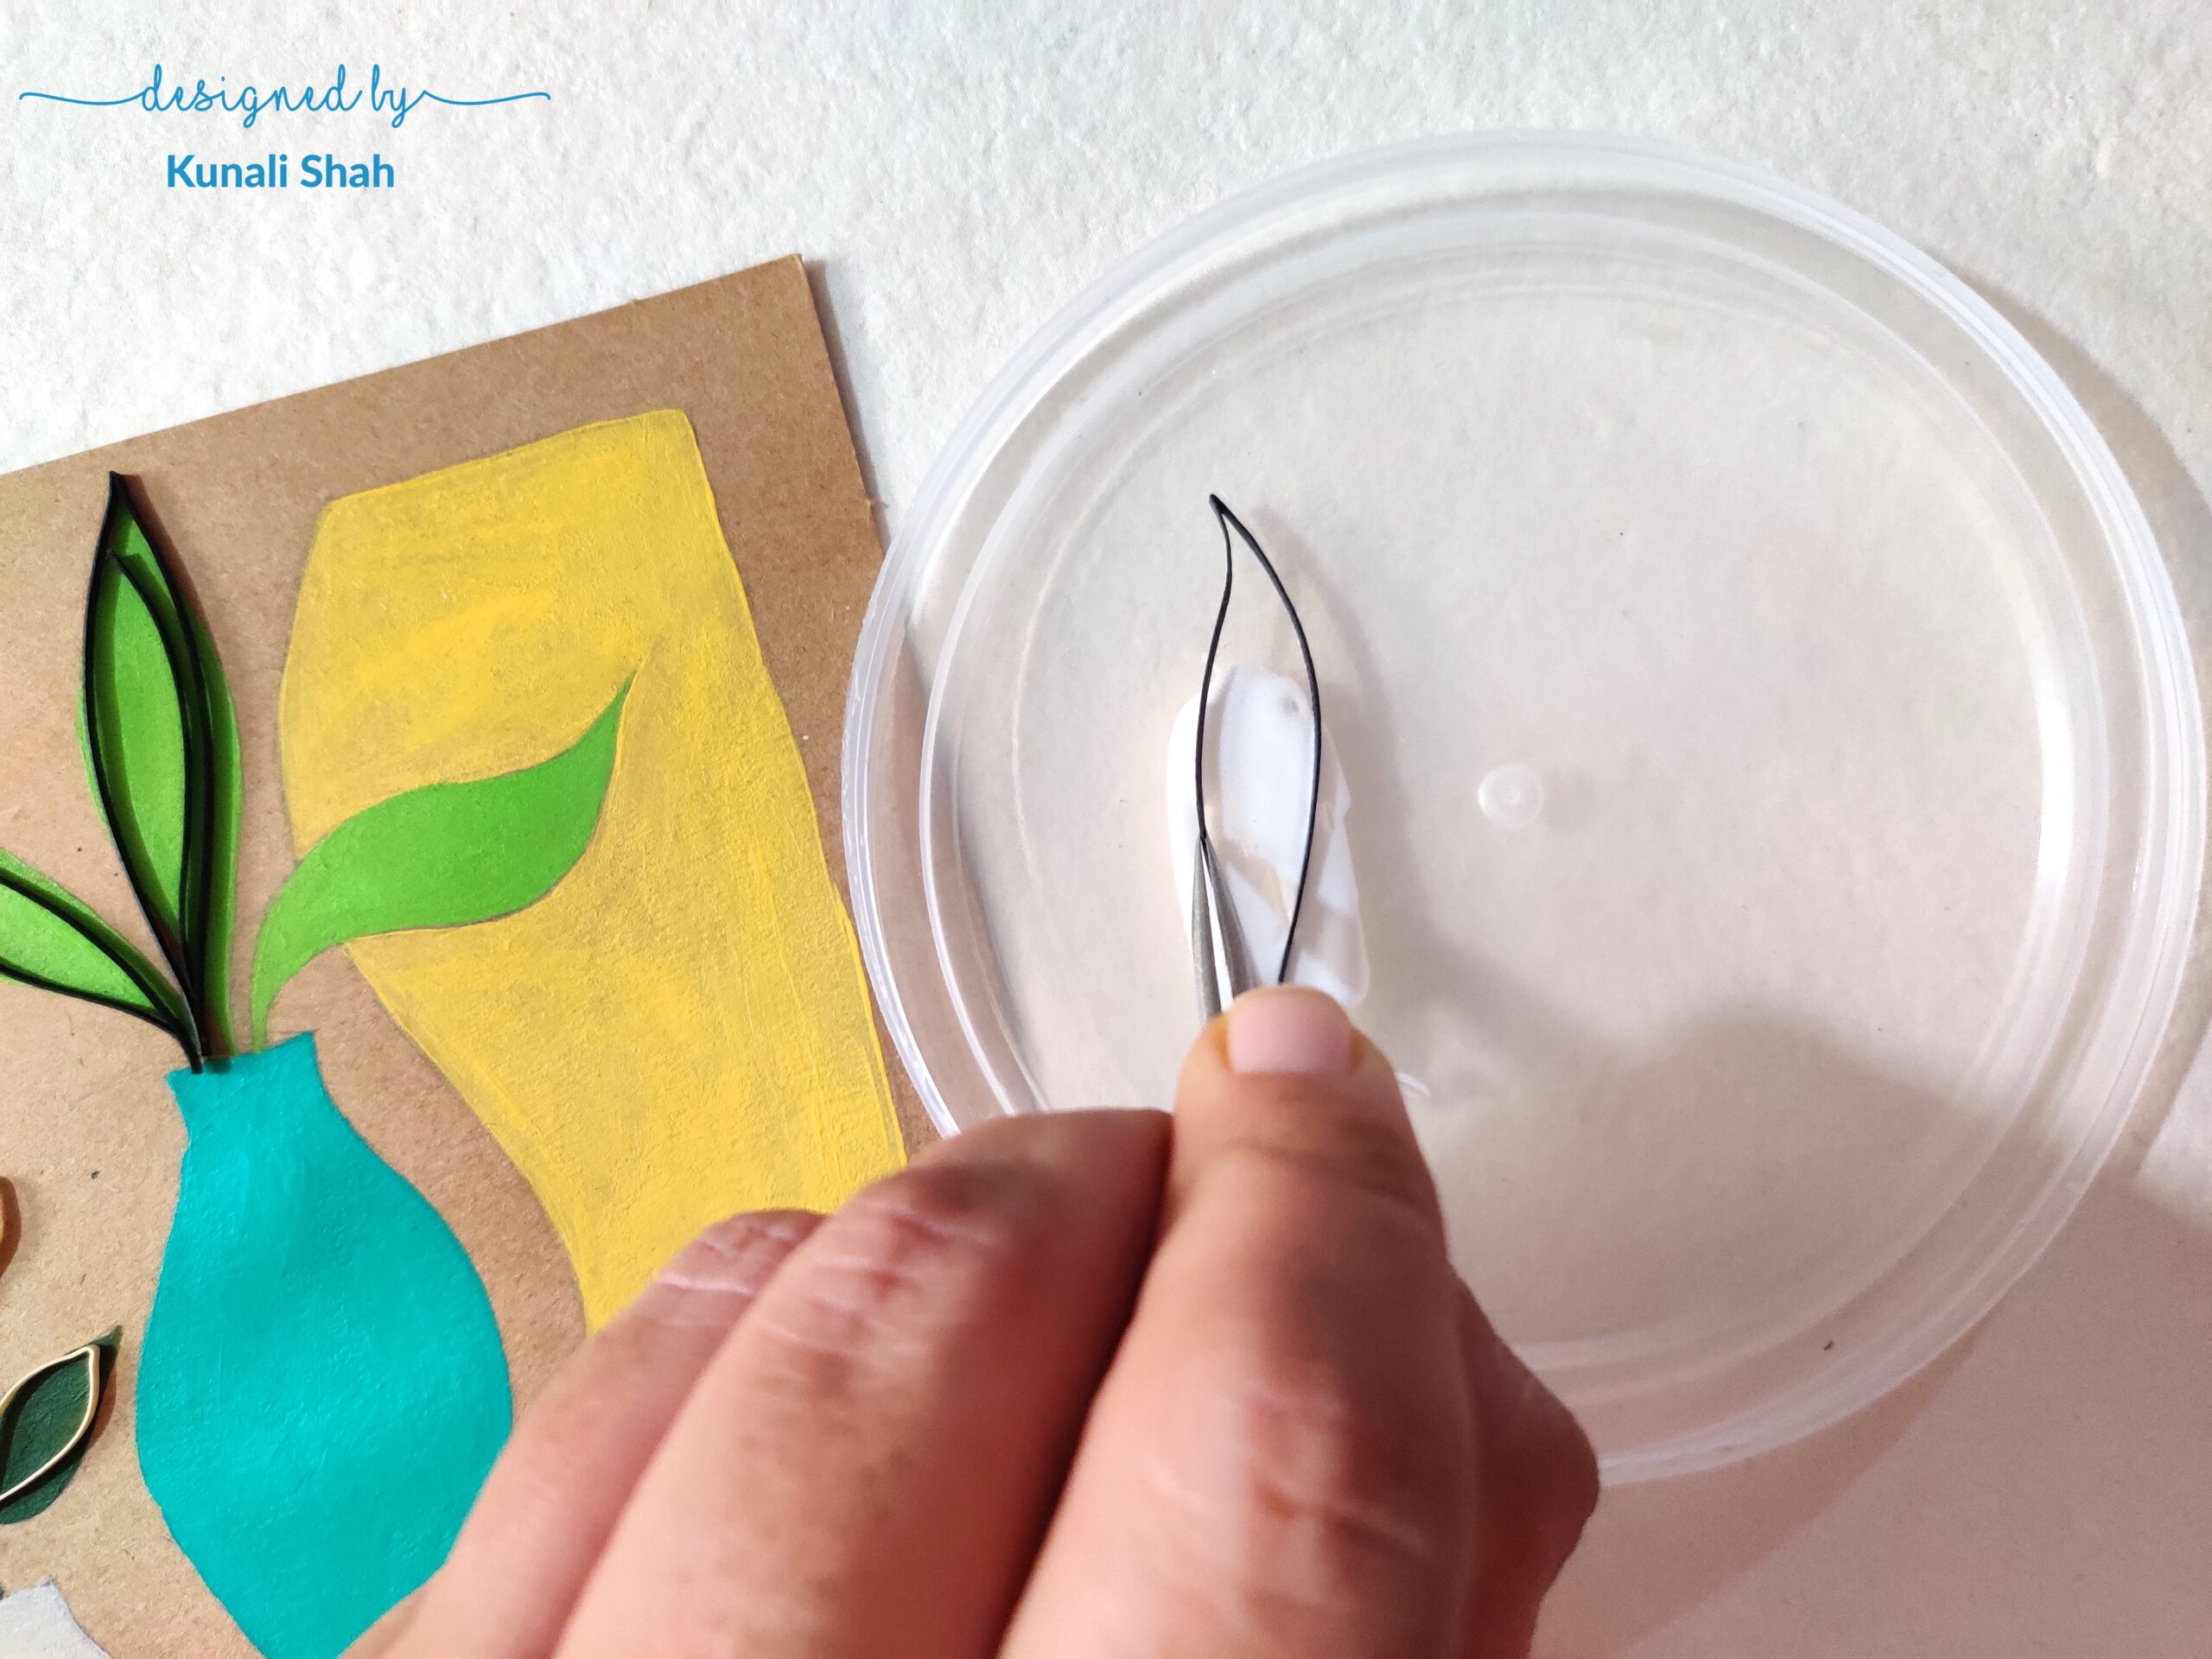
Press down so it sticks well to the card. Allow it to dry.
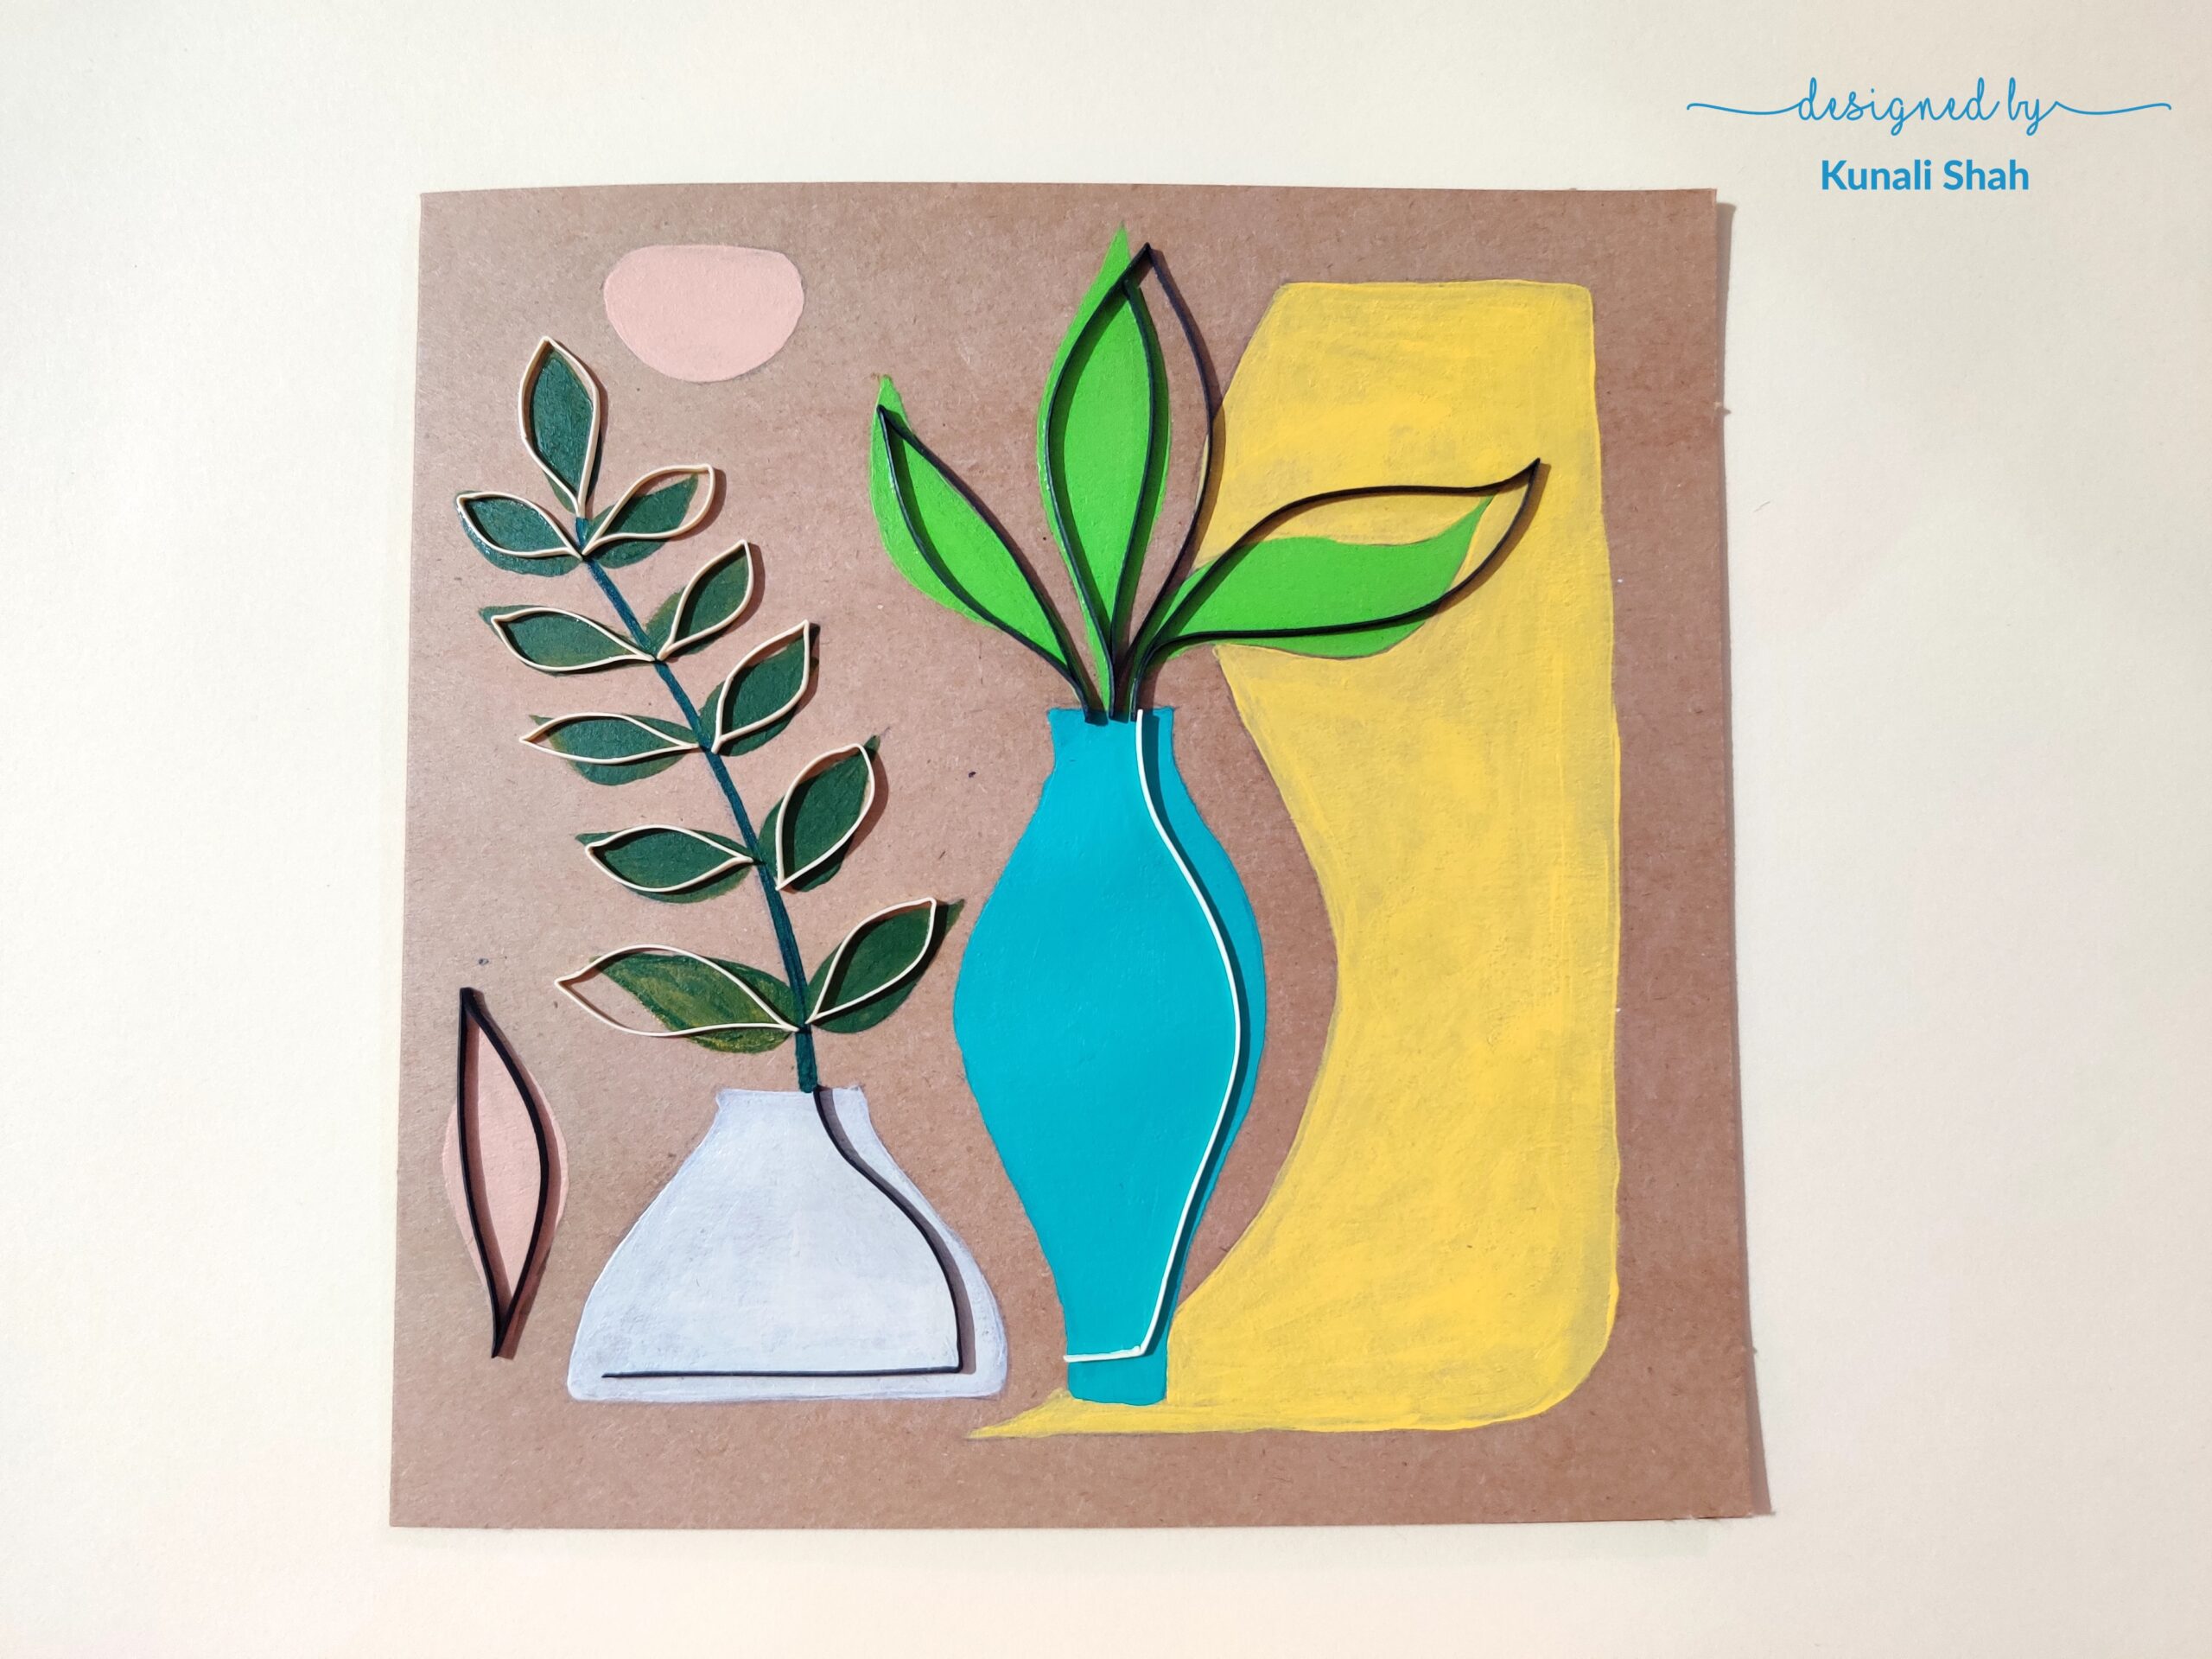
And voila, your beautiful and unique greeting card with line art is ready. Since the strips are cut from card stock and are fairly thin, there is less chance of them getting squished.
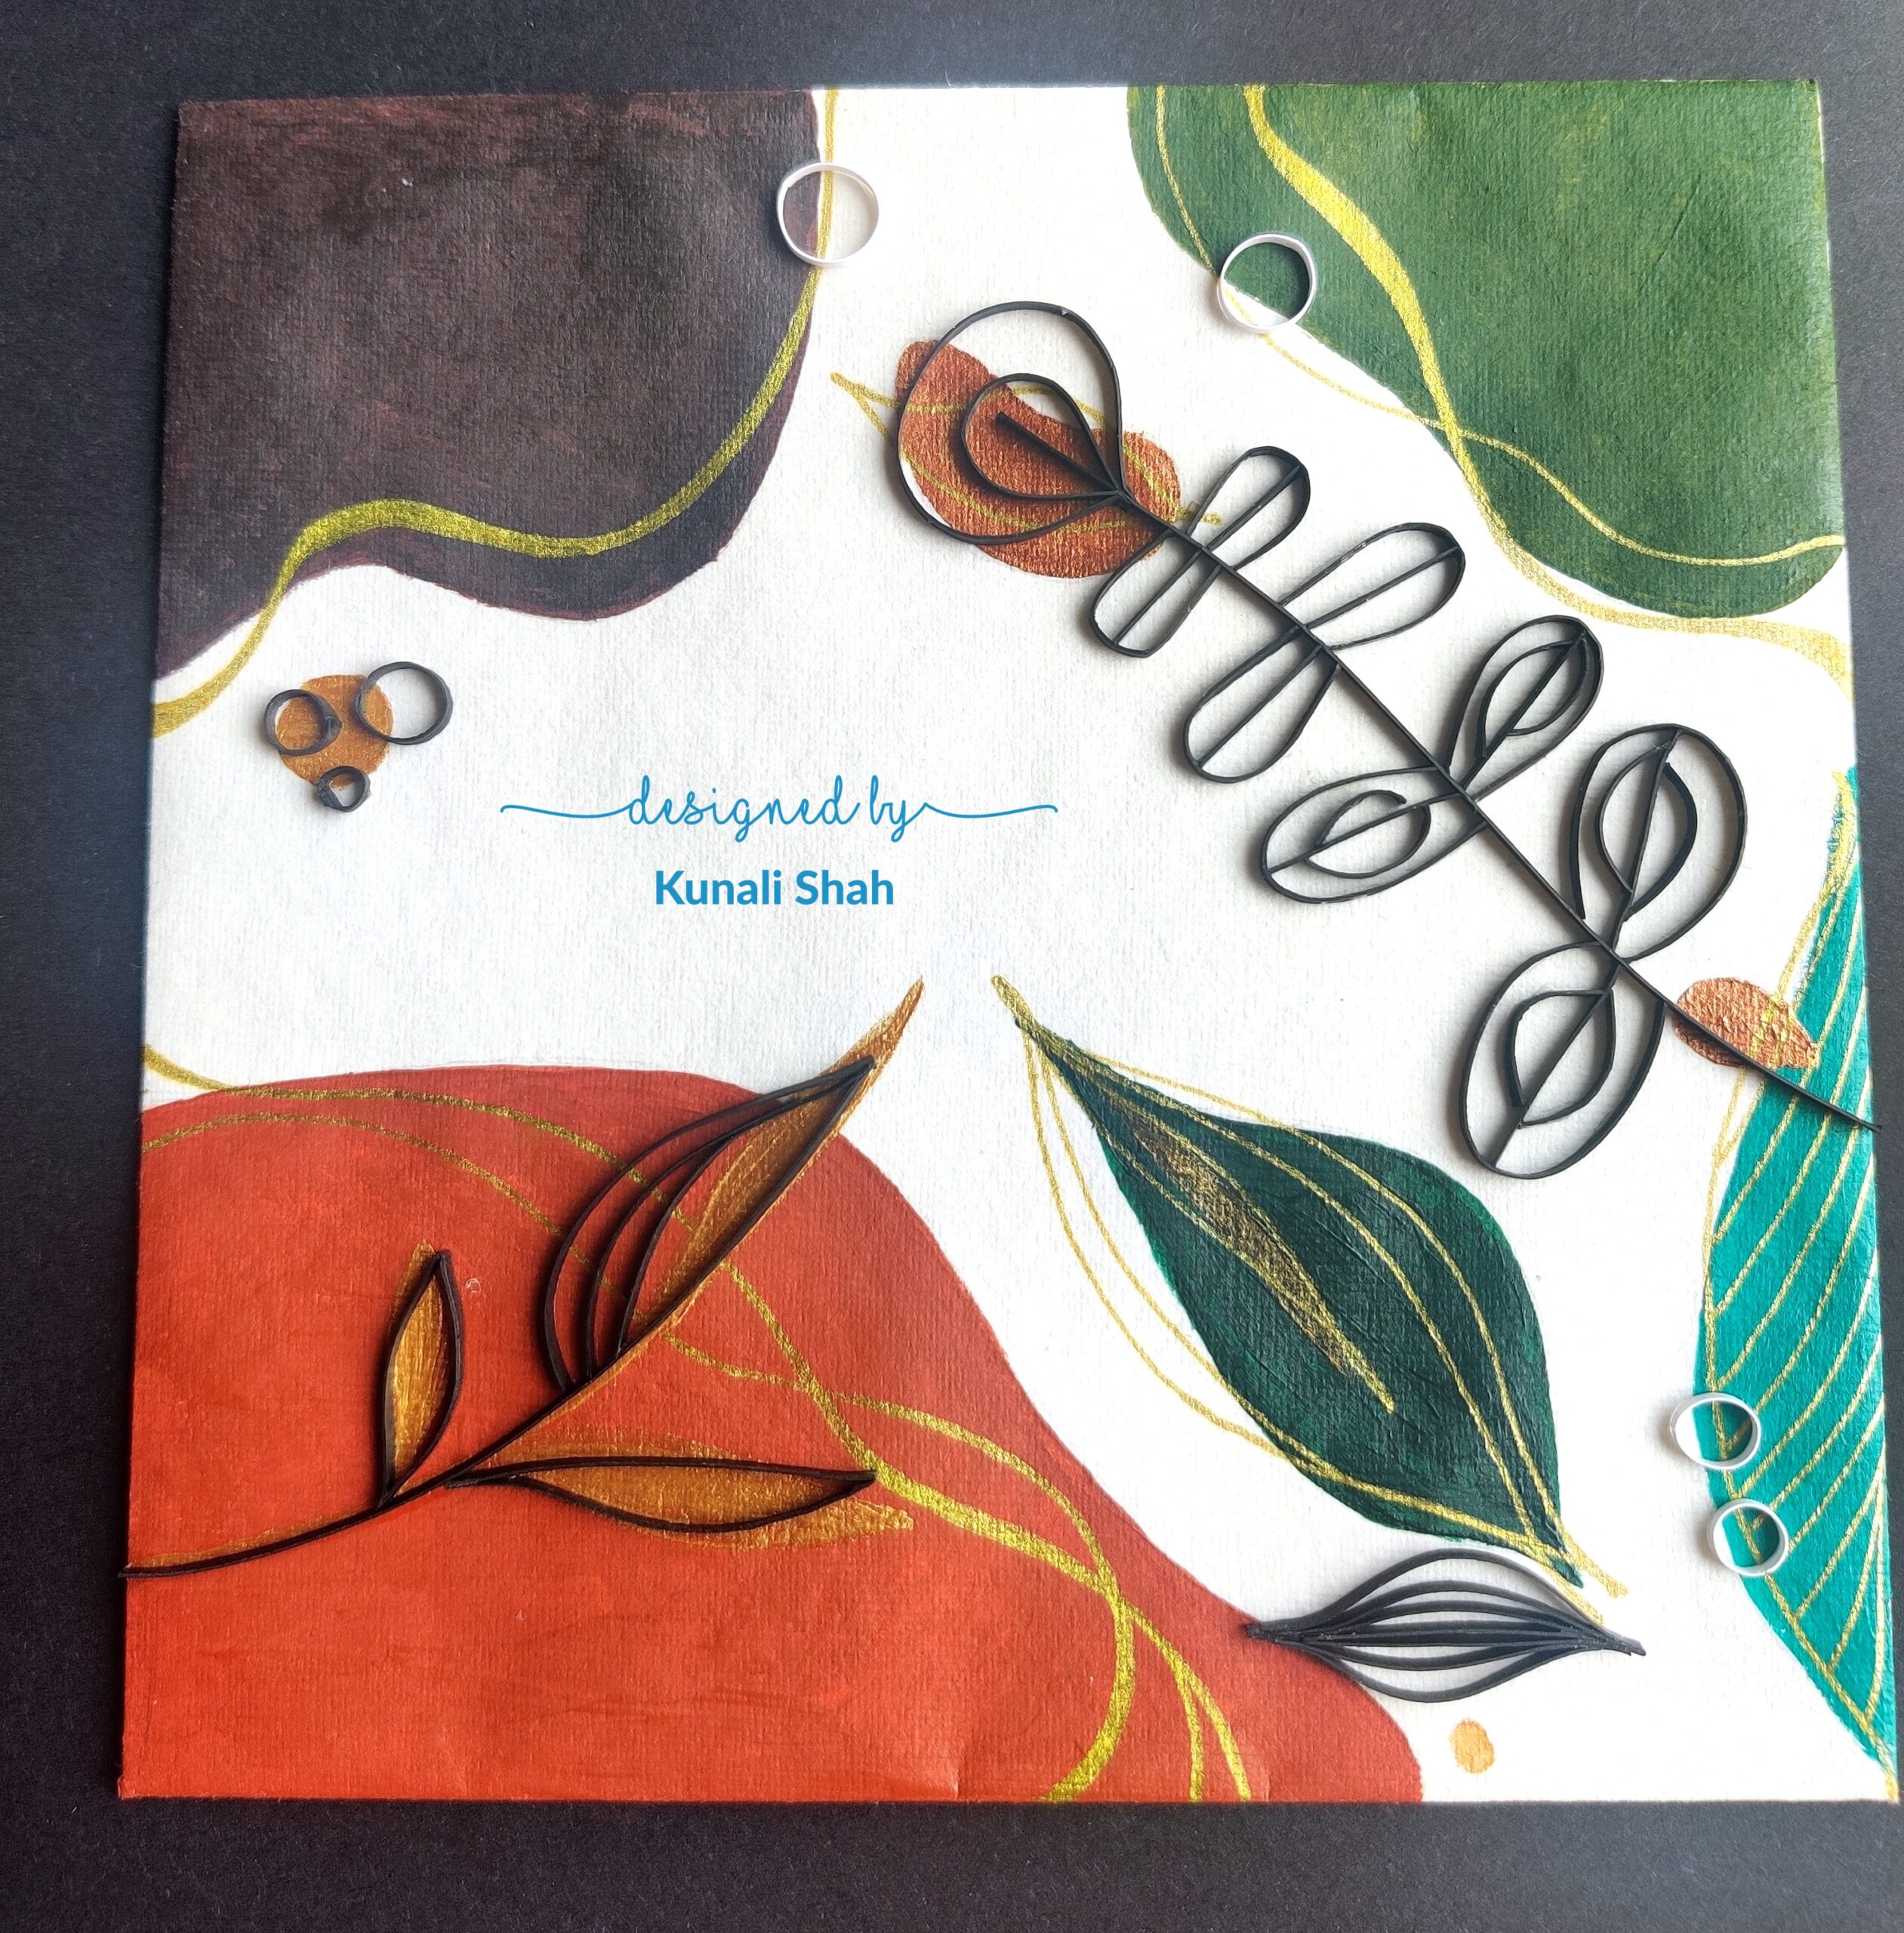
Here is another idea I did. I’ve used another style and different colours for this. I’ve also used Monte Marte Acrylic gold for added glam.
I hope you liked this tutorial and will definitely give this idea a try. Do share your projects with Itsy Bitsy and me. Let me know if you liked this idea.
The list of all the products i’ve used are mentioned below along with the links.
Mont Marte Gallery Series Brush Set Acrylic- 4pc, Set 1
https://itsybitsy.in/collections/all/products/mont-marte-gallery-series-brush-set-acrylic-4pc-set-1
Mont Marte Signature Vivid Colours Acrylic Paint Set, 80Pc
Little Birdie 5 Cards and 5 Envelopes – Kraft
https://itsybitsy.in/collections/all/products/5-cards-and-5-envelopes-kraft
Little Birdie Card Stock – Cream, 31inch X 21inch, 220gsm
https://itsybitsy.in/collections/all/products/little-birdie-card-stock-cream-31inch-x-21inch-220gsm
Little Birdie Card Stock – Black, 31inch X 21inch, 220gsm
https://itsybitsy.in/collections/all/products/little-birdie-card-stock-black-31inch-x-21inch-220gsm
Little Birdie Extra PVA Glue – 250 G
https://itsybitsy.in/collections/all/products/extra-pva-glue-250-g
Cutting Mat and Cutter Set – A4 Size
https://itsybitsy.in/collections/all/products/cutting-mat-and-cutter-set
Ultimate Tweezer Set – 4 Pc
https://itsybitsy.in/collections/all/products/ultimate-tweezer-set-4pc