Hello creative friends!
It’s Priyanka Shashi, back on the blog. The festive season is almost here and have you ever thought what if you could make your own shaded ombré candles? Candle making is not that difficult as it may look. So here I have today an easy tutorial for you showing simple steps of making ombré candles in two complimenting colours.

So adorable…isn’t it? Without delay let’s start the process of making these beautiful candles. I am making two jar candles together, you can make a single or bulk jars together. The materials you’ll need to make these ombré candles include glass jars, wax, candle dyes, fragrance, and wick. You’ll also need a double boiler and a pouring pitcher. Other small things include wooden skewers and cloth pegs. The materials are shown below in the picture.

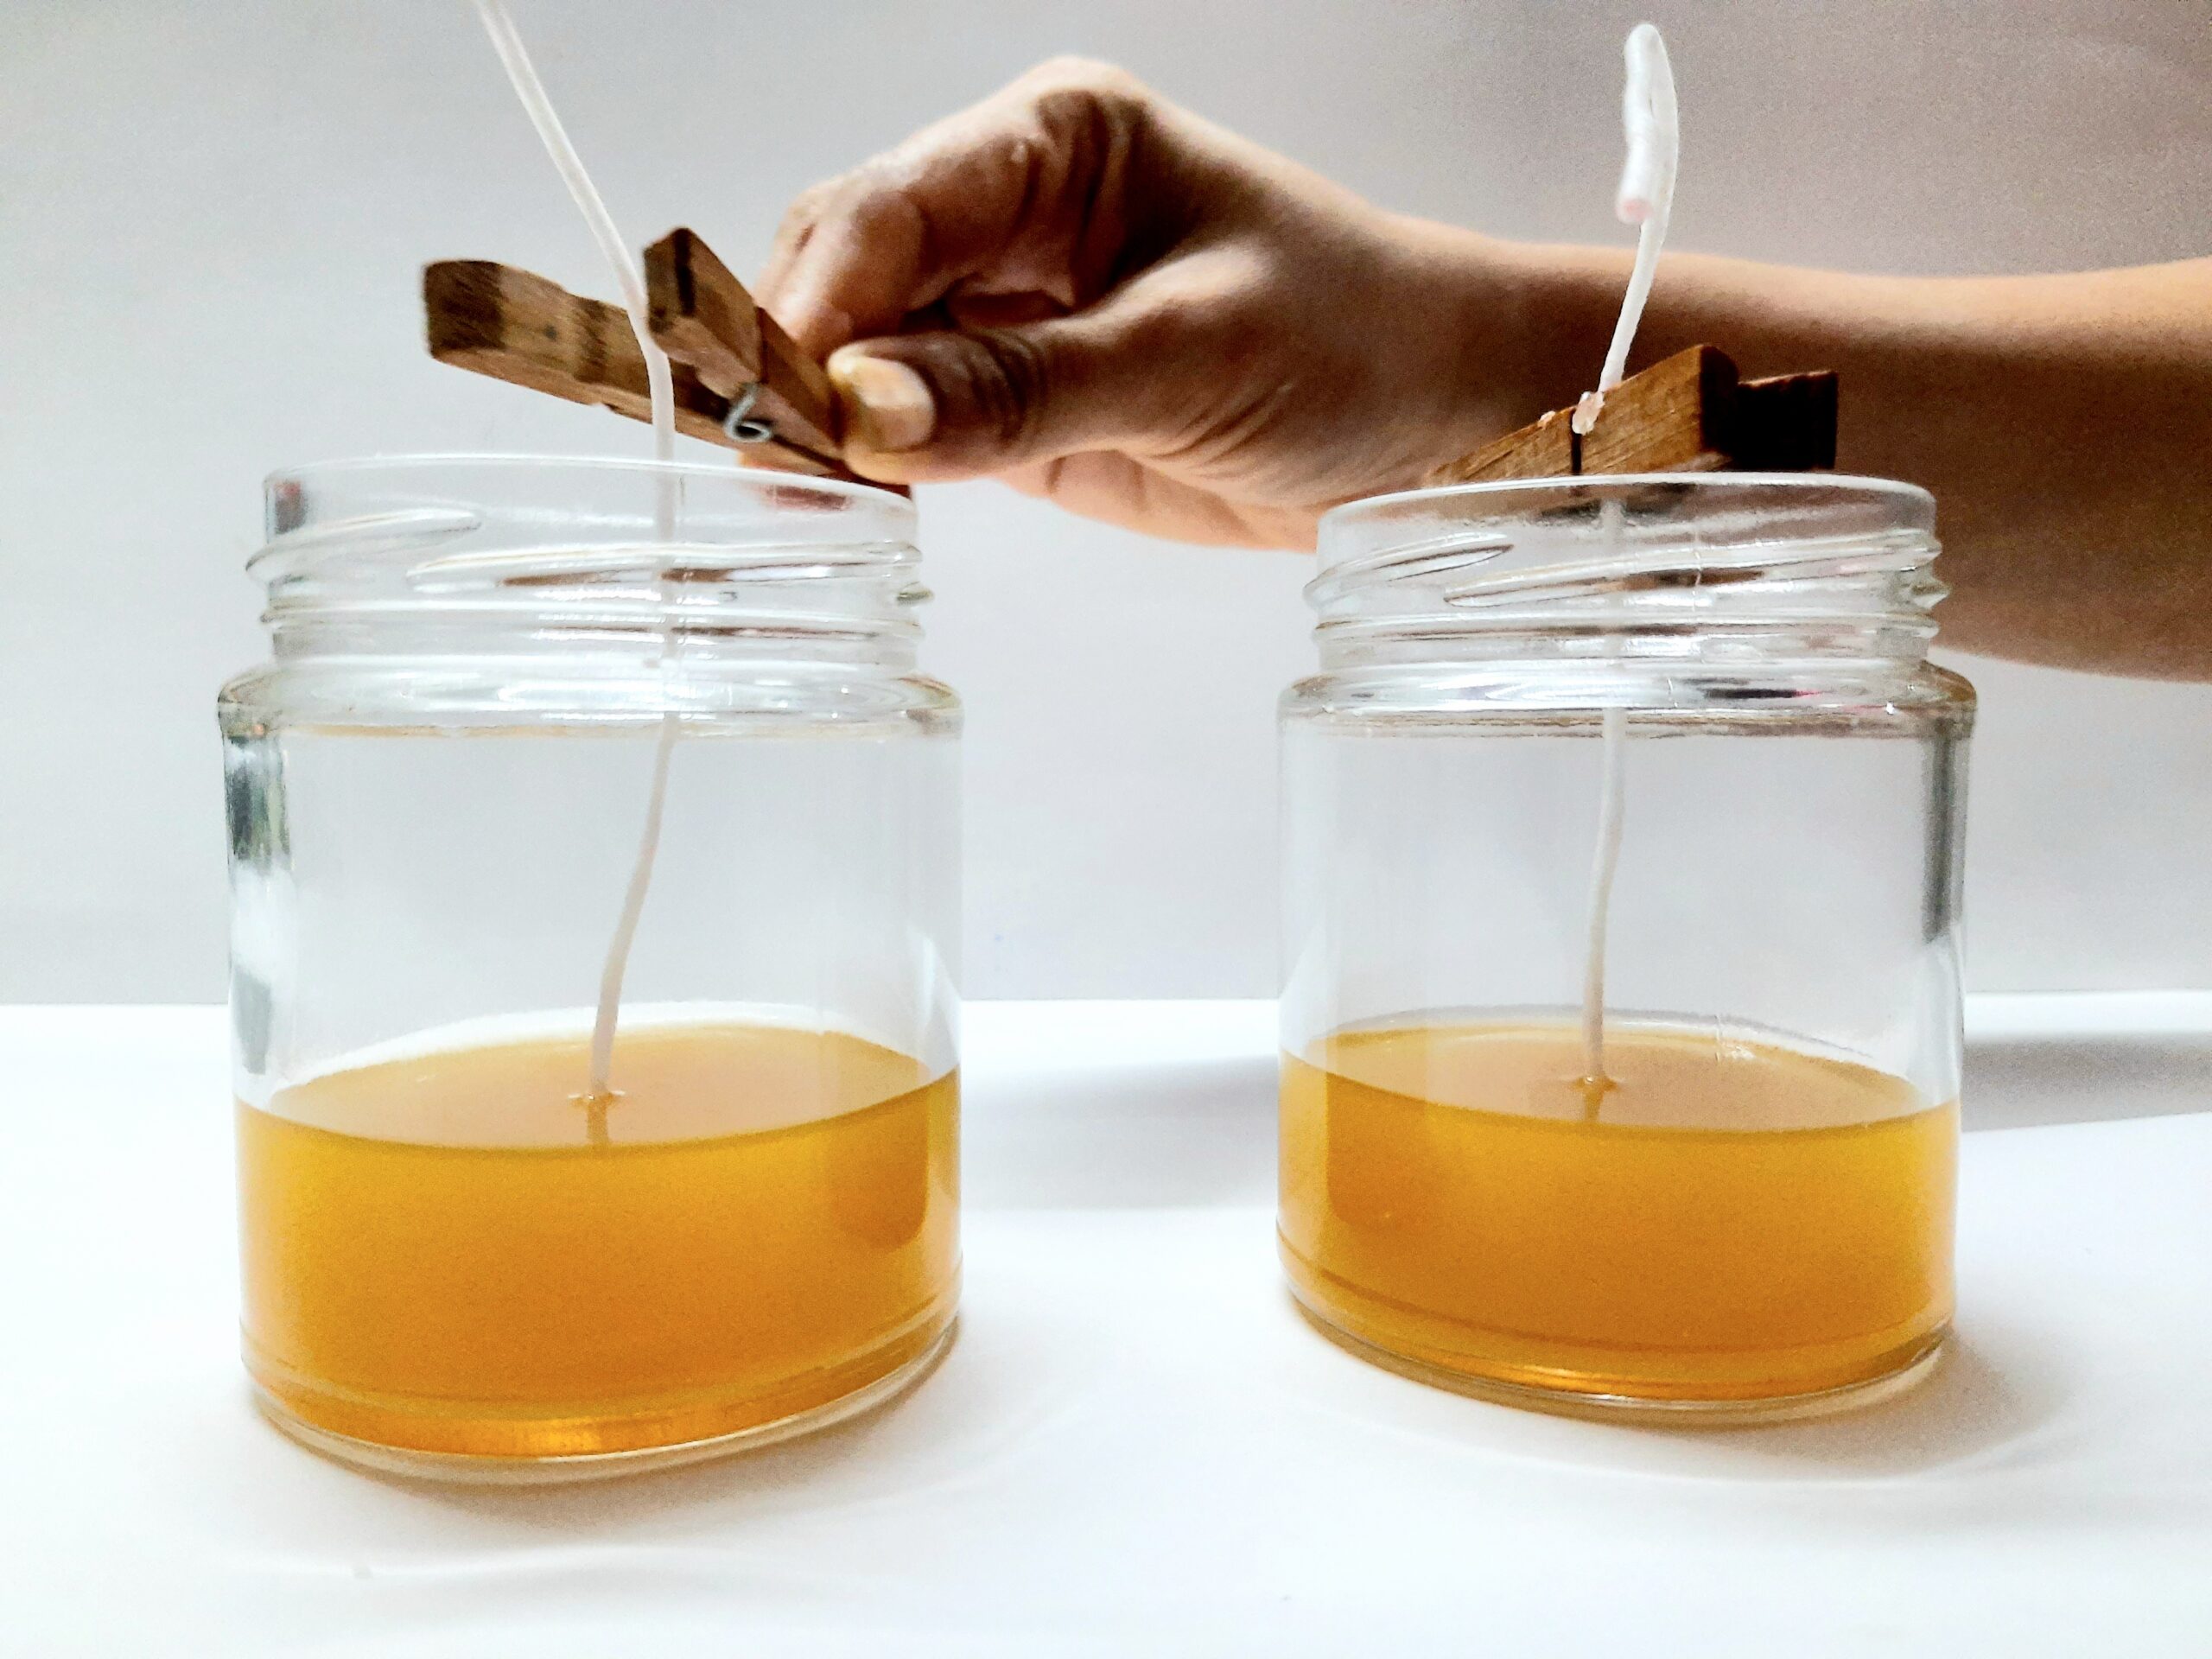
Step 1: Assemble the Wick

Fix the wick into the bottom of your empty jars using the specialty candle making glue tab or a strong glue.
Step 2: Melt the Wax
I am using soy wax for this project, you can use paraffin wax as well. Take almost a jar full of wax chunks and melt that in a double boiler.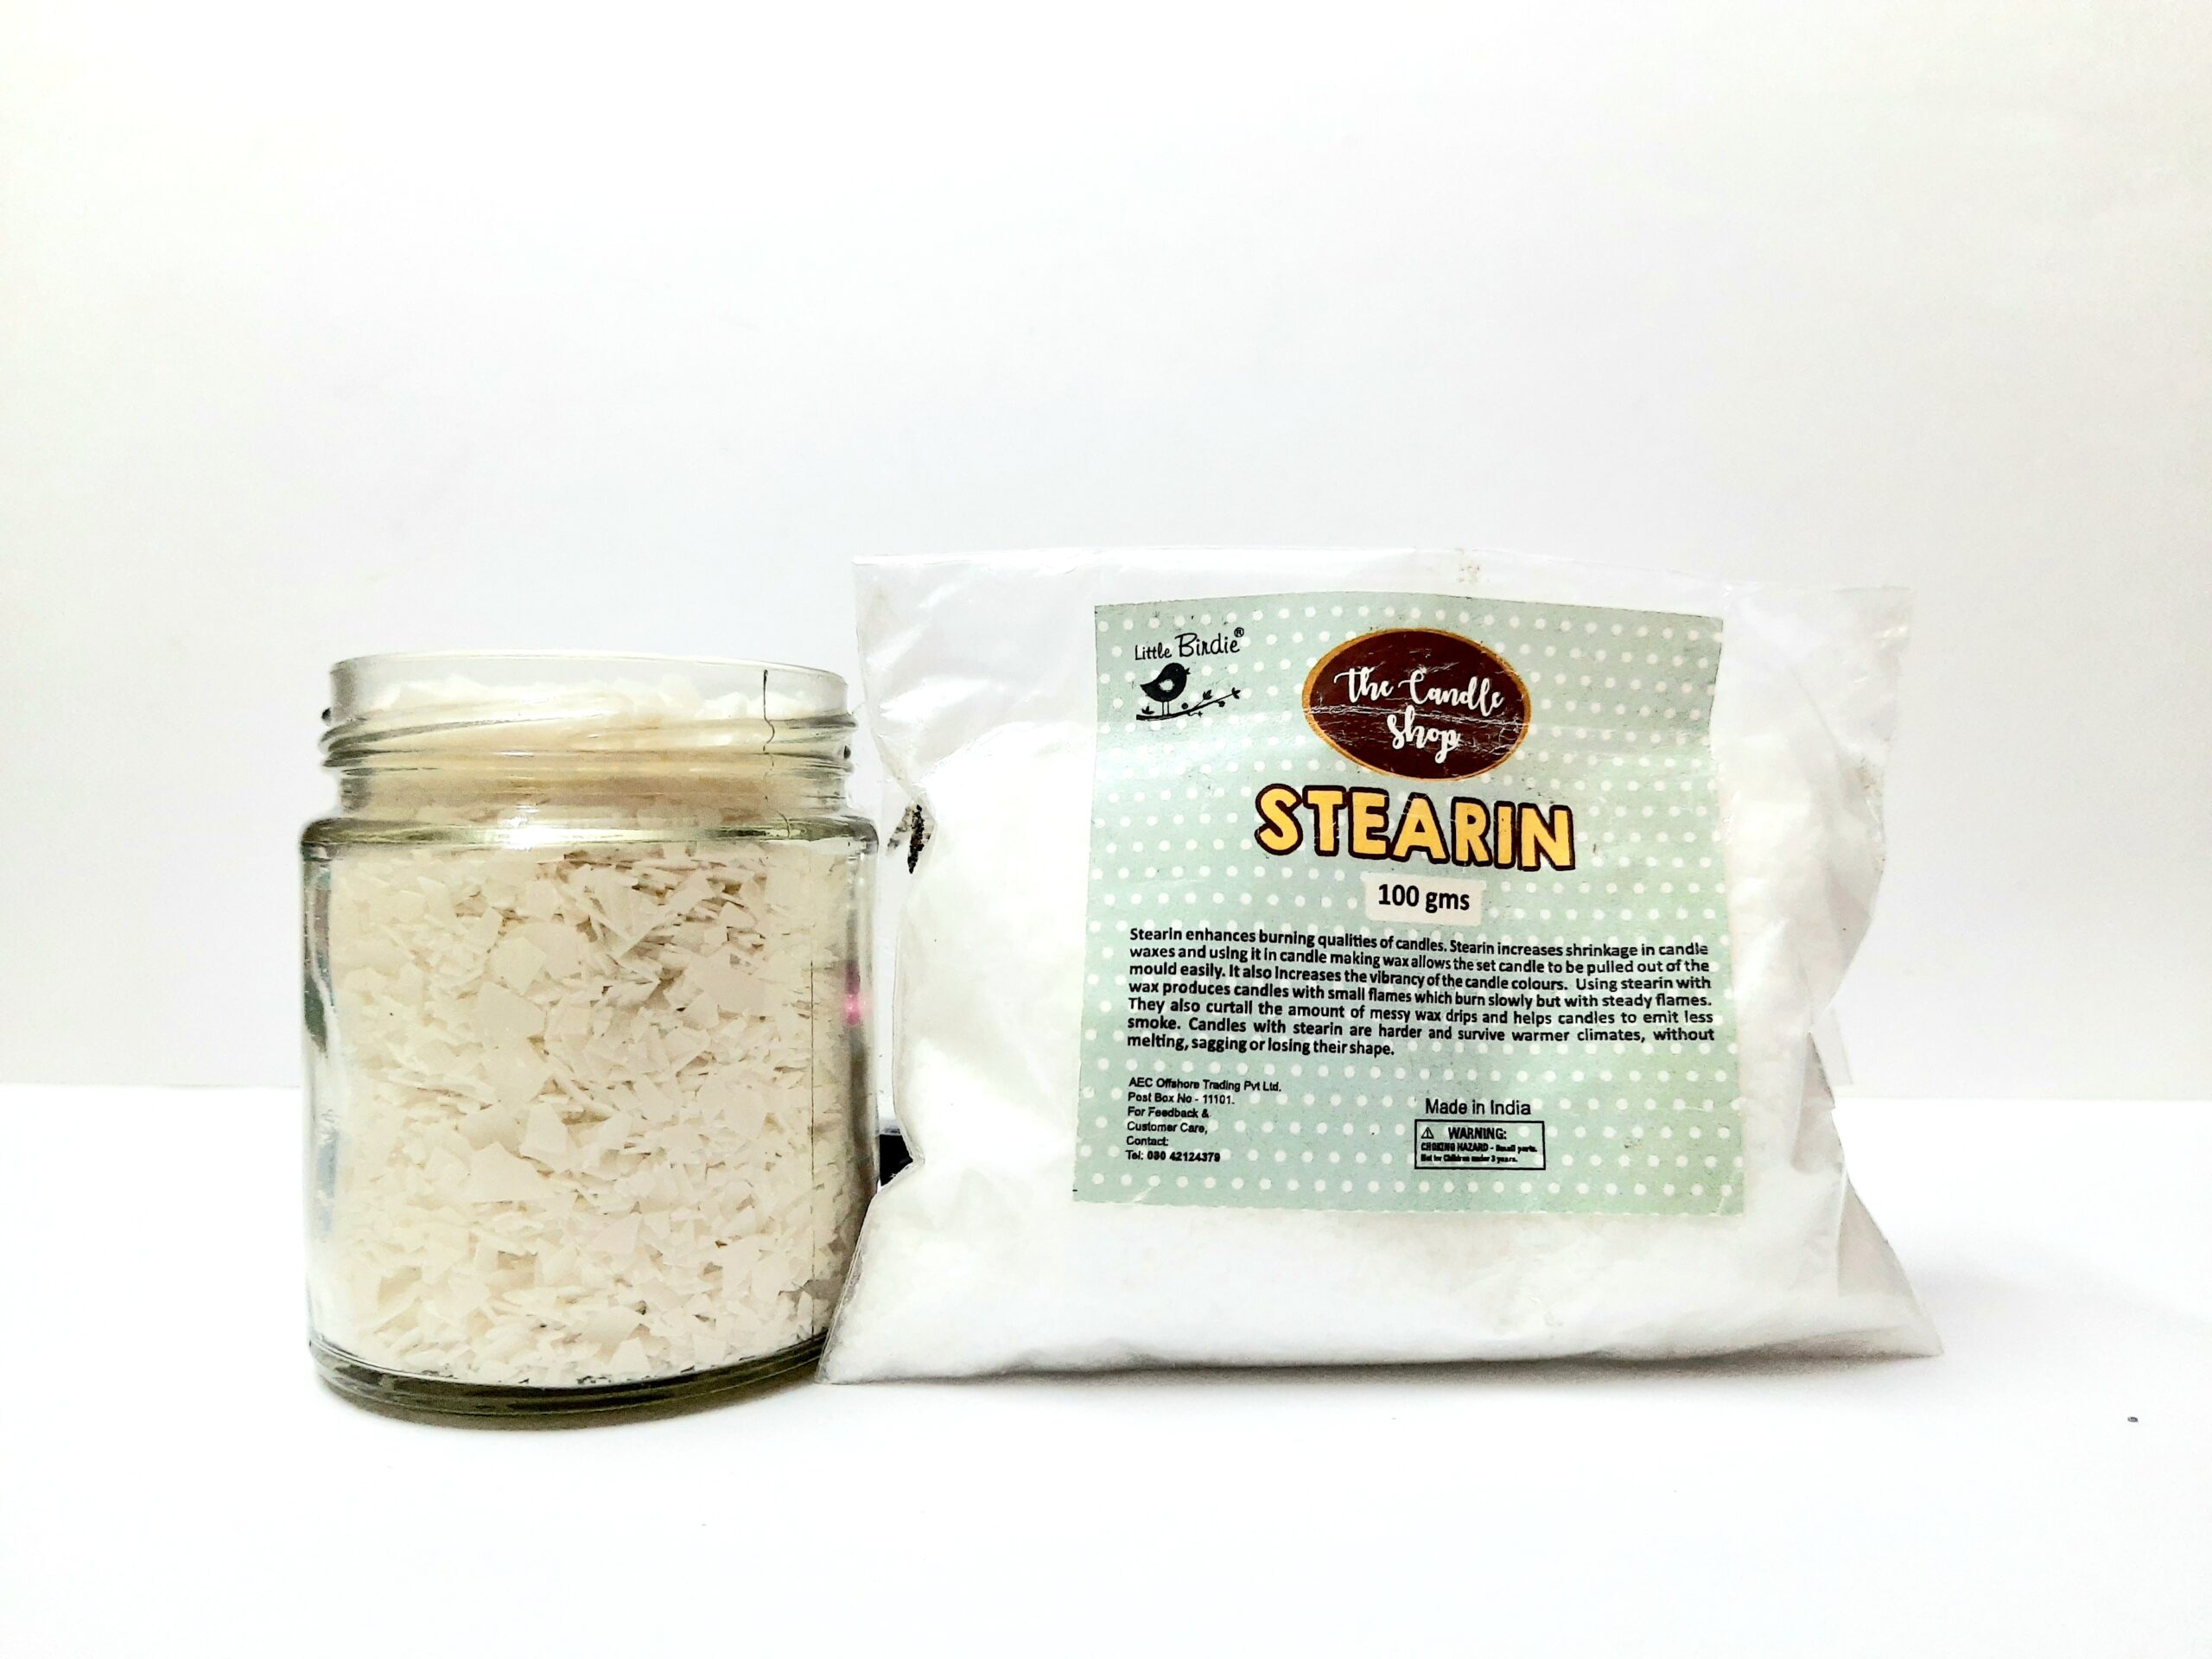
Add stearin in 1:10 ratio, add any one of the colours. I have used apricot dye. When the wax has fully melted, take it off from heat and let it cool a bit. Now add fragrance and stir it thoroughly with a bamboo skewer.
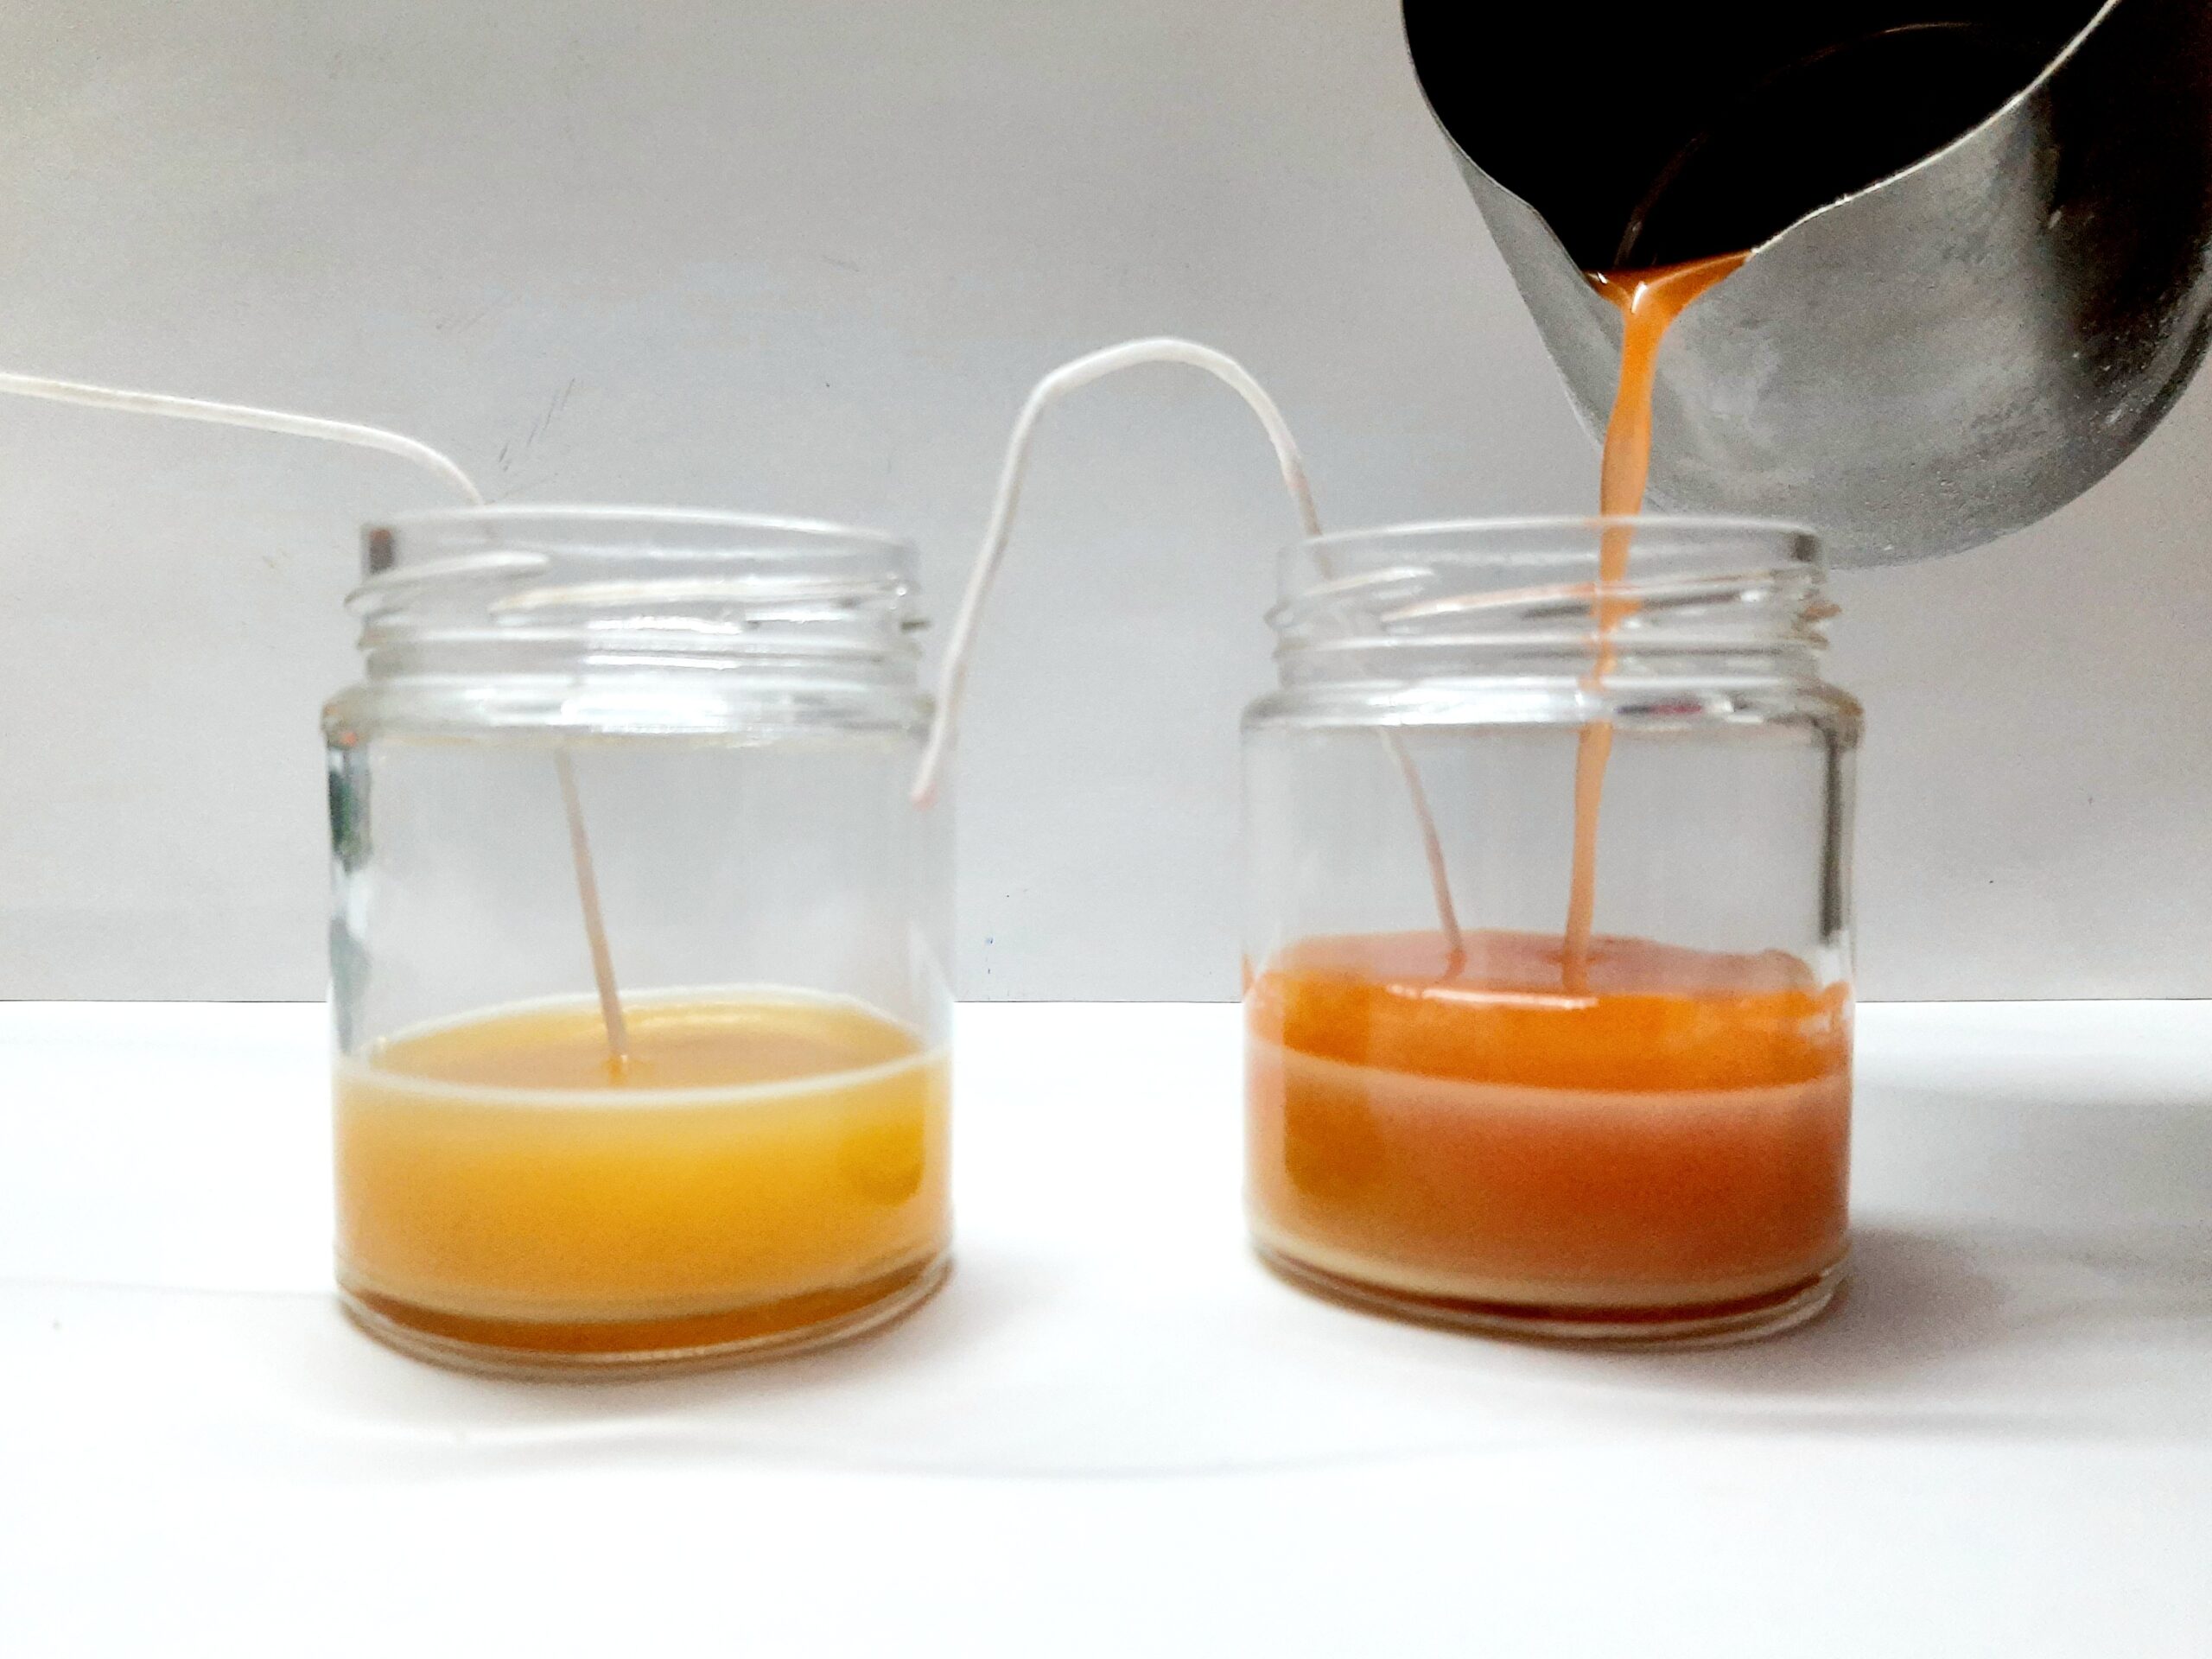
Step 3: First Pour
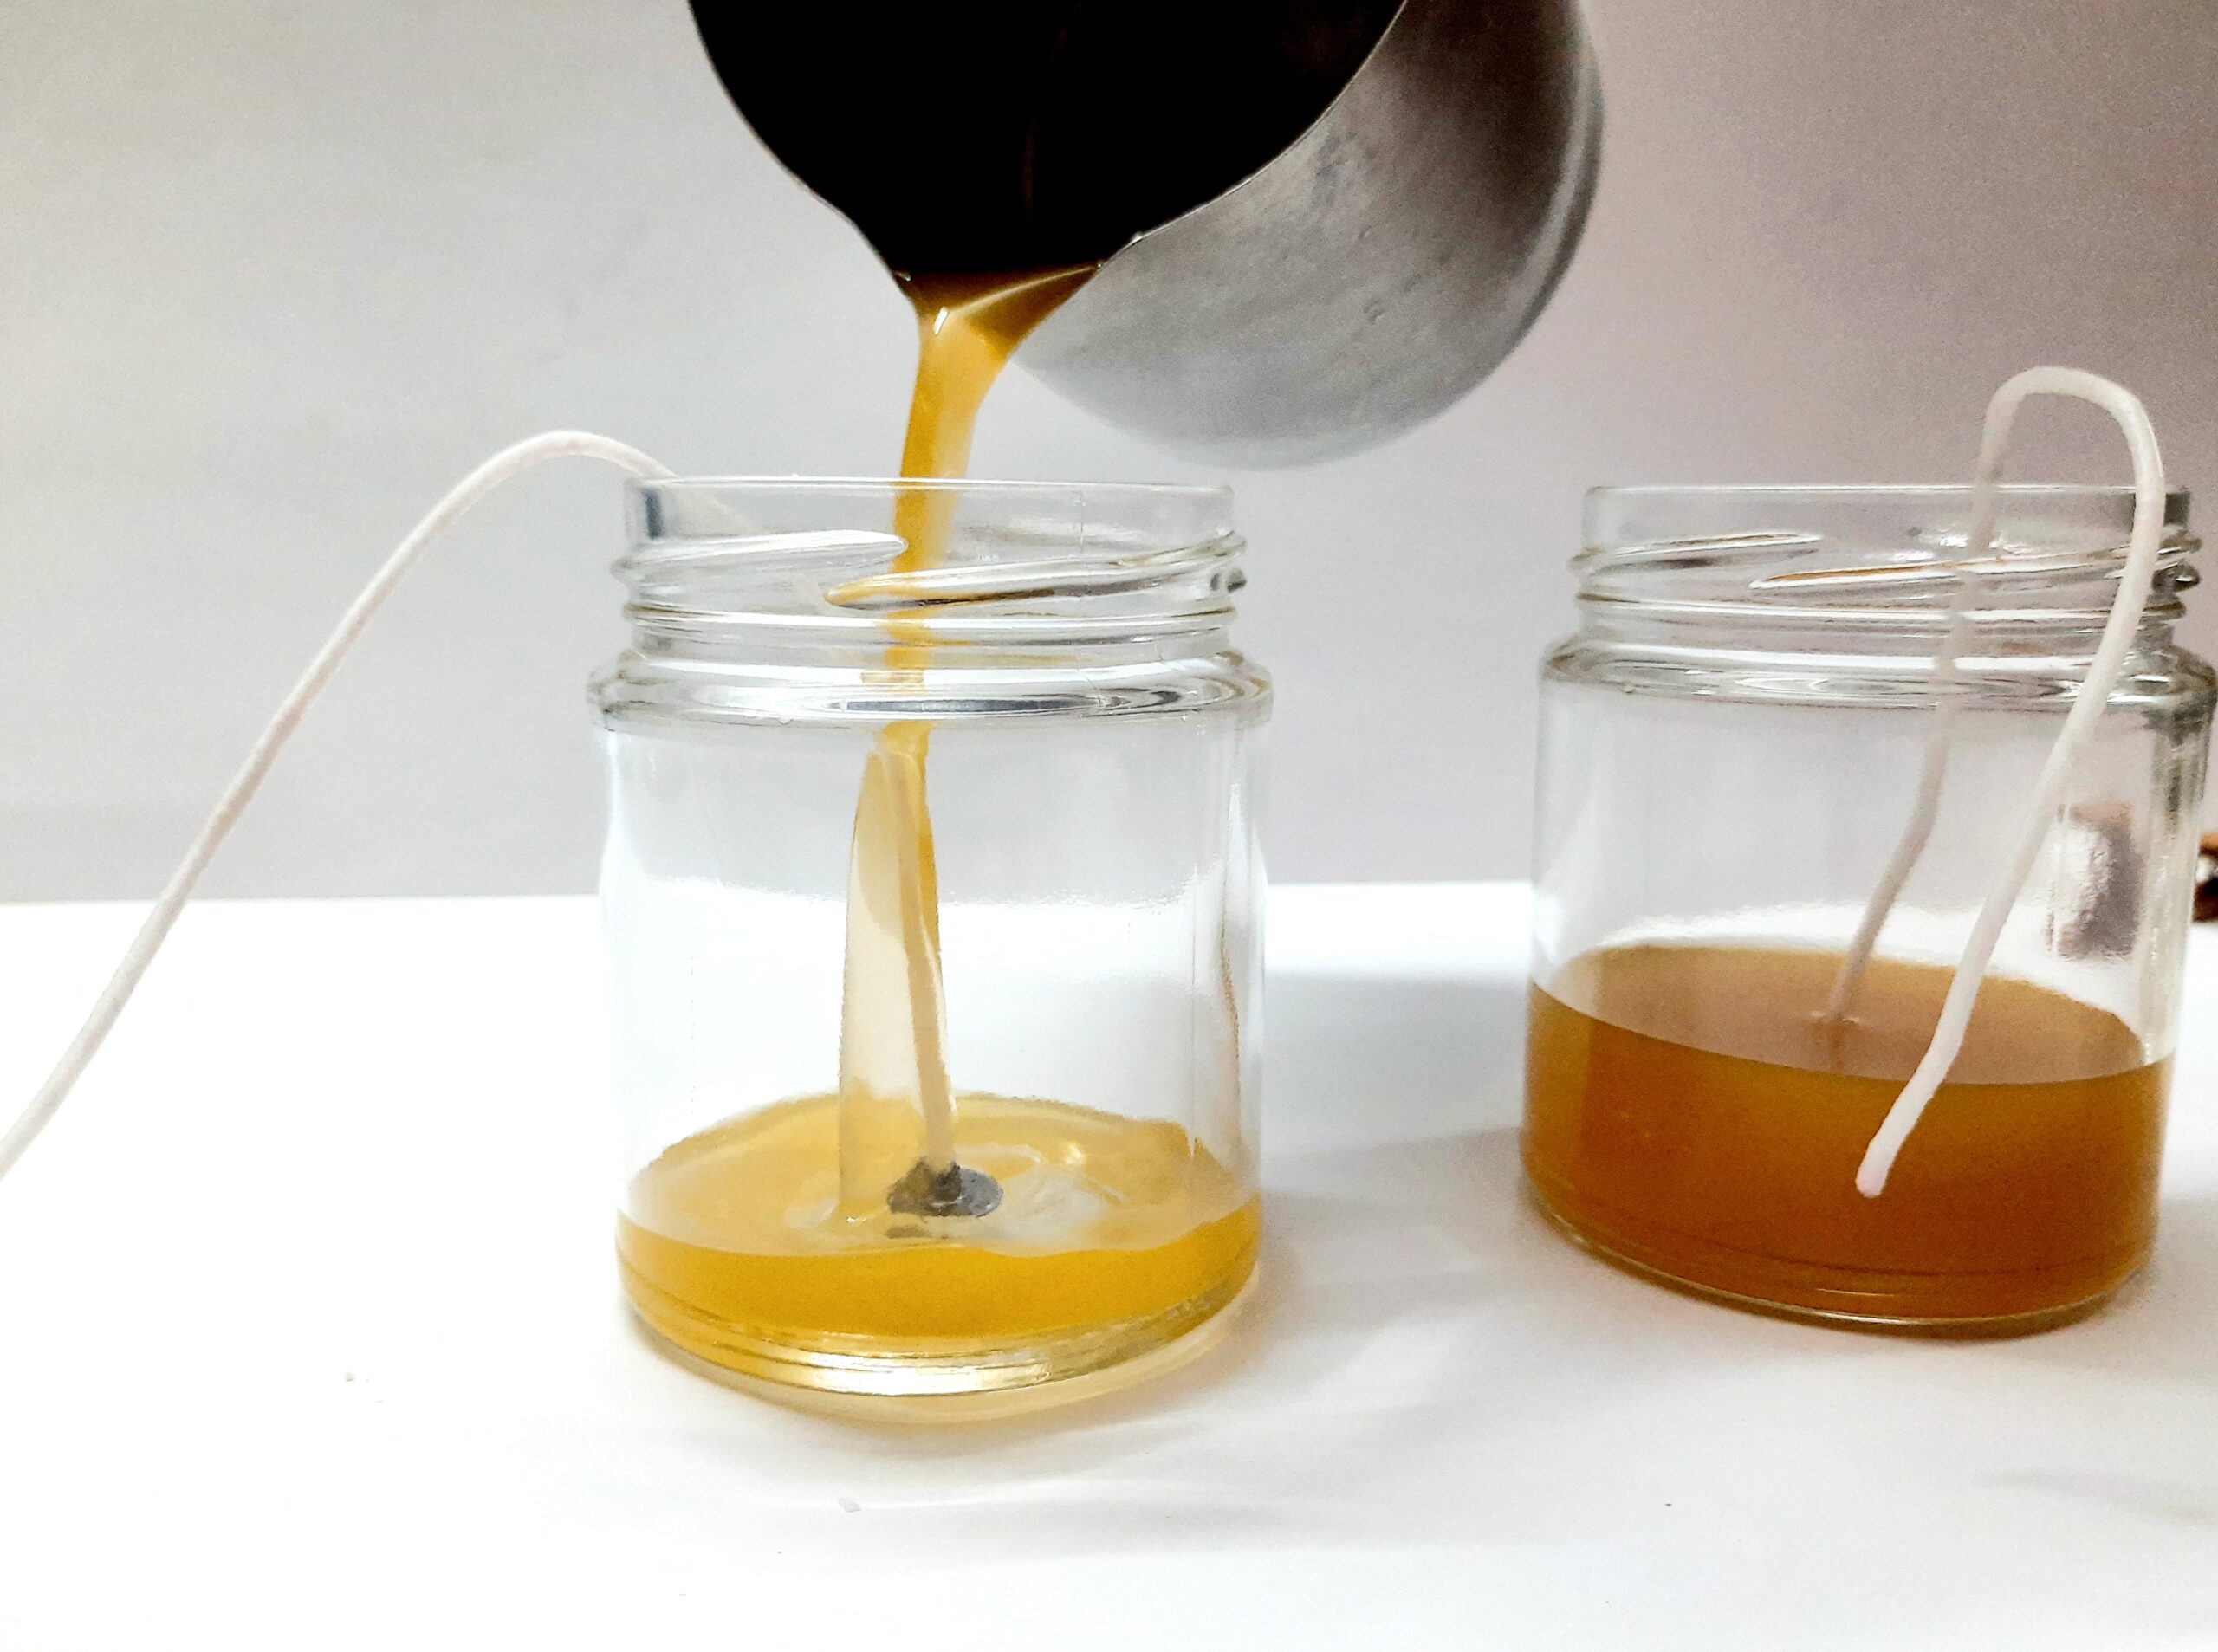
Pour the first layer to fill up to 1/4 th of the jar. Keep the remaining wax for the second layer. Set the wick in the center from the top with the help of wooden pegs.
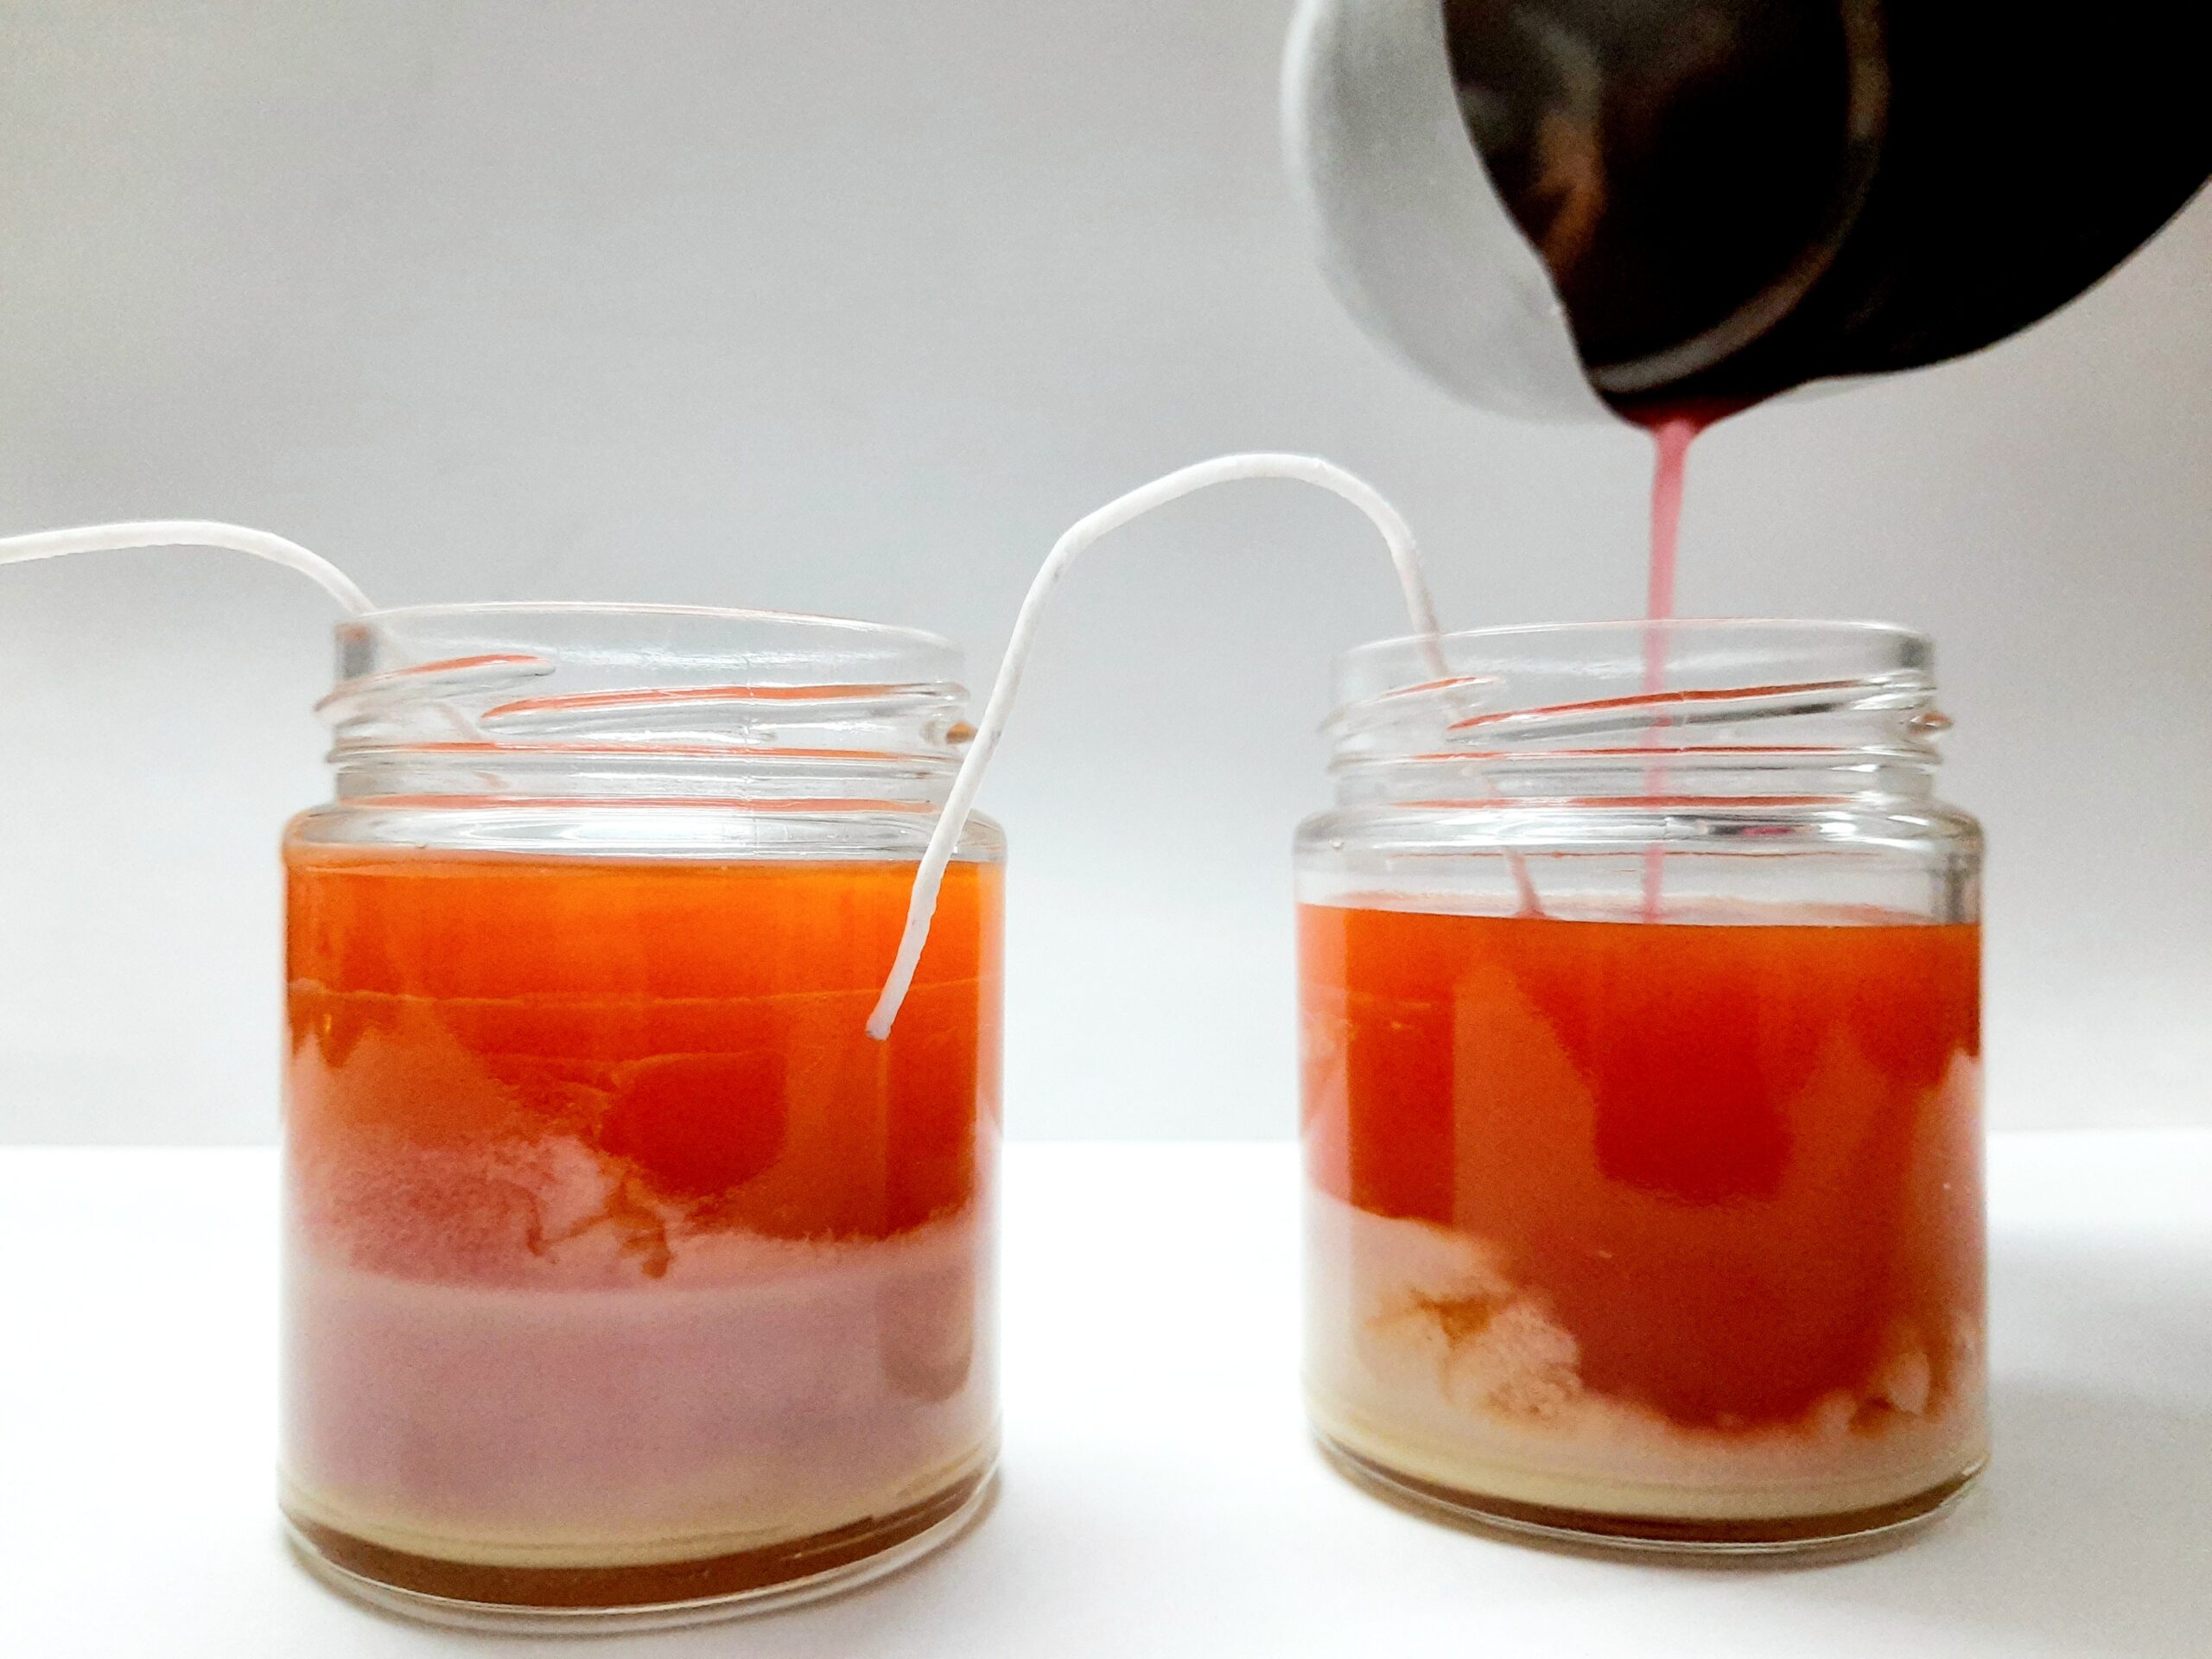
Step 4: Second Pour
Add the second colour dye (I have used magenta) in the remaining melted wax and reheat if required and repeat the cooling process. Once the first layer becomes frosty, pour the second layer in another 1/4 th of the jar.
Step 5: Third Pour
I had some remaining melted wax but I added a bit more to make it sufficient for the third pour and added stearin and second colour dye. Don’t forget to add fragrance once it’s cooled down after melting. For a twist you can change the fragrance as well. So with changing colour of Ombre the candle will change the fragrance as well.
When the second layer starts to frost pour the third layer up to another 1/4th of the jar.
Step 6: Last Pour
Discard if any previous melted wax is remaining and add more fresh wax and repeat step 1 with the second colour dye and the second fragrance and pour it into the remaining jar. Set the wick at the center and leave it to cool down completely.
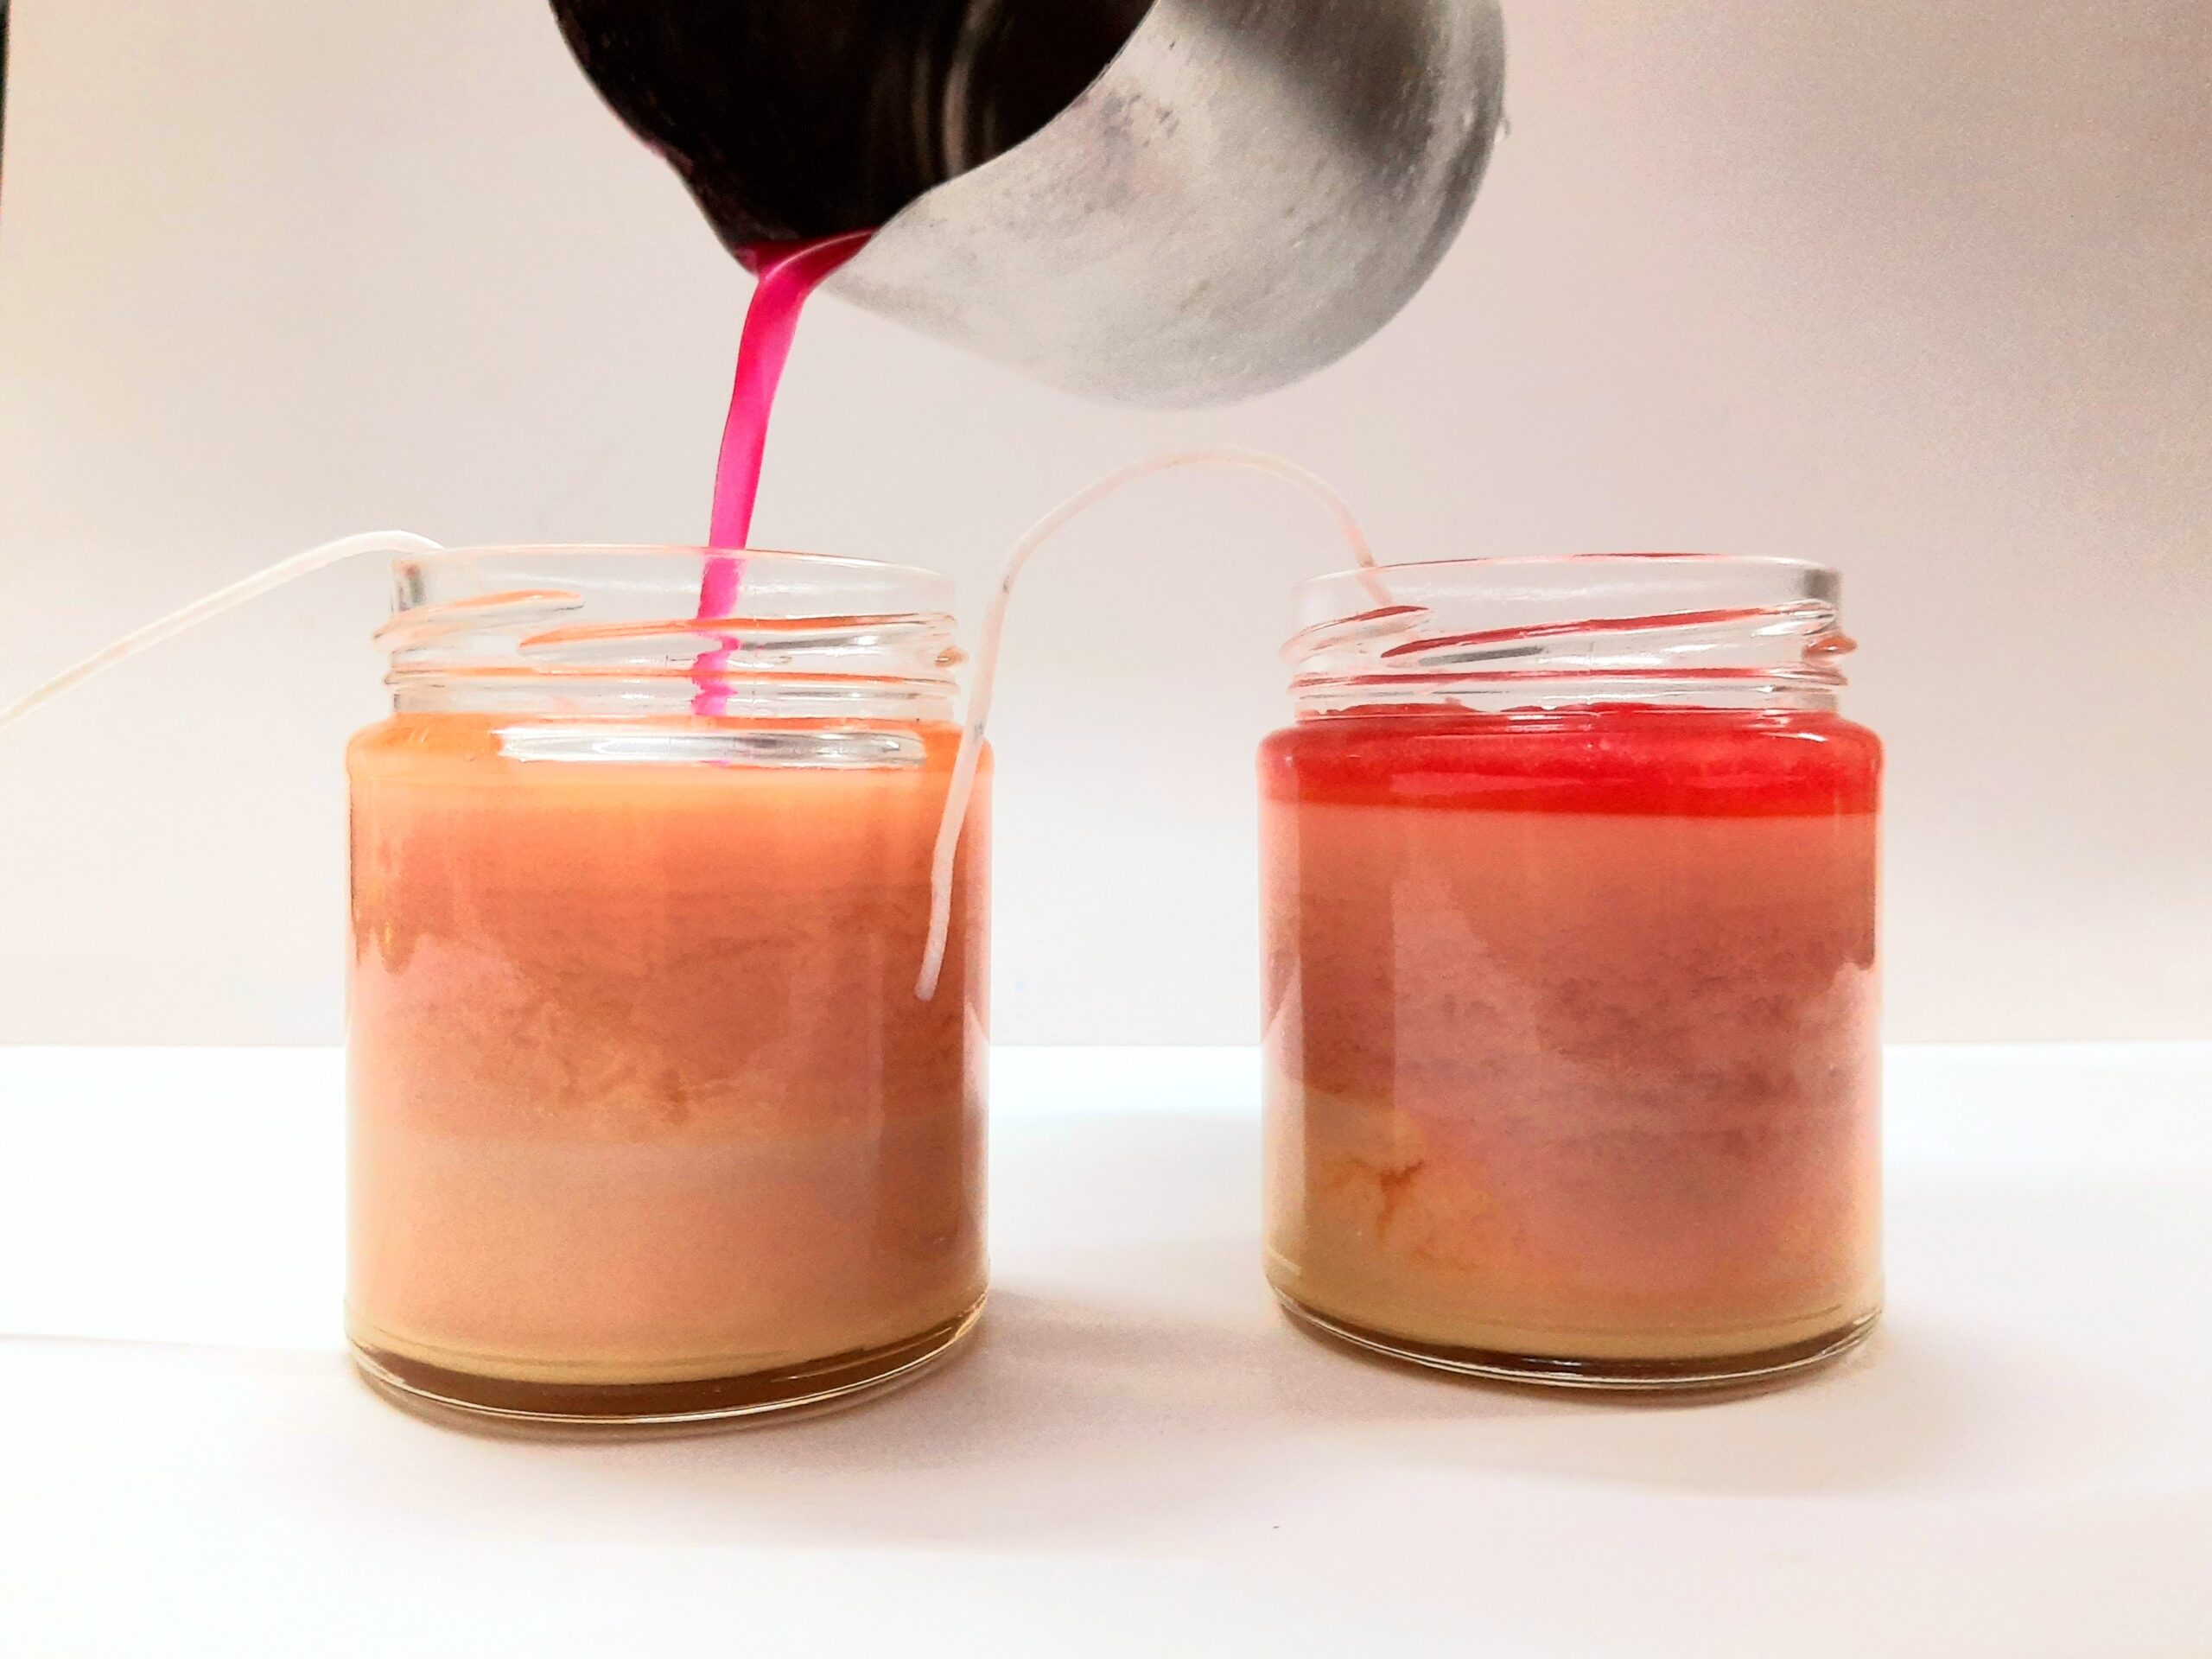
You can pour the remaining coloured wax once more if any un-uniformities are there on the top layer of the candle.
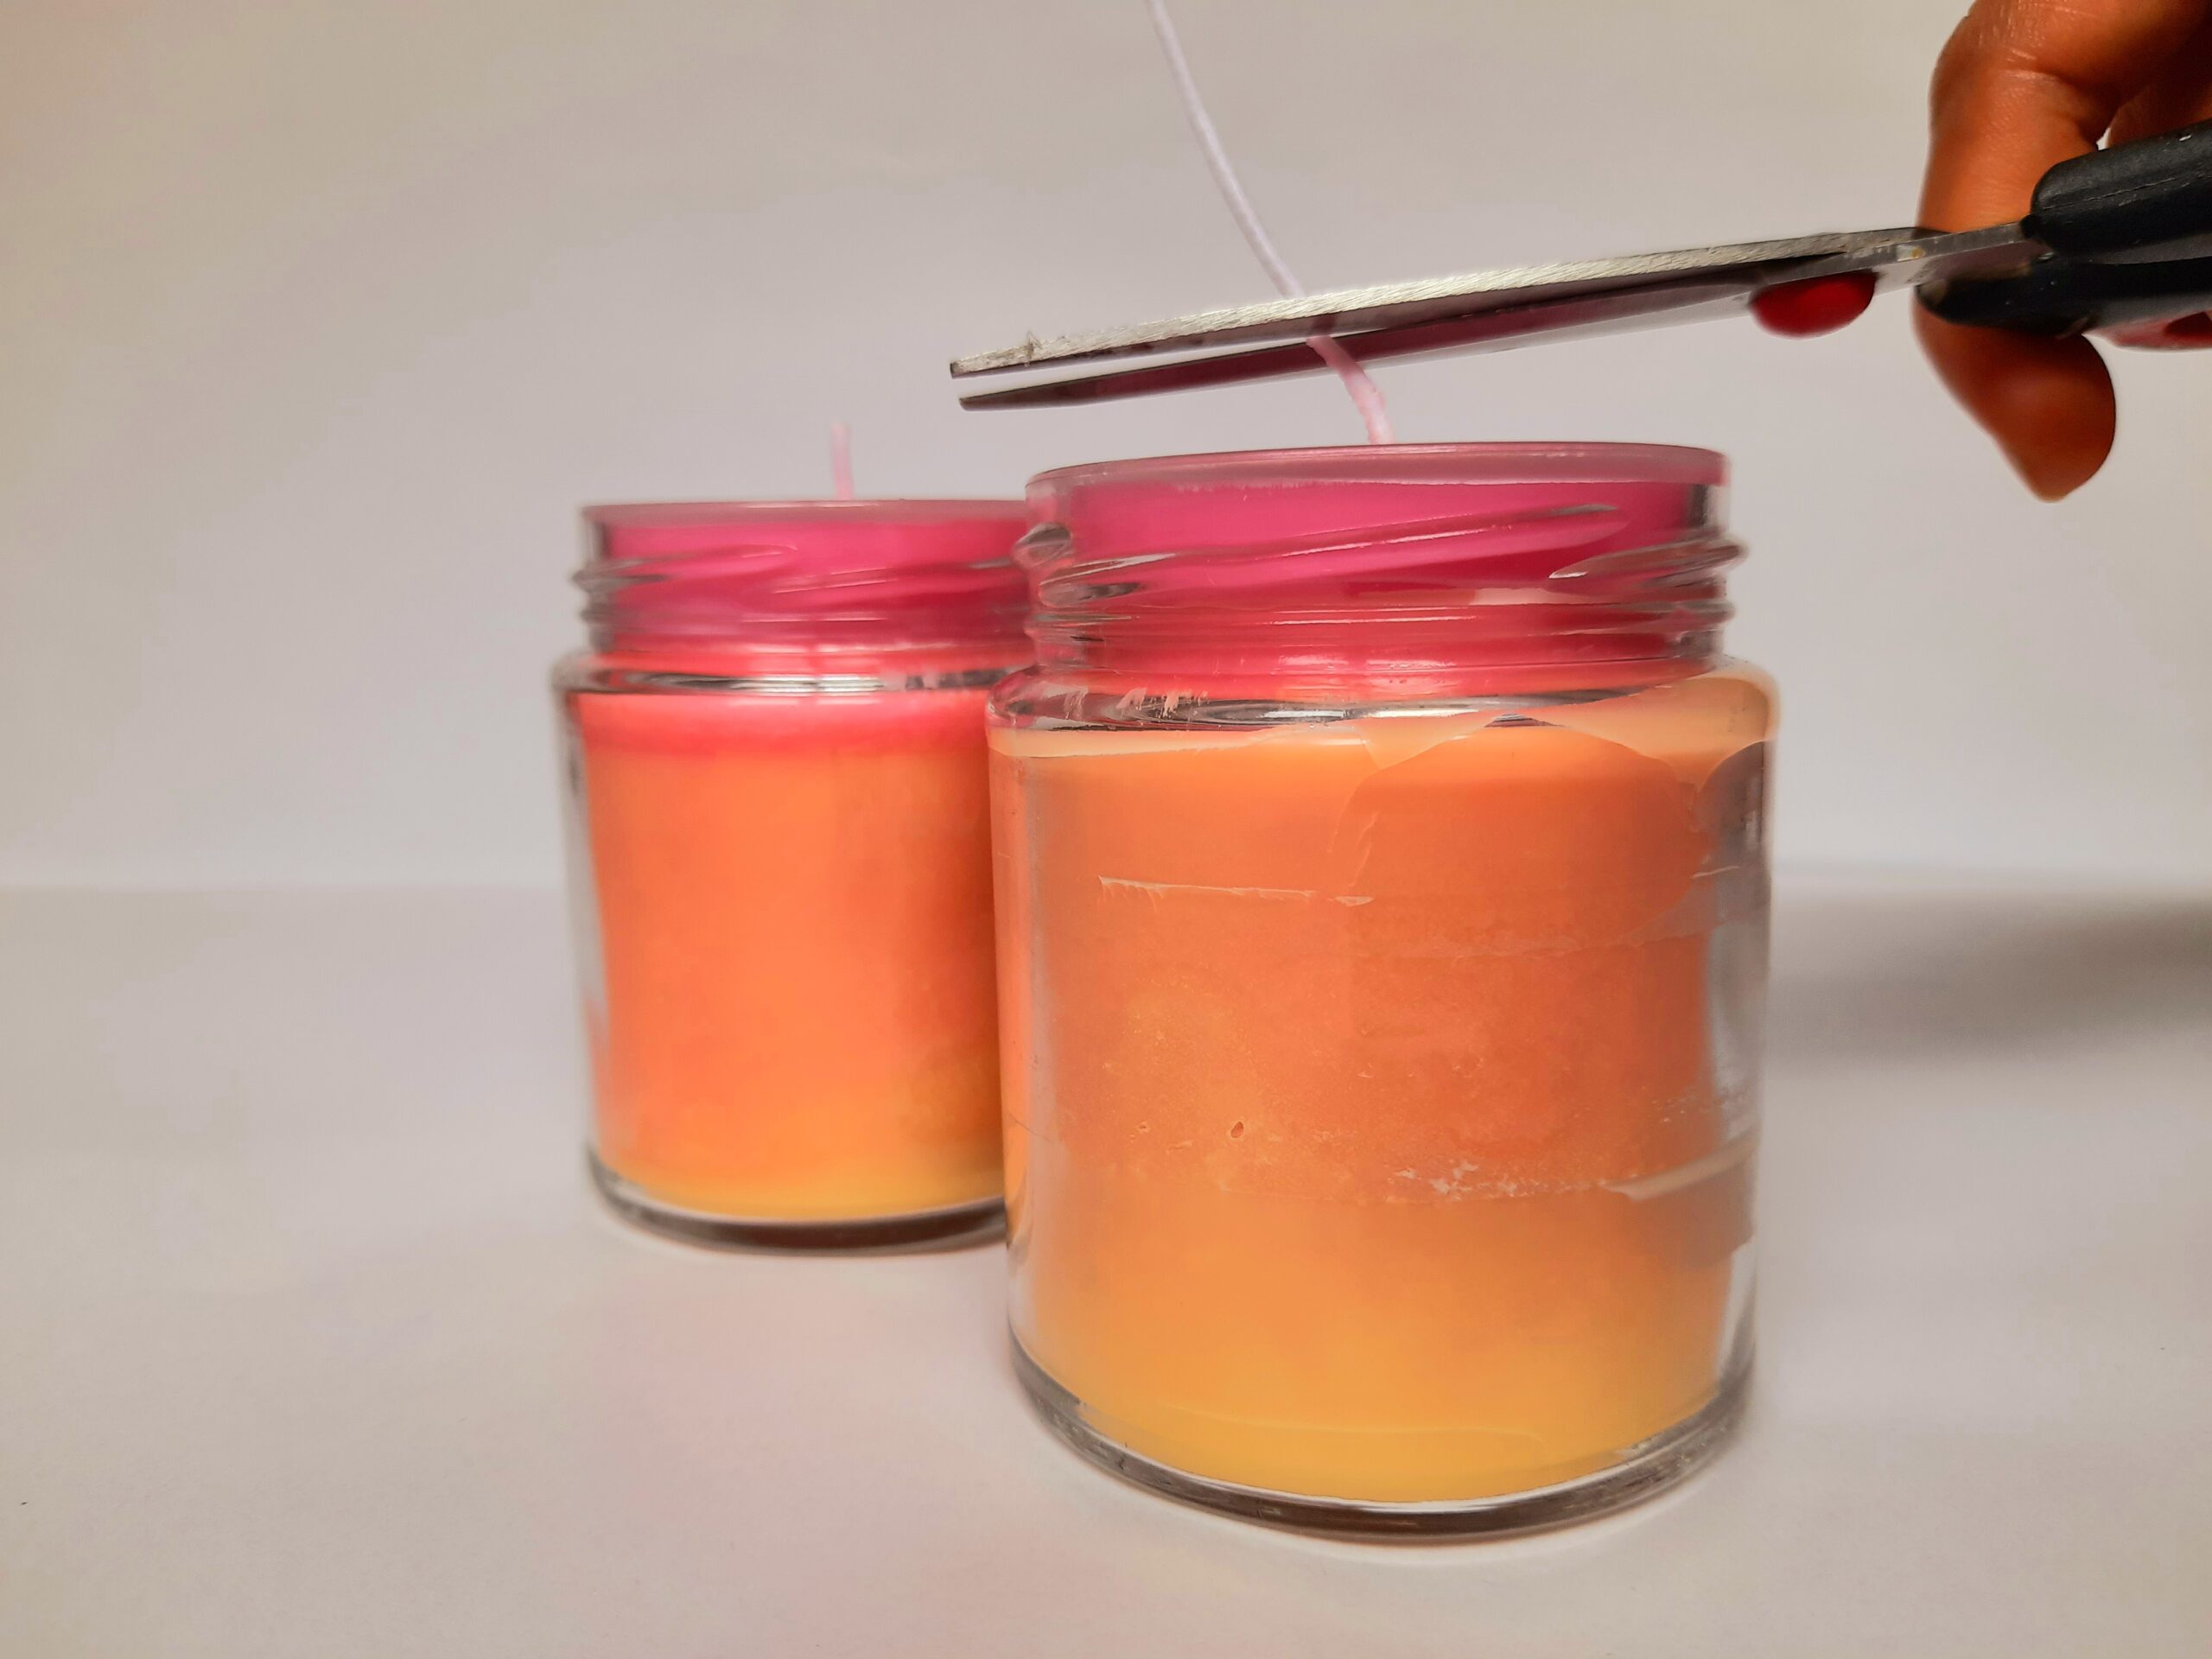
Step 7: Trim the Wick
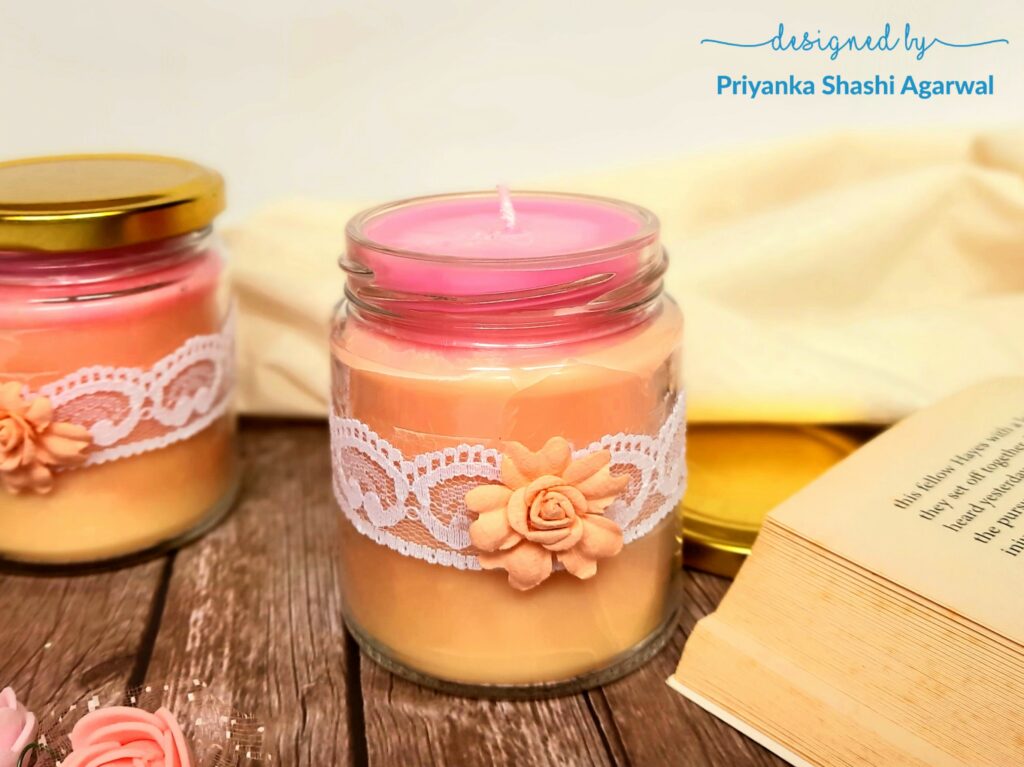
I am just loving this ombré effect after it cooled down completely. Now trim the excess wick.
Step 8: Embellish the Jars
Now the most interesting part is to embellish the jar. Soy wax has a tendency to pull away from the insides of glass containers which sometimes may spoil over all look. So embellishing the jar will add a nice look and hide any unpleasant effects due to pull away of the wax.
I gathered laces, flowers, pearls, shells etc. on my desk for embellishing the jars. I tried various options with white lace.
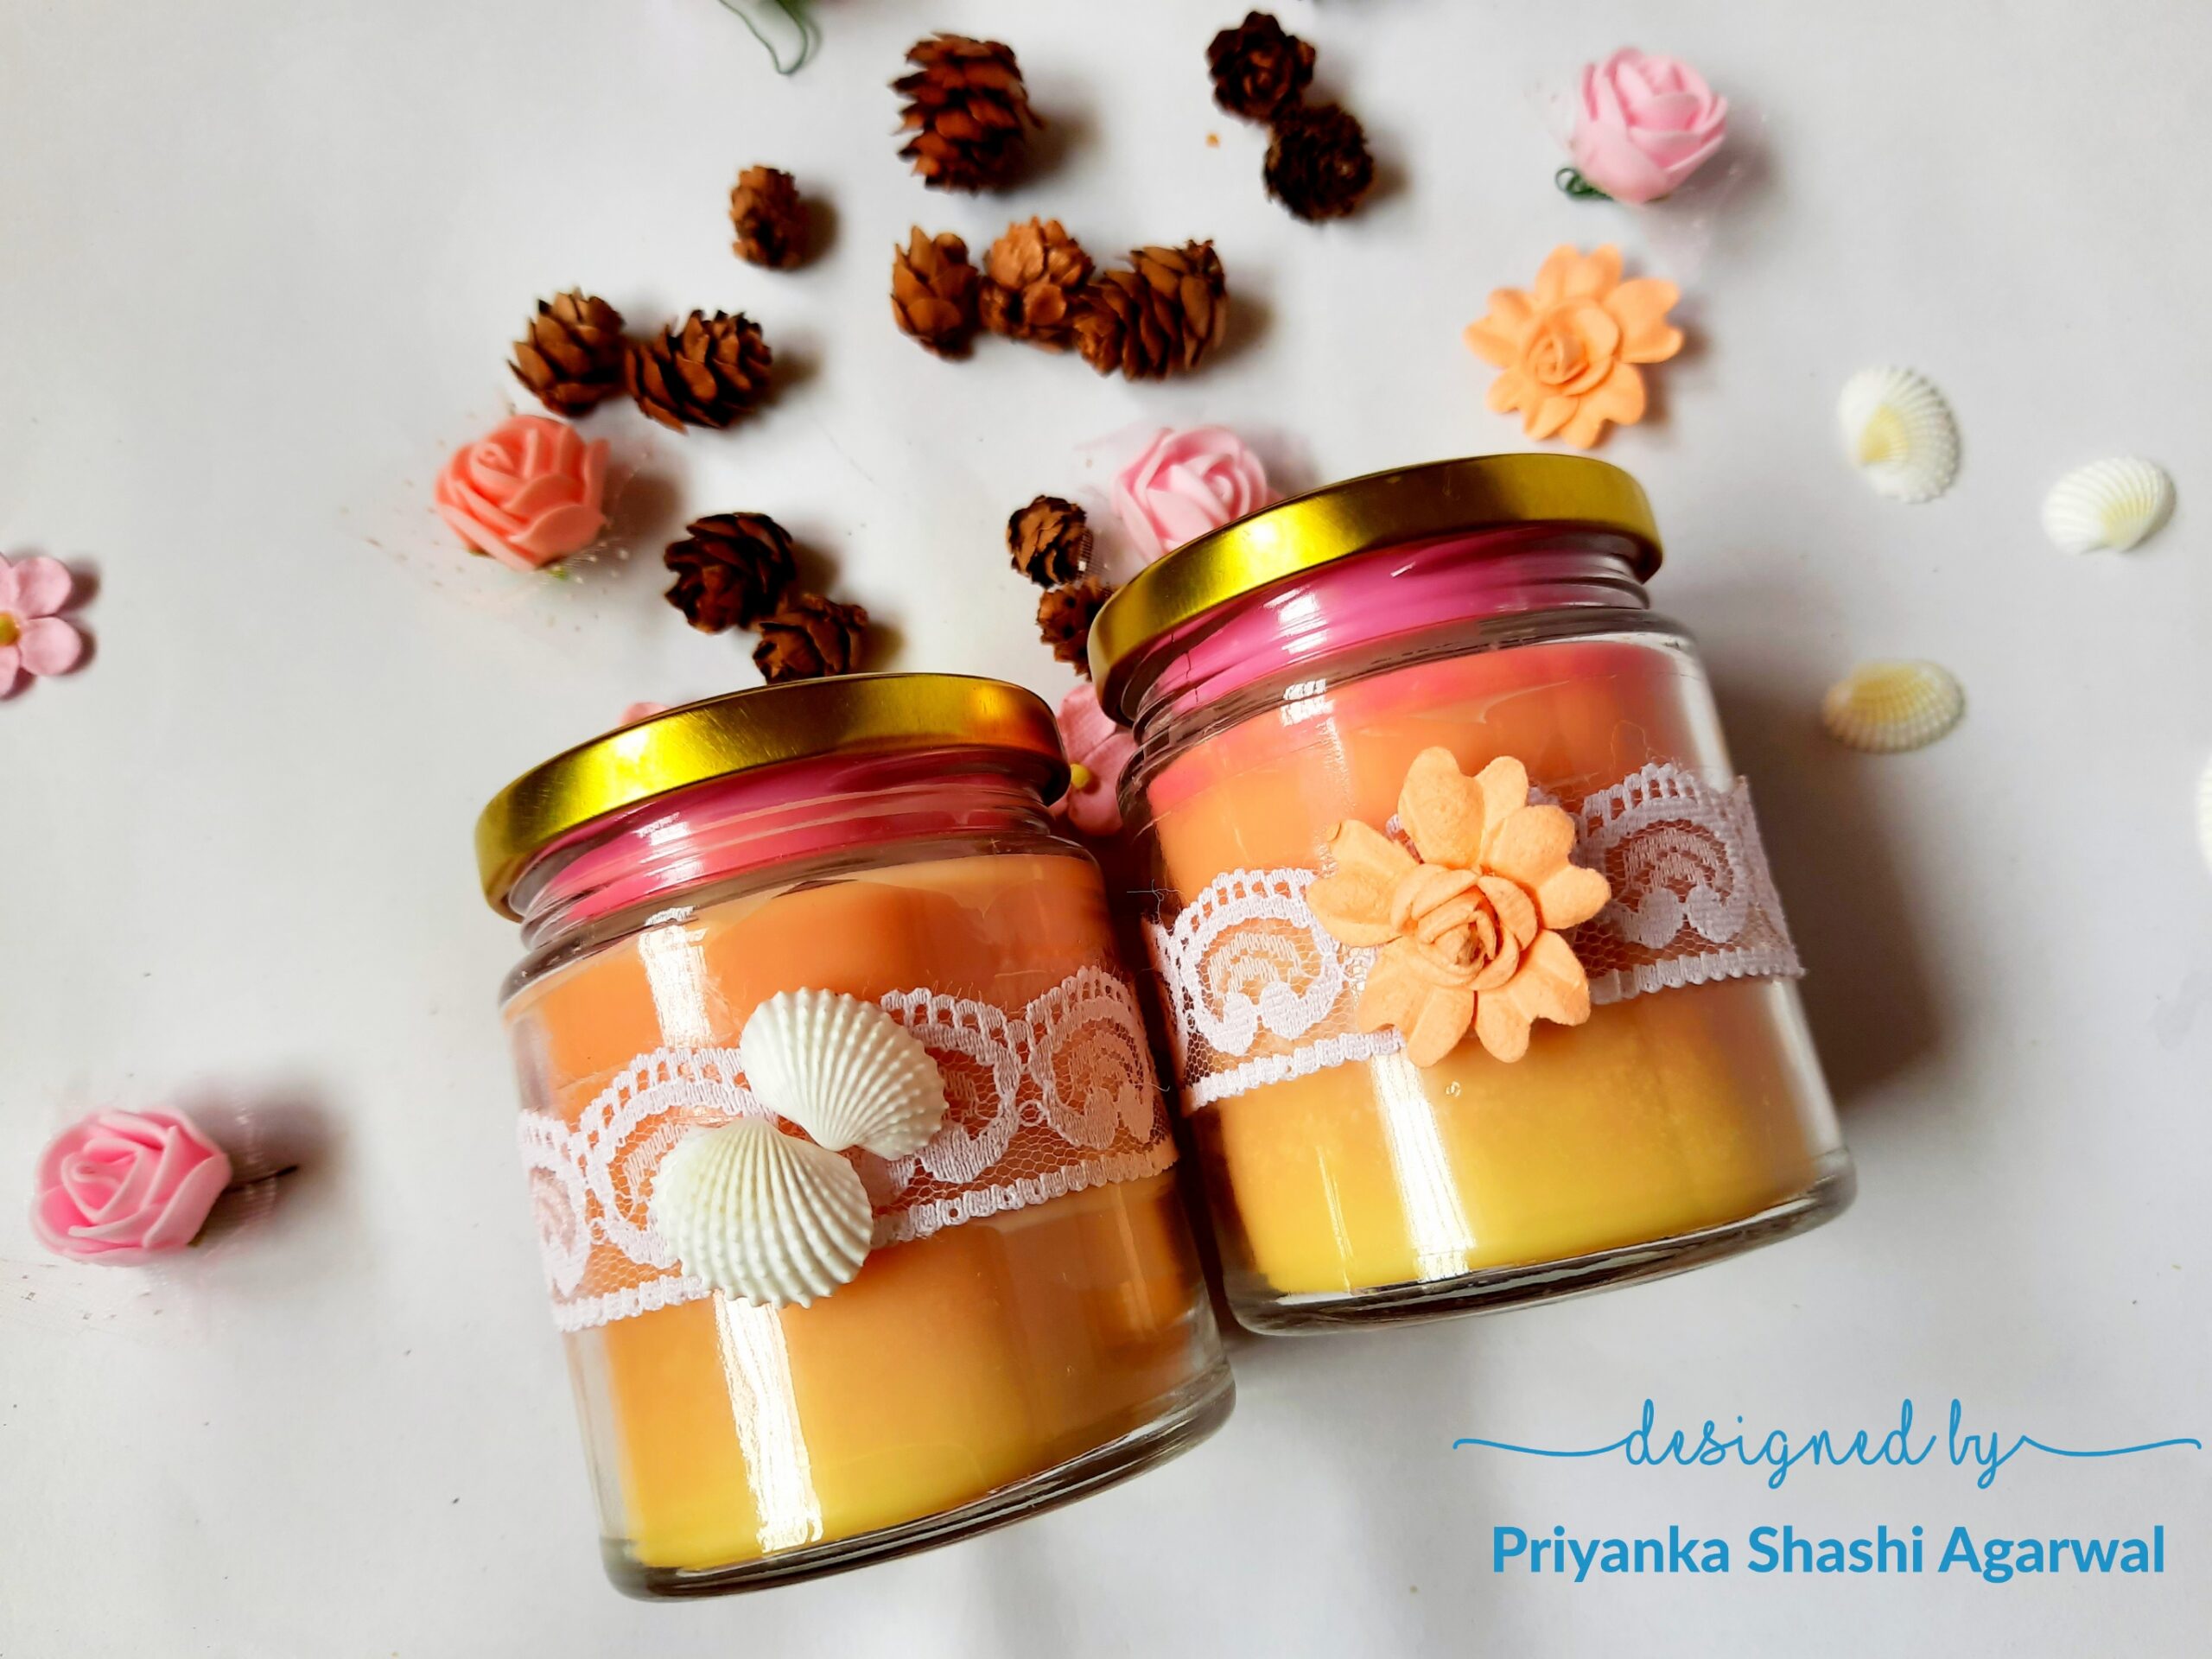
And I ended up with peach paper flowers. Here is the view of the final project.
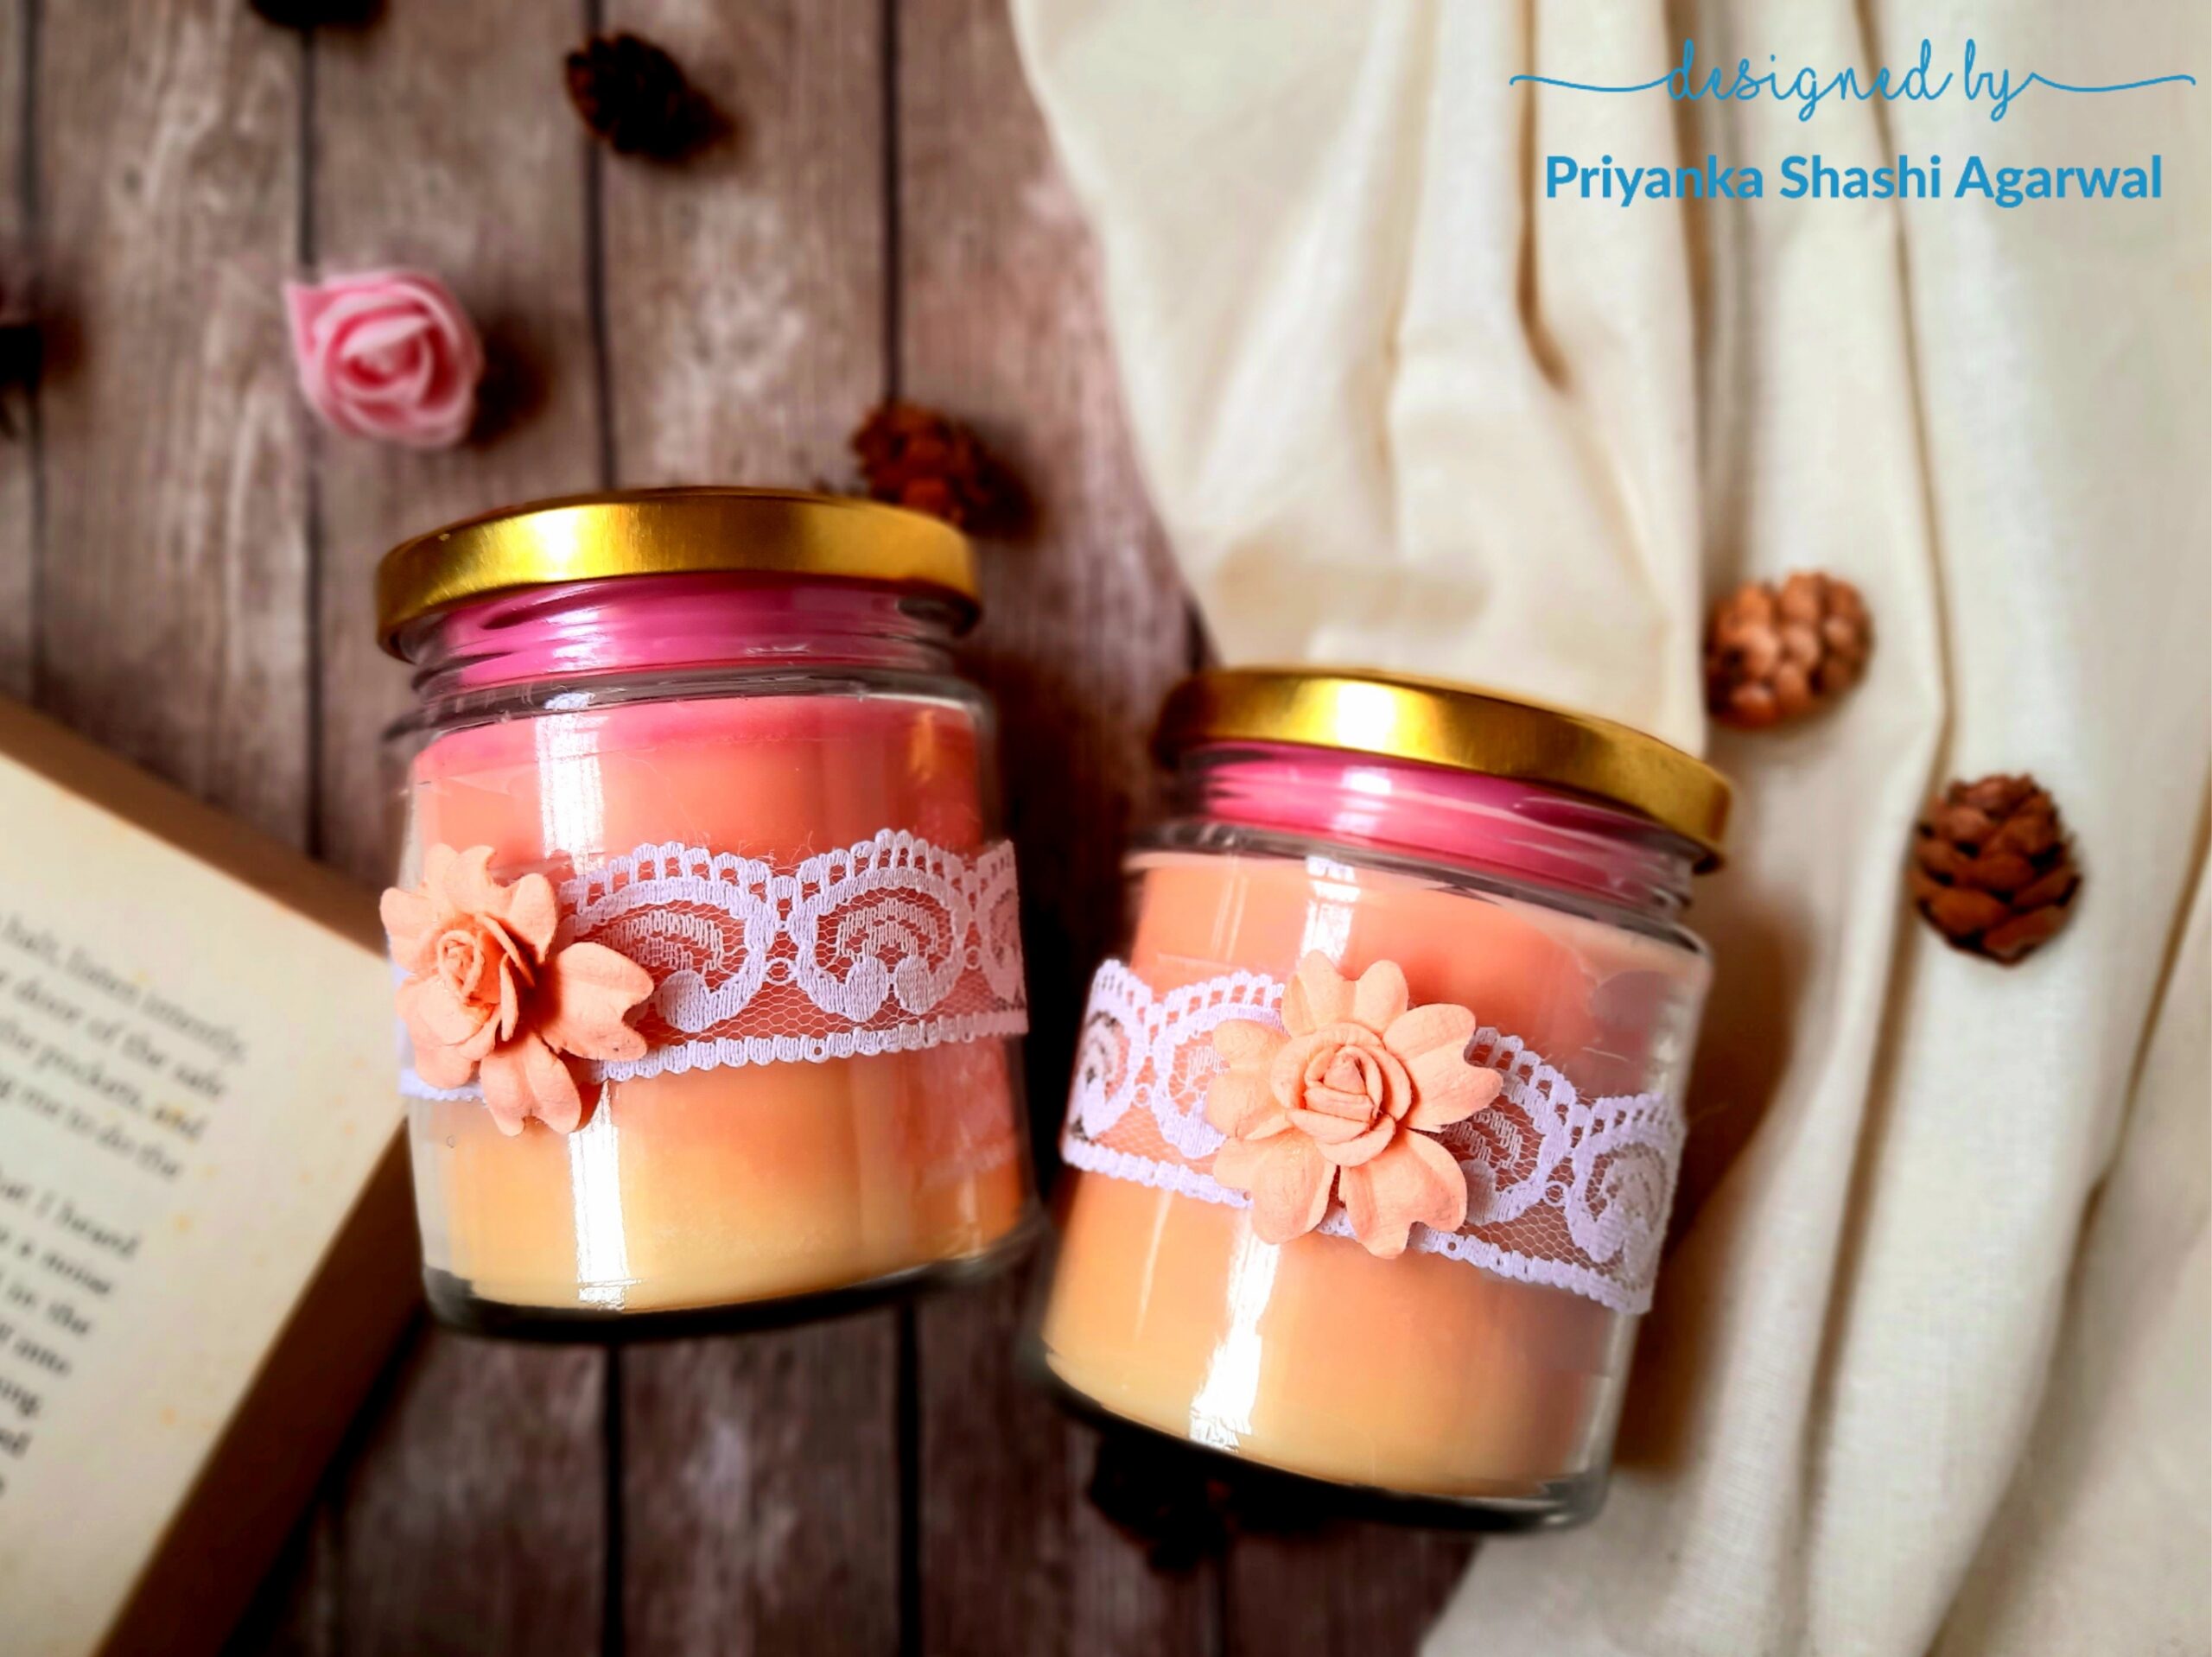
Hope you like these pretty ombré candles and you will try one for yourself. Find the easy clickable candle supplies list used in this project below which you can easily purchase from Itsy Bitsy stores or online. If you are liking my candle making posts, let me know in comment box. See you next month with new candle inspirations. Hugs, Priyanka Shashi
Candle Making Supplies List:
Little Birdie Soy Wax White- 500gm – Itsy Bitsy
Itsy Bitsy Hard Wax Dye 10gm – Apricot
Itsy Bitsy Hard Wax Dye 10gm -Magenta
Itsy Bitsy Wax Coated Wick – 7 inch
Little Birdie Candle Making Stearin- 100gm – Itsy Bitsy
Little Birdie Essential Oil Citronella – 10ml Bottle – Itsy Bitsy
Little Birdie Handmade Flower Corolia Sunshine And Lemonade- 9pc – Itsy Bitsy
Itsy Bitsy Crochet Lace 2 Mtr- White