Hello Crafty People…
Priya here with you today!
I have created a beautiful scrapbook layout with a step by step tutorial. I have used a lot of mixed media products from Itsy Bitsy as well other stuff from the store in this project.

I always get queries regarding layouts. Also when I was conducting a live demo at Itsy Bitsy store, a lot of crafters poured in to check out the process.
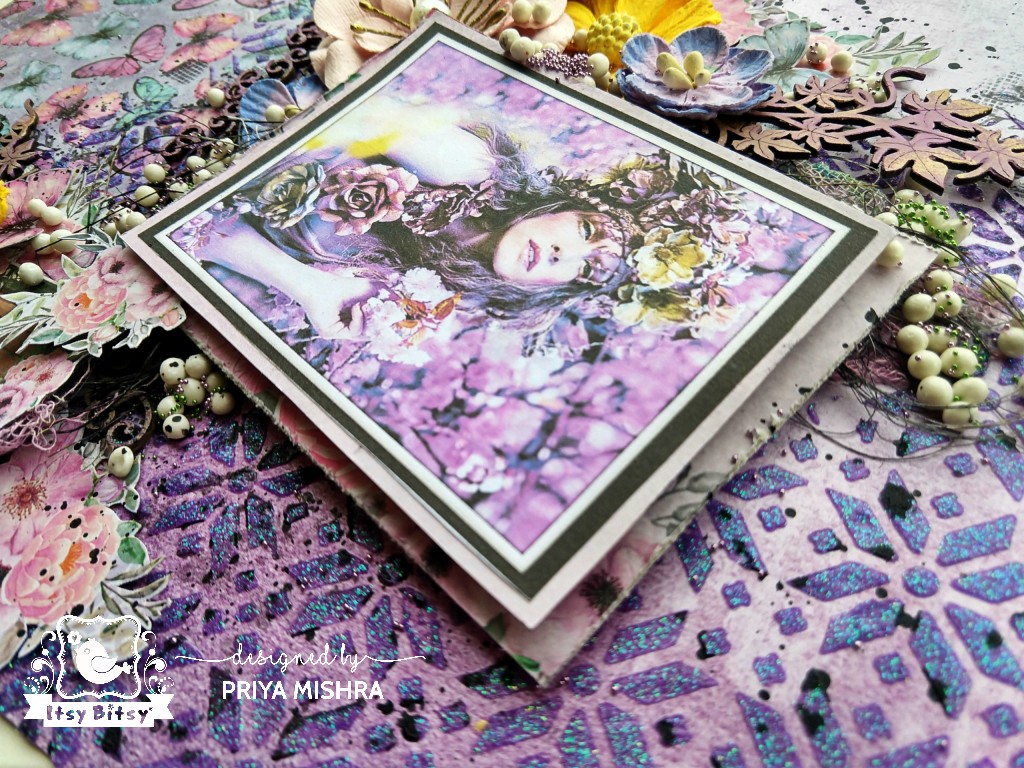
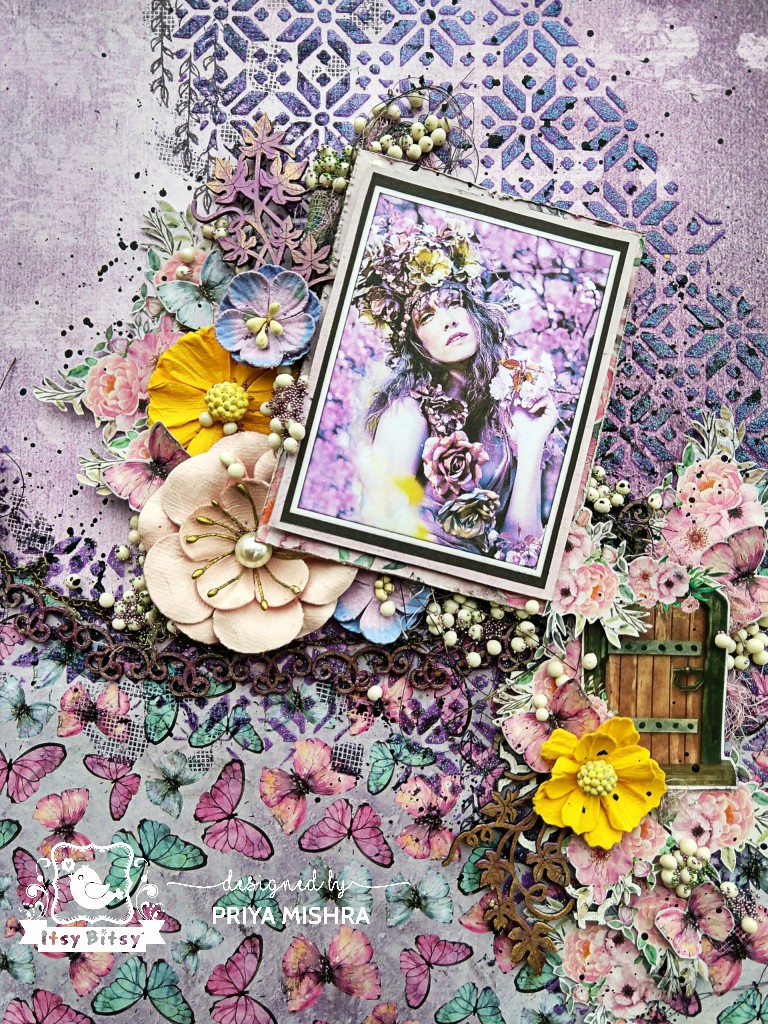
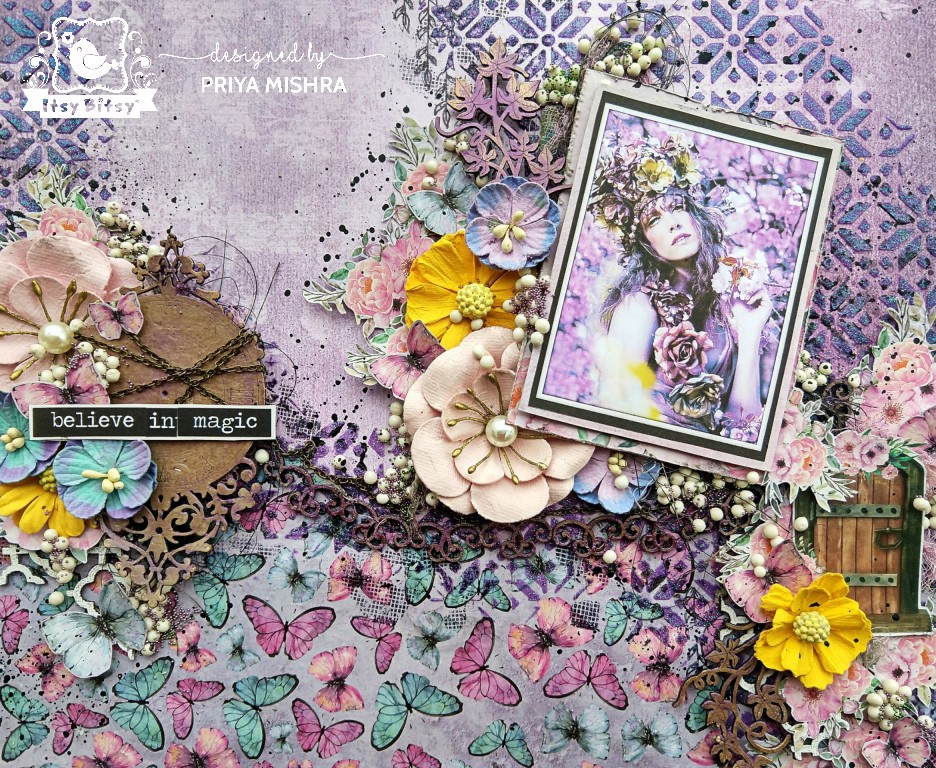
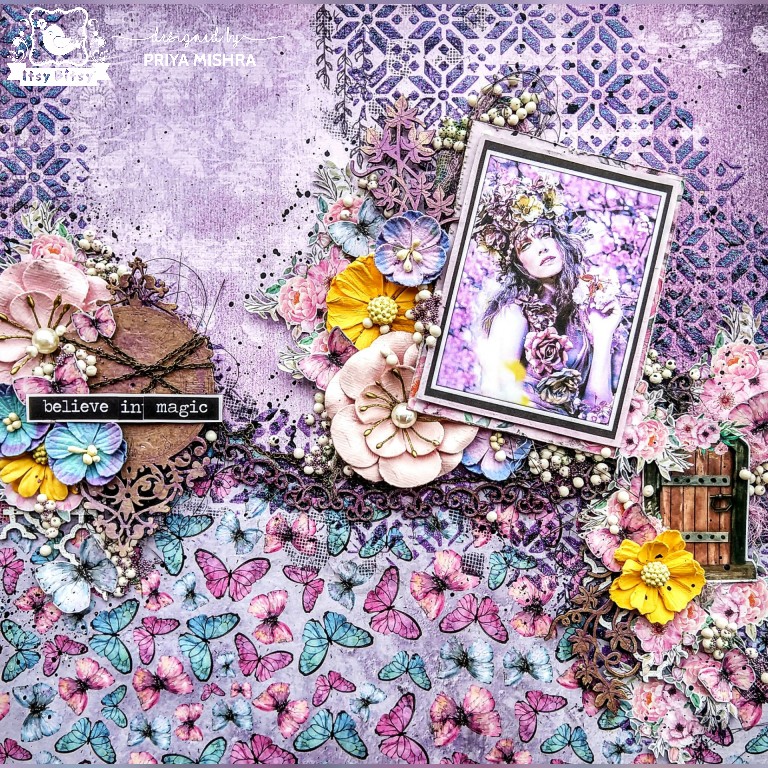
Scrapbooking or Scrapbook layouts are normally decorative pages with your photographs and some journaling related to that particular photo/photos. So the main element of a layout or a scrapbook page is the photo. You can see here in my project…
Layouts are always square in shape. Earlier it was only 12*12 and 10*10 that were popular and they are my favorite sizes too. But now 6*6 and 8*8 sizes are also quite well loved. Whatever size you choose, just make sure that it is a square.
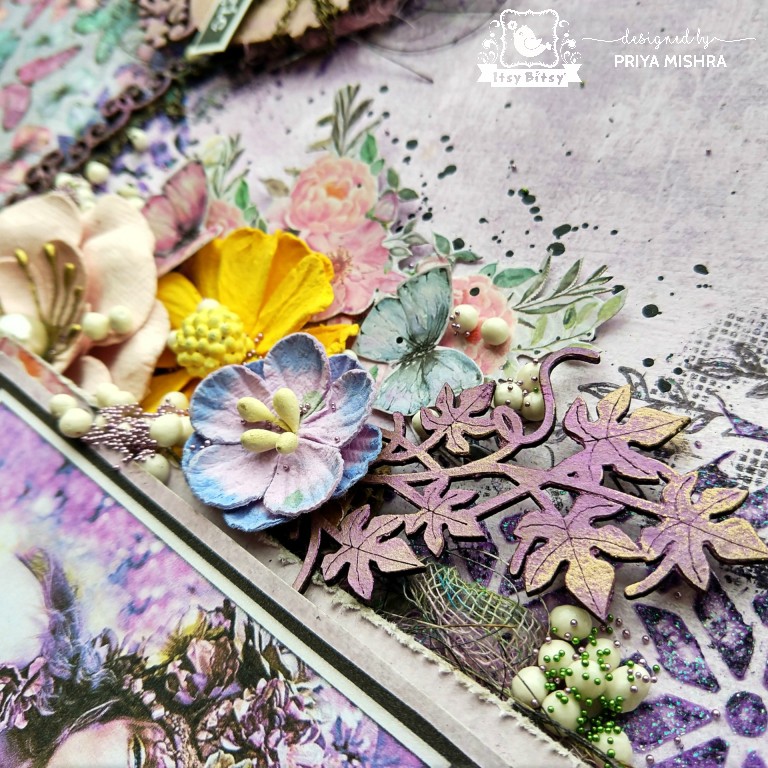
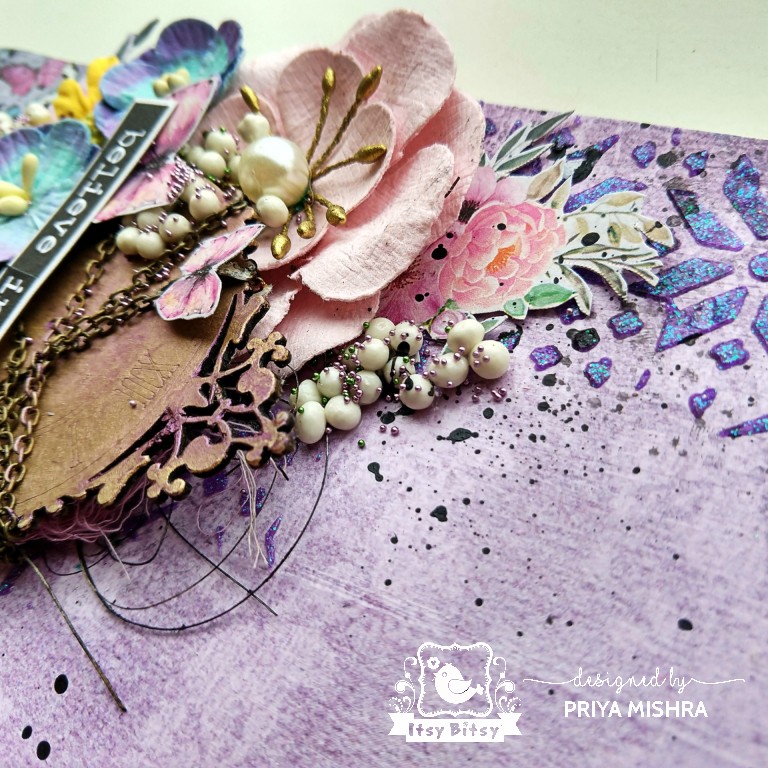
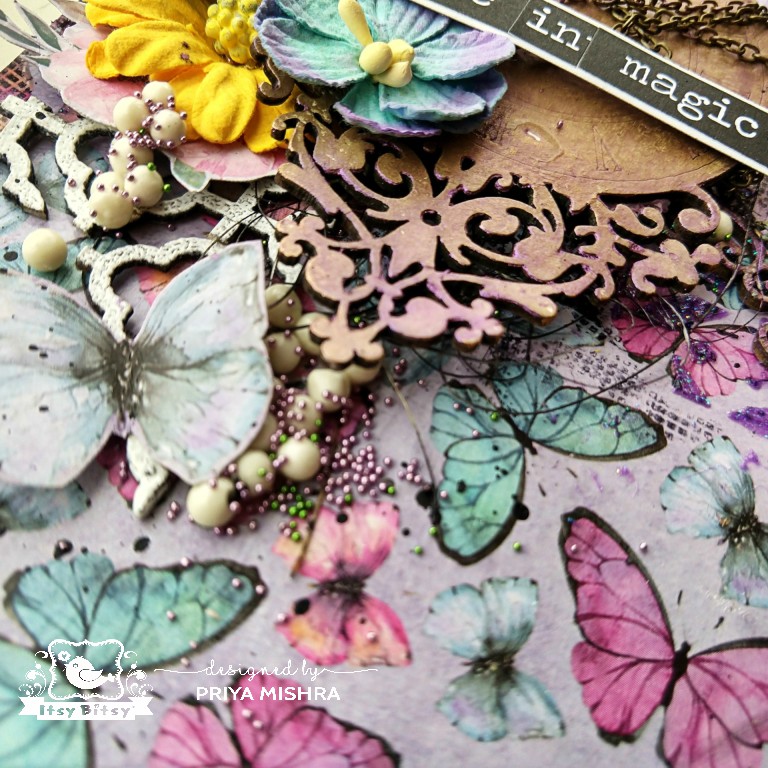
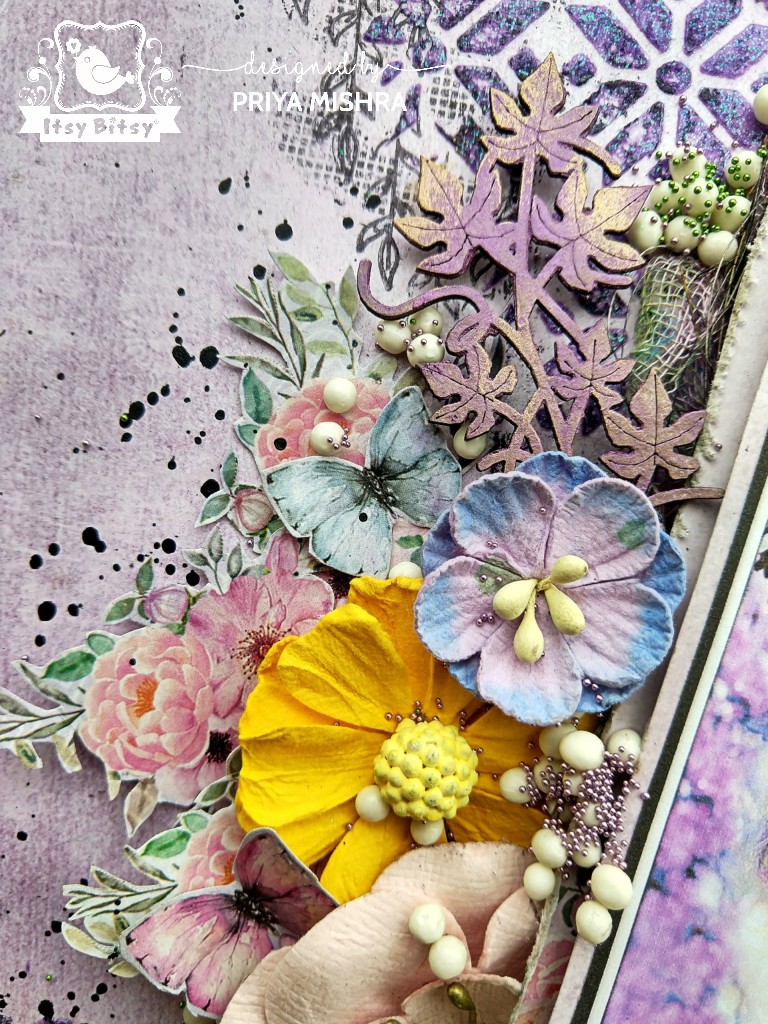
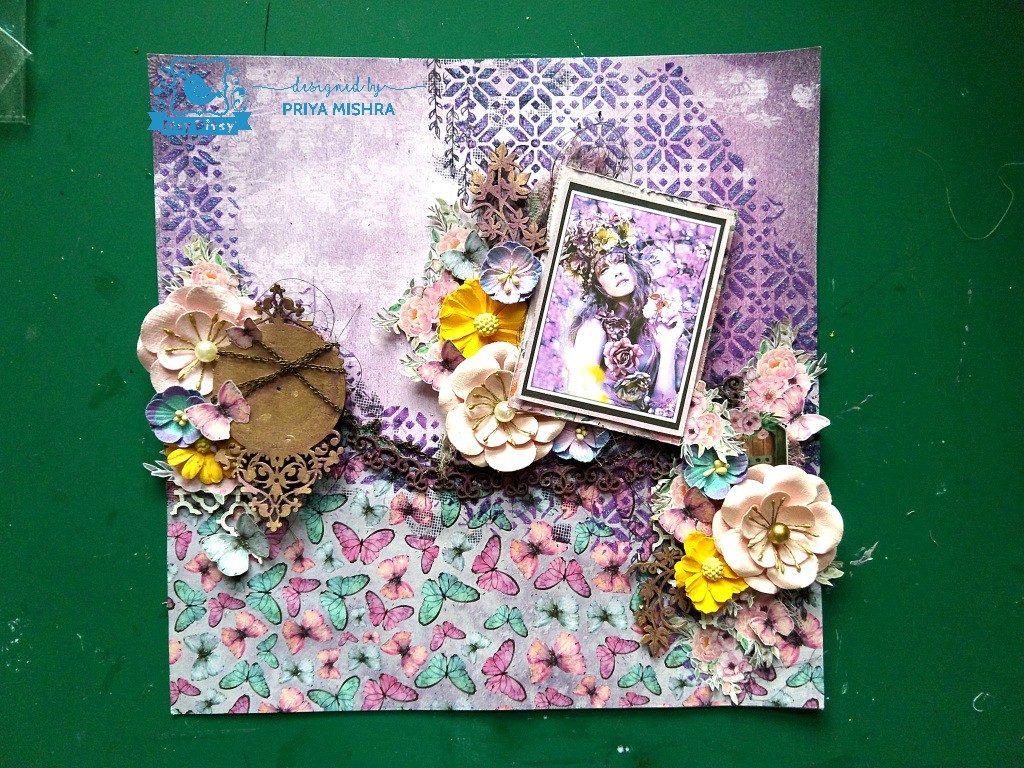
For the decoration, you can go with papers, buttons, inks, stencils, flowers, chipboard whatever you feel like. I love to decorate around my photo and enhance it as the centerpiece of my project. Previously I used to make layouts using my personal pictures but now I prefer to choose photos according to my theme and papers. Here are few close ups of my project followed by the step by step instructions…

So let’s begin with the step by step instructions
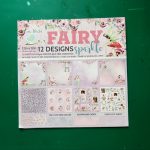
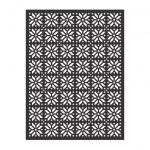
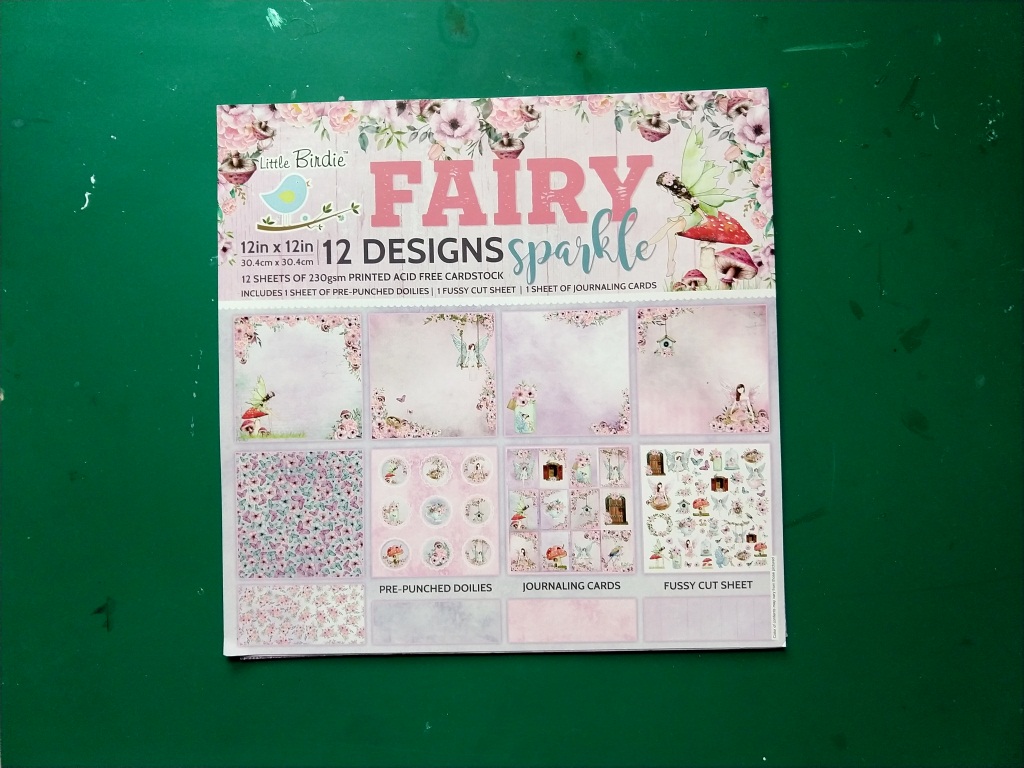
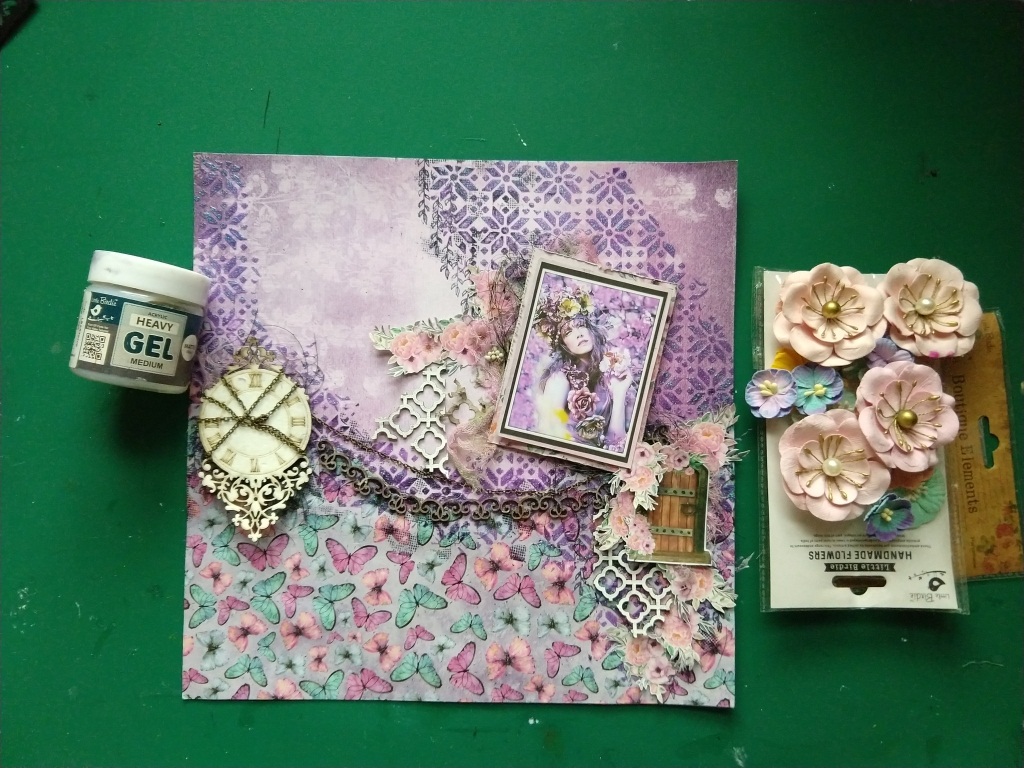
Step 1: I have used “Fairy Sparkle” 12*12 paper pack for this project. This pack comes with 12 pattern papers with 12 different designs including fussy cut sheets, journaling cards, pre-punched doilies.
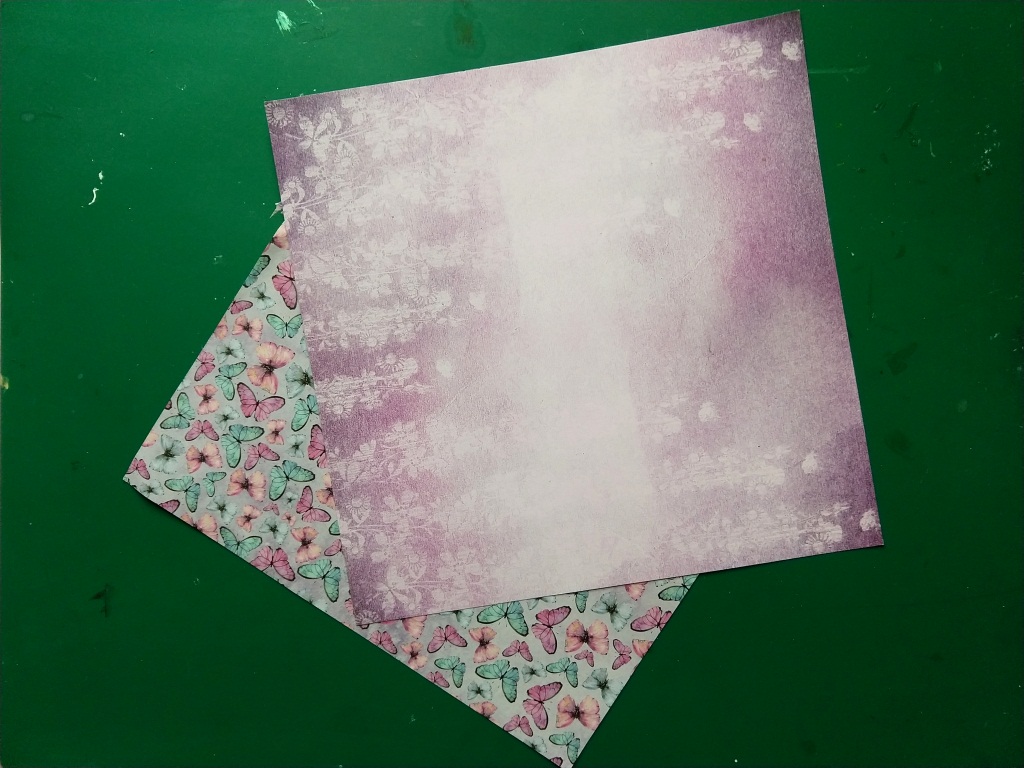
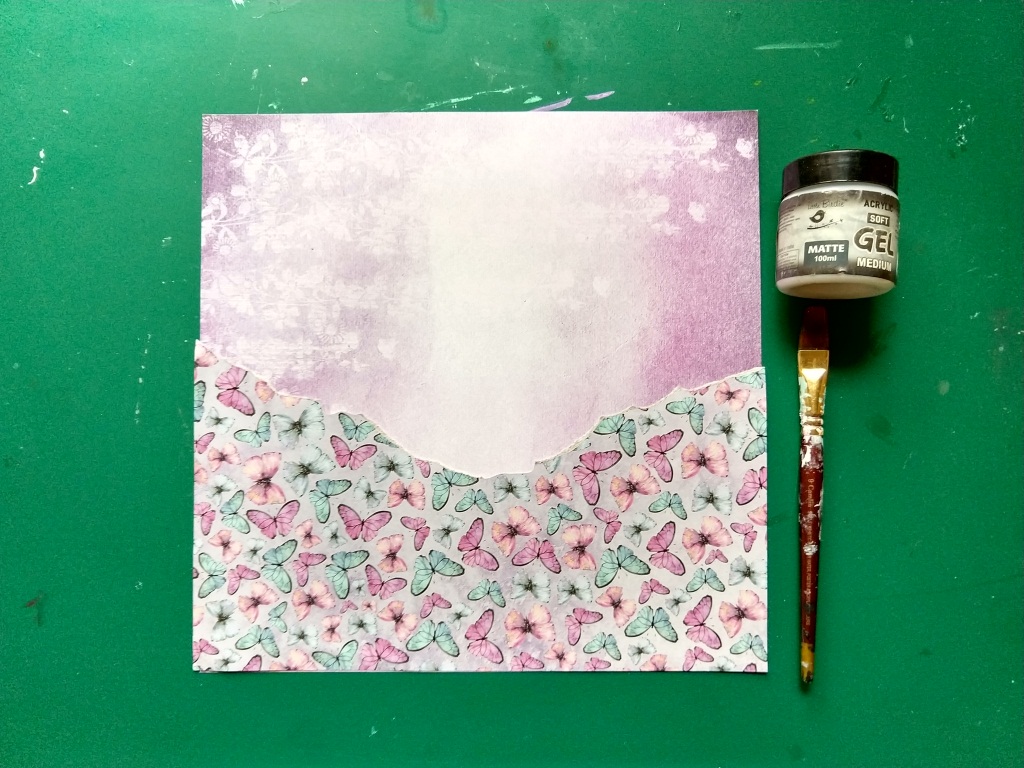
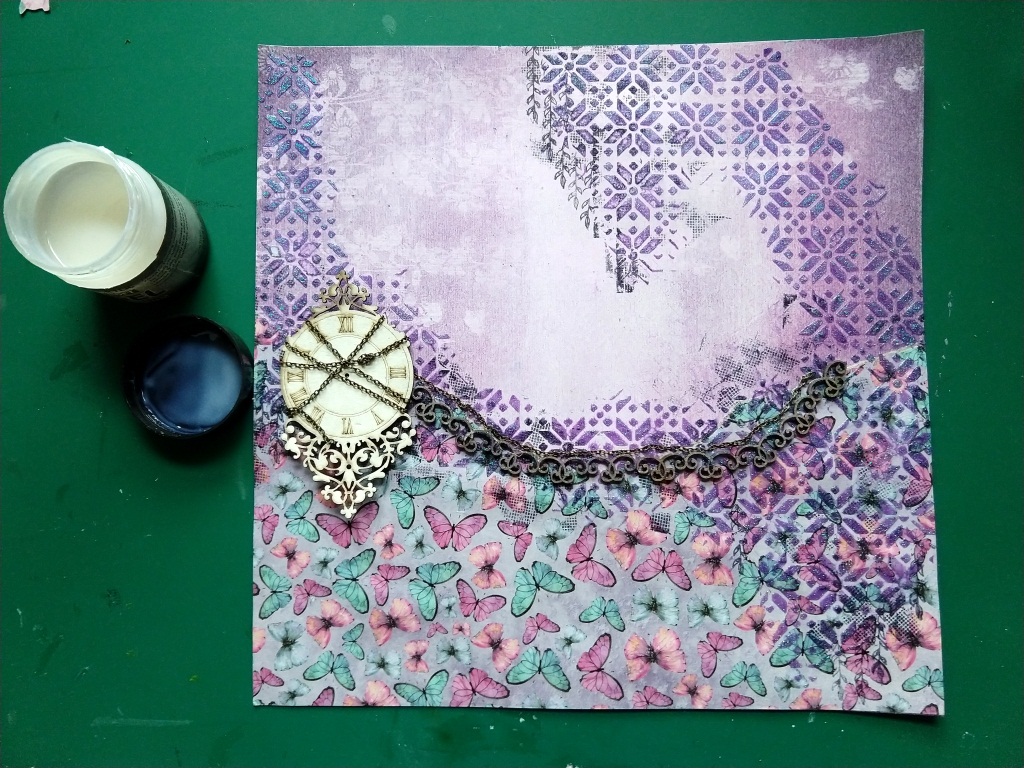
Step 2: I took two different sheets from this pack and tore one page into half and glued on the other sheet. This becomes my background. The best part of these pattern papers are you get a beautiful background to your layouts.
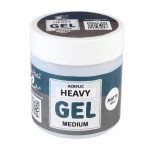
Step 3: Next, I covered the entire surface with Soft Gel medium matte. This gel makes the surface non porous and now my paper is ready to be treated with any mixed media products on it.
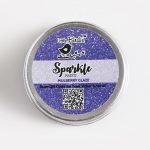
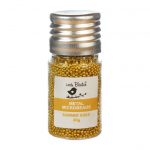
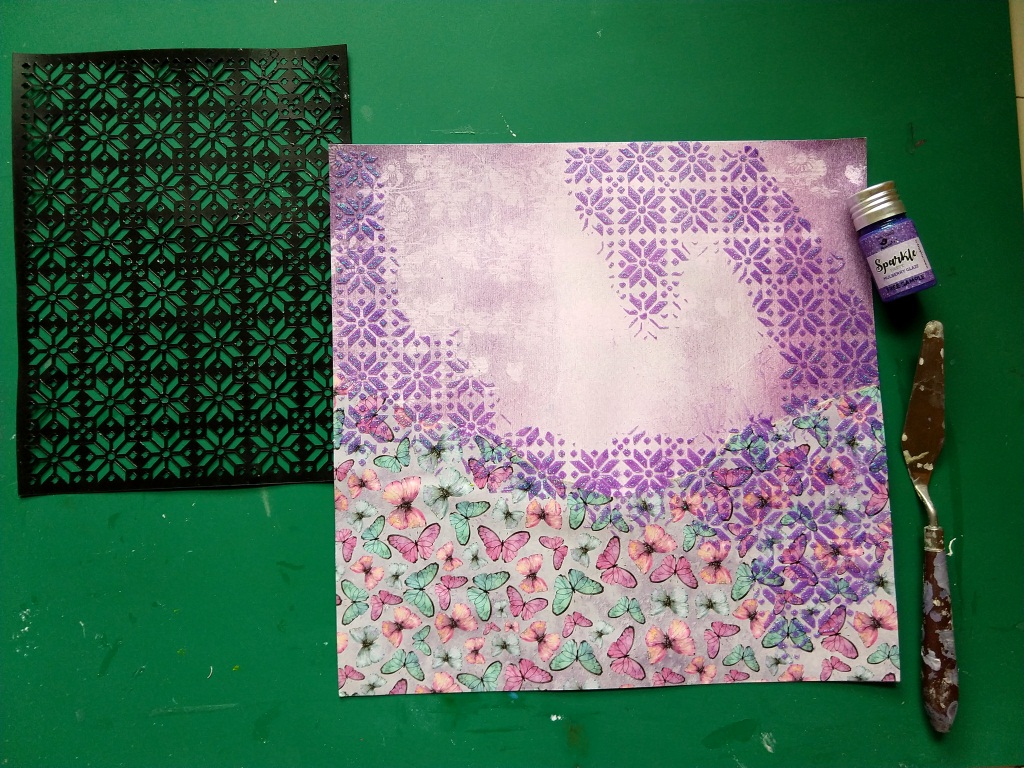
Step 4: I made some textures using a Little Birdie stencil, Sparkle Paste- Mulberry Glaze, with the help of a spatula.
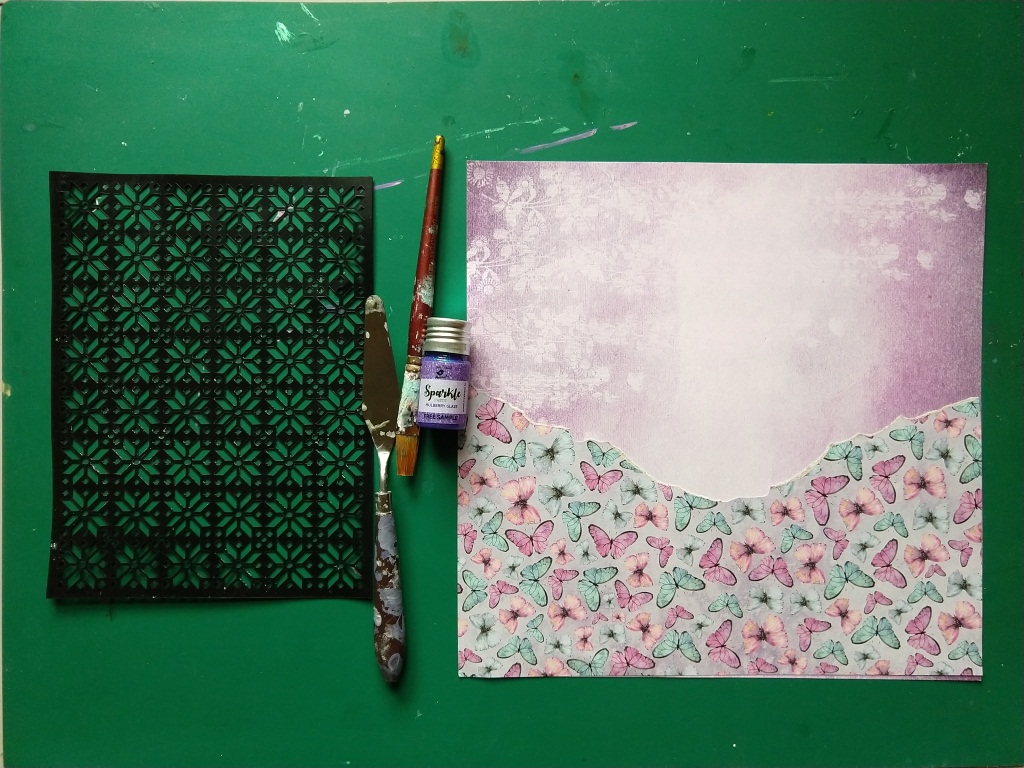
Step 5: Sparkle Paste adds a colorful sparkle to your background so you do not need to go for extra glitter products. This can be used to make backgrounds for cards also. It is very smooth and easy to use with a stencil.
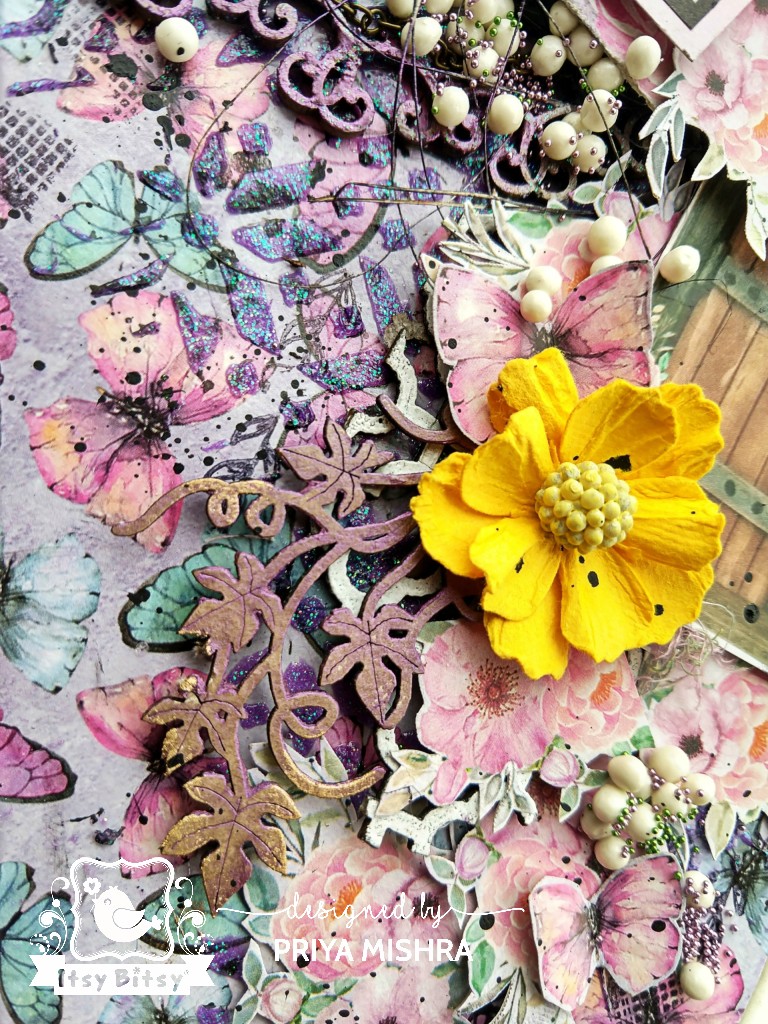
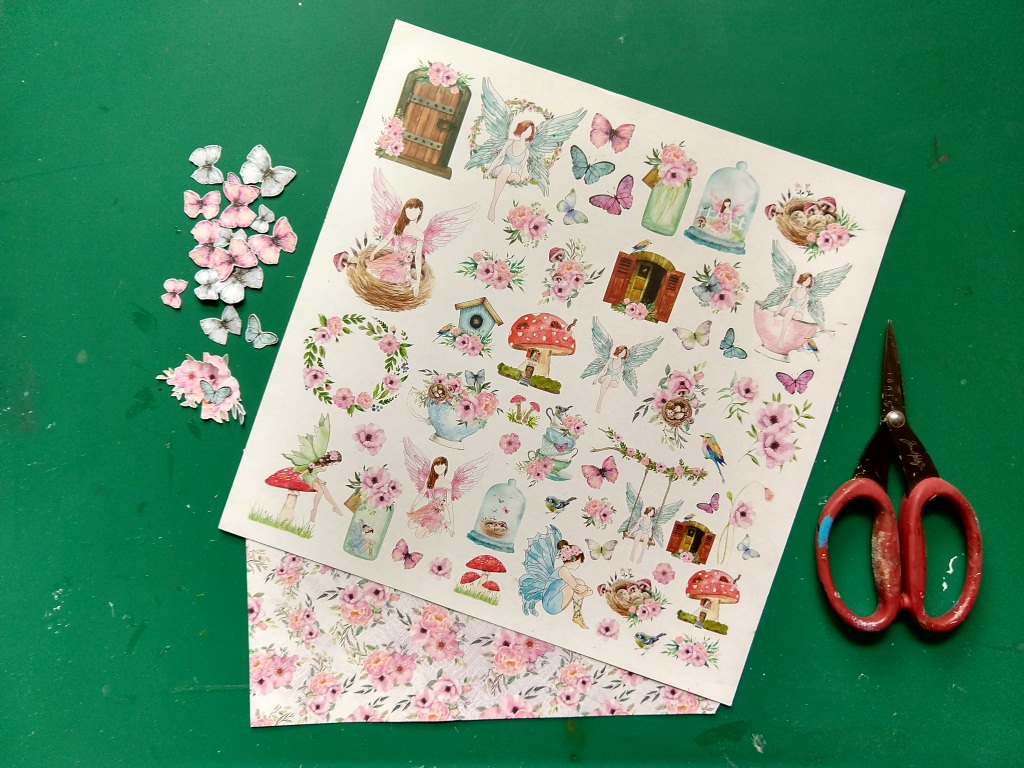
Step 6: From the fussy cut element sheet, I cut out a lot of flowers and butterflies and also a fairy door. You can choose any element to suit your project.
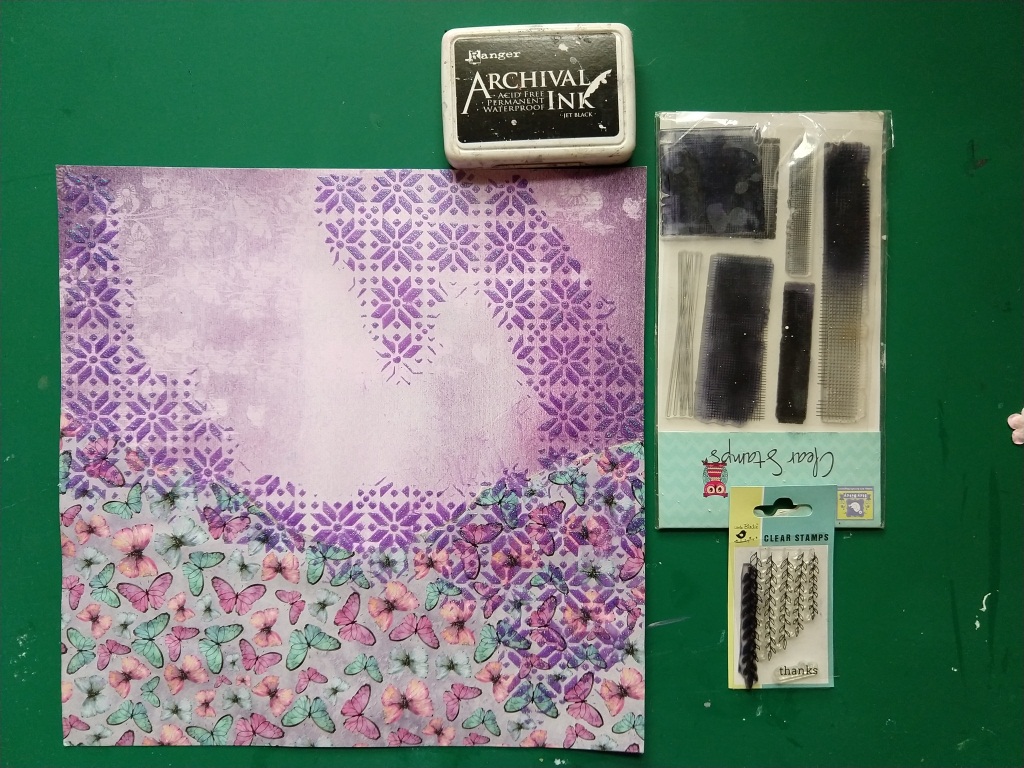
Step 7: After my Sparkle Paste dried, I used some clear stamps and archival ink to stamp here and there to make my background more interesting.
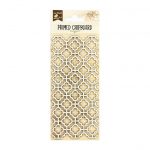
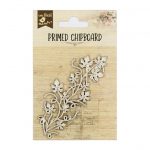
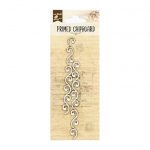
Step 8: Then I took some primed chipboard and coloured them with Sparkle Paste.
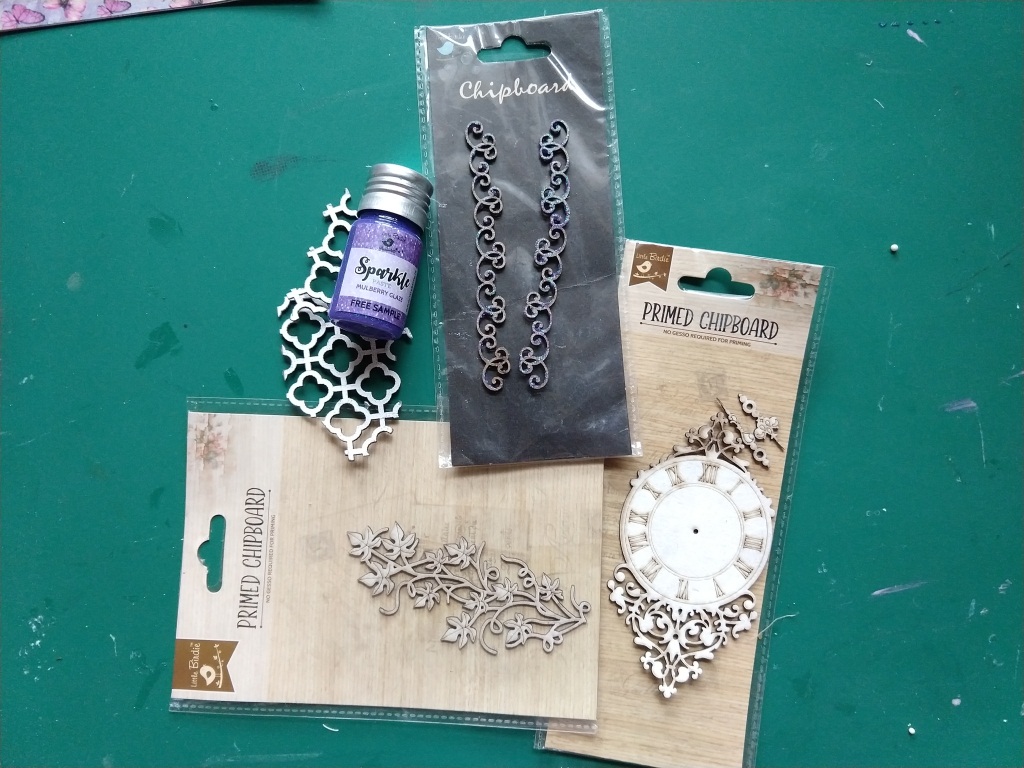
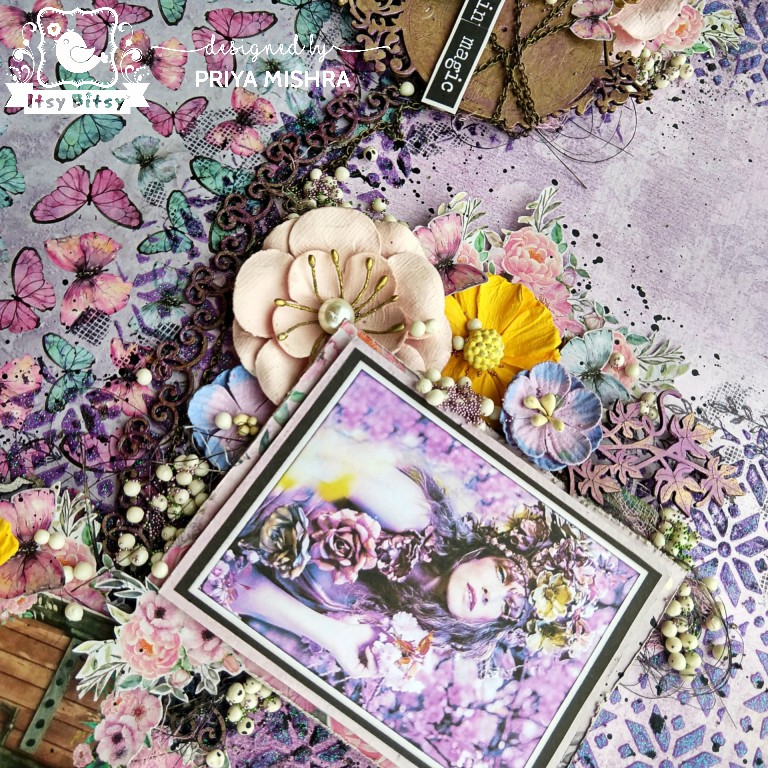
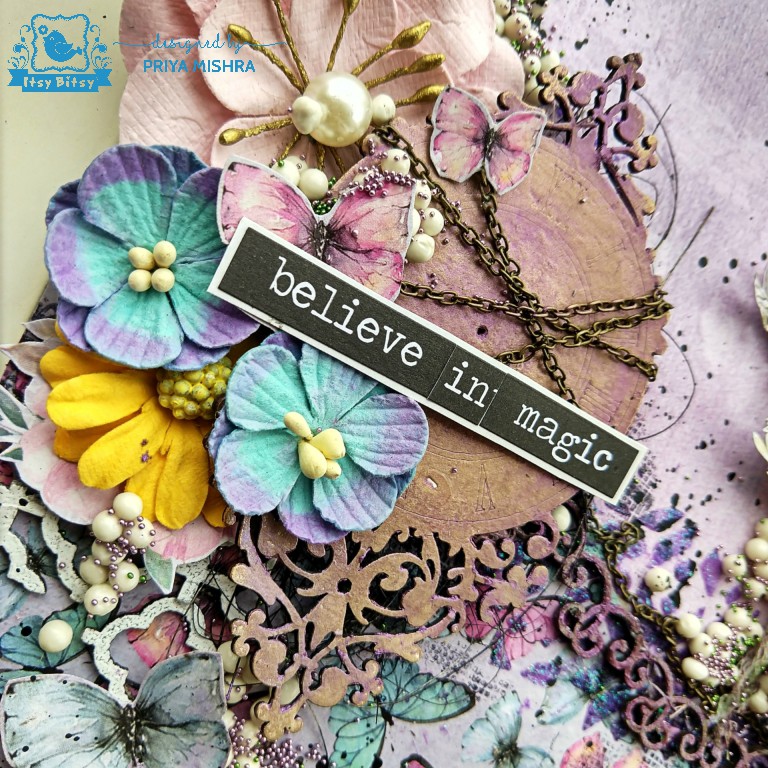
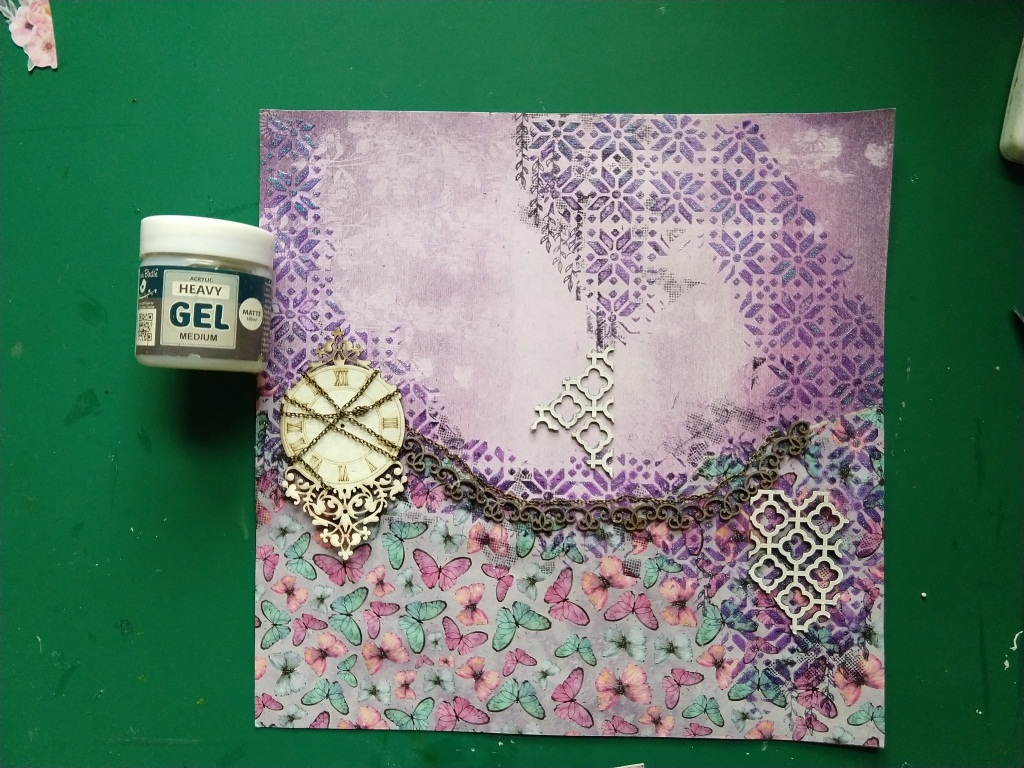
Step 9: I added a metal chain with the clock chipboard and adhered it using gel medium.
Step 10: Similarly I attached rest of the chipboard shapes on the background as I needed, with the help of heavy gel medium.
Step 11: I took this picture of a fairy that goes along with my paper and adhered a layer of same pattern paper in it’s background. I placed it on my page and started to adhere my fussy cut elements around it. The flowers and butterflies…
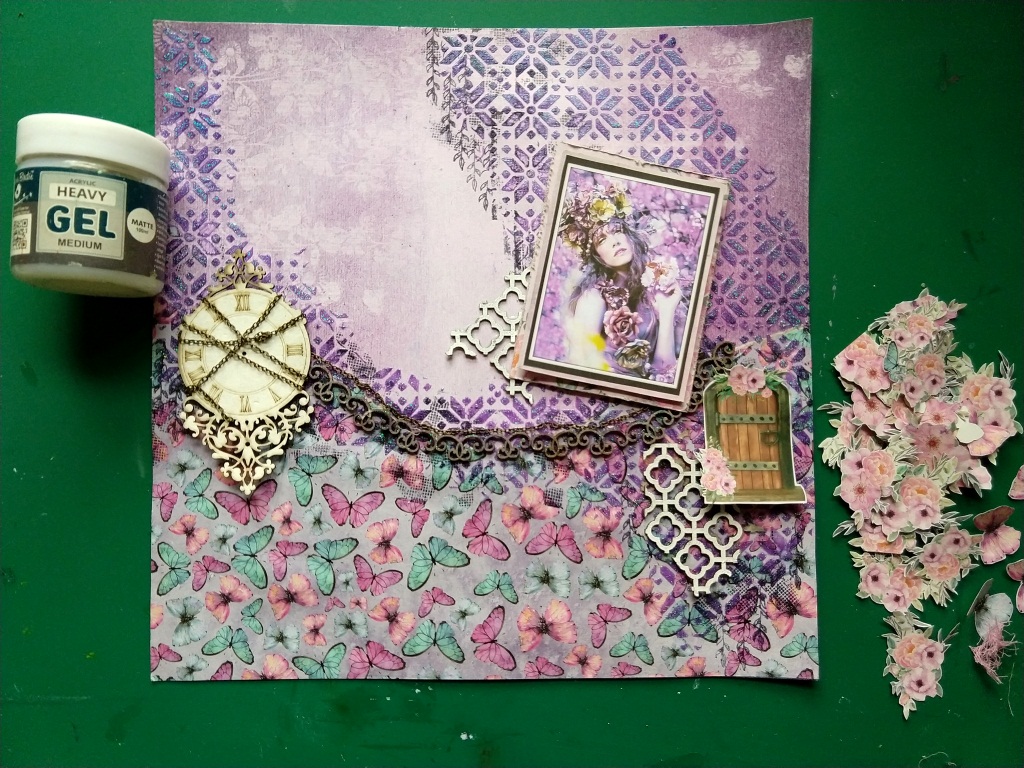
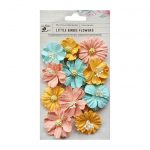
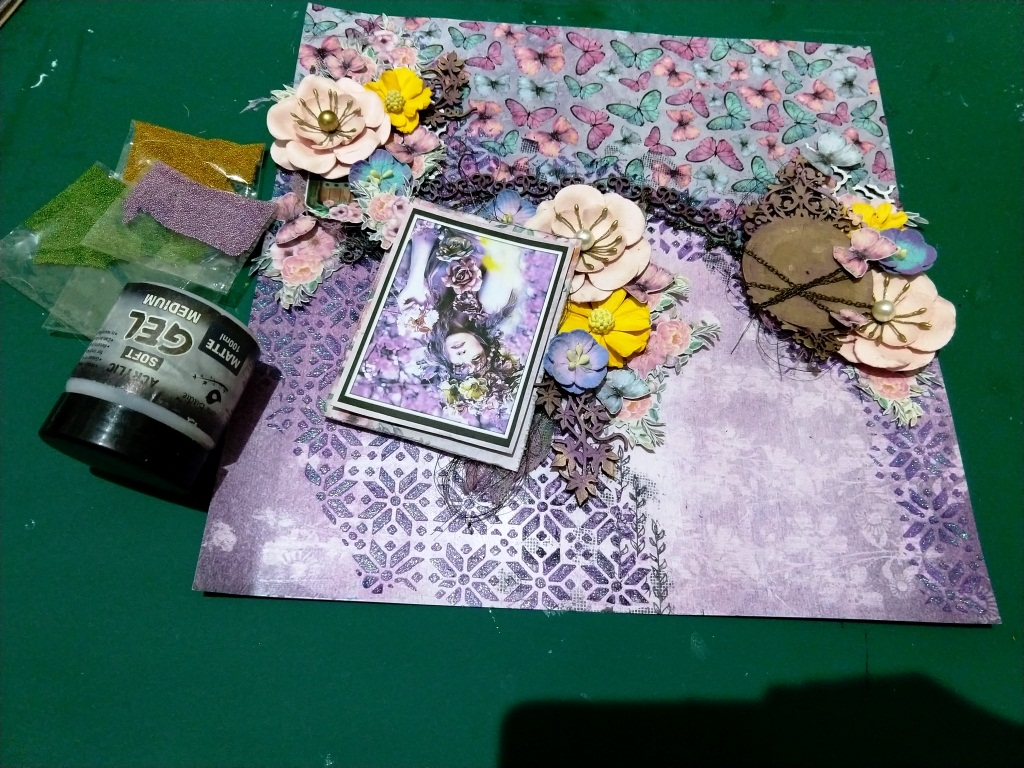
Step 12: Once I was satisfied with the layering, I added a small piece of cheesecloth and some coconut coir, colored with archival black ink behind the photo. Then I started to add the gorgeous Little Birdie handmade flowers from Itsy Bitsy.
Step 13: In between, I kept on adding the fussy cut elements too as and when needed. Now you can see all my chipboards are colored.
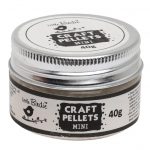
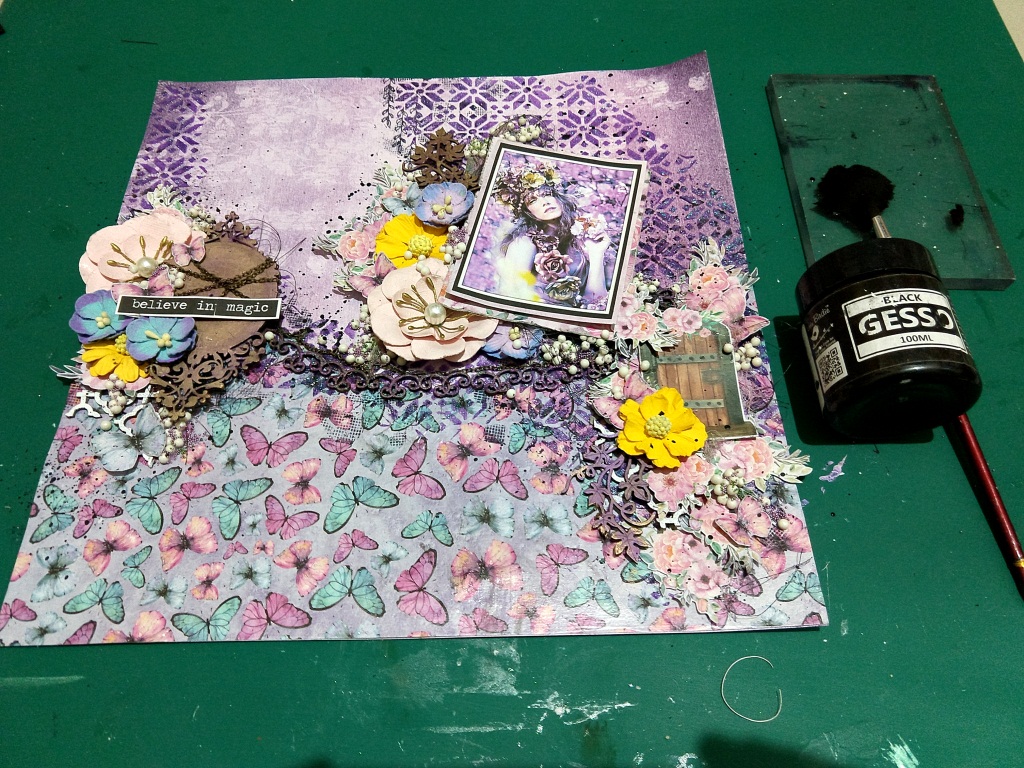
Step 14: For a great finishing touch, I added some craft pallets and metal microbeads. These helps in filling the gaps, if any.
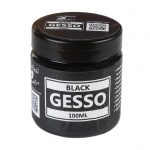
Step 15: I diluted some back gesso and splashed over my entire page after covering the photo. This completed my project.
Thanks a lot for your precious time. Hope you like my project.
Supplies Used: