Hi everyone,
This is Priyanka Shashi, wish you all a very happy New Year. Let’s begin the new year with a crafty kick start. Itsy Bitsy launched Disney products a couple of months ago. The collection has some awesome stuff in candle making supplies. You can easily use them to create unlimited Frozen themed candles. Today I have some Frozen themed candles to showcase.
Easy Gel Candle
For this candle we need gel wax, gel wax dye, pillar glass mould, Frozen Berry – glittery star mix and handmade sparkle flower.
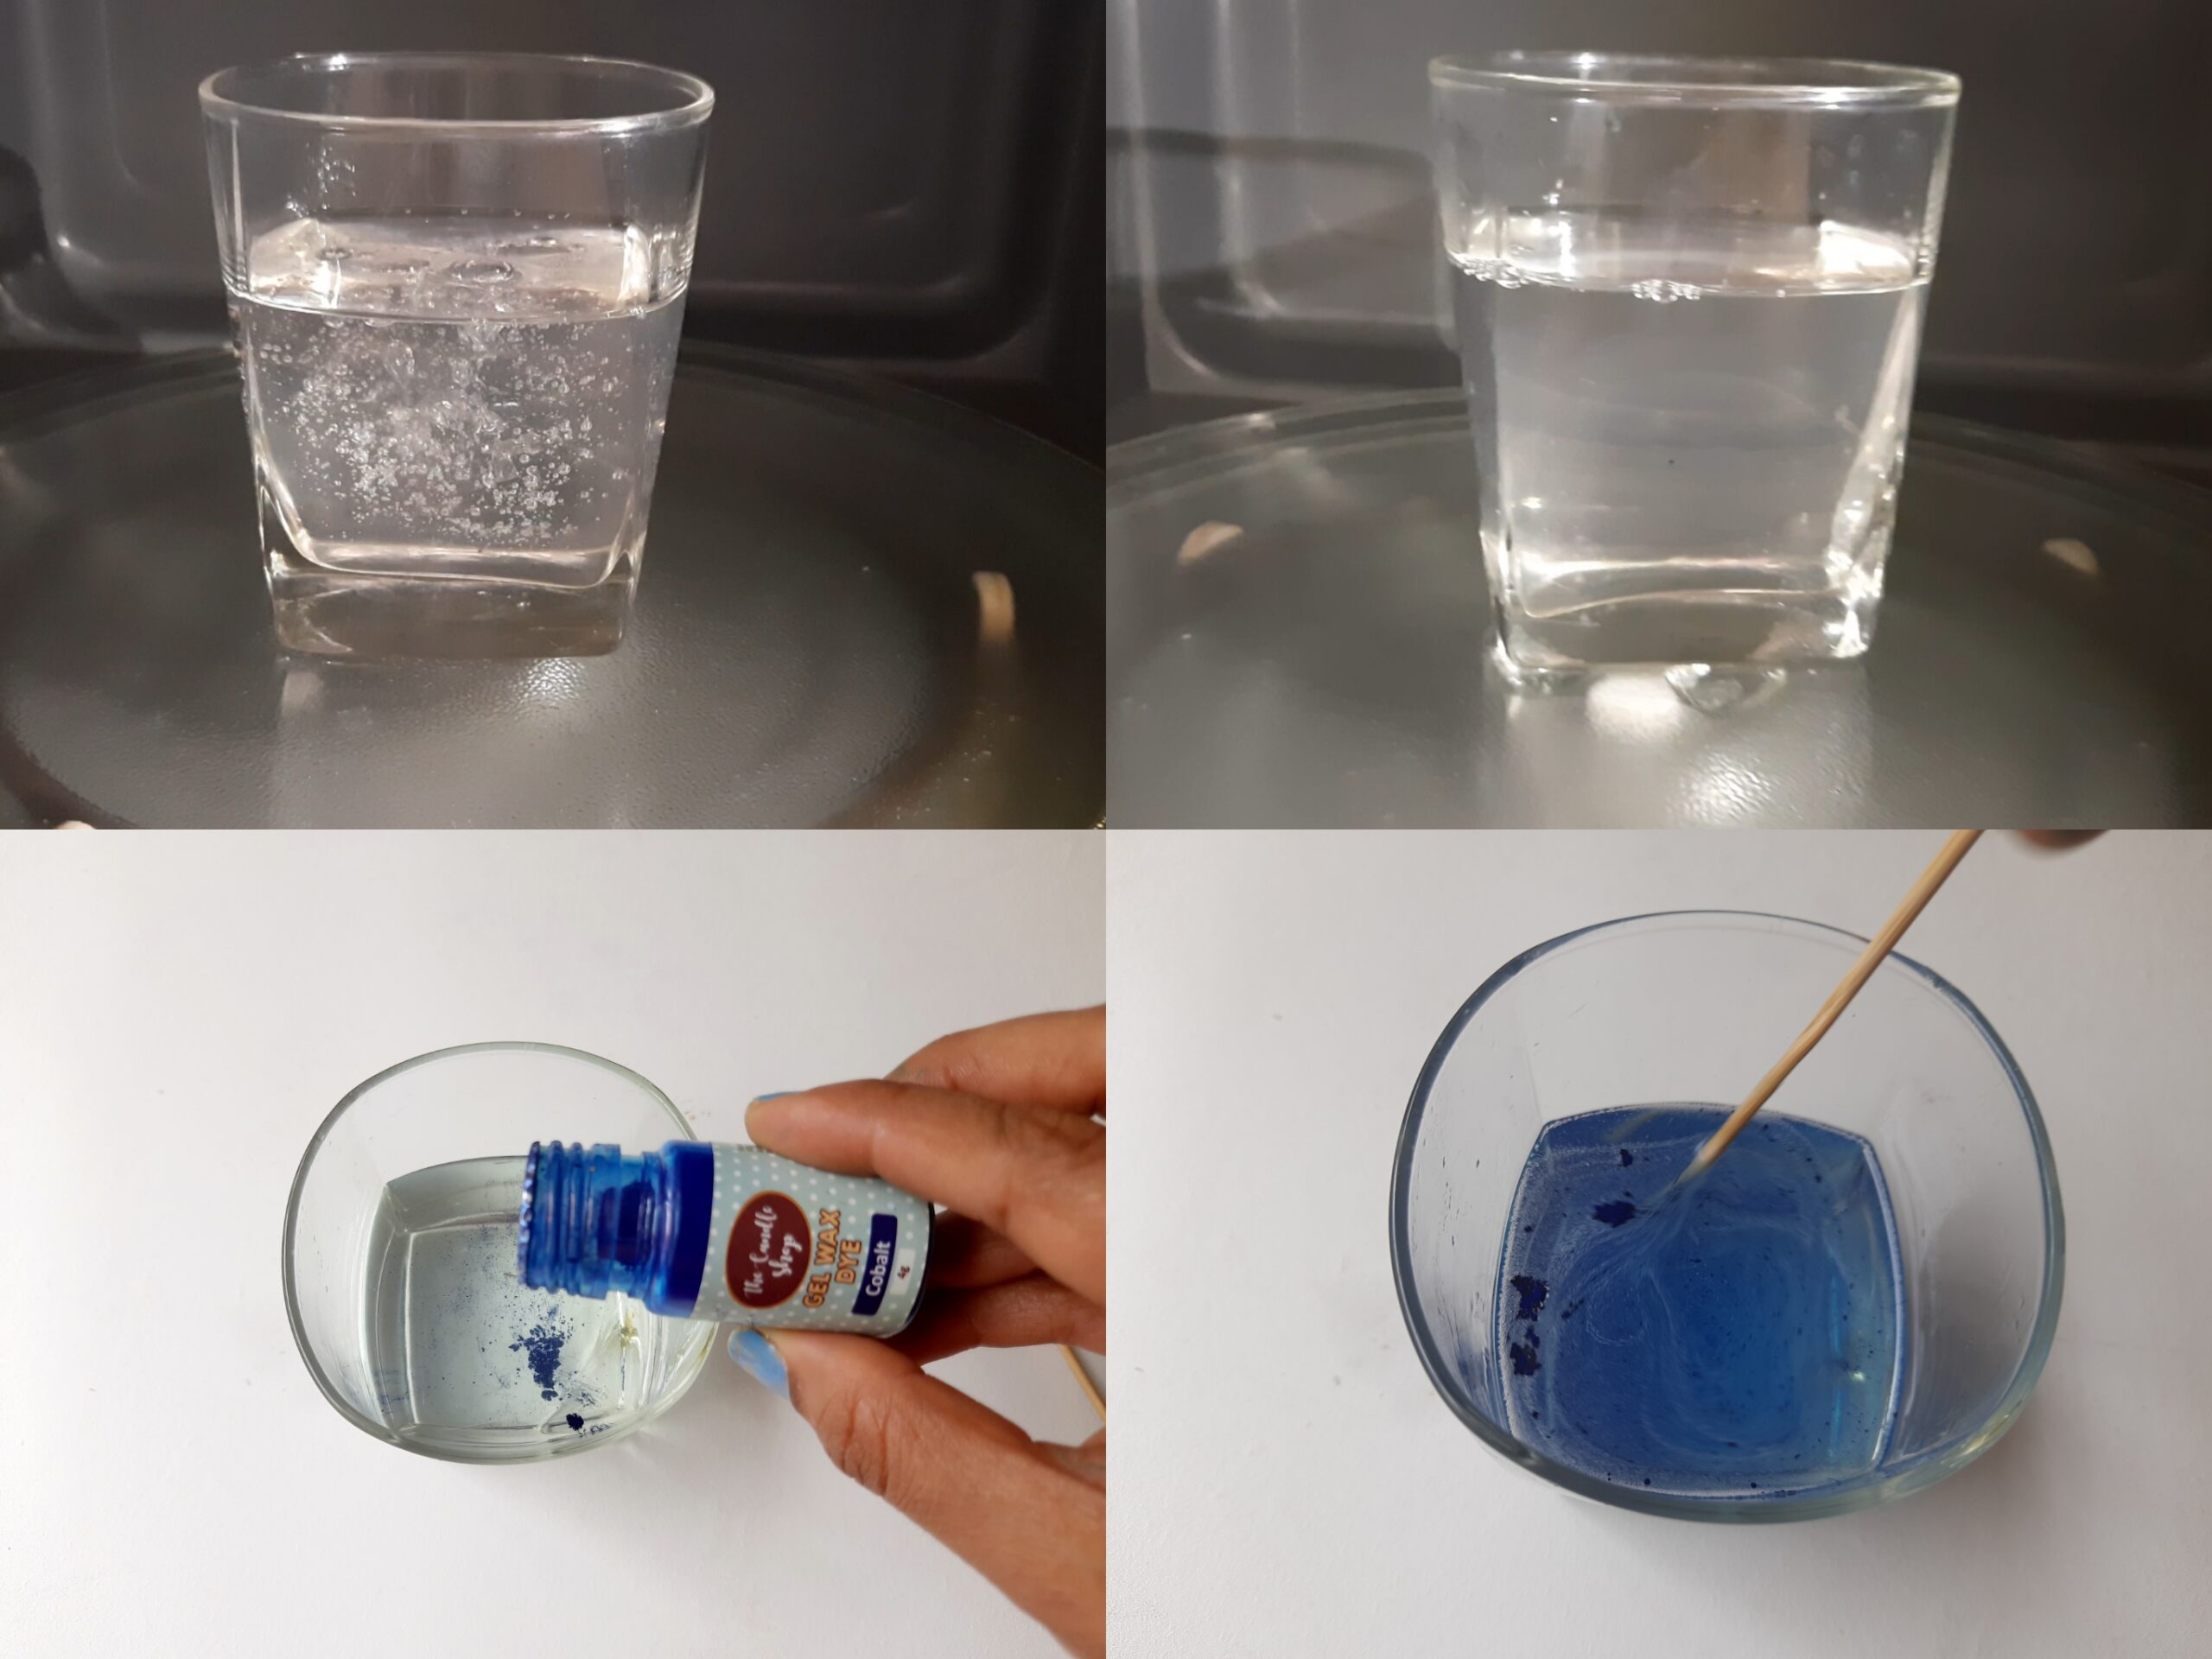 Melt the gel wax in a microwave safe glass container for 5 minutes and leave it for two minutes. If the gel wax has not melted reheat it for another 2-3 minutes. Once the gel wax melts, remove it from the microwave. Add Cobalt gel wax dye and stir it nicely.
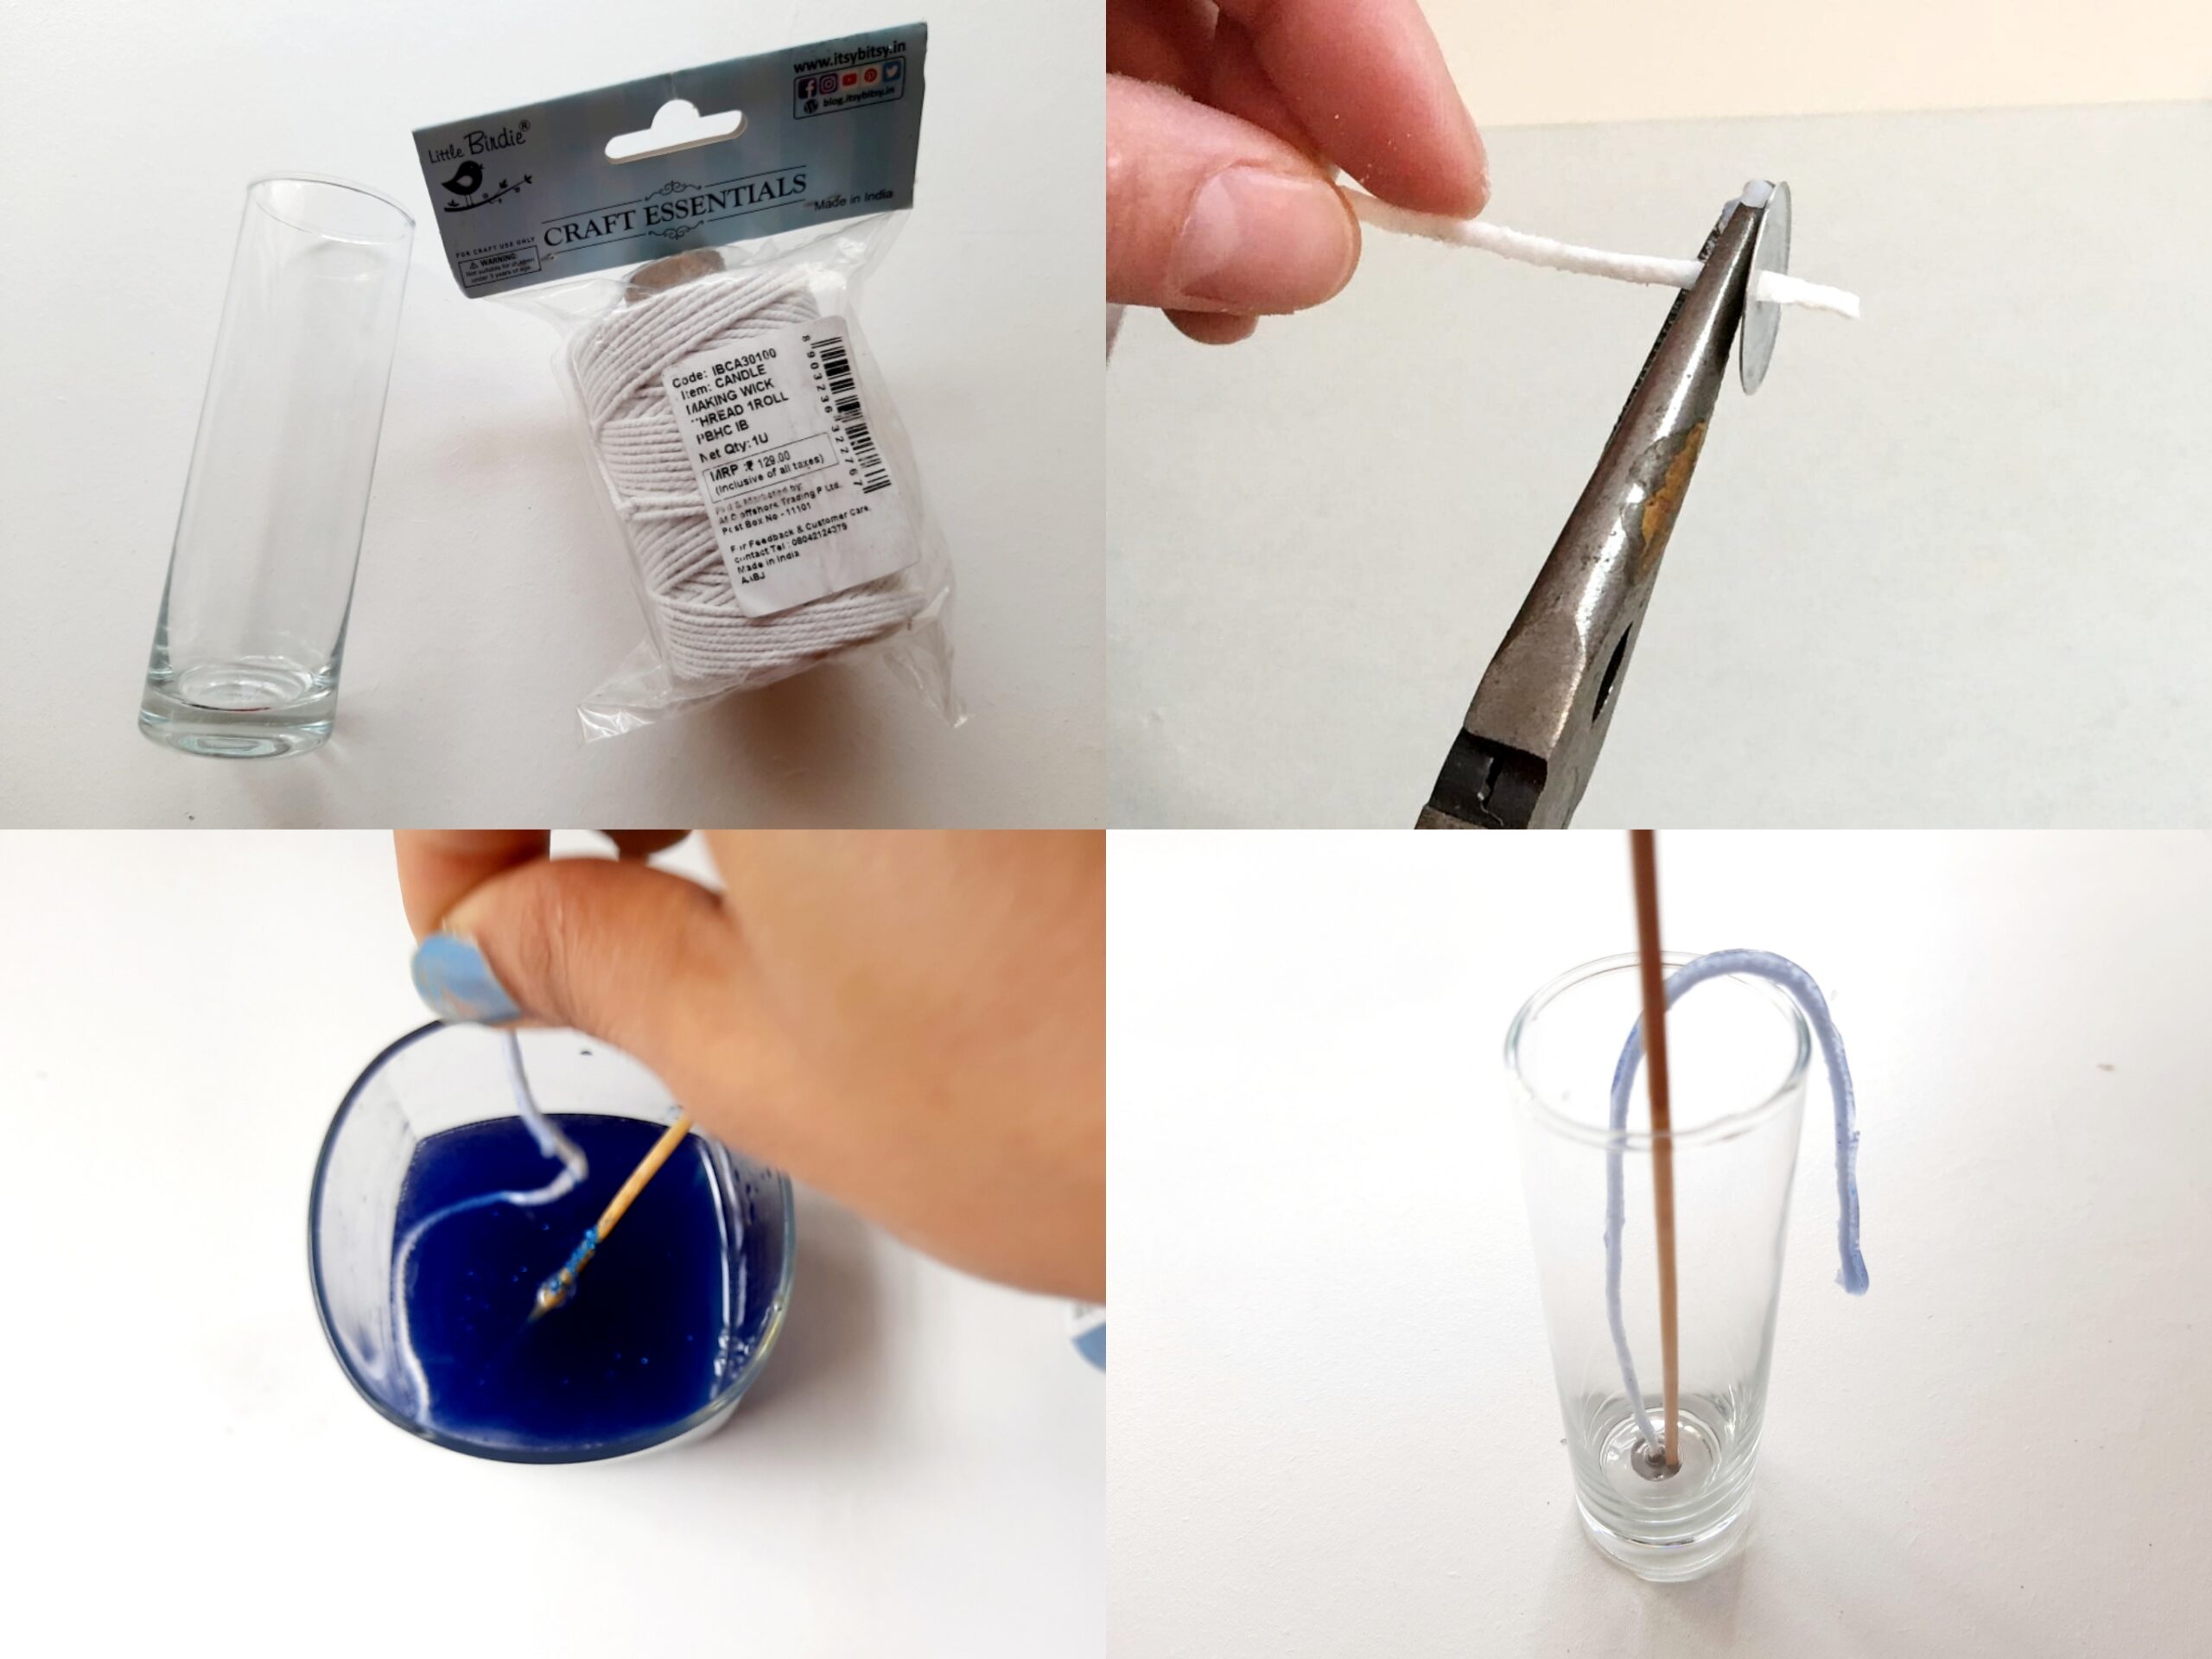 We need non-coated cotton wick for the gel candle. Cut the desired length of wick from the spool. Add a tab at one end and secure it by pressing it with a plier. Drop the wick in the melted gel wax to give it a nice coat of gel wax. Remove it from the gel wax and lay it on a flat surface. It will cool down very fast. Now set the wick at the bottom of the glass mould with the help of a glue gun.
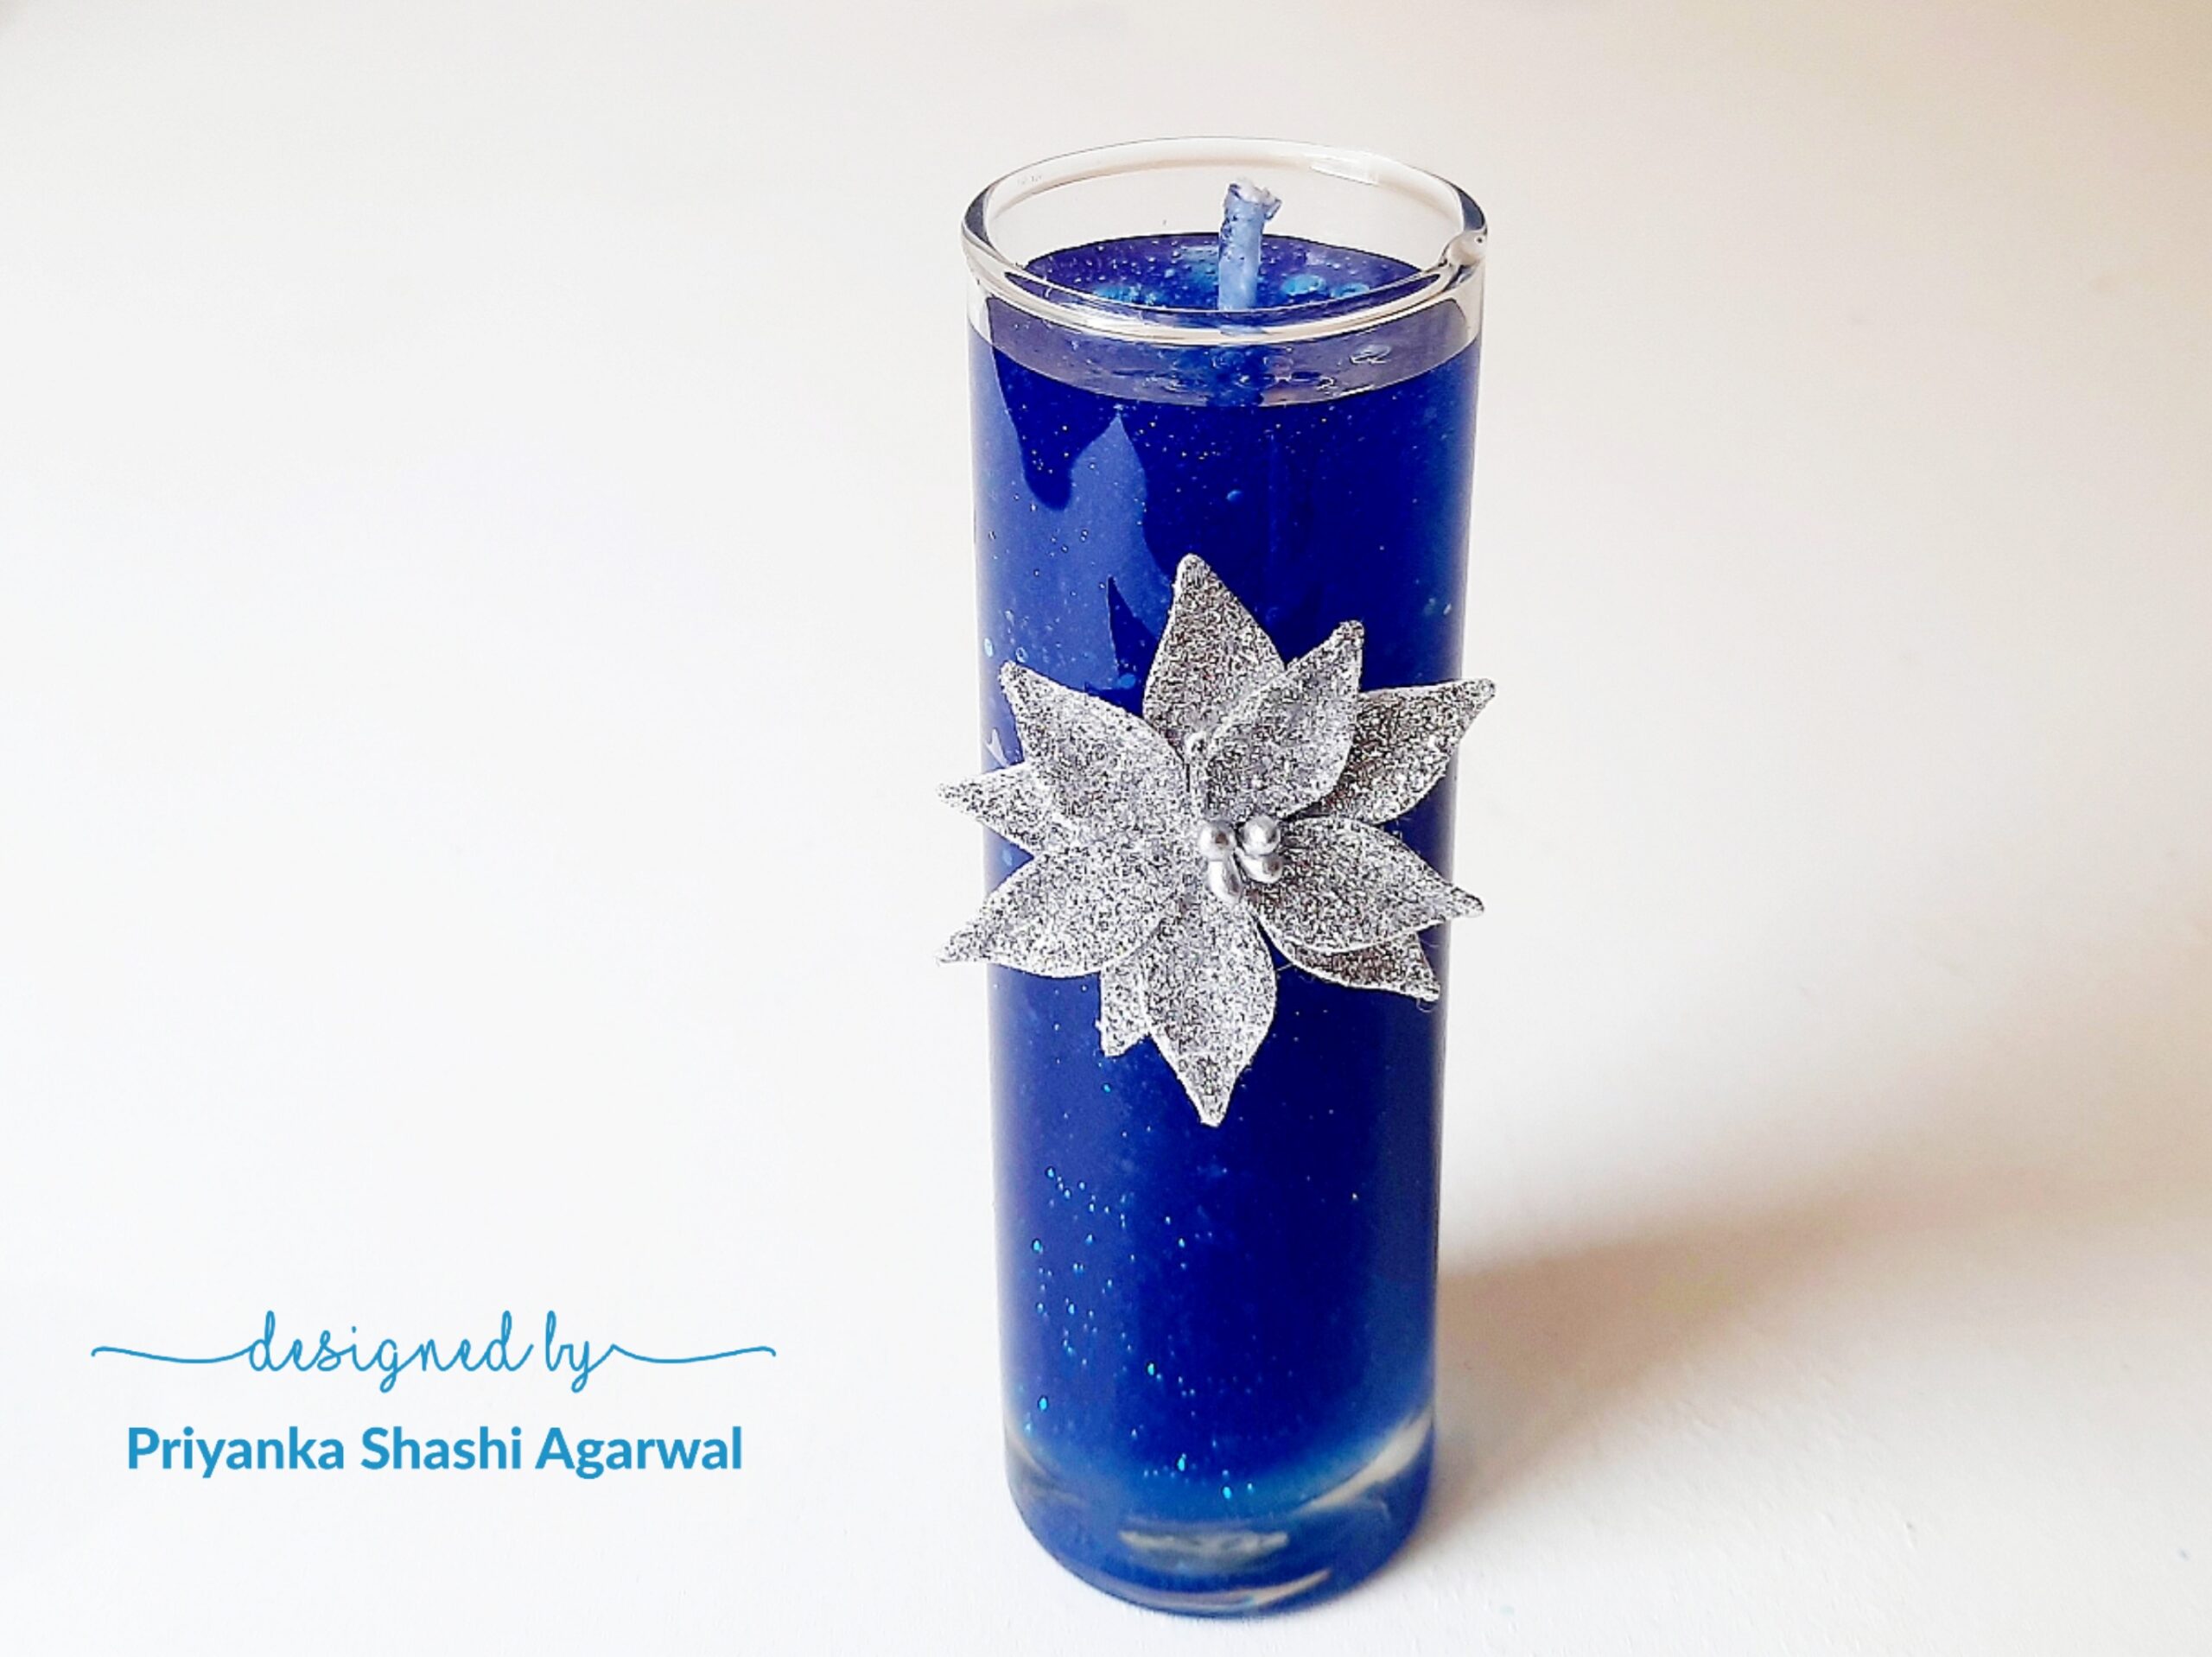
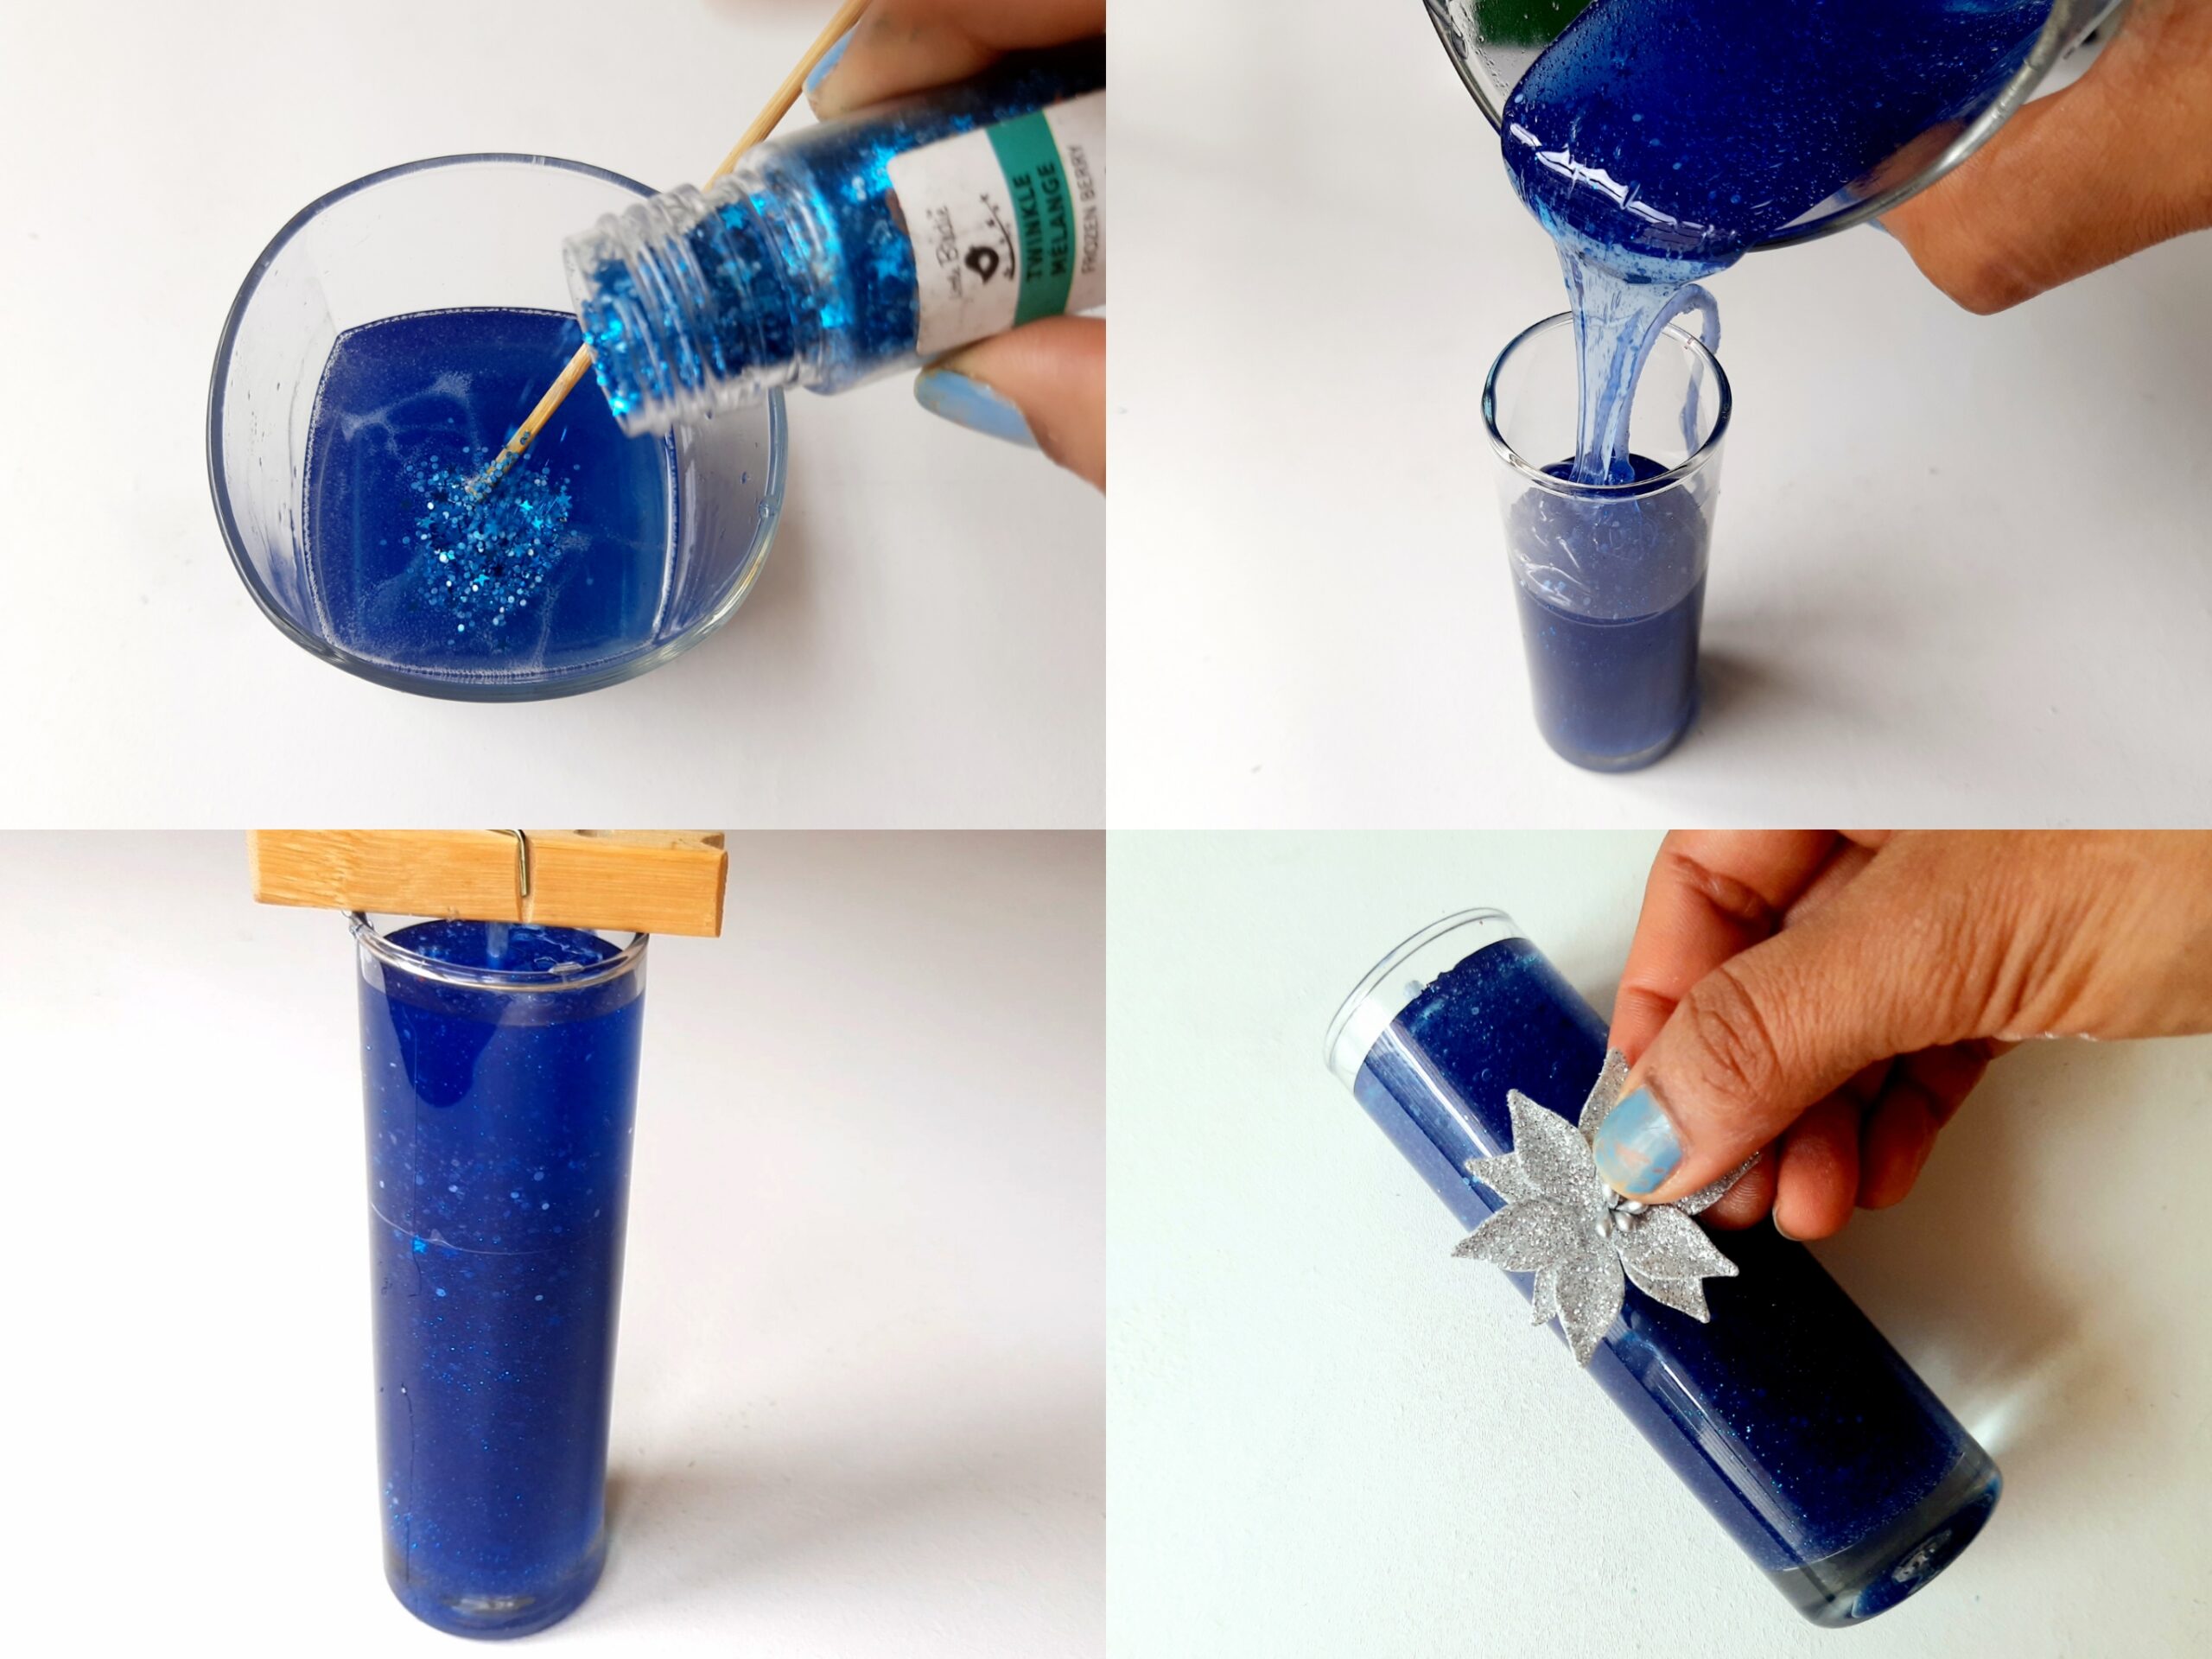 Add the glittery star mix in the melted gel wax and pour it in the mould. Set the wick in the center at the top with help of a wooden peg and allow it to cool down. It won’t take long as the gel wax cools fast. Embellish the gel wax candle with a silver handmade glitter flower to match with Frozen theme. The Frozen themed gel candle is ready, have a look at it
Frozen Icicle Candle
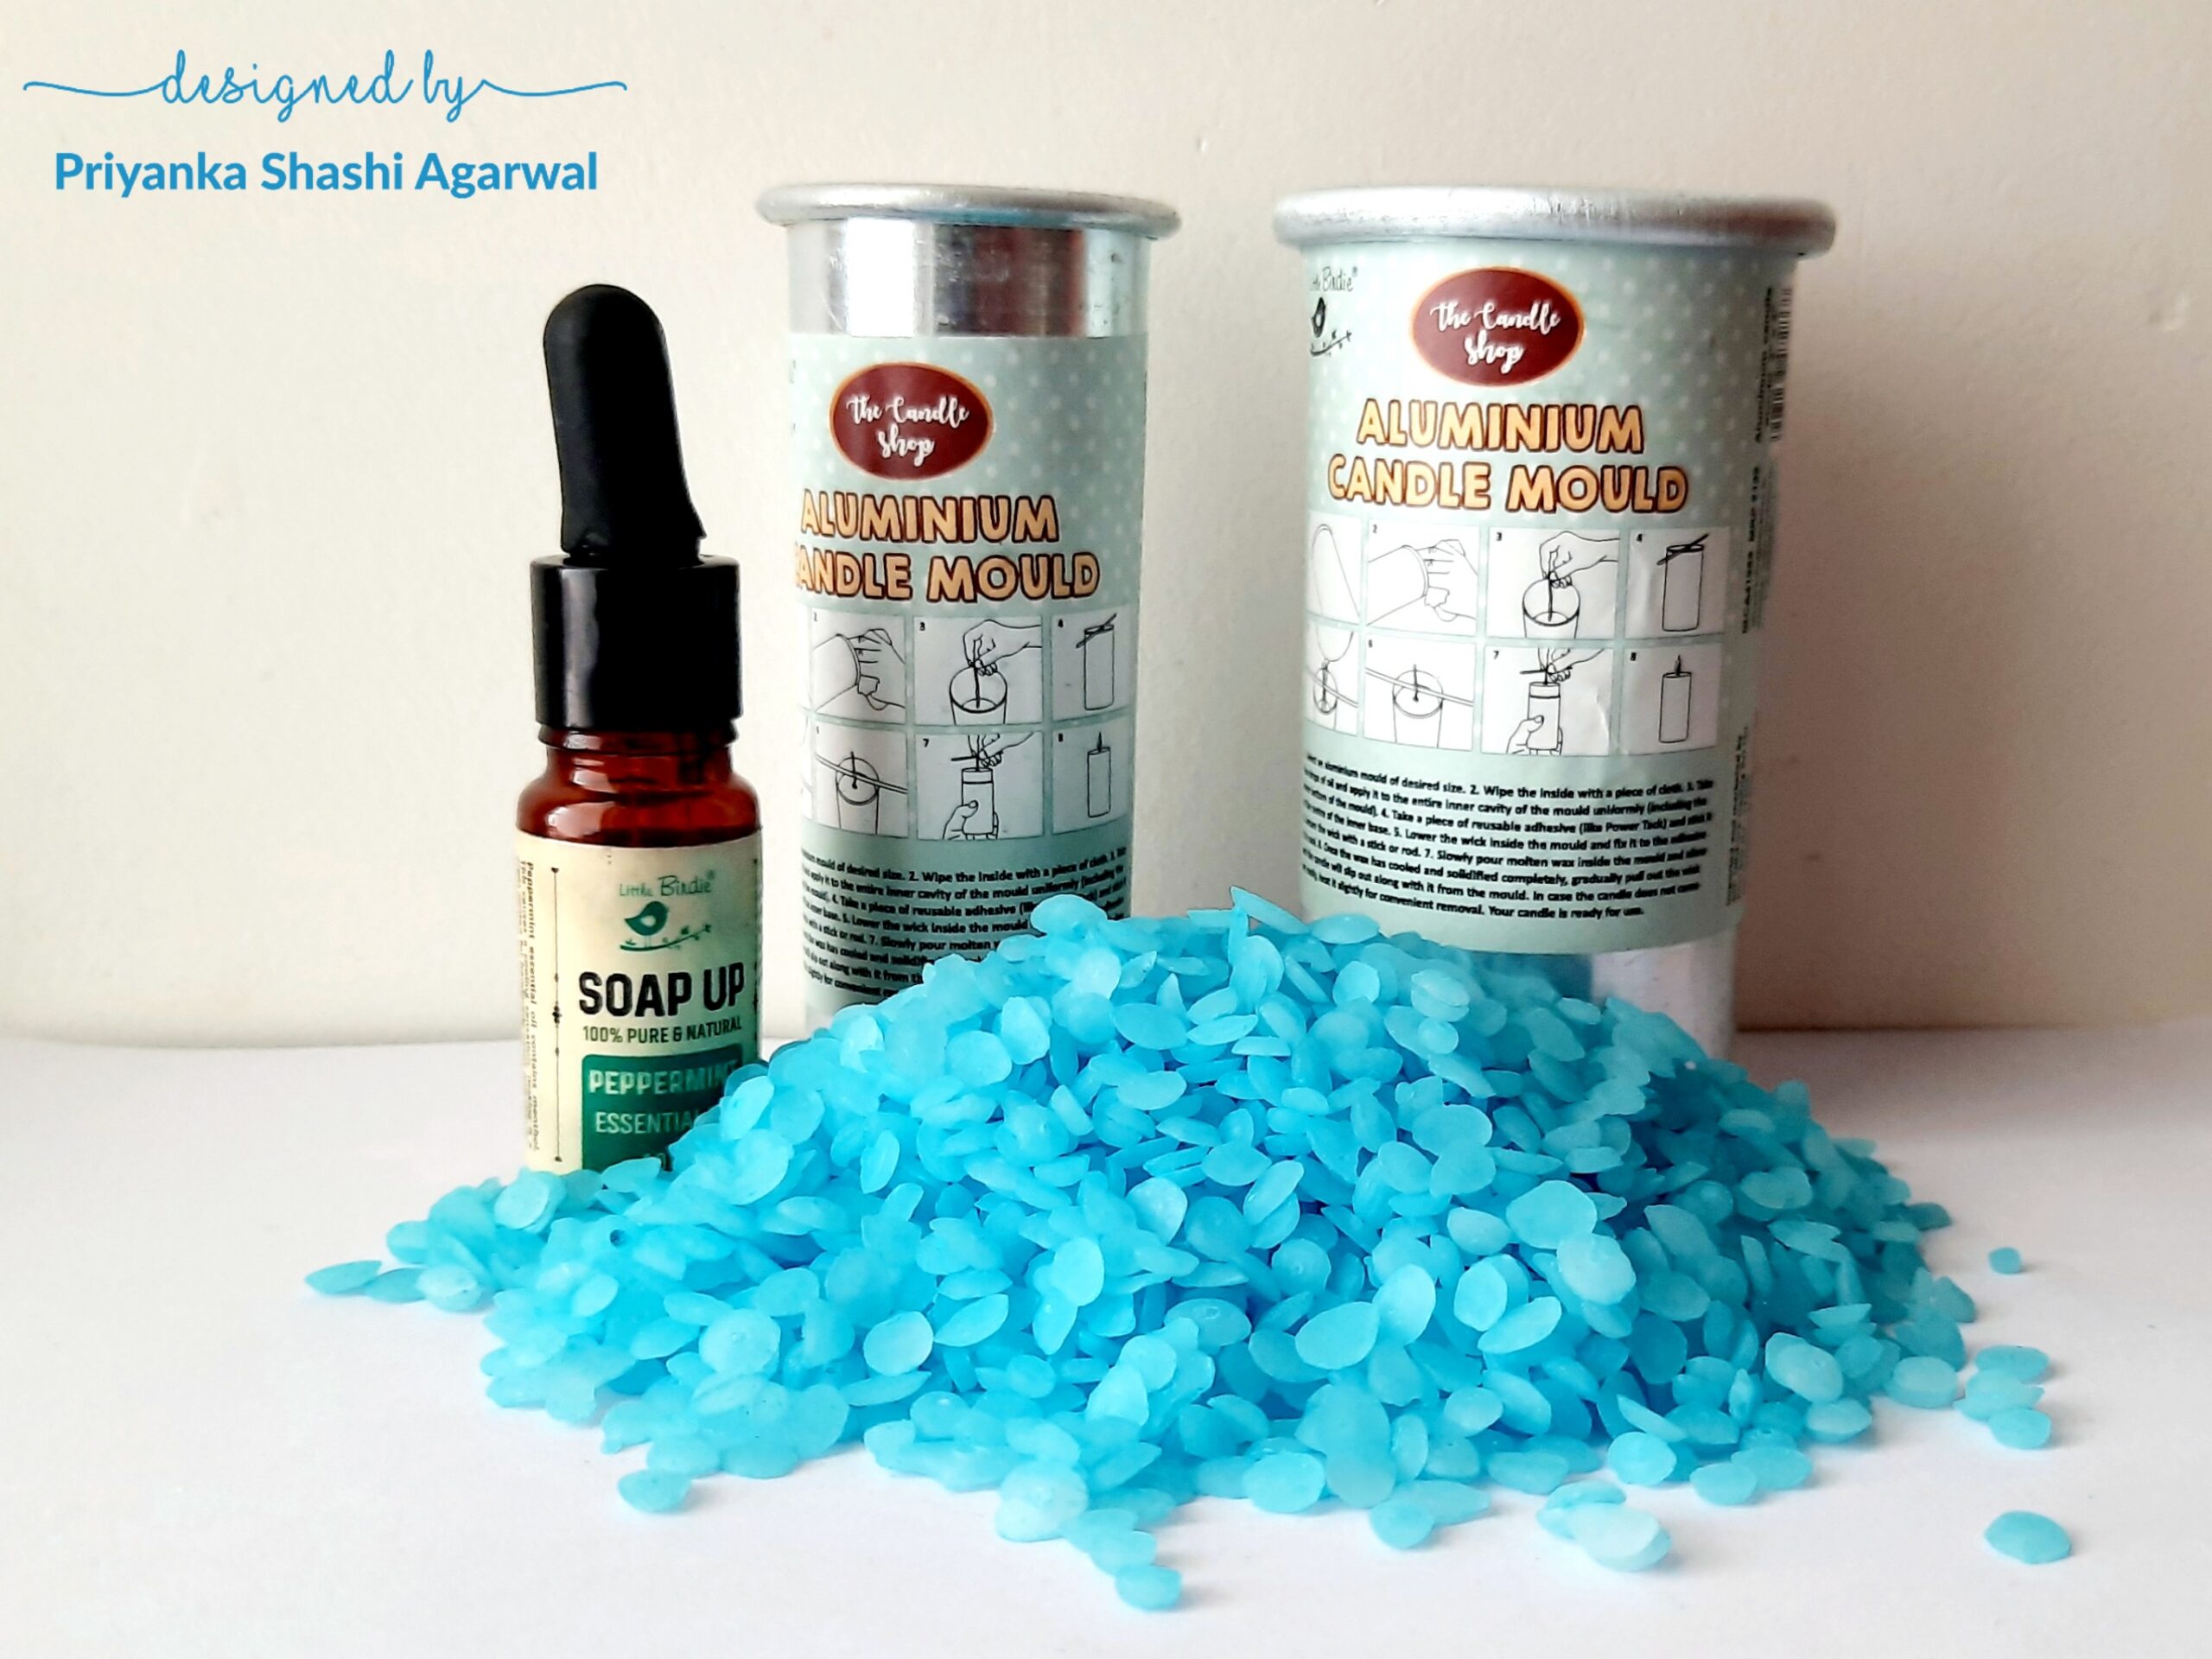 These turquoise blue wax granules are perfect for Frozen themed candles. Melt the wax in a double boiler, add fragrance and pour it in a pillar aluminum mould. Allow it to cool completely and release the pillar candle from the mould.
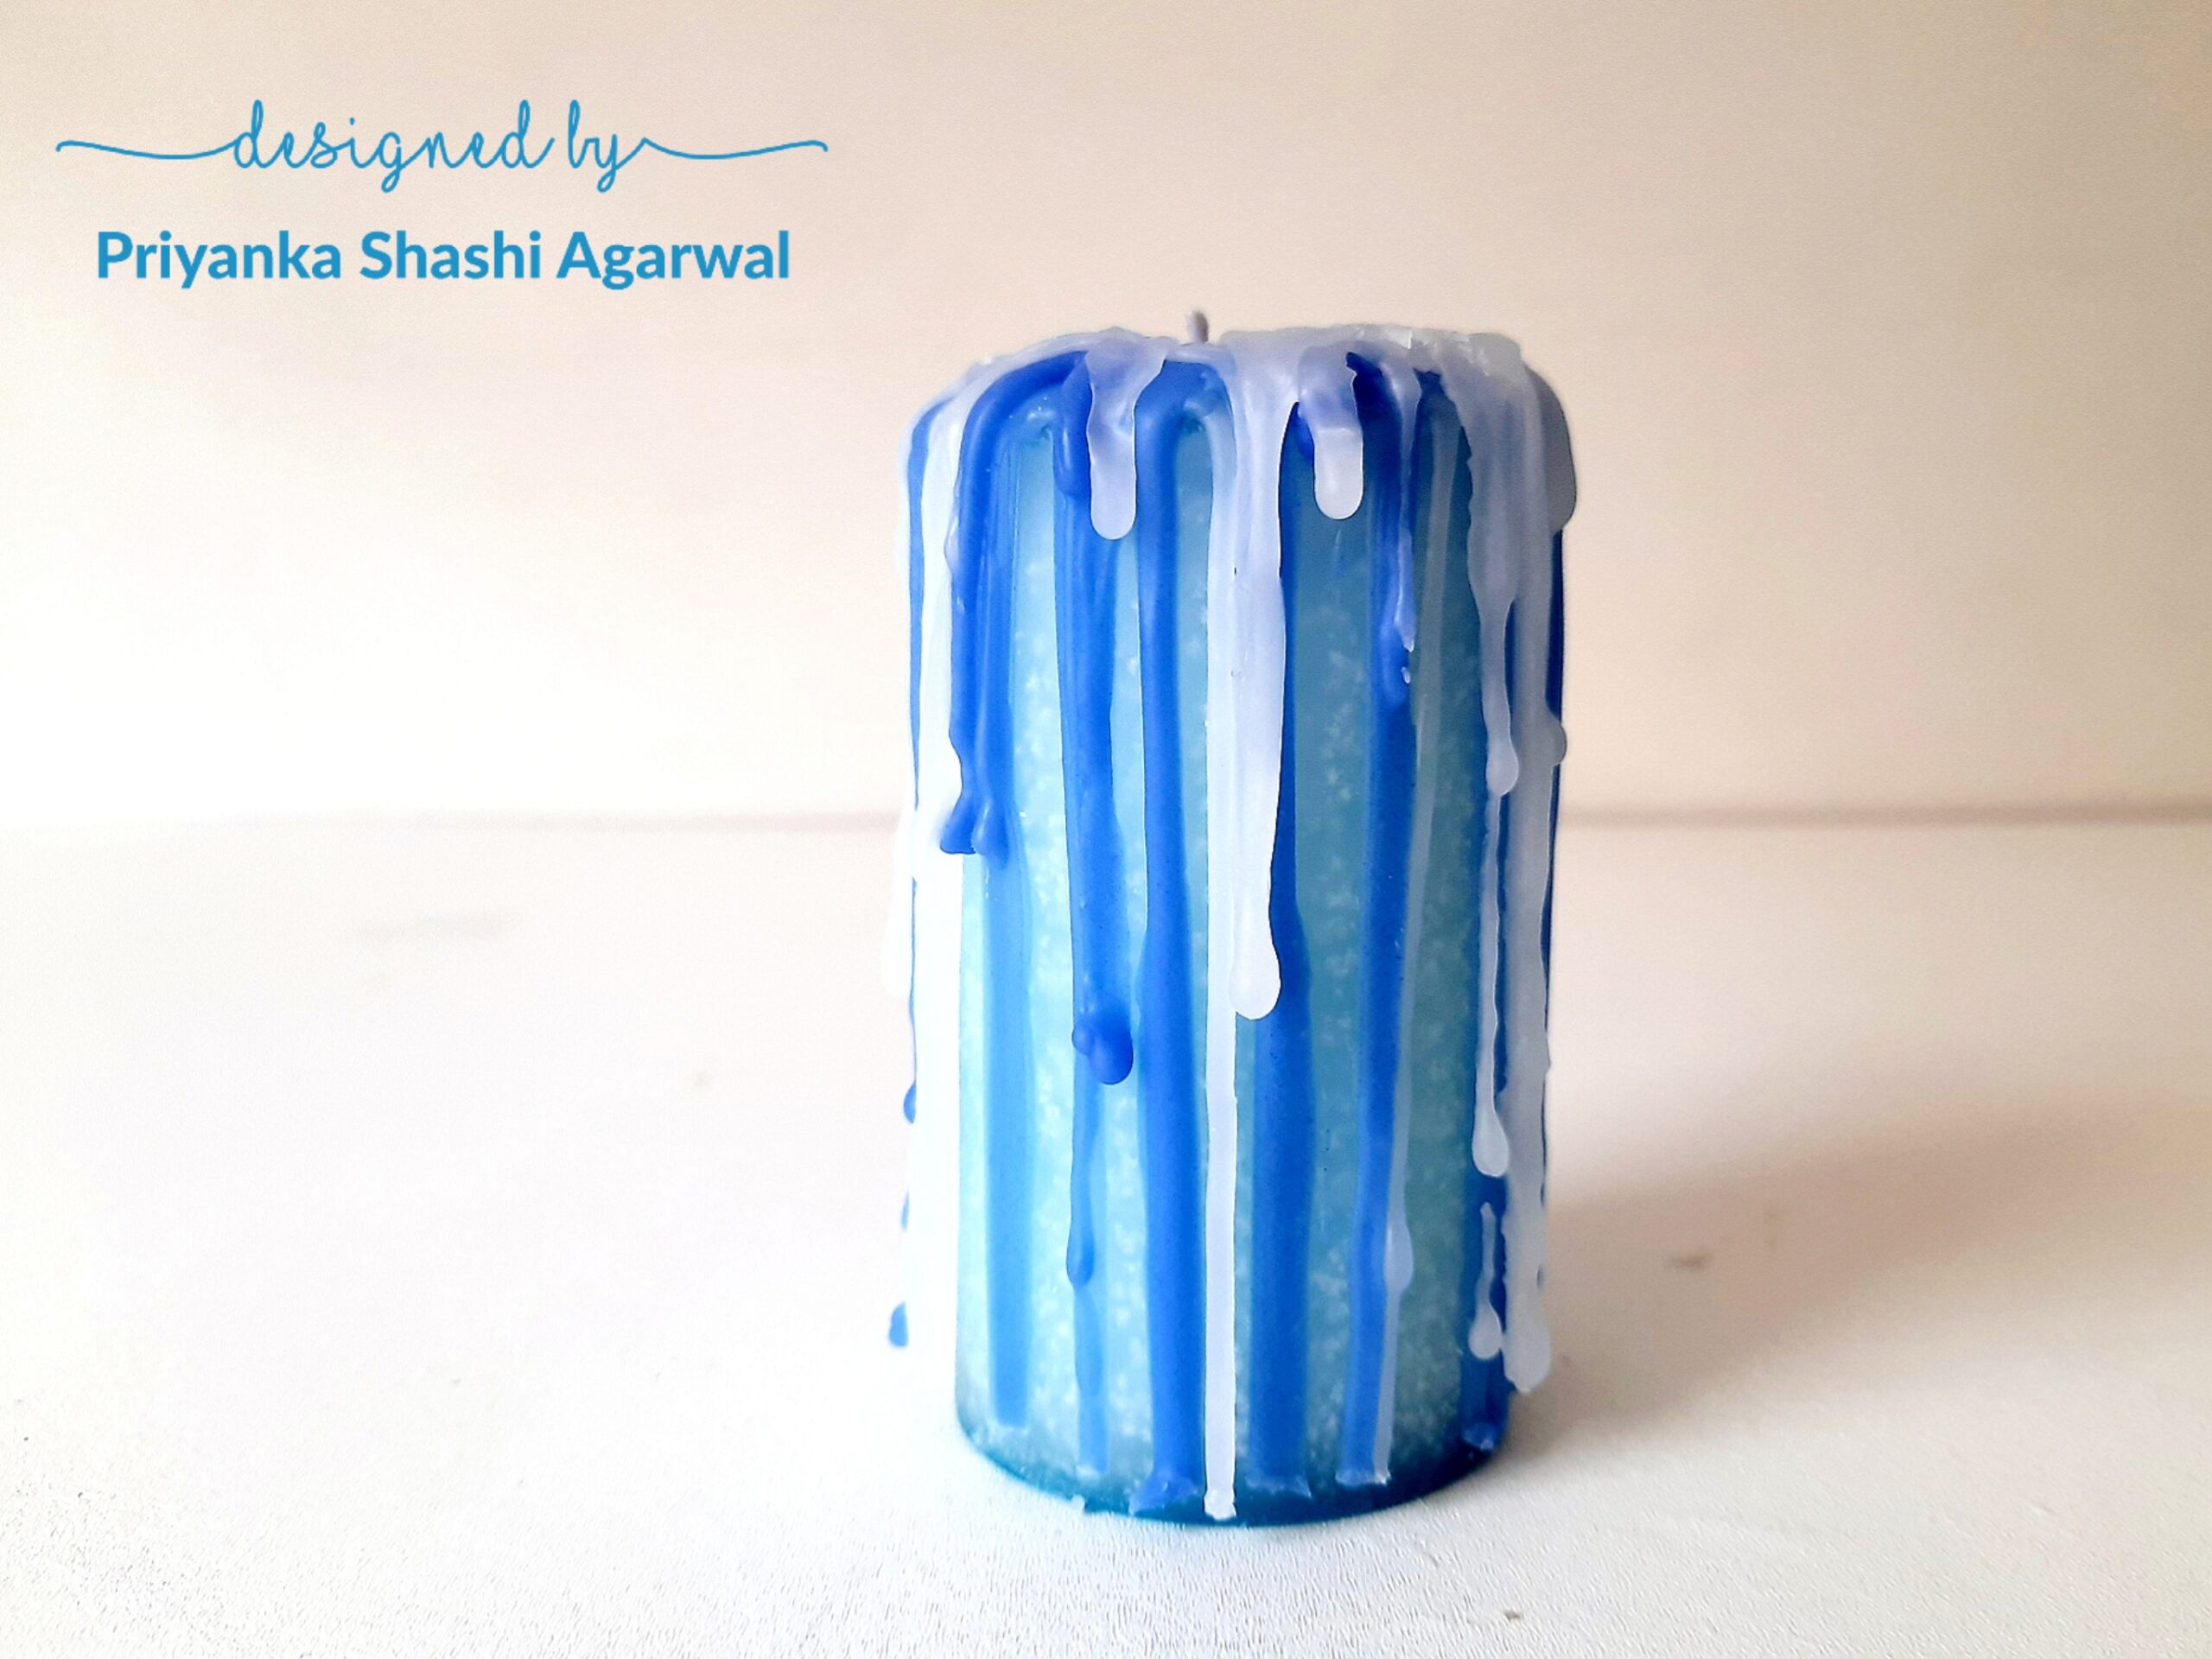
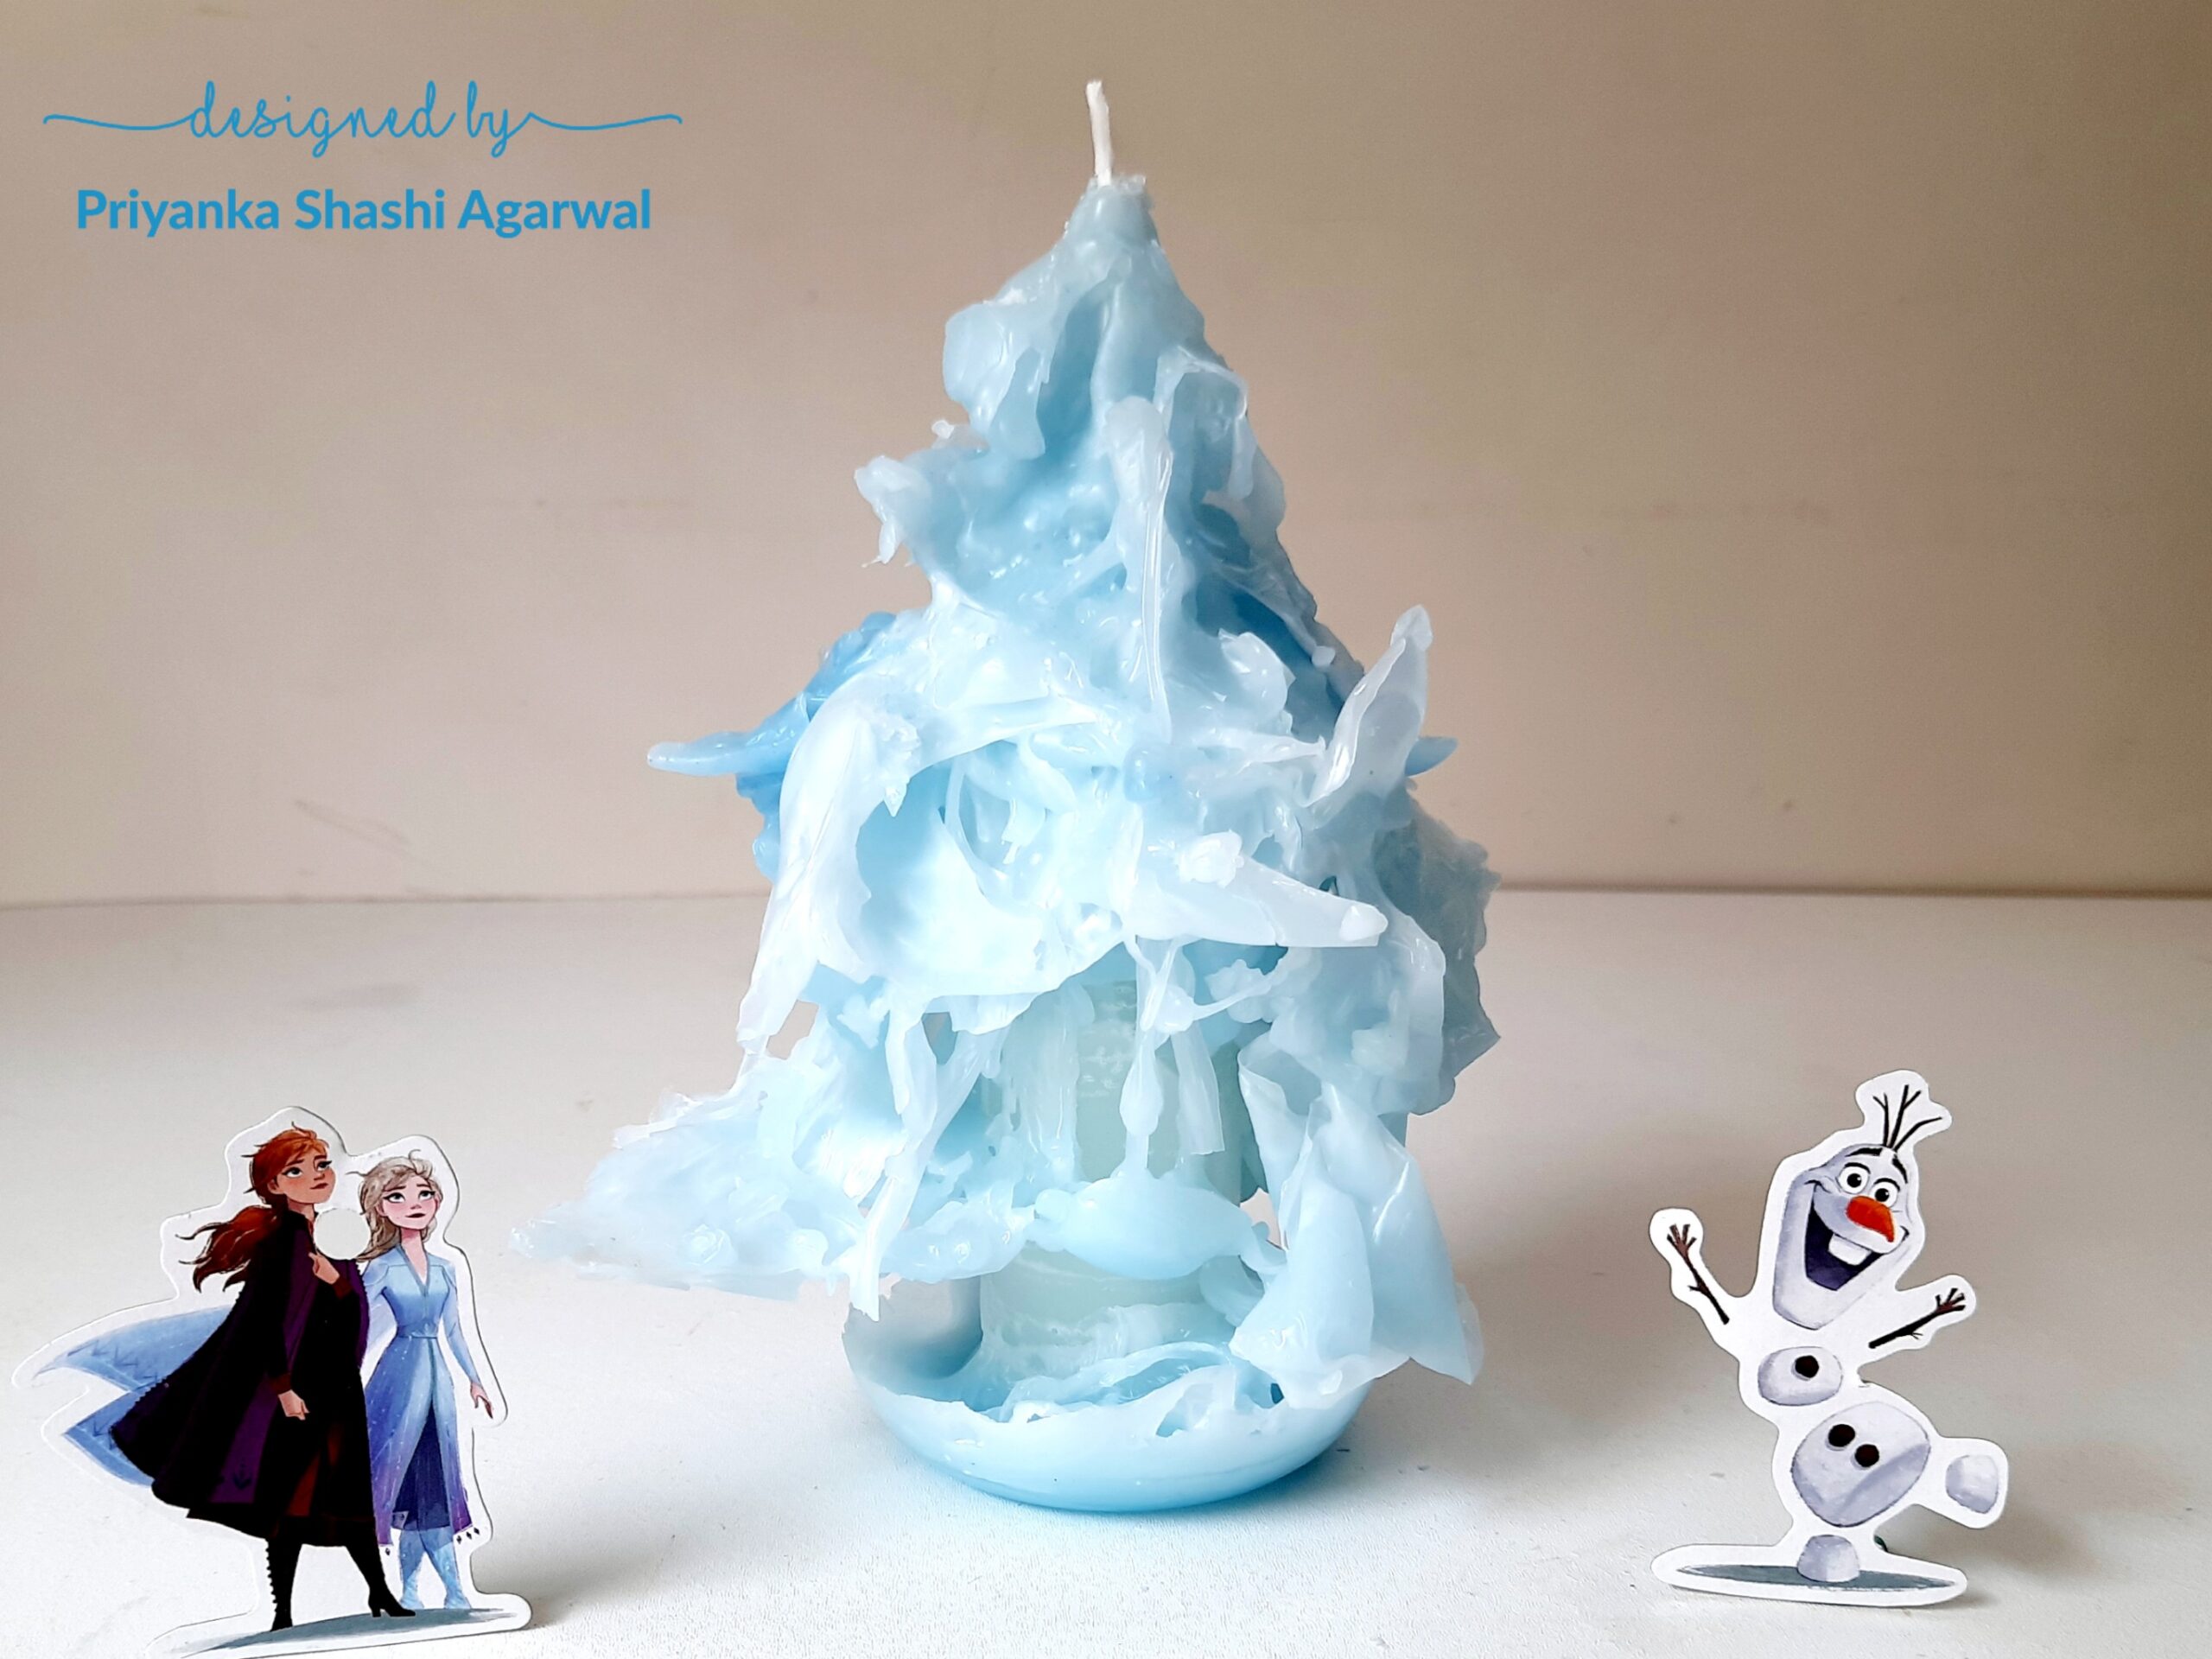
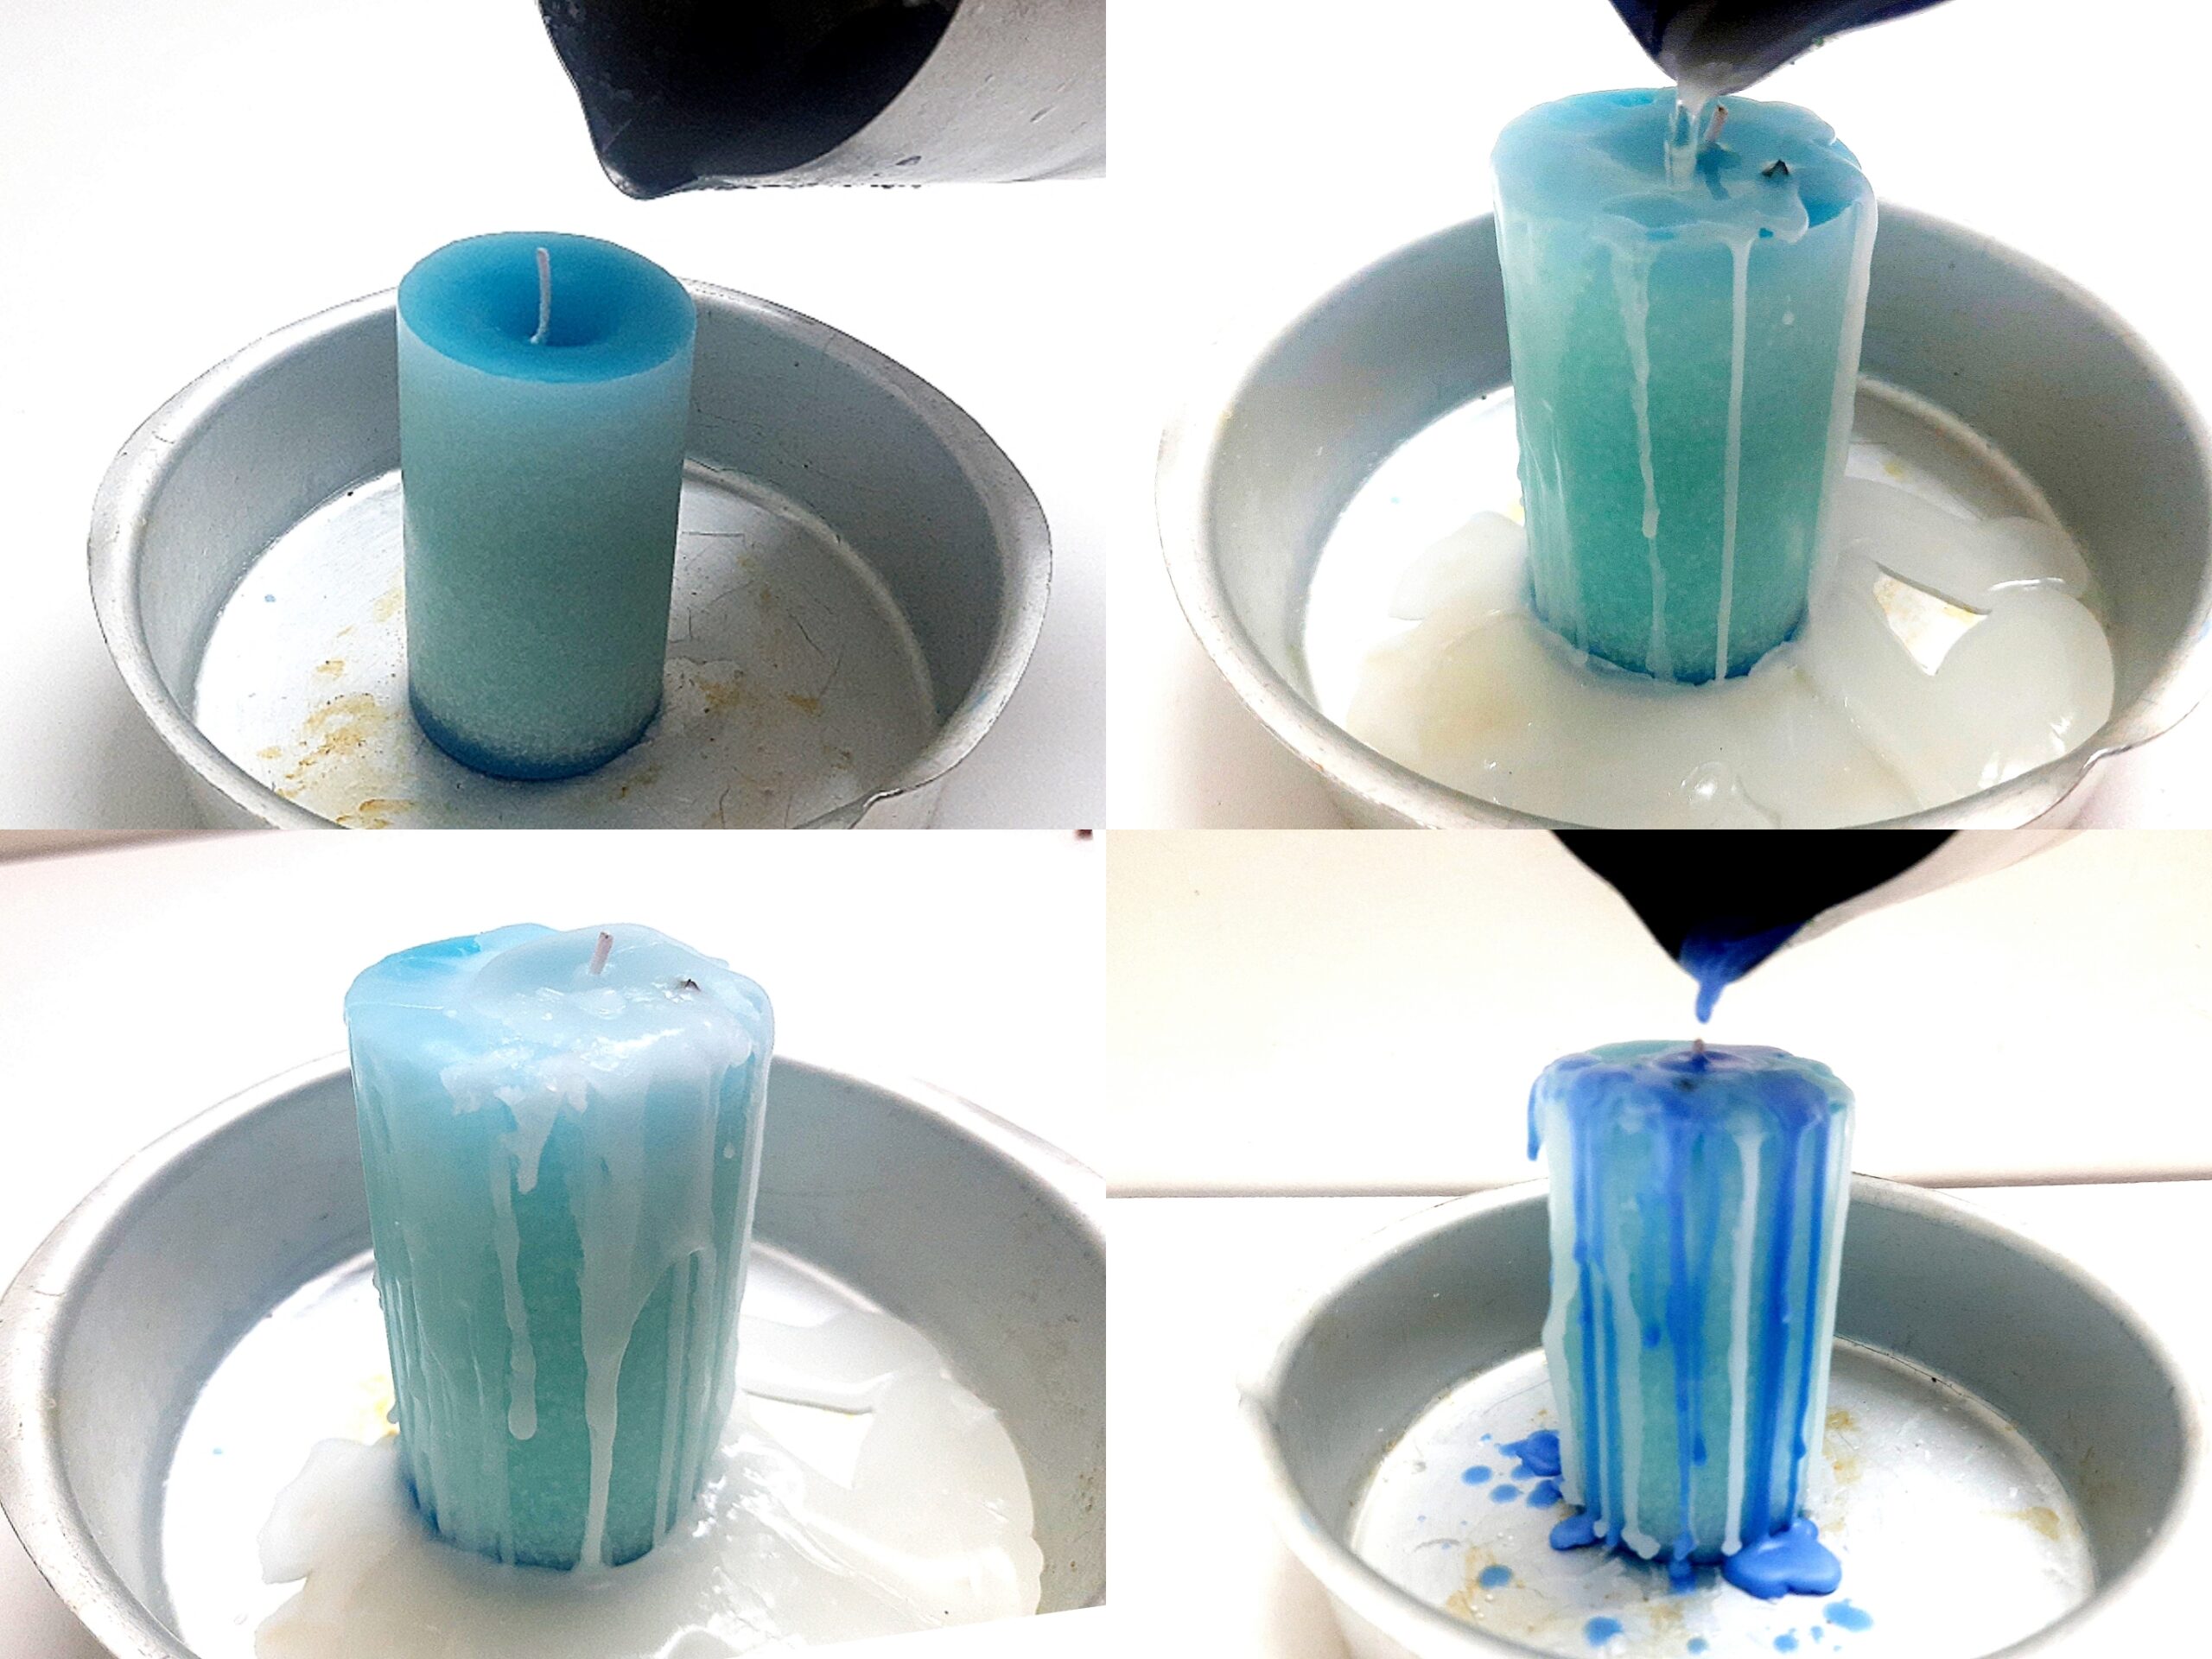 Now time to give it a real Frozen icy look. Place the pillar candle in a plate and start pouring melted uncoloured paraffin wax bit by bit to create icicles. Add the Blazing Blue wax dye in melted wax and pour it slowly to create blue icicles on the pillar candle. You can use a spoon to pour the wax for a controlled pour. Repeat the process with white wax again if required until you get a satisfying look. See my finished Frozen Icicle Candle, I am just loving it.
Frozen Water Candle
Its quite adventurous to make this water candle. Why do we call it a water candle? This candle will be made in water! So are you ready to make it?
We need a paraffin wax pillar candle. Melt the paraffin wax in a double boiler. Set the wick in an aluminum pillar mould. Now that’s challenging, I get this question frequently how to set the wick at the bottom of an aluminum mould? Follow the steps below for it.
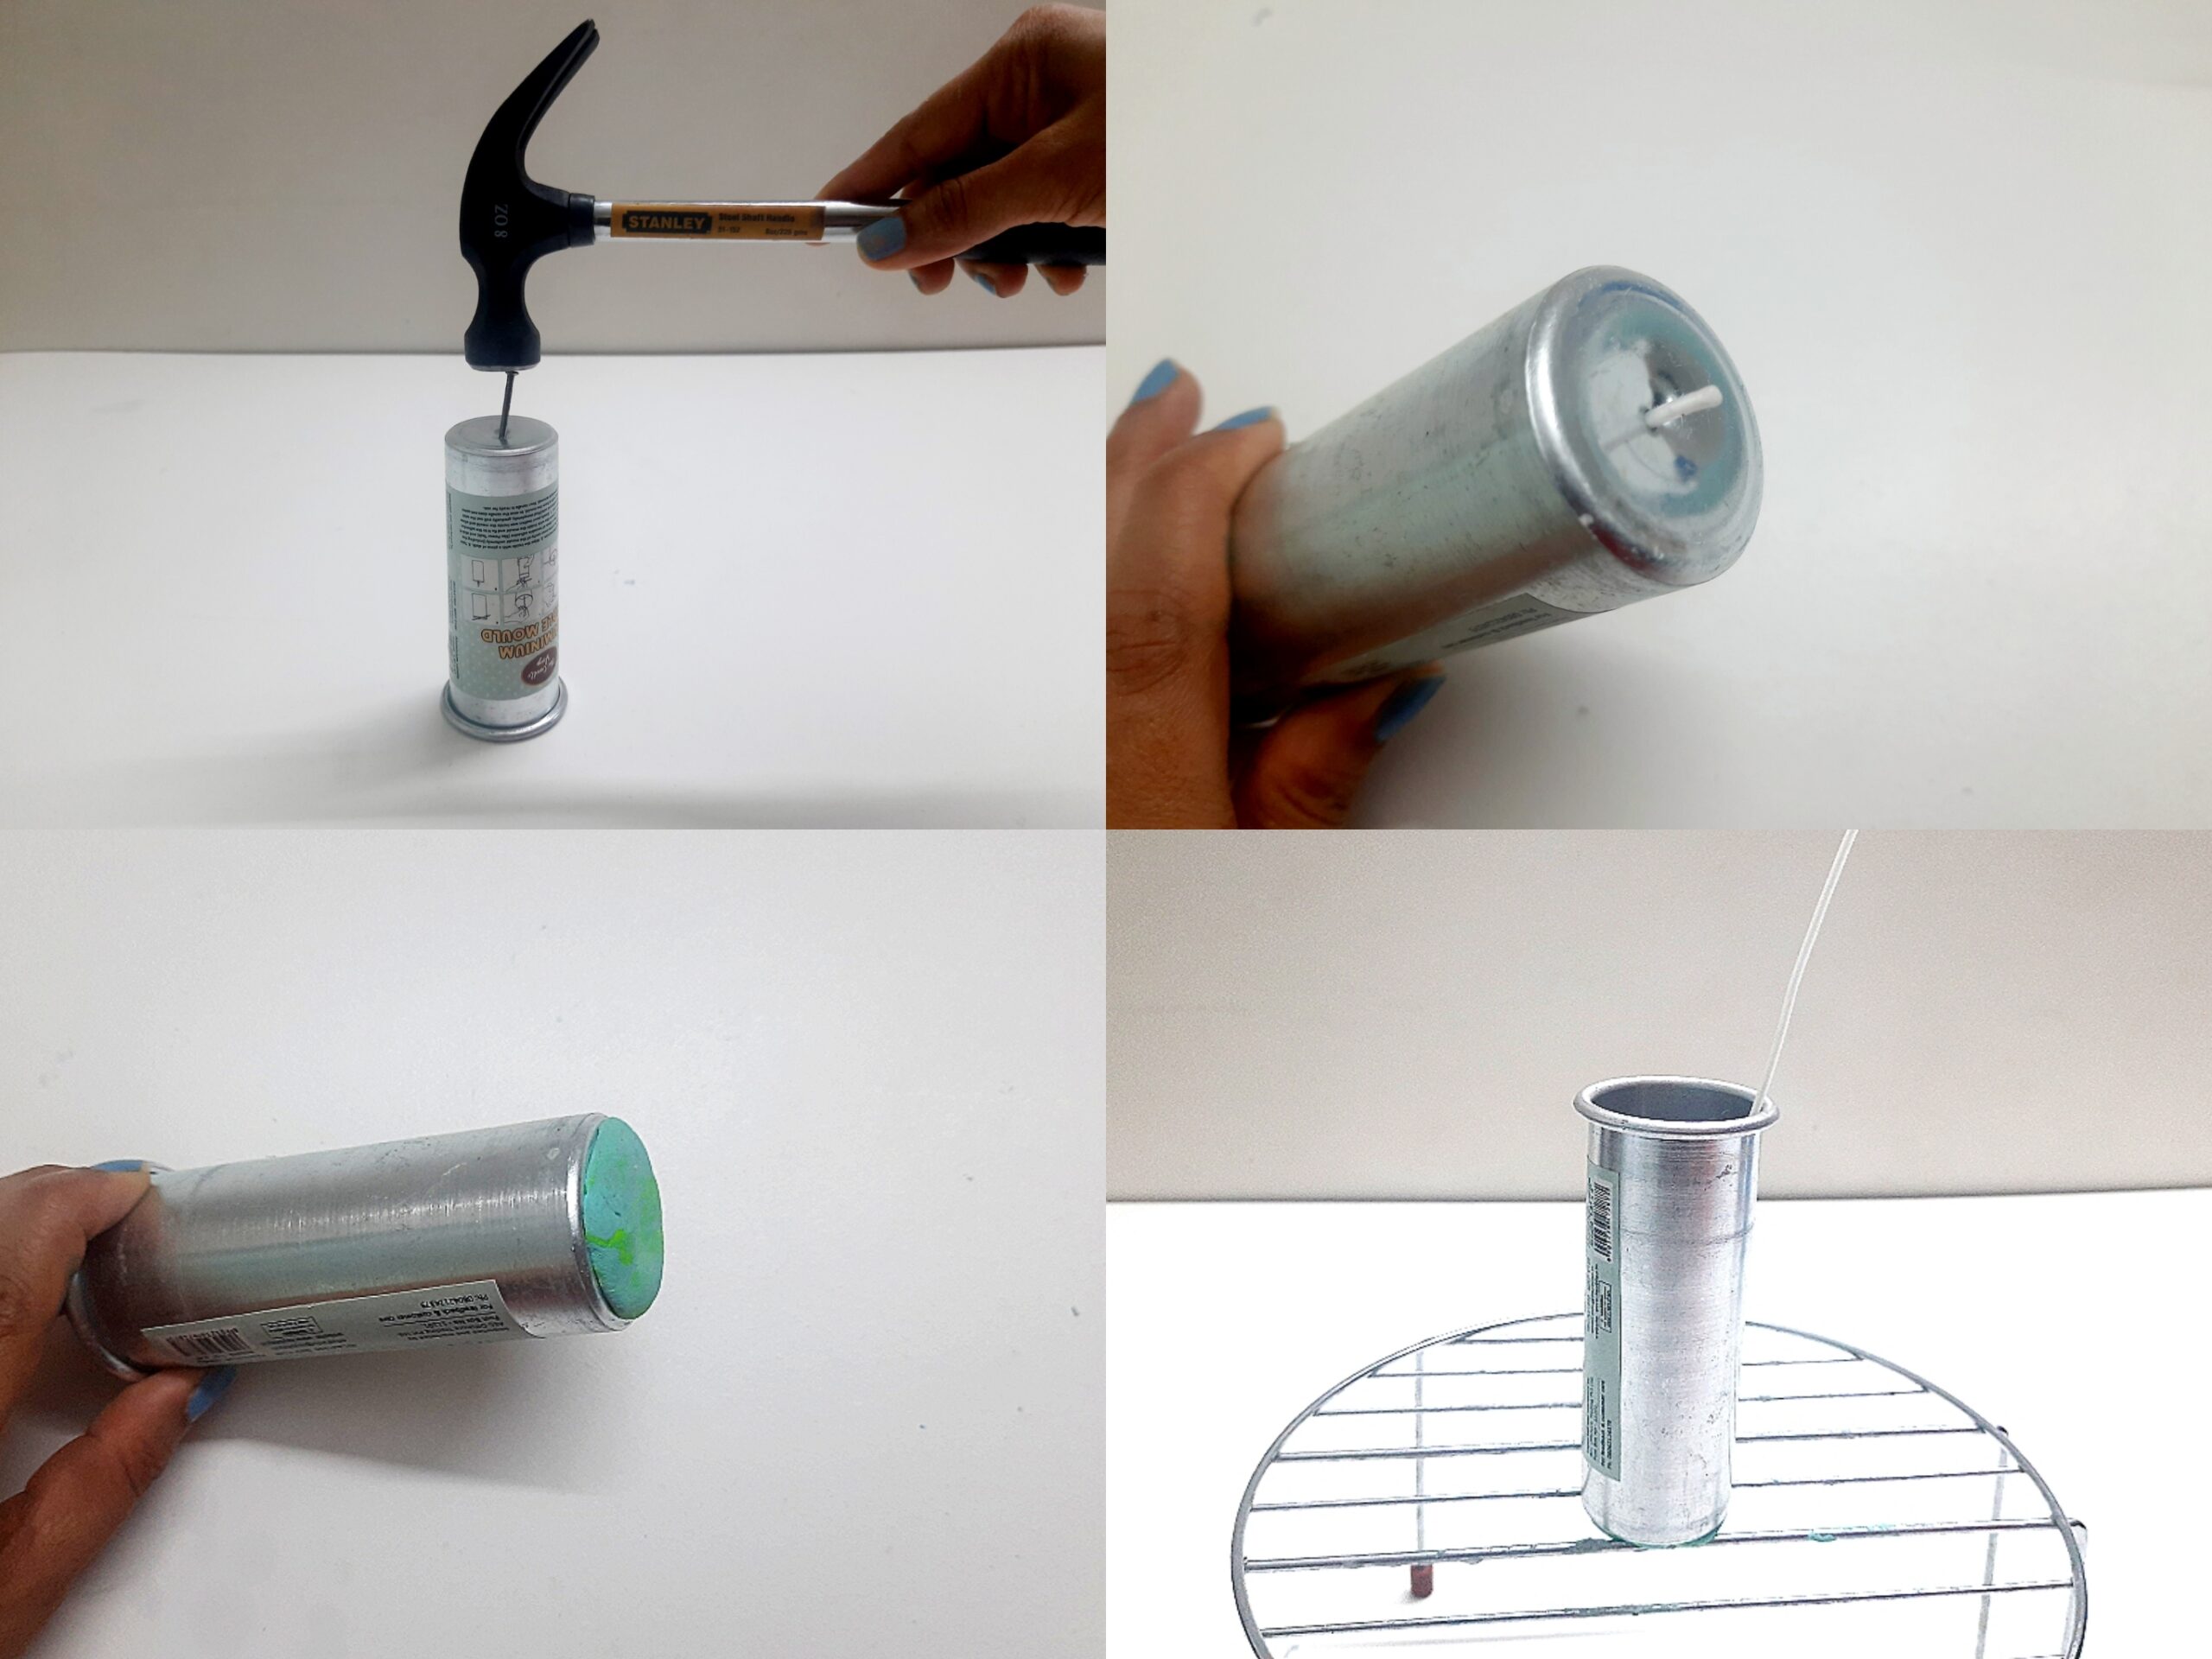 Make a hole at the center of the bottom of the mould with a nail. Now put a wick (extra large) through the hole and lock it with Faber Castell tack it. Then place the mould on a grill to balance properly.
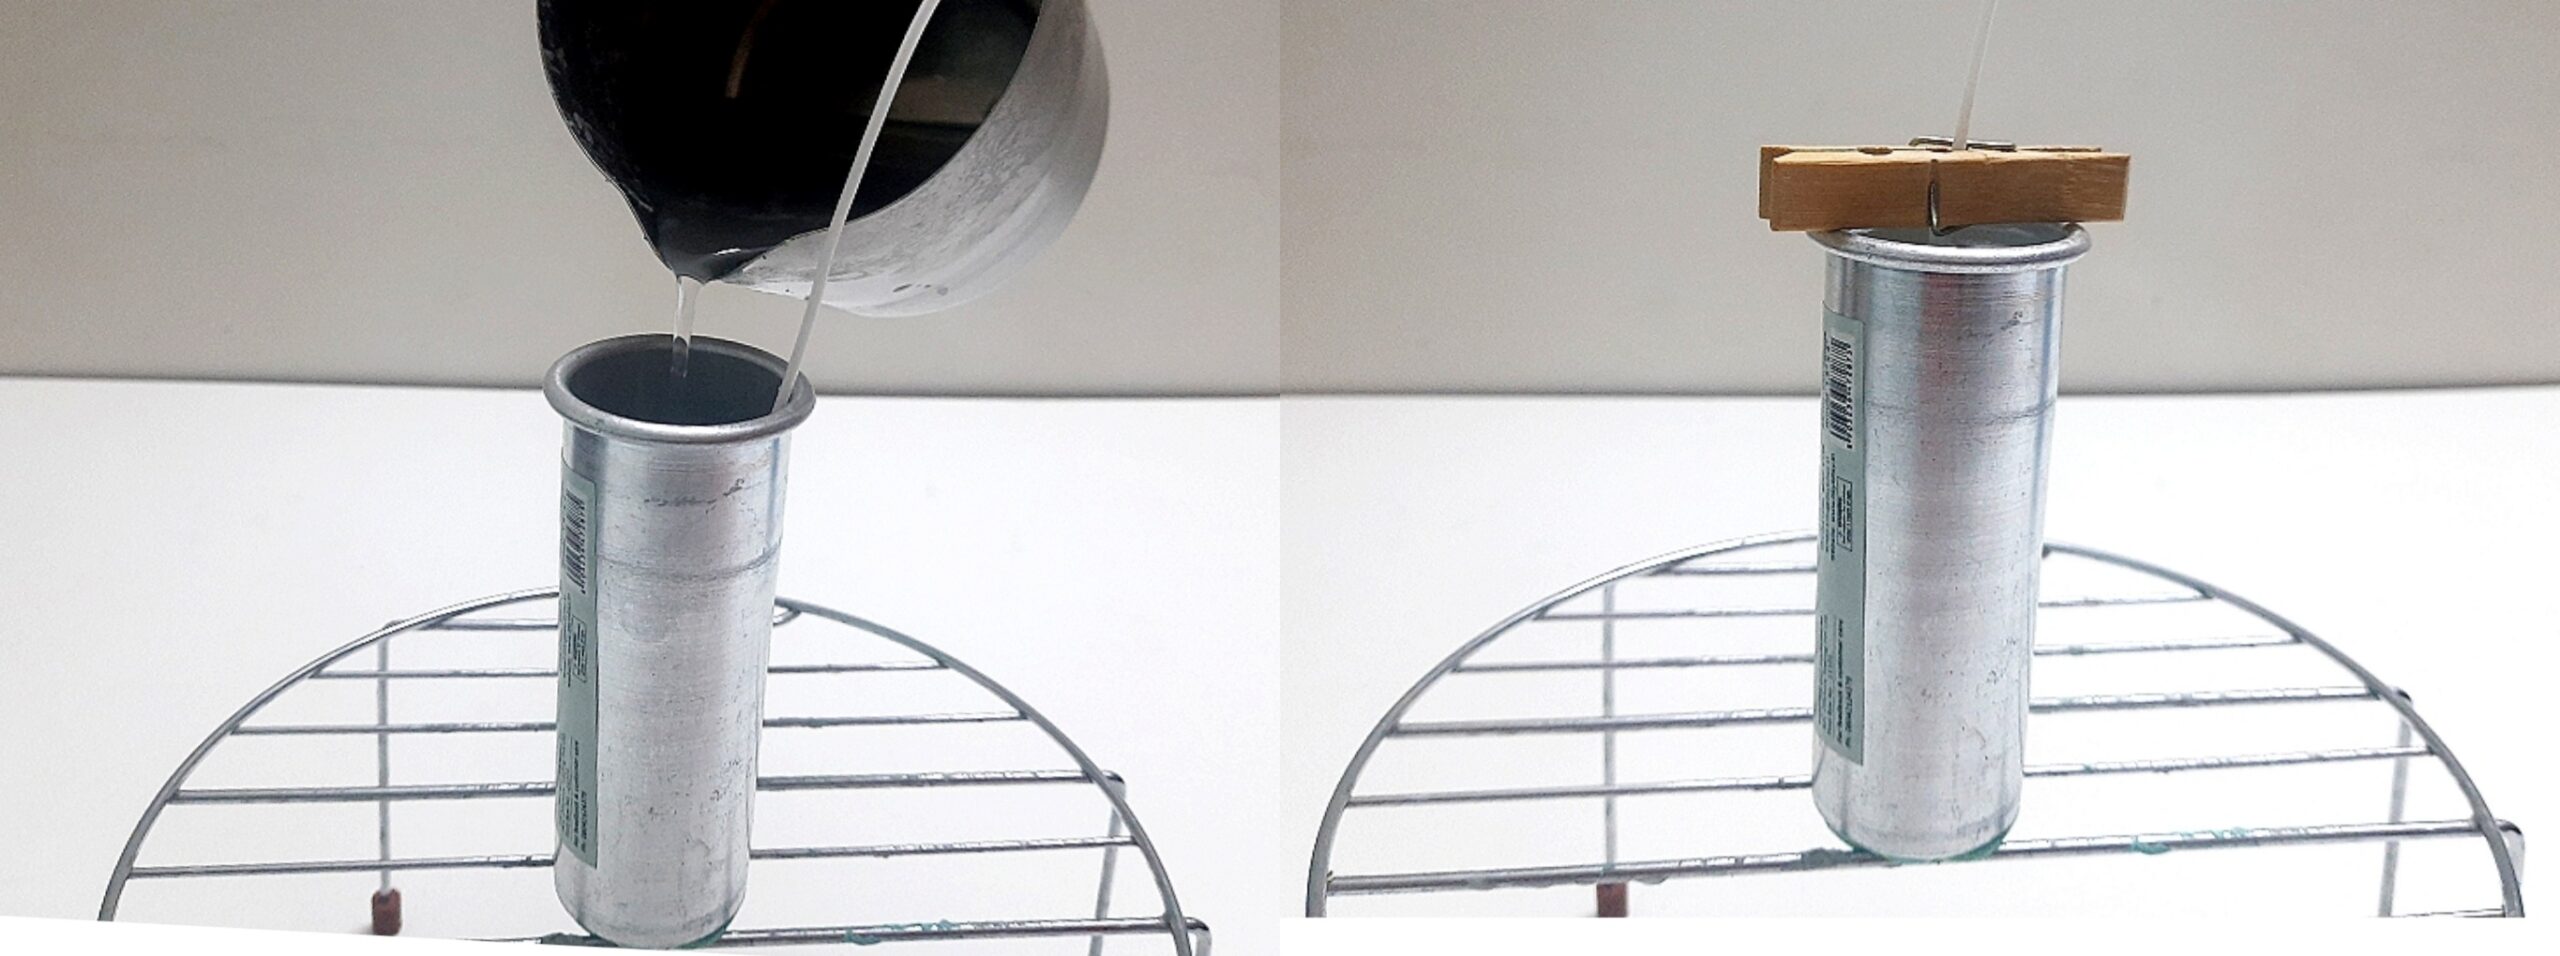 Pour the melted wax and set the wick on the top with a wooden peg. Leave it to harden completely.
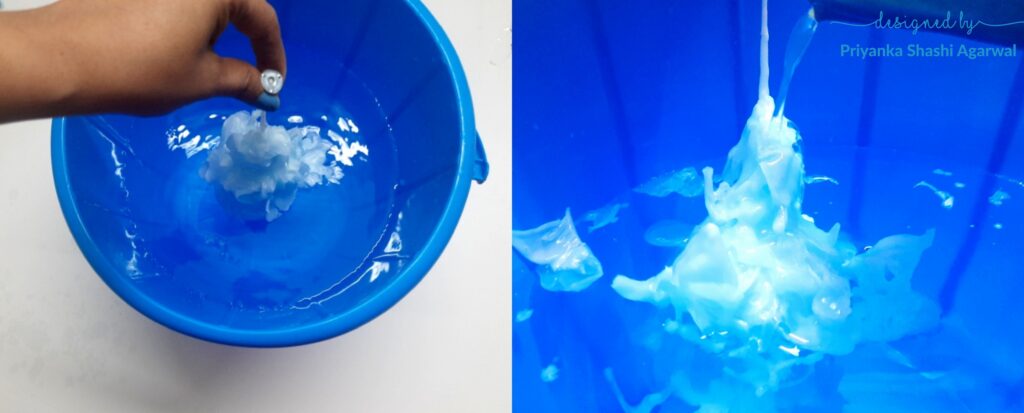
 Melt the paraffin wax and add Aqua candle making dye. Now pour some hot wax in a bowl and stick the pillar candle. Make sure it cools down completely and get sticked properly and should not fall when you hold the candle with wick. Next we need a bucket full of water. Start pouring the hot wax on pillar candle while dipping into the water, holding it with extra long wick. Just make sure the contact between pillar candle and hot wax should form before dipping it in water. The water instantly will make the wax hardened, creating water flowing scenes. Continue the process until you get the result you like.
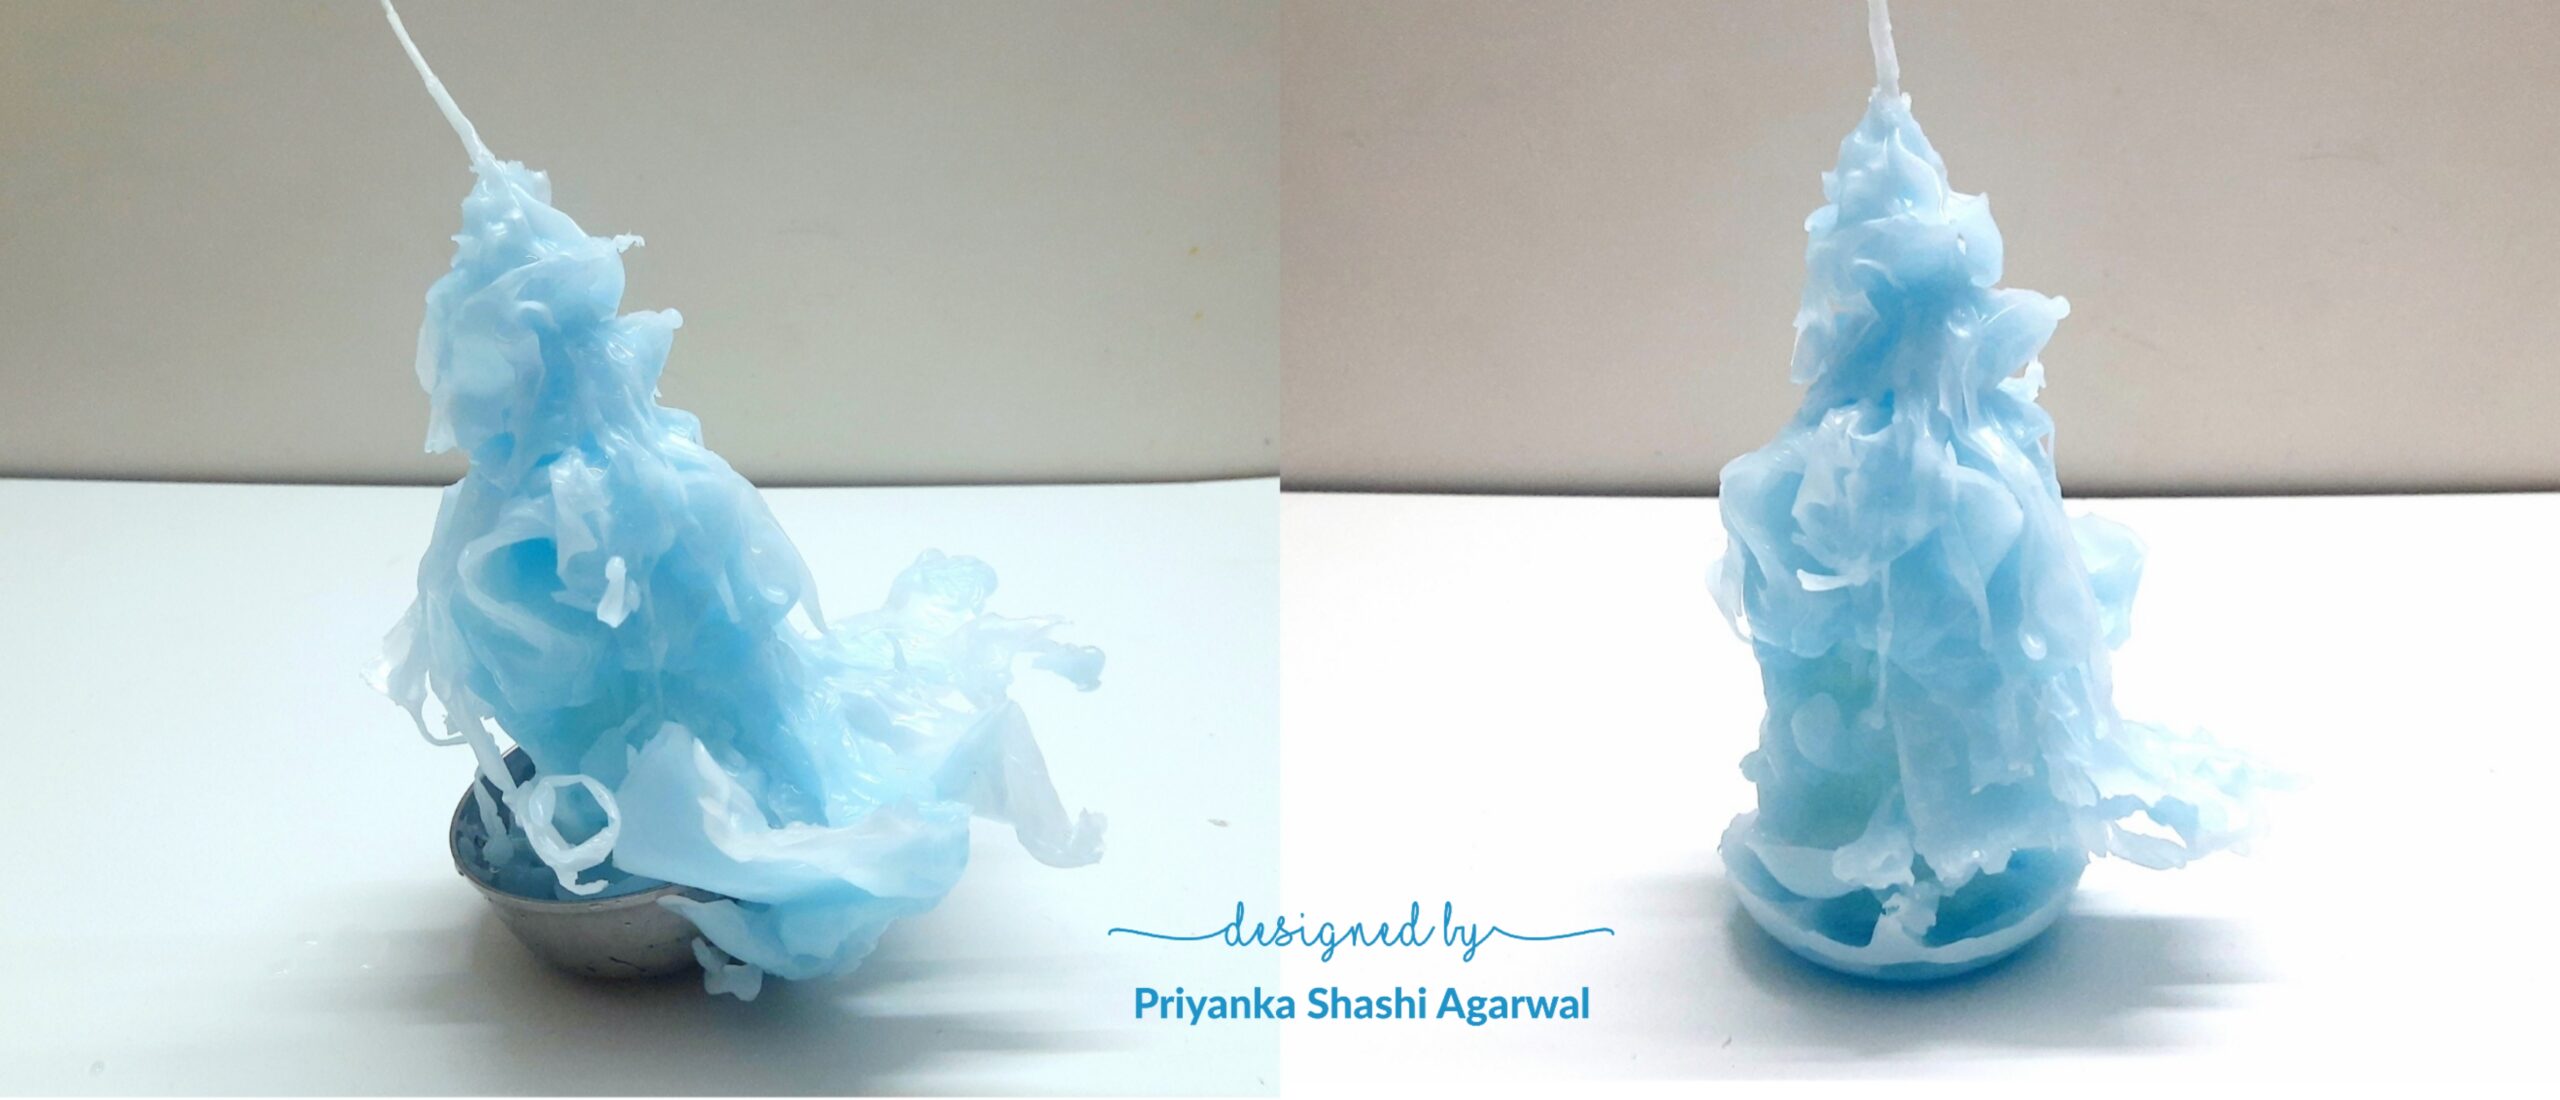 Take the candle out of the water. Remove the bowl and any unwanted wax shapes.
Gel Crystal Candle
Melt gel wax in a glass container for 5 minutes twice. Add gel wax dye of cobalt colour. Allow it to cool down completely.
 Remove the hardened coloured gel wax from glass container which isn’t easy and will damage the structure a bit. To avoid this use a silicon mould in place of glass container, which will make it easy to release the coloured gel wax block from mould.
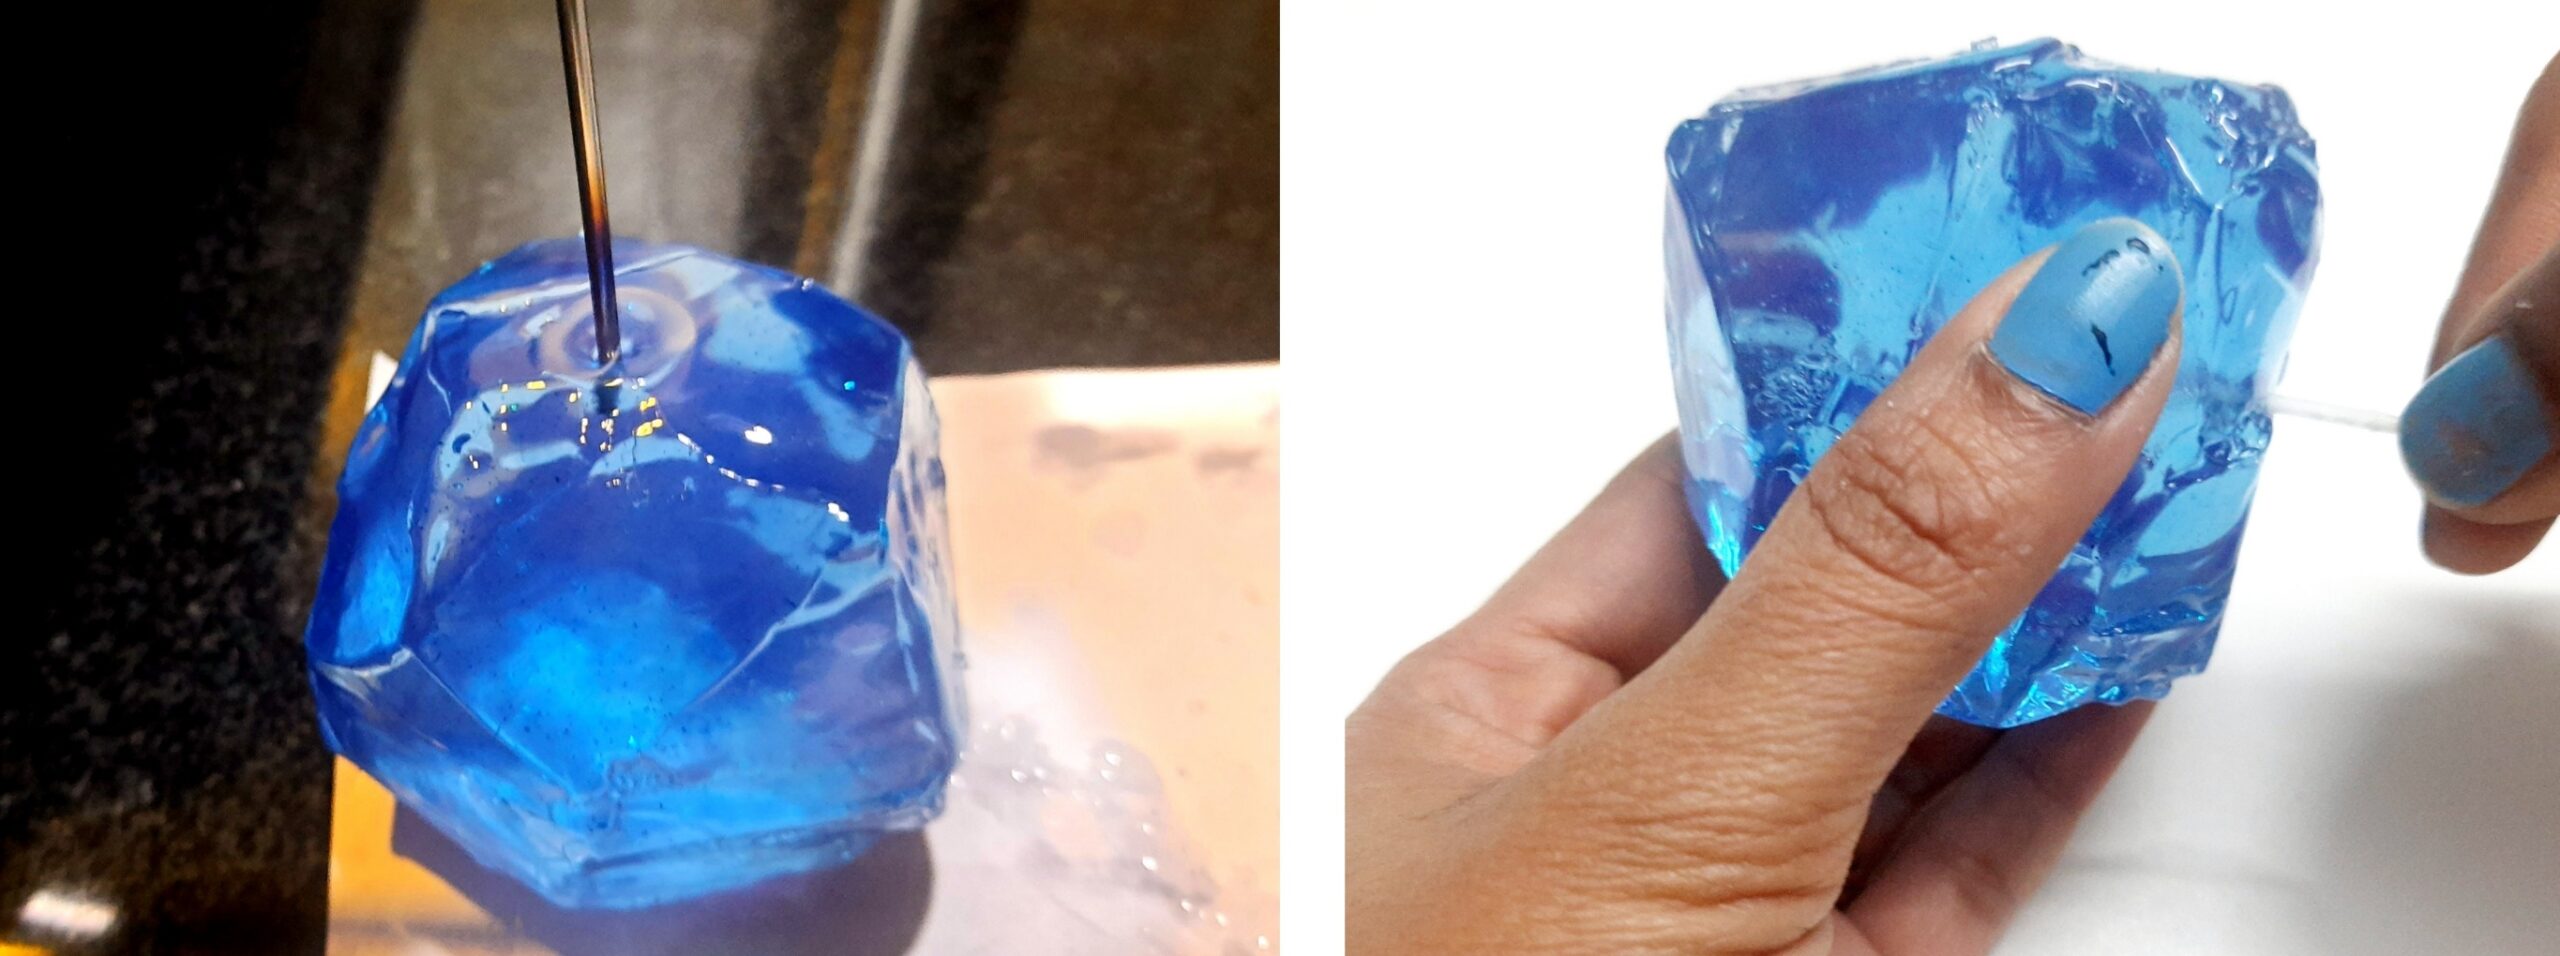
Now cut the blue gel wax in the shape of a crystal with a knife. Use a hot knife for a clear cut and crisp finish. Make a hole for the wick and insert a wax coated wick. Tadaa! The gel crystal candle is ready.
Frozen Pillar Candle
We need another pillar candle. Repeat the process of making pillar candle.
 My candle was bit yellowish and I wanted it to be snow white. So I painted the candle with white acrylic colour with a sponge.
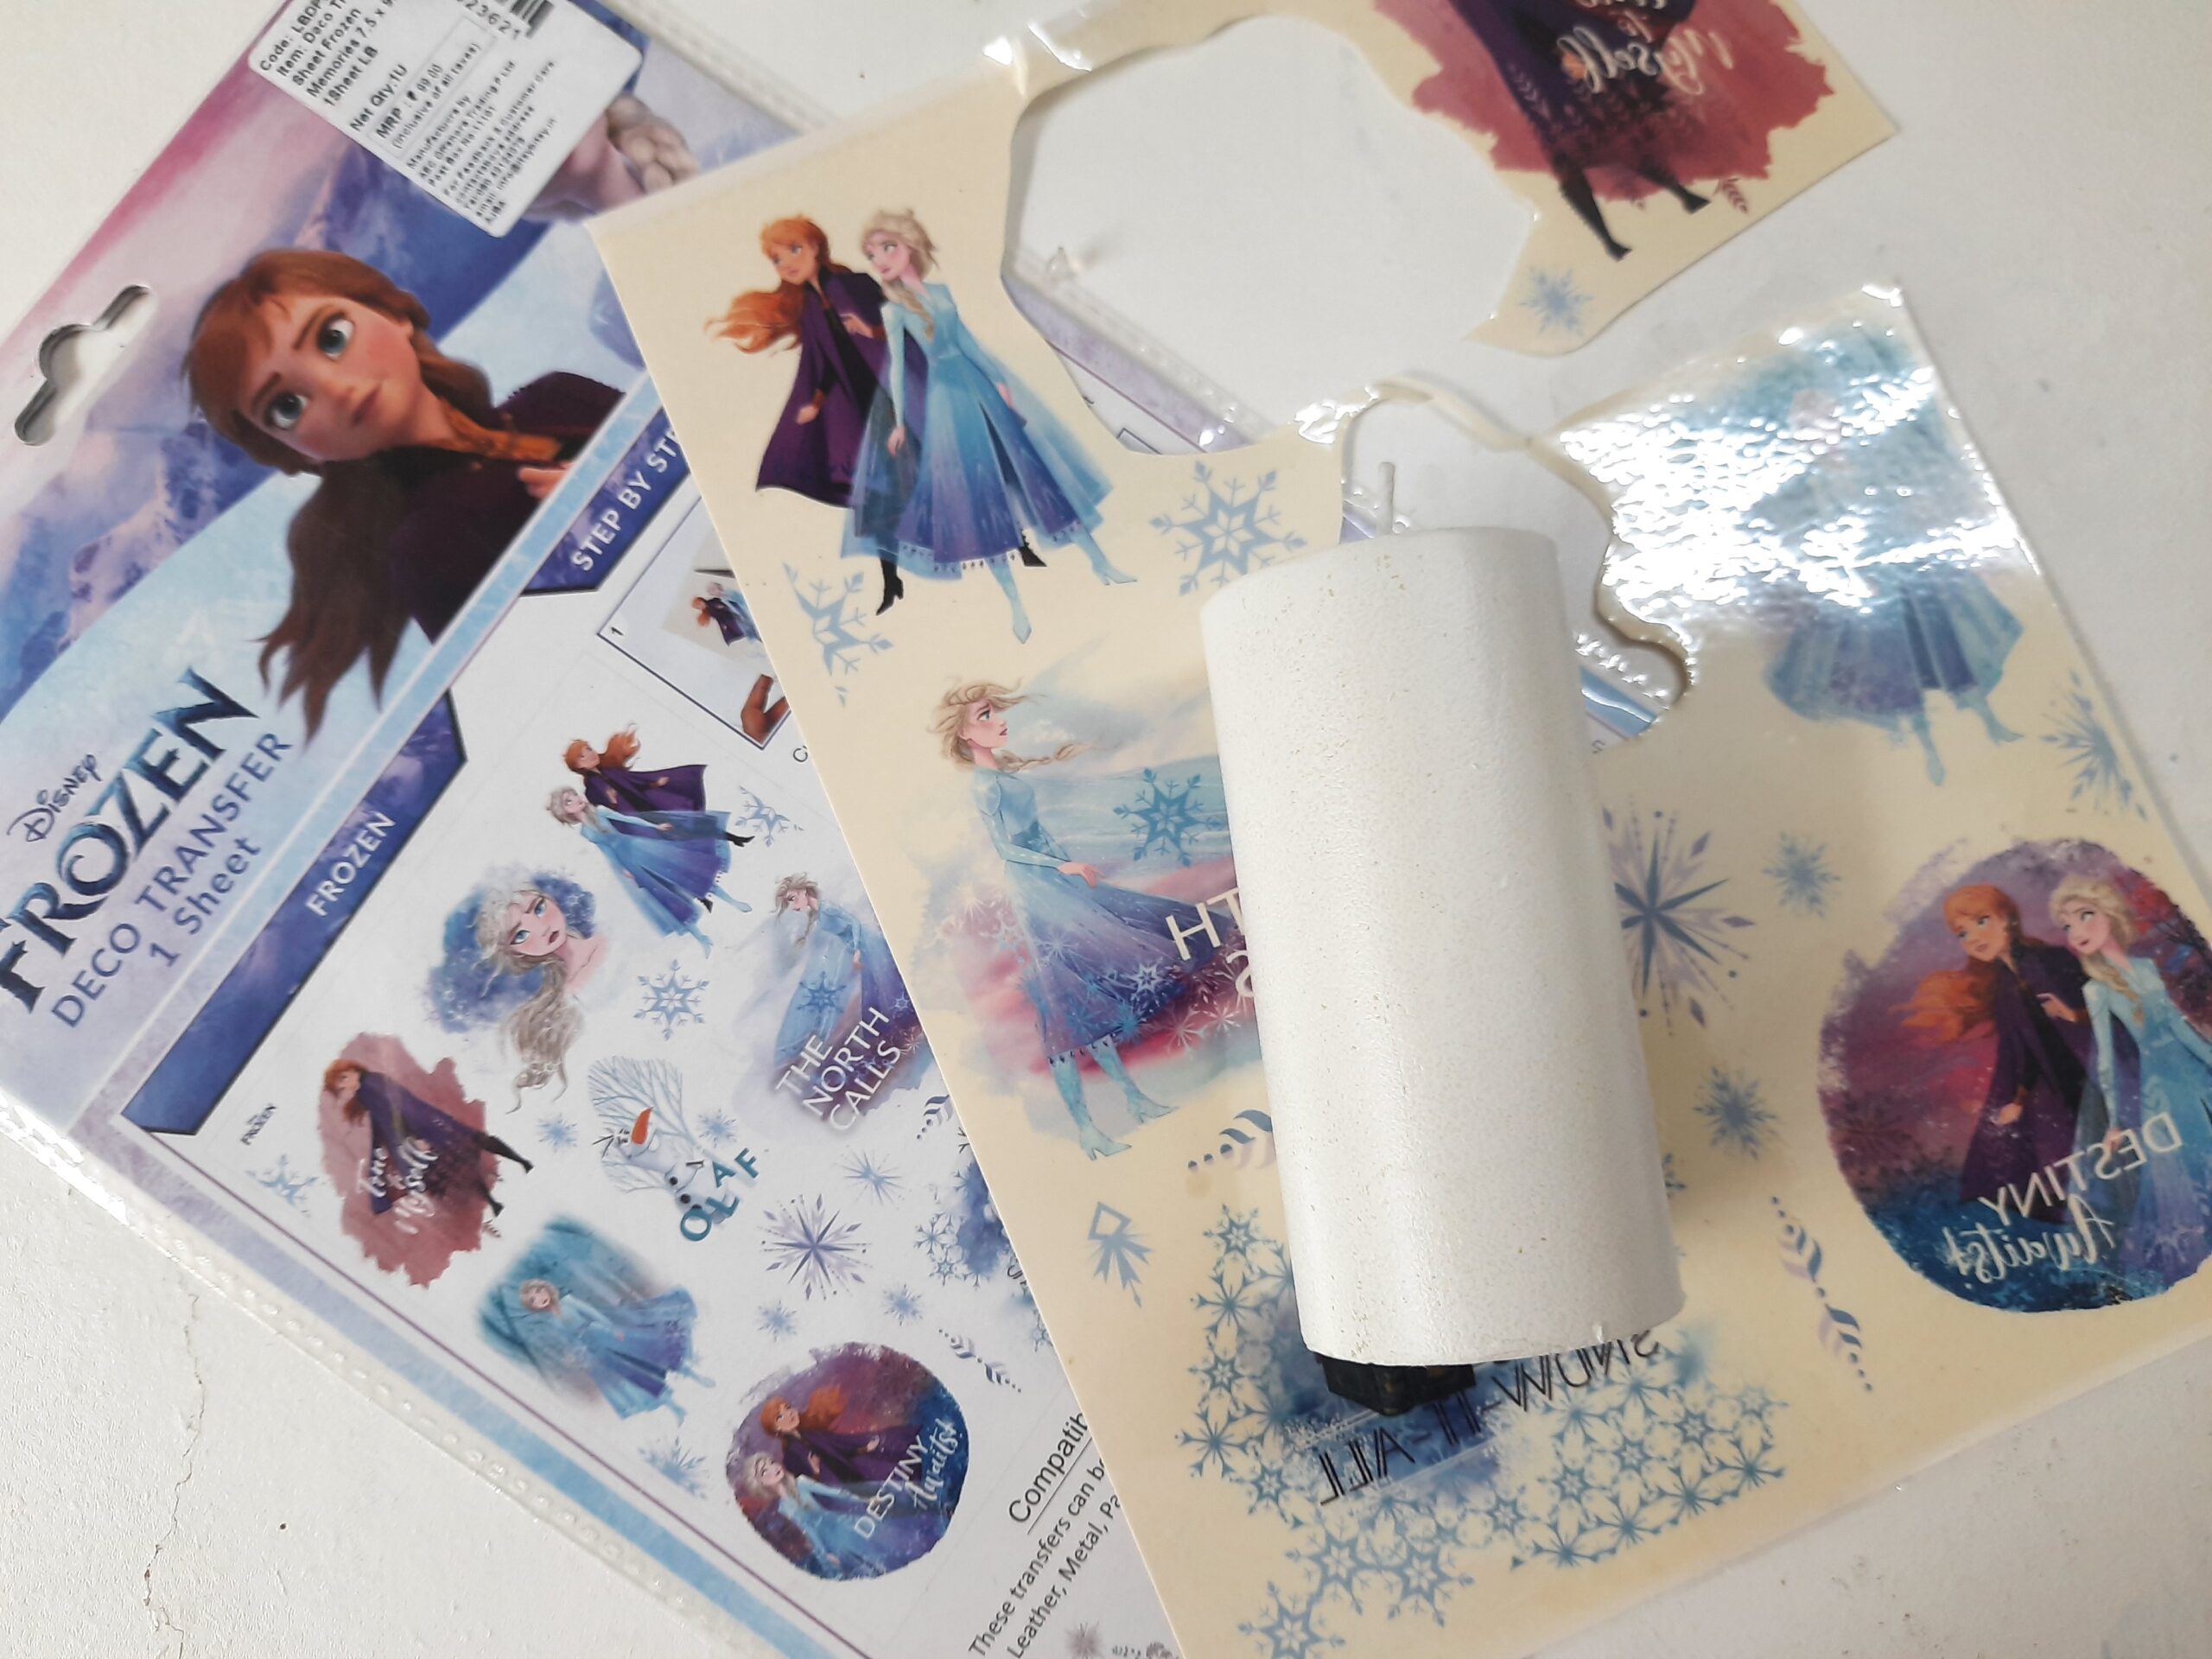
Have you checked the beautiful Disney Frozen Deco Transfer sheet launched by Itsy Bitsy? This sheet is a quick solution to give a facelift to almost any surface. It’s easy-peasy to use and fun to apply. Follow the simple steps as below.
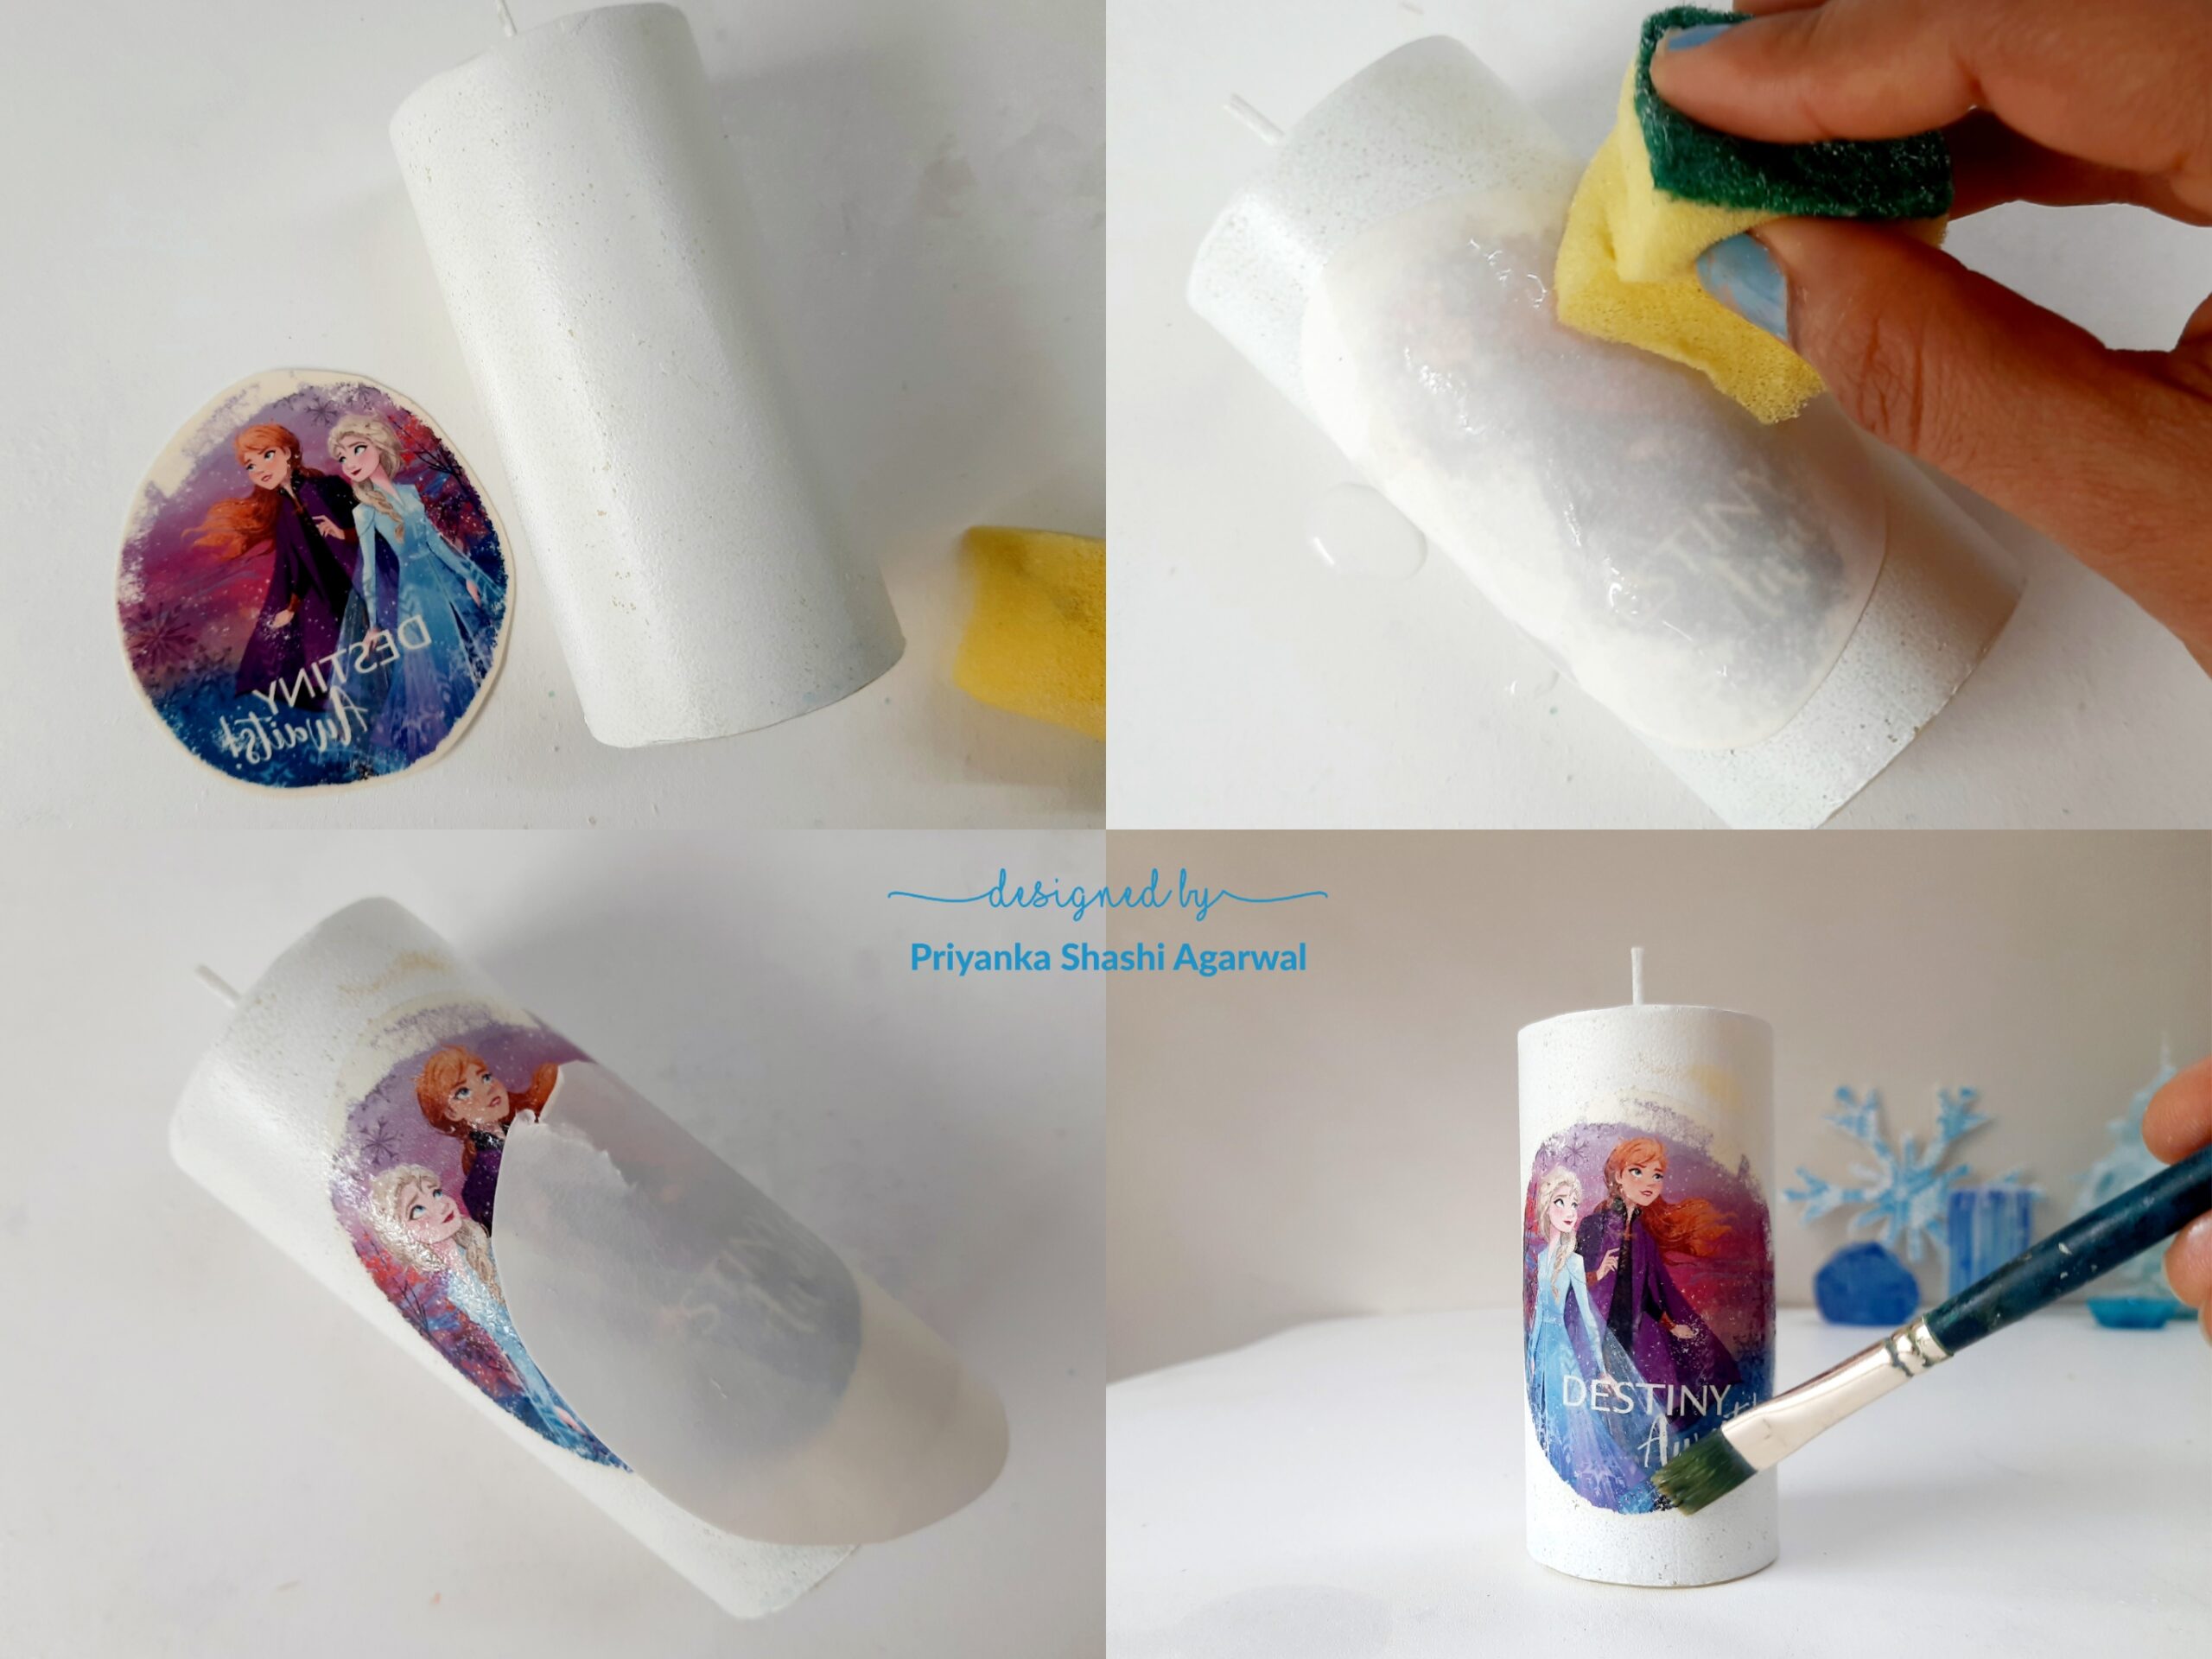 Cut the desired pattern close to the design. Gently remove the clear/transparent sheet. Place the design upside down on the surface where you intend to transfer it. Wet a sponge and dab water on the transfer paper. Gently remove the paper. The design will get transferred onto the surface. Secure it with clear varnish. This candle is also done.
Frozen Soy Candle
To meet the desired milky blue colour I decided to make one candle out of soy wax. It’s quite simple, melt the wax in a double boiler, add stearin and Aqua candle making dye. Set the wick in a mini wine glass candle mould and pour the wax. Allow it to cool down. I added a clay starfish. You can add a snowflake if you have one.

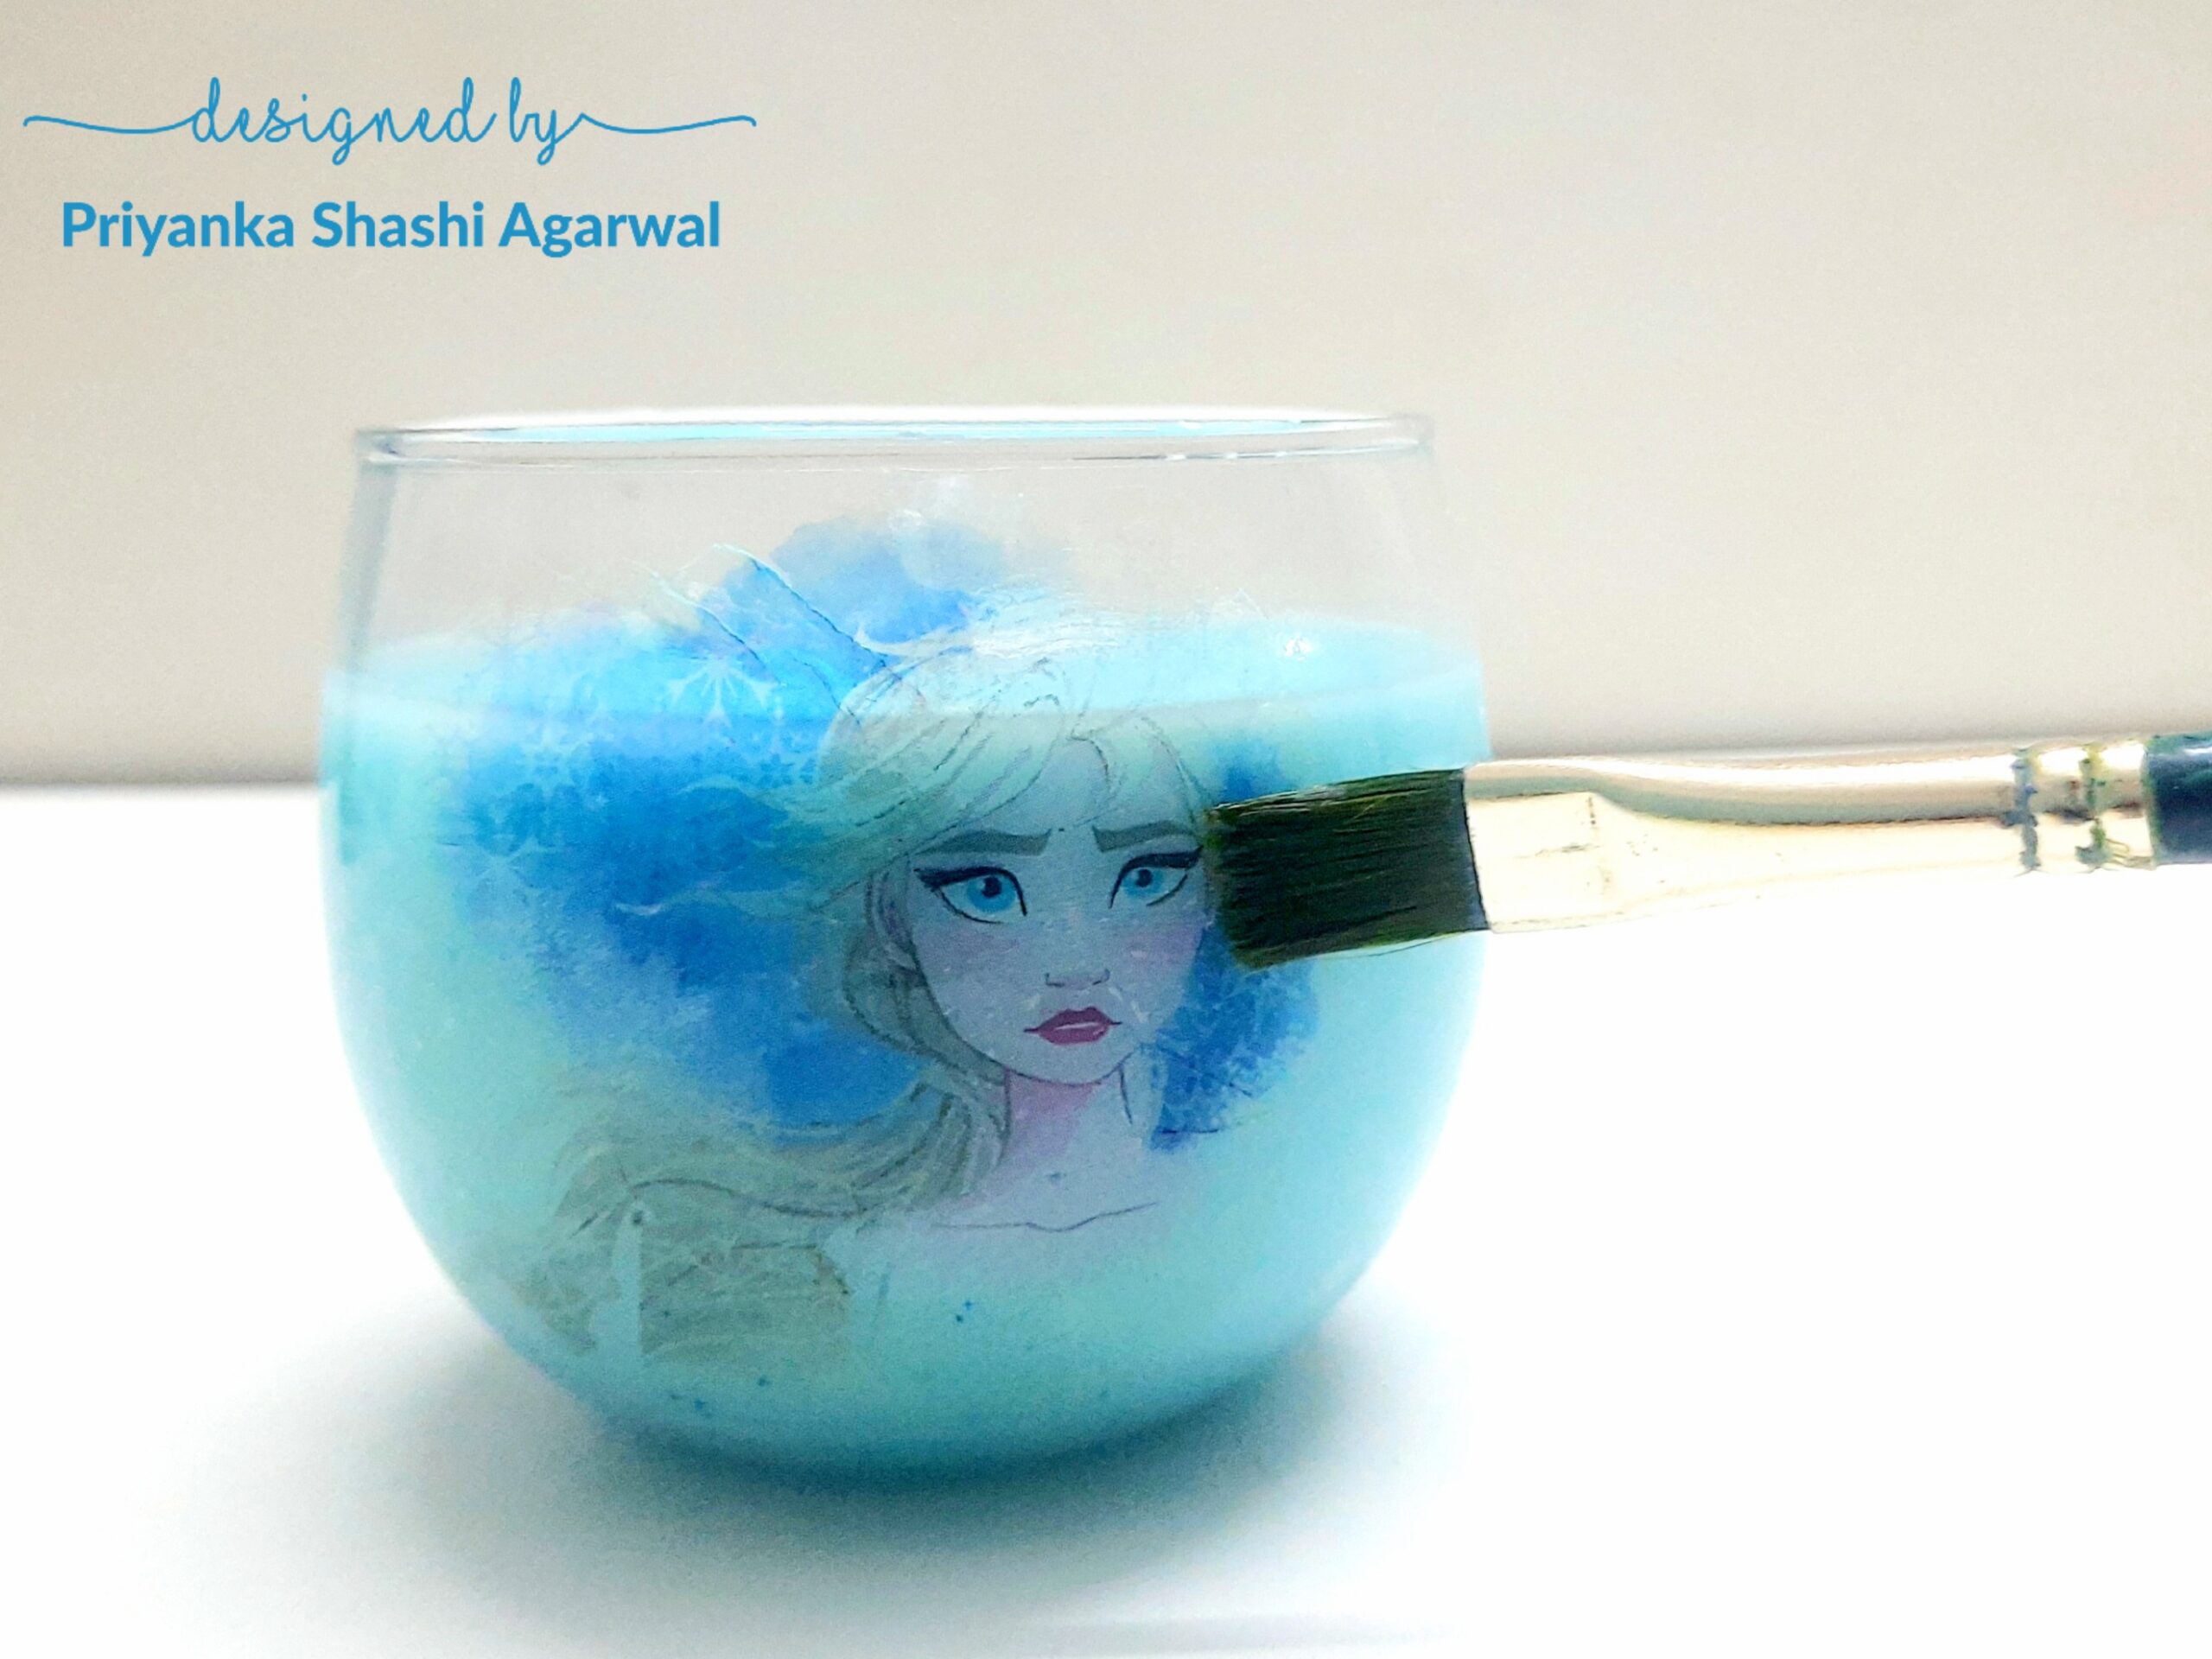 I embellished this one as well with a cutting of Elsa from Frozen Deco Transfer Sheet and secured it with varnish.
Frozen Jar Candle
I have unlimited ideas still running into my mind to make different Frozen themed candles. But this one is the last candle of this post.
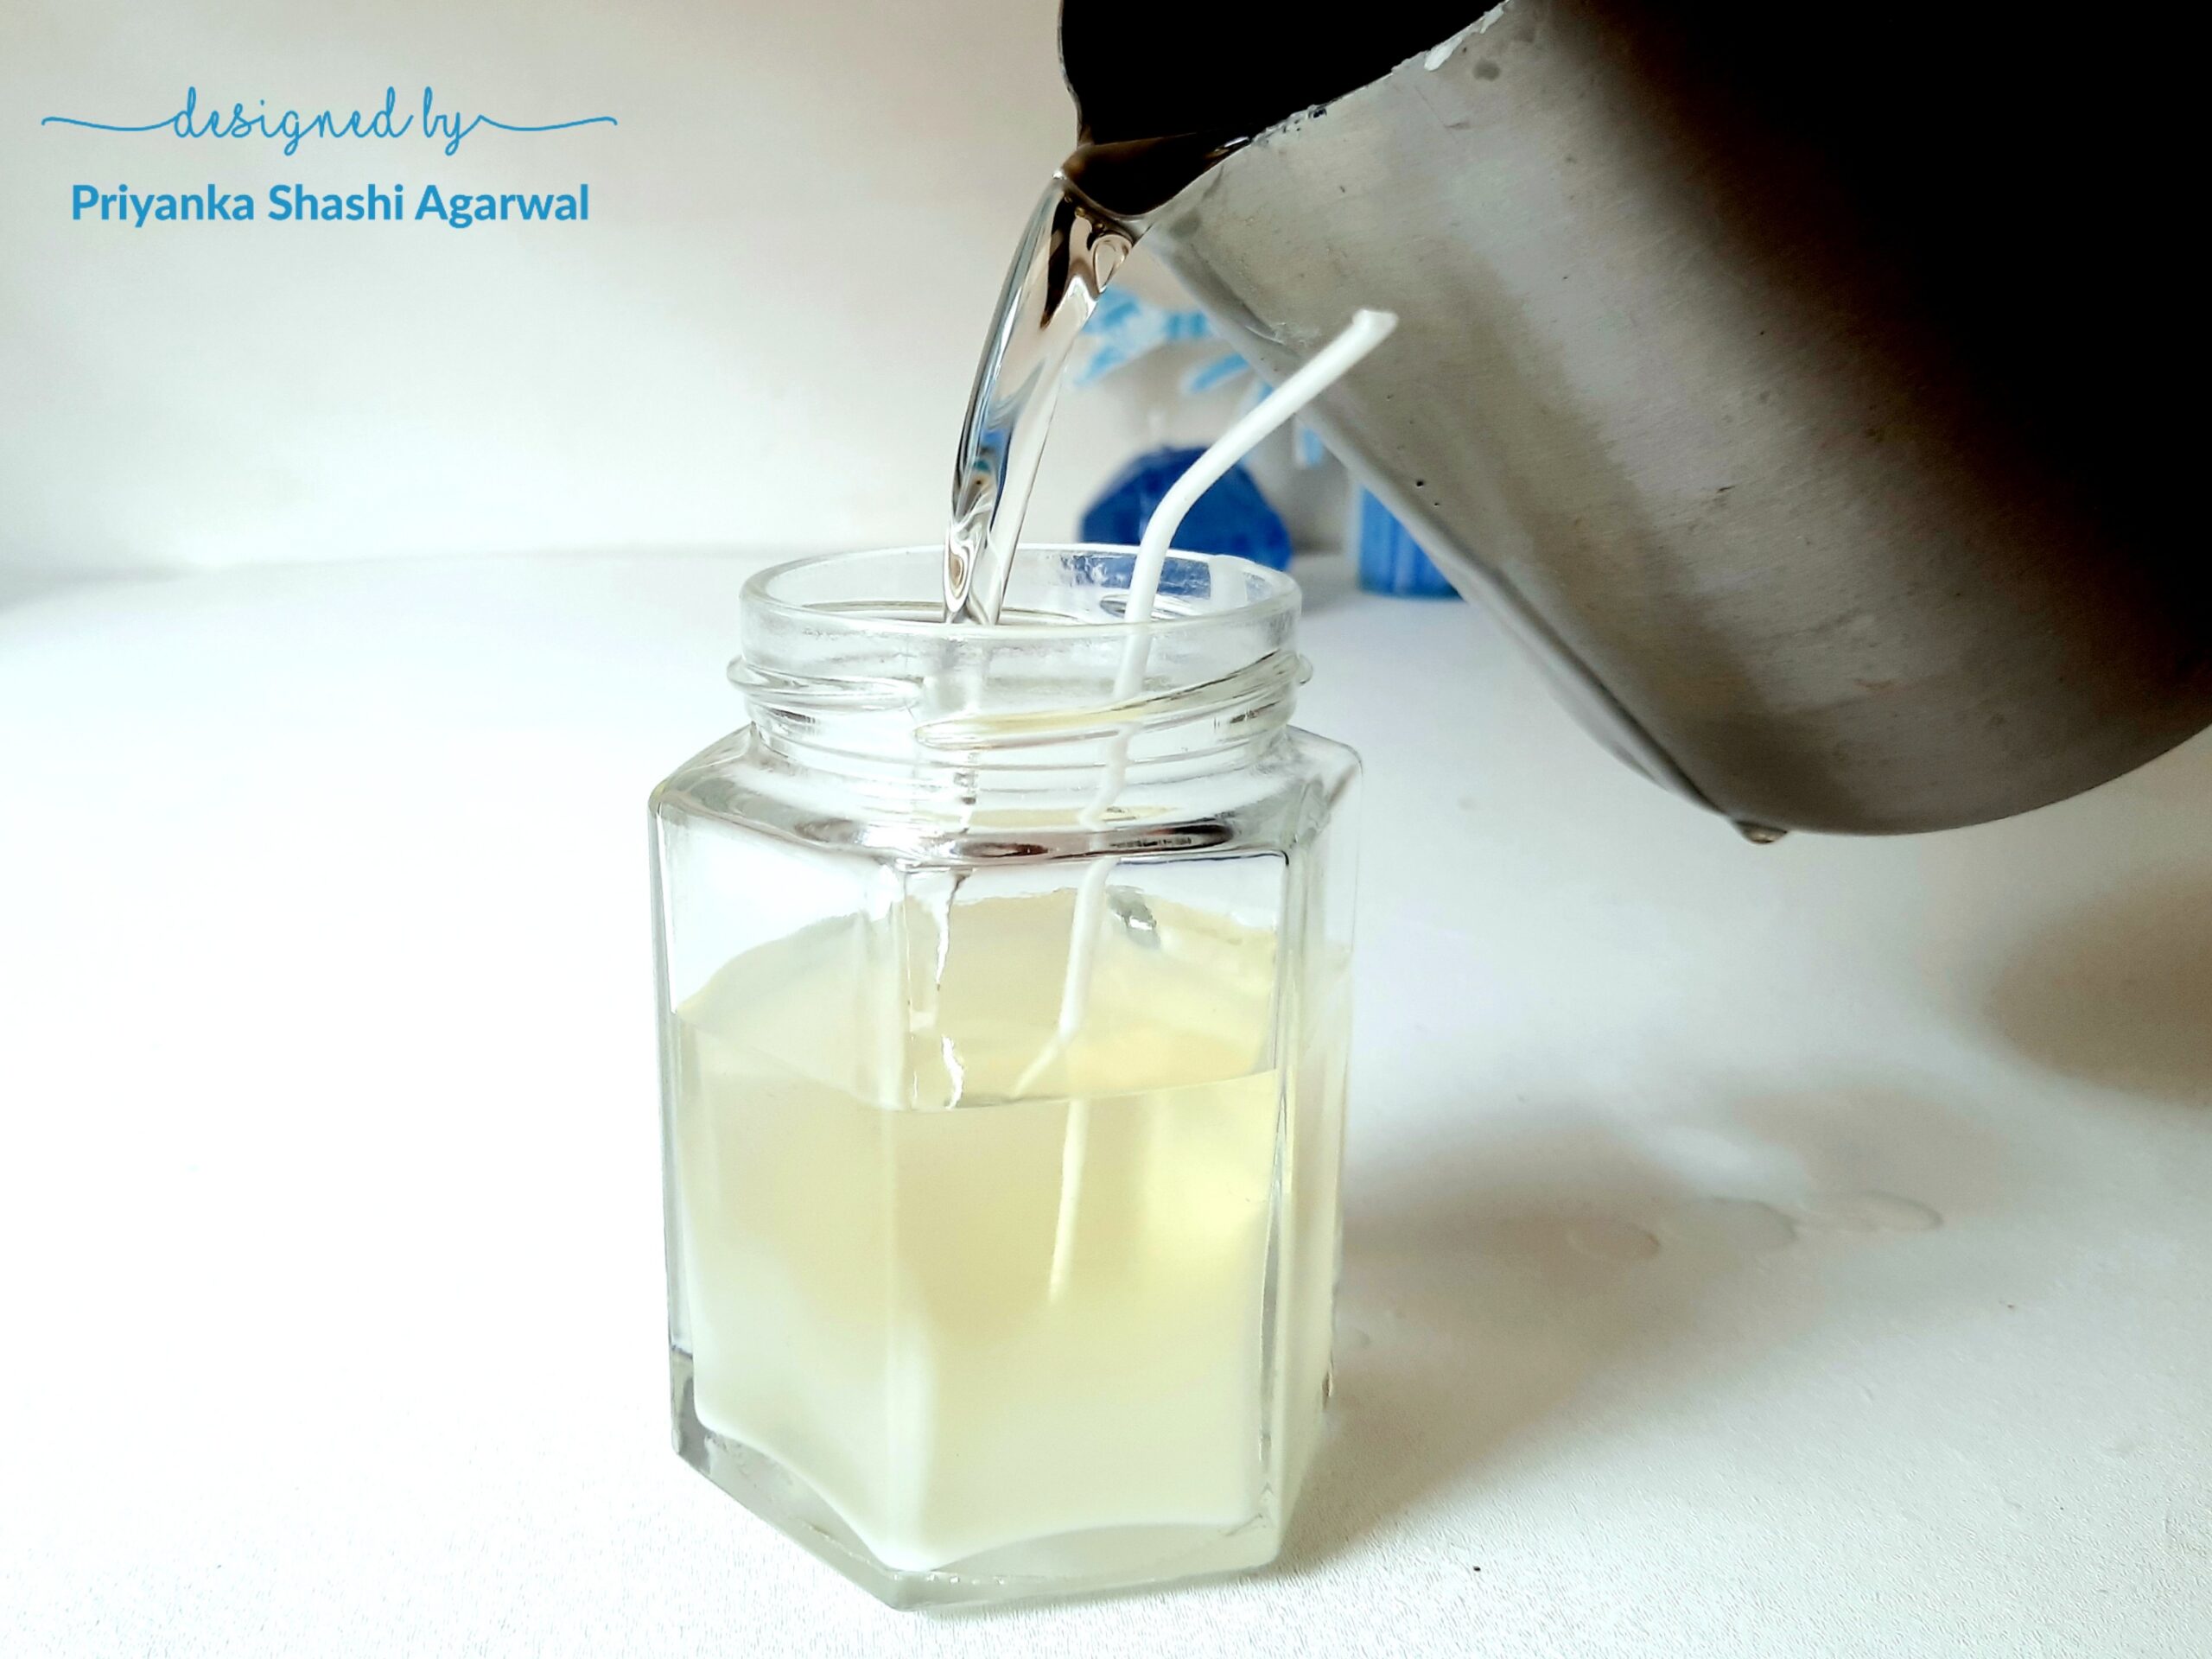 For this one I poured soy wax in a hexagonal jar.
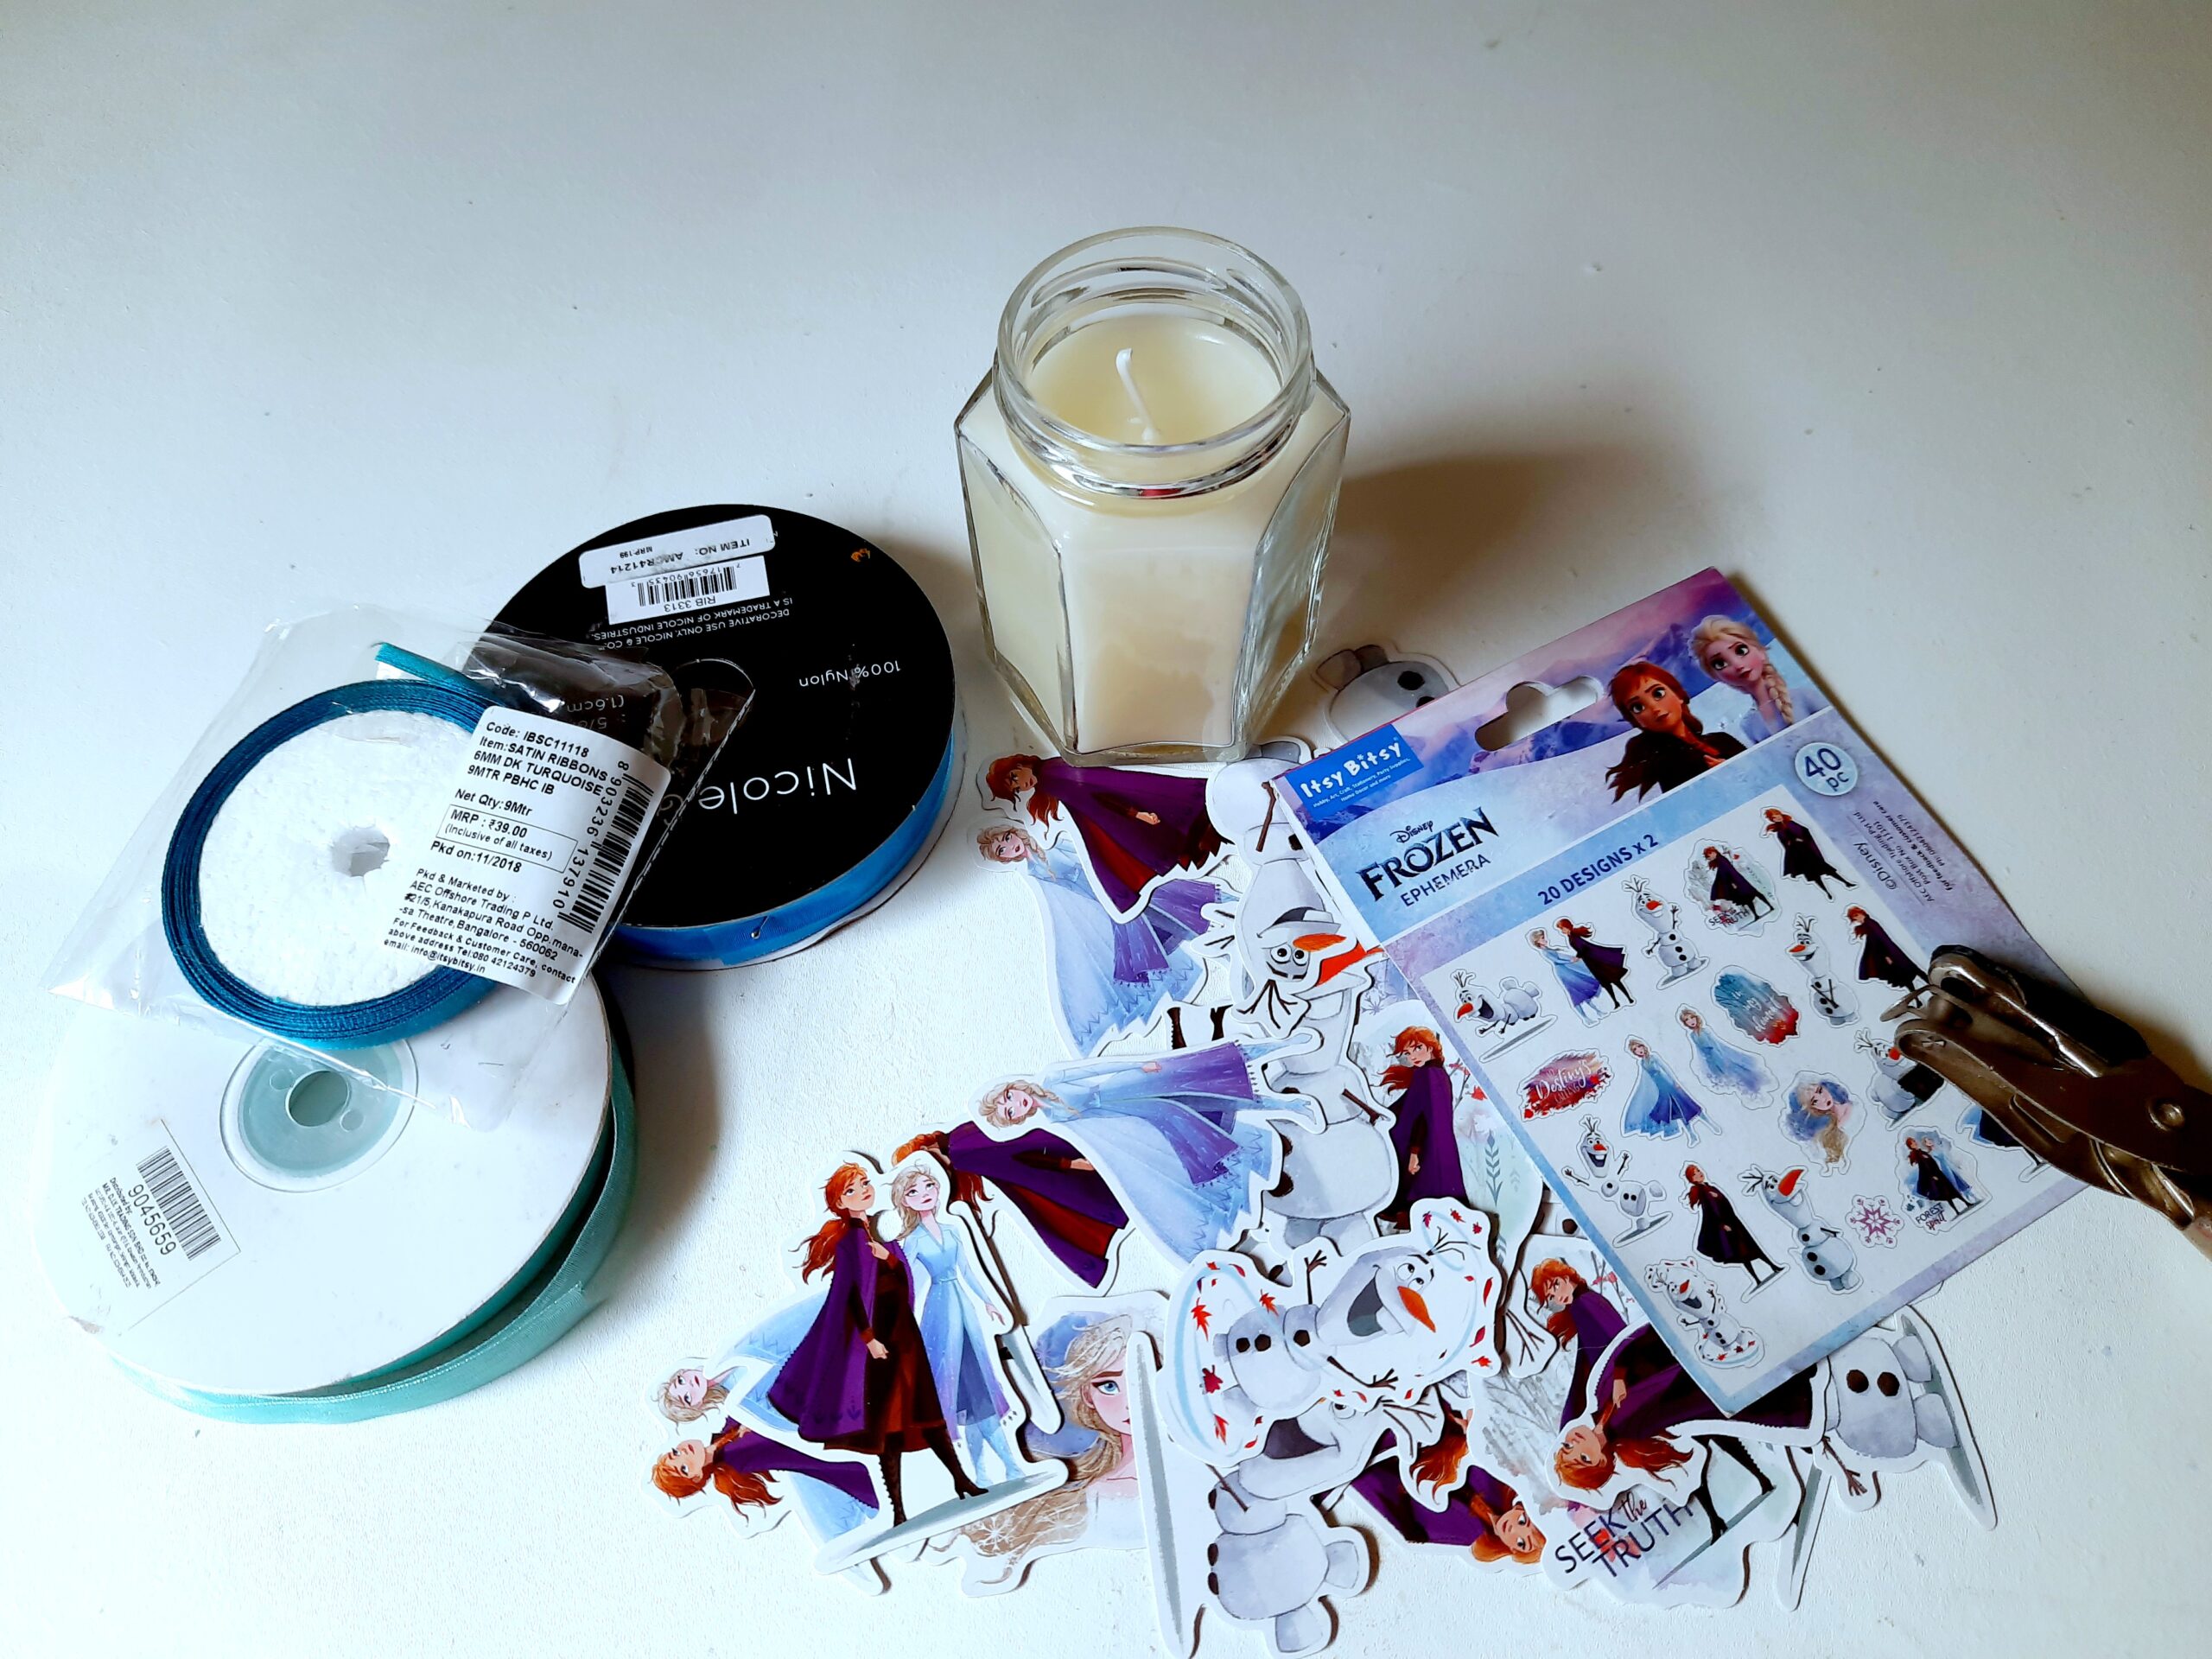 I collected few ribbons in blue colour and beautiful memorabilia cutouts from The Frozen Tale Ephemera collection. I wasn’t sure which one to choose from the ribbons and 20 designs of ephemera.
 Finally I embellished the jar with sheer organza satin edged ribbon in arctic blue colour. I added 2 Frozen memorabilia as hanging tags and a handmade glittery flower to give it a fancy look. See how well it turned out.

MDF Snowflake
Last but not the least, I made a mixed media MDF snowflake to keep with my Frozen themed candle set up.
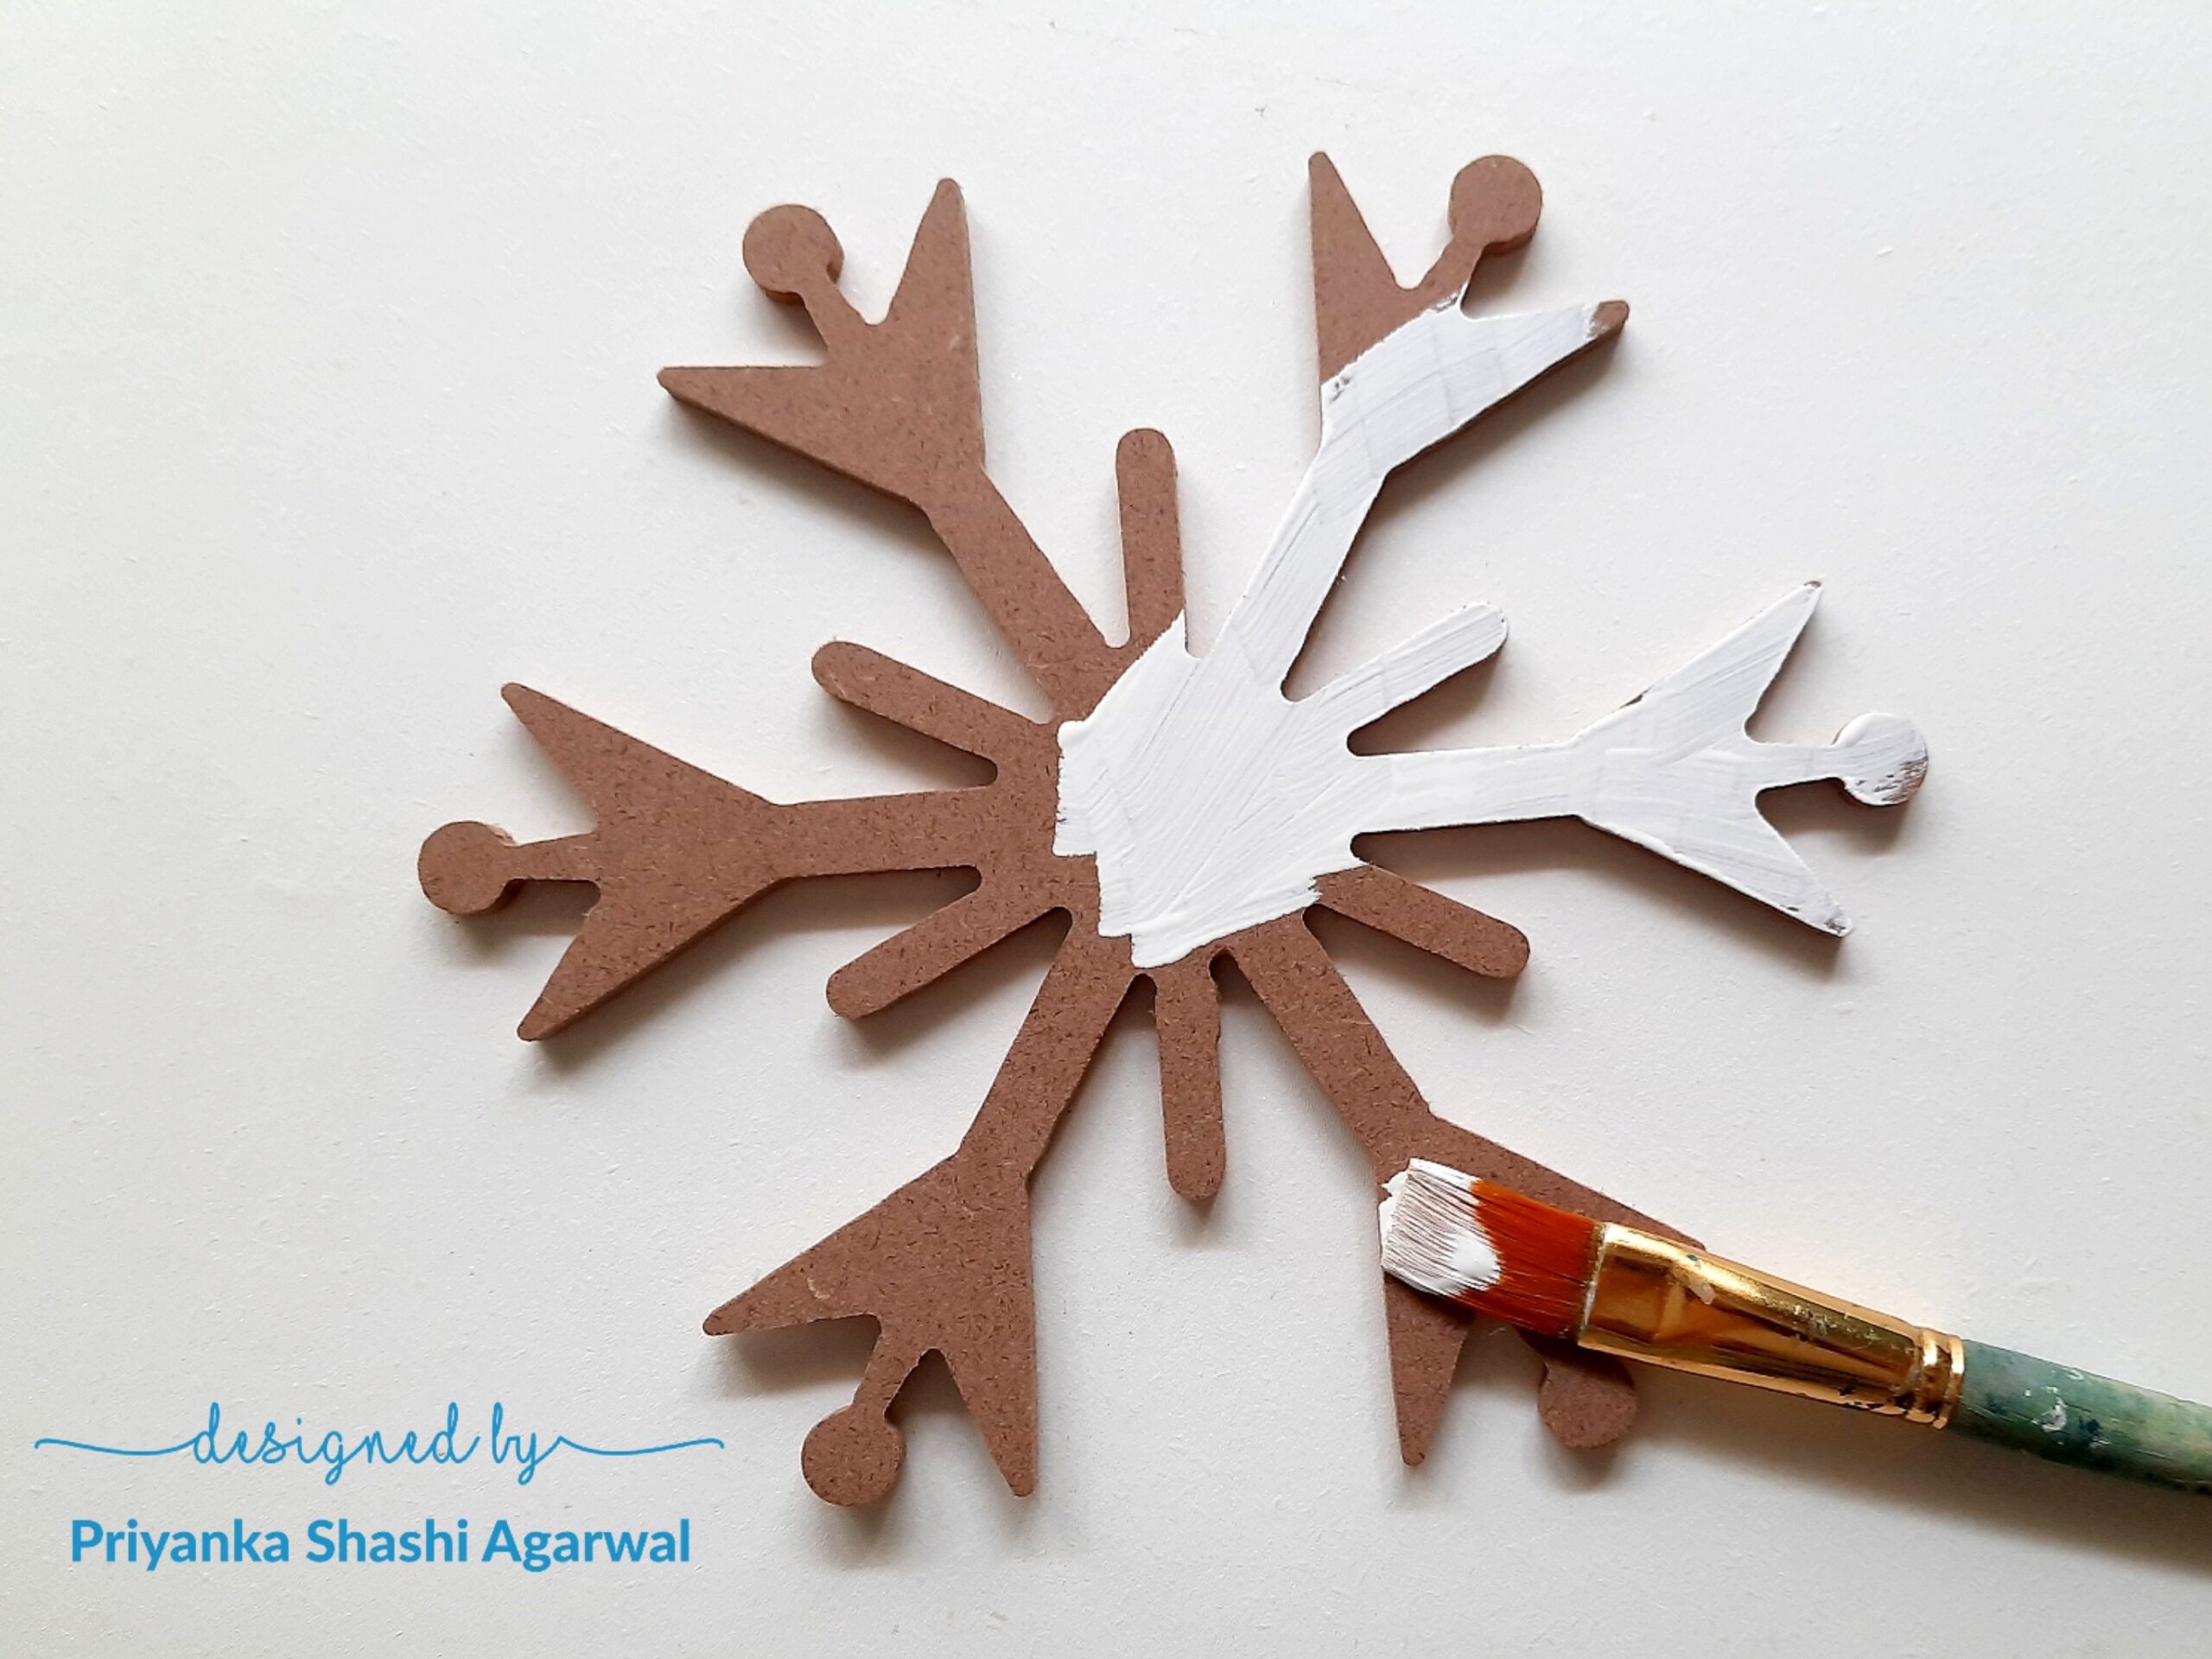
I used white acrylic colour as a base coat on snowflake.
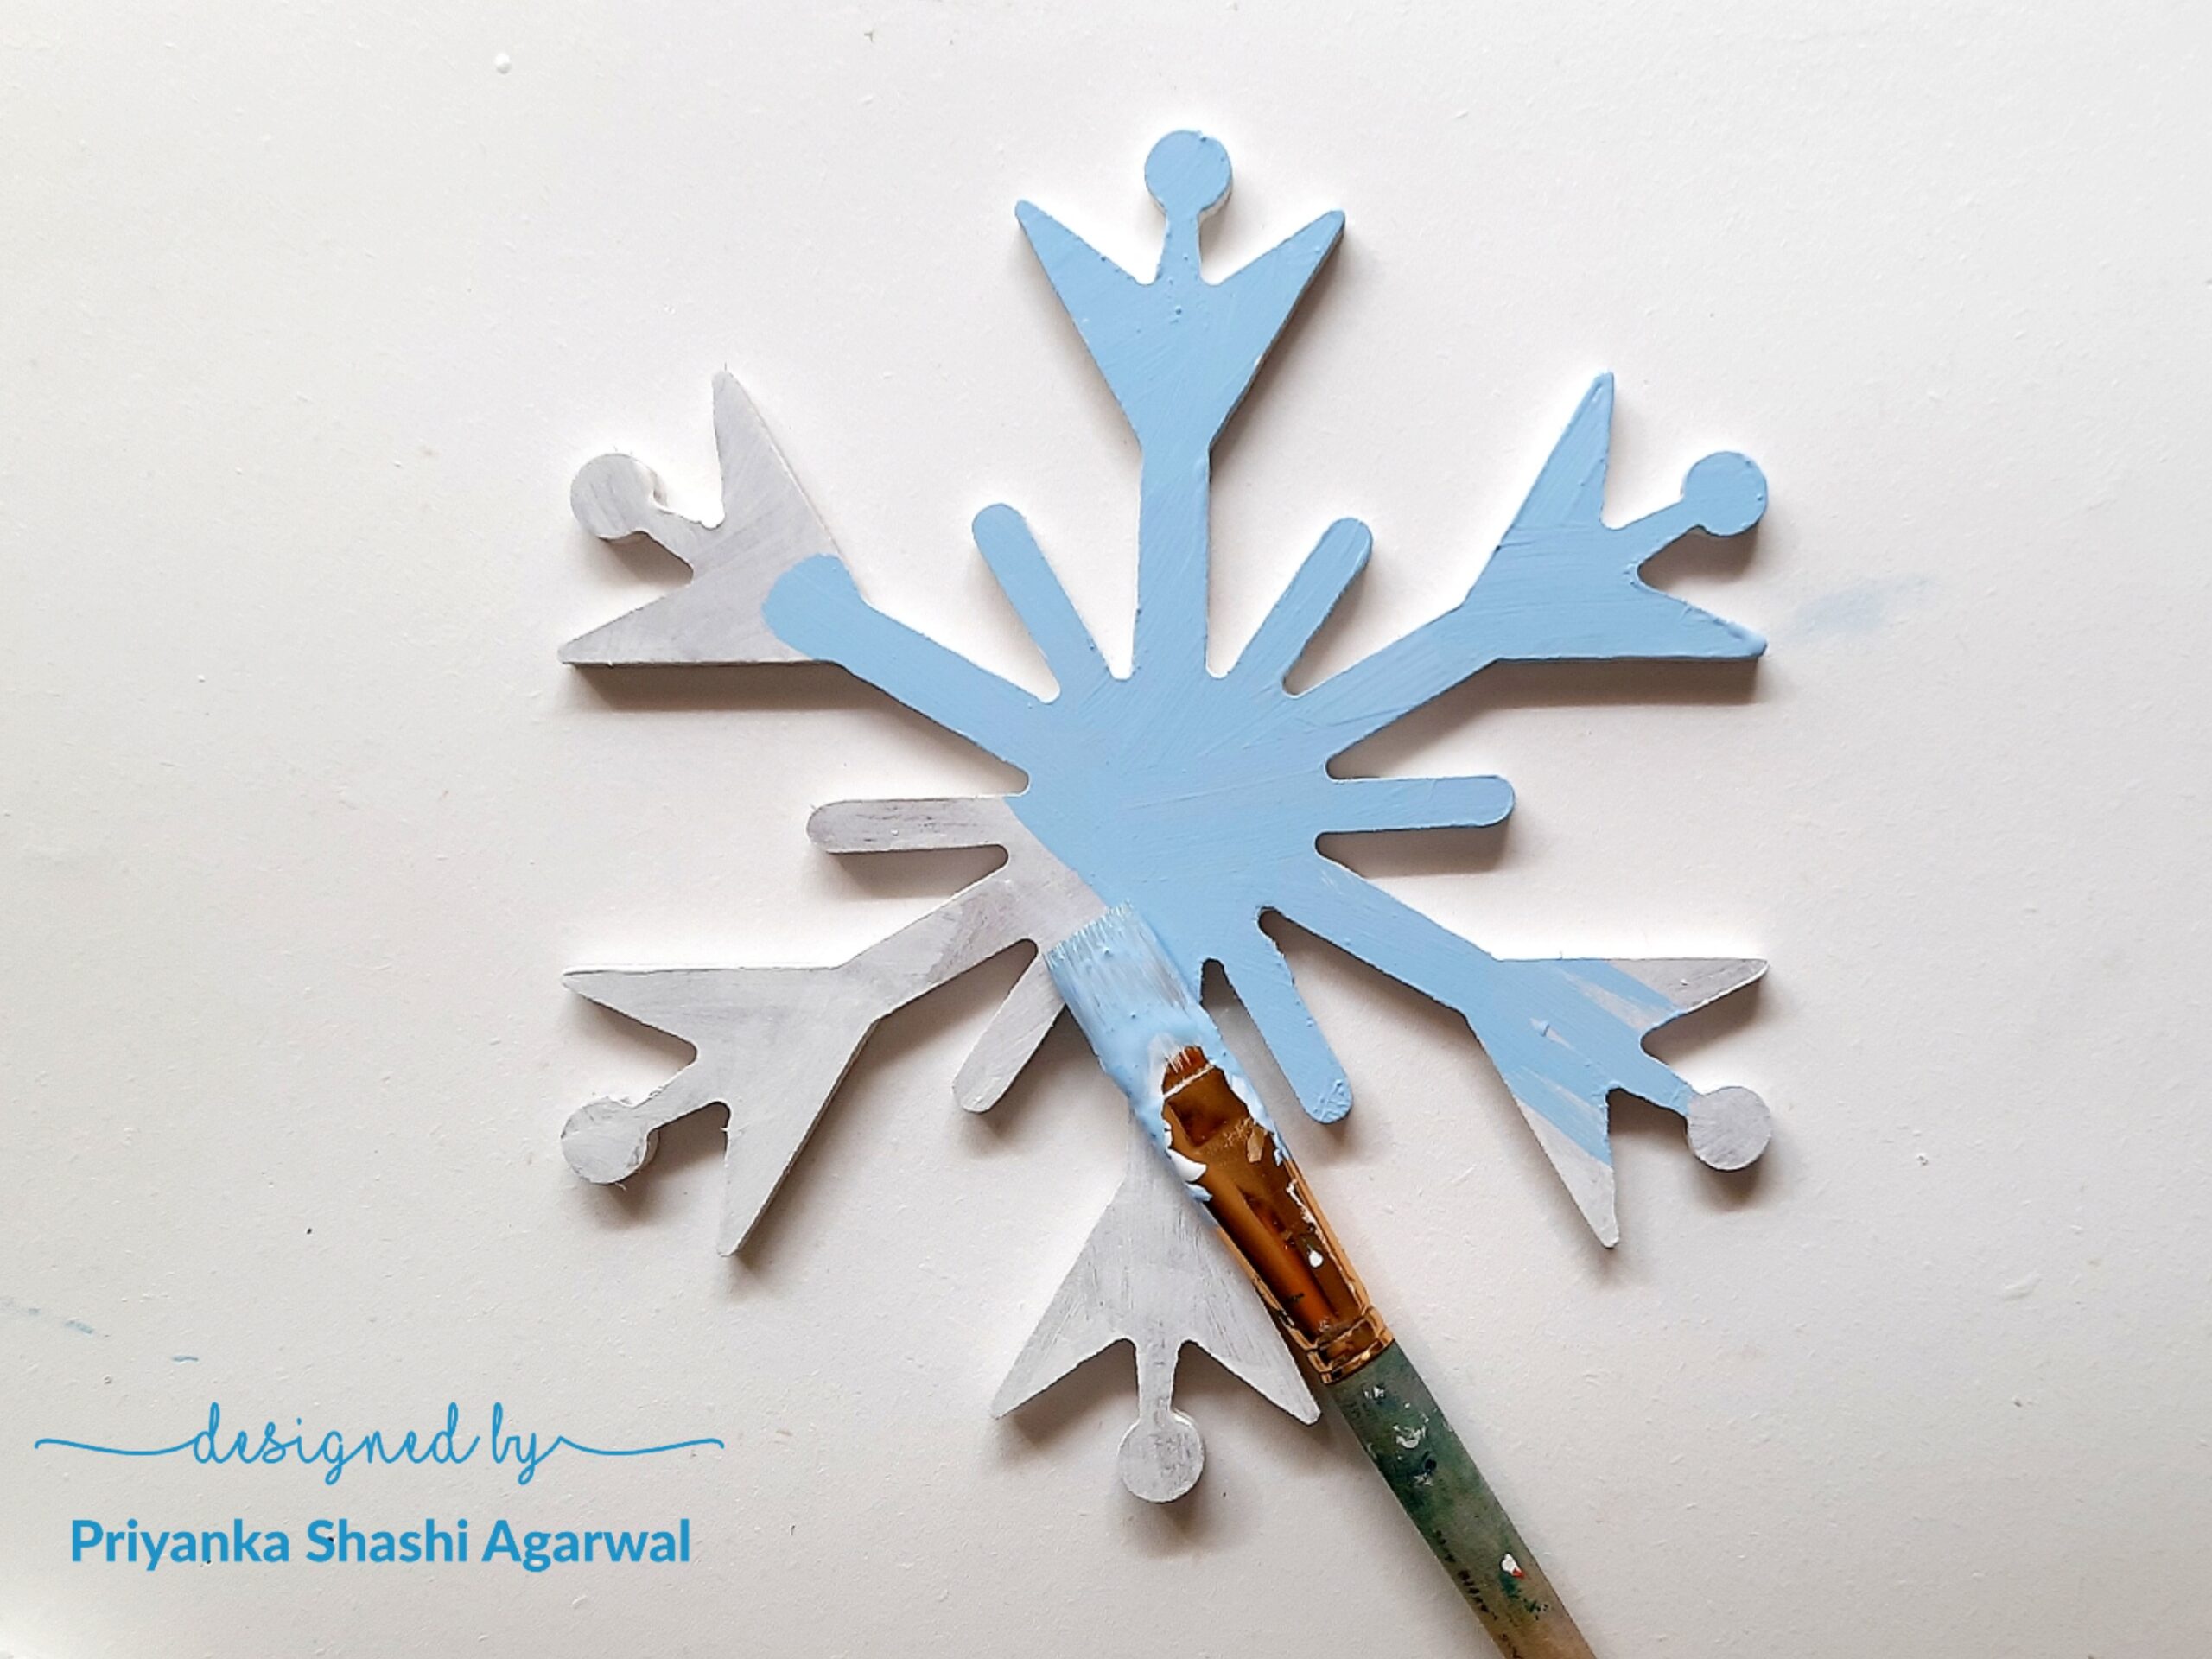 First I was planning to cover it with silver sparkle then I changed my mind and covered it with Frozen Ice – chalk paint.
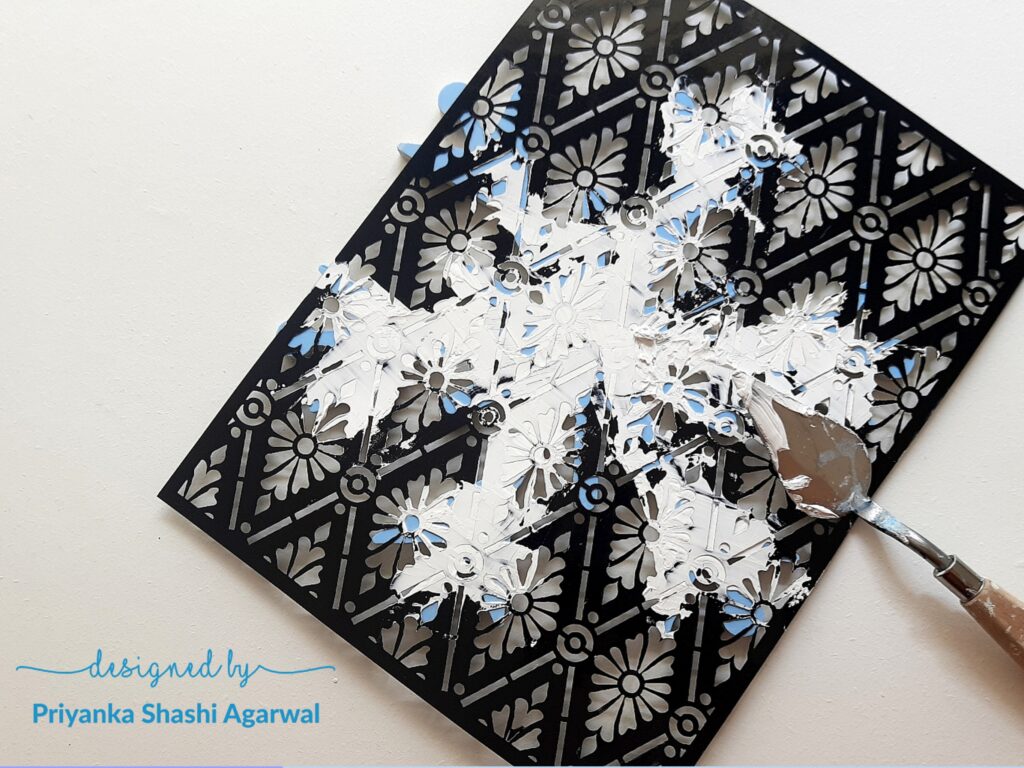 I made patterns on snowflake with stencil and texture white. I distressed it with texture white on edges as well.

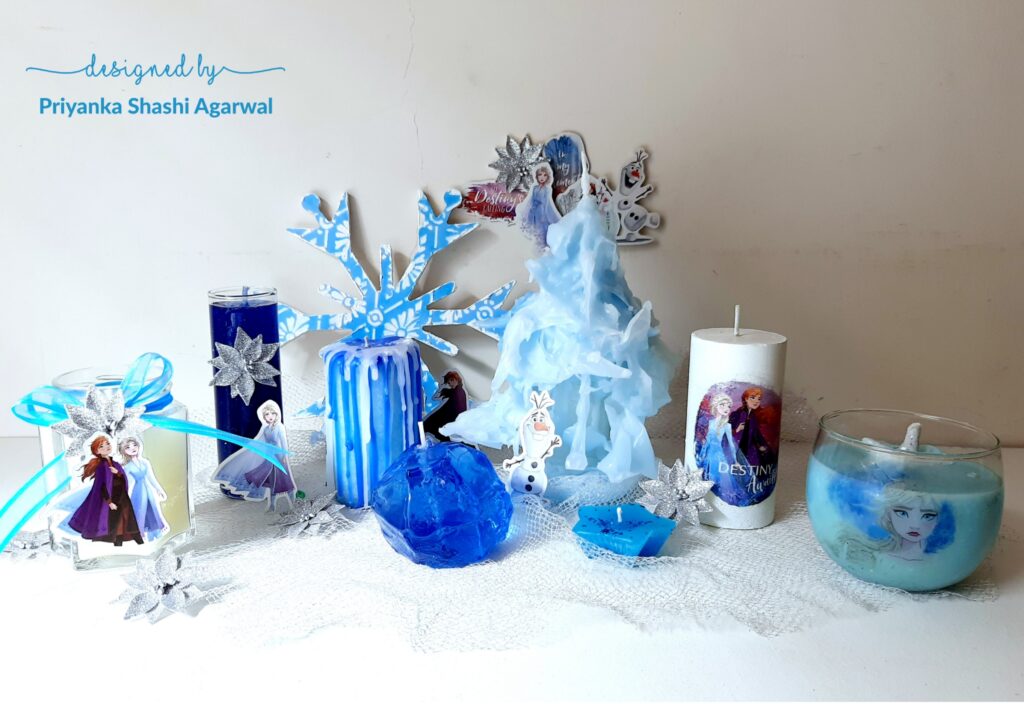
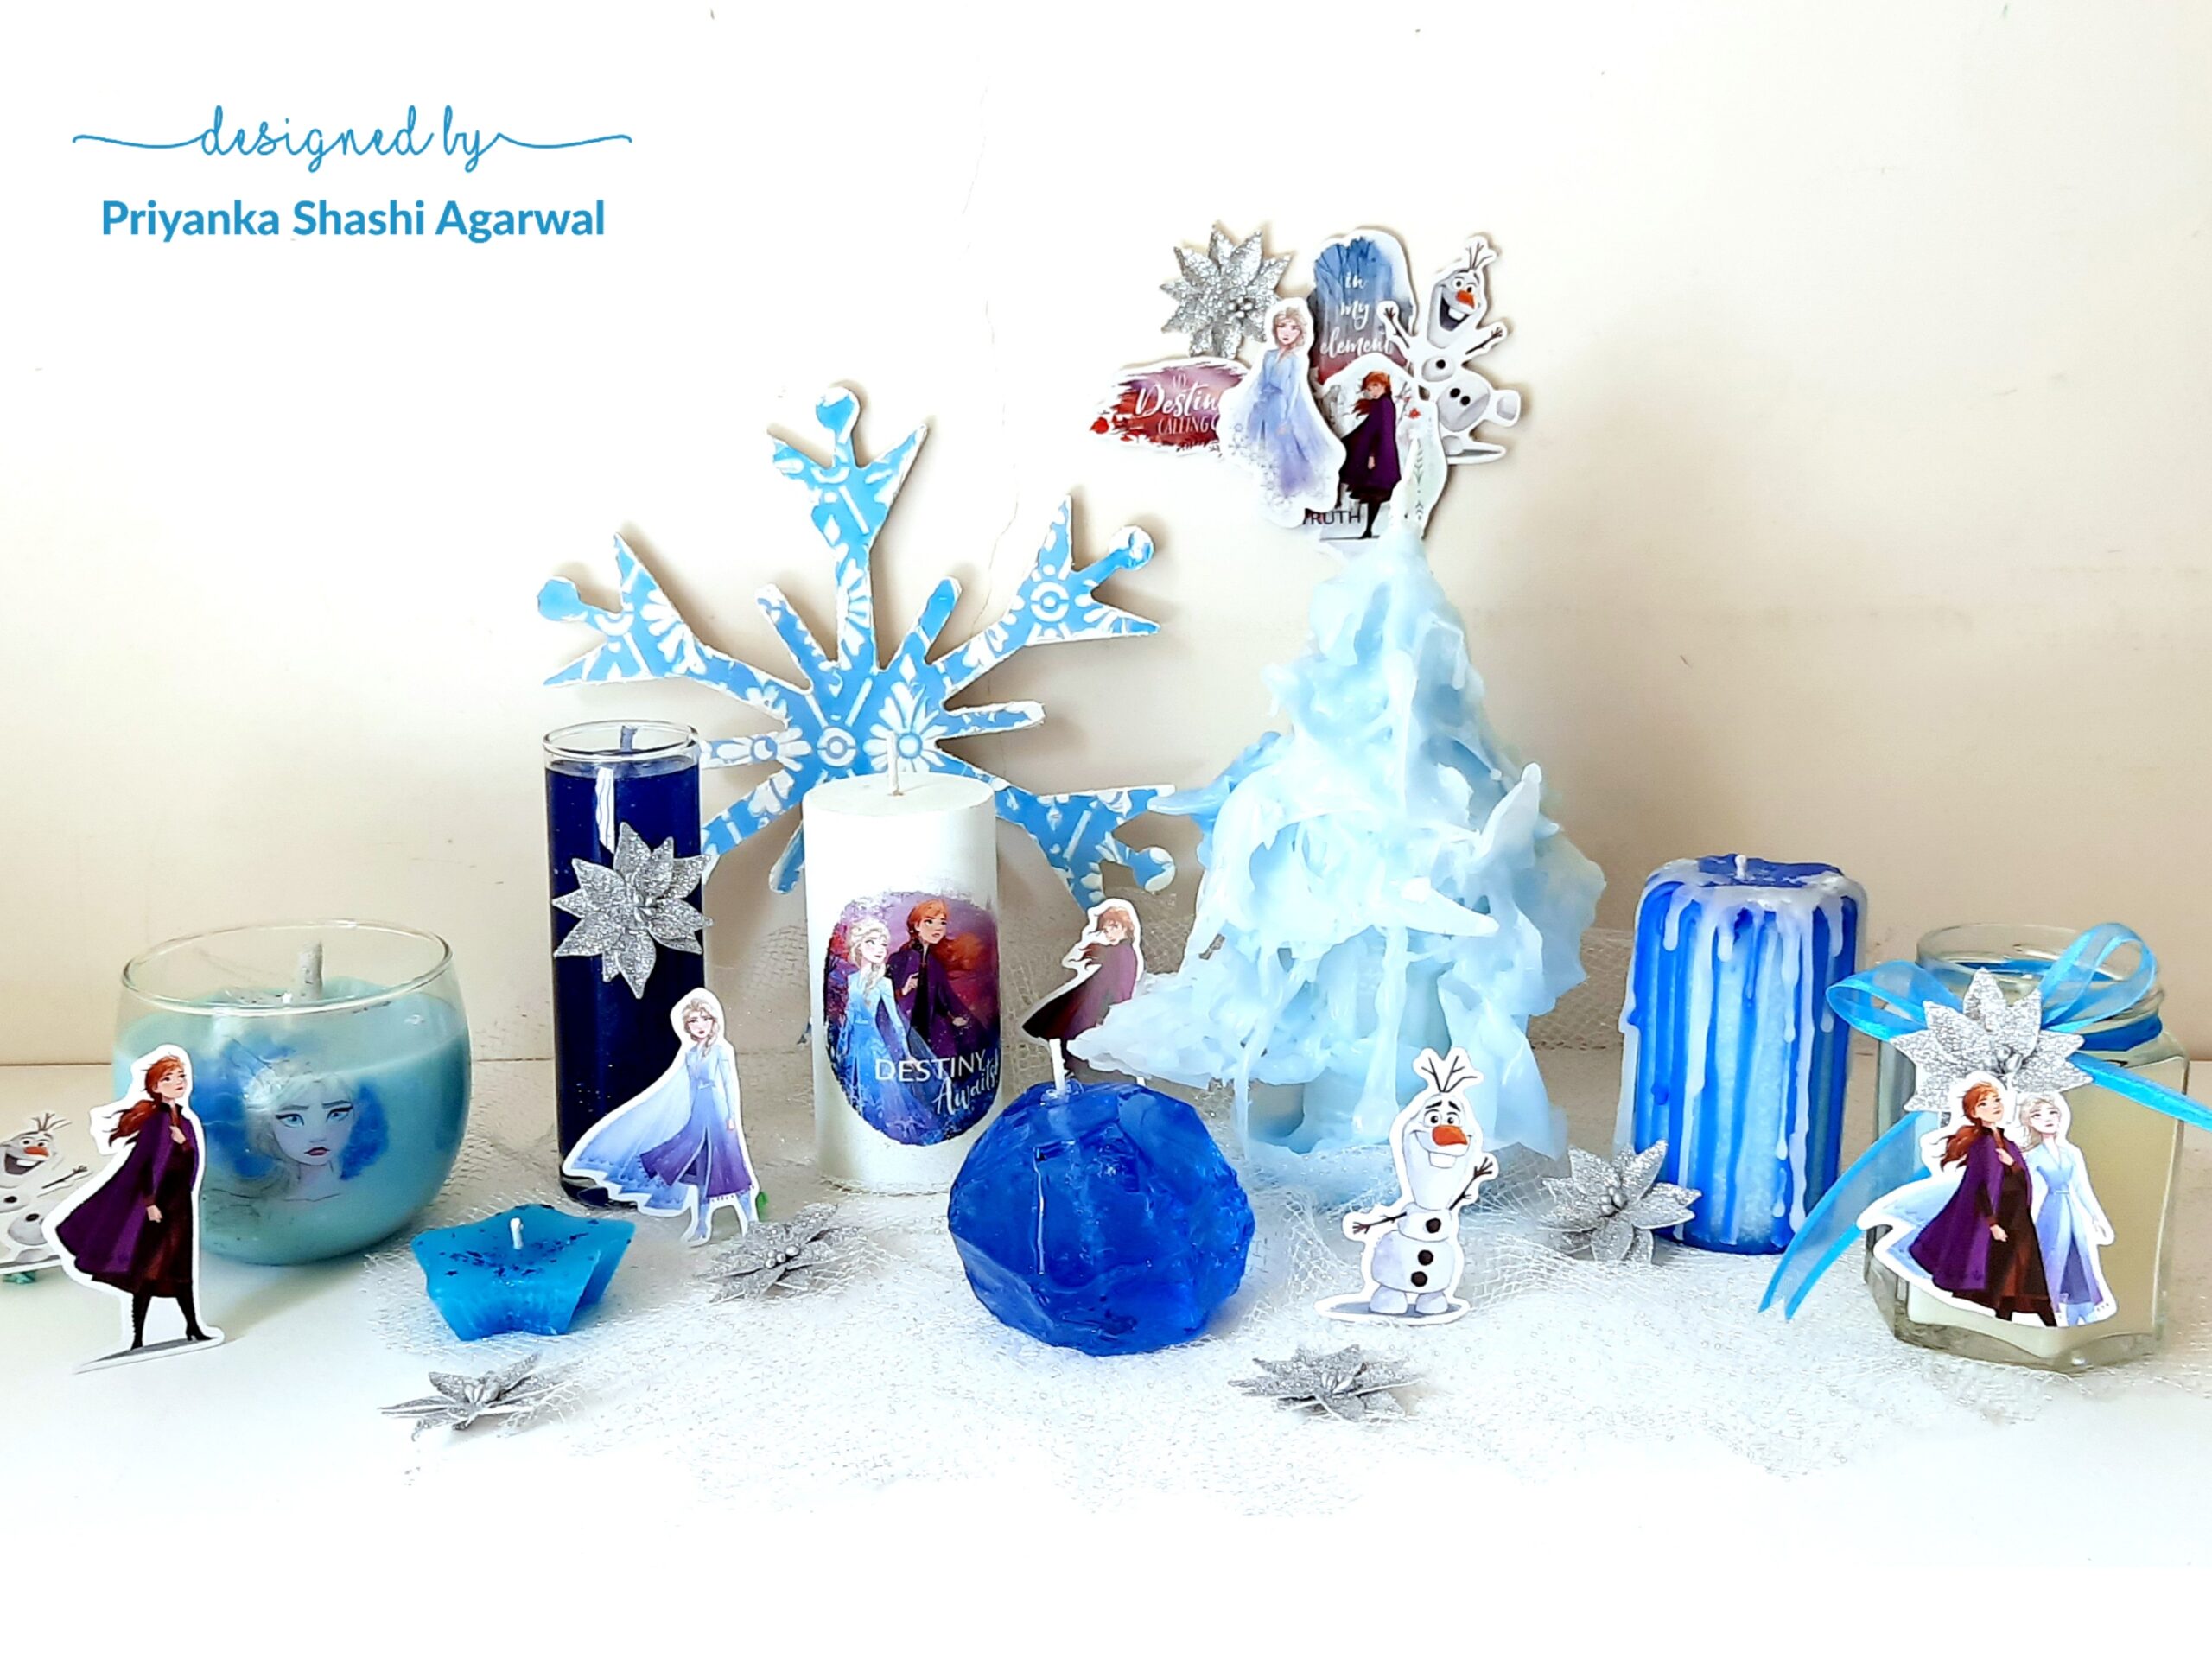
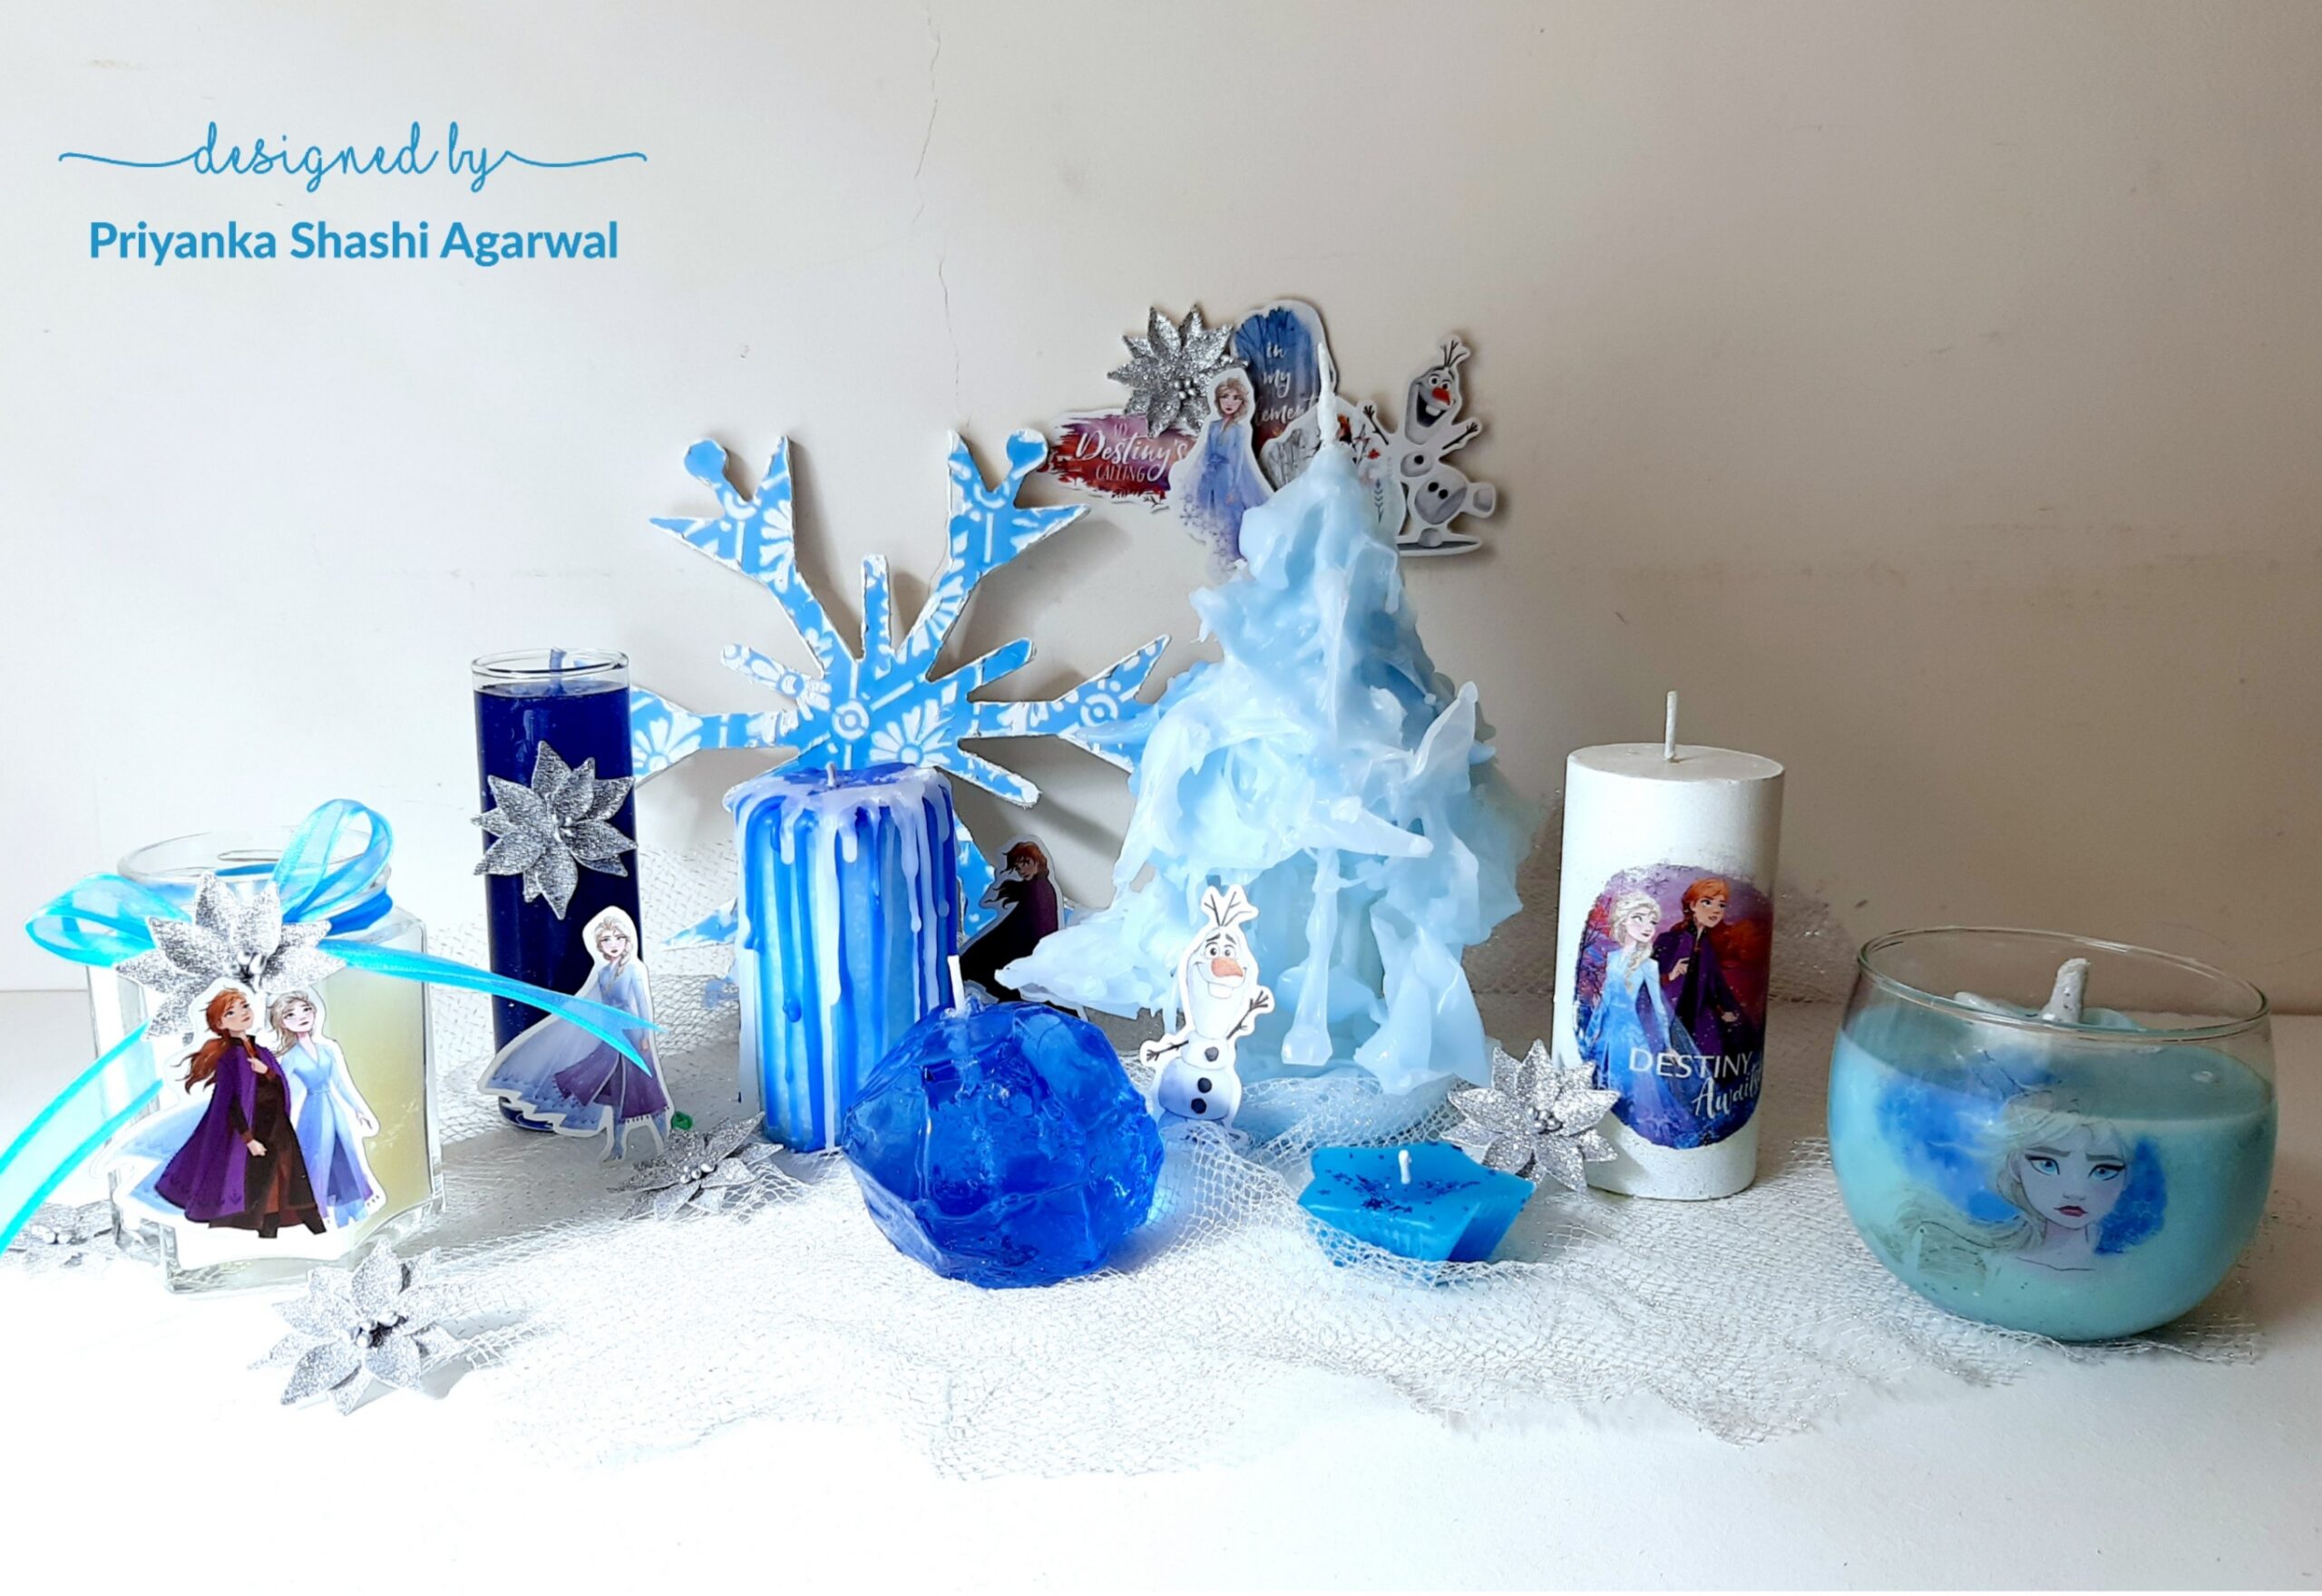
Have a look on fabulous Frozen themed candles all together. I just loved to recreate this fantasy world of Frozen themed candles. Hope you will like each and every candle of Frozen collection.
Have fun making these candles, and be careful! Purchase all the materials used in this project on ITSYBITSY craft store online or offline. Use my code: PRIYANKASHASHI05 for extra 5% off on the online purchase of any craft materials.
Have a crafty year ahead. Hugs, Priyanka Shashi.
Product List: