Hello everyone! I am Daisy from the new team of Itsy Bitsy Brand Ambassadors and I am here today to share with you my first inspirational project. Thank you for making time to read this blog.
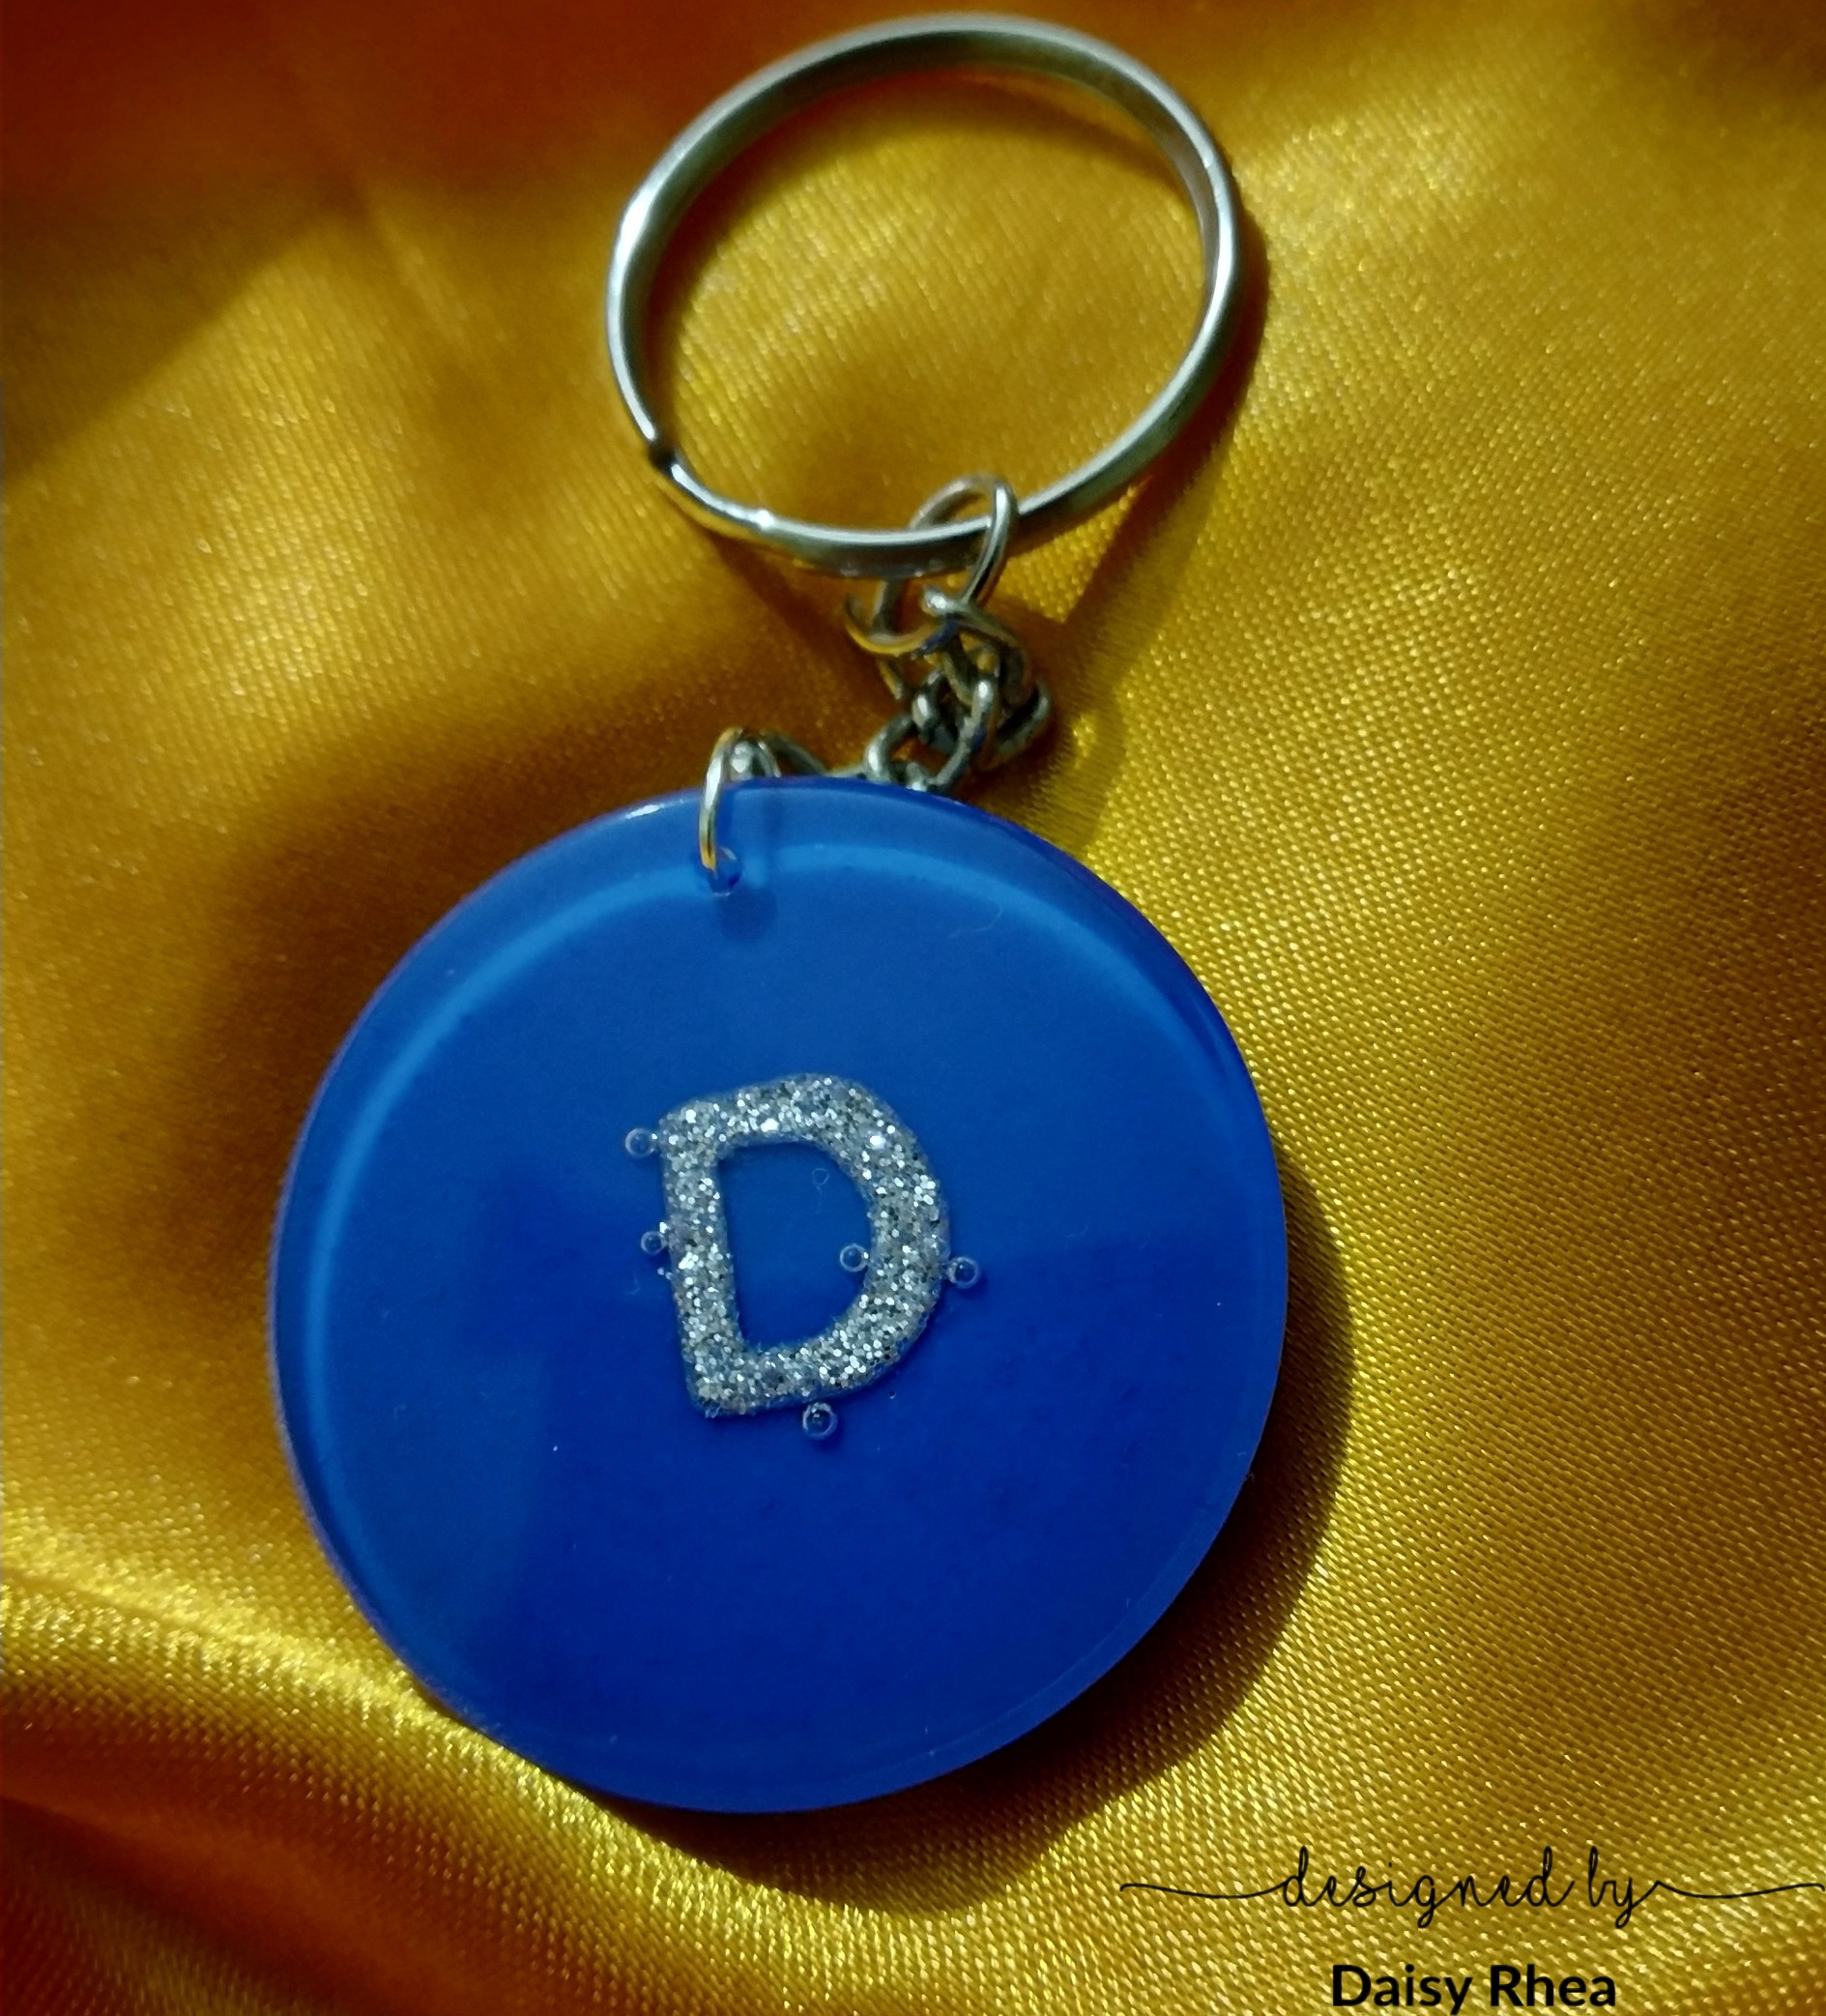
Today we will be making a resin keychain where you can add your name’s initial letter.
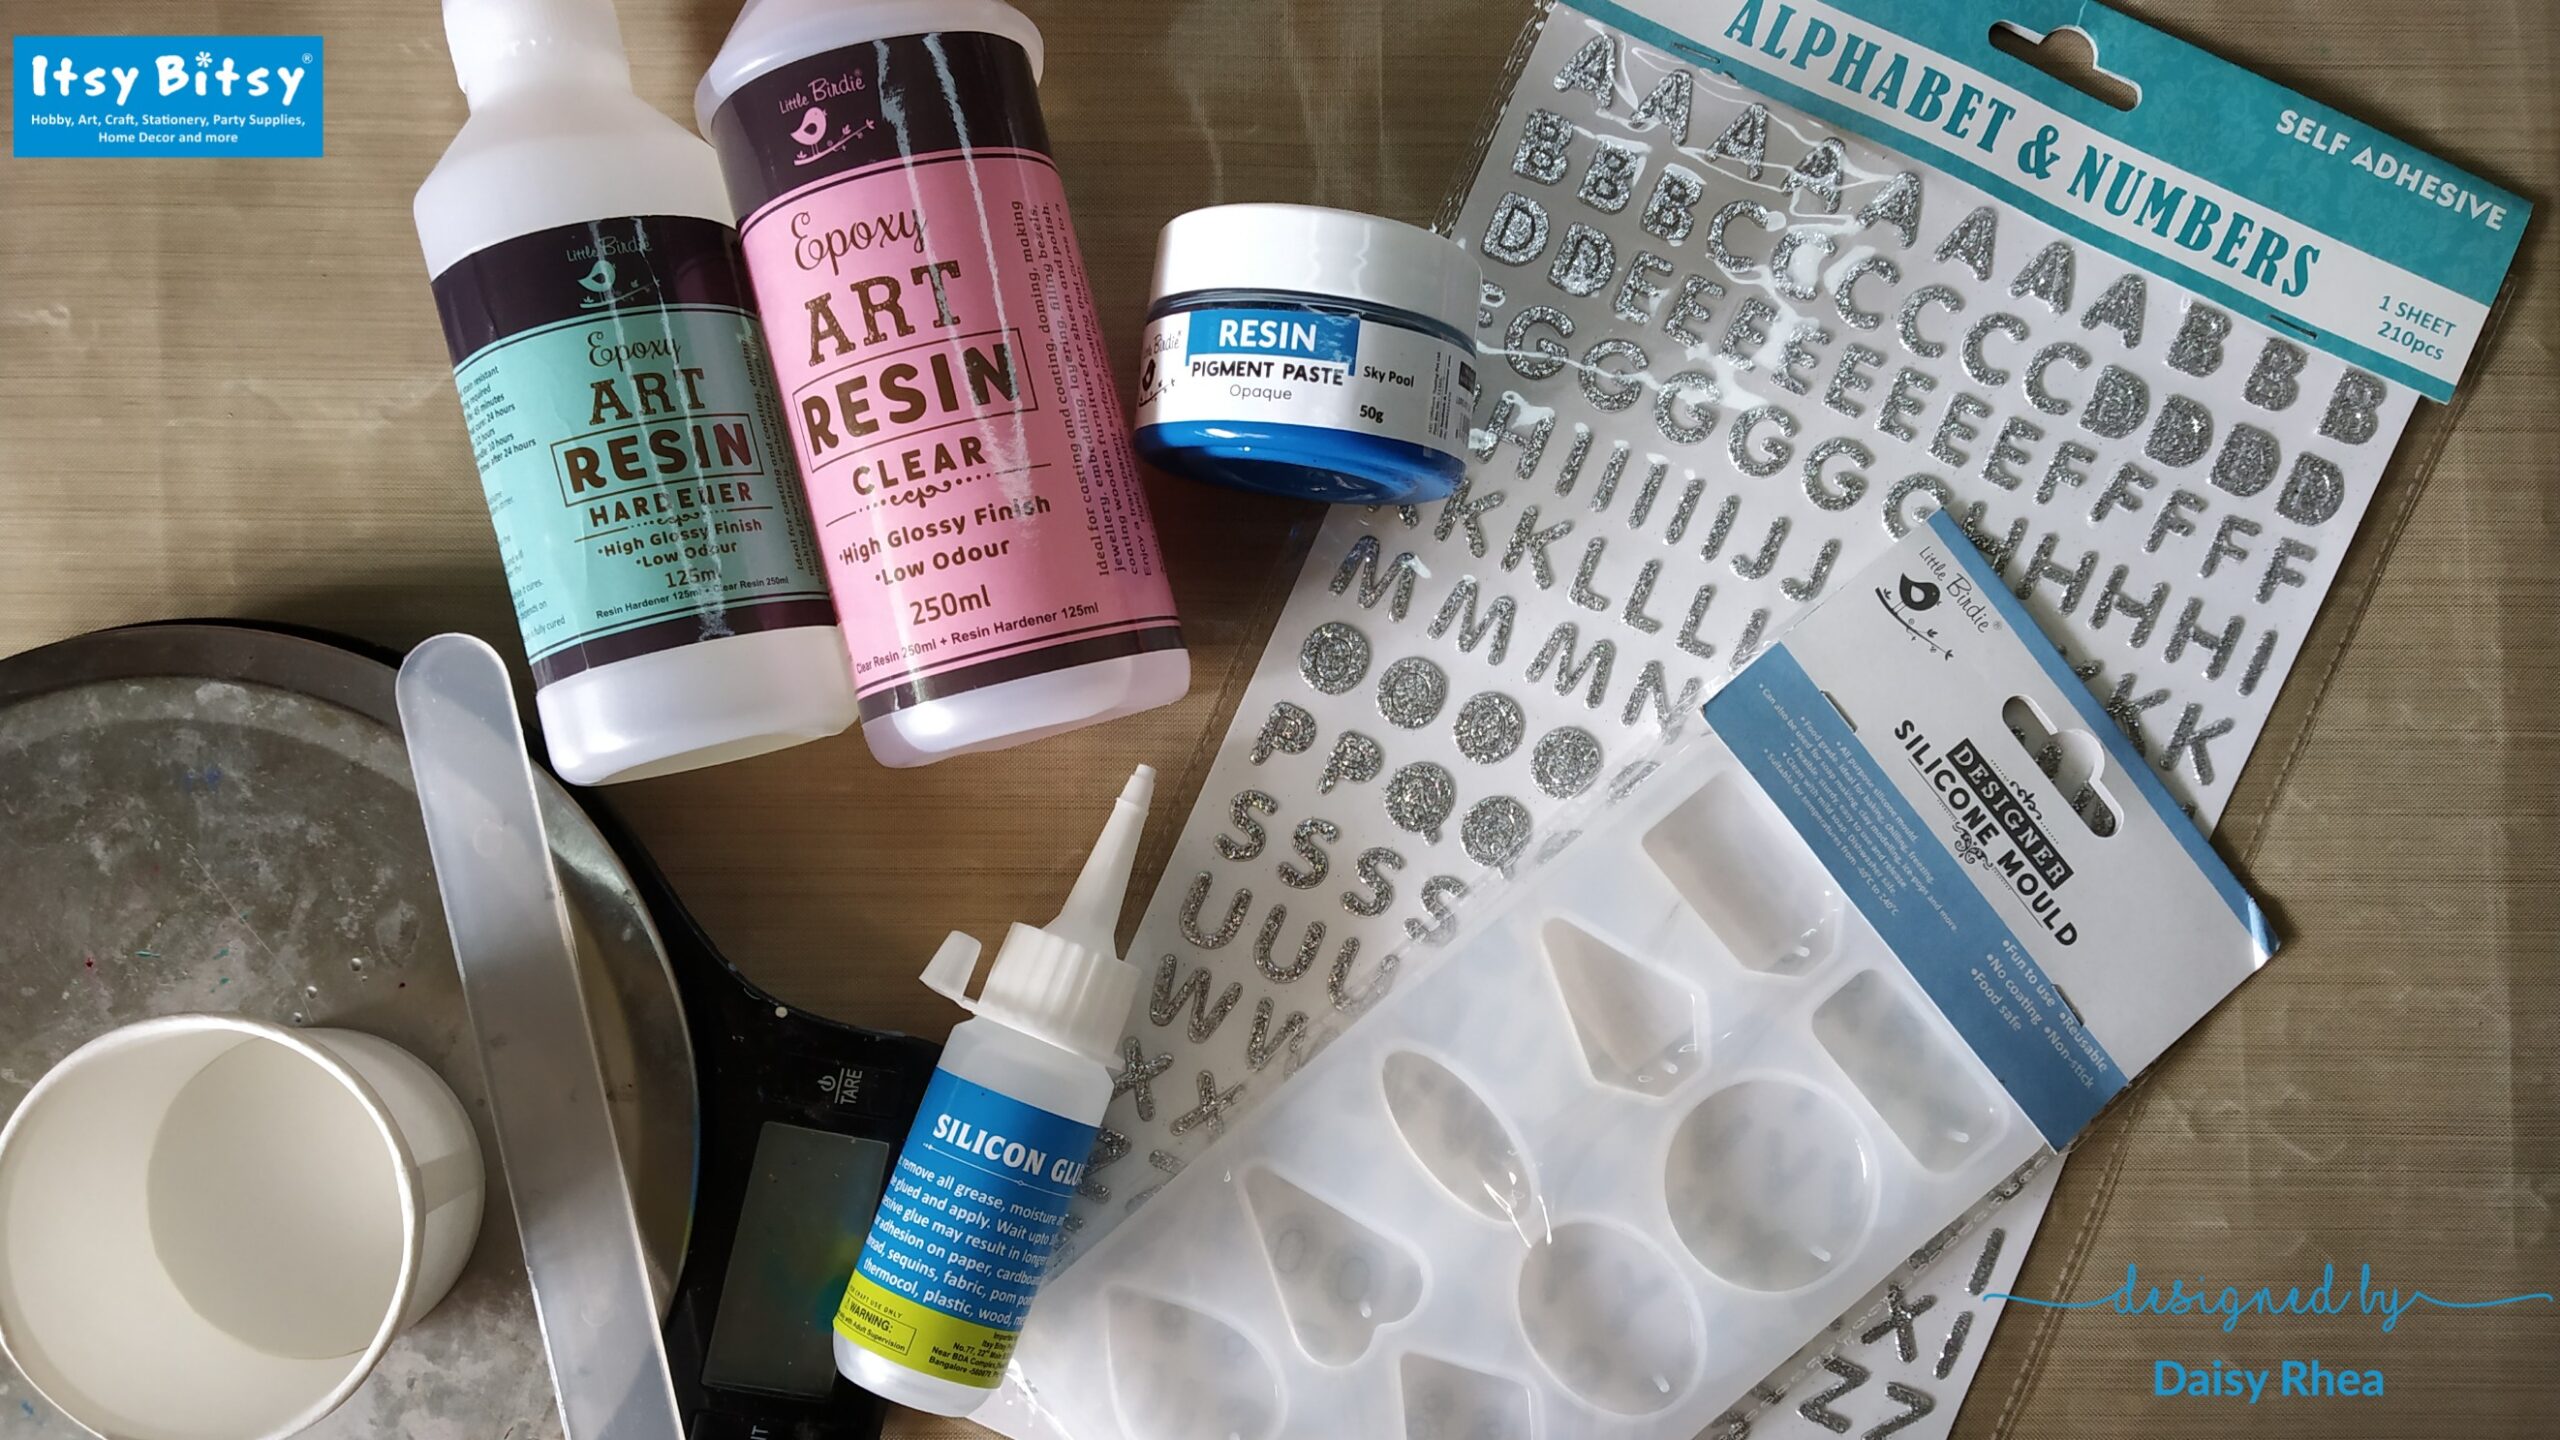
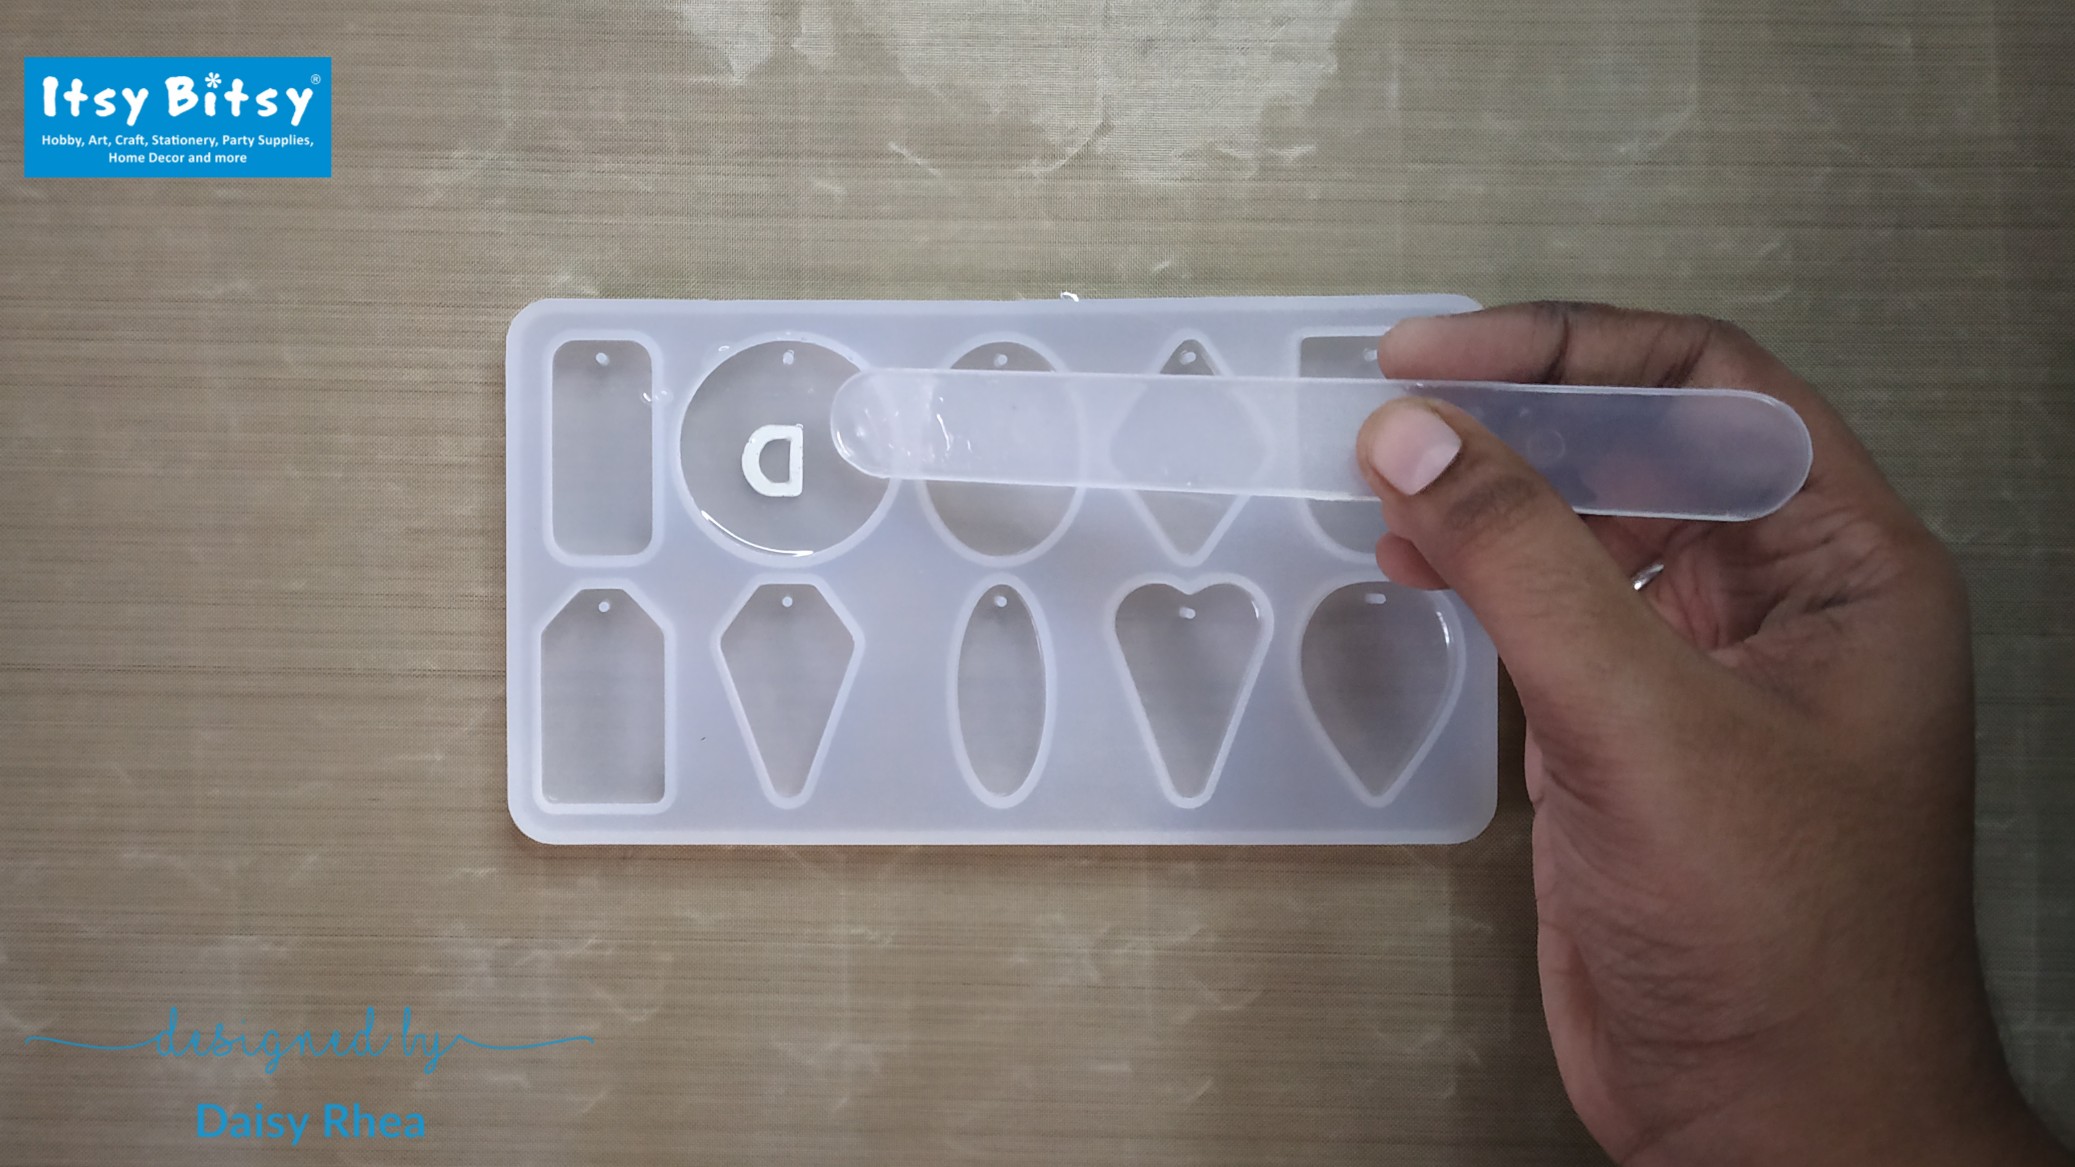
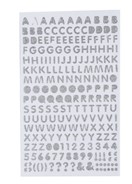
For this we will need resin, resin pigments, silicone molds (any shape that you prefer), measuring scale, a paper cup, a popsicle stick (I have used a plastic one here), an alphabet cut out (I am using the alphabets stickers), glue, a keychain ring and a jump ring.
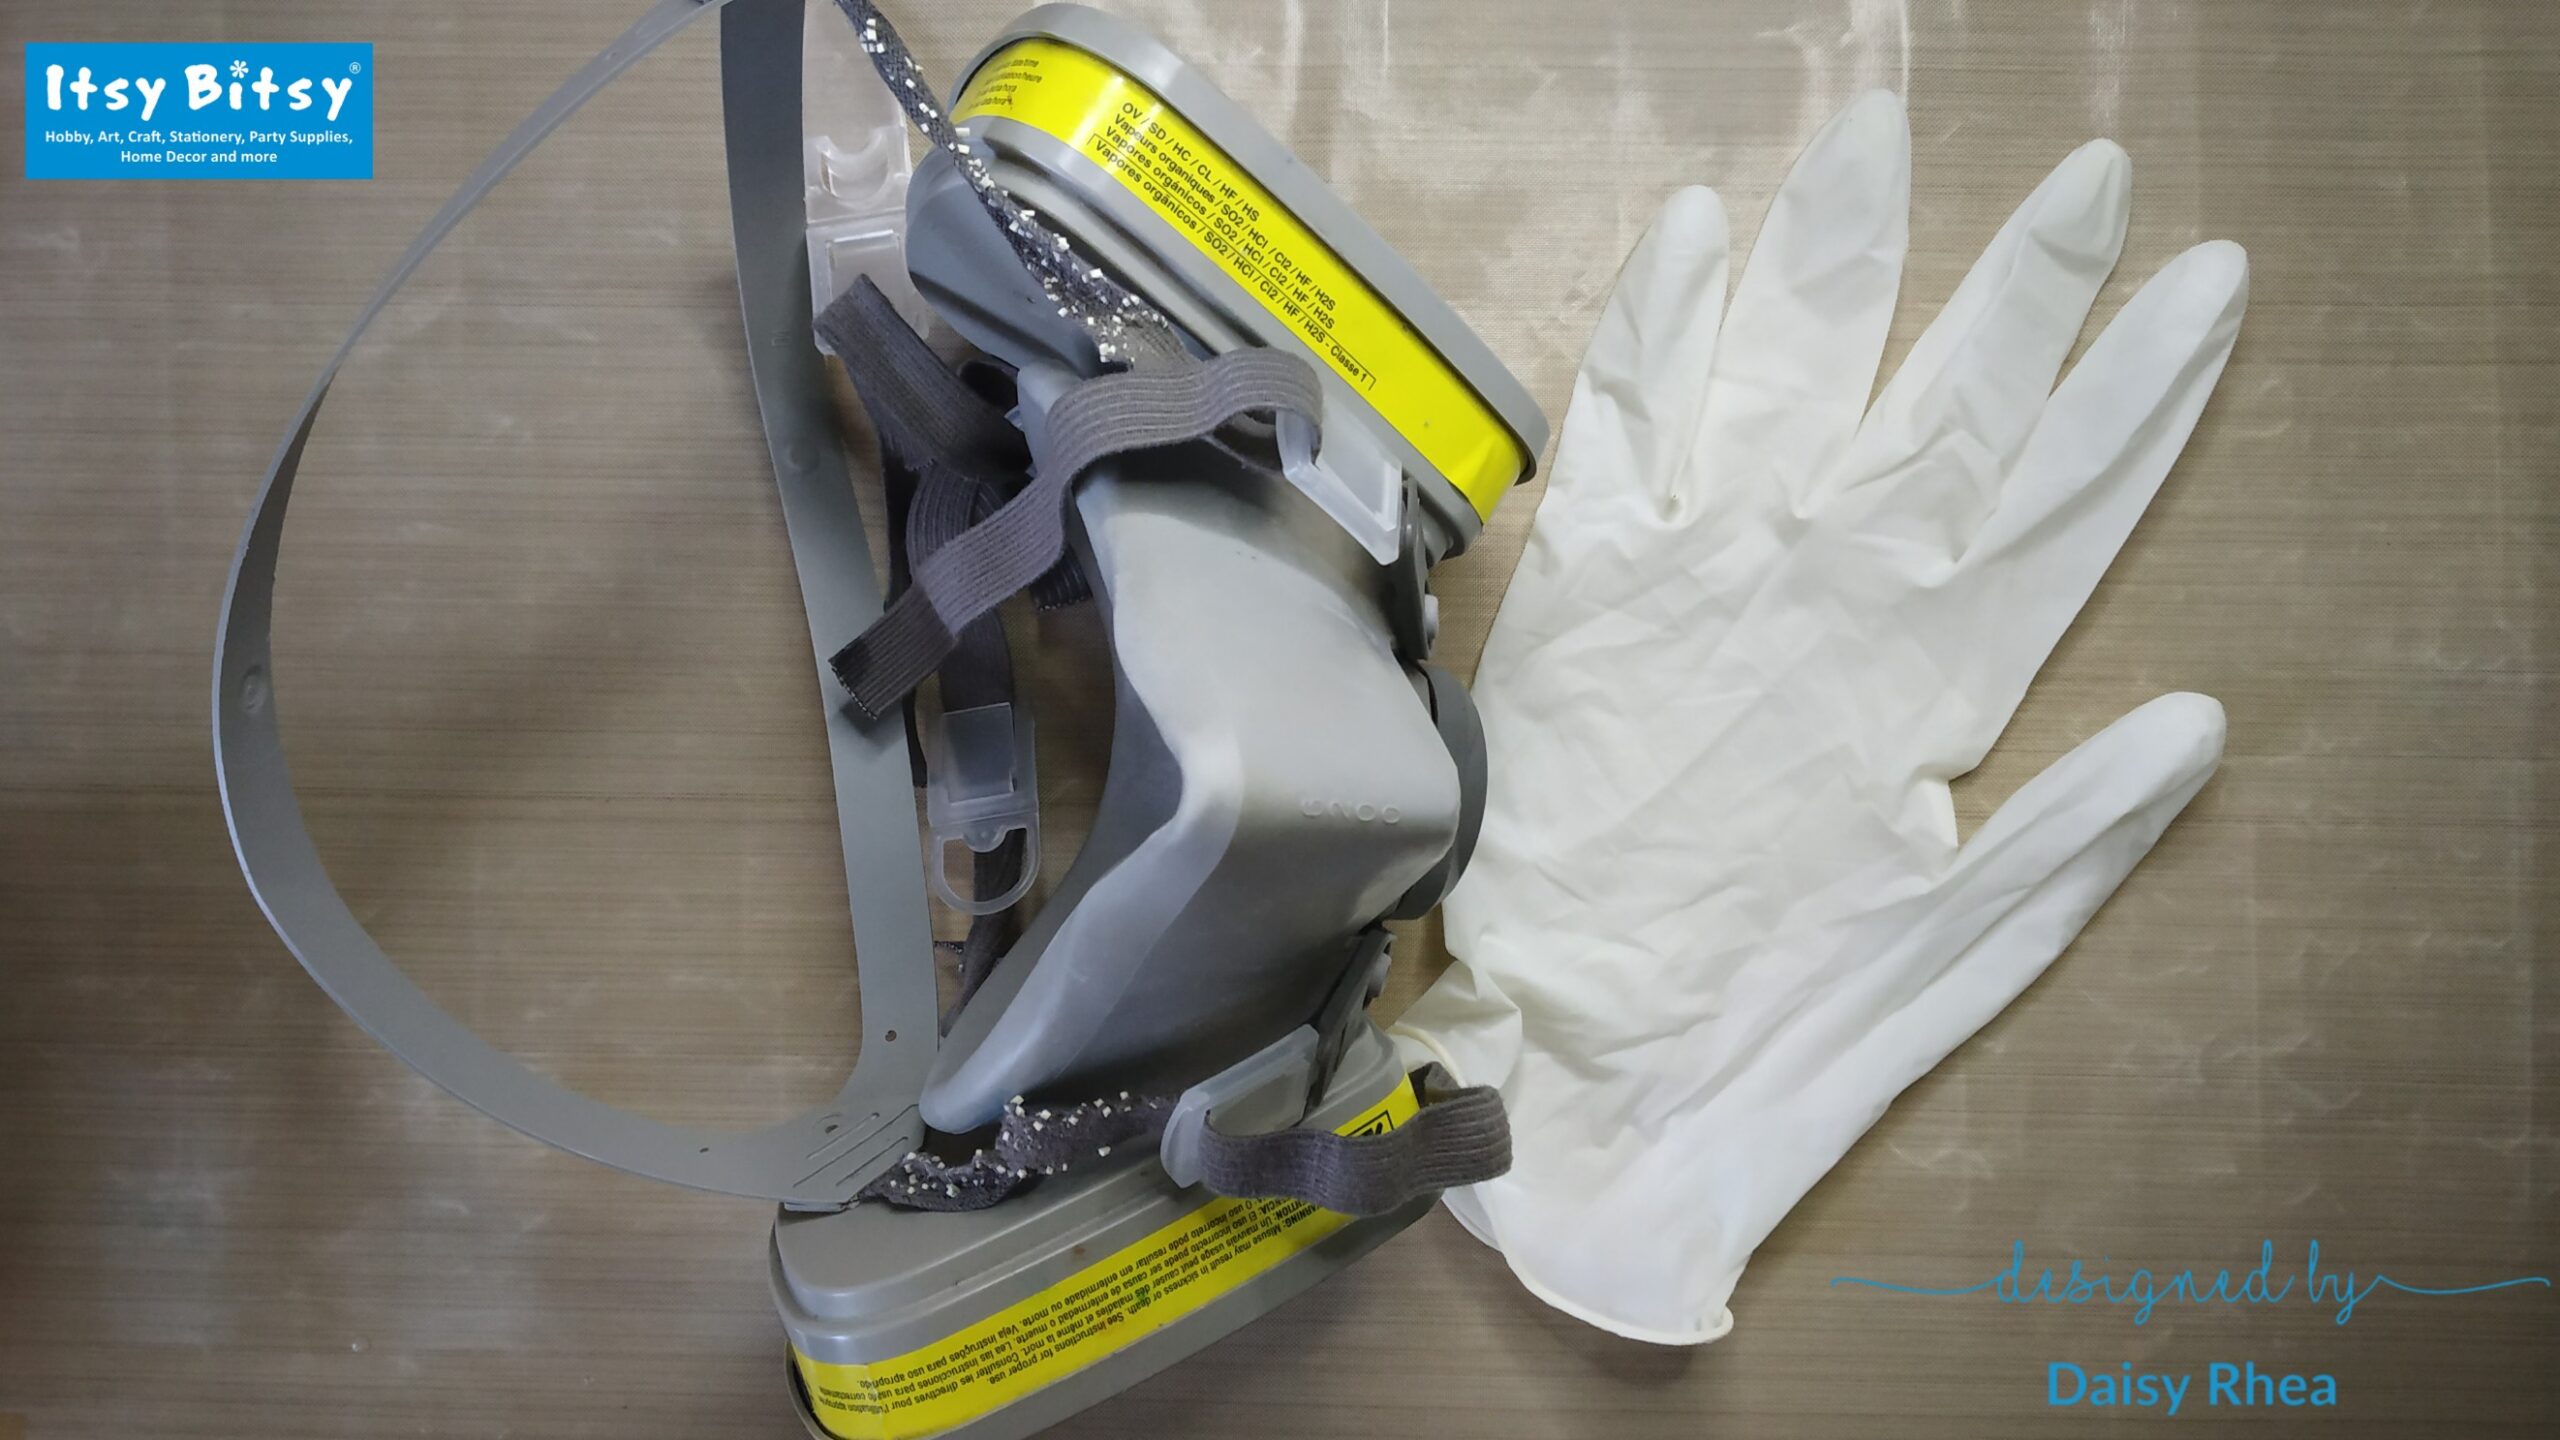
Before starting with the DIY, please make sure to use safety gear when working with resin. Please use a respirator and gloves.
Let’s get started with the DIY!
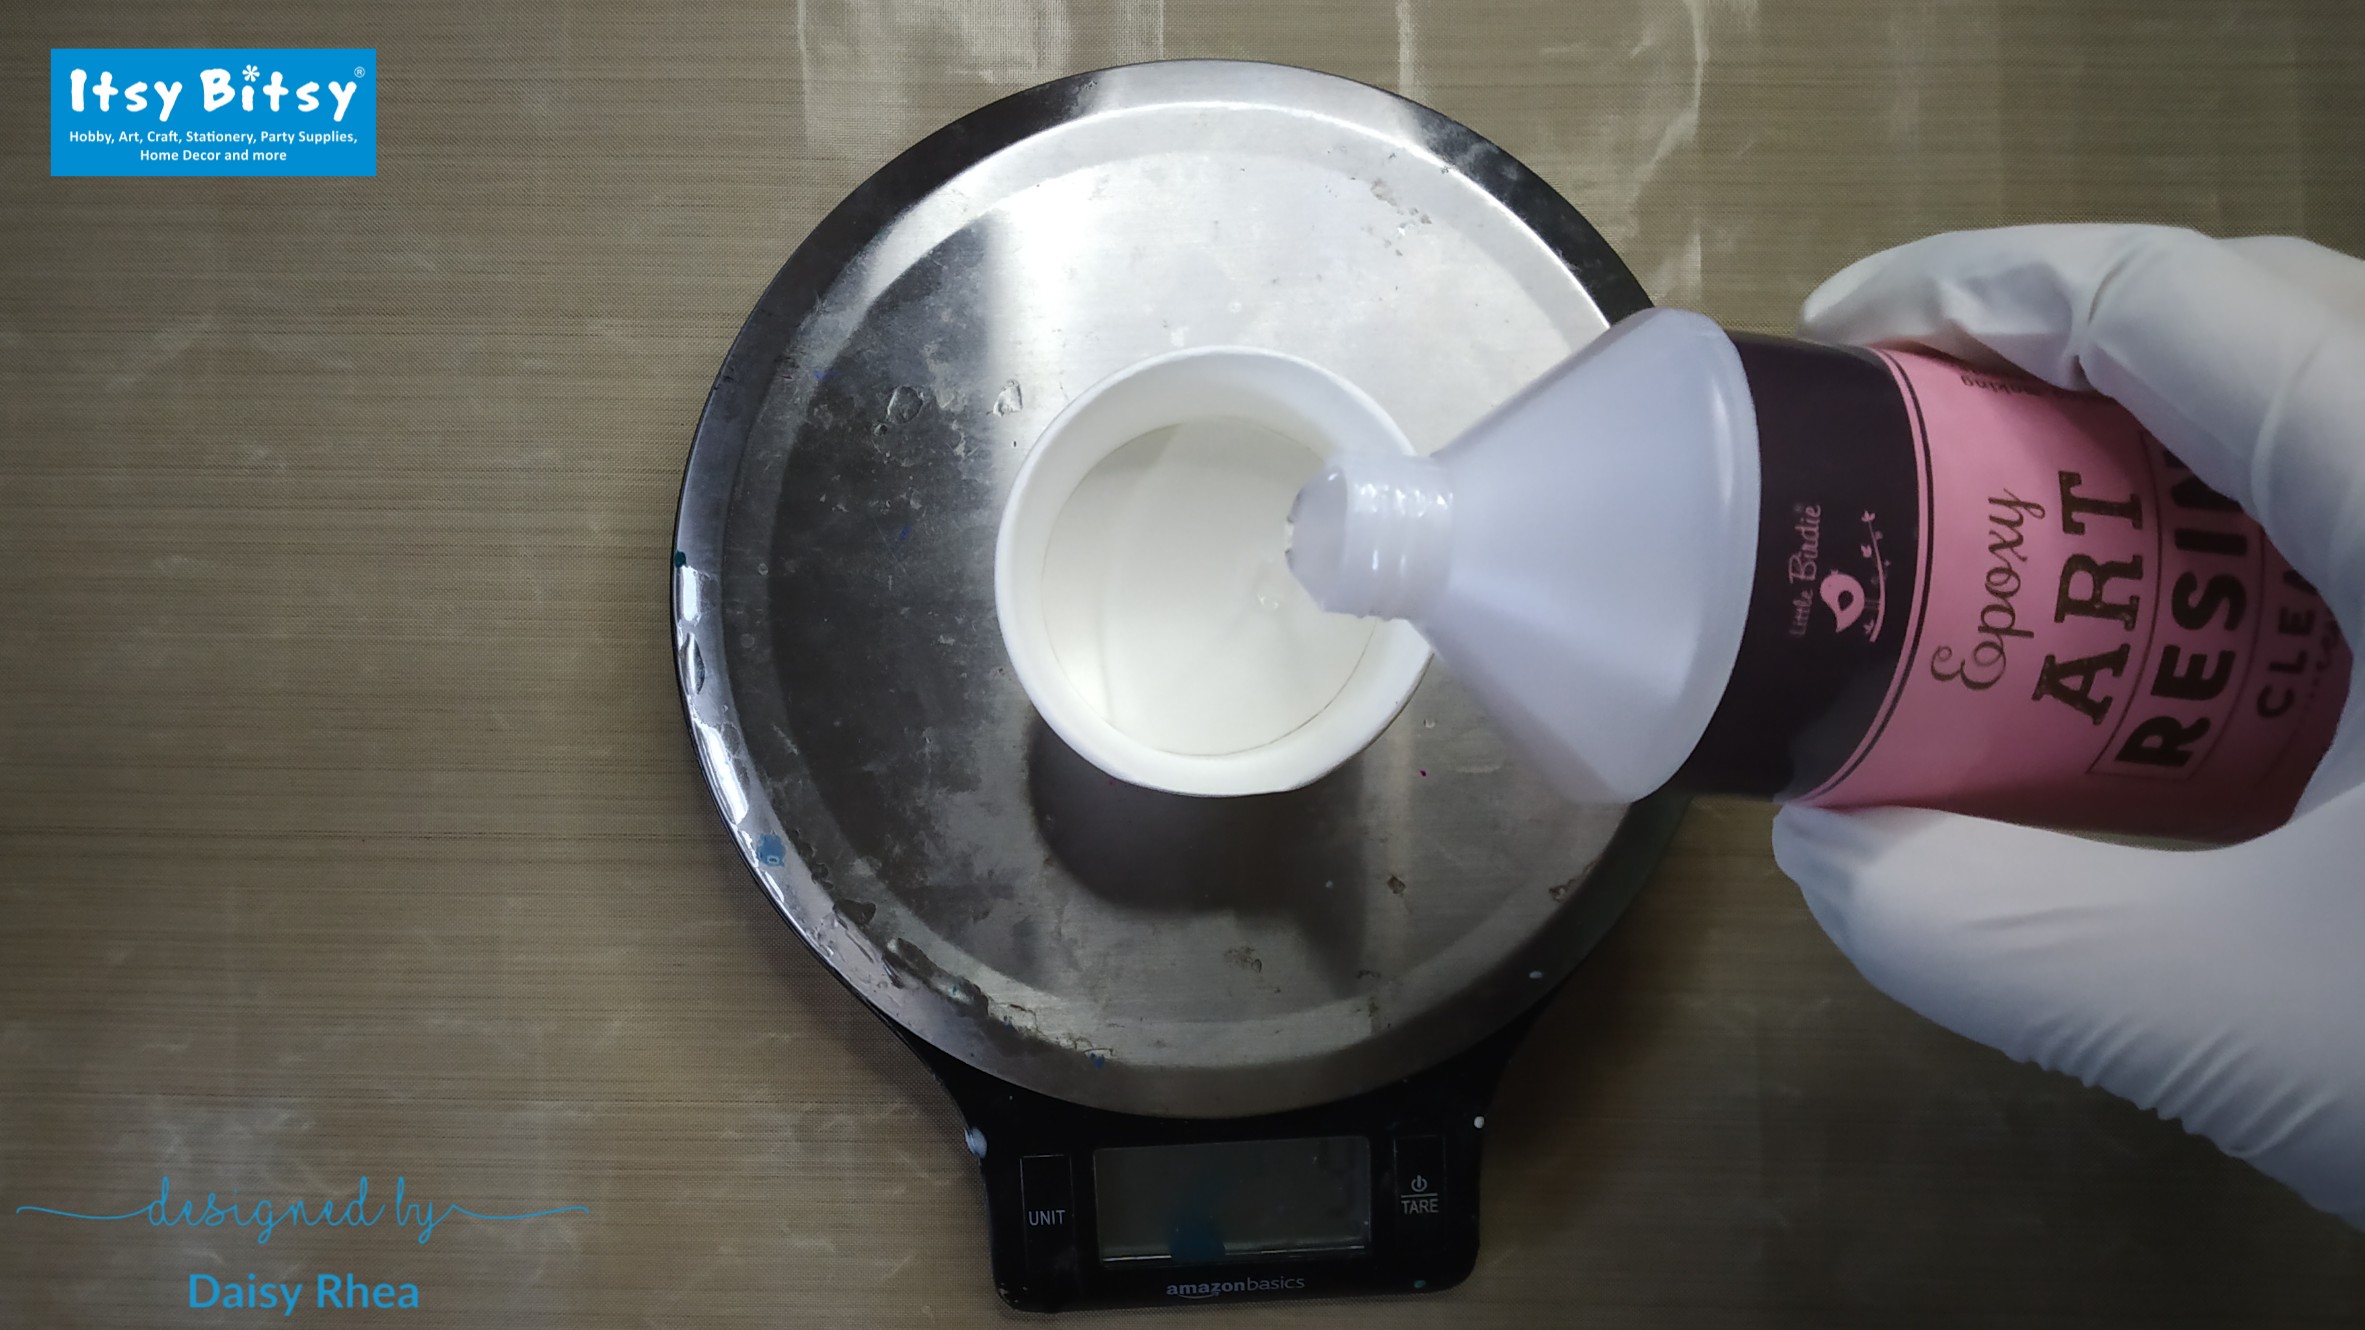
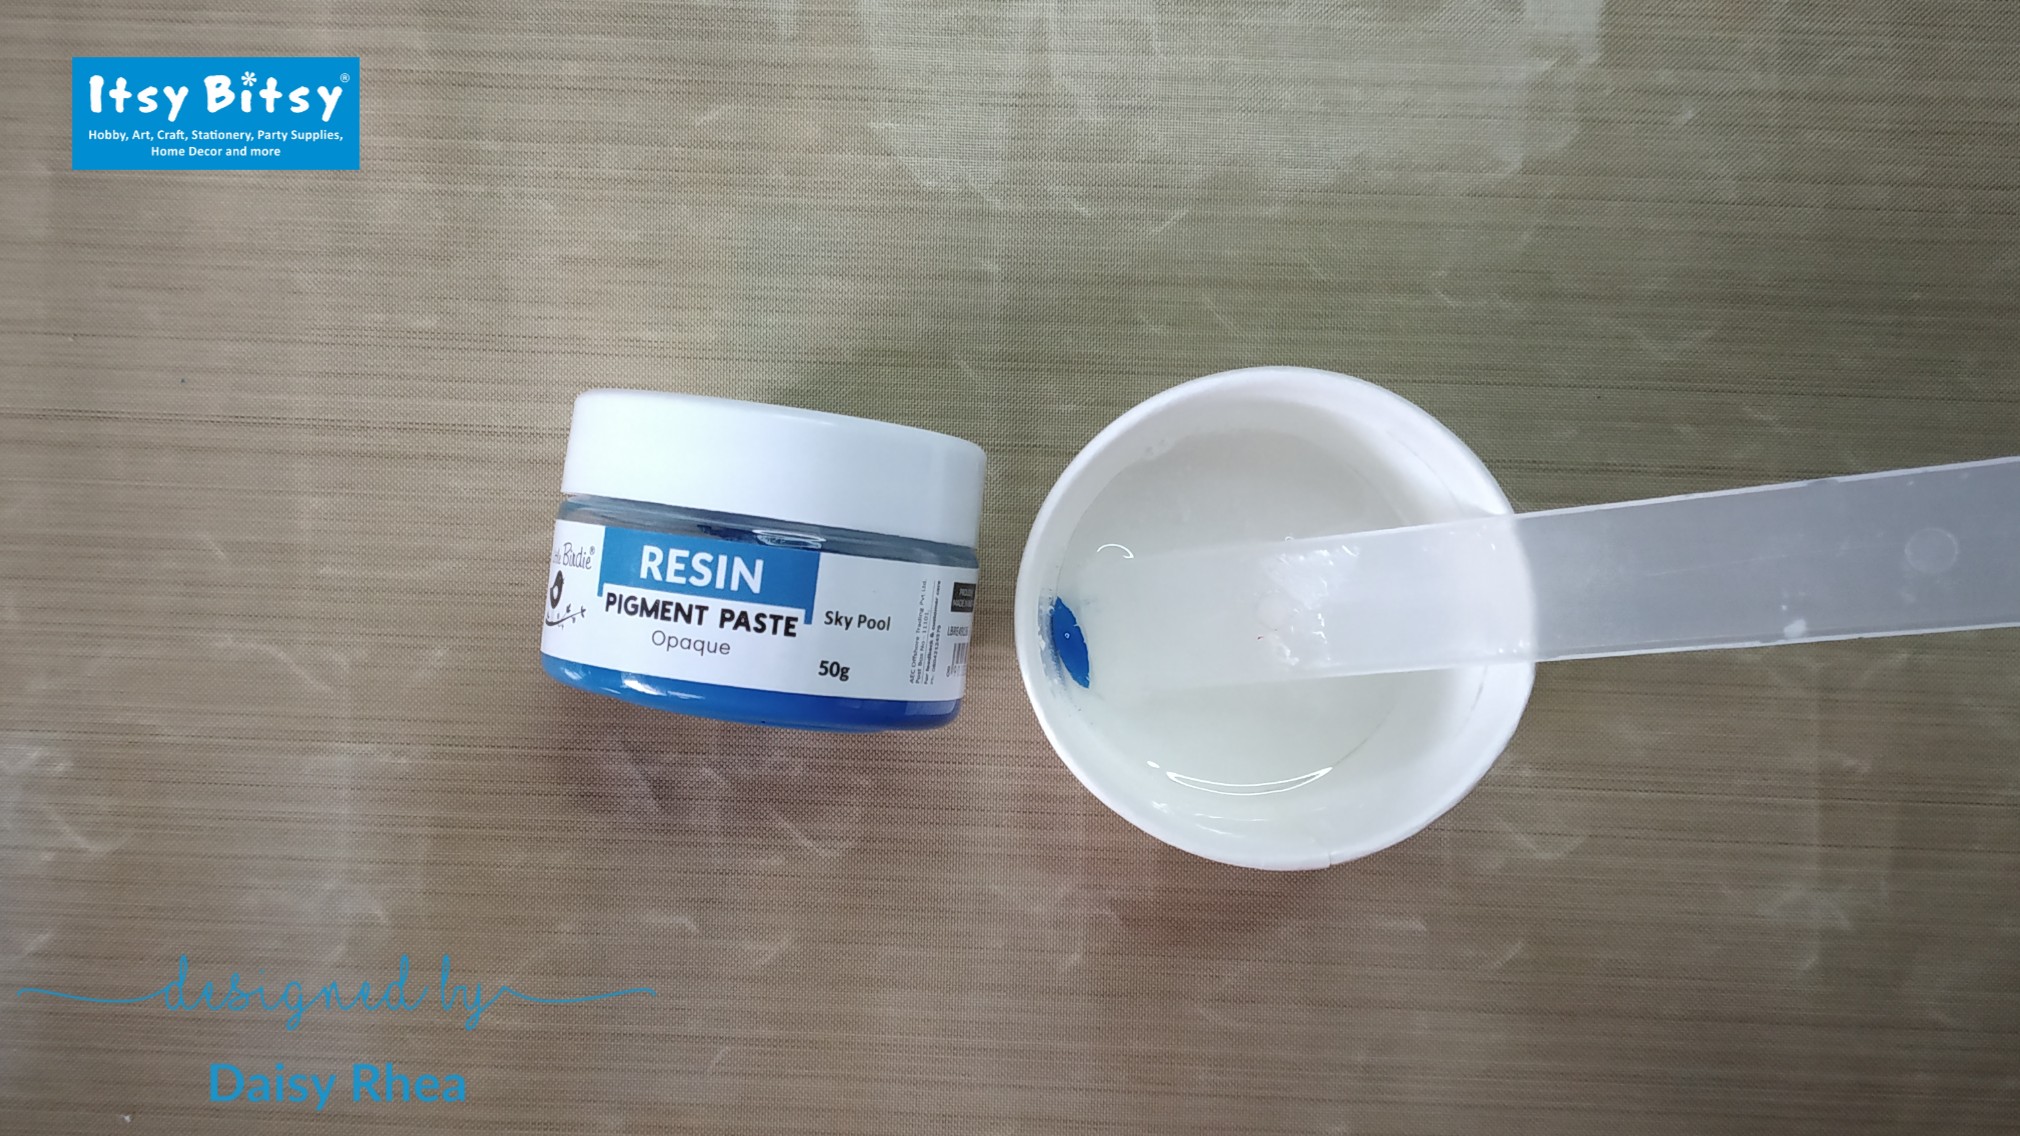
Firstly, we will mix the resin and hardener in the proportion of 2:1 using a measuring scale. I will be taking the measurements in grams. I will first pour the resin in the cup.
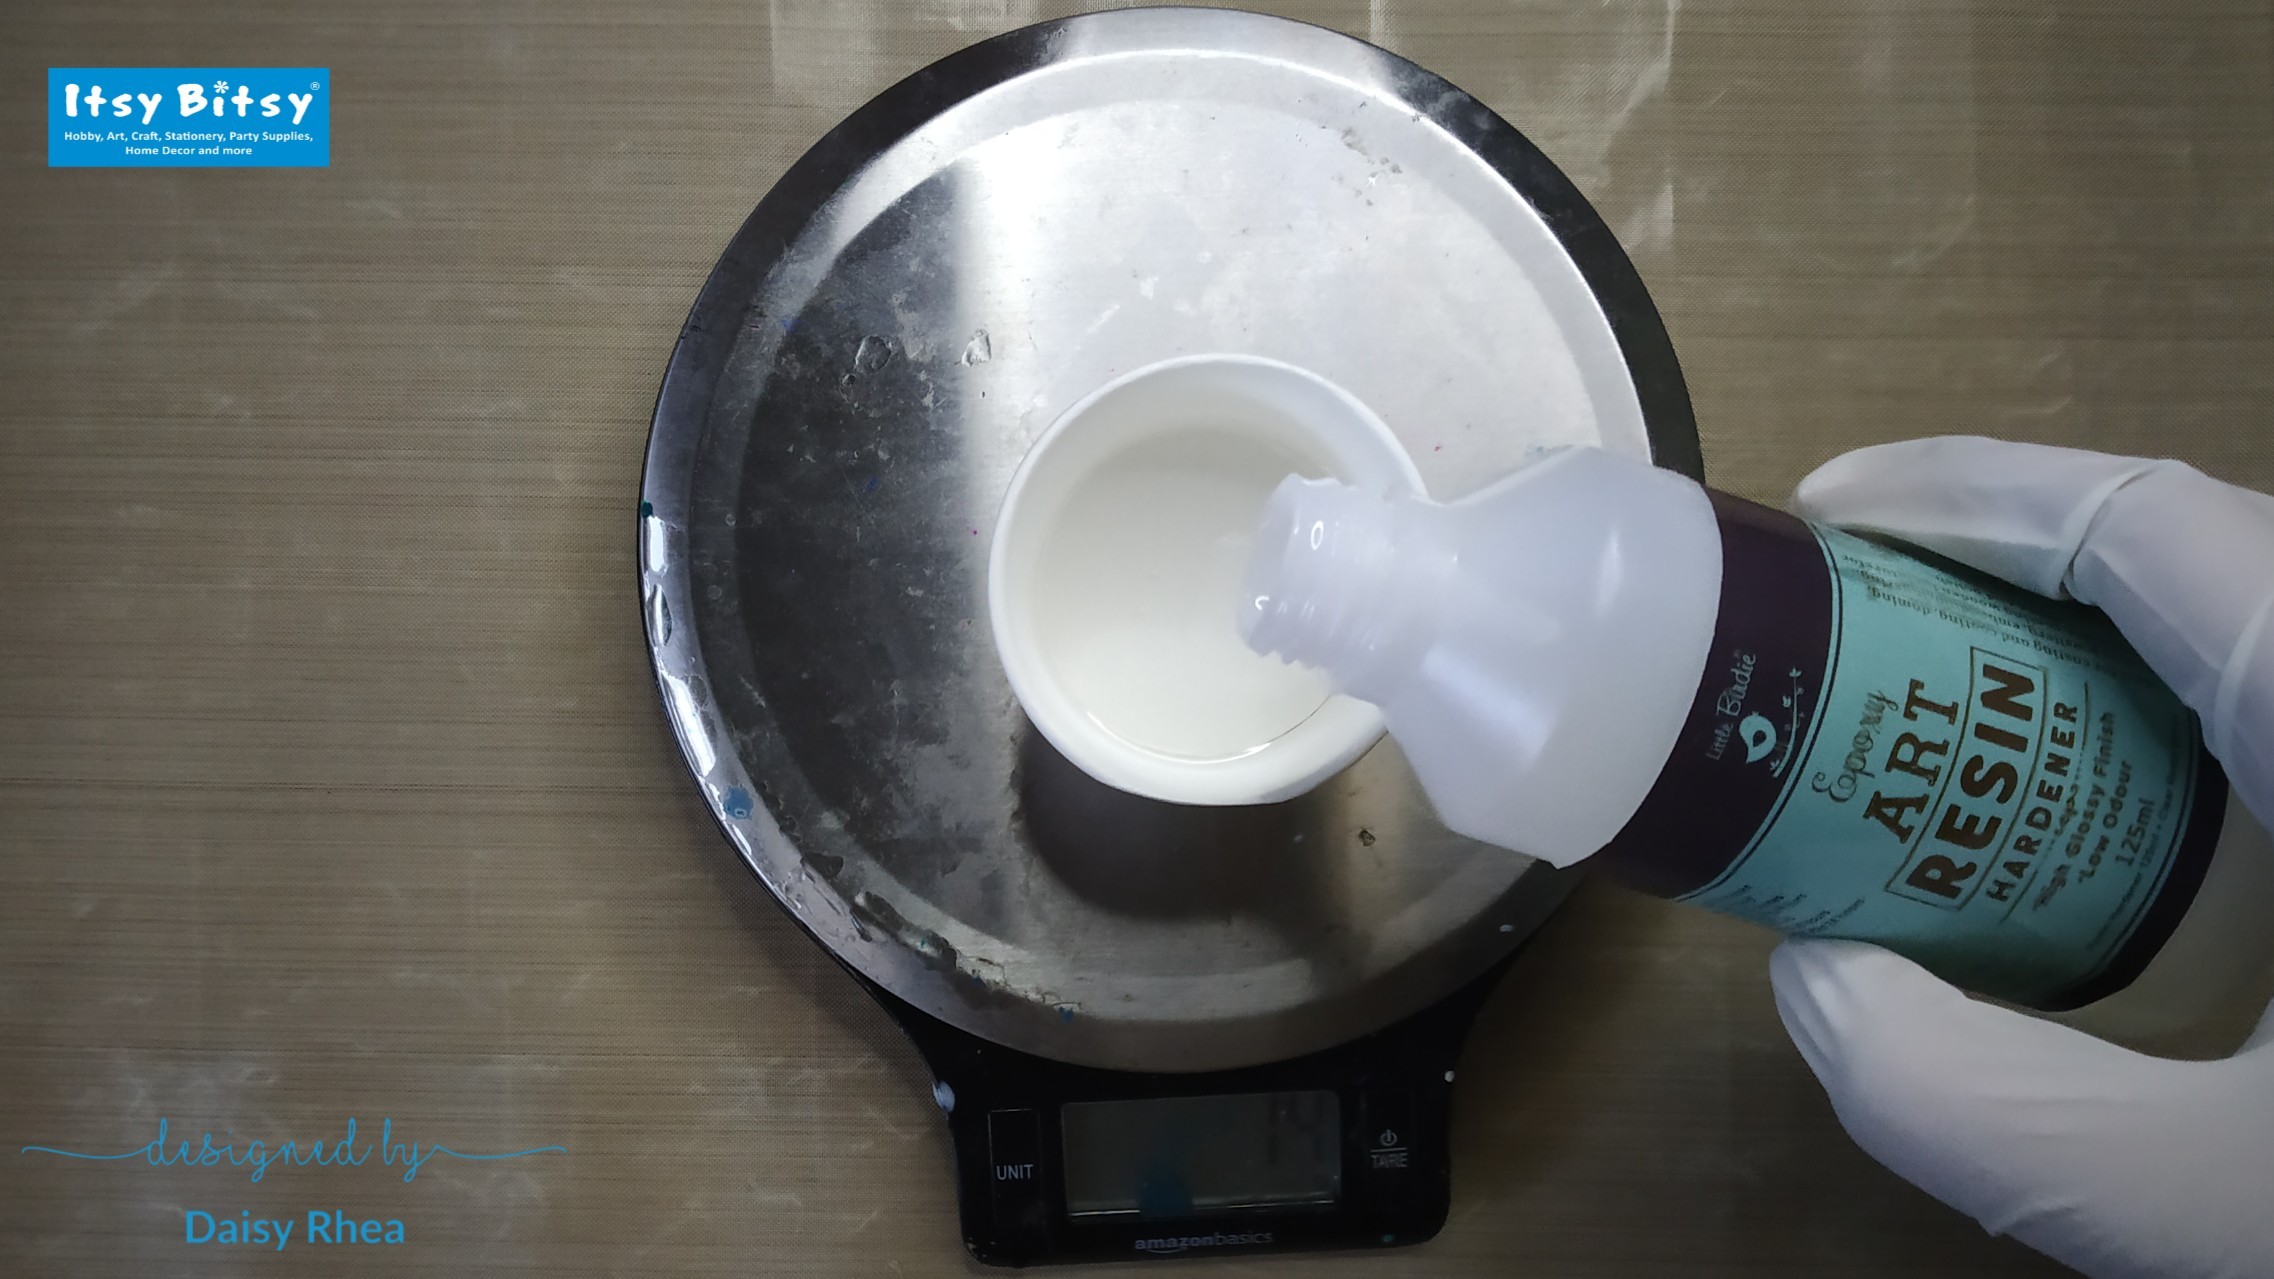
Next, I will pour the hardener. Since it is a 2:1 ratio resin, the quantity of the hardener will be half the quantity of resin.
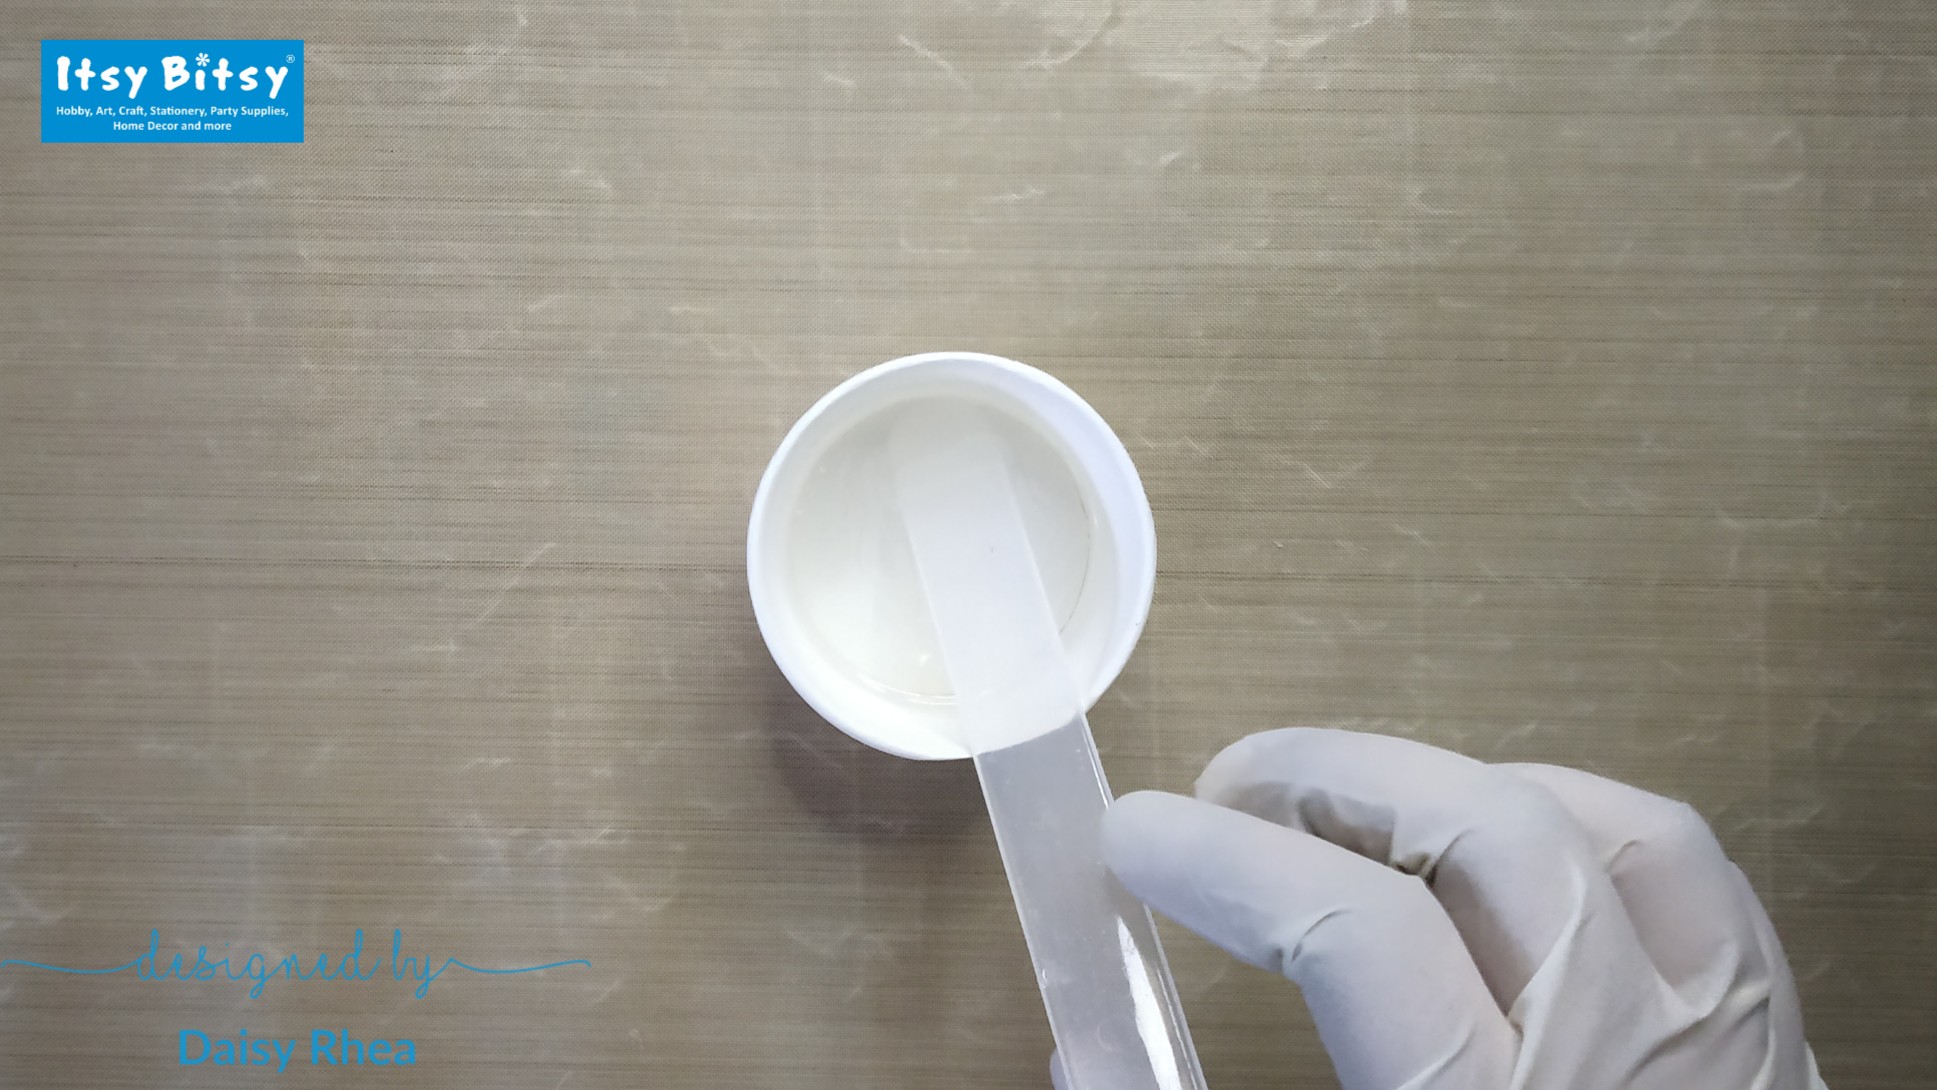
After pouring both the resin and the hardener, we will mix it for 3 minutes and then let it sit for 1-2 minutes, so that the bubbles in the resin are released.
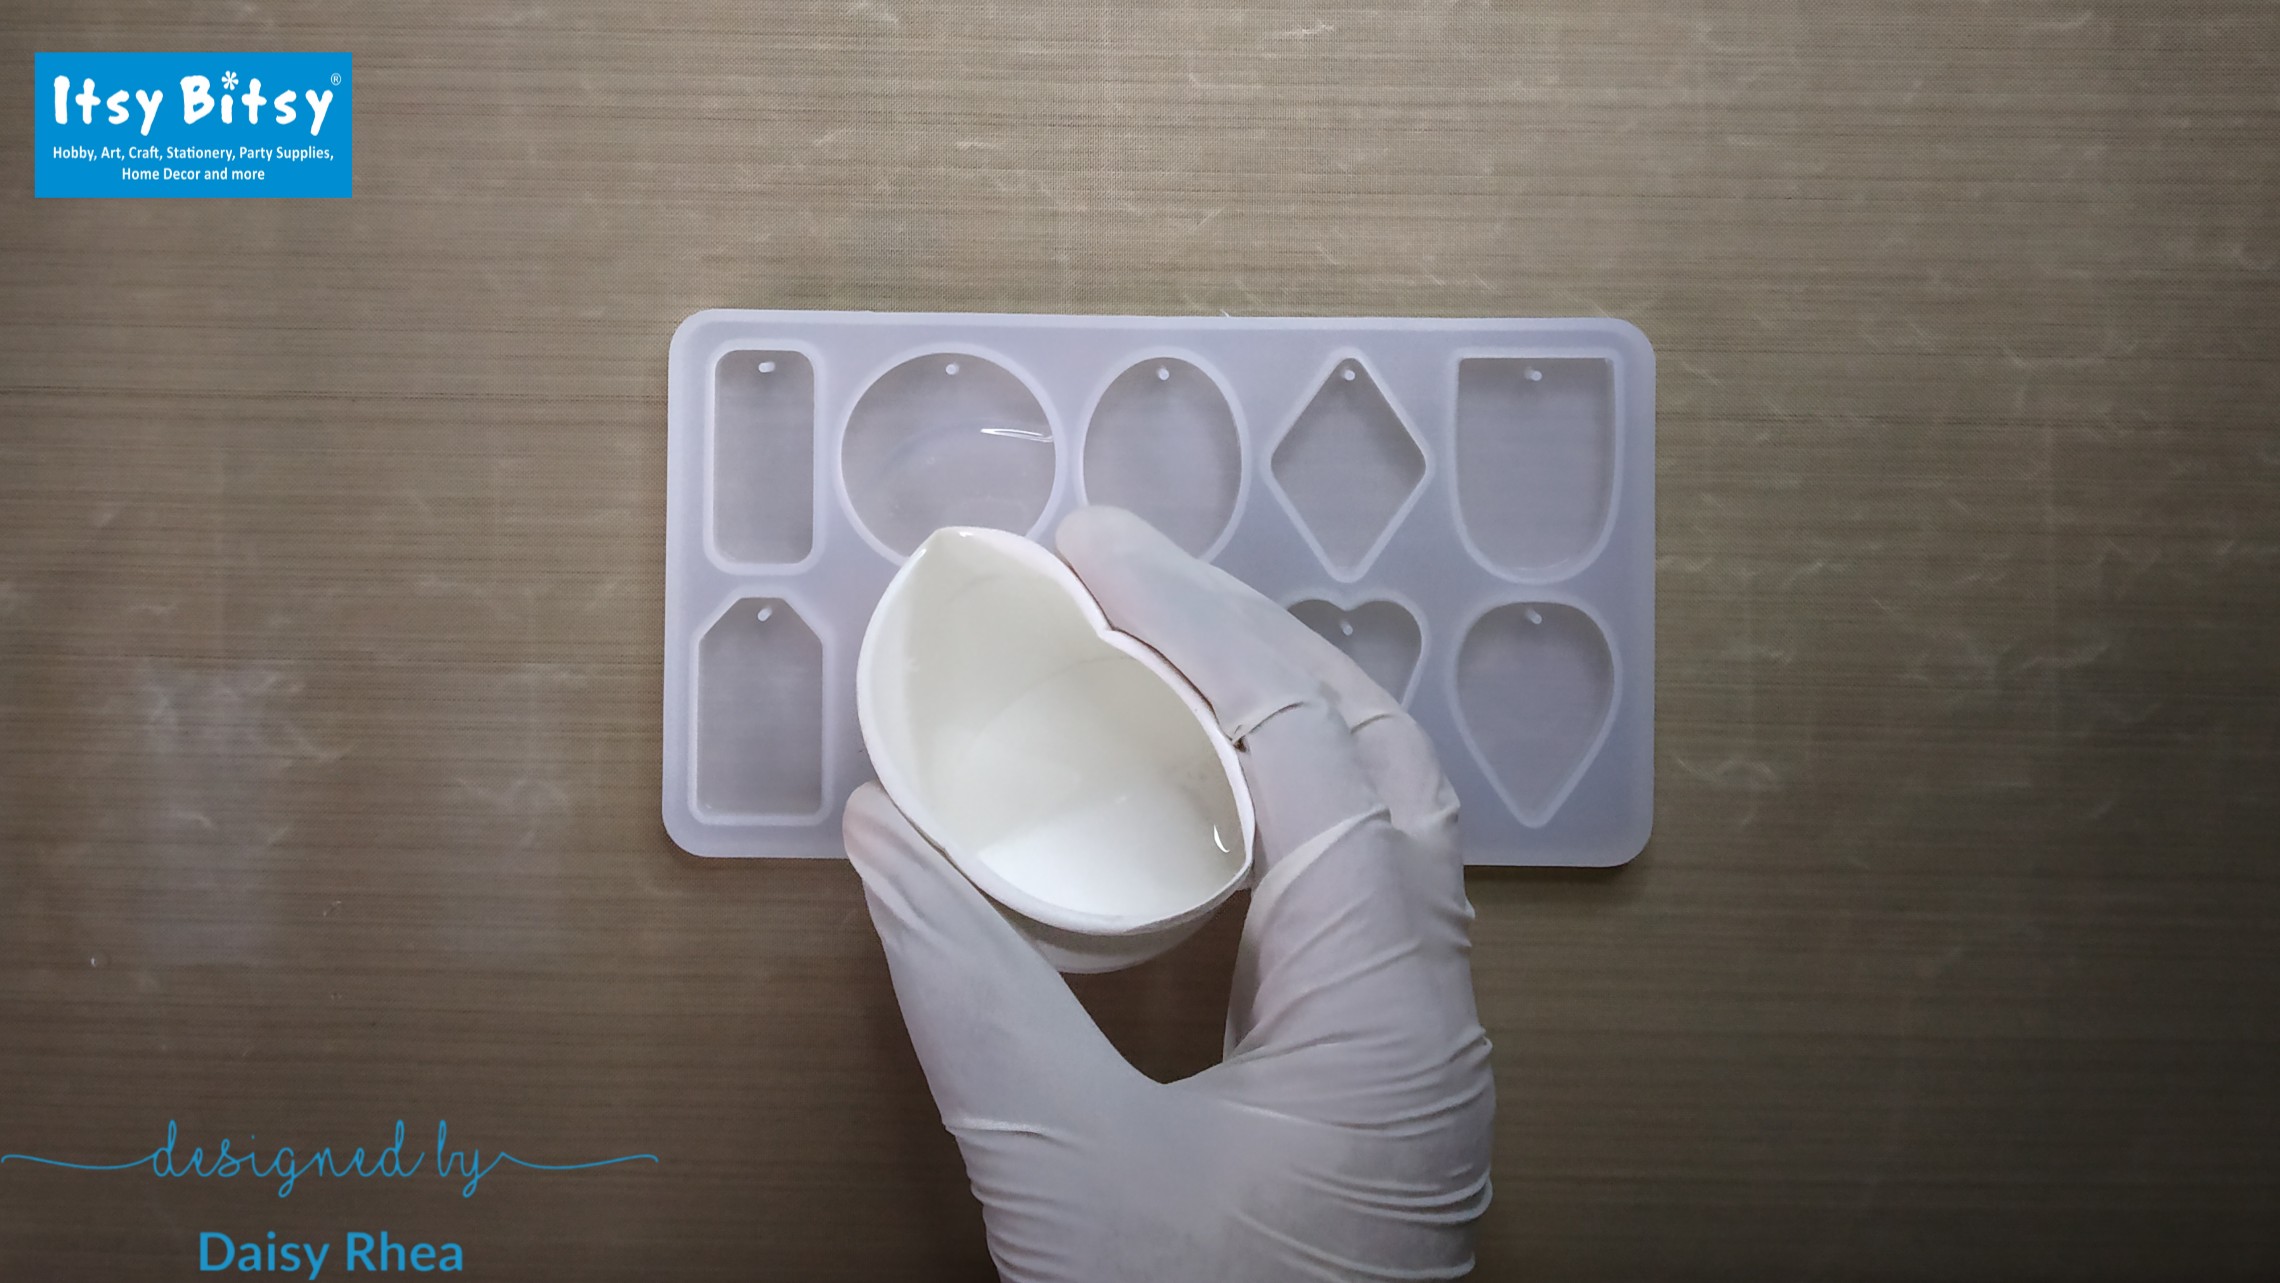
Let’s start with pouring the resin now. We will make the keychain in 2 pours. The first will be a clear layer of resin and the second layer will be blue.
For the first layer, we will fill the mold cavity half way.
We will then take the alphabet we want from our sticker set and place it inverted in the resin.

Cover the mold and leave it to cure for 12-15 hours.
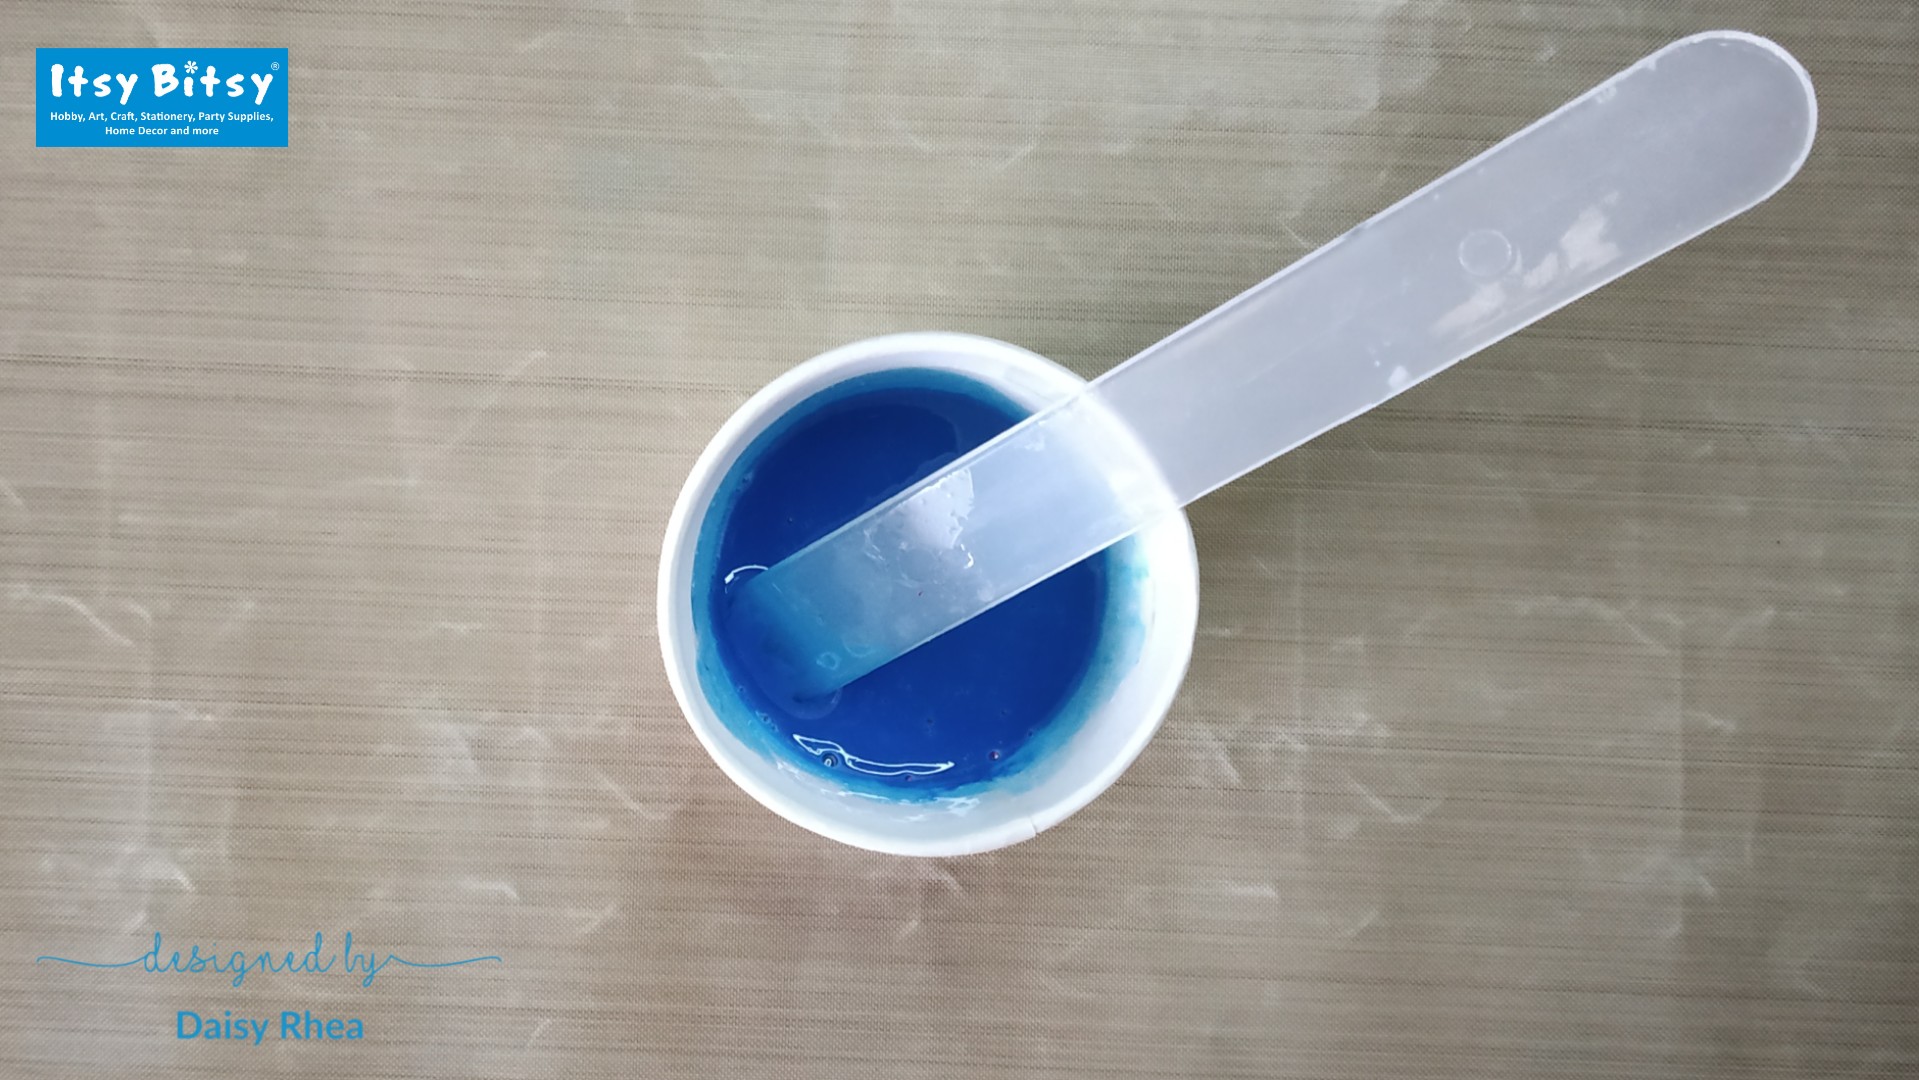
After our first layer is cured, we will mix up some resin again. We will add some resin pigment, I chose to use blue here, you can choose any color that you prefer. Mix the resin well after adding the pigment to make sure it is even throughout the resin.
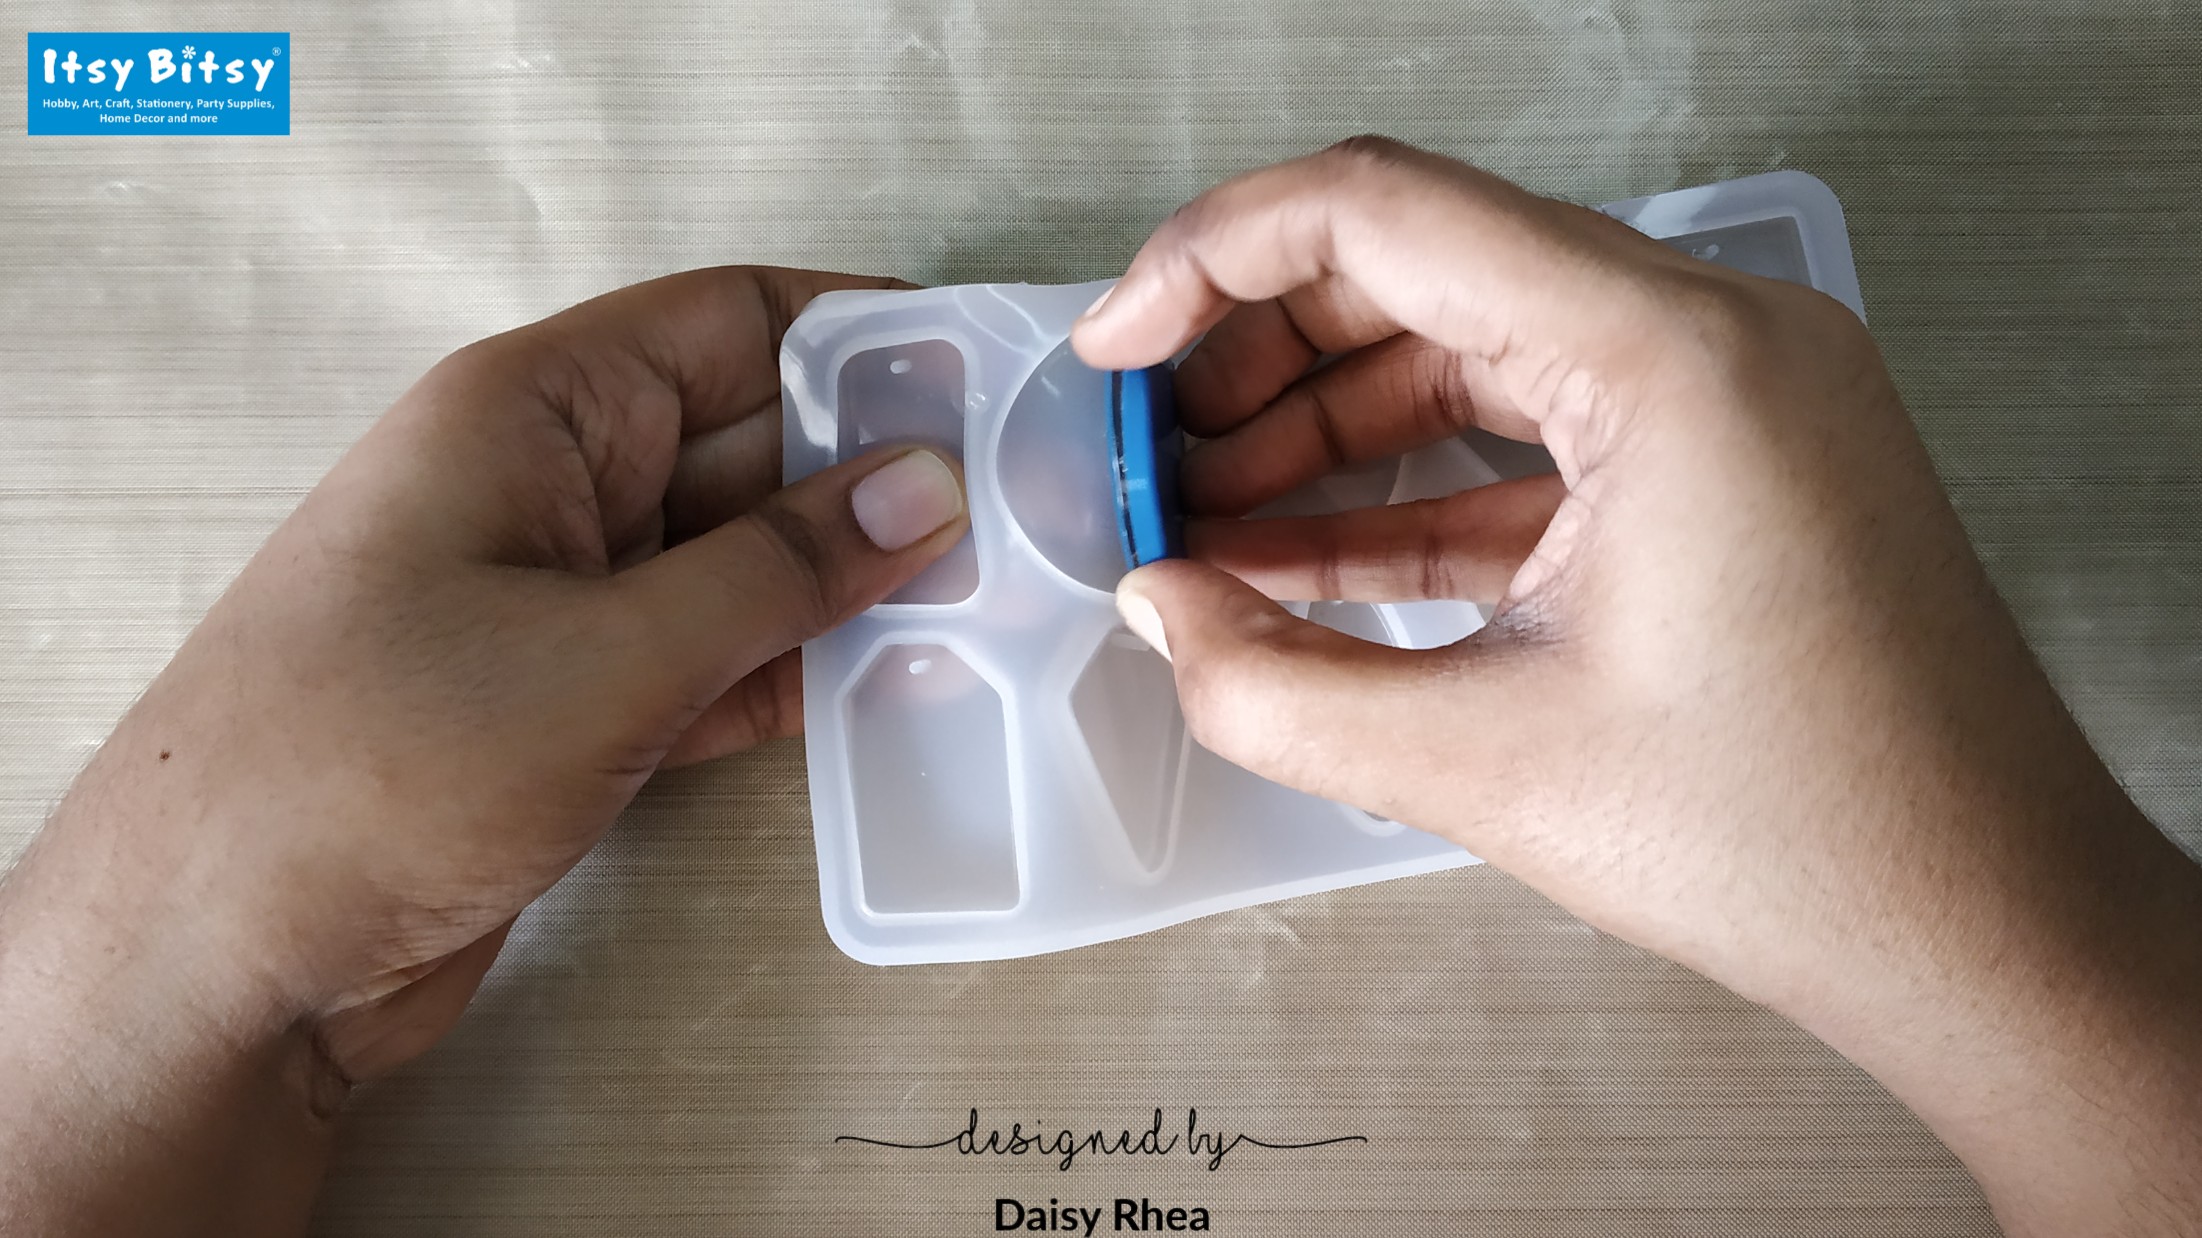
Pour the second layer over the first layer and fill up the mold cavity. Cover this and keep it aside to cure for another 12-15 hours.

After the second layer is cured, remove the piece from the mold.
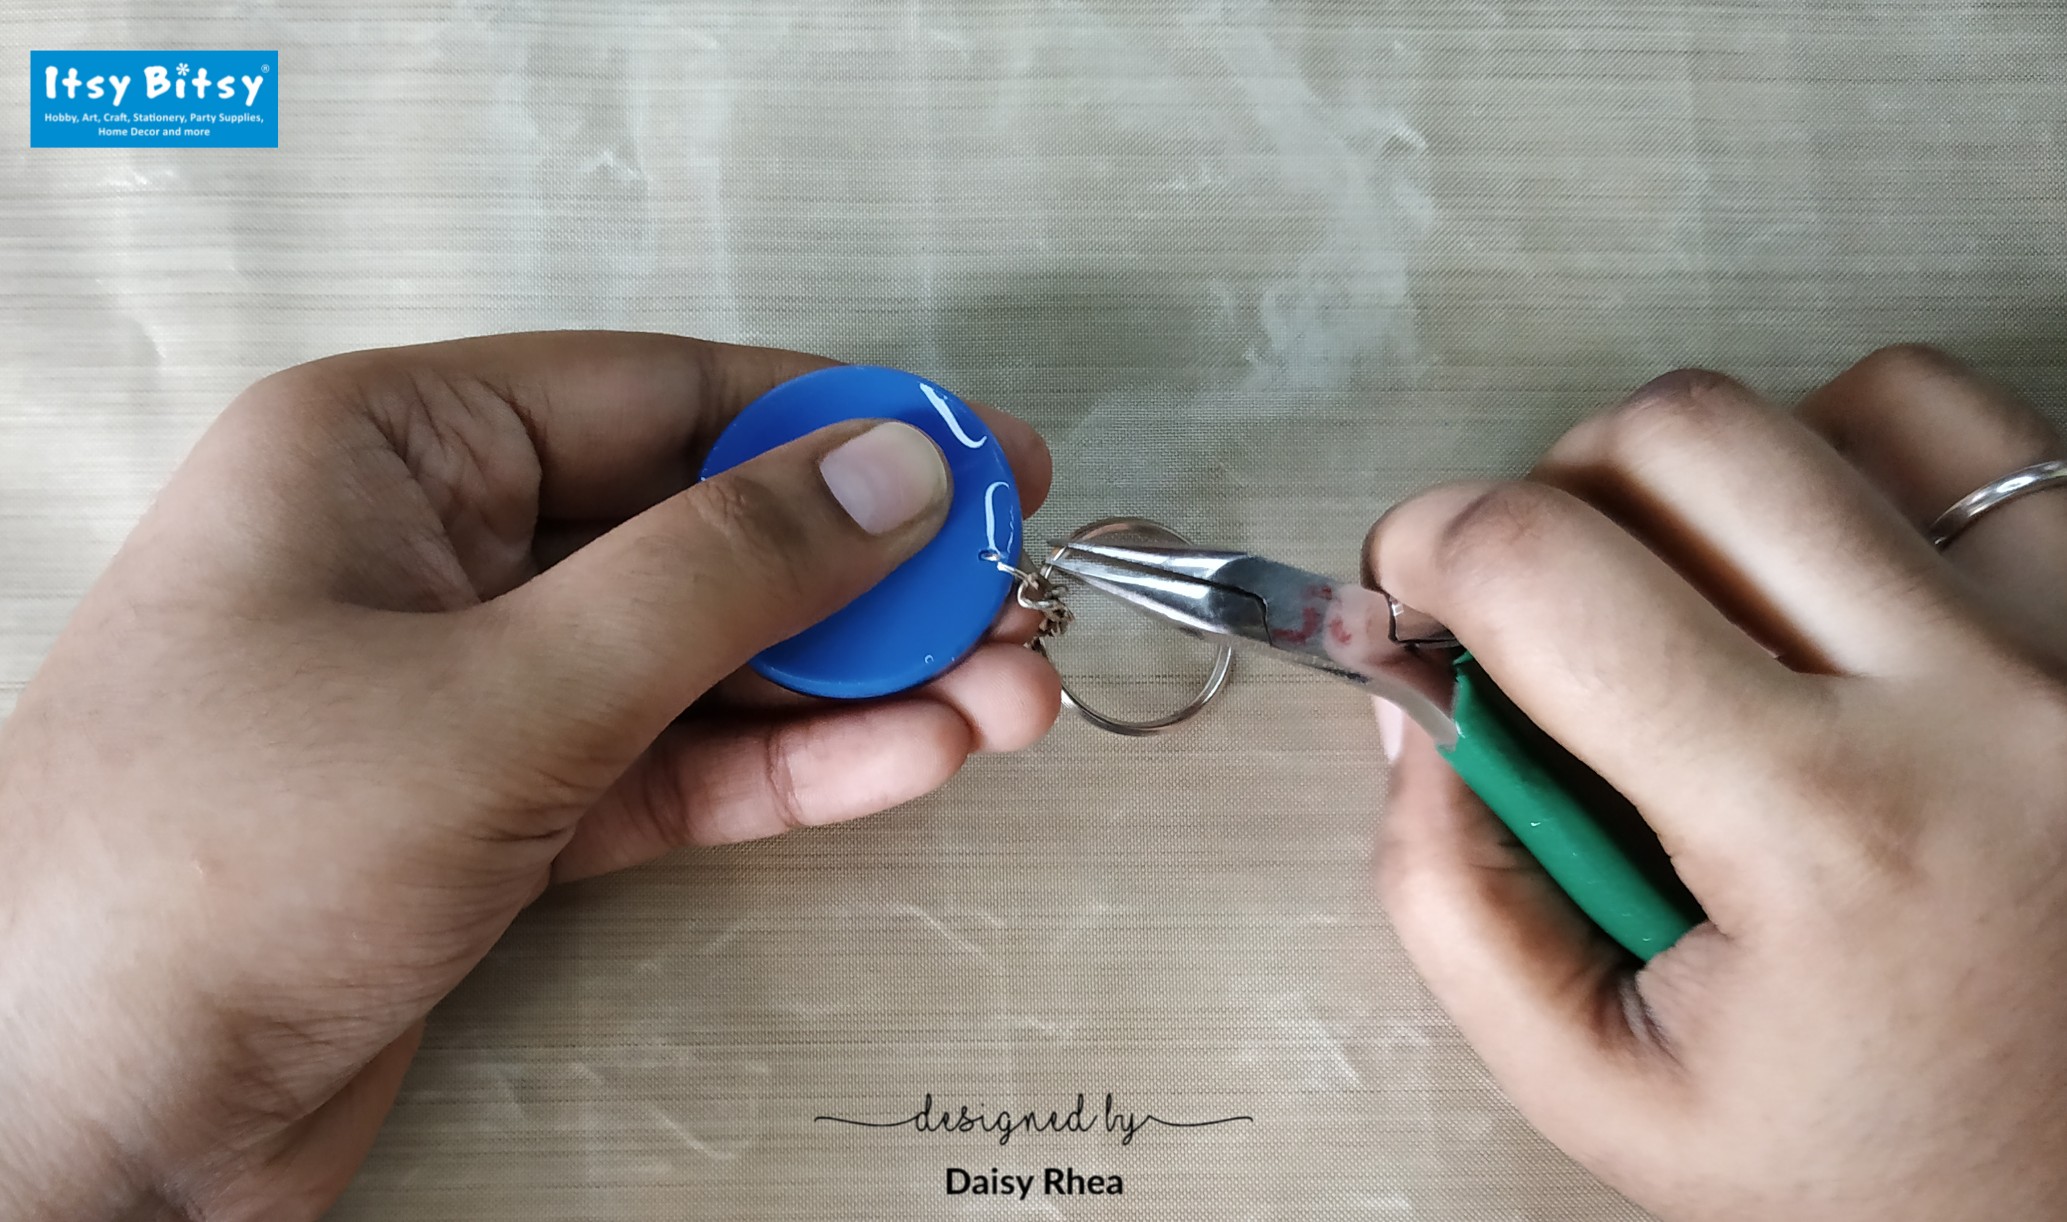
Now it is time to add the keychain ring. Use a jump ring to attach the keychain ring to the resin initial piece. You can use the Keychain ring from any other keychain you have at home. You can add a small drop of glue to make it more secure.
Your Resin initial Keychain is ready! Hope you enjoyed this DIY. Do tag us if you try to make this yourself.
Use Code DAISY05 while checking out at the Itsy Bitsy store to get 5% off on your purchase.
Products used in the above DIY:
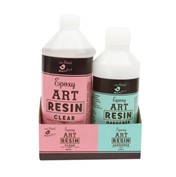
Resin: https://itsybitsy.in/collections/all/products/epoxy-art-resin-hardener-250ml-125ml-transparent-1pc
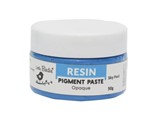
Resin Pigment: https://itsybitsy.in/collections/all/products/resin-pigment-opaque-sky-pool-50g-bottle
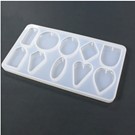
Silicone Mould: https://itsybitsy.in/collections/all/products/silicon-jewellery-mould-for-diy-resin-pendant-and-necklace
Alphabet Stickers: https://itsybitsy.in/collections/all/products/glitter-alphabet-numbers-silver-210pc
Jump rings: https://itsybitsy.in/collections/all/products/findings-open-jump-ring-silver-8mm

Glue: https://itsybitsy.in/collections/all/products/silicon-liquid-glue-30ml