Hello everyone! Daisy here. I am back with another resin DIY. Thank you for taking time to read this blog.
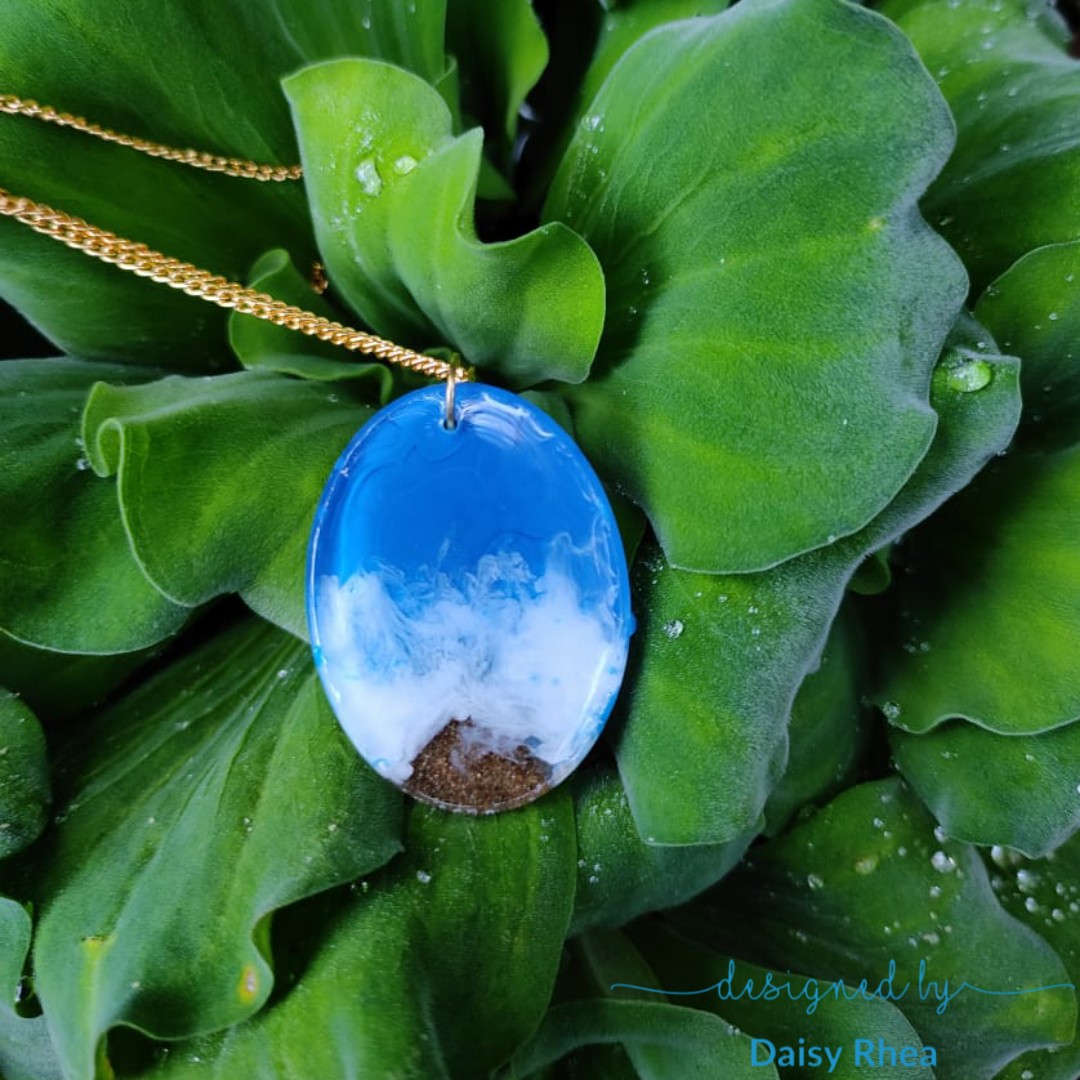
Today we will be making a Resin Beach Pendant.
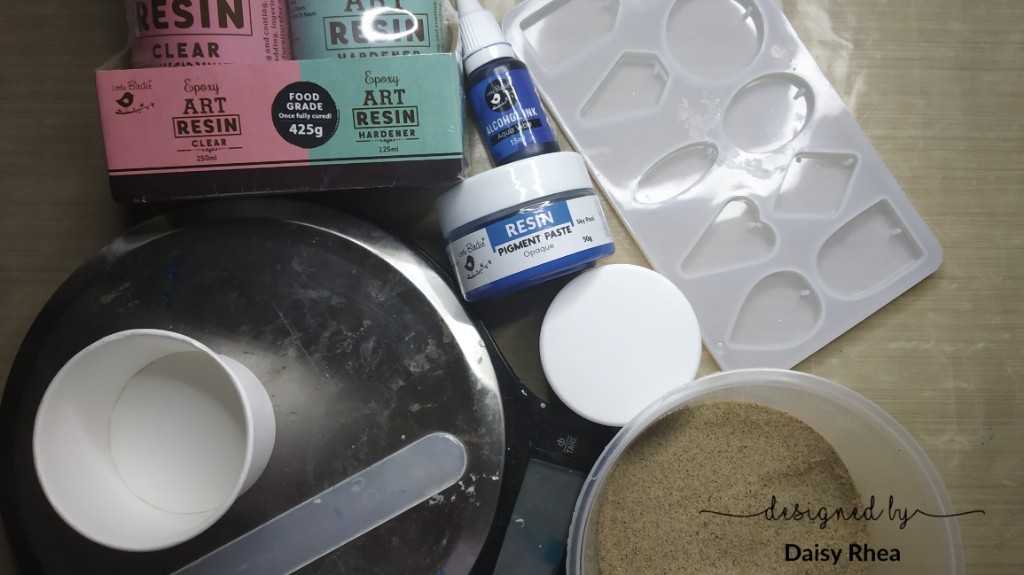
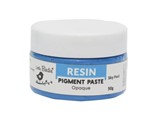
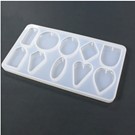
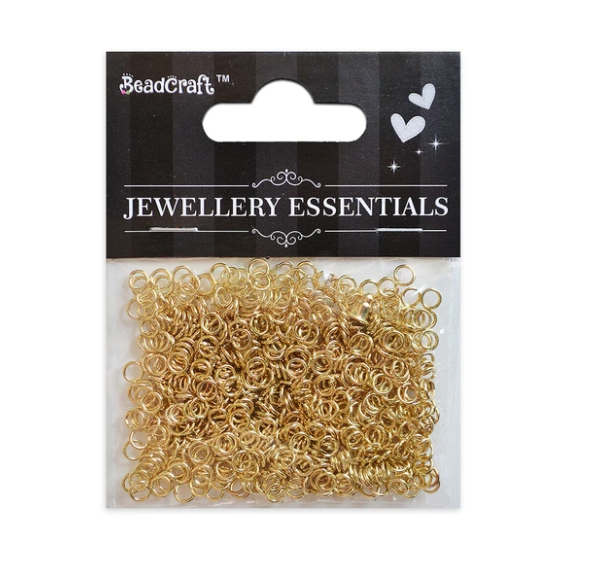
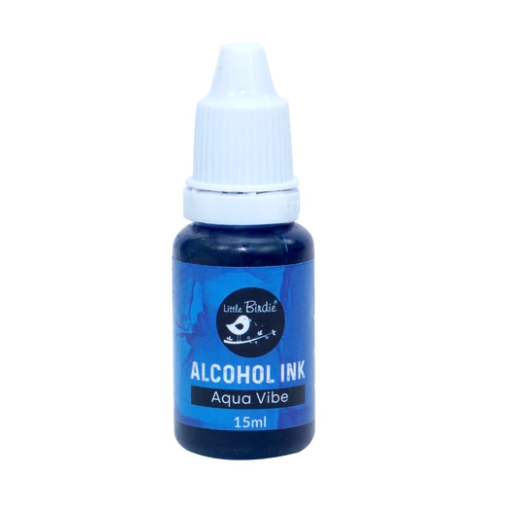
For this DIY we will need resin, resin pigments, alcohol inks(optional), silicone molds (any shape that you prefer), sand, a measuring scale, a paper cup, a popsicle stick (I have used a plastic one here) and a jump ring.
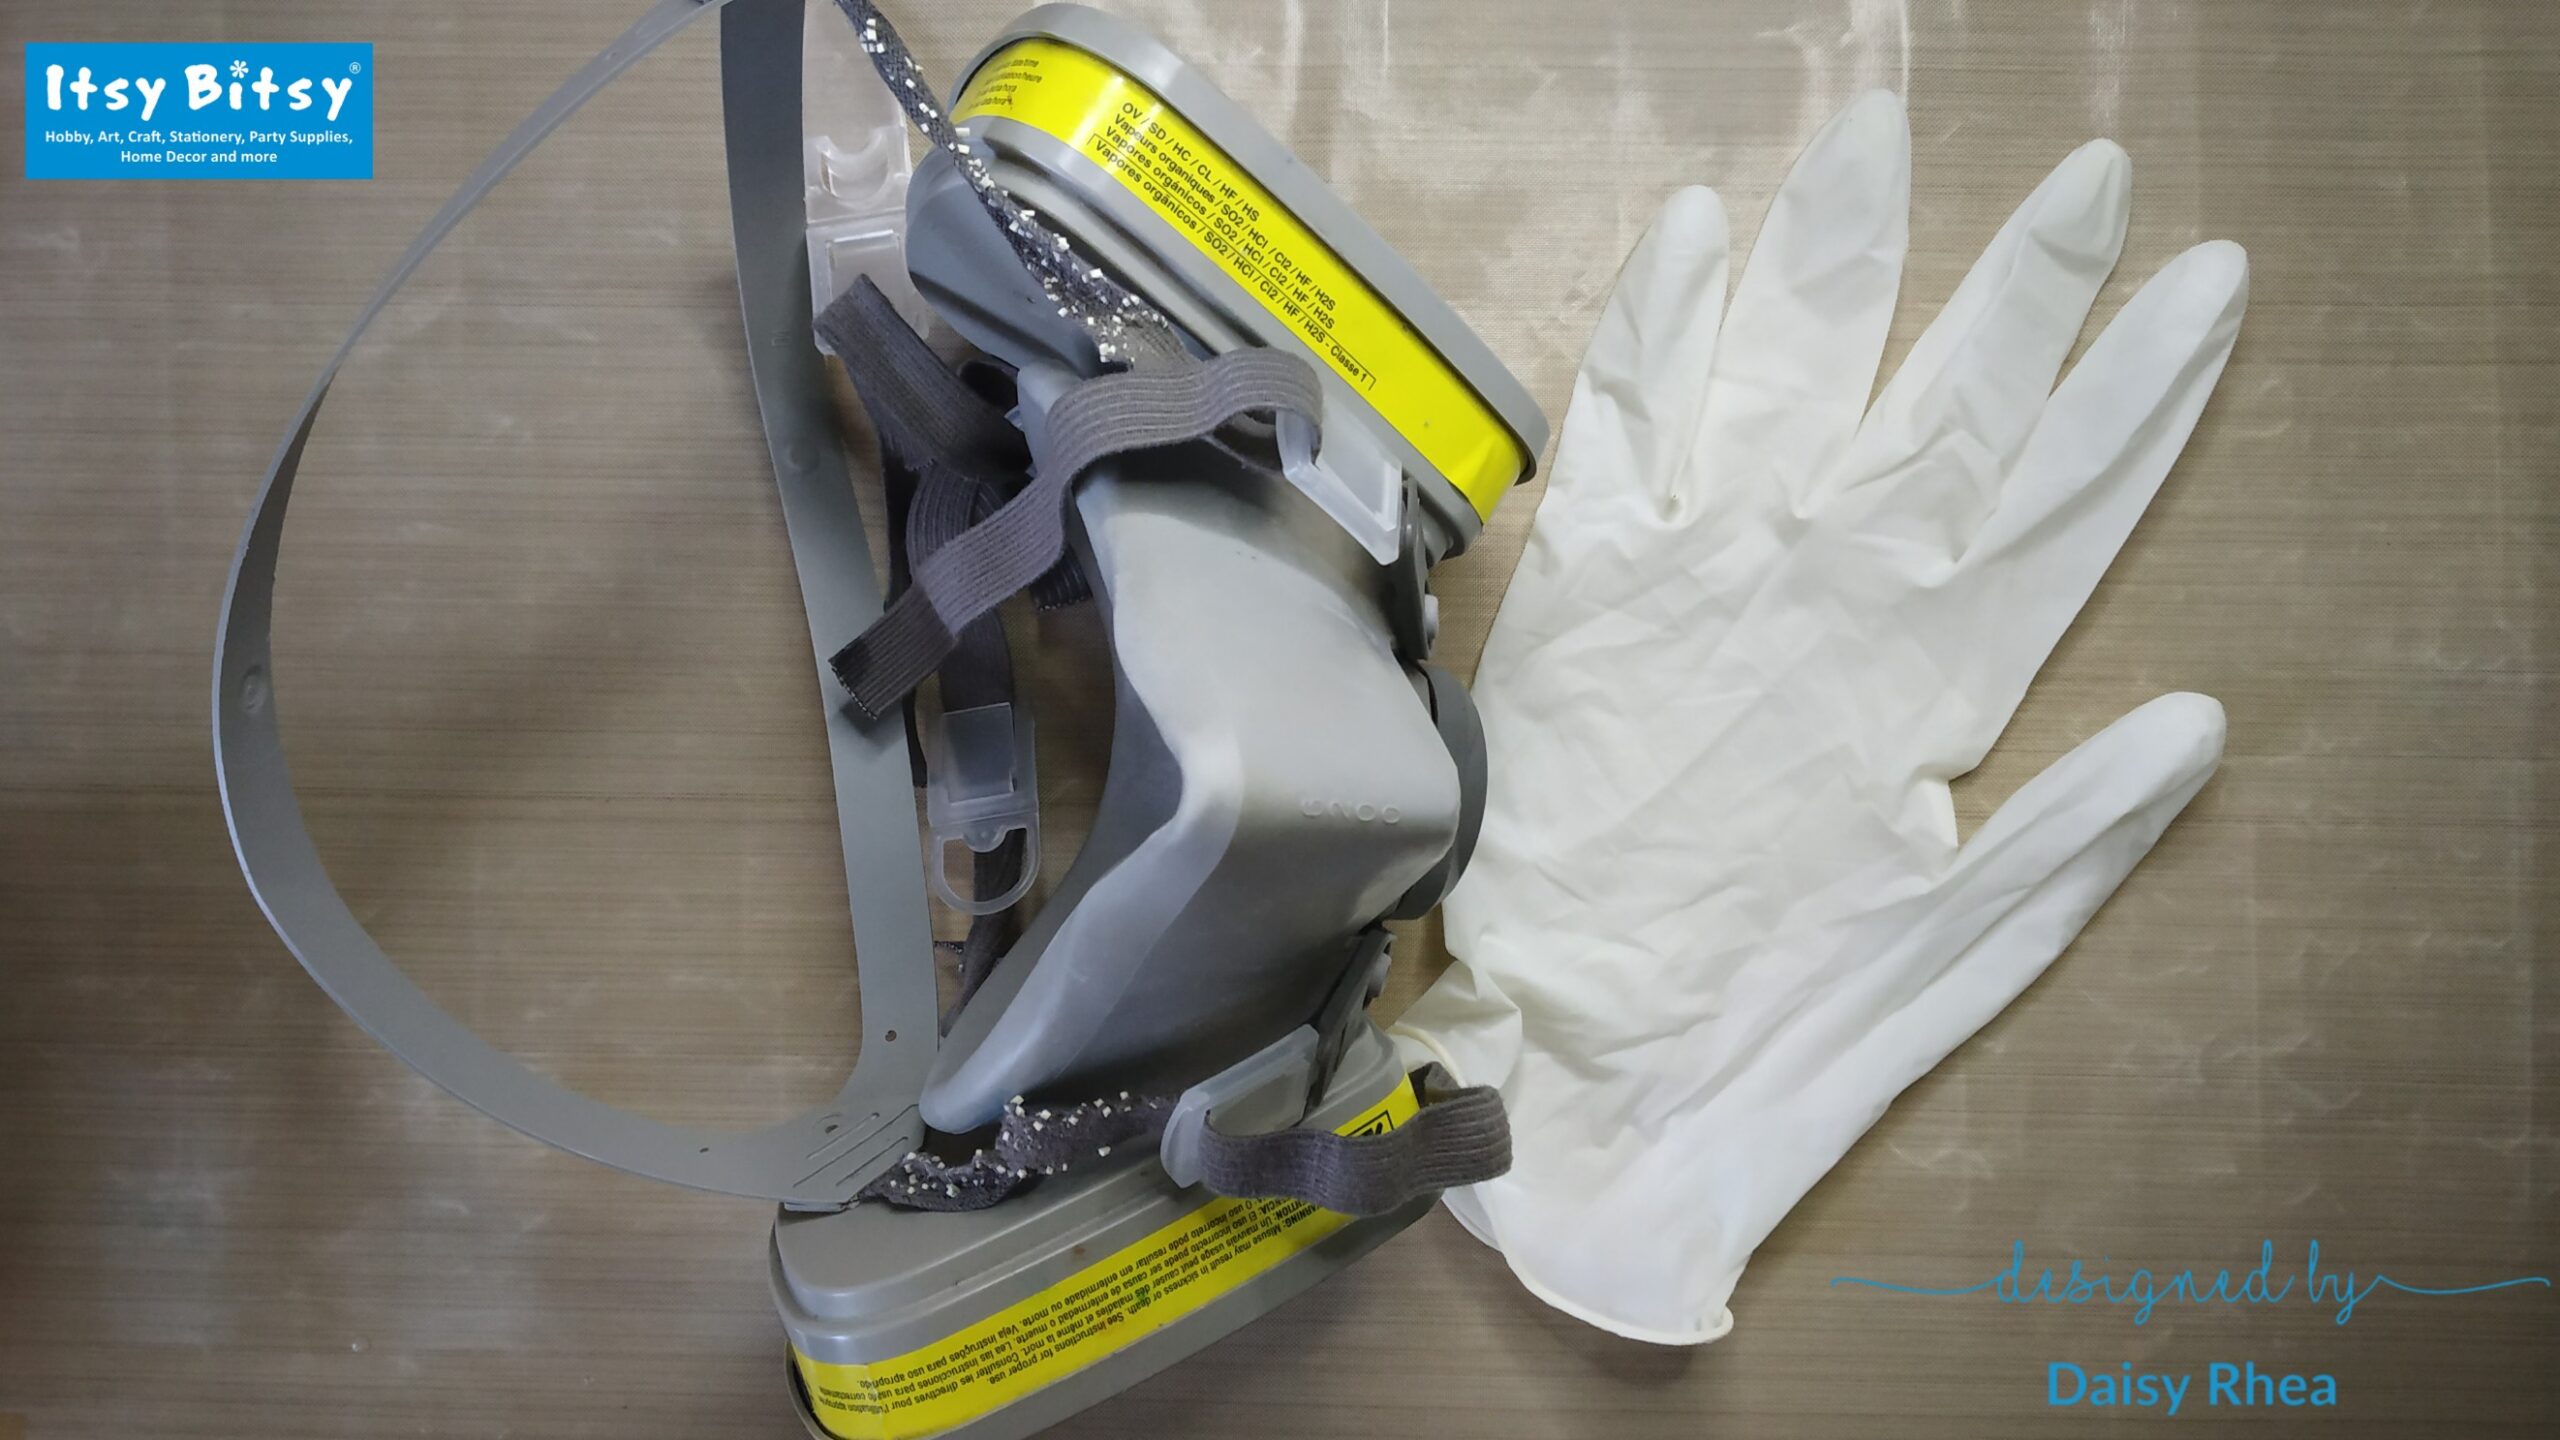
Before starting with the DIY, please make sure to use safety gear when working with resin. Please use a Rrespirator and gloves.
Let’s get started with the DIY!
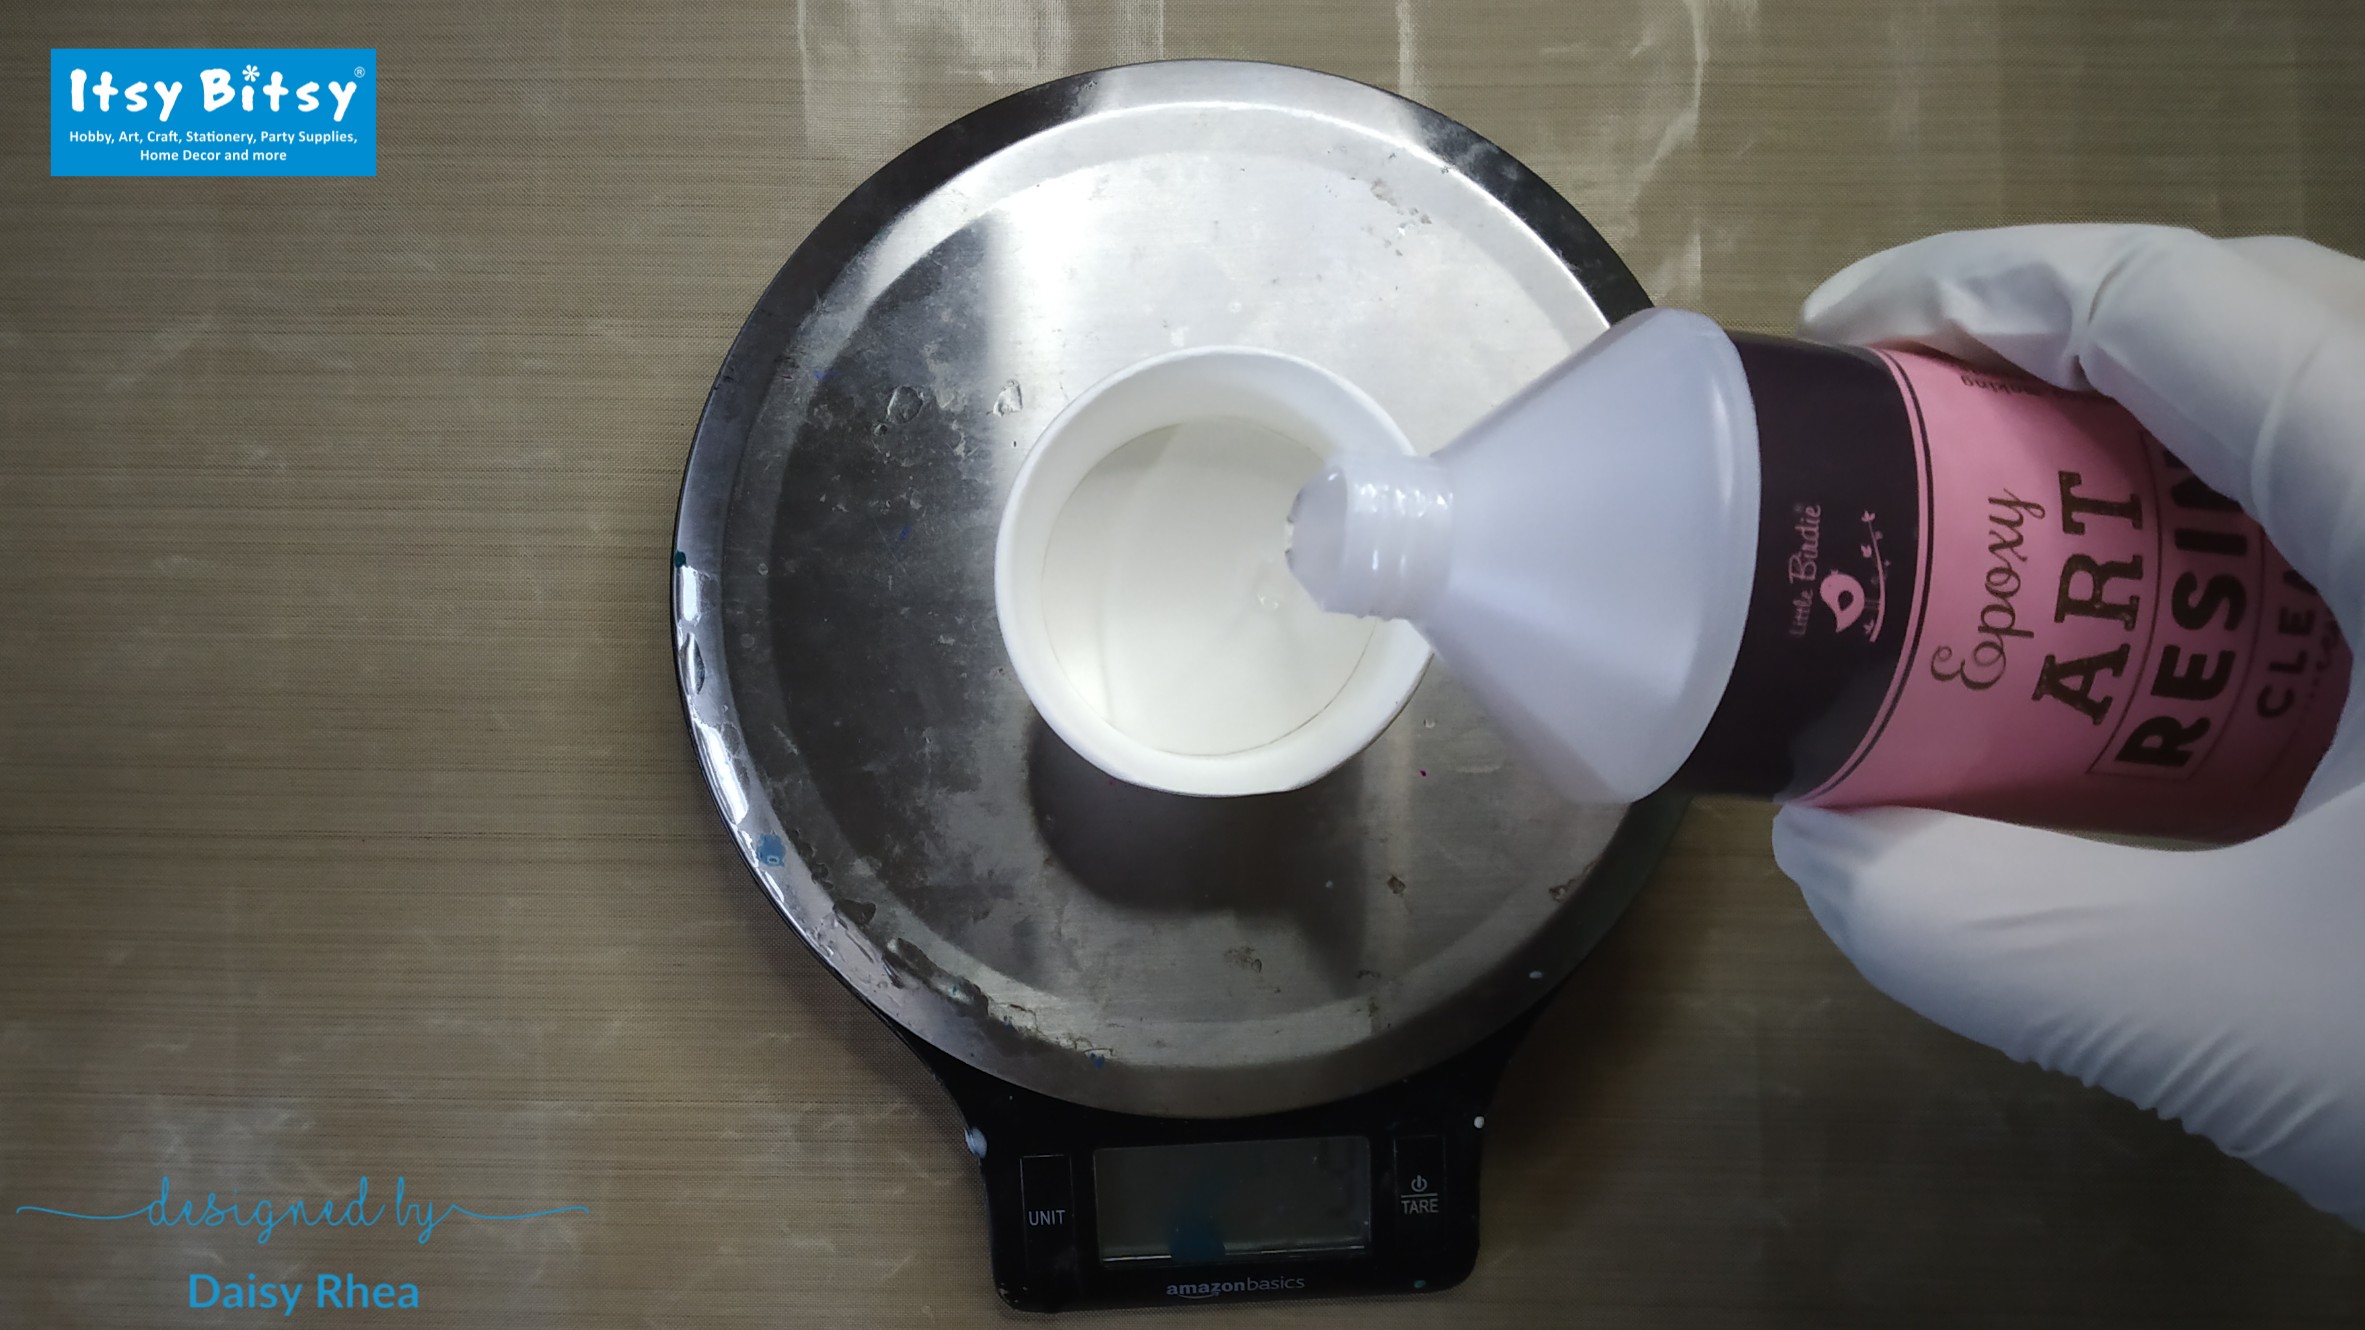
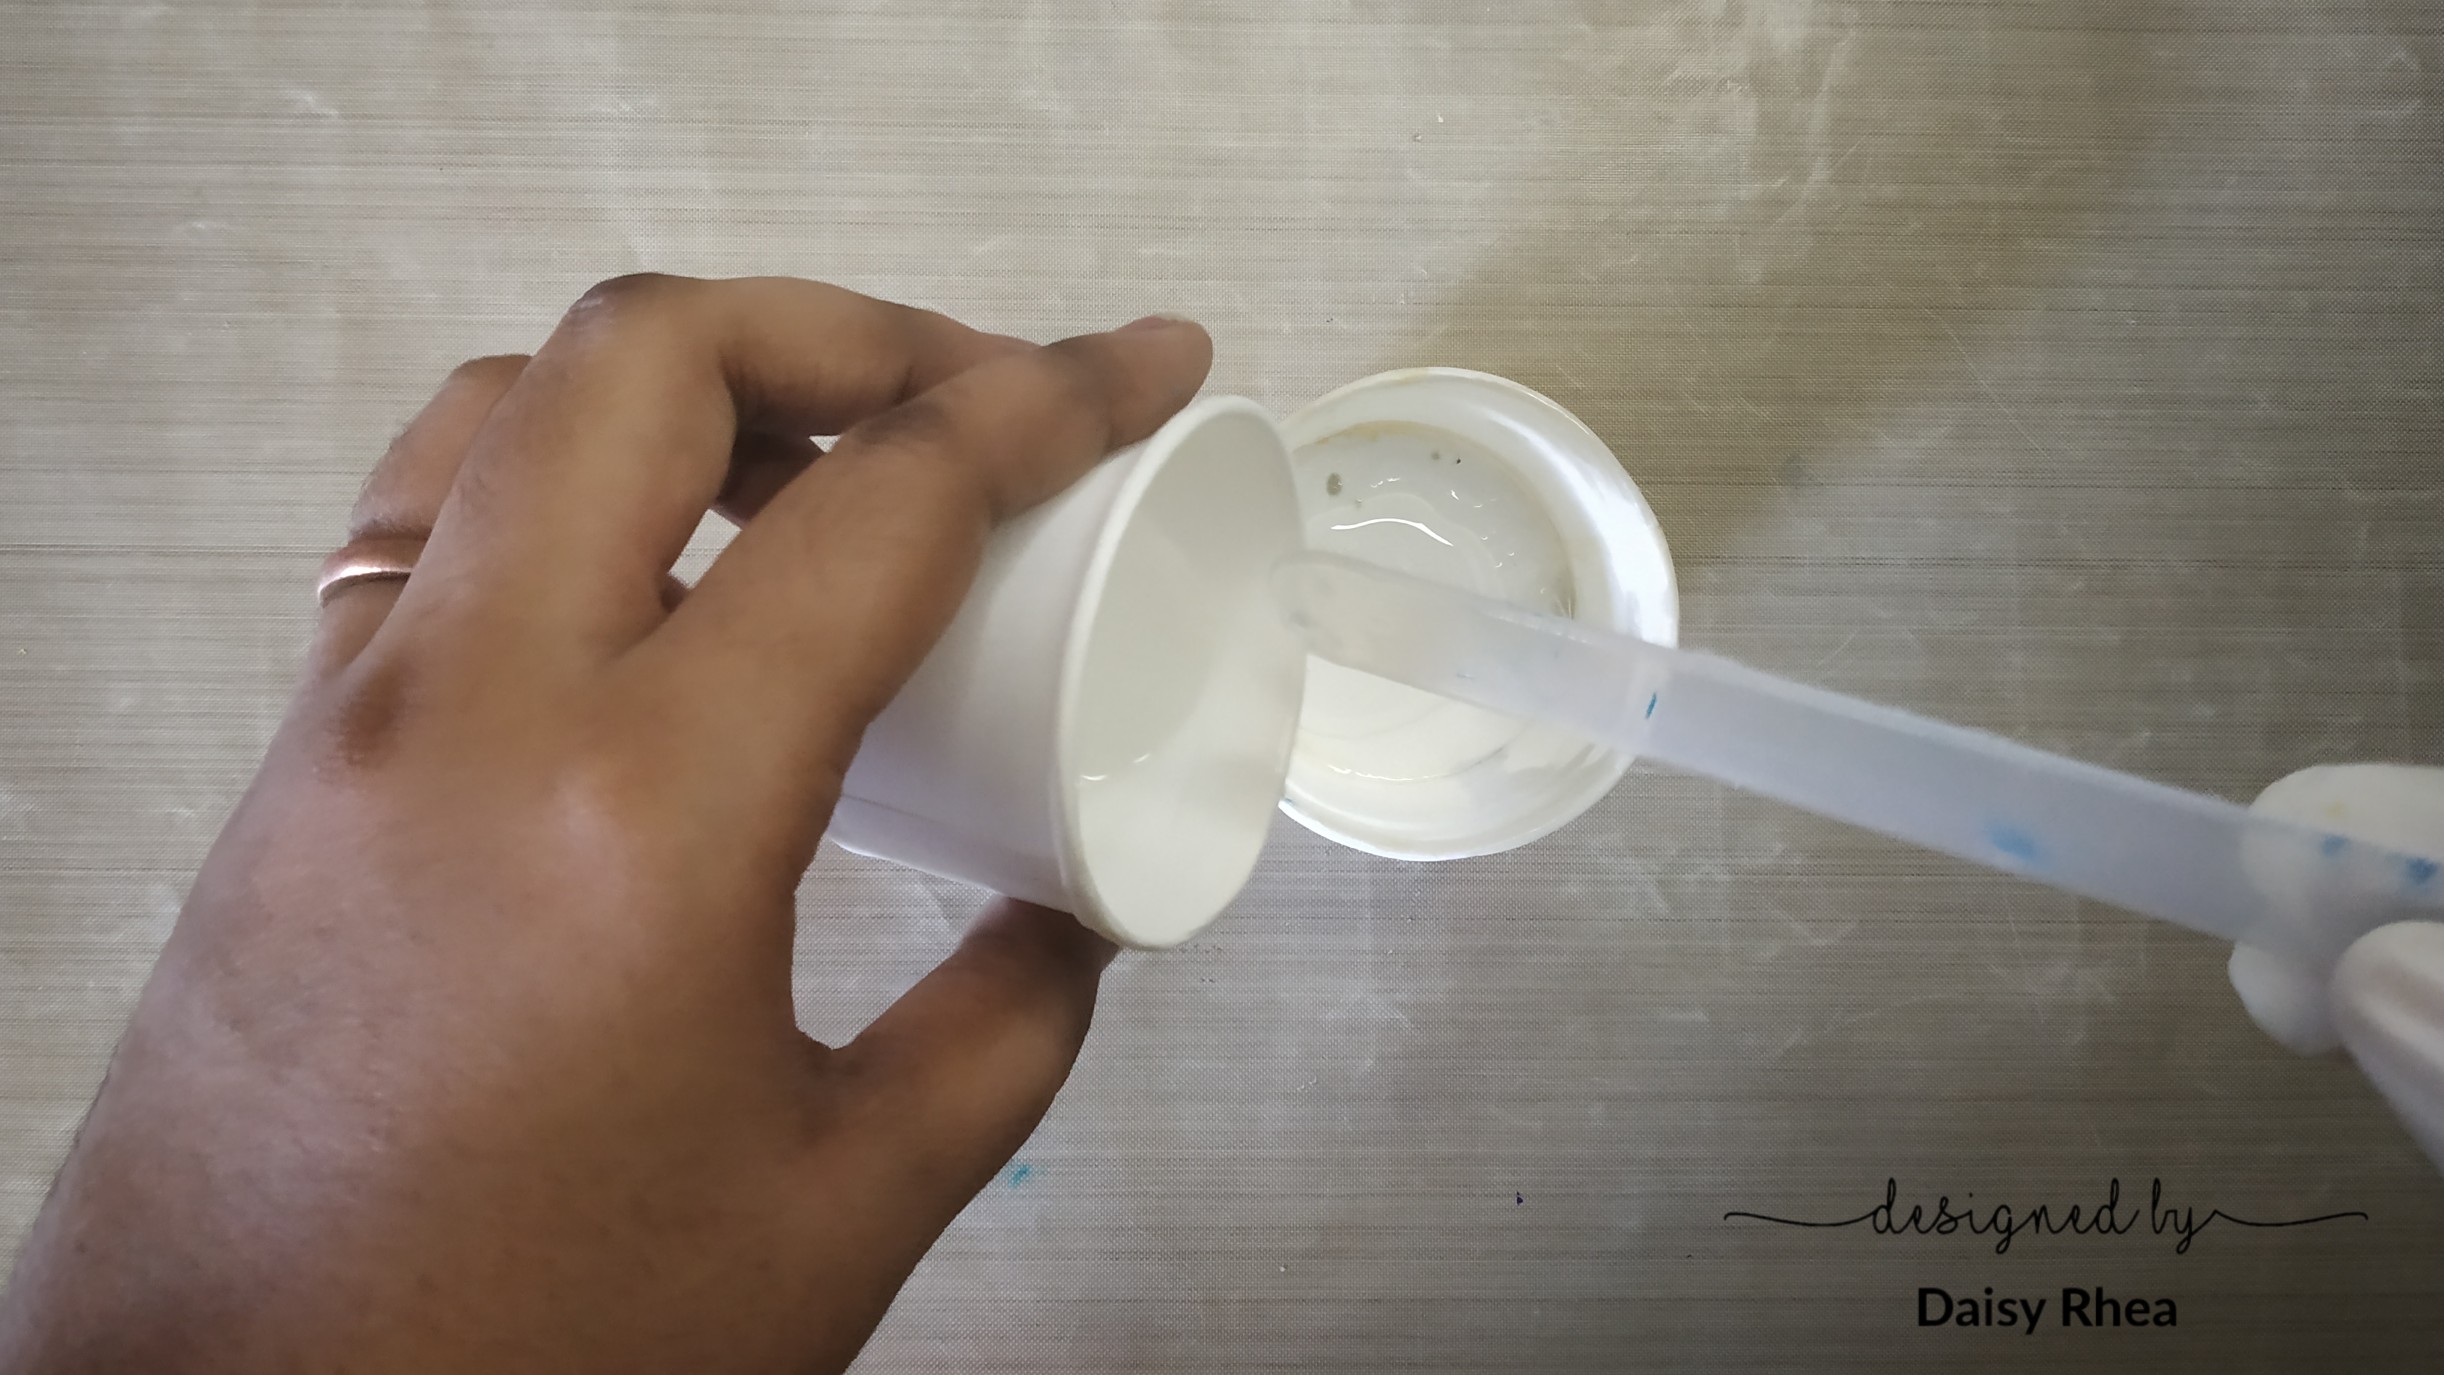
First, we will mix the resin and hardener in the proportion of 2:1 using a measuring scale. I will be taking the measurements in grams. First I poured the resin in the cup.
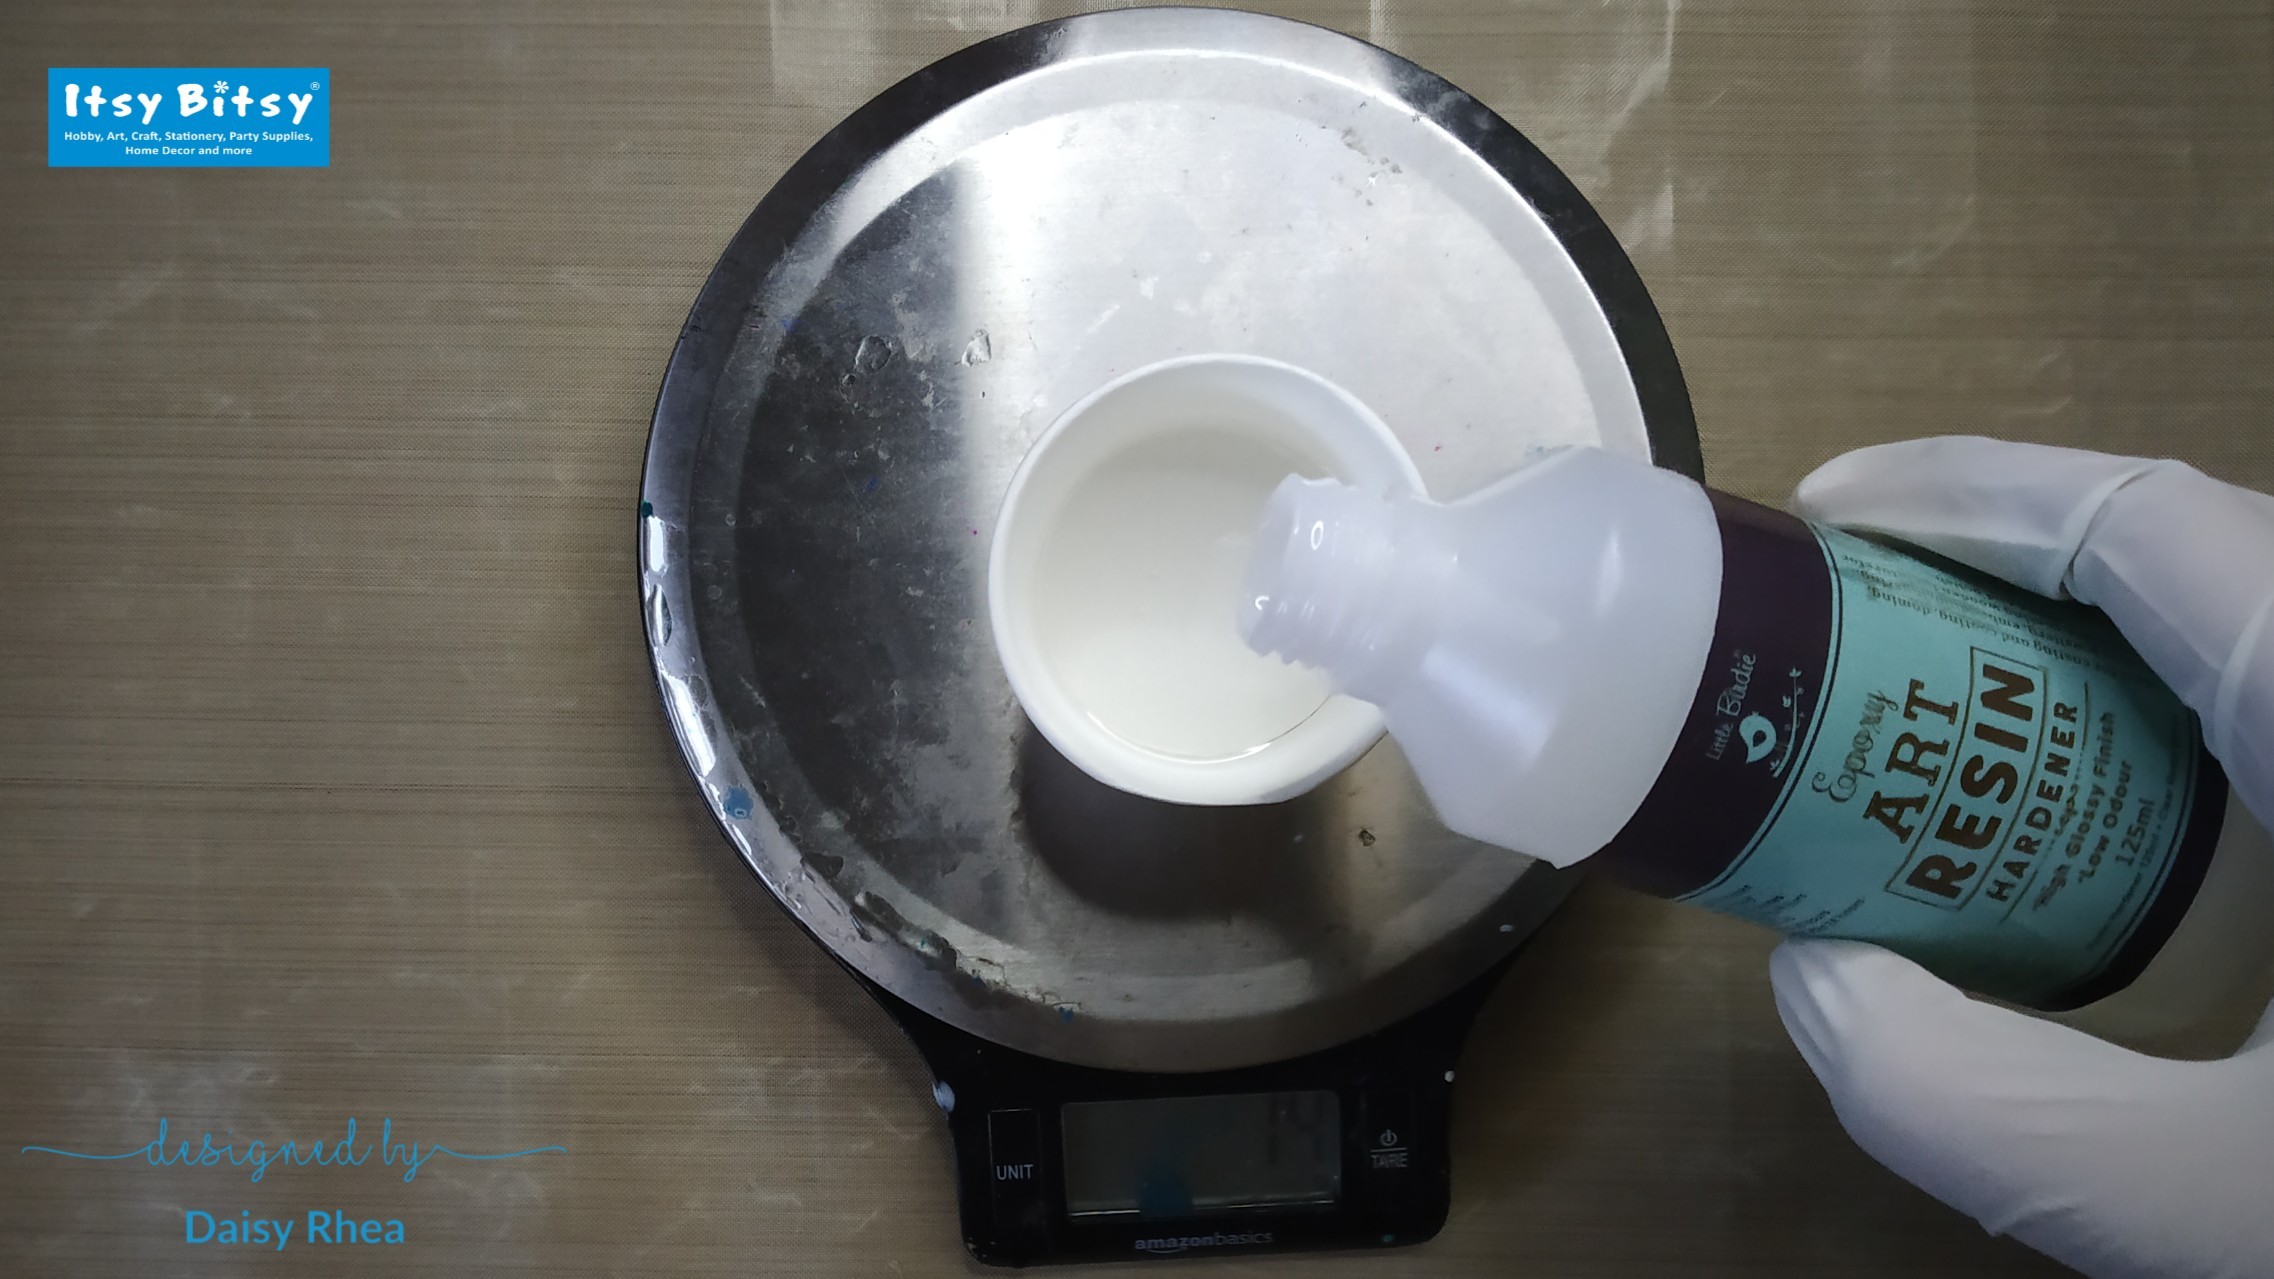
Next, I poured the hardener. Since it is a 2:1 ratio resin, the quantity of the hardener will be half the quantity of the resin.
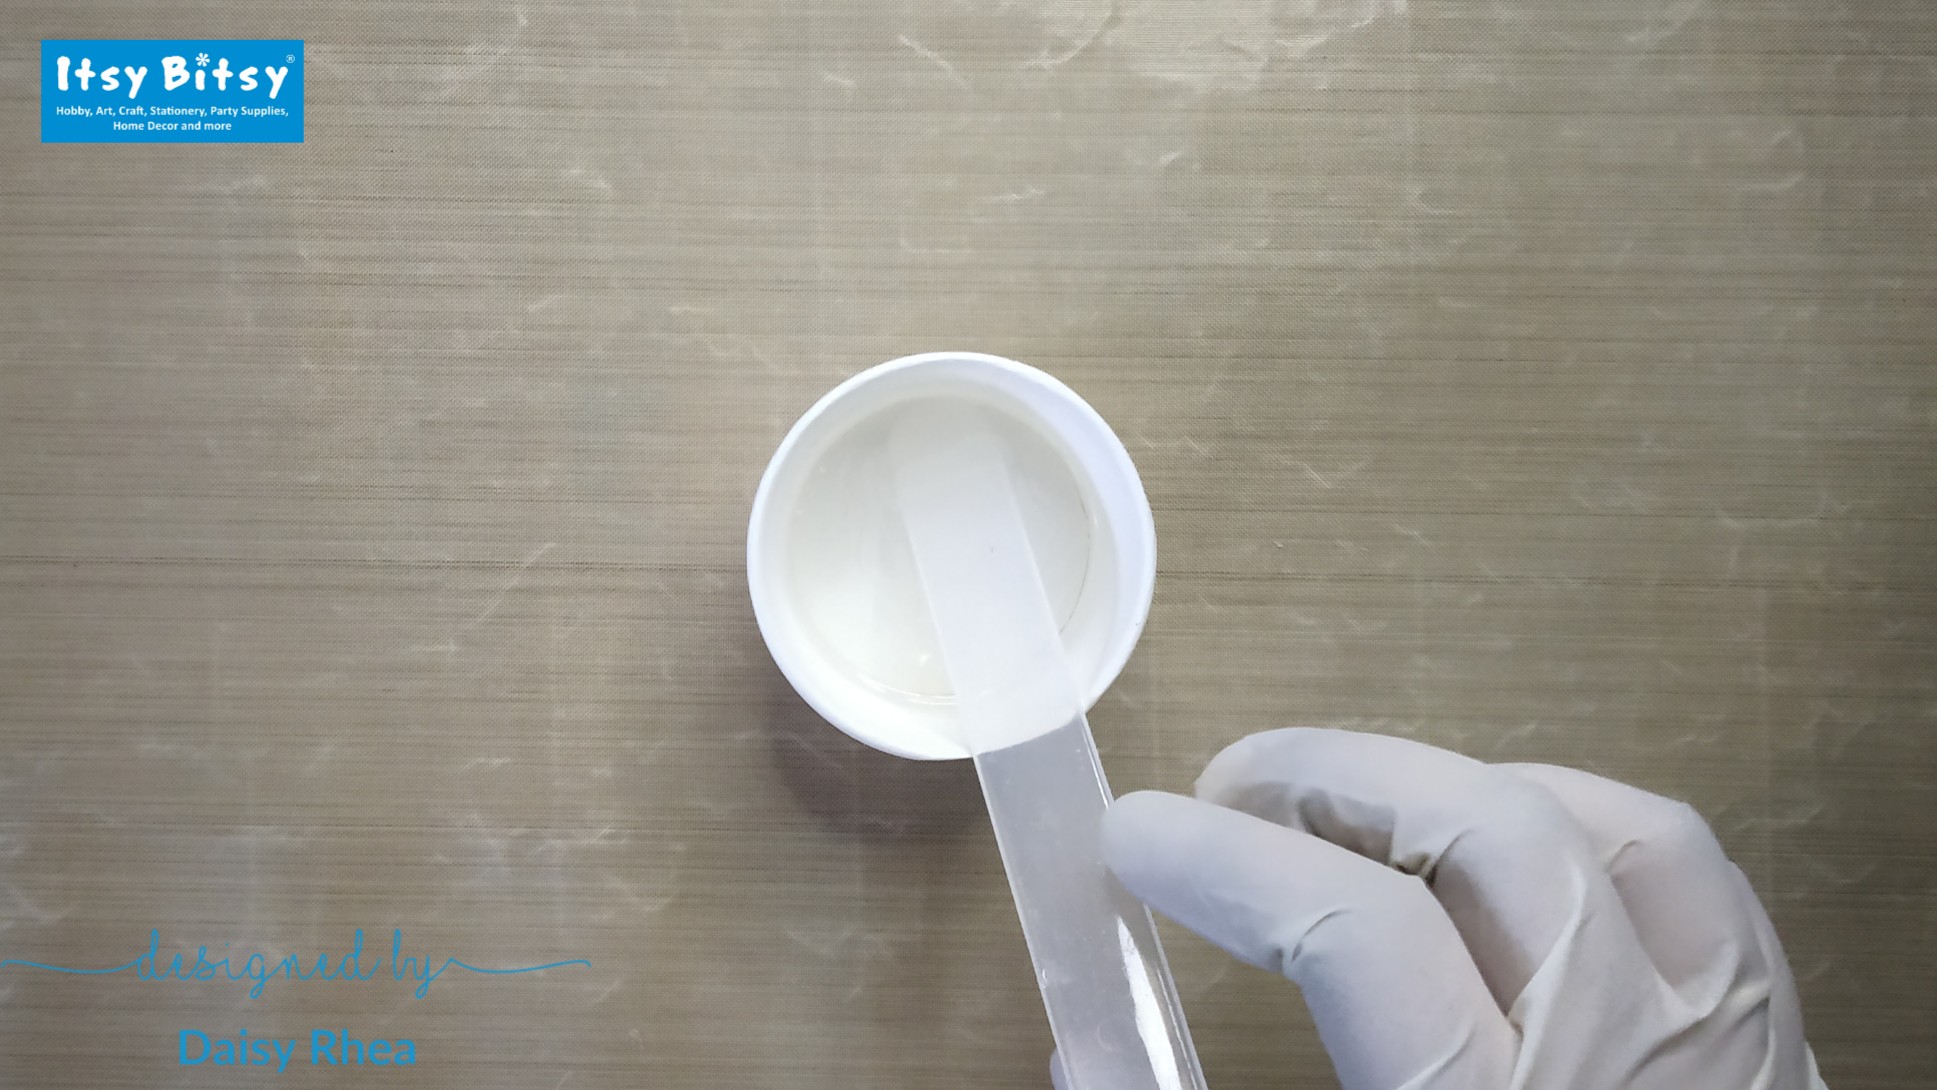
After pouring both the resin and the hardener, I mixed it for 3 minutes and then let it sit for 1-2 minutes, so that the bubbles in the resin are released.
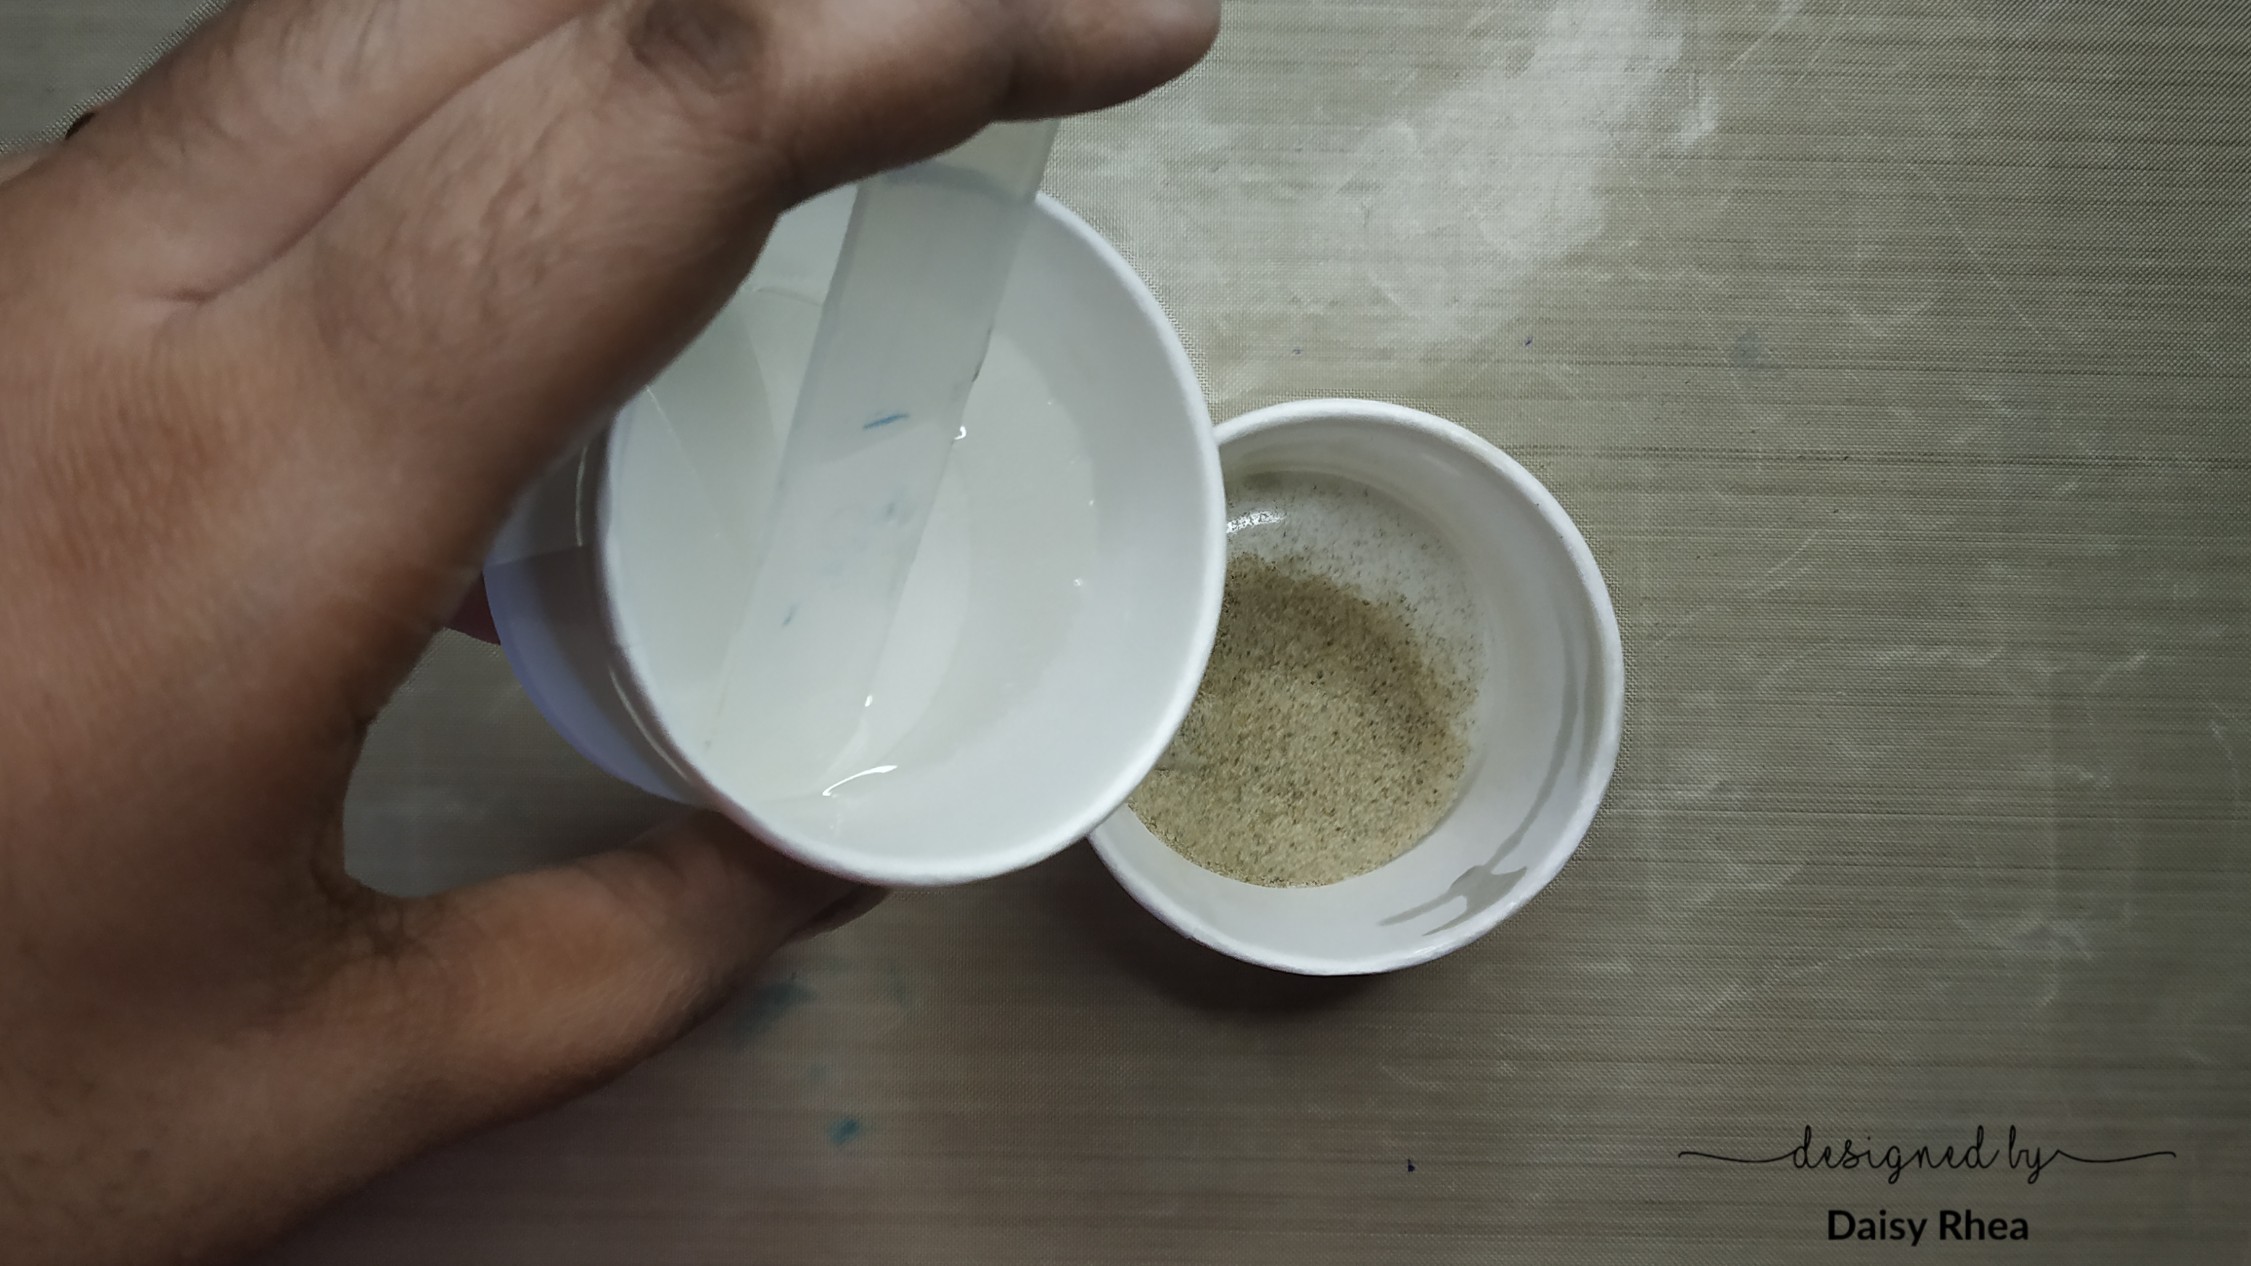
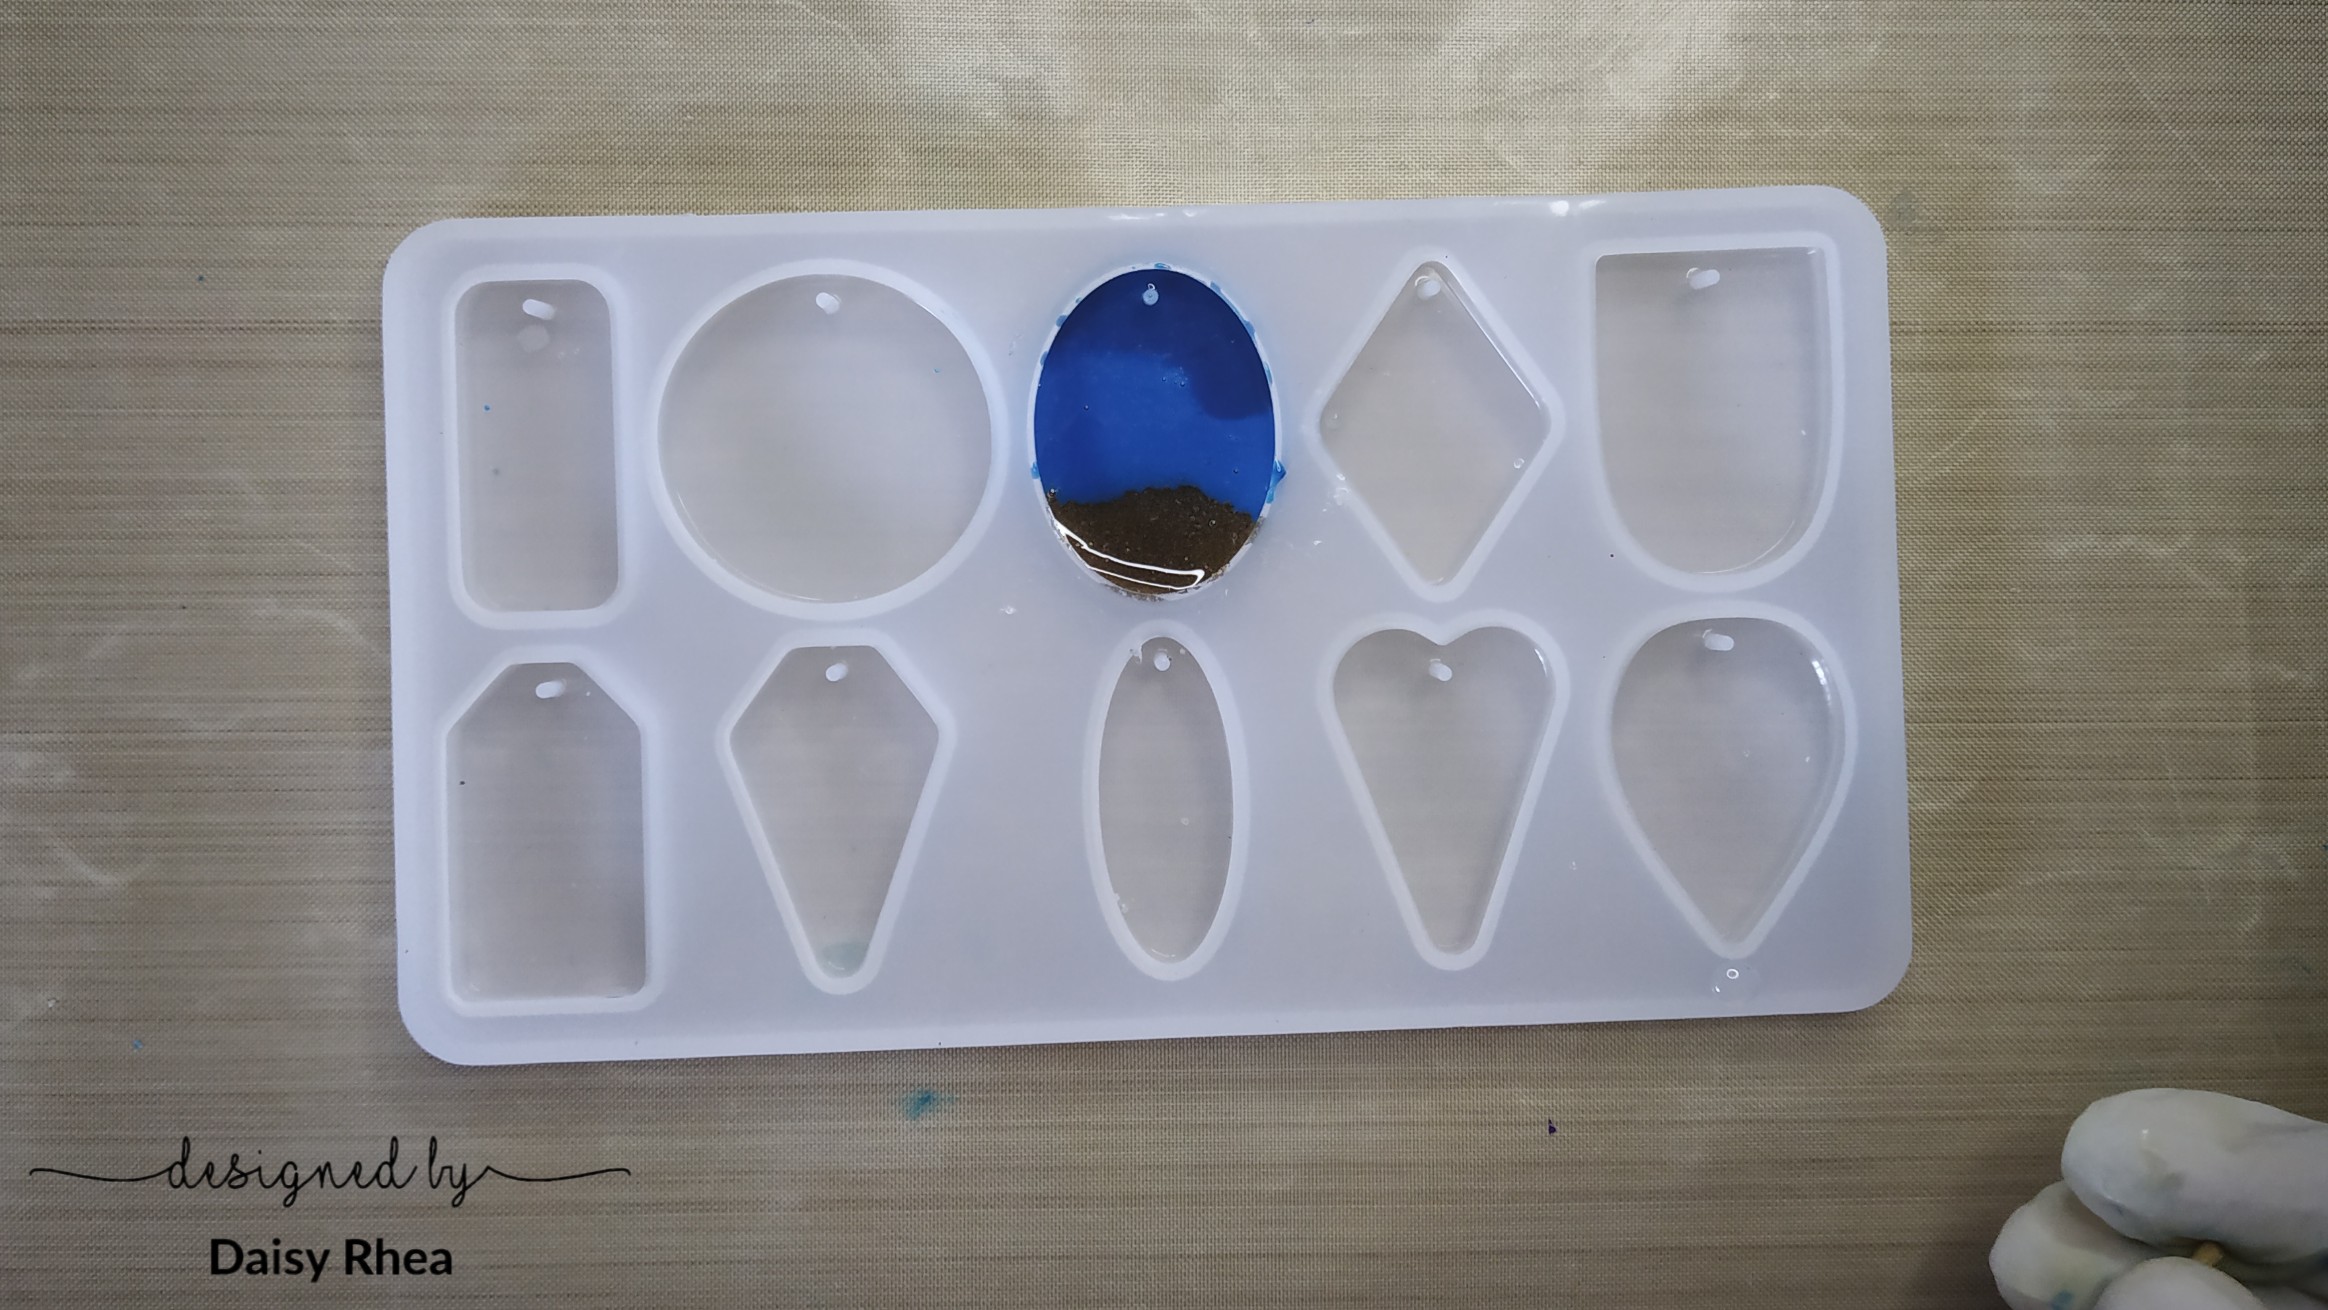
Next, I made the sand part of the pendant. I used some sand. I mixed a little resin and added the sand to the resin.
Then I poured this mixture in to the mold. I filled 2/3rd of the mold with sand.
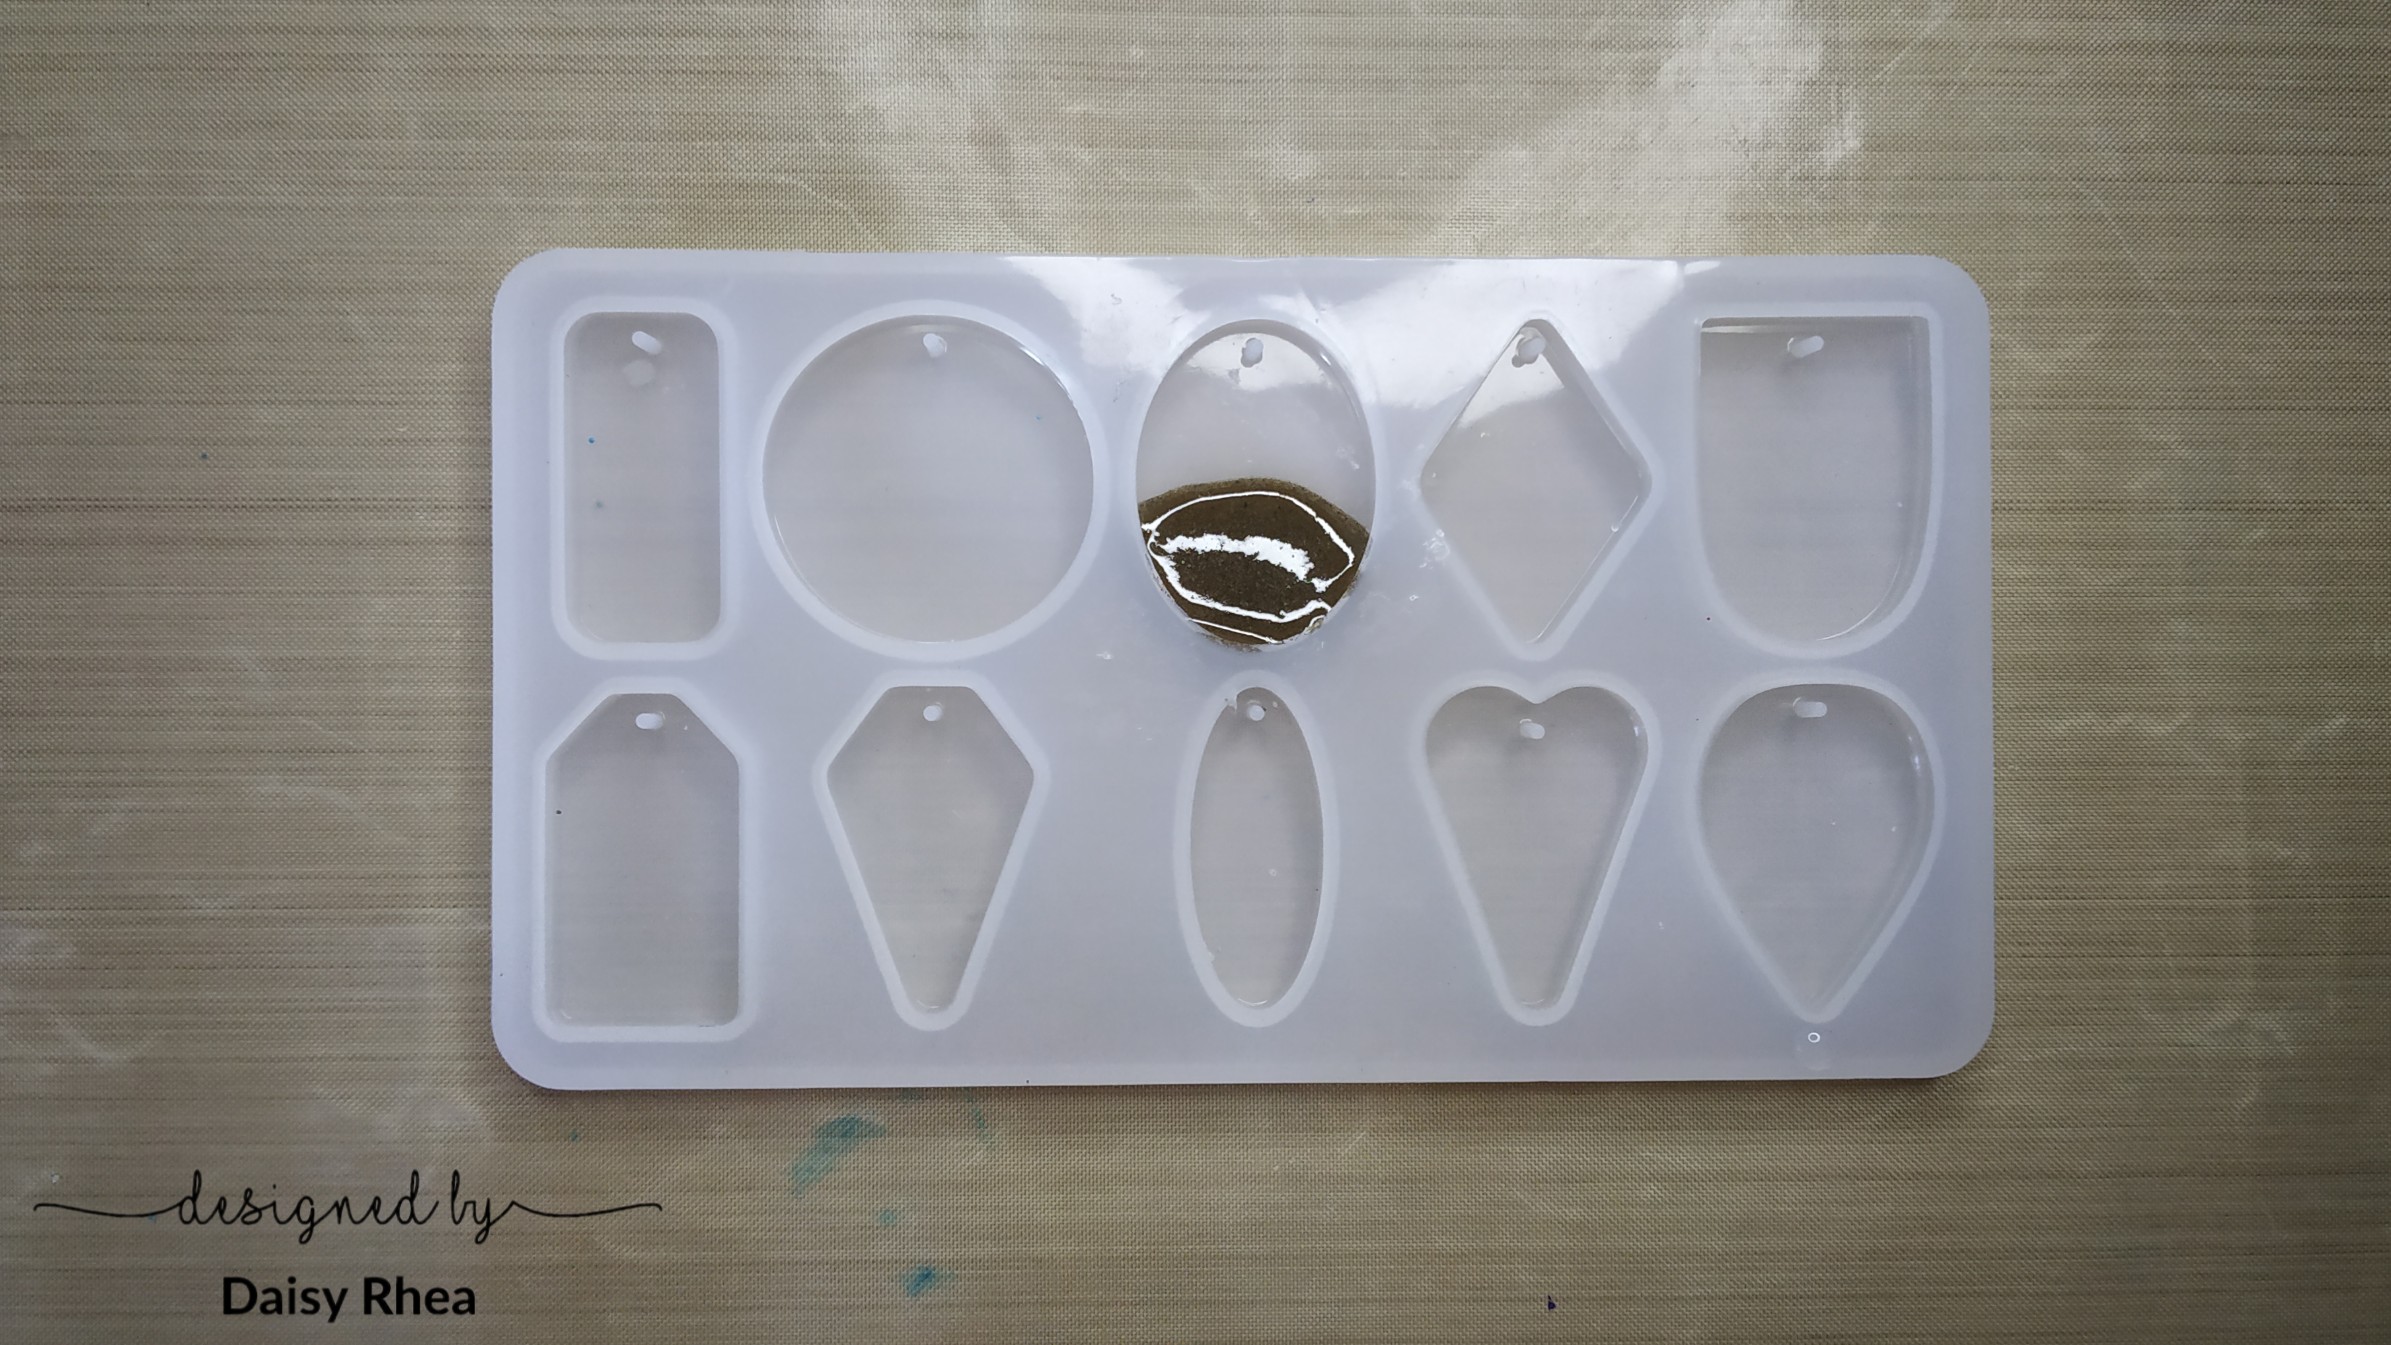
Let this dry for 12-15 hours.
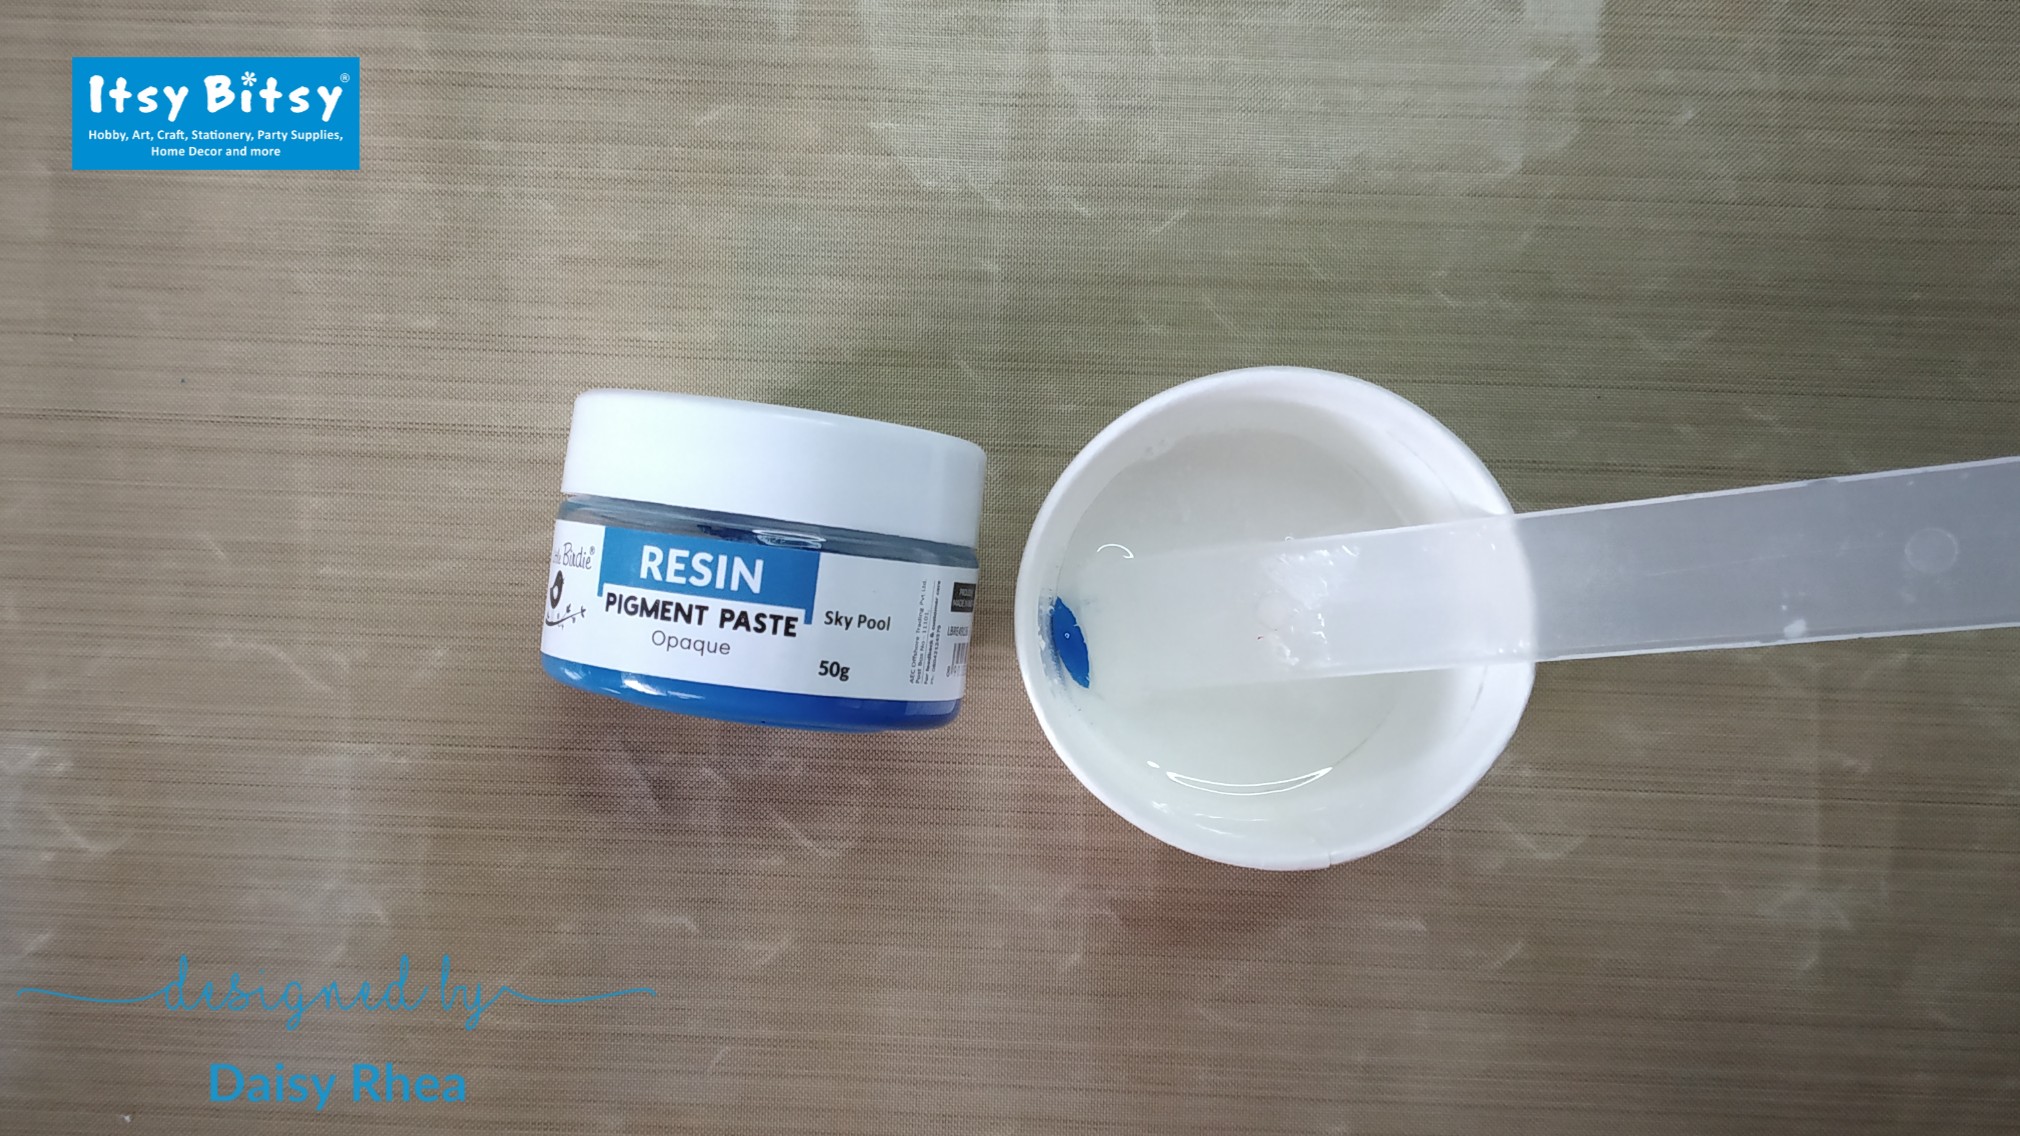
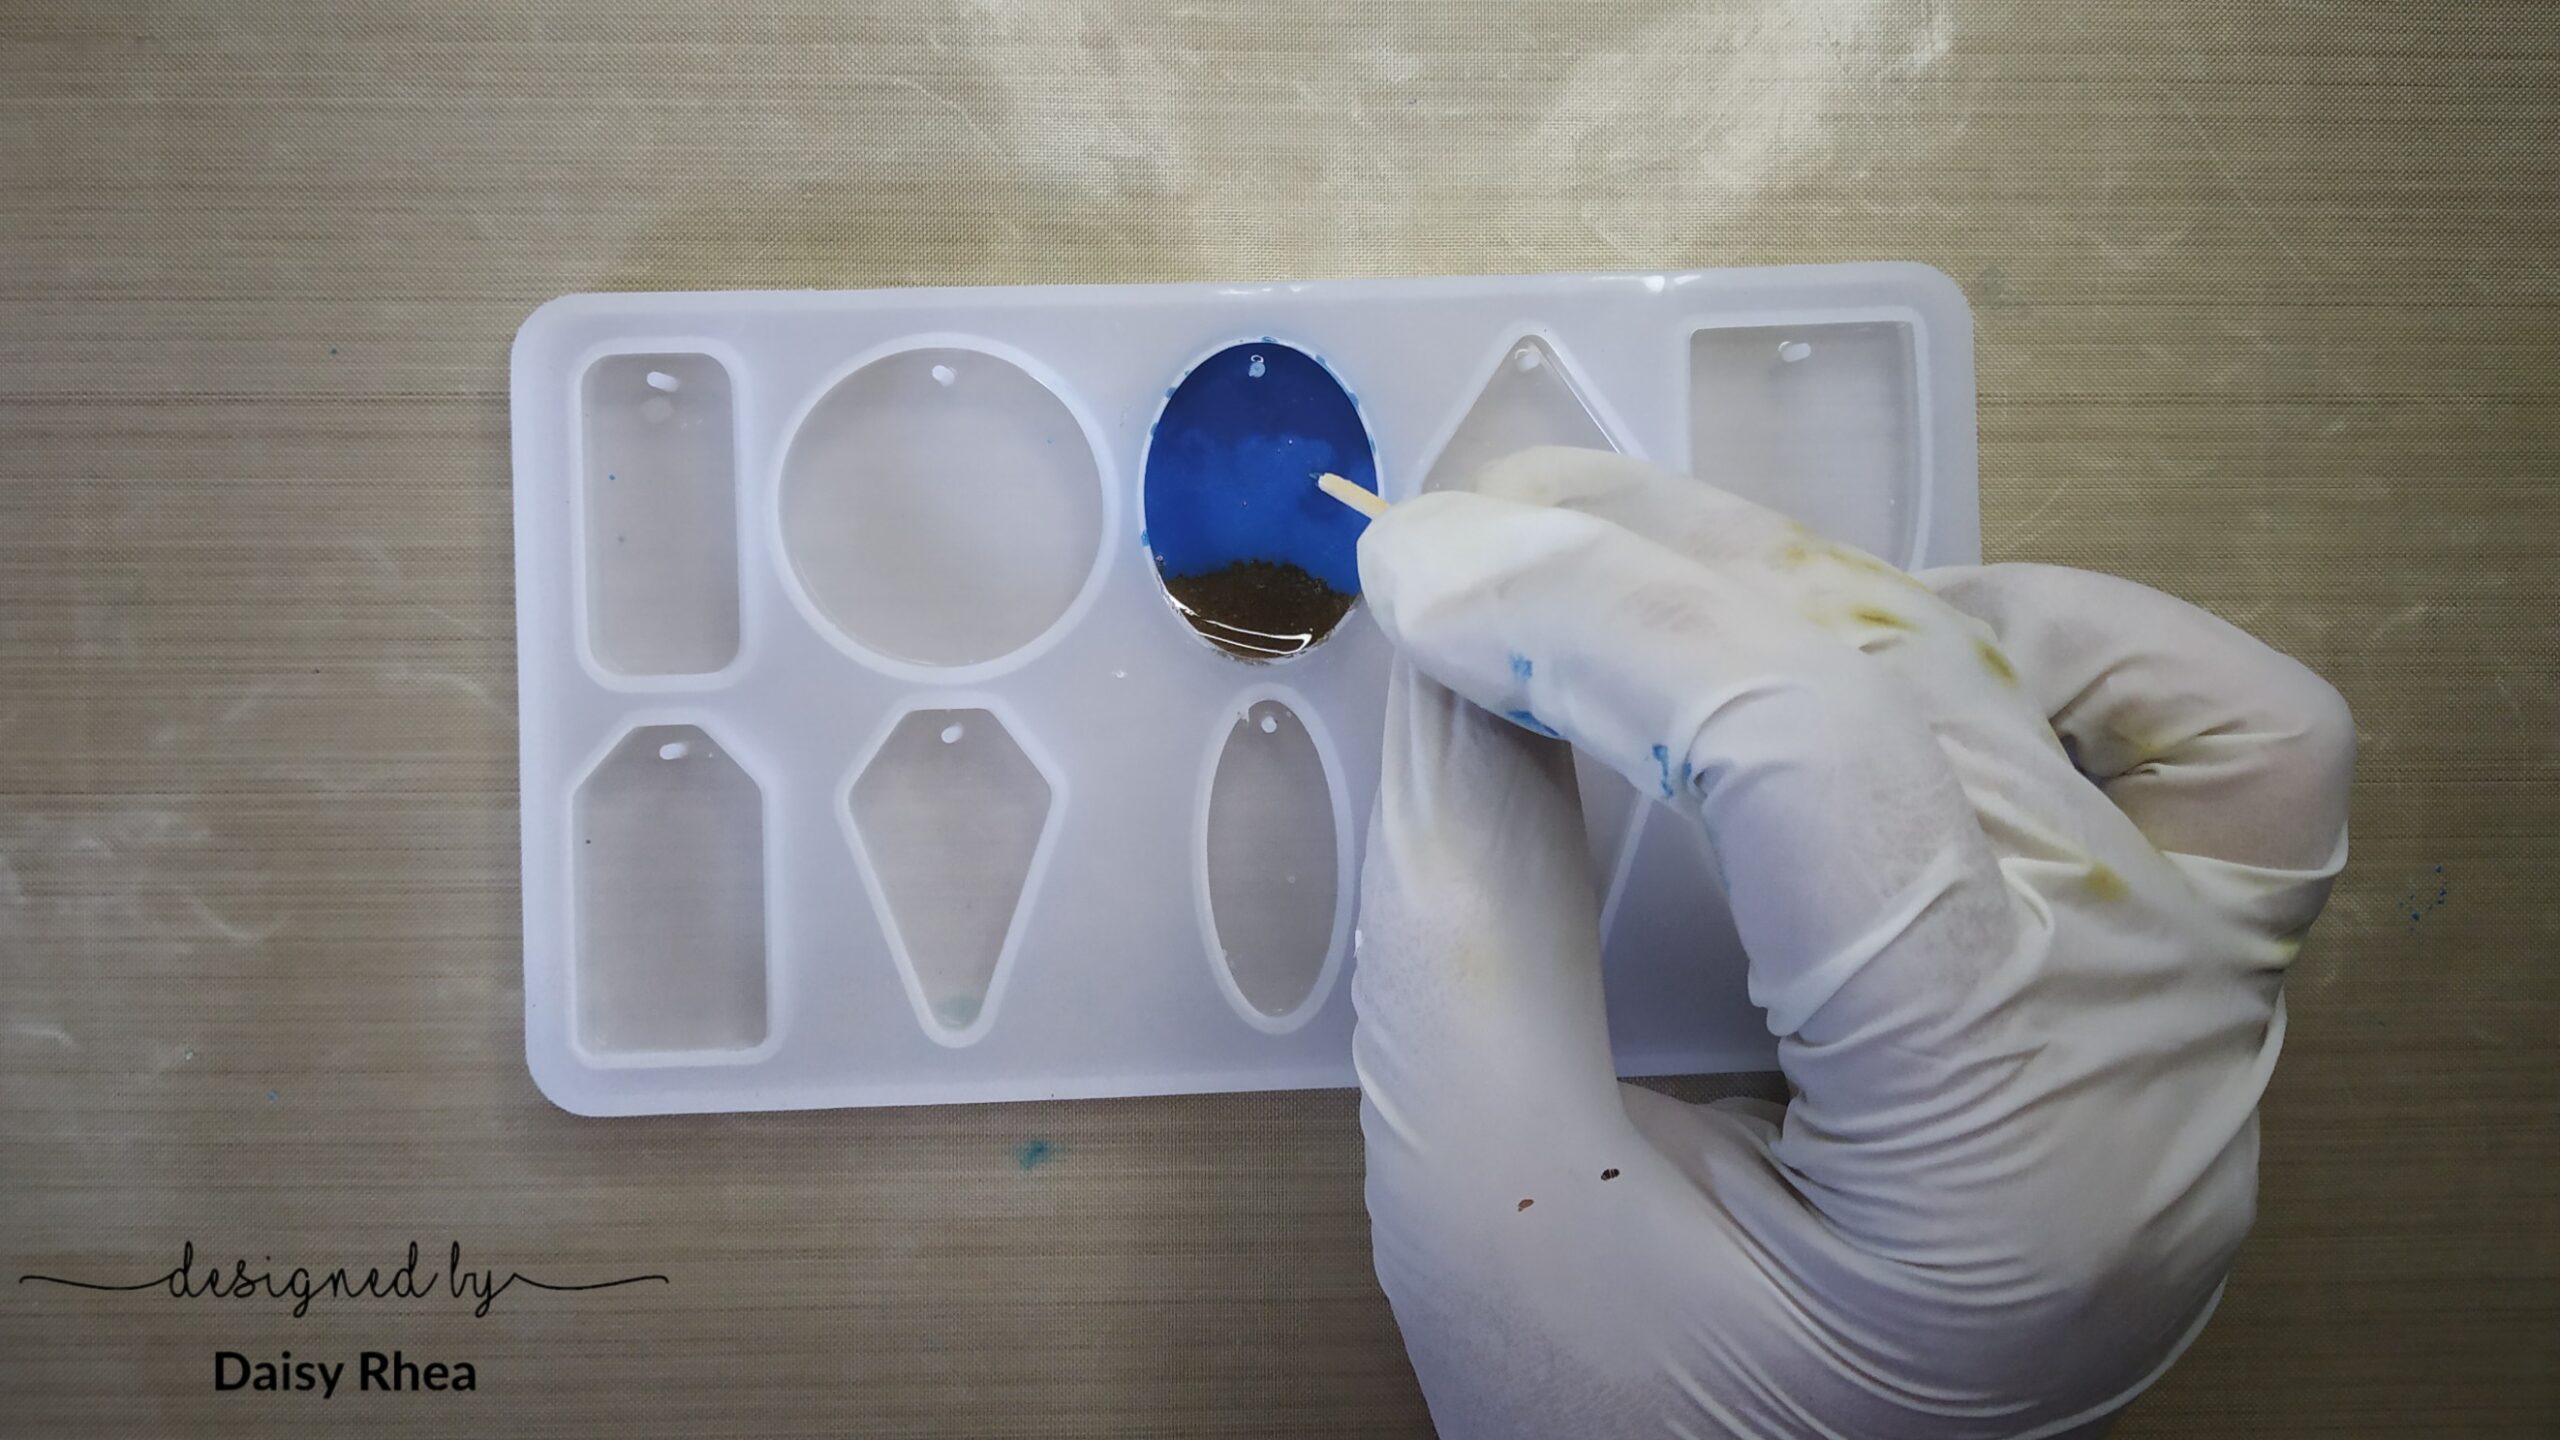
Next, I mixed some more resin and mixed in 2 shades of blue. I used one resin pigment(blue) and added a few drops of darker blue alcohol inks.
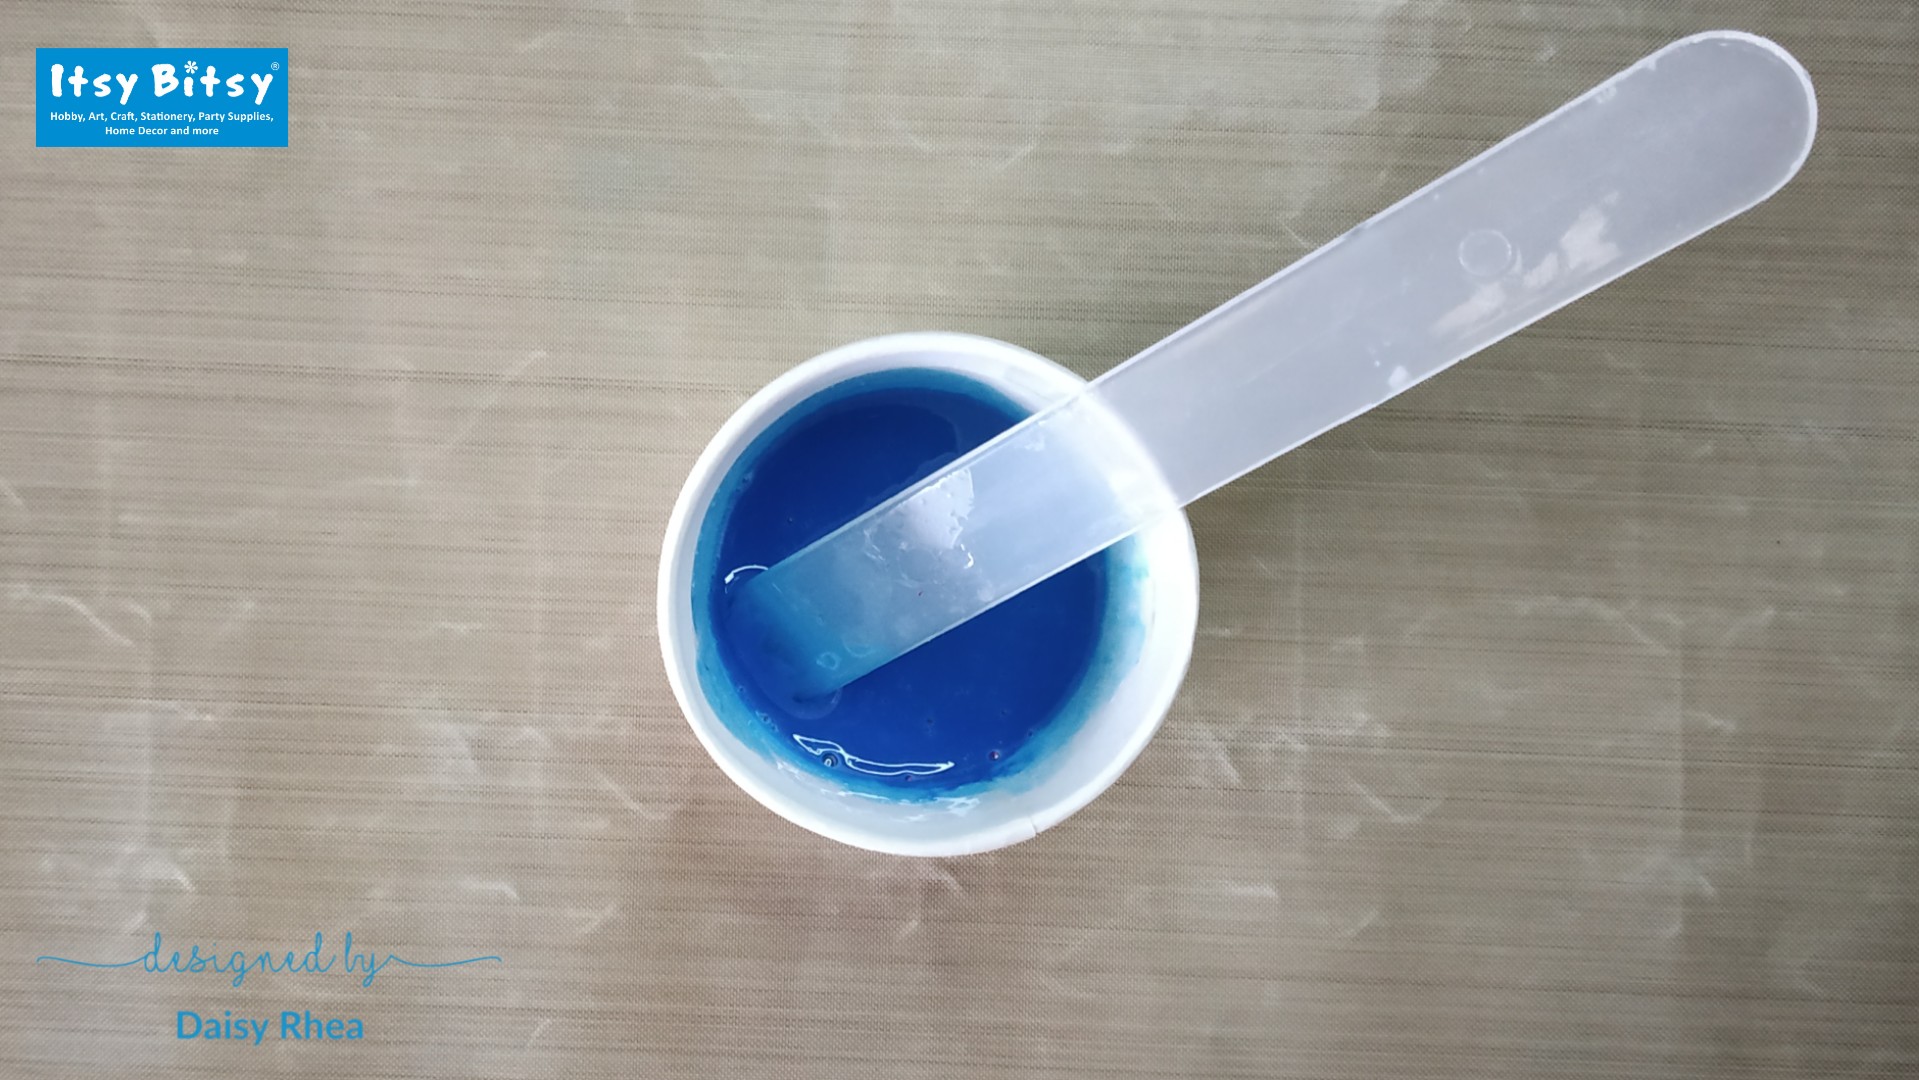

I put the darker blue on the top and the lighter blue on the lower part near the sand. I used a toothpick to mix the 2 blue shades to get a gradient.
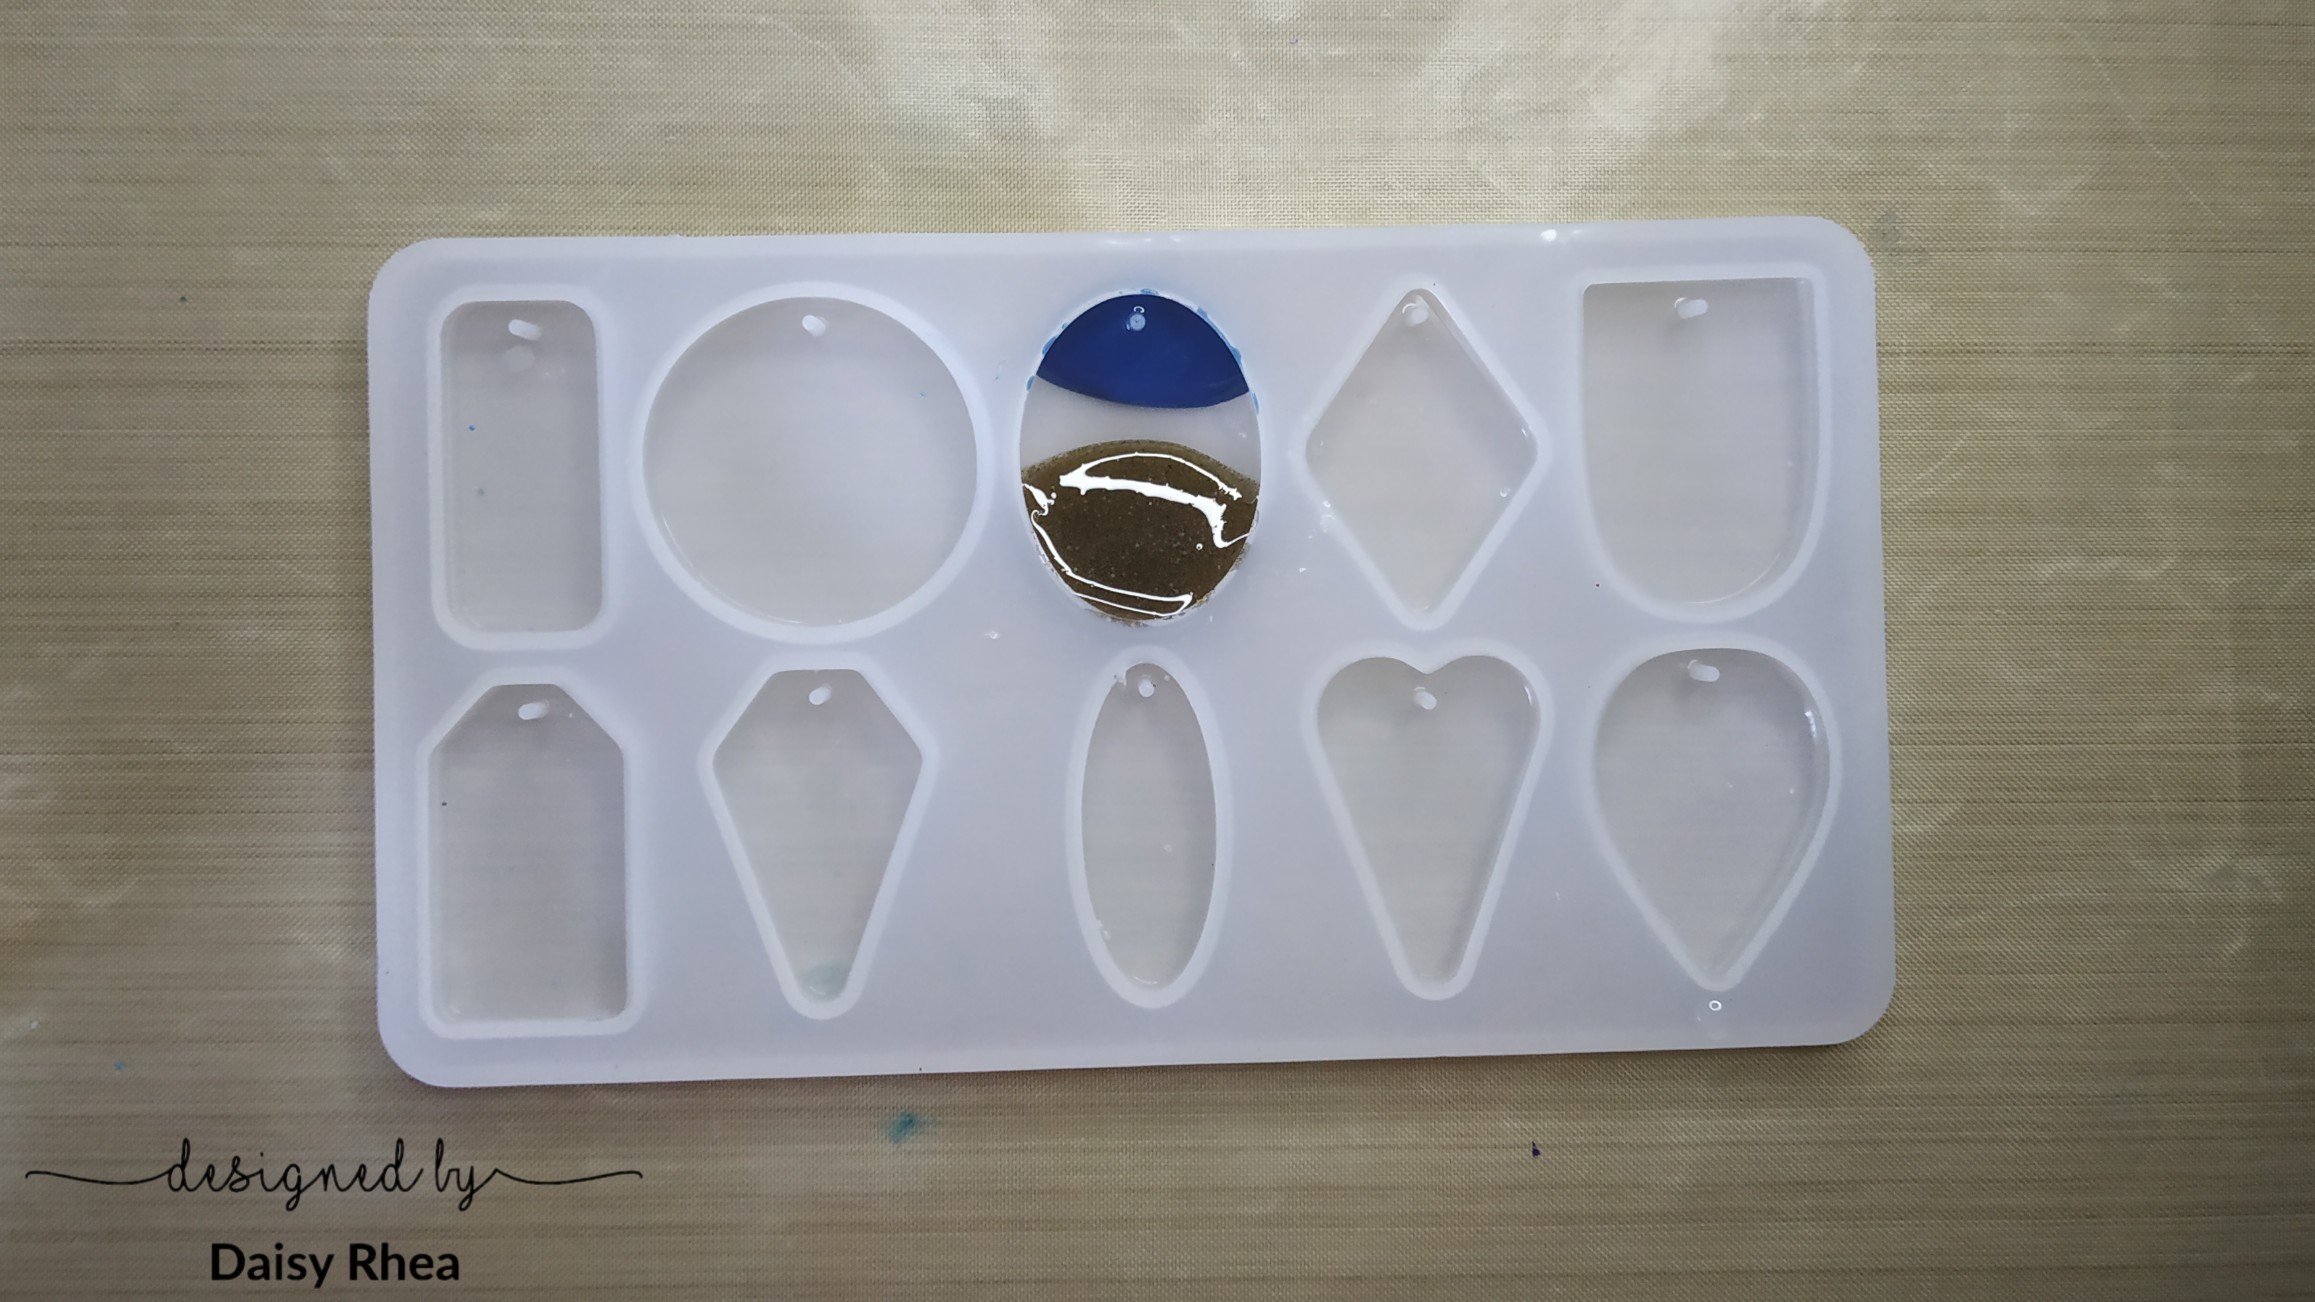
Let this layer dry for 12-15 hours.
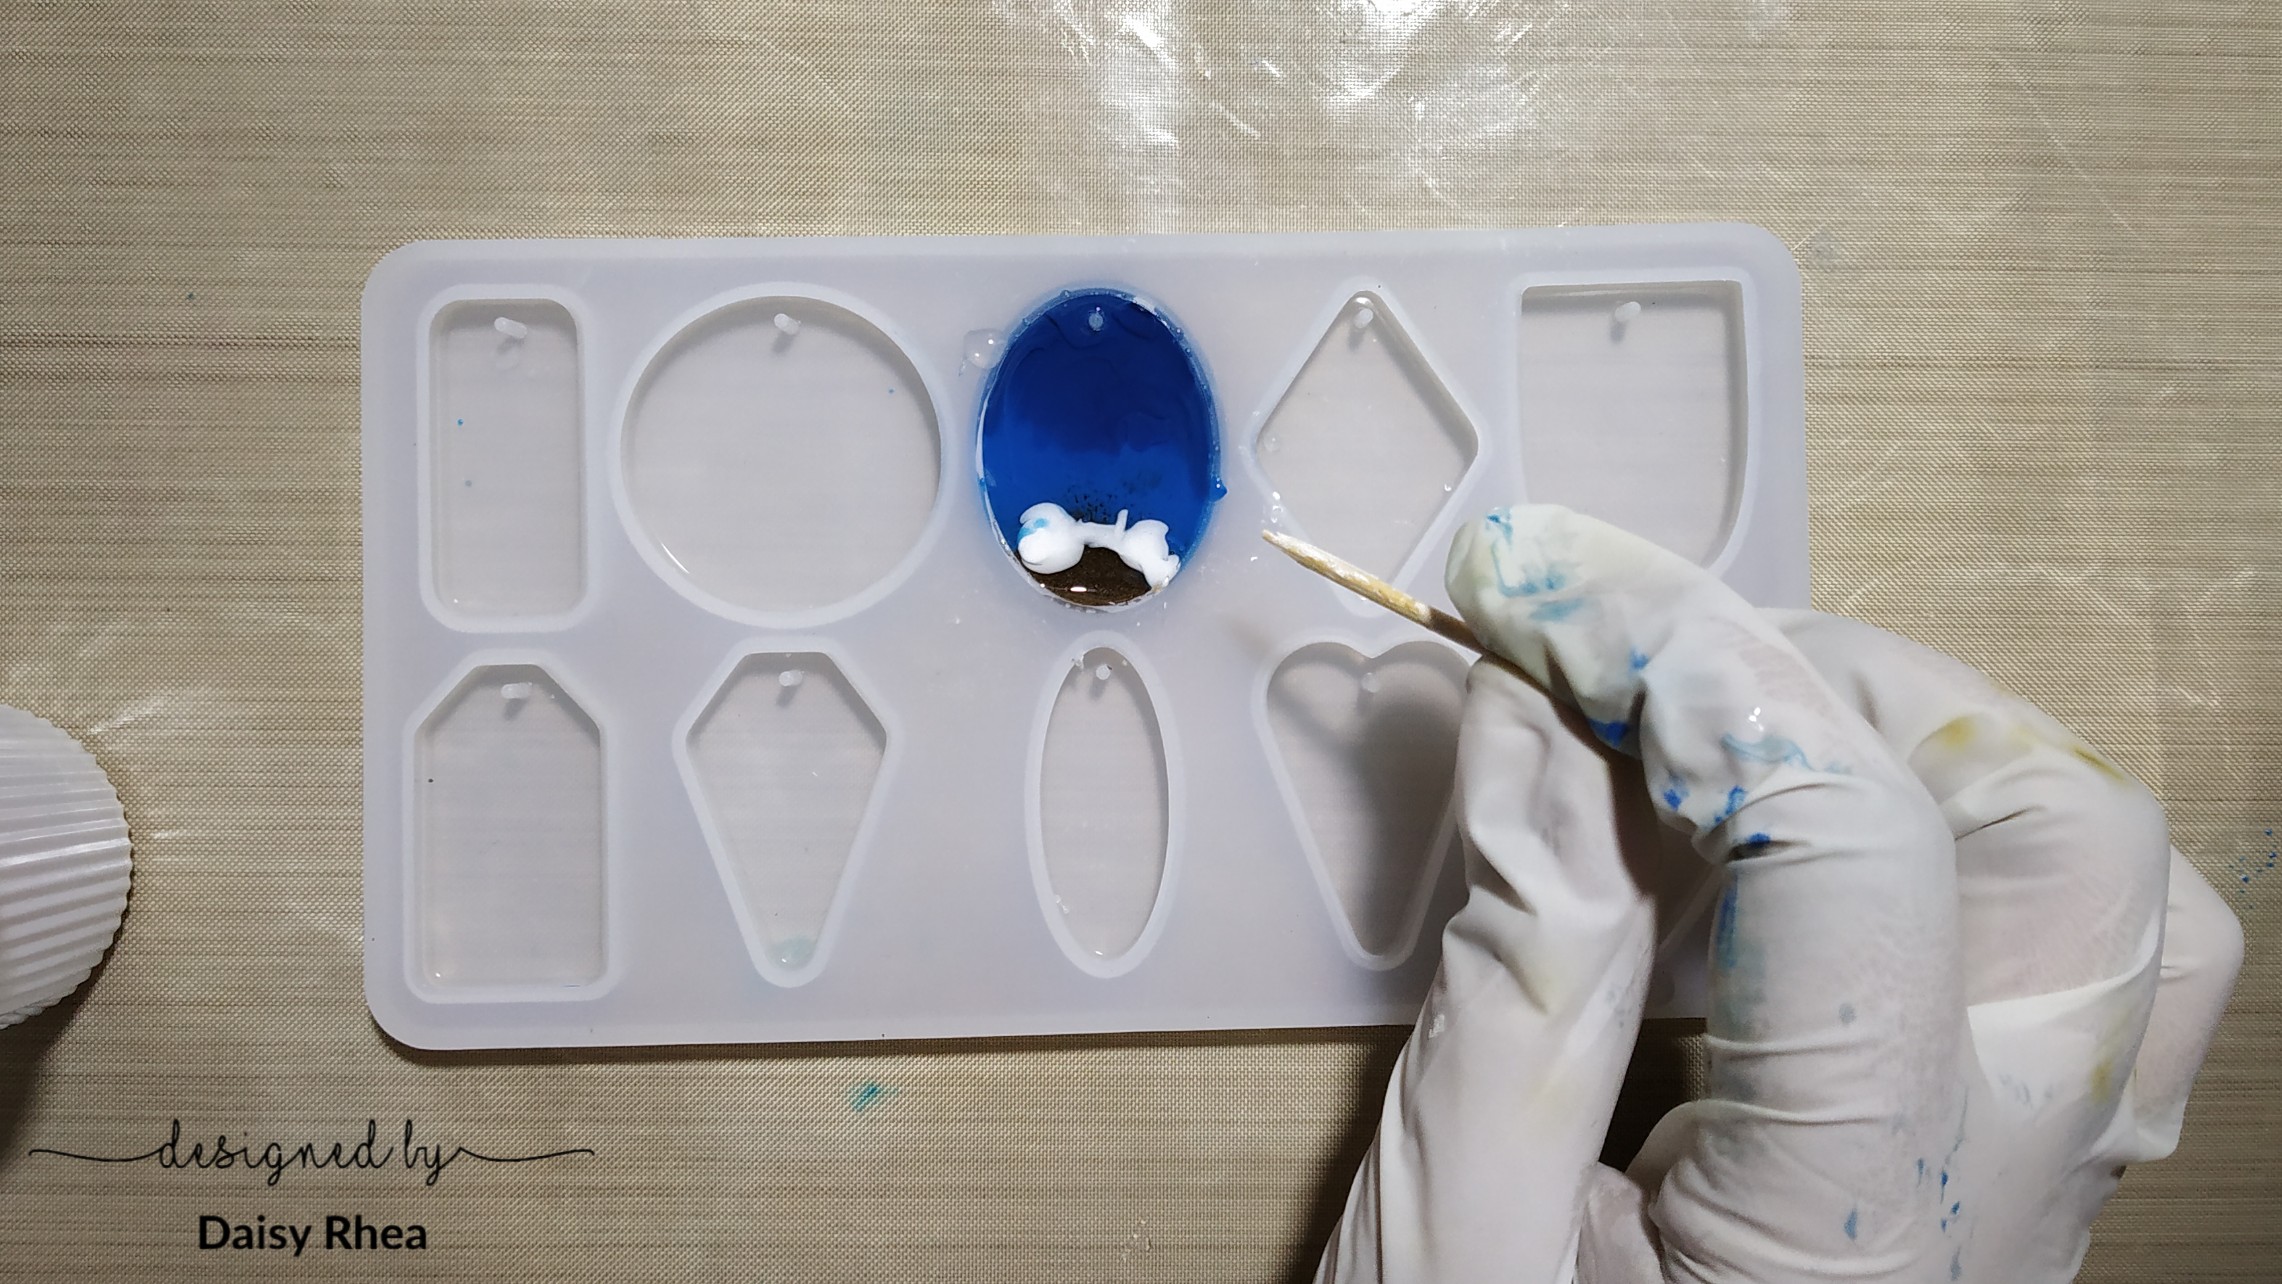
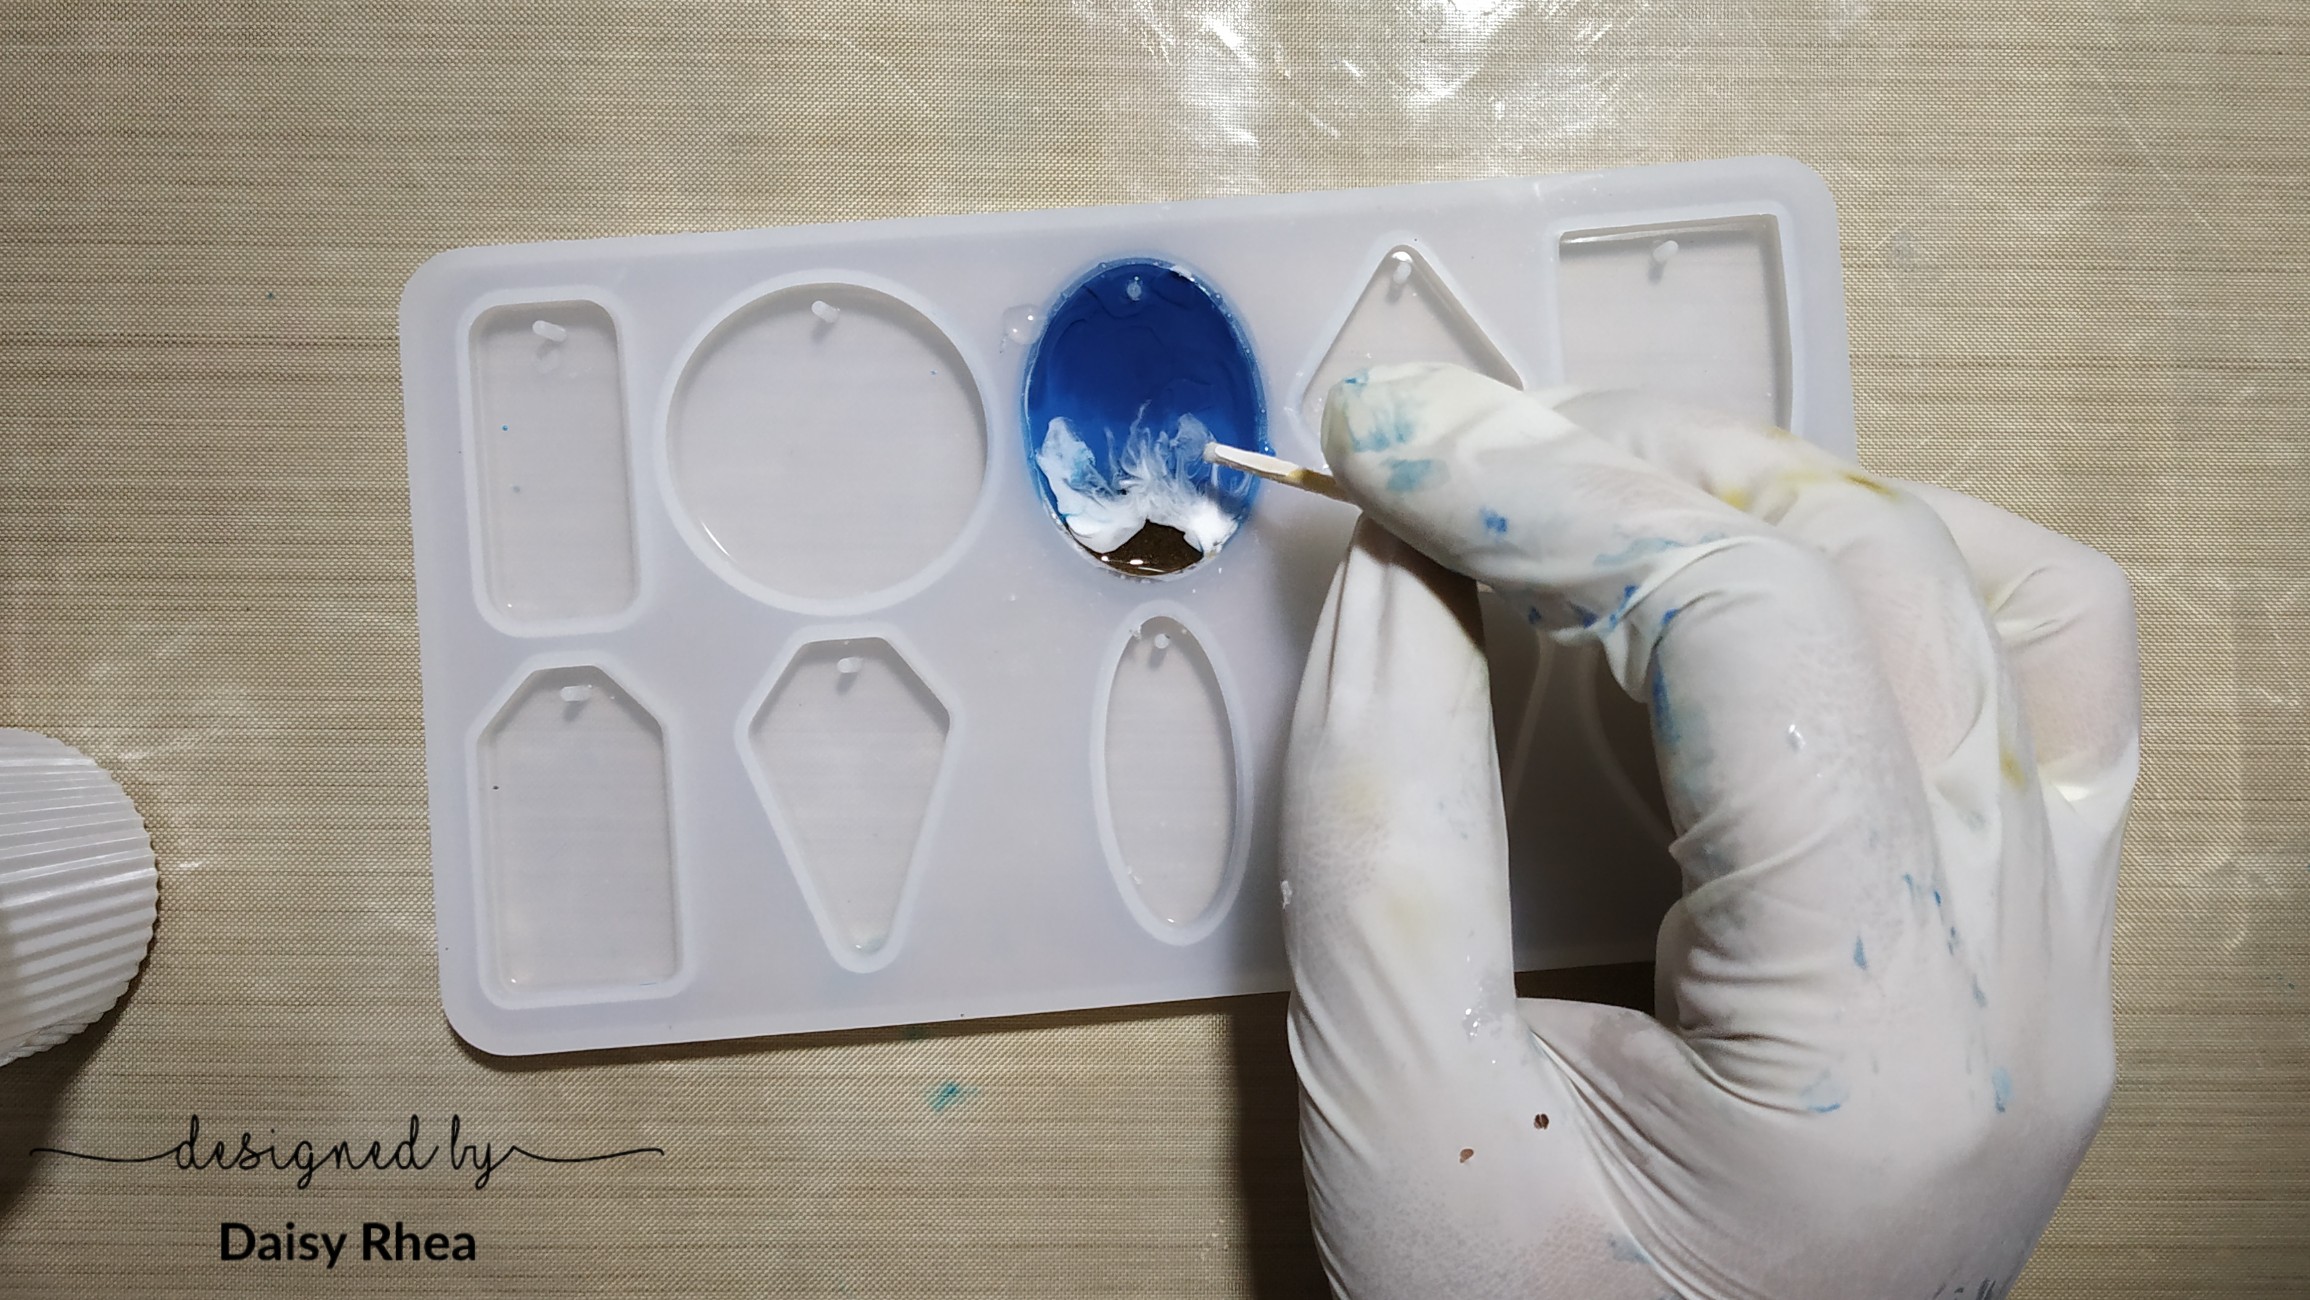
Next, I added the layer with waves. For this I mixed some more resin and divided it into 2 parts. One part will remain transparent and the other, will be mixed with white pigment.

I poured the transparent resin first and then took a toothpick and put the white pigment near the edge of the sand. I moved the white into the transparent resin towards the blue pigments with the toothpick.

Let this layer cure for 12-15 hours.
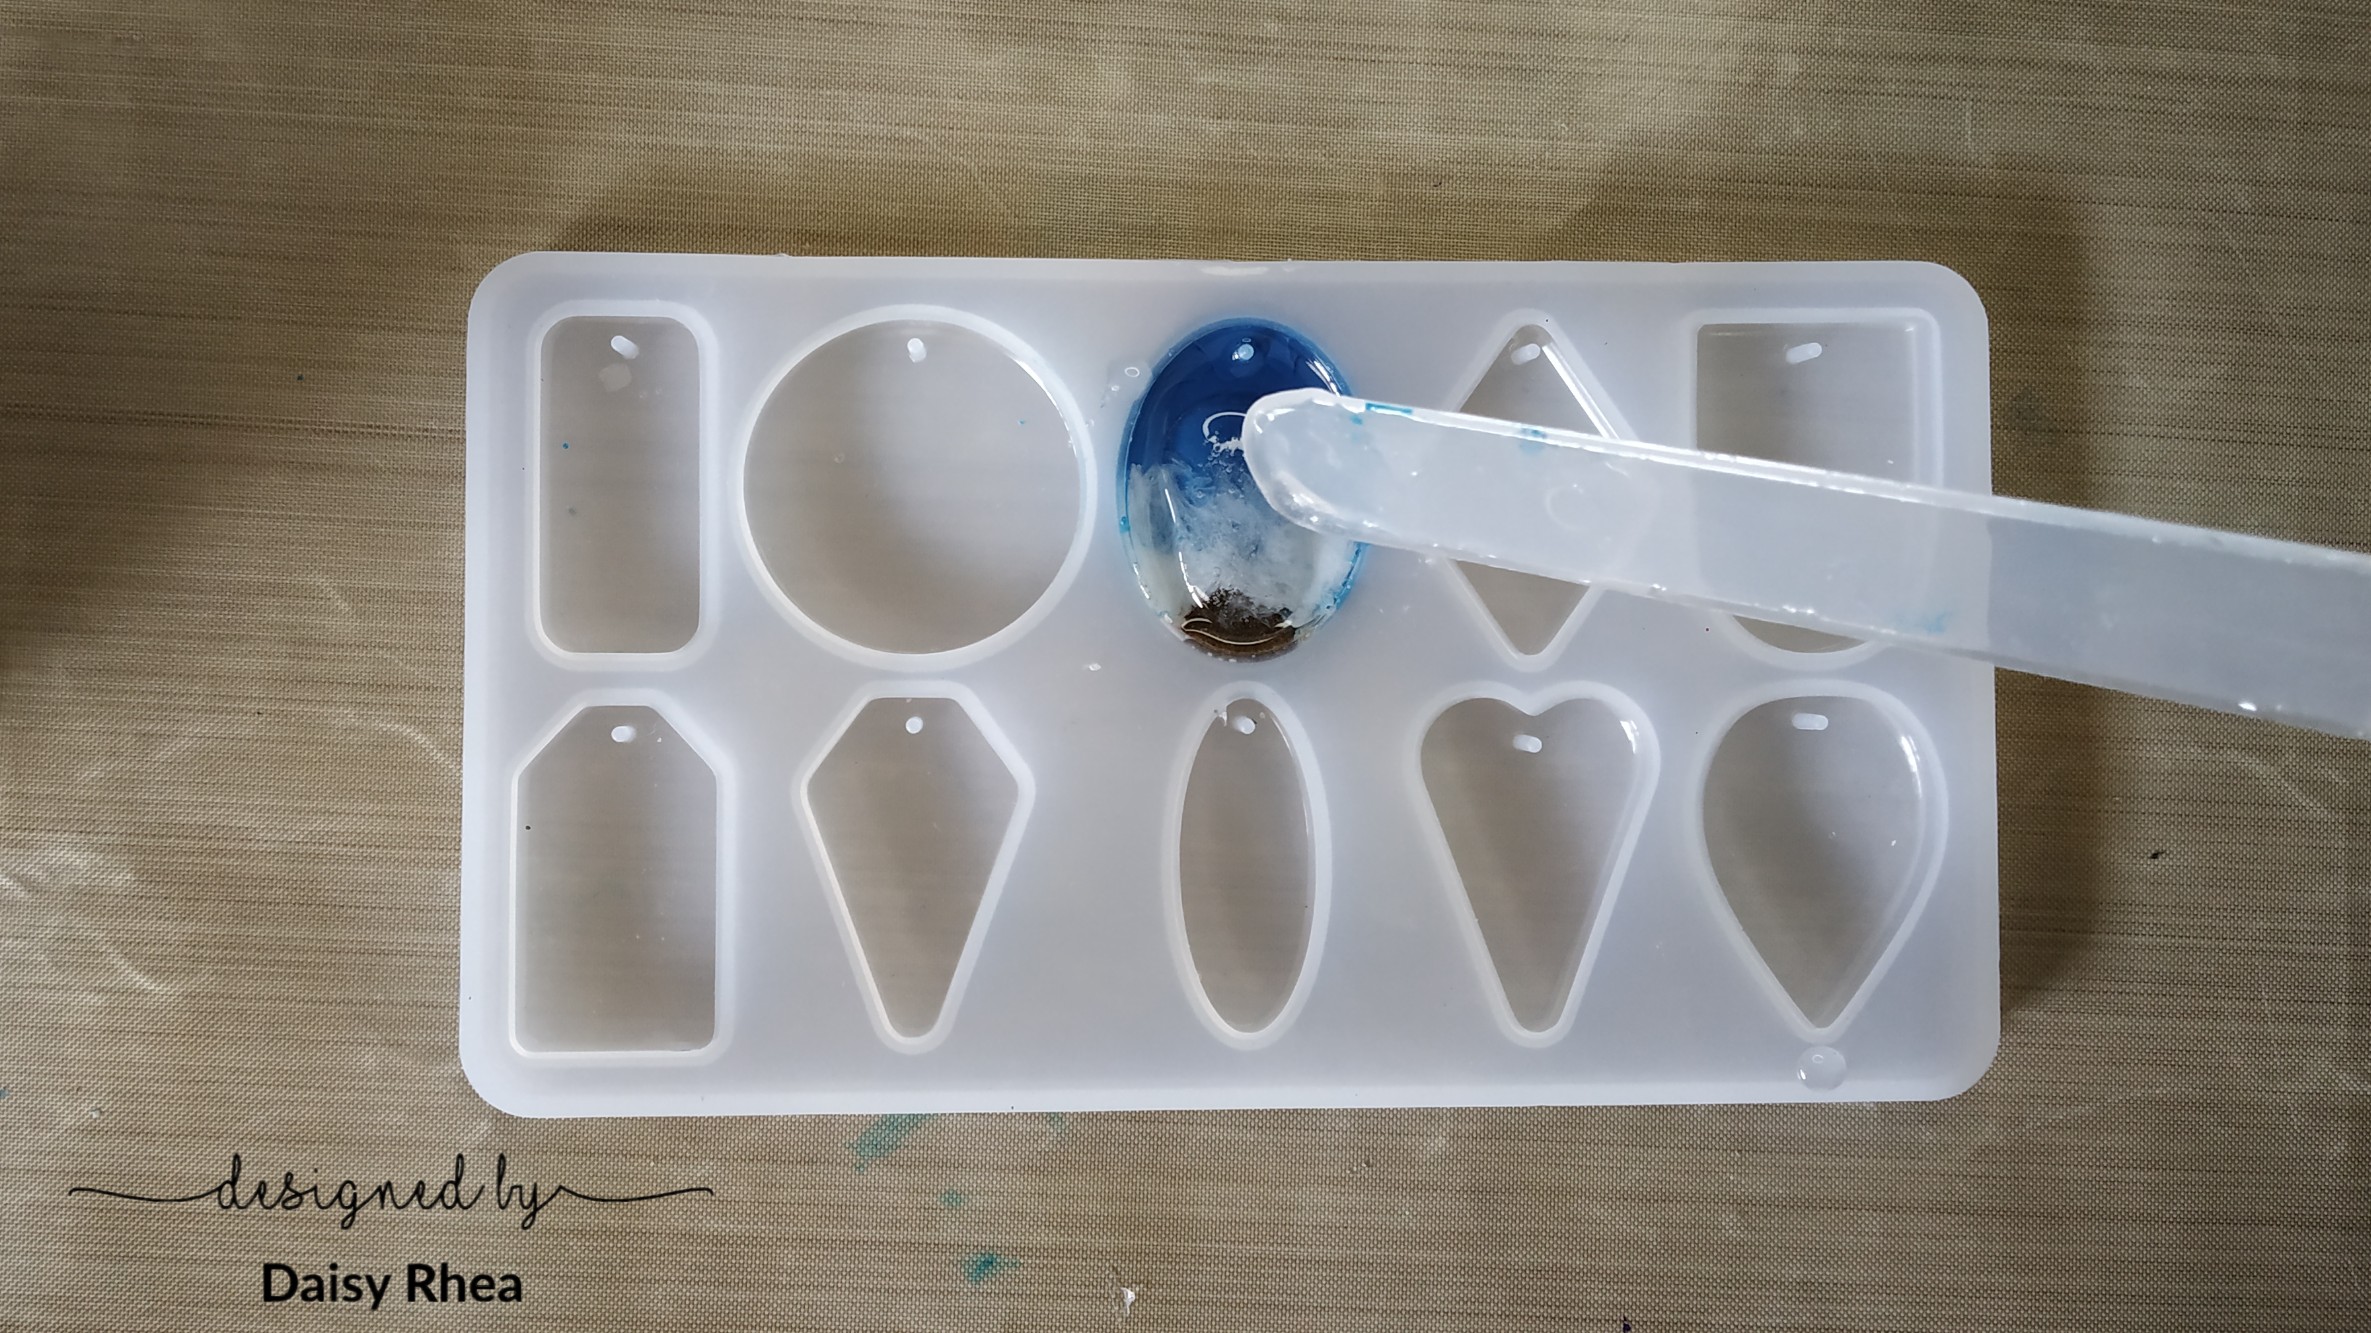
In the final layer, I filled up the mold with clear resin. Let this last layer cure.
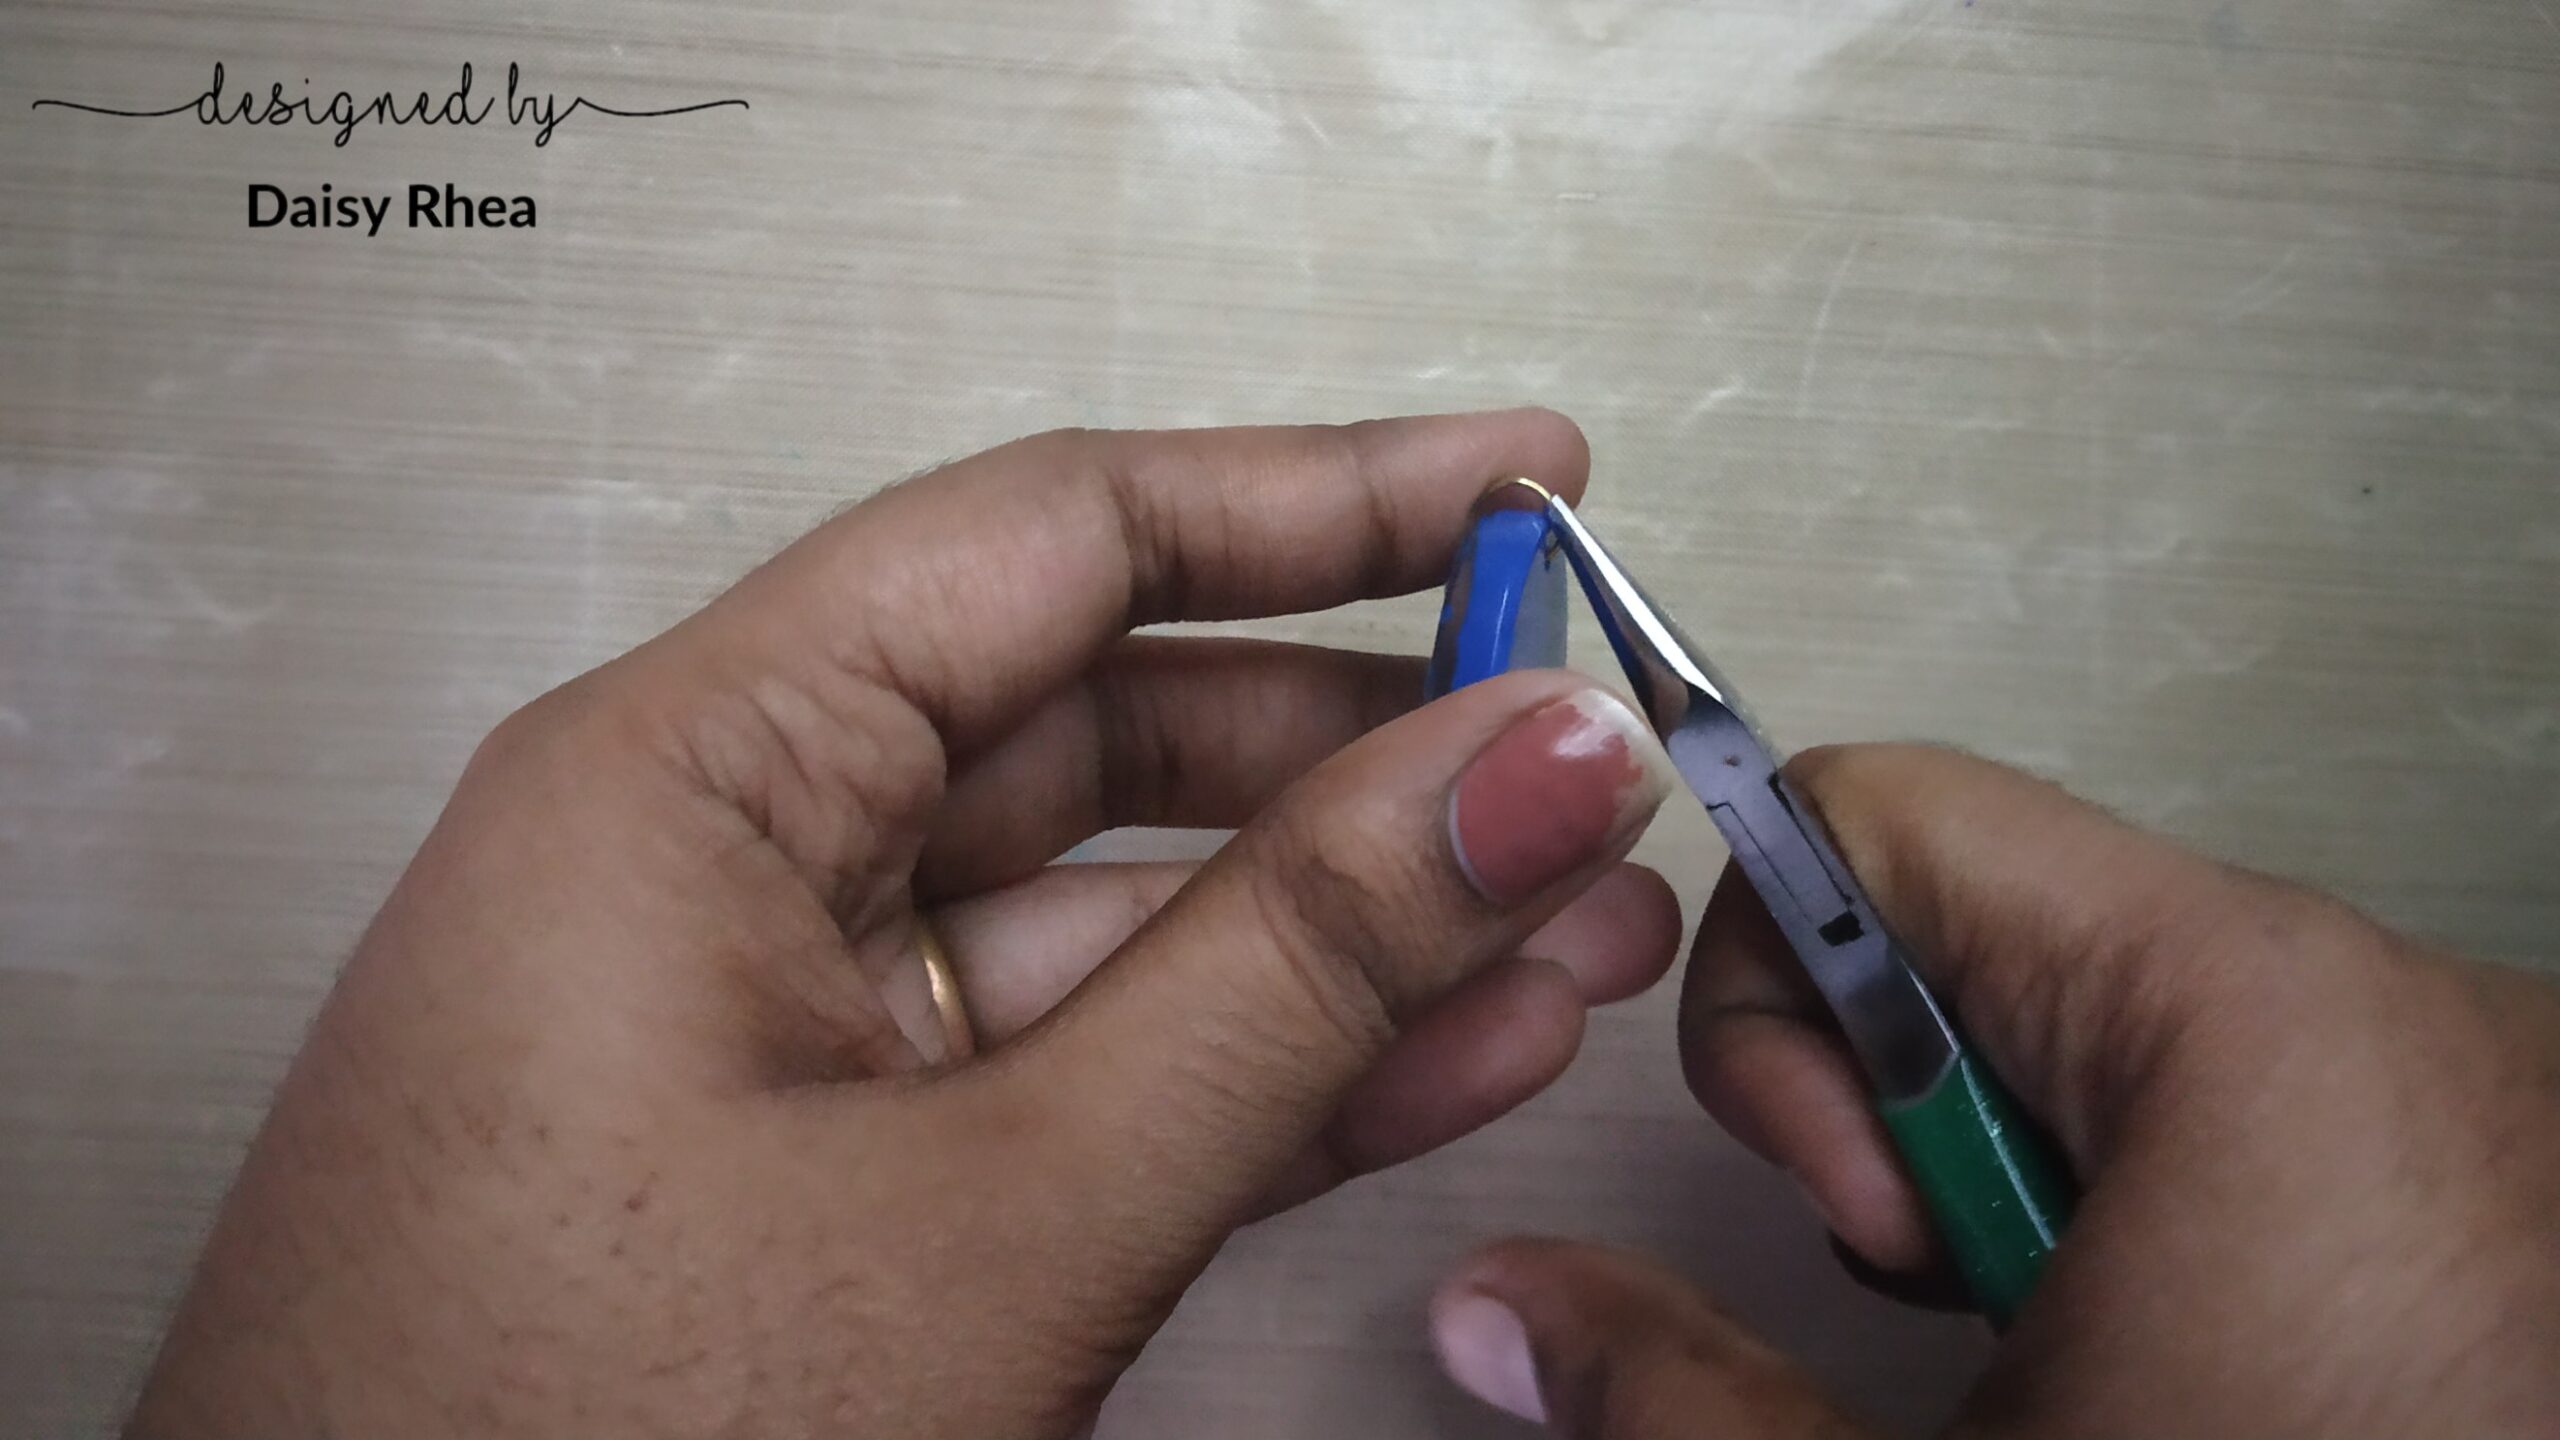
Then, I un-moulded the piece and added a jump ring through the hole and passed it through a chain.

And the resin pendant was ready!
Use Code DAISY05 while checking out at the Itsy Bitsy store to get 5% off on your purchase.
Products used in above DIY:
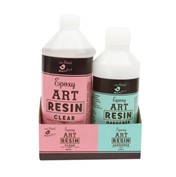
Resin: https://itsybitsy.in/collections/all/products/epoxy-art-resin-hardener-250ml-125ml-transparent-1pc
Resin Pigment(Blue): https://itsybitsy.in/collections/all/products/resin-pigment-opaque-sky-pool-50g-bottle
Silicone Mould: https://itsybitsy.in/collections/all/products/silicon-jewellery-mould-for-diy-resin-pendant-and-necklace
Jumprings: https://itsybitsy.in/collections/all/products/findings-open-jump-ring-gold-6mm
Alcohol inks: https://itsybitsy.in/collections/all/products/alcohol-ink-aqua-vibe-15ml
Sand: https://itsybitsy.in/collections/all/products/desert-sand-natural-100gm
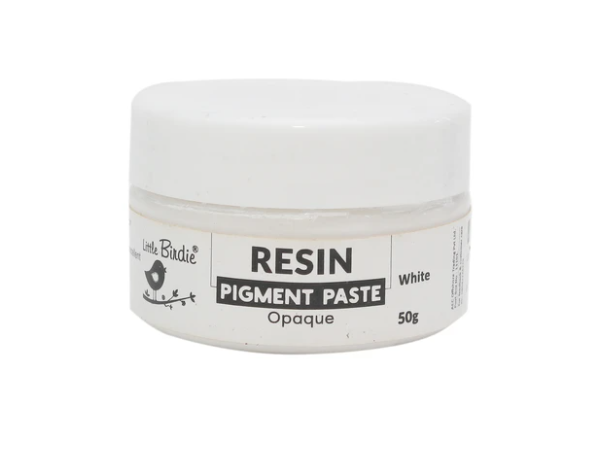
Resin Pigment (White): https://itsybitsy.in/collections/all/products/resin-pigment-opaque-white-50g-bottle