
Hello friends, Charu here!
Good to see you all again! Many thanks to Rashmi, Harish sir and team Itsy Bitsy for giving me this wonderful opportunity! I hope you all will enjoy the wonderful projects by me and the entire talented team of our DT members.
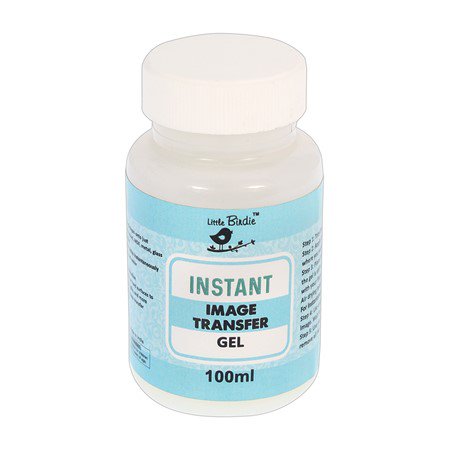
Today, I am going to make an easy vintage style home decor with Little Birdie Instant Image Transfer Gel.
You will need:
. A piece of raw (unfinished) wood – lighter woods work better
. Paper cutter, or scissors and a ruler
. Printed mirror image of what you want to transfer
. Little Birdie Instant Image Transfer Gel
And…you will want your phone, because immediately after you make this, you will want to take a picture to text it to your mom, your sister…and especially that super-crafty friend!!
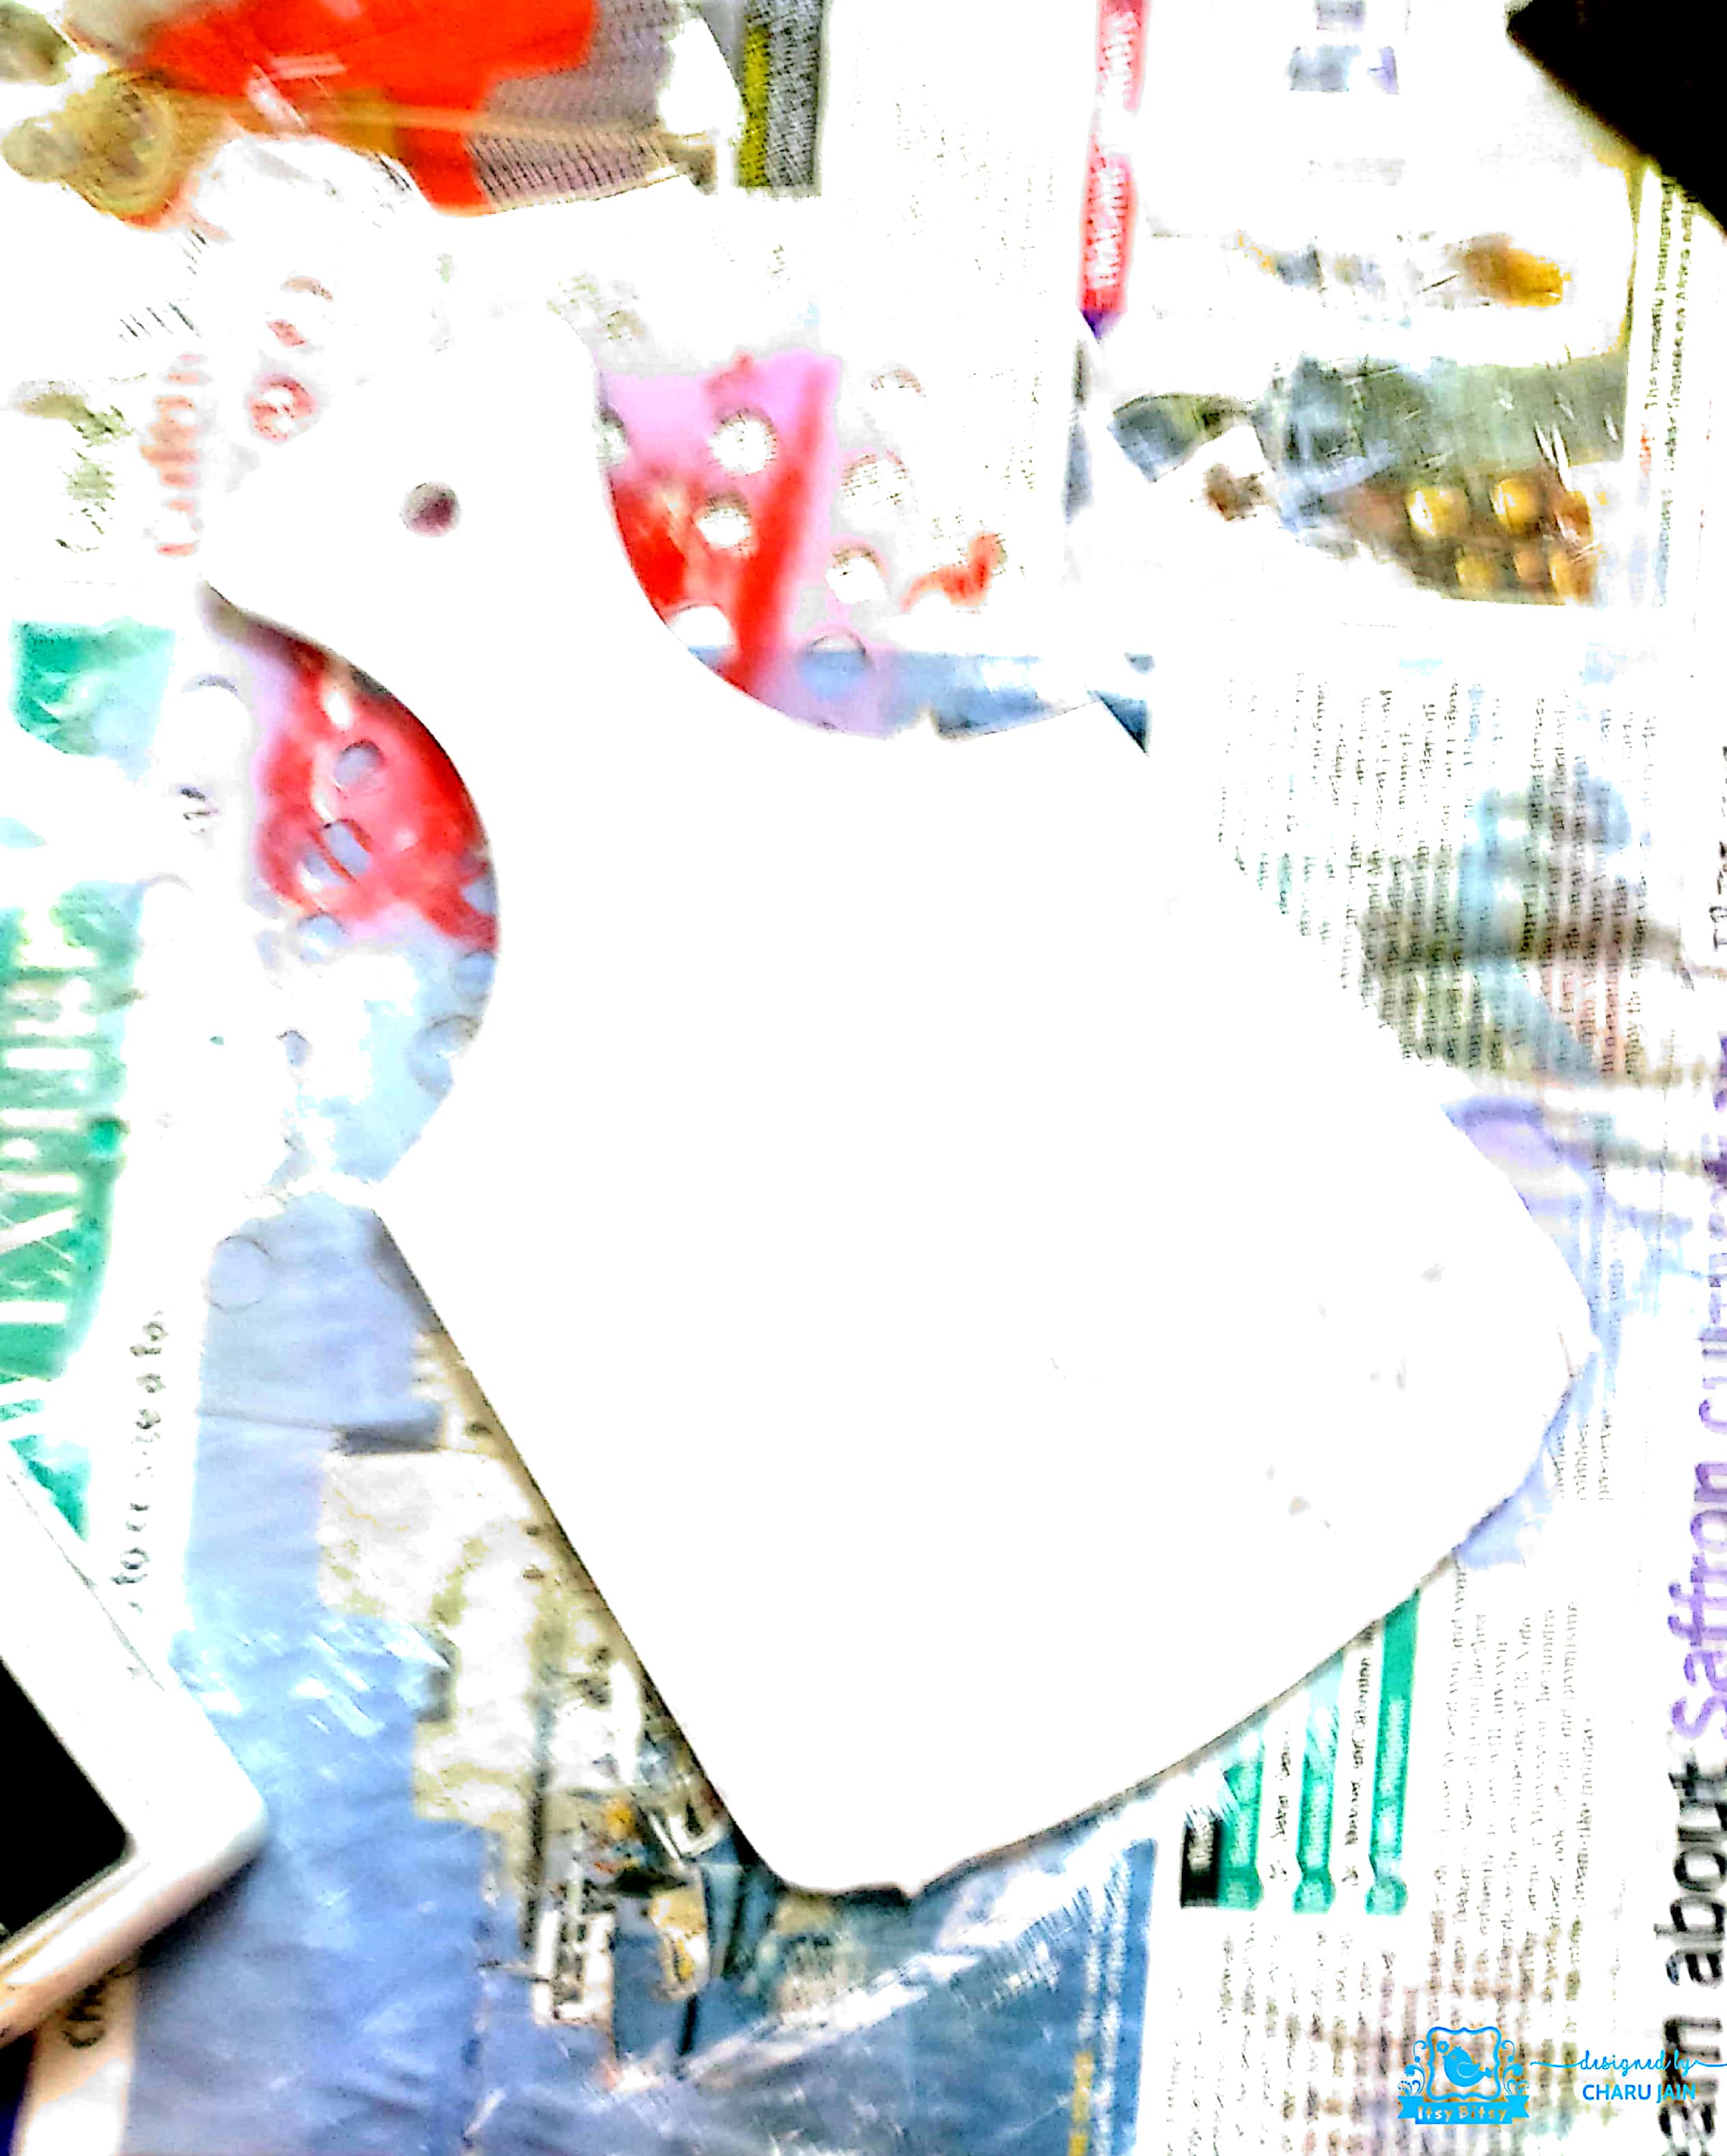
I have selected an MDF chopping/cutting board from my stash for this image transfer. You can use any wooden plank too.
Print your image using a laser printer or photocopy it onto a normal copier paper. When choosing your image, bear in mind that it will transfer in reverse, so you may need to flip the image first before printing it out, especially if any text is included.
Using sharp scissors, cut the desired portion of the image out, getting as close as you can get to the image outline as possible.
Here I am using one of my own watercolor painting.
Brush a thin layer of Little Birdie Instant Image Transfer Gel over the part of the surface you would like to transfer your image onto. Be careful not to spread the glue on a larger area than where you would like to place the image. The unused glue will leave a slightly sticky, shiny area when it is not covered by the picture.
Make sure no bubbles are trapped underneath the paper.
Rub the image with a dry cloth, making sure it is totally stuck to the surface (don’t forget the edges!) and leave it to dry completely. (which will take a few minutes only).
Once, my gel had dried I sprayed some water on it and started rubbing the layers of paper with my fingers.
Once the paper is damp but not soggy, start rubbing in small circular movements with either a cloth or your finger. The paper will start to come off in layers. At first, it may look a little cloudy – keep going!
Rub the paper slowly and do not be impatient.
Once all the paper is off, the image will be clear, although it may look a little dull once it is dry.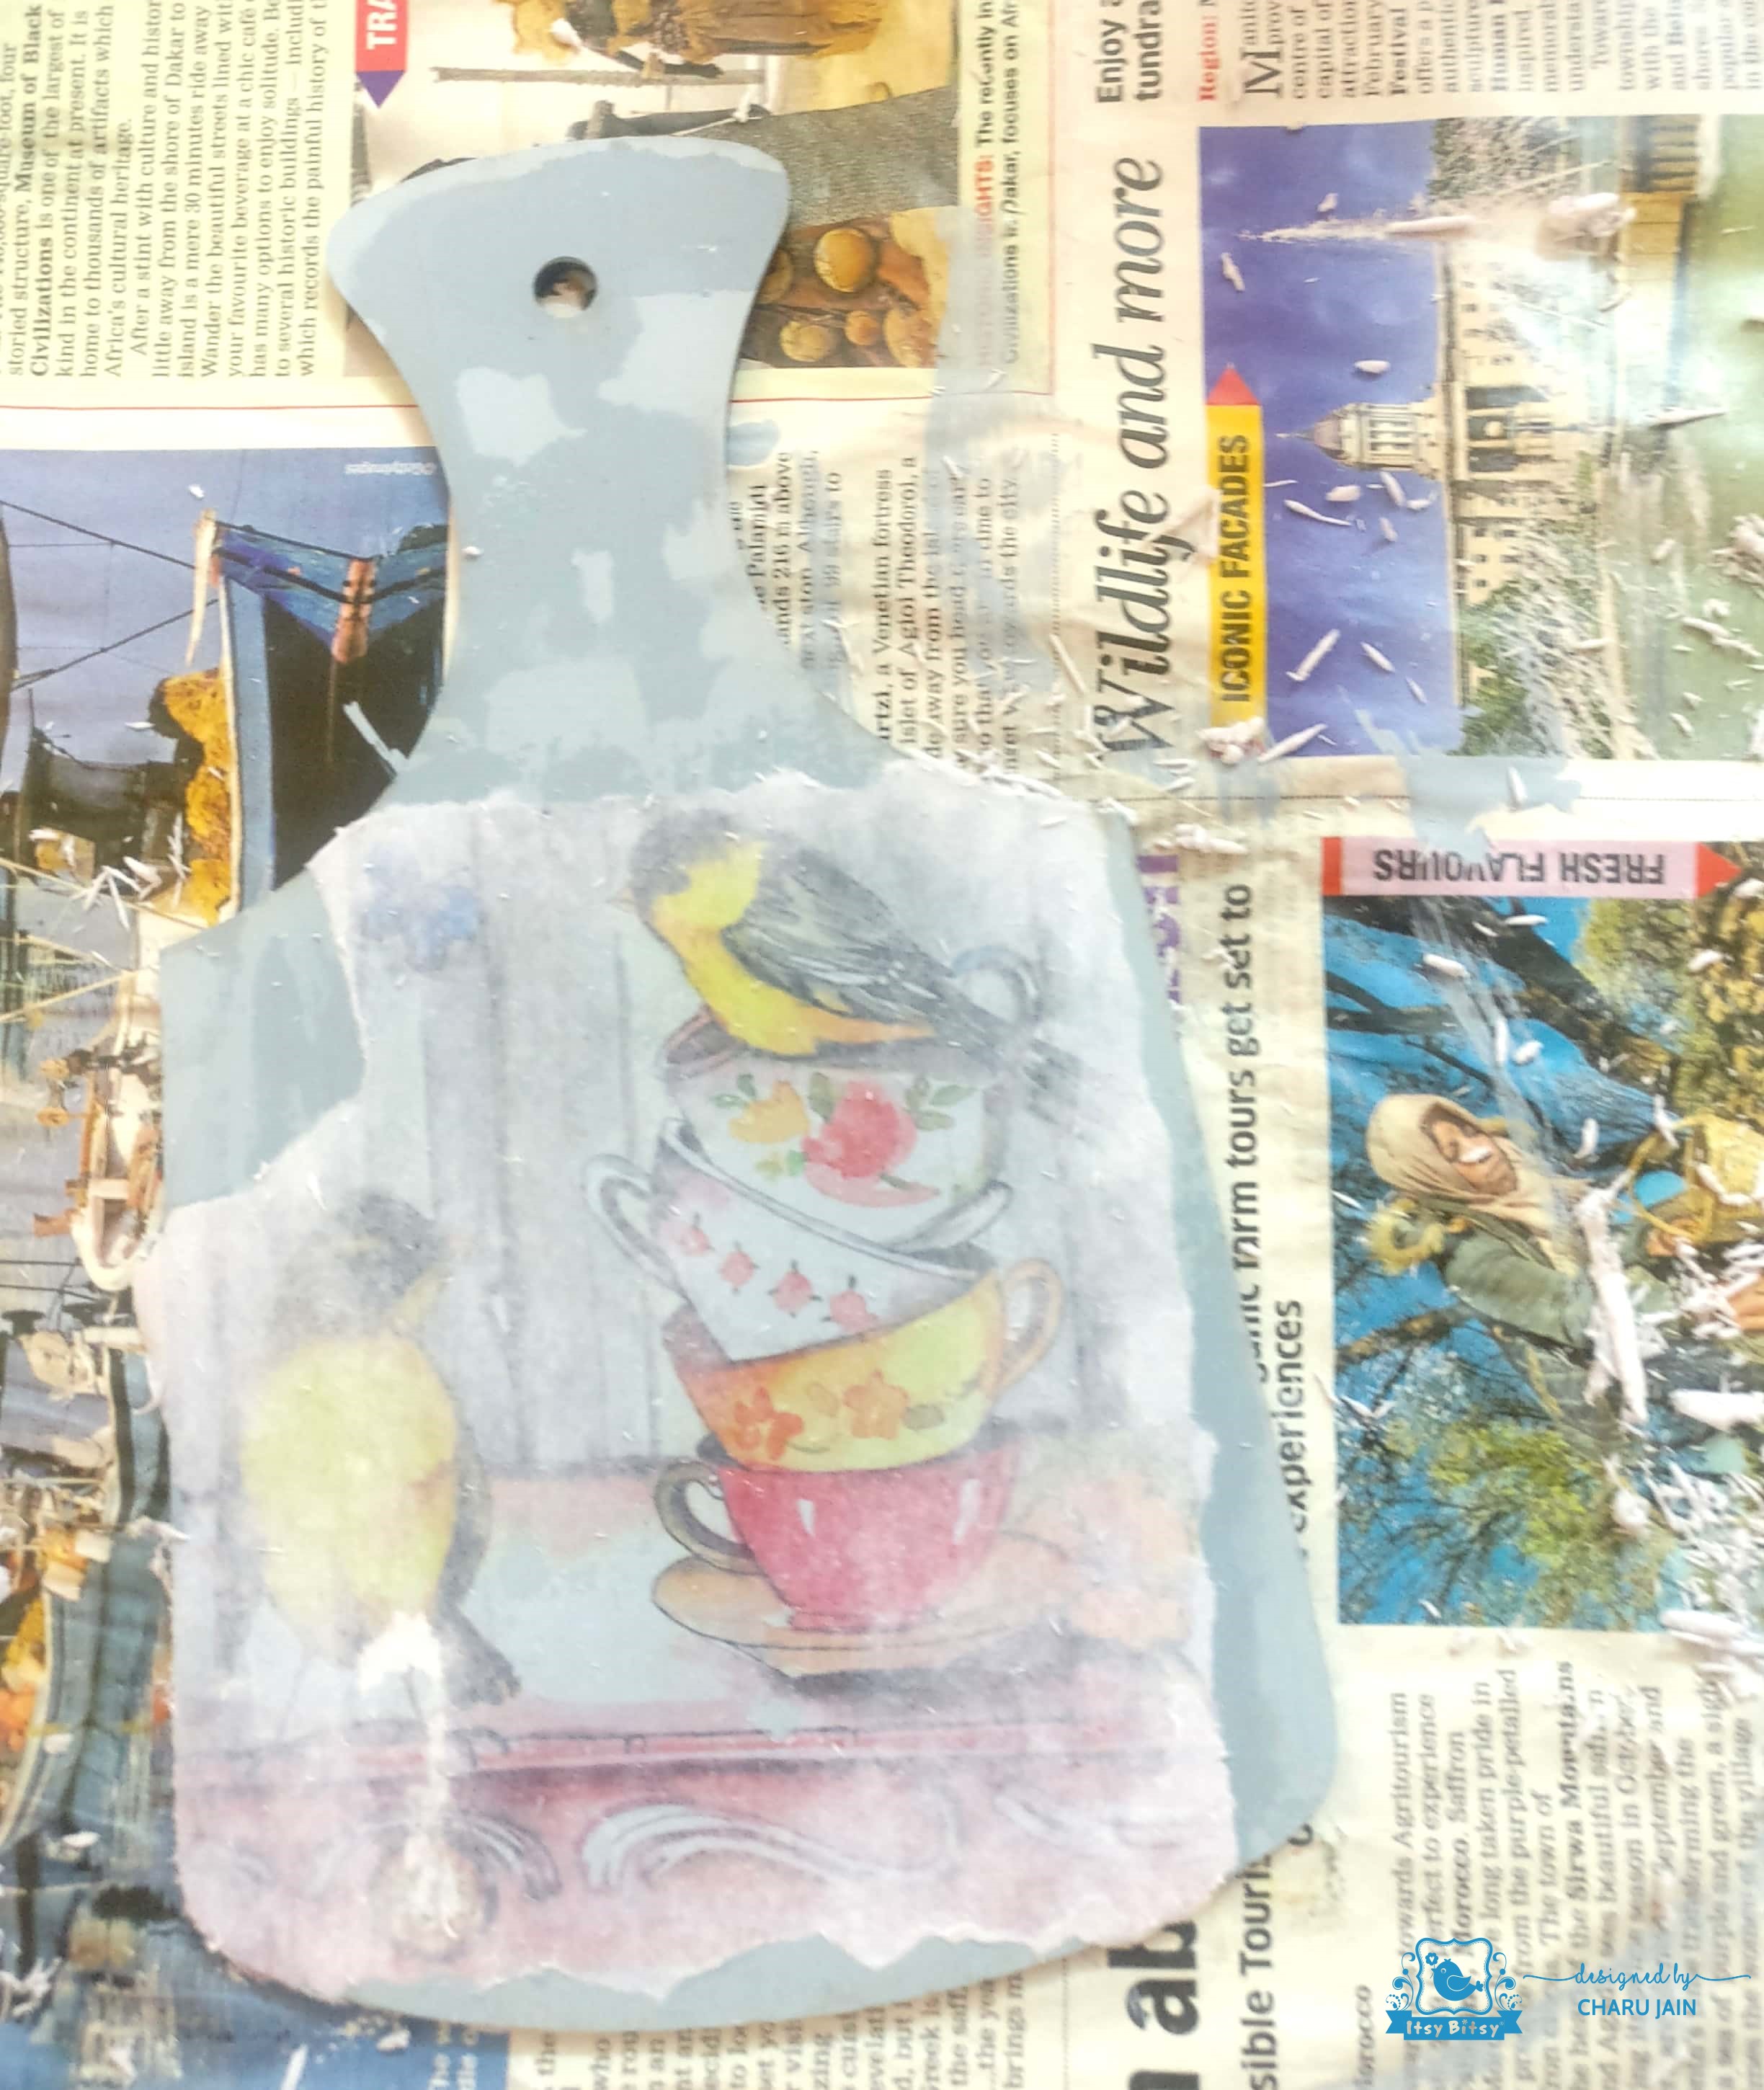
I kept rubbing it with my finger until I got a clean and crisp image.

When I was happy with the image, I used Little Birdie chalk paint and white acrylic color to paint some wooden planks behind the bird.
I also stamped it with Little Birdie stamps to give it an old, rustic and vintage look.
I added some twines and flowers to the kitchen board and I am happy now with my project.
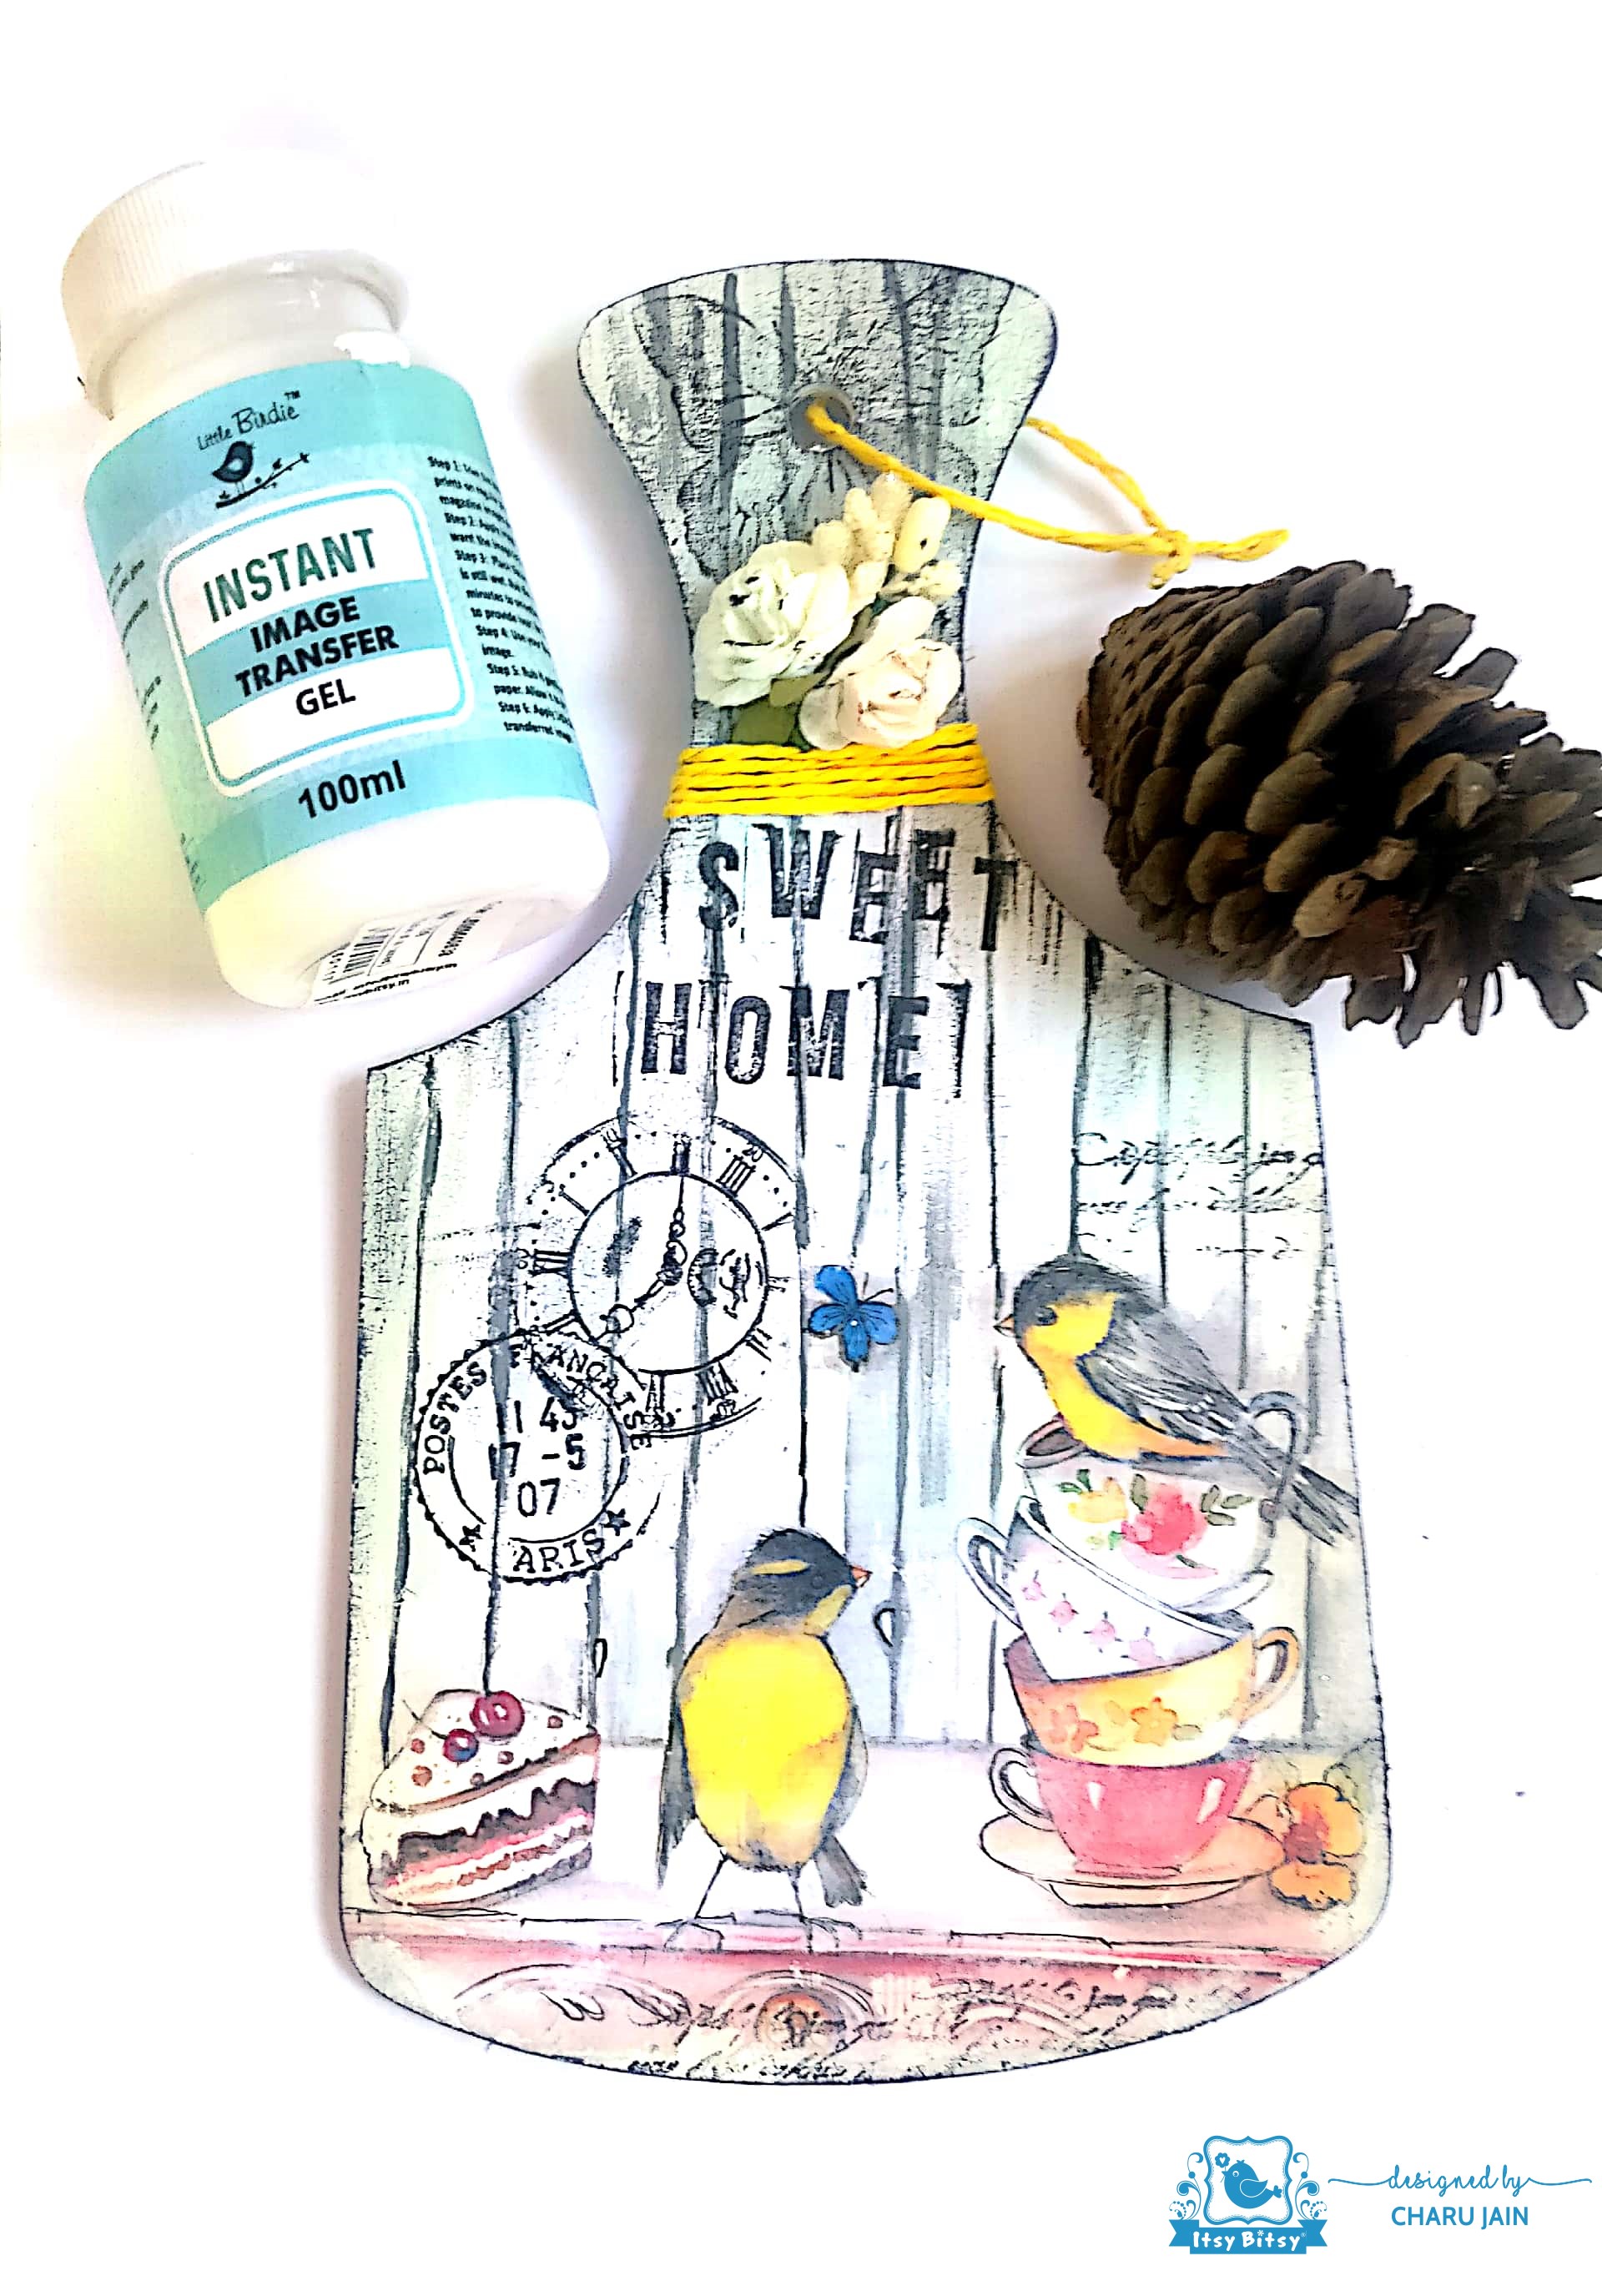 Here, my homemade decor is ready with Little Birdie Image Transfer Gel!
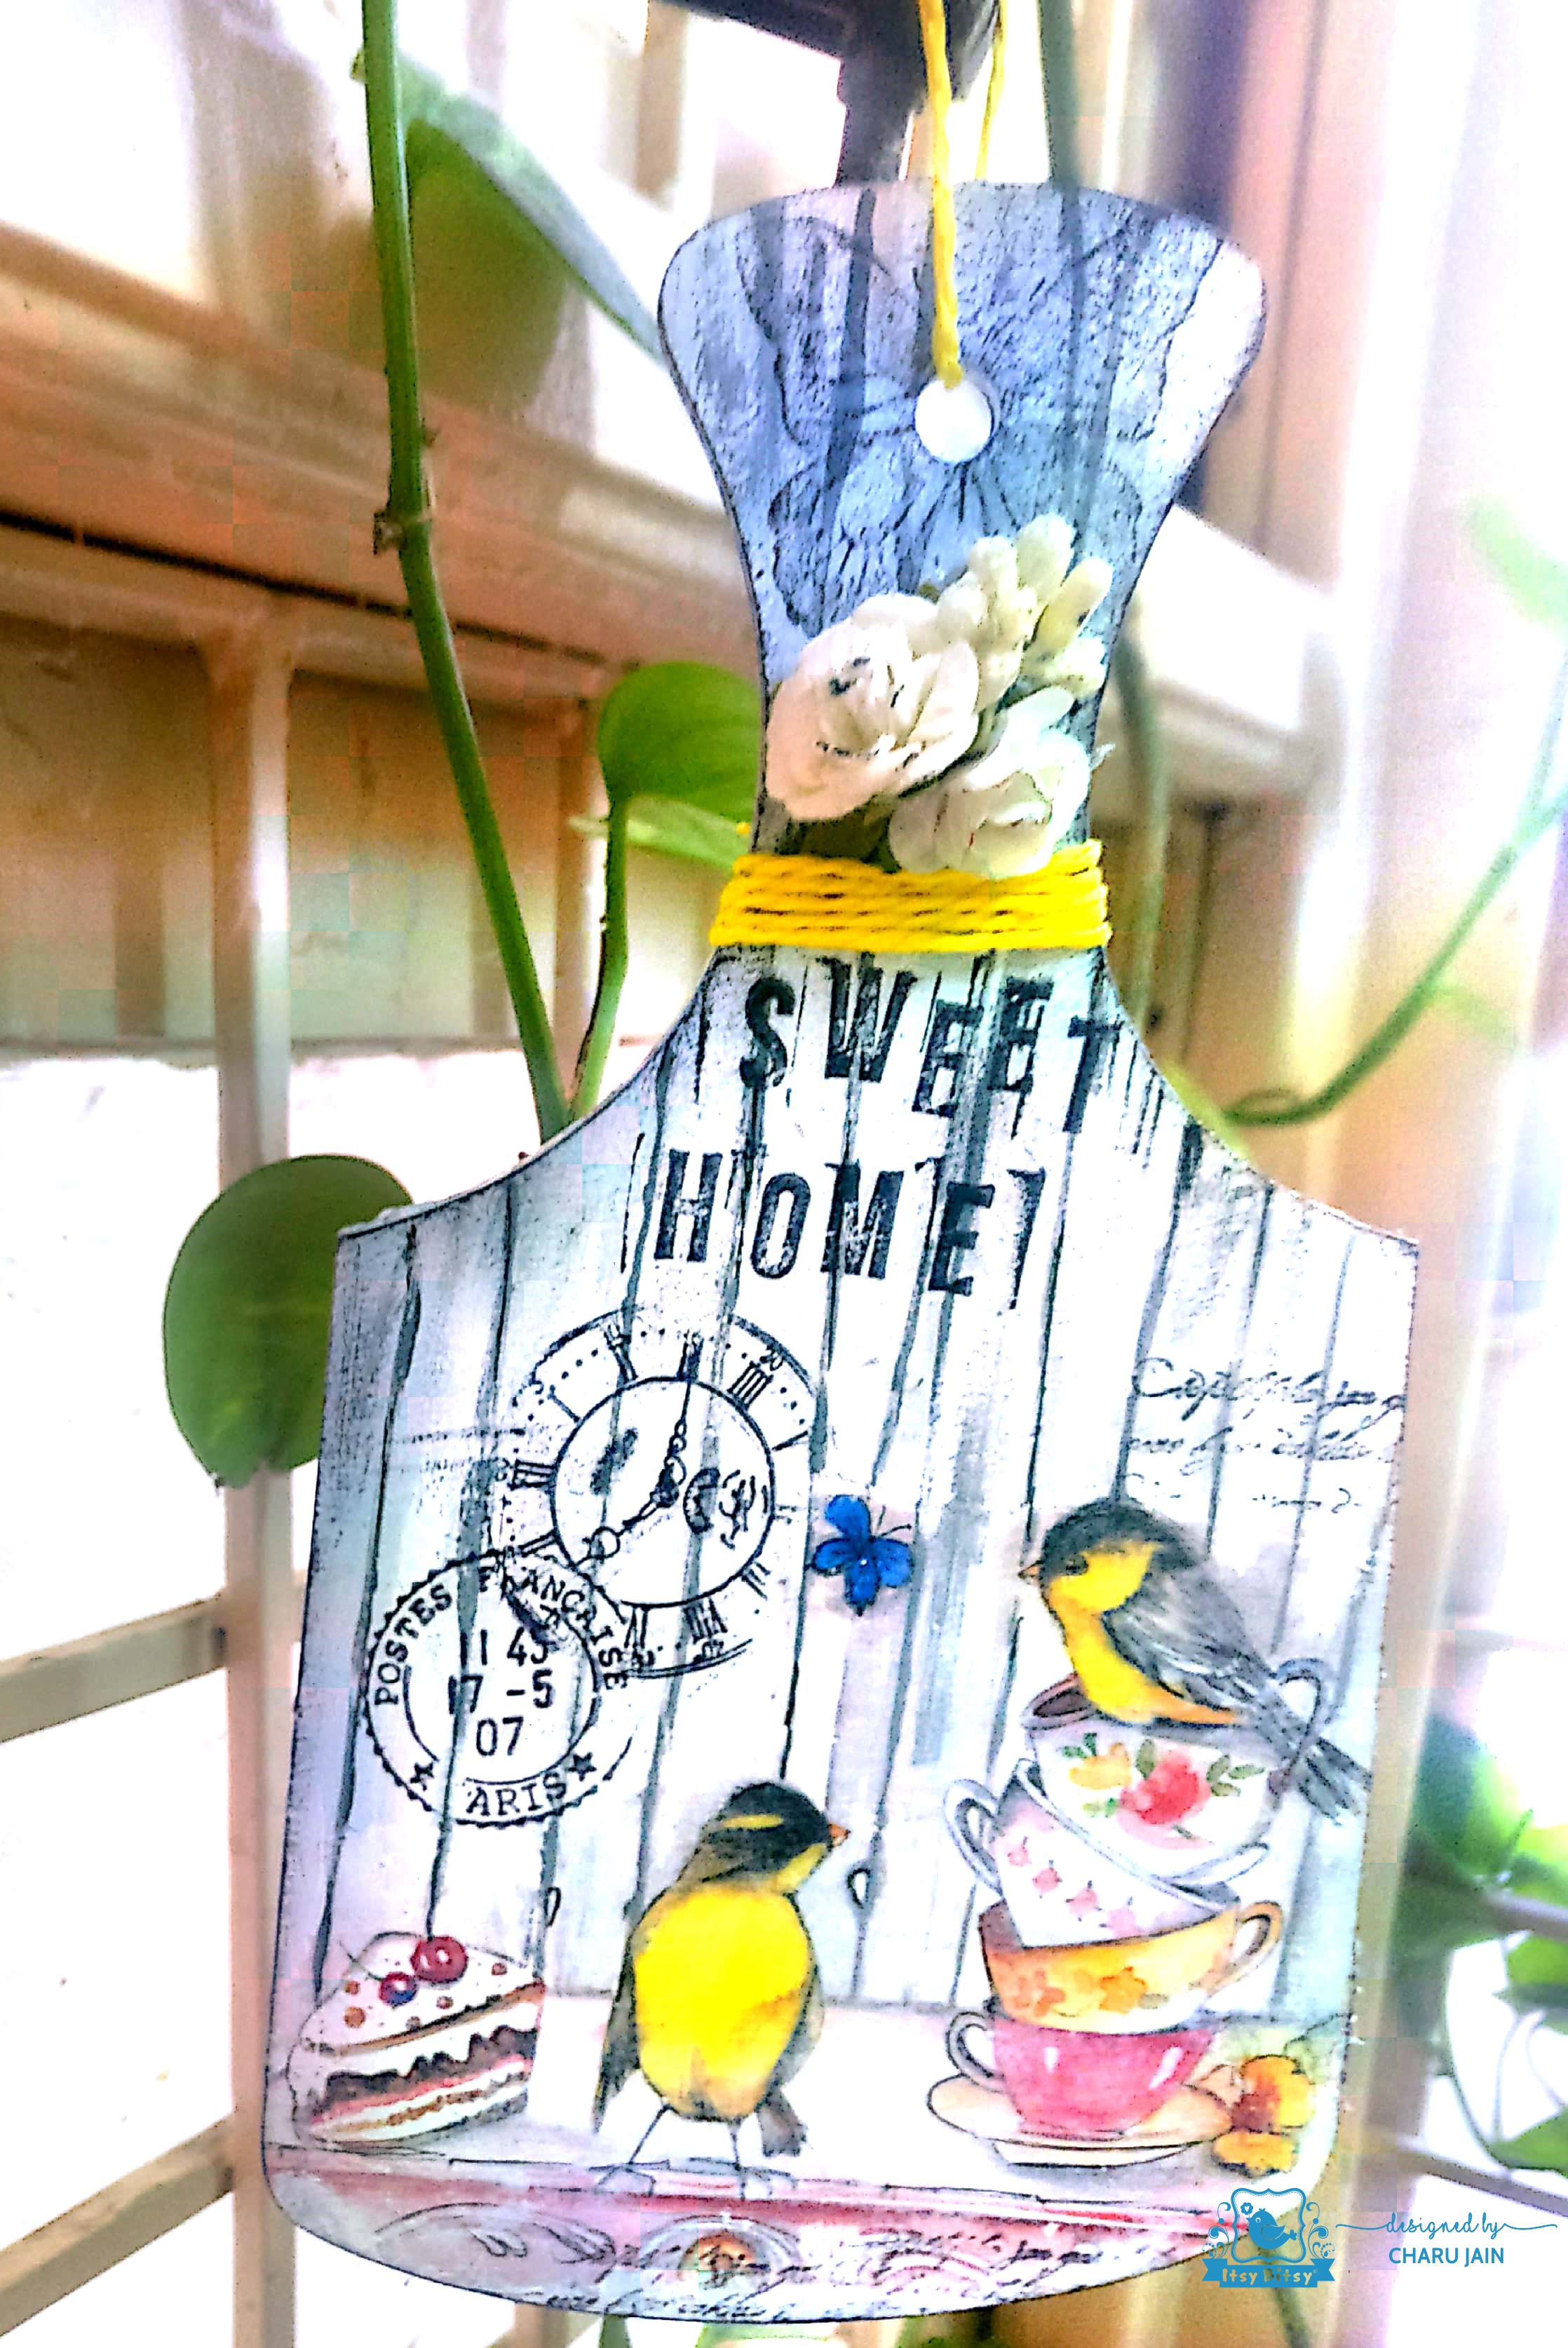
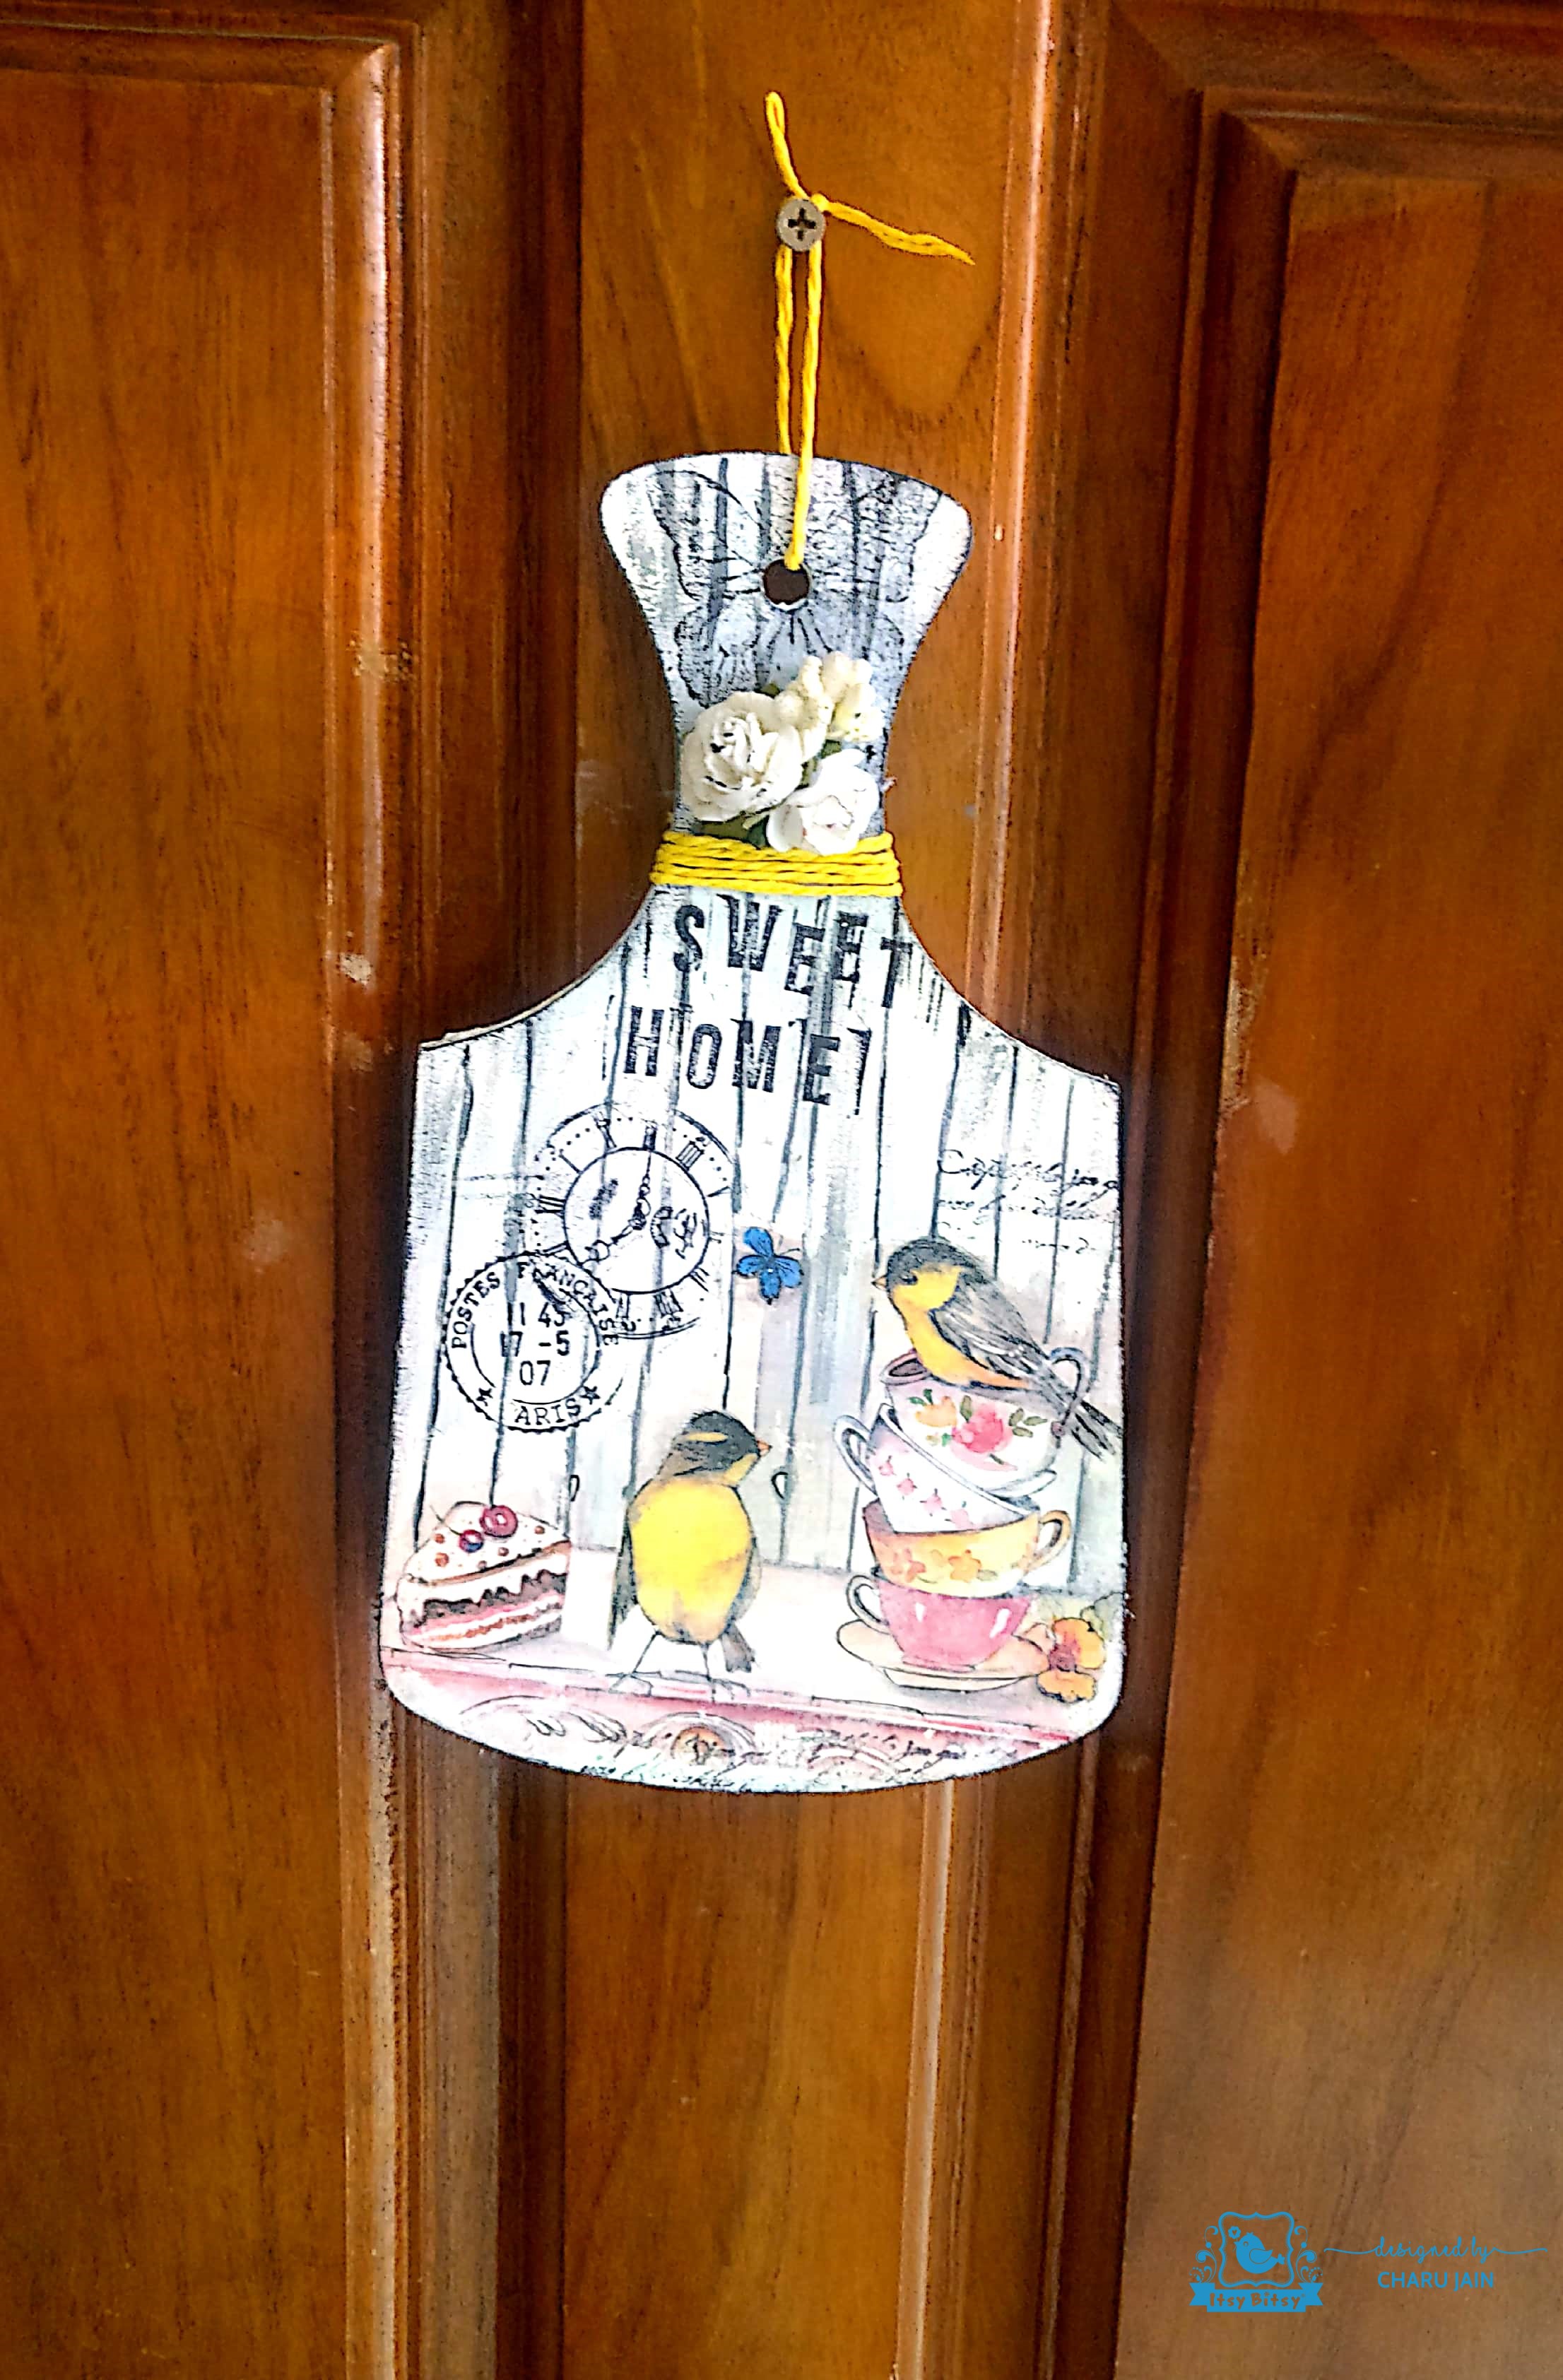 It is hanging out at my door to welcome my guests
Hope you liked this tutorial.
Please do share your reviews and some love.
I hope I inspired you to try some of your own home decor with Little Birdie Instant Image Transfer Gel.
Cheers Charu
Supplies used:
https://www.itsybitsy.in/products/other-hobbies-decoupage-instant-image-transfer/itsy-bitsy/instant-image-transfer-gel–100ml/pid-14492627.aspx
https://www.itsybitsy.in/products/art-supplies-craft-paint-chalk-paints/itsy-bitsy/home-decor-chalk-paint-rainy-day/pid-12929396.aspx

https://www.itsybitsy.in/SearchResults.aspx?search=clear&category=CU00361022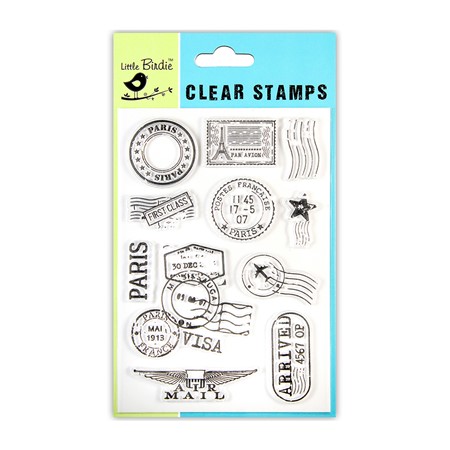
Very beautiful charu
Thanks dear
Very pretty Charu
Thank you so much ??
Fantastic creation with great outcome
Thank you so much ??
Awesome
..??
love it….super cute
Many thanks
Beautiful
Beautiful project ❤️
Thank you
Thank you
Beautiful project and very well explained
Wonderful project indeed !
Beautiful
Very pretty Charu! 🙂
Wow very beautiful. Cute project.
Can transfer image on fabric be achieved with Little Birdie Instant Image Transfer Gel?