Hello Creatives!
Kasturi here with you today to share another super interesting DIY.
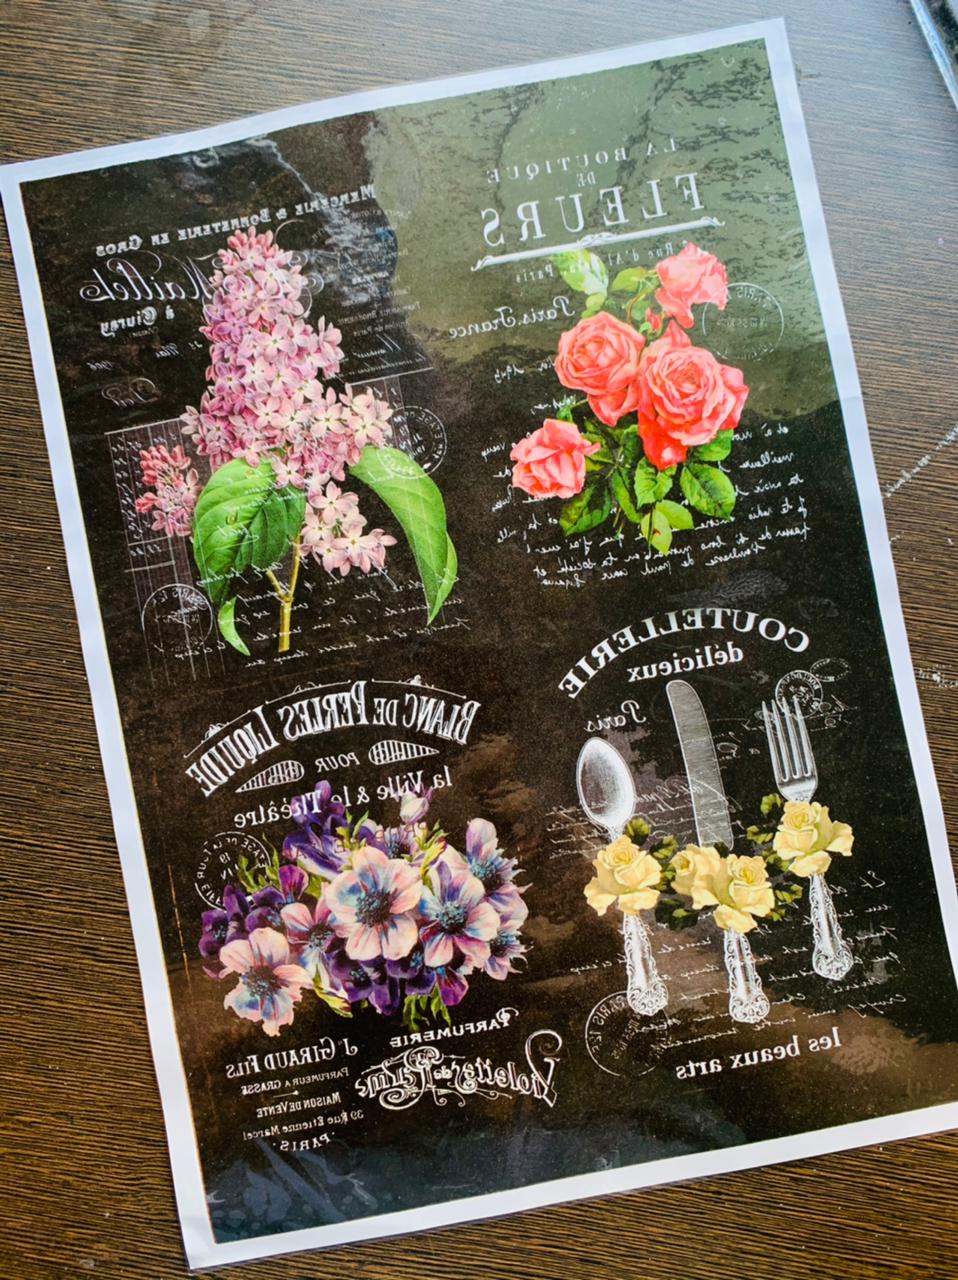
Little Birdie Deco Transfer sheets are simply amazing and the quickest way to enhance the look of any surface. They can be used on almost everything for example wood, plastic, glass, leather, metal, painted surface, MDF, paper etc. They literally transform any thing into a beautiful art piece.
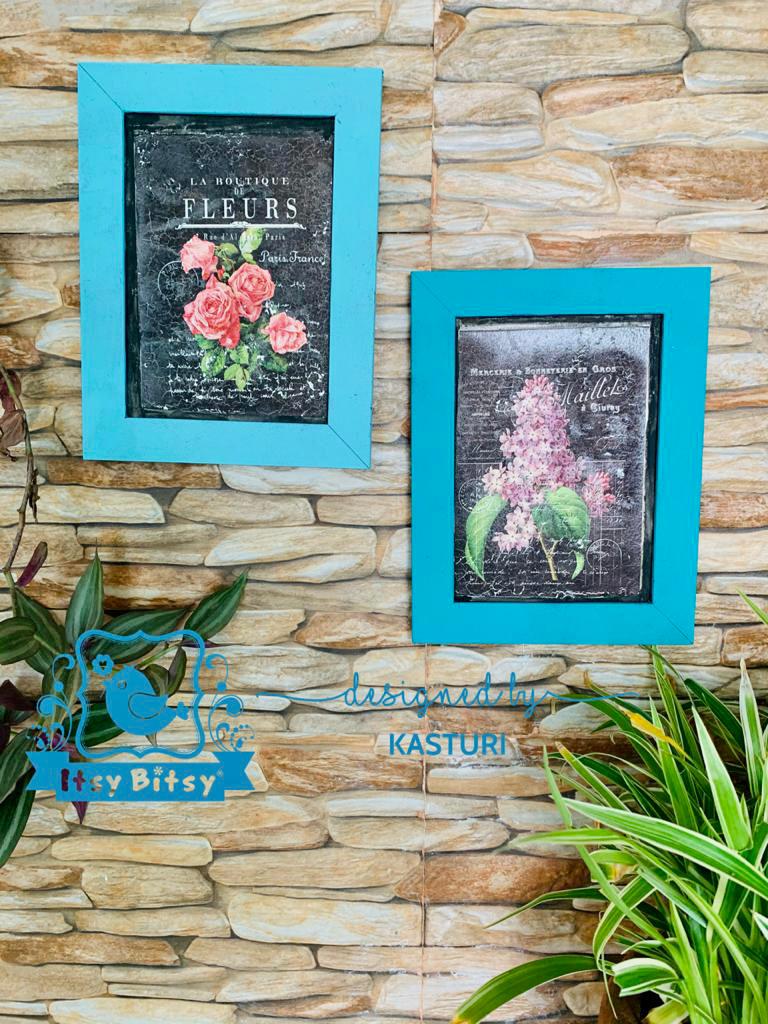
So this time I tried them on watercolor sheet and framed them in old frames I found in my home. I wanted to see the results on that page and Deco transfer sheets never disappoint me.
Let’s start our quick, simple and fun DIY.
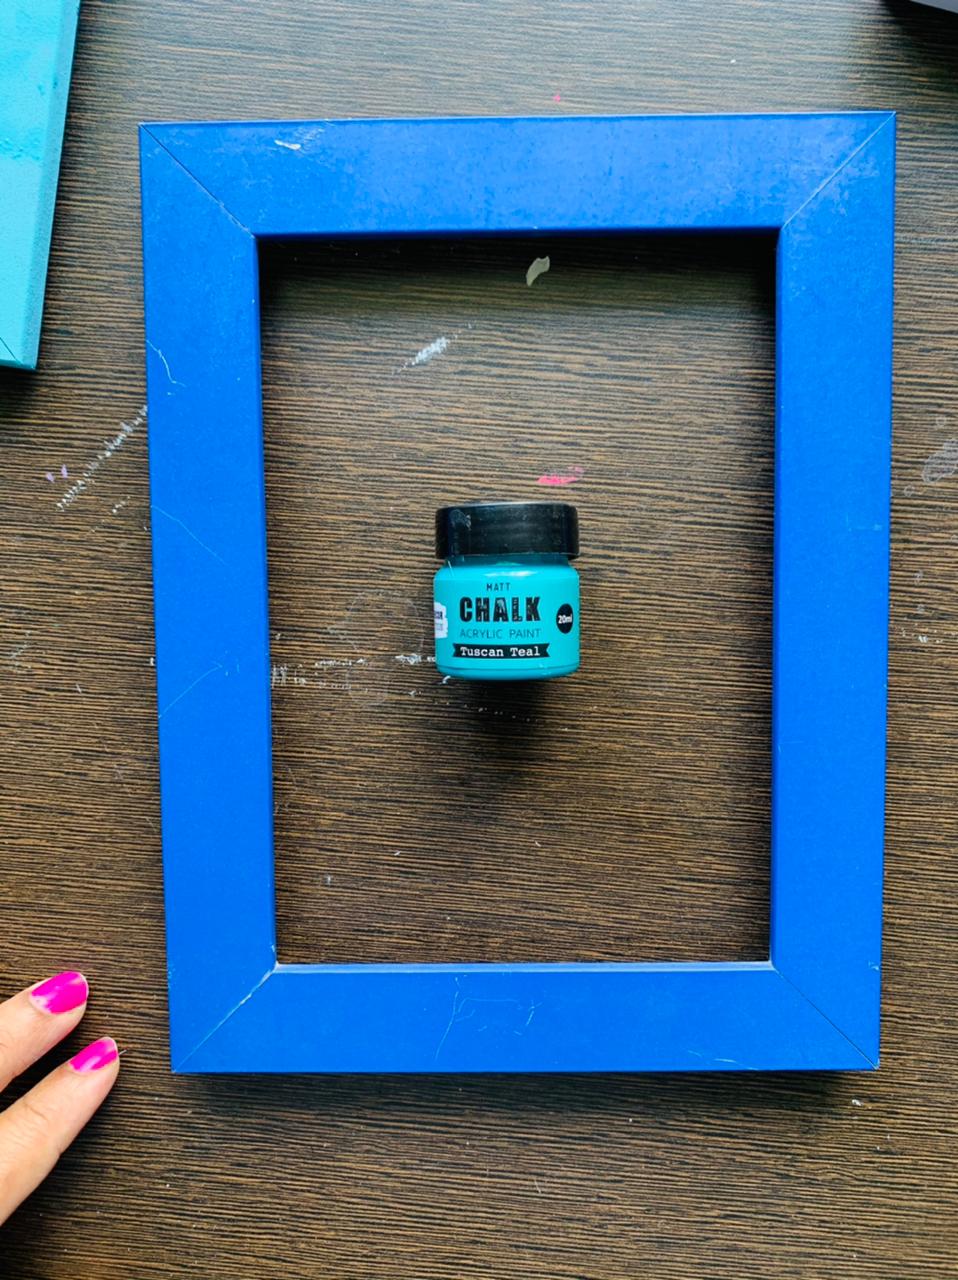
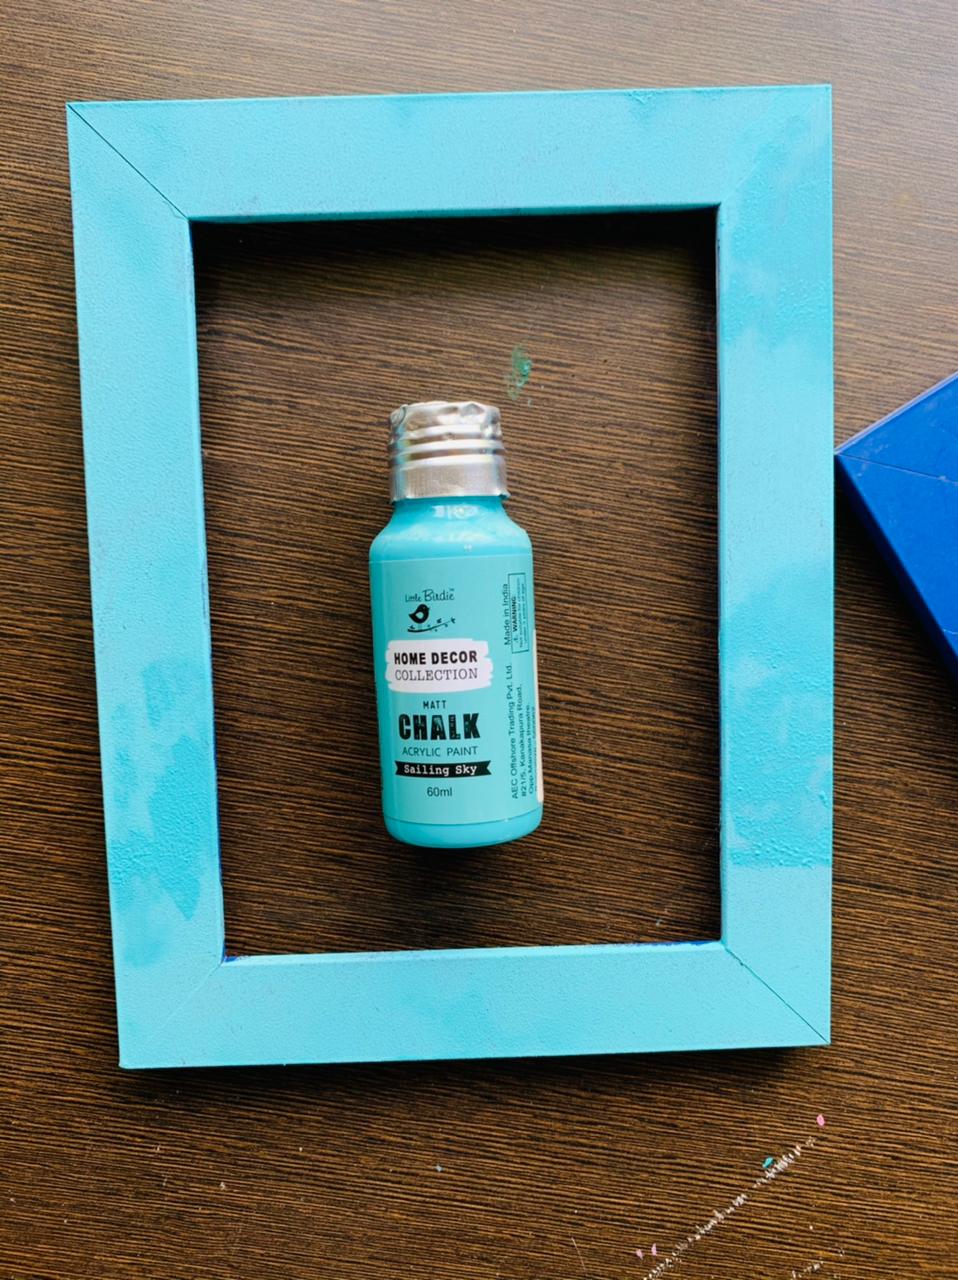
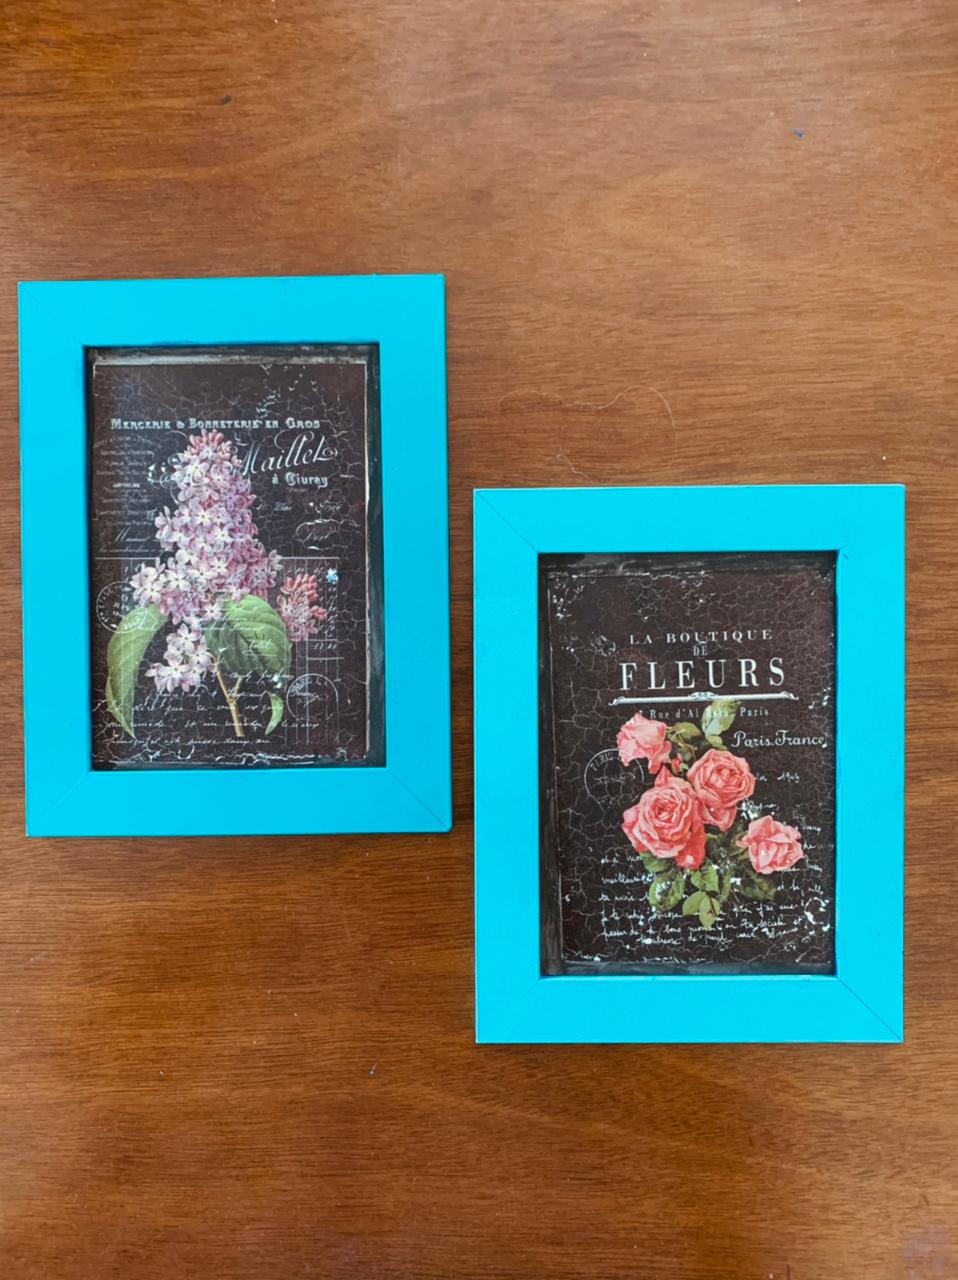
STEP 1 – Remove the page from the frame and Paint the frames with Little birdie’s Chalk paint with the help of a sponge. (list of all materials is linked below)
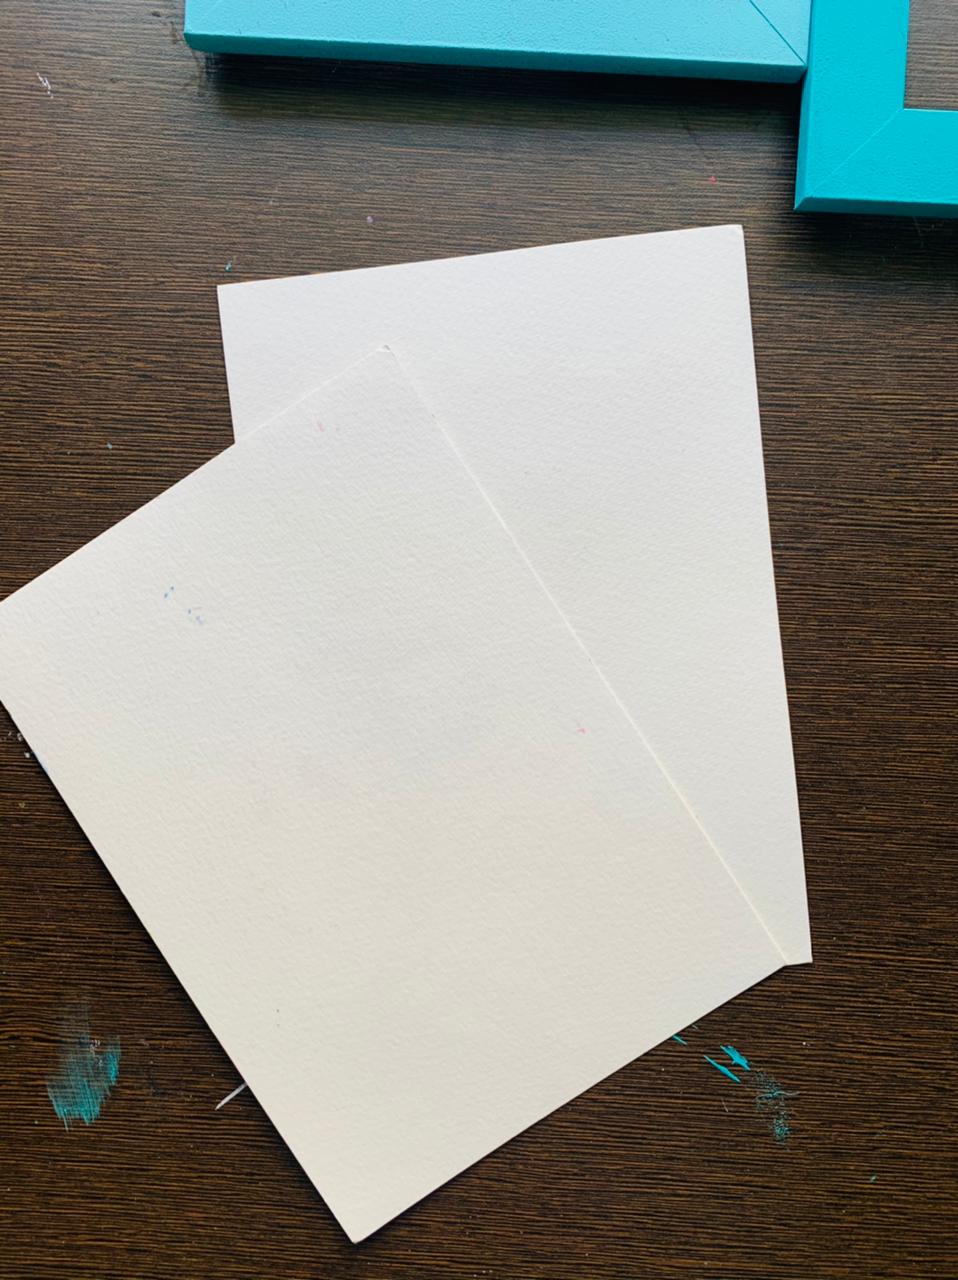
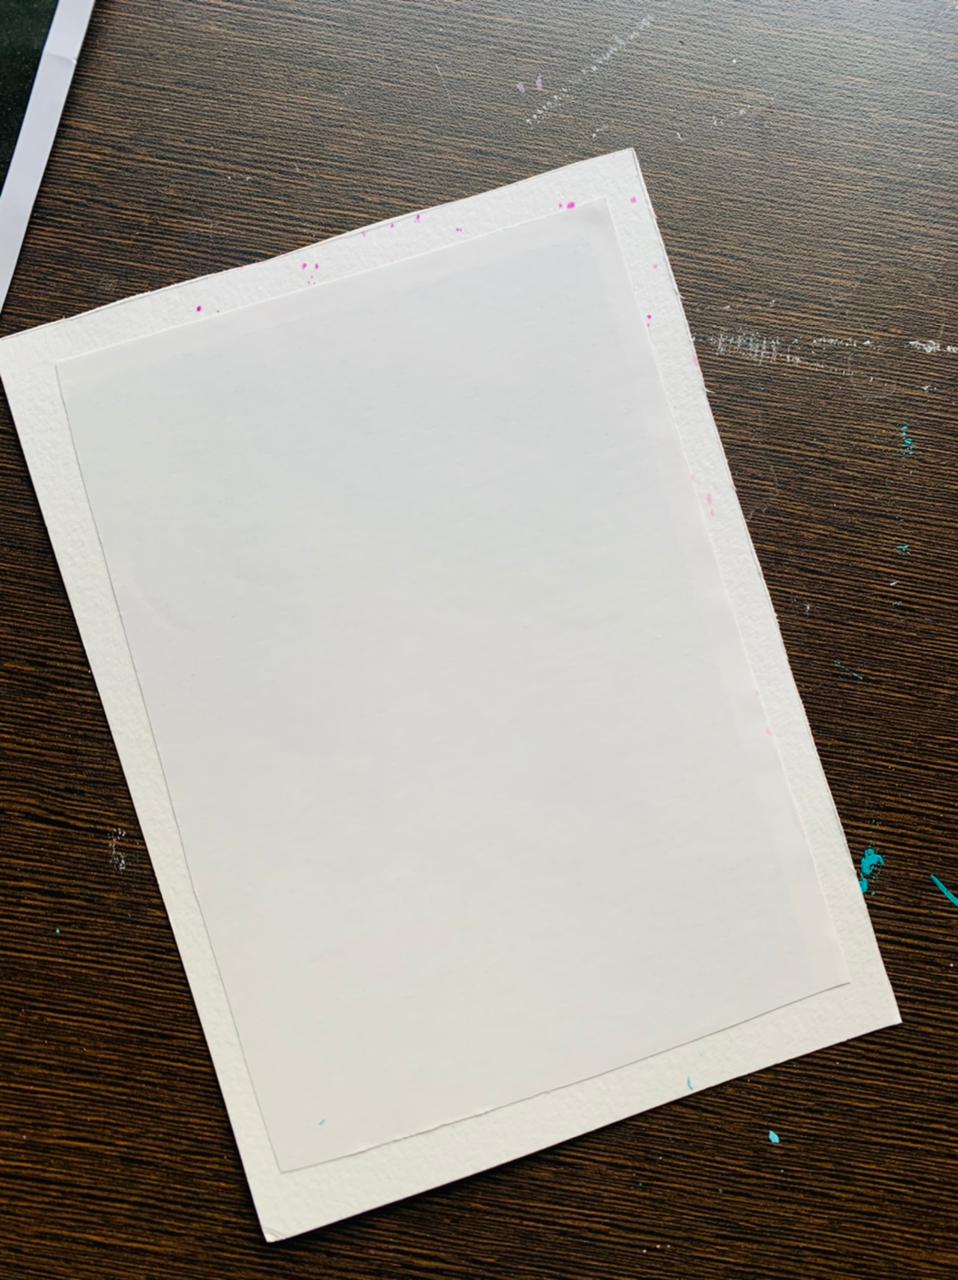
STEP 2 – Take watercolor sheet. I have used 300gsm cold pressed ones.
Cut them according to the frame size so that the paper will fit. Select the Deco transfer image and cut it roughly close to the design.

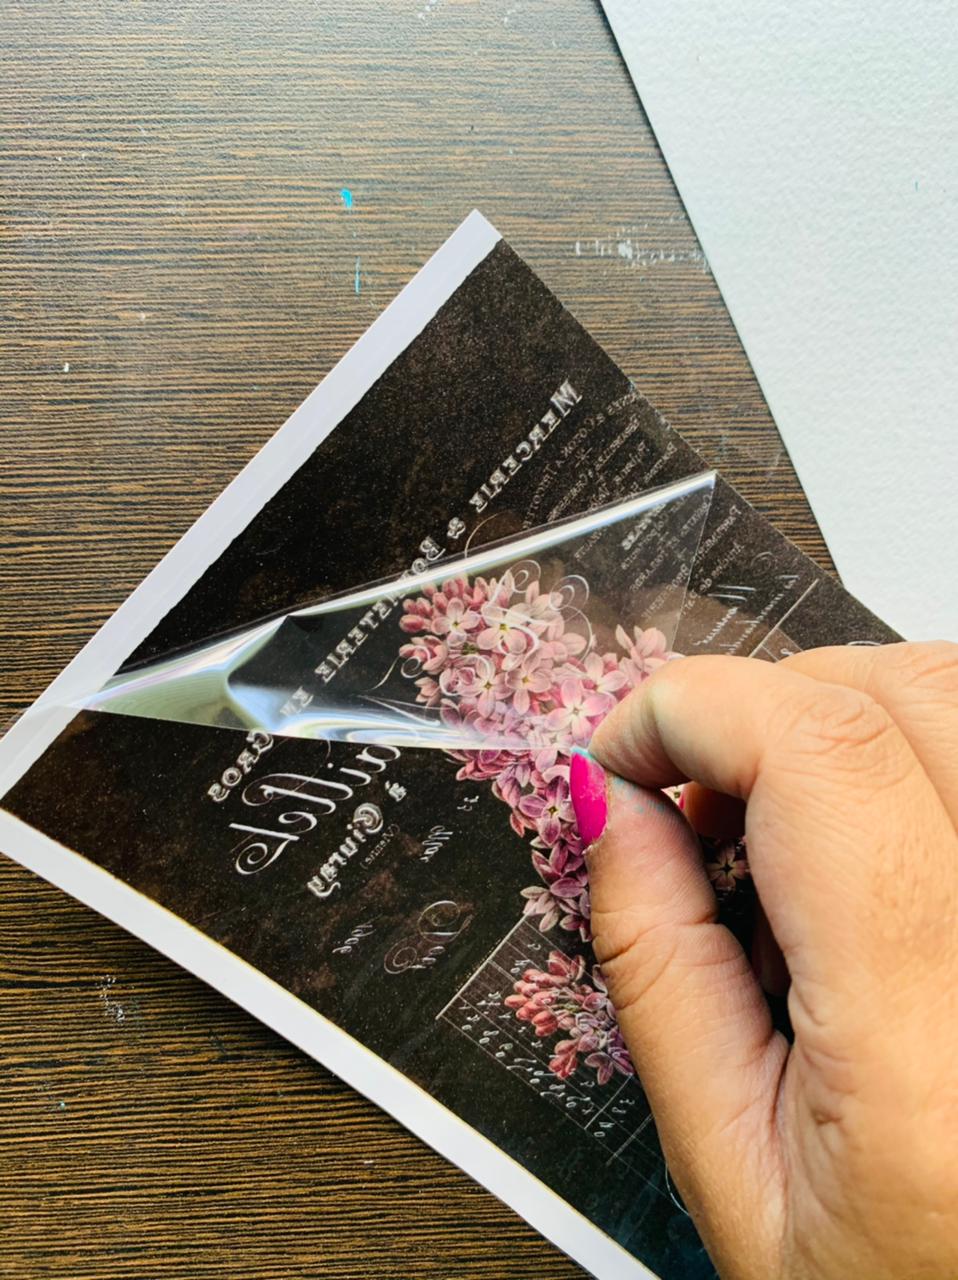
STEP 3 – Gently remove the transparent sheet. After this place the design upside down carefully on the center of the paper.
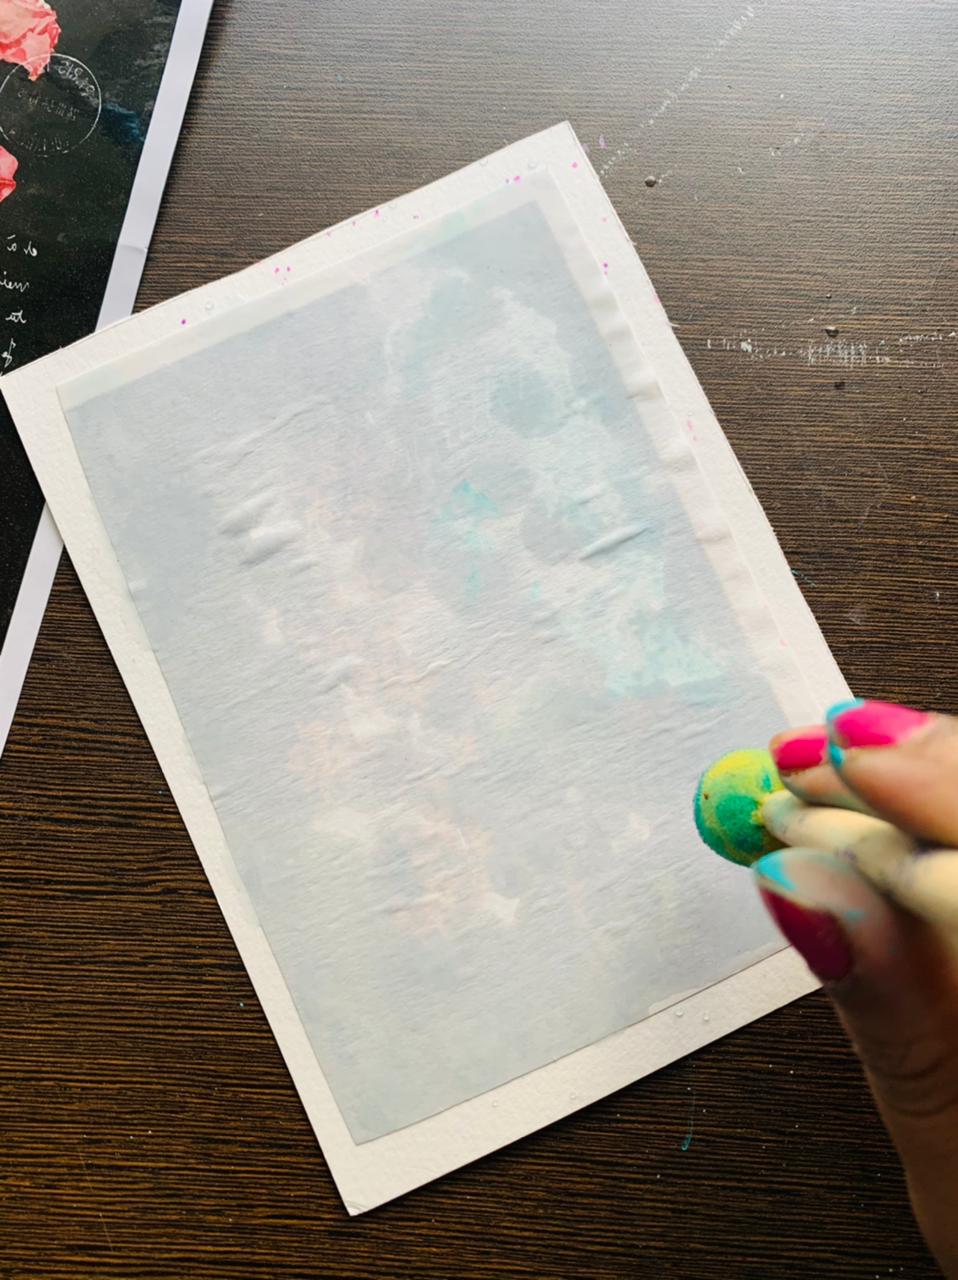
STEP 4 – Now with the help of a wet sponge, dab water on the transfer paper. Do not press too much and make sure there are no puddles of water either.
STEP 5 – Now this is the most exciting part of the DIY. Gently remove the paper to reveal the transferred image on the paper.

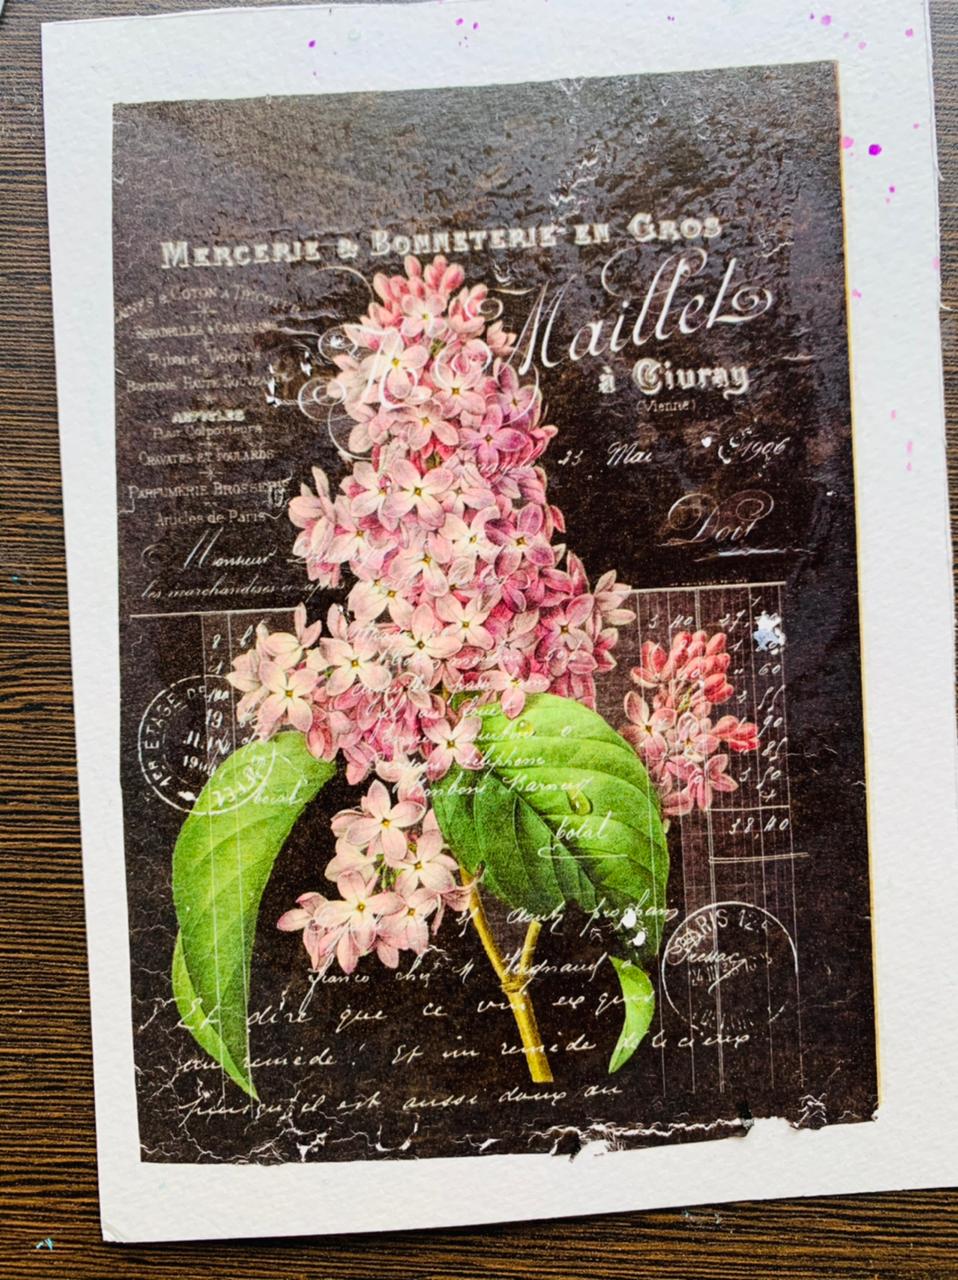
This is how it looks once removed the sheet.
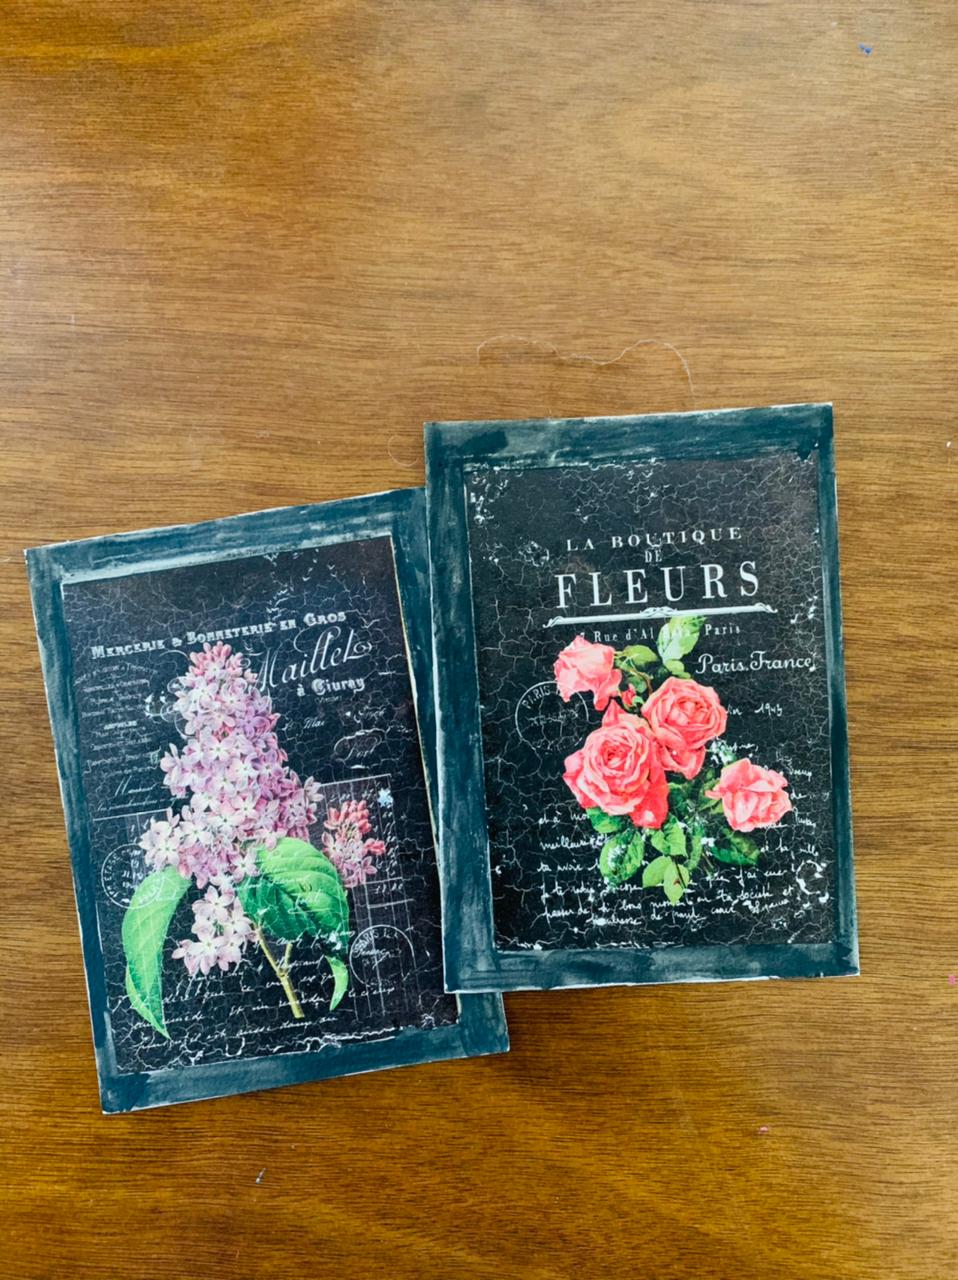
Now do this again on another paper with another design from the sheet.
And paint the remaining part with black watercolor.
STEP 6 – Place the paper in the frame and this is the last step of our DIY.
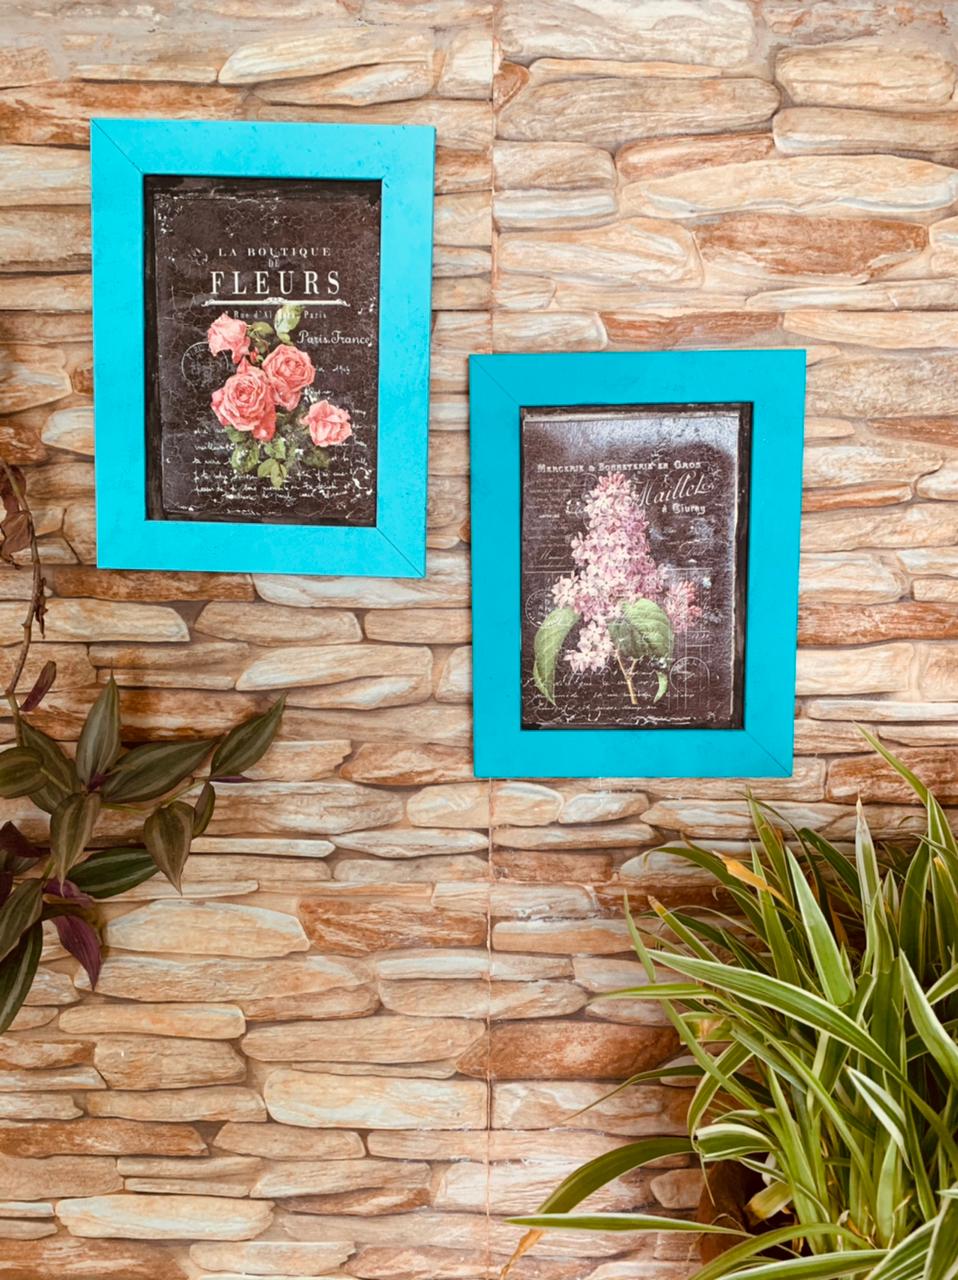
And our frames are ready to hang.
I hope you enjoyed this DIY. Please try this out and share the pictures on social media and tag @itsybitsy .
Don’t forget to use KASTURI5 code to get some extra discount on your final purchase.
Please find all the links below…


