
Hi everyone, Serene from Sereneshandmade here on the blog today with some lovely Christmas DIYs.Christmas is a beautiful season with lots of fun, cheer and celebration. All houses are decked up beautifully in Christmas glory. Today I am sharing with you a beautiful collection of Christmas crafts which are easy enough to make for yourself but beautiful enough to sell.
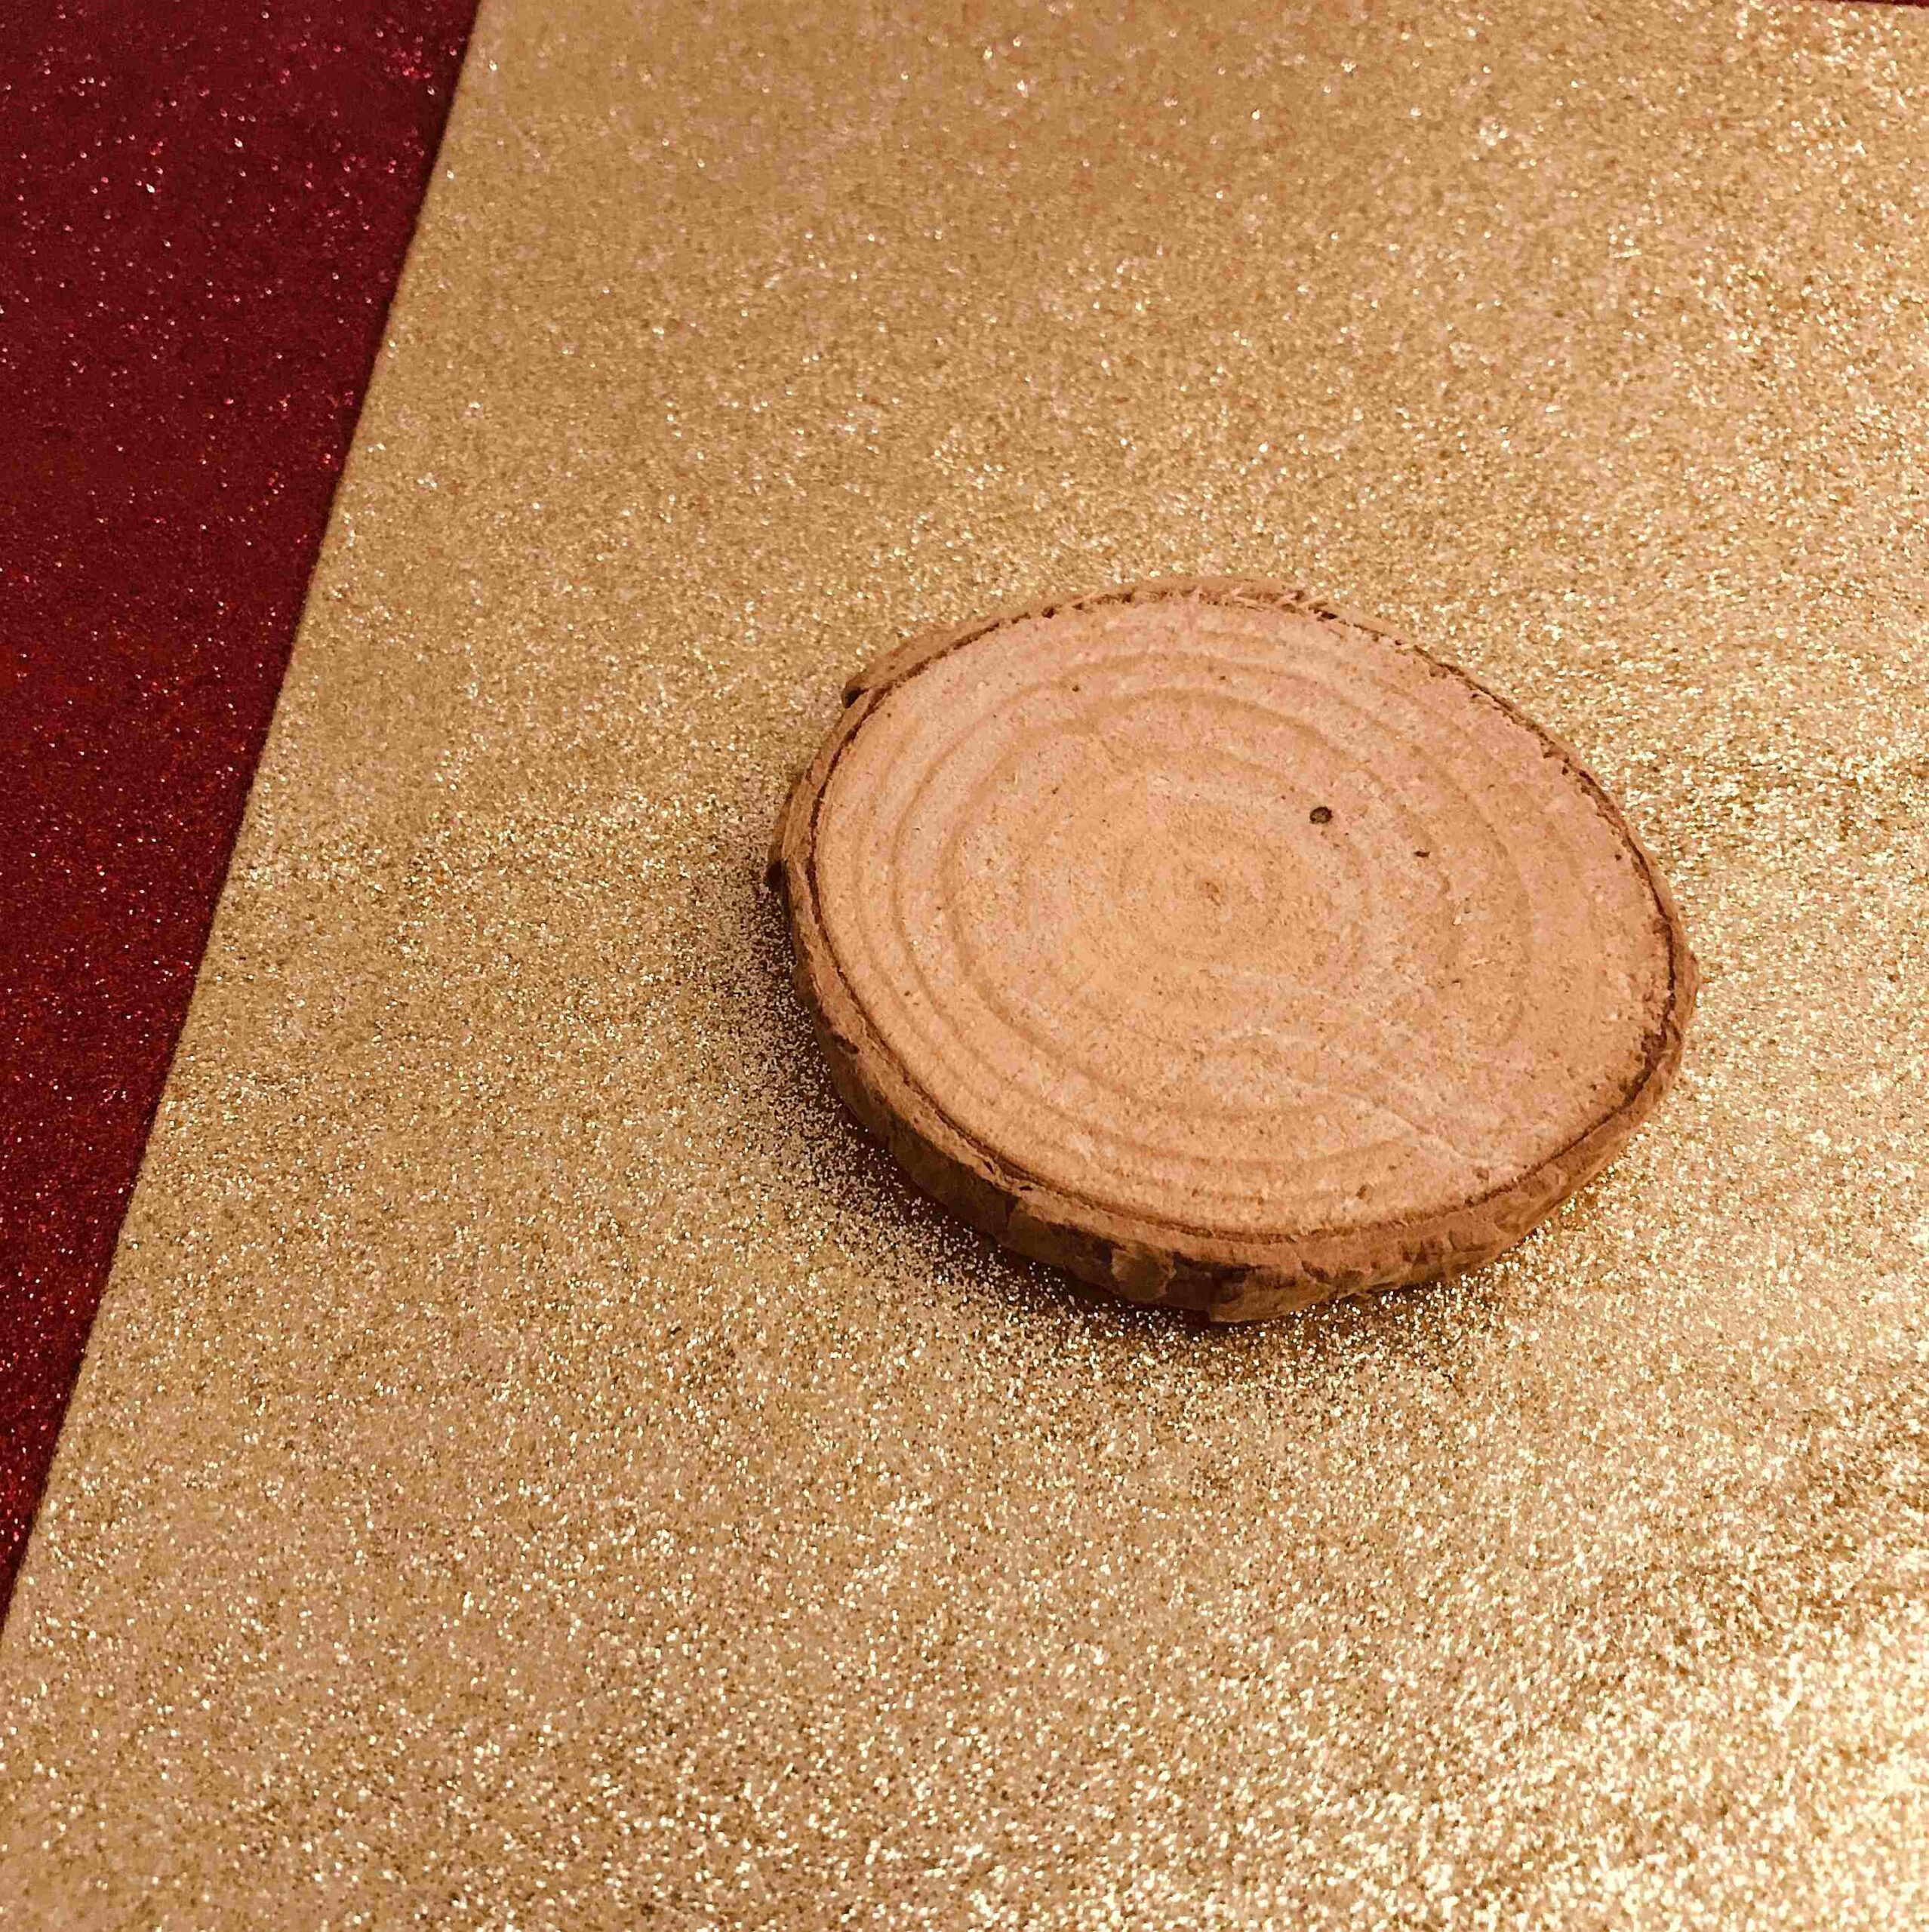
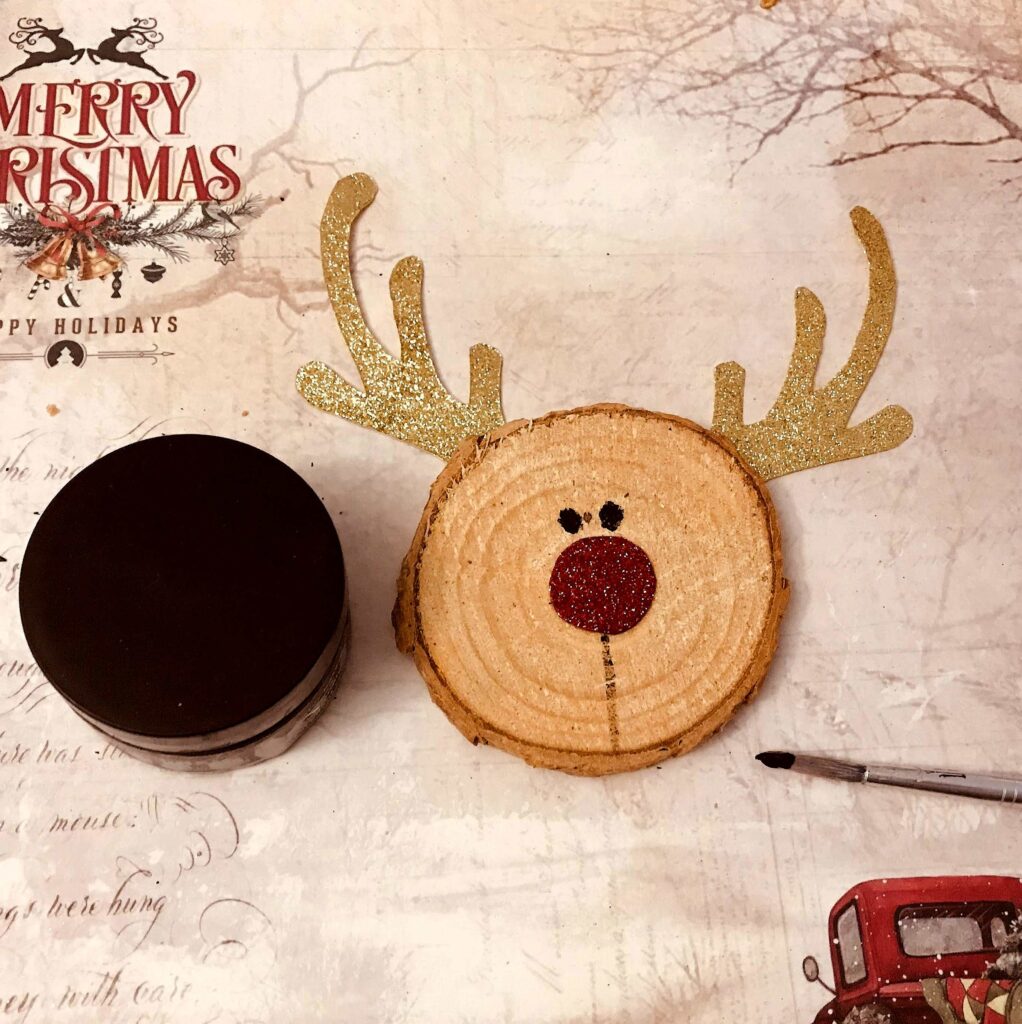
1.Reindeer wood slice ornament
A rustic and cute ornament which can be made quickly.

1. Take a 3 inch wood slice and two glitter sheets in red and gold. I used sheets from the paper pack Joyful Rhapsody.
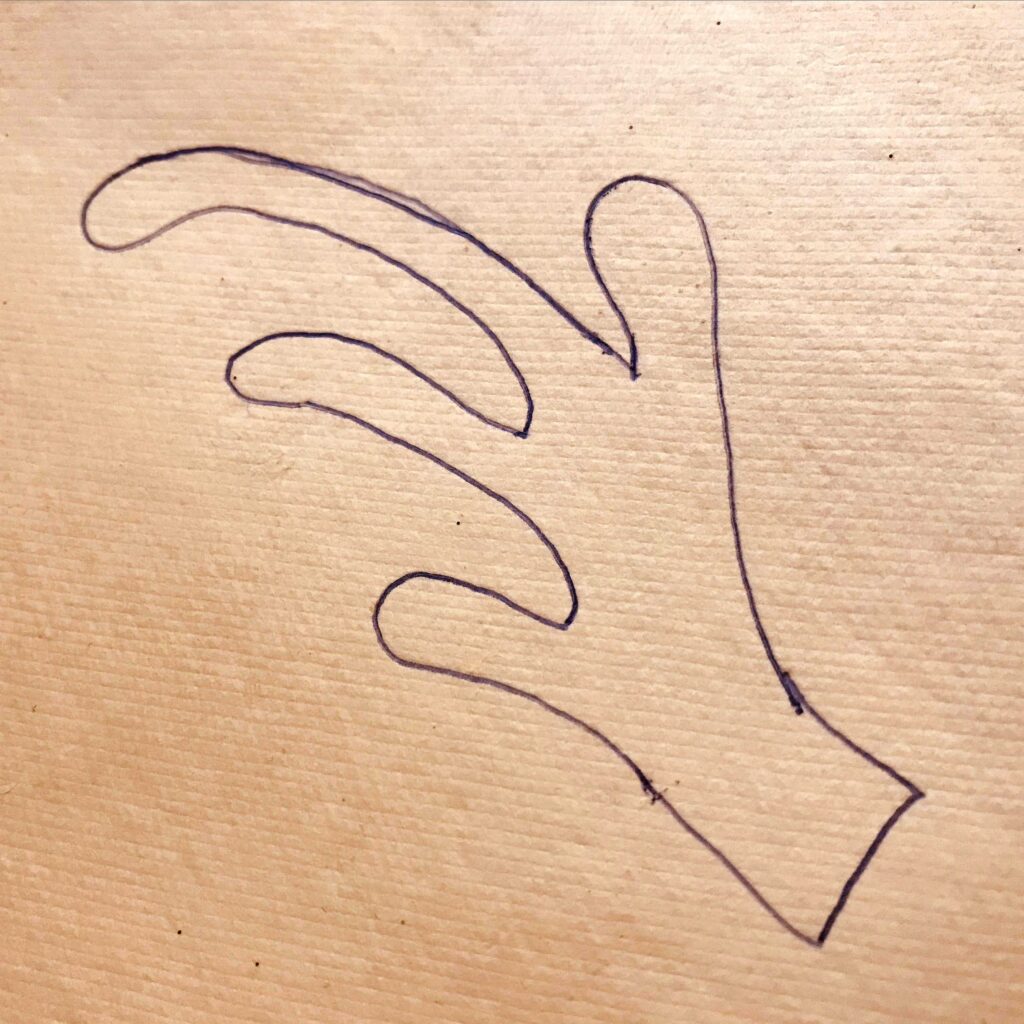
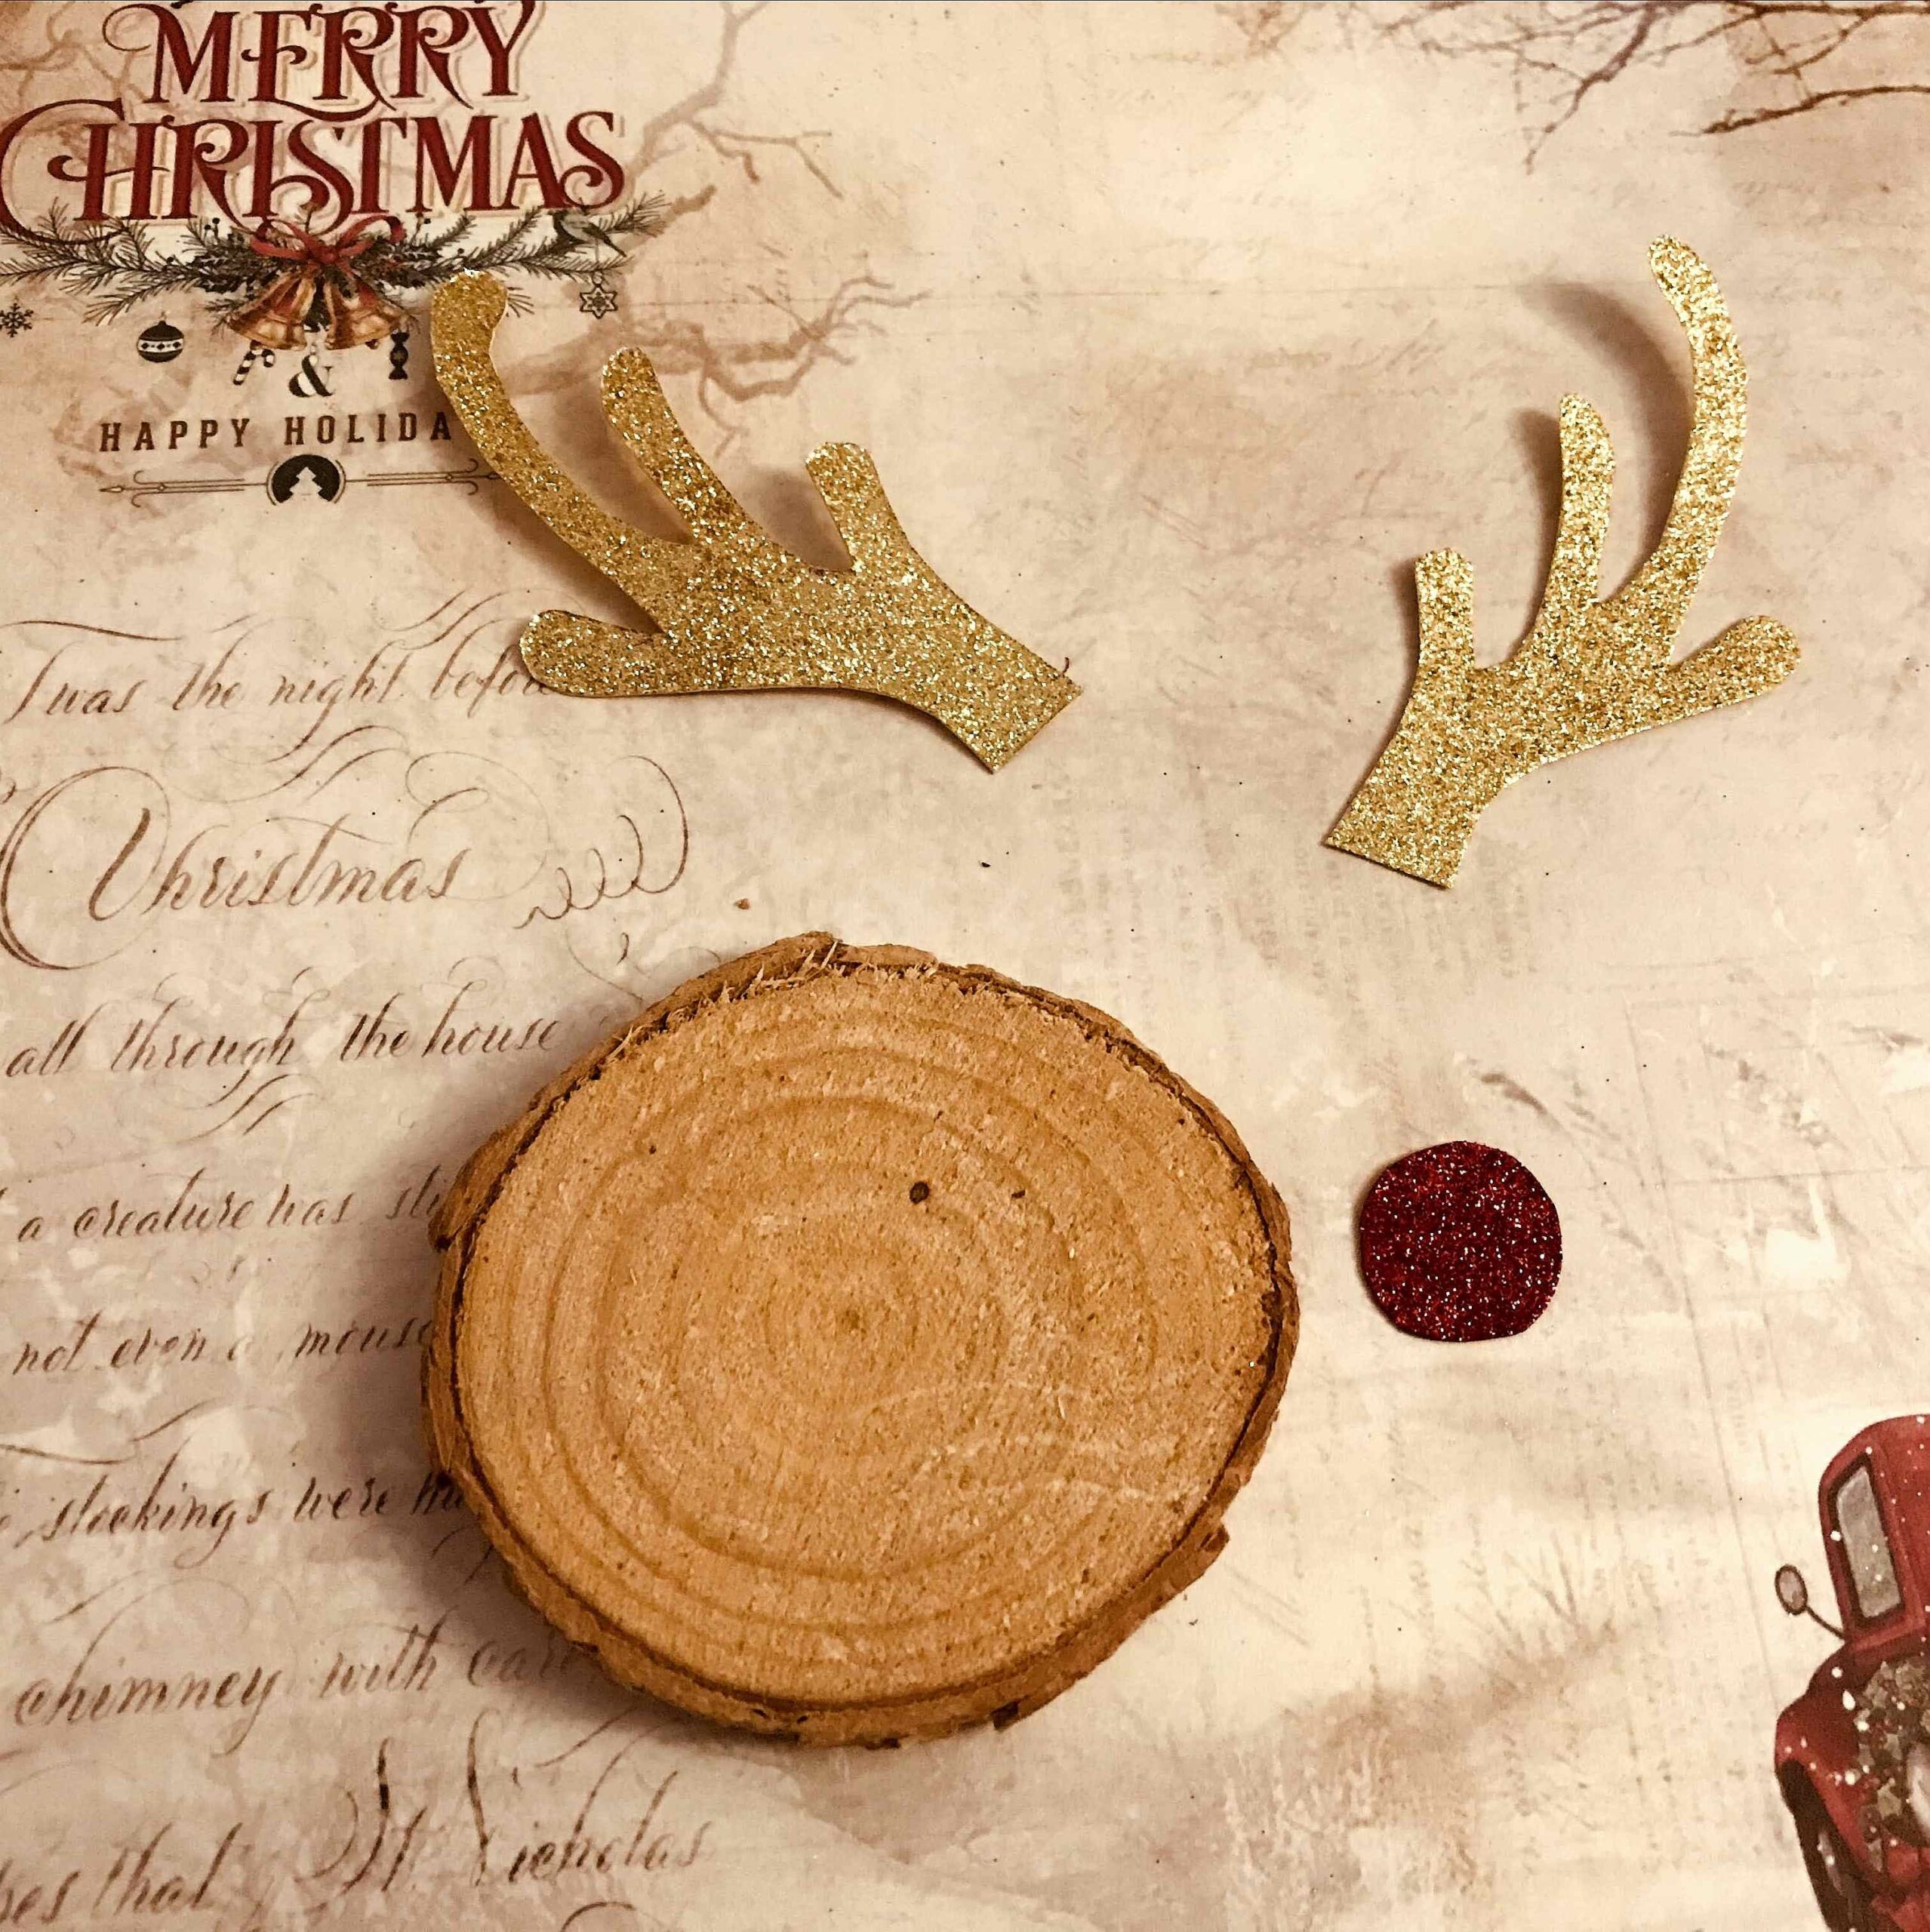
2.Draw the antlers on the back of the gold glitter sheet and fold in half. Cut out two antlers to suit the size of the wood slice.
3.Cut out a a red circle of around 1 cm for the nose.
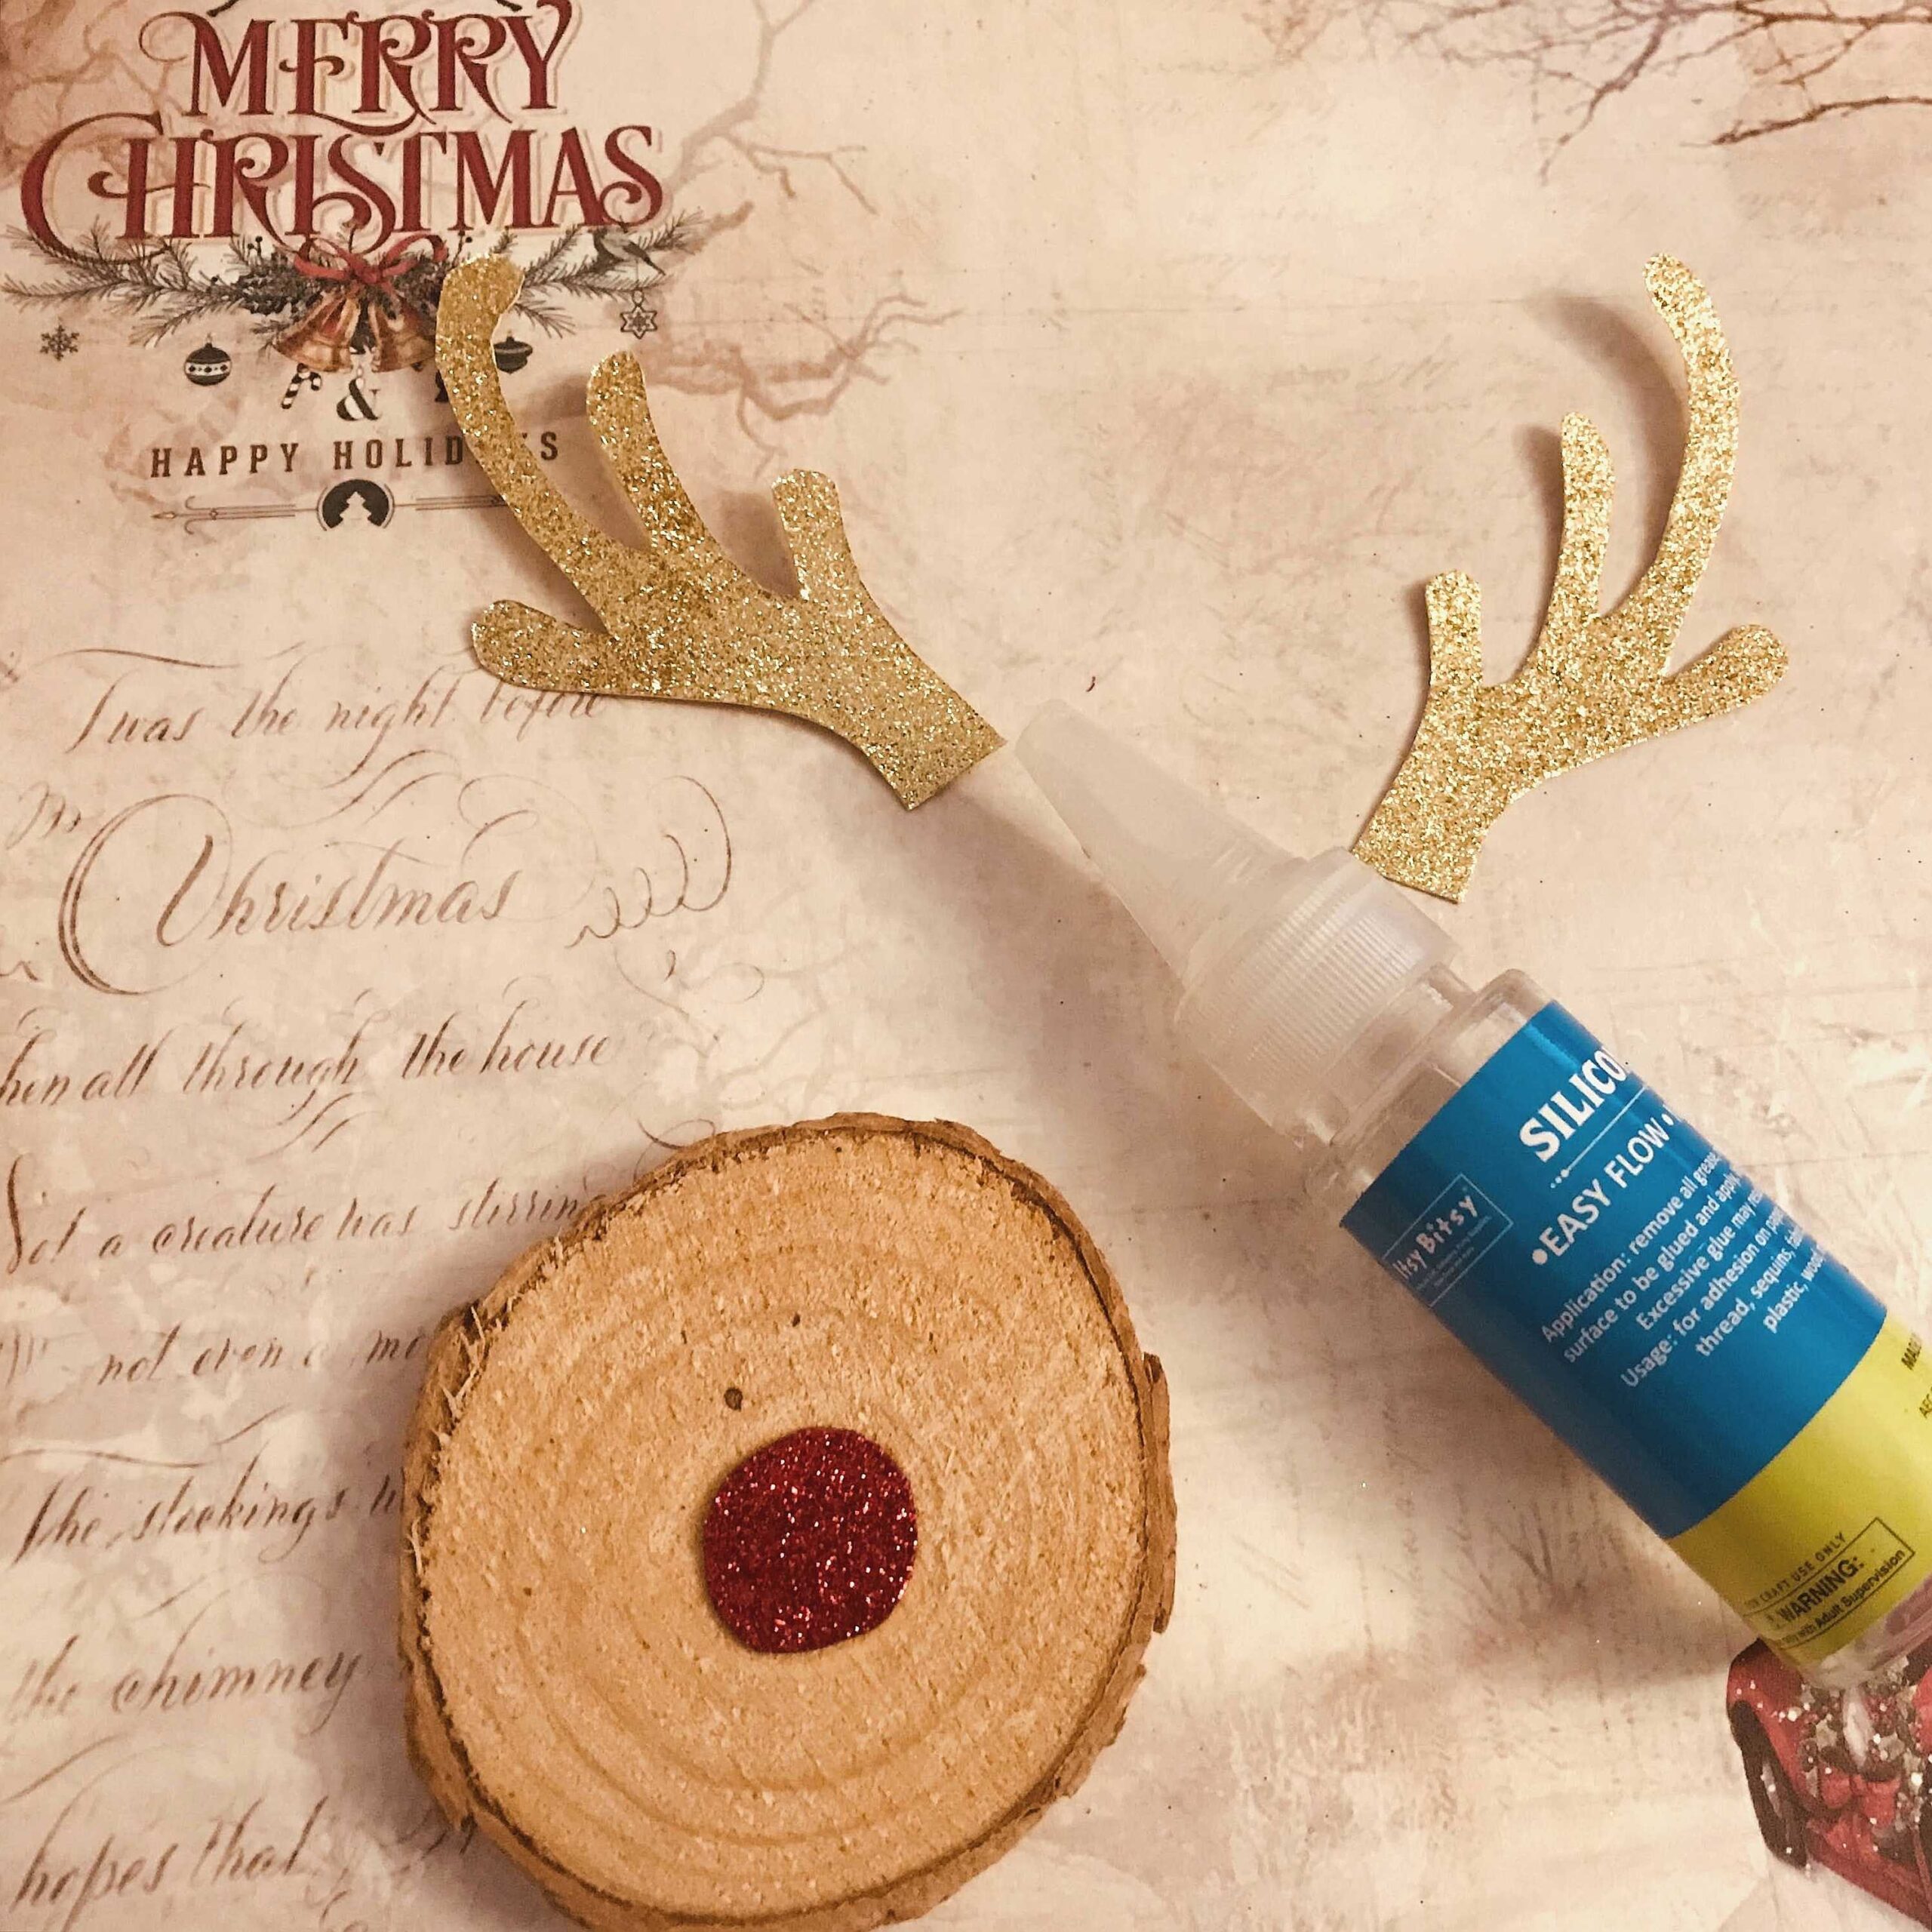
4.Stick the nose at centre of the wood slice and the antlers on to the back with silicone glue.
5. Add eyes and mouth with chalk paint and a brush.
 6.Attach a satin ribbon at the back with silicone glue and the ornament is ready.
2.Festive mini stand
This lovely mini stand can be used as you Christmas table decor and can be used to display your mini trees or candy bowls or your succulents.
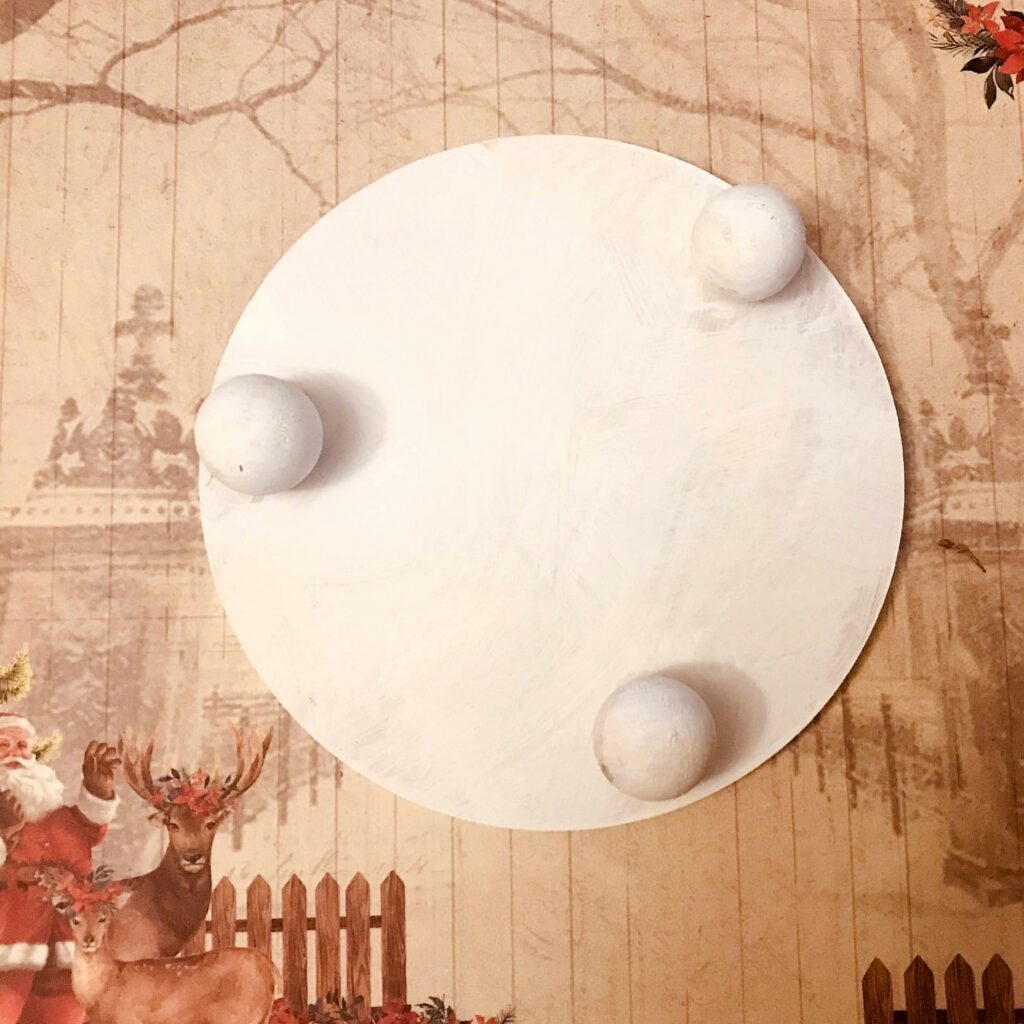
1.Start with a wooden decorable round base. I have used a 6 inch base. Paint it with chalkpaint – Snow on both sides and let it dry.
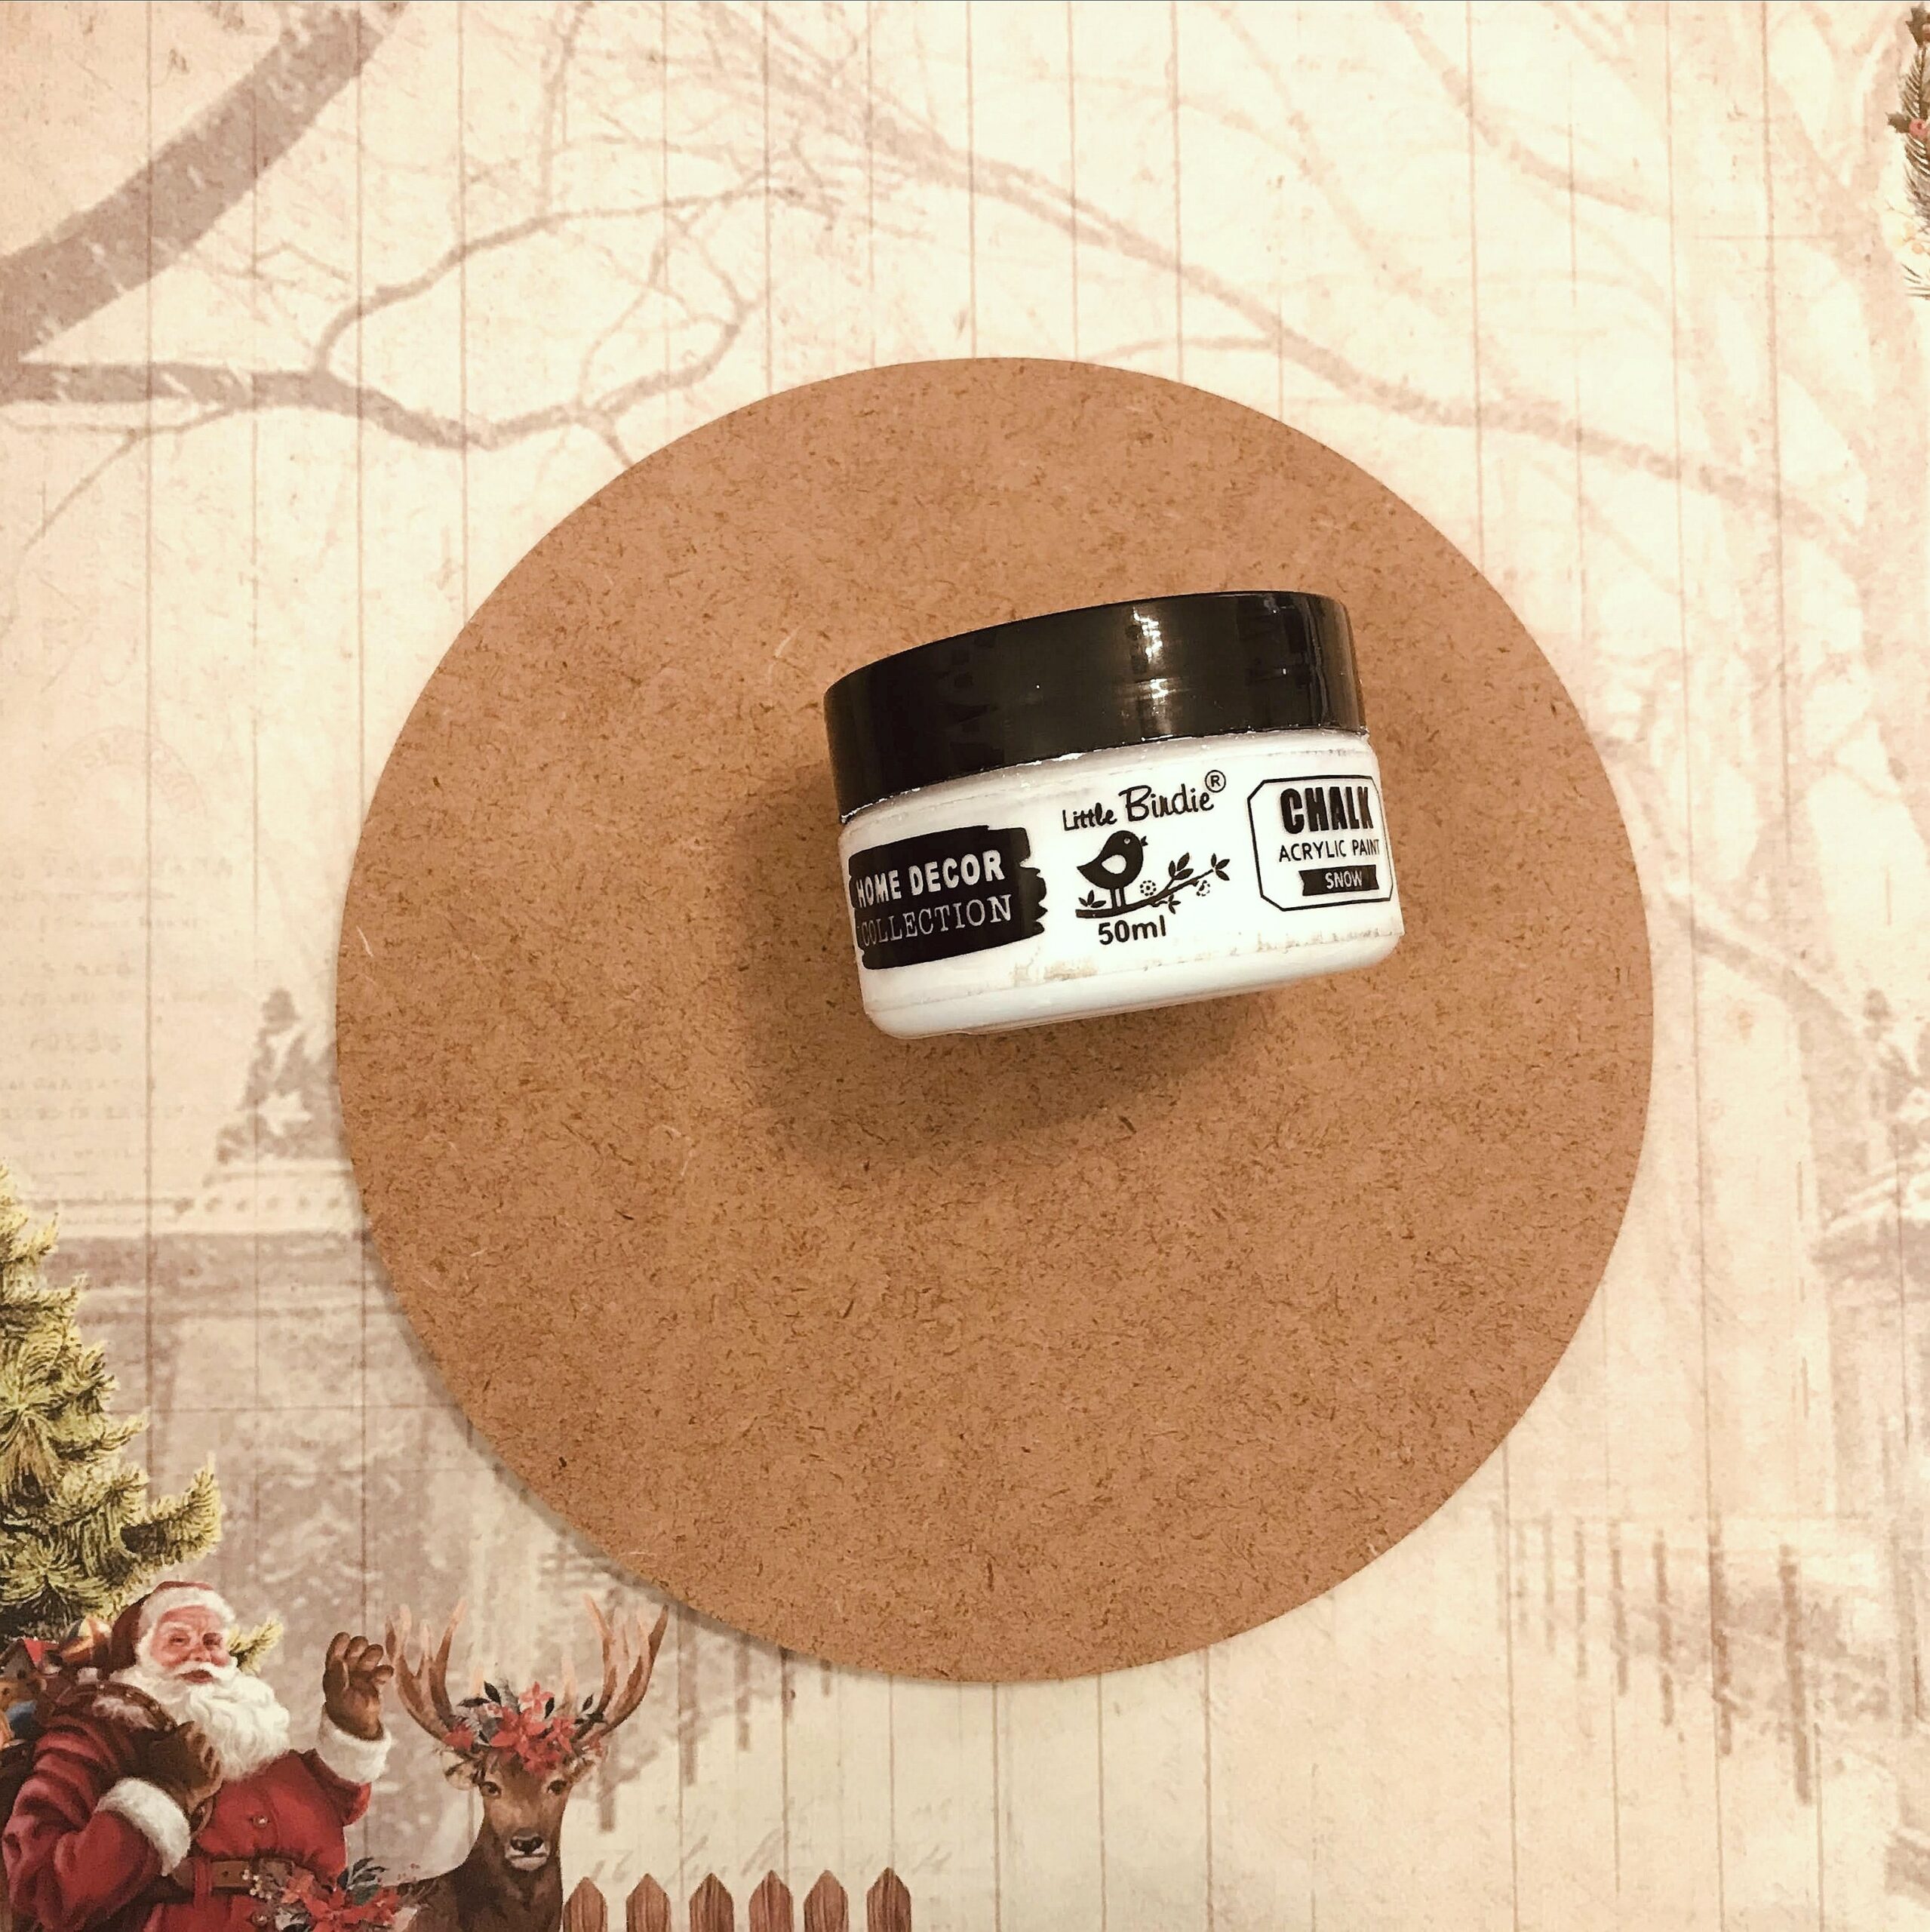
2.Glue three wooden balls(1inch) at equal distance as shown using wood glue. Let it dry for 4 to 5 hours.
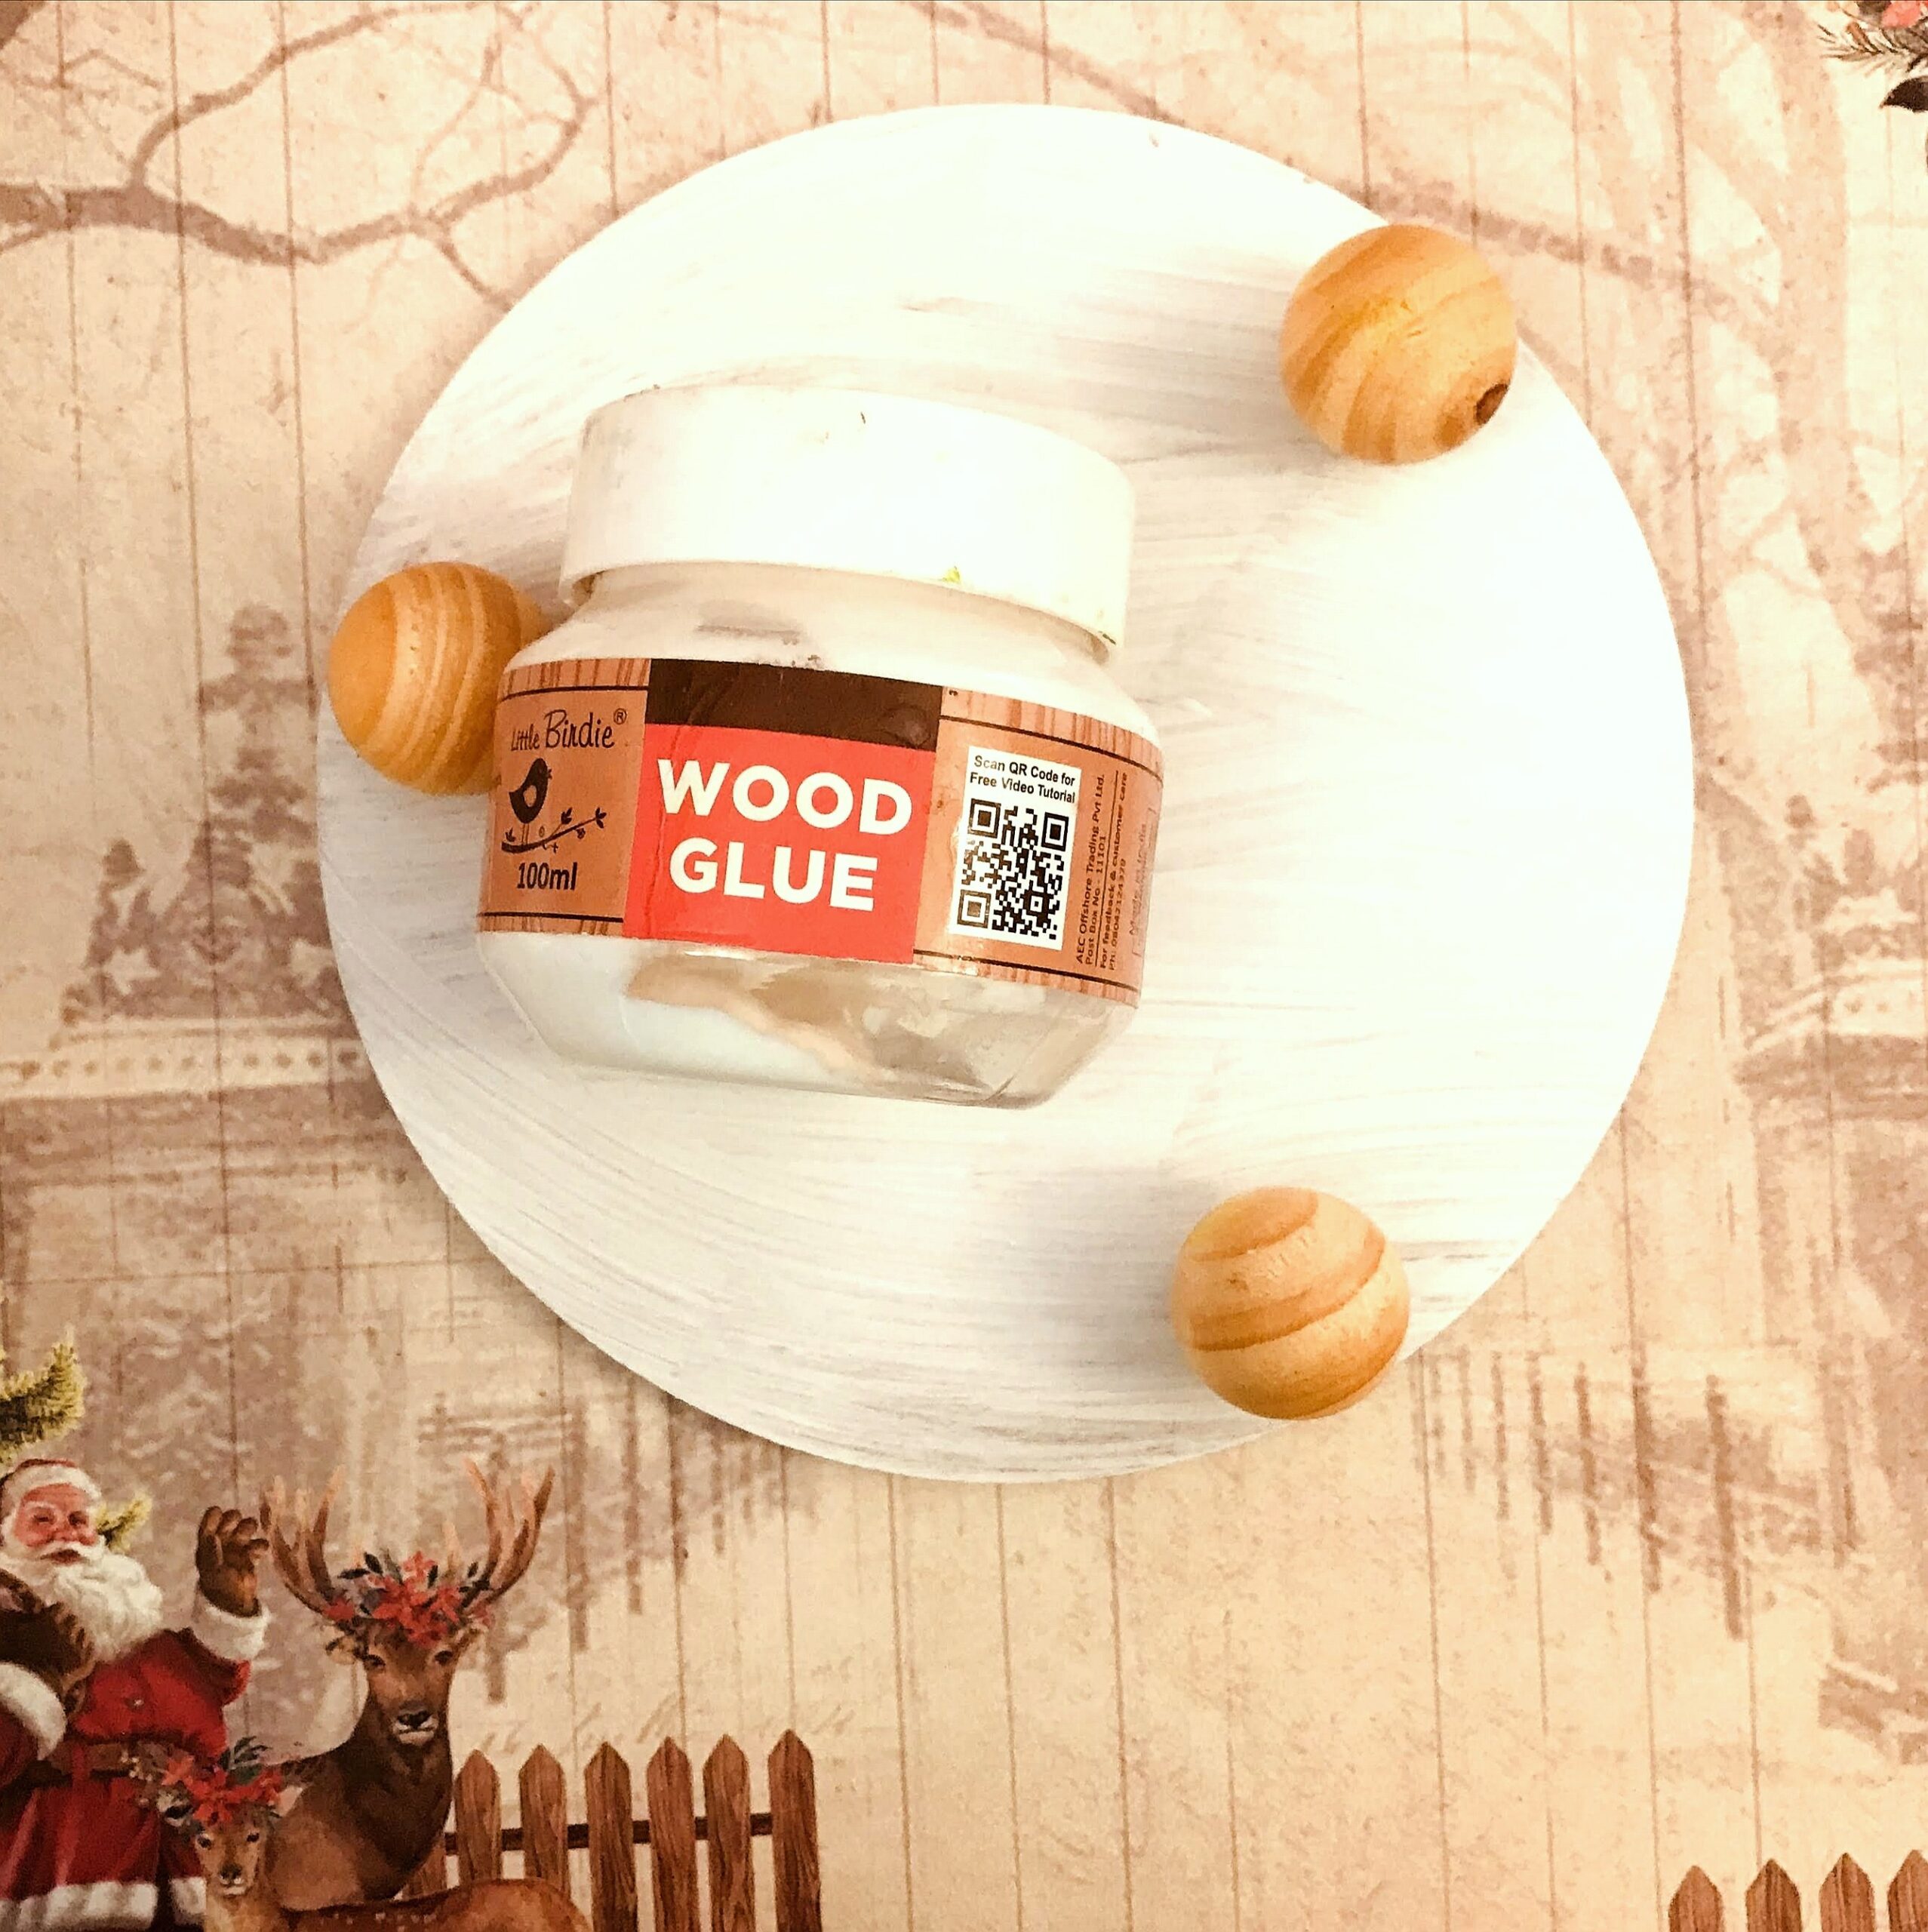
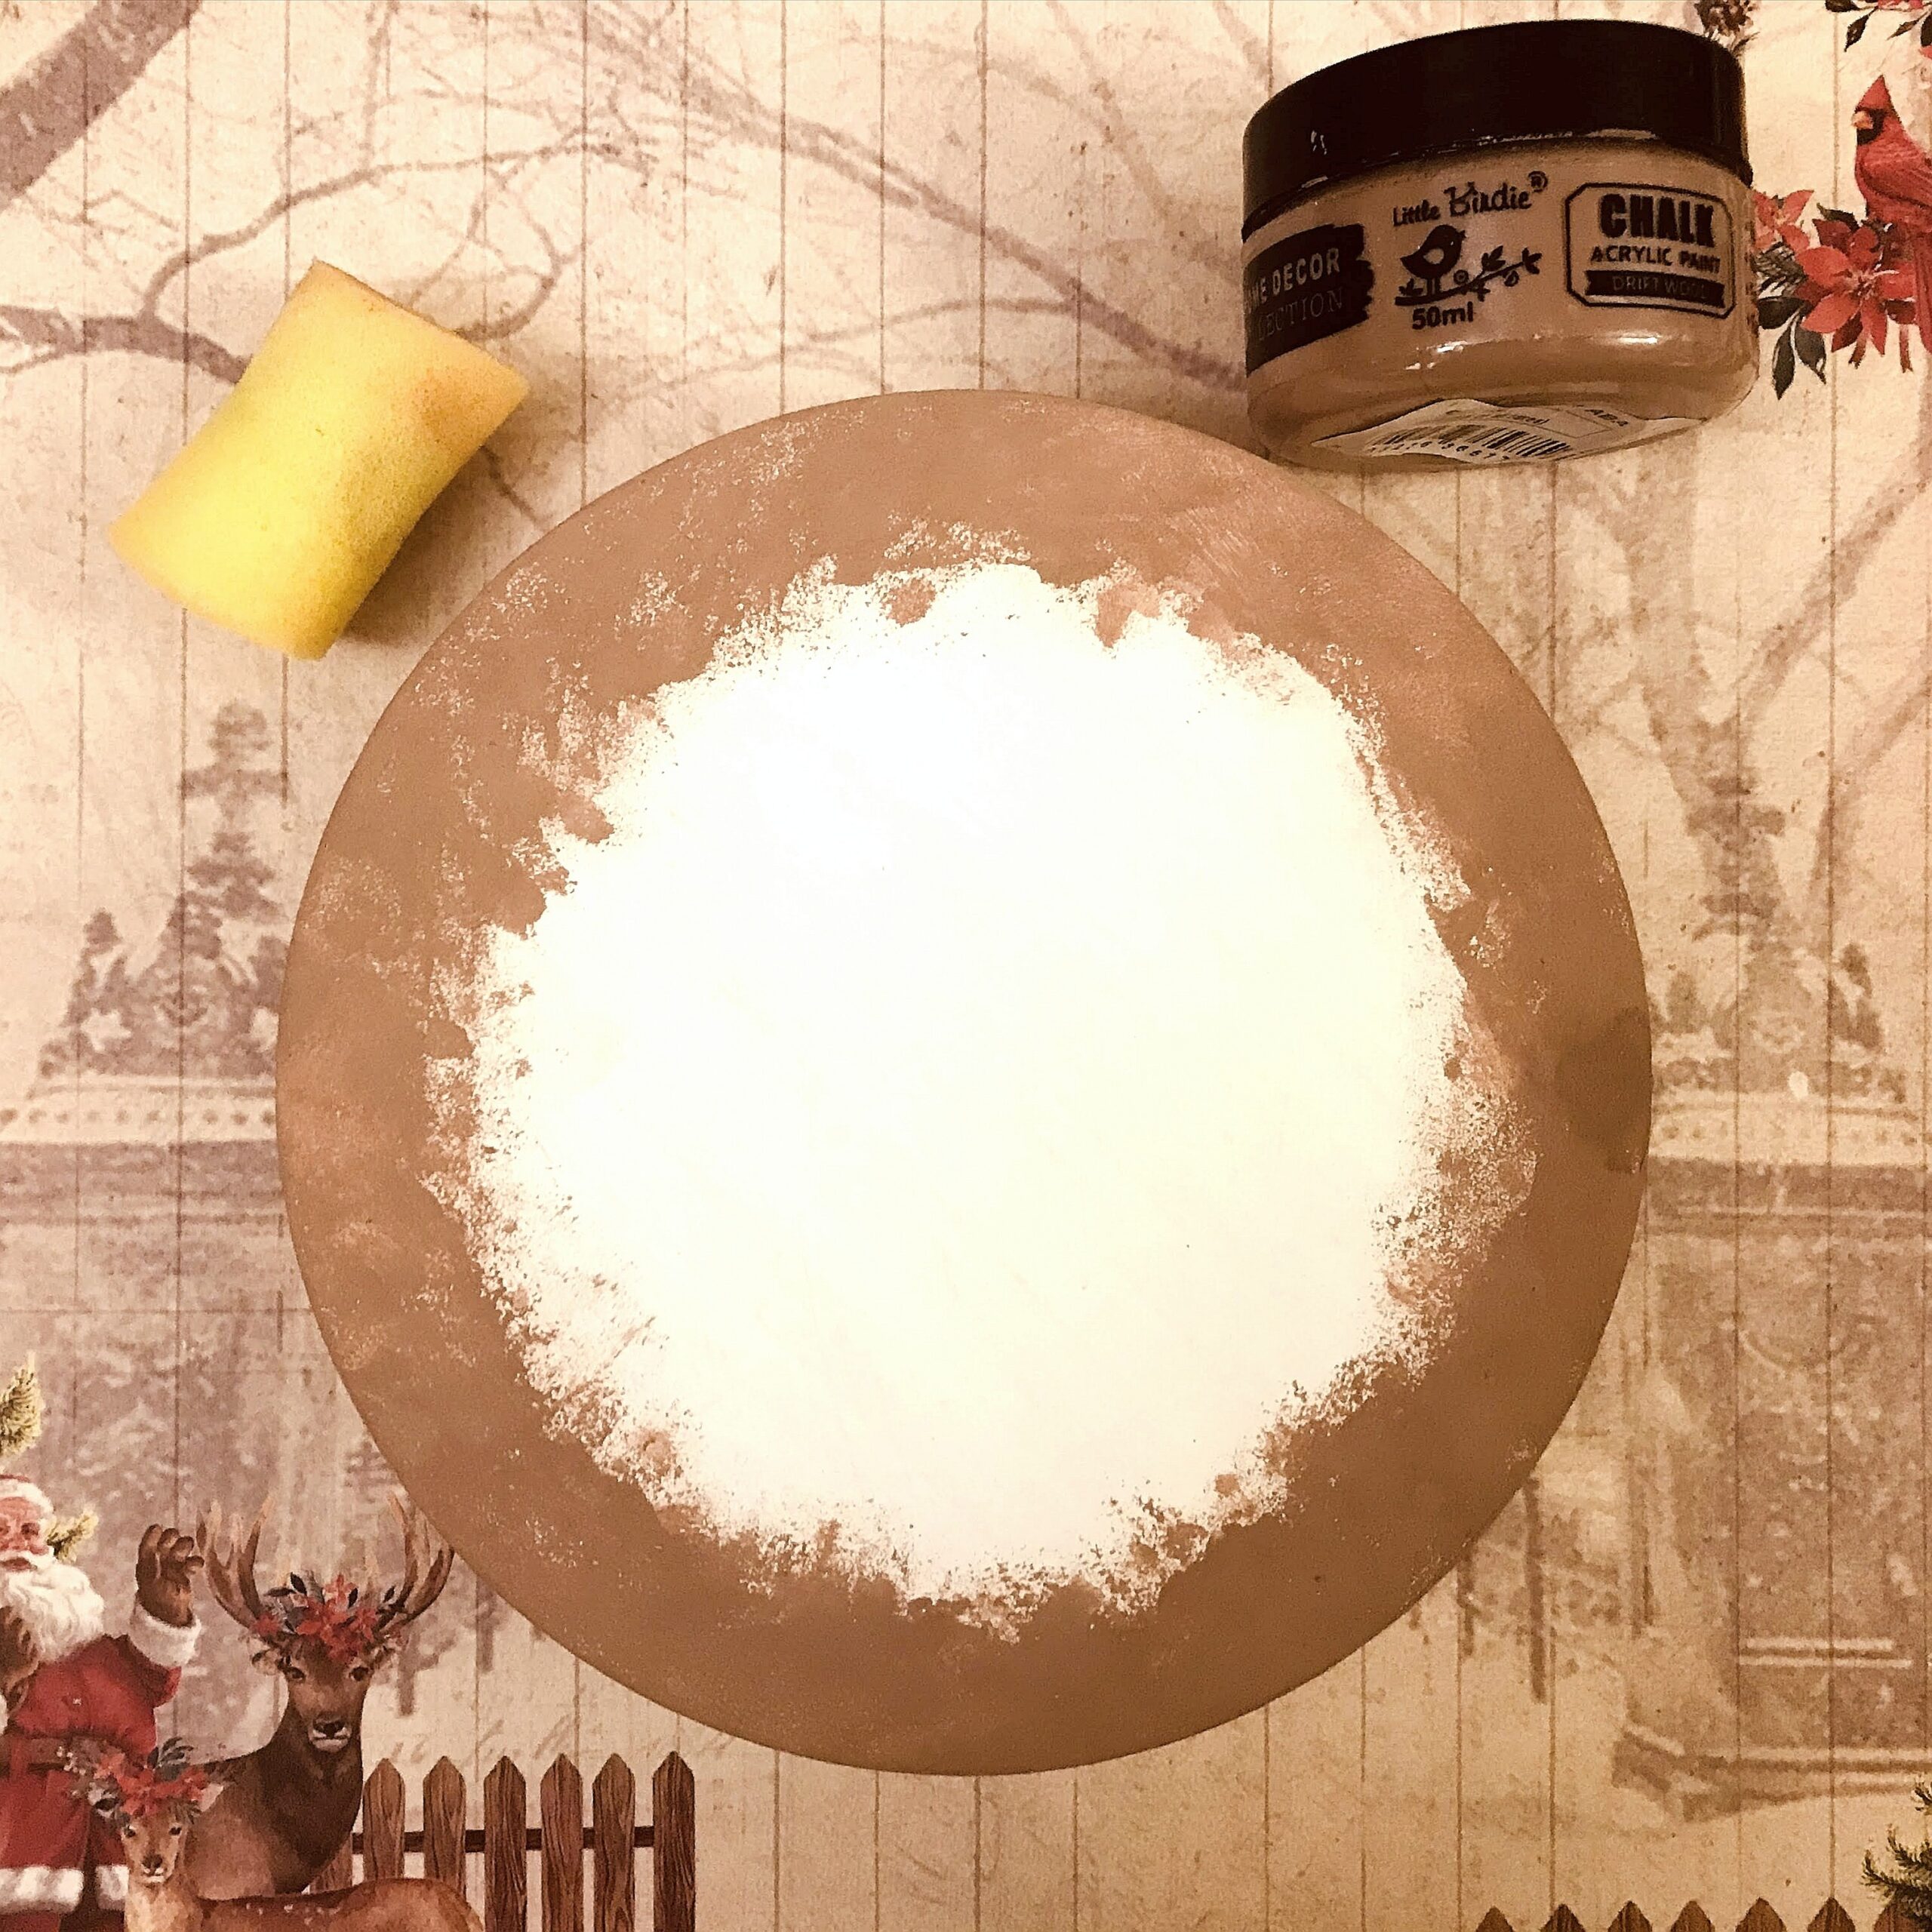
3.Paint the wooden balls with white chalk paint.
4.Once dry, dab chalk paint – Driftwood along the edges with a sponge blender.
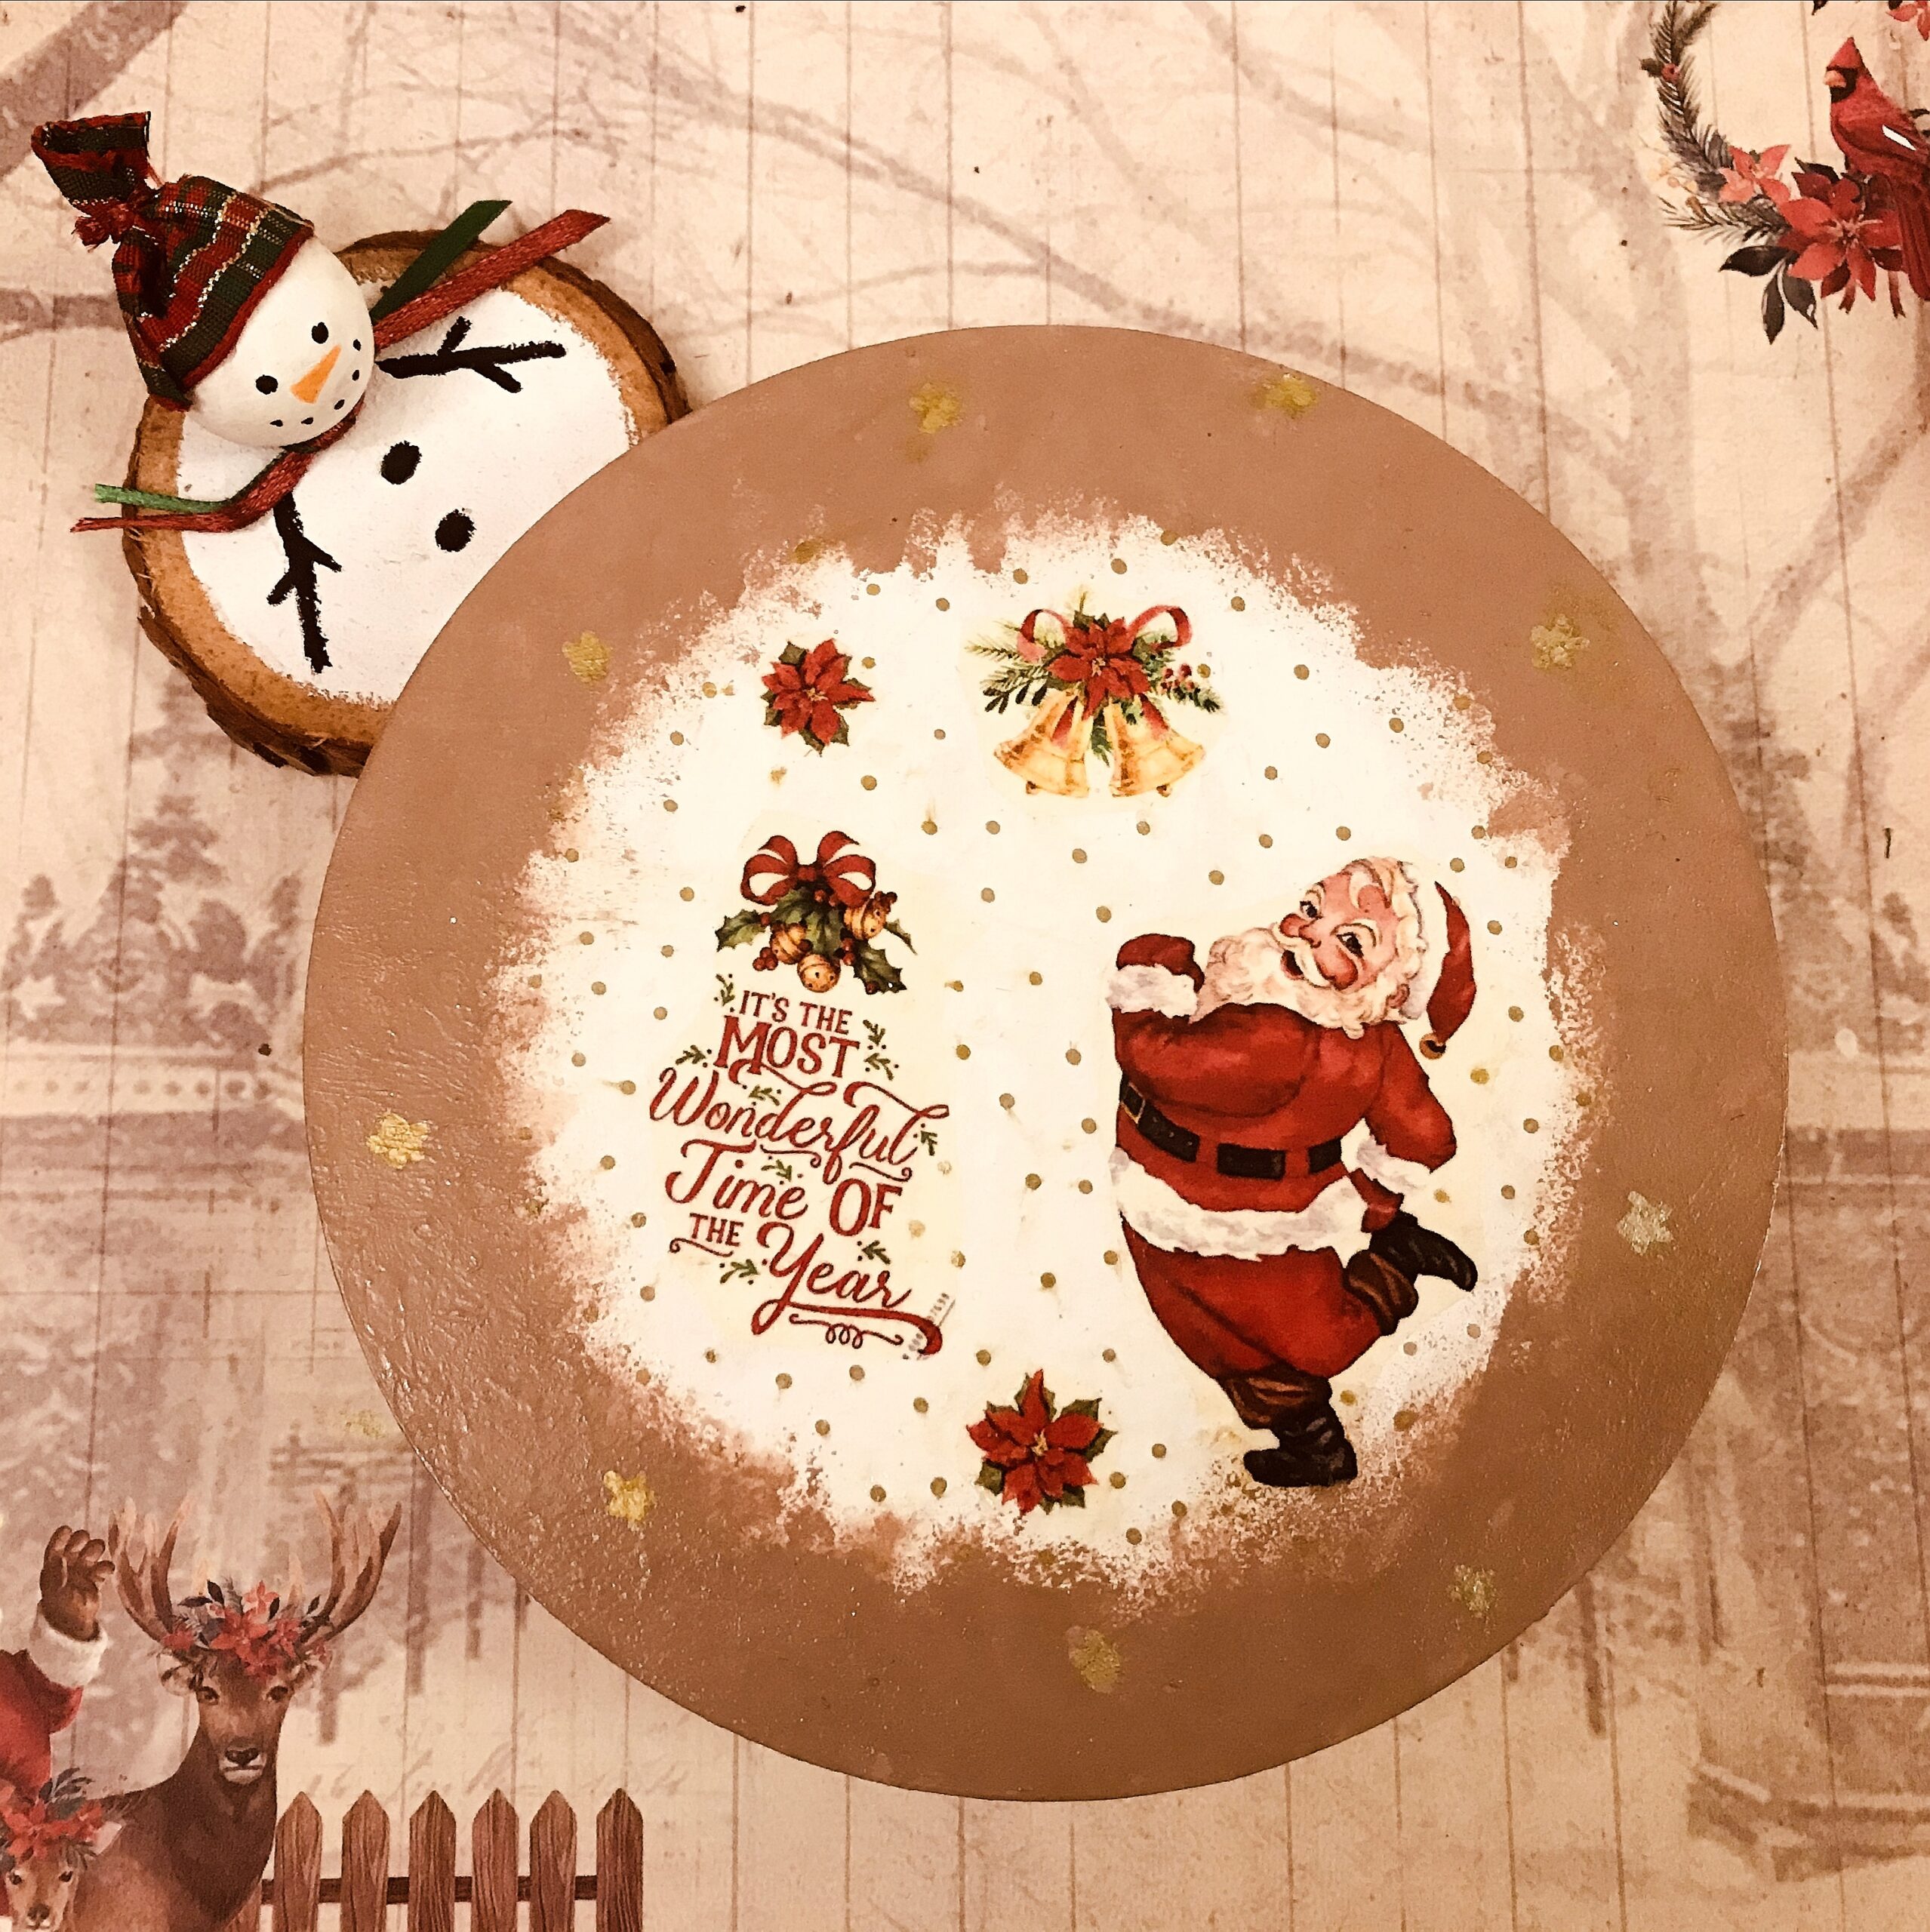
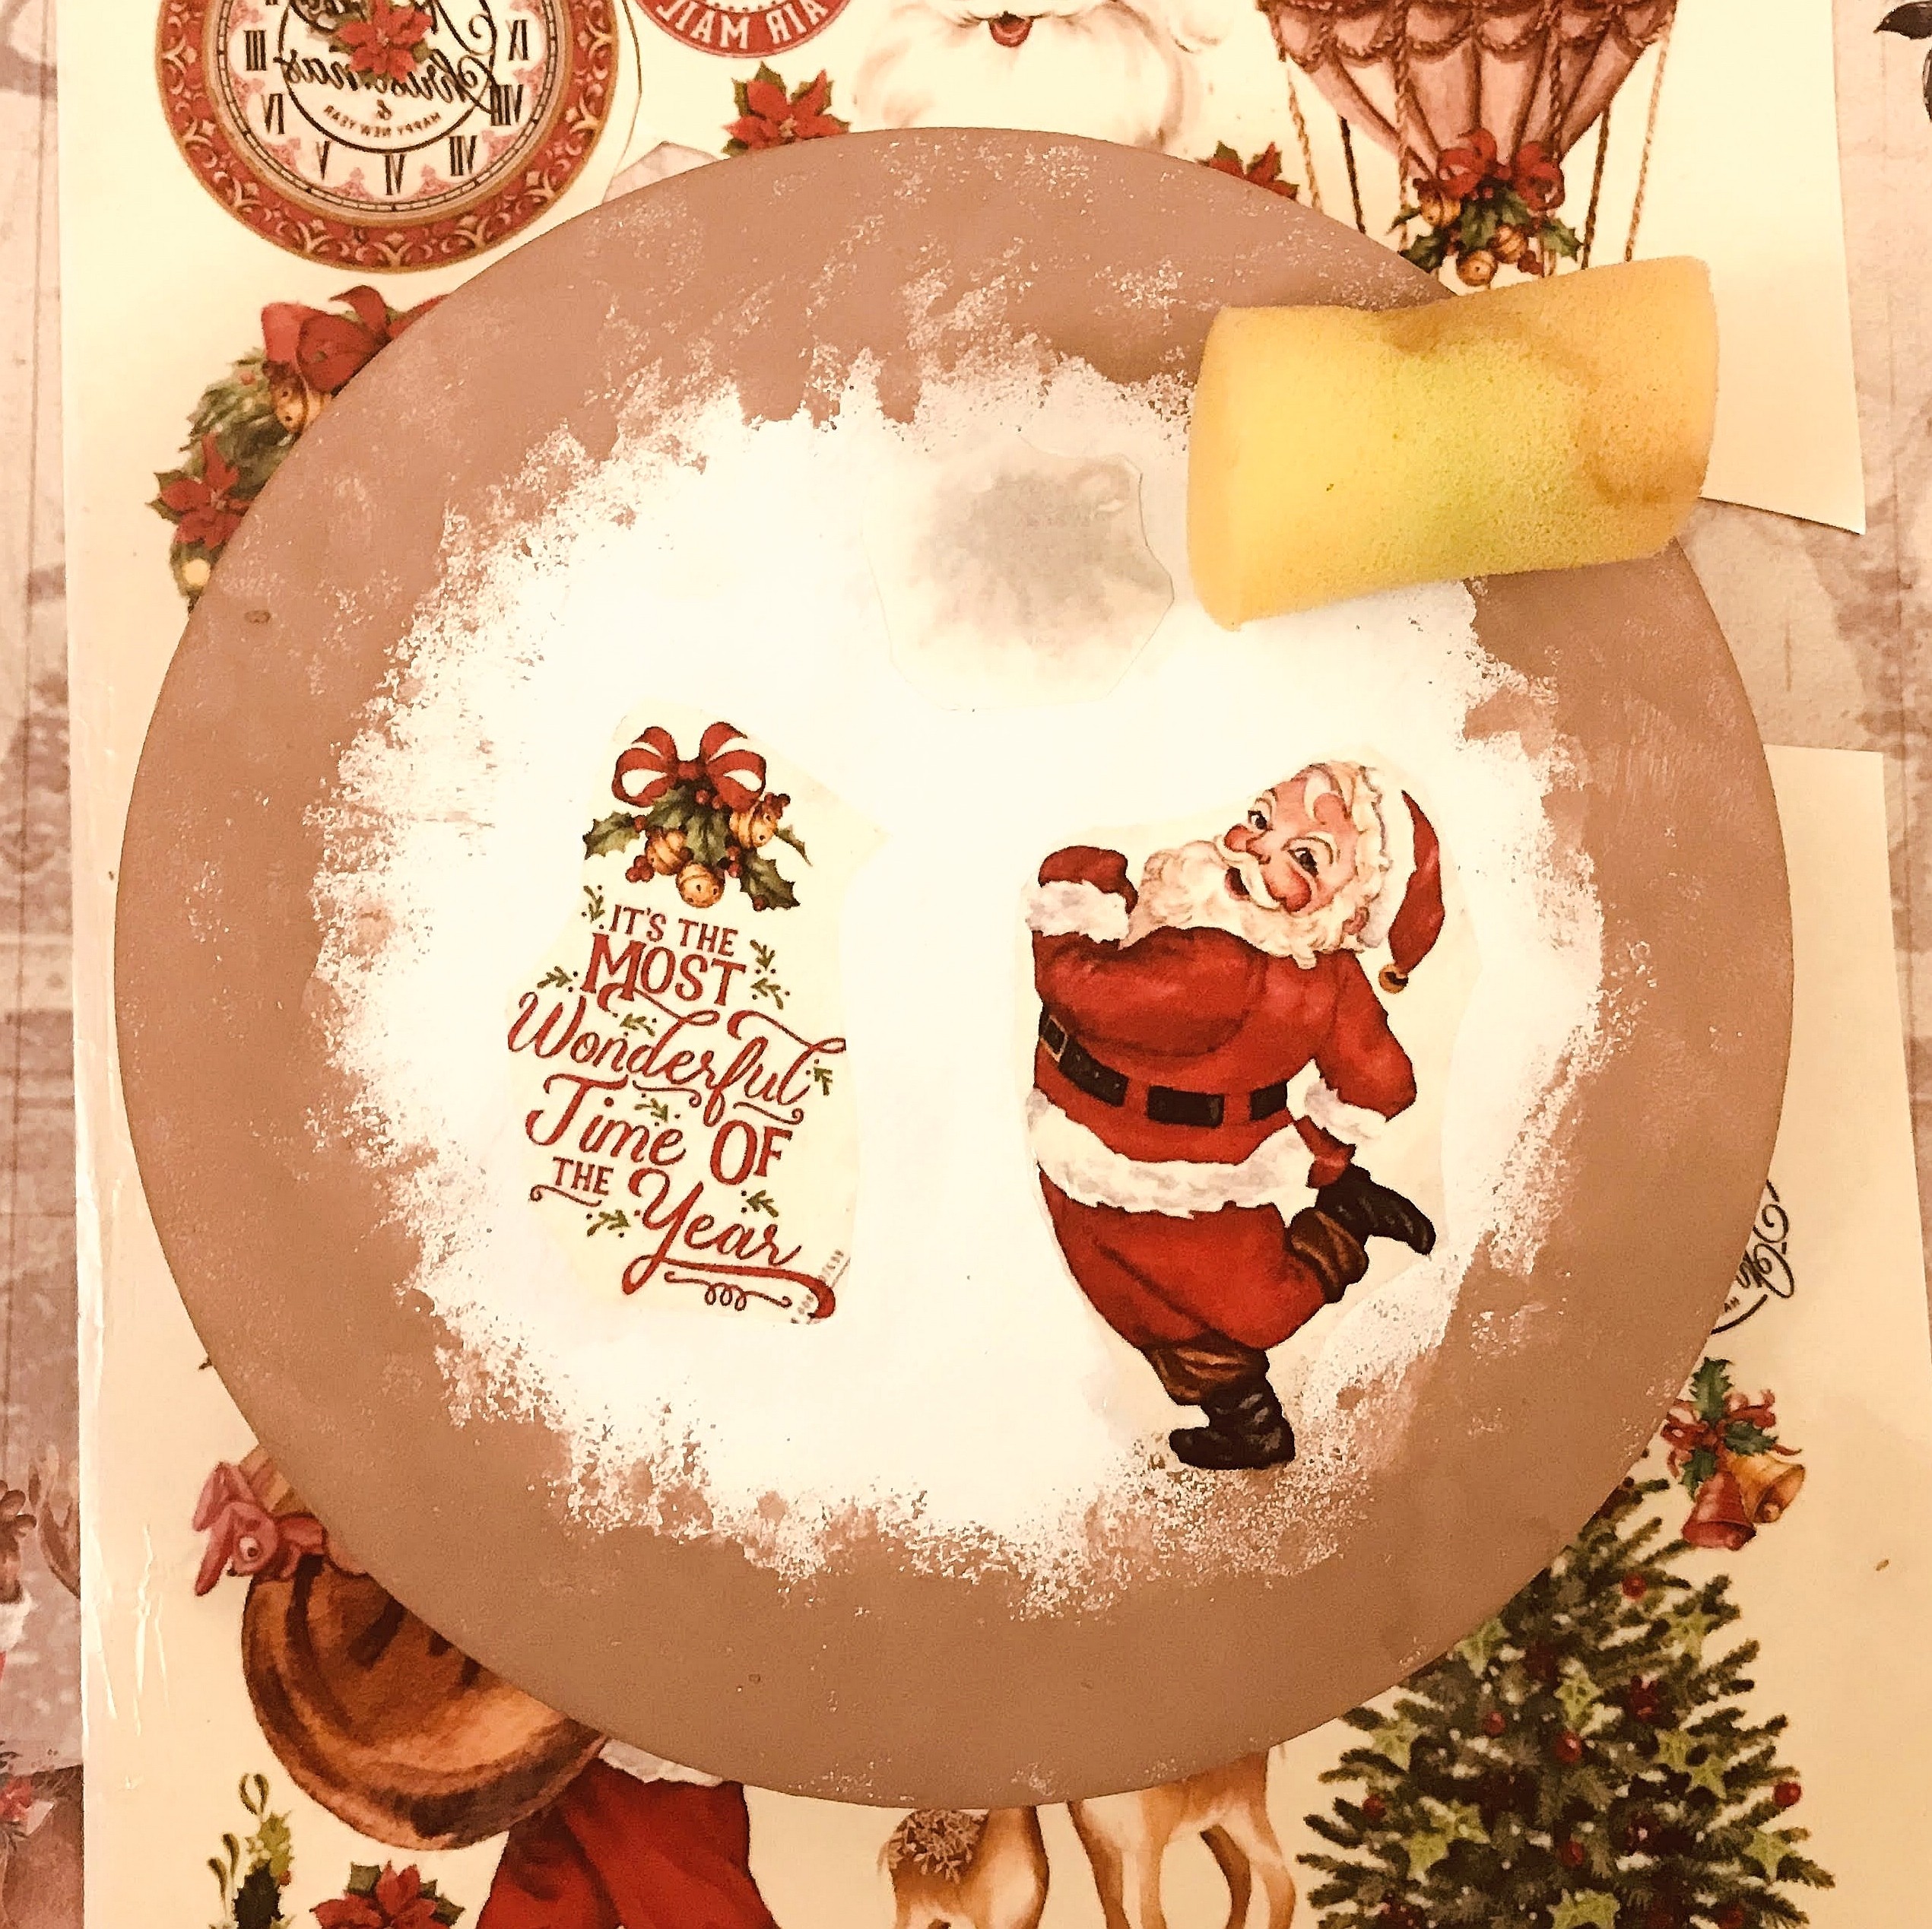
5.Cut out desired images from Deco Transfer sheet -Jingle all the way. Peel and apply on the white portion of the stand. Dab it with a damp sponge and gently peel of the paper. Let it dry
6.Apply small dots and stars using a permanent metallic golden maker. Apply a coat of decor varnish once everything is dry.
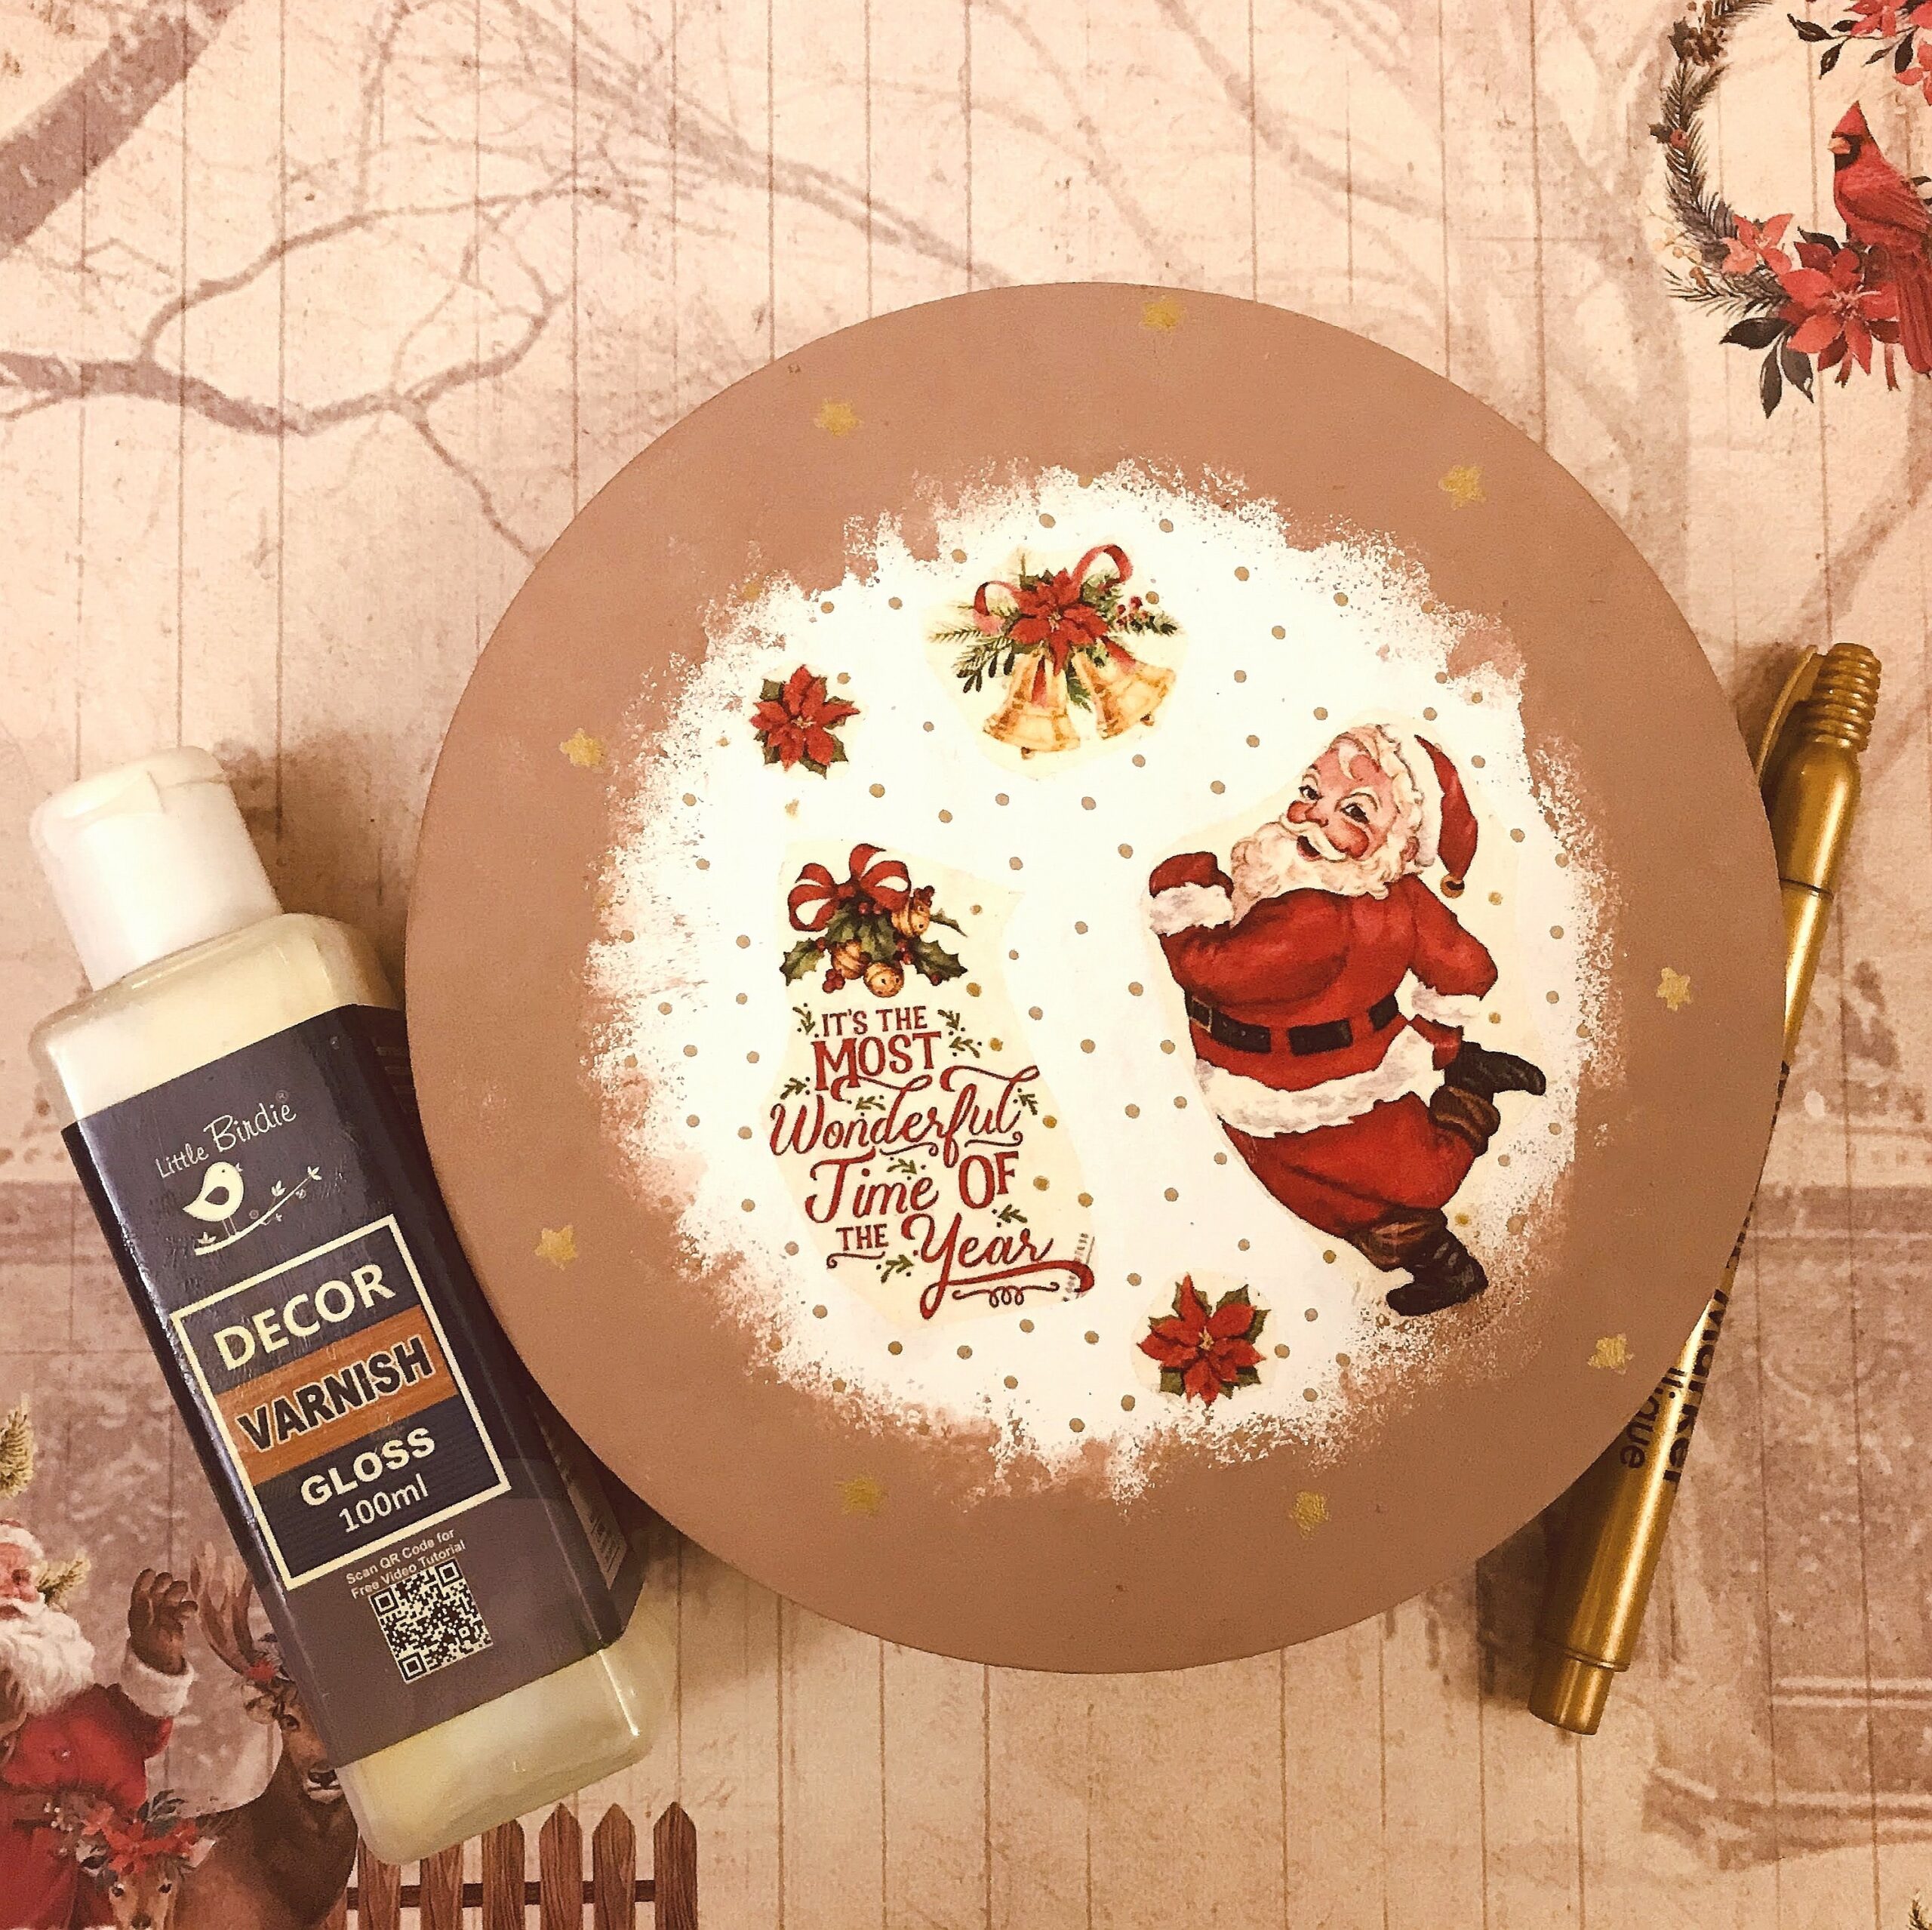
See how festive it is!
3.Easy wood slice ornaments
I love the rustic charm of natural wood slice ornaments. It gives beautiful vintage charm to your Christmas tree. But what if you don’t have the time to draw and handpaint each one of them. Deco Transfers are perfect for these.
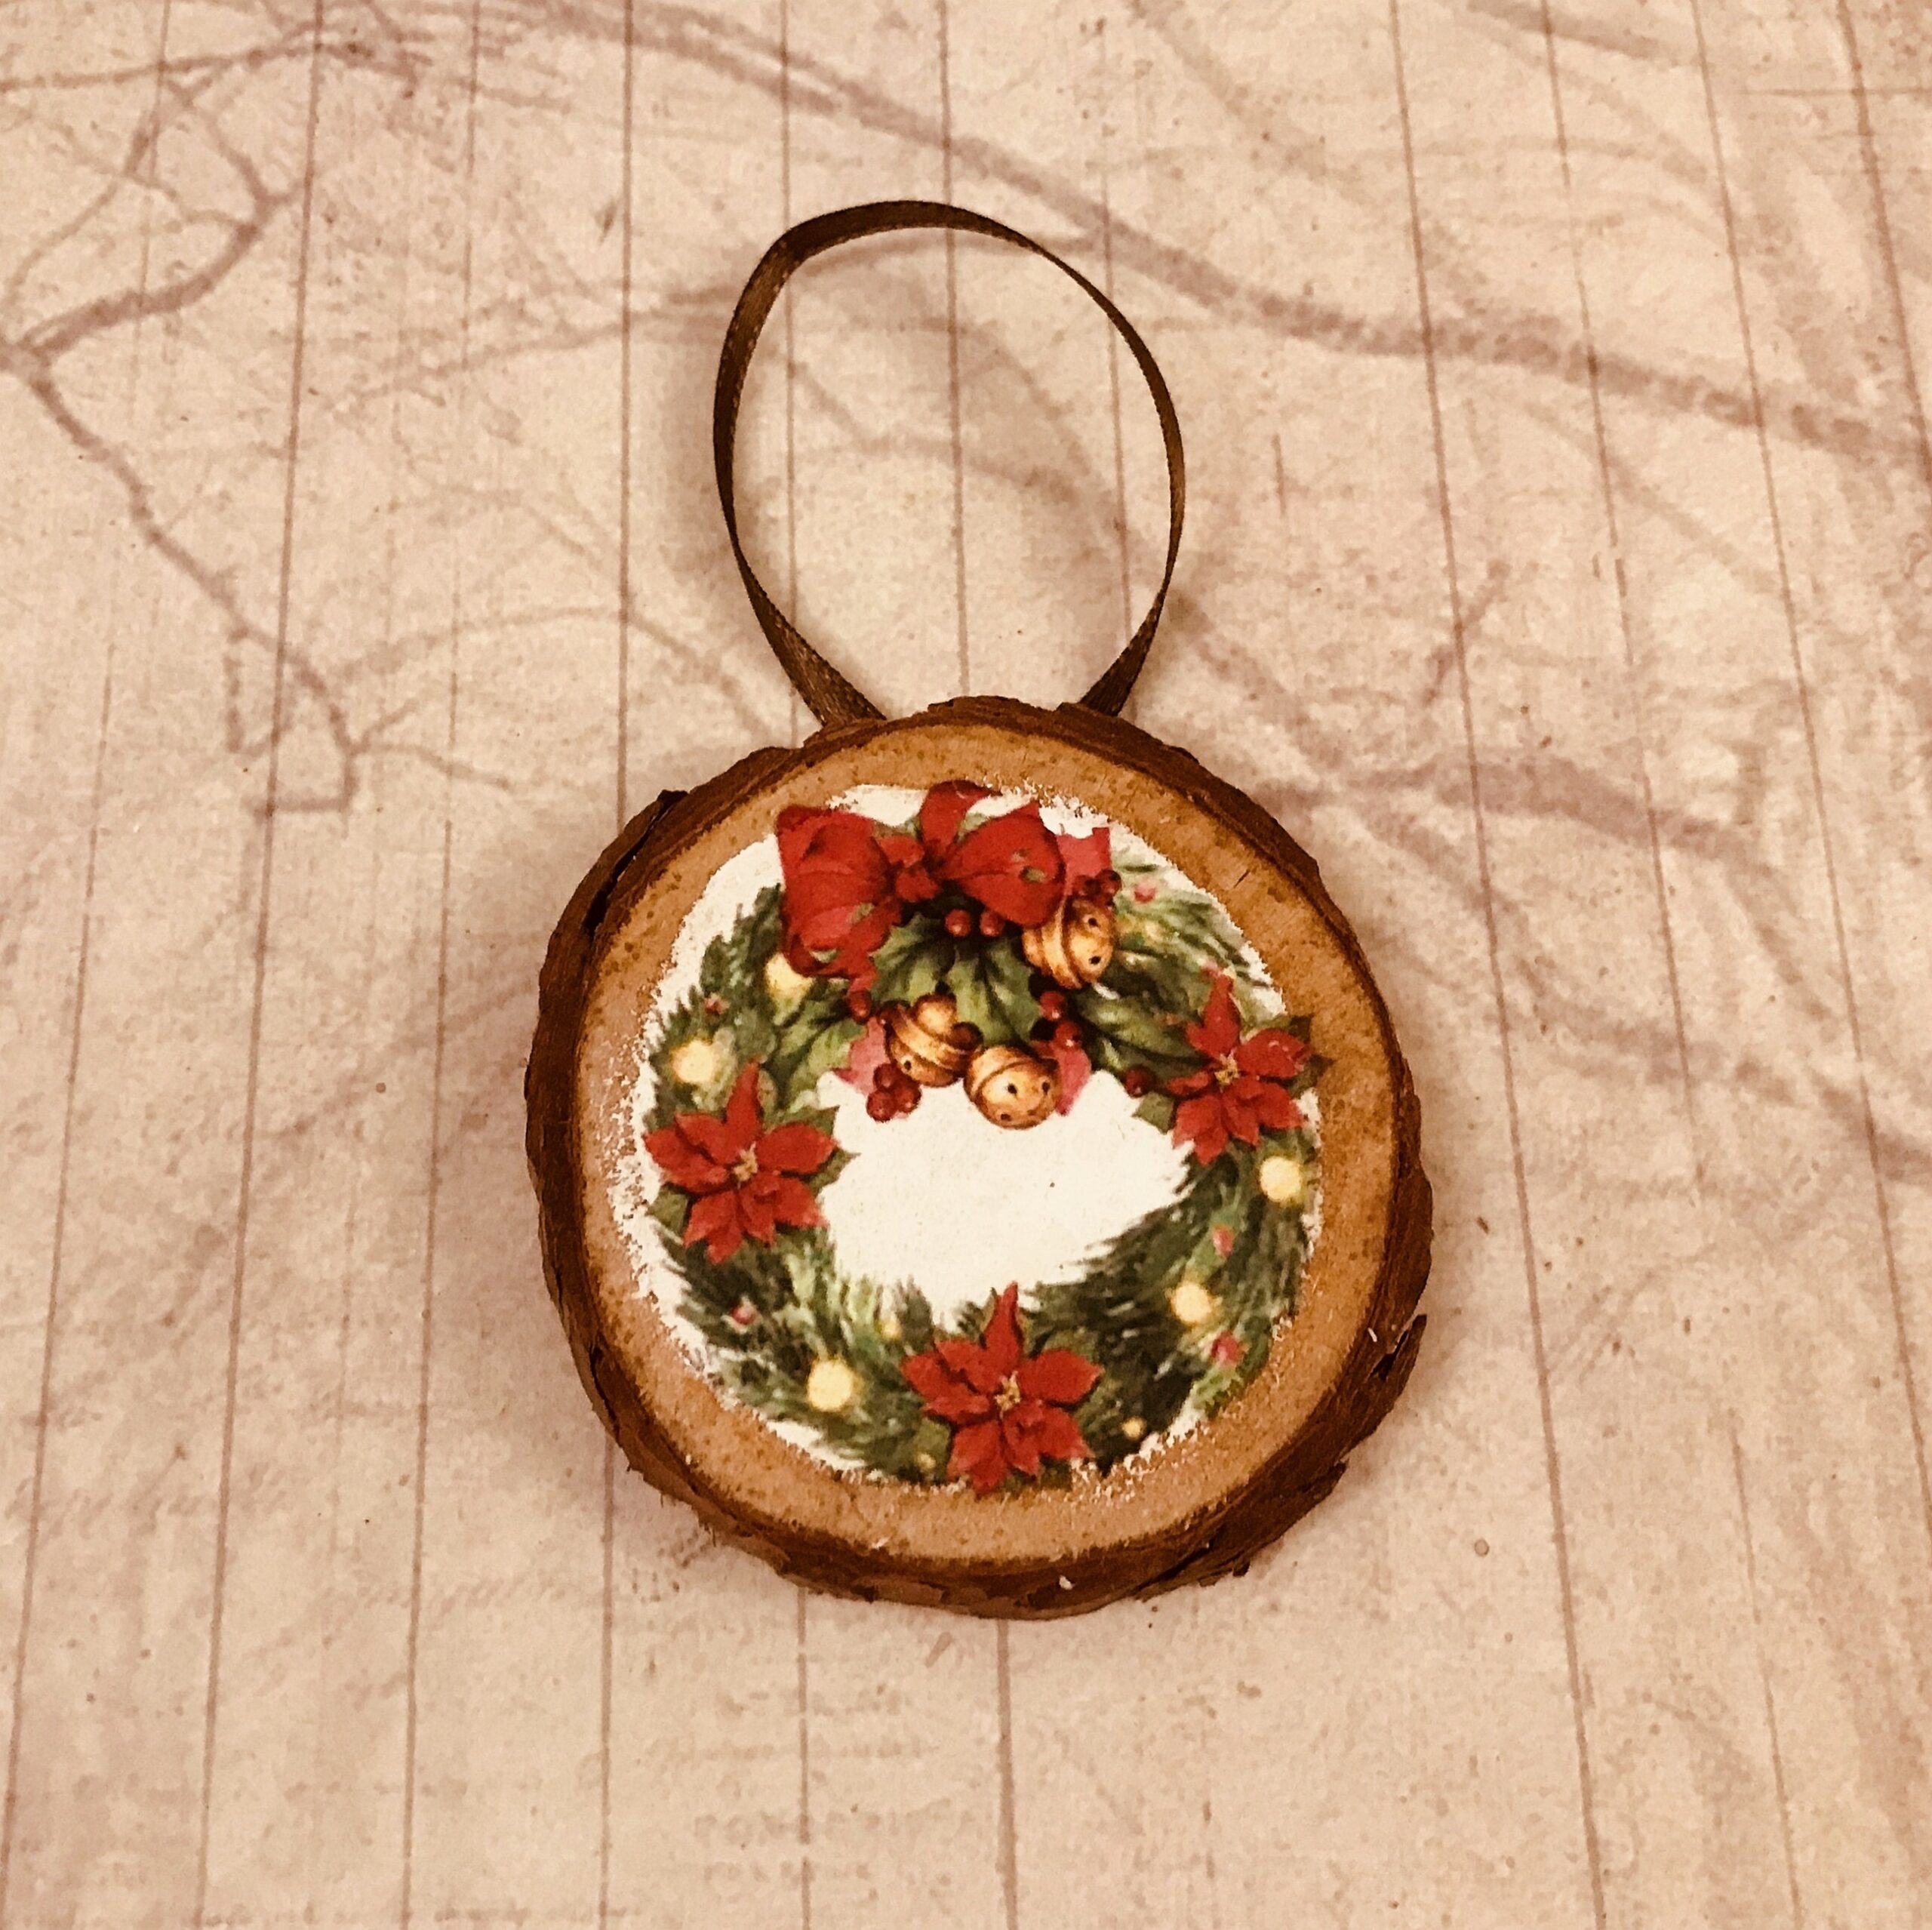
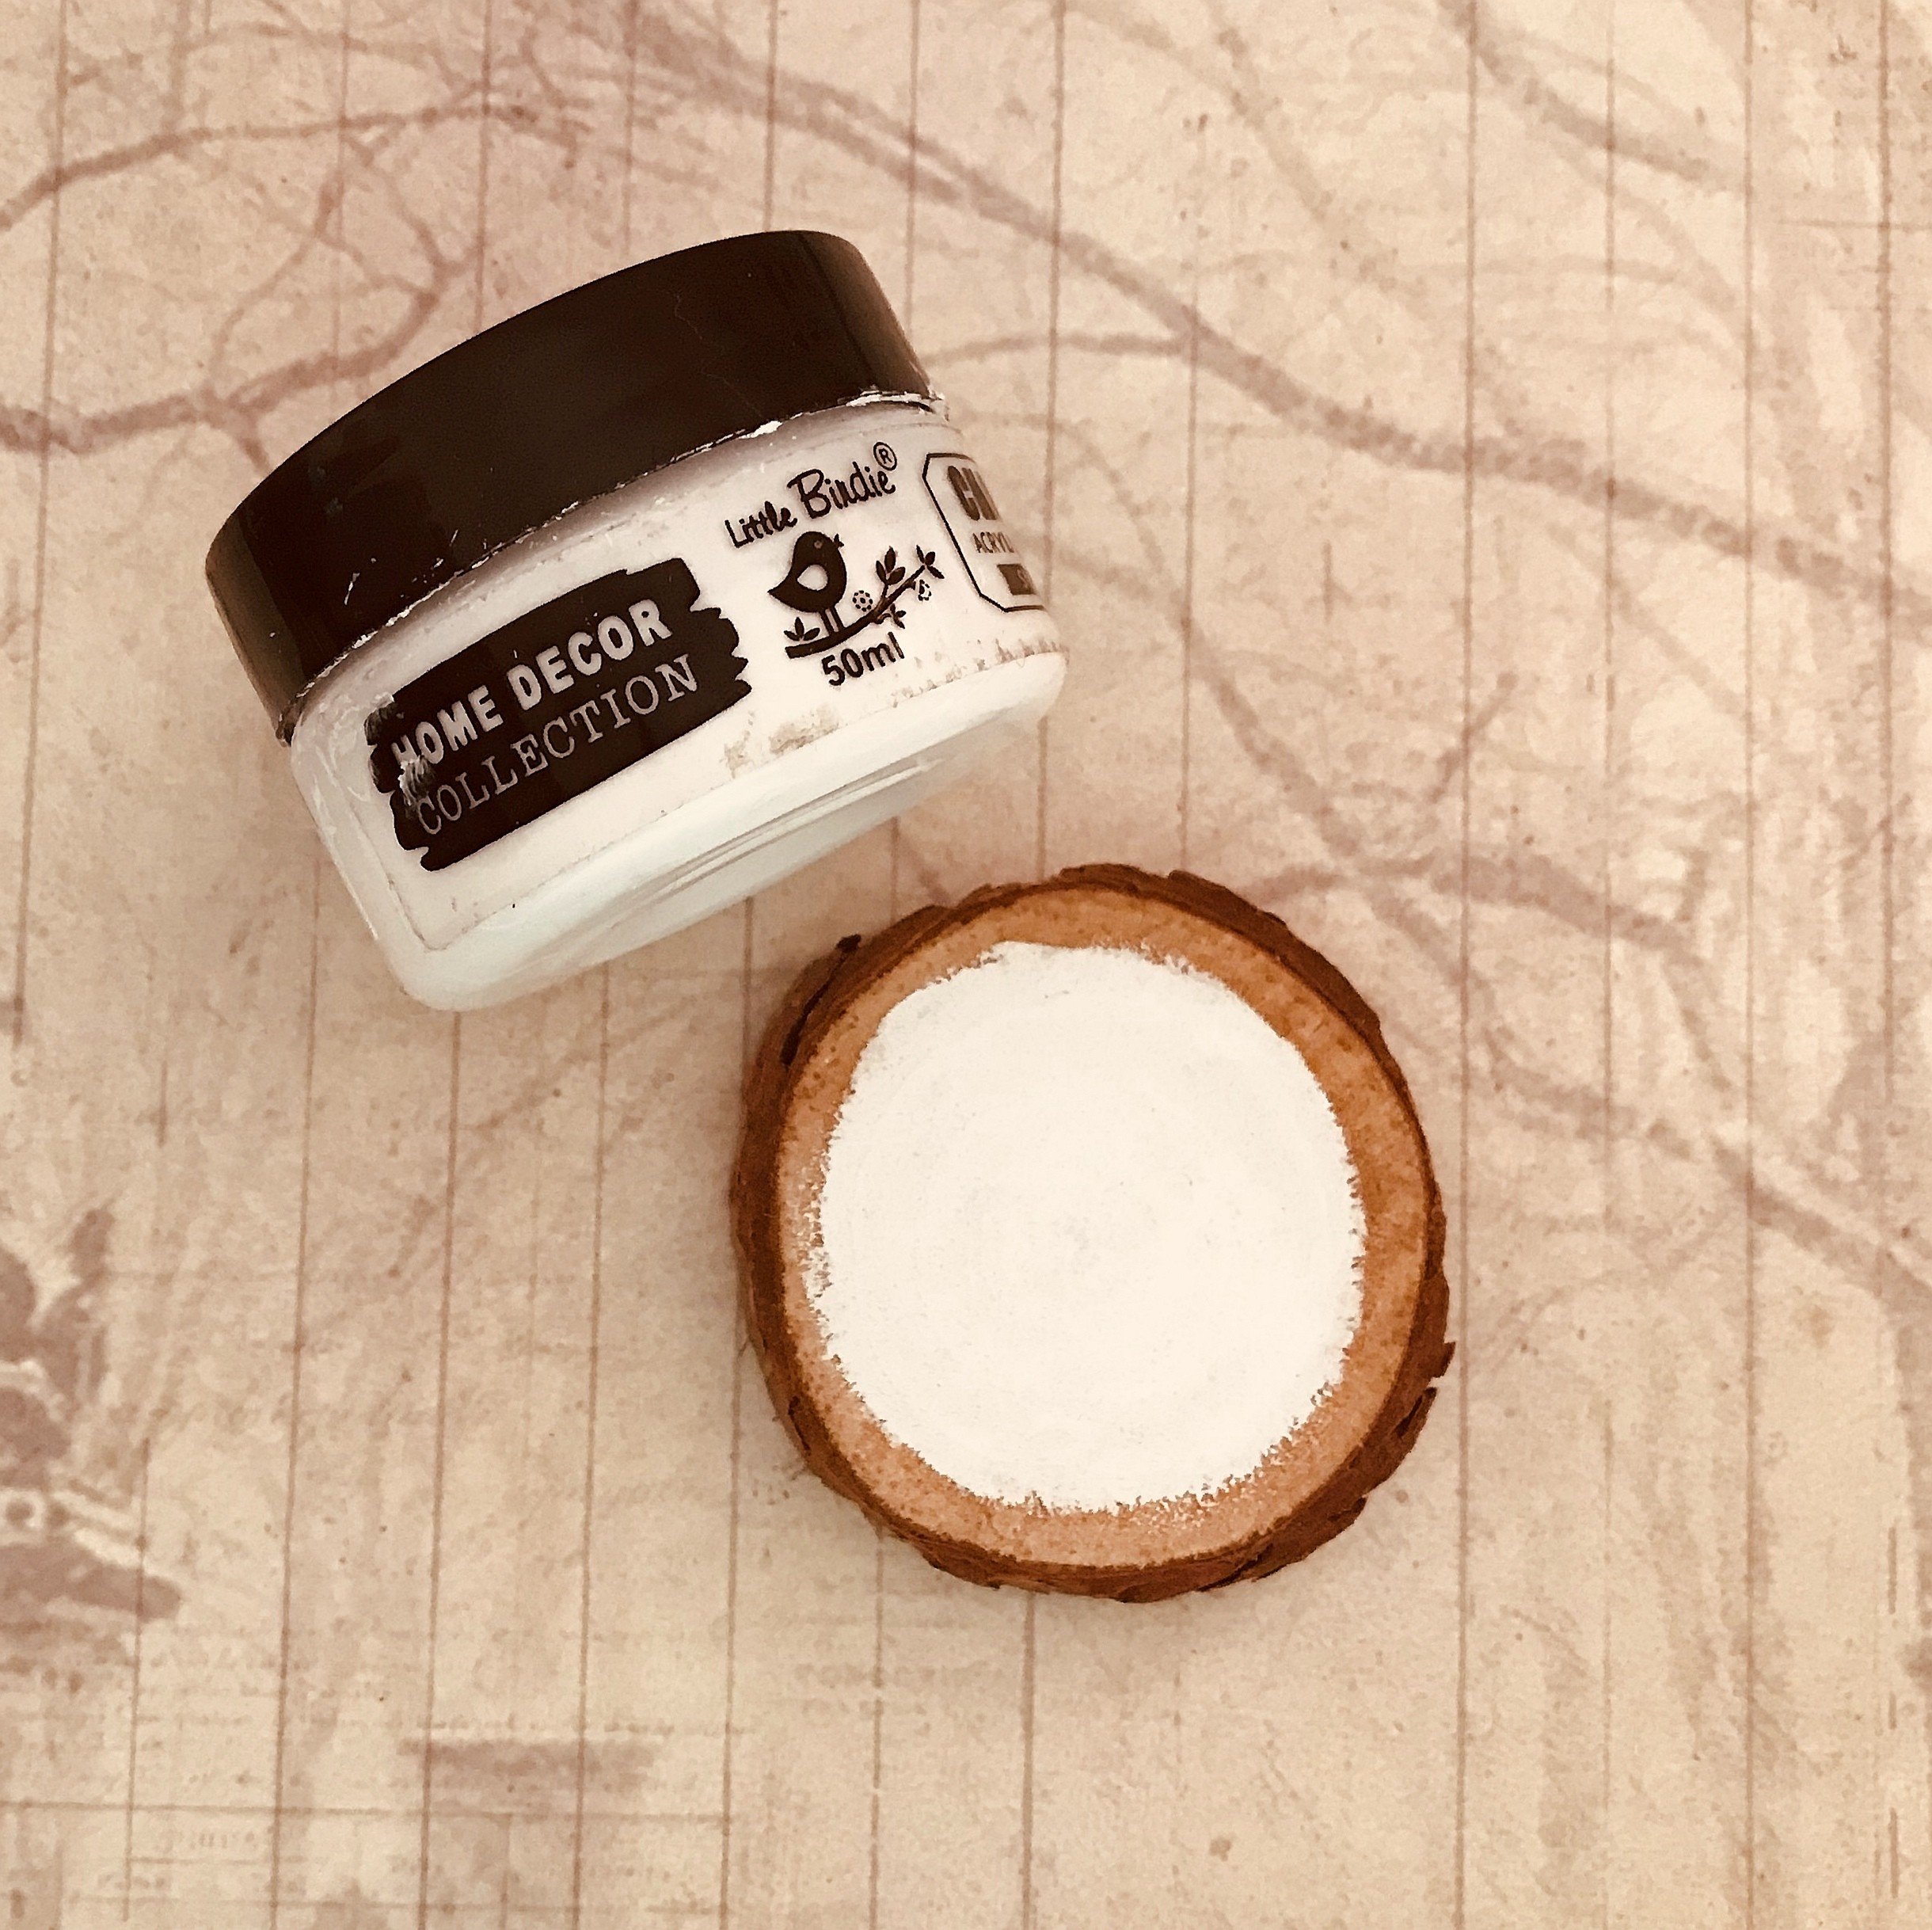
1.Paint the wood centre with chalk paint – Snow. Let it dry.
2.Cut out the desired designs from Deco Transfer sheets. Remove the protective film and stick on the wood slice.
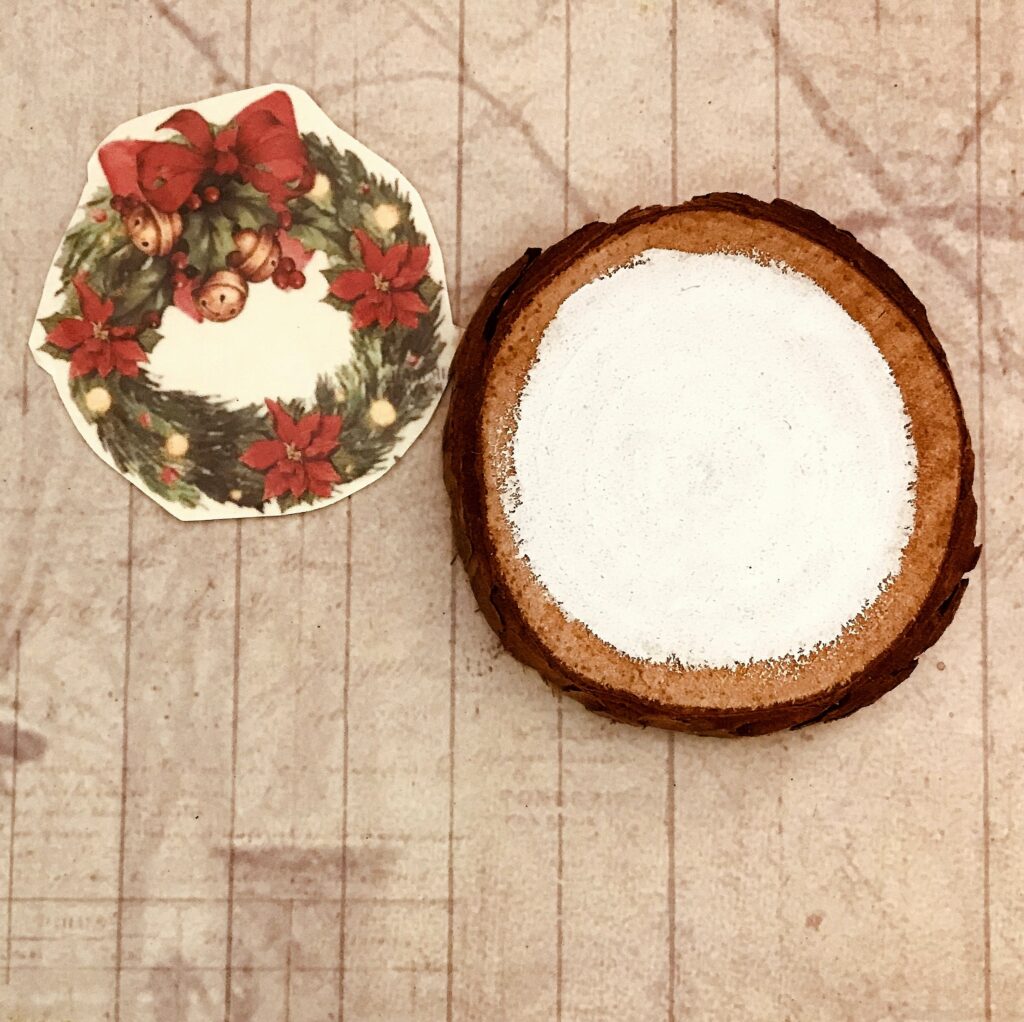
3.Dab gently with a damp sponge. Remove the paper carefully and let it dry. Apply a coat of decor varnish – gloss.

4.Attach a thin satin ribbon with silicone glue at the back. Once dry, the beautiful ornament is ready.
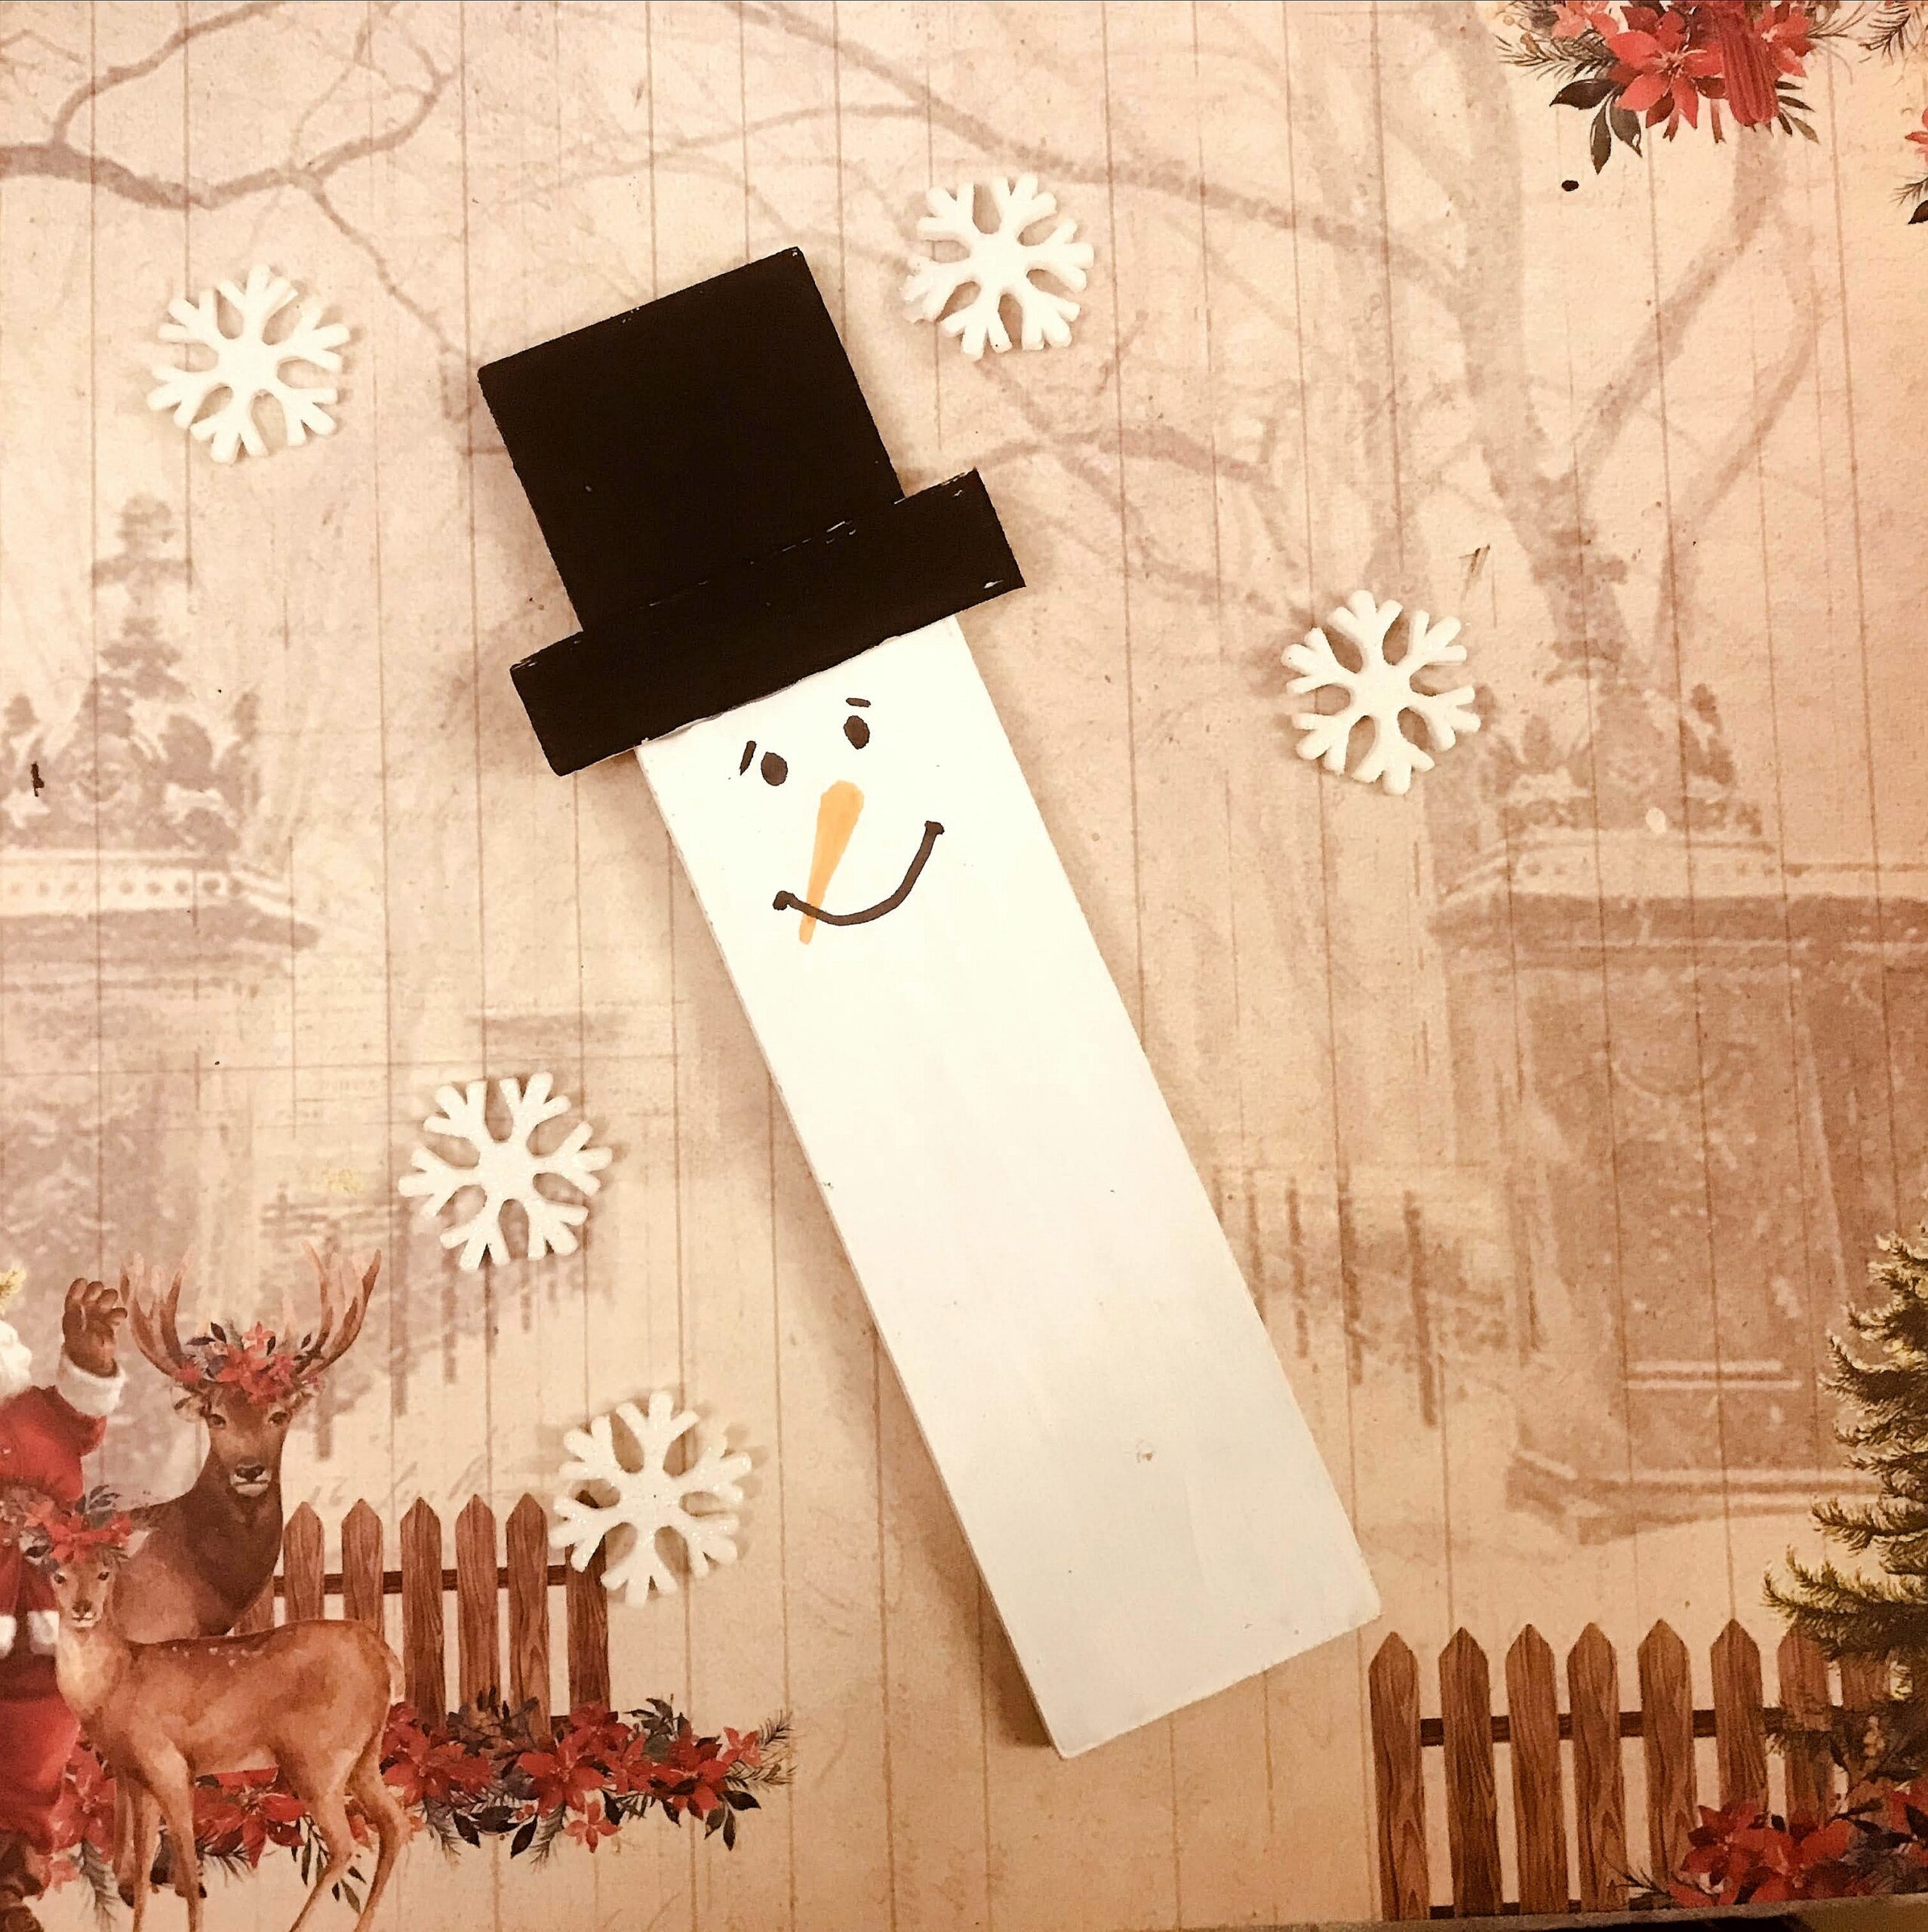
4.Cute snowman fridge magnet
This snowman is Oh so cute! It also makes a perfect gift.
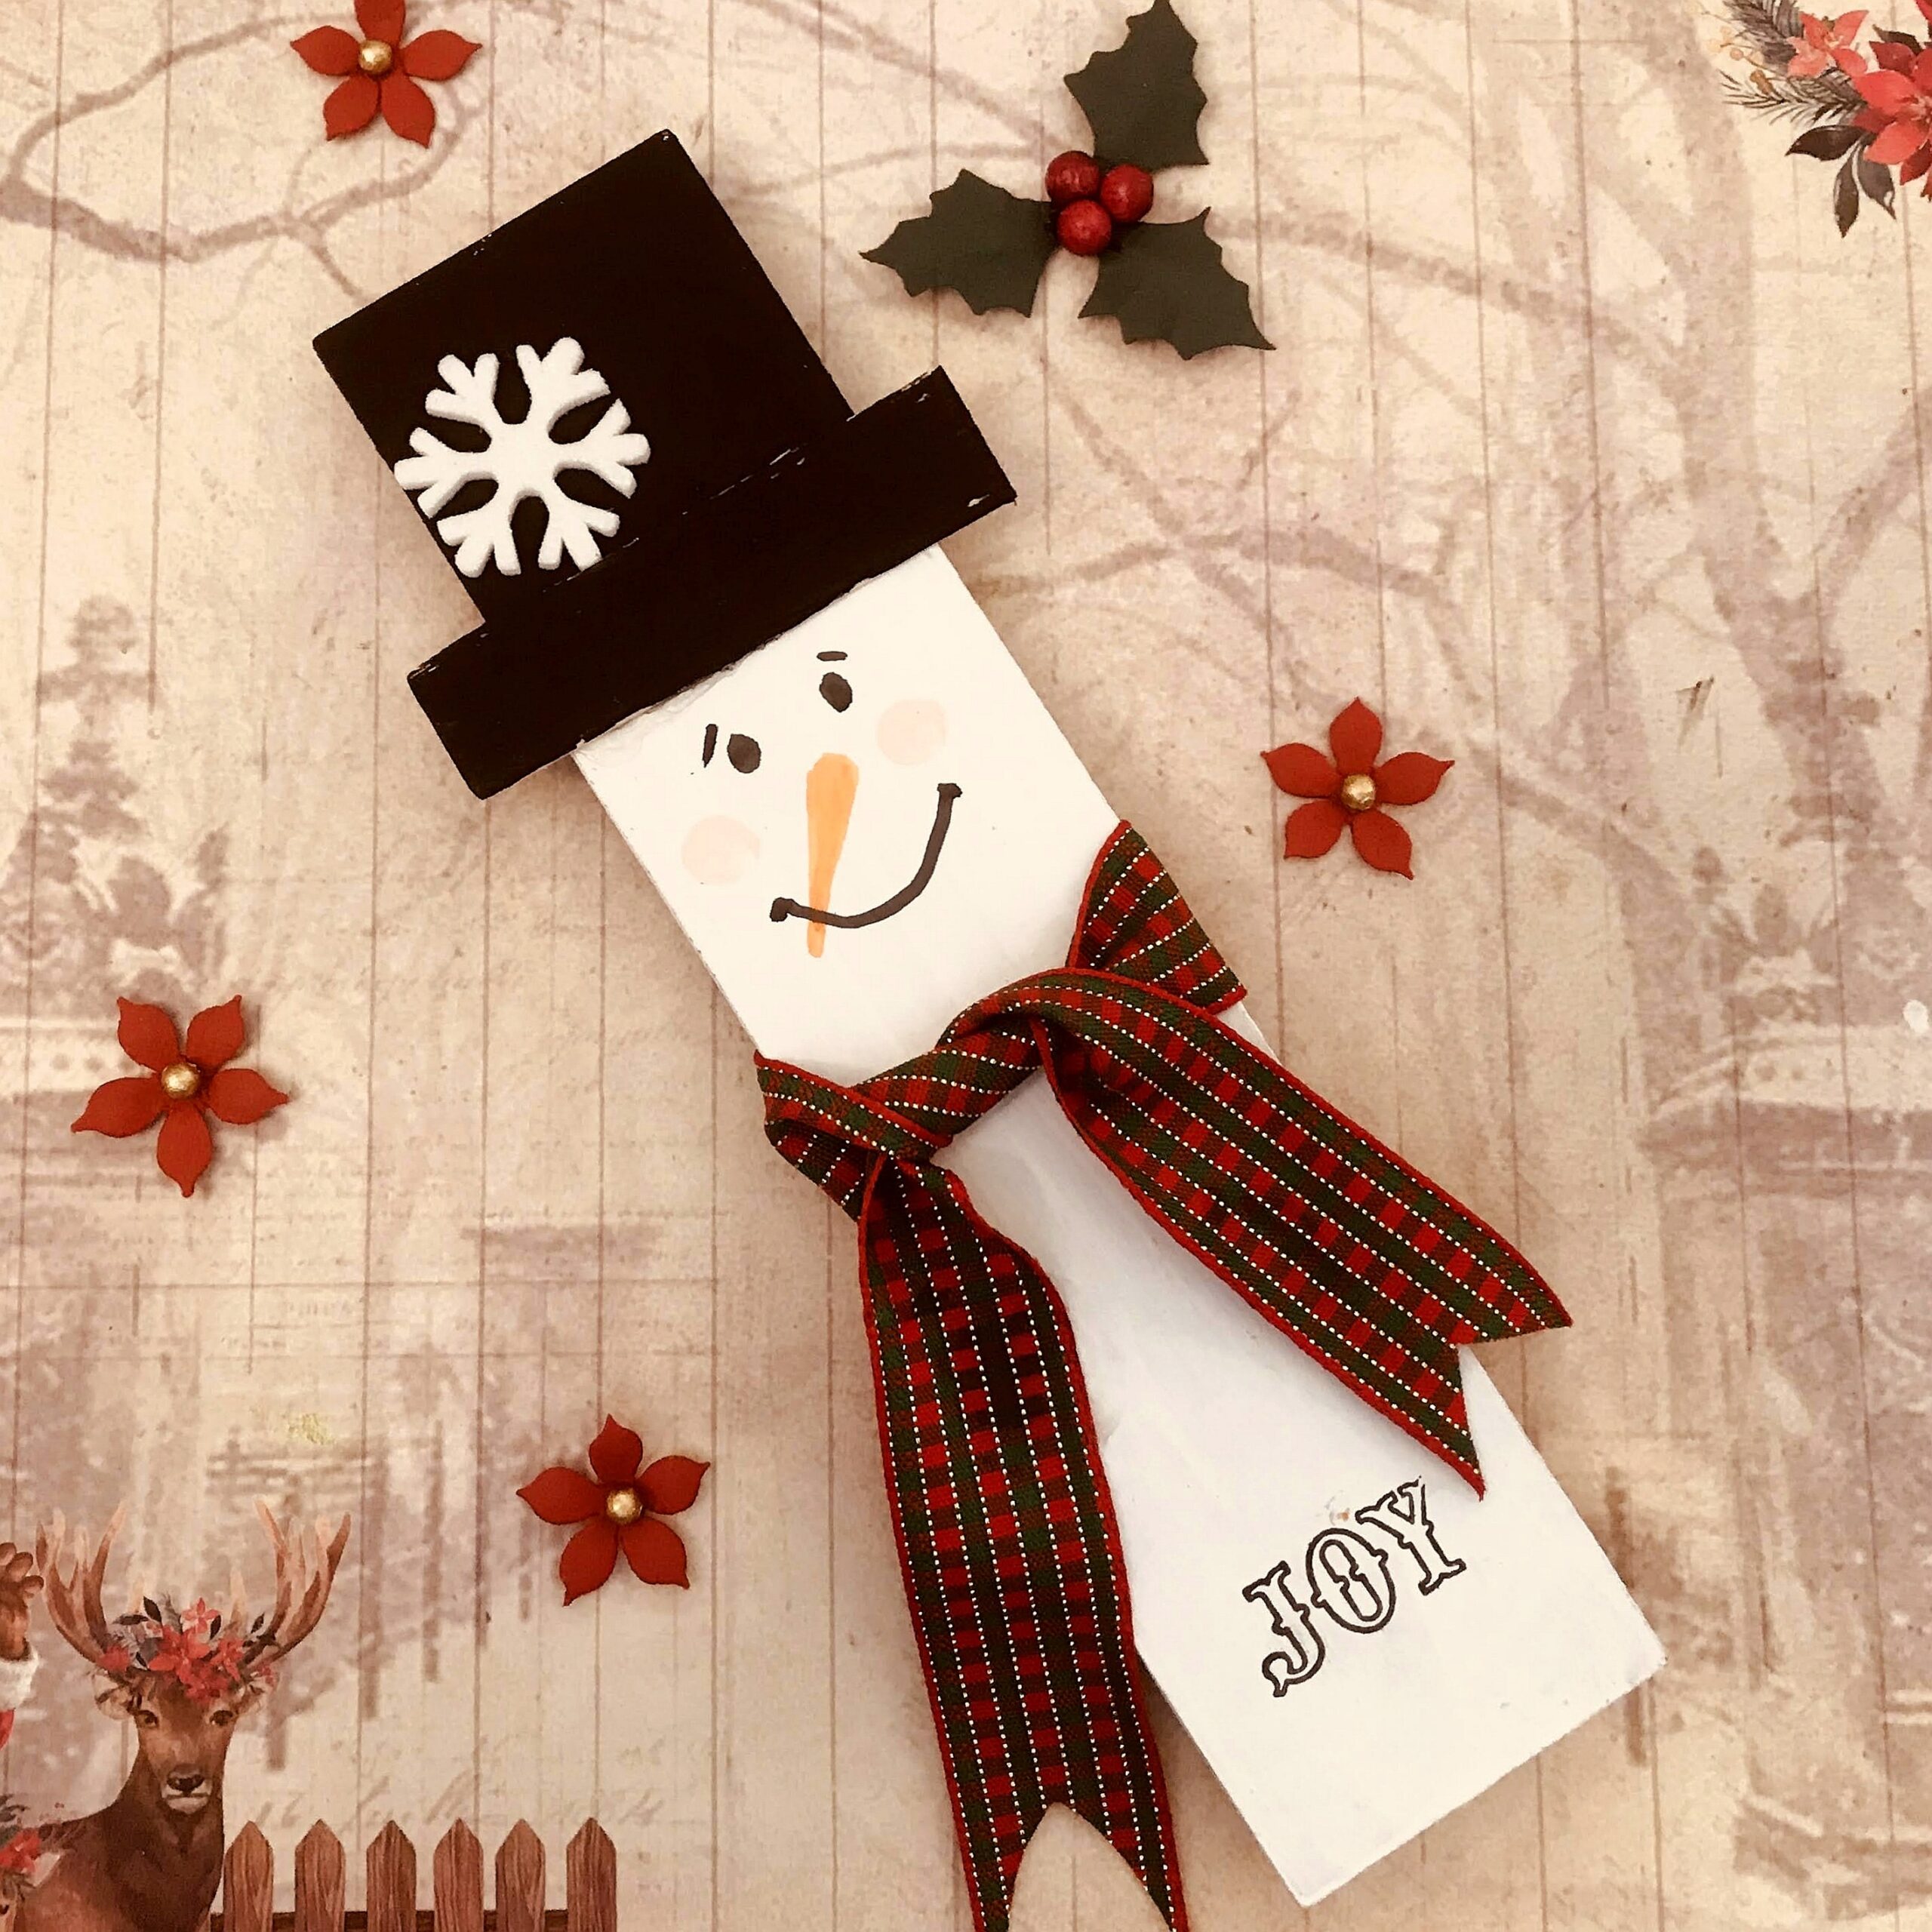
1.Paint the rectangular MDF piece with chalk paint – Snow. Once dry, paint the the upper 1/4 th with chalk paint – Charcoal (Black).

2.Paint the face and nose with chalk paints or permanent markers.

3.Take a piece of ice-cream stick, cut it to size and glue on the snowman. Let it dry for 15 minutes. Then paint with black chalk paint.
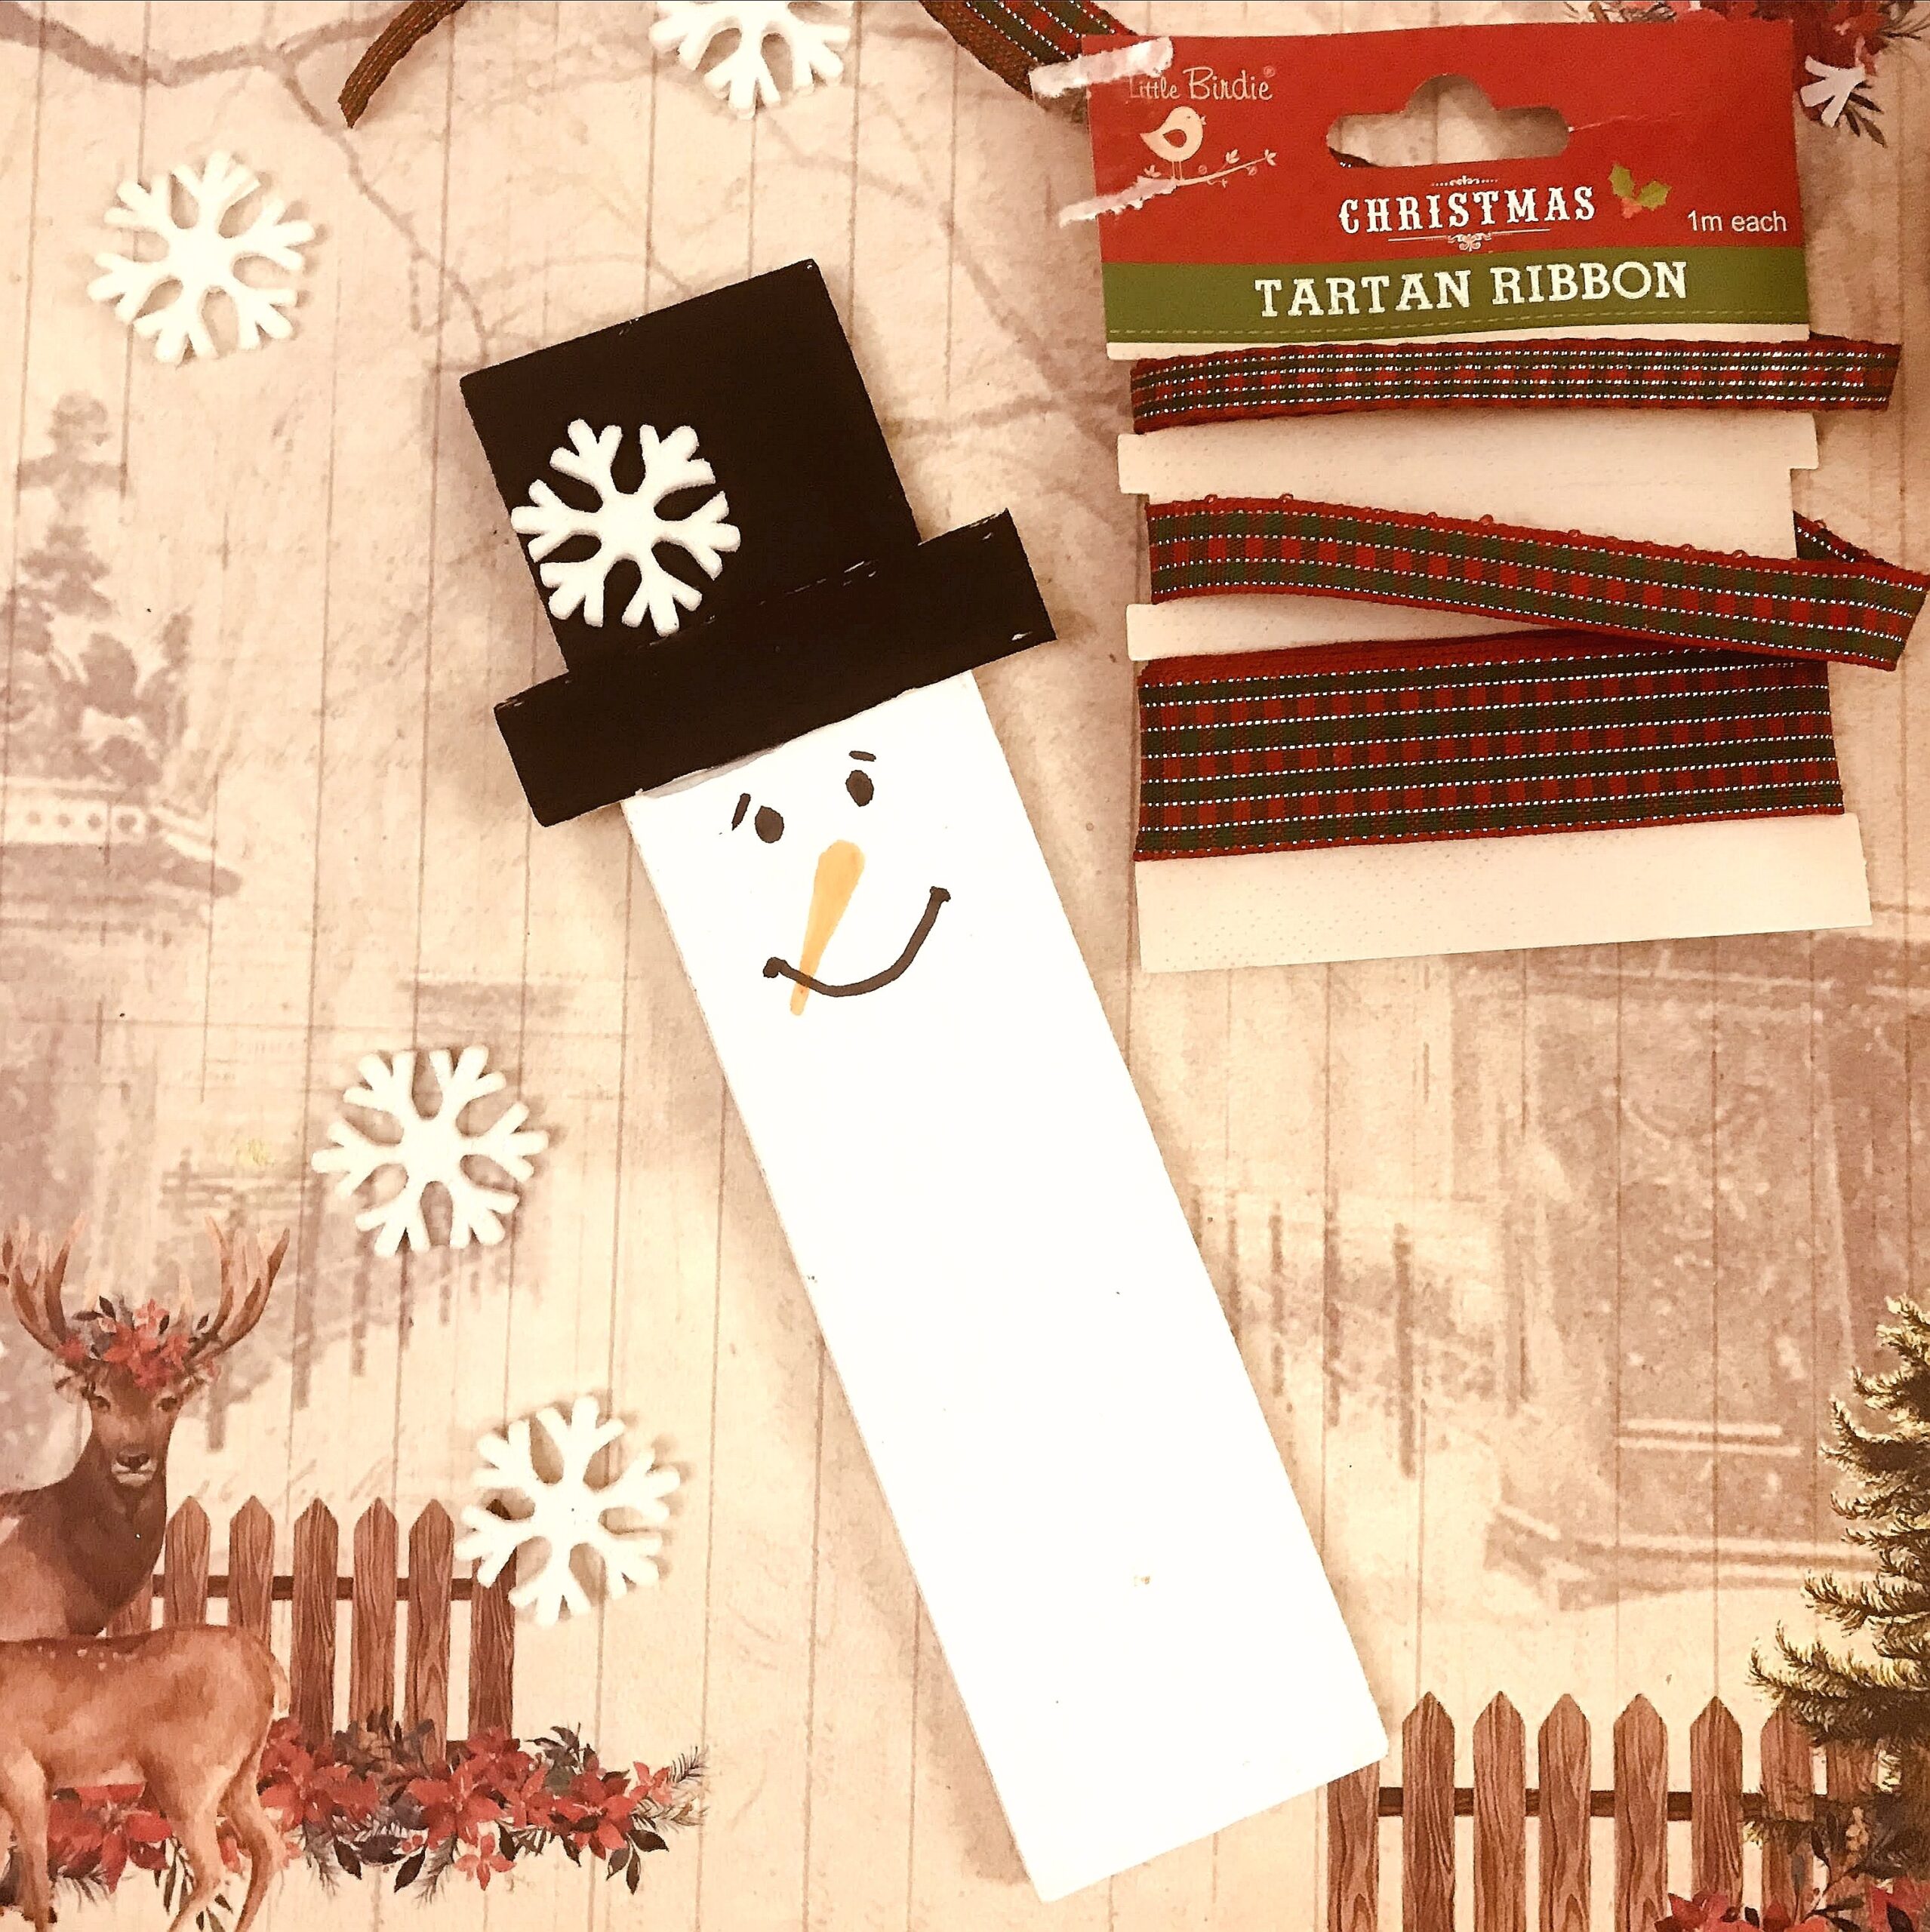
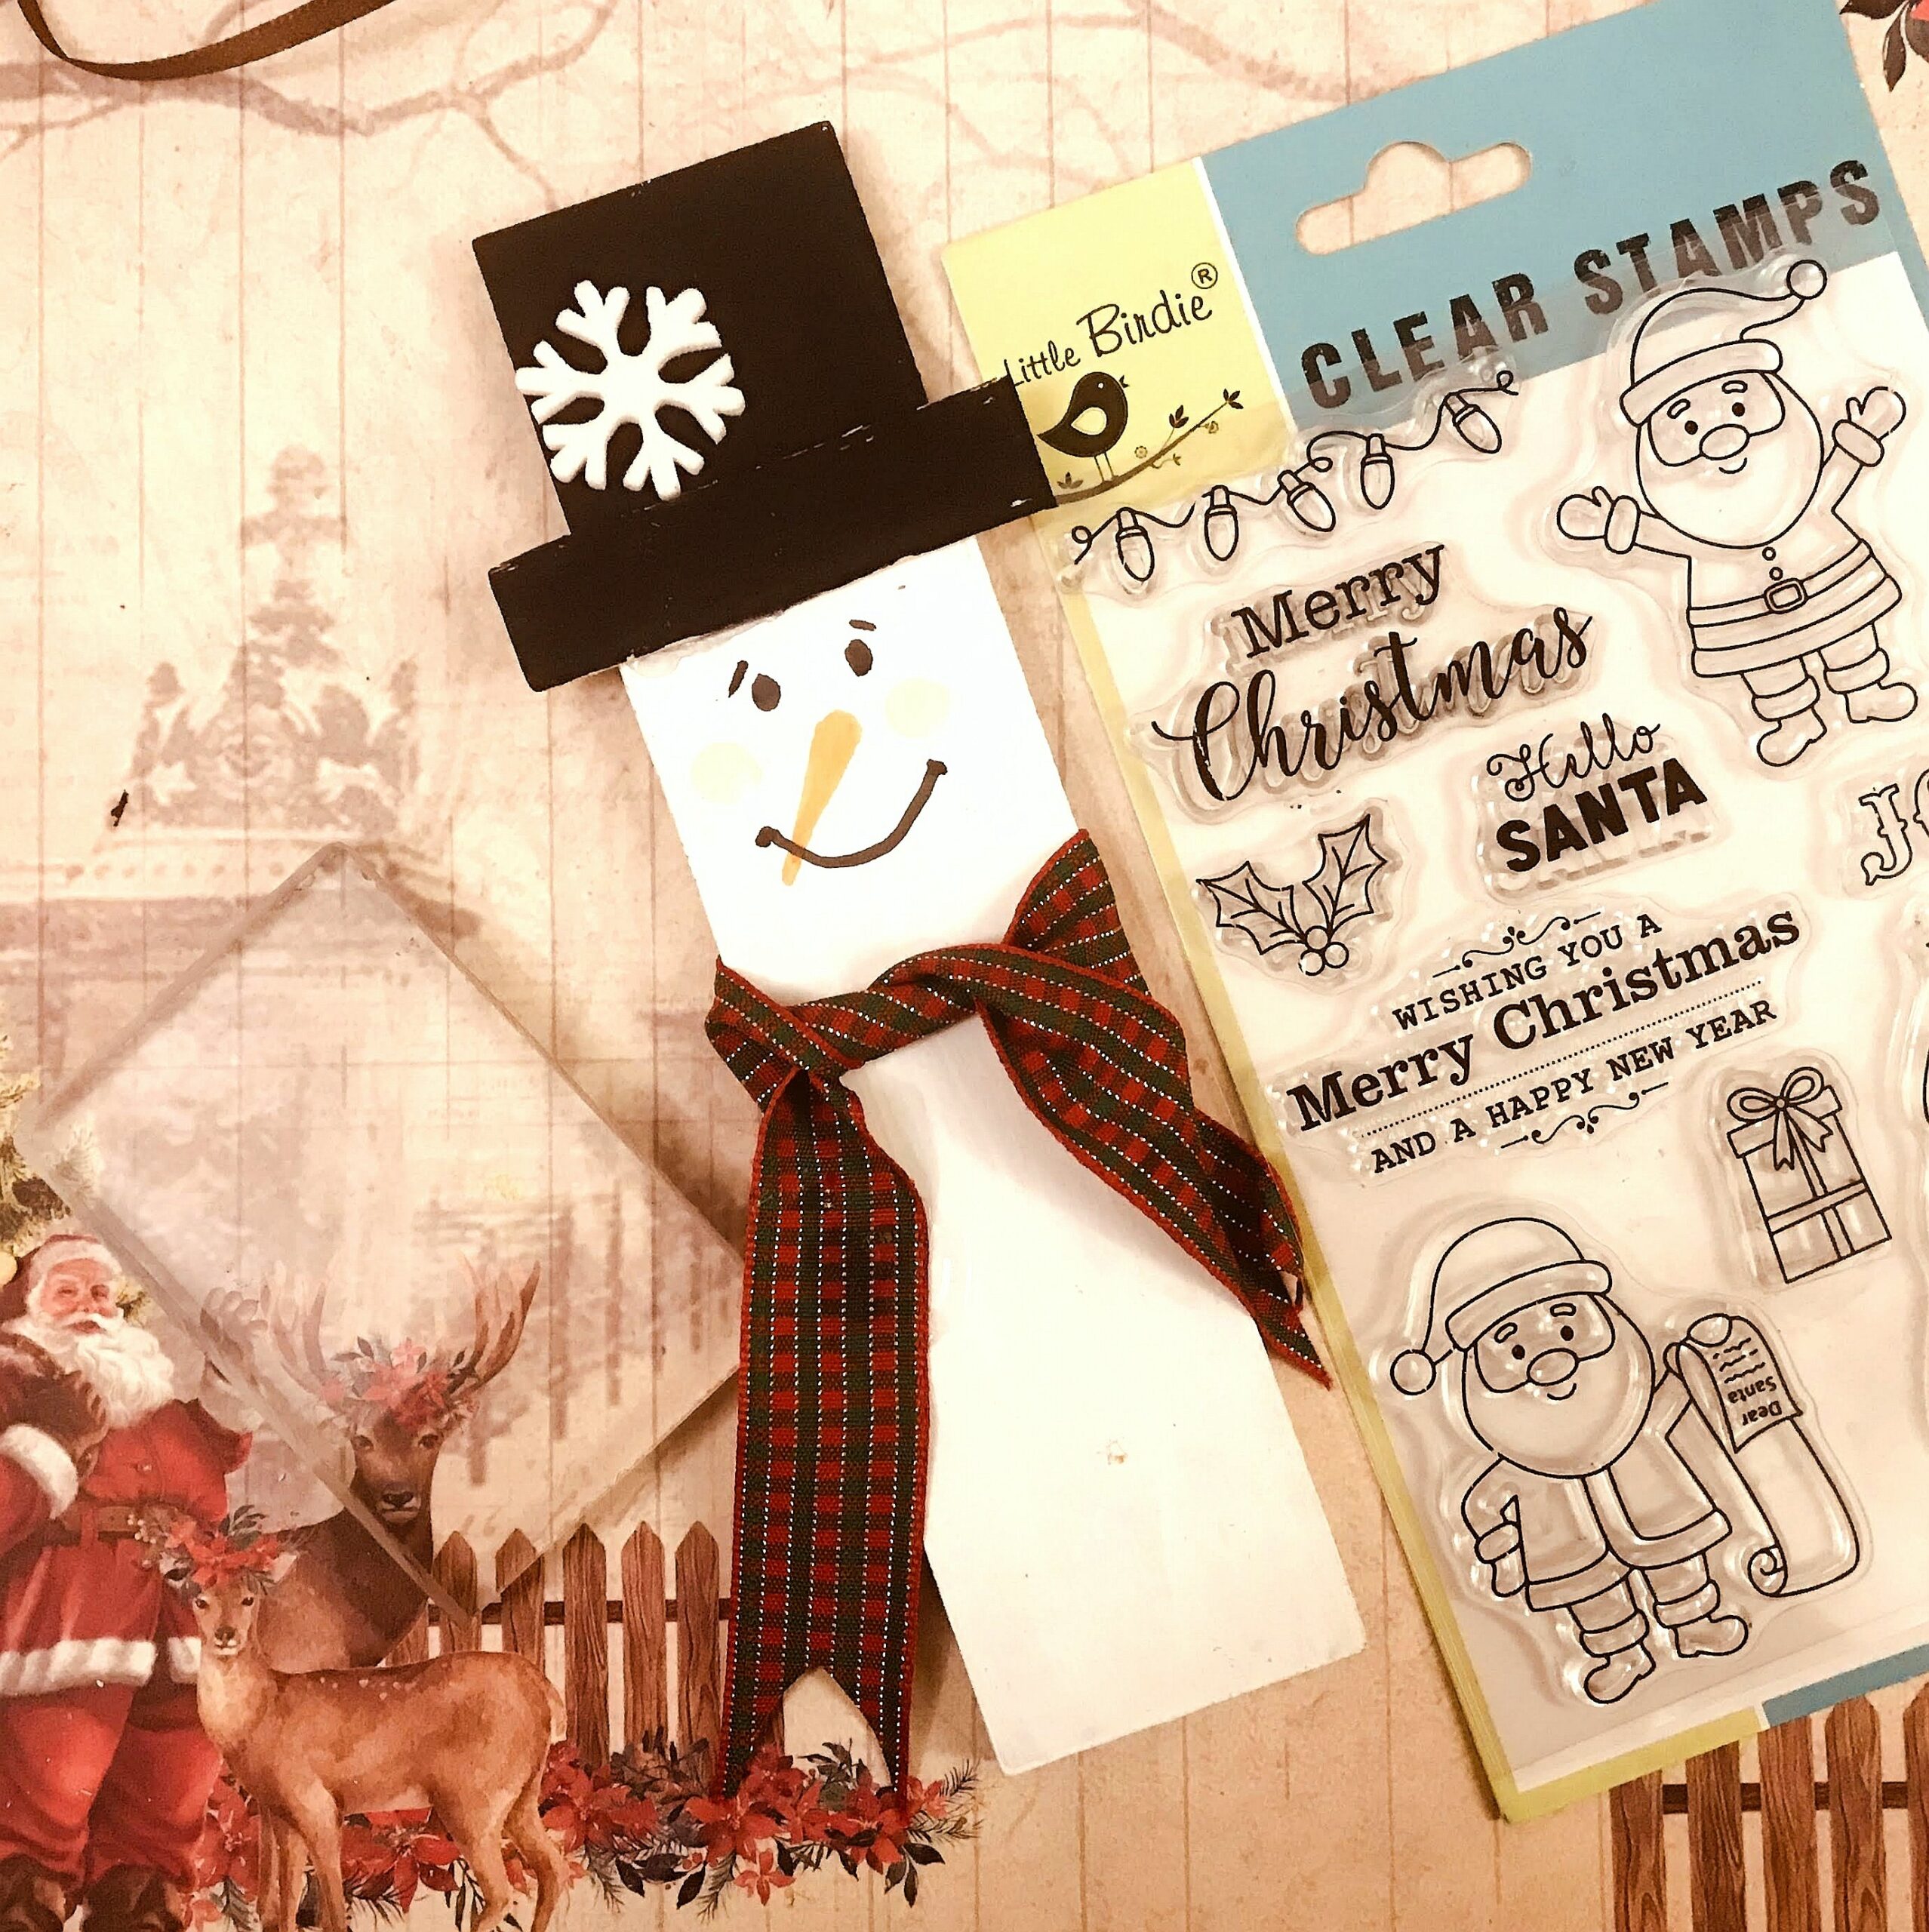
4.Tie a scarf with Christmas Tartan Ribbon. Glue it in place with super tack glue. Stick a snowflake embllishement on the hat.
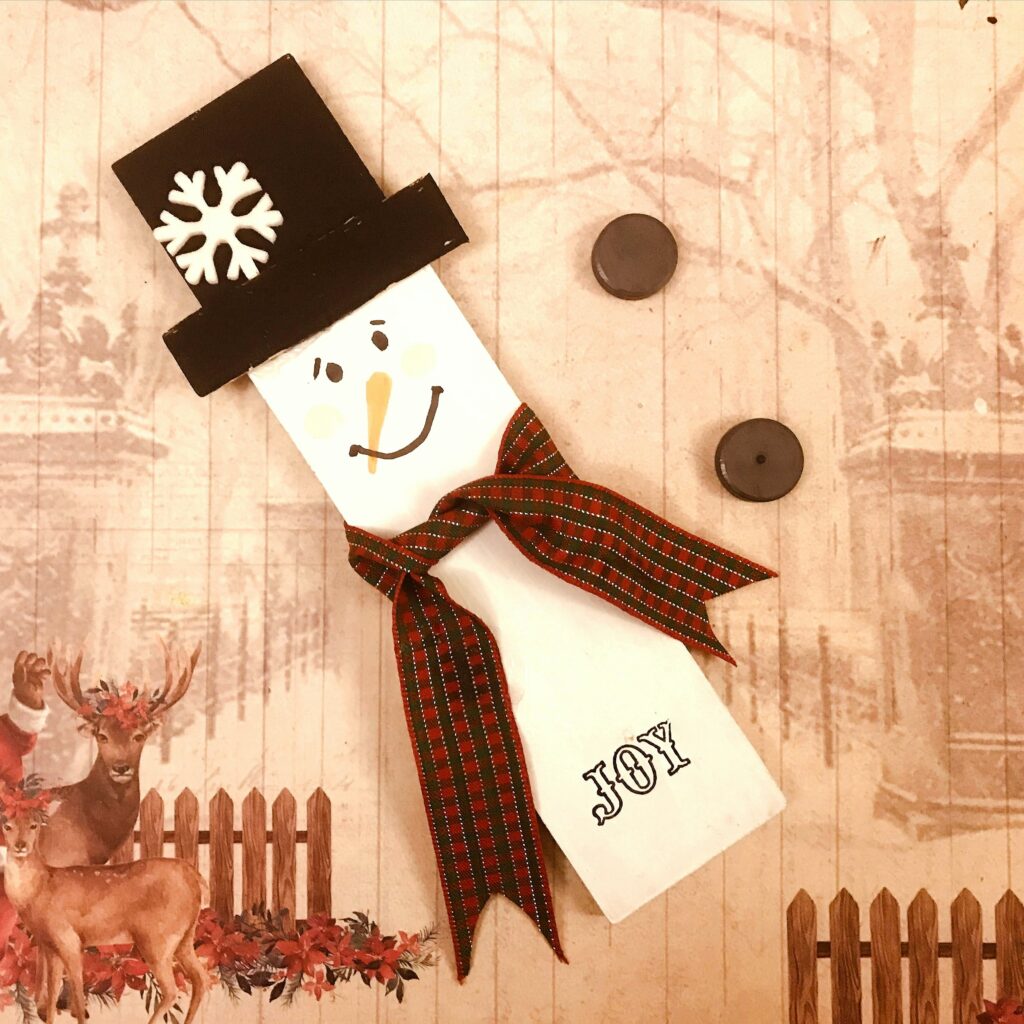
5.Use clear stamp – Christmas Joy and black – Ranger Stamp pad to add a sentiment of Joy.
6.Stick two magnets at the back using super high tack glue and let it dry. The super cute DIY fridge magnet is done!
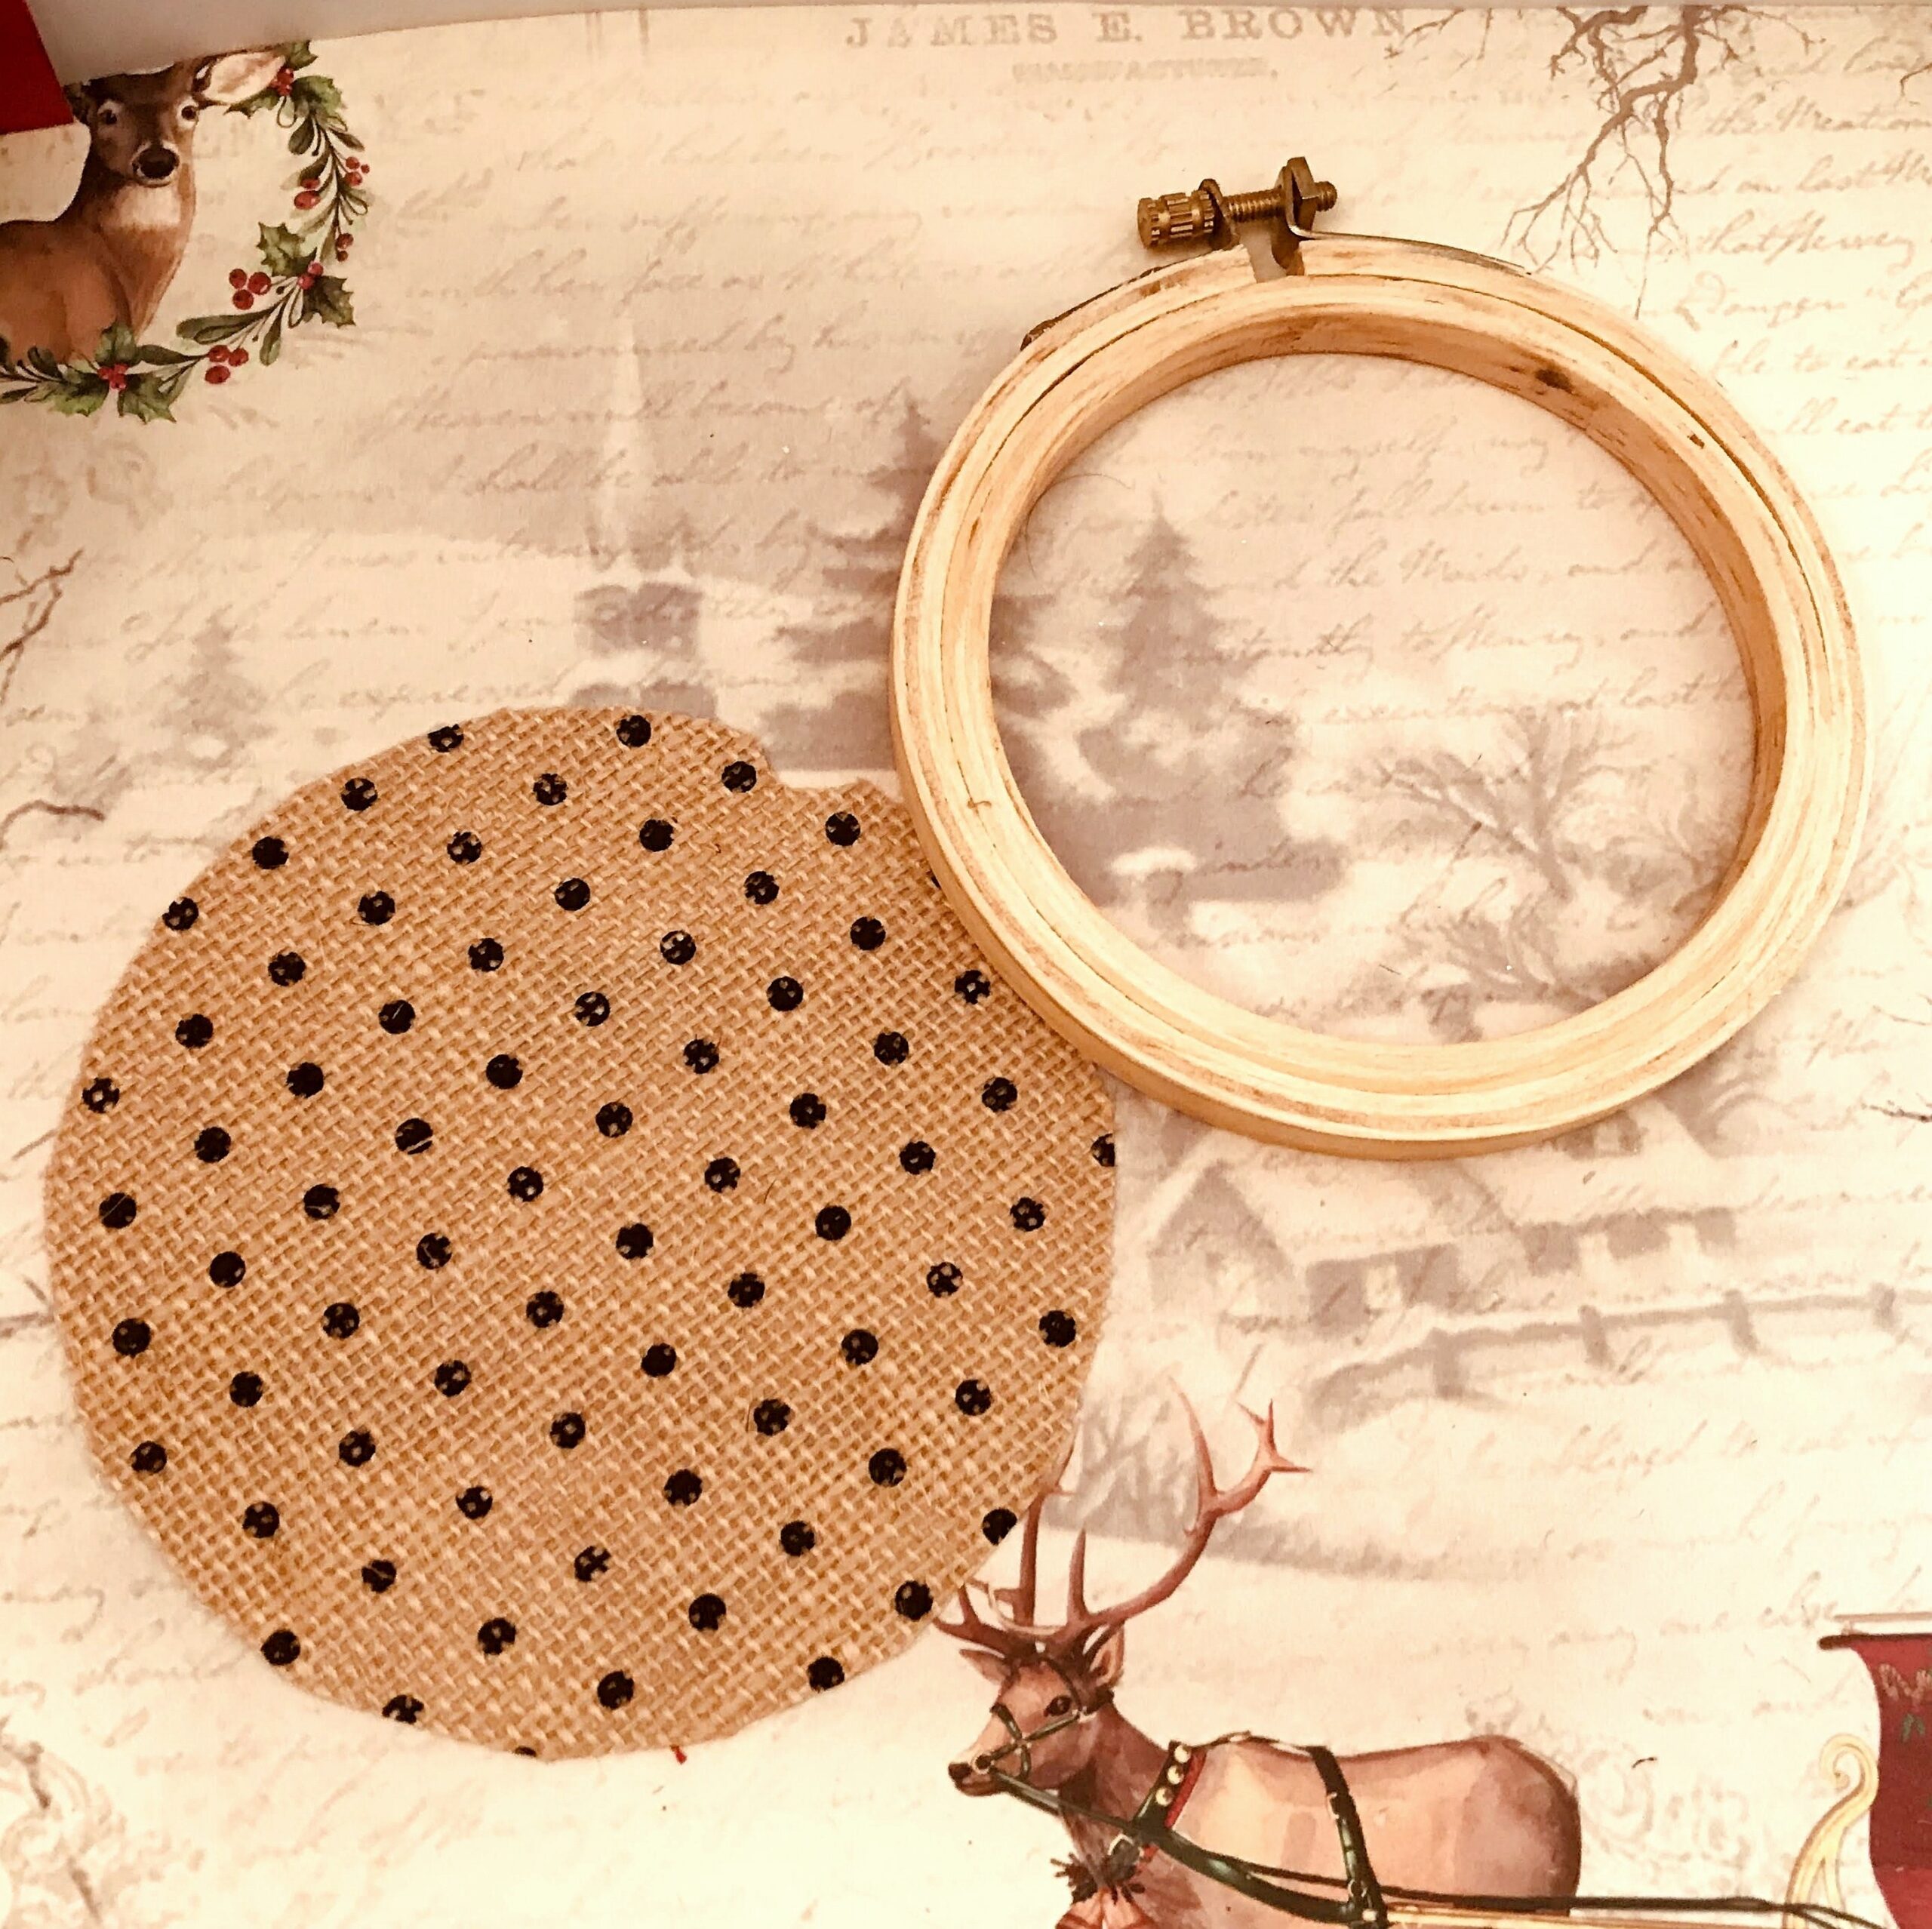
5.Embroidery hoop wall decor
This rustic beauty can be made easily and decks up your home beautifully.

1.Take a 4 inch size embroidery hoop and a sheet from the Shabby Chic Natural Burlap stack.

2.Trace out a circle to fit the size of the outer rim. Cut and stick at the back using silicone glue.
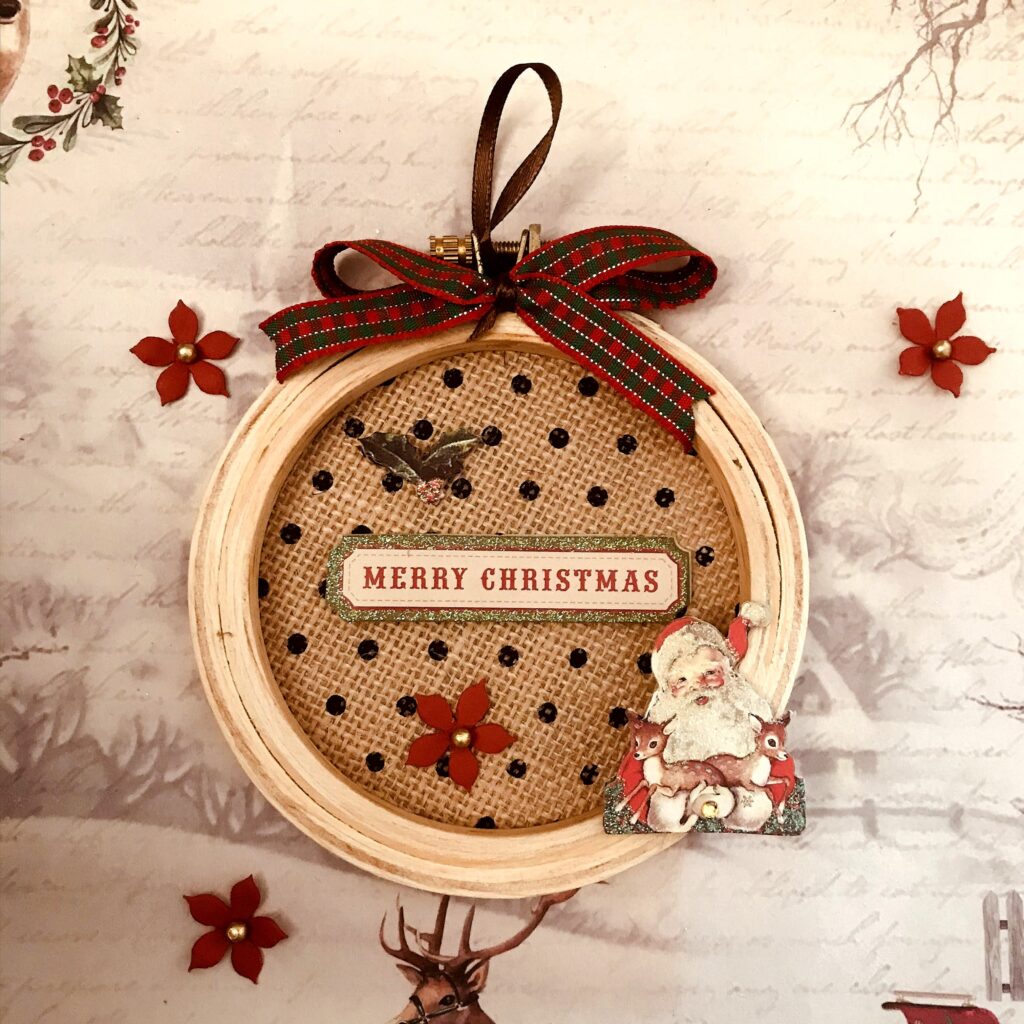
3.Use Christmas embellishments and stick with silicone glue.


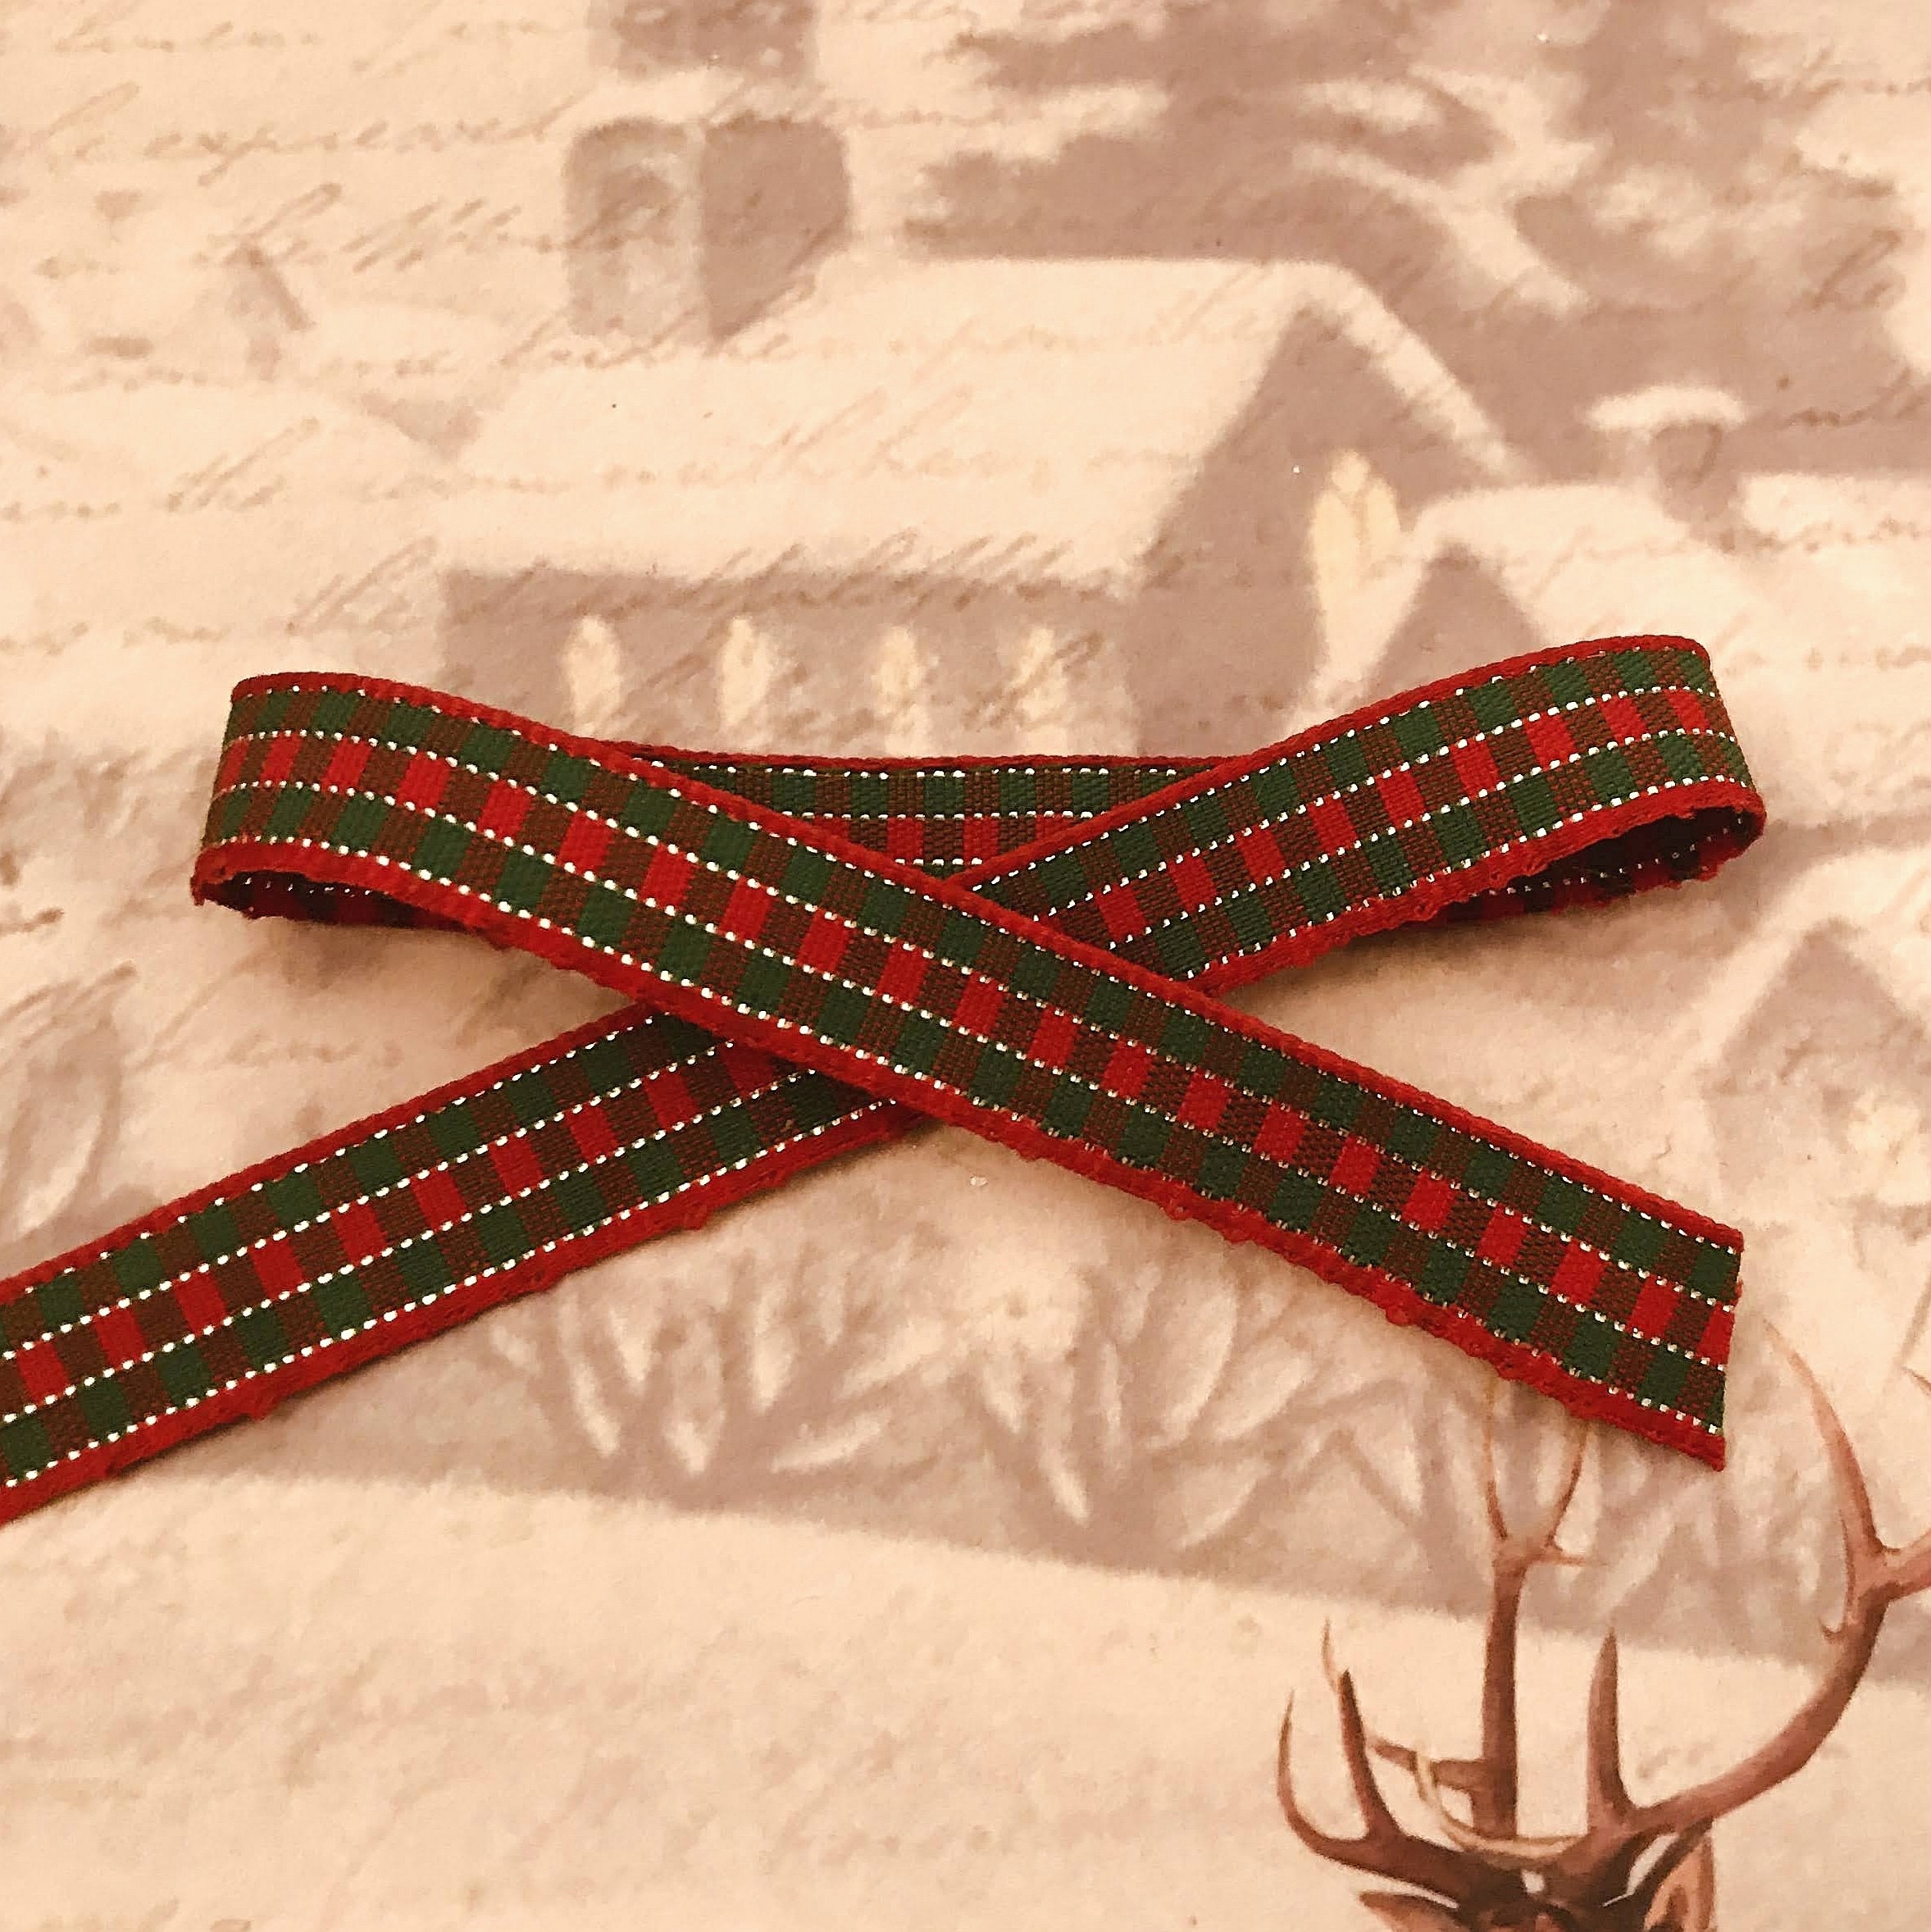
4.Take a Christmas Tartan Ribbon and make it into a bow as shown. Tie the centre with a thin satin ribbon.
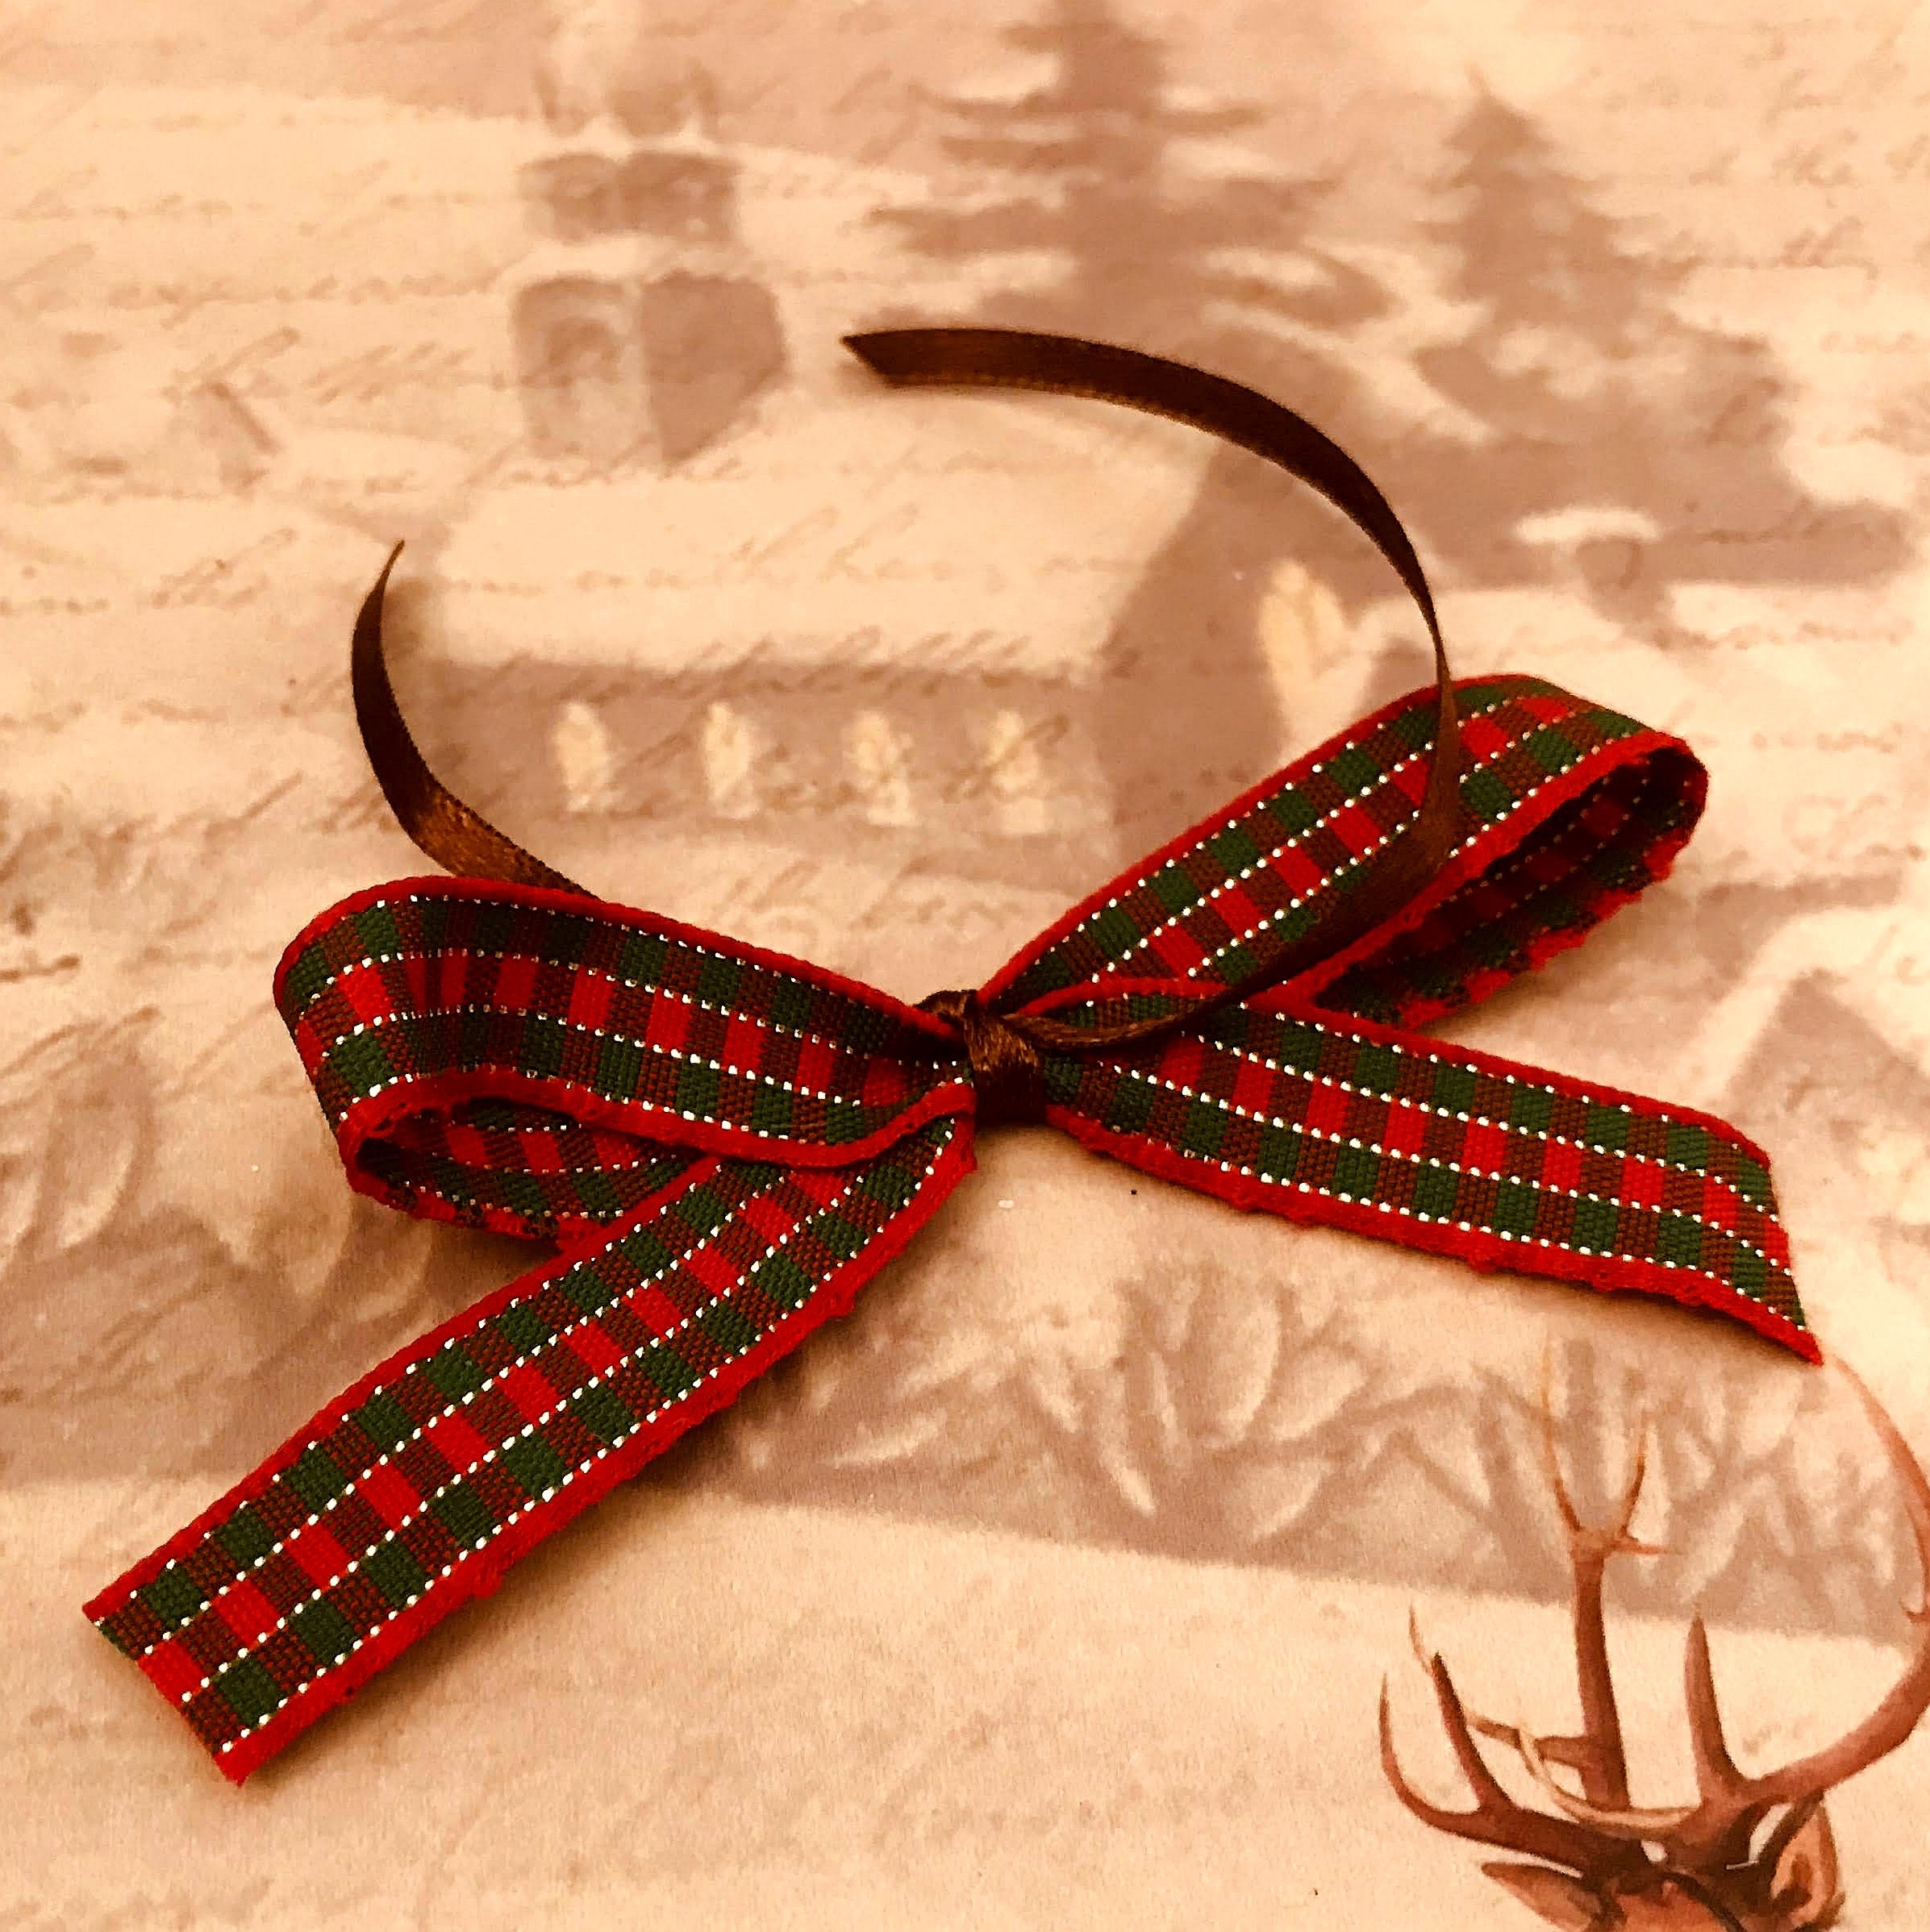
5.Stick it to the top of the embroidery hoop. Add a satin ribbon to hang the hoop.
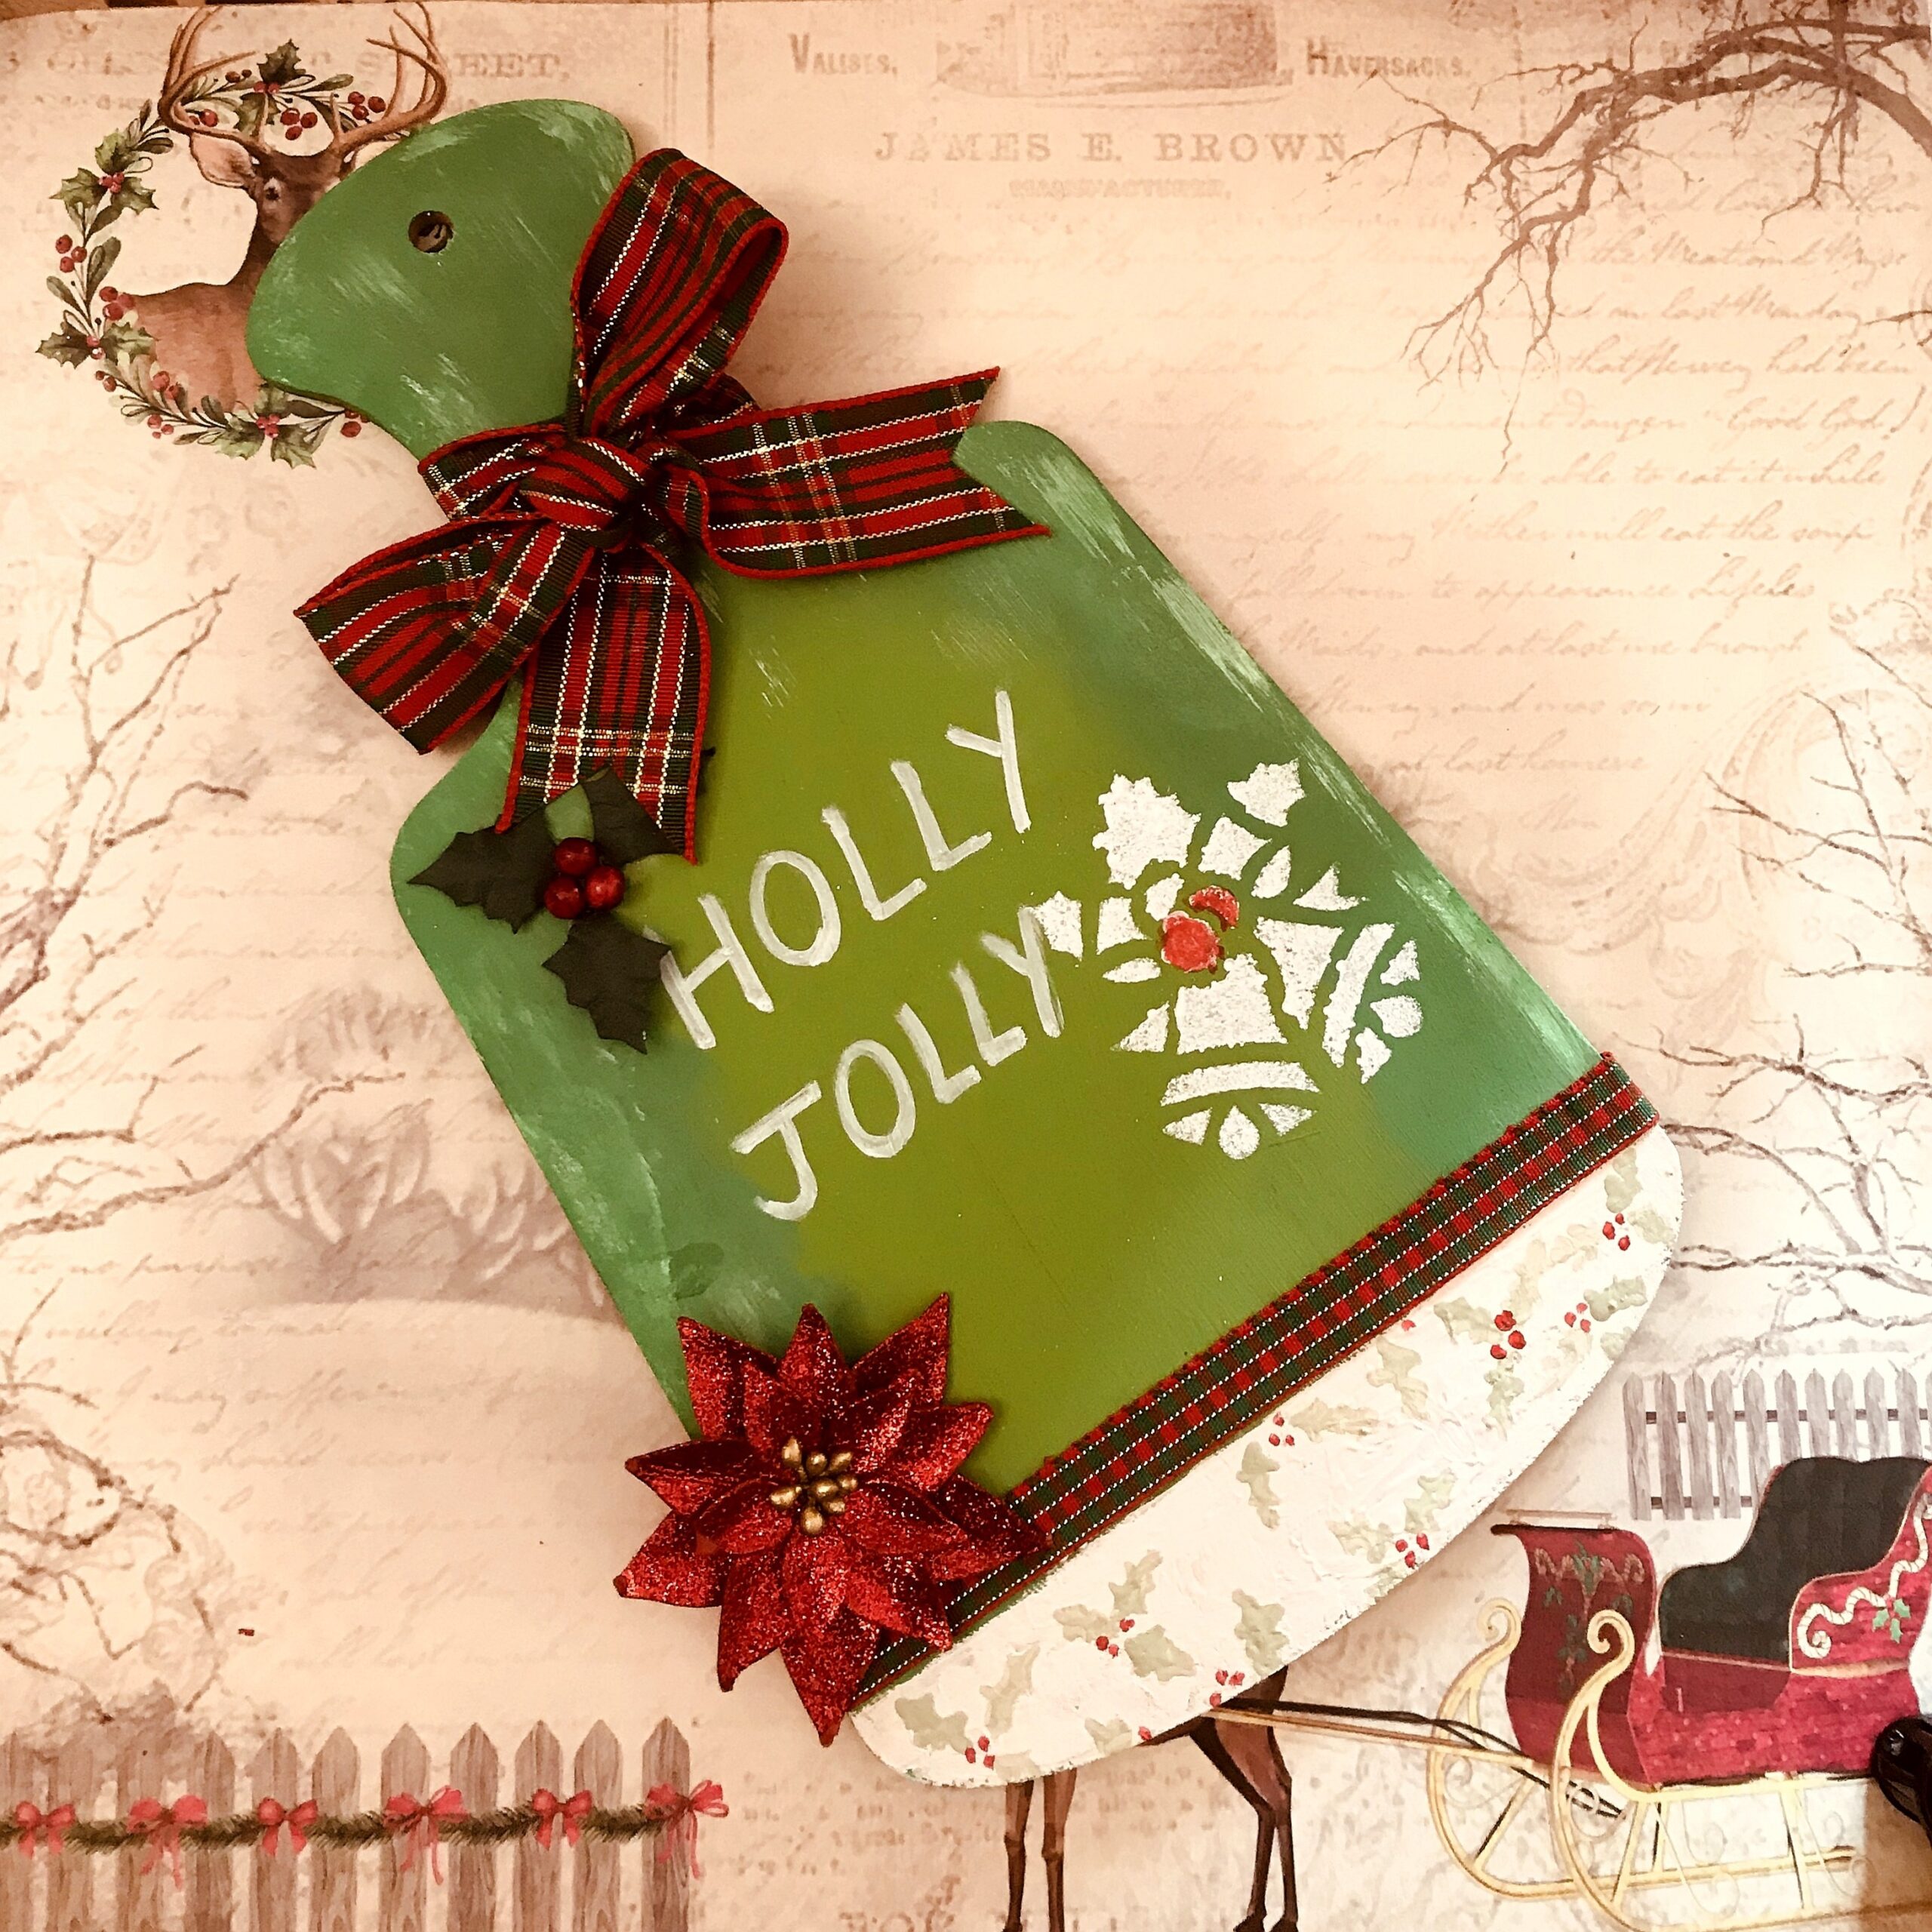
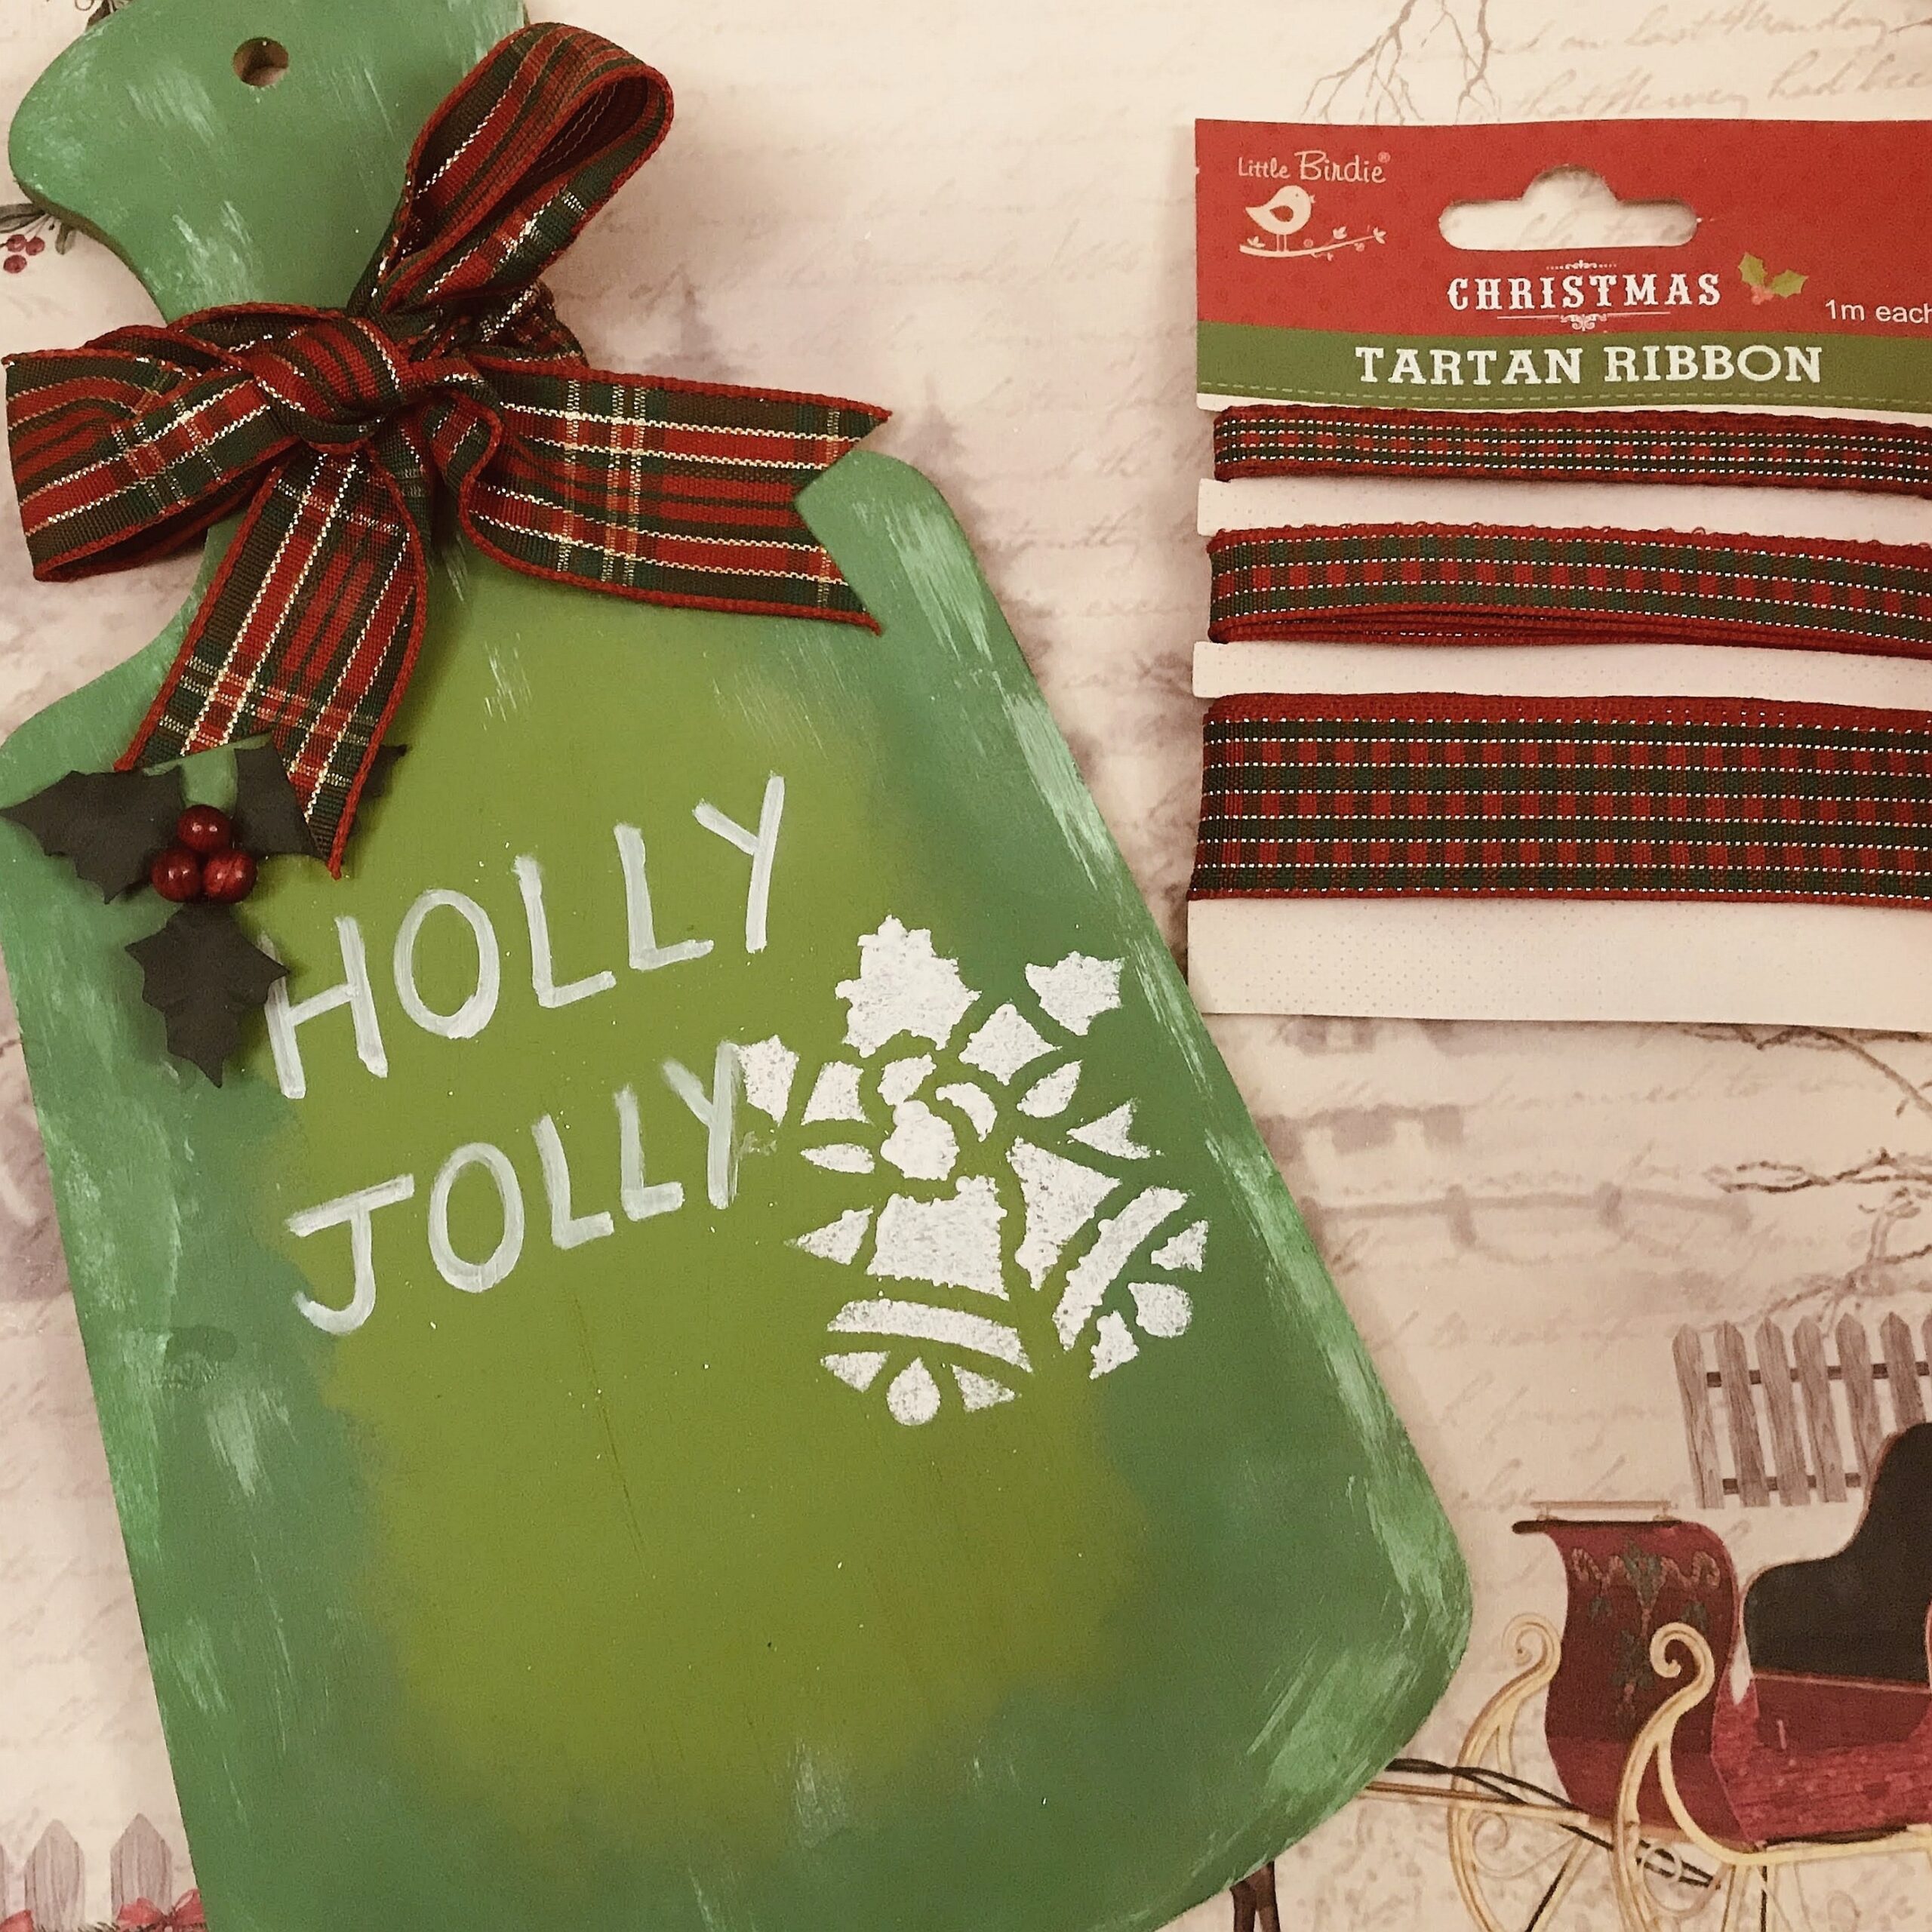
6.Holly Jolly Christmas decor
This lovely chopping board theme art can be a lovely addition to your Christmas decor, especially in the kitchen.
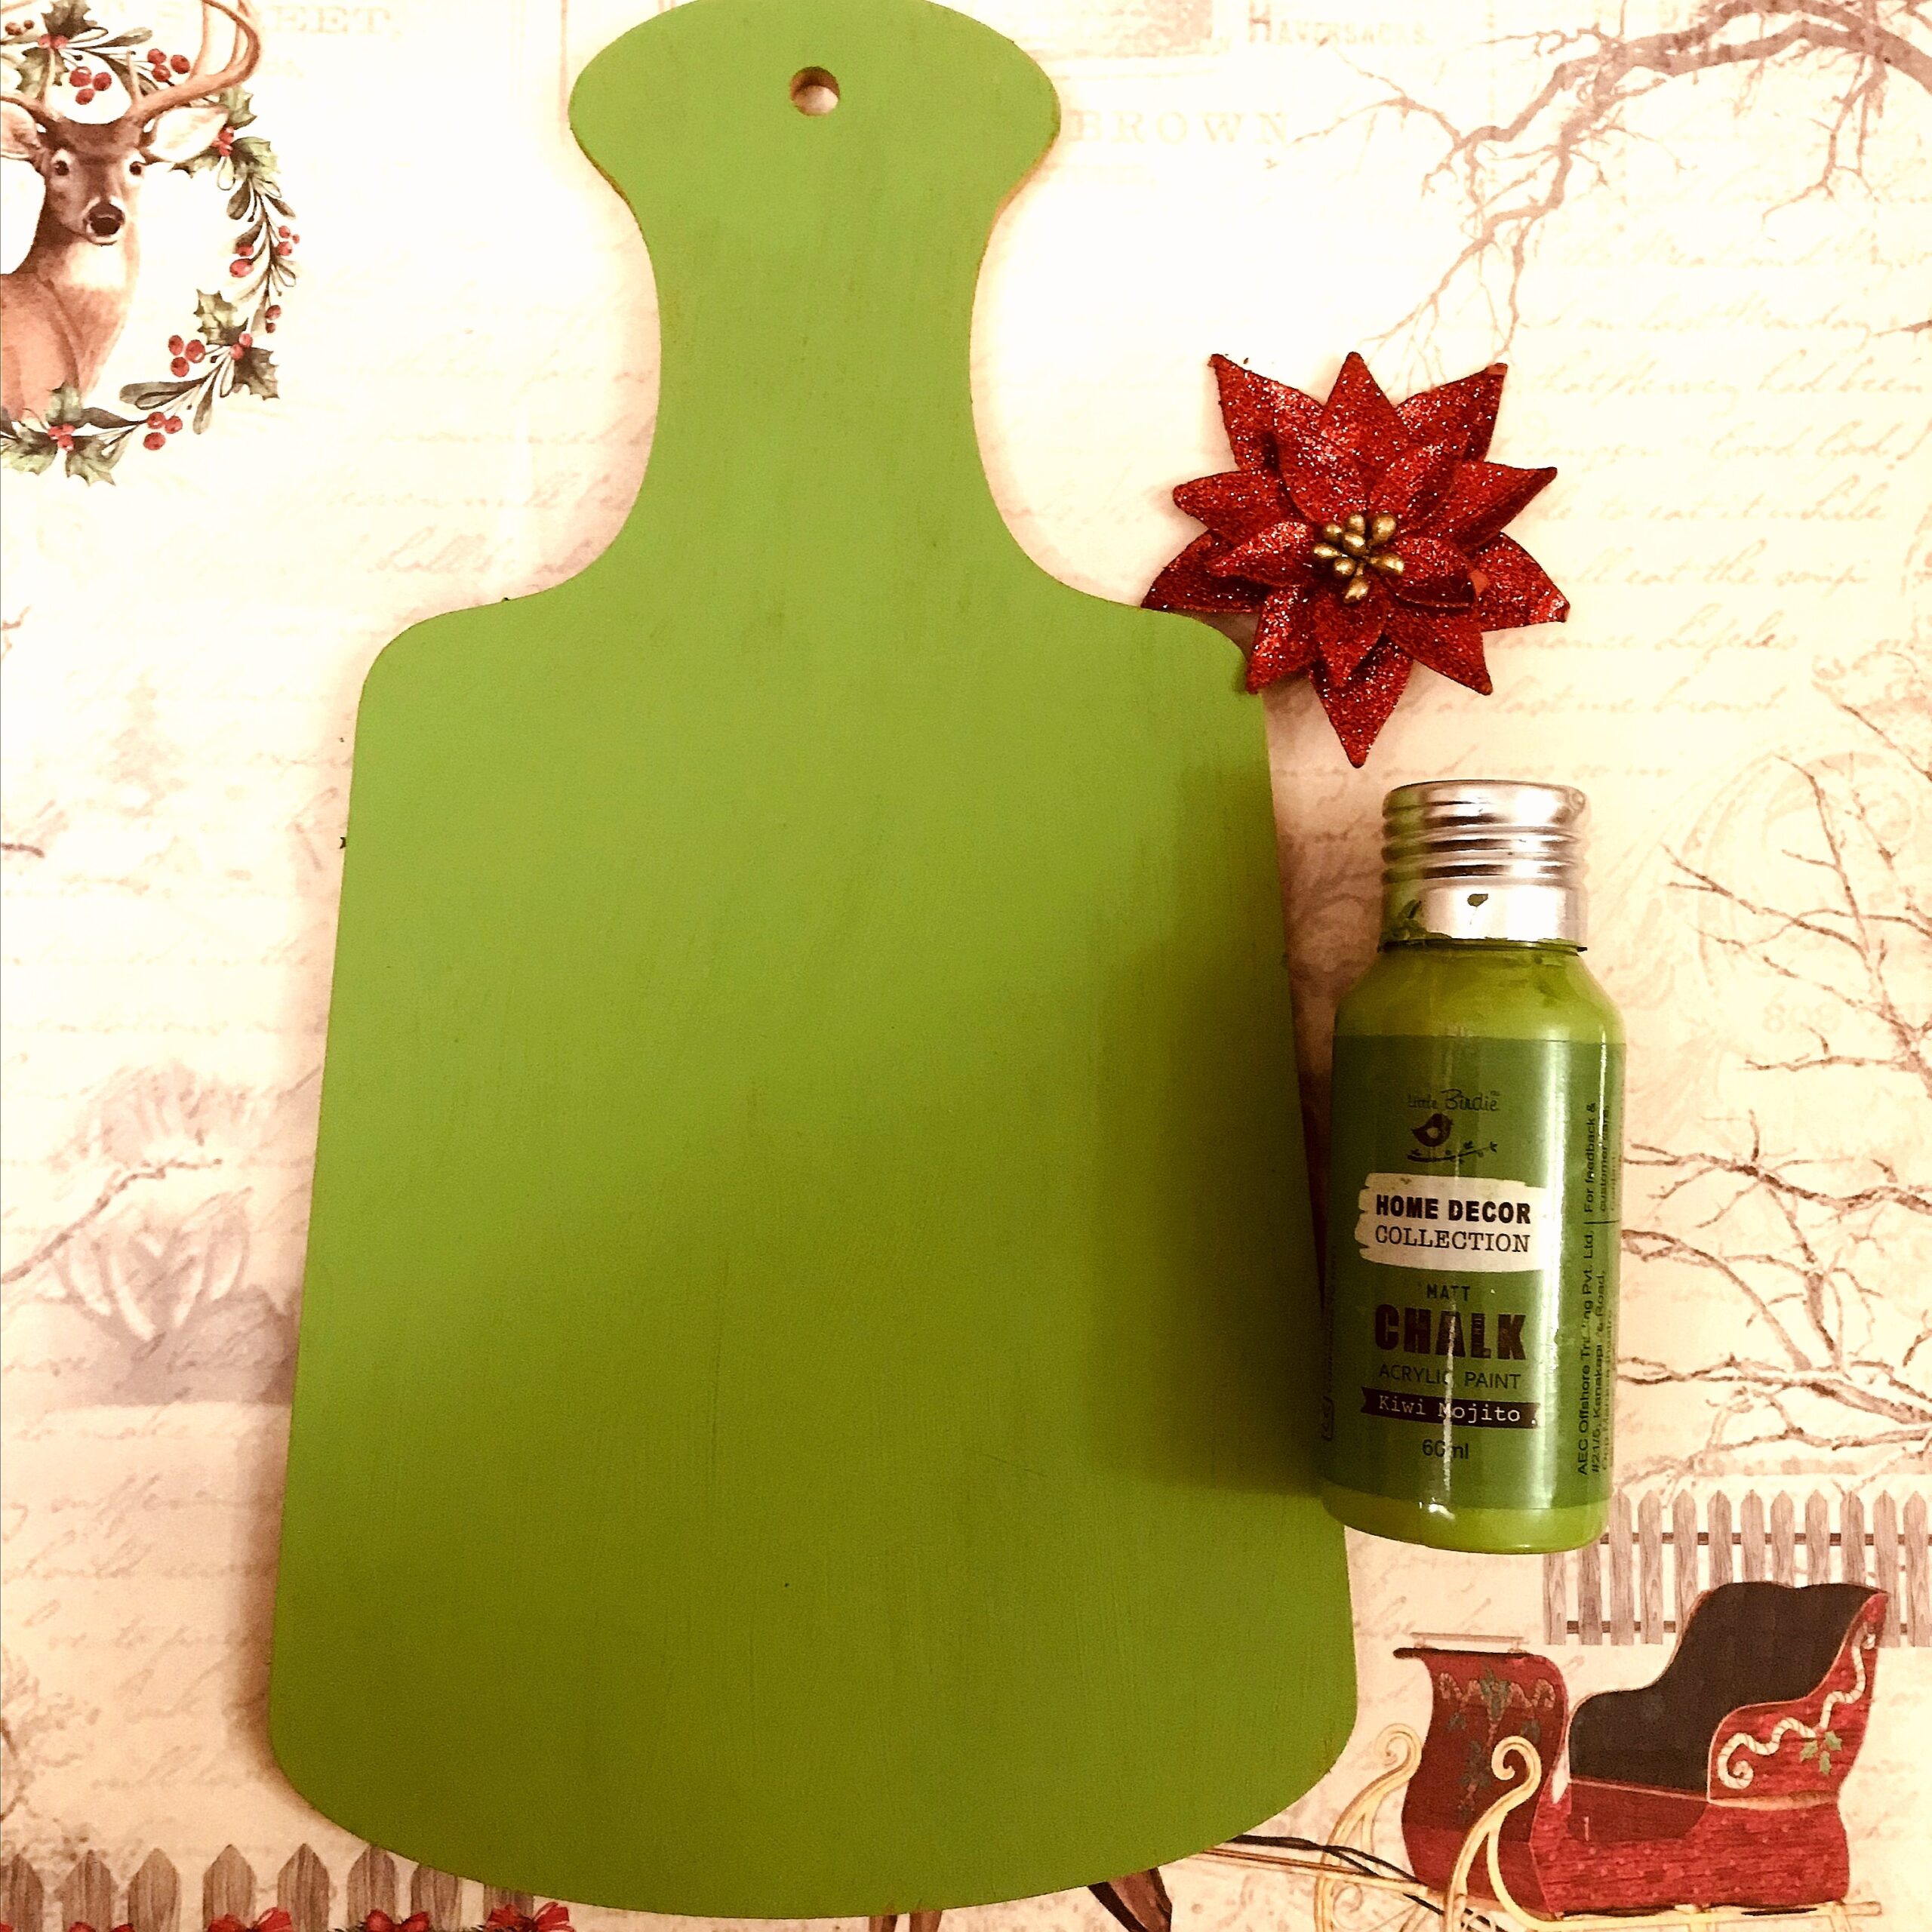
1.Paint the chopping board with Little Birdie Kiwi Mojito chalk paint and let it dry.
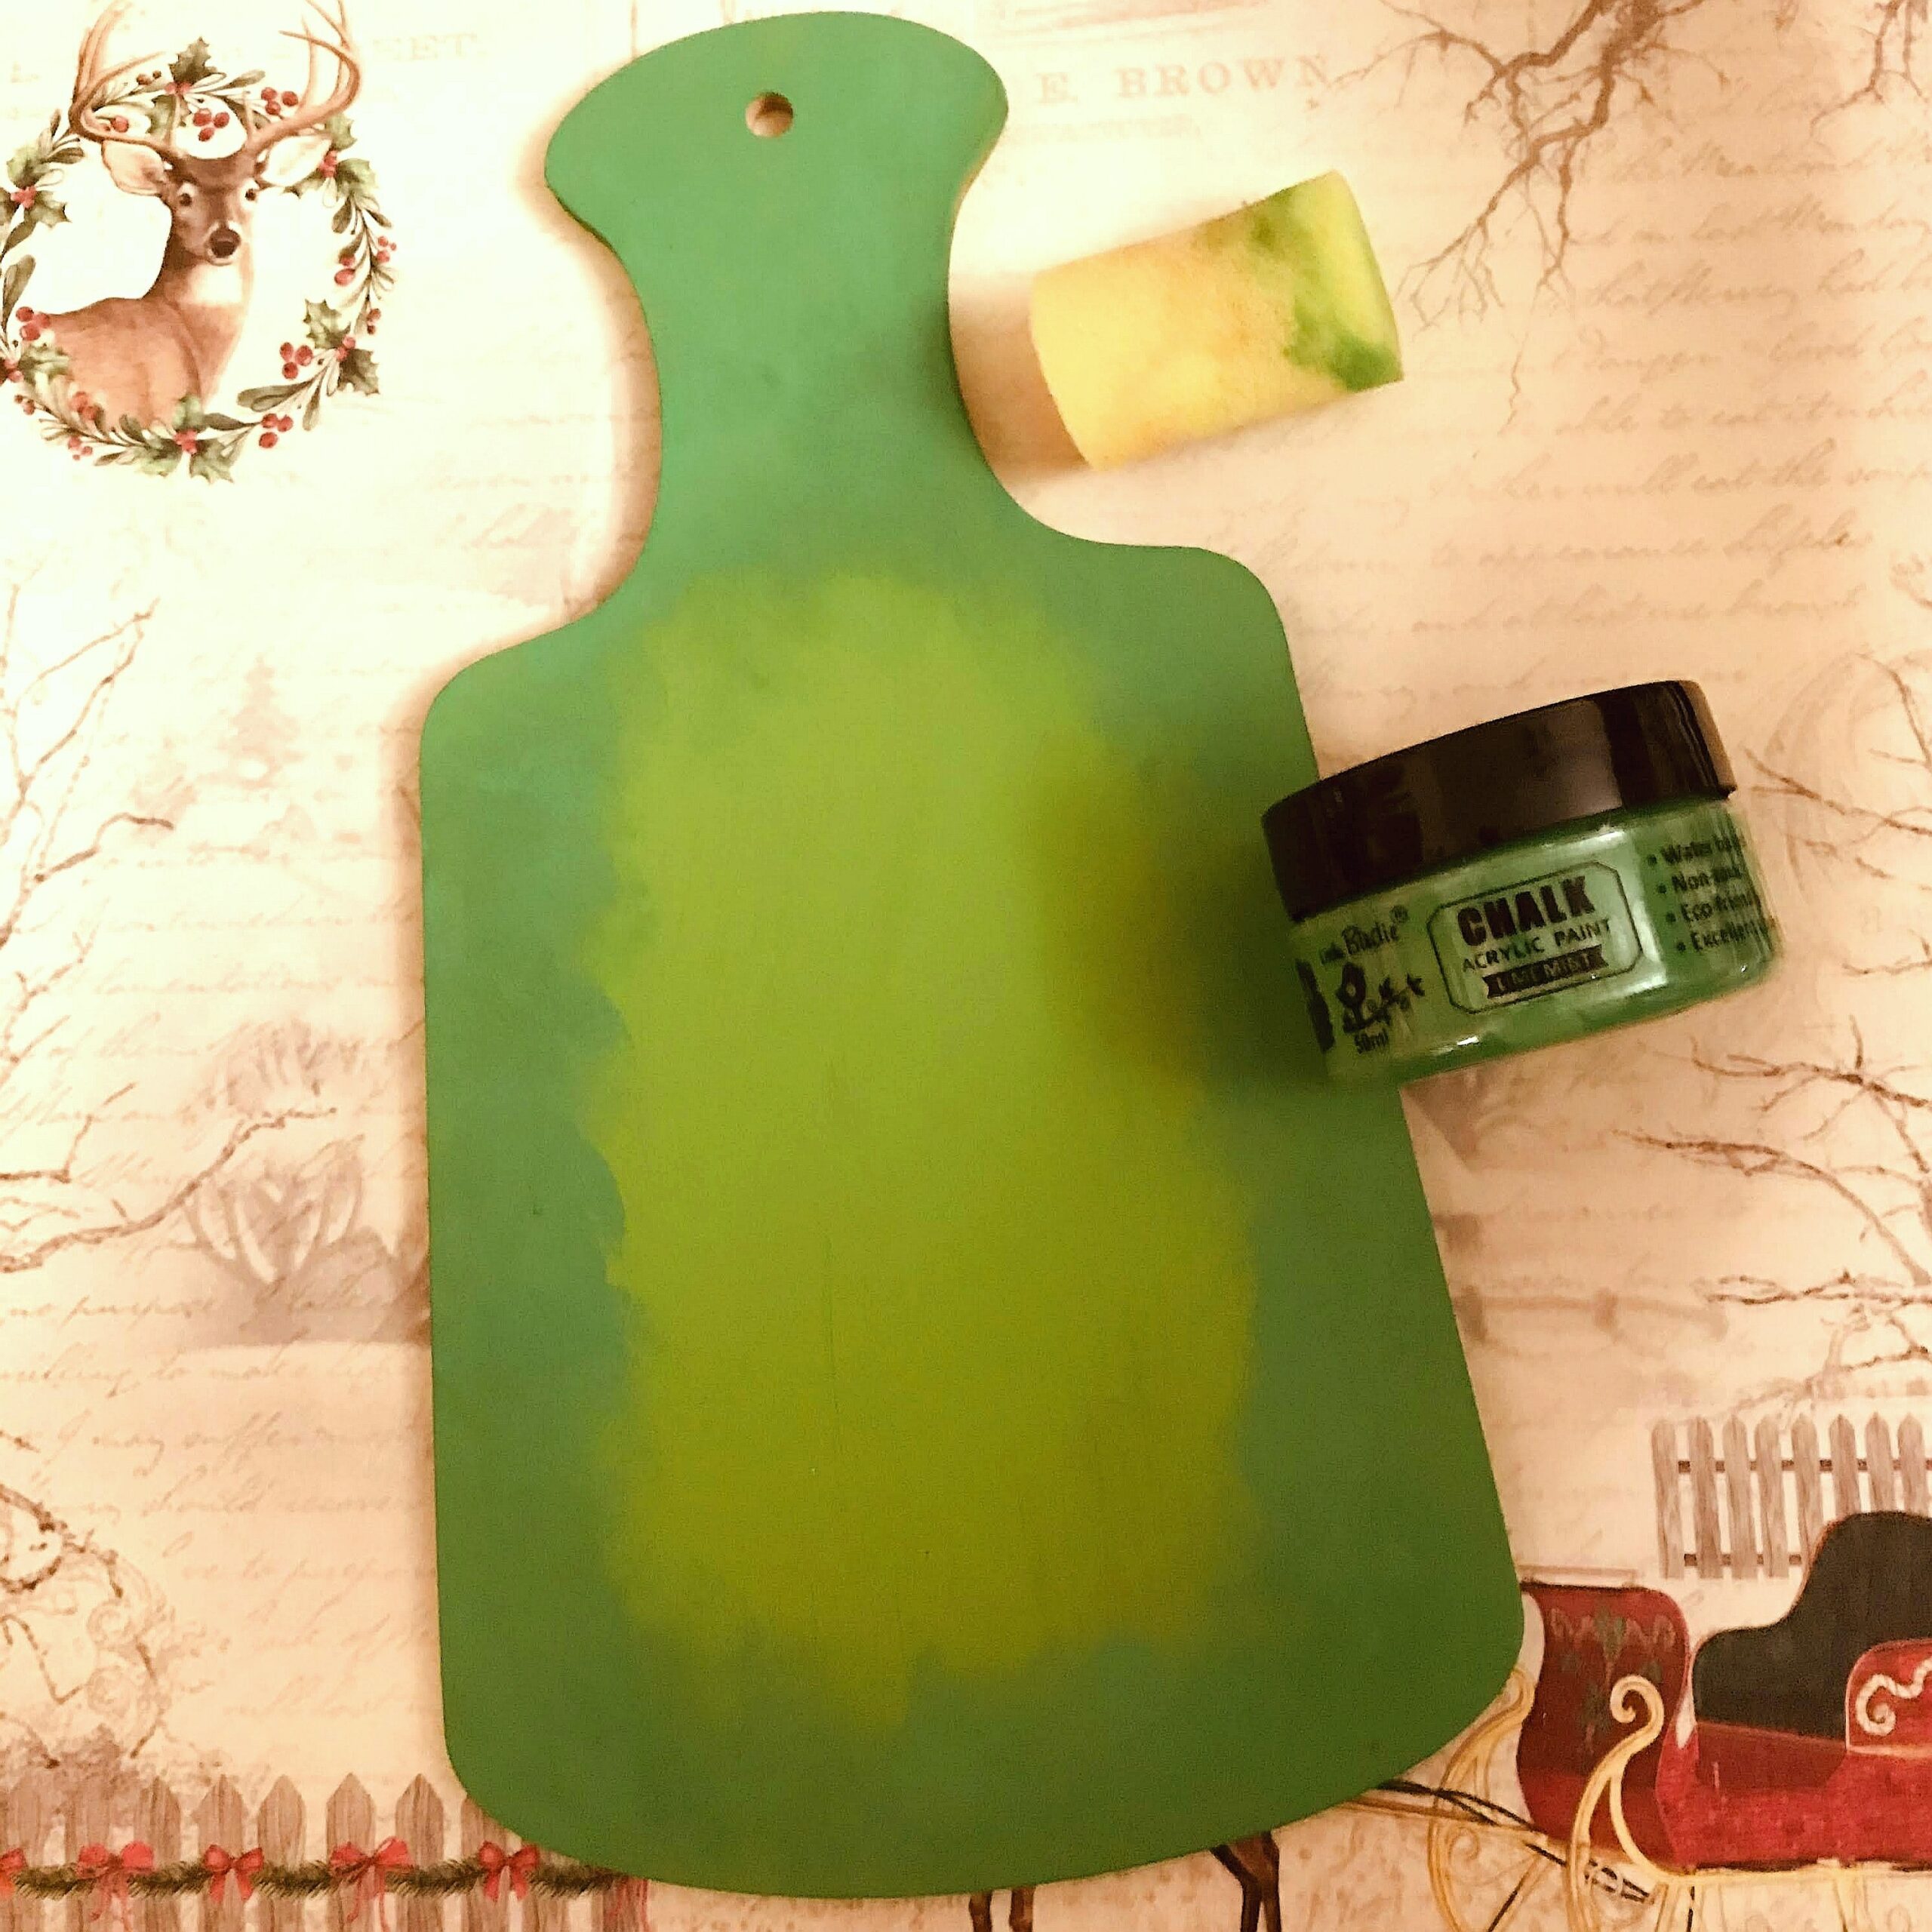
2.Dab the edges with chalk paint – Lime Mint.
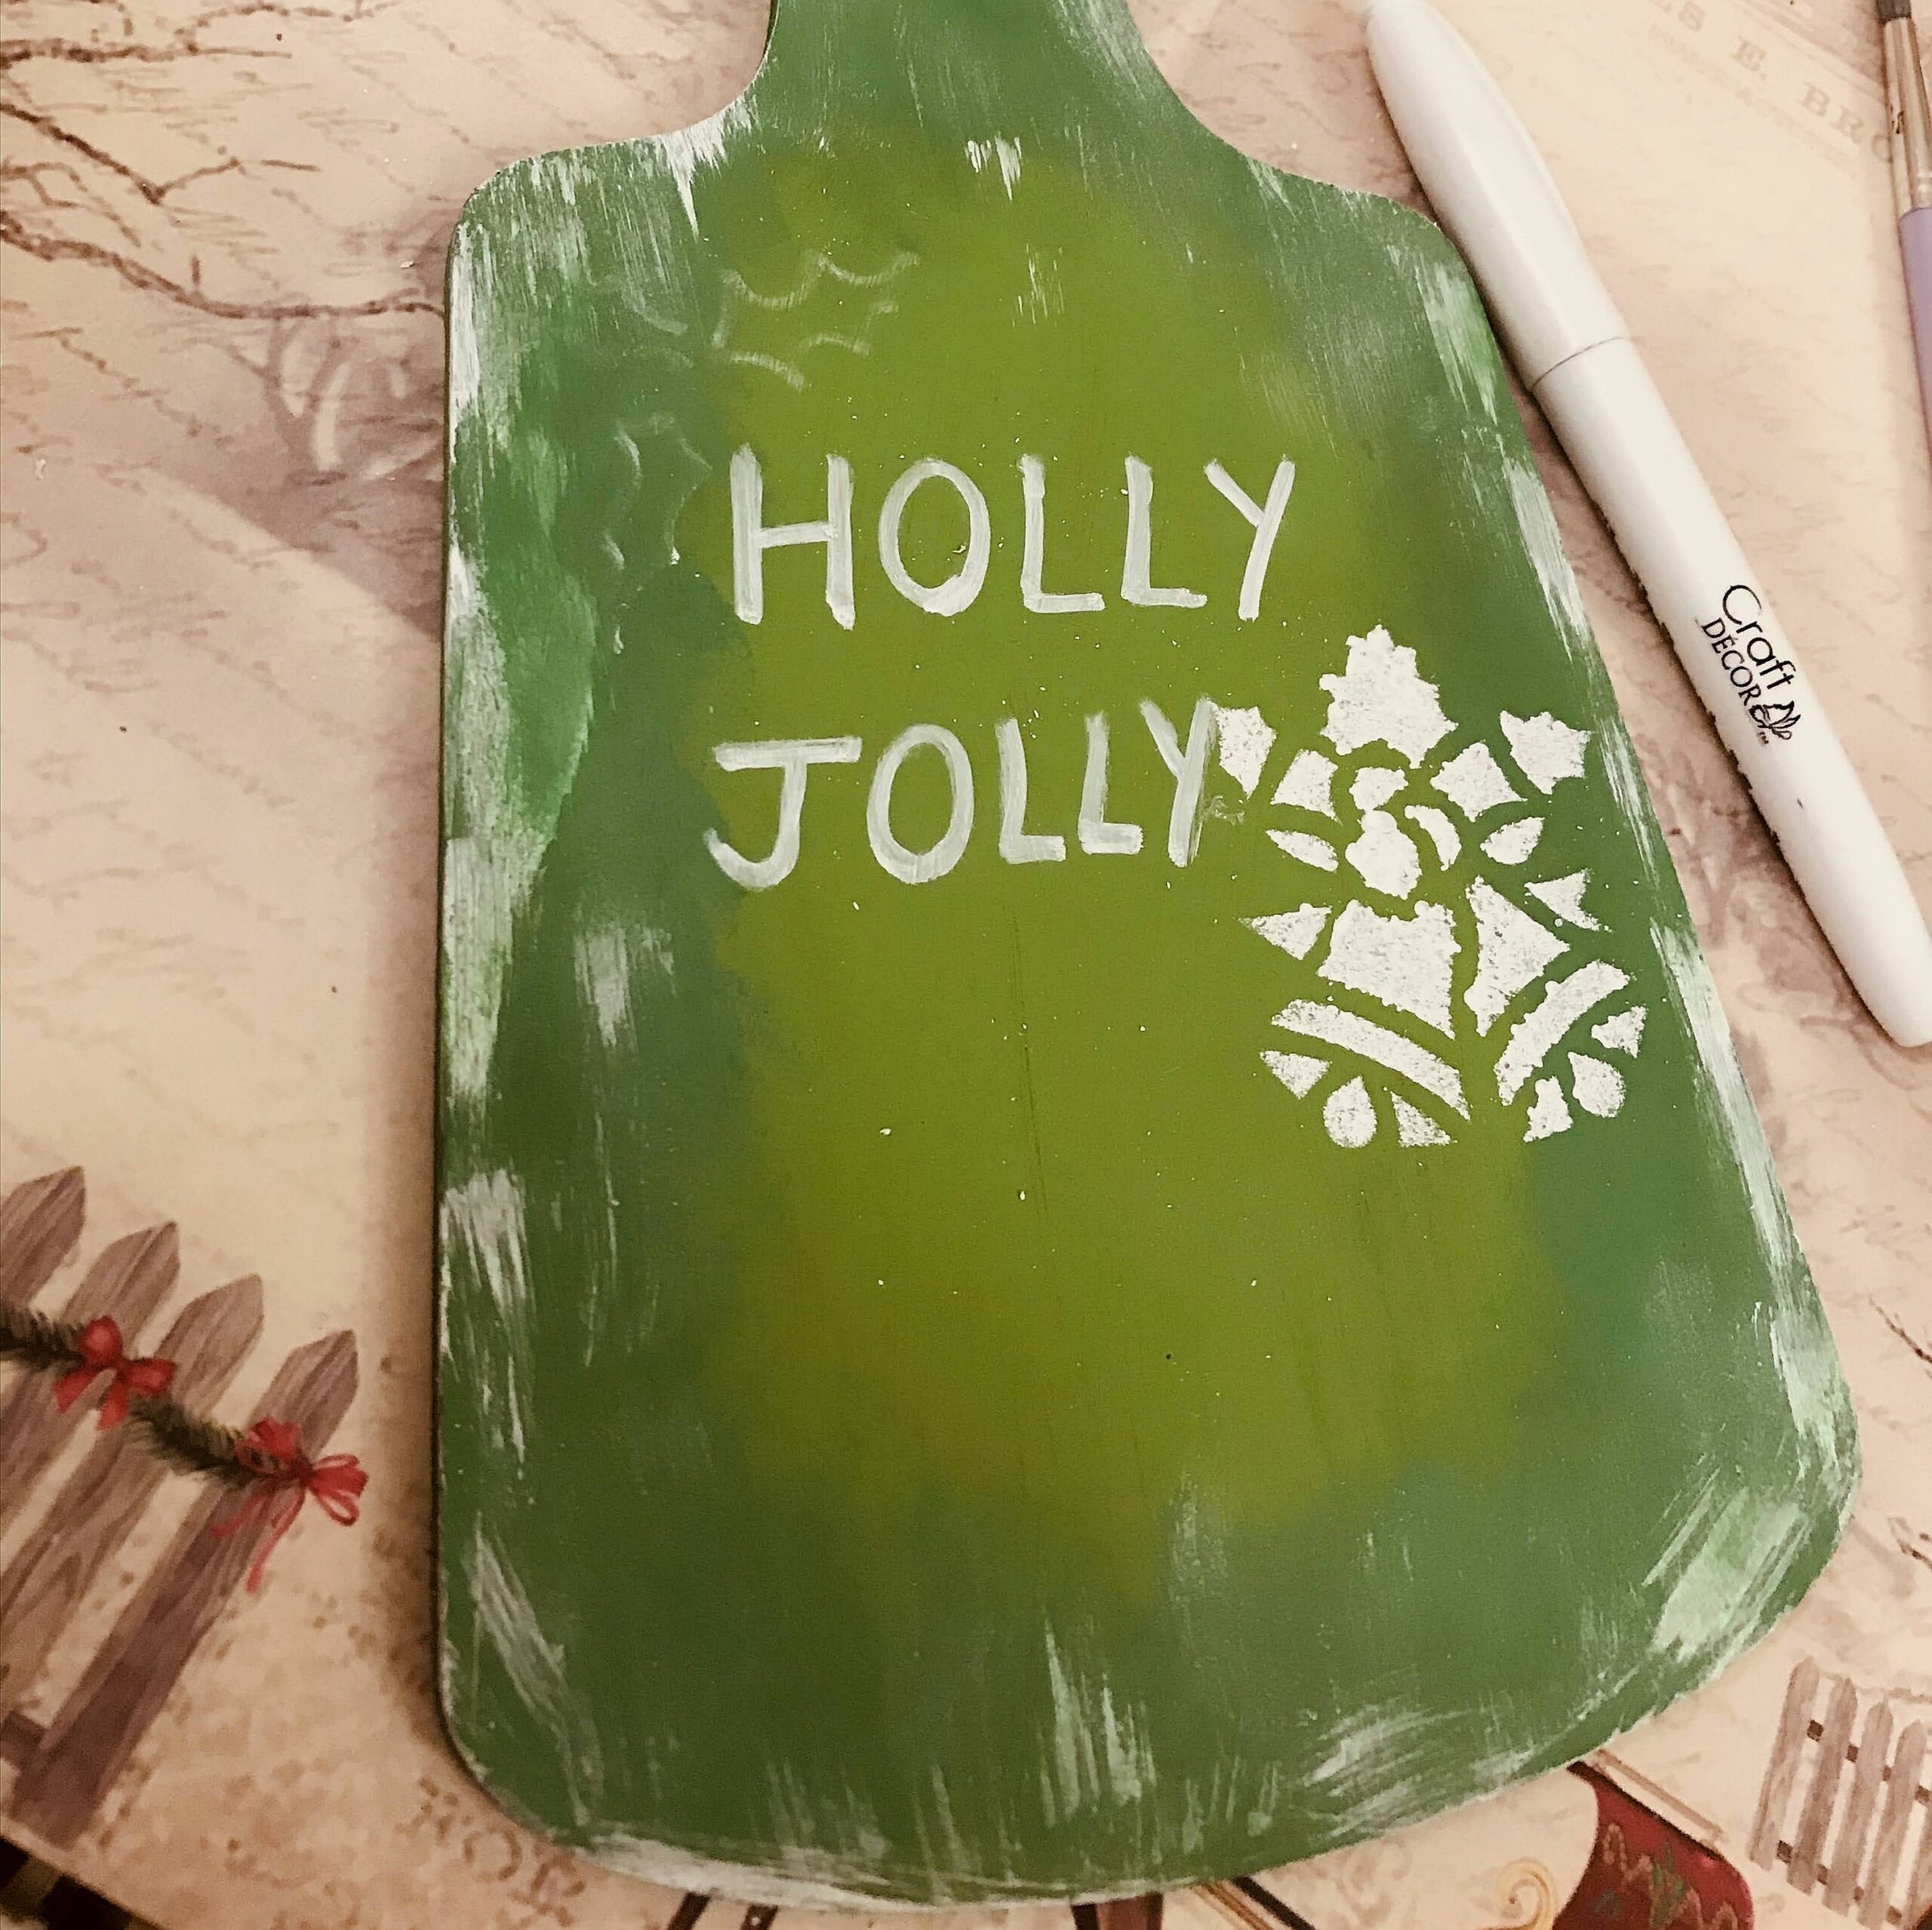
3.Use Christmas stencil and chalk paint – Snow. Use a stencil of your choice.

4.With a permanent white marker, write Holly Jolly.
5. Add Christmas embellishments – Holly and Poinsettia.

6. Make a bow and glue Christmas Tartan Ribbon as shown.
7.Paint at the bottom with chalk paints and draw Christmas Holly designs.
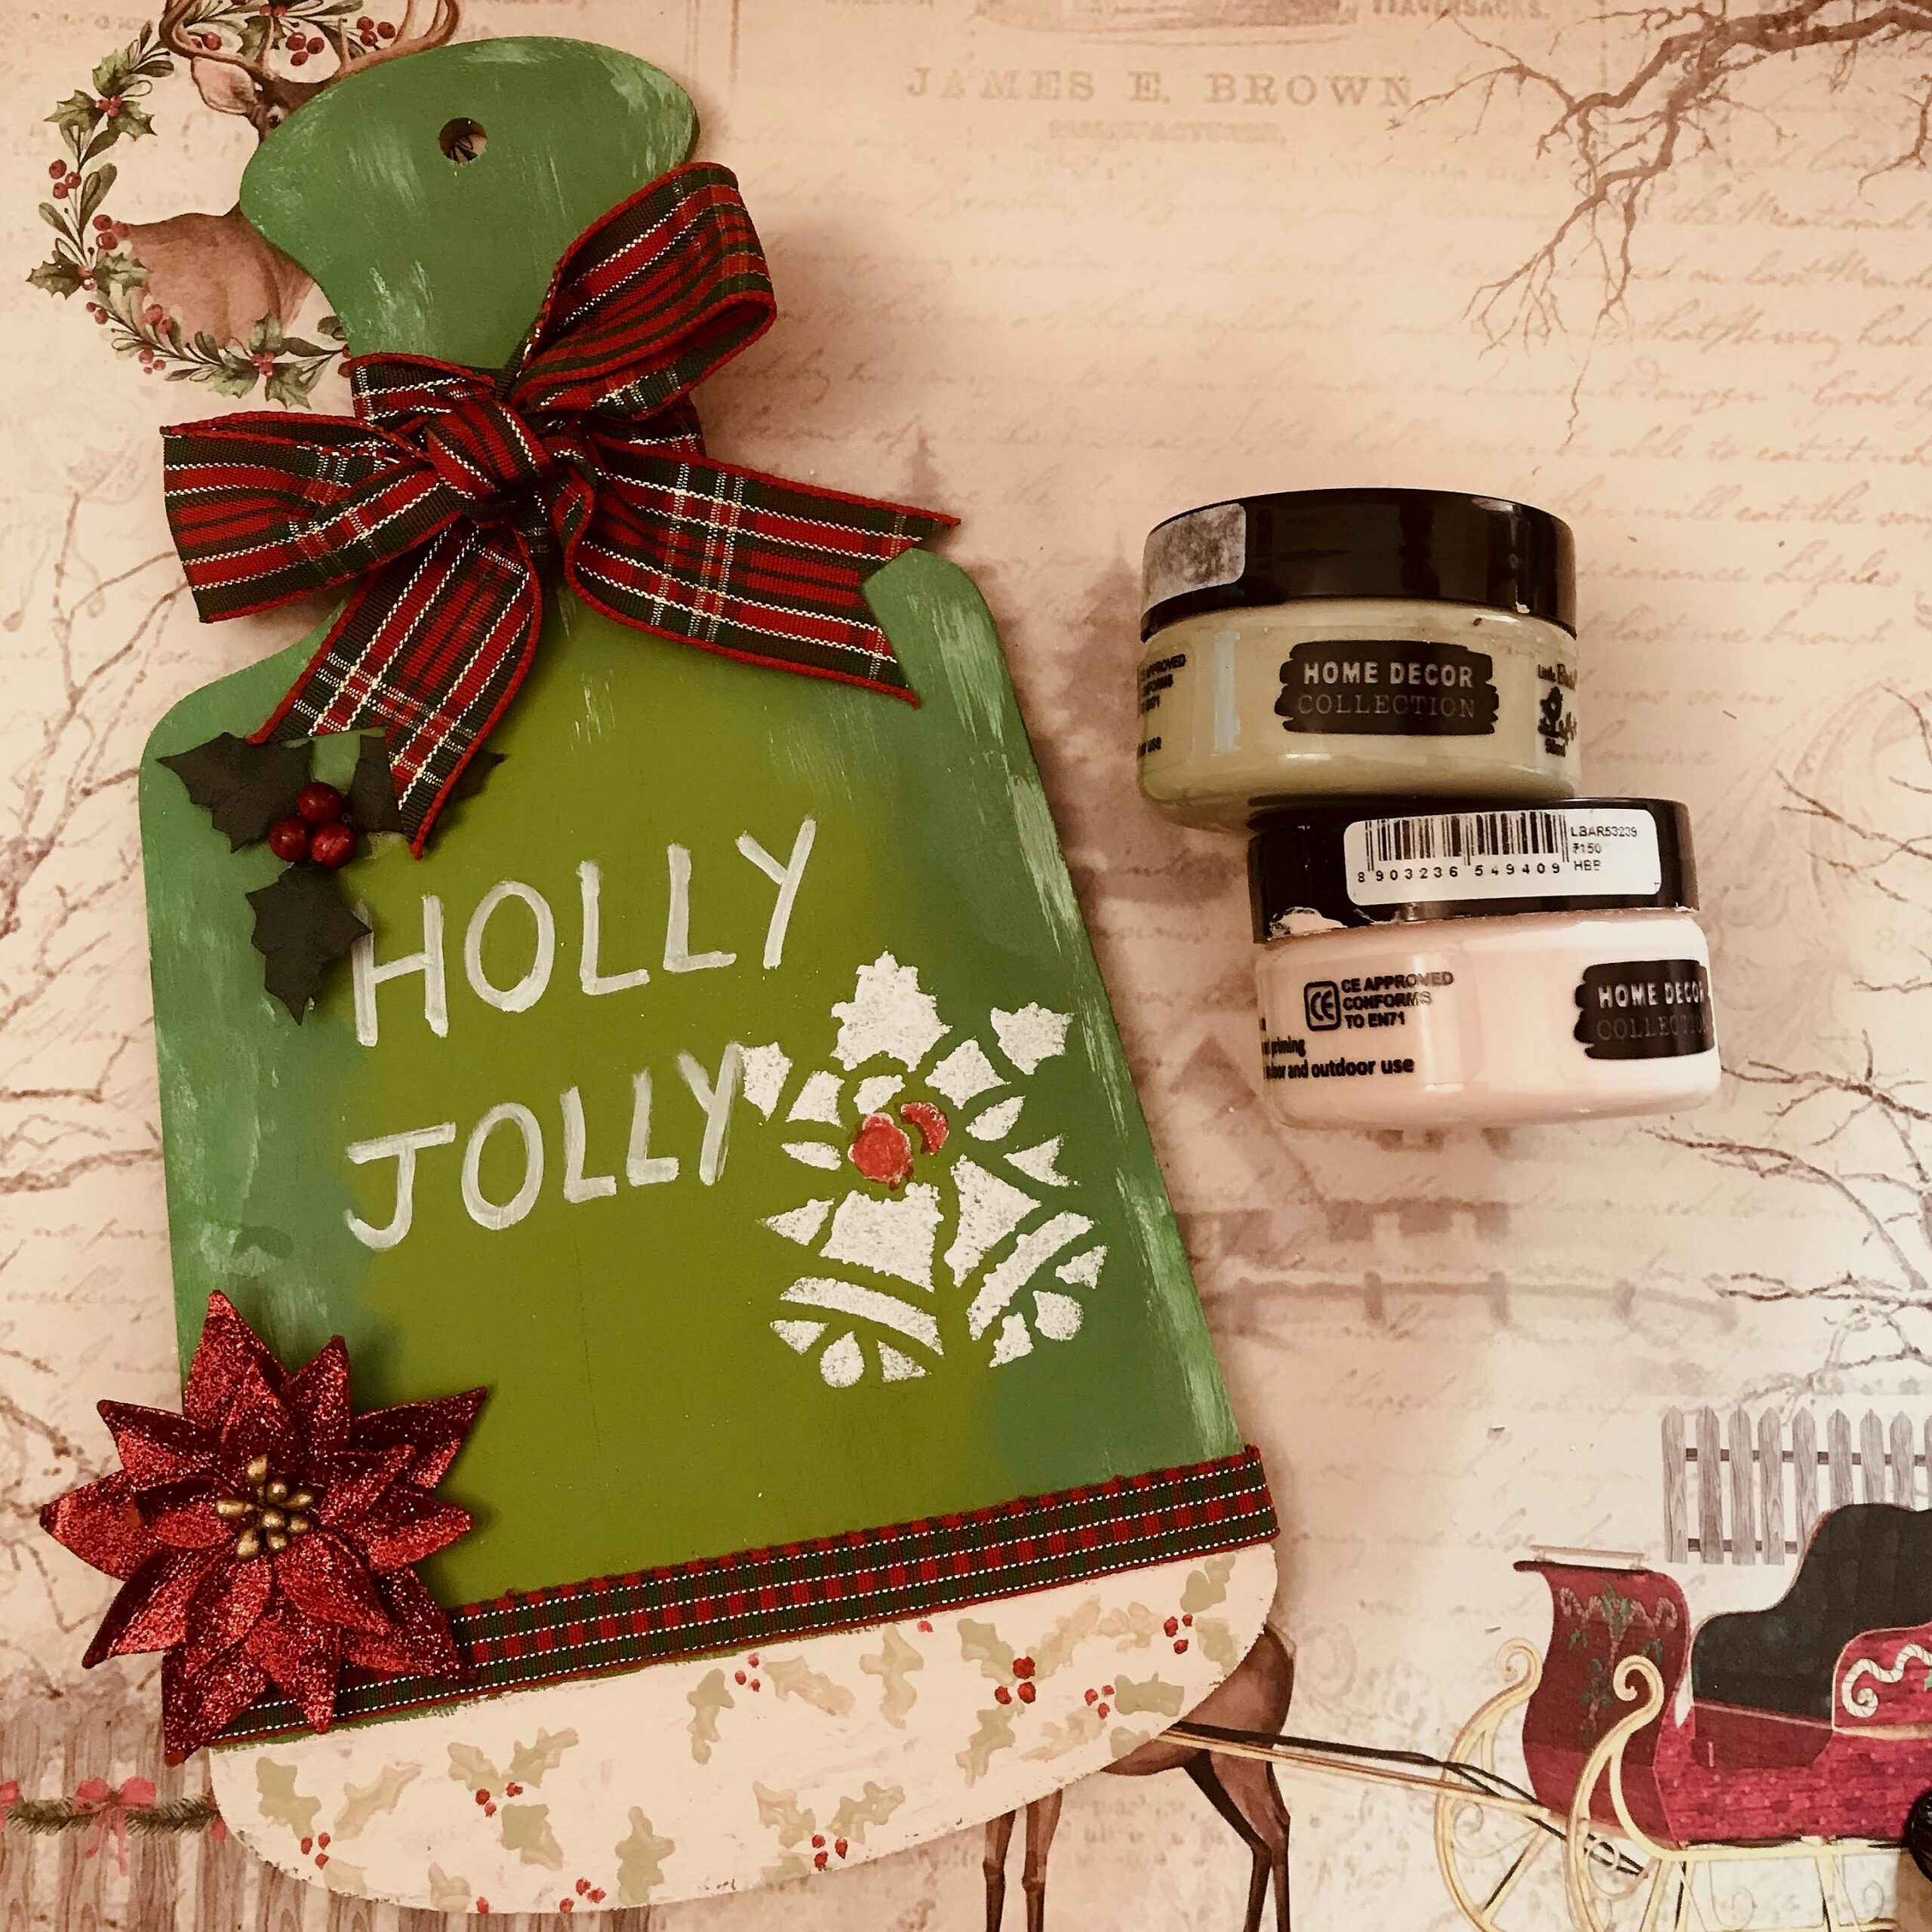
The beautiful Christmas decor is ready!
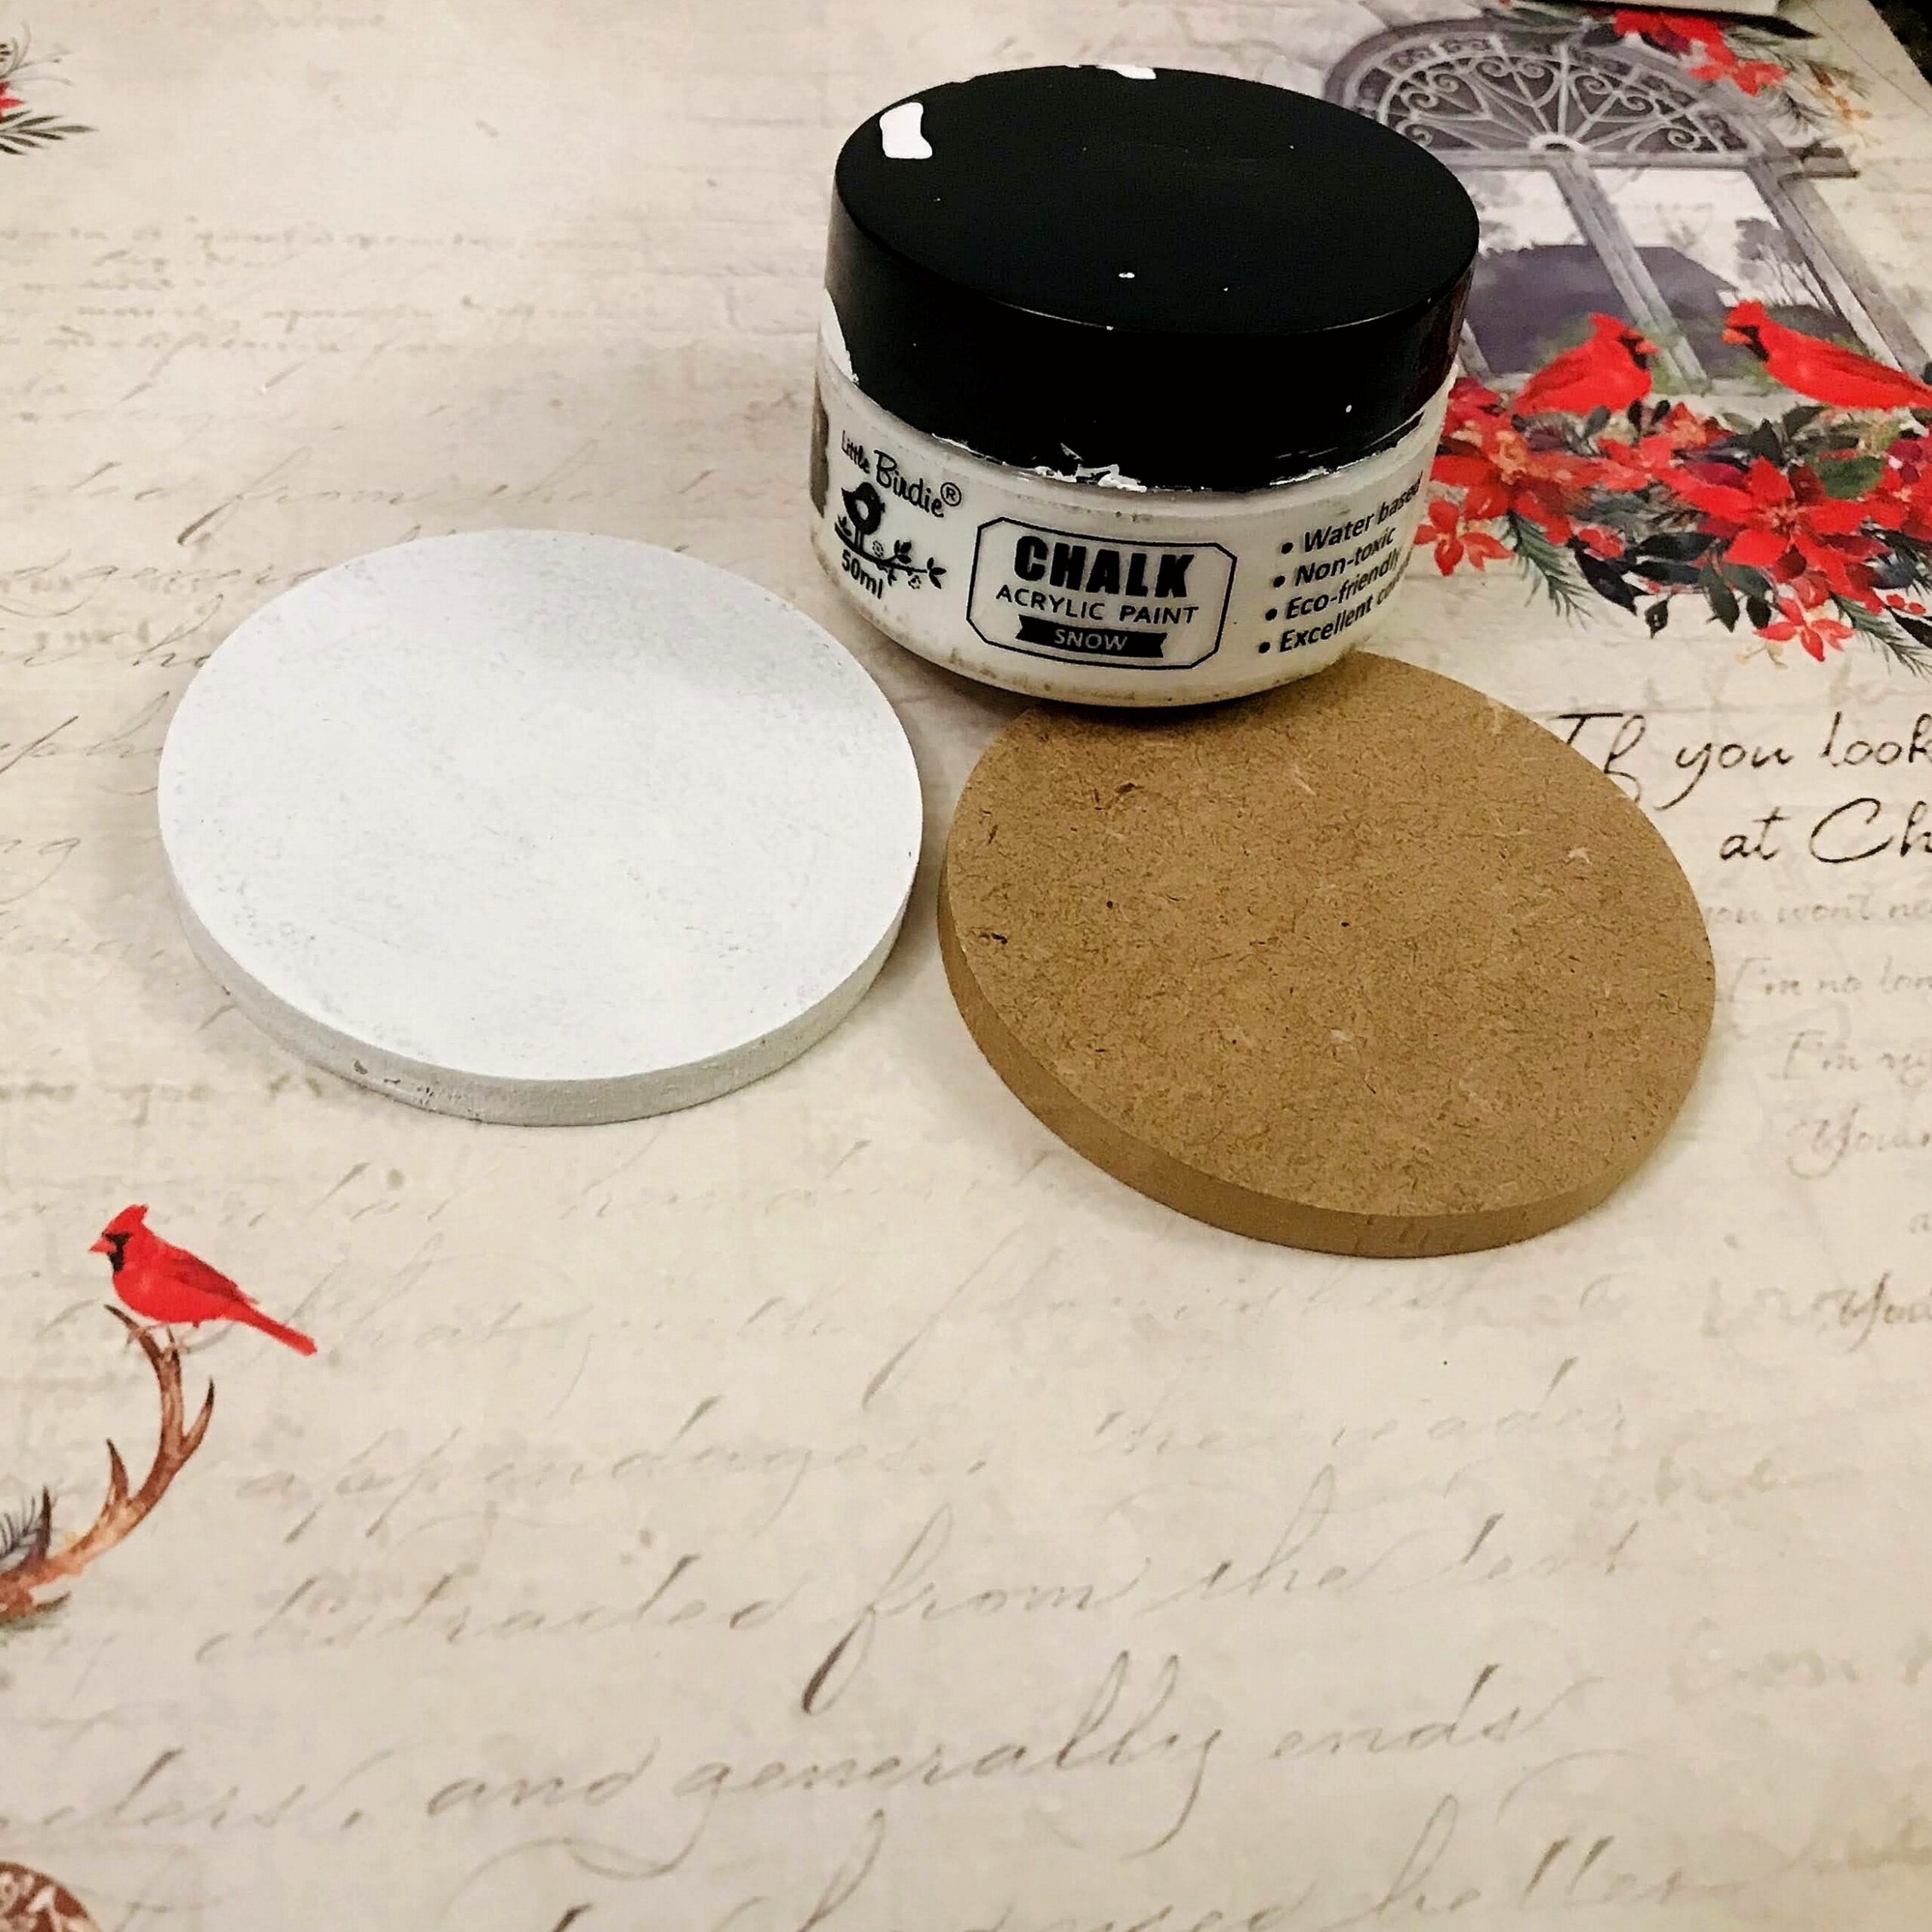
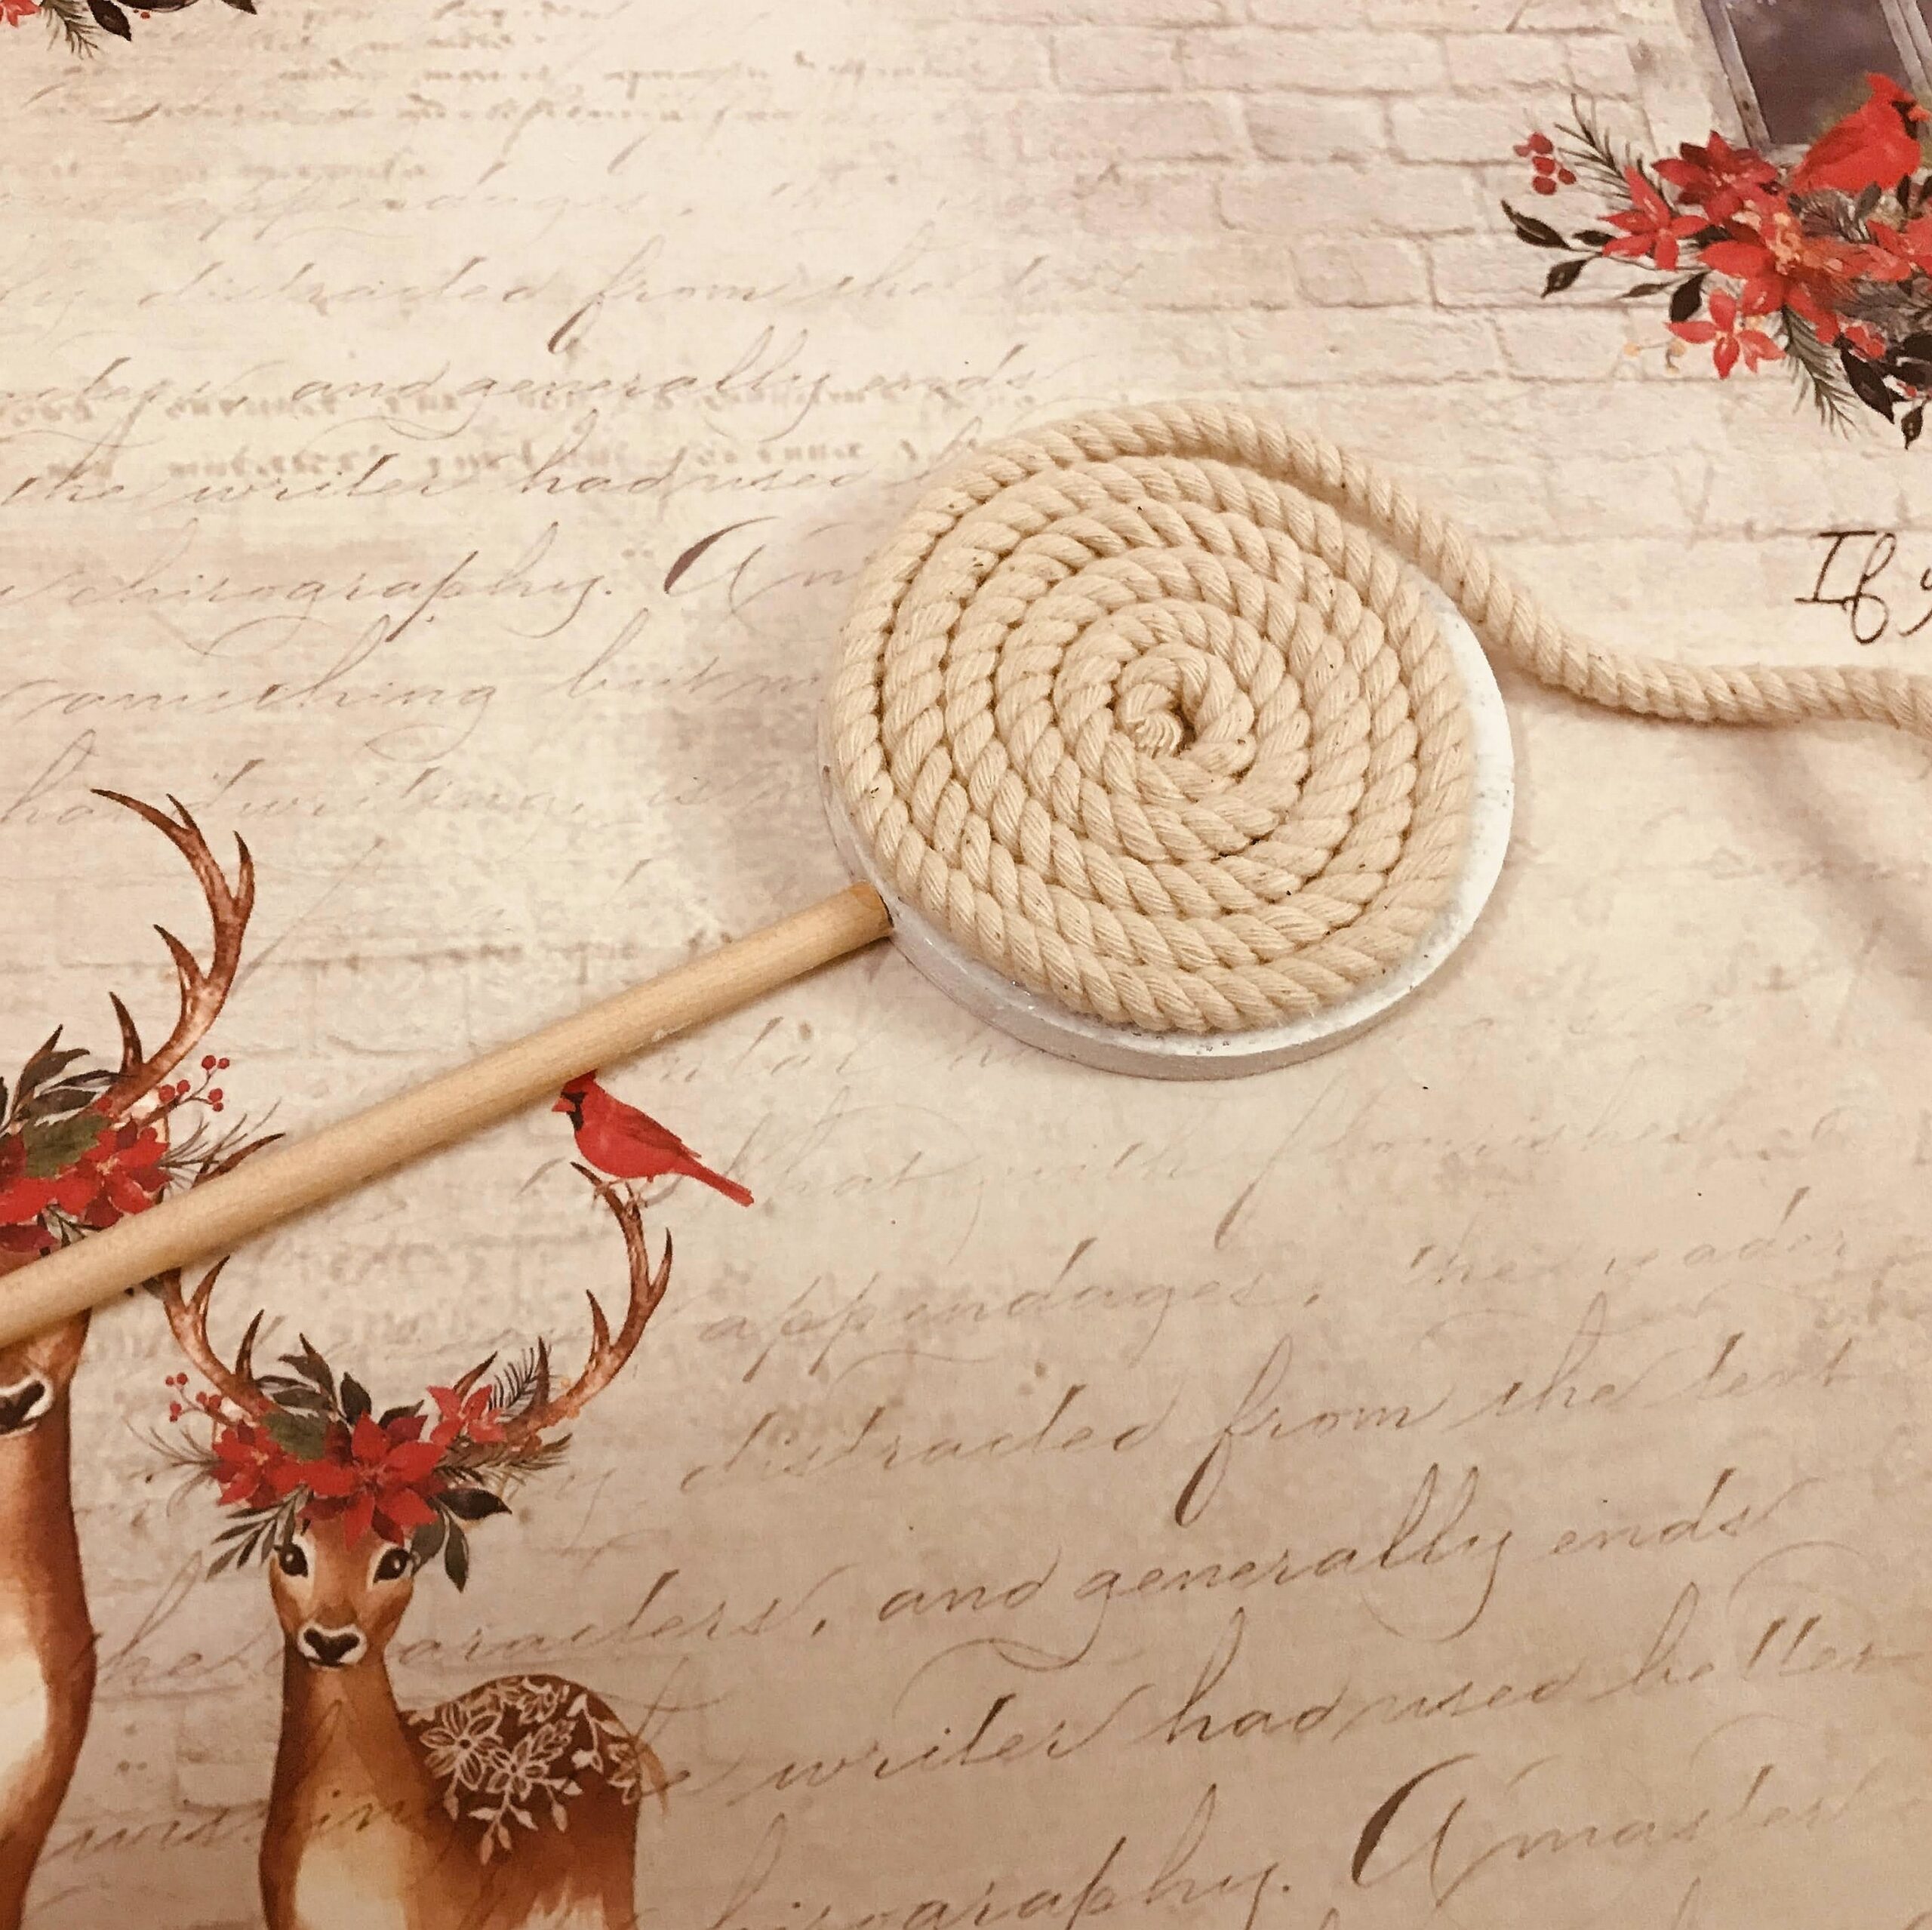
7.Macrame lollipop tree ornament
This lovely macrame ornament is a delight in itself.

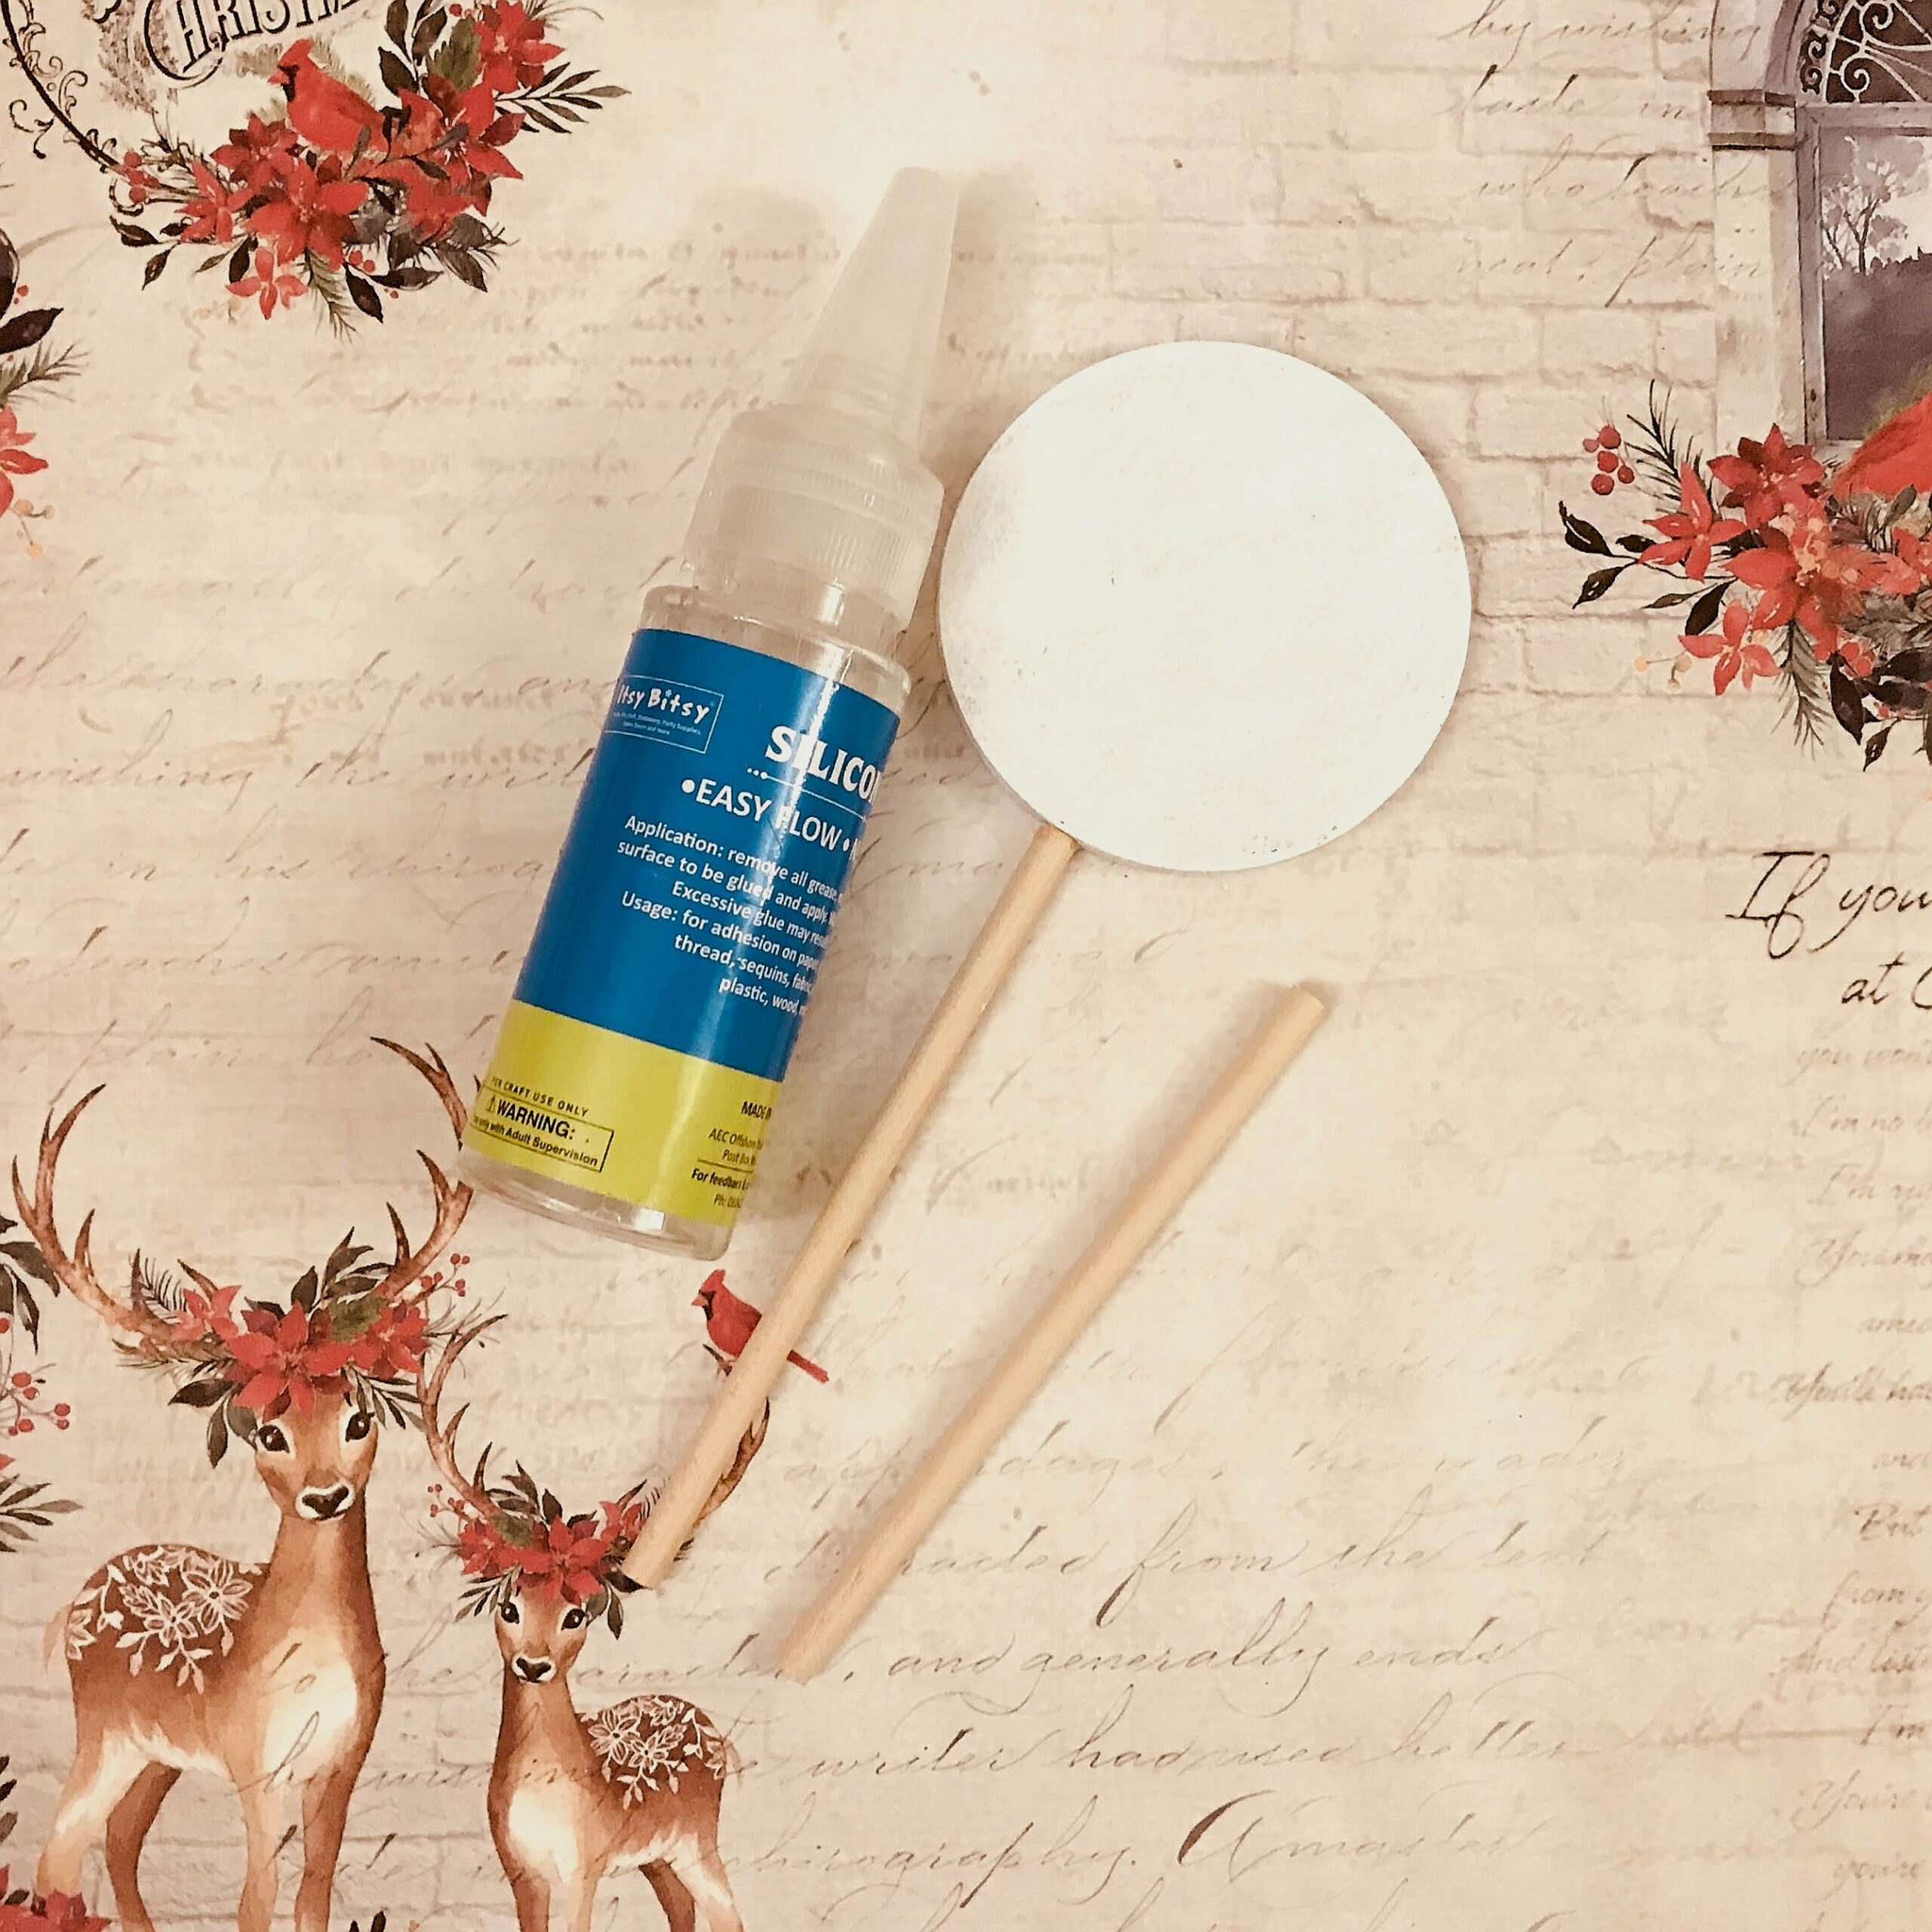
1. Paint a MDF round base with white chalk paint and let it dry.
2.Stick a dowel at the base with silicone glue or wood glue.
3.Glue 3mm macrame cord in the center till the edge of the base as shown. Trim the excess and let it dry.
4.Use archival multisurface paint – Tomato Red to give a candy cane effect.
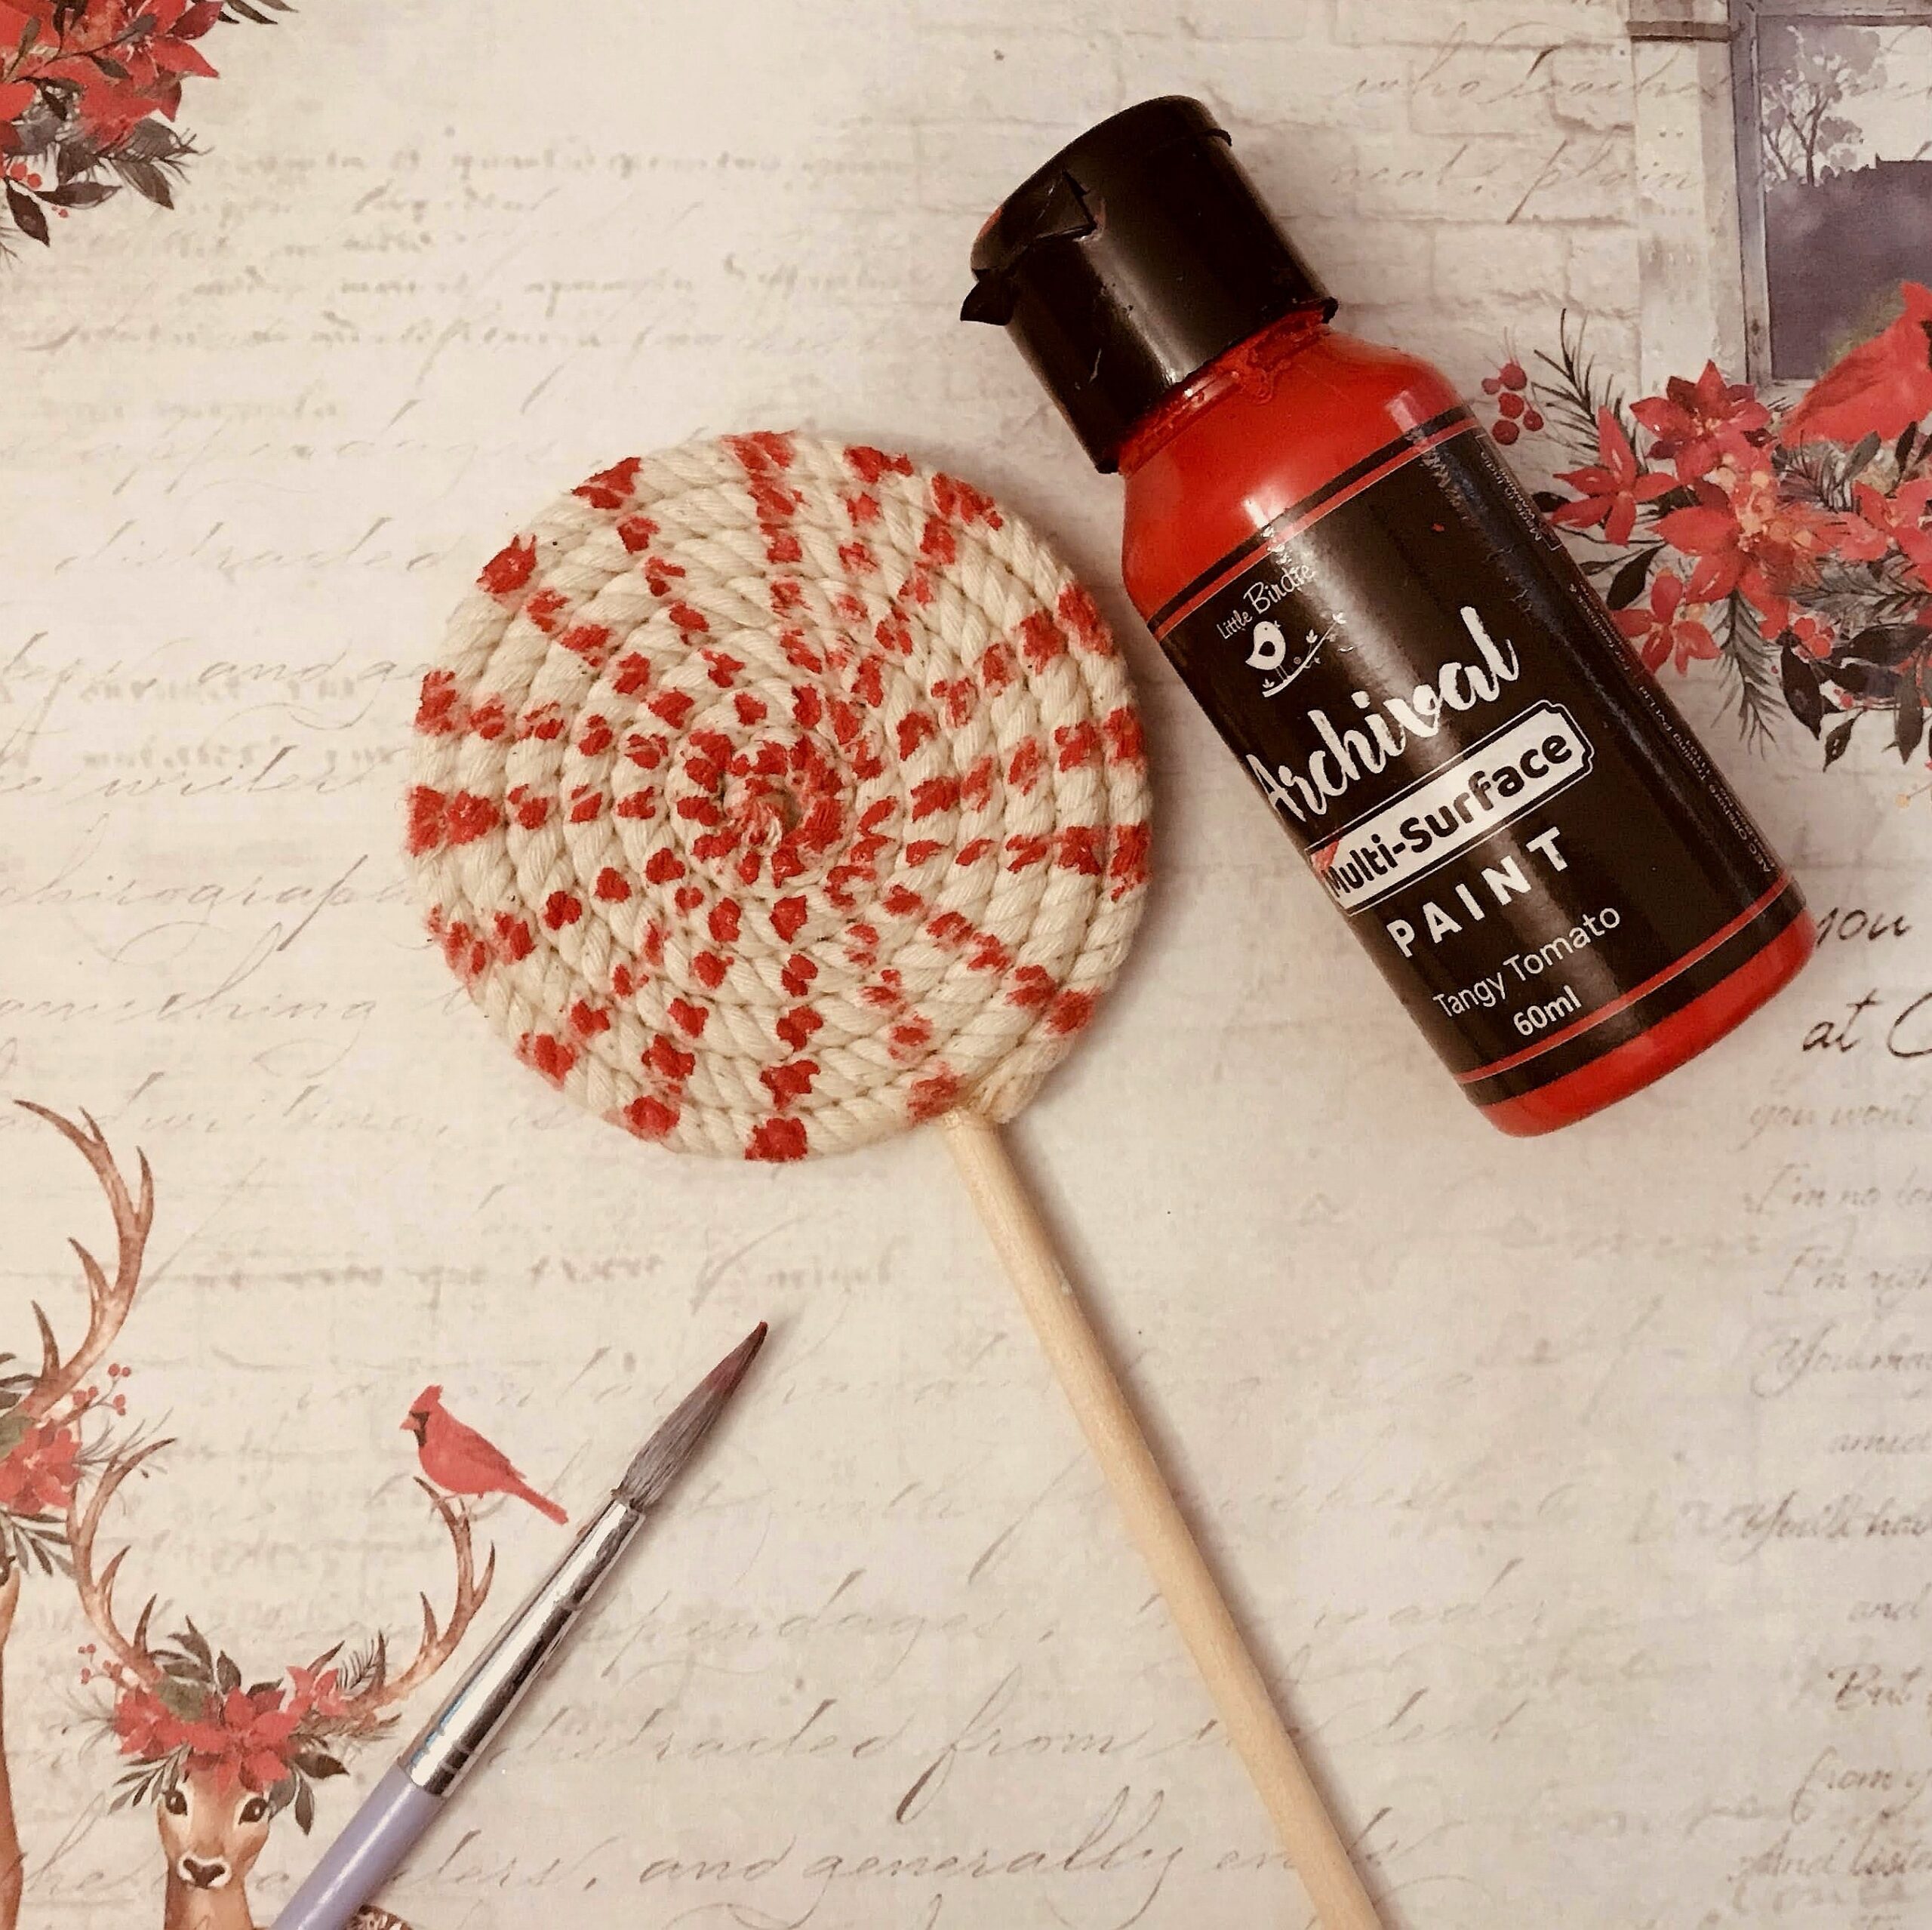
5. Once dry, add a tartan ribbon as shown. Add the same ribbon to hang the ornament. Secure with silicone glue and the lovely candy cane lollipop is ready.
A Merry Christmas and Happy New Year to you all.
Materials used
Christmas emblishements ement vintage reindeer
Tartan ribbon Bitsy Red and green
Shabby chic burlap sheets