Hello Crafters
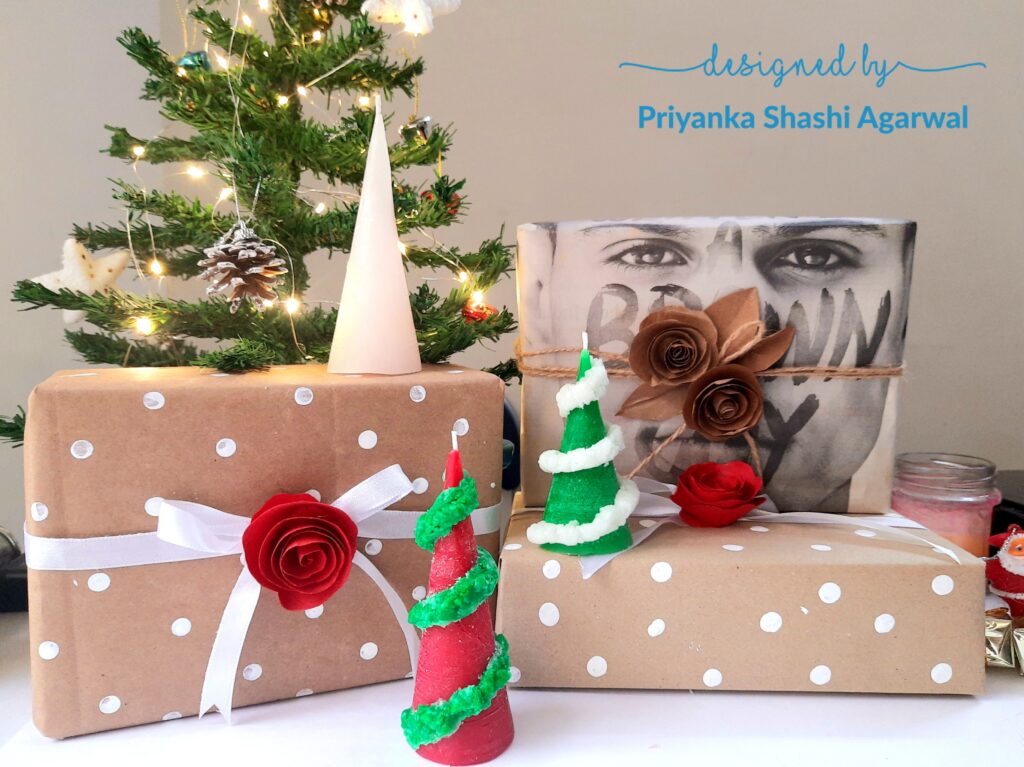
This is Priyanka Shashi and I am here with yet another beautiful Christmas candle inspiration. I love to do experiments and this is one of them. This is a cone shaped Christmas Tree candle. Have a look on it and follow the easy step by step pictorial.
Material Required:
- Paraffin Wax
- Red Wax Granules
- Wick
- Stearin
- Ultra Brightener
- Fragrance of your choice
- Candle Making Dyes (Blazing Blue, Pear Green)
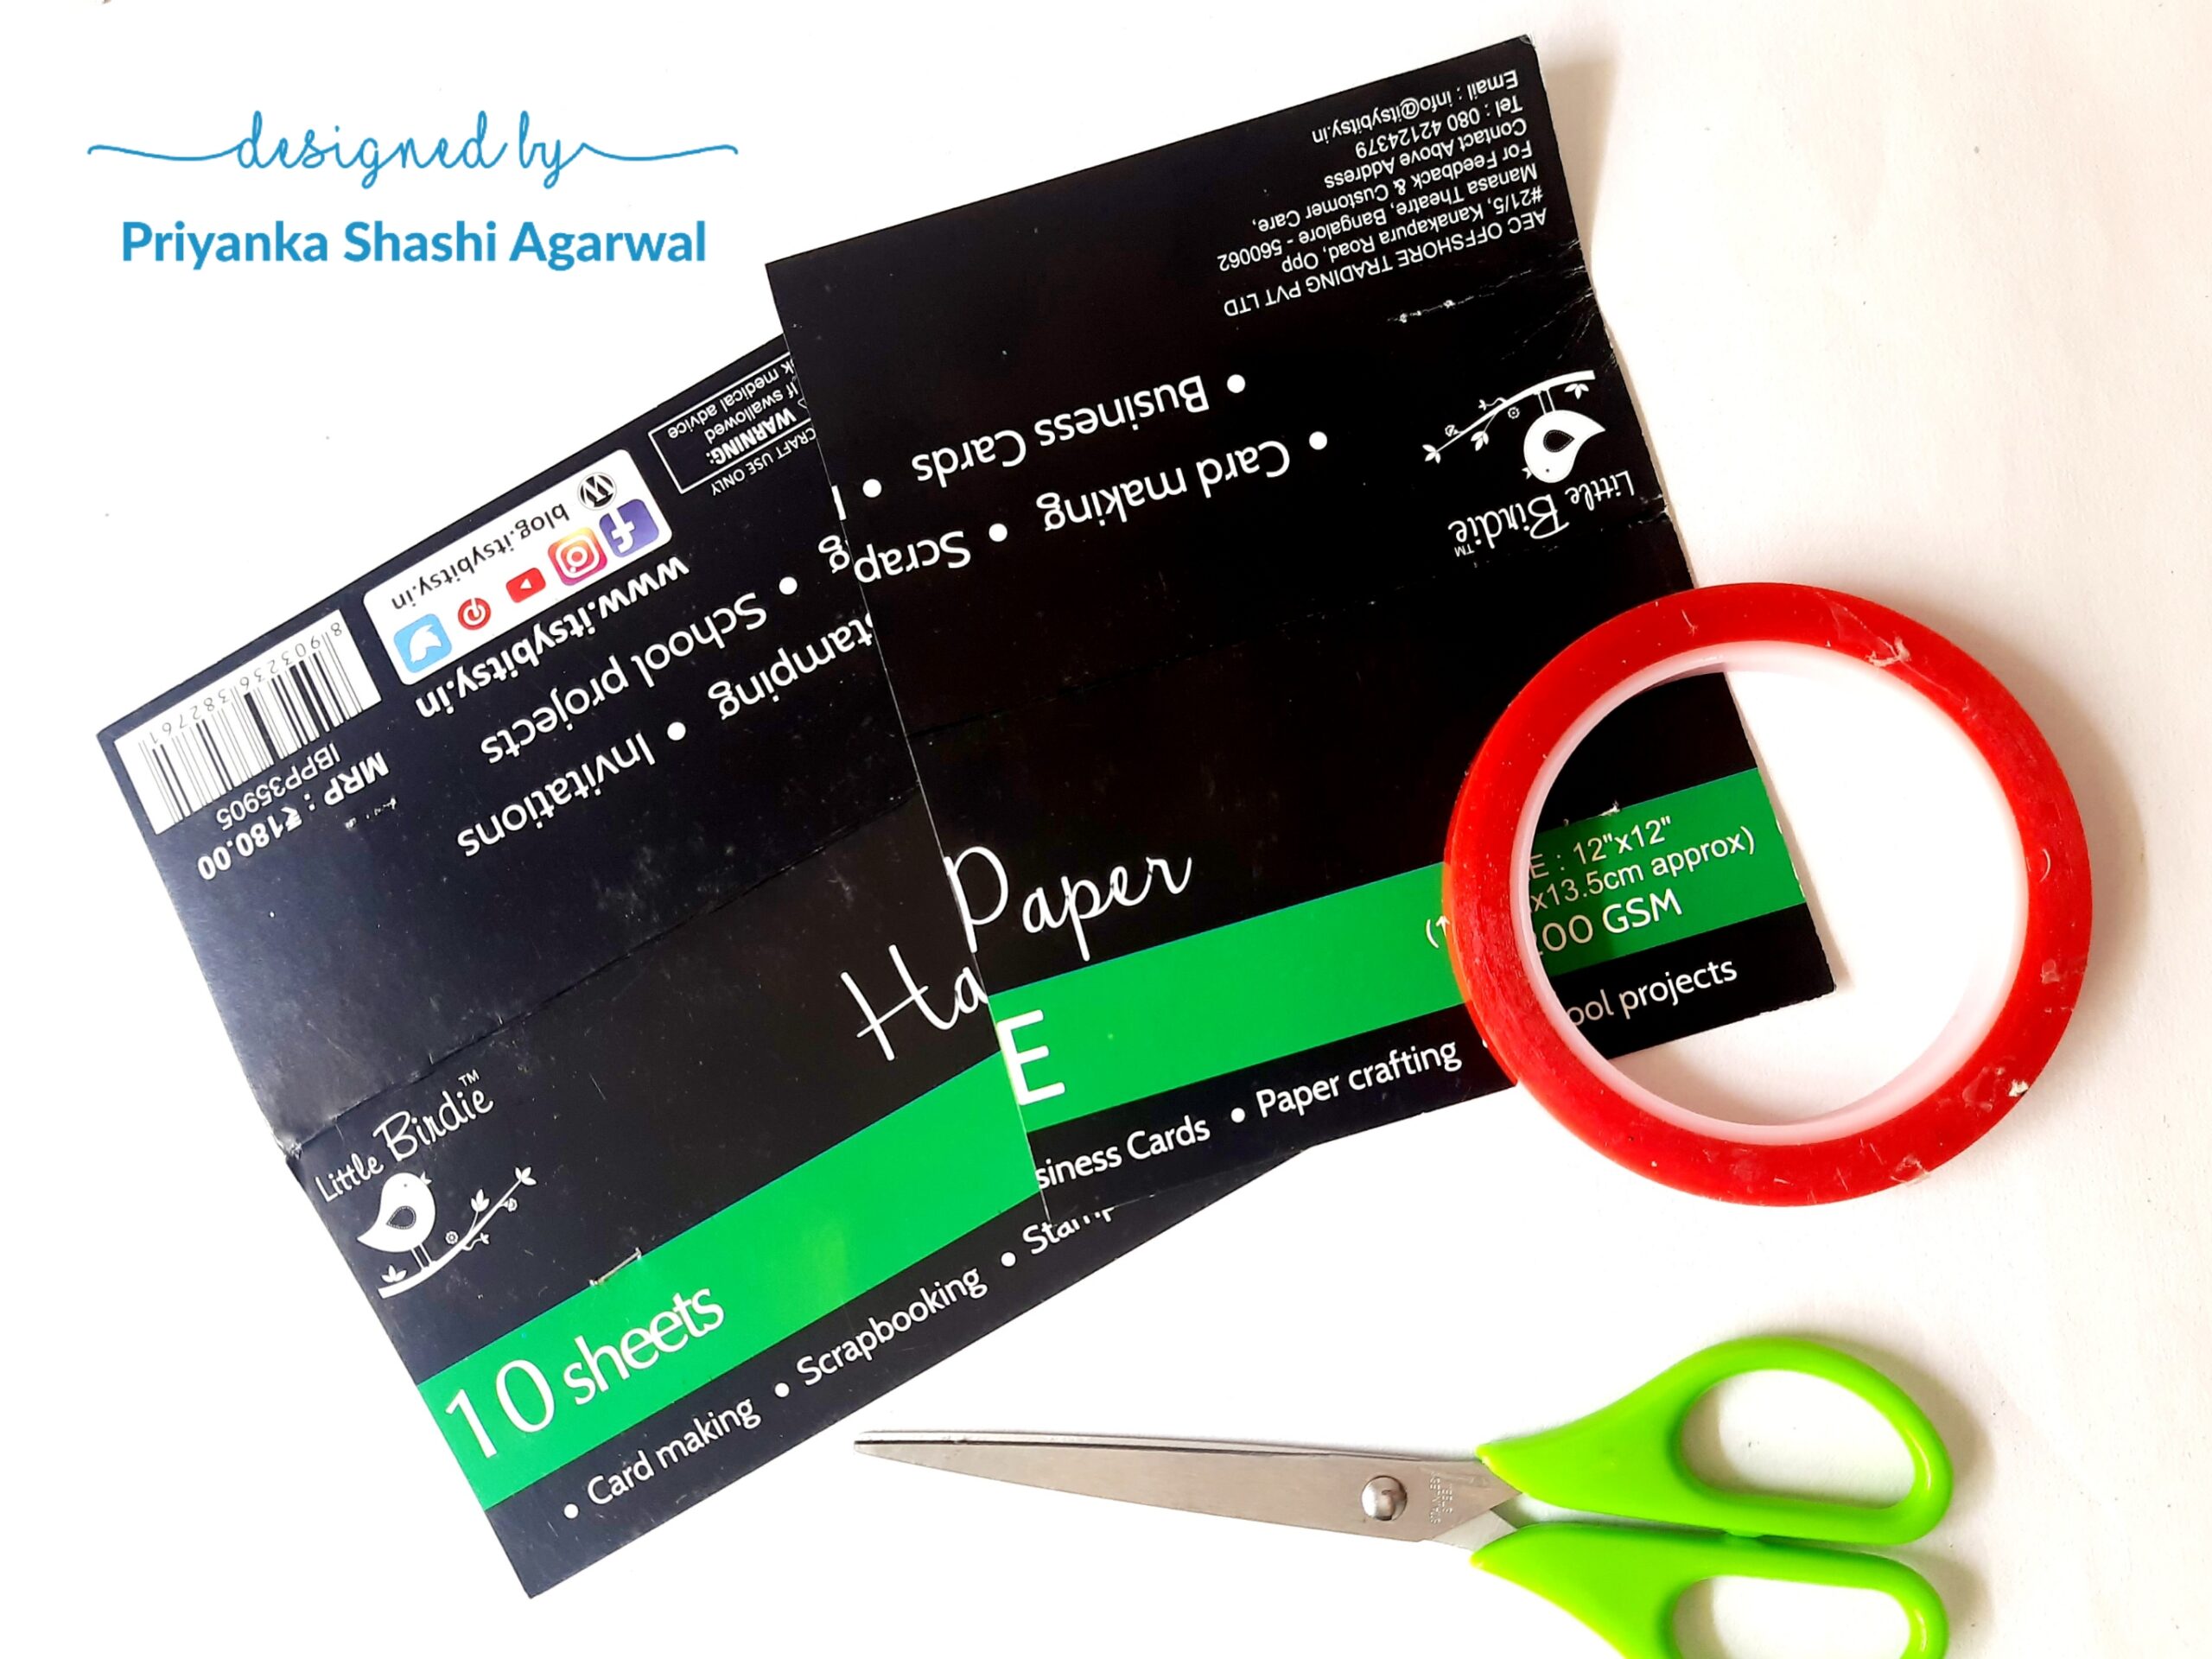
- Thick Card Stock
- Tacky Tape
- Double Boiler
Prepare the mold
Use a heavy cardstock to make the mold for the Christmas tree shaped candle.
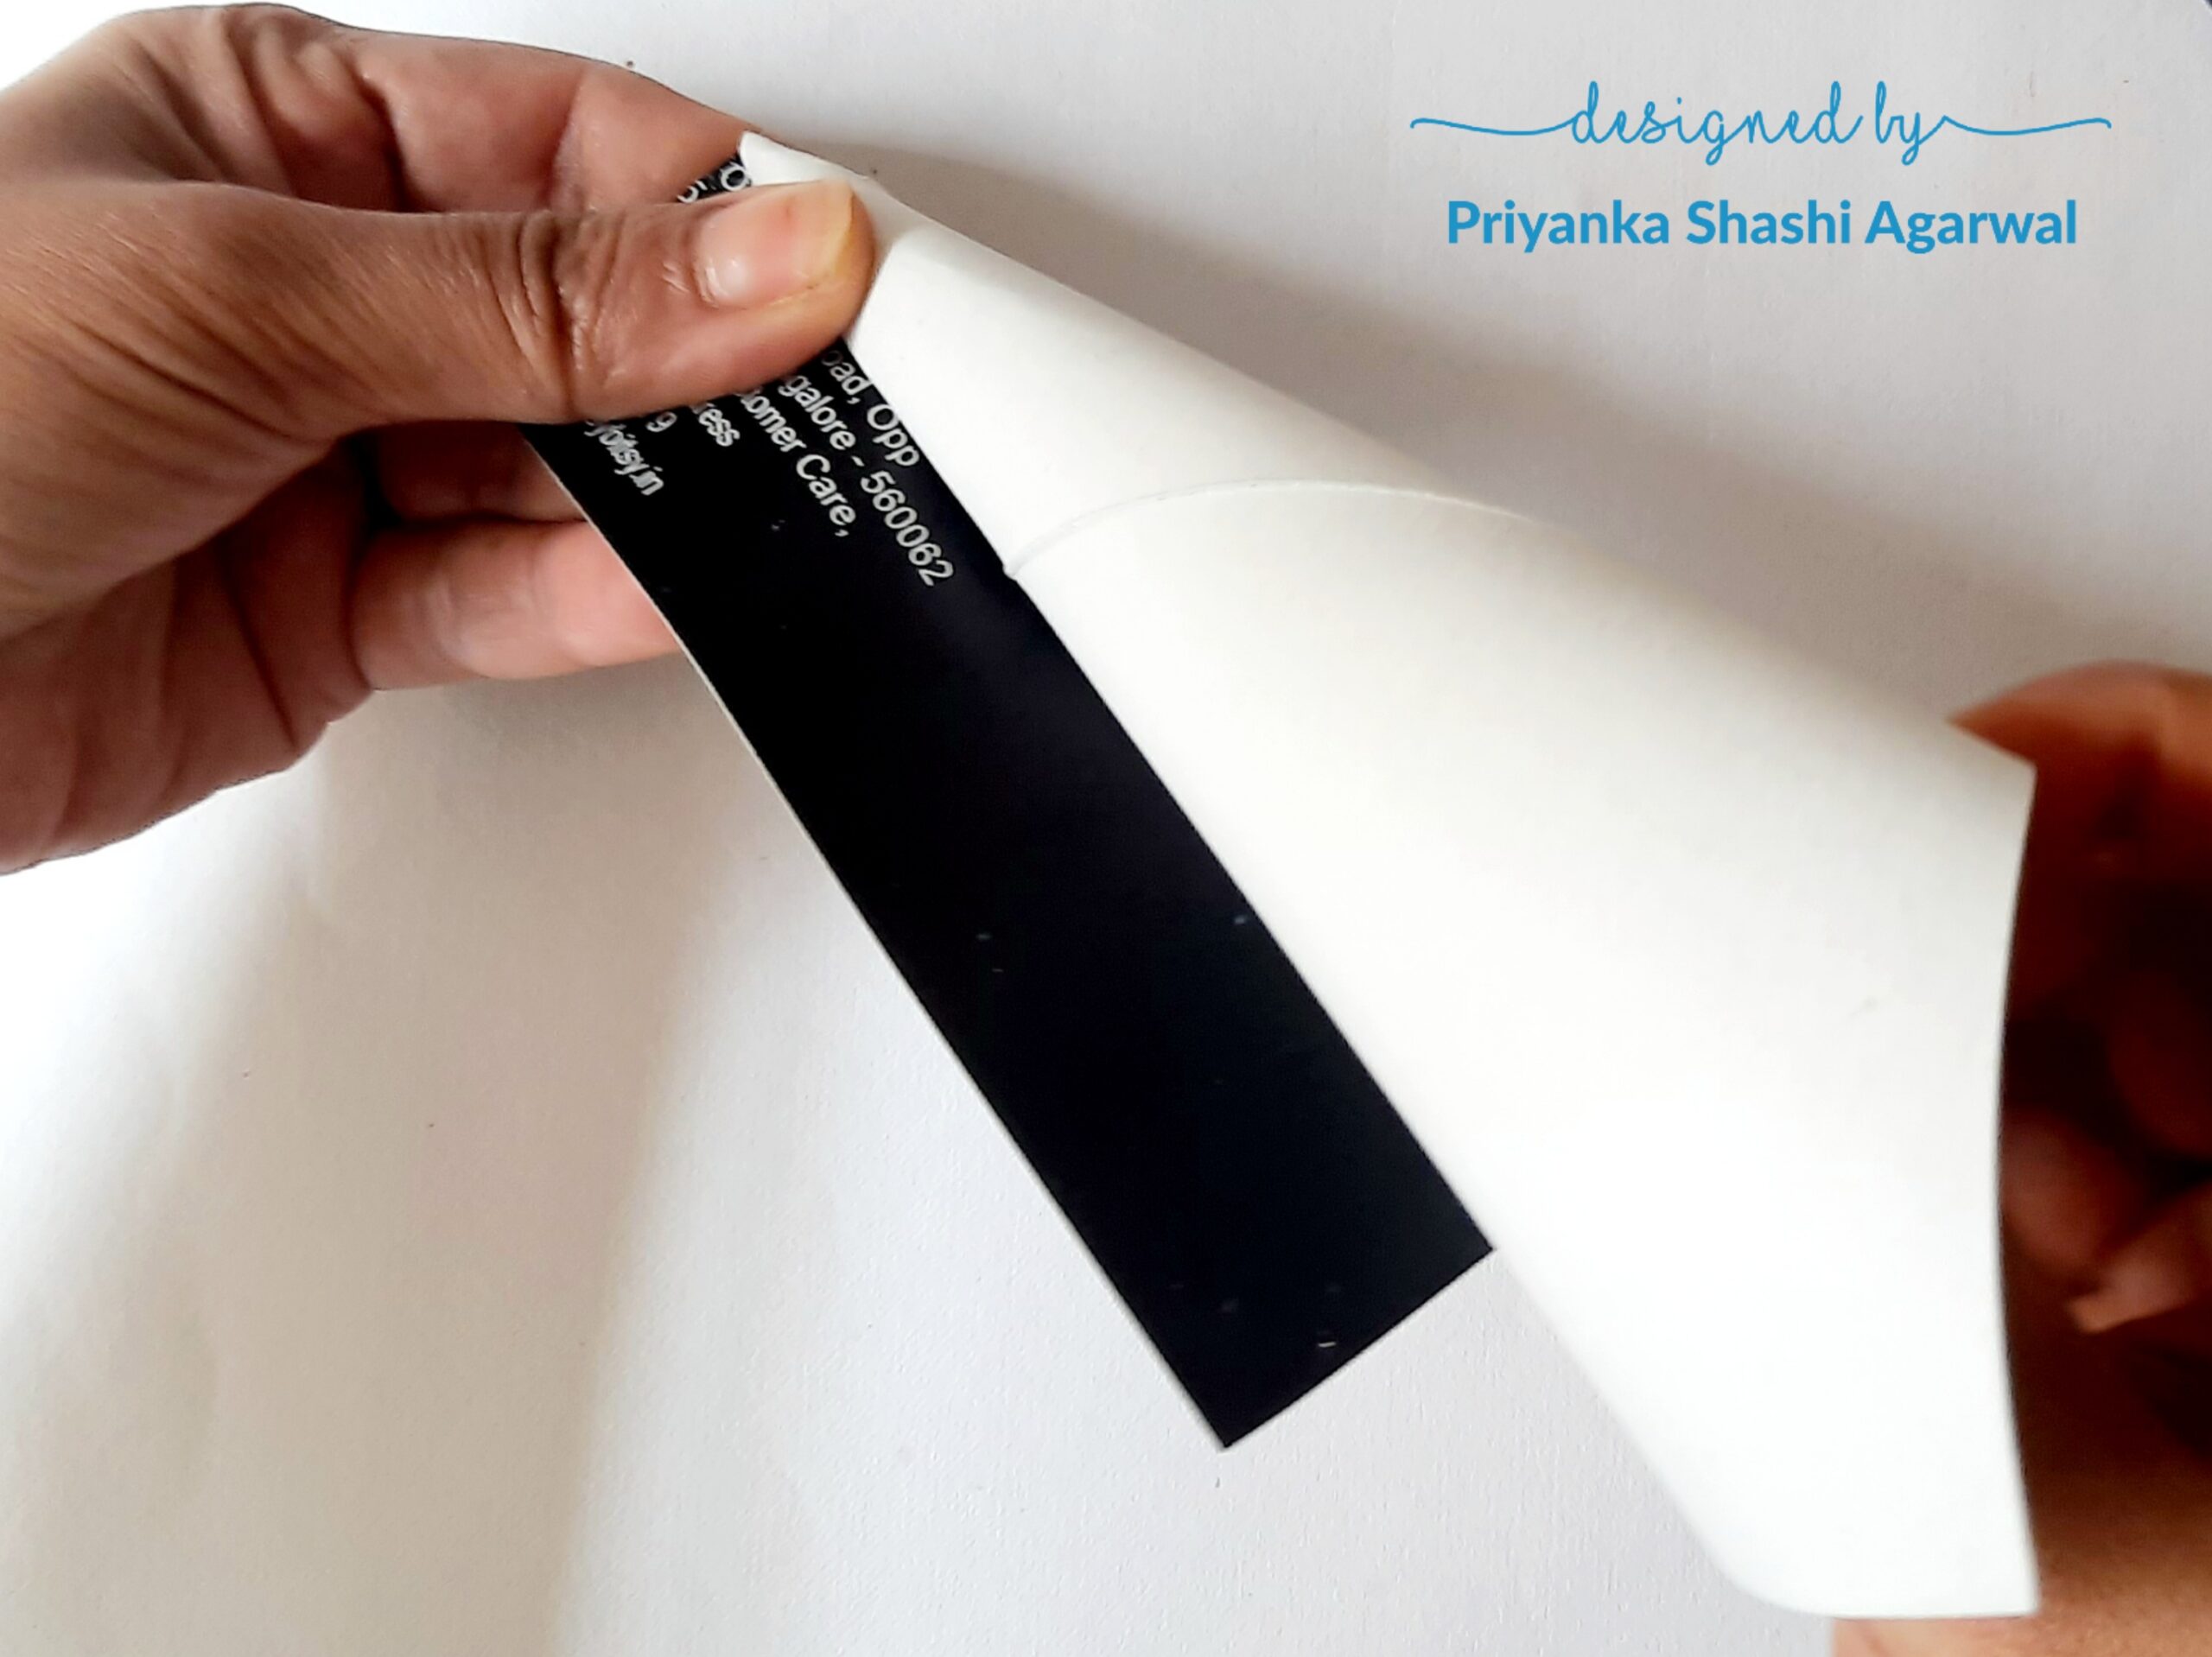
Roll the cardstock to form a cone shape.
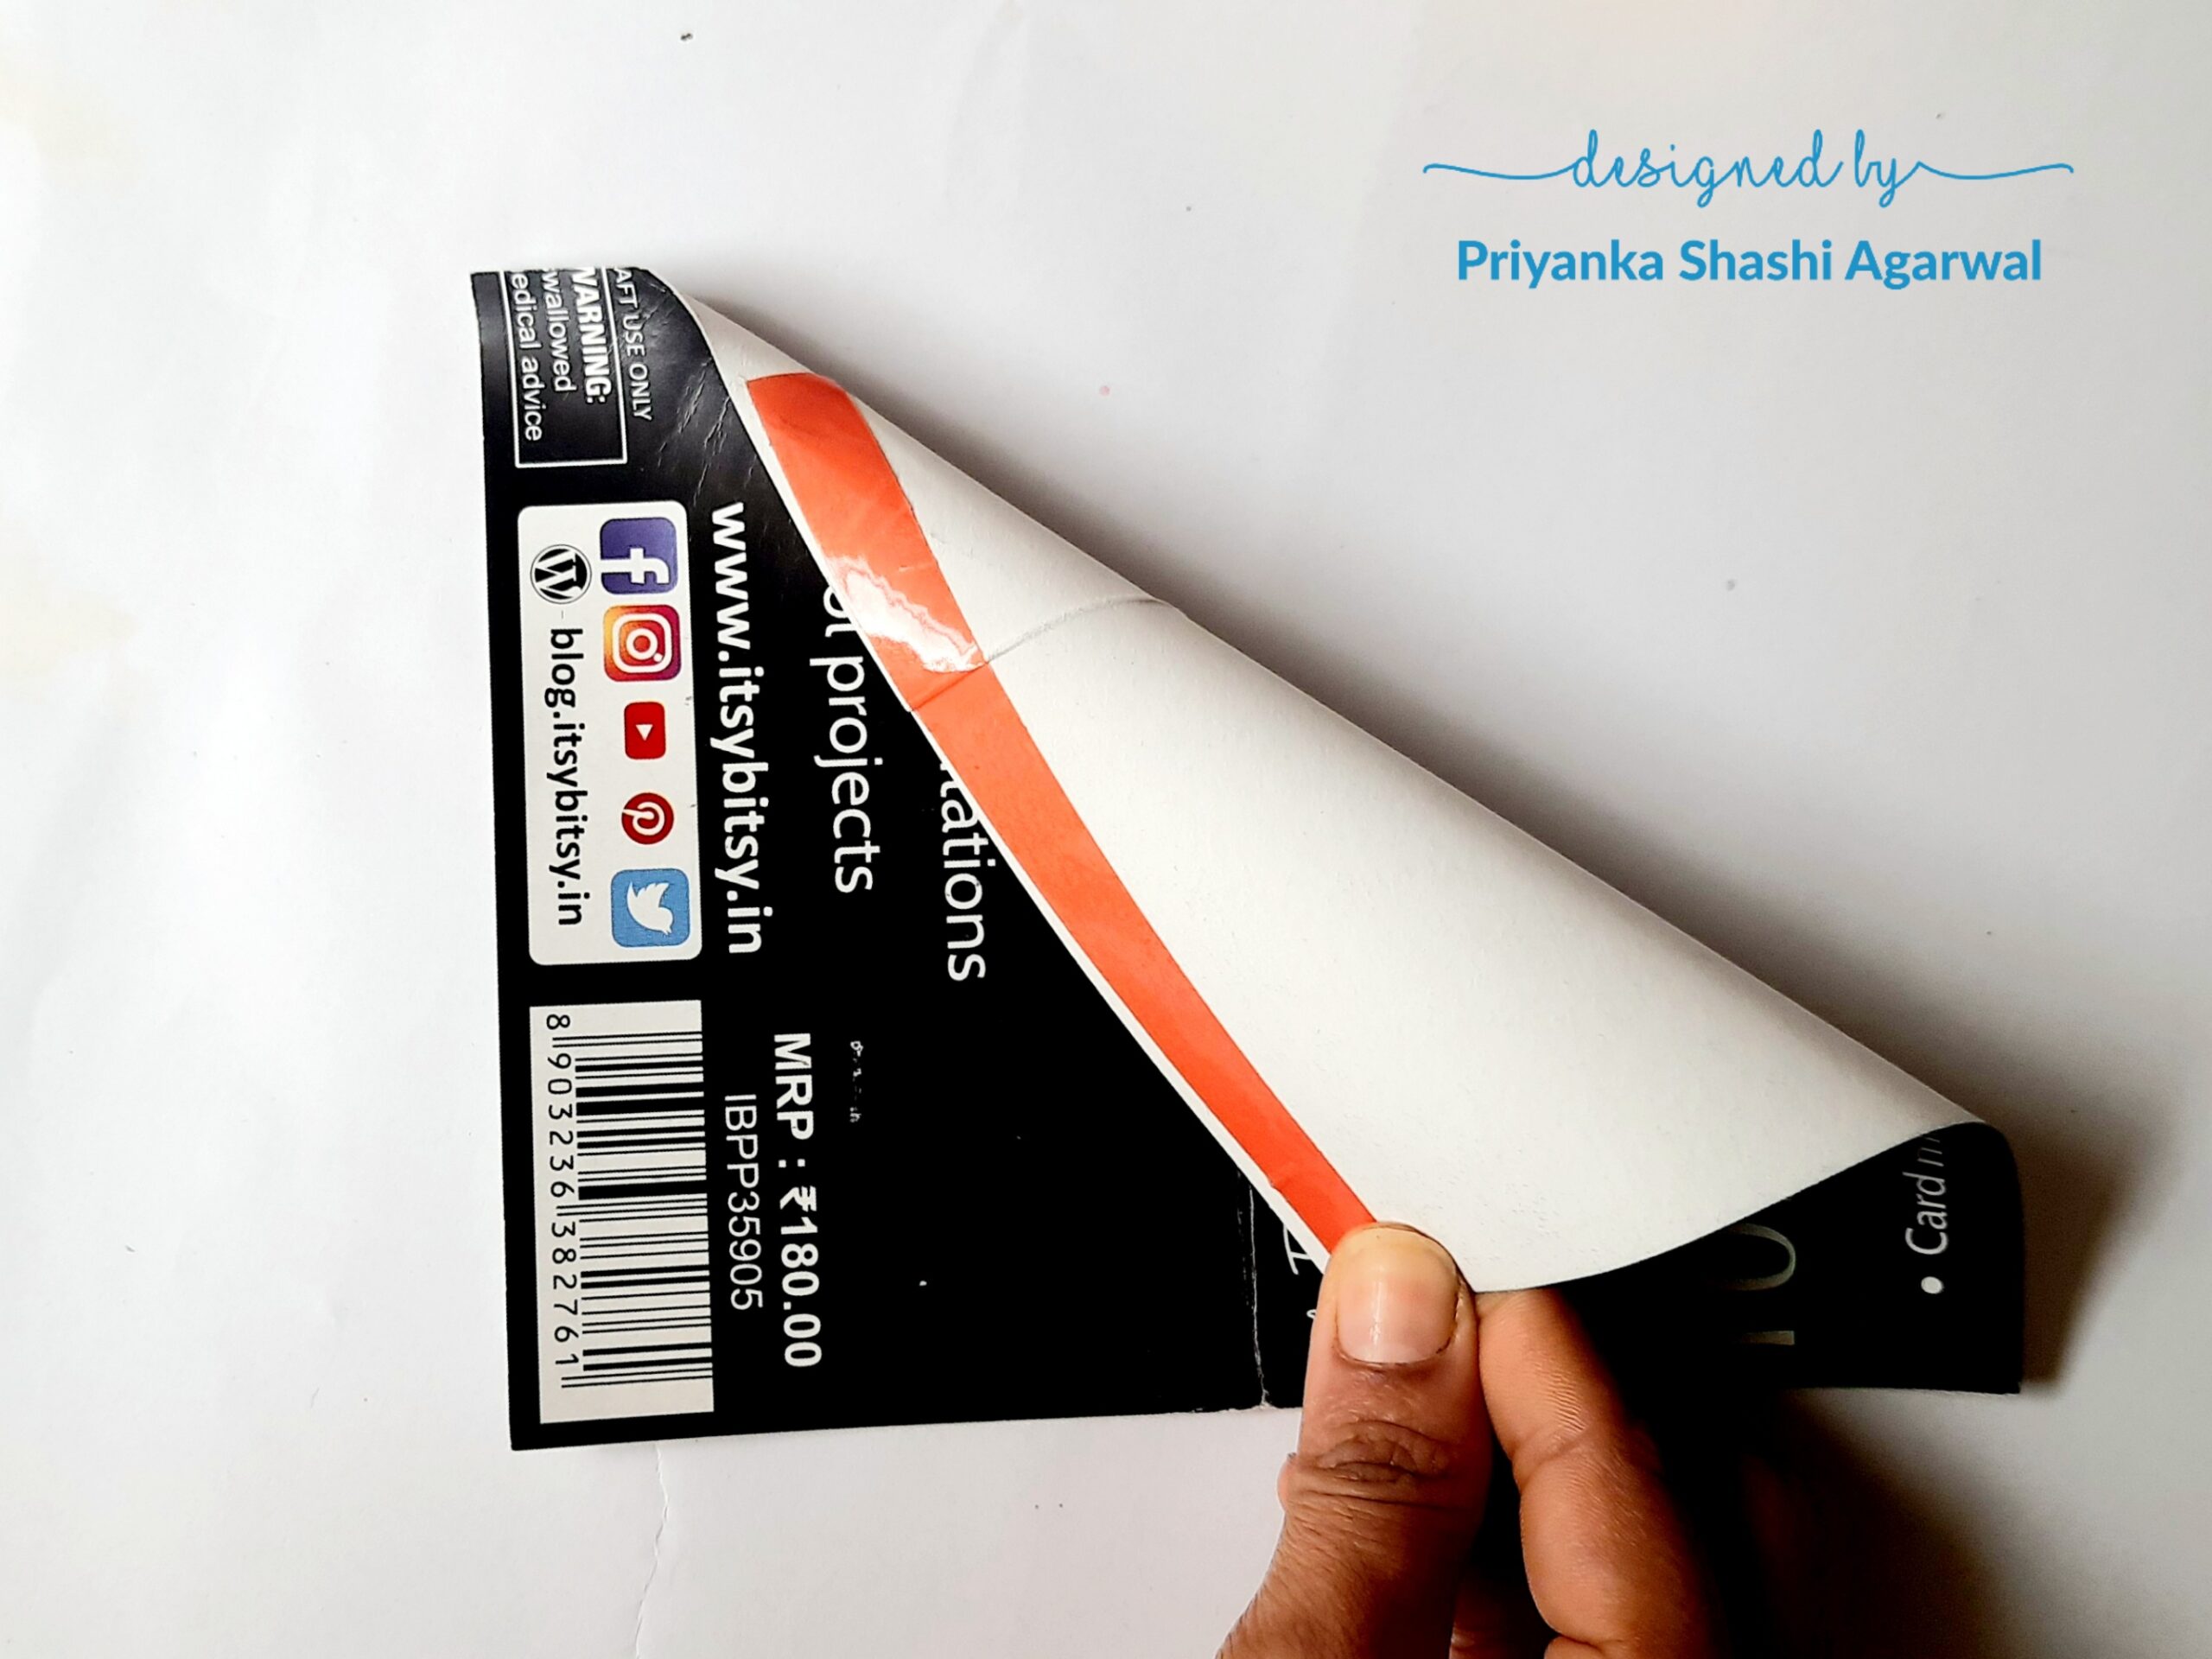
Secure the cone with a tacky tape on the inner edge.
Secure the cone with a tacky tape at the outer edge as well.
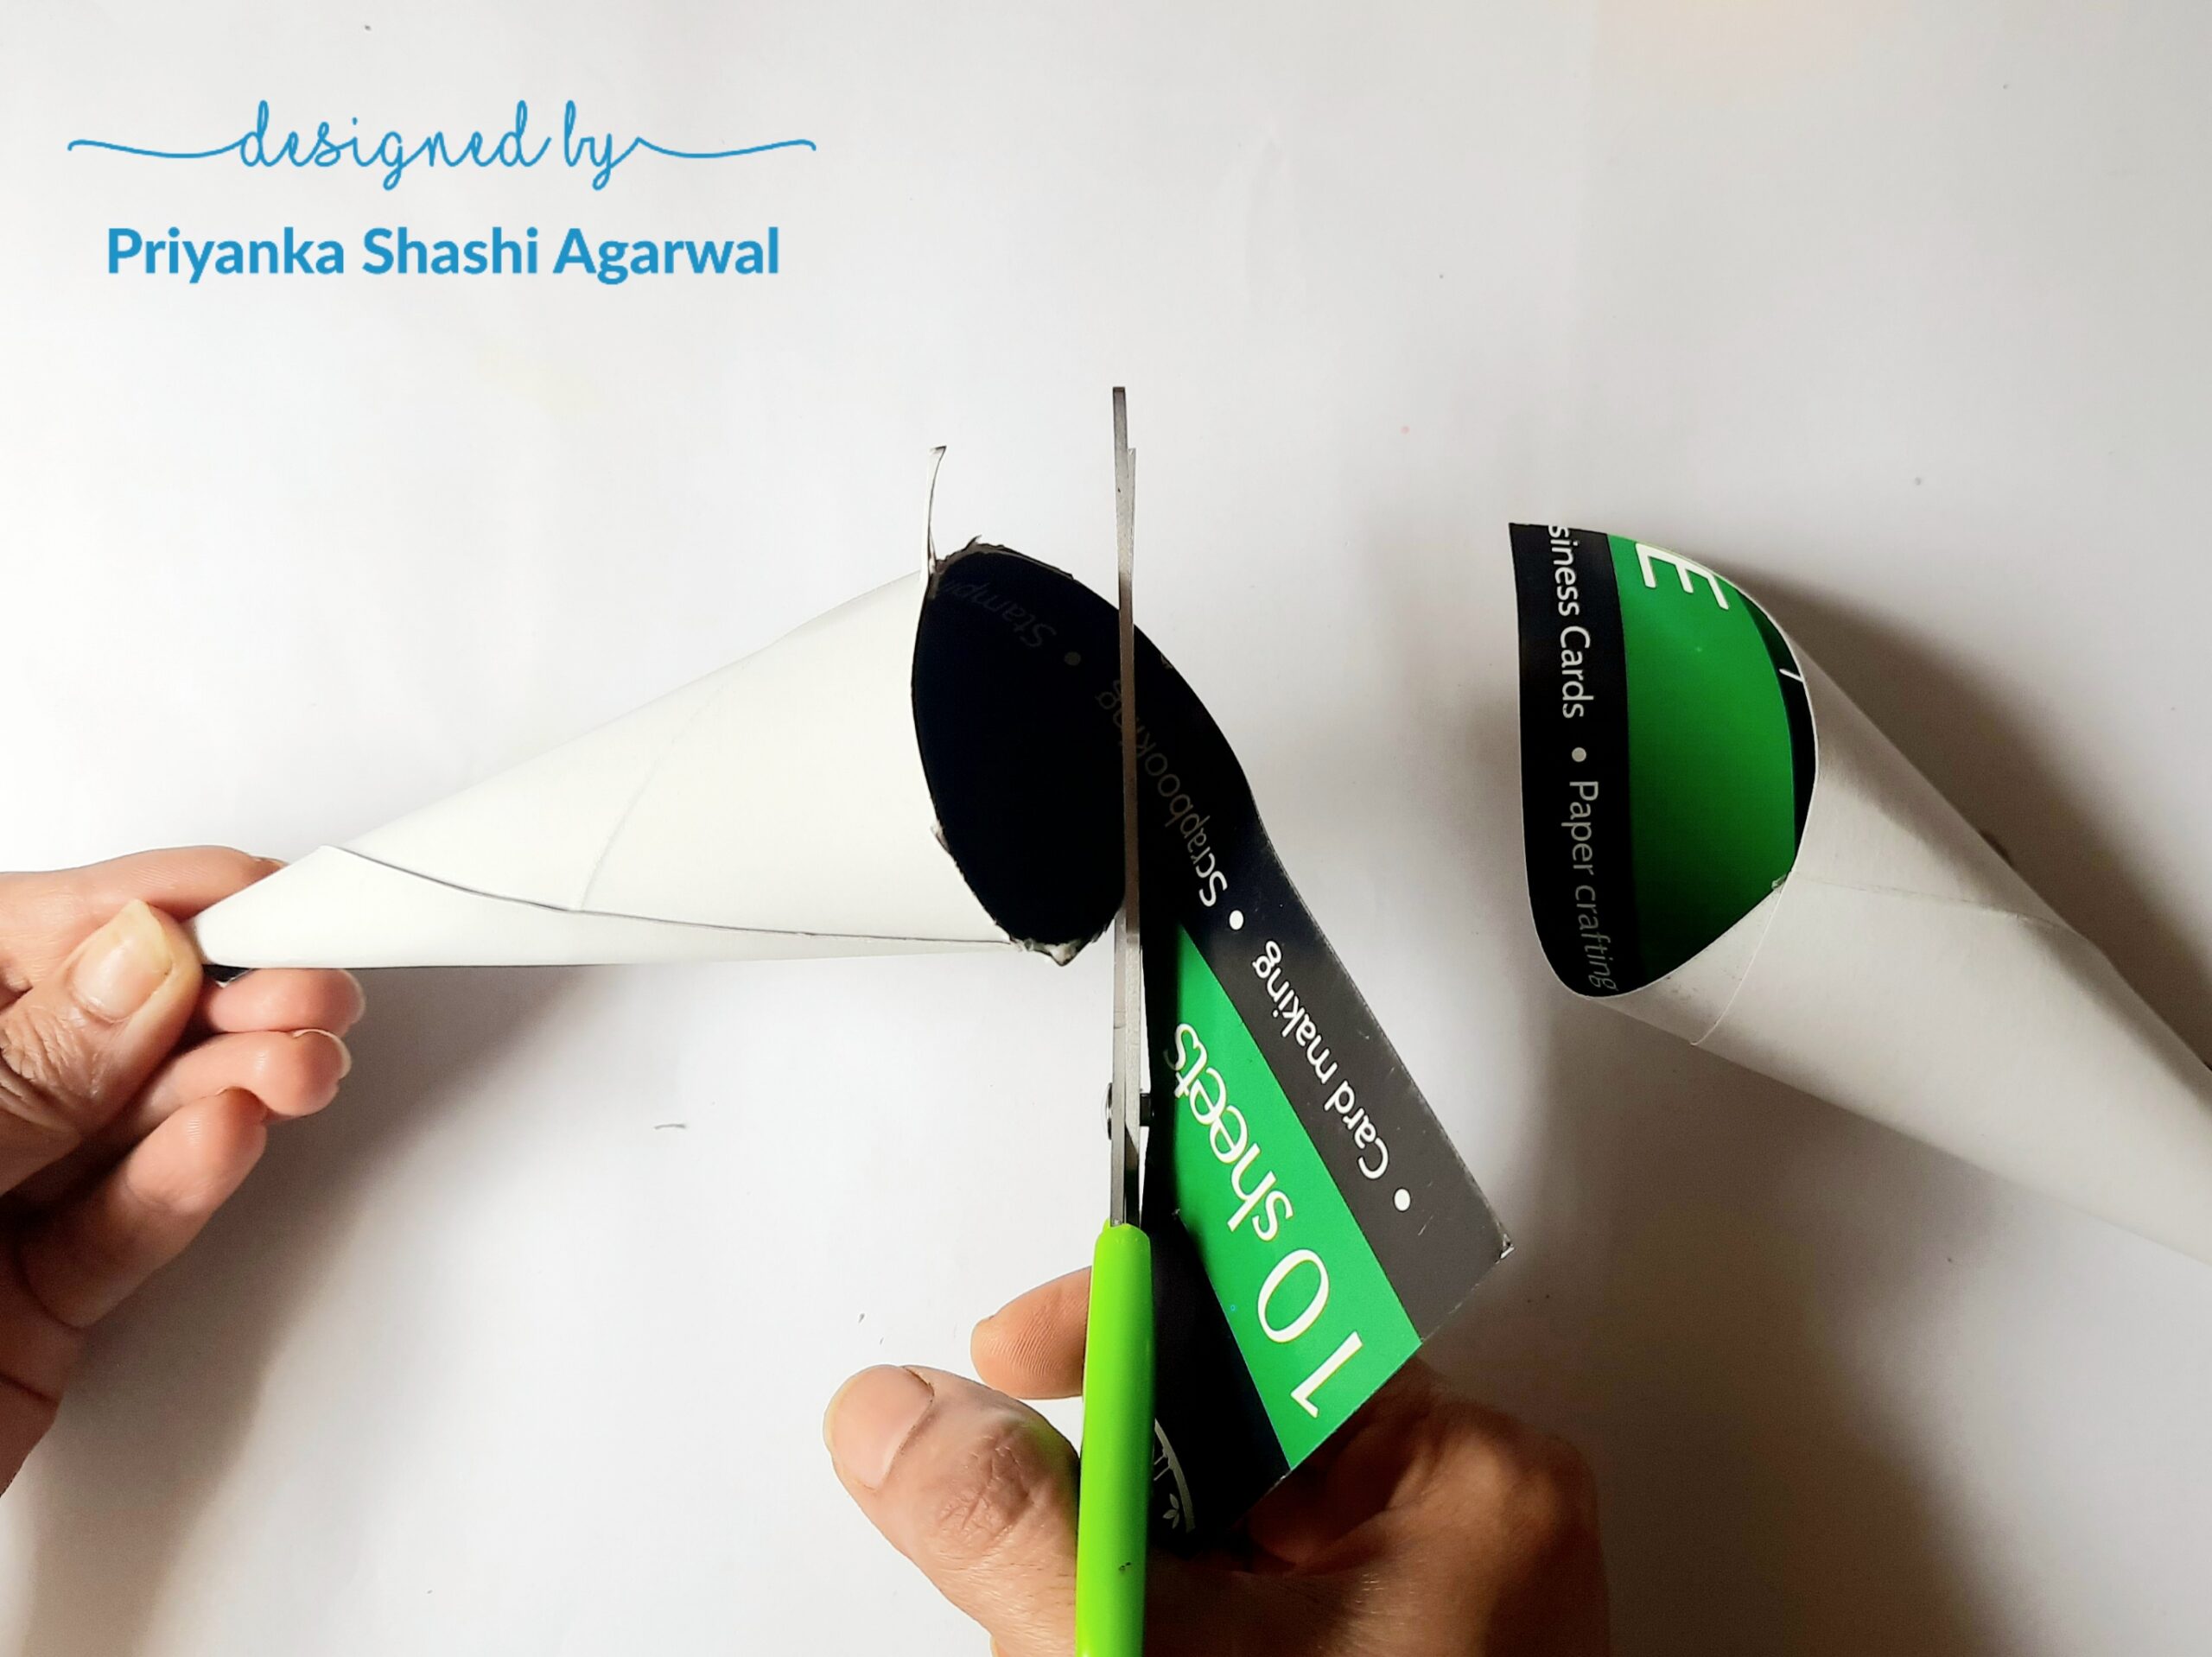
Trim the excess part of the paper.
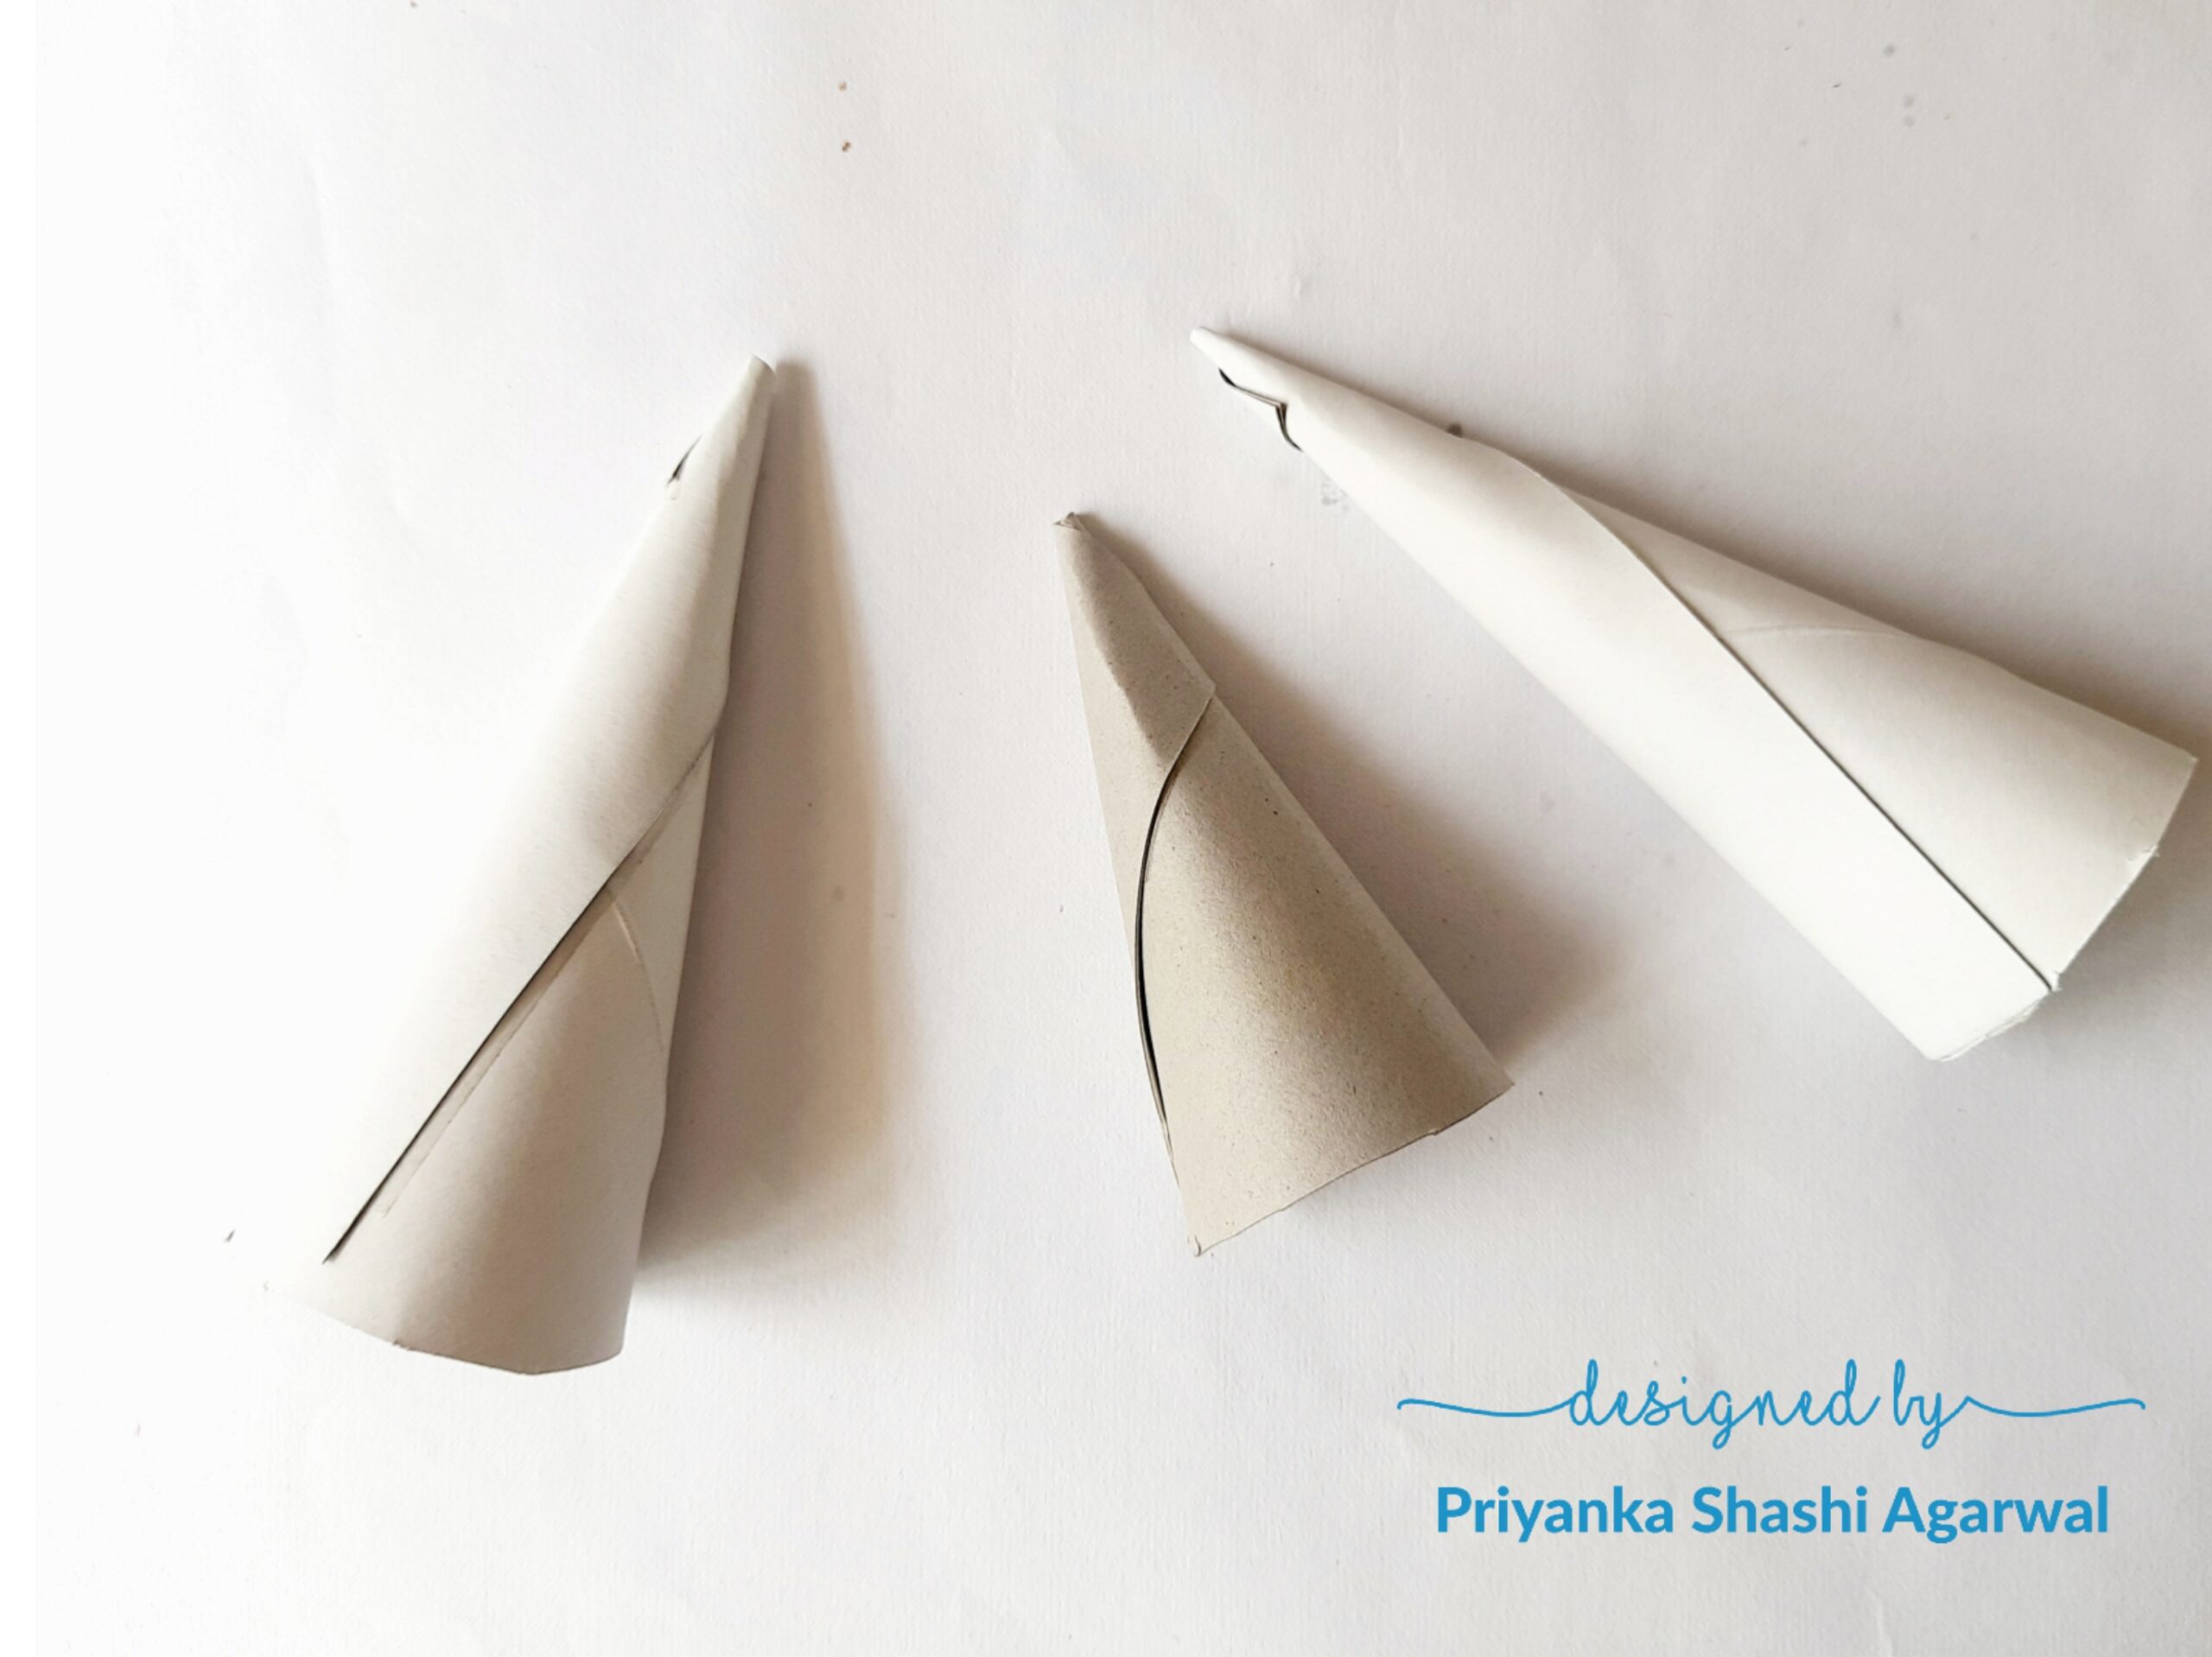
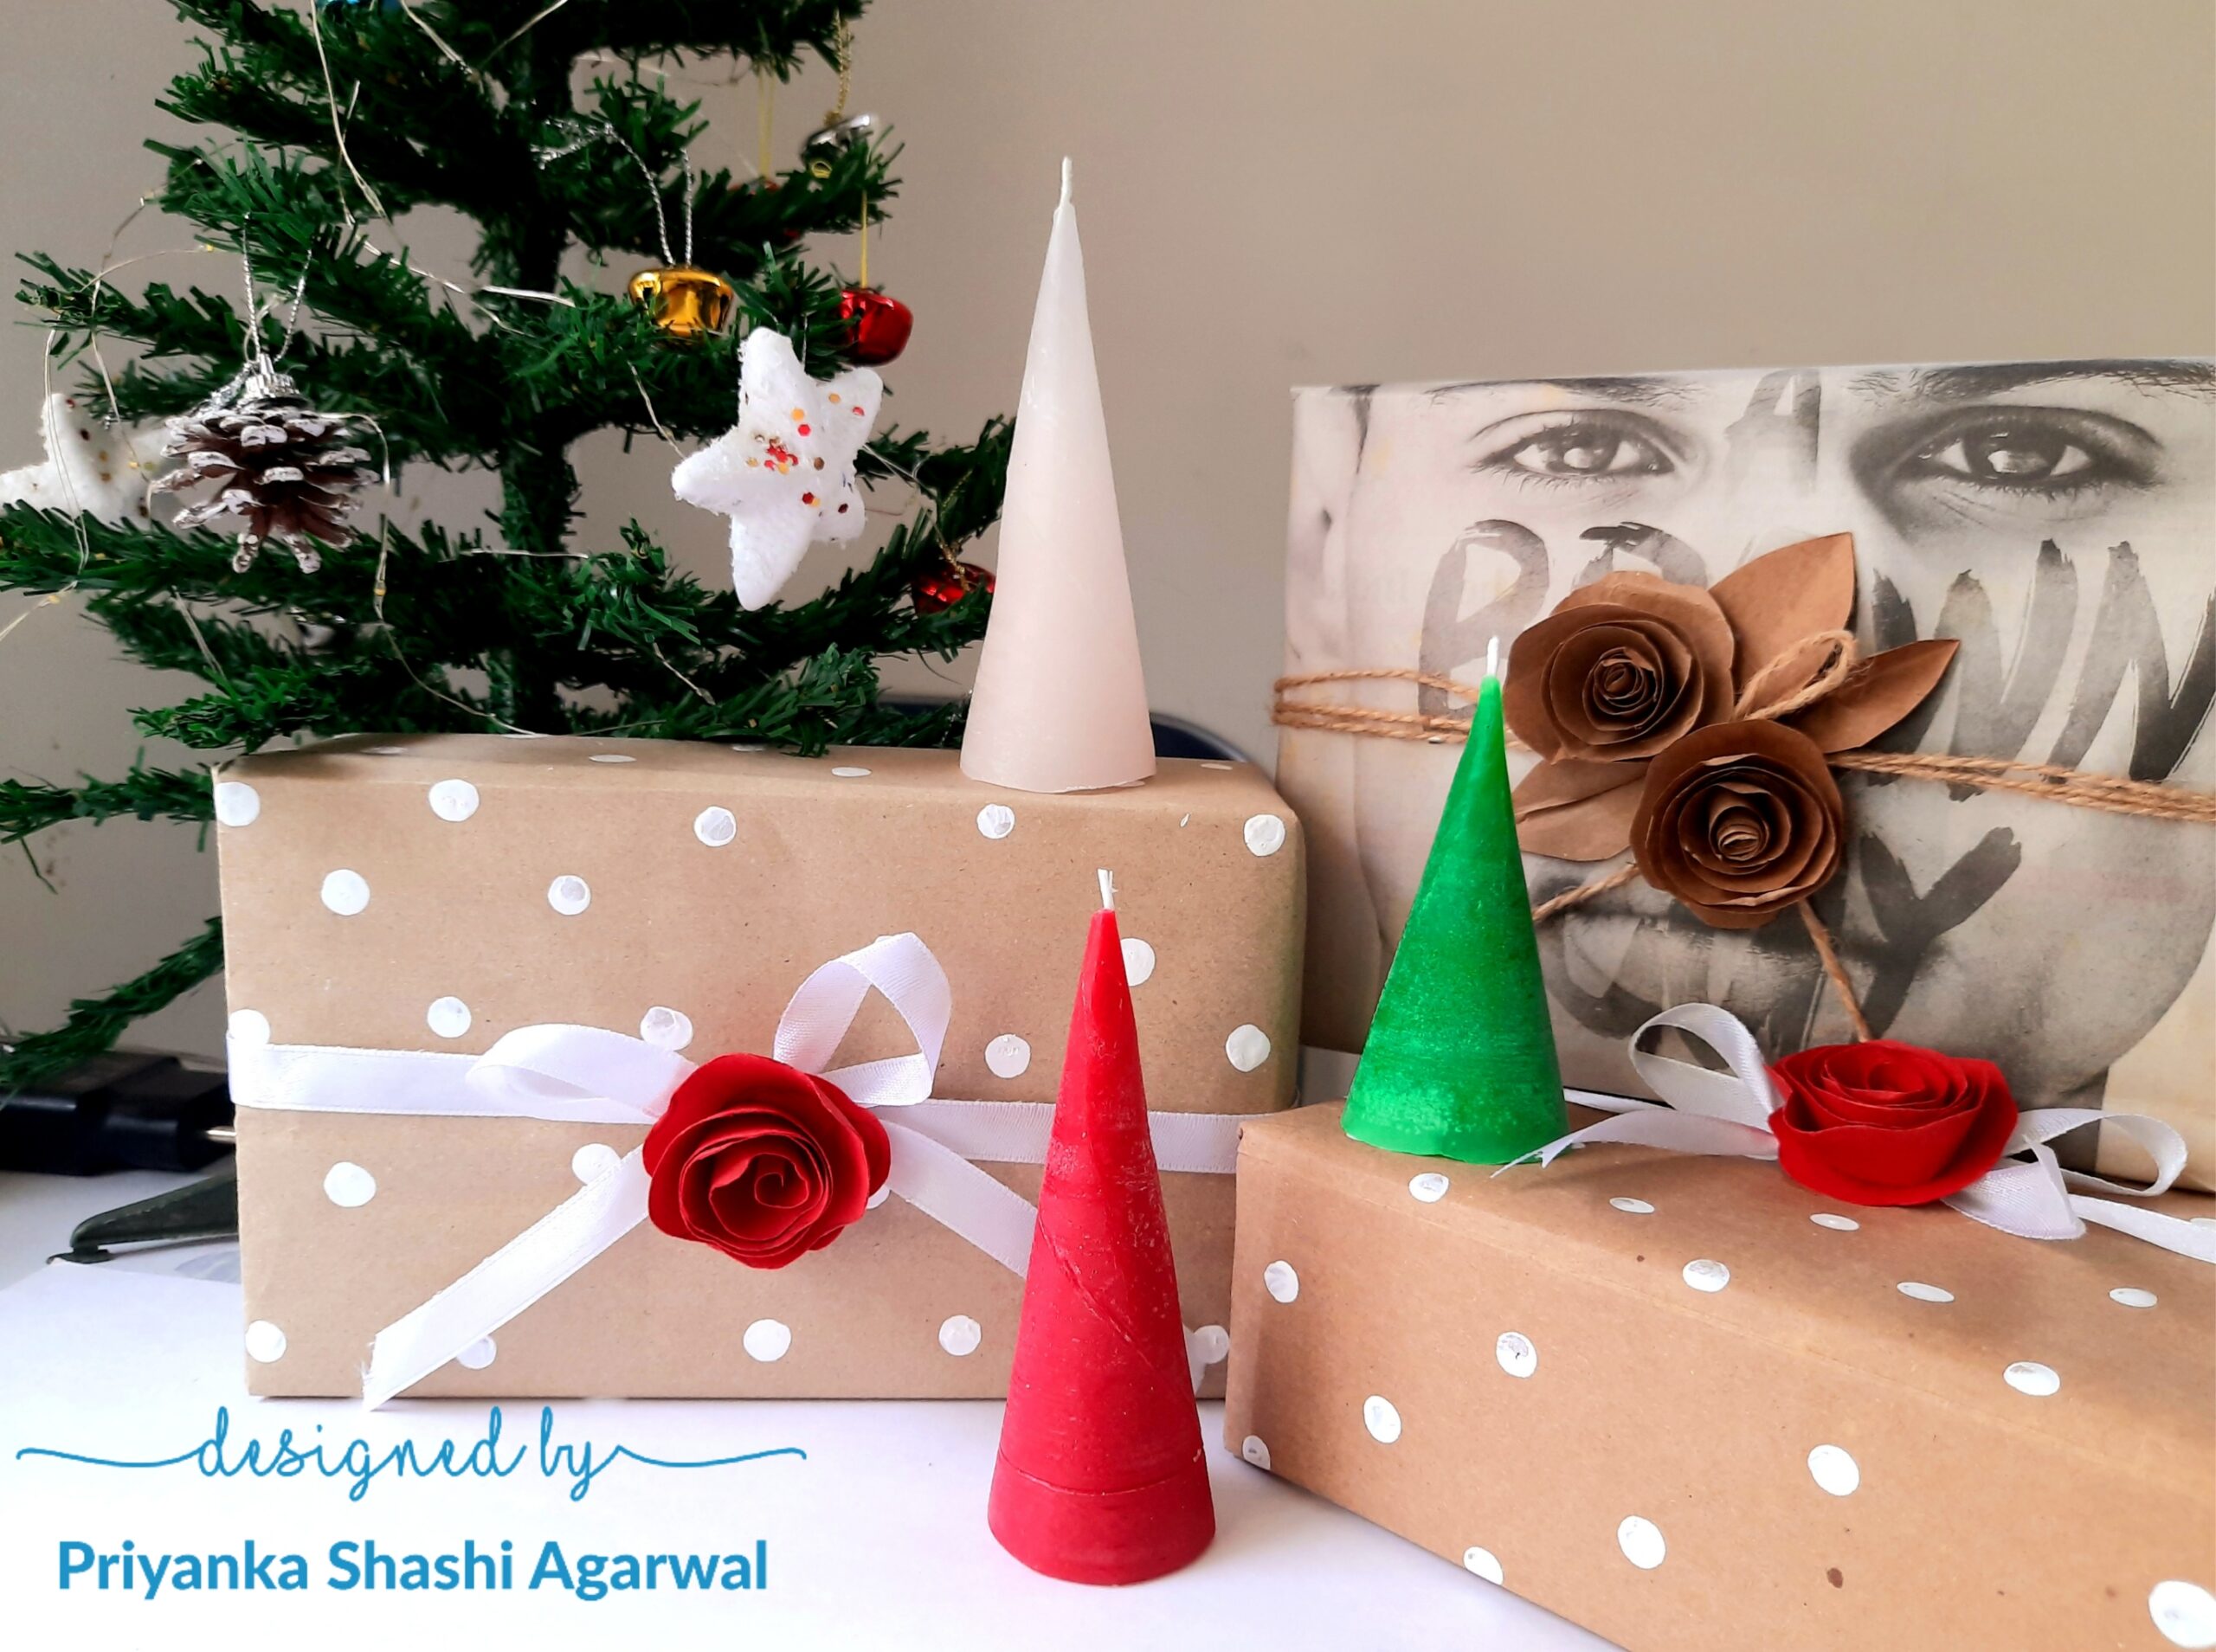
The cone shaped mold for the Christmas Candle is ready. I prepared 3 molds.
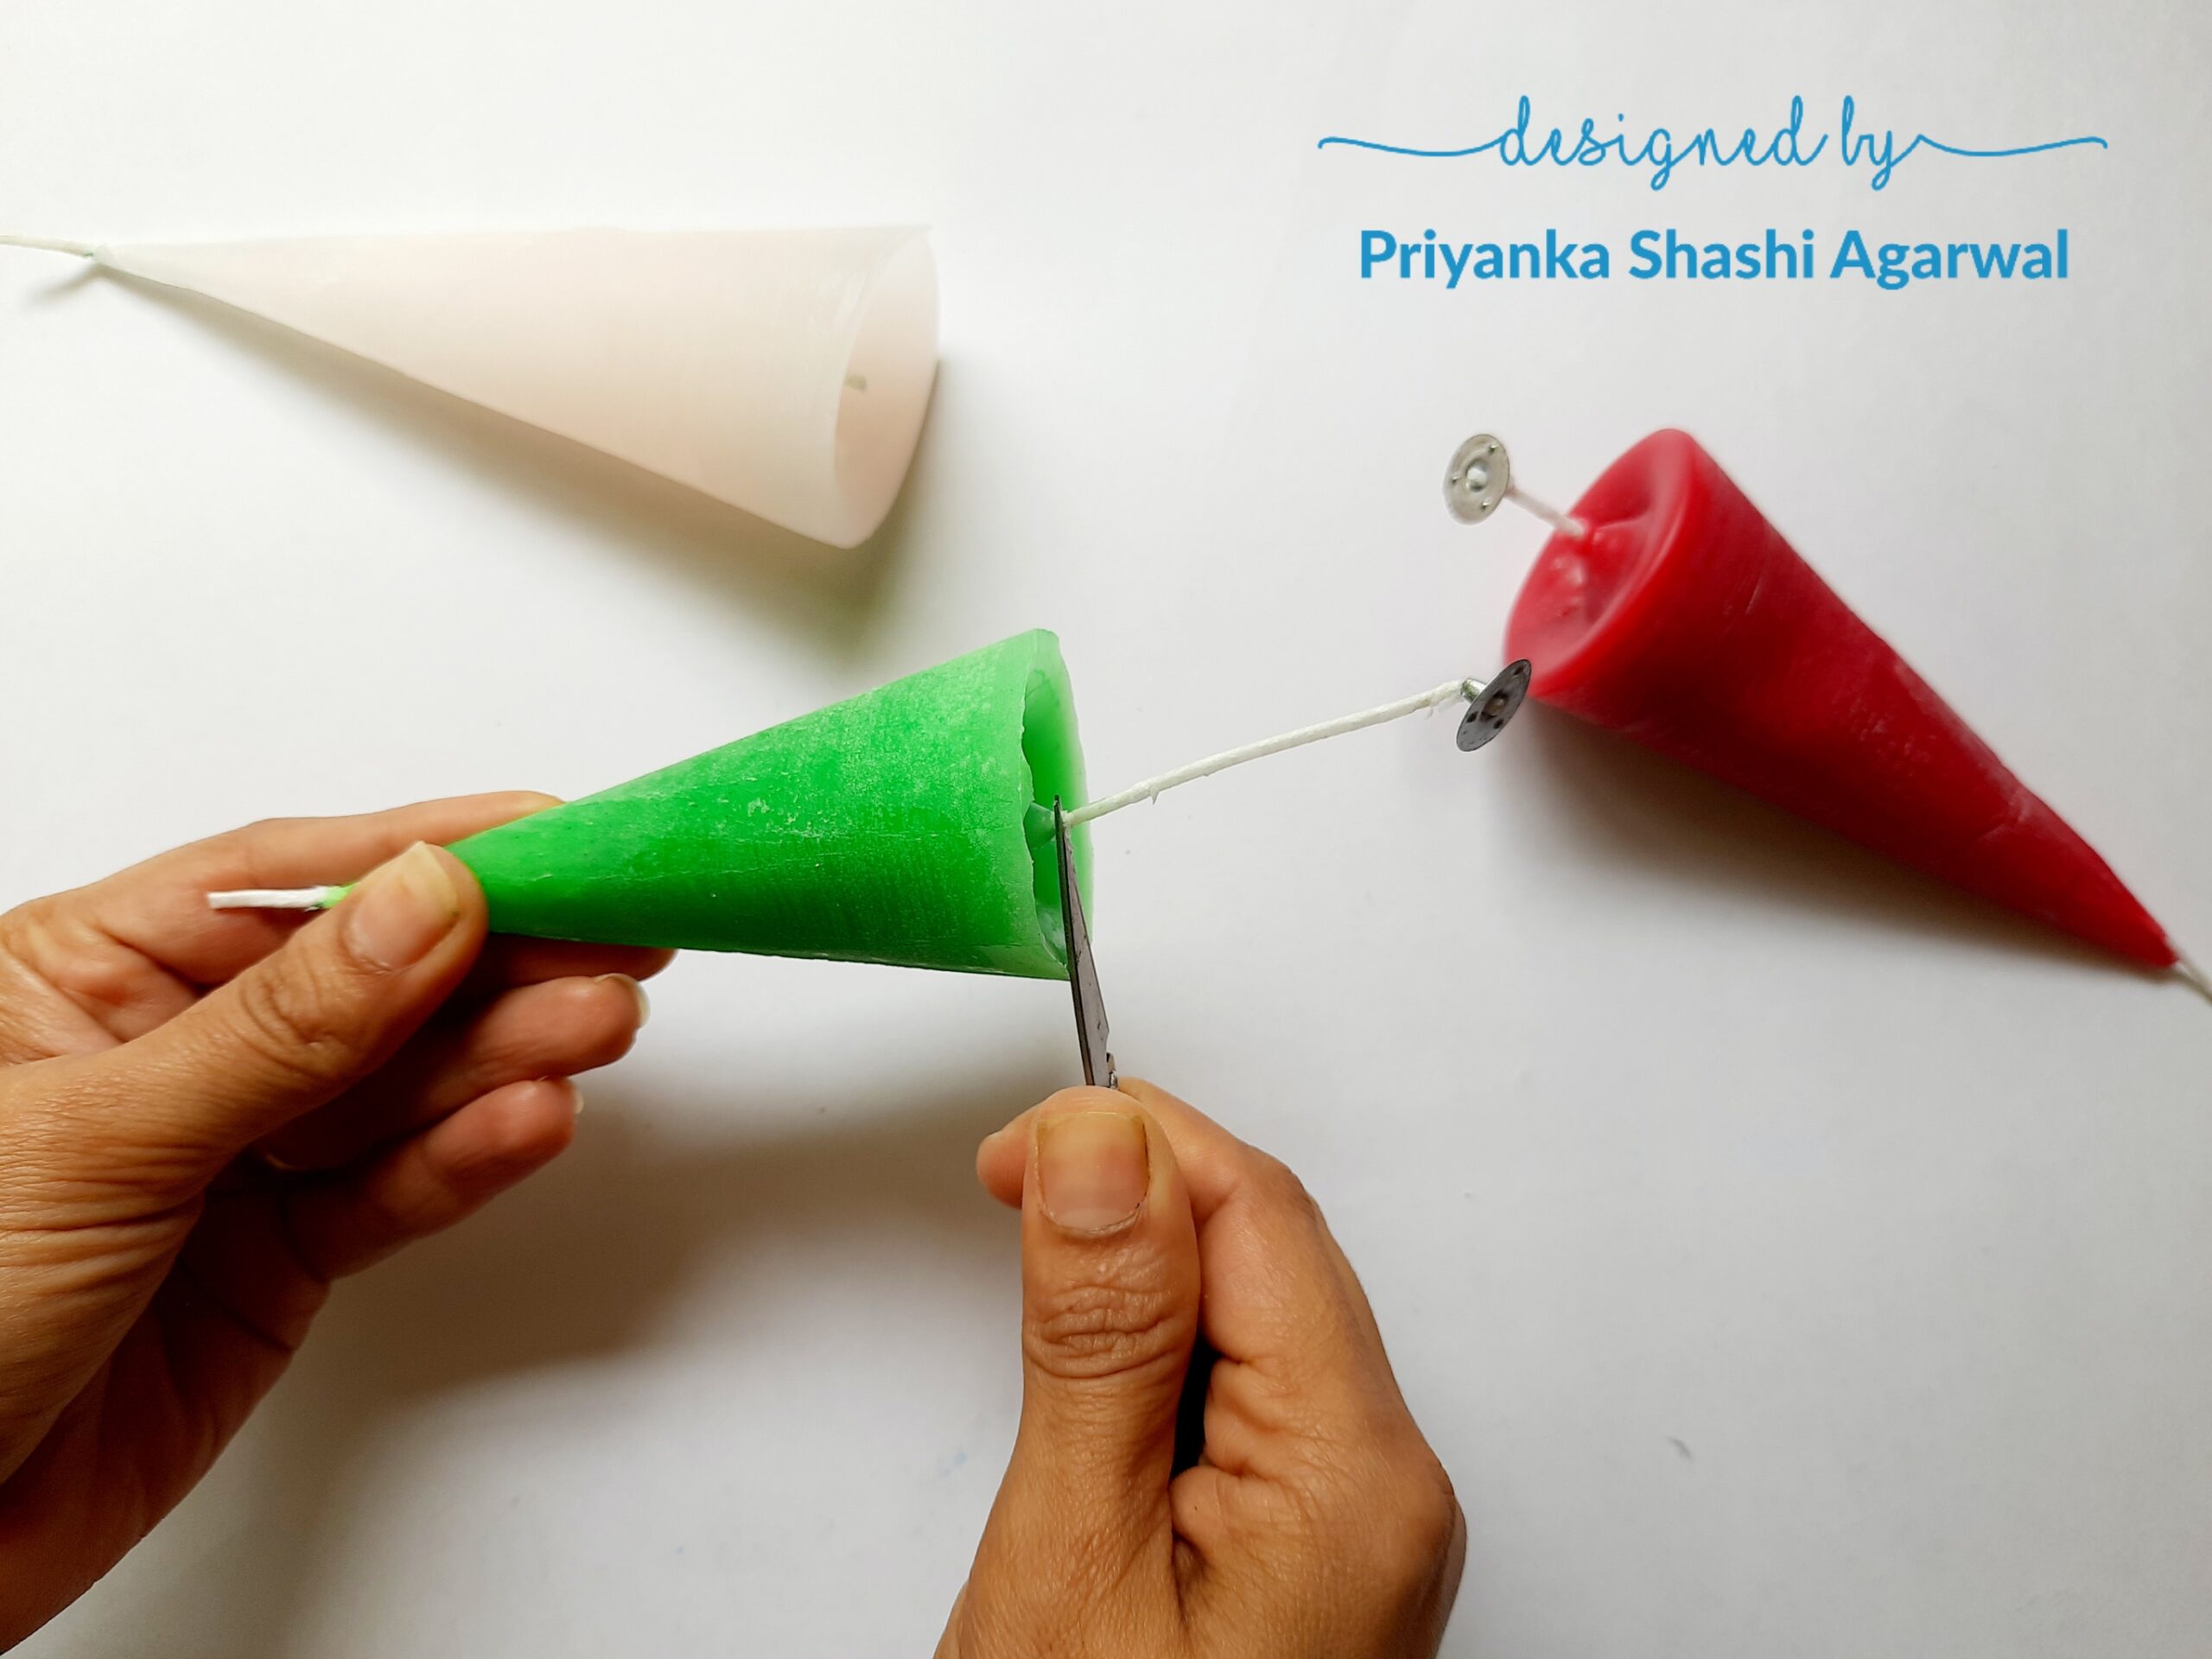
Assemble the Wick

Insert the wax coated wick through the hole in the cone. If you don’t have a hole, cut the tip of the cone to make a tiny hole.
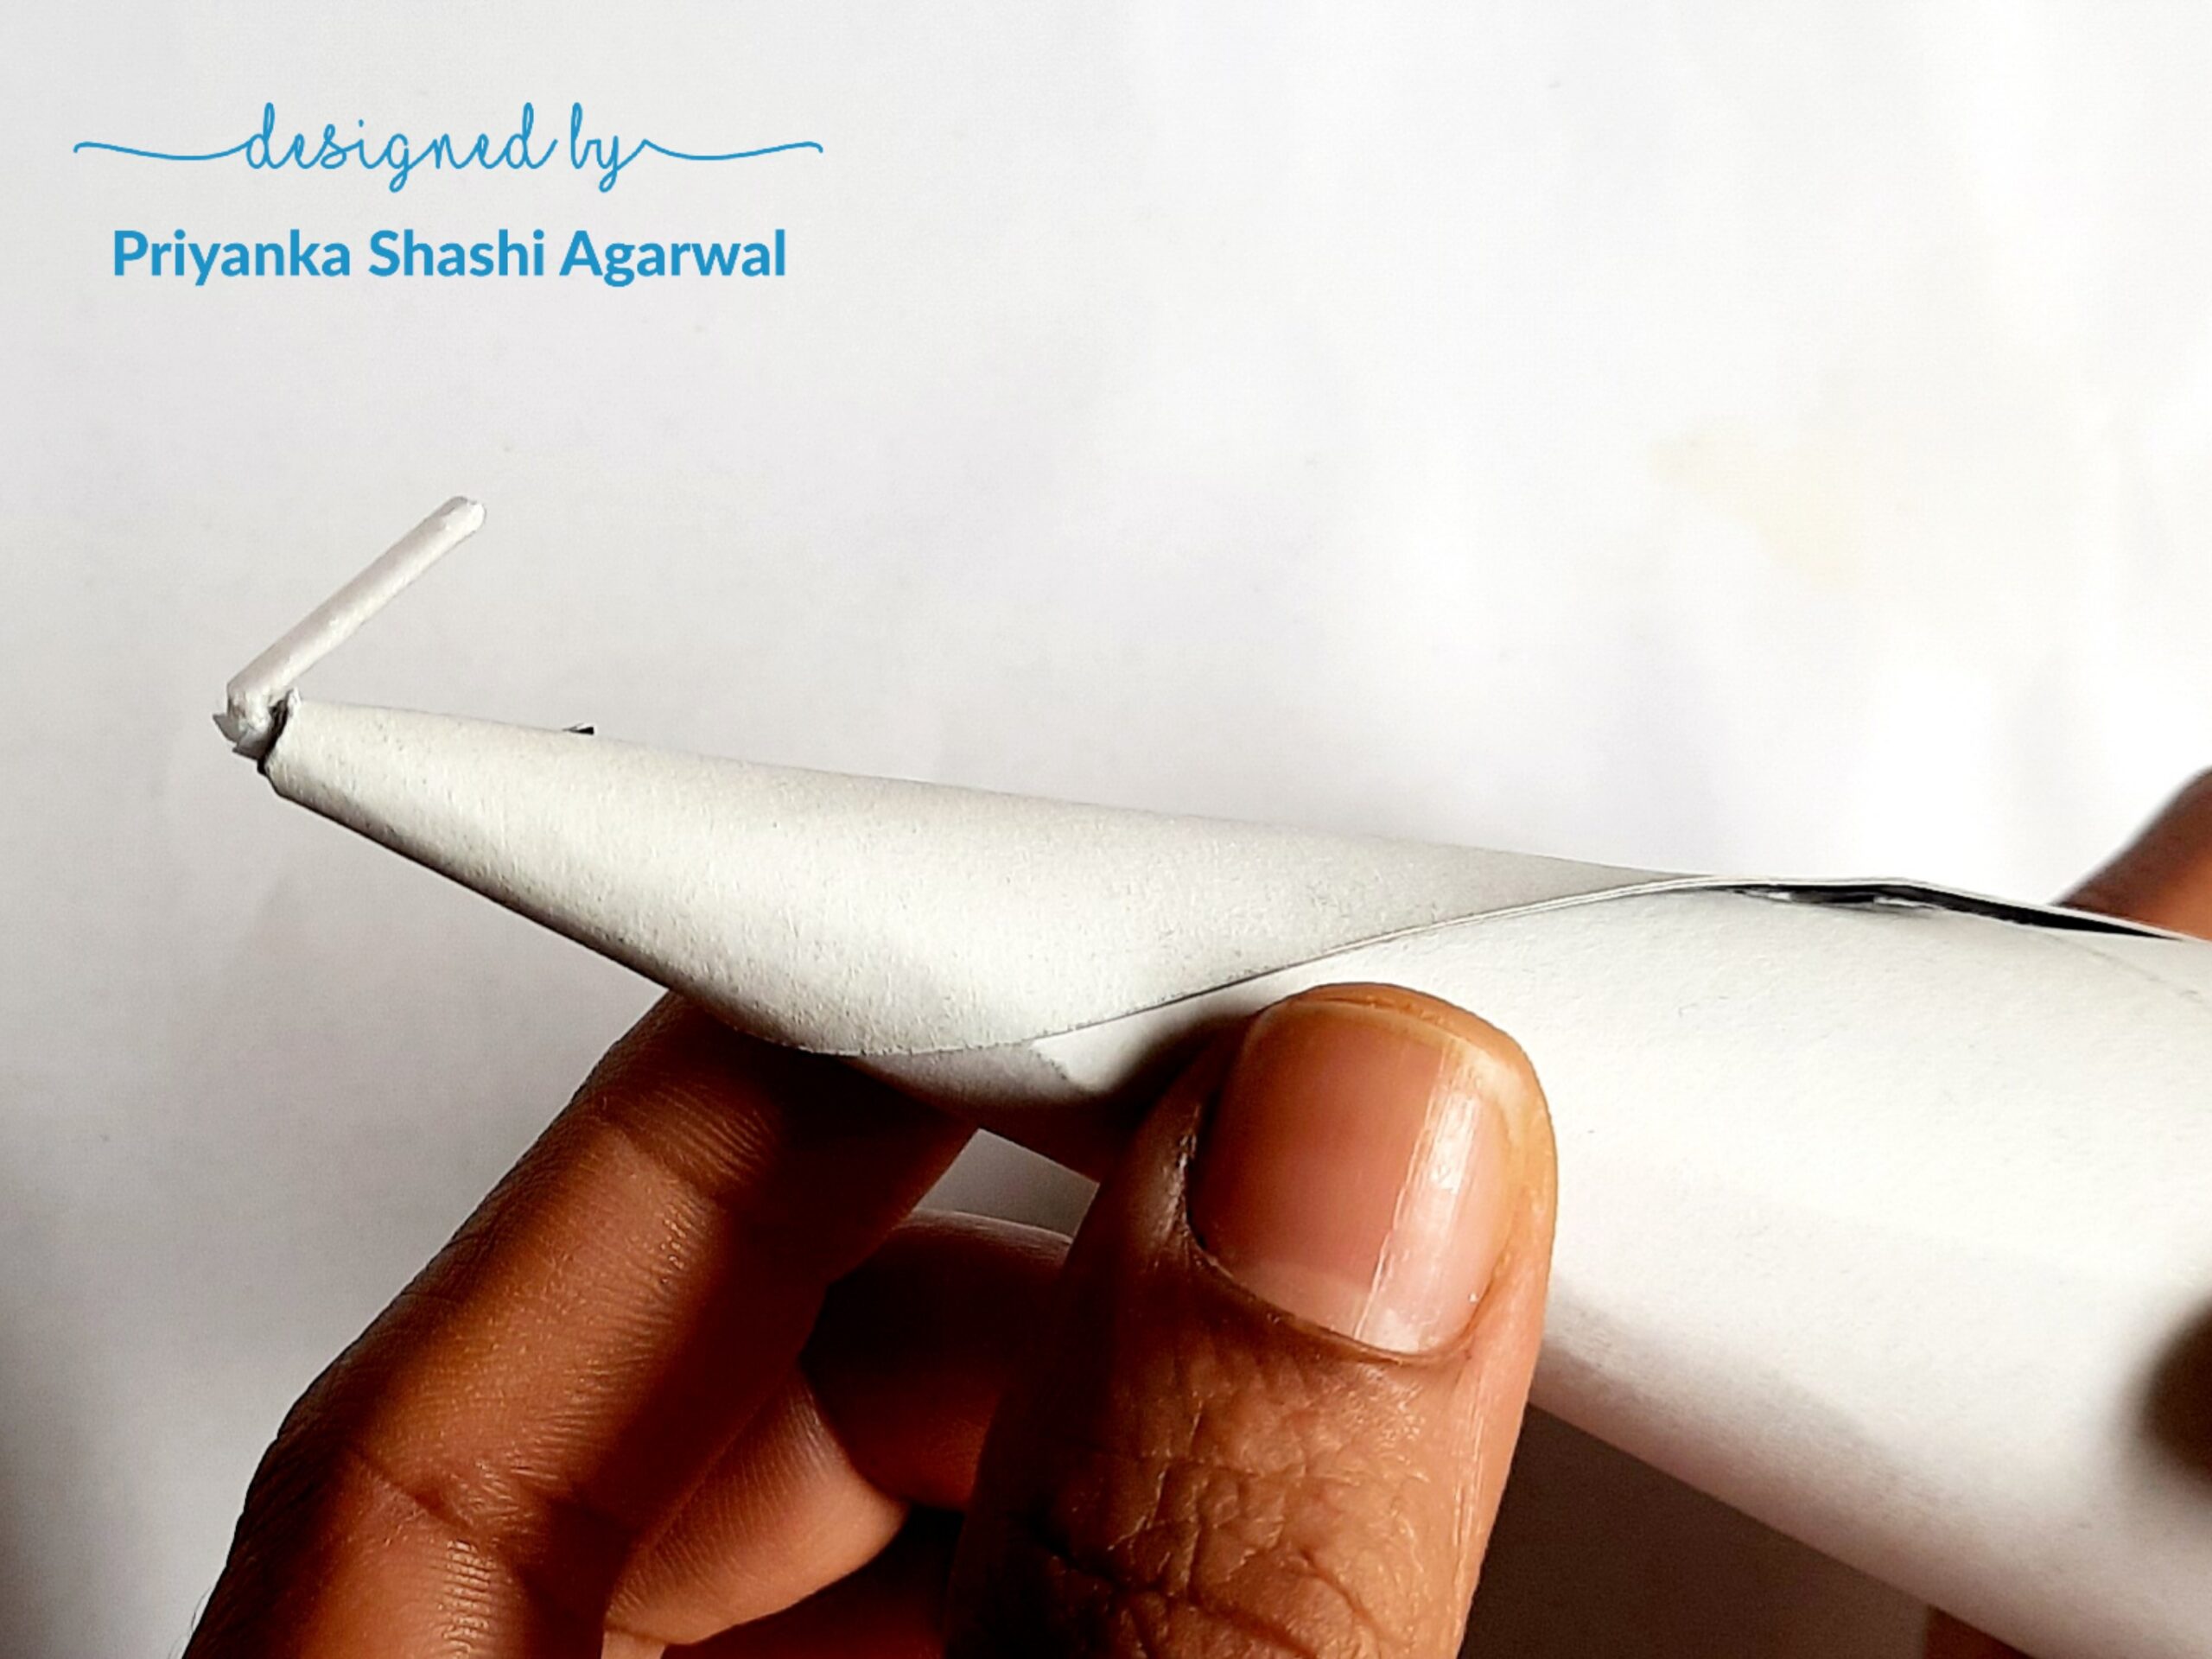
Bend the wick to almost half an inch.
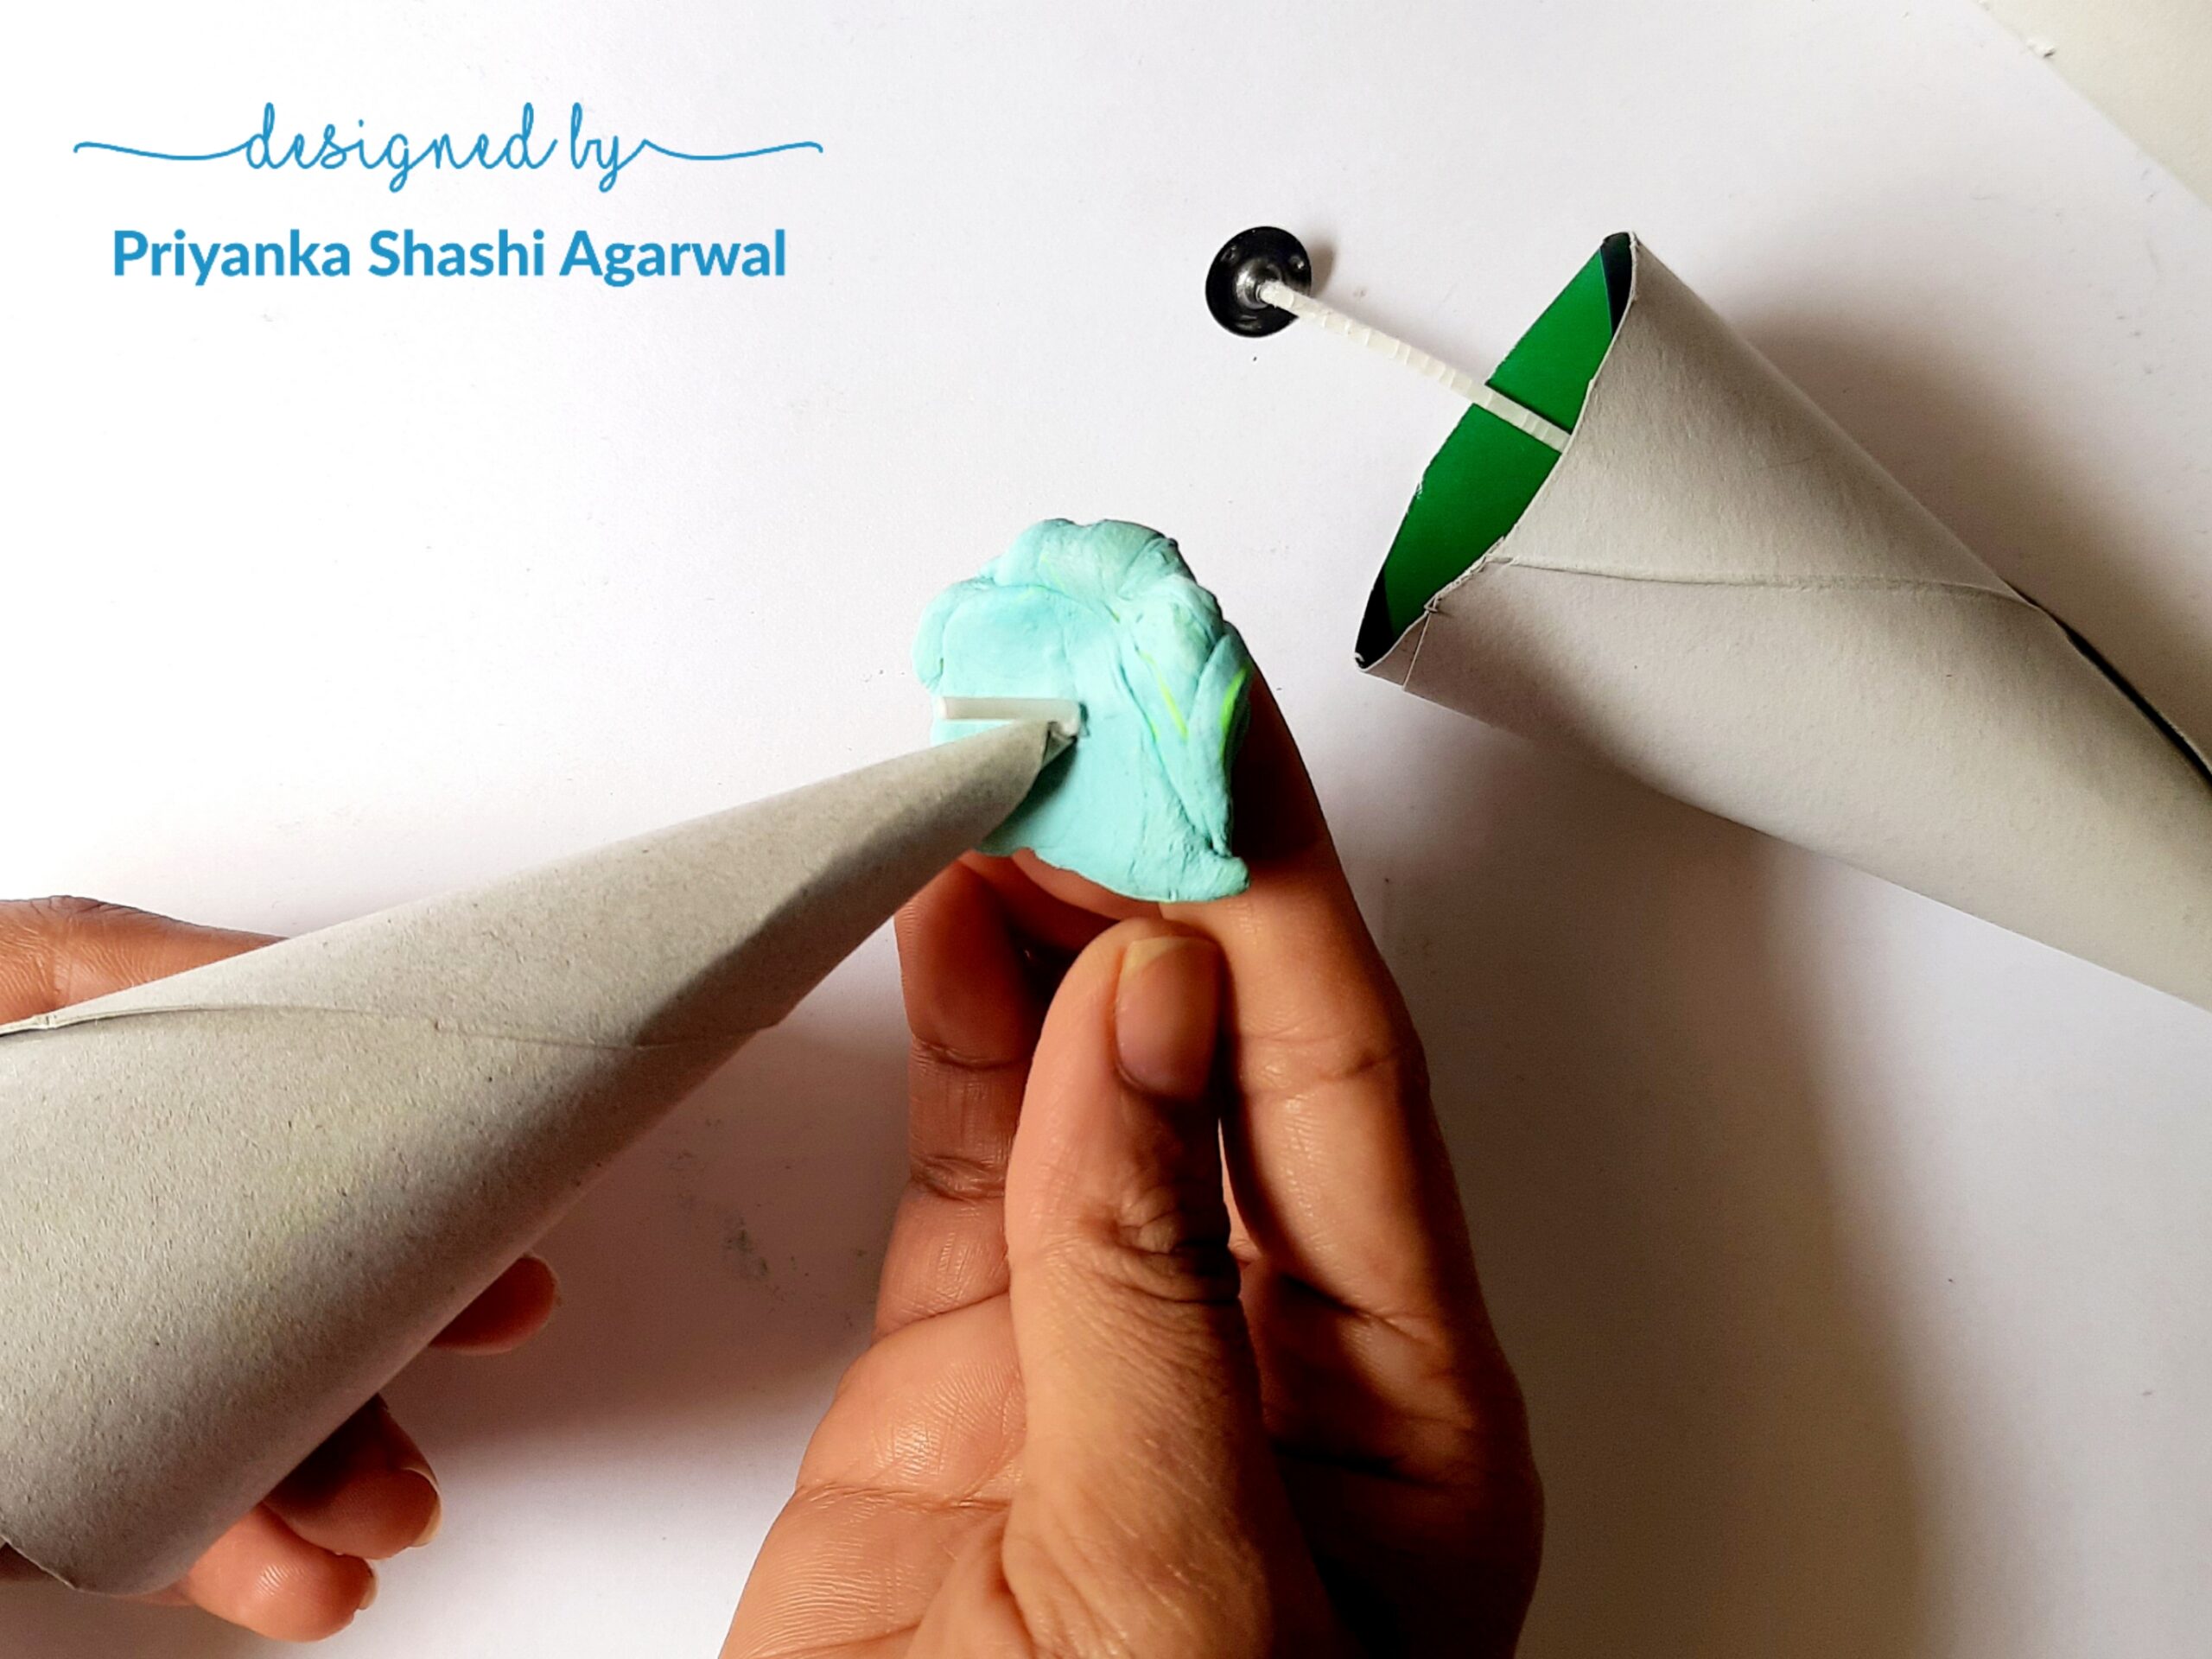
Close the hole with a good amount of Faber Castell Tack It, which will also restrain the wick to move from its place.

Place the cone mold upside down in a glass container which will support it to stand.
Melt the Wax
Take paraffin wax in measurement that’s double amount of the mold. Add Little Birdie ‘Pear Green’ candle making dye.
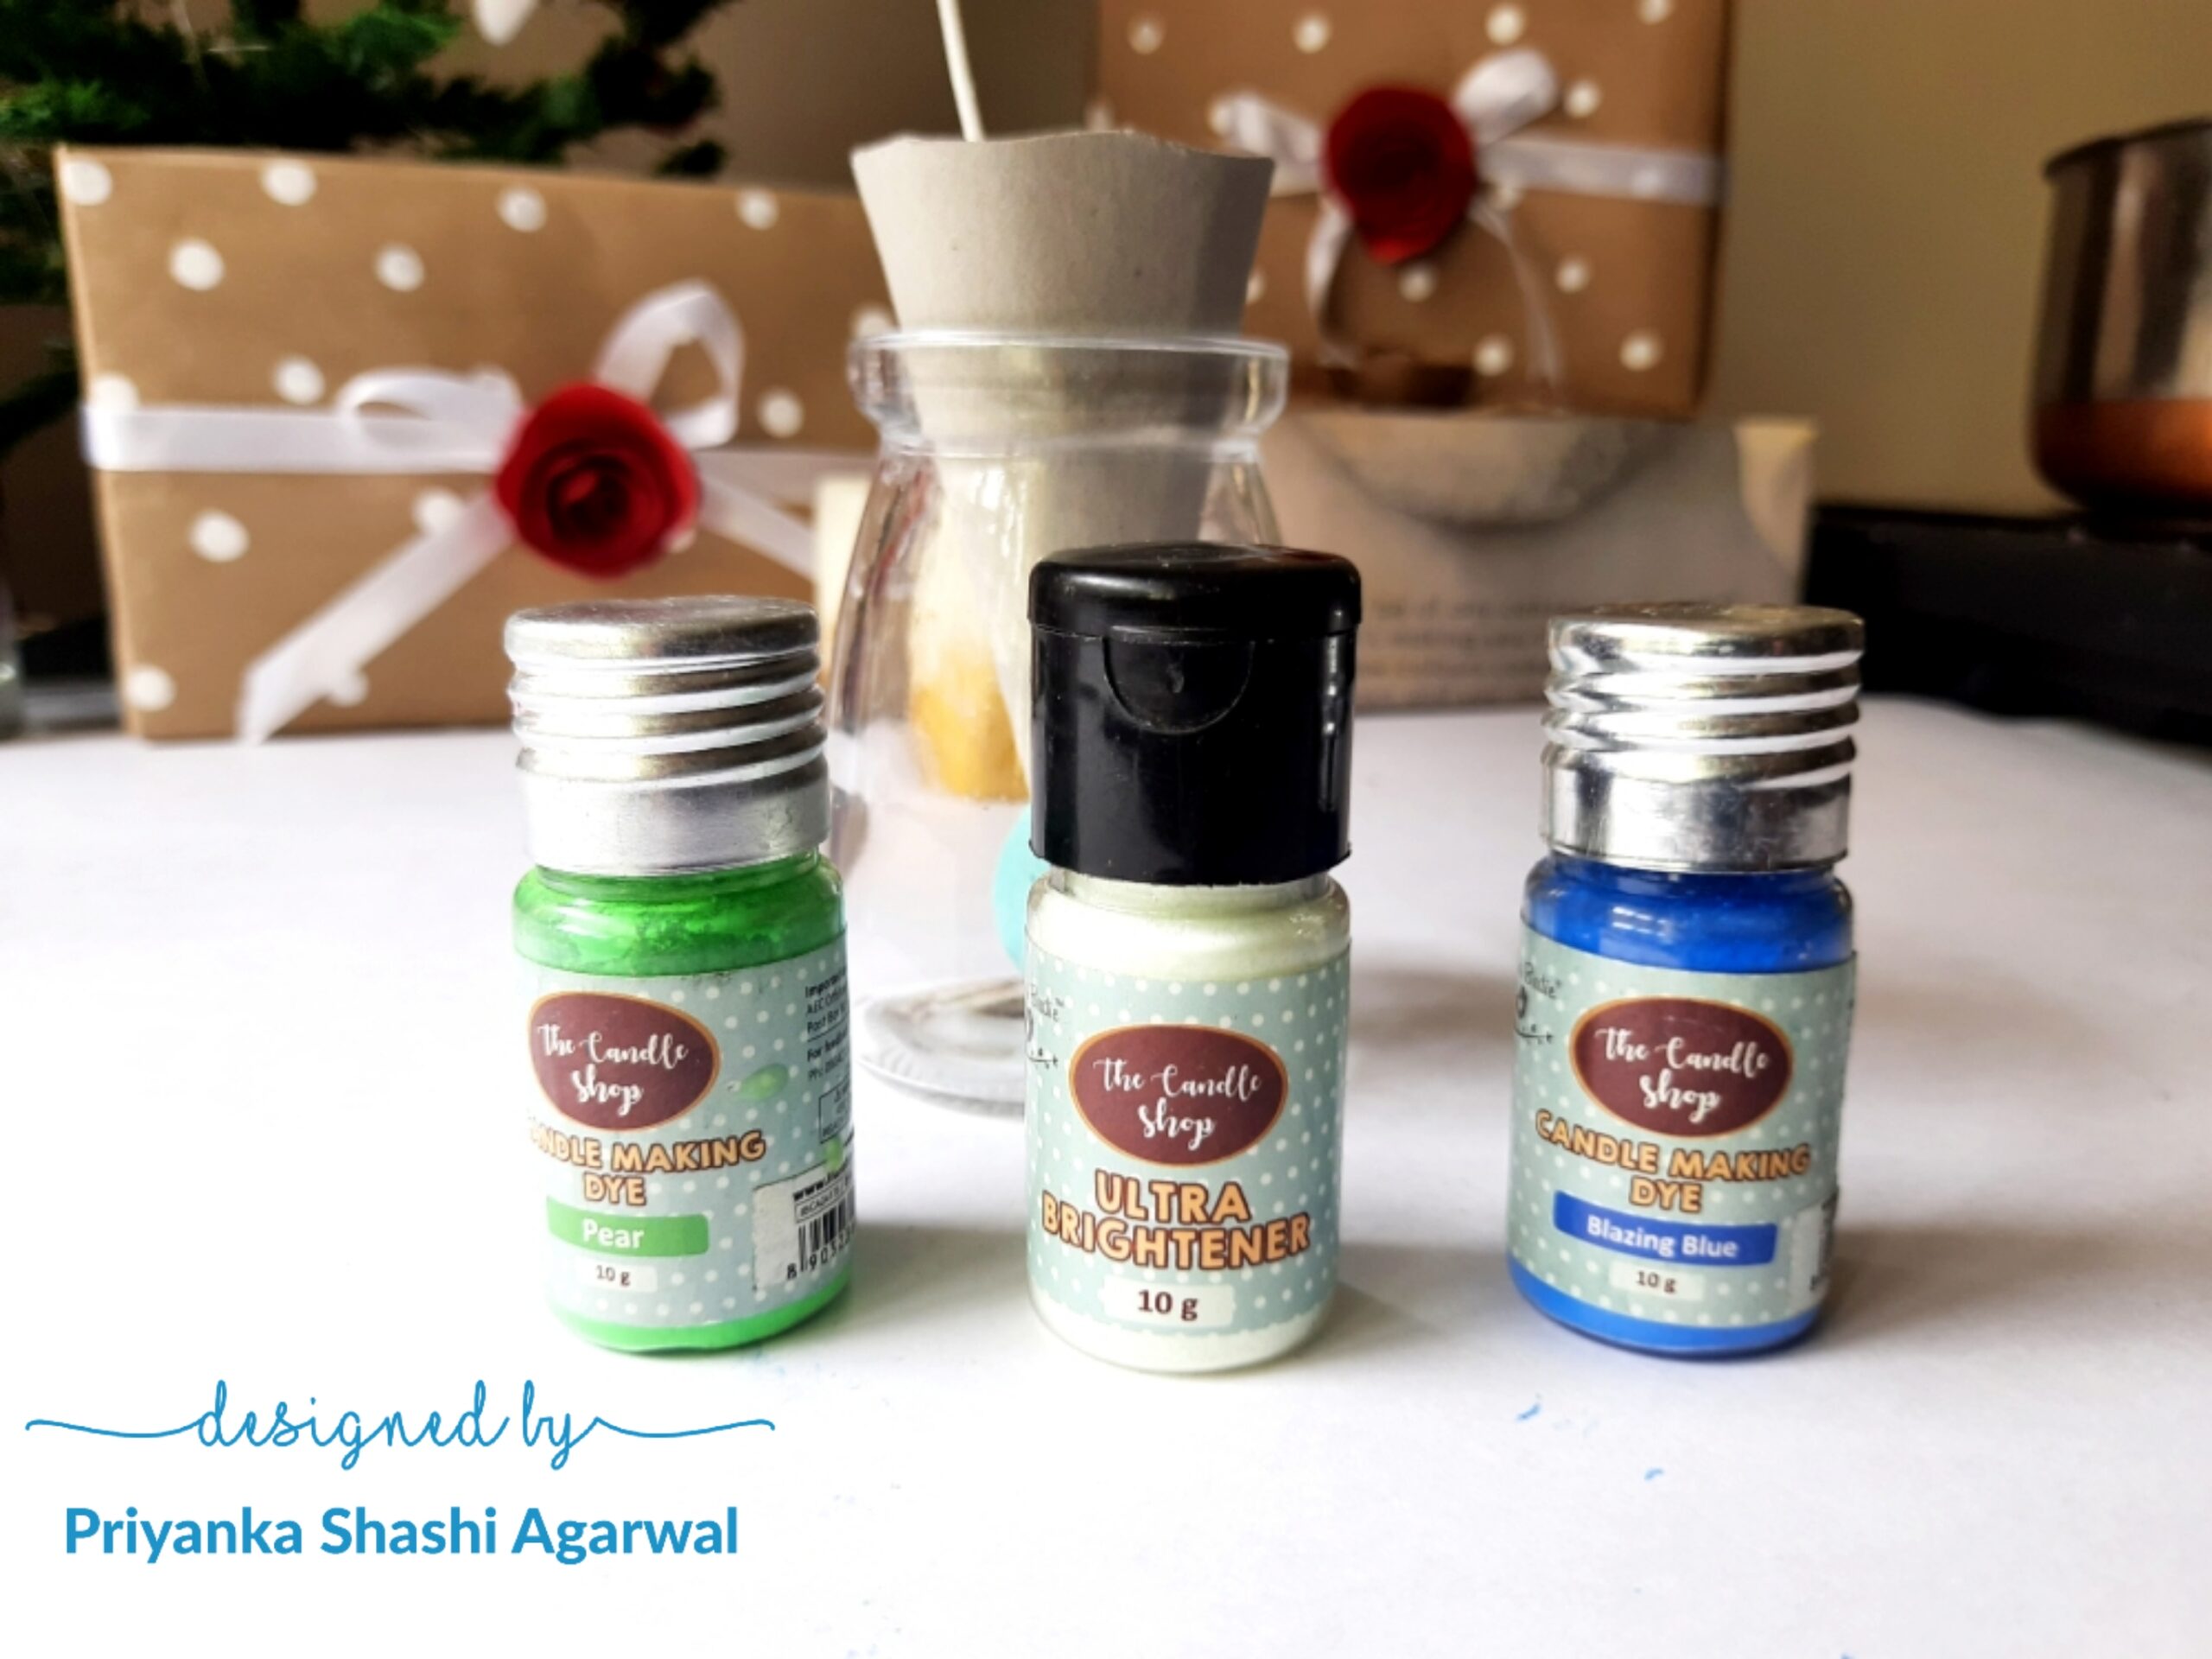
To get a darker shade of green, add Little Birdie Blazing Blue candle making dye. At the same time add the ultra brightener for brightness in the colour of the candle.
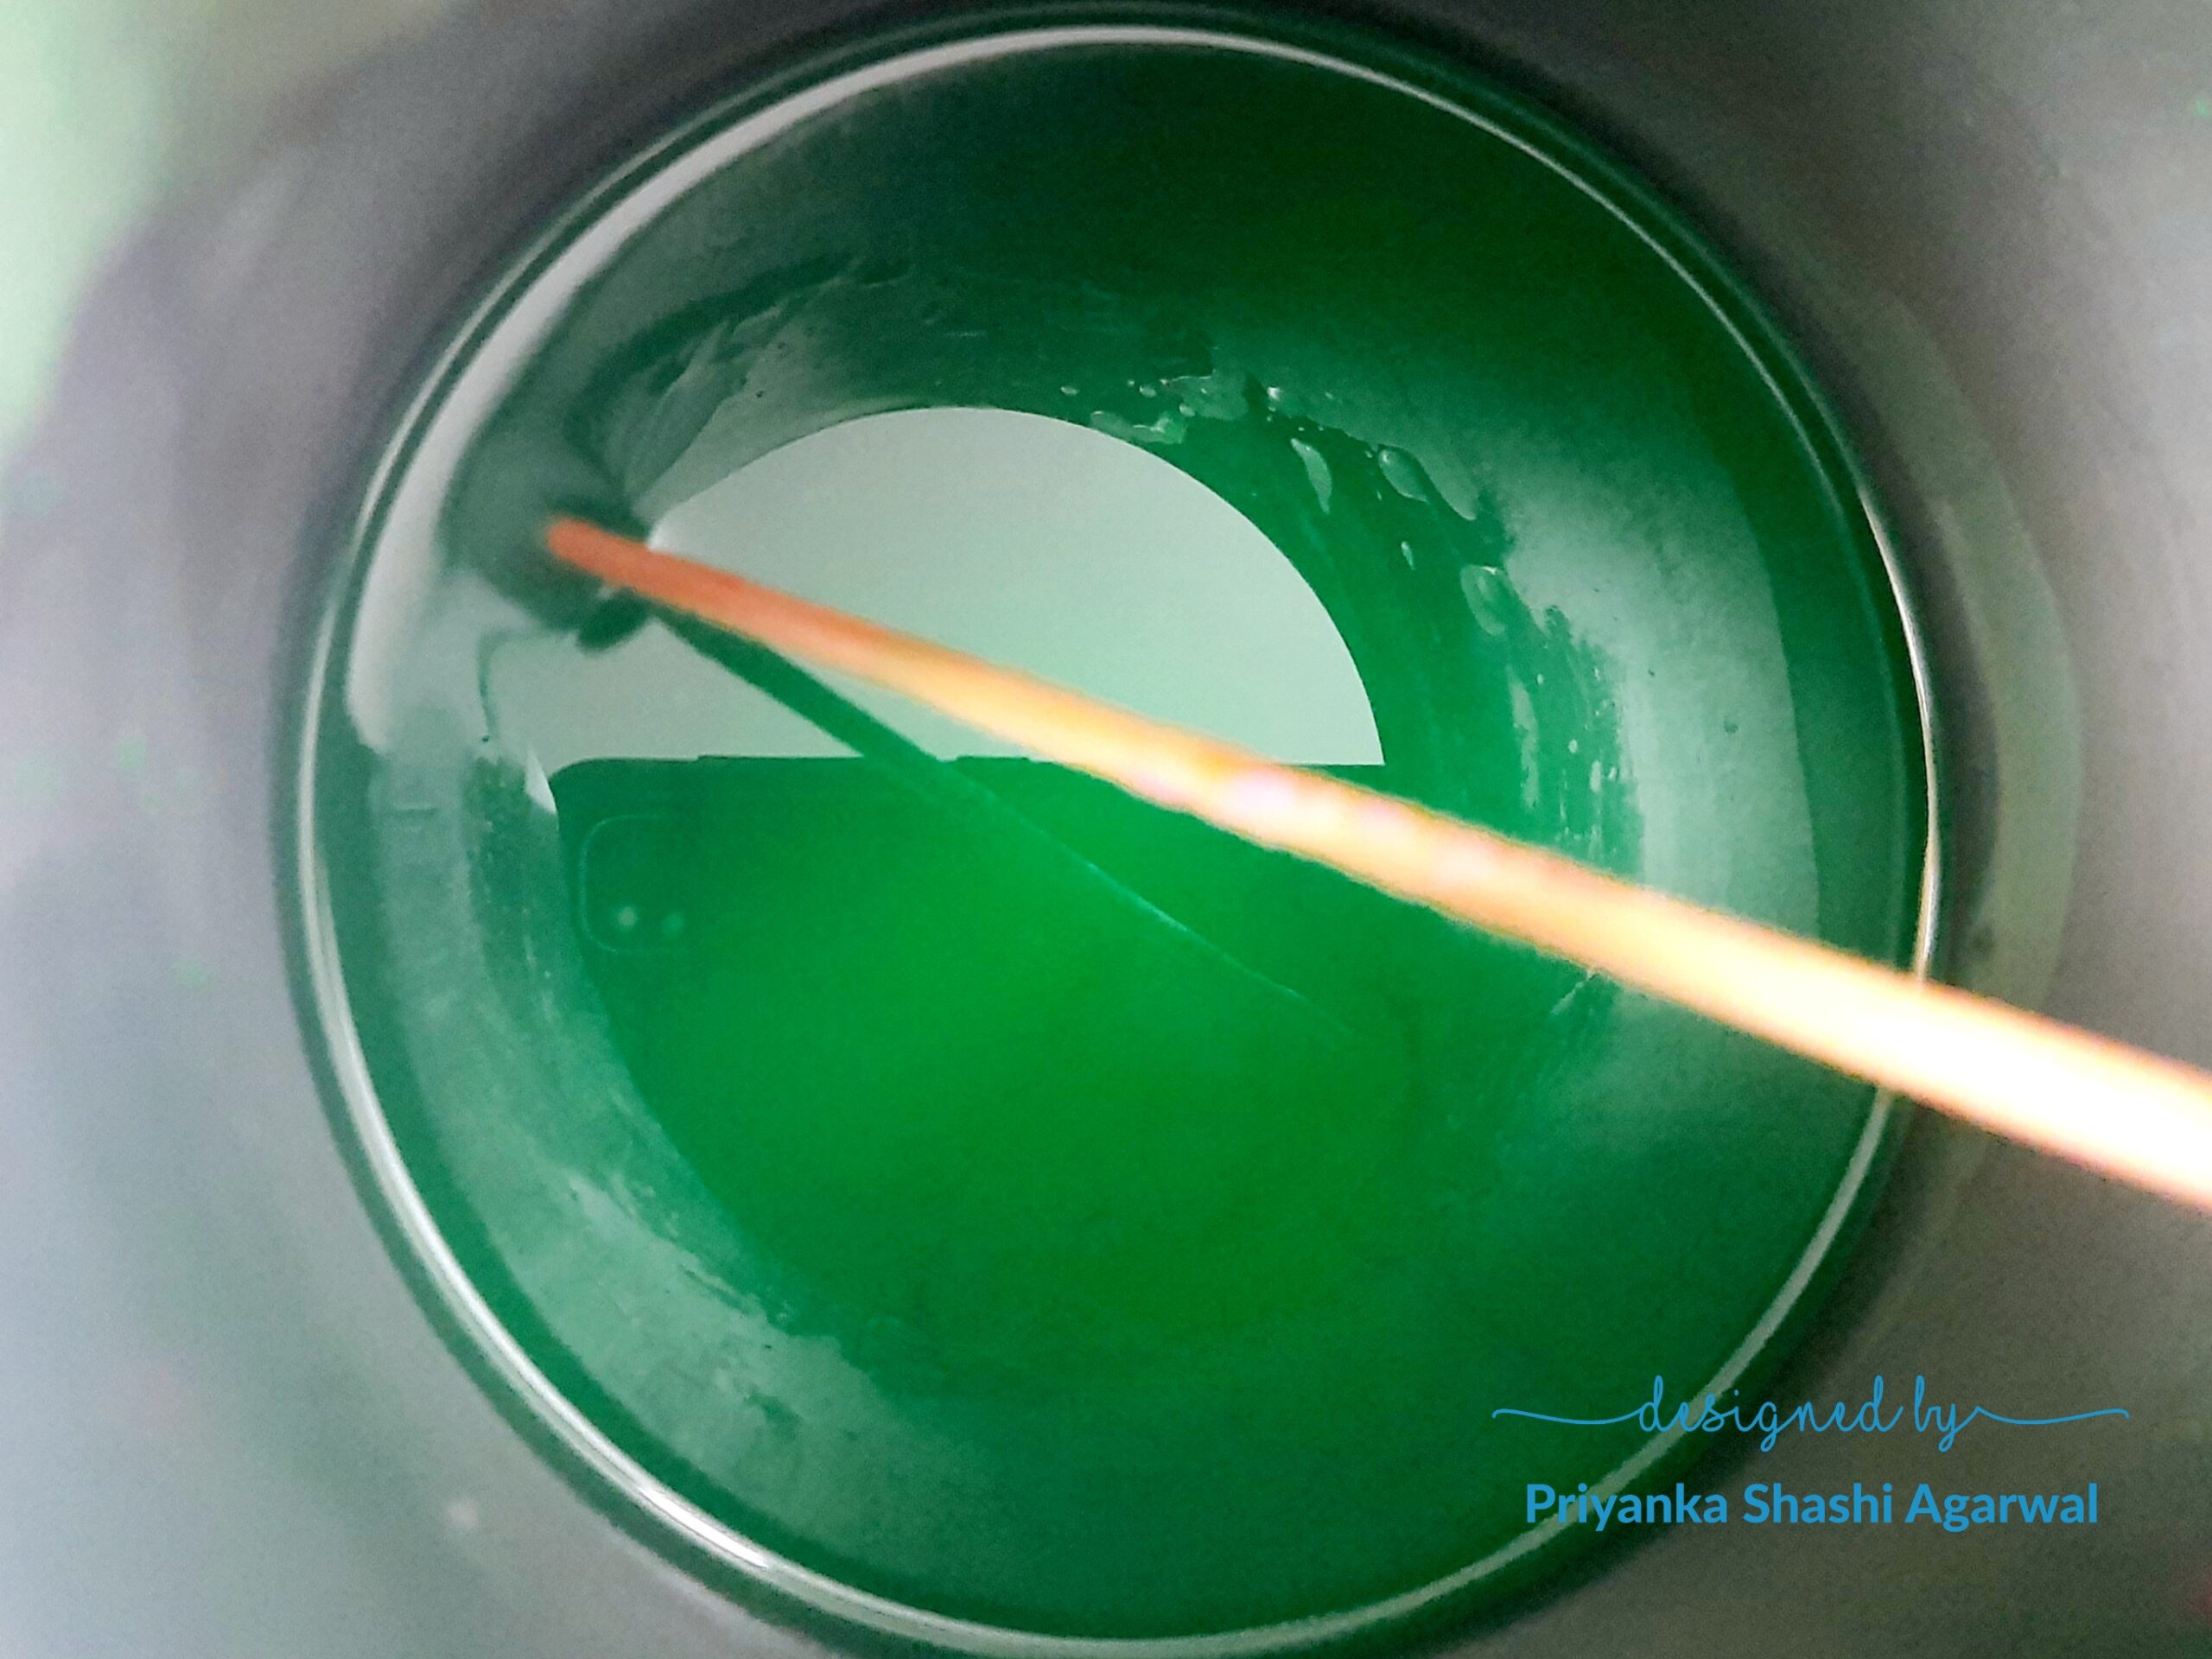
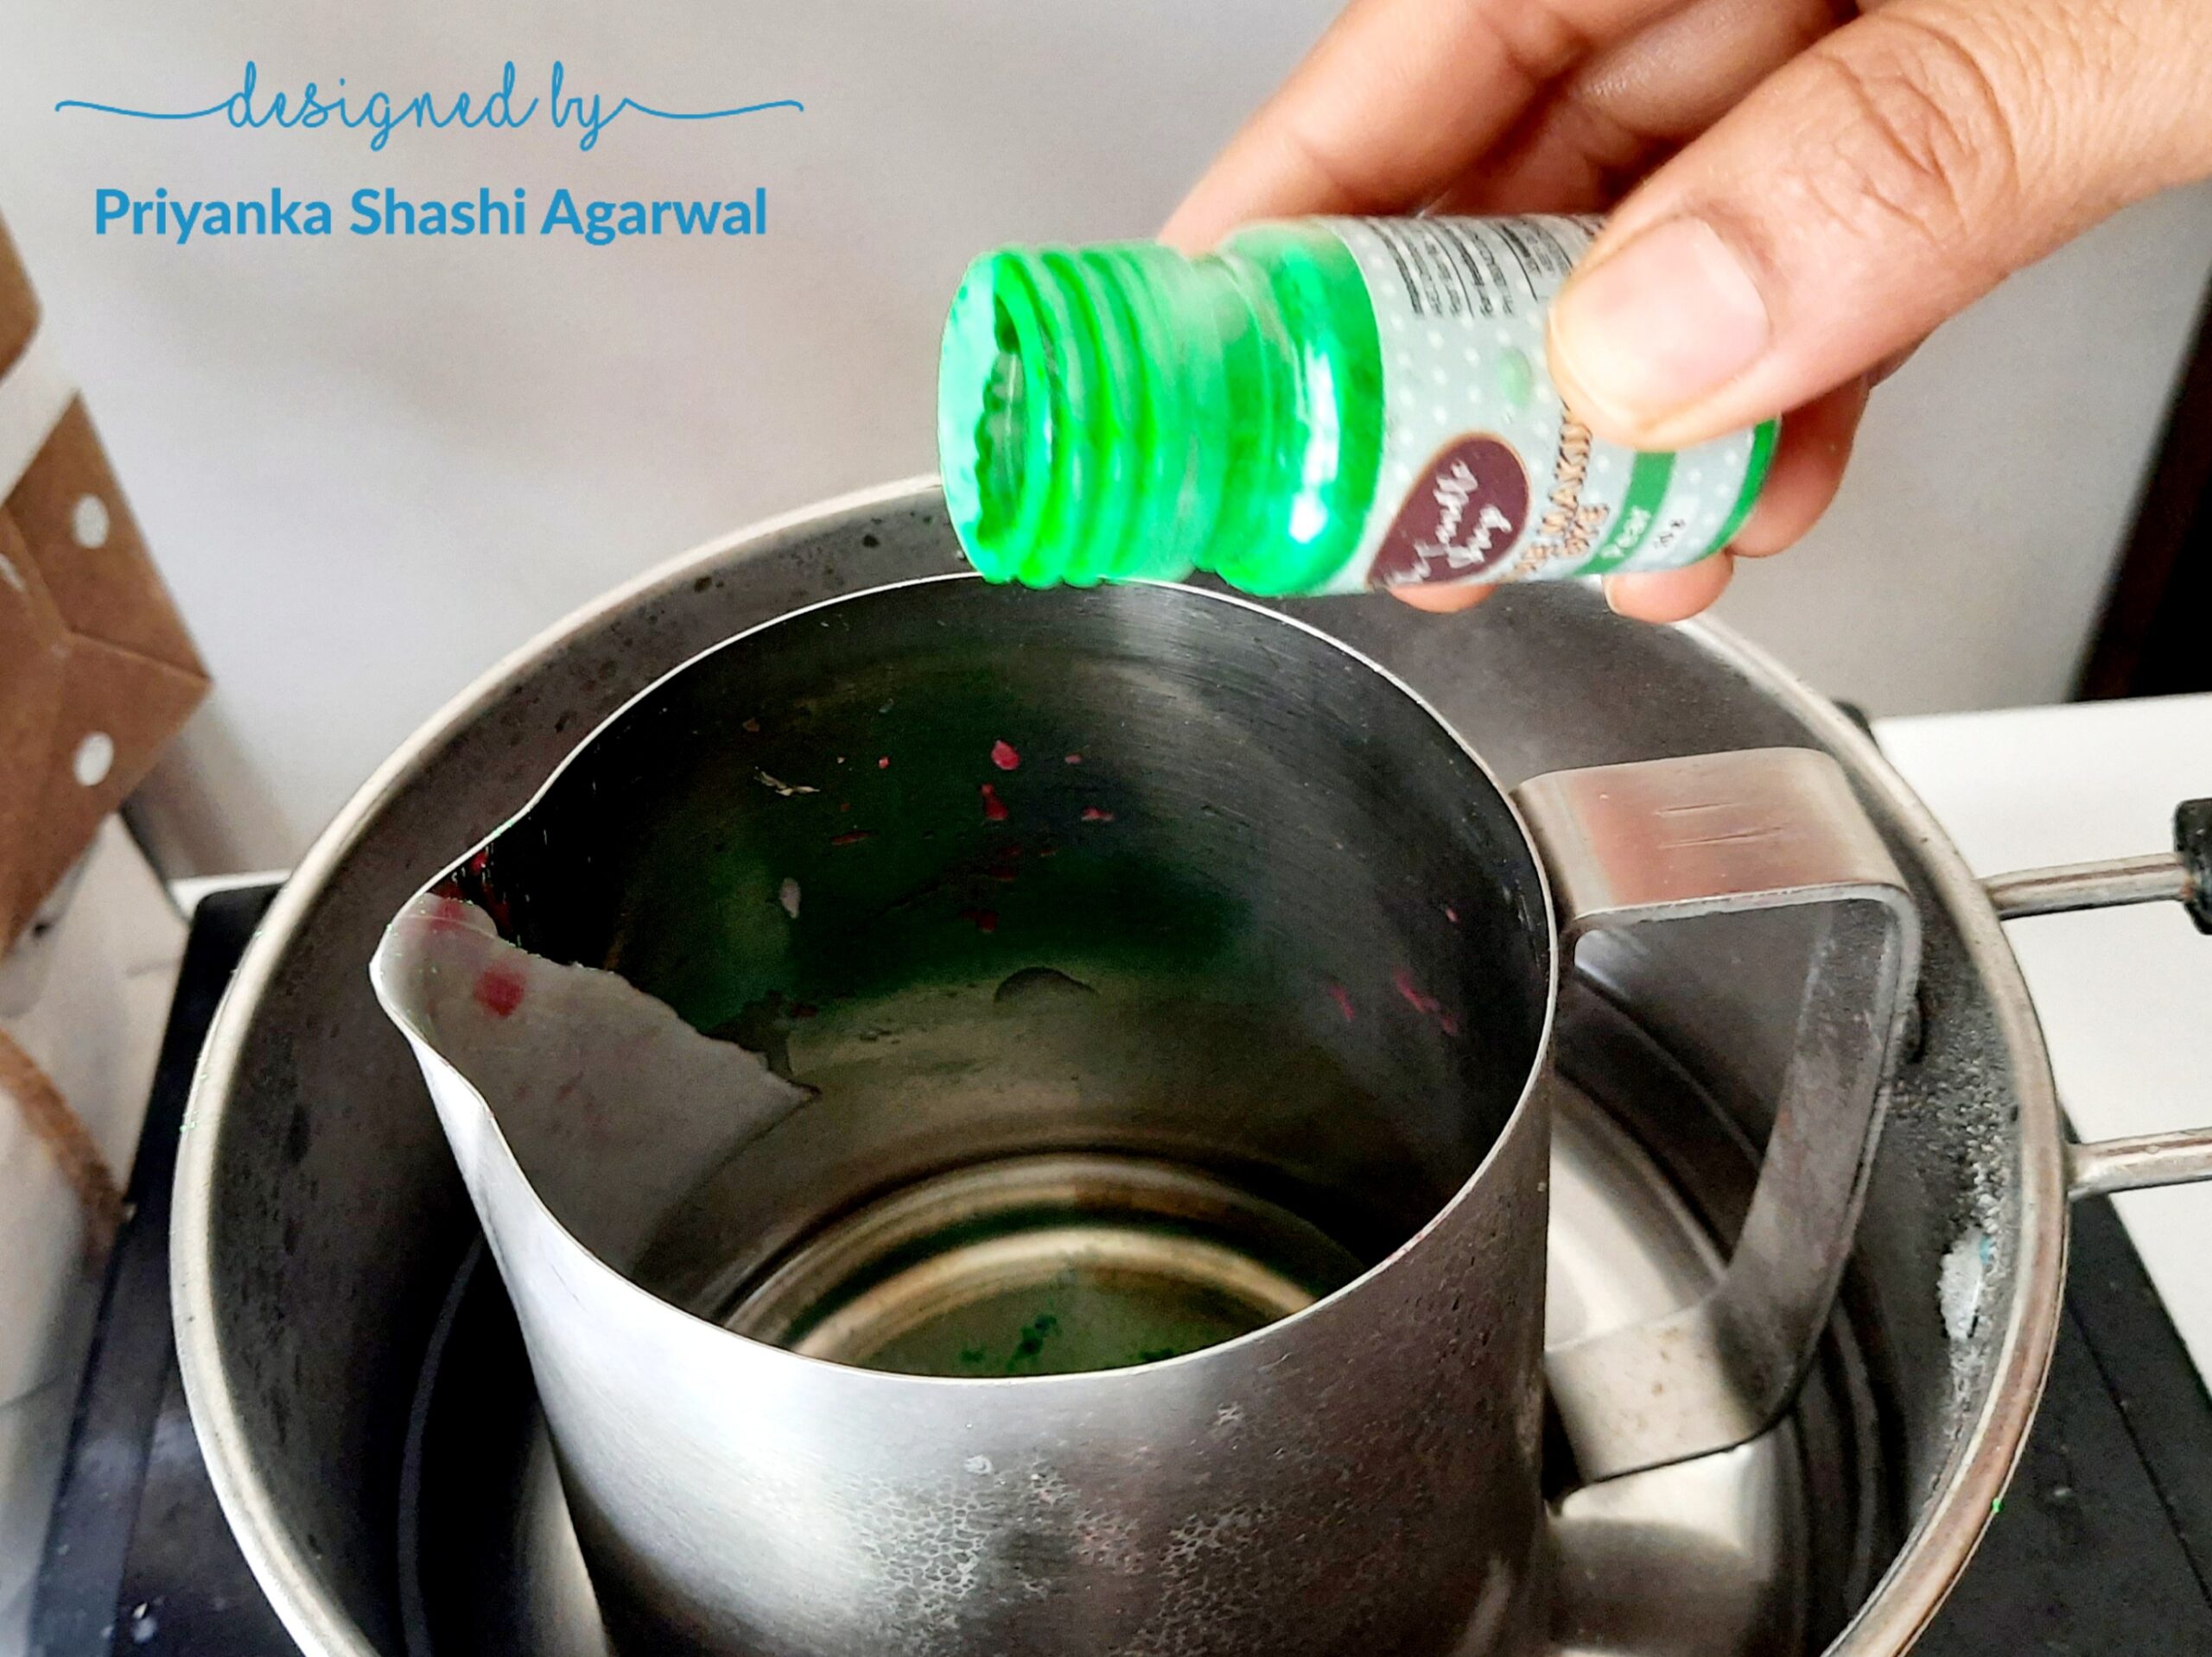
Melt the wax in a double boiler. Once the wax is melted, remove it from the double boiler and add your choice of fragrance.
Pour the Wax
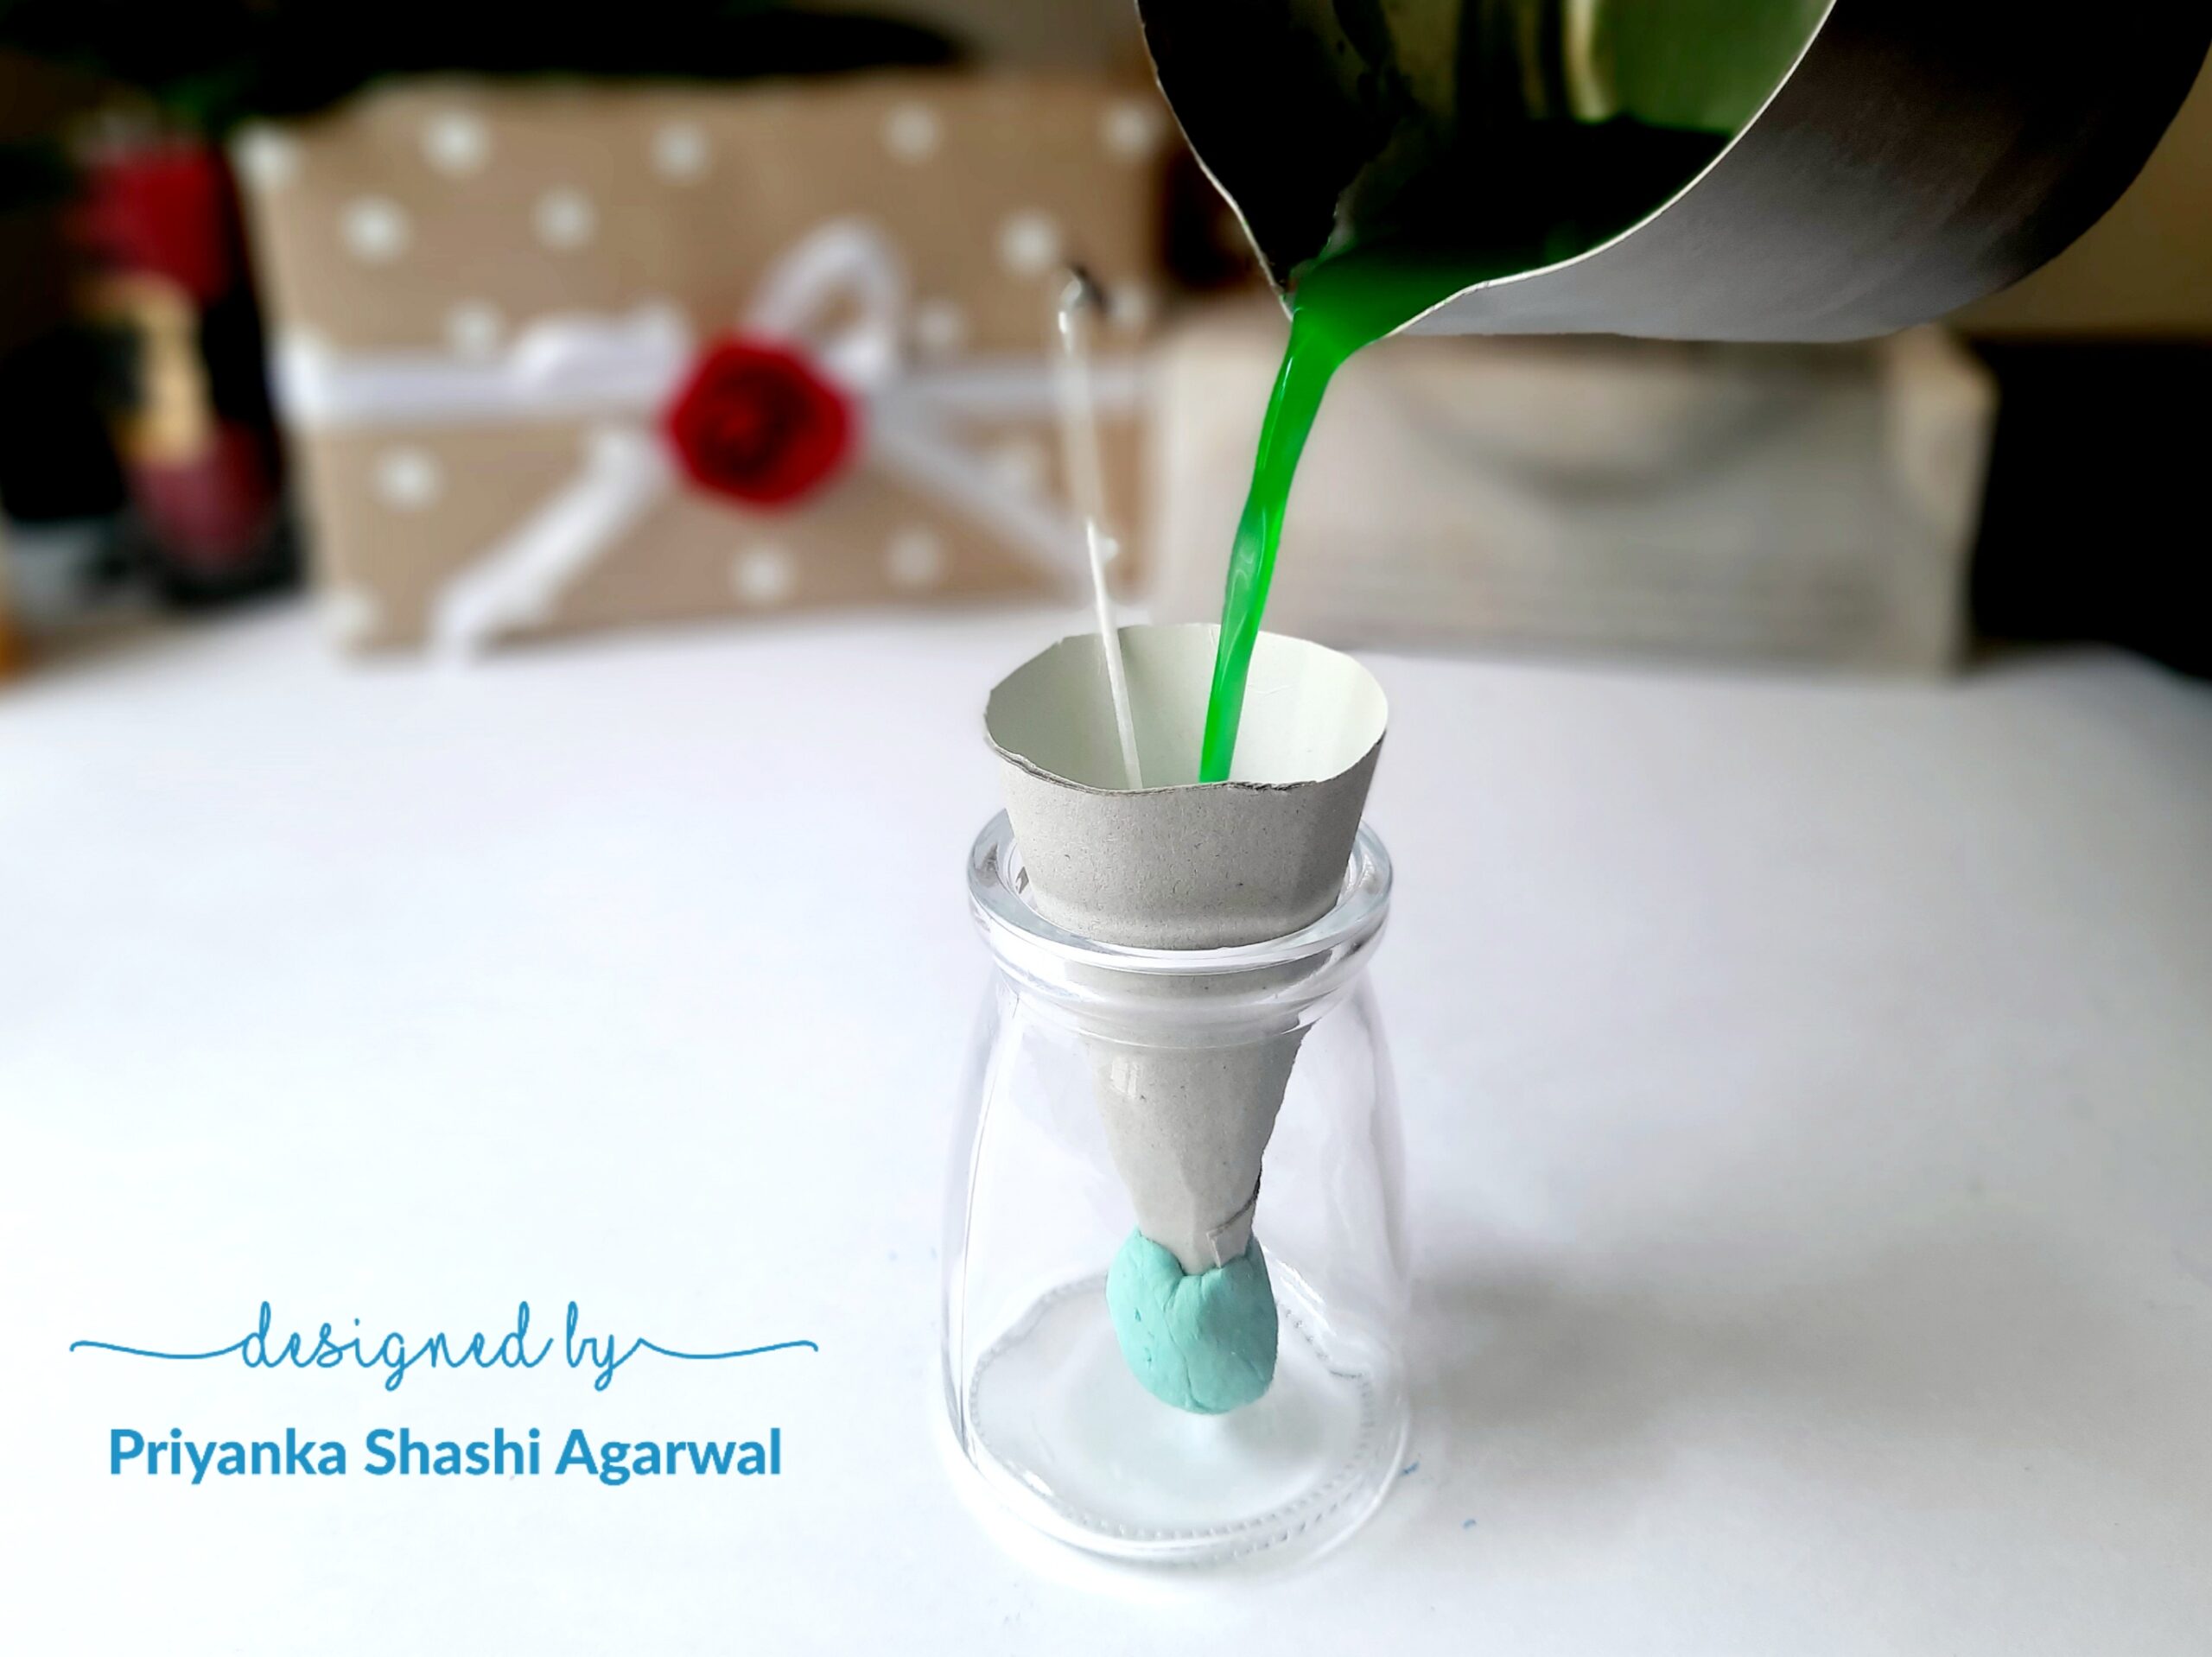
Pour the wax into the pre-set cone mold slowly.

Set the wick in the center with the help of a clothes peg and allow the candle to cool down completely for 2 hours.
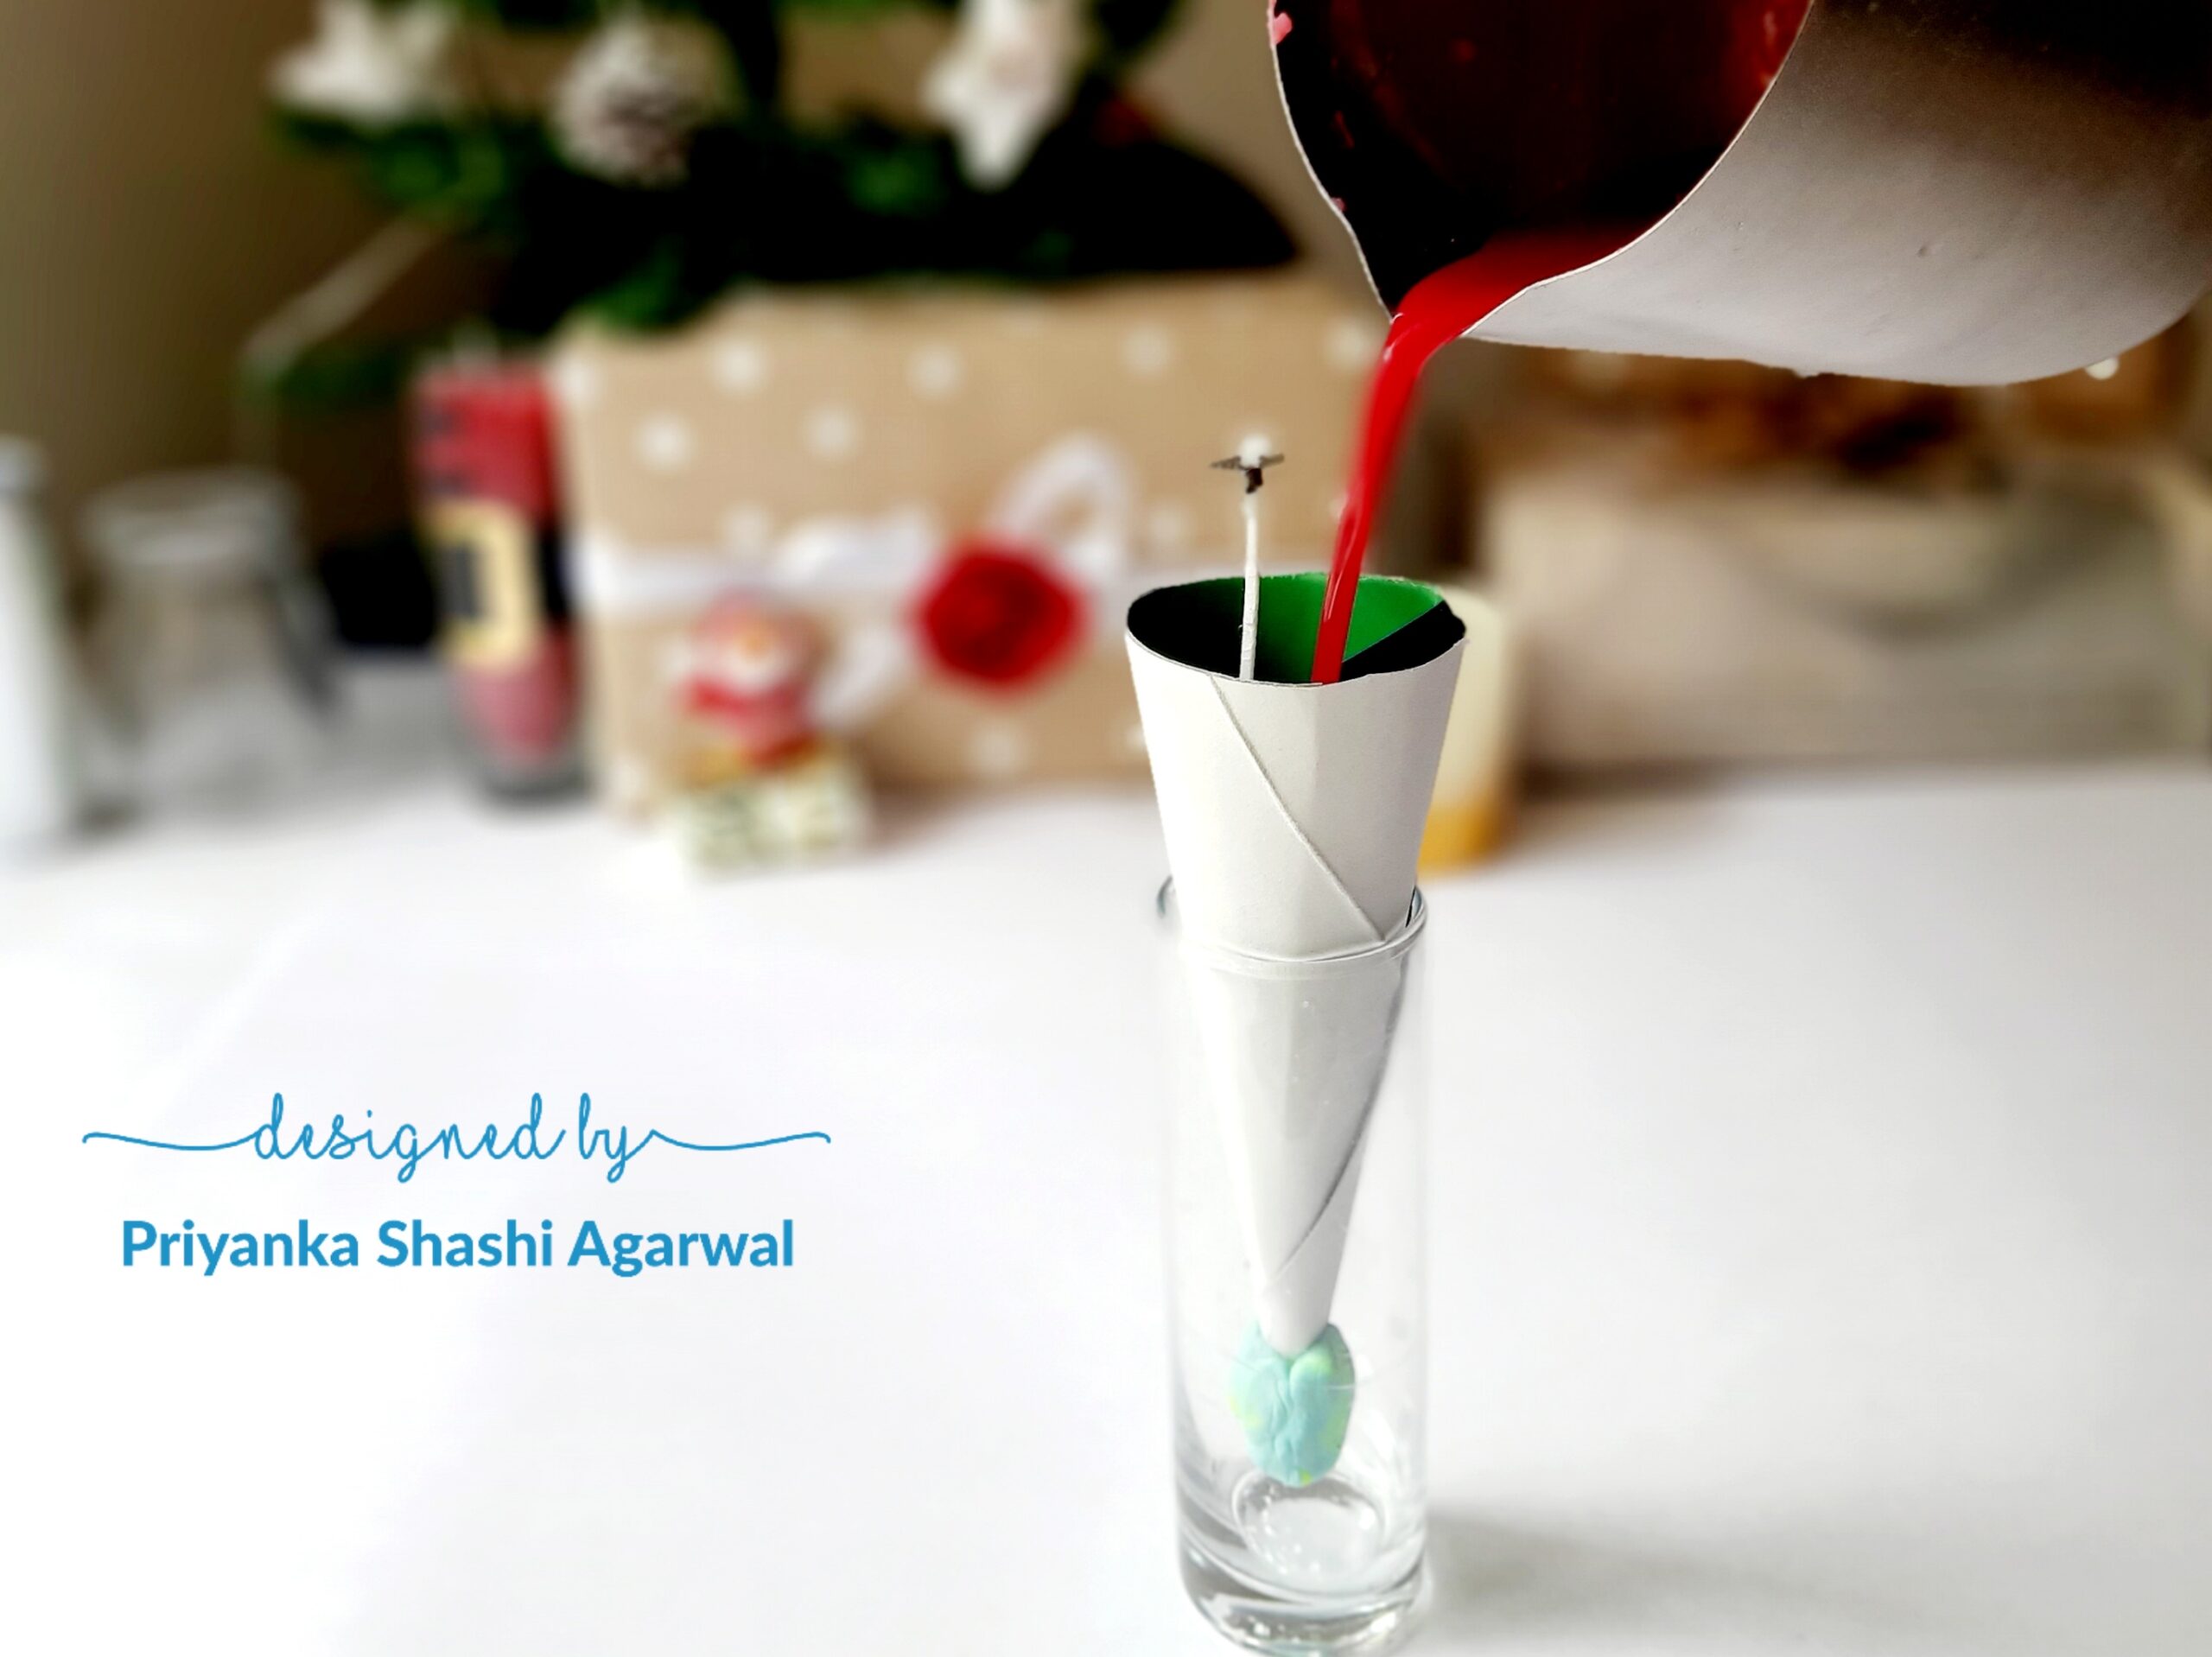
Repeat the process from melting to pouring in red and white colour in 2 other moulds.
Unmould the Candle
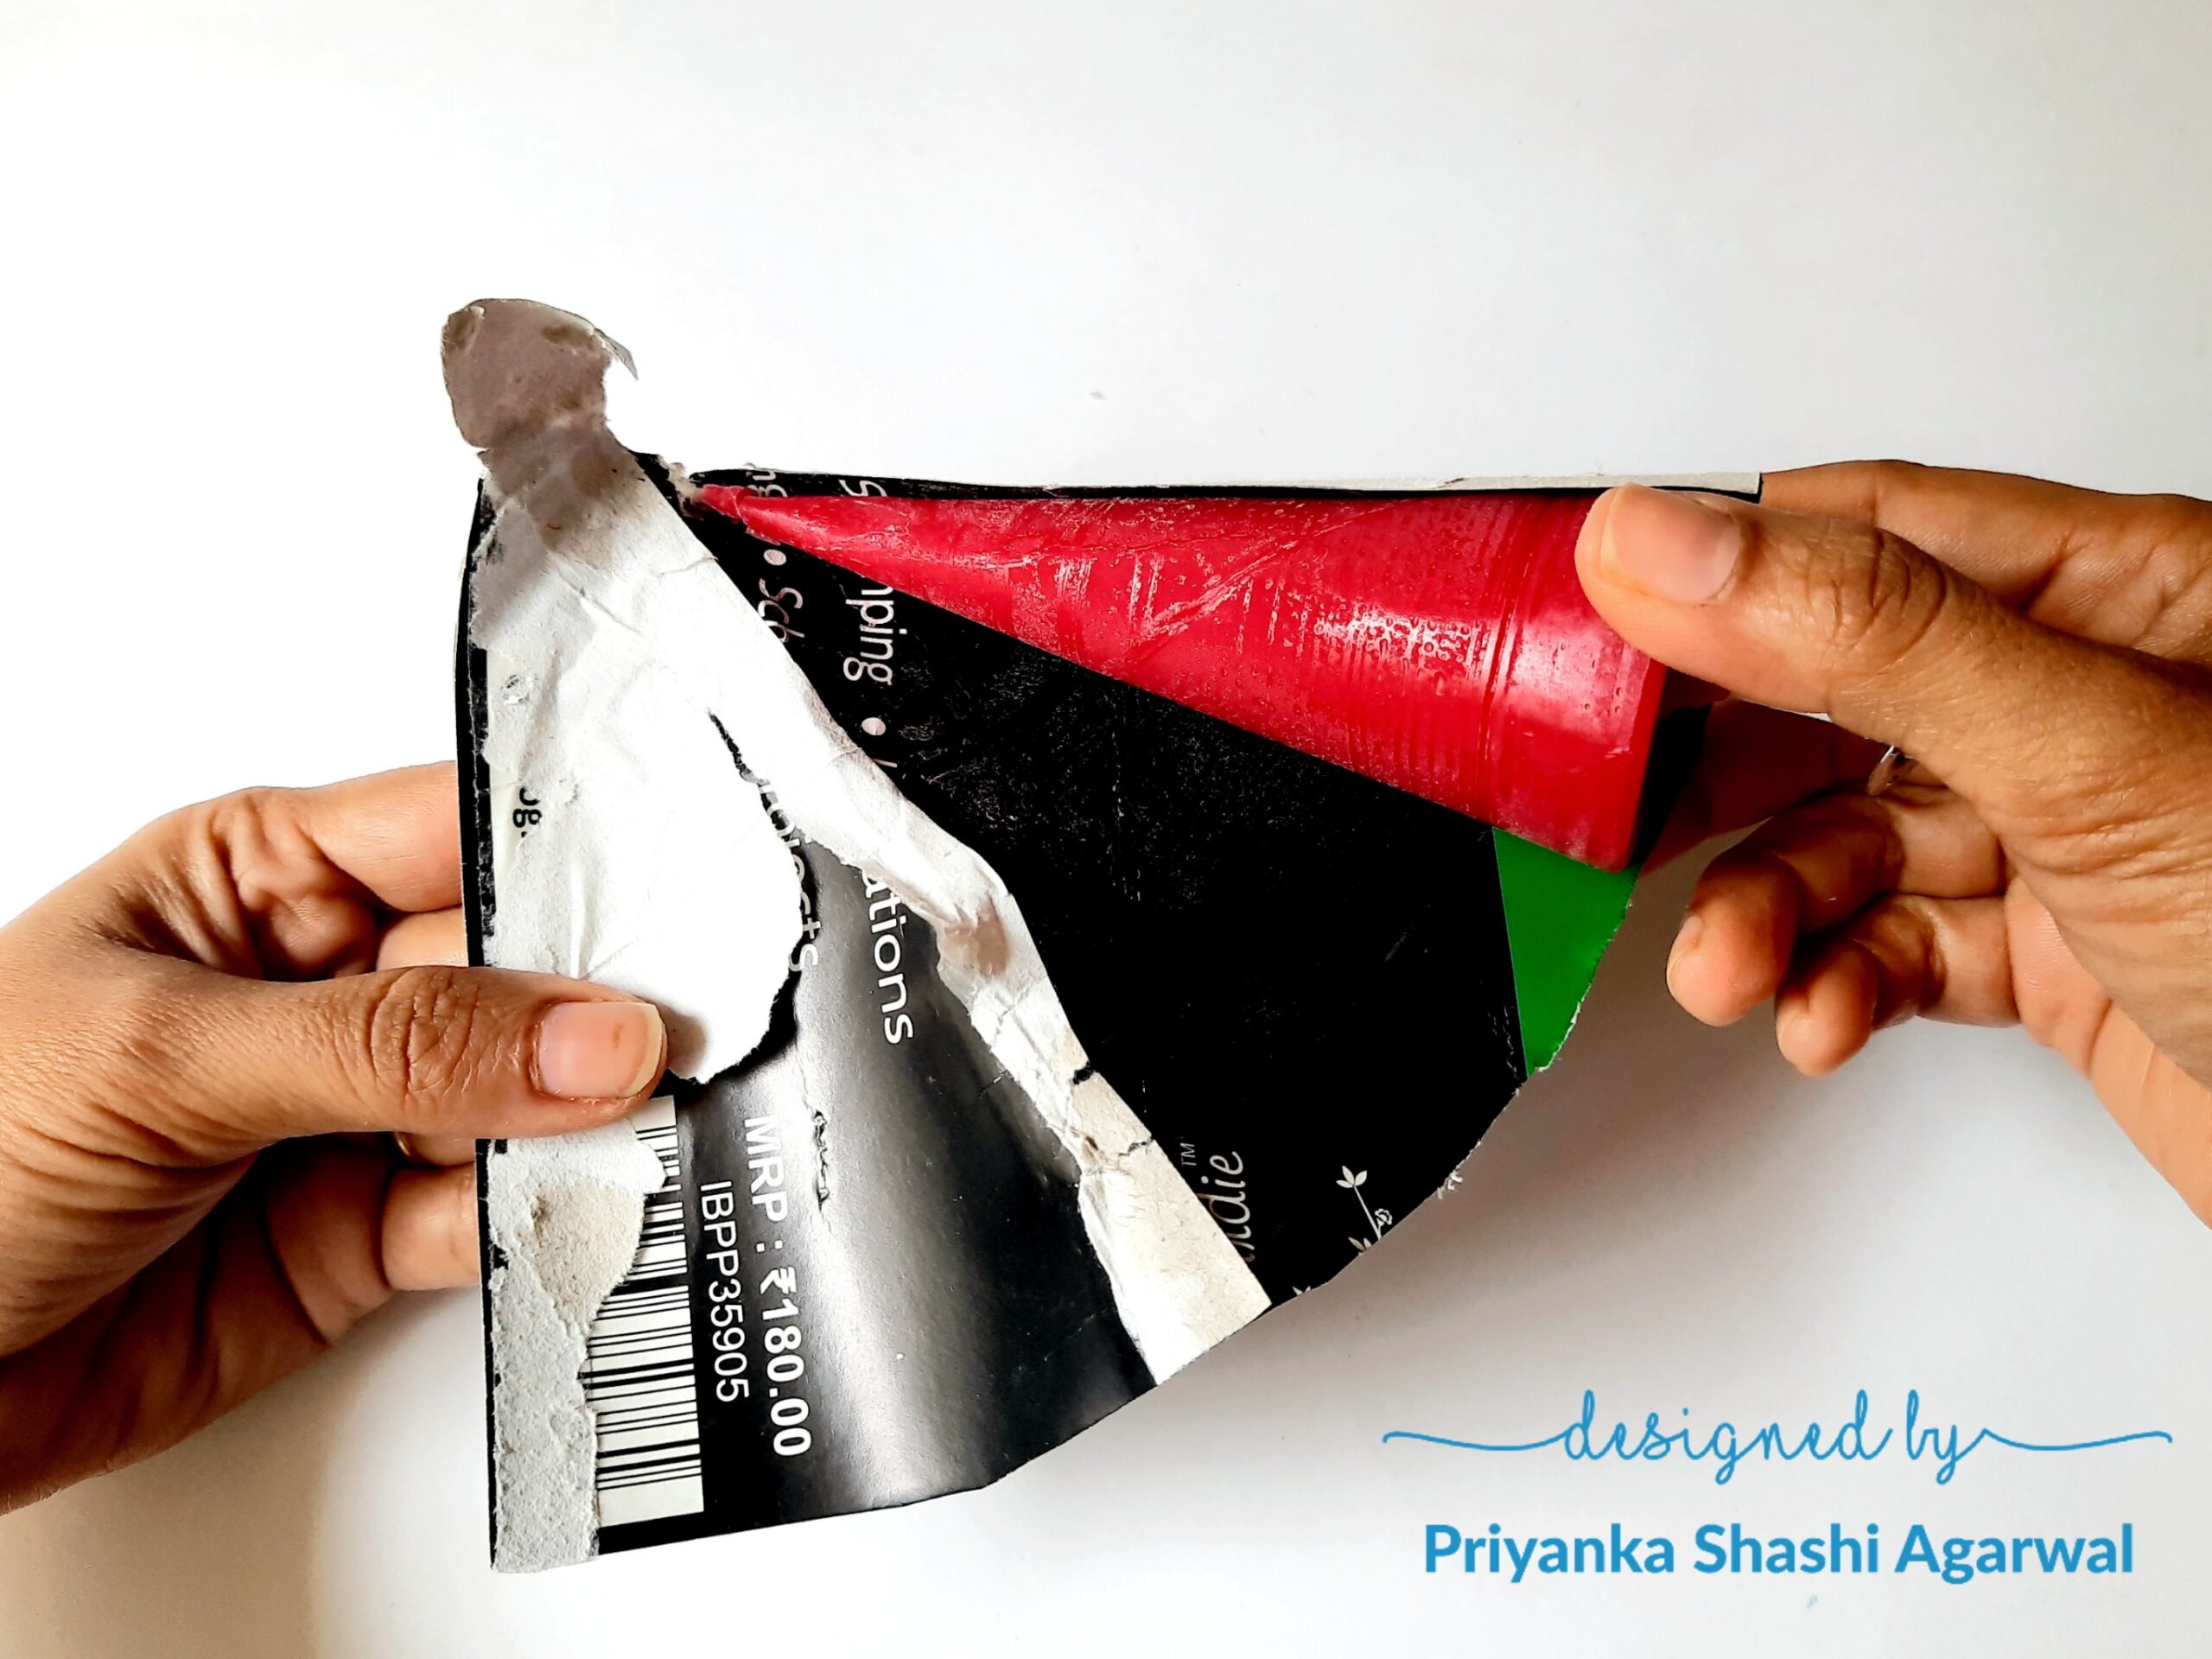
Remove the Tack It and Just tear out the cardstock to unmold the candle carefully.
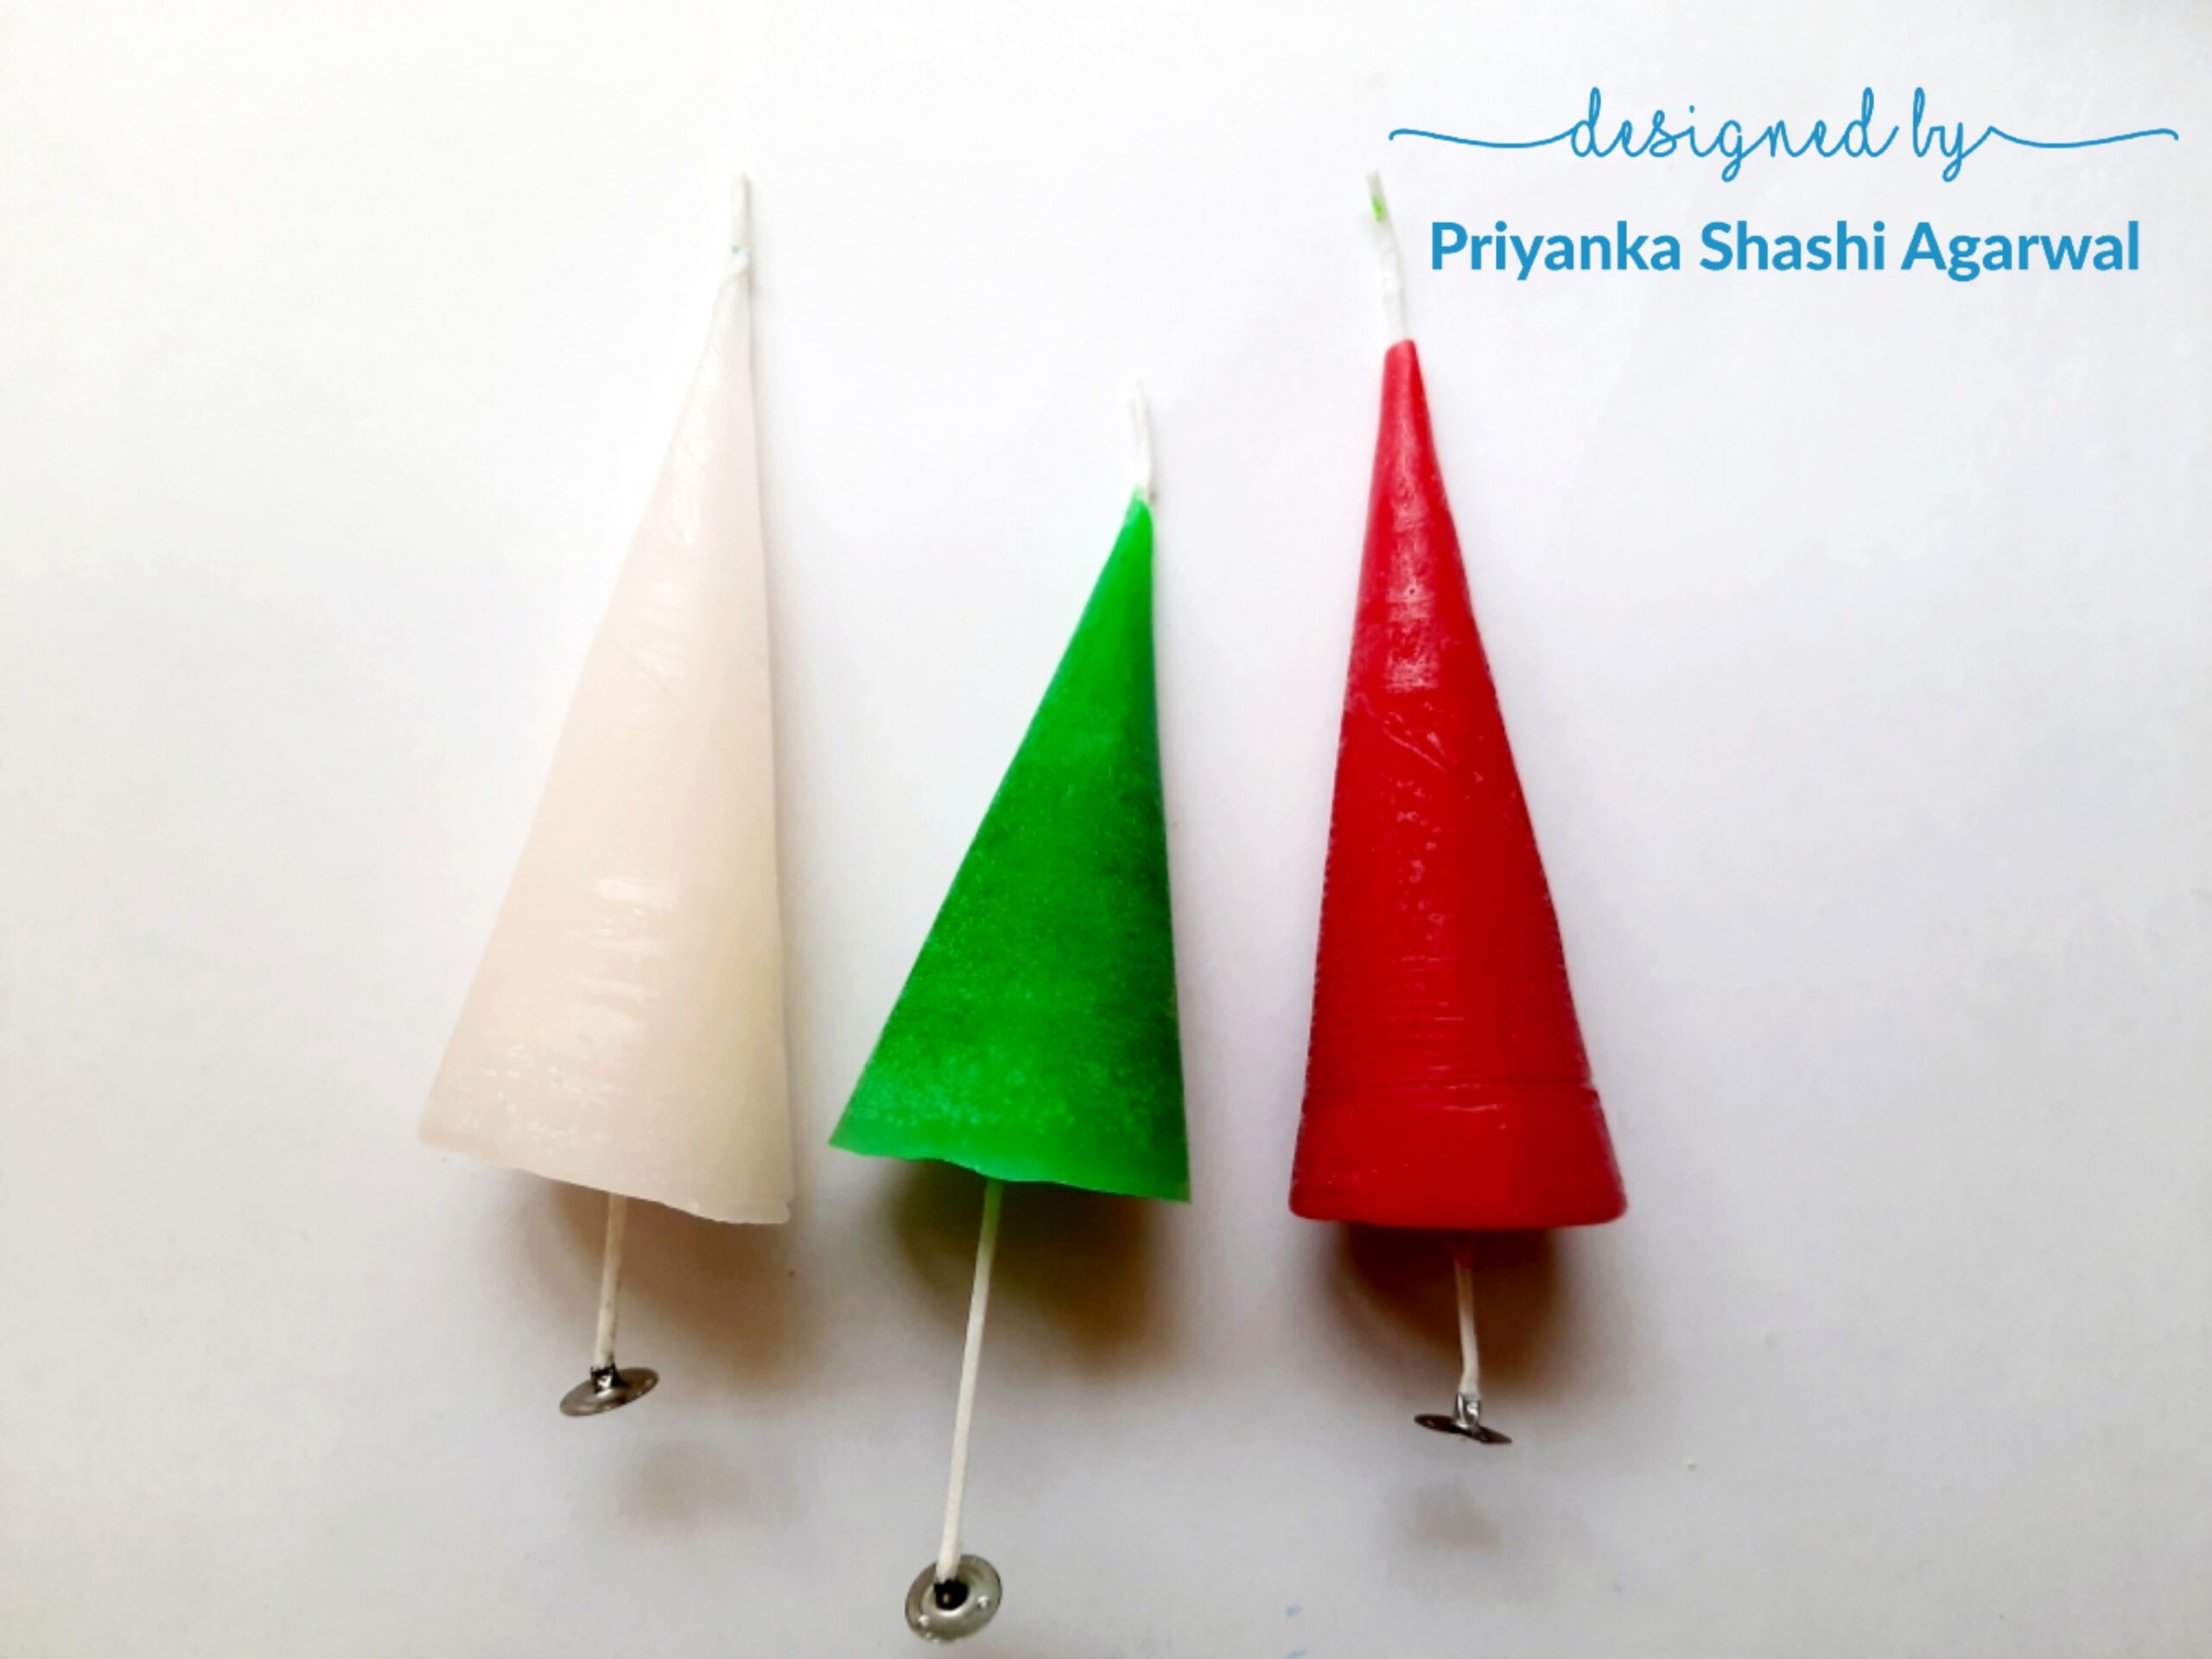
Check out all the three candles after unmolding.
Finishing Touches
Trim the wicks from the bottom of the cone candles.
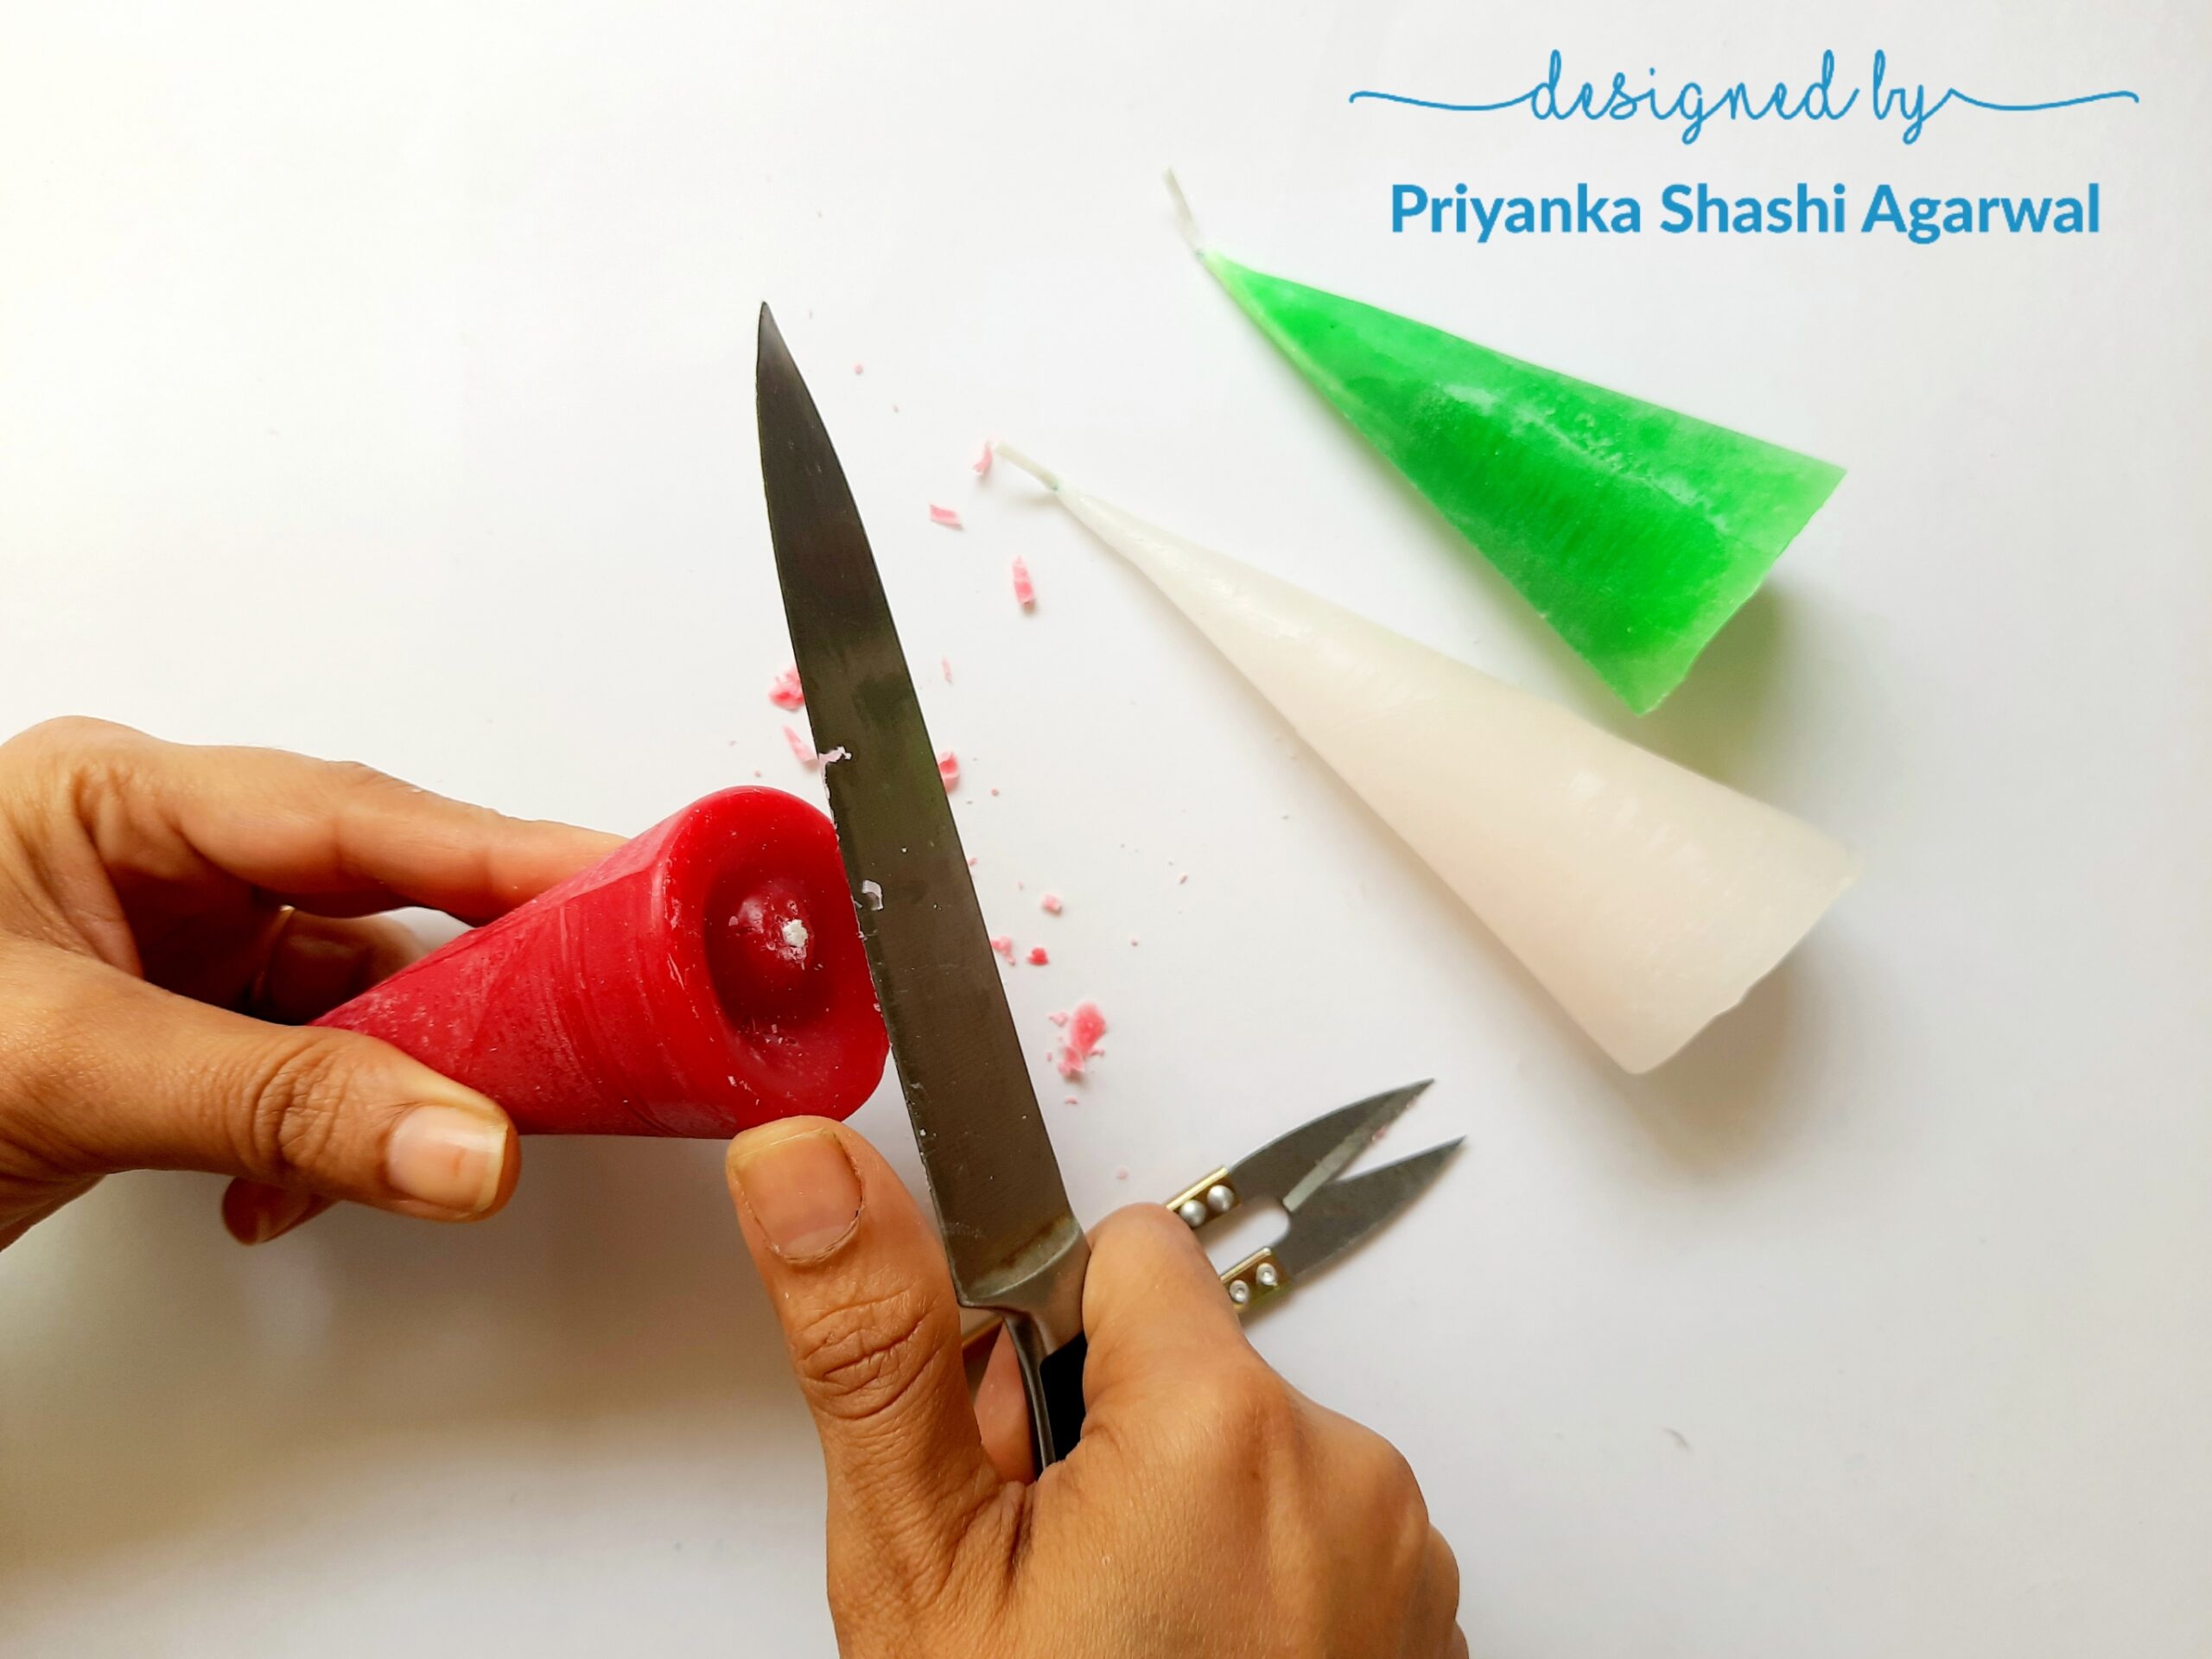
Scrap out the unwanted wax to bring it into a flat shape at the bottom to make the candle stand properly.

Tadaa! the cone shaped candles are ready. You can keep your candles as they are, because they look super cute! The shape and colours of the candles are enough to relate to Christmas. But I want to try something more decorative. What about a wax garland over these trees? If you also want to try it, follow the further steps.
Add the wax garland

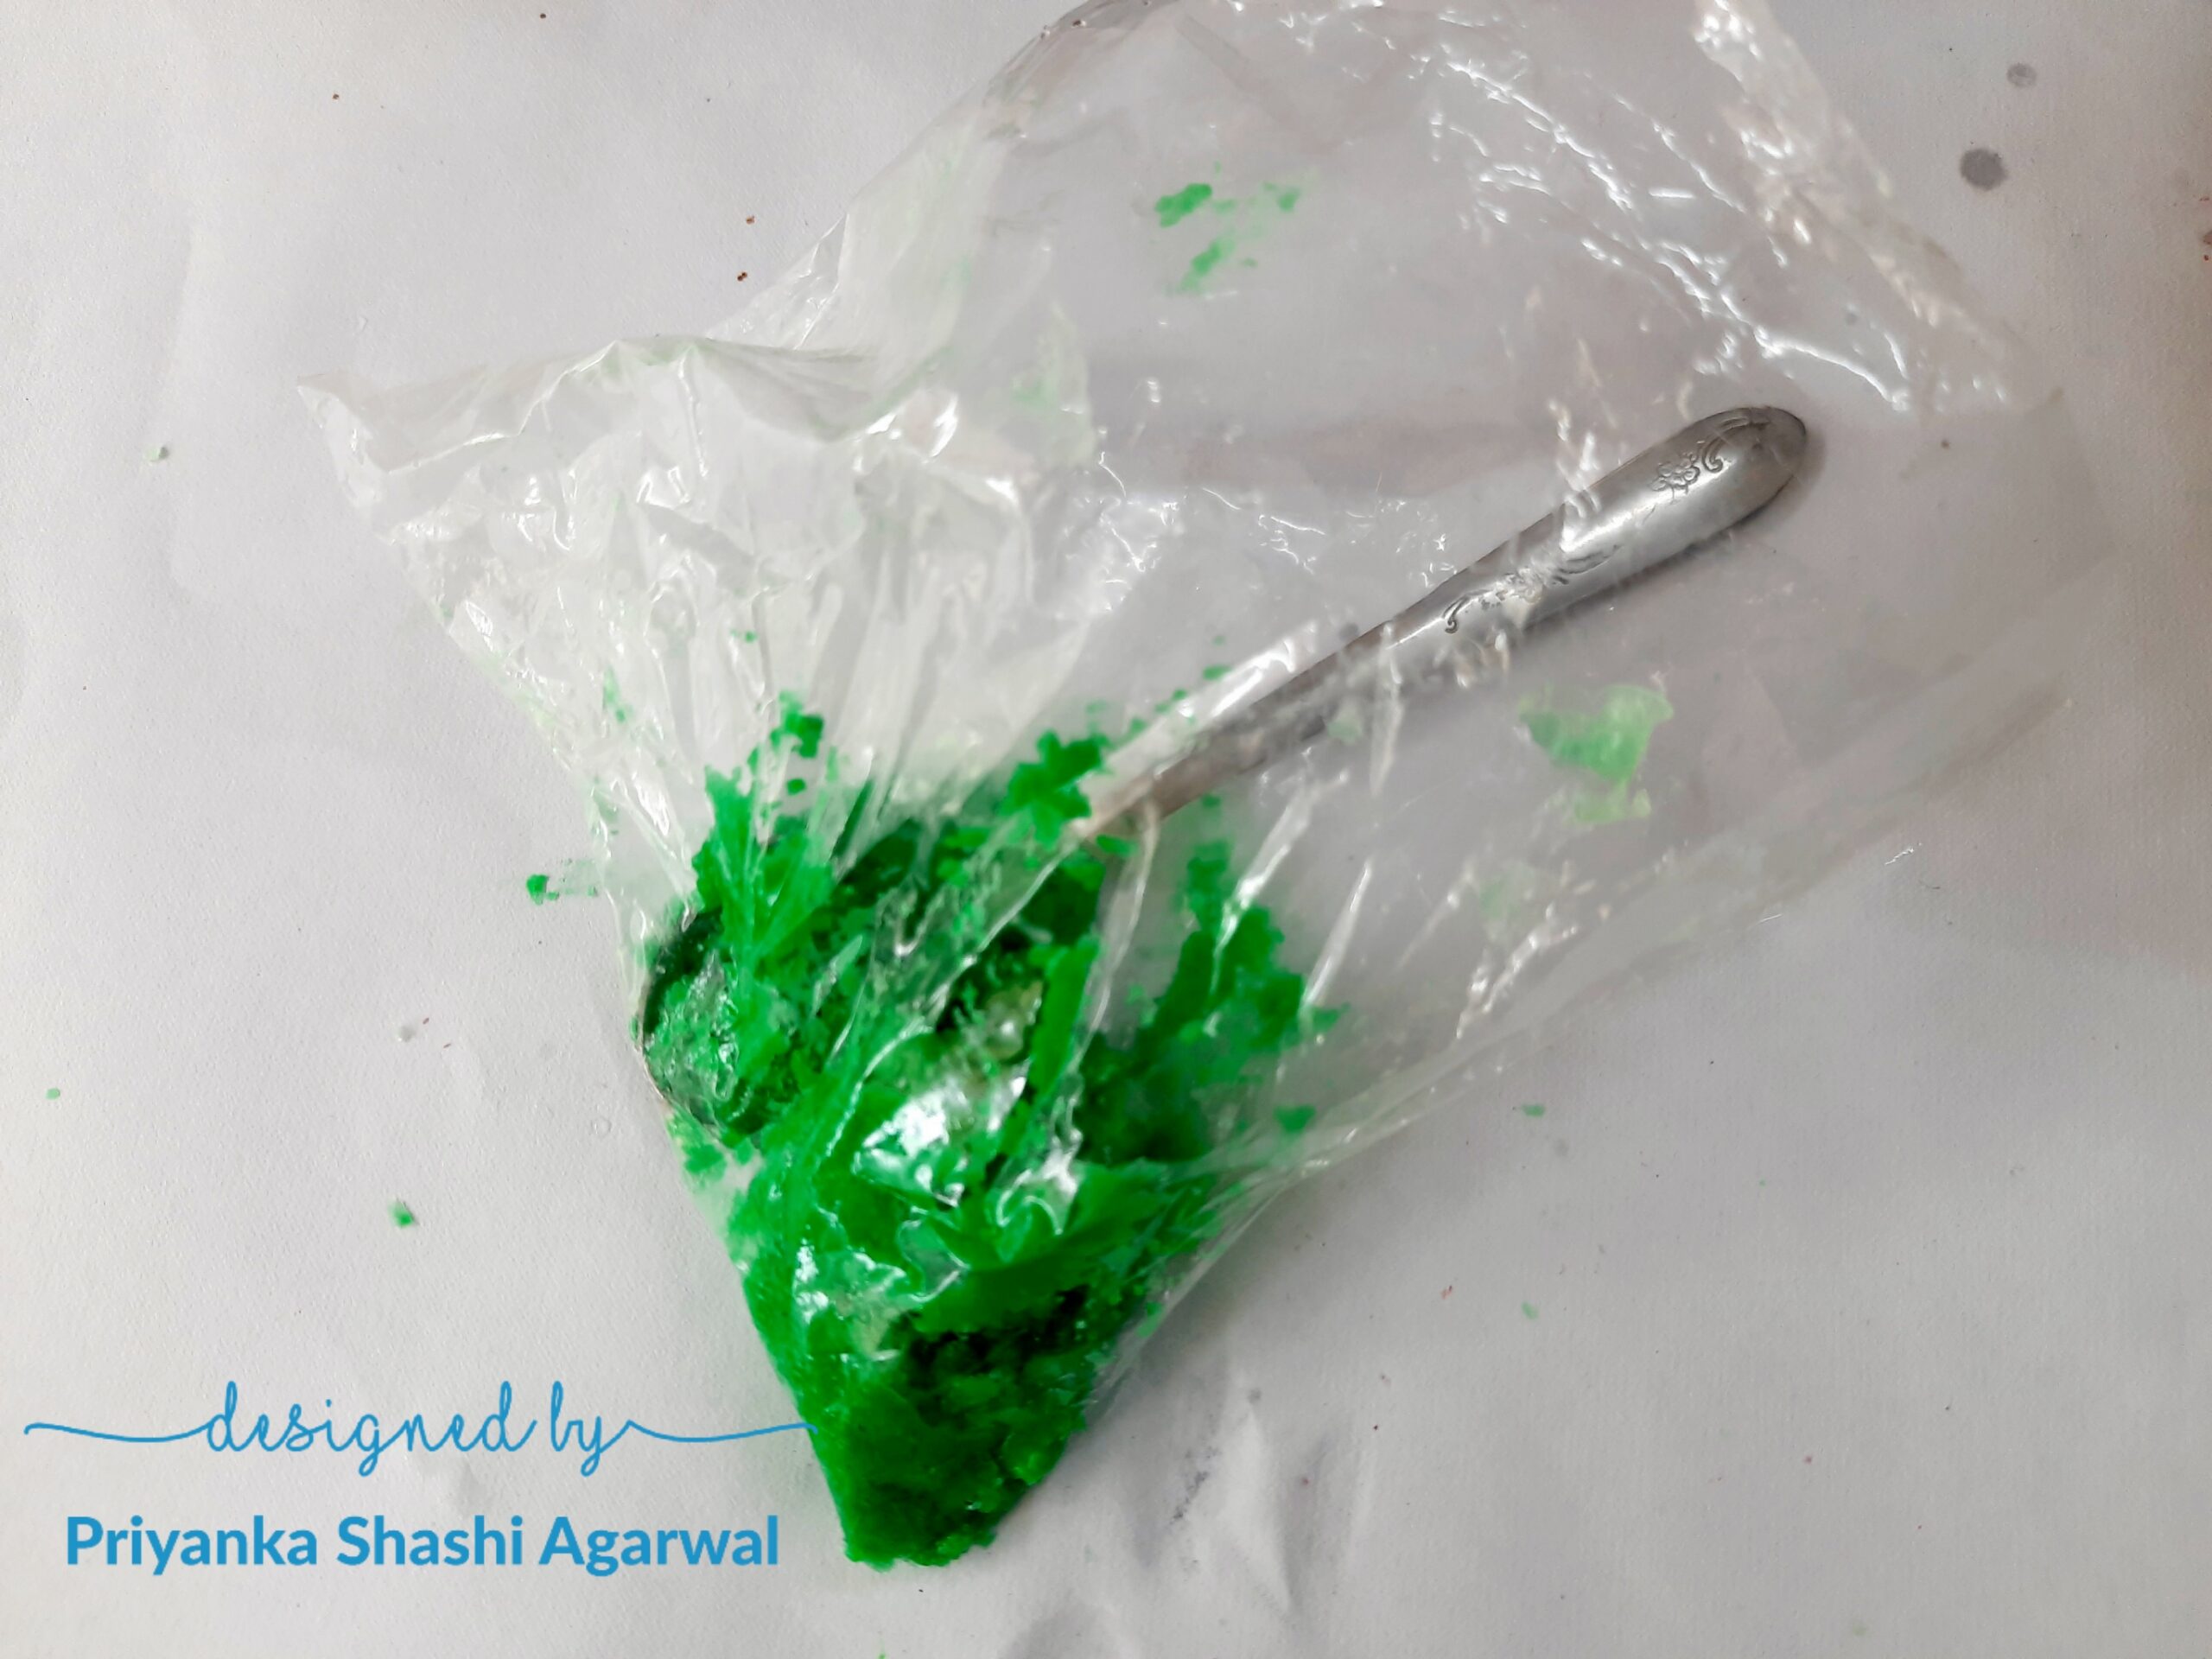
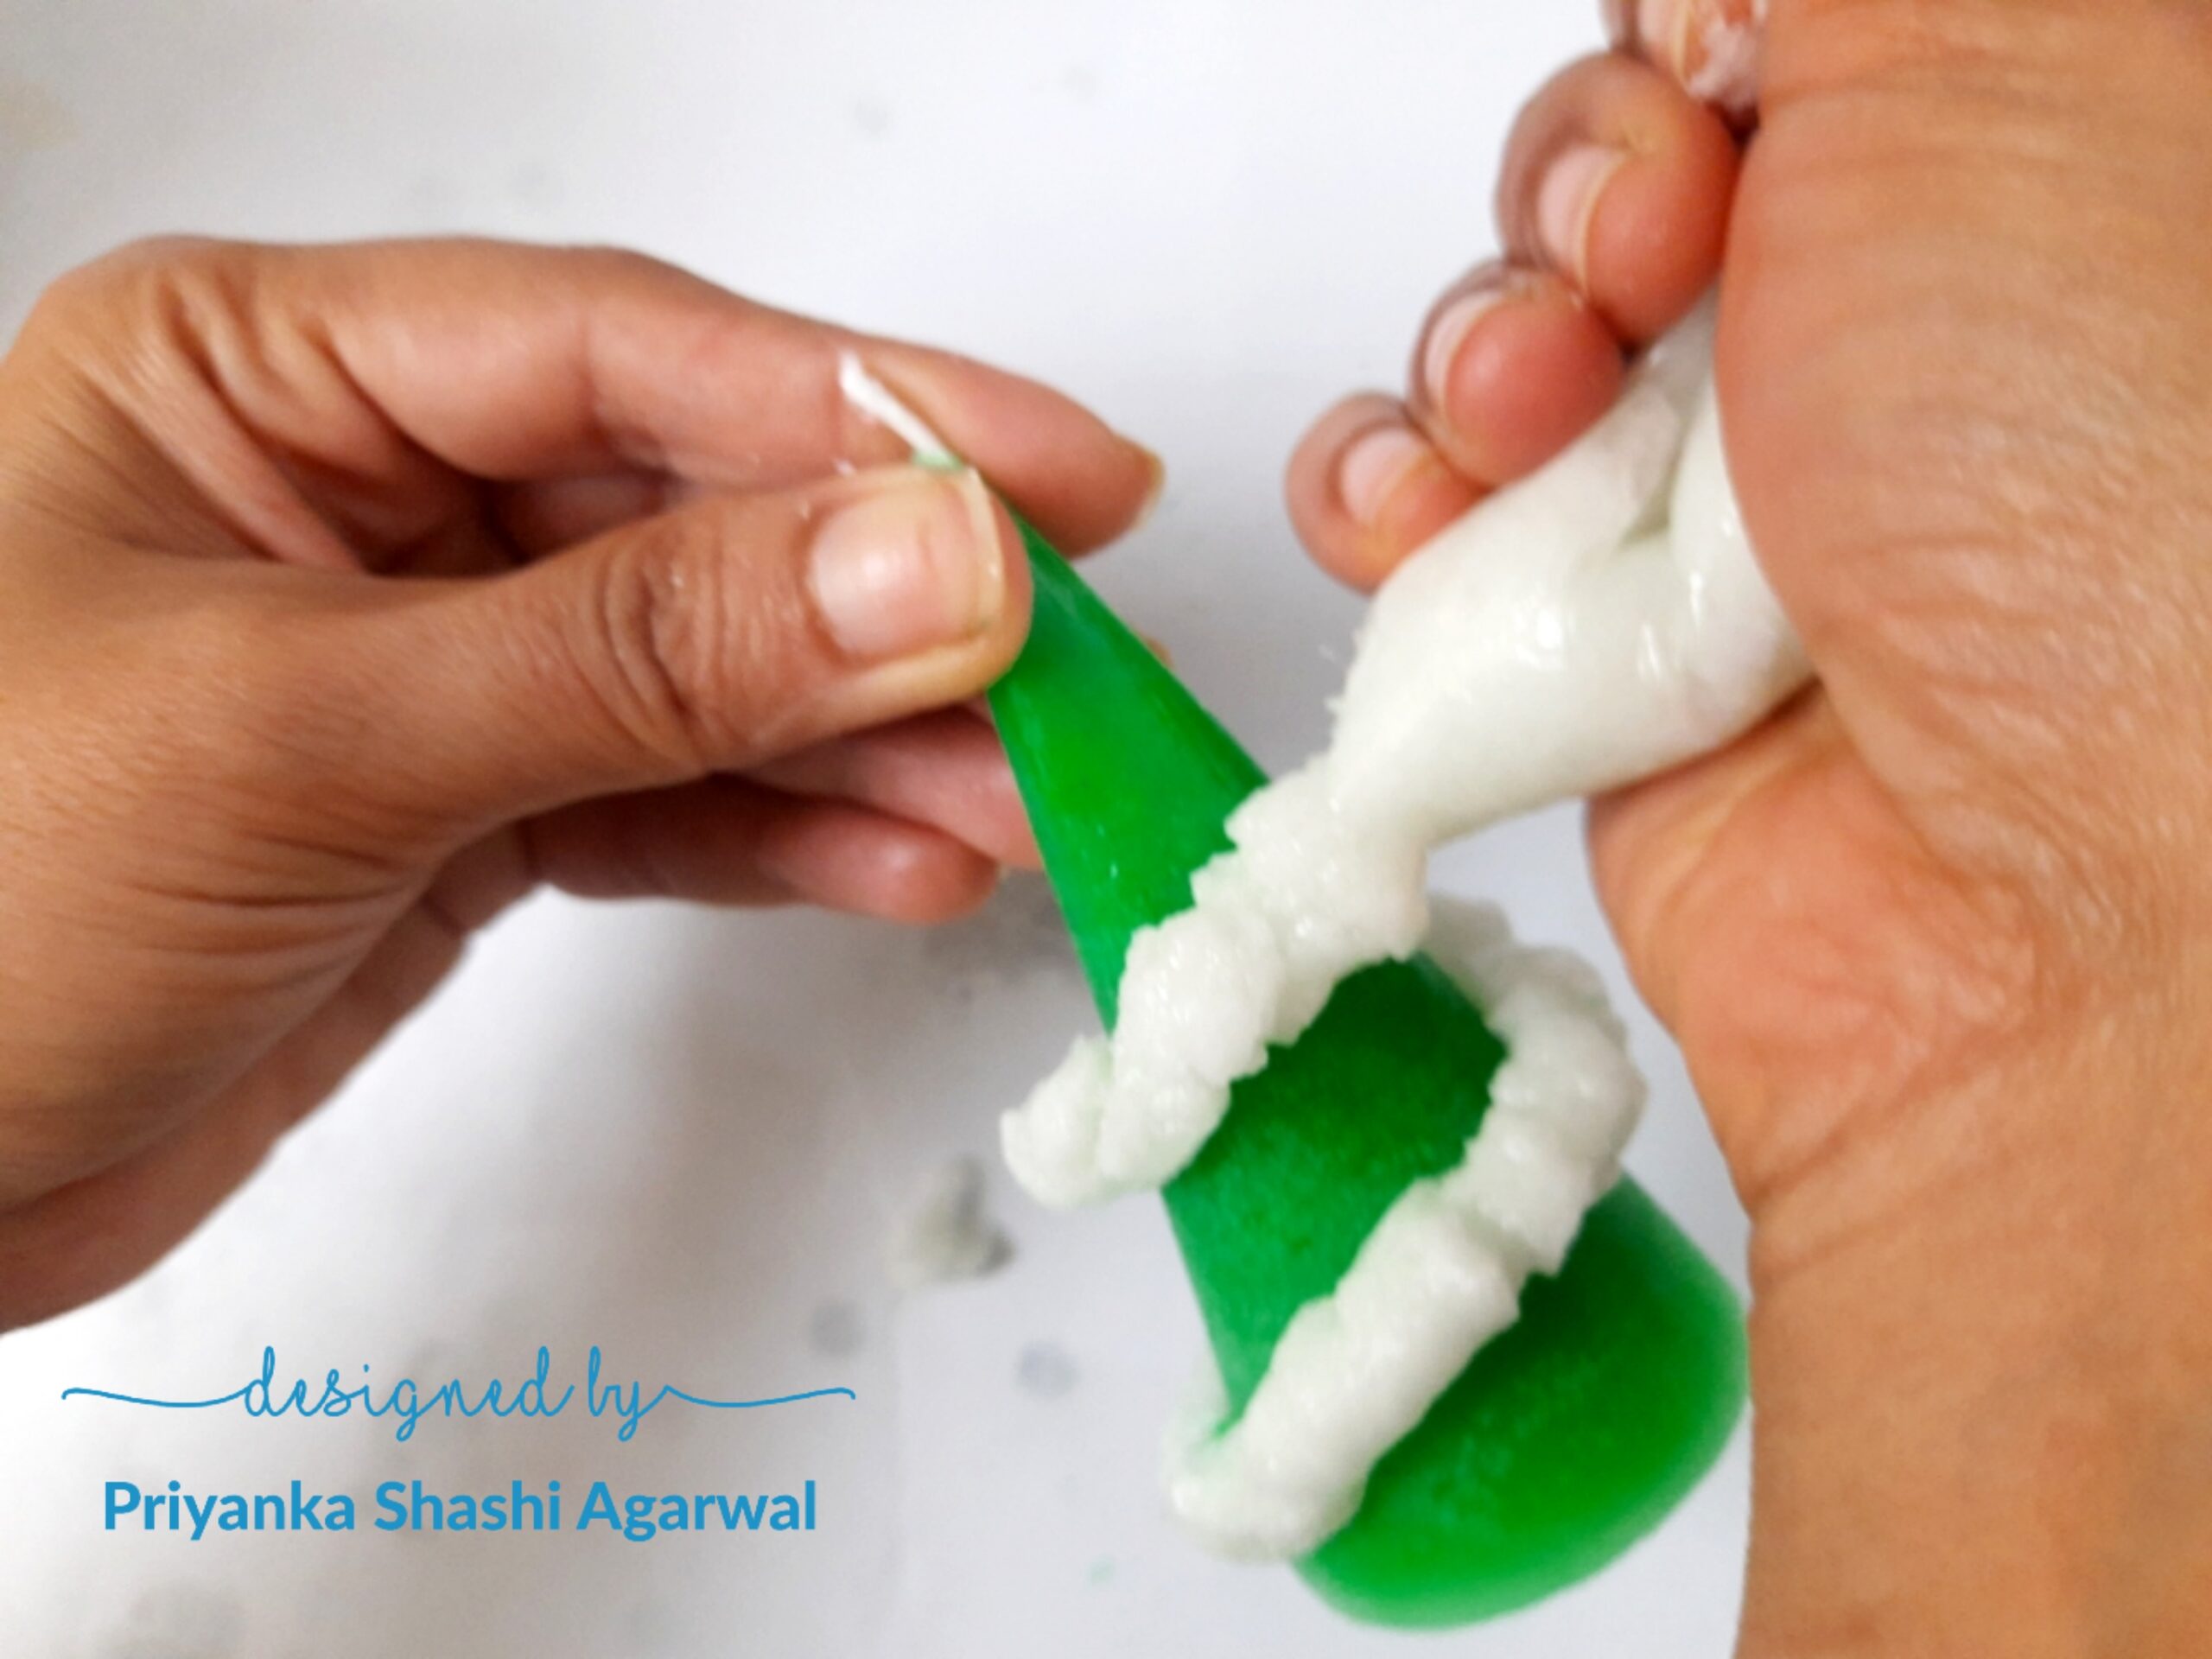
Melt green wax again and once melted, remove it from the double boiler. Keep stirring the melted wax when it cools down until it starts to look like froth. Fill it in a small plastic bag (don’t worry the wax is not enough hot now to melt the plastic, so nothing will happen to it)
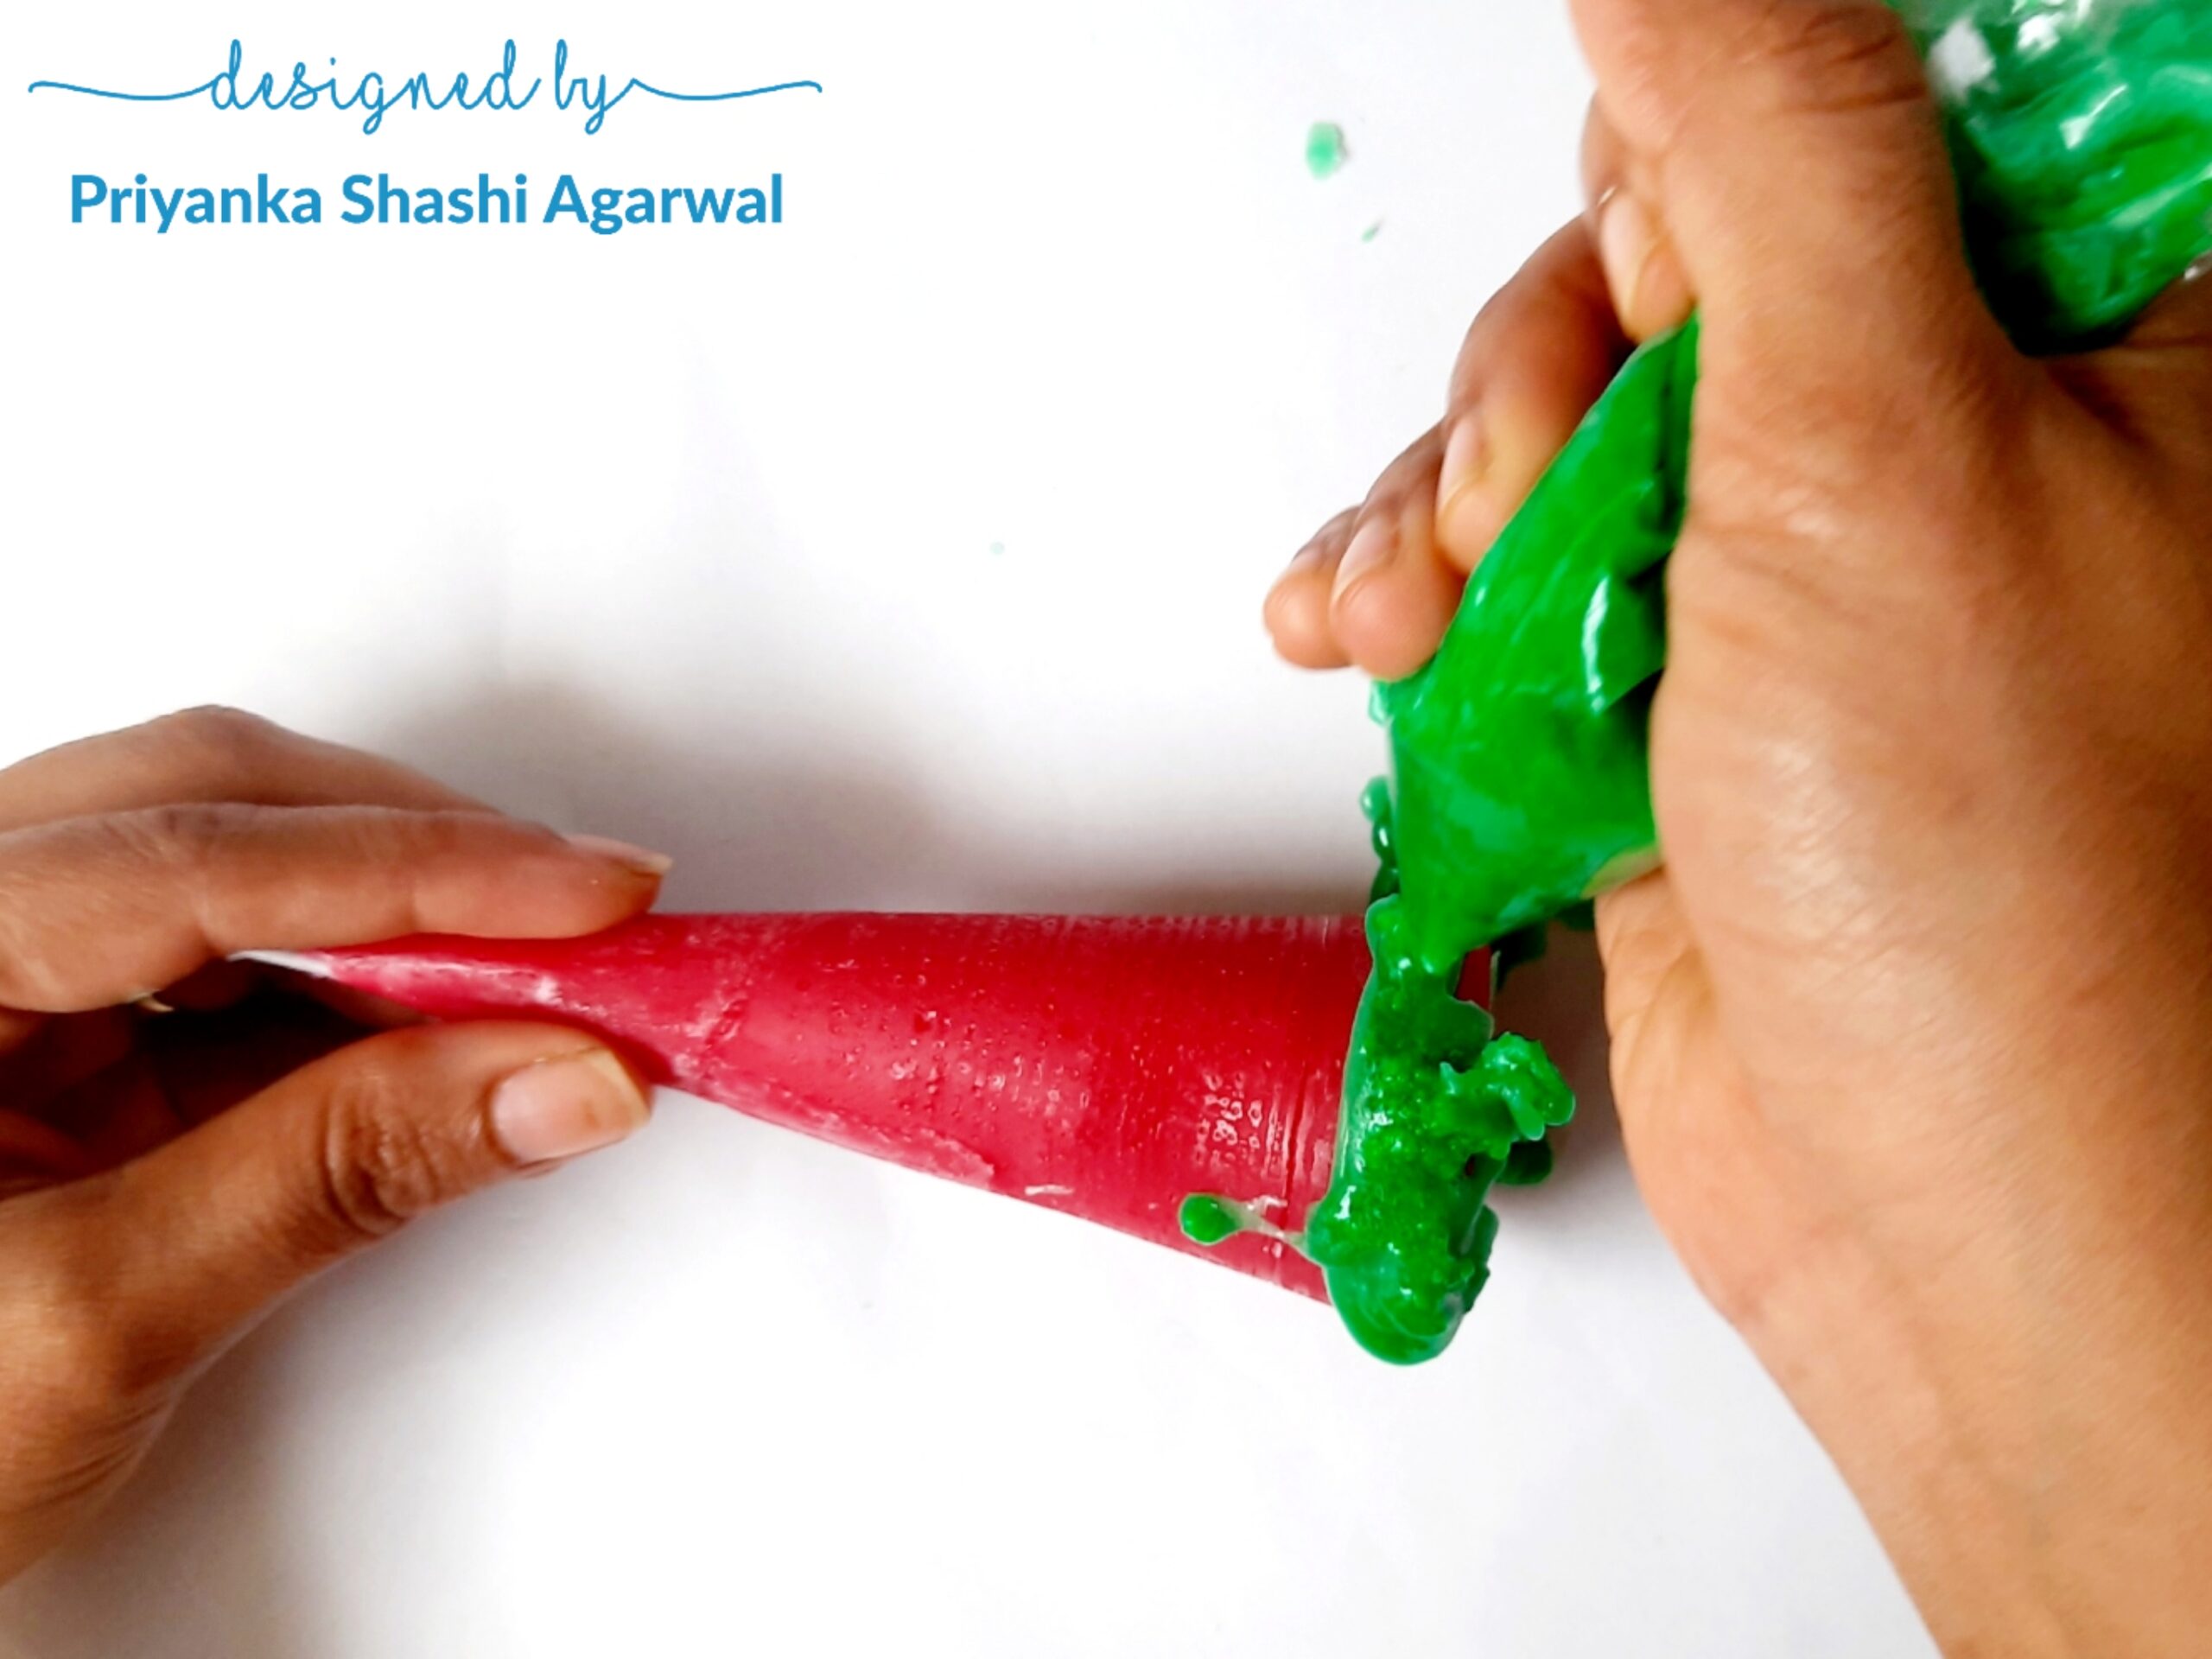
Make a hole in one of the corners of a plastic bag and start squeezing out the wax froth to make spiral design on the cone shaped candle.

Don’t worry if the wax spills out here and there and drops on the candle. You can remove them easily later when the wax cools down.
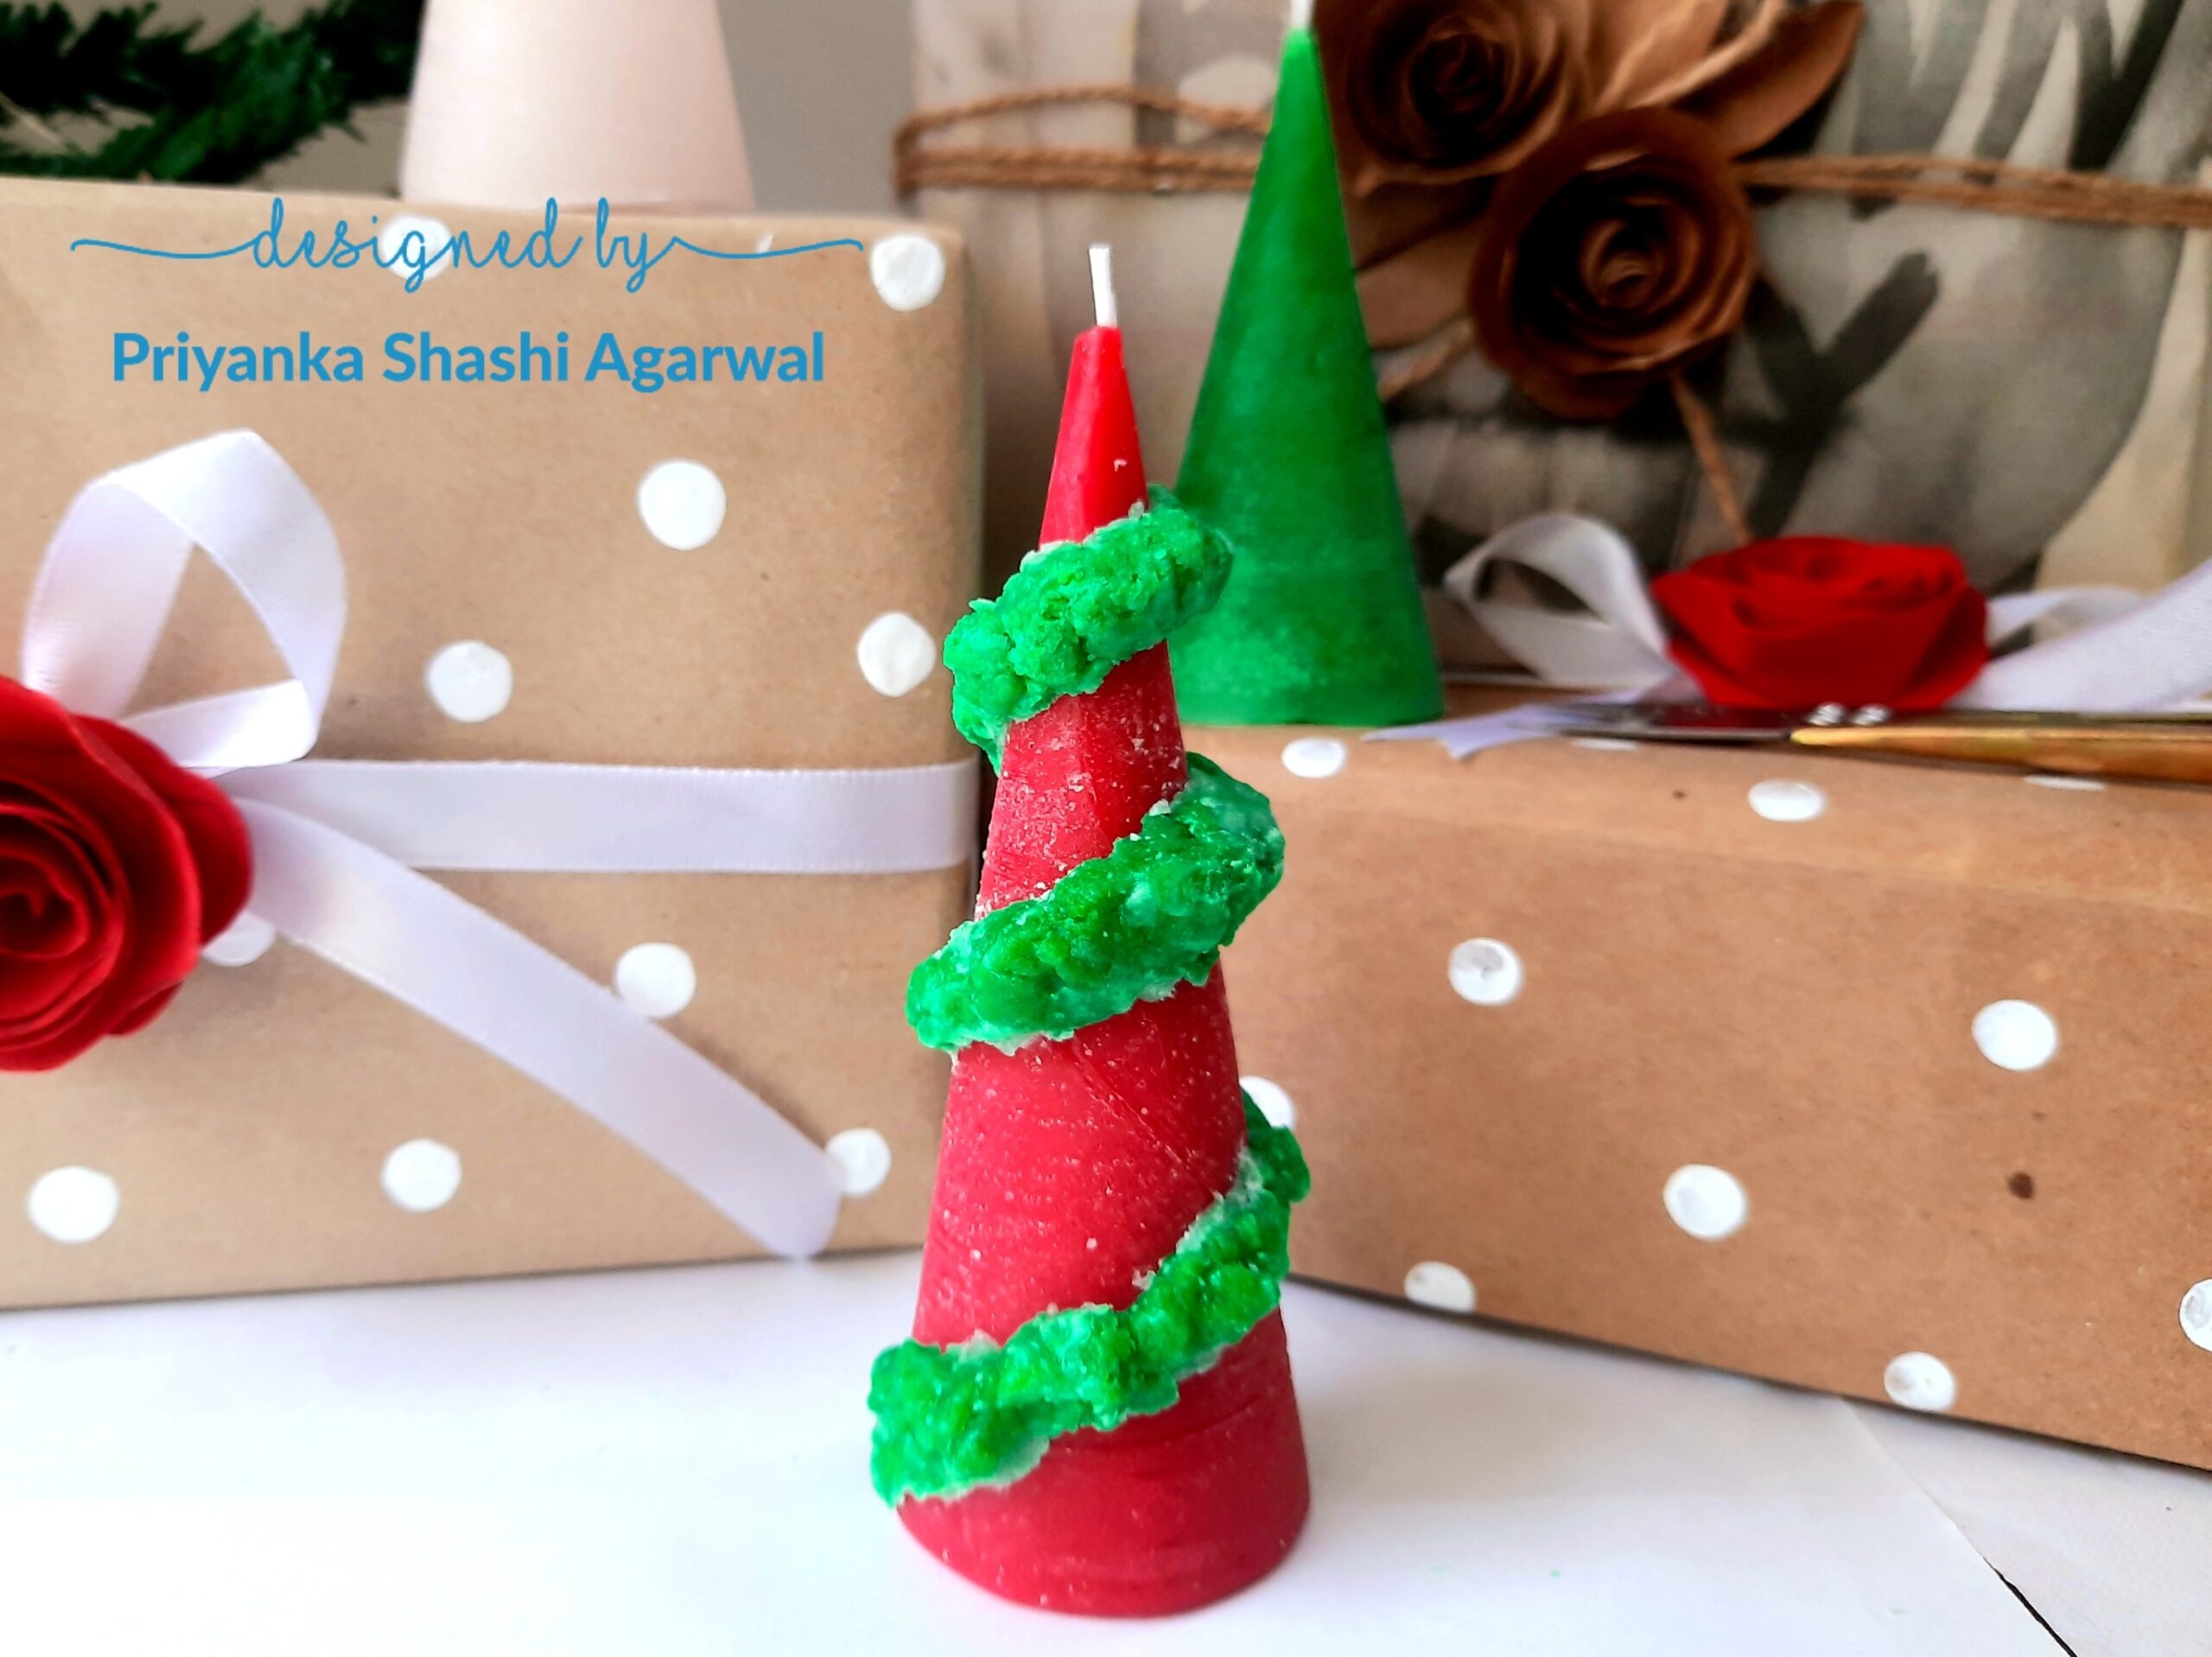
The process of making wax garland is messy but its worth it. I am just loving this wax garland.

Repeat the process on the green tree with white wax.

I kept my white tree plain. If you want you can make red wax garland on it…go ahead!

Look at these beautiful candles! I am madly in love with these Christmas candles. Hope you find this pictorial helpful and inspiring to give these candles a try to make your Christmas special. Let me know in the comment you want to try making these candles with or without the wax garlands.
Buy all the materials used in this project on ITSYBITSY craft store online or offline. Use my code: PRIYANKASHASHI05 for extra 5% off on the online purchase of any craft materials. See you next time with new candle inspiration. Hugs, Priyanka Shashi.
Product List:
Itsy Bitsy Candle Making Paraffin wax & Soft Wax- 910g + 90g
Itsy Bitsy Hard Wax Dye 10gm -Pear
Itsy Bitsy Hard Wax Dye 10gm – Blazing Blue
Little Birdie Wax Granules 200gm- Red – Itsy Bitsy
Itsy Bitsy Wax Coated Wick – 7 inch
Little Birdie Candle Making Ultra Brightener- 10g – Itsy Bitsy
Double-Sided Tacky Tape – 10mm – Itsy Bitsy
Little Birdie Essential Oil Tea Tree -10ml Bottle – Itsy Bitsy