- A warm Hello to my arty-crafty friends!
I hope you all are doing good. DT member Vidhu Thareja back on the blog with a new inspirational project. As we all know that the ongoing blog challenge # 33 is ‘ Decoupage Challenge’. So I have designed an interesting project using Decoupage Technique.
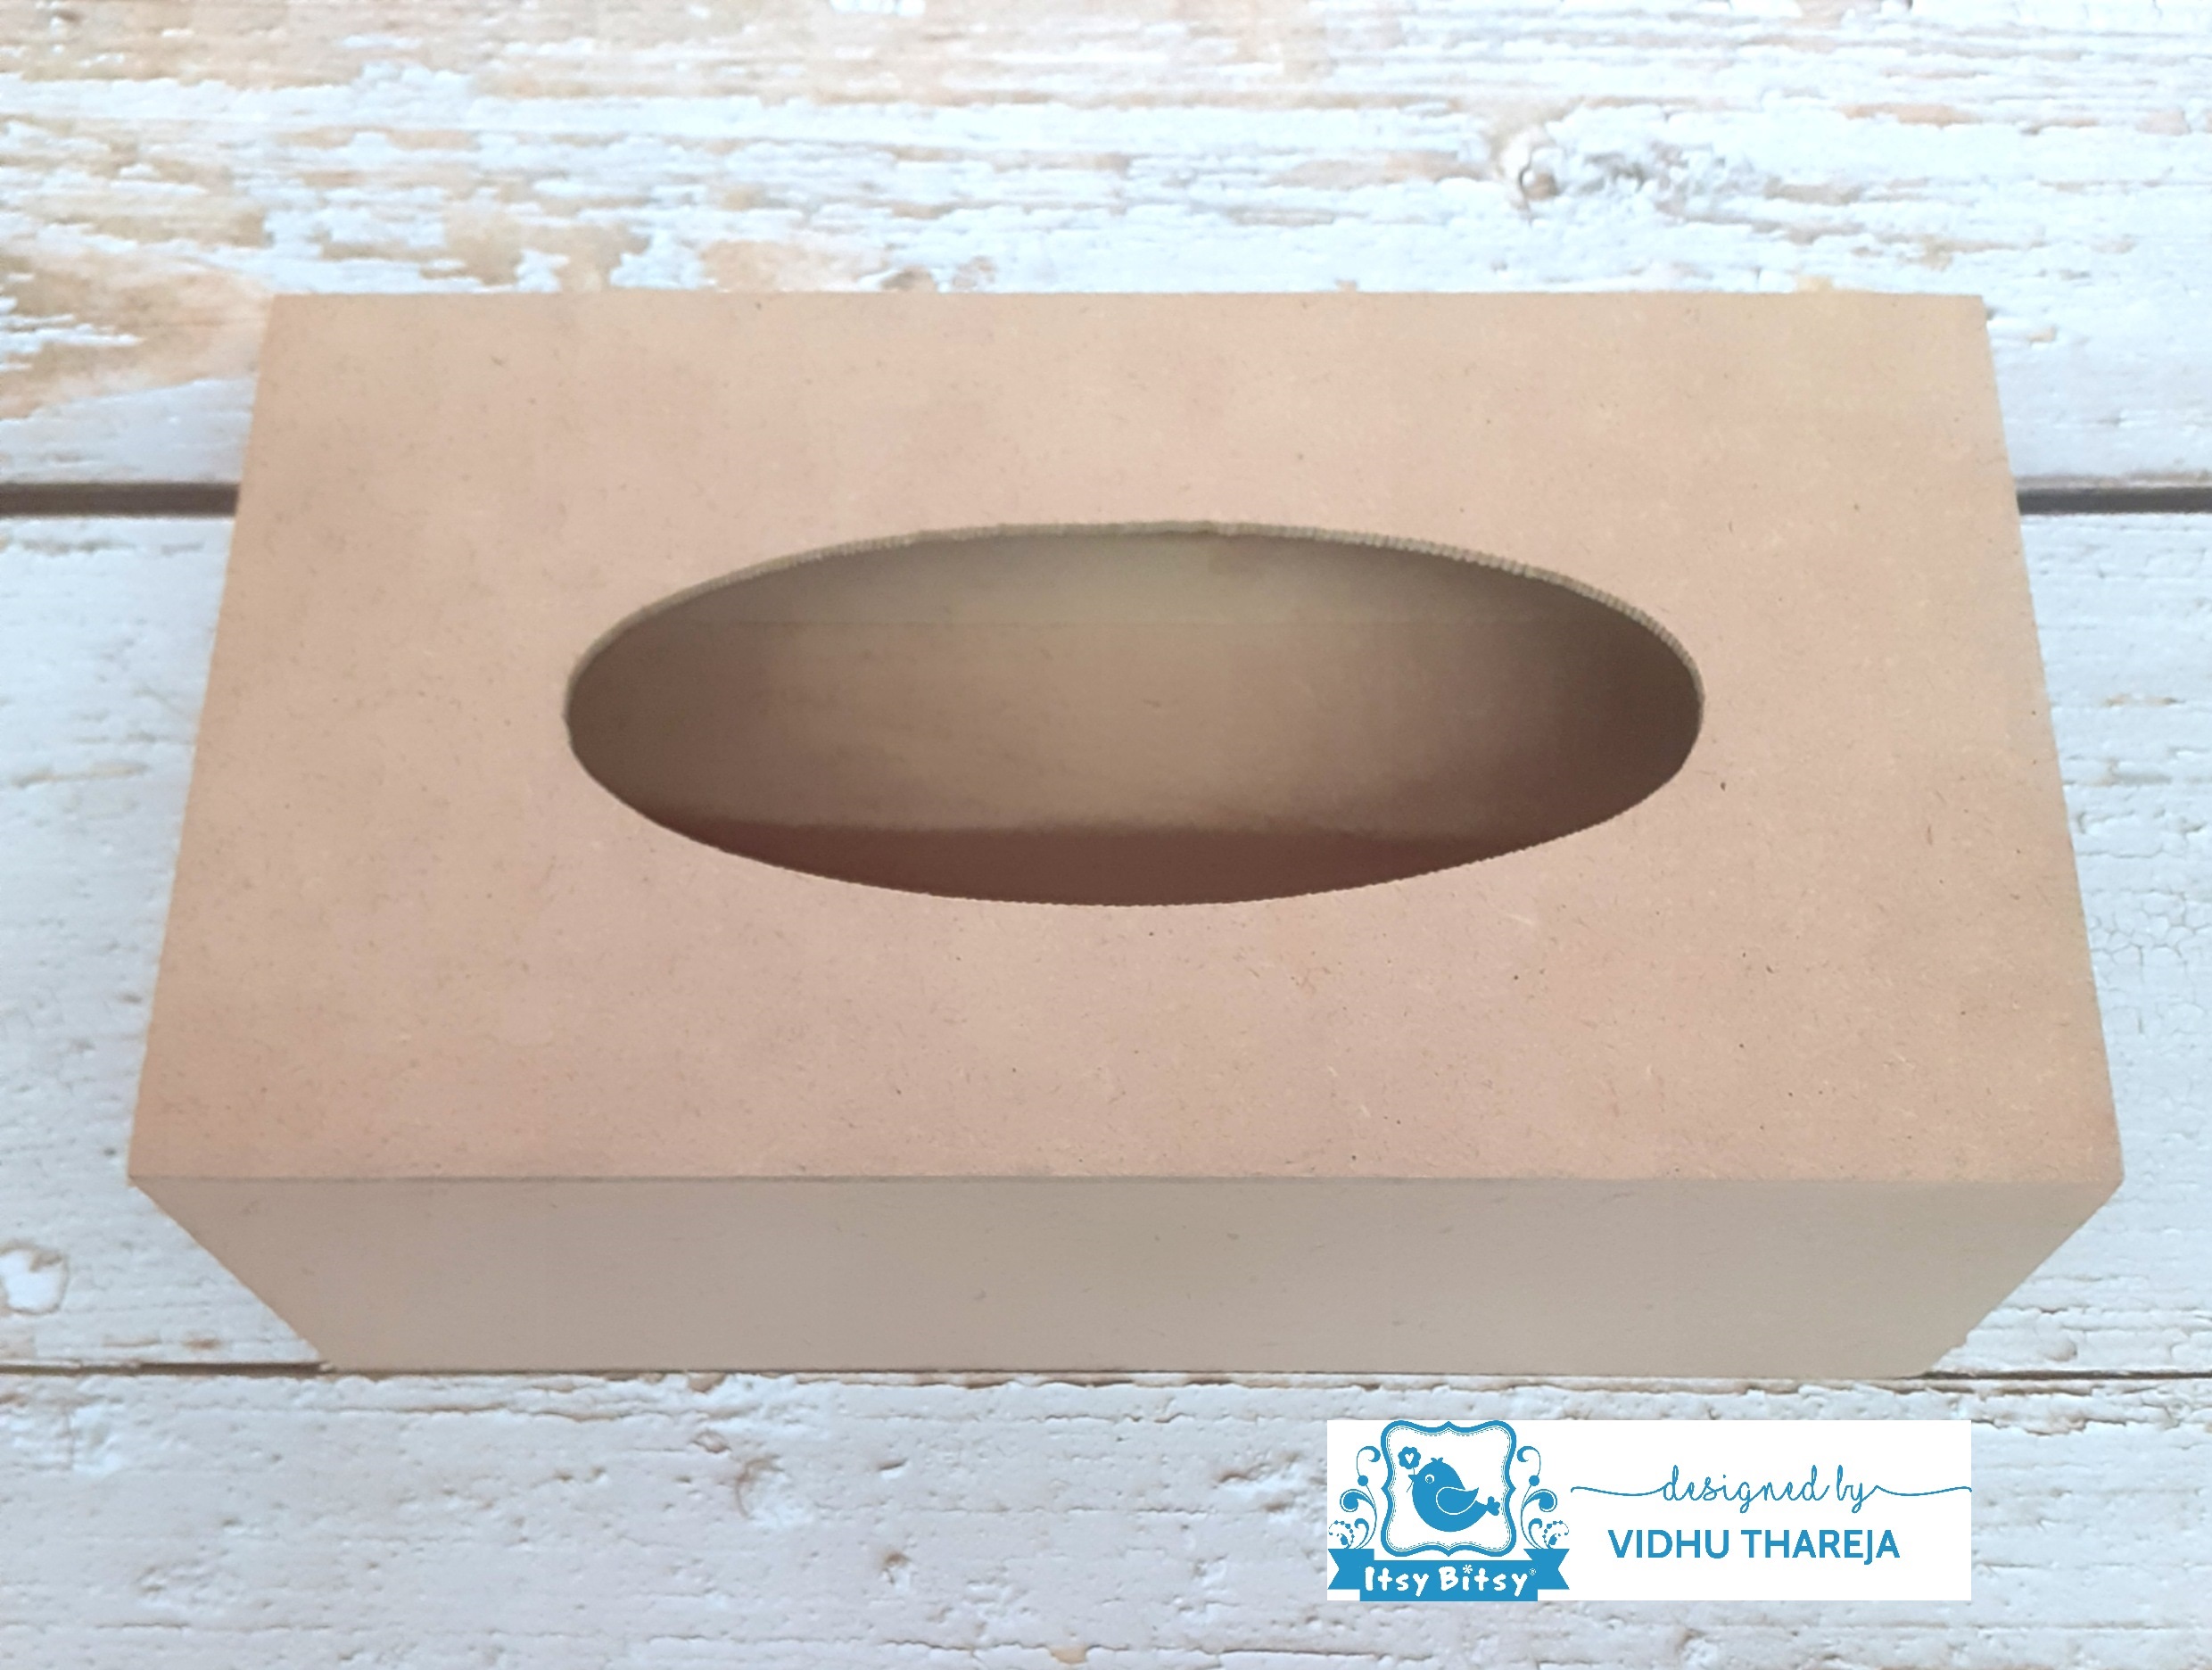
I have a easy step wise tutorial for you all but before starting the project, have a look at my project….I had a MDF tissue holder in my stash. I started with sanding the surface using a medium density sandpaper. 
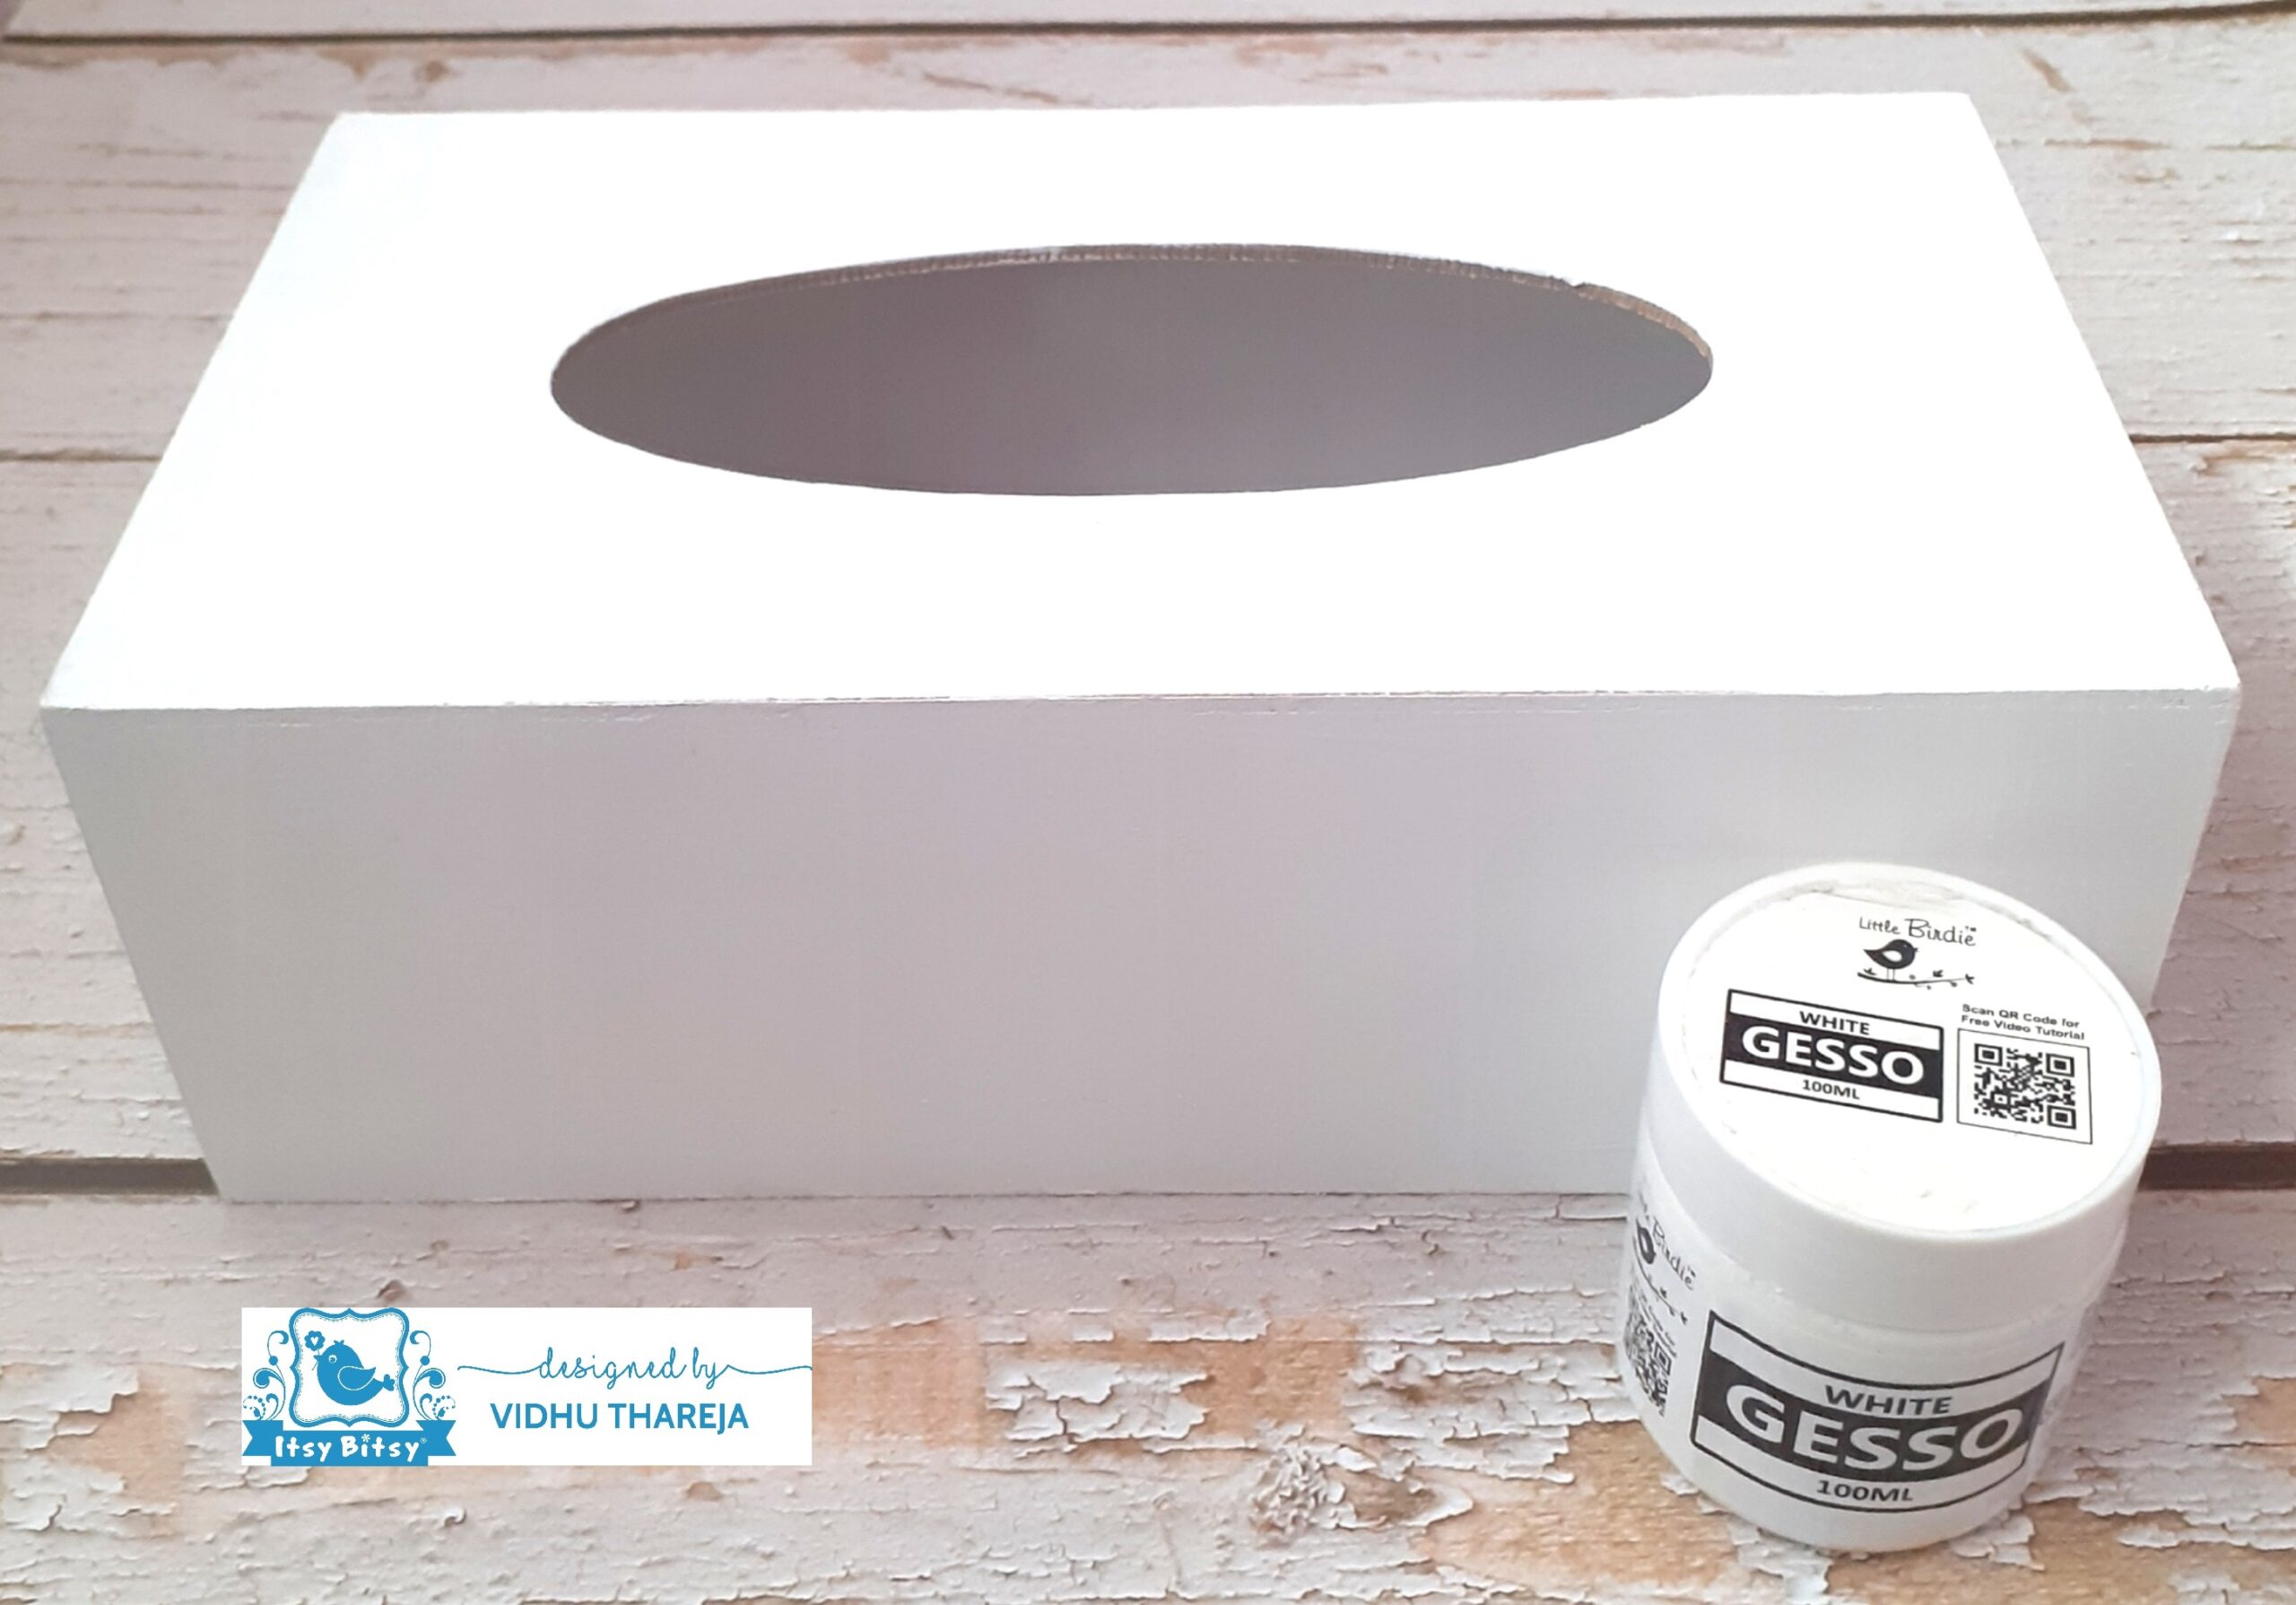
I prime the surface with Little Birdie Acrylic White Gesso. I applied 2 coats using a flat synthetic brush. Leave enough drying time between each coat. When the 2nd coat of gesso is completely dry, I sanded the surface again with a light hand. Sanding ensures a smooth surface.
 Now it is turn to do decoupage but before doing that, I have decided to add some texture on the background. For that I have used Little Birdie Mixed Media Paste- White, which can be used as a primer and also can be applied through a stencil. You can also create some texture with it. I have applied it through a stencil. Besides keeping the background white, as desired in decoupage projects, I wanted to give some colour to it. So, I mixed Little Birdie Chalk Paint – Lemon Chiffon in Mixed Media Paste. Now using a palette knife, I applied it through a stencil. I have kept the white mixed media paste and other portions [ mixed with chalk paint] random, while doing stenciling.
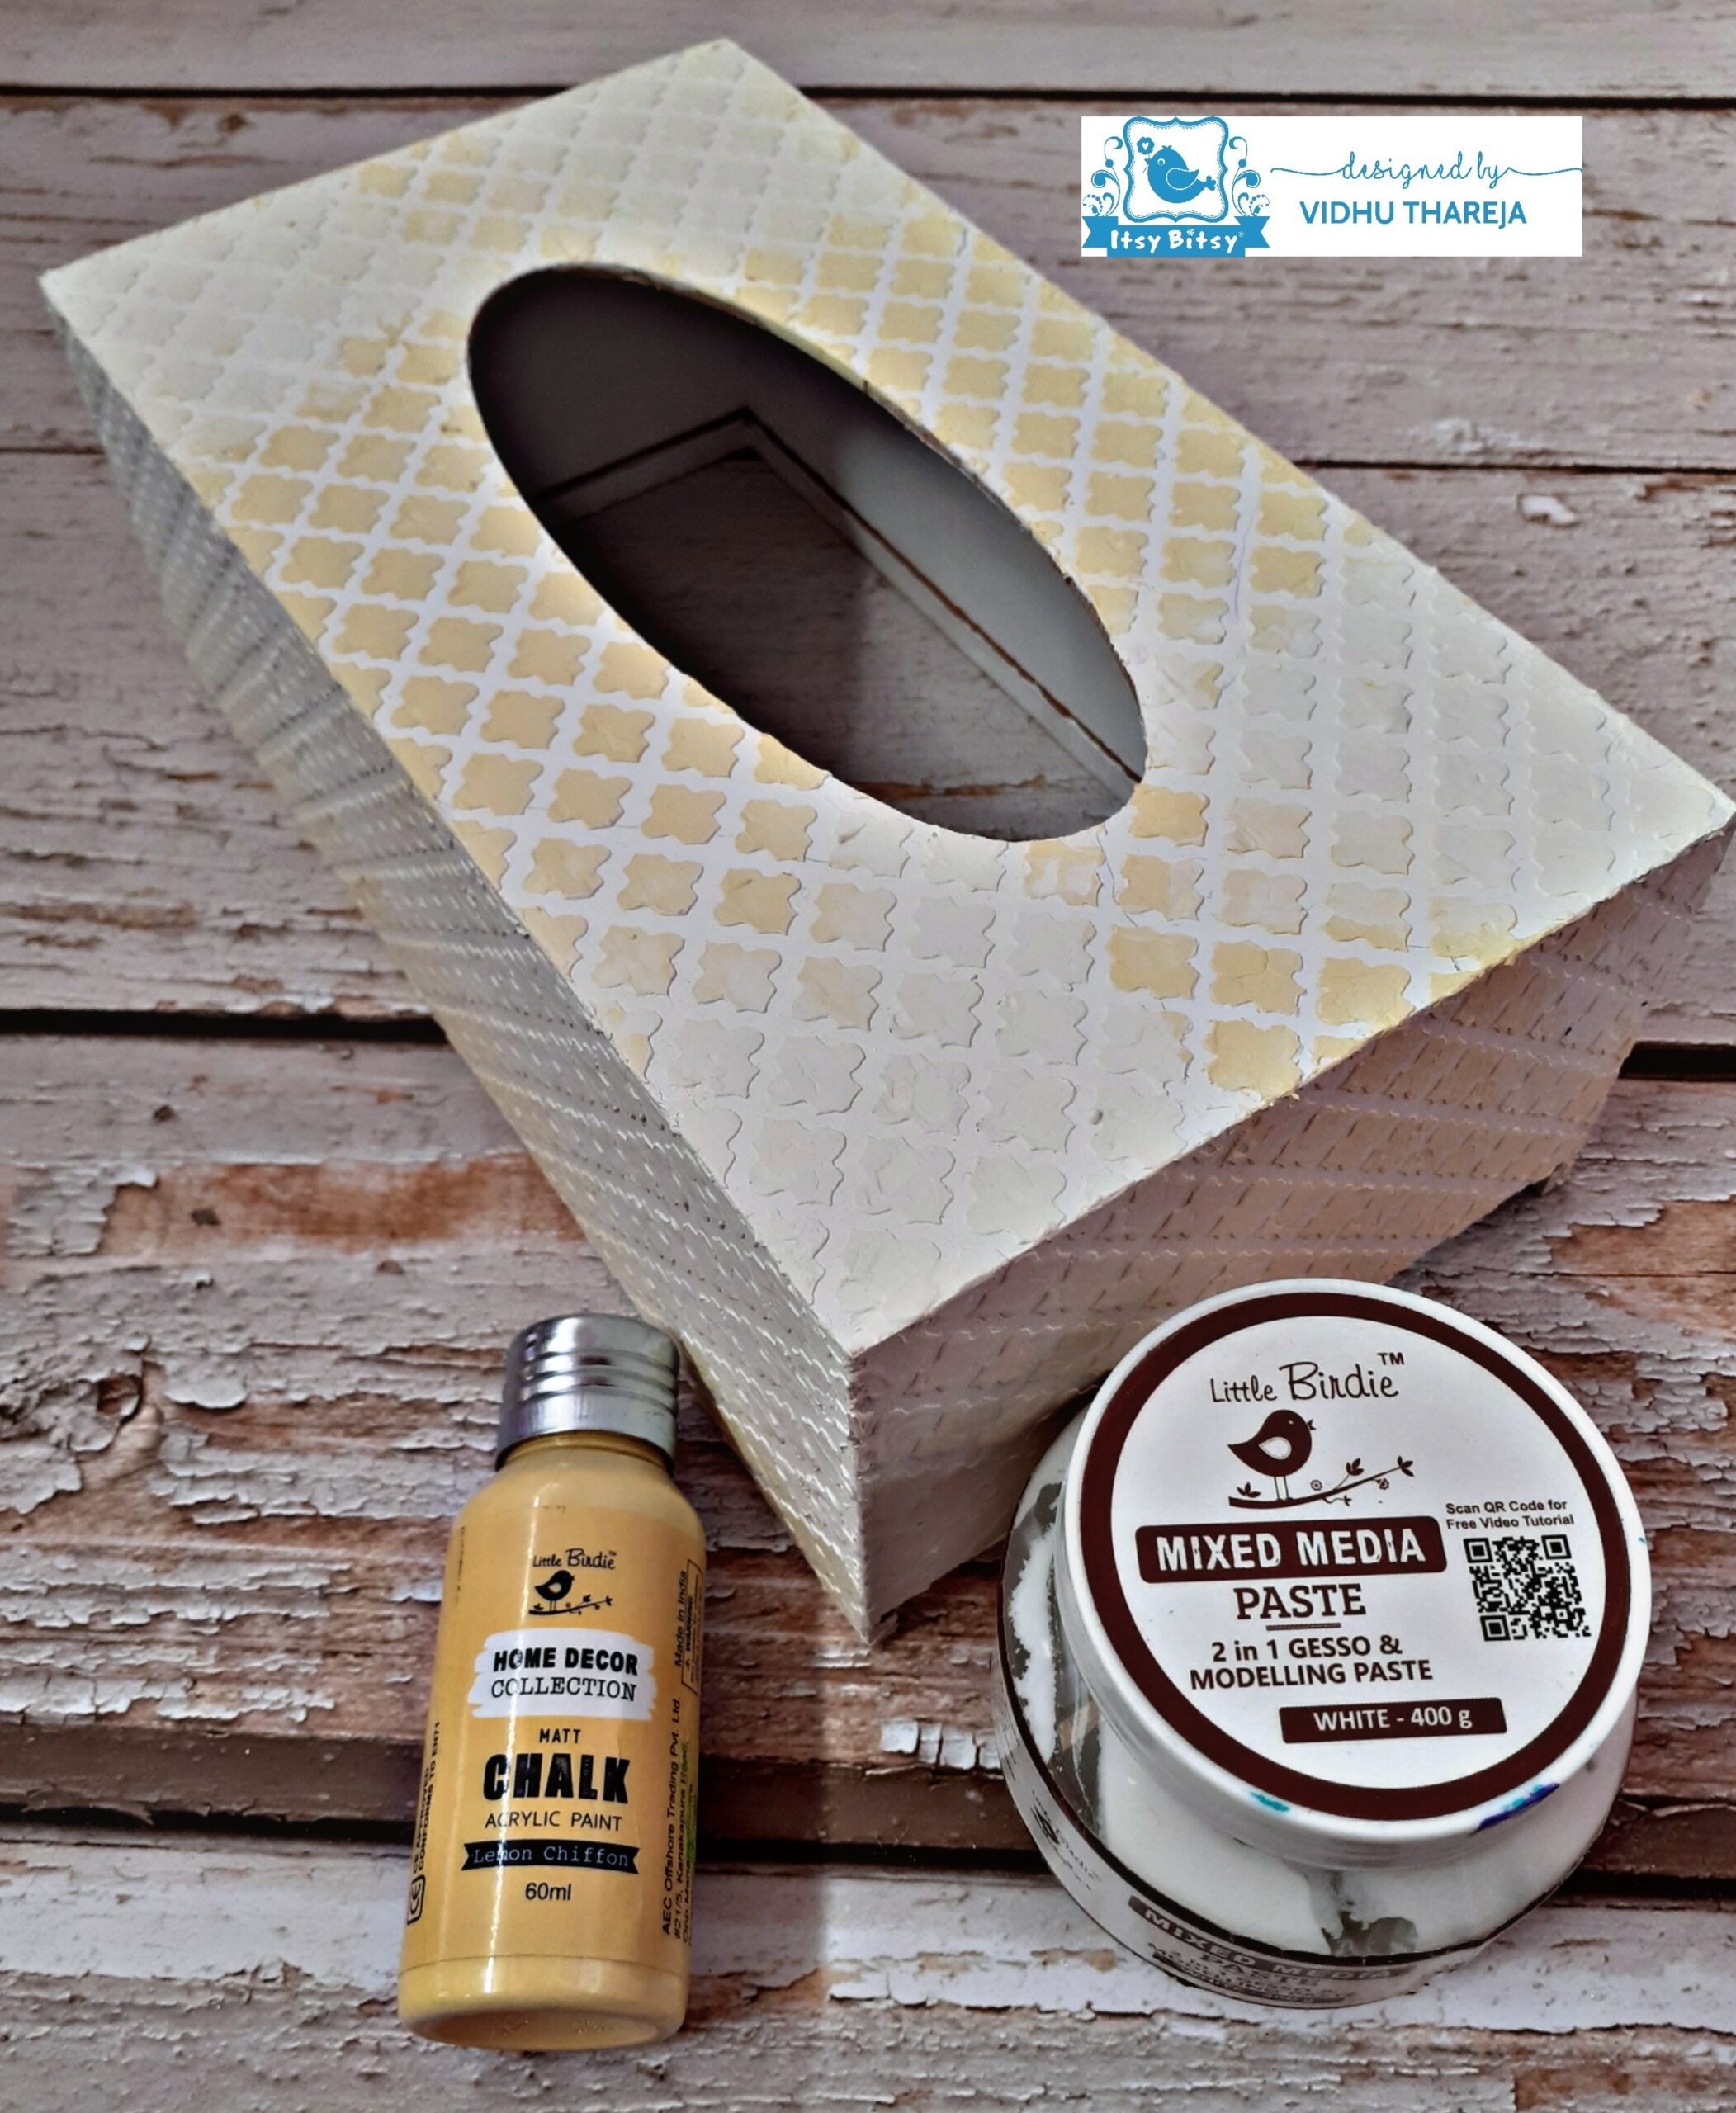
I left it to dry. If you see any uneven stenciling, sand it with a light hand. Always wash stencils immediately after use.
Now it is time to do decoupage. On this project I have used a decoupage napkin. I didn’t want to cover the whole surface with tissue so here I have used wet brush technique to take out the motif. Move the wet brush of zero number around the motif and then tear it with hand.
Tip: Whenever you want to blend the motif with the background, never use scissors to cut the motif. Scissors give sharp edges which are not easy to blend with the colours.
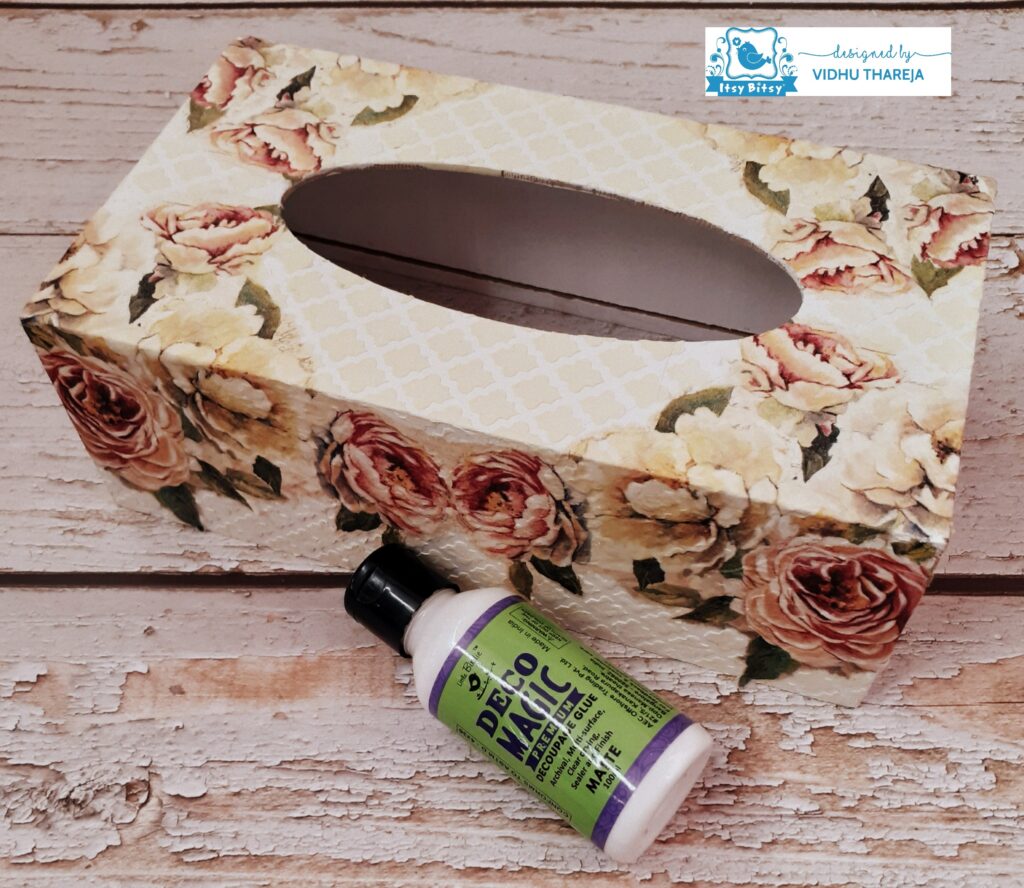
I removed the printed layer from the napkin as we use only single printed layer. I placed the motif on surface and then using Little Birdie Deco Magic Glue- Matte, I adhered the motif. Whenever you are using a tissue, do not adhere the whole motif in one go. Apply very little glue on a small area and adhere the napkin. Now slowly adhere the whole motif like this. Minimum use of glue ensures flawless and wrinkle-less finish.

After adhering the motif, keep any plastic or cling film on top of it and press it from inward to outward direction to remove air-bubbles and wrinkle. Leave it to dry. The stenciling was looking light in some areas so I placed the same stencil on top of the stenciled area and dabbed some Chalk Paint – Lemon Chiffon using a stencil brush. When it was completely dry, I sealed the decoupaged area with Little Birdie Deco Magic Glue- Glossy. After a few hours I sealed the whole surface with Little Birdie Decor Varnish – Gloss. I applied 2 coats of varnish, leaving enough drying time between each coat. Remember that patience is the key to get a perfect finish in decoupage projects.
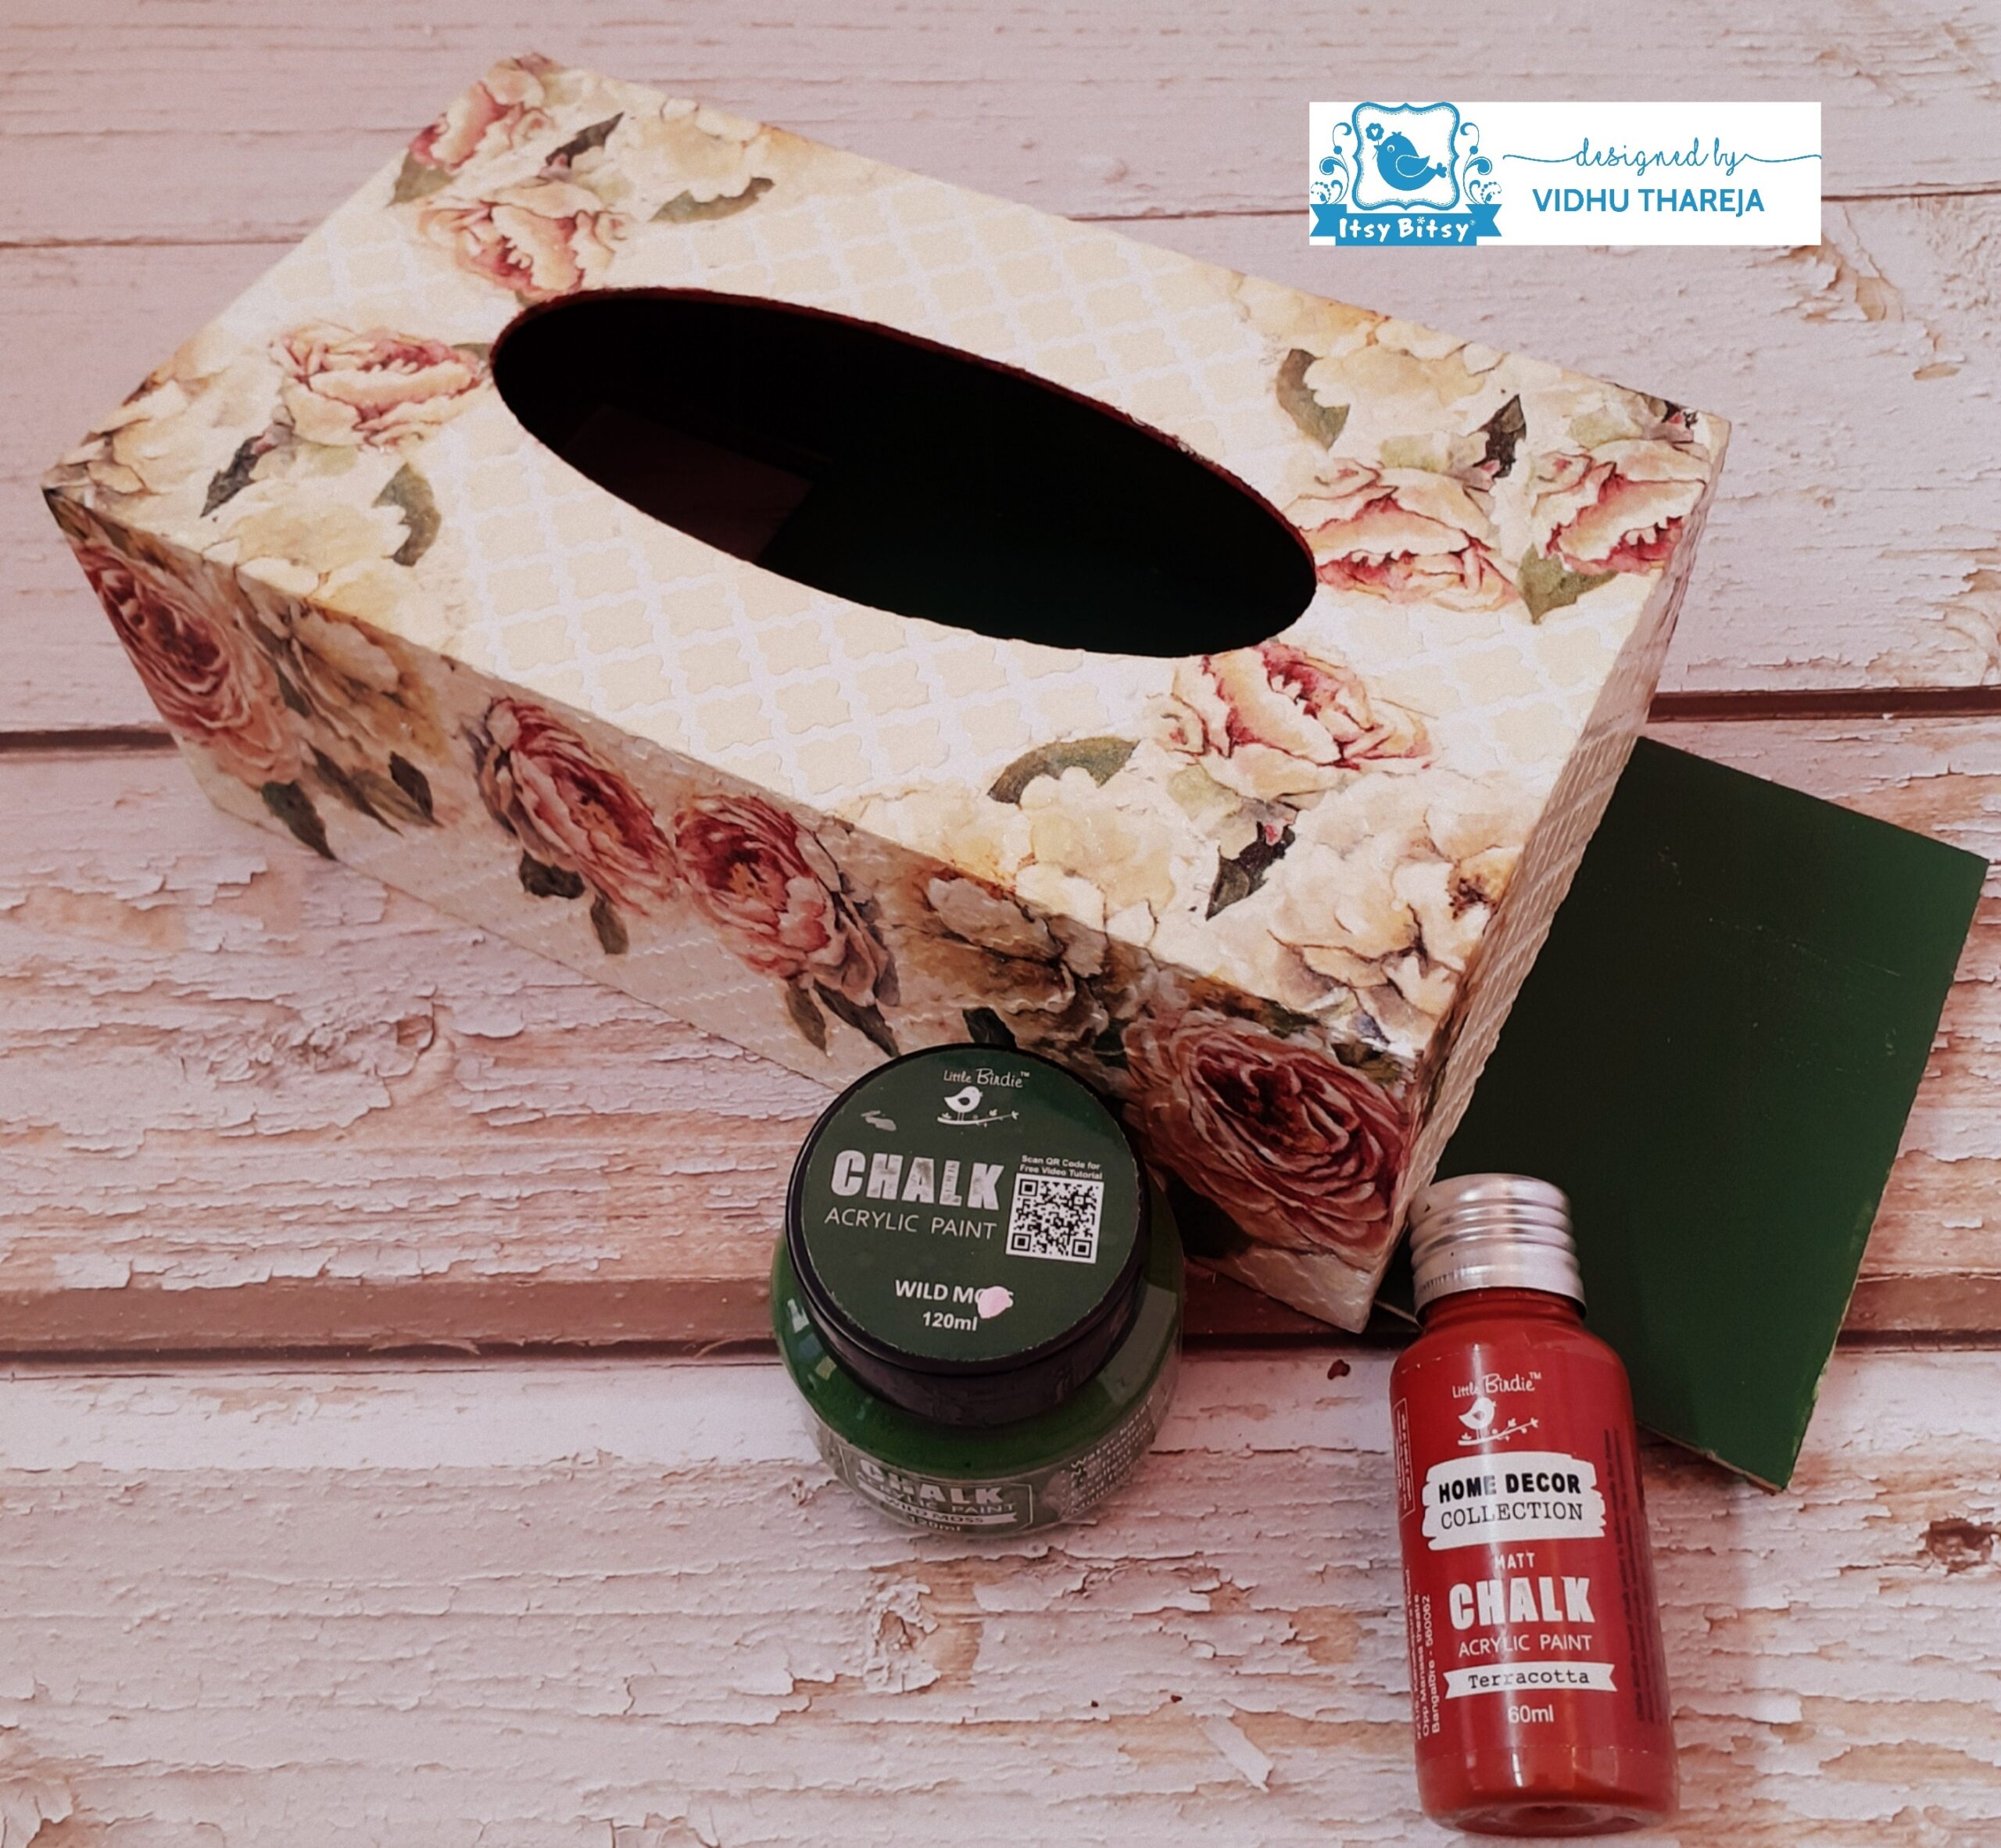
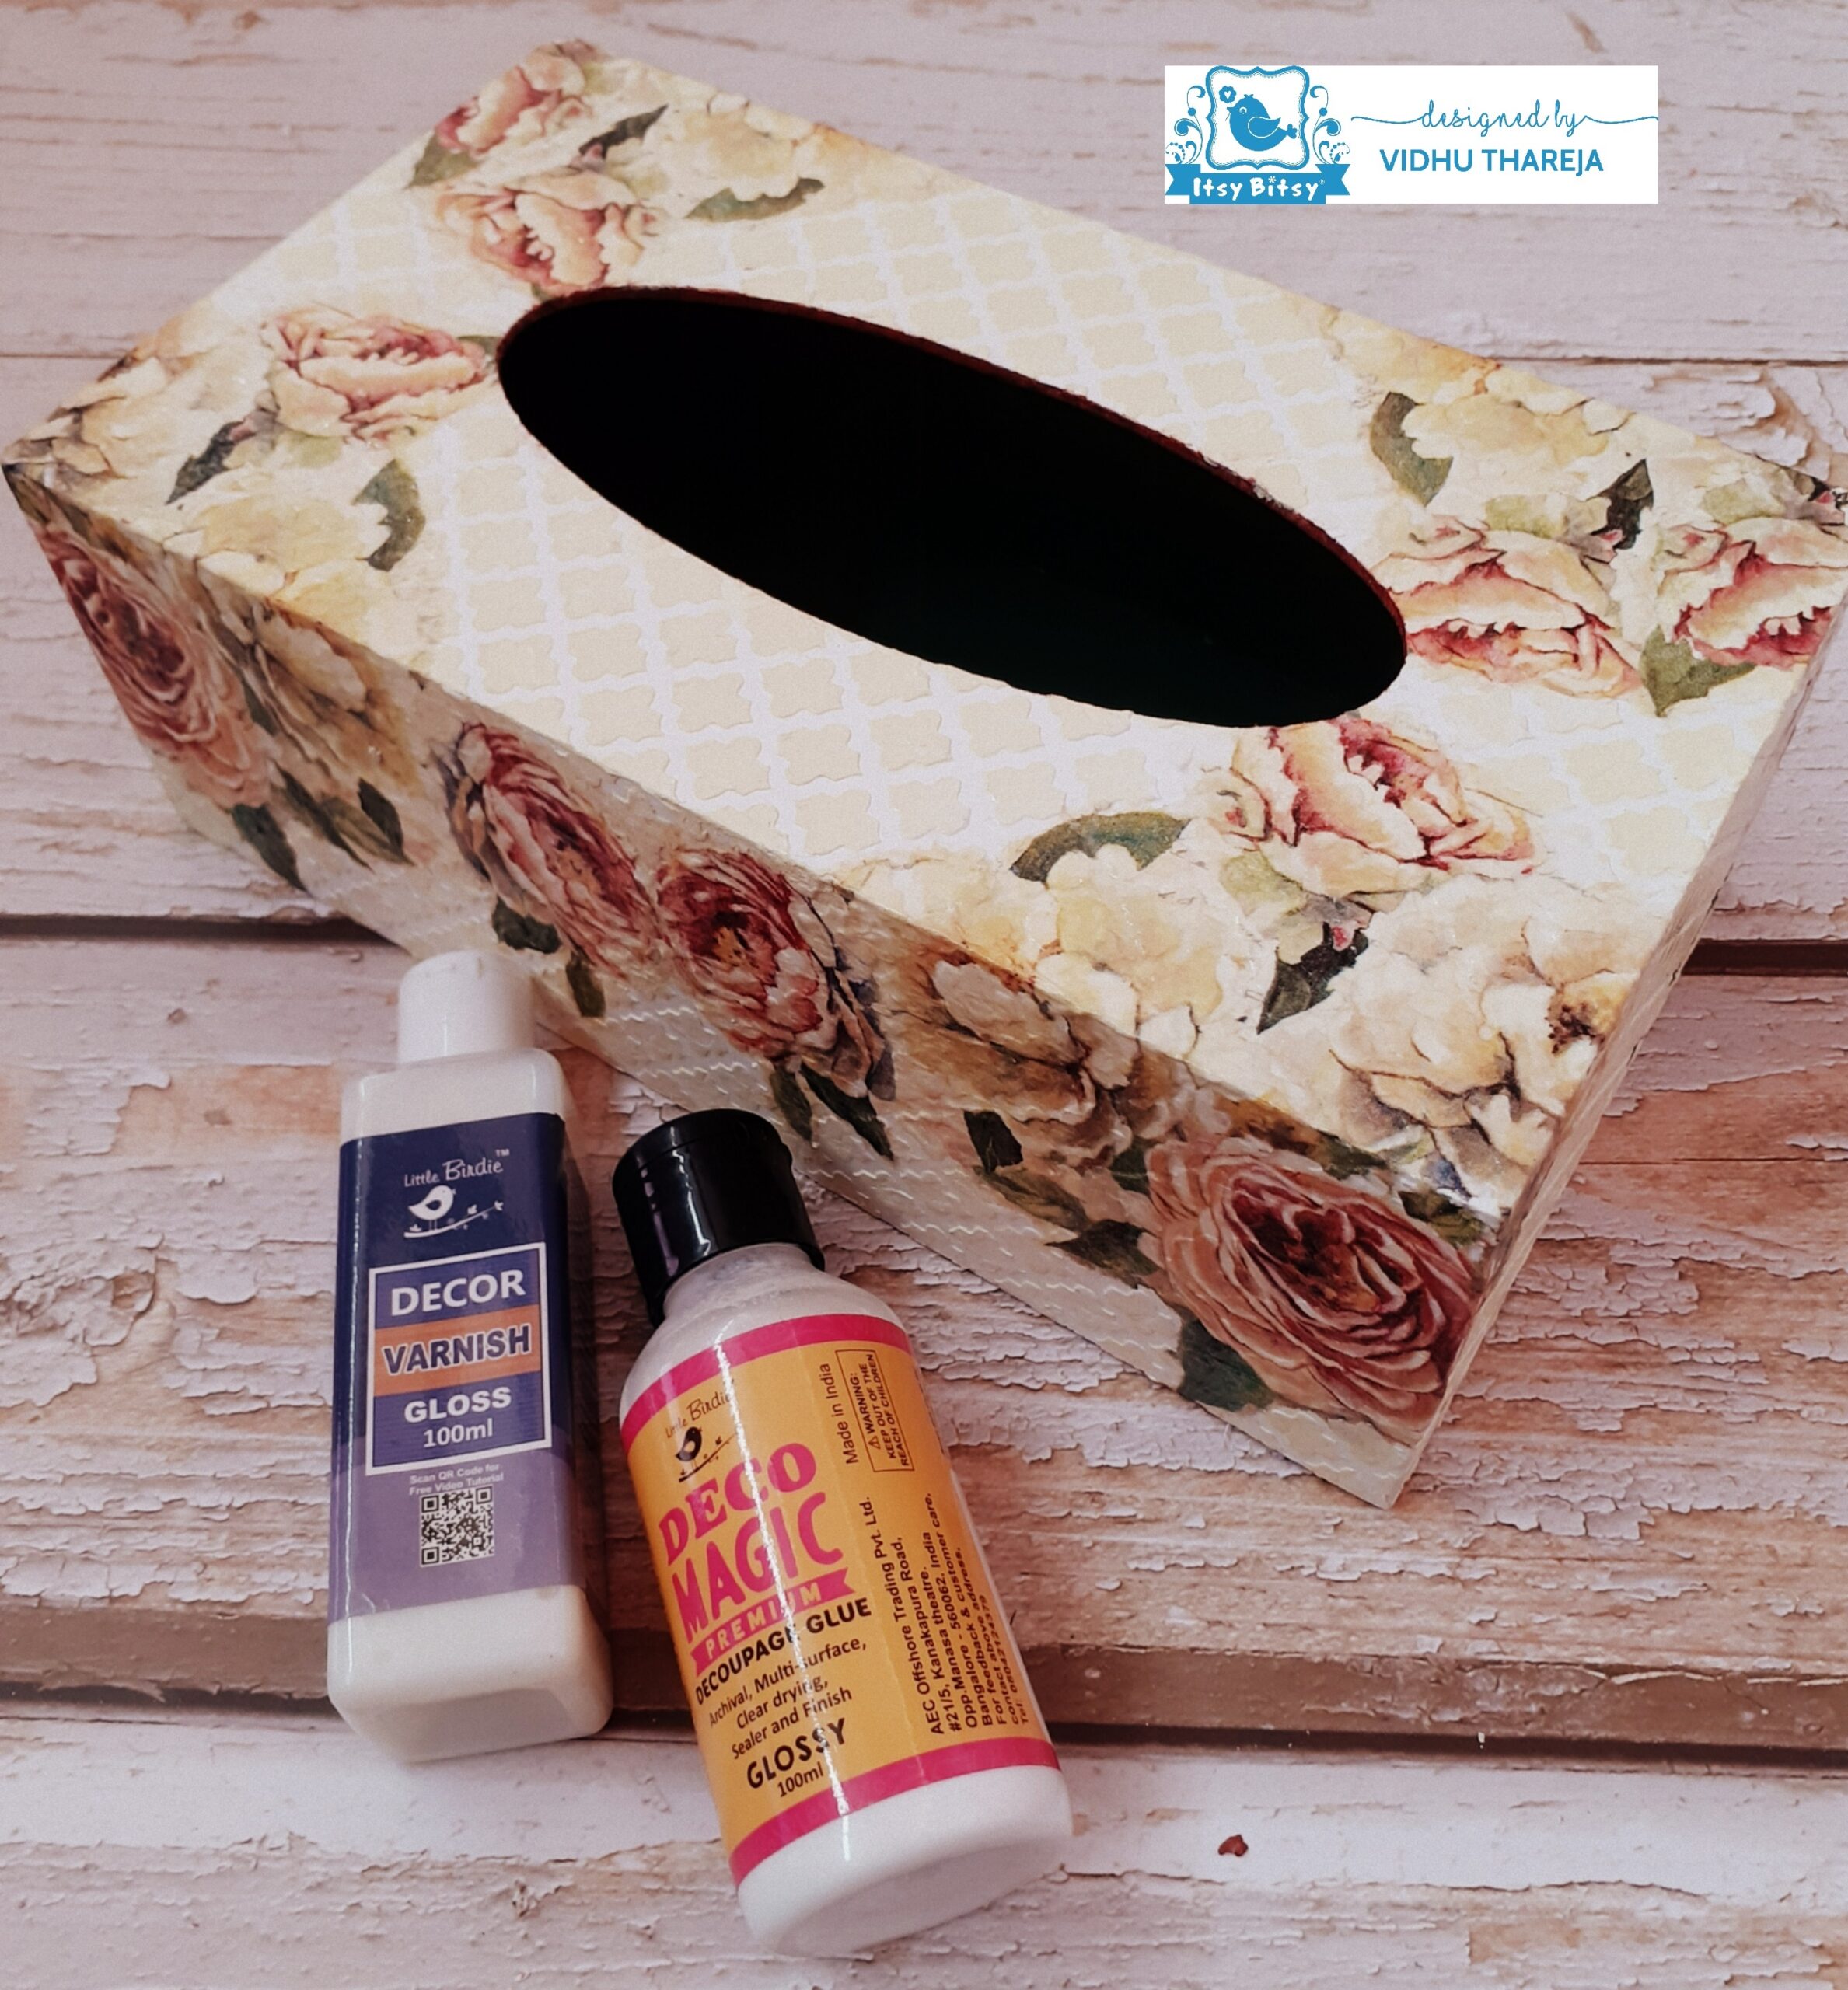 I apply Little Birdie Chalk Paint – Terracotta, on the edges of the center oval opening and on the edges on the rear side of the tissue box. My tissue box holder has a sliding bottom opening. I have painted that portion with Little Birdie Chalk Paint – Wild Moss and again sealed that portion also with a single coat of Decor Varnish.
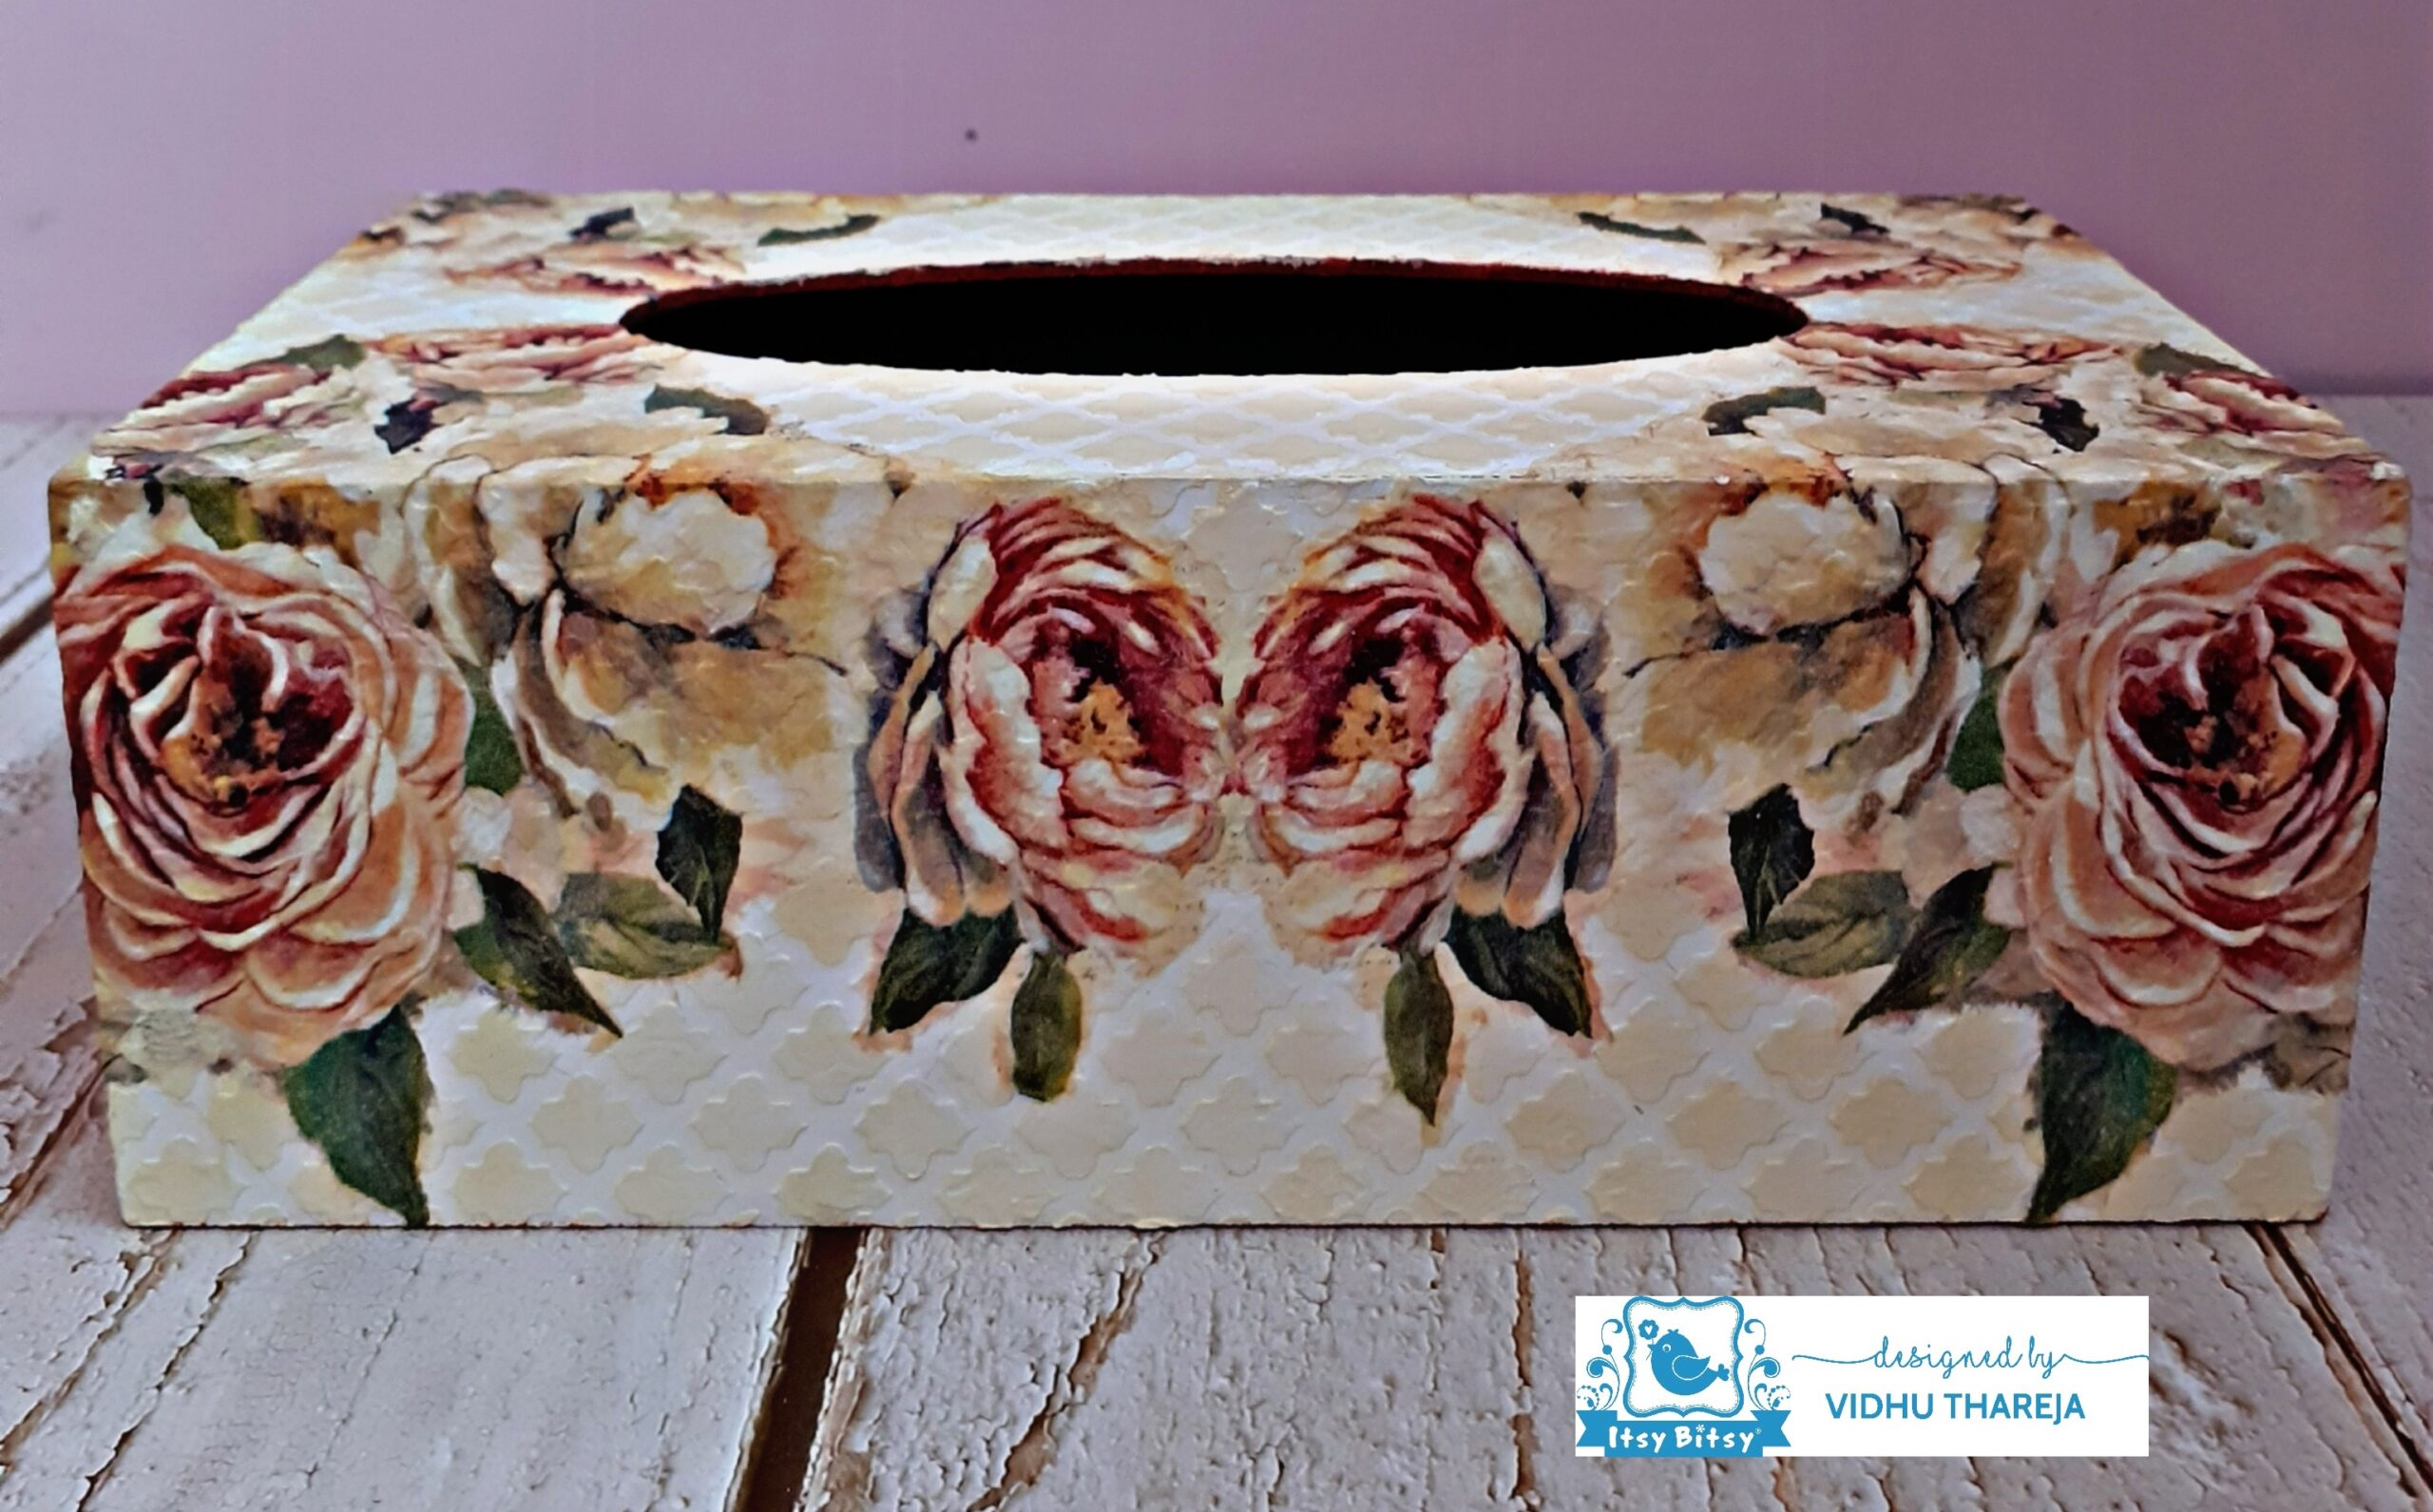
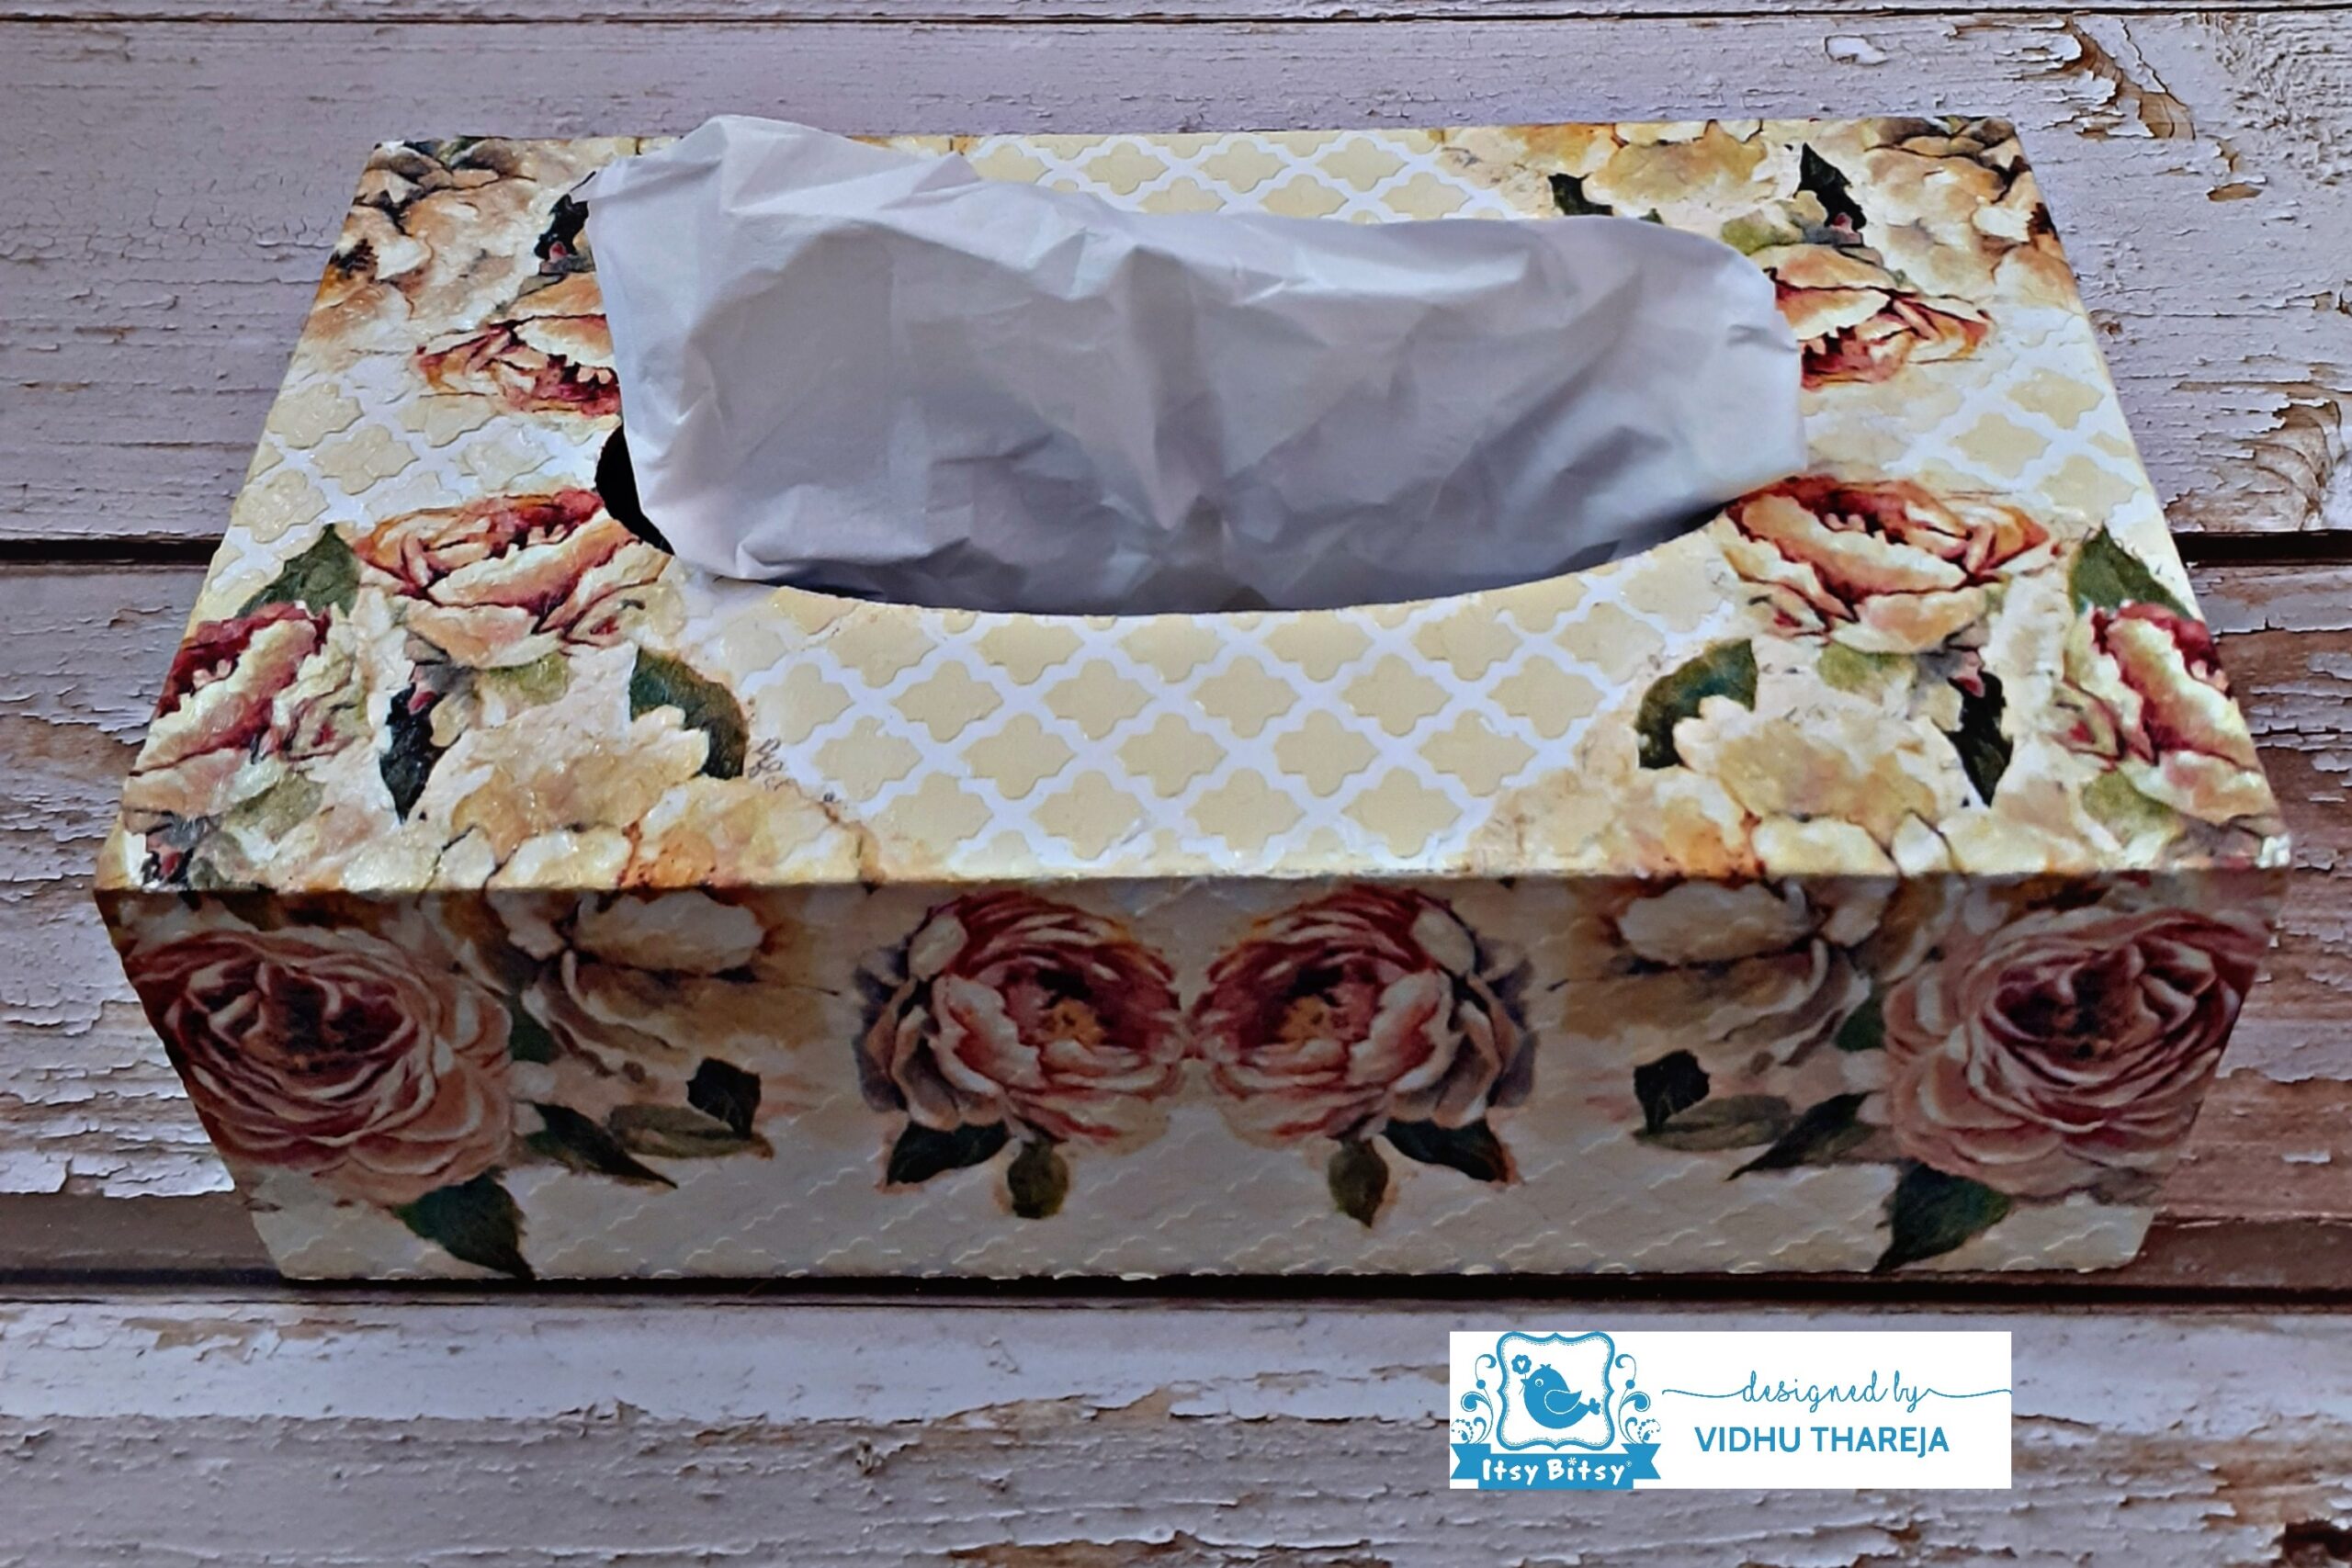
A beautiful tissue box holder is ready. Keep it in your car or in your dining area or on your side table. Sharing a few more images of my project….
I hope you liked my project and it inspires you to create something unique and beautiful using the awesome craft supplies of Itsy Bitsy. Do participate in the blog challenge #33. It’s always a pleasure to see beautiful creations.
I am excited to inform you that all these products come with a unique QR code!
Point your mobile phone at the QR code on the product & scan them to take you directly to our YouTube links where you can see how each of these products are used! Check out all our new products for QR codes in the future ( this will be either on the label or on cap of the bottle).
Use code VIDHU5 to buy any product at www.itsybitsy.in and get 5% discount on your total bill.
Happy Crafting…
Vidhu Thareja
List of material used :


Beautiful Creation
thank you very much
Beautiful tissue Box and a very wonderful tutorial….thanku so much
thank you so much. I am glad that you liked the project and tutorial