
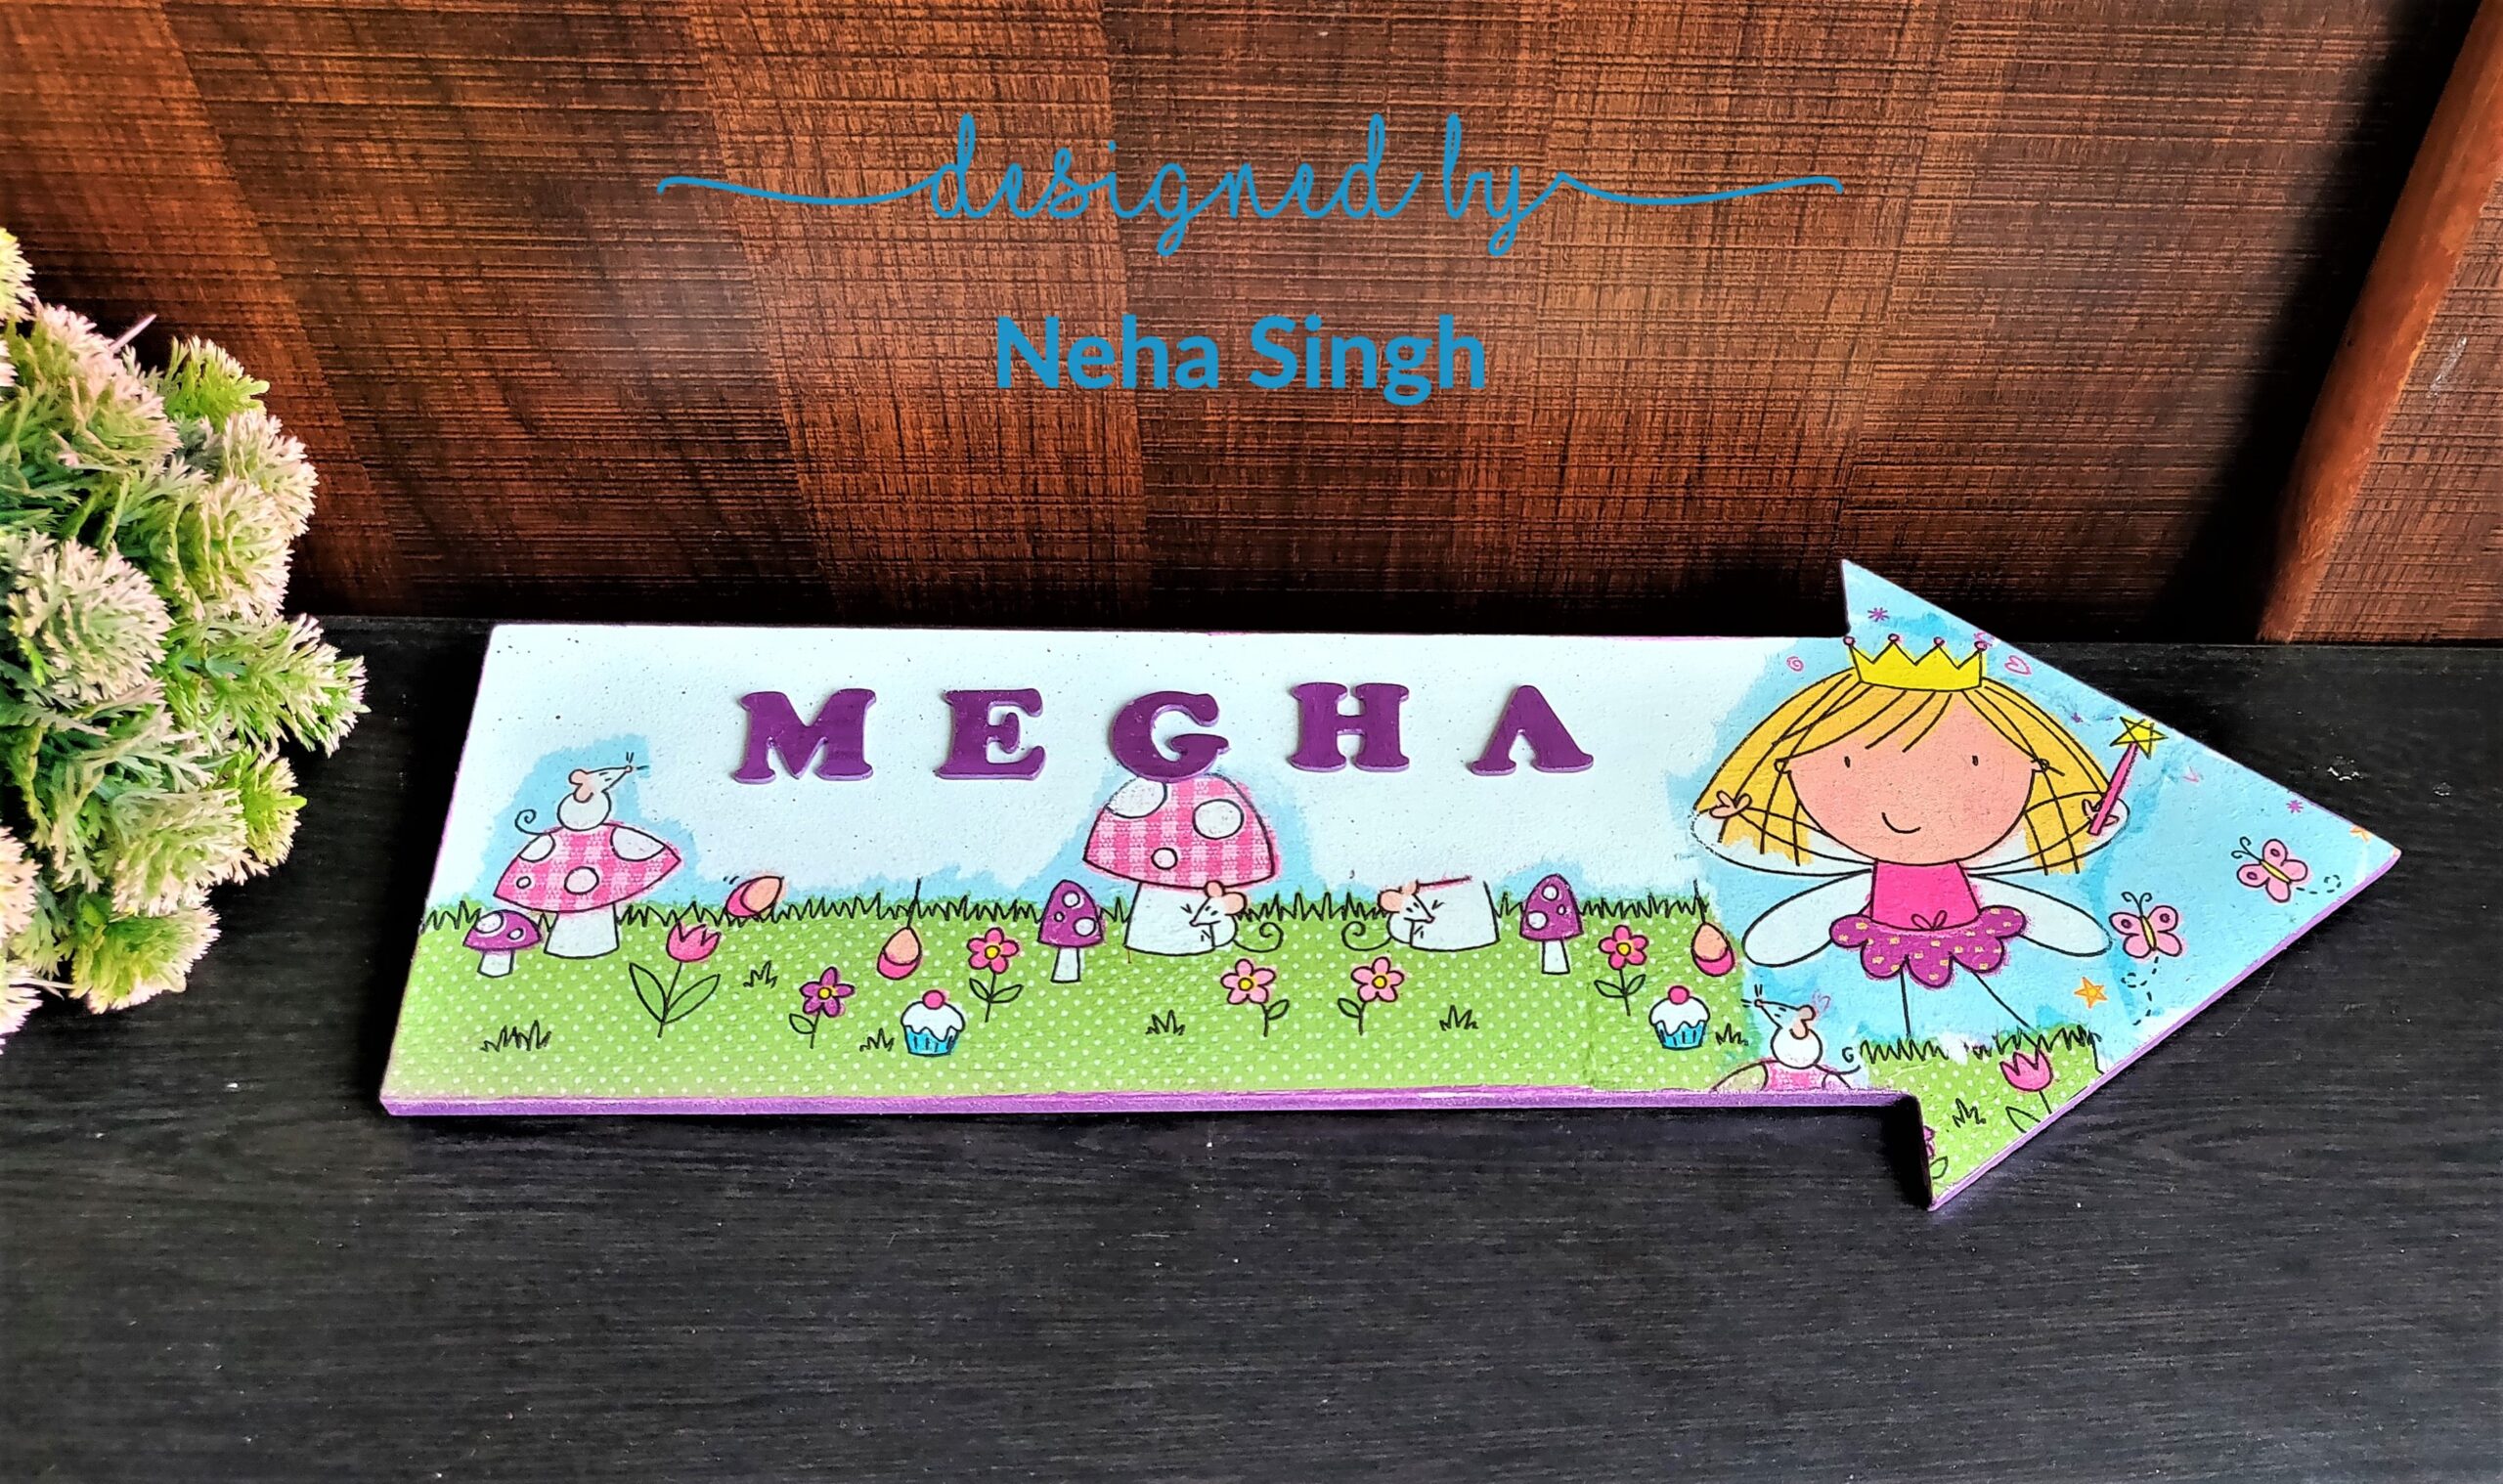
Hello crafters, Neha here and today’s blog is about creating a name plate for kids room.
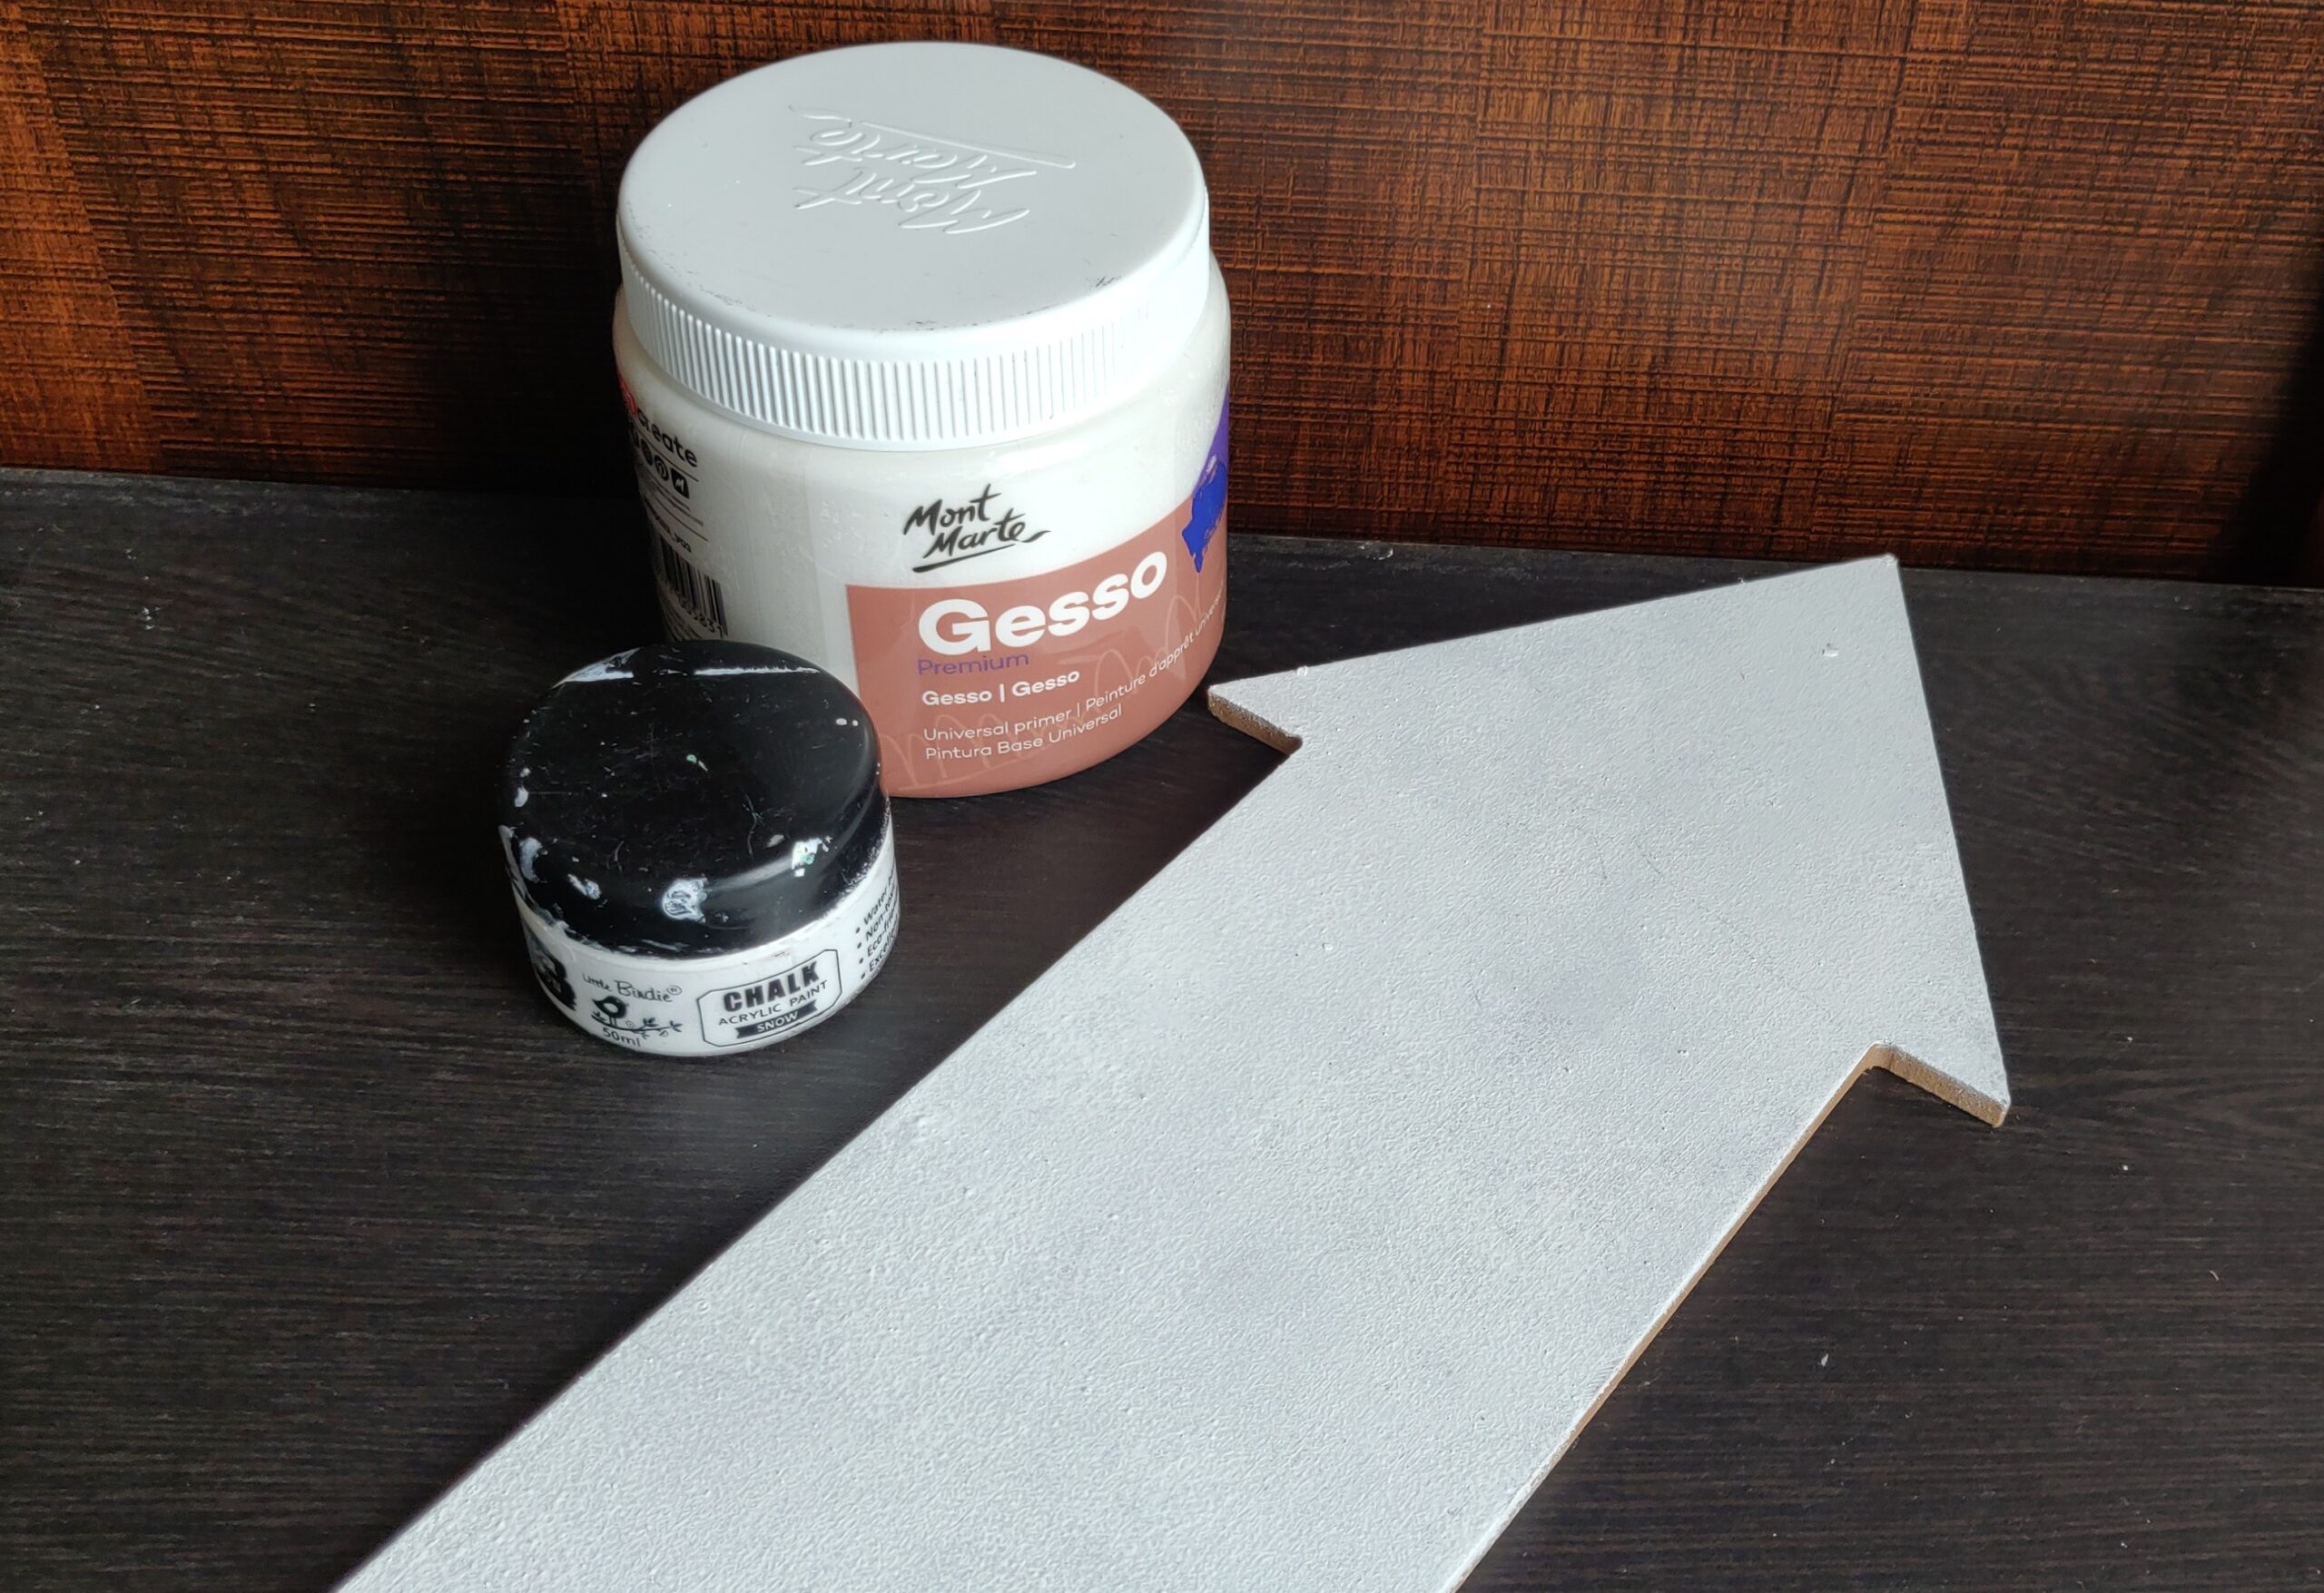
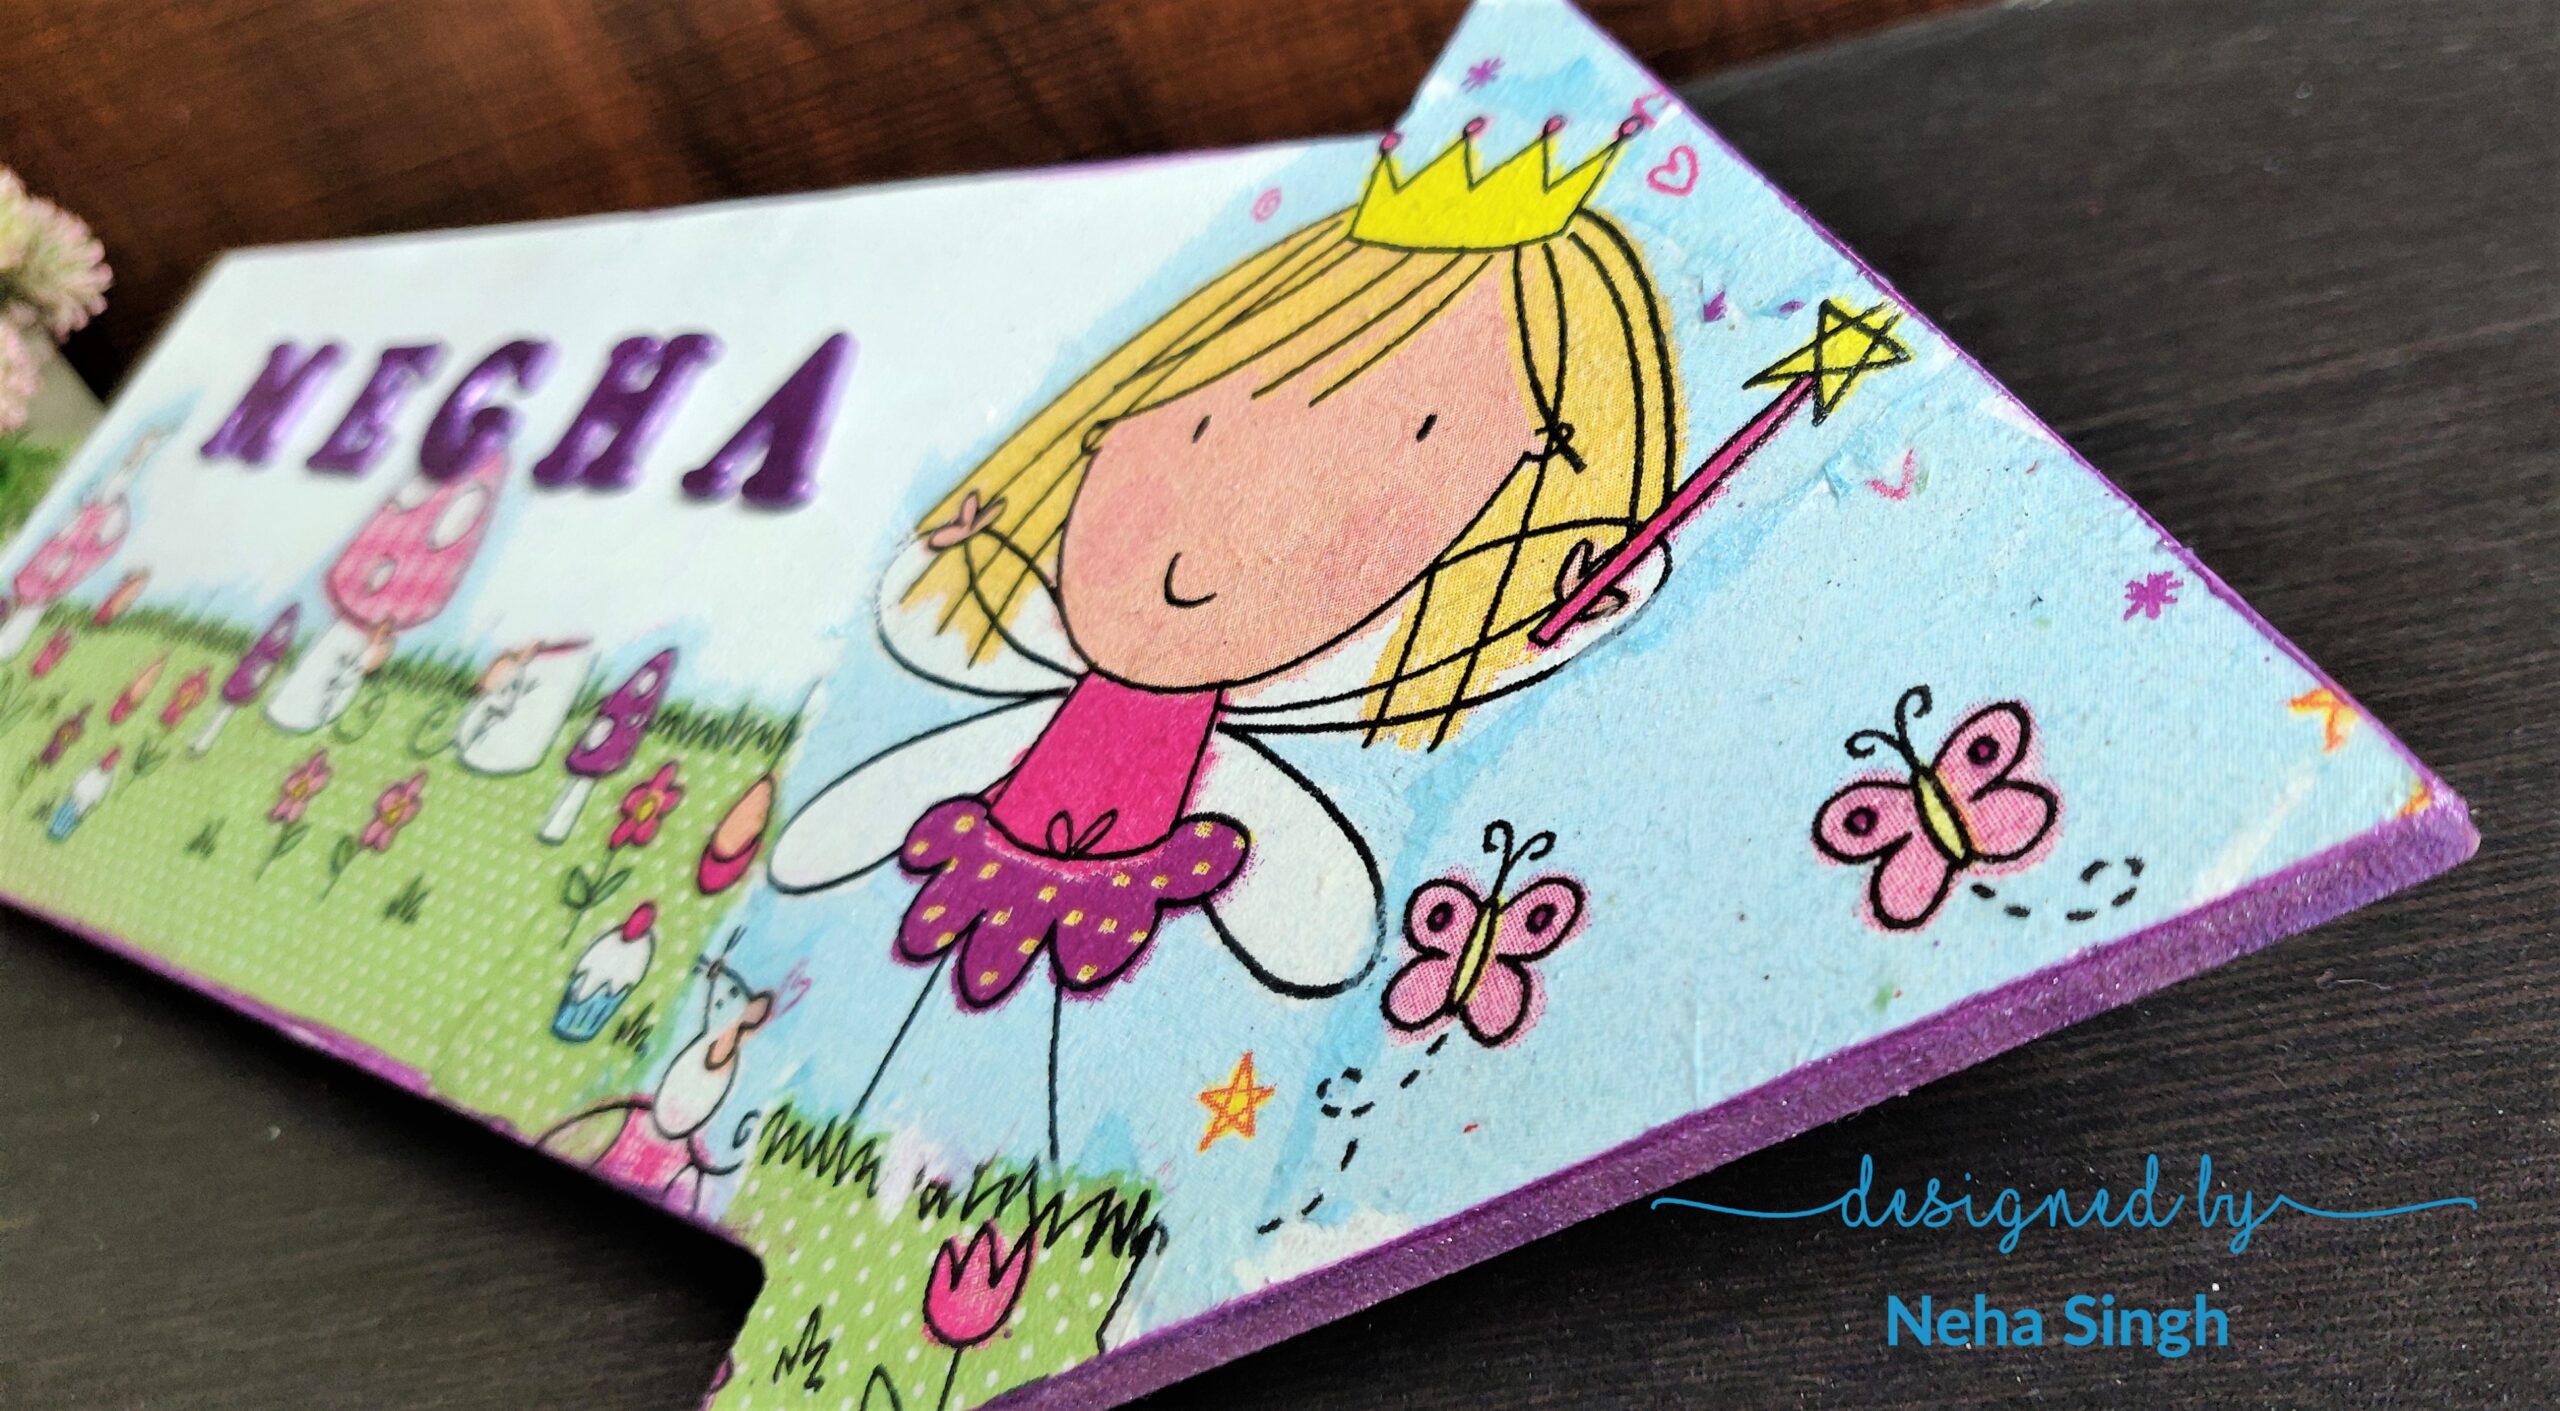
For this project I used an arrow shaped MDF name board measuring 15x6inch. I started by applying a very thin layer of gesso followed by a layer of Snow White chalk paint with the help of a sponge in order to achieve a textured finish.
After that I chose a design from a decoupage napkin and then fussy cut it using a wet paint brush.
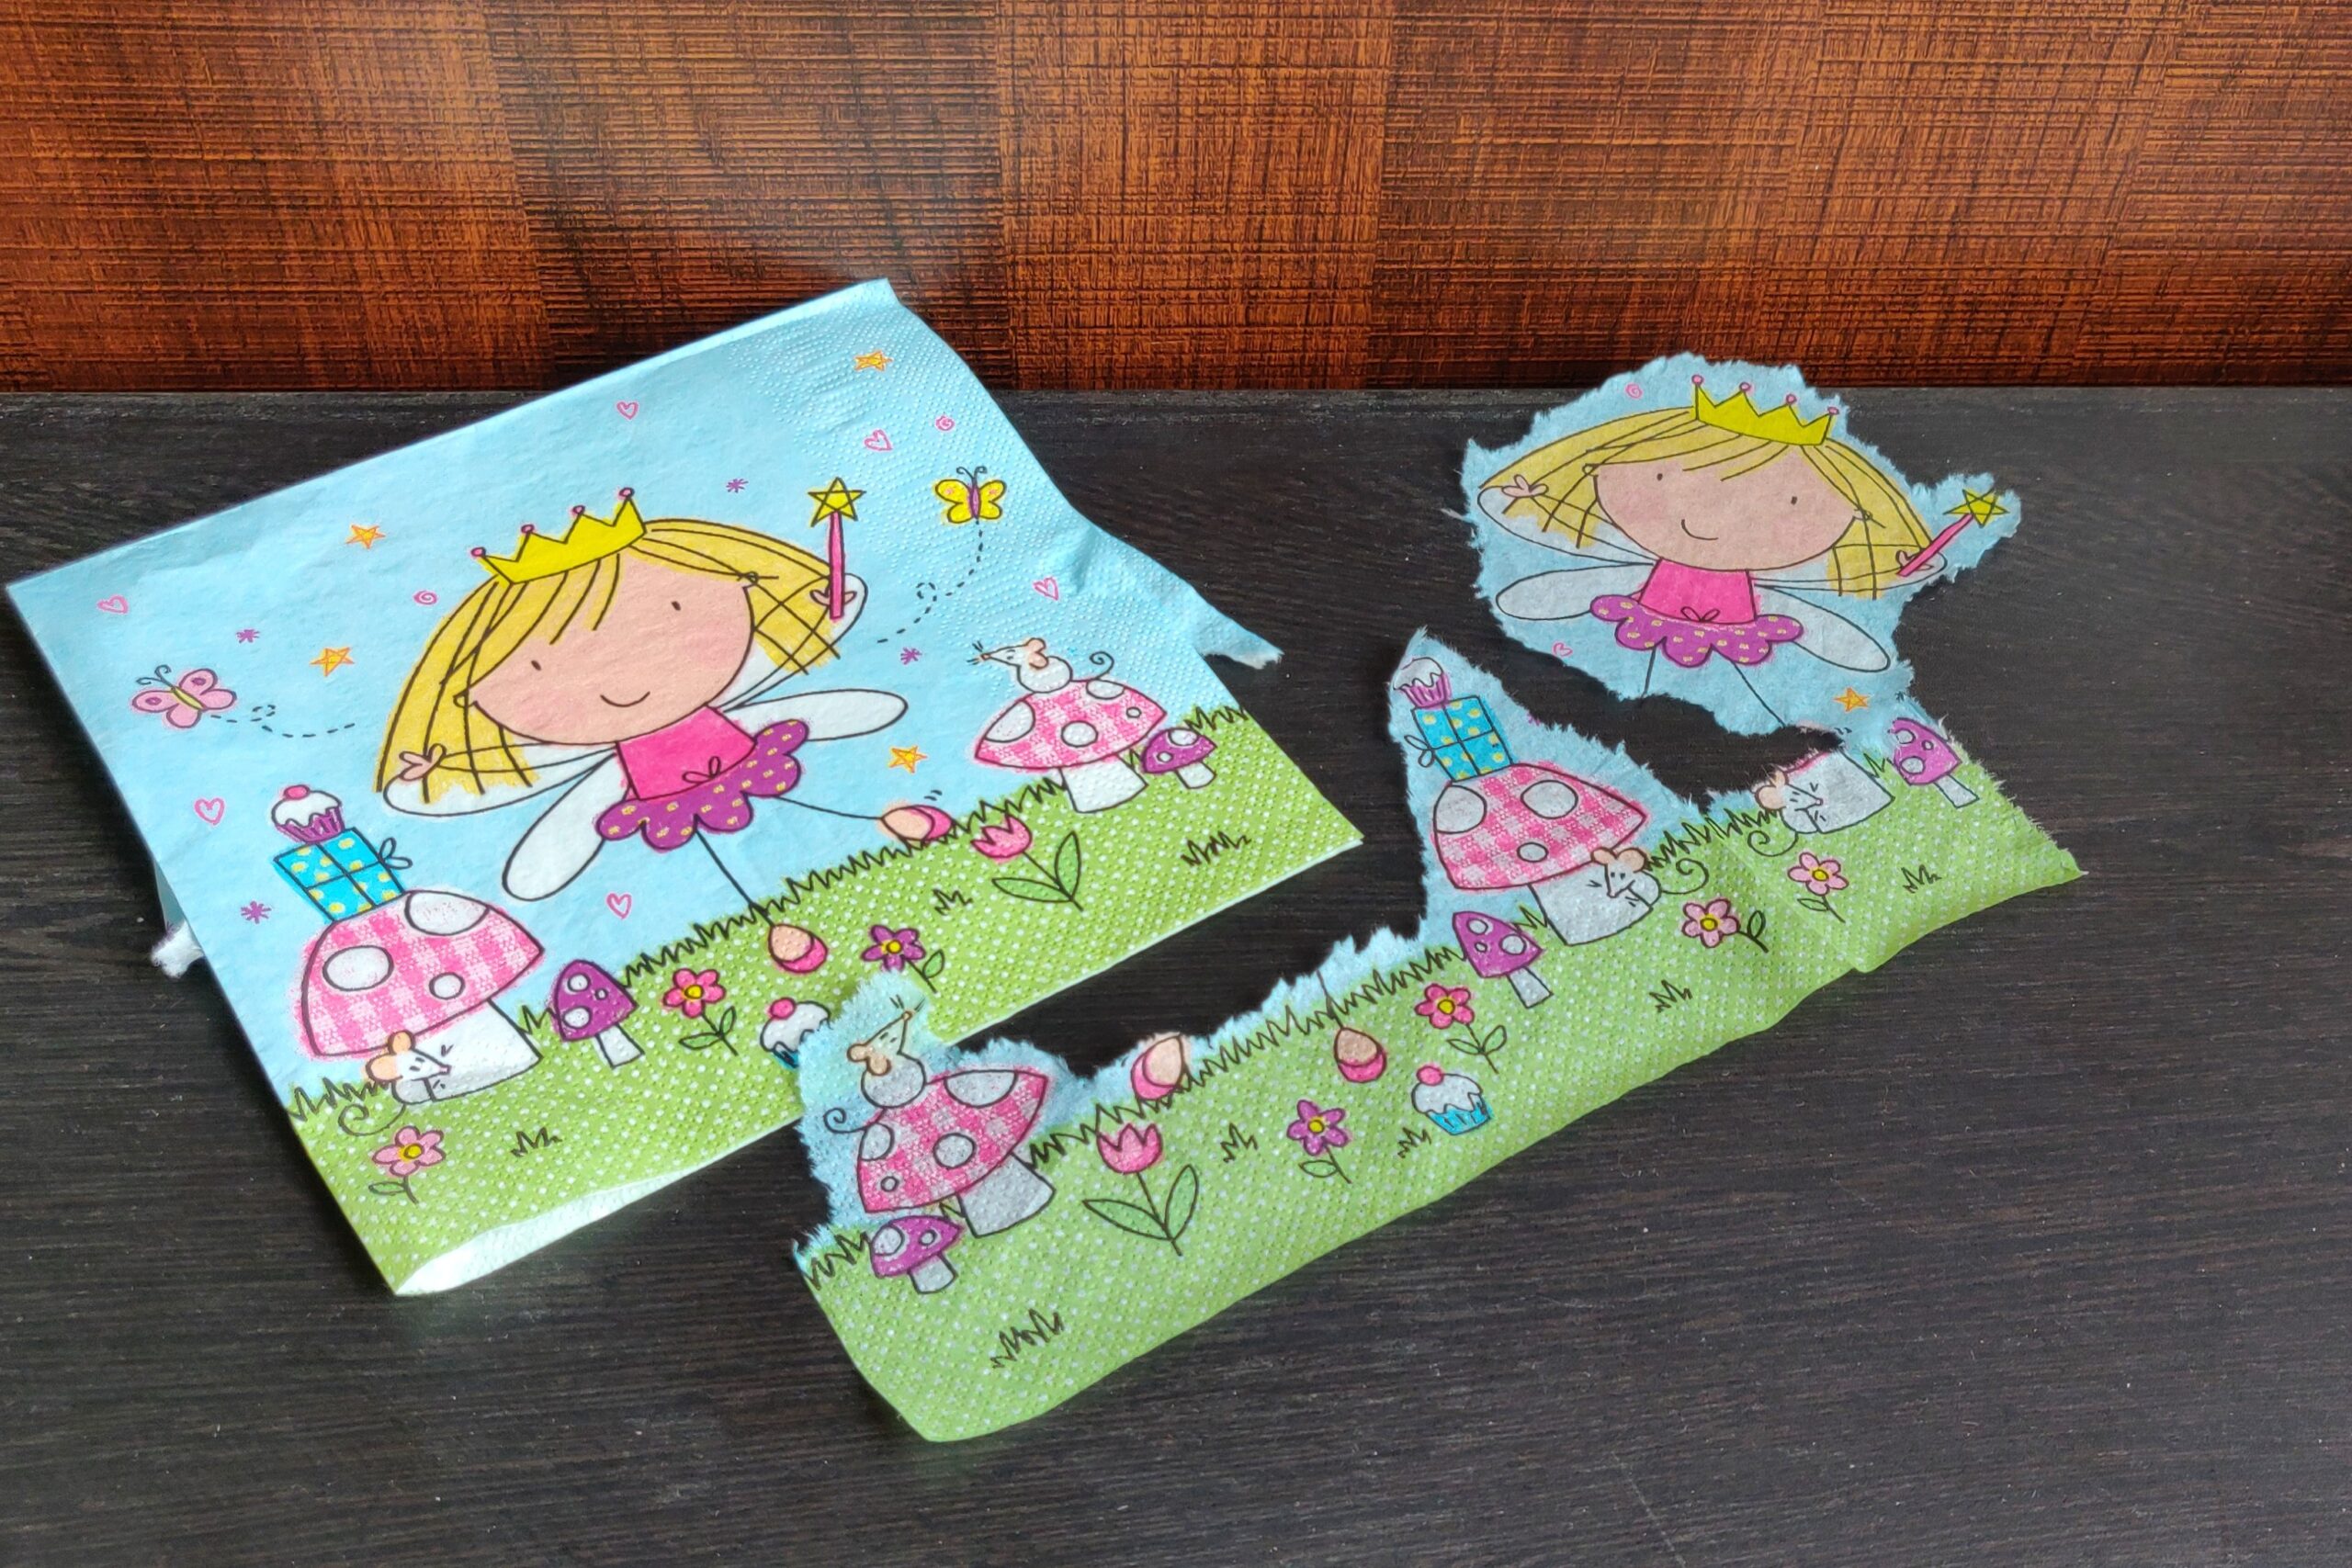
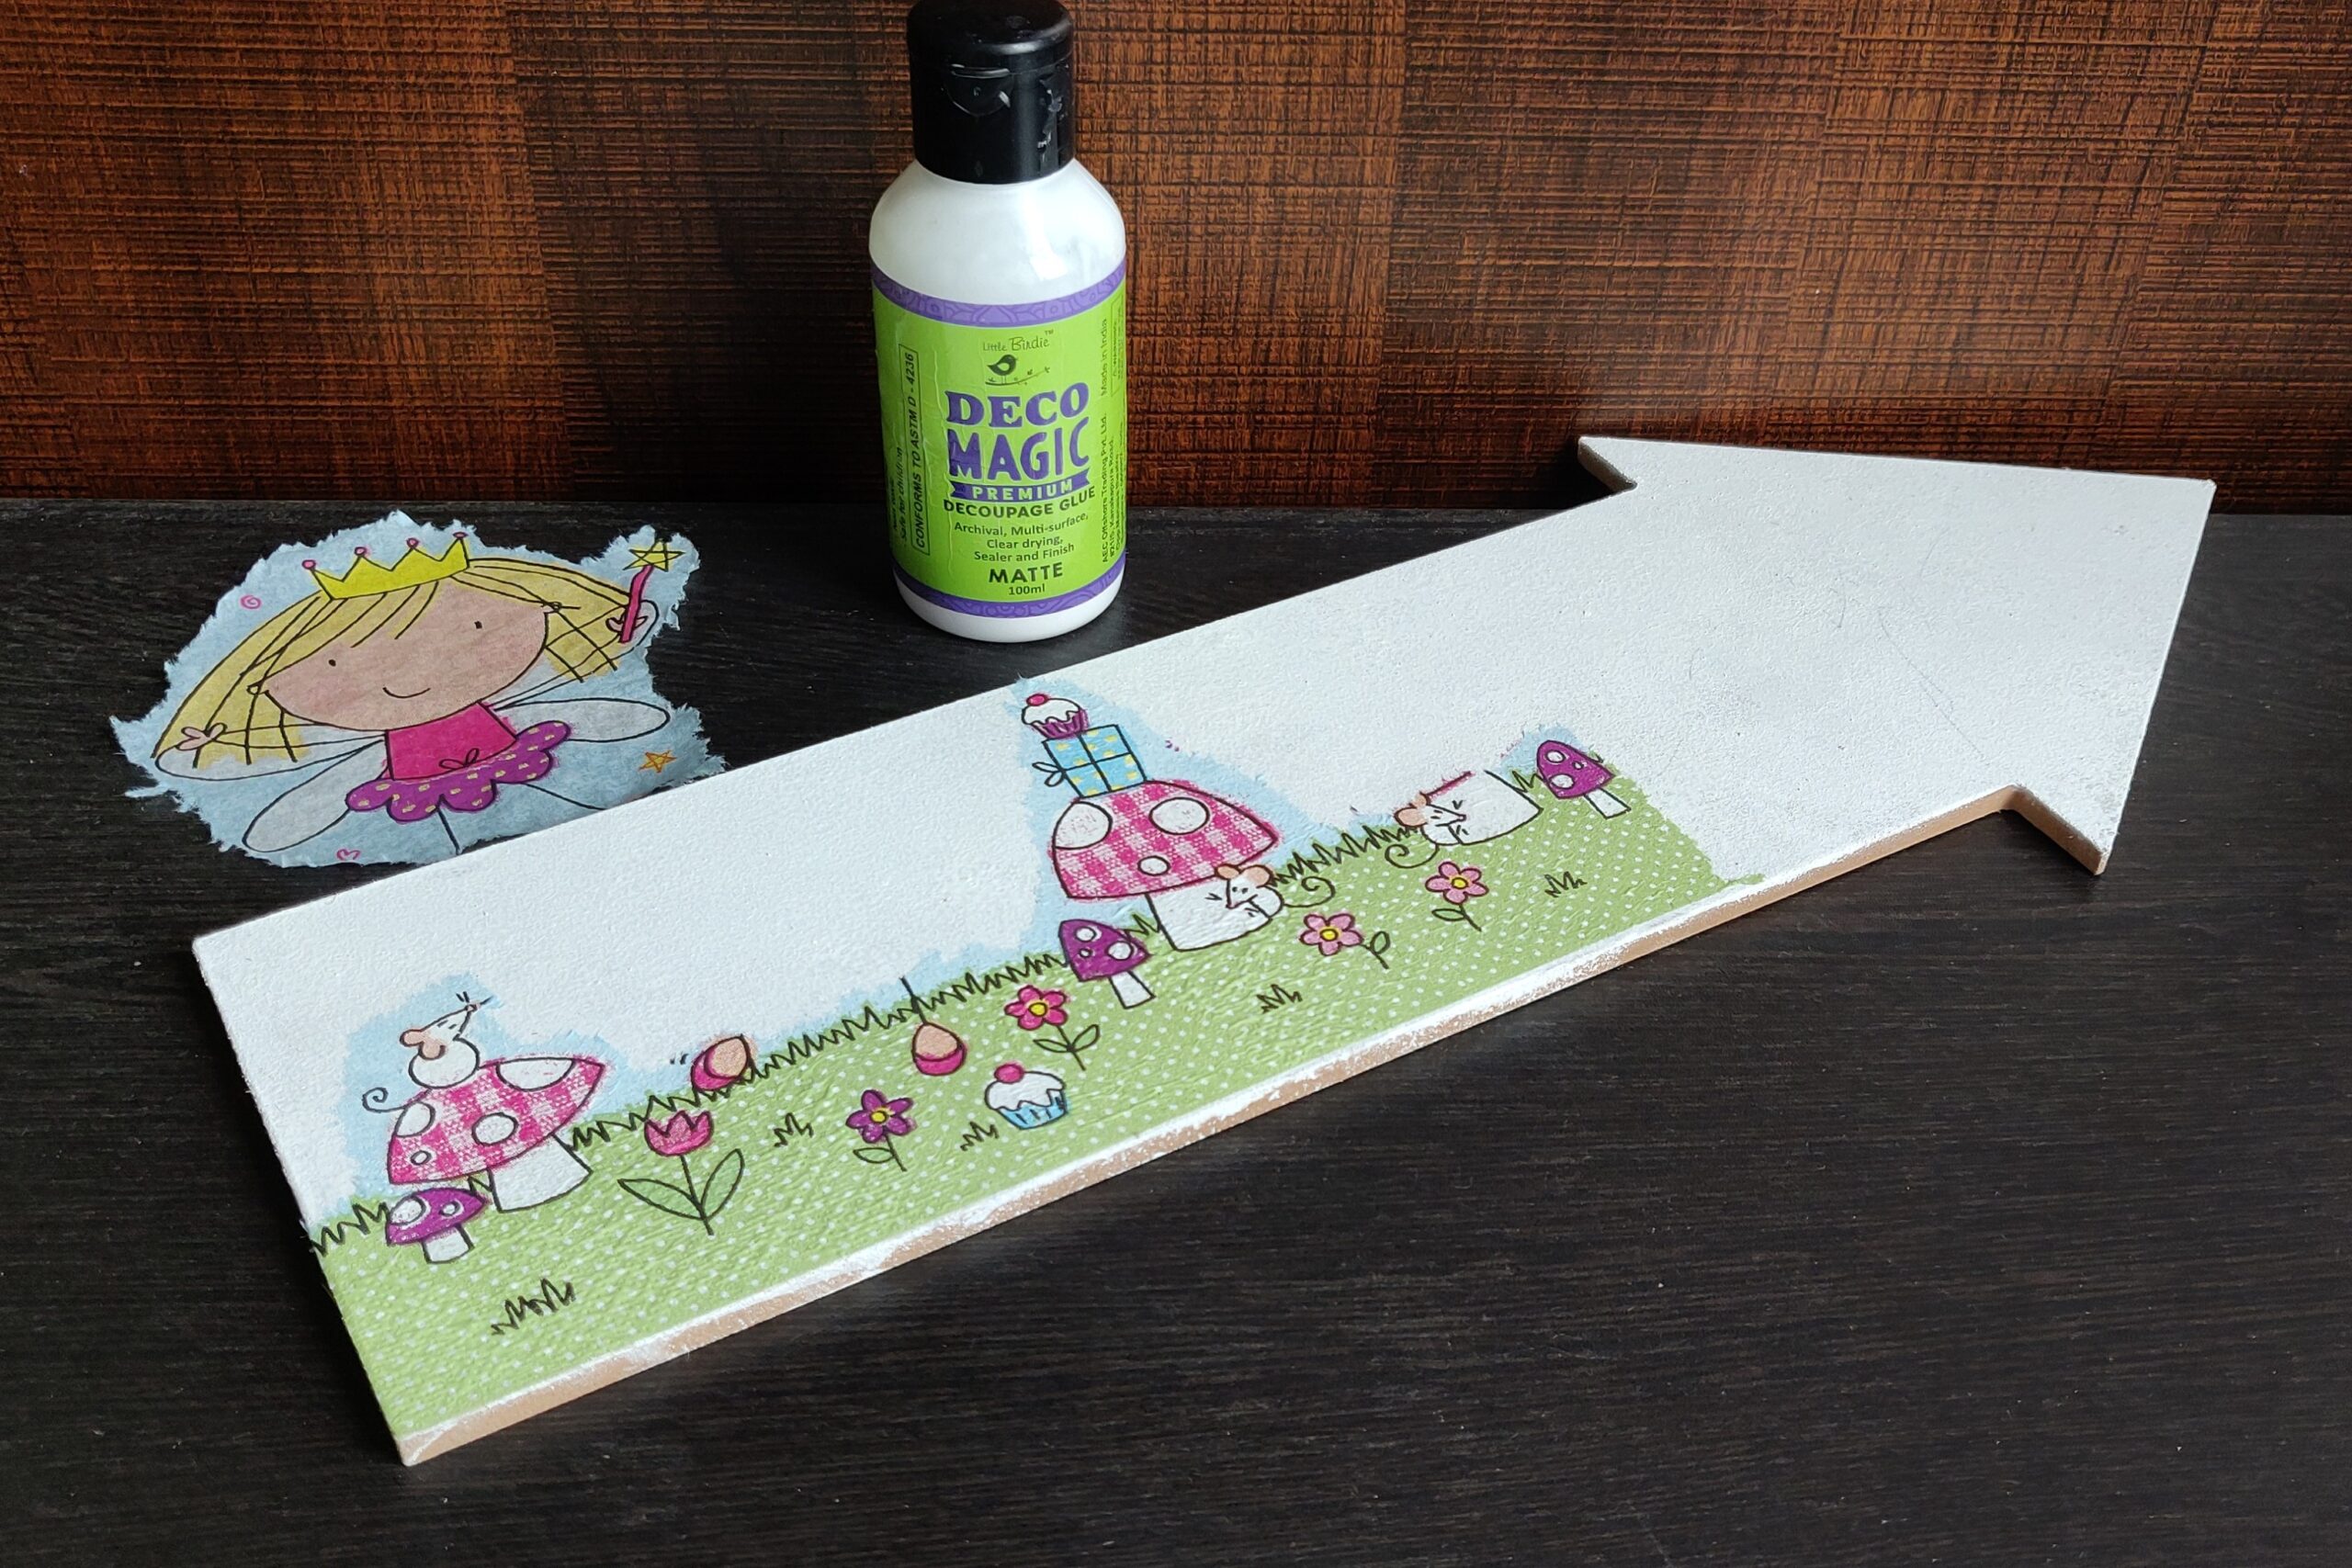
Then I removed the extra layers from the napkin. Thereafter, I pasted the print over the base using Little Birdie Deco Magic glue. After it dried, I applied another layer of Deco Magic glue in order to seal it further and left it to dry.
Next, I painted the edges with metallic paint in order to bring some bling effect to the project.
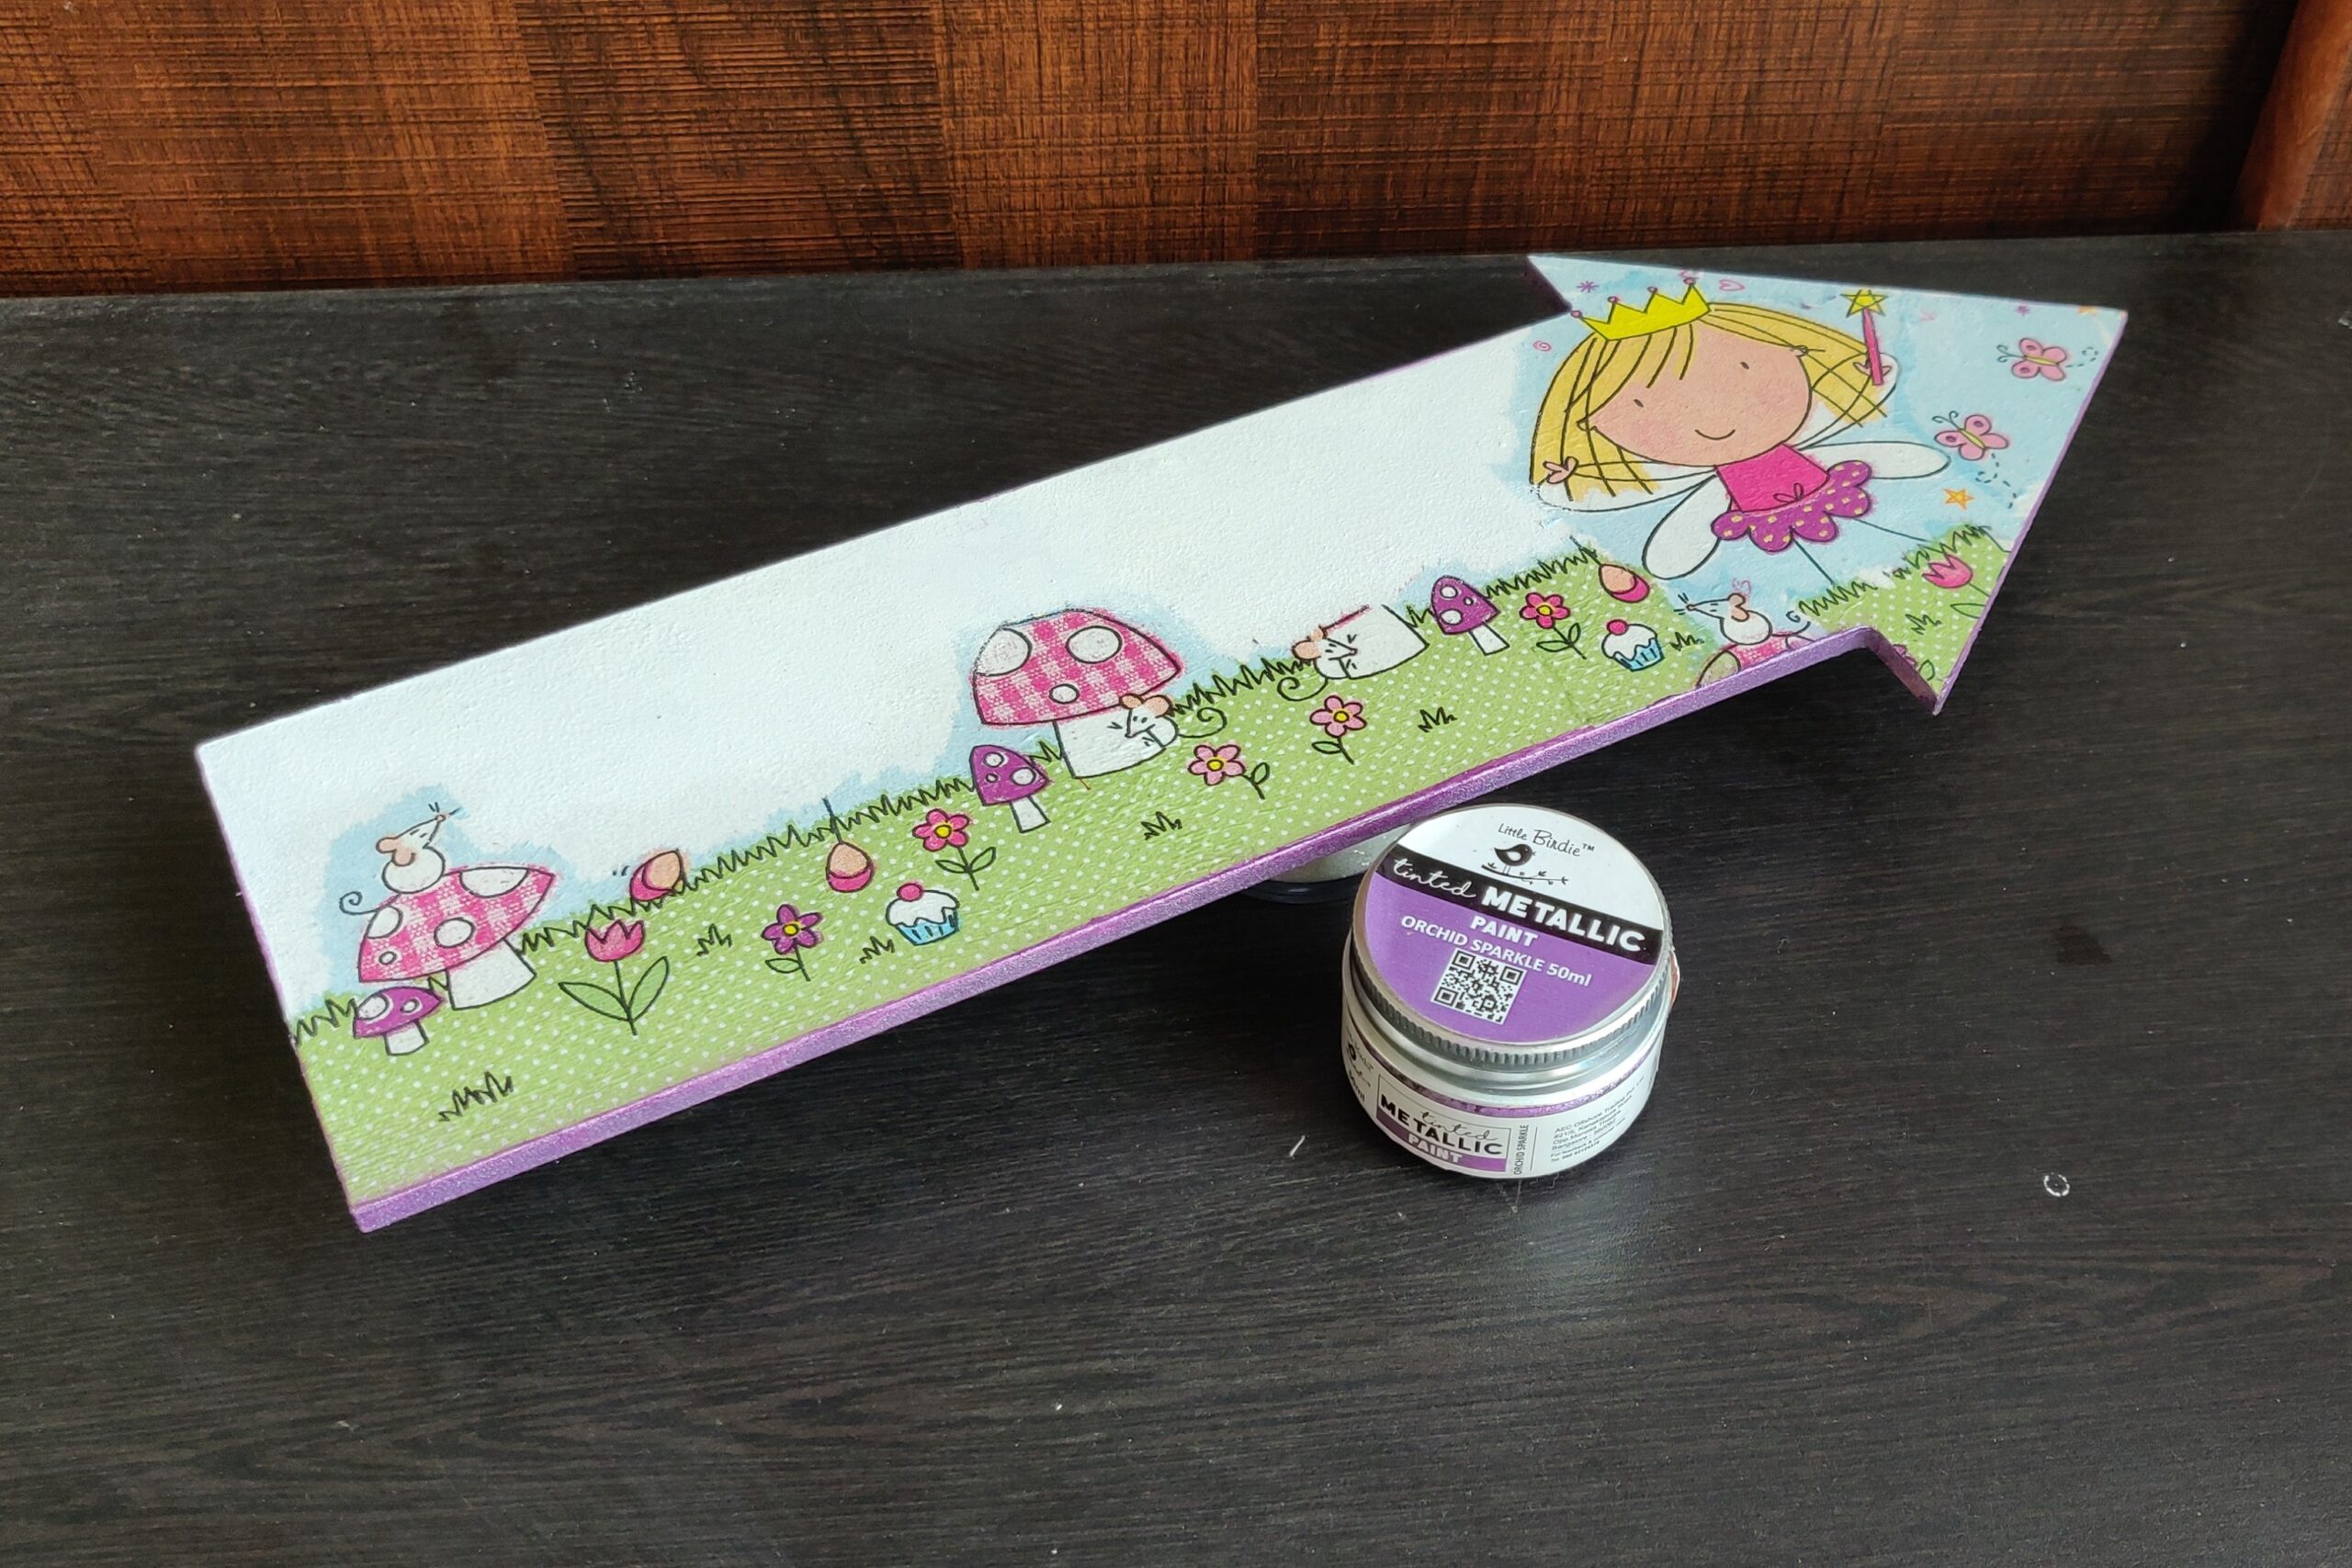
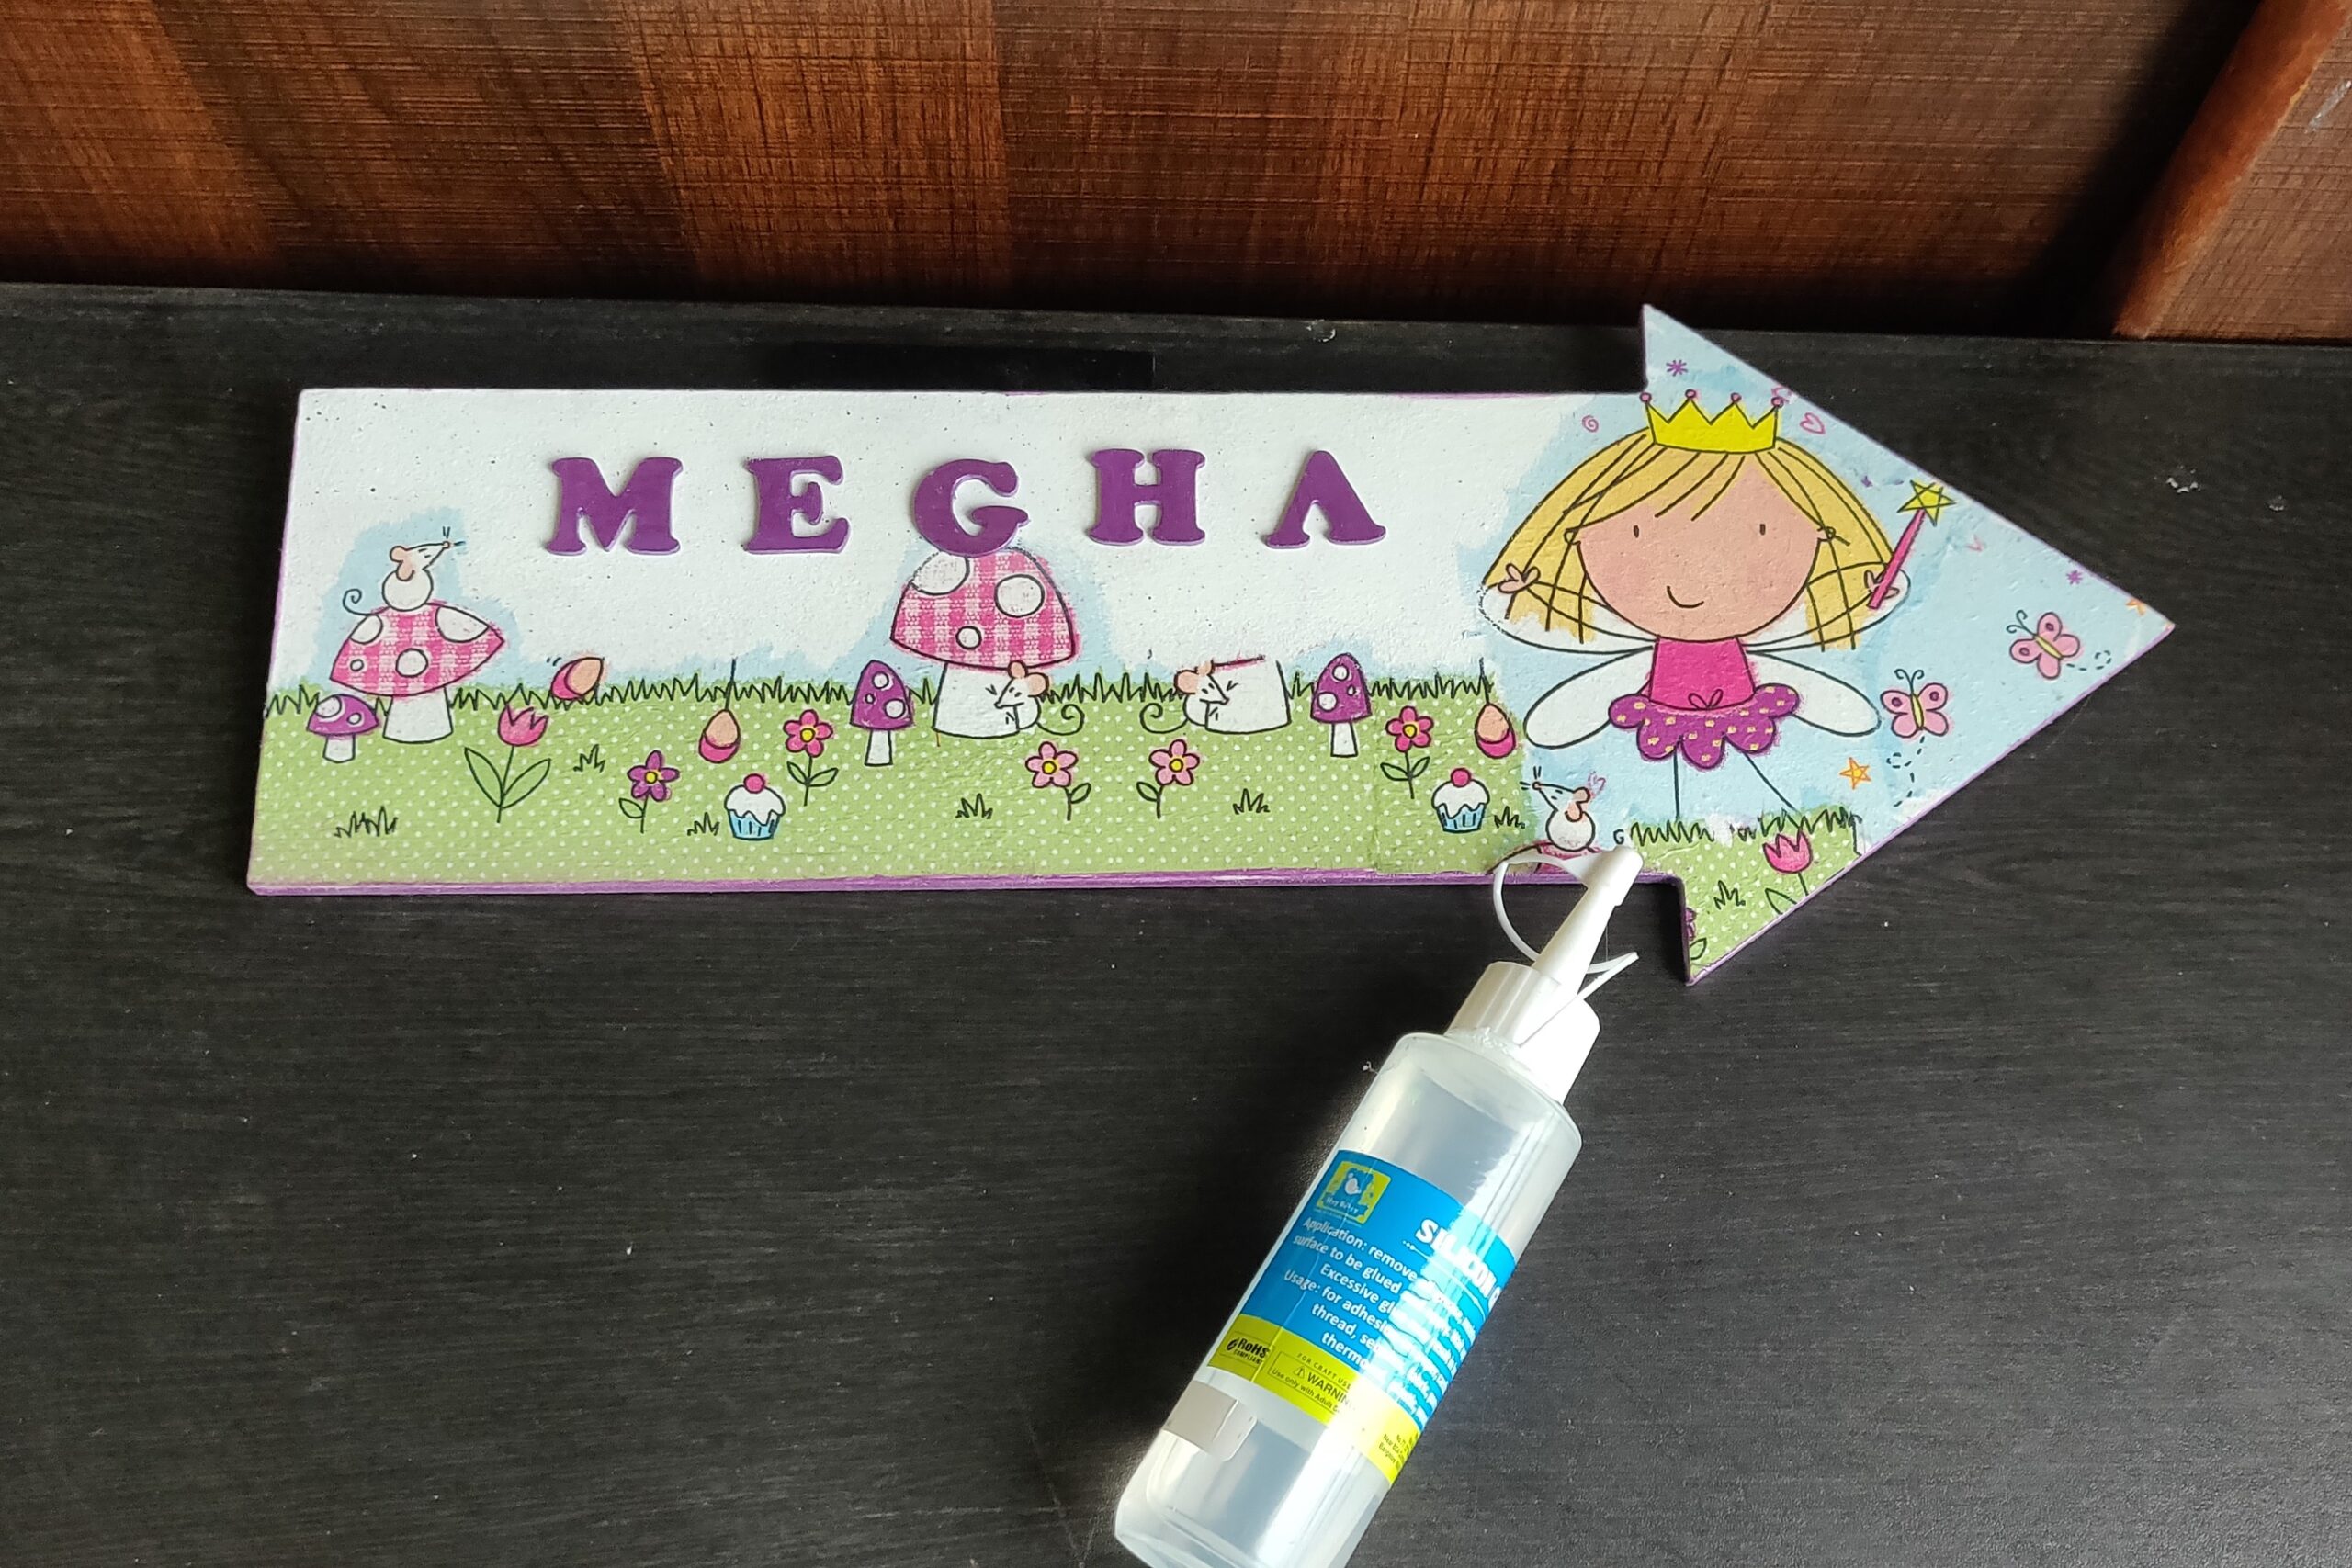
Then I painted some MDF alphabets for the name with the same metallic paint and them left to dry. Then I pasted these letters over the base using silicone glue.

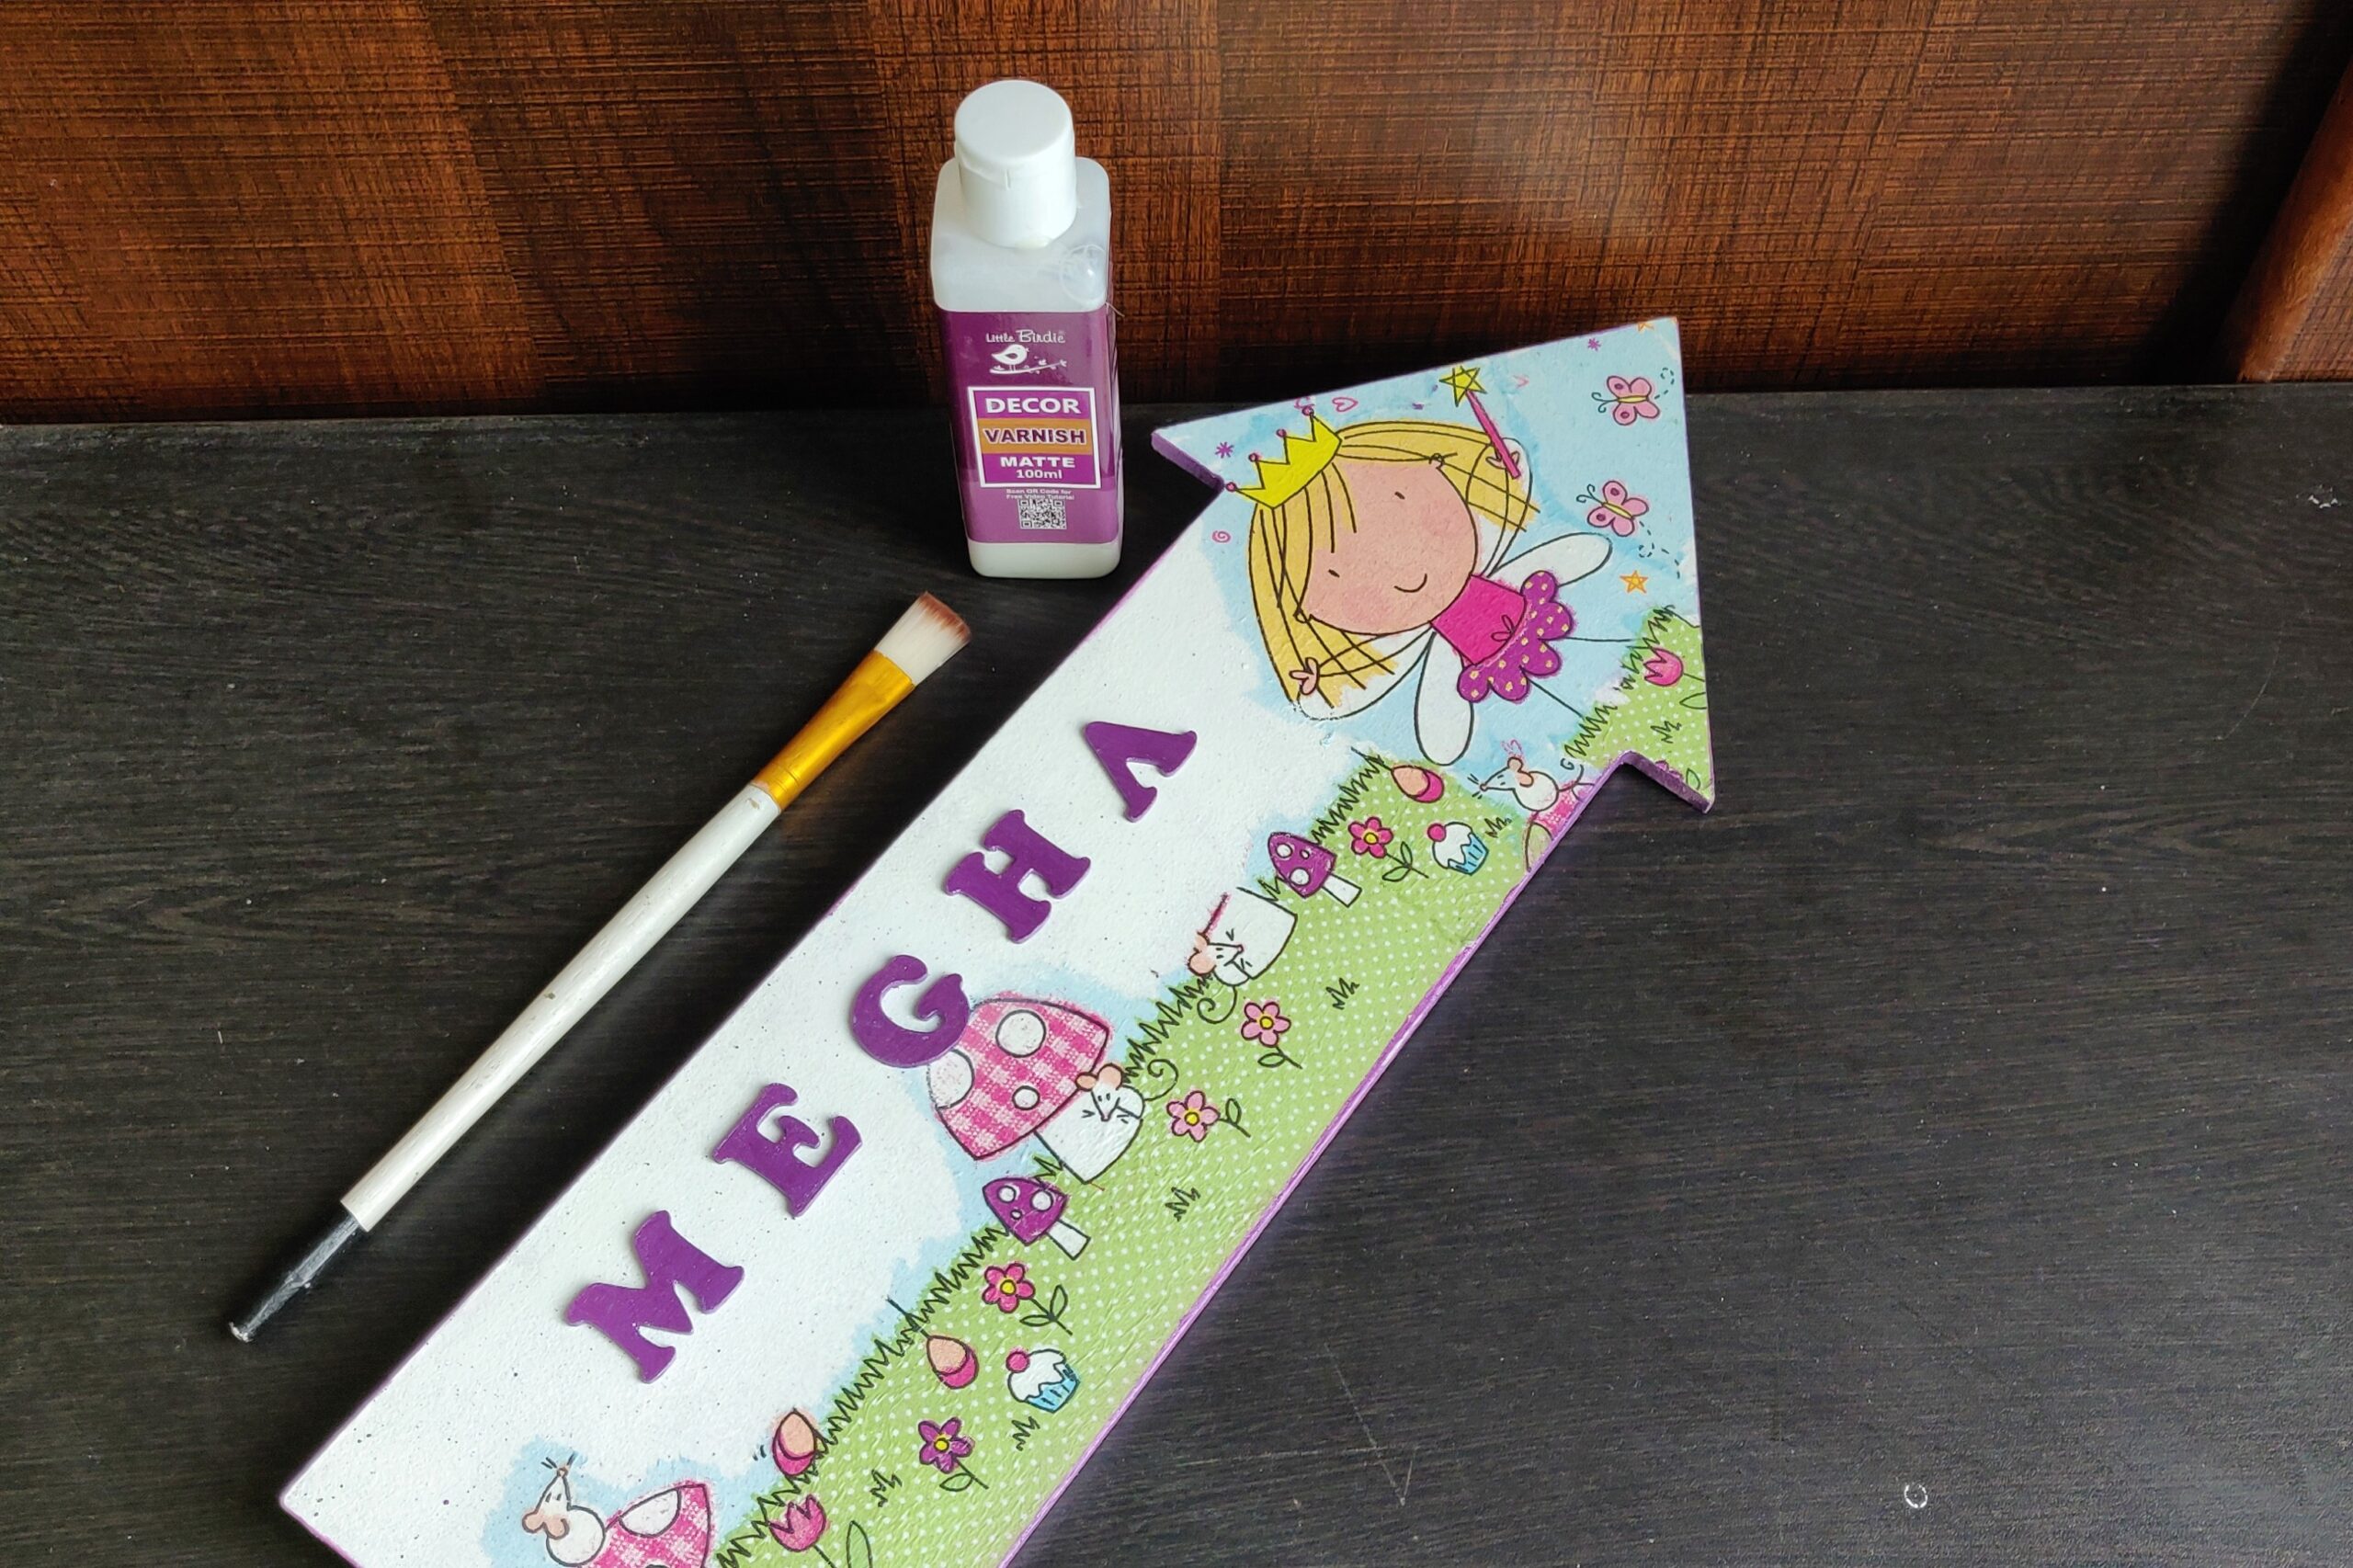
Lastly I applied a layer of Little Birdie Decor Varnish – Matte over the base. Then I left it to dry for 10-15 minutes.
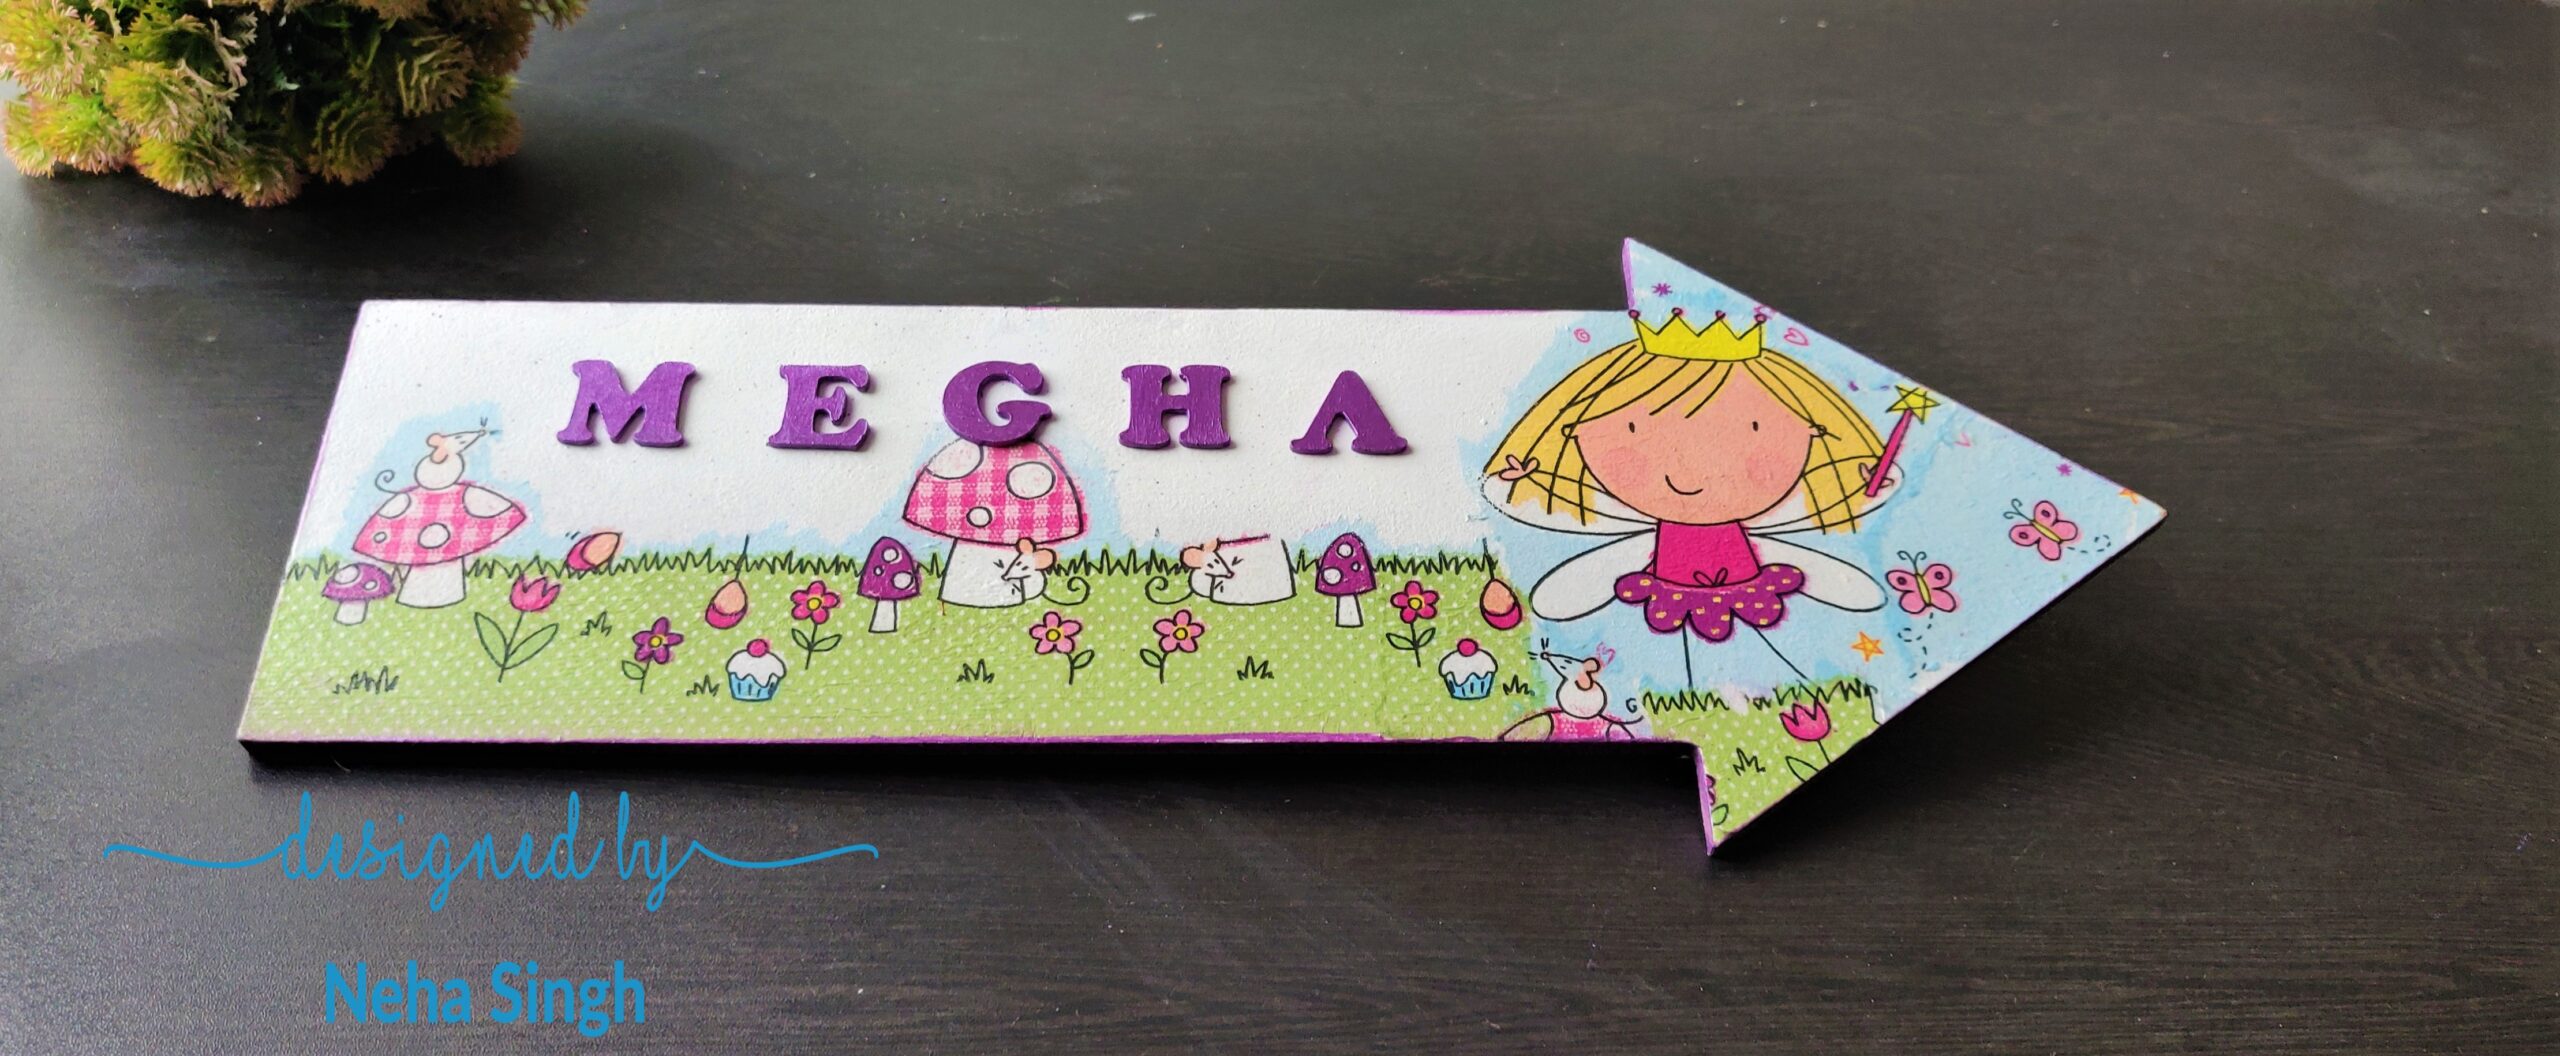
And its ready!
I hope you enjoyed today’s blog and I also hope that you find this tutorial inspiring enough to try this project on your own. If you do so, then do share it on Itsy Bitsy Crafters Café and other social media platforms and do not forget to tag ITSYBITSYCRAFTSTORE.
Thank you for stopping by.
Use code NEHA5 to buy any product at www.itsybitsy.in and get 5% discount on your total bill.
Here is the list of products:


