
Hello crafters, Neha here and today’s blog is about creating a multipurpose gift box using the very versatile Little Birdie Deco Transfer sheets.
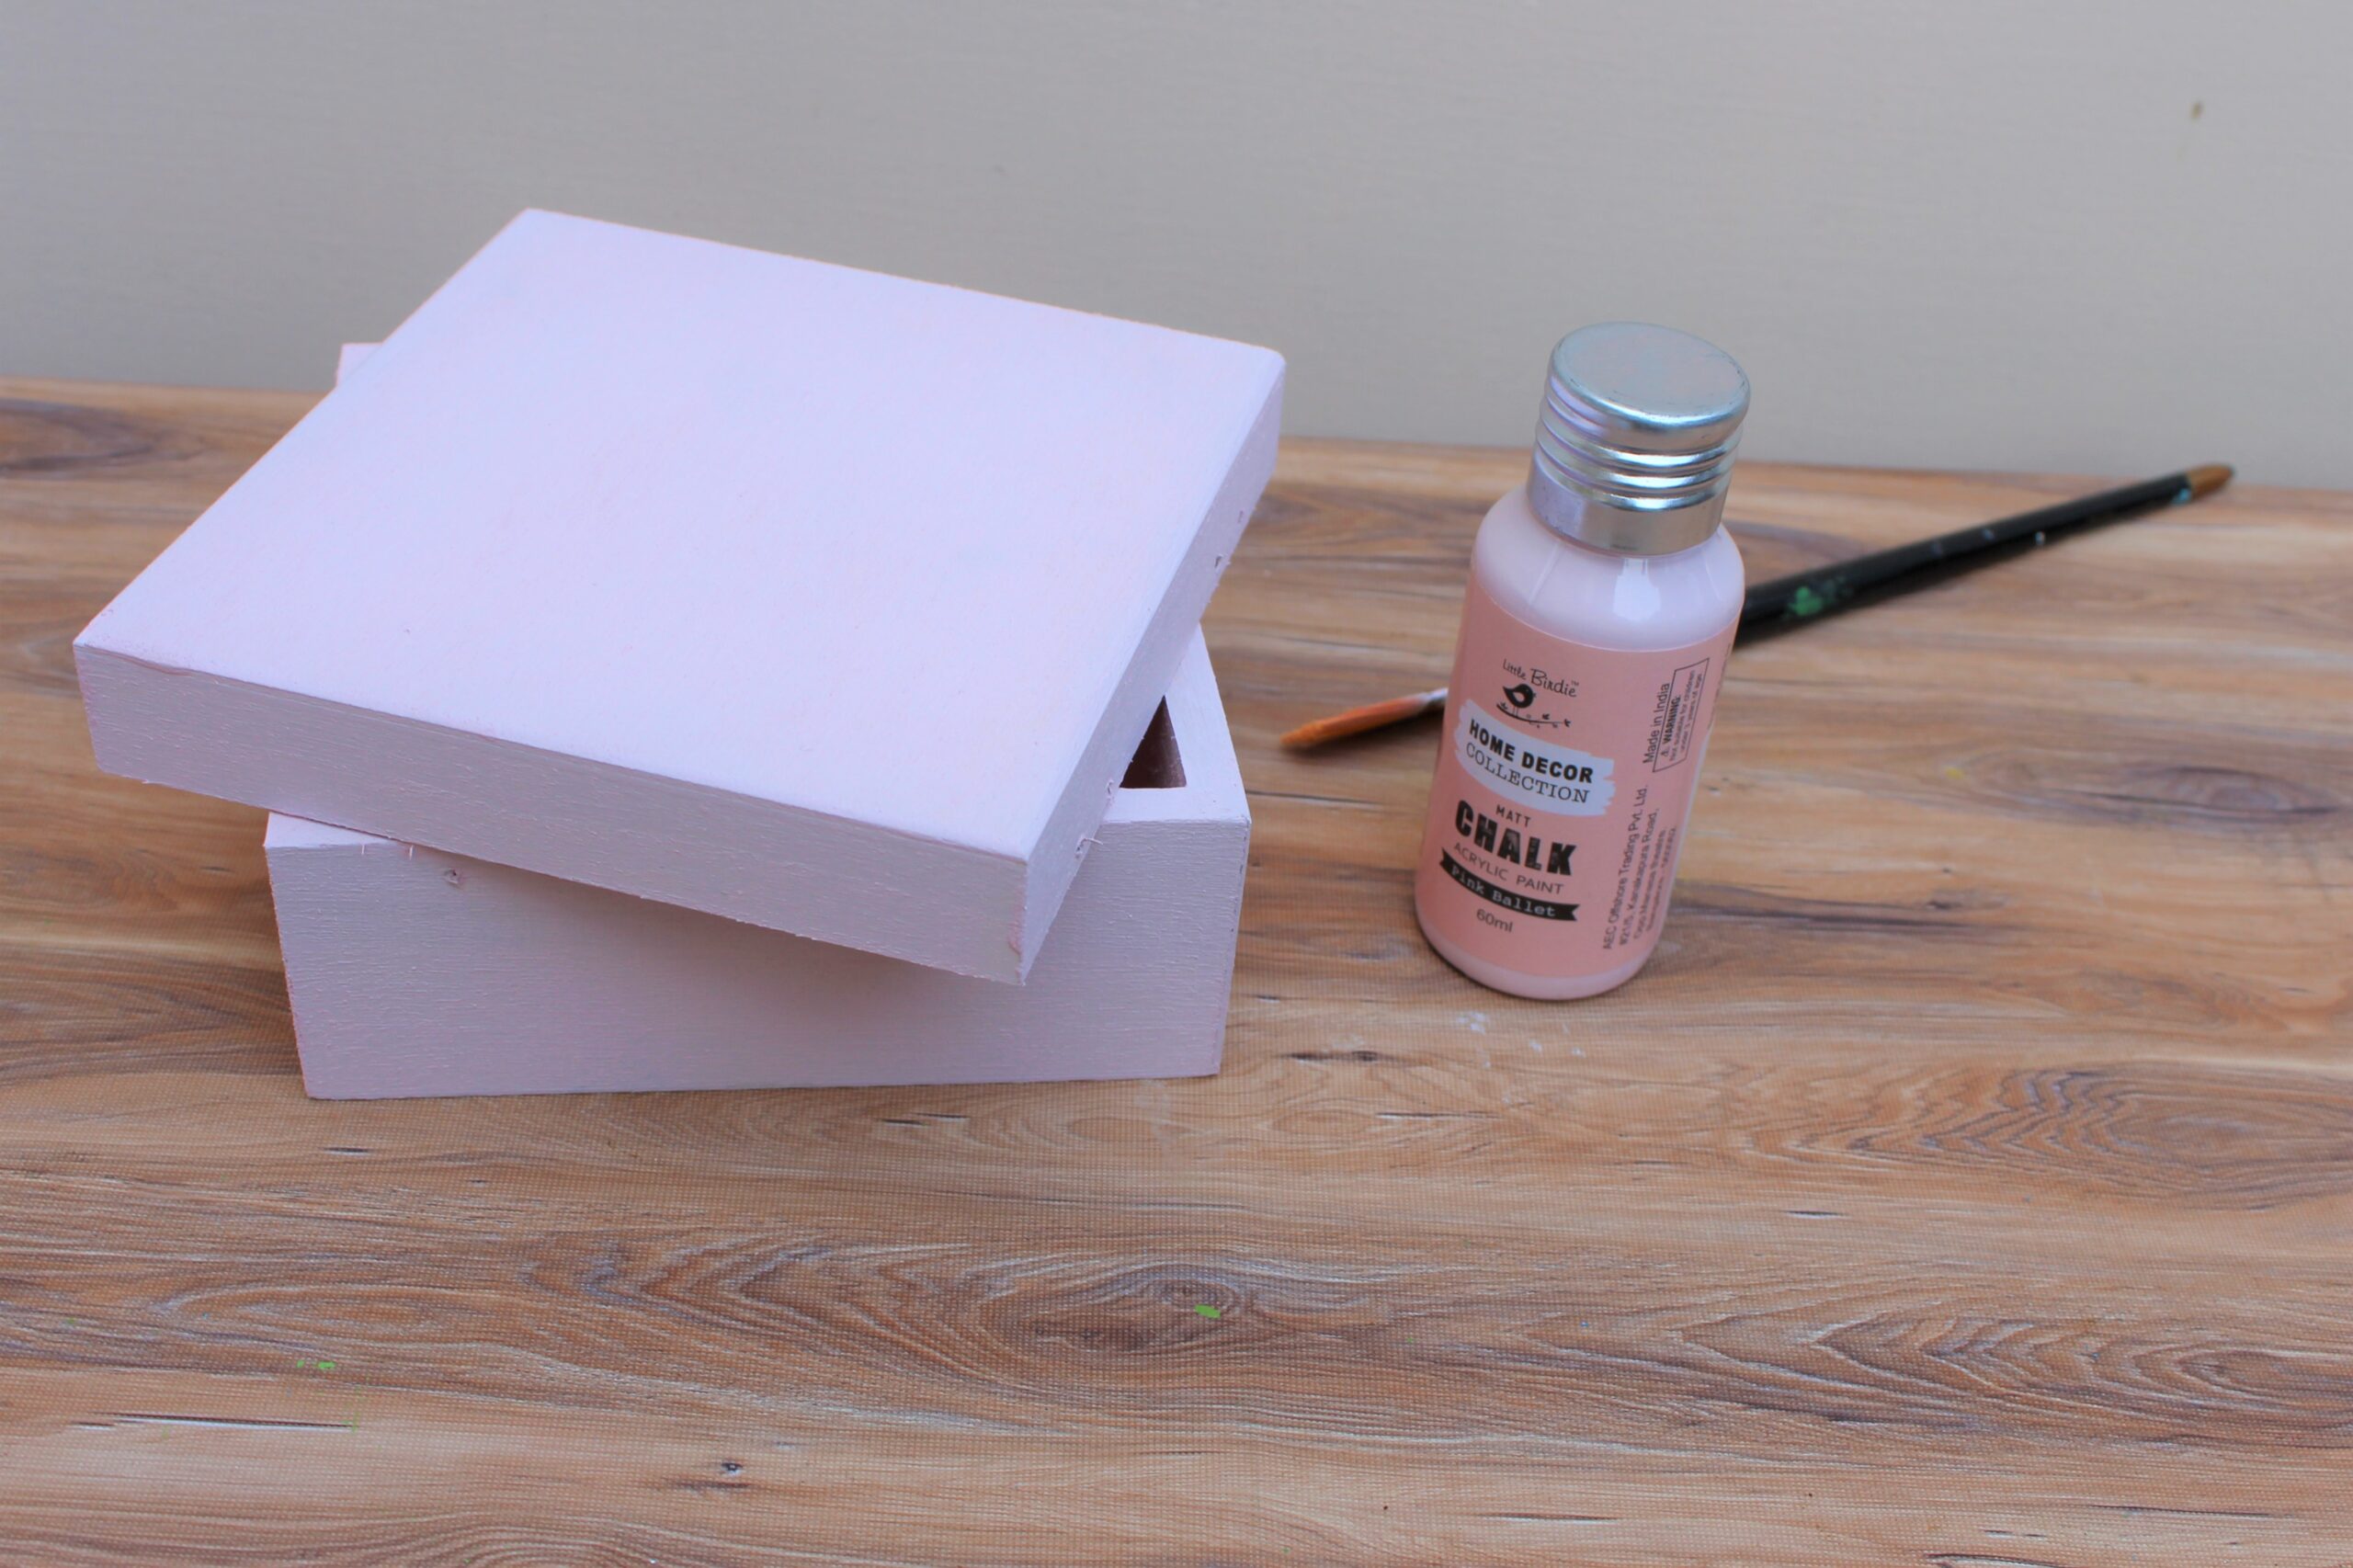
For this project I used a wooden square box measuring 15x15x8cm. I started by removing all the hardware using a screwdriver. After that I painted the box inside out with Little Birdie chalk paint – Rose Blush.
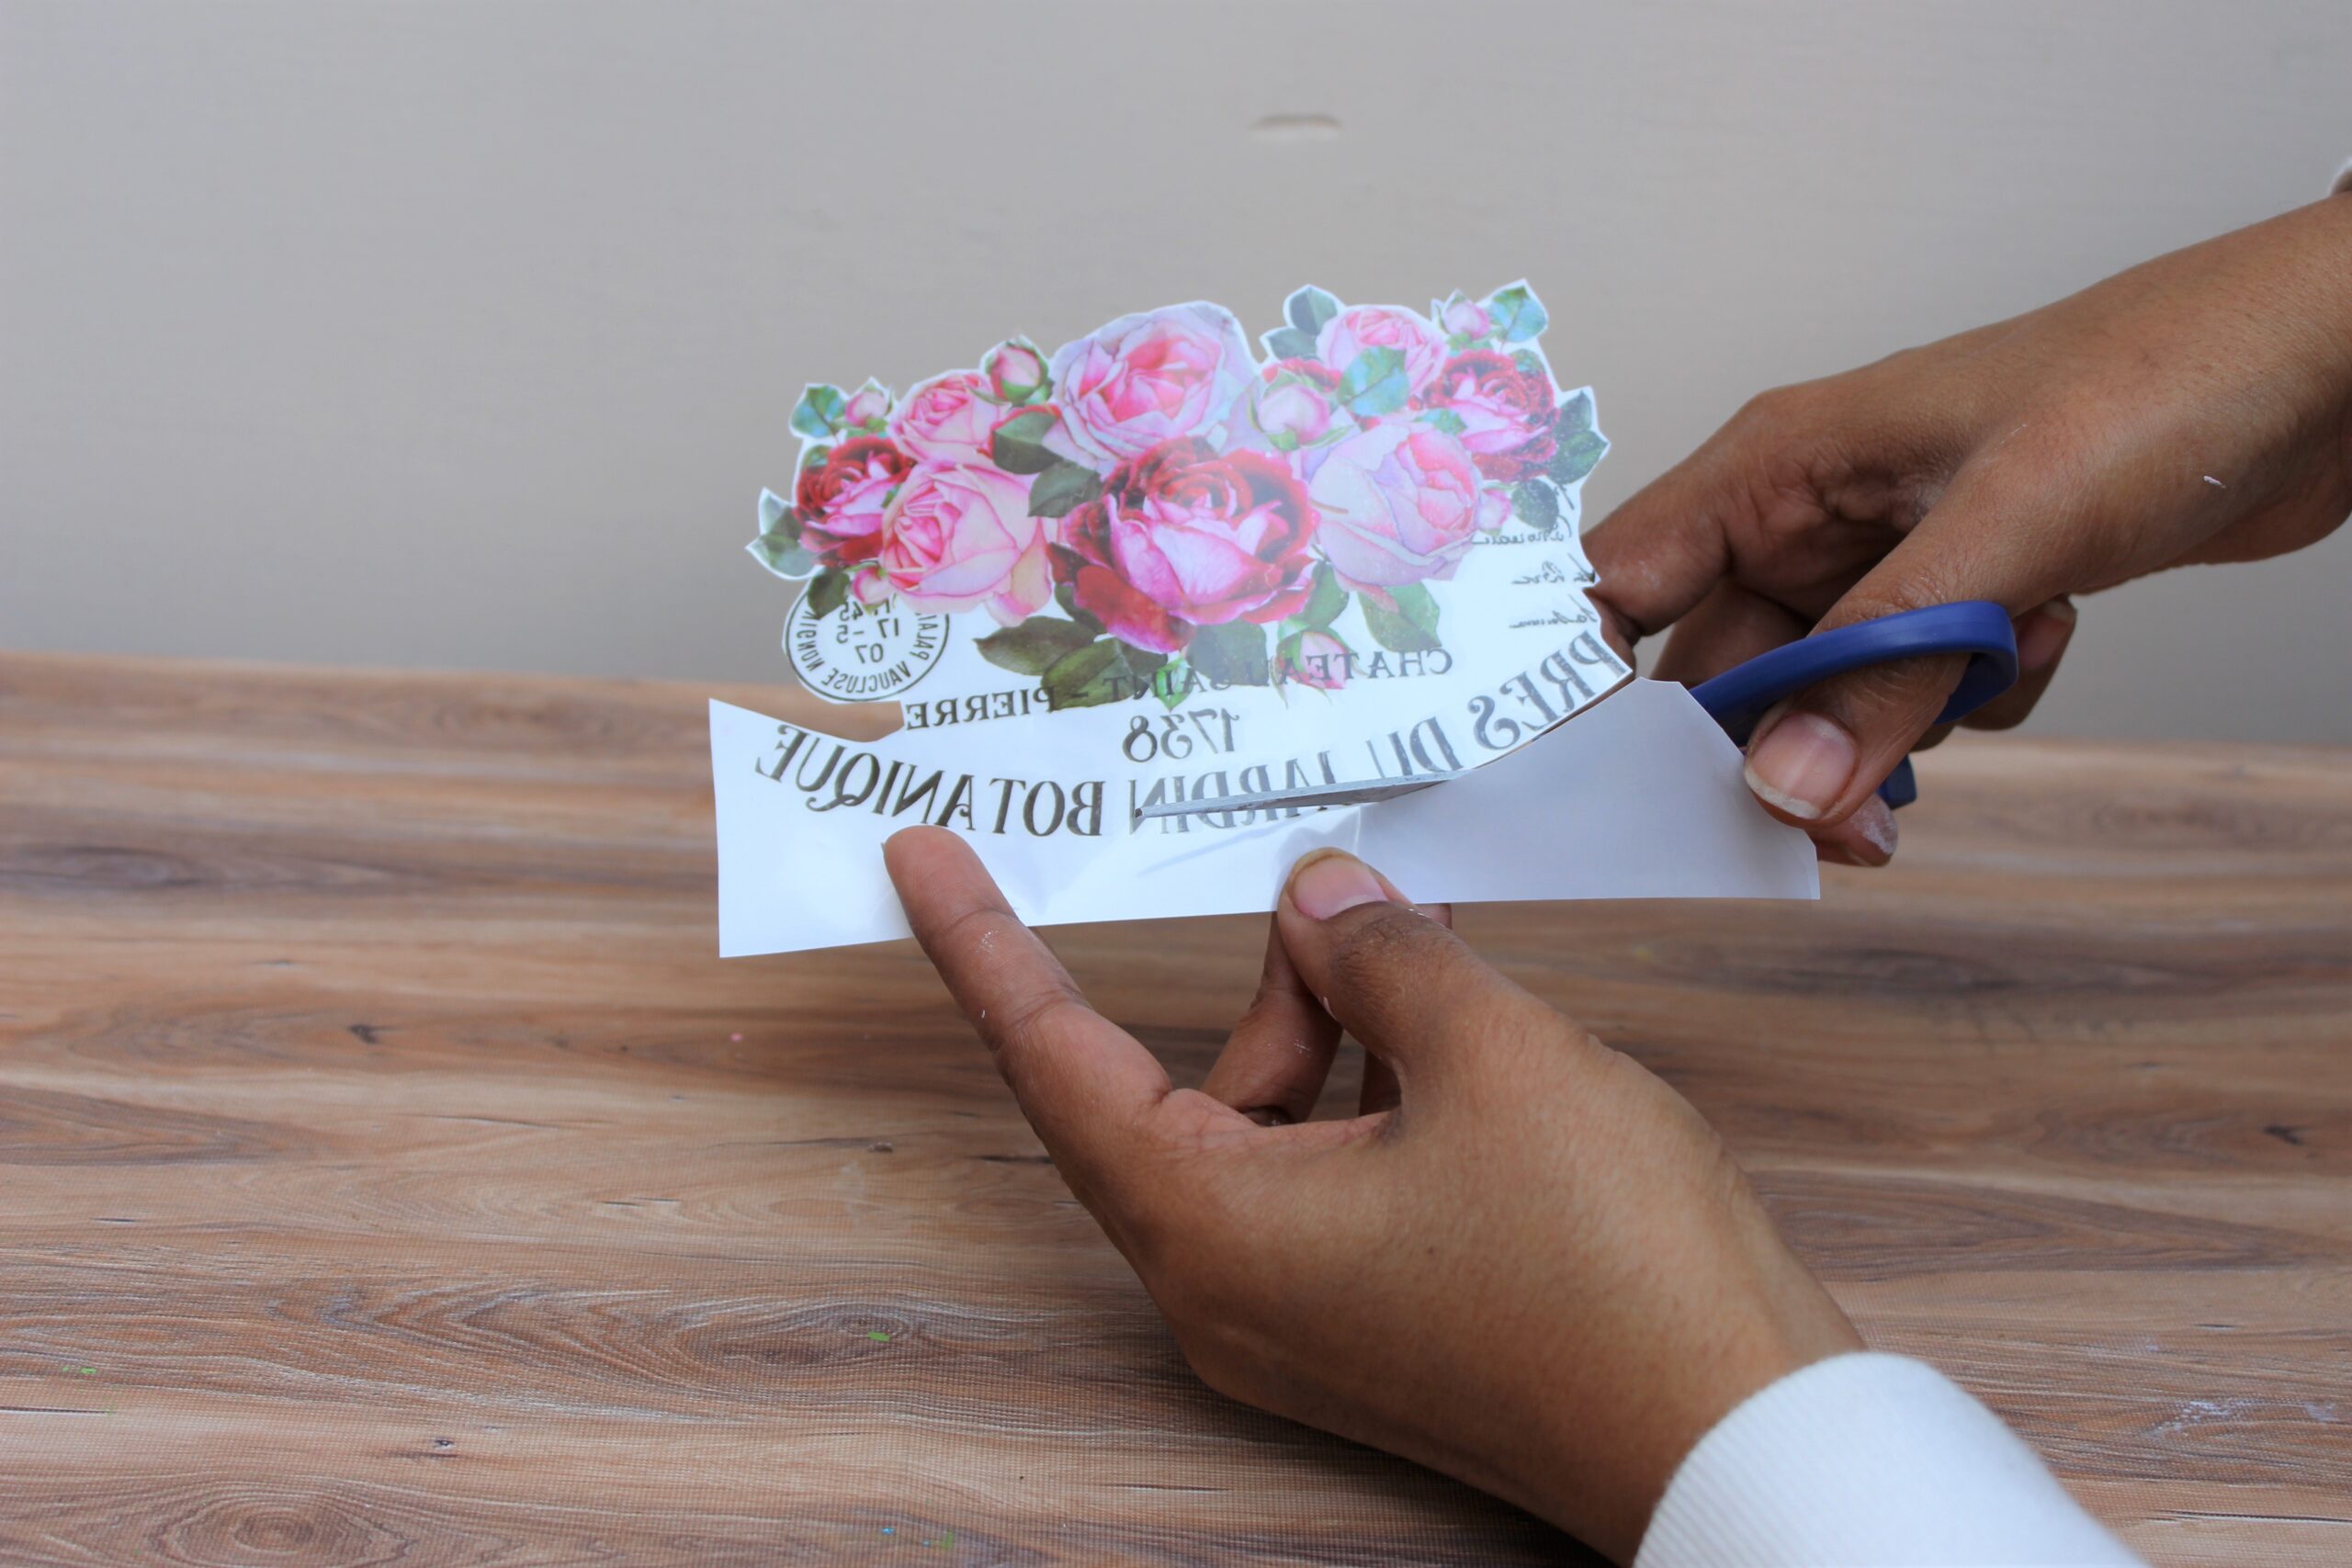
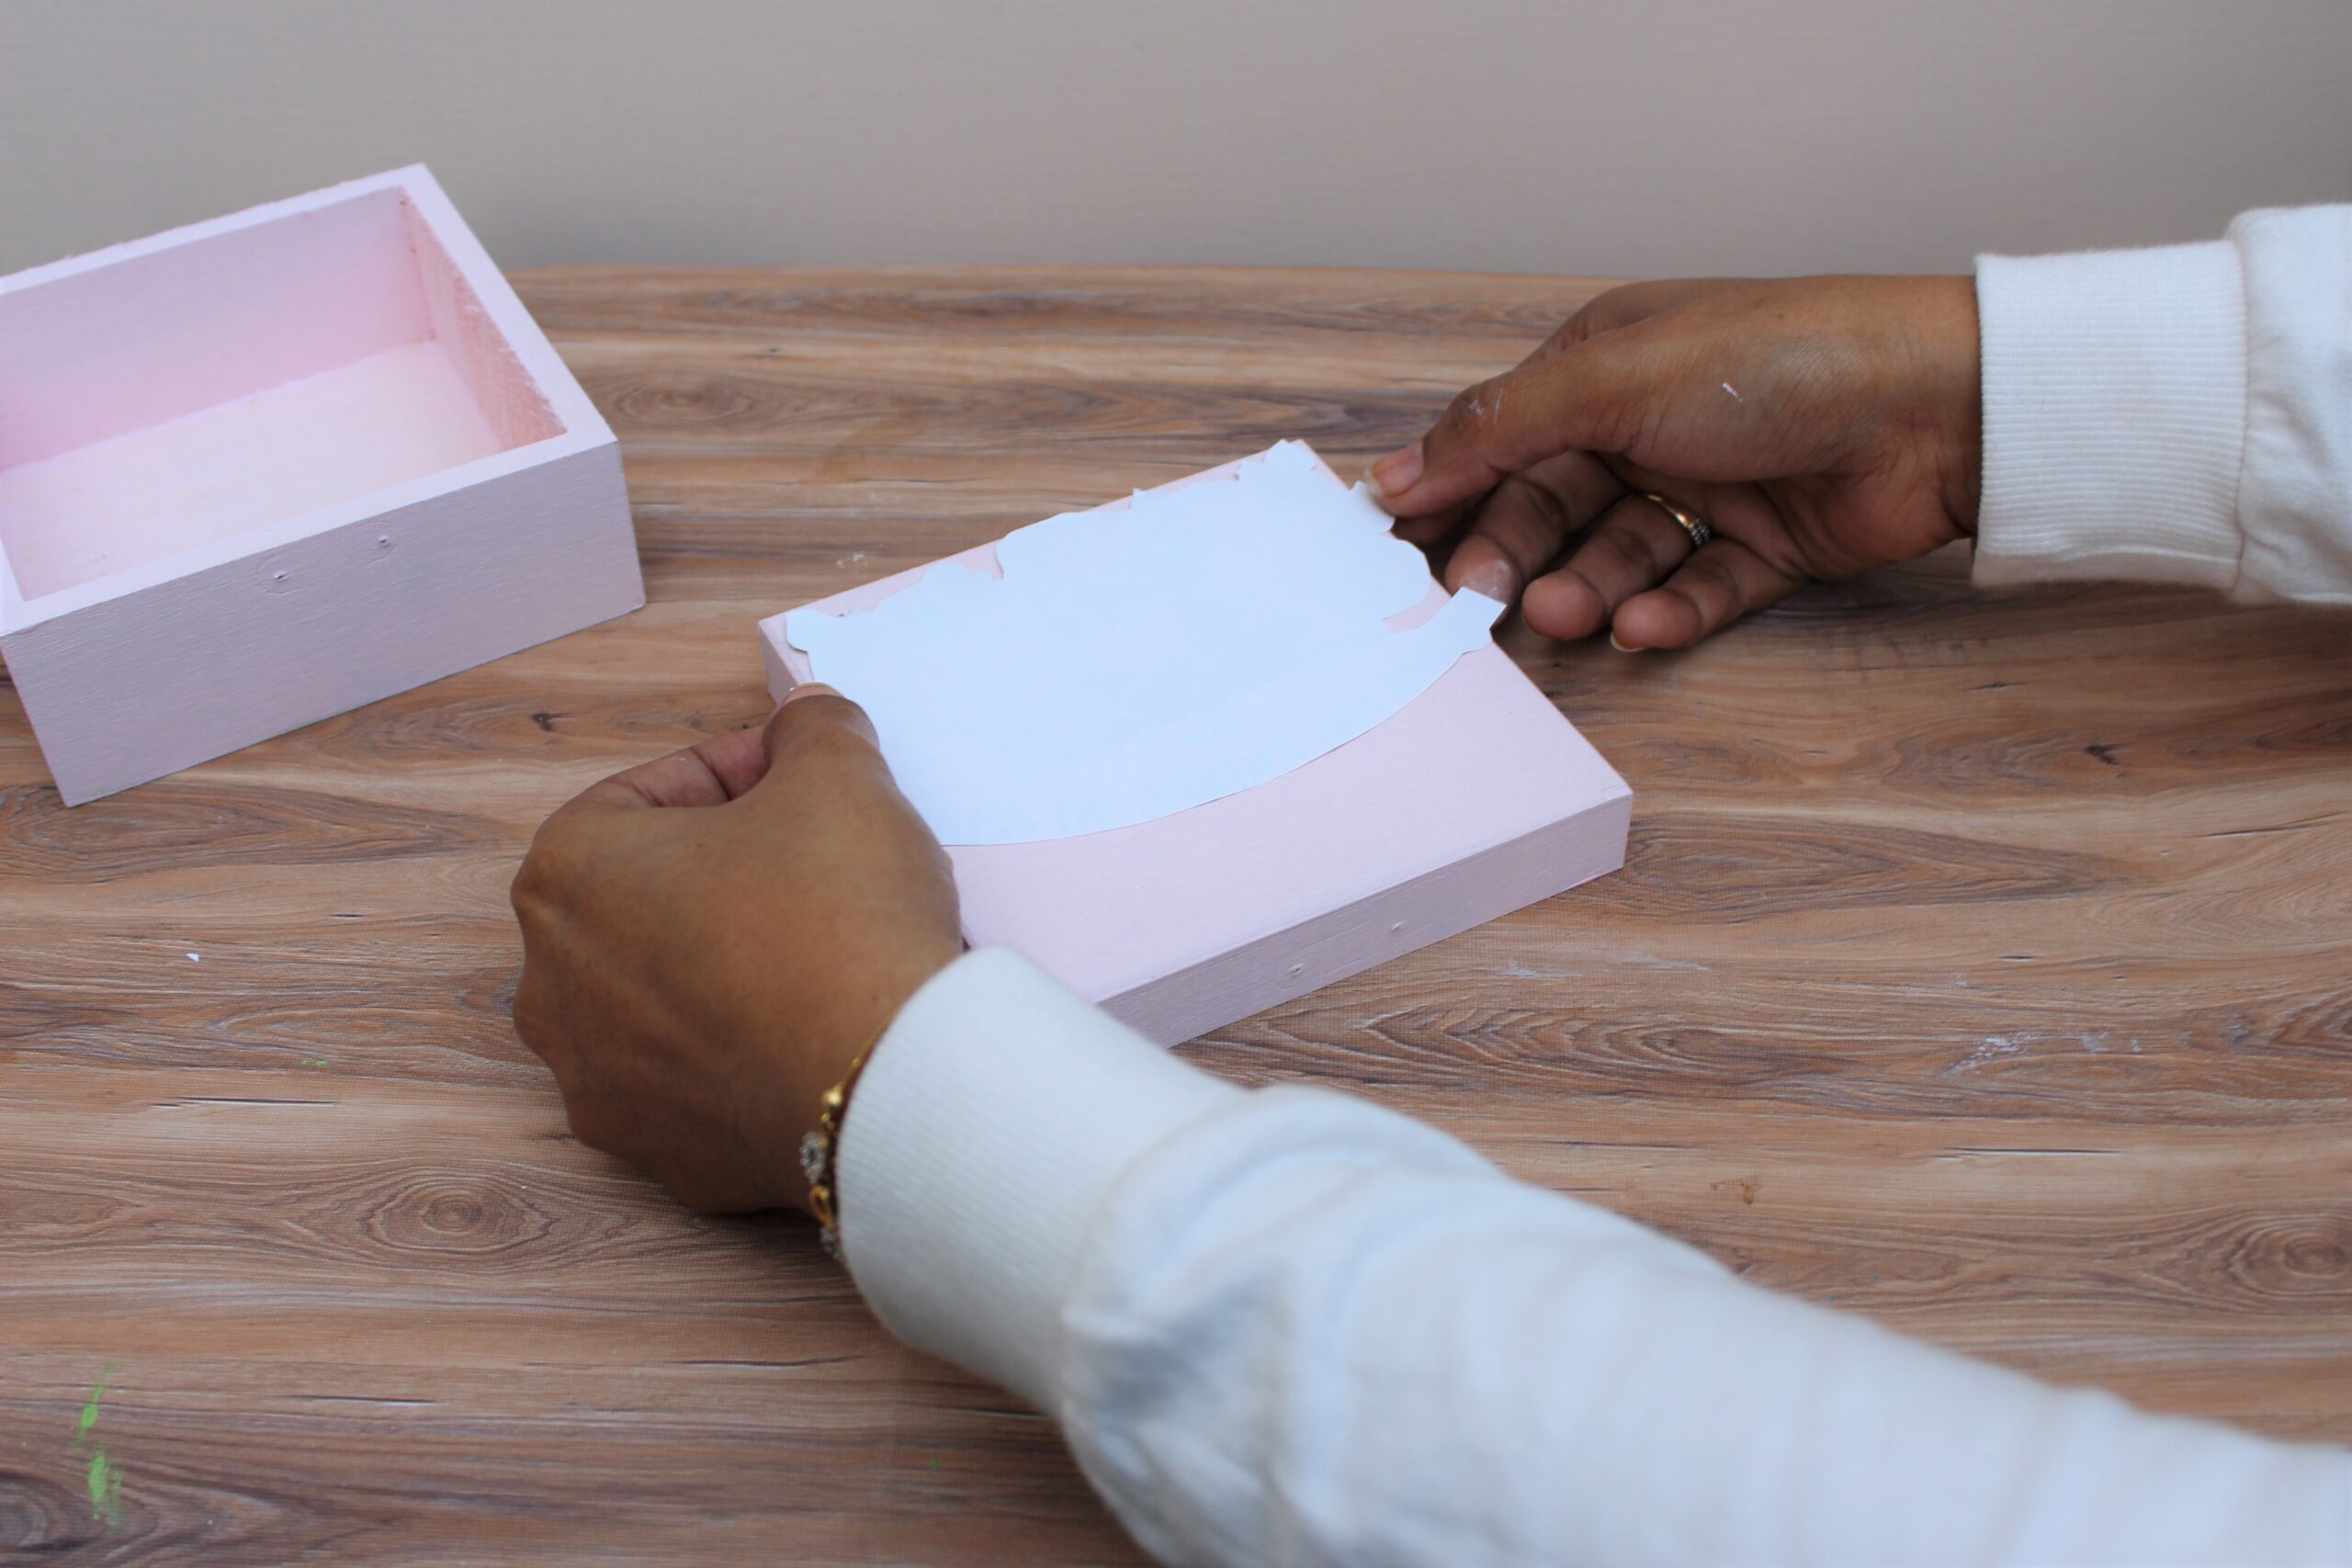
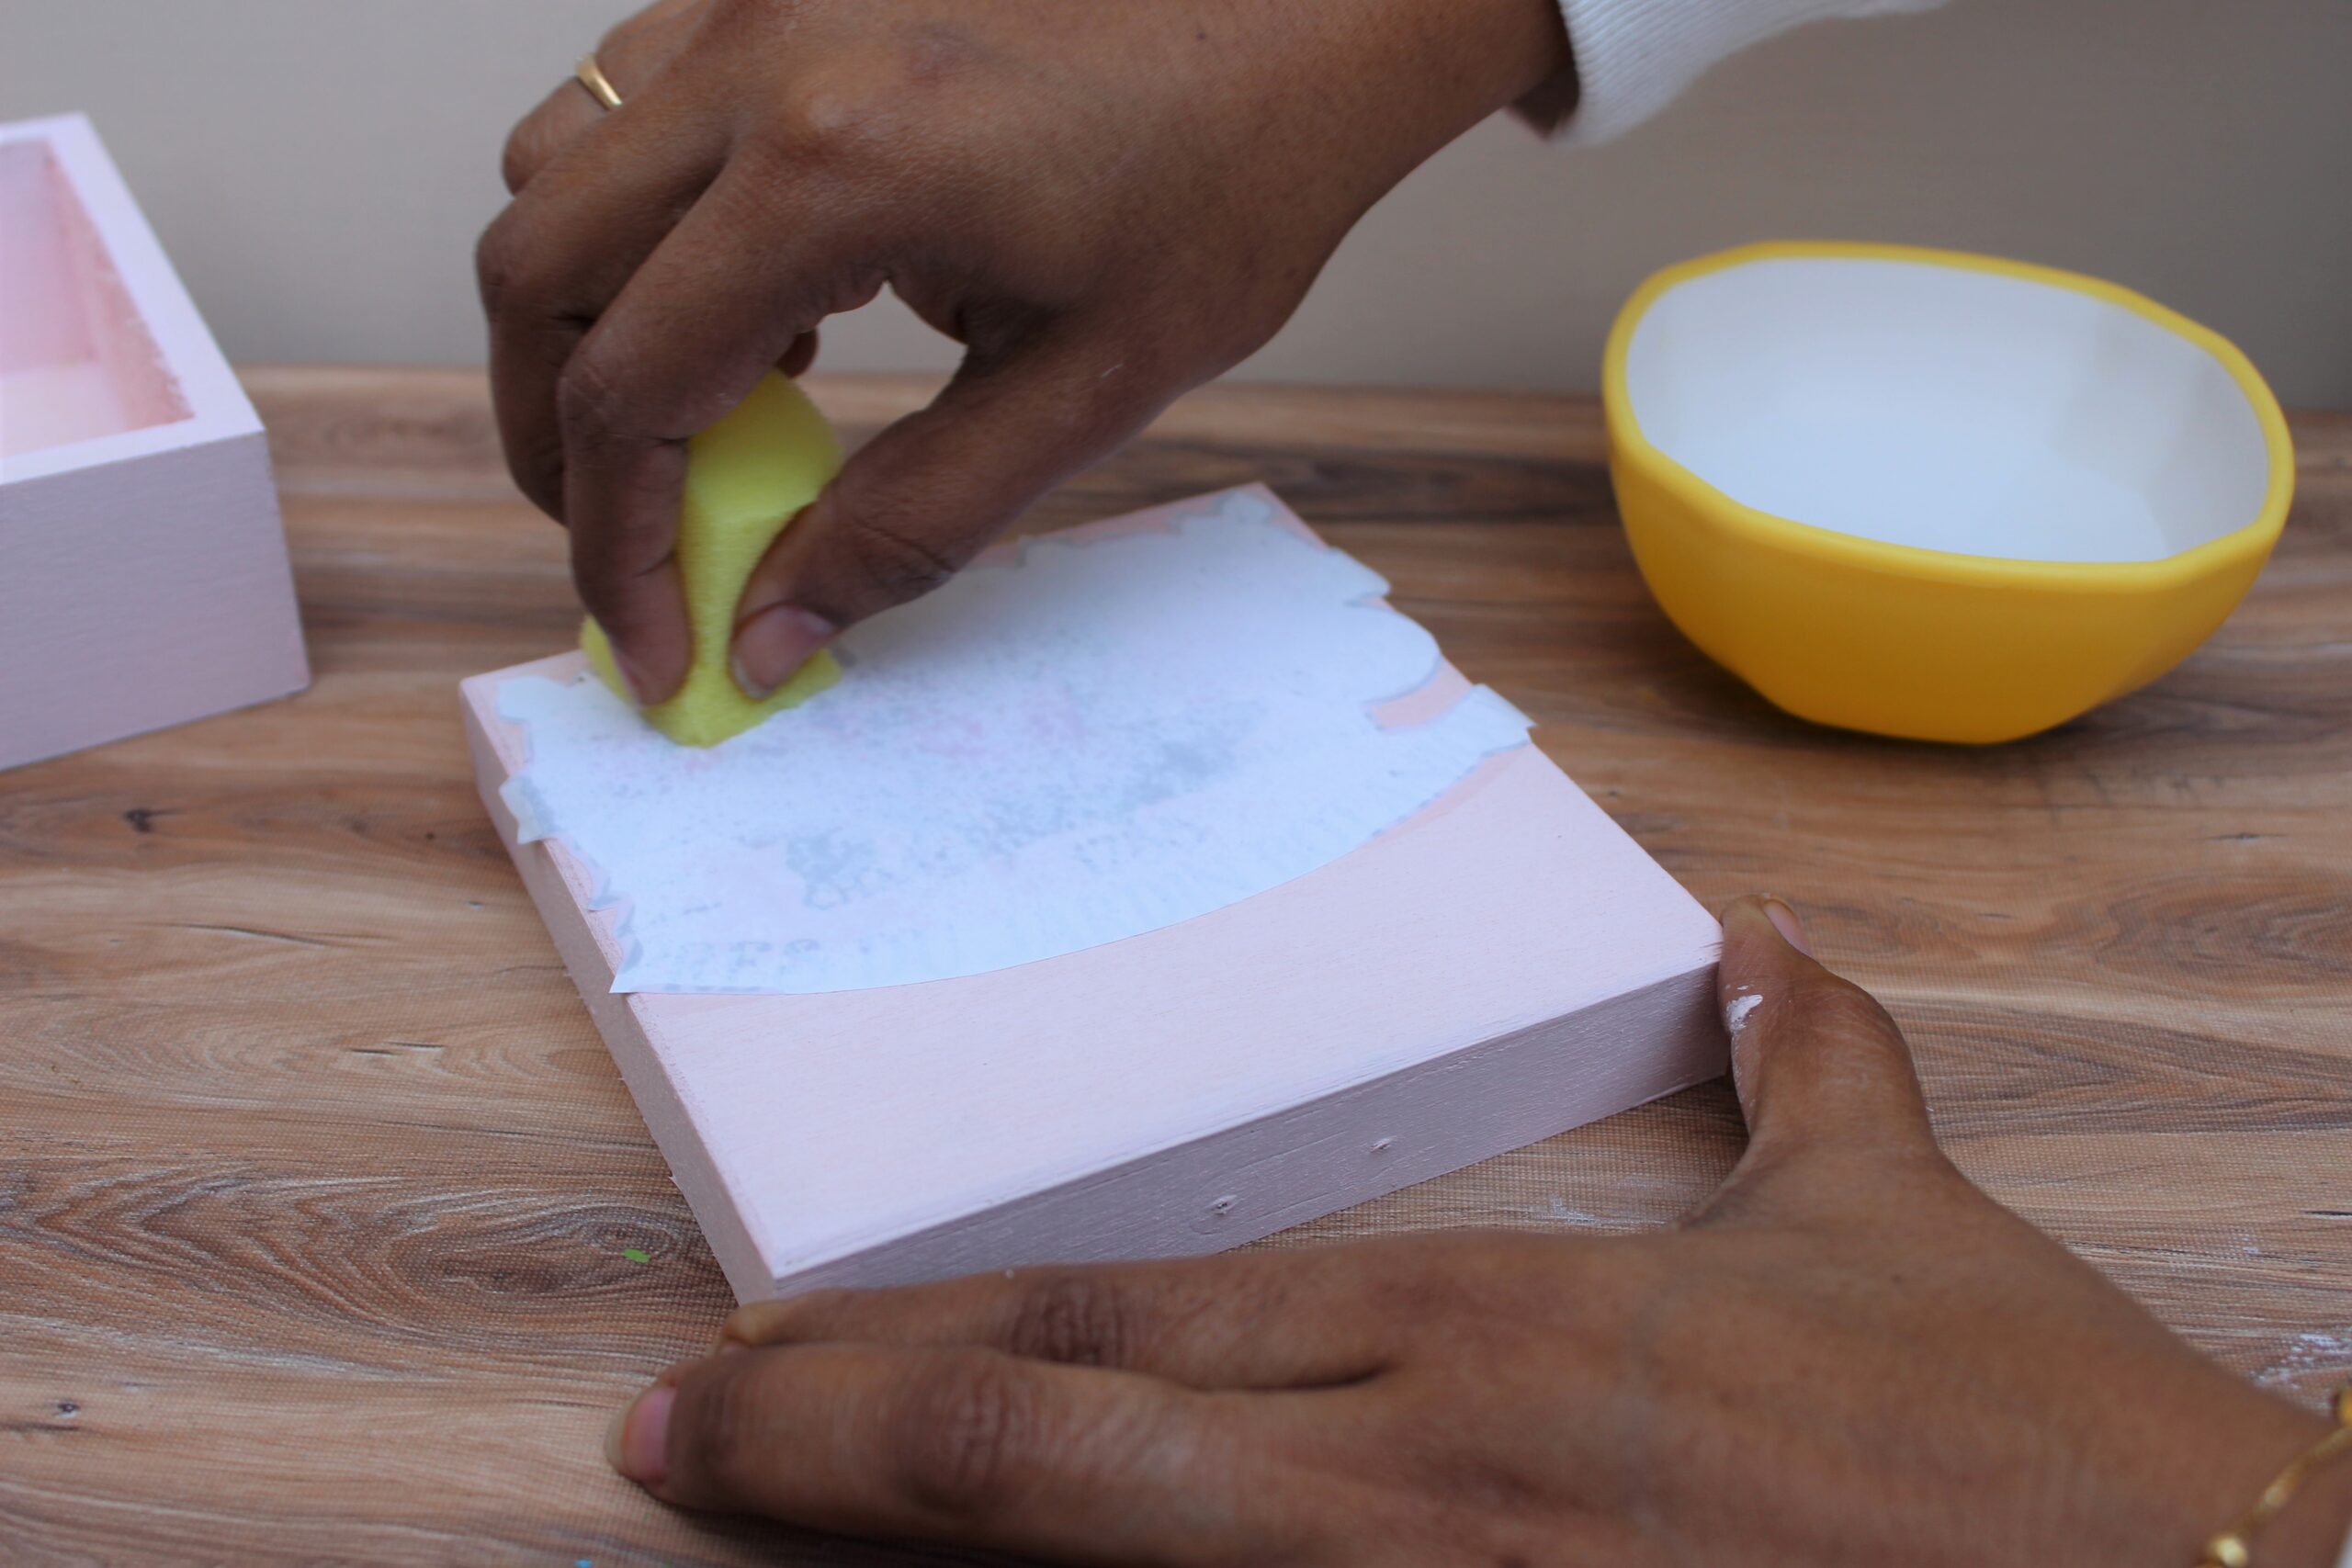
After that I chose a design from the Deco Transfer sheet and then cut it precisely using scissors. Then I peeled off the transparent layer and placed the print upside down over the base. Next, with the help of a wet sponge I pressed the print over the base. Detailed method of using Deco Transfer sheet is also mentioned behind the Deco Transfer sheet packaging under instructions.
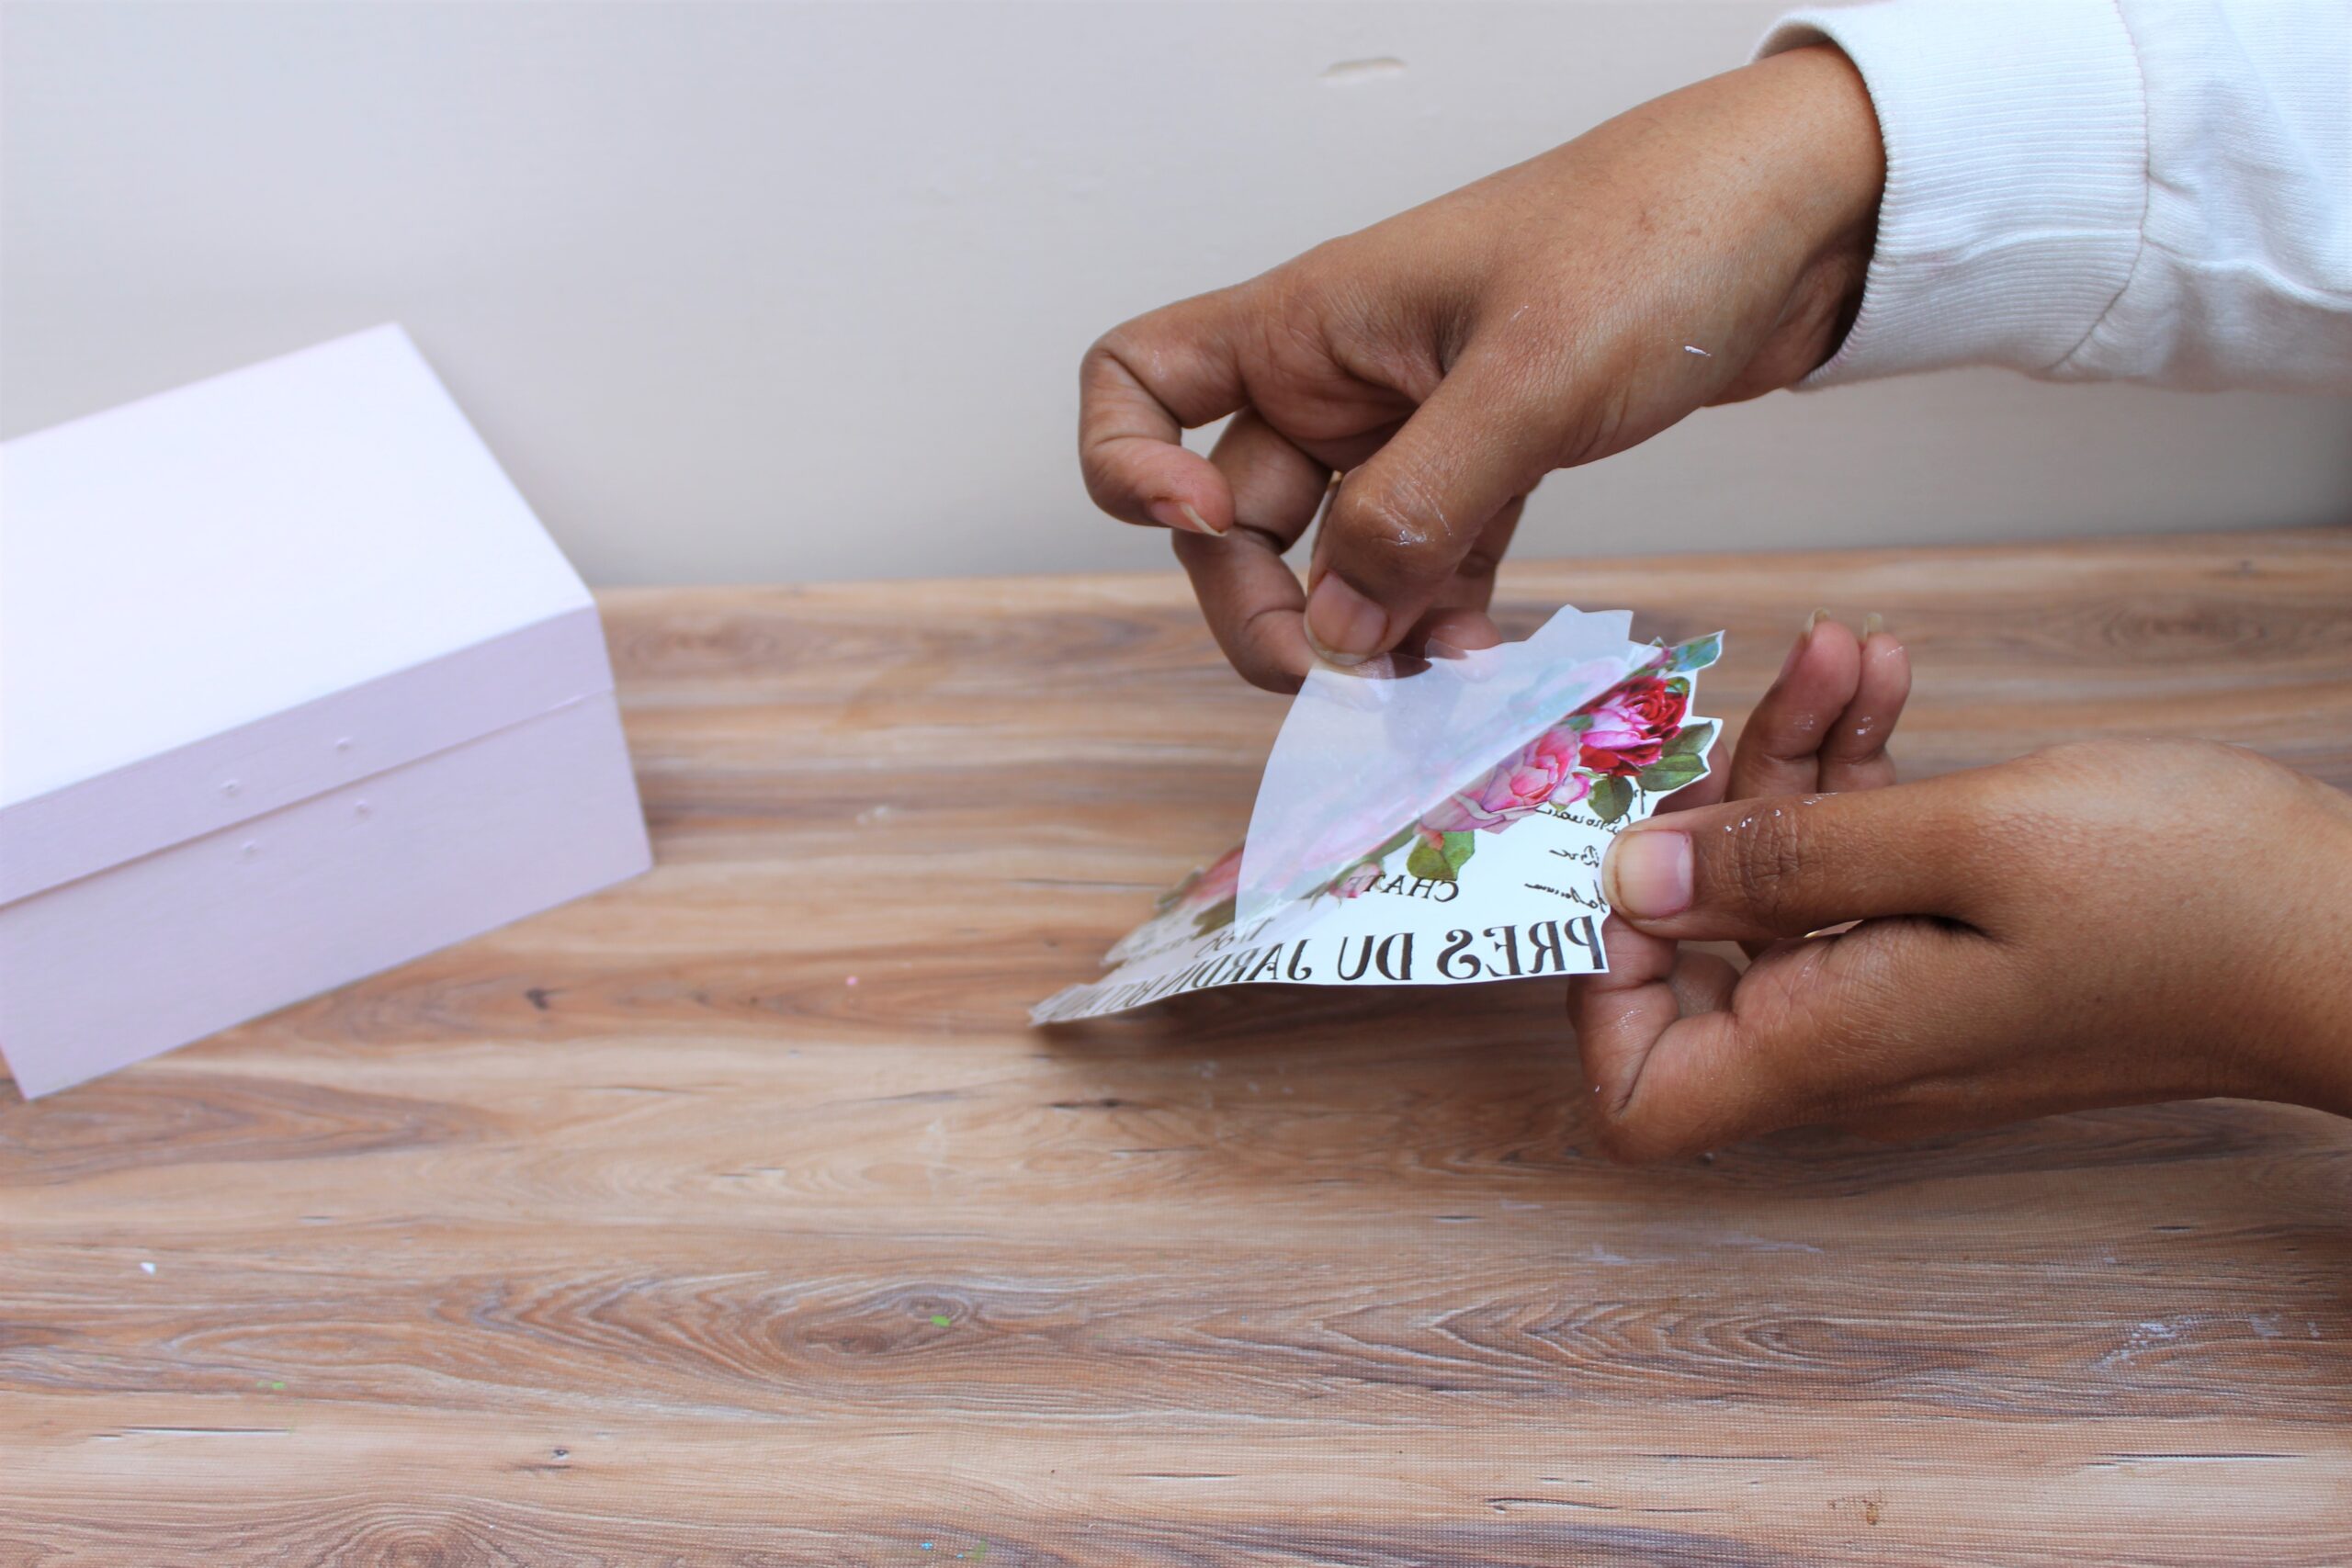
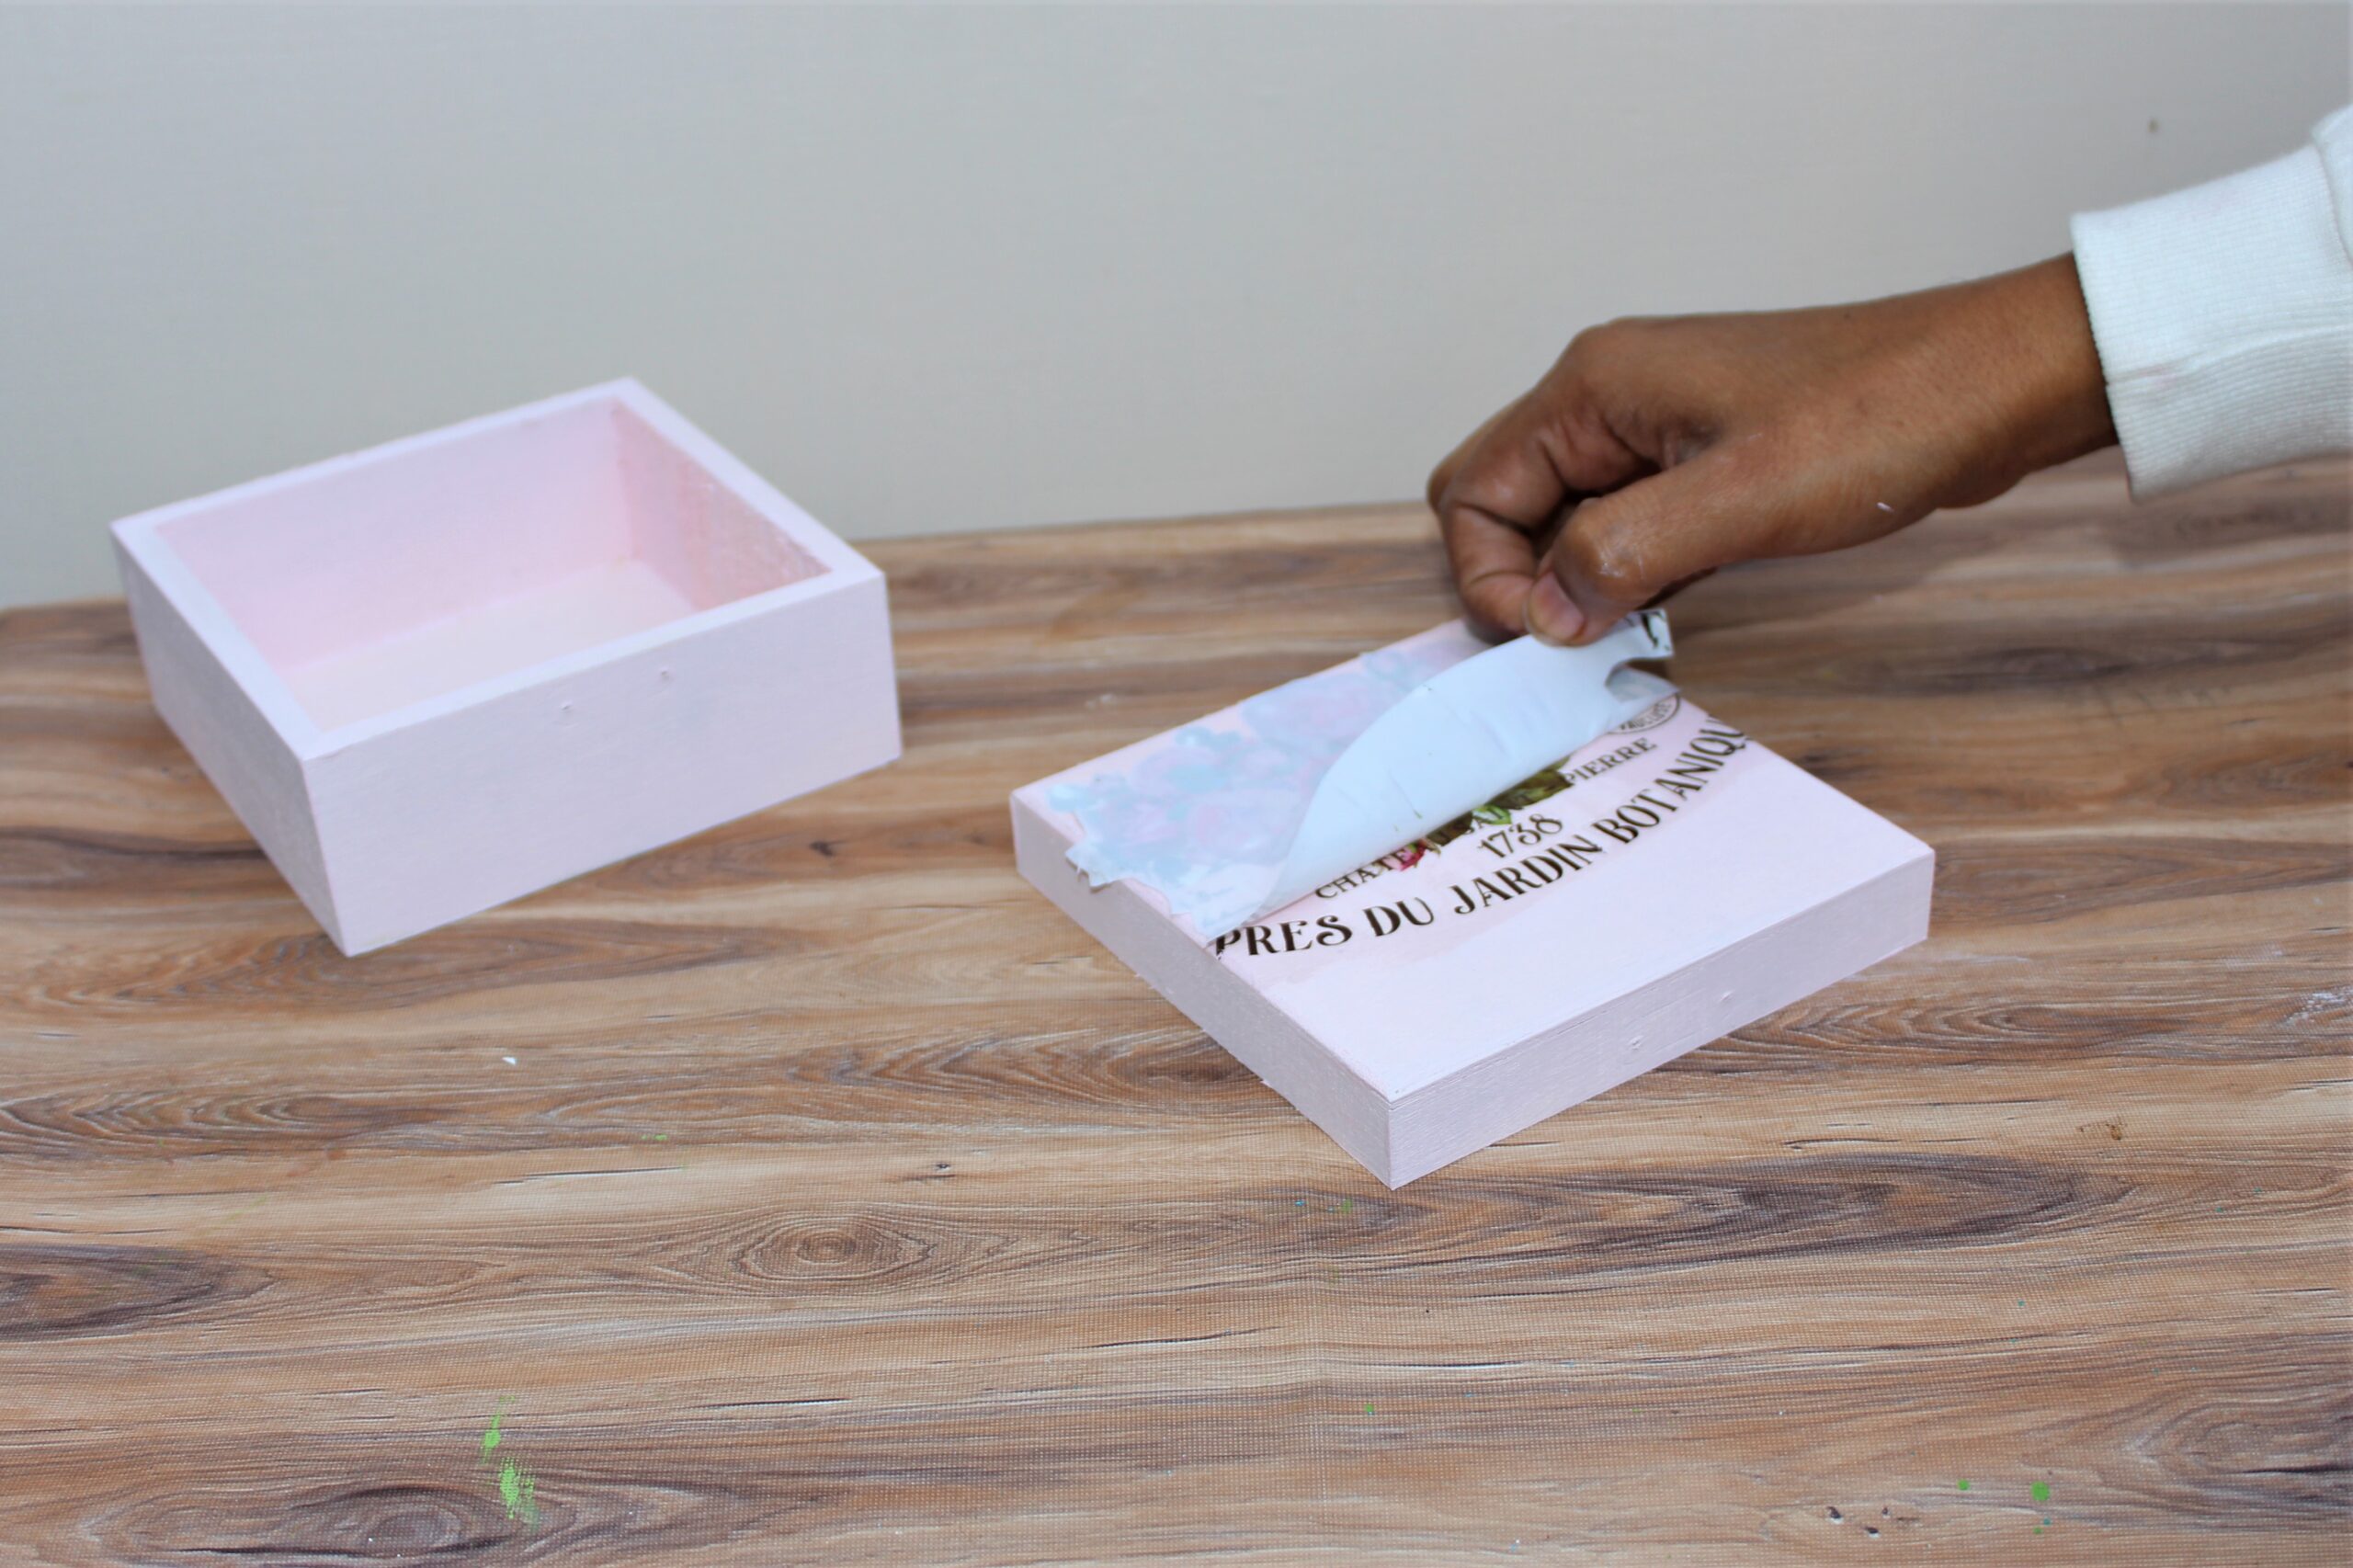
After that I carefully peeled off the paper from the base and left the print to dry for 5 minutes.
After drying I applied a layer of Little Birdie Decor Varnish – Matte over the decoupaged area first and then all over the box. Then I left it to dry for 10-15 minutes.

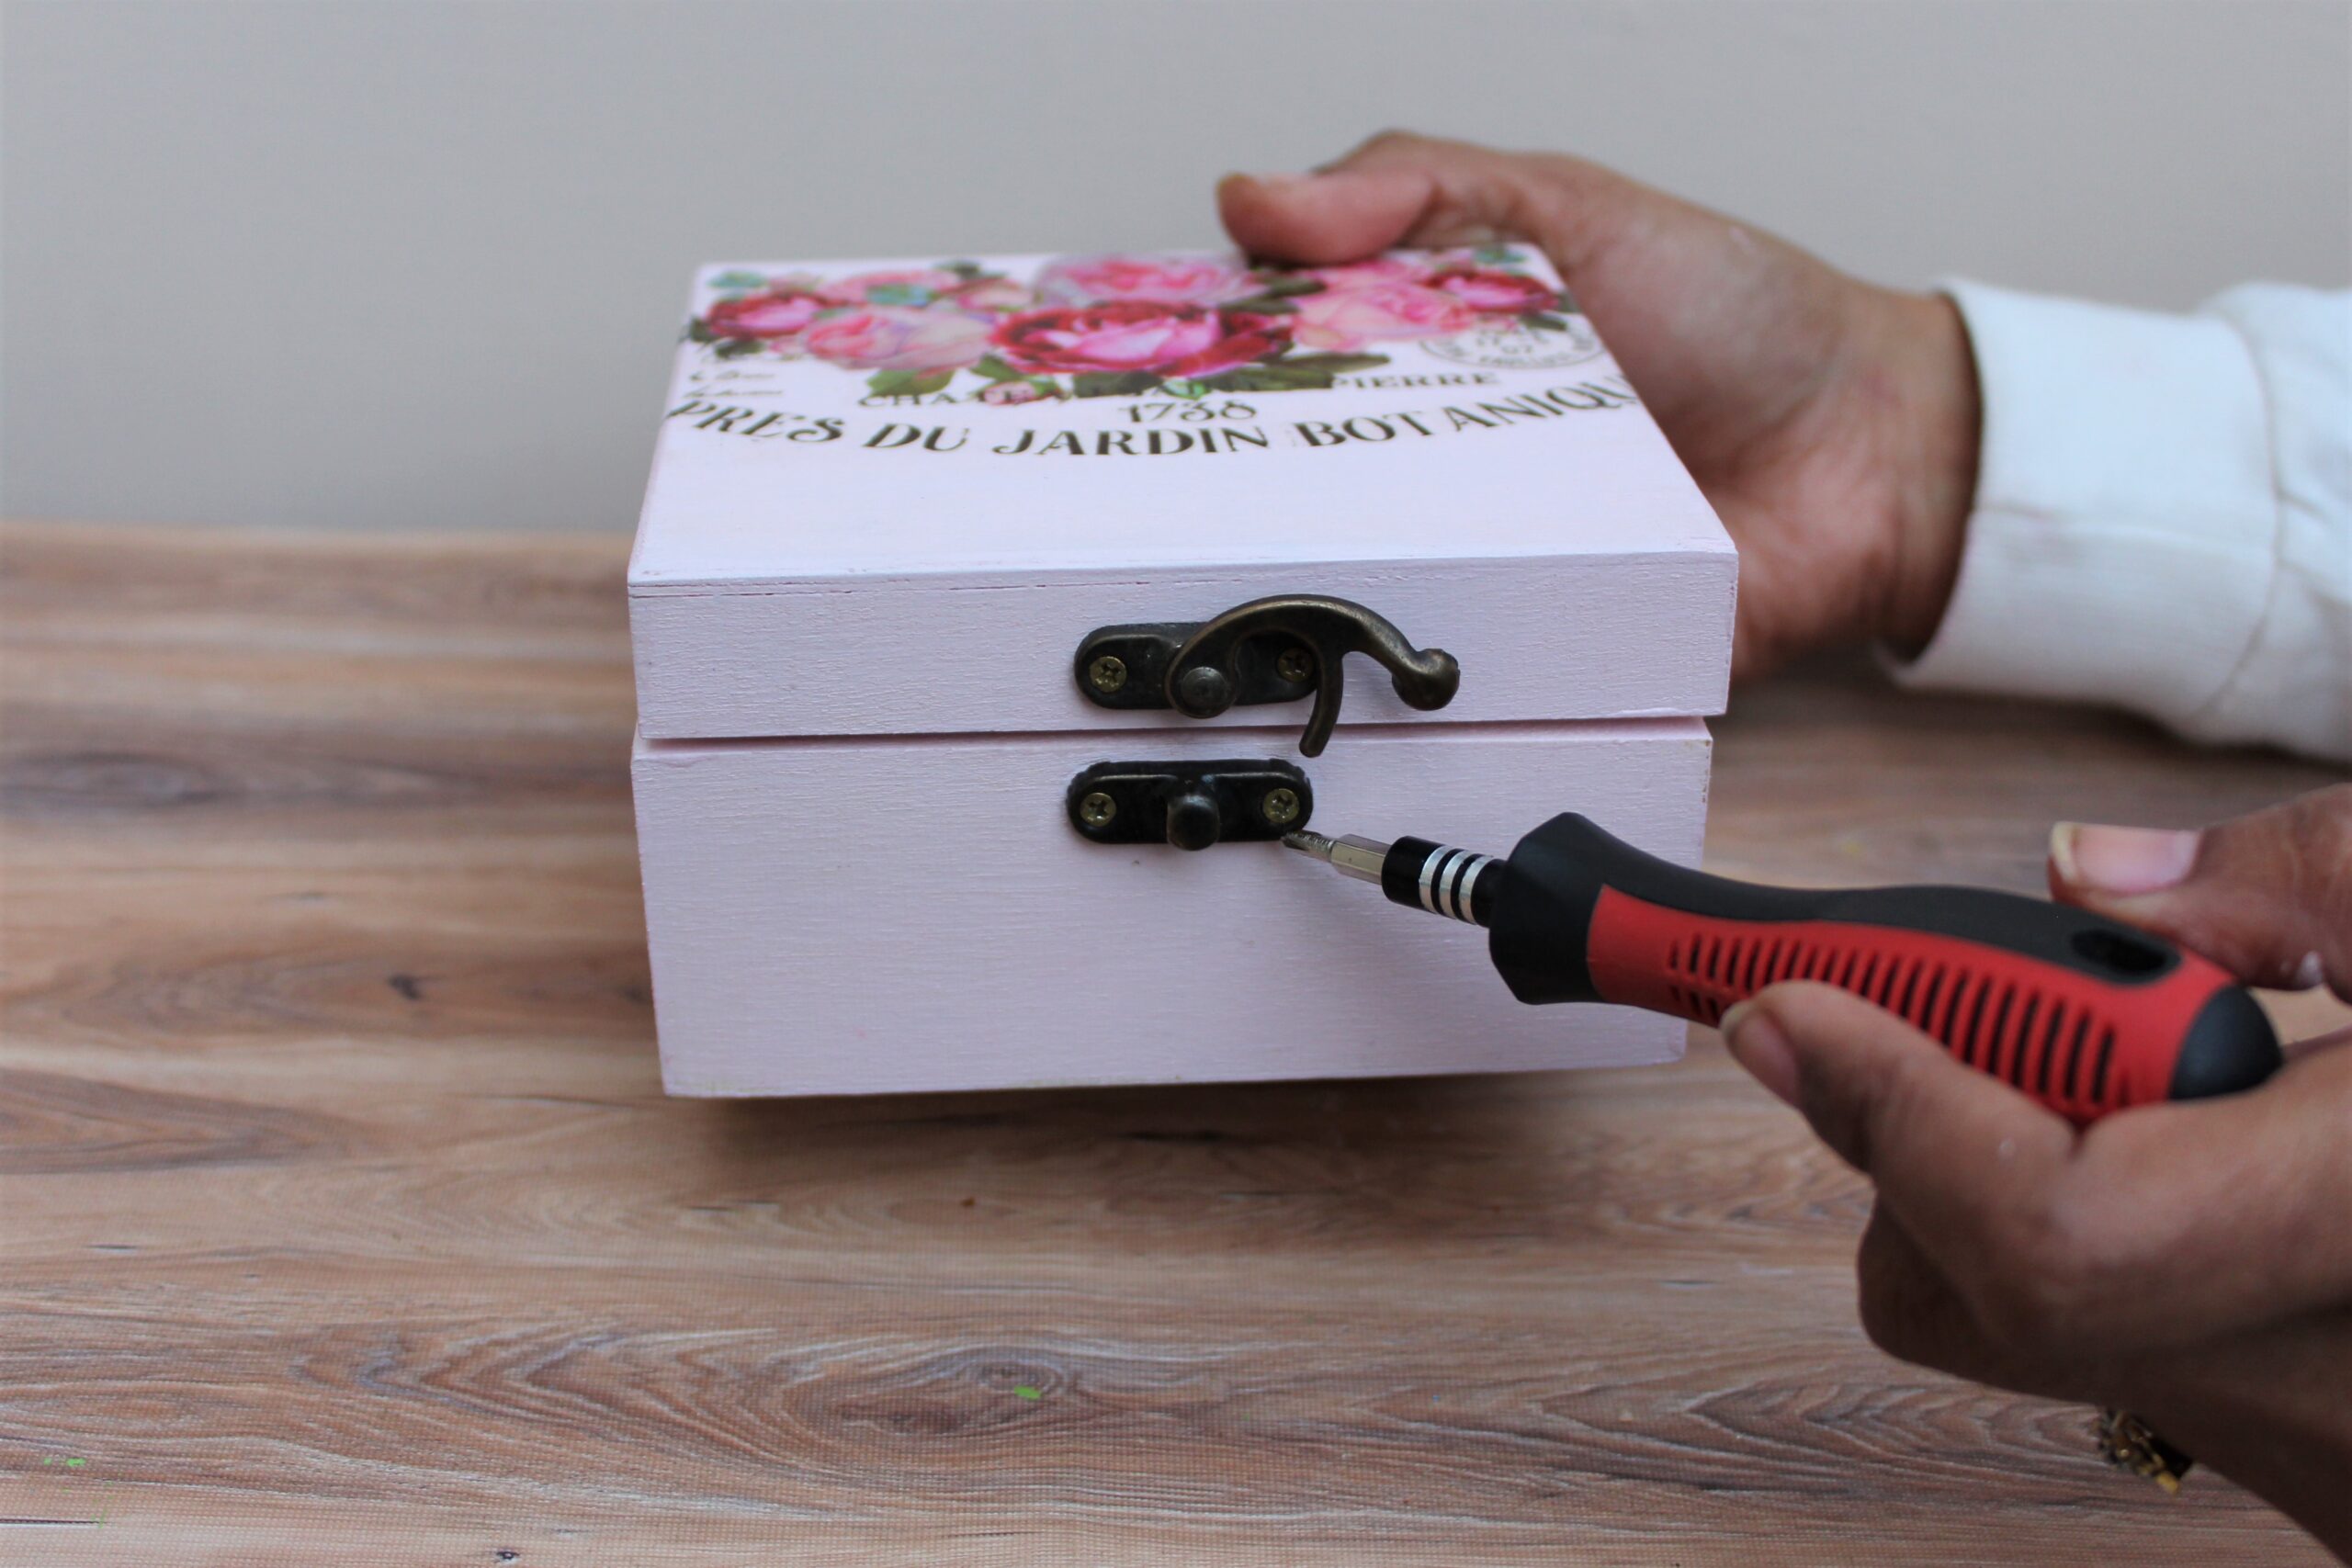
And then I screwed back the hardware’s using screwdriver.
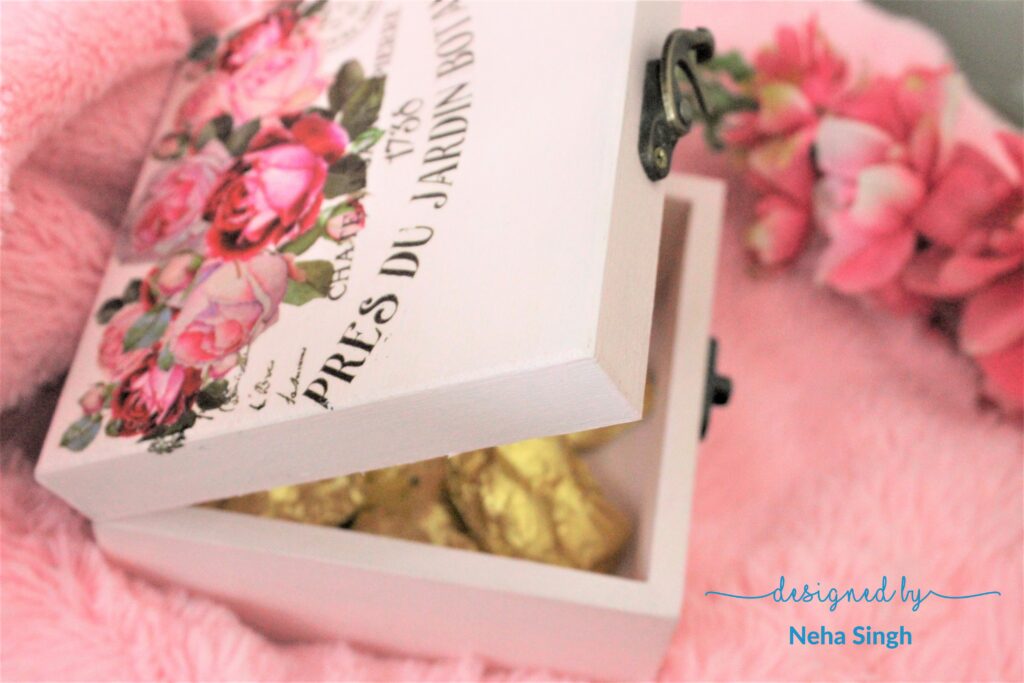
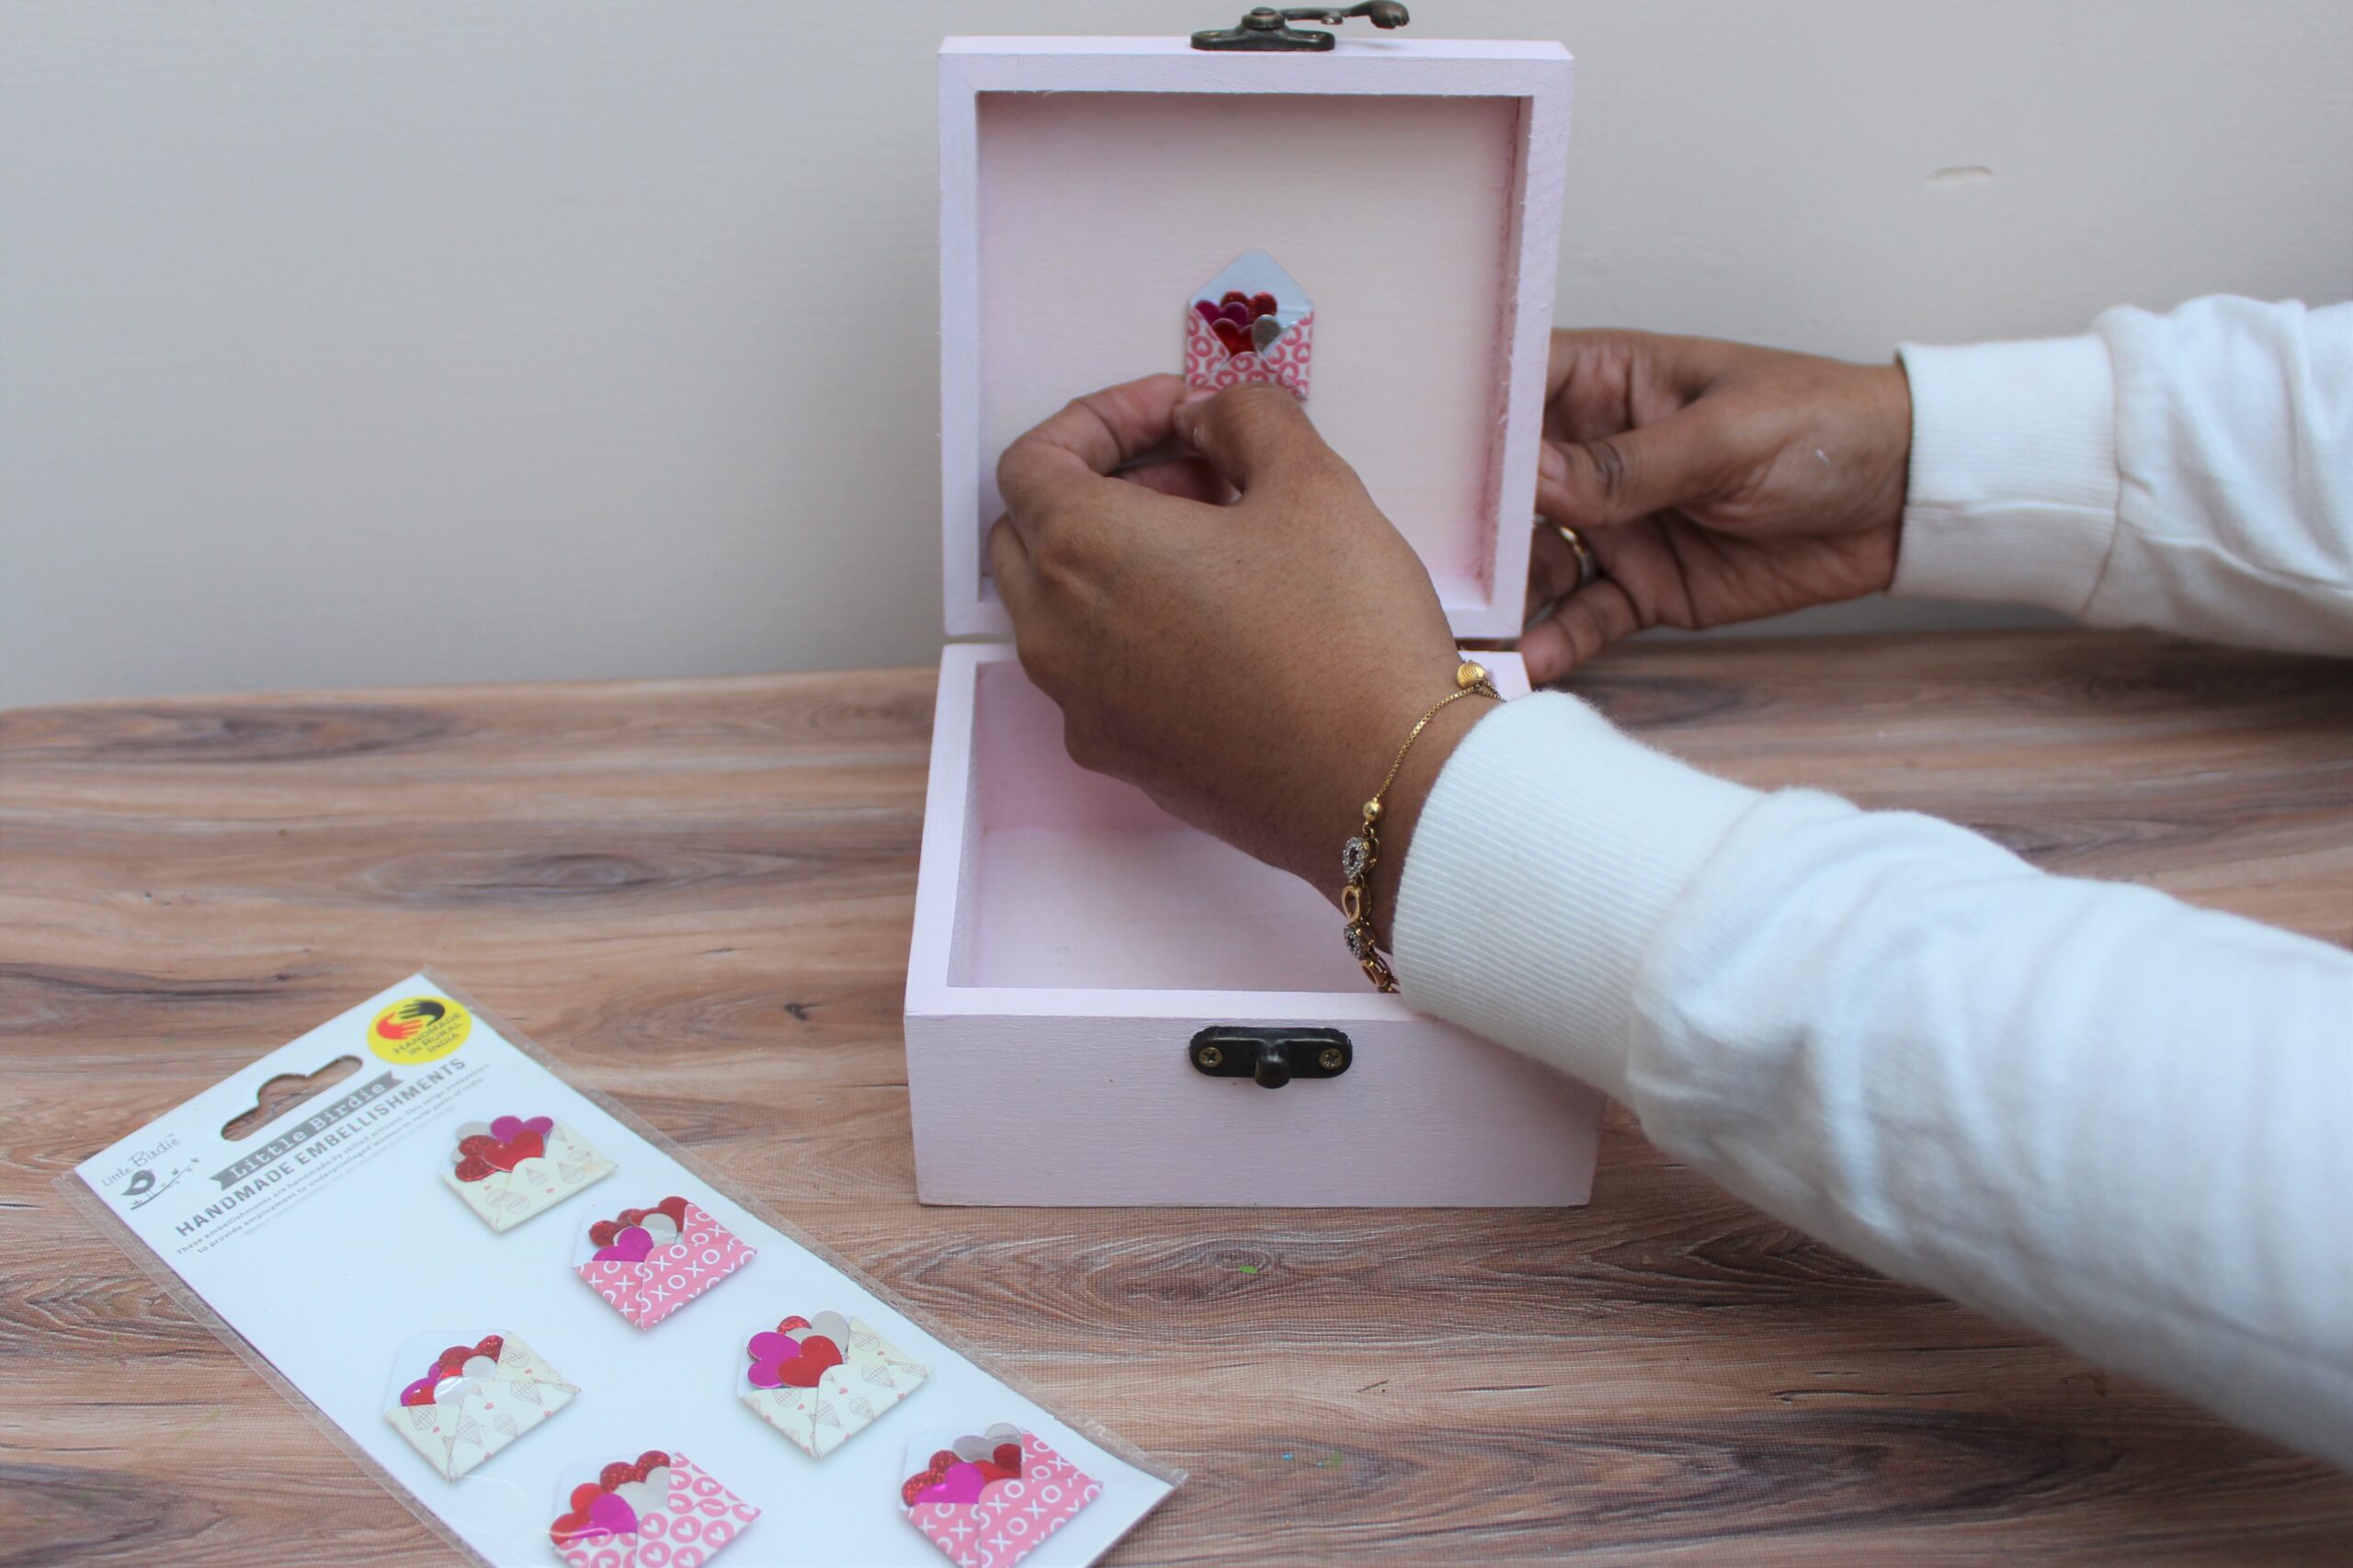
Lastly, I added this cute little embellishment to enhance the beauty of the box from inside as well.
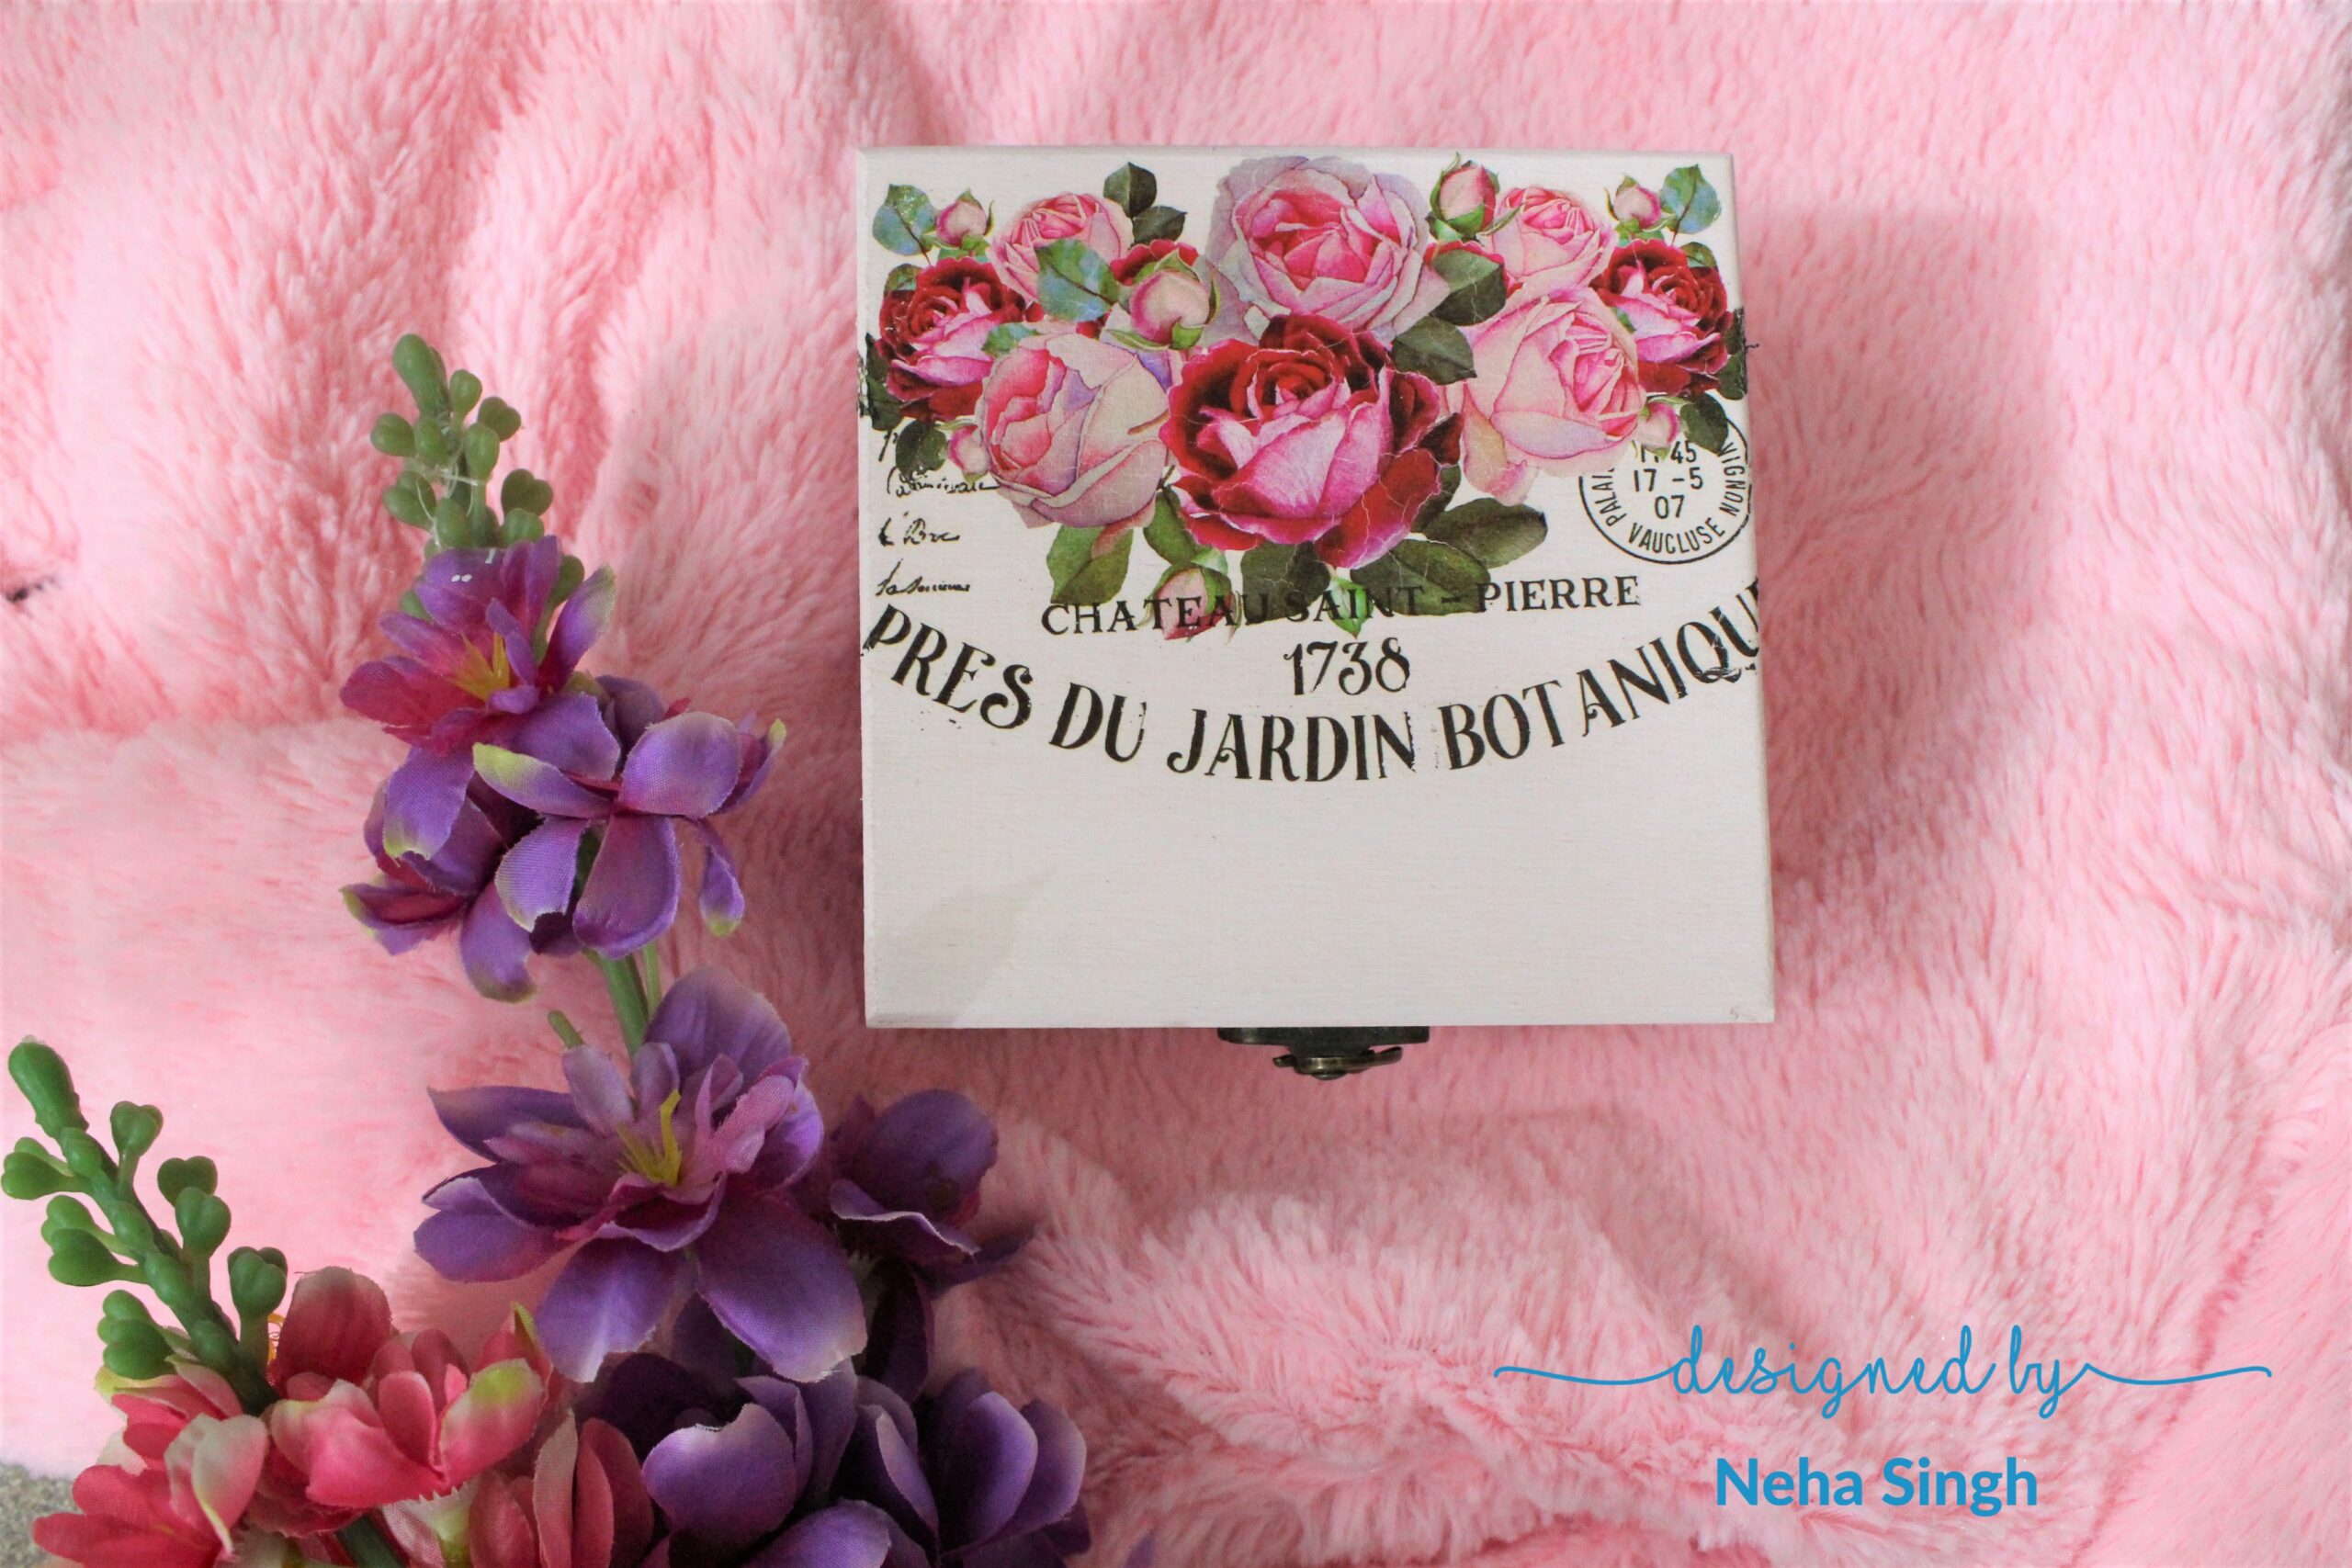
Here are some more pictures of the box.

I hope you enjoyed today’s blog and I also hope that you find this tutorial inspiring enough to try this project on your own. If you do so, then do share it on Itsy Bitsy Crafters Café and other social media platforms and do not forget to tag ITSYBITSYCRAFTSTORE.
Thankyou for stopping by.
Use code NEHA5 to buy any product at www.itsybitsy.in and get 5% discount on your total bill.
Here is the list of products:


