Deco Transfer Home Decor
Hello all!! DT member Shweta Singh
here with my first DT project .
Step -1
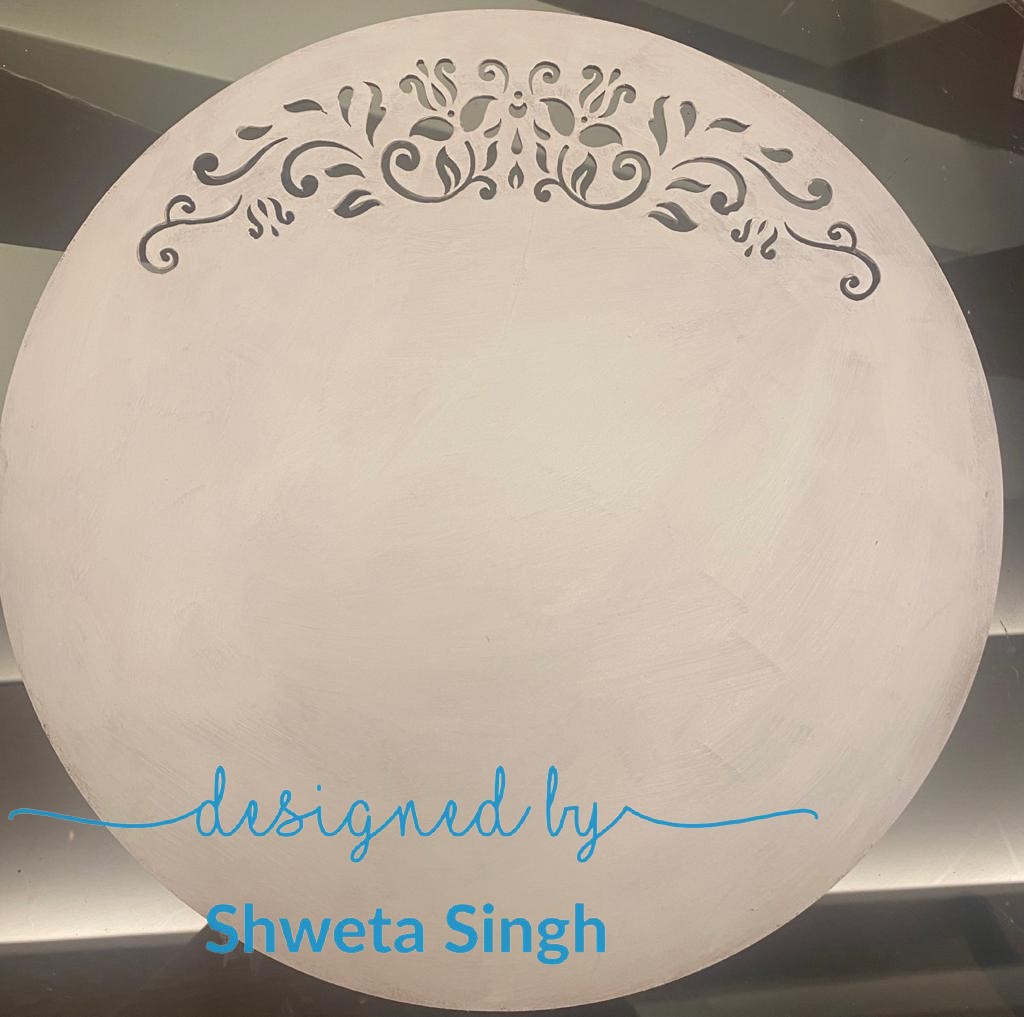

 Step-2
Before sticking the middle part of the mould, I took a deco transfer sheet and cut a design out of it. Now I gently removed the film over it and stuck it upside down on the centre of the base. I took a wet sponge and started gently pressing it on the design. I did it until the white paper came out, which I removed by sliding it.
Step-2
Before sticking the middle part of the mould, I took a deco transfer sheet and cut a design out of it. Now I gently removed the film over it and stuck it upside down on the centre of the base. I took a wet sponge and started gently pressing it on the design. I did it until the white paper came out, which I removed by sliding it.

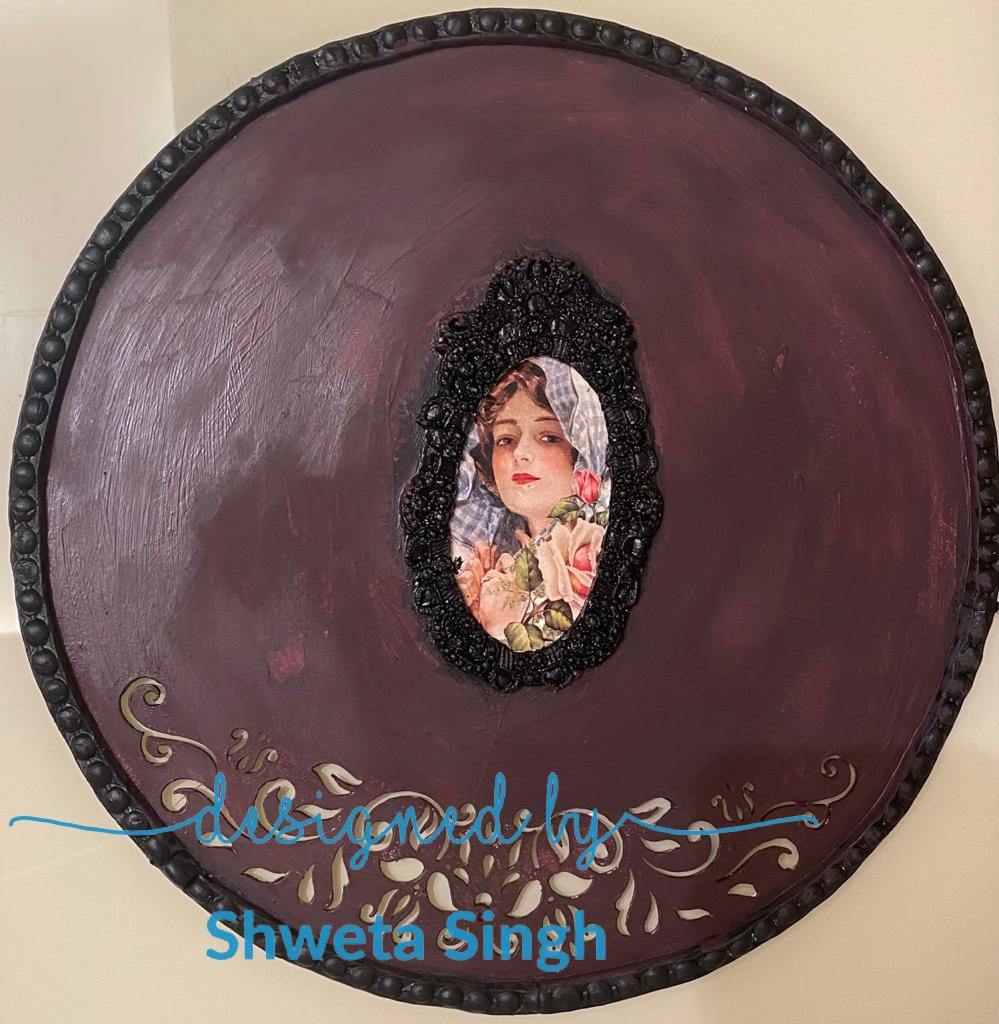
 Step-3
Now I coloured the base with Passionate Plum chalk colour from the store and coloured the moulded part with the black.
Step-3
Now I coloured the base with Passionate Plum chalk colour from the store and coloured the moulded part with the black.
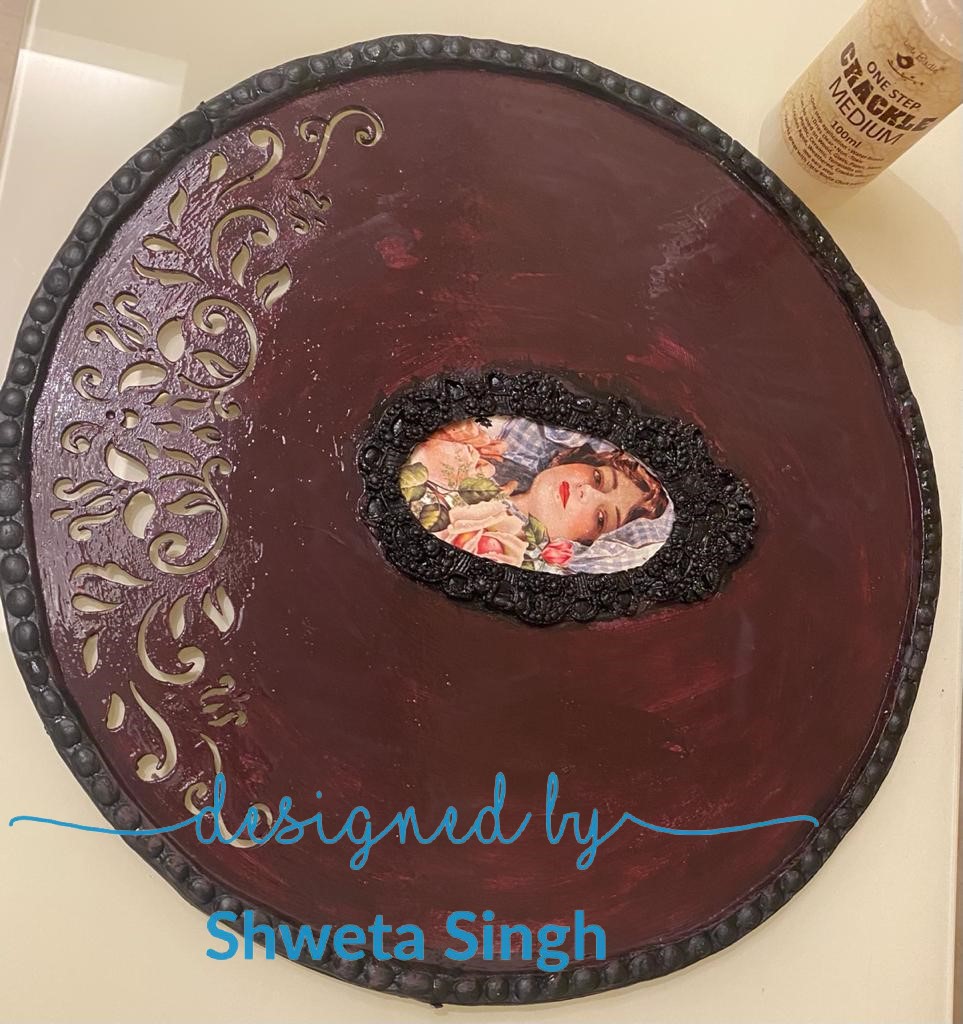
 Step -4
After drying the deco transfer design, I varnished it. I took one step crackle medium and spread it all over the base (the part coloured with Passionate Plum) and let it dry.
Step -4
After drying the deco transfer design, I varnished it. I took one step crackle medium and spread it all over the base (the part coloured with Passionate Plum) and let it dry.
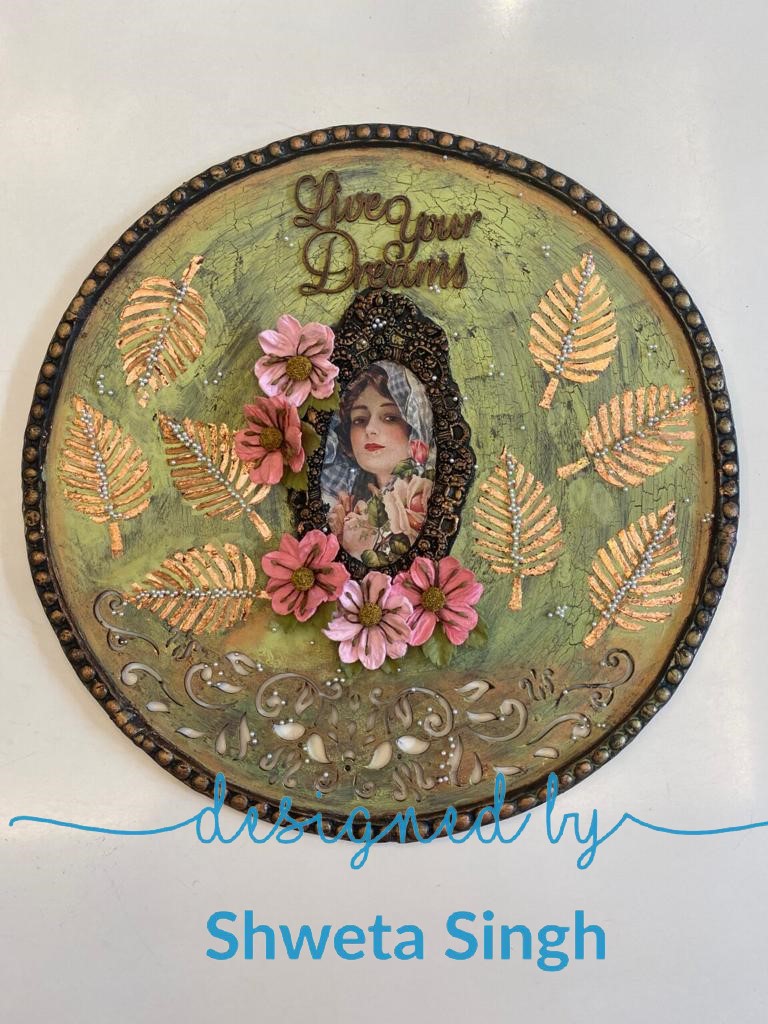
 Then I took Wild Wasabi chalk paint and spread it over the crackle medium with a brush. Cracks started appearing .
 Step -5
 I applied gilding paste from Itsy Bitsy with the help of a stencil from the store. I let it dry. Then I took copper leaf and did some gilding work. I used rich gold, copper, and green patina metallic waxes on the molds here and there. Now I took a sentiment chipboard, coloured it dark brown and used Copper Blaze wax on it. Placed it on the top .
 Step -6
I decorated the project with handmade flowers from the store and some pearls. Don’t forget to varnish it with Little Birdie Decor Varnish (2 layers). My project was done!
Step -6
I decorated the project with handmade flowers from the store and some pearls. Don’t forget to varnish it with Little Birdie Decor Varnish (2 layers). My project was done!
This is such a wonderful piece of Art. And the way the technique has been taught even an amateur can make it perfectly now. Thank you dear Shweta for bringing this beautiful Craft idea before the world 💖🌍
Thanks Shaily for your kind words and visiting my blog.Thanks a lot❤️
Awesome work & at first glance the clay frame appears to me ready made…..awesome & seeing step-by-step & detailed explanation its really seems easy to make now …..thanks
Excellent