Hello everyone, it’s great to see your enthusiasm for crafting and appreciation for crafters! That’s why it’s such a pleasure to share a story of a talented crafter every week in ‘Crafter in the Spotlight’. Today we will hear it from Tulika Saha, a talented crafter from Kolkata. A home-maker and a mother, Tulika’s childhood passion for art and craft has turned into her profession now. She is a decoupage and paper craft enthusiast and also has a passion for up-cycling rather than throwing away things which can be reused!
Tulika works with her sister to create beautiful handmade decoupage products. She wishes to make crafting her full time profession in a couple of years.
Read further to find out how did Tulika get into crafting, what inspires her, how she wishes to encourage fellow crafters to follow their passion for crafting, her favourite quote and how would she contribute to the crafting world if she had magical powers? Also, get inspired by her step by step project. Don’t forget to shower some love on her in the comments section.

Rashmi Closepet M.D Itsy Bitsy: Tell us a bit about yourself & your background?
Tulika Saha: Hello All! I am Tulika Saha from Kolkata, the ‘City of Joy’. Currently, I am a home-maker and a mother of a cute baby boy. I have about 12 years of teaching experience in different schools of Kolkata and Howrah. I enjoy decoupage, up-cycling discarded products and exploring new paper crafting techniques. I love collecting and hoarding various craft materials from offline and online craft stores. I believe constant motivation is essential to continue crafting and hence I draw my daily dose of inspiration from You Tube tutorials posted by other crafters. I visited the Itsy Bitsy store at Phoenix Mall in Bangalore and couldn’t stop drooling at the amazing collection. I collect my Itsy Bitsy haul whenever I visit Bangalore!
RC: How did you get into crafting?
TS: I love playing with papers. I have always enjoyed making handmade cards for my near and dear ones since childhood. My interest in art and craft has been inherited from my mother and after marriage; my husband and sister have been my biggest support system. Post having a baby, I was looking for a job with flexible working hours, or a ‘work from home’ option and that’s when I realized that pursuing my crafting hobby, will perfectly fit in my life’s schedule. I quit my teaching job and have taken to crafting since then. Most of my creations are made from customized MDF boards and stencils. I conduct Decoupage classes and undertake corporate orders and orders for home décor pieces.
RC: What is your favourite type of craft?
TS: My favorite type of craft is Decoupage. I love paper crafting too.
RC: What are your favourite products at Itsy Bitsy?
TS: It is very difficult to name few favourite products at Itsy Bitsy. I can spend an entire day looking at the product range at the store and simultaneously think about the projects I can make with them. I love Little Birdie Chalk Paints, Tinted Metallic Paints, Decoupage Glue, Decoupage napkins, Mixed Media Paste, Resin & Hardener, Crackle Medium, Handmade Flowers, Color Splash sprays and many more.
RC: If you had magical powers, how would you contribute to the Crafting world?
TS: If I had magical powers, I would spread the joy of crafting to every corner of this world and erase the word “unemployment” from the dictionary.
RC: Your prized possession in your craft stash from Itsy Bitsy?
TS: Chalk Paints, Tinted Metallic Paints, Printed Papers and Color Splash Sprays.
RC: How would you describe your style of crafting?
TS: Although I love antique and vintage style of crafting, I am always exploring trendy and newer techniques.
RC: How do you organise your time for crafting?
TS: With a little baby, it is challenging to take out time to craft. I craft over the weekends and at wee hours, which I get during the day.
RC: Tips for people who want to craft
TS: Crafting is a great stress-buster! Focus on your goal, start small and pour your soul into it. The power of motivation lies within you. YOU must find a way to ignite it!
RC: Your all -time favourite quote?
TS: I have two favourite quotes and they are: “The EXPERT in anything was once a beginner “and “Great things never come from comfort zones”.
Here is a gorgeous project by Tulika & the step by step procedure:
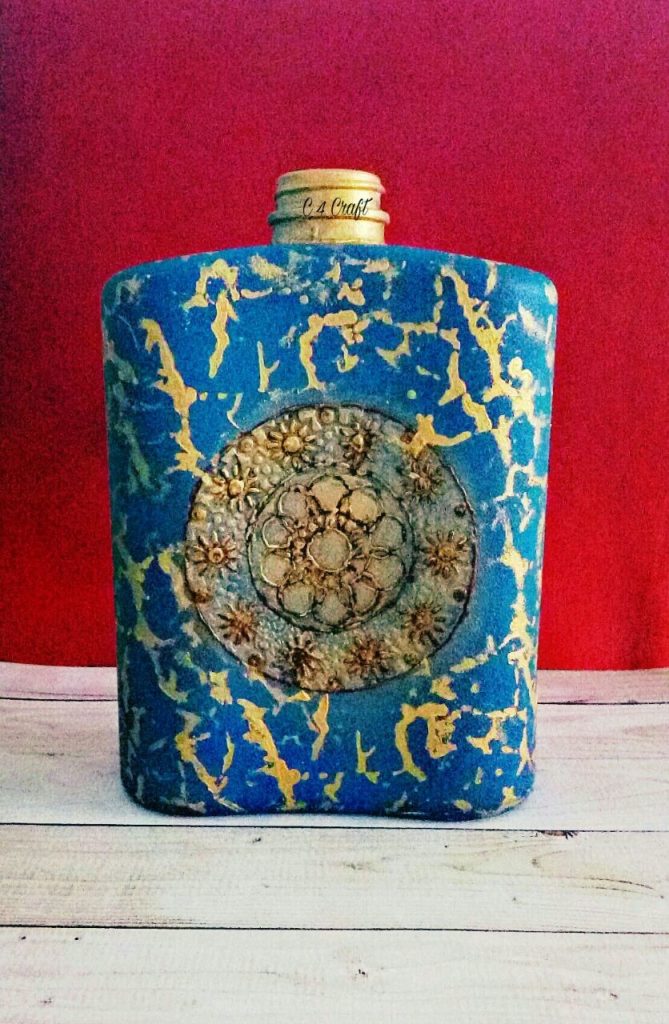
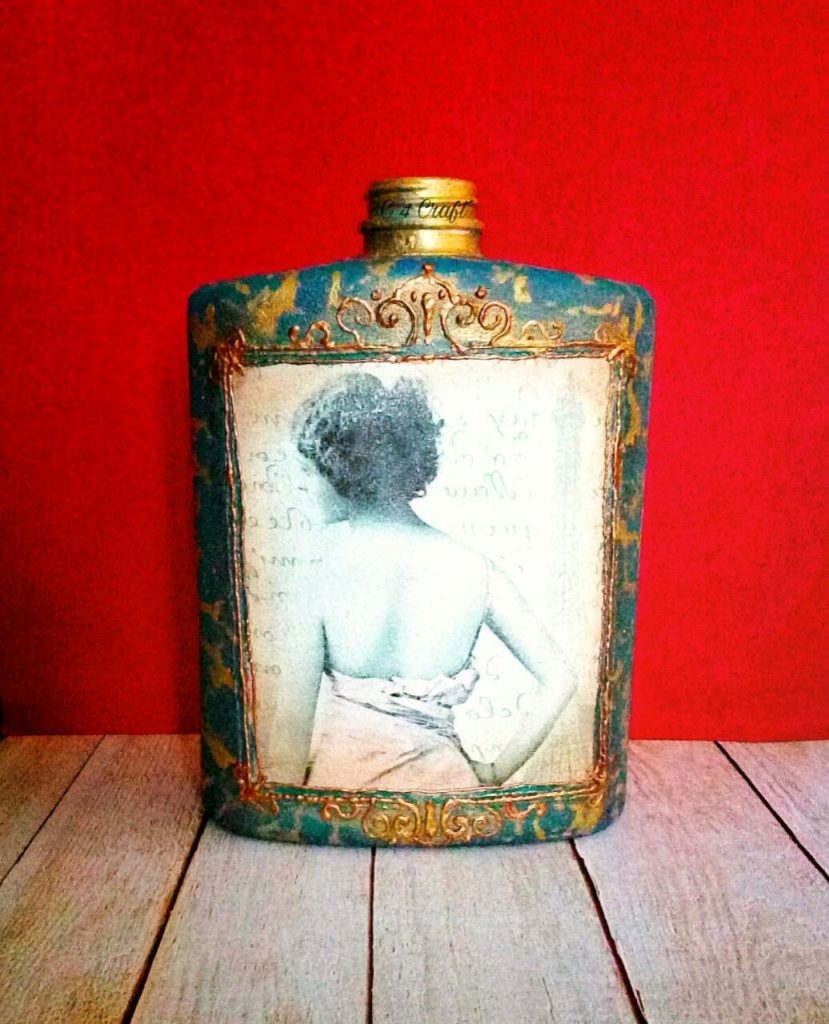
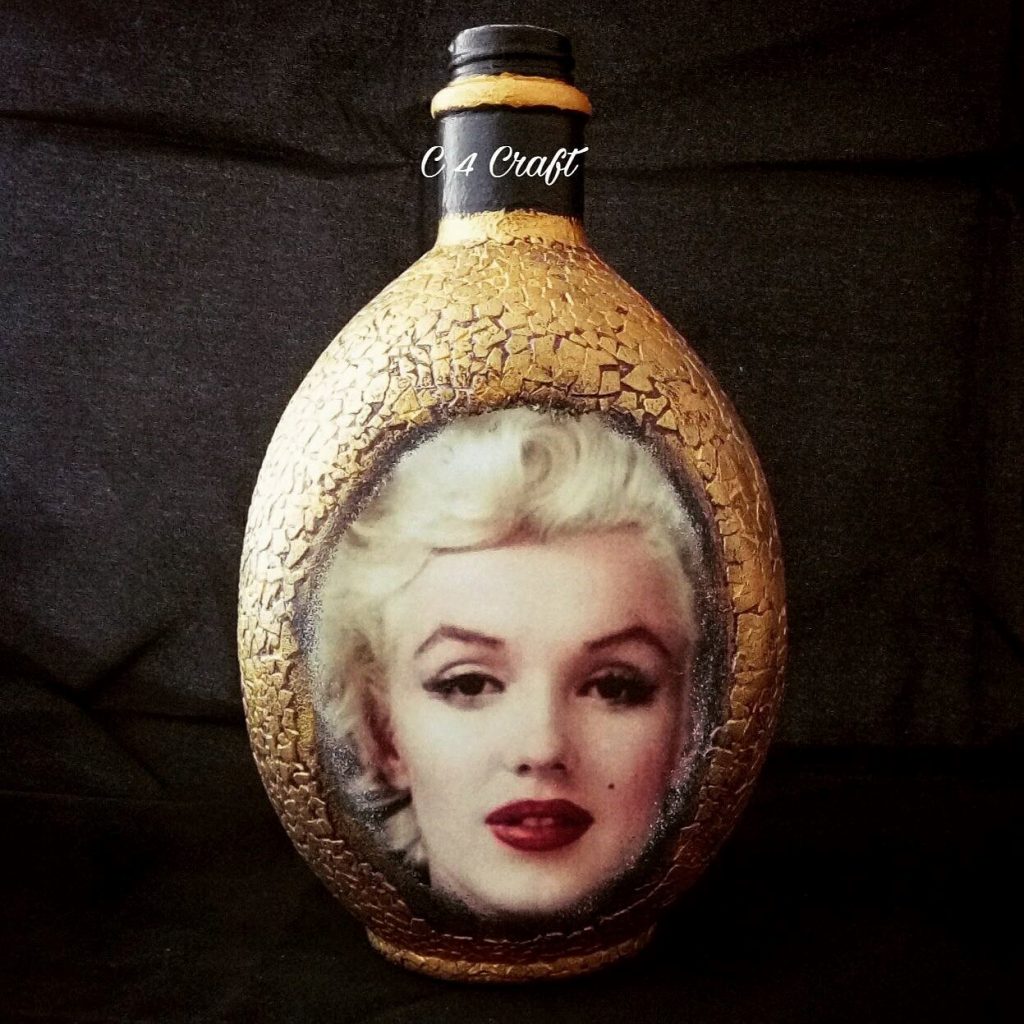
Take a sneak peek at Tulika’s Decoupage step-by-step project of a Vintage altered bottle!
Supplies used from the store:
- Decoupage Printed Napkin – Girl Grit
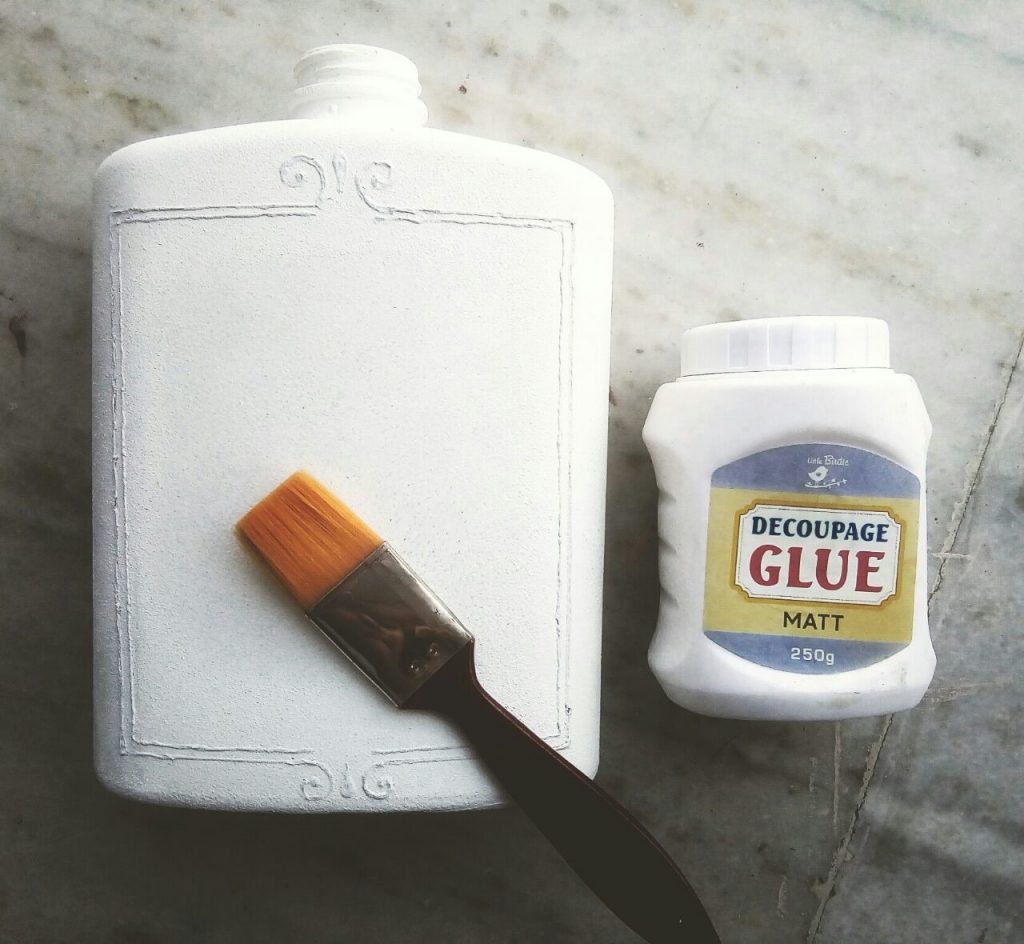
- Little Birdie Decoupage Glue – Matte and Glossy
- Mont Marte Gesso – White
- Mont Marte Stencil Brush
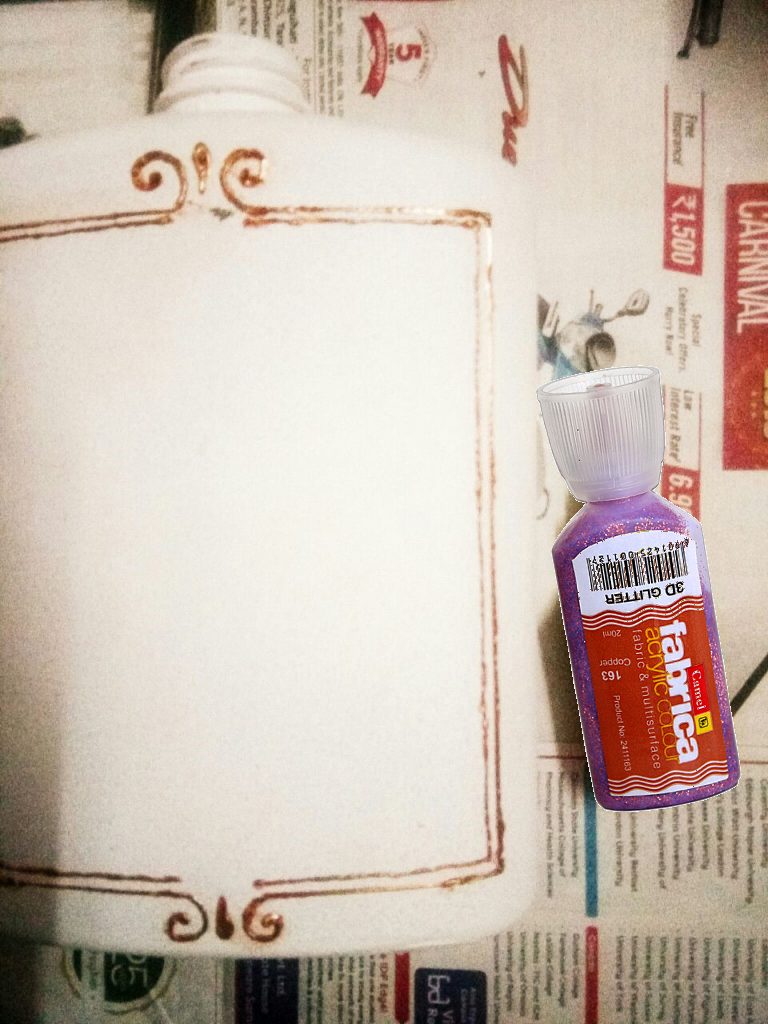
- Others: Camel Fabrica 3D Glitter – Copper, Flat Paint Brushes, Sponge, Glass Bottle and Acrylic Paints
Step 1: Take a glass bottle of your choice. I have taken a glass bottle which is in the shape of a flask. Clean the bottle thoroughly and let it dry. Apply a coat of Mont Marte White Gesso with a sponge on the entire bottle and let it dry. Mark the area where you want to paste the tissue napkin with a 3D Fabrica glitter . I have drawn a free-hand border with a Copper color 3D Fabrica Glitter.
Step 2: Now apply Little Birdie Decoupage Matte glue inside the outlined area.
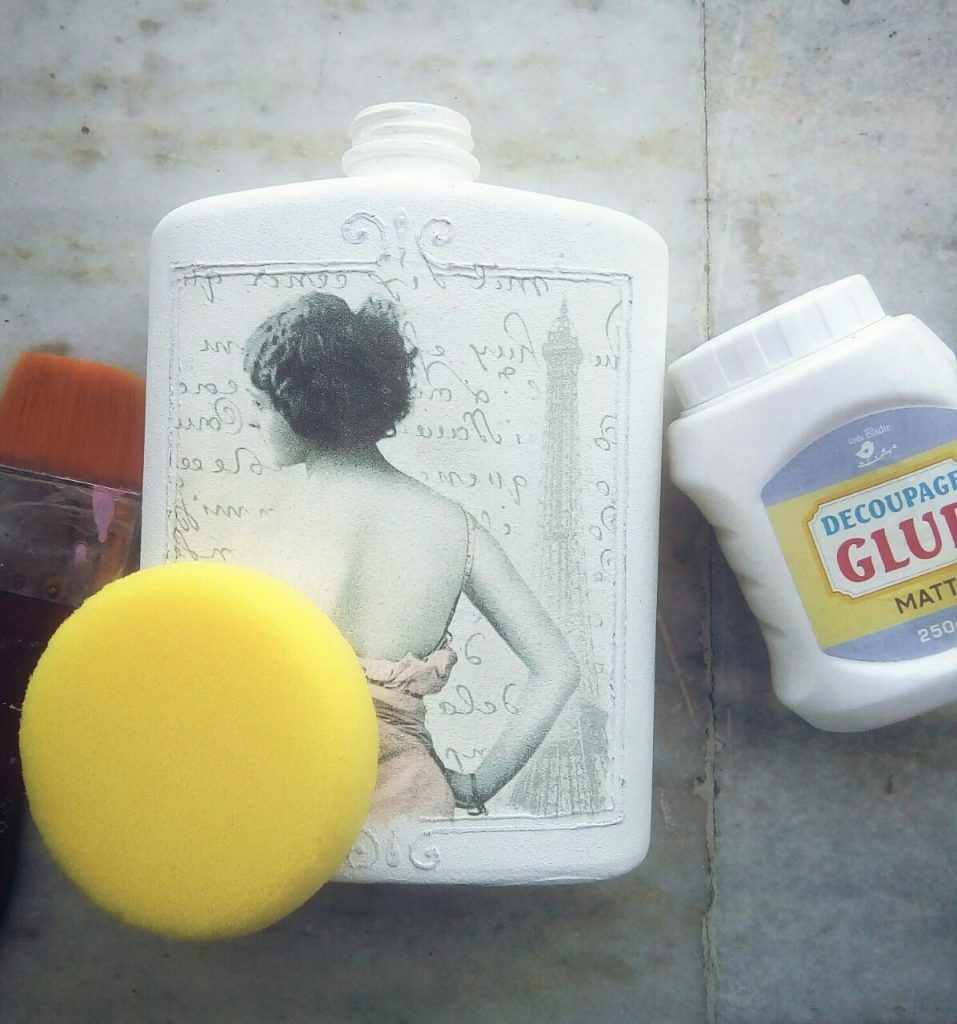
Step 3: Cut out the design from the Decoupage Napkin. Peel off the extra ply from the cut-out design and paste it on the glued area. Dab a moist sponge from the center towards the edges to make sure there are no air bubbles and the napkin has fallen flat on the bottle. Seal with another layer of Decoupage Glue over the tissue napkin. Let it dry completely.
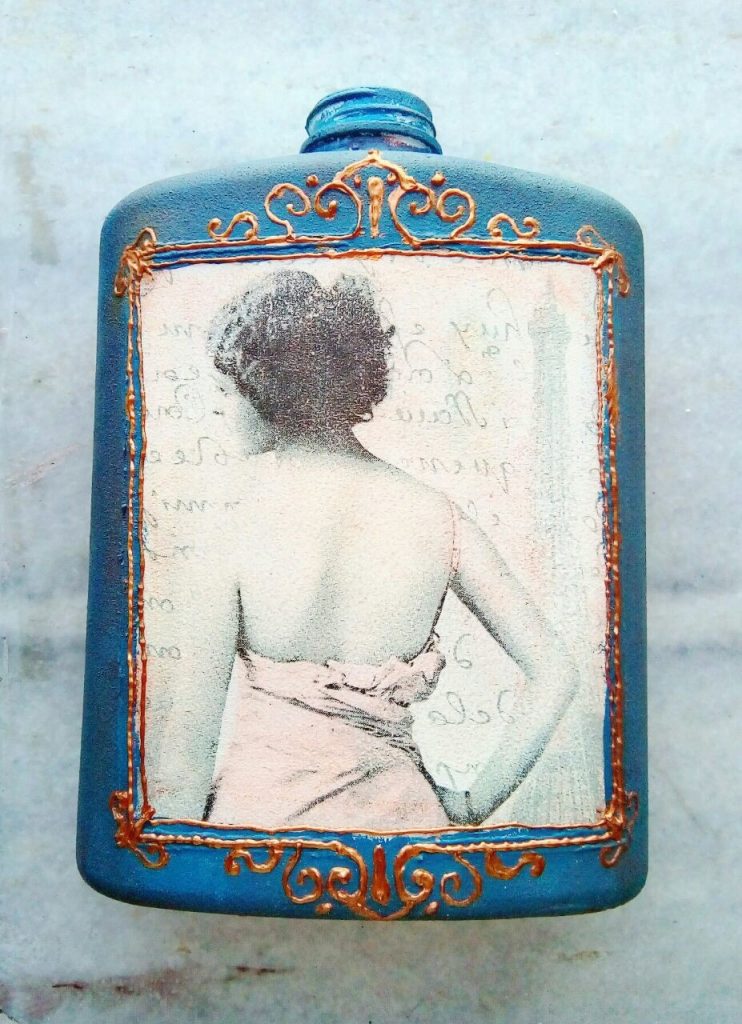
Step 4: Apply Blue Acrylic color all over the glass bottle except the Decoupage area and let it dry. Add finer details to the borders drawn earlier with 3D outliner around the napkin as seen in image.
Step 5: Make any design with the 3D Fabrica Glitter on the back side of the bottle. I drew mandala design on this bottle and highlighted it with a 3D Glitter. Let it dry completely. You can choose to do stenciling on the remaining surface of the bottle. Use Mont Marte Stencil brush for best effects.
Alternatively, you can pour some 3D Fabrica Glitter on a palette. Take some amount of poured color onto your fingers and make random designs on the remaining surface on the bottle. Let it dry (once dried, it will give a crackled effect as in image).
Use distress ink for the corners of the decoupage tissue area.
Step 6: Apply 2-3 coats of Decoupage Glossy Glue through-out the bottle to varnish the bottle. Your Classic Vintage Flask is ready!
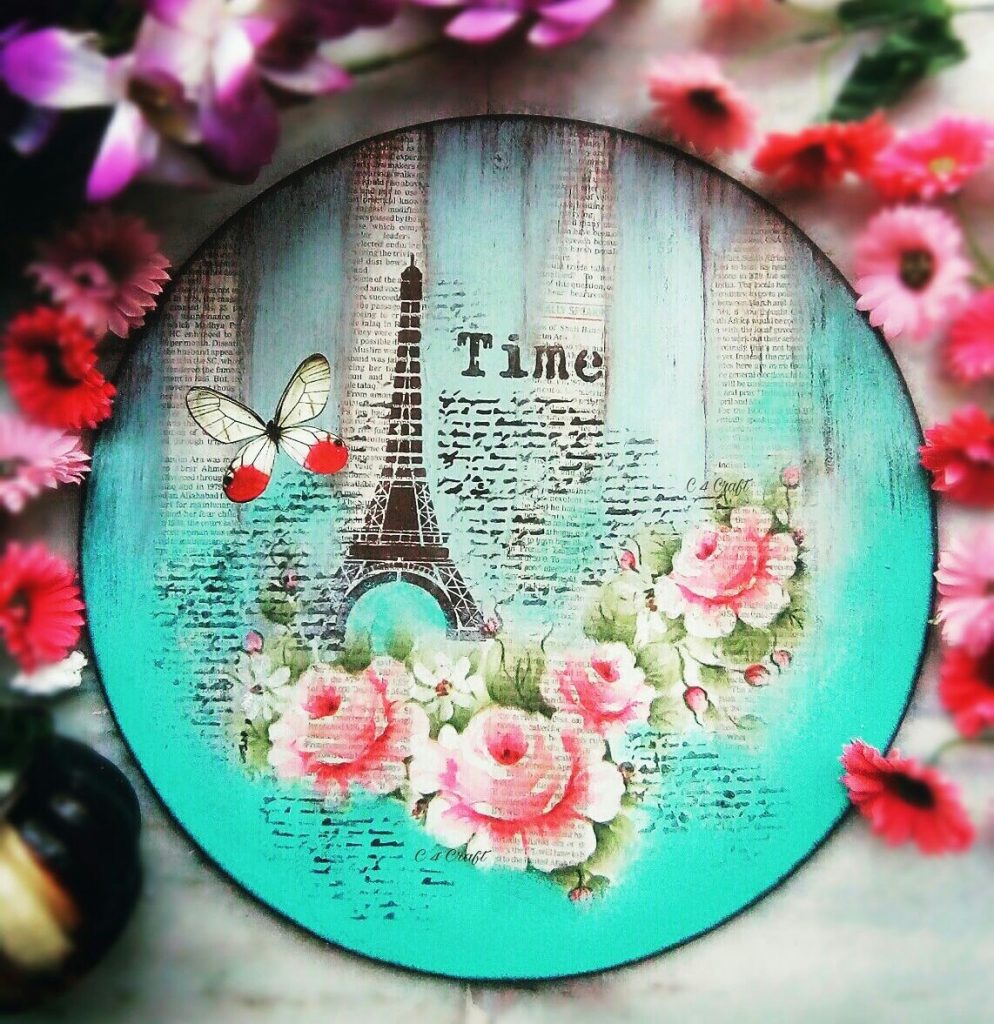
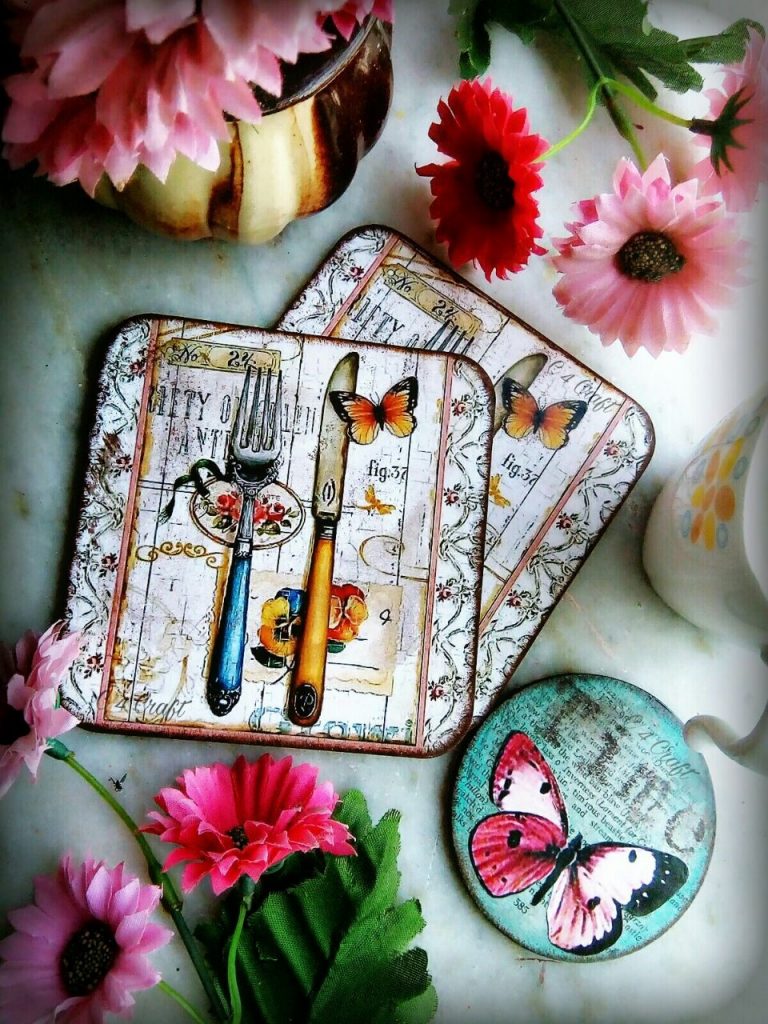
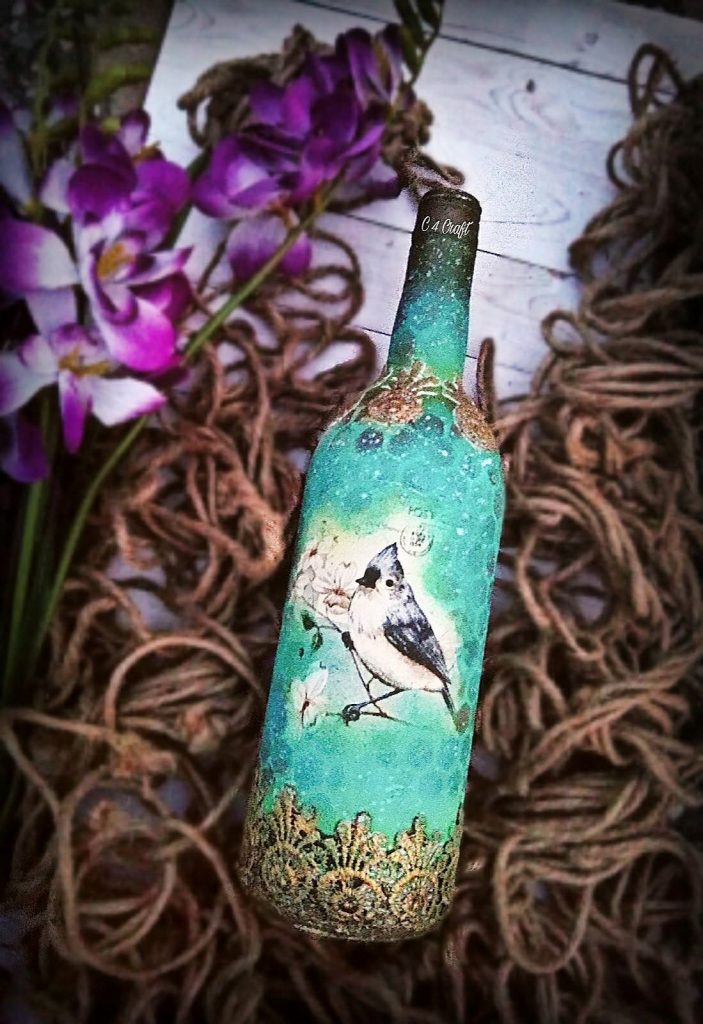
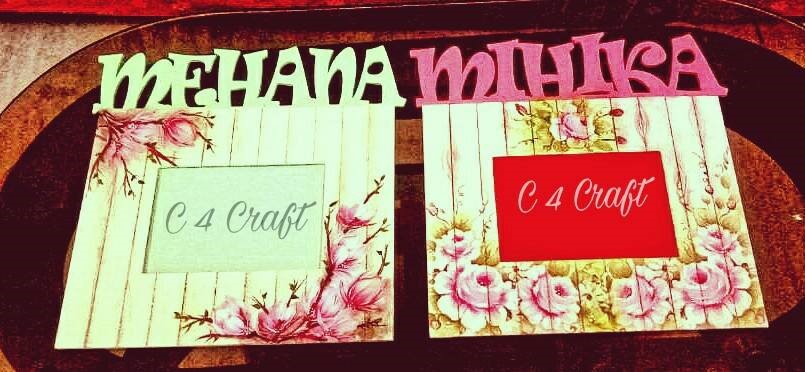
Here are a couple of Tulika’s other awesome creations:
![]()
Many congrats Tulika for being the CRAFTER IN THE SPOTLIGHT – ITSY BITSY !
![]()
You will receive Rs.500/- Itsy Bitsy gift voucher & a Crafter in the Spotlight badge, which can be proudly displayed on the side bar of your blog and other platforms. Looking forward to many more creations, Happy Crafting!
Congratulations Tulika. Lovely projects.