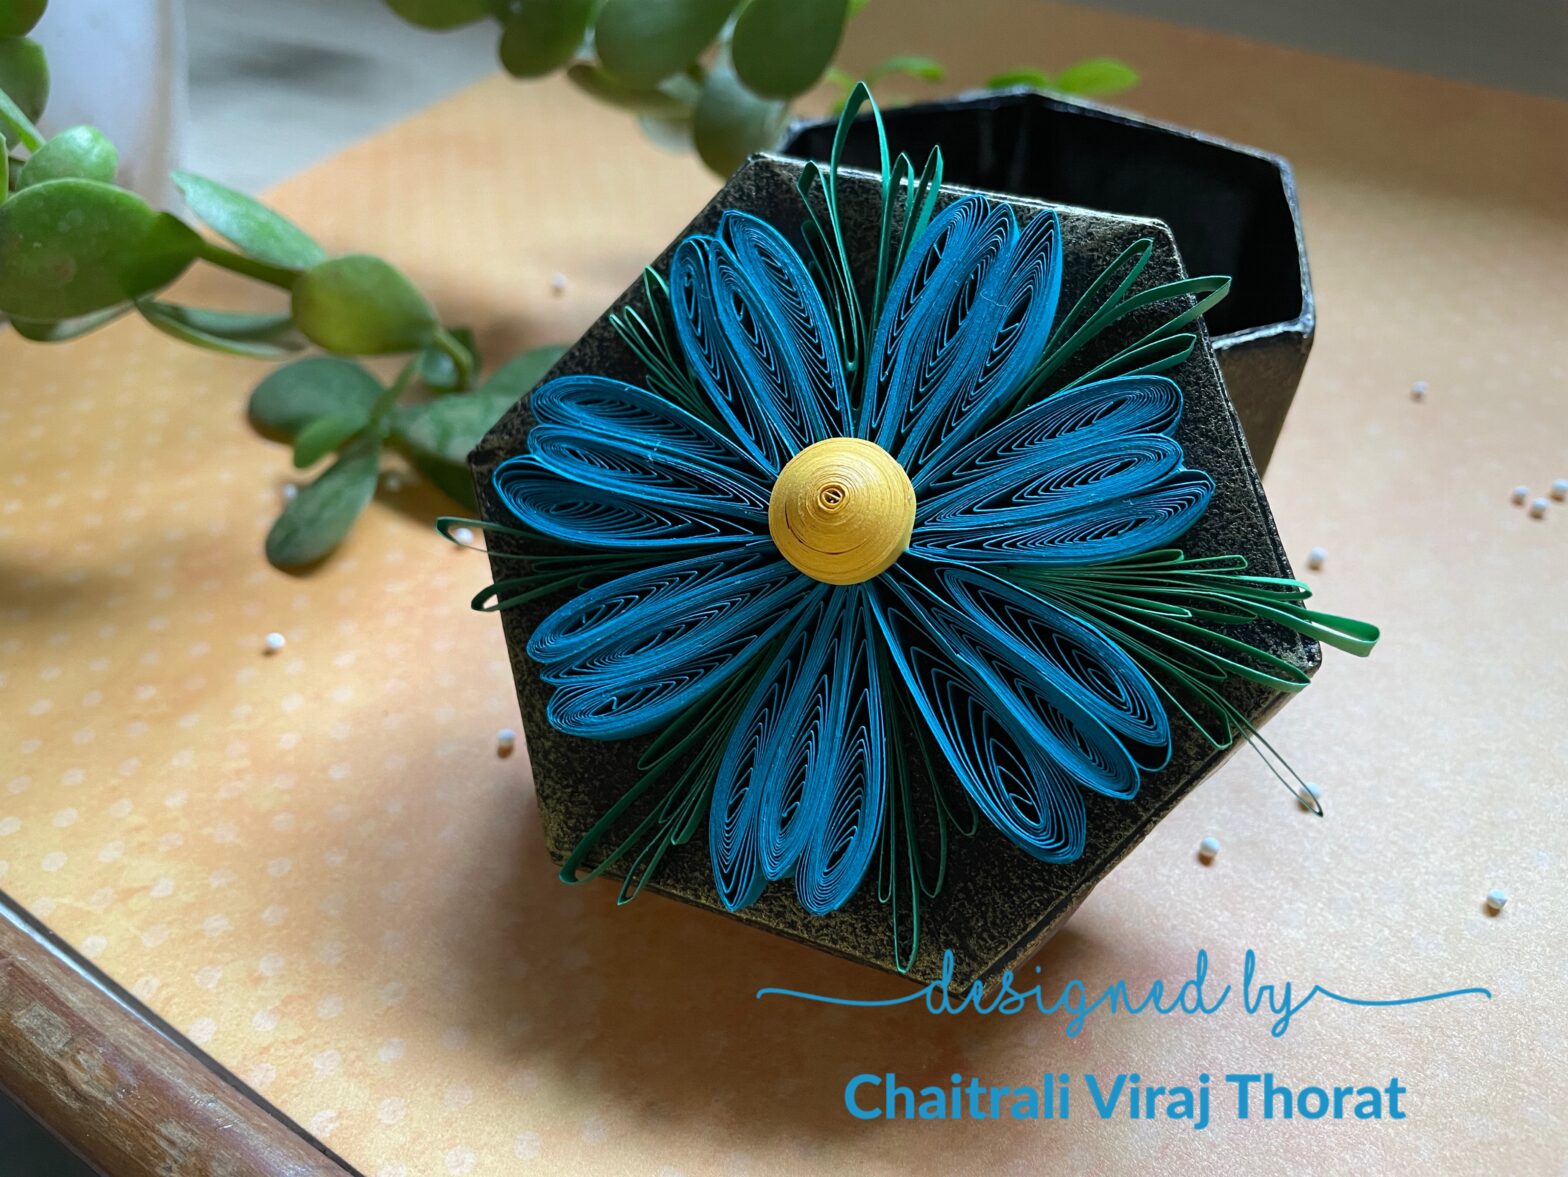
Hello crafters, Chaitrali here! Today I’m sharing a step by step video of how to make a paper quilling flower which can be used to decorate the top of a gift box. Hope you guys like my project. Thank you for stopping by. See you soon with another fun project! Use code CHAITRA5 to buy any product at www.itsybitsy.in and get 5% discount on your total bill. Materials used are: Little Birdie Premium Quilling Extra Long – Lemon, 3mm, 50 Strips Glue Applicator -1pc Itsy Bitsy Quilling Read more…
Category: chalk paint
Vintage Candle
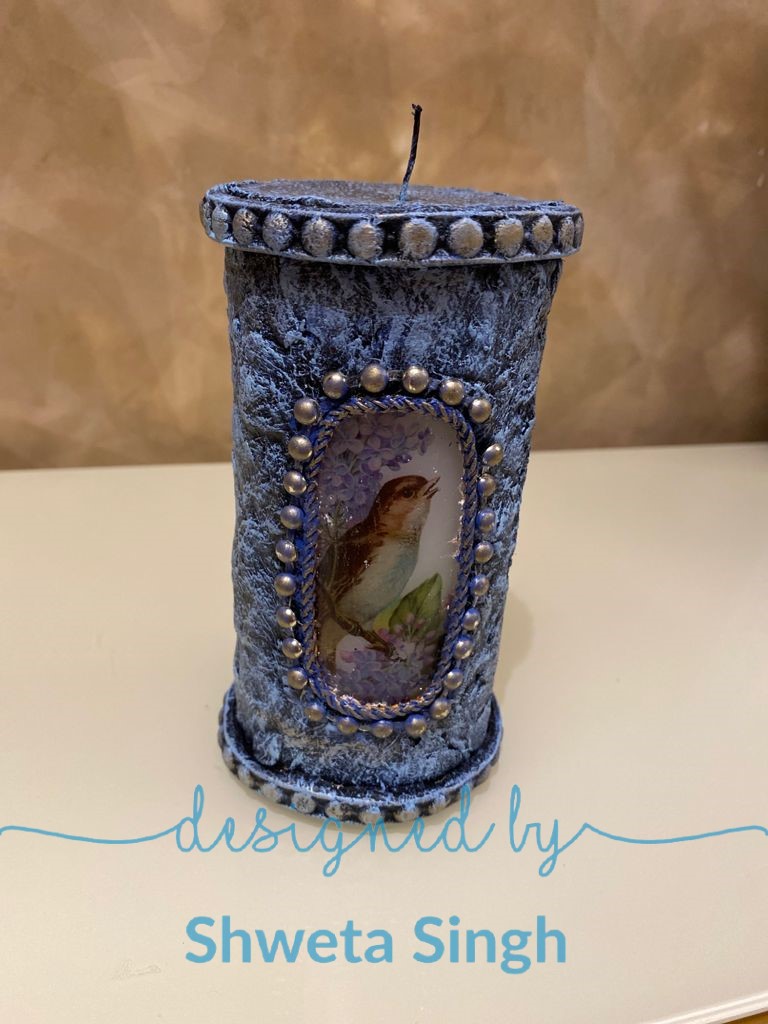
Hello Art lovers! Welcome back to my blog, Shweta Singh here! This festive season let’s create vintage candle in few easy steps. First Step Cut the Deco Transfer sheet, remove the film over it, turn it upside down and stick it to the base then dab it gently with wet sponge and remove the white paper by sliding over it . Second Step I applied Fiber paste over the candle with my fingers. Let it dry . I used some embellishments and clay moulds to decorate it. Then I applied black Read more…
Altered Wooden Plank – Vintage Bird
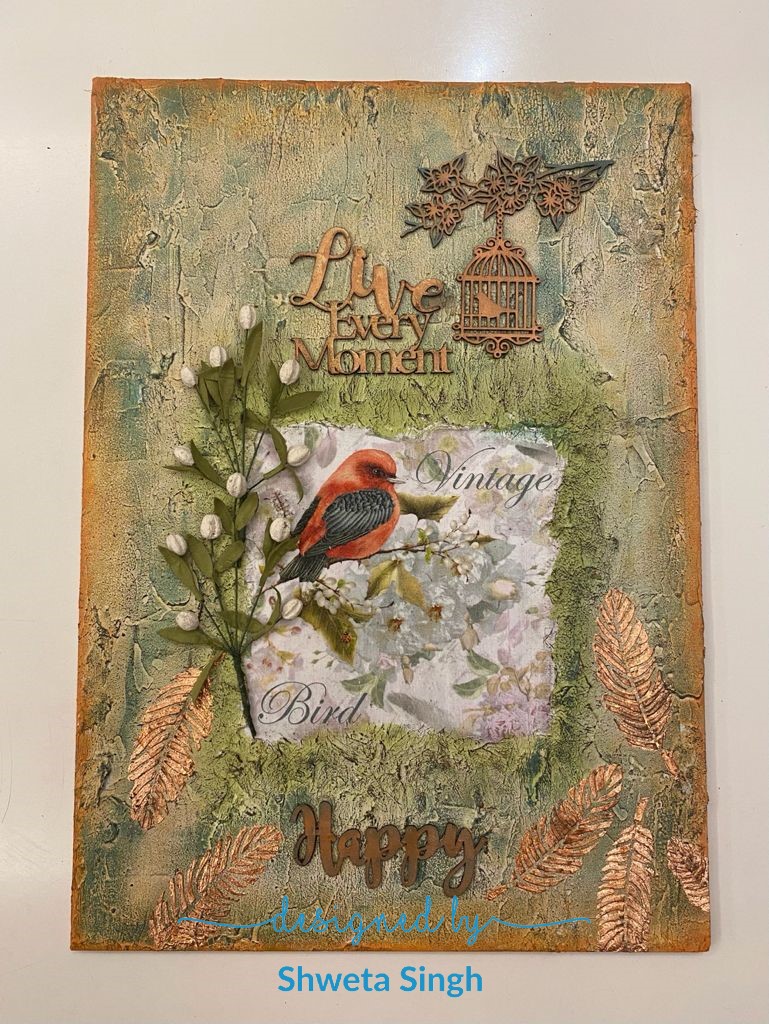
Hello! Art lovers! Shweta Singh here. A very warm welcome to all of you. Today I am here with my new project . This is based on the theme “Happiness”, which we get when we accept ourselves as we are. Hope you all will like it . FIRST STEP I took a wooden plank from the store and primed it with Little Birdie gesso. I did it only on that portion where I wanted to the stick tissue. Then I textured it with mixed media paste and a palette knife. SECOND STEP Then I took Read more…
Pretty Rose – Sculpture Painting
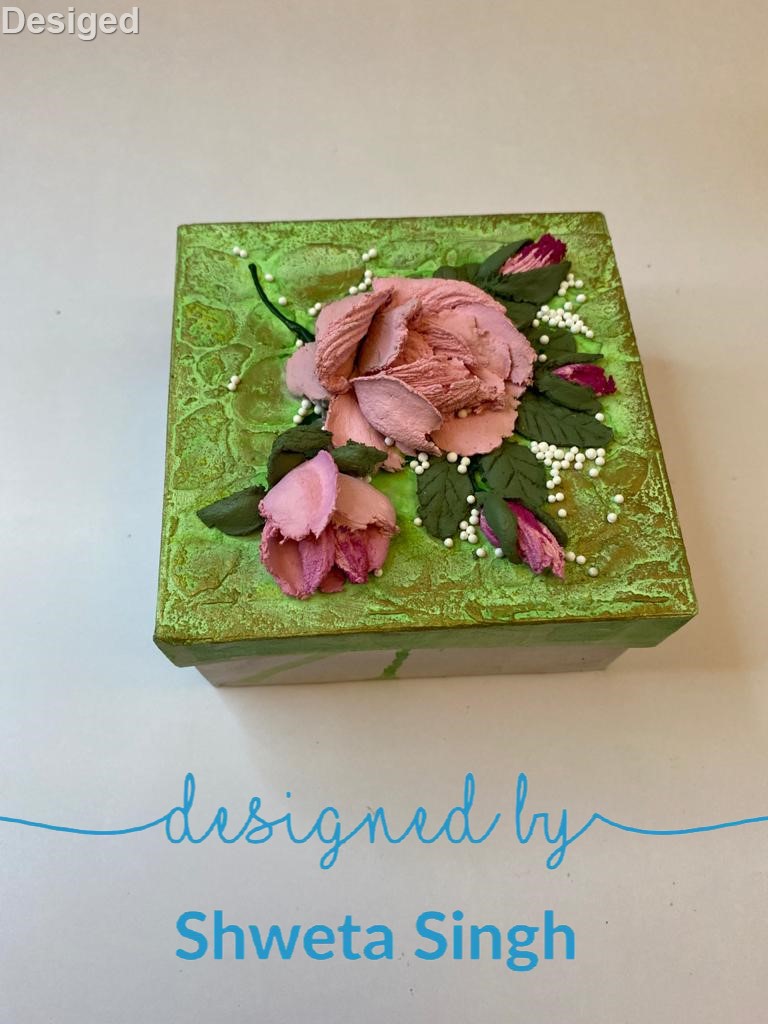
Hello art lovers, Shweta Singh, Itsy Bitsy BA on the blog. A very warm welcome to all of you! Today I am here with a sculpture painting done with Little Birdie sculpture paste. They are so easy to handle and are surely one of the finest pastes. First Step I took a paper mache square box from the store, primed it with Little Birdie white gesso. Second Step Now I took a stencil and created a pattern with the help of mixed media paste and a palette knife. After it was dry, I sprayed Little Read more…
Golden Ganesha Home Decor

Hello Friends! Welcome to my first post for Itsy Bitsy! Today’s blog post is a very beautiful and rustic wall decor. So let’s start! Decoupage Art- Golden Ganesha! Materials used- MDF Base from Itsy Bitsy, Deco Transfer sheets, Resin Ganesha embellishment, Little Birdie Chalk paint, Drift Wood and Charcoal, Tinted metallic paint – Golden Glaze, Decor varnish – Gloss, Silicone Glue. Brushes and sponge for application. STEP-1 Firstly combine the chalk paint shades Charcoal and Read more…
A Blooming Lamp
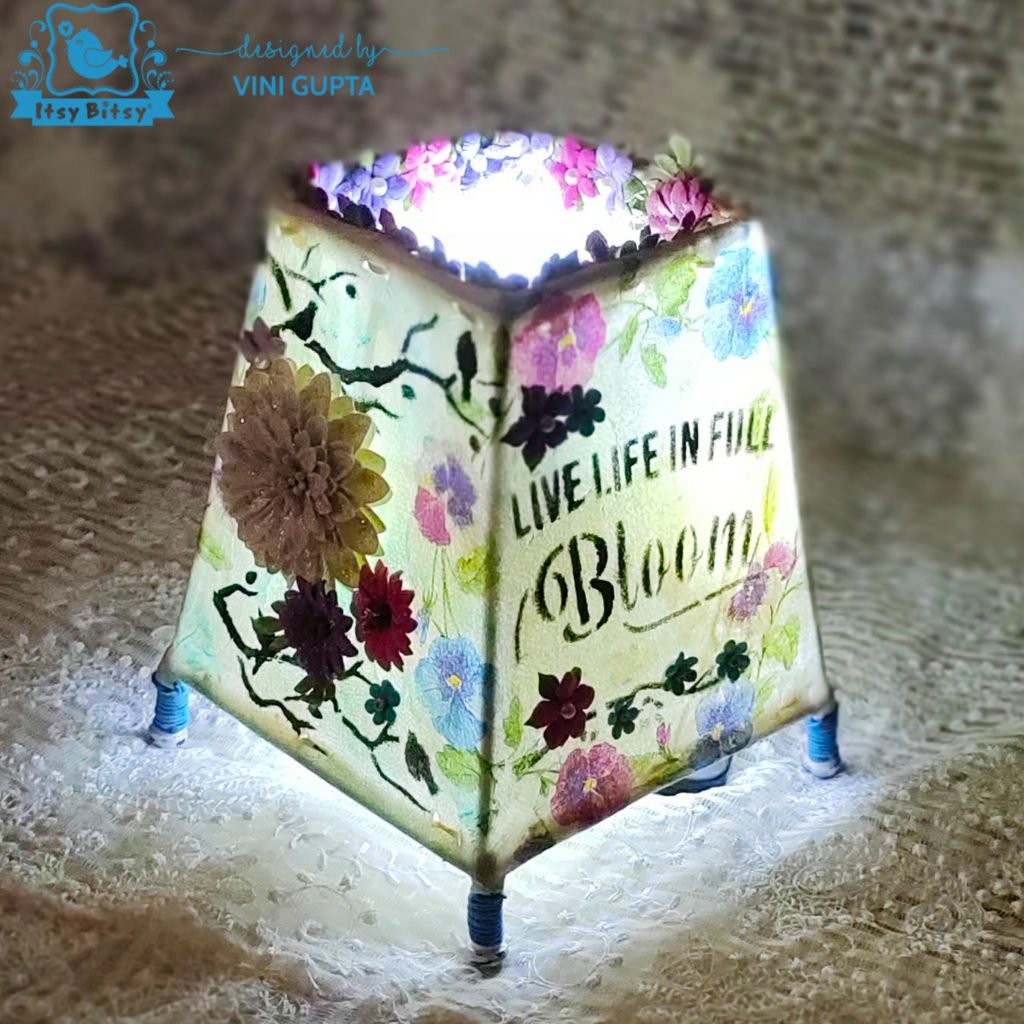
Hello friends, Vini here! While I am home bound with less activity than before due to the COVID-19 pandemic, I wanted to bring some cheer to myself and you all through my latest craft work! The quote ‘Live Life in Full Bloom’ always inspires me and I found the same stencil from the store! That began the starting point for this project. Living life in full bloom means living with hope and purpose, with imagination and vision in a way that honors the Earth, the spirit, and one another Read more…
Fabric Decoupage with Image Transfer

Hello Creative Friends! This is Tanvi with my first inspirational post. Today I am sharing a project merging fabric decoupage with image transfer & walking you through the steps to do this yourself. Here are the supplies we will use. All these are listed & linked to the store at the end of the post. I selected a chalkboard image (Source – Google) for the image transfer. While printing the image remember- to use a laser print on normal printer paper (70-85 gsm) if the image contains Read more…
Antique Door in a Fairy Garden
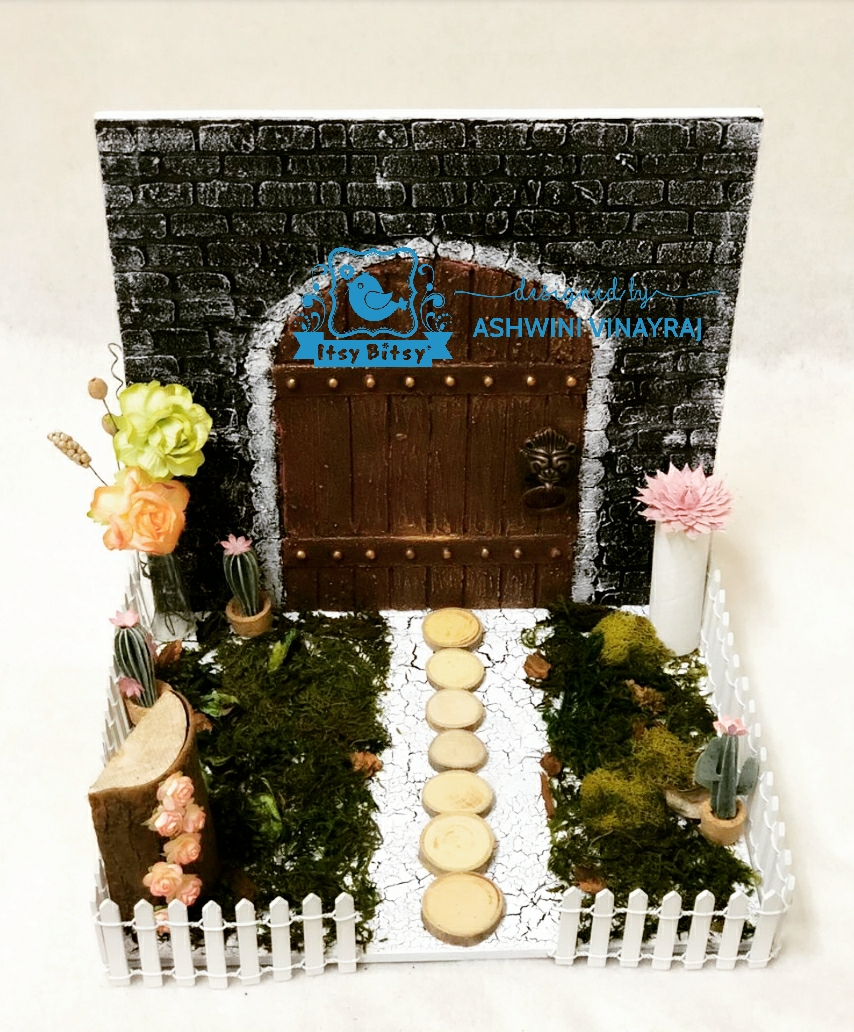
Hi Creatives, Ashwini here! I am fascinated with fairy gardens and antique creations is my craze. I have mixed both my favourites to create this beautiful concept. Will be showing you the procedure of creating an antique door in a fairy garden in a step by step process. Let’s get started. Step 1: I have taken a MDF board measuring 10″ by 10″. i have cut down the chipboard in a door pattern in the form of strips and stuck them on the MDF board. Read more…