Hello artsy-craftsy folks!!
Tiny Fingers
Tiny Toes
Rosy Cheeks and
A Button Nose……..
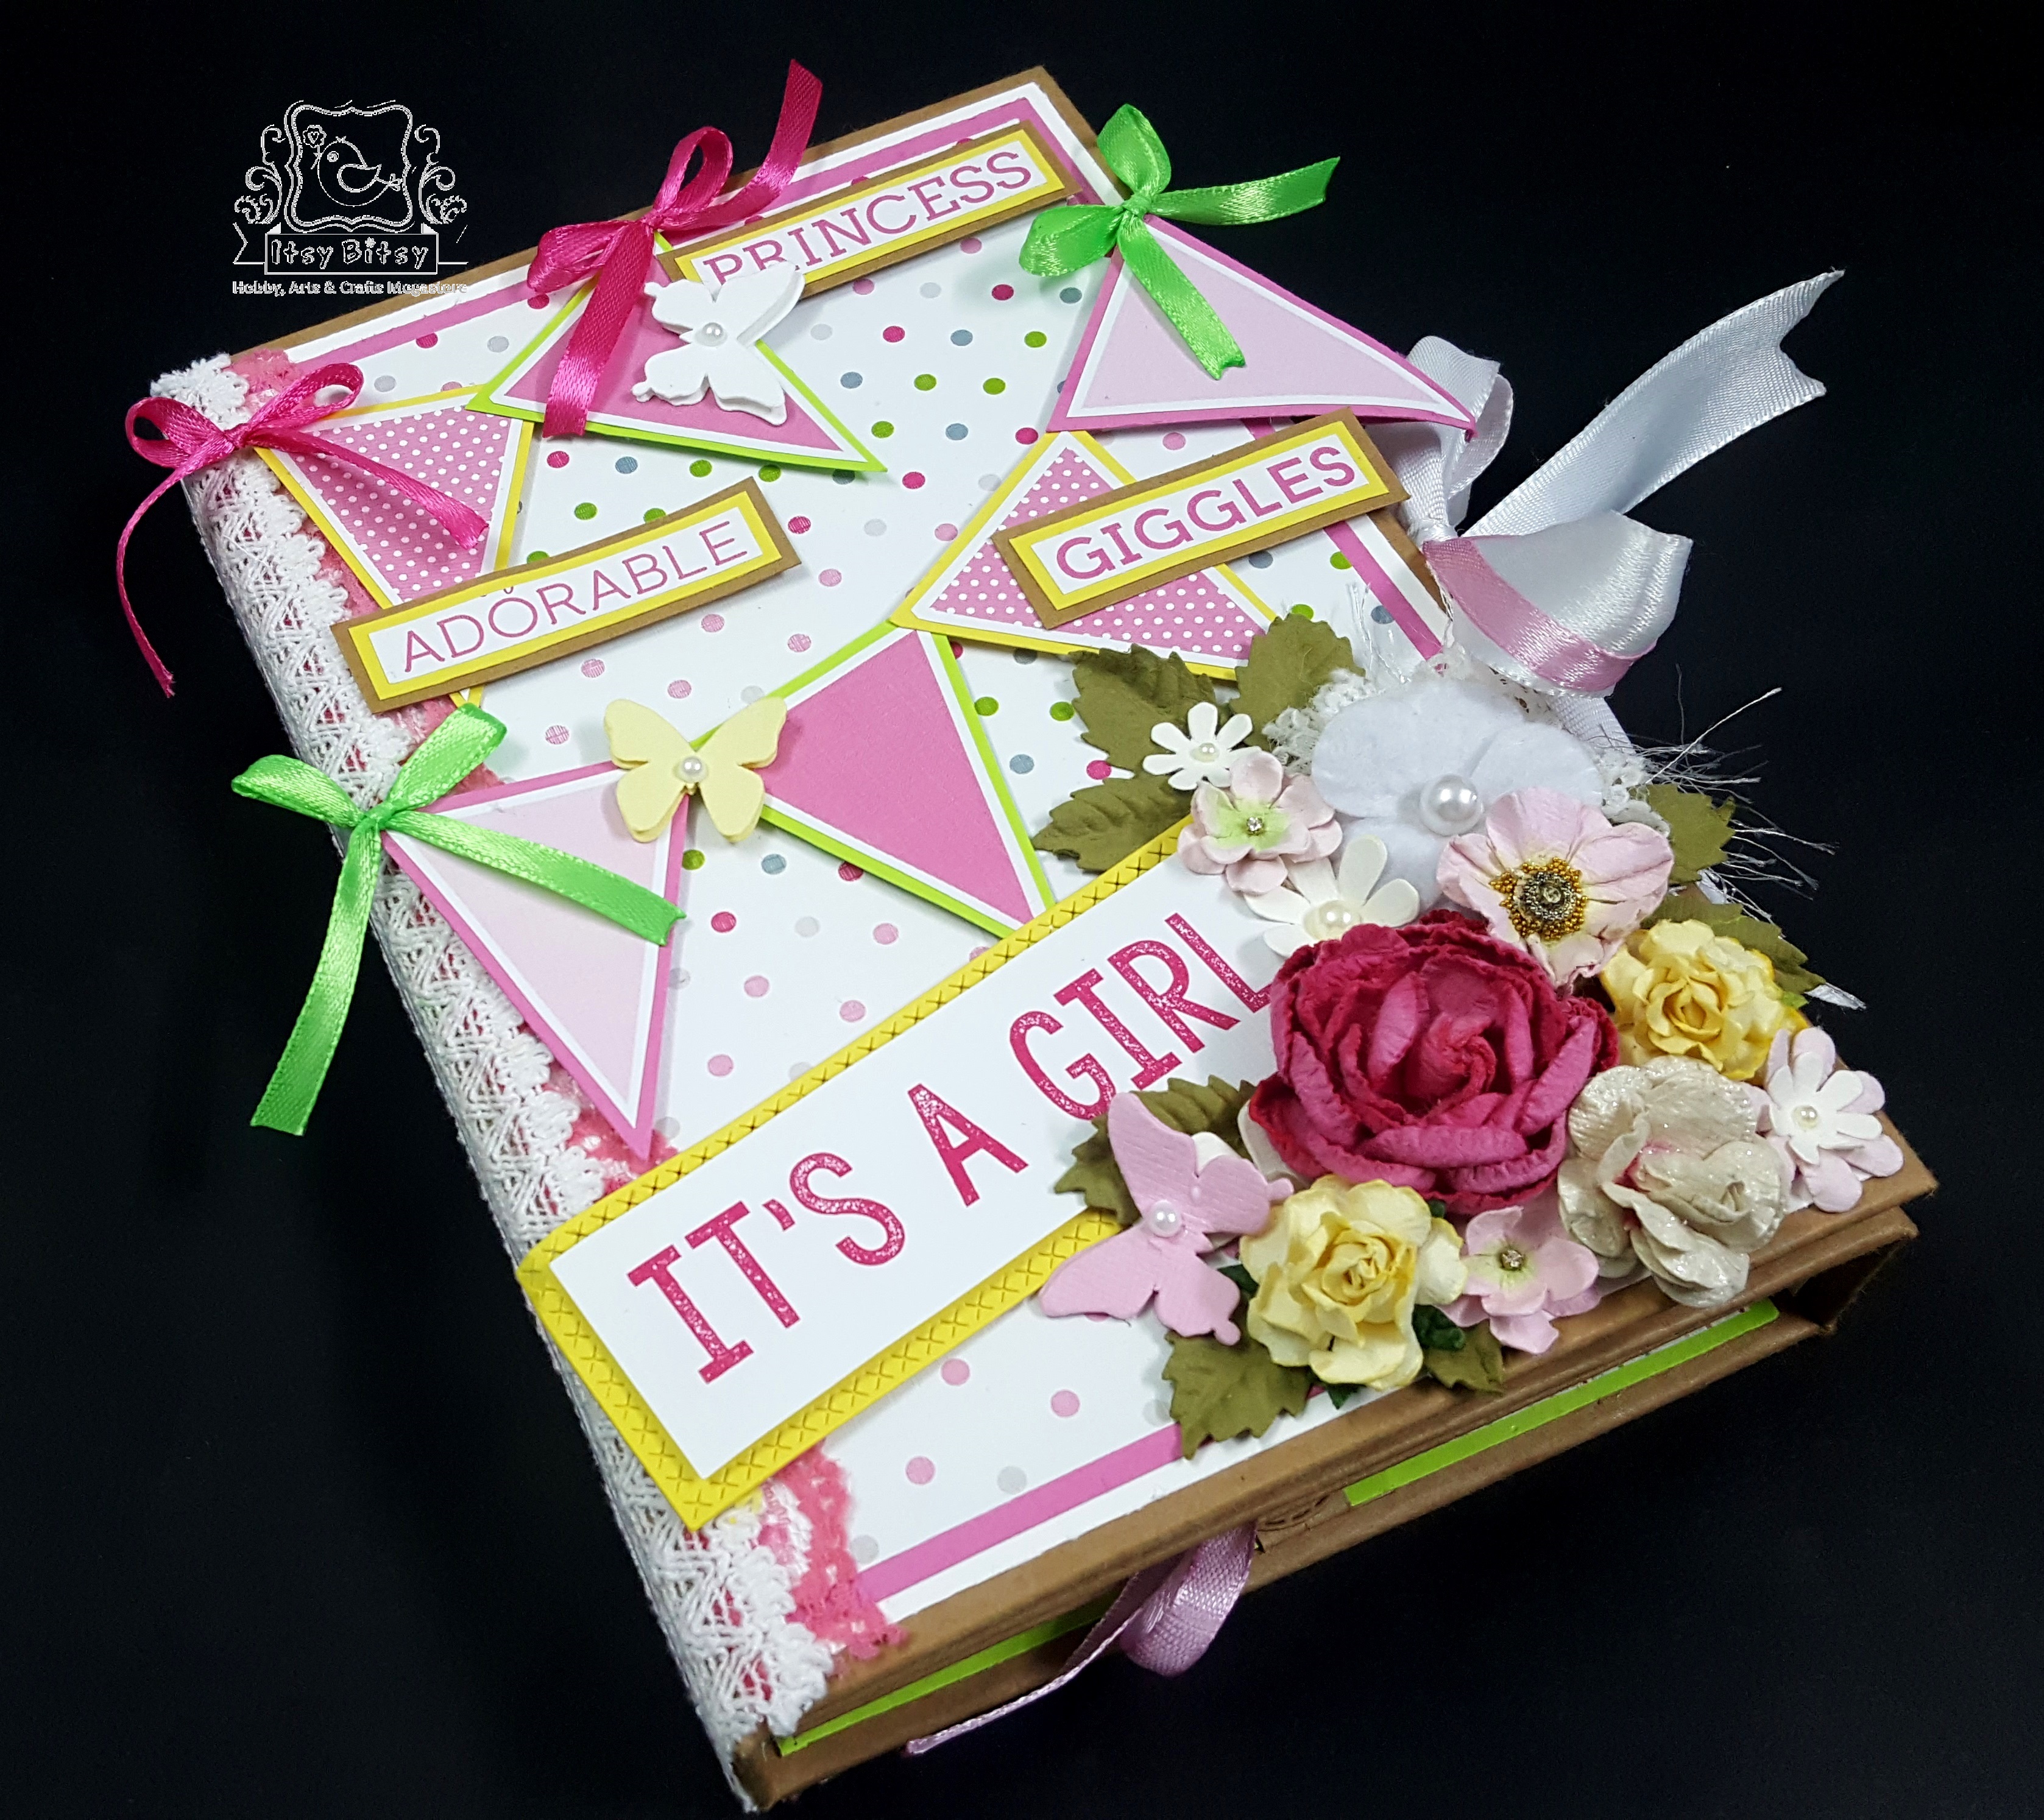
I am sure you all might have guessed what my project is about today……..Yes…its about Babies this month on our blog and I have a Baby Girl Tri Fold Folio for you all today made using the Baby Giggles paper pack from ItsyBitsy…. which is very girly and super cute. Its my first attempt at this style of project and I hope you guys will like it. For all of you who do not know what a folio is…I am here to answer that question. A folio is a folder style album which is much smaller in size as compared to a normal mini album and usually doesn’t have many hinged pages. So, to put it simply..a Folio is just another style of scrapbook which can be made to add pictures and memories or to just write into it.
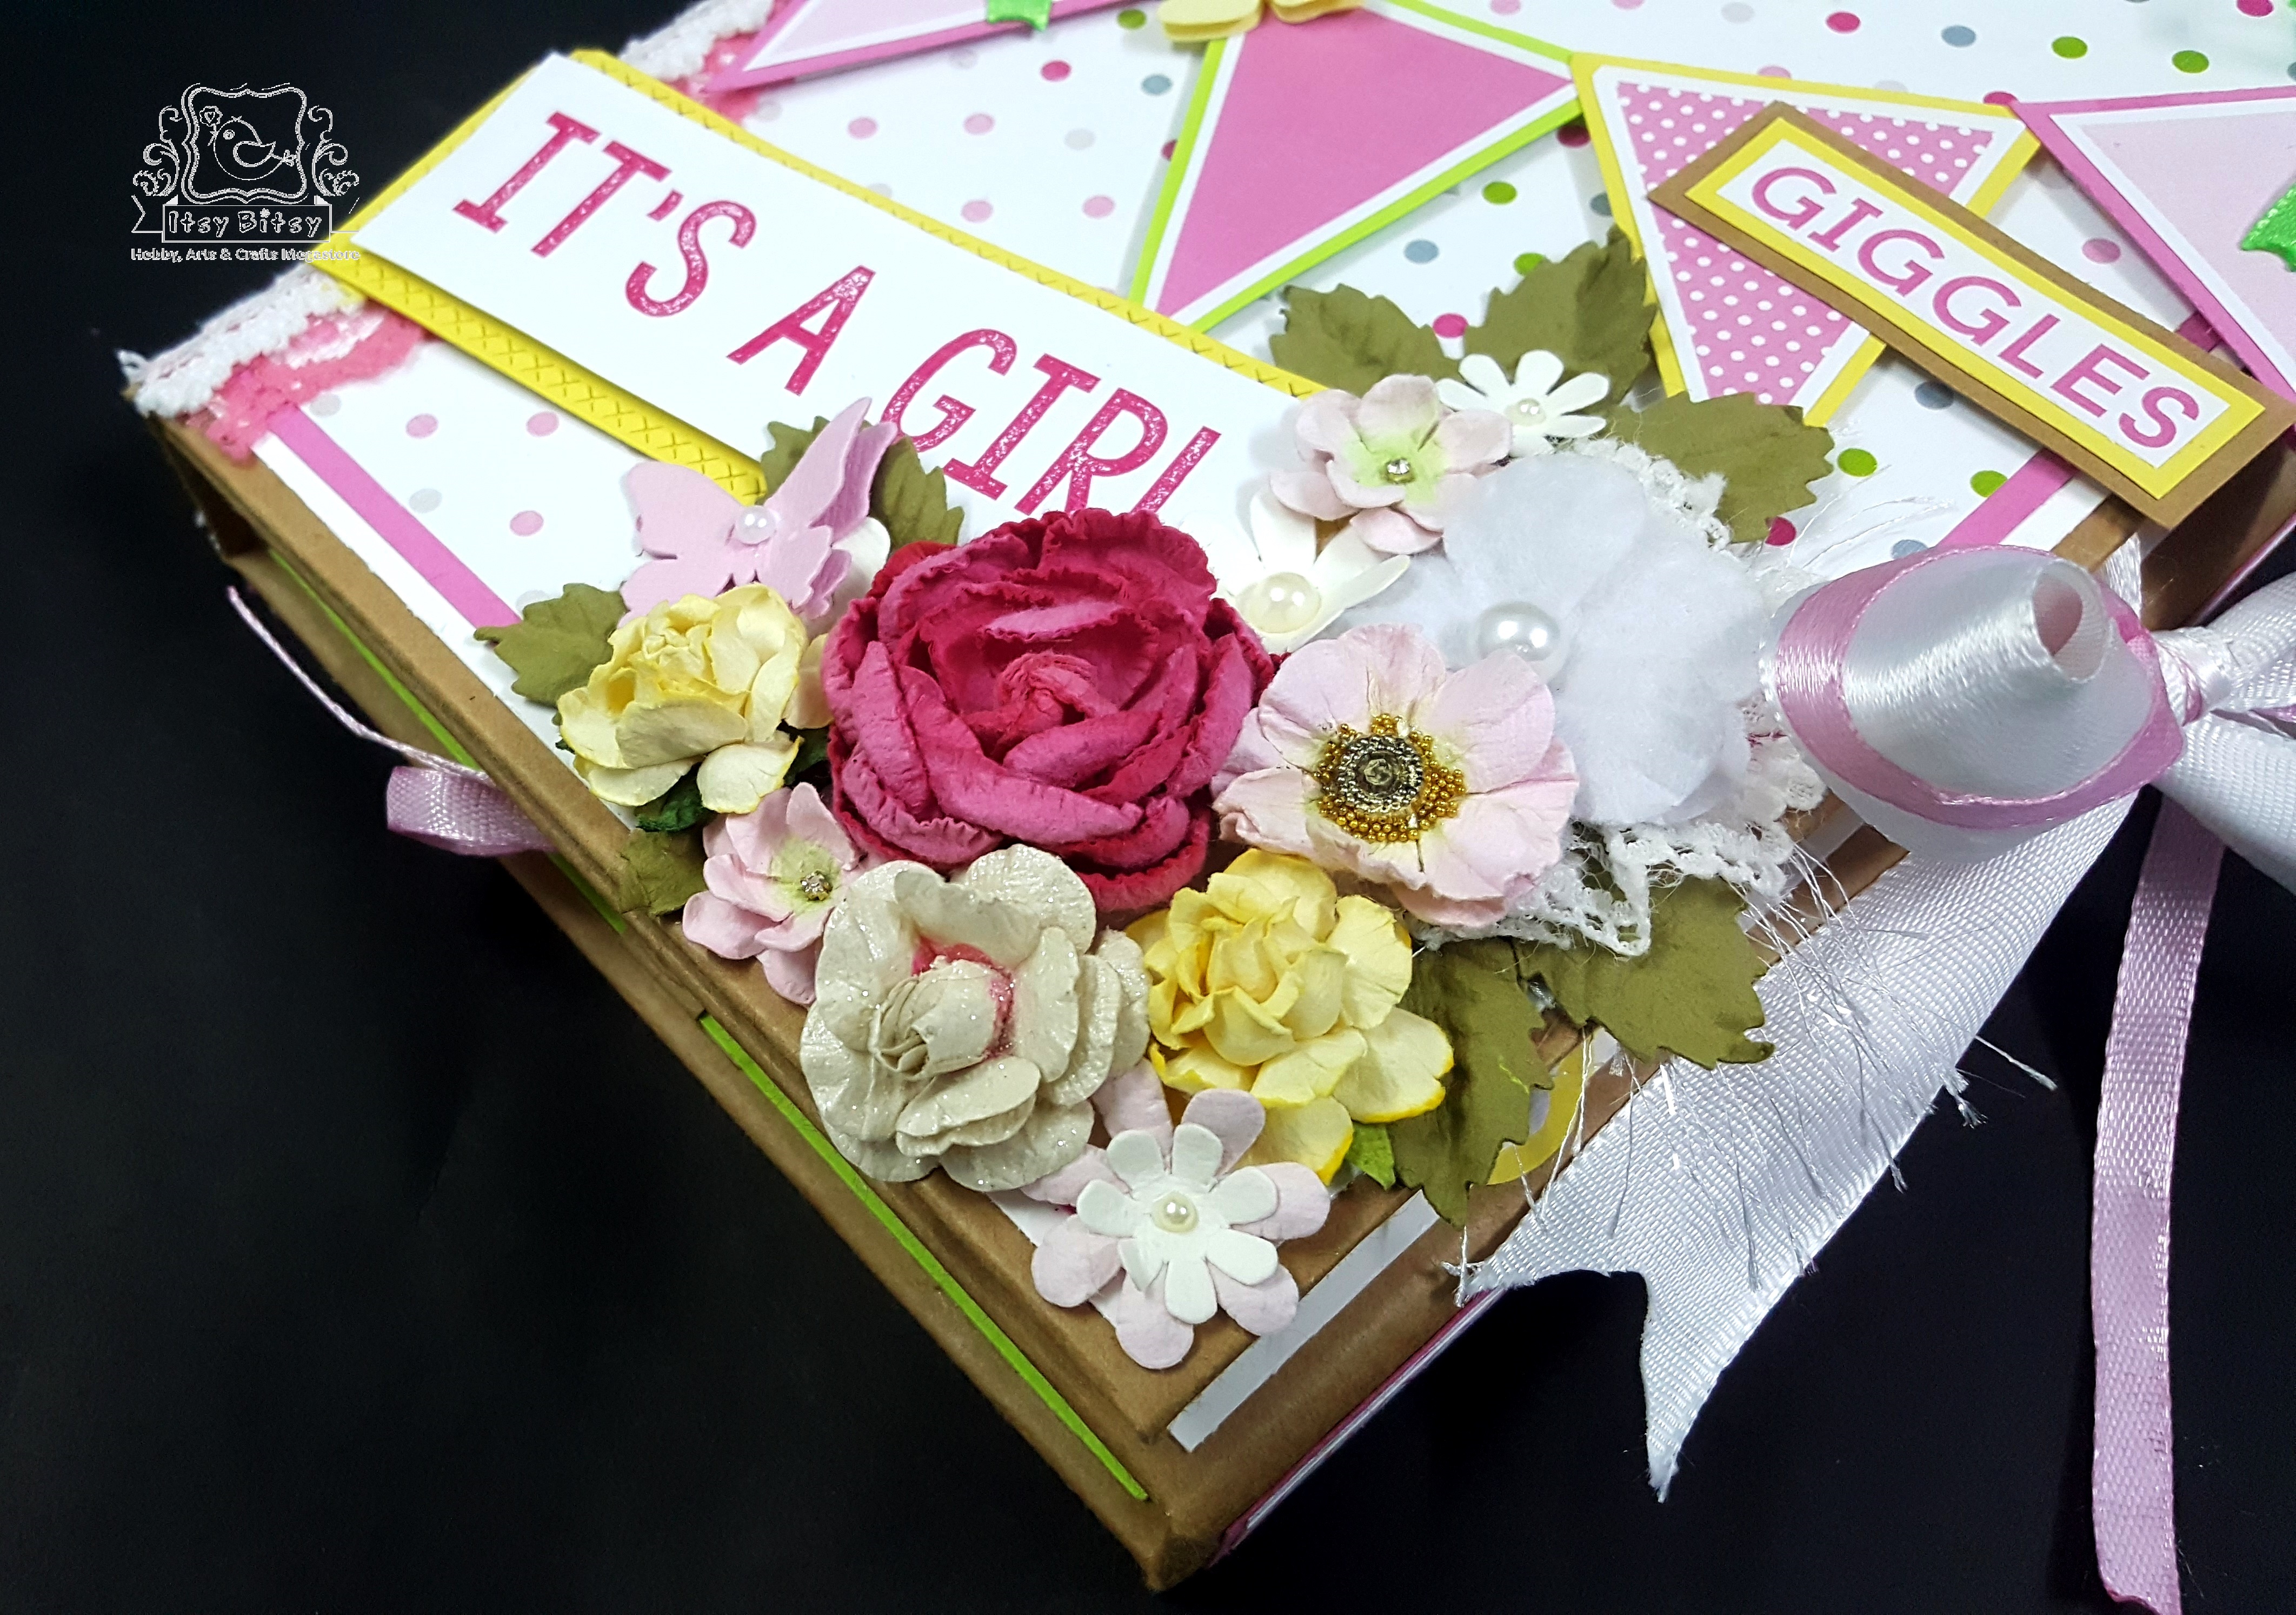 So, back to our project…I have a video walk through of the entire folio at the end…so if you are interested to just jump to it..please scroll to the end. Here, I have a pictorial tutorial to show you how I built my folio. This folio design is incredibly simple and takes just a couple of hours to put together. So lets begin…
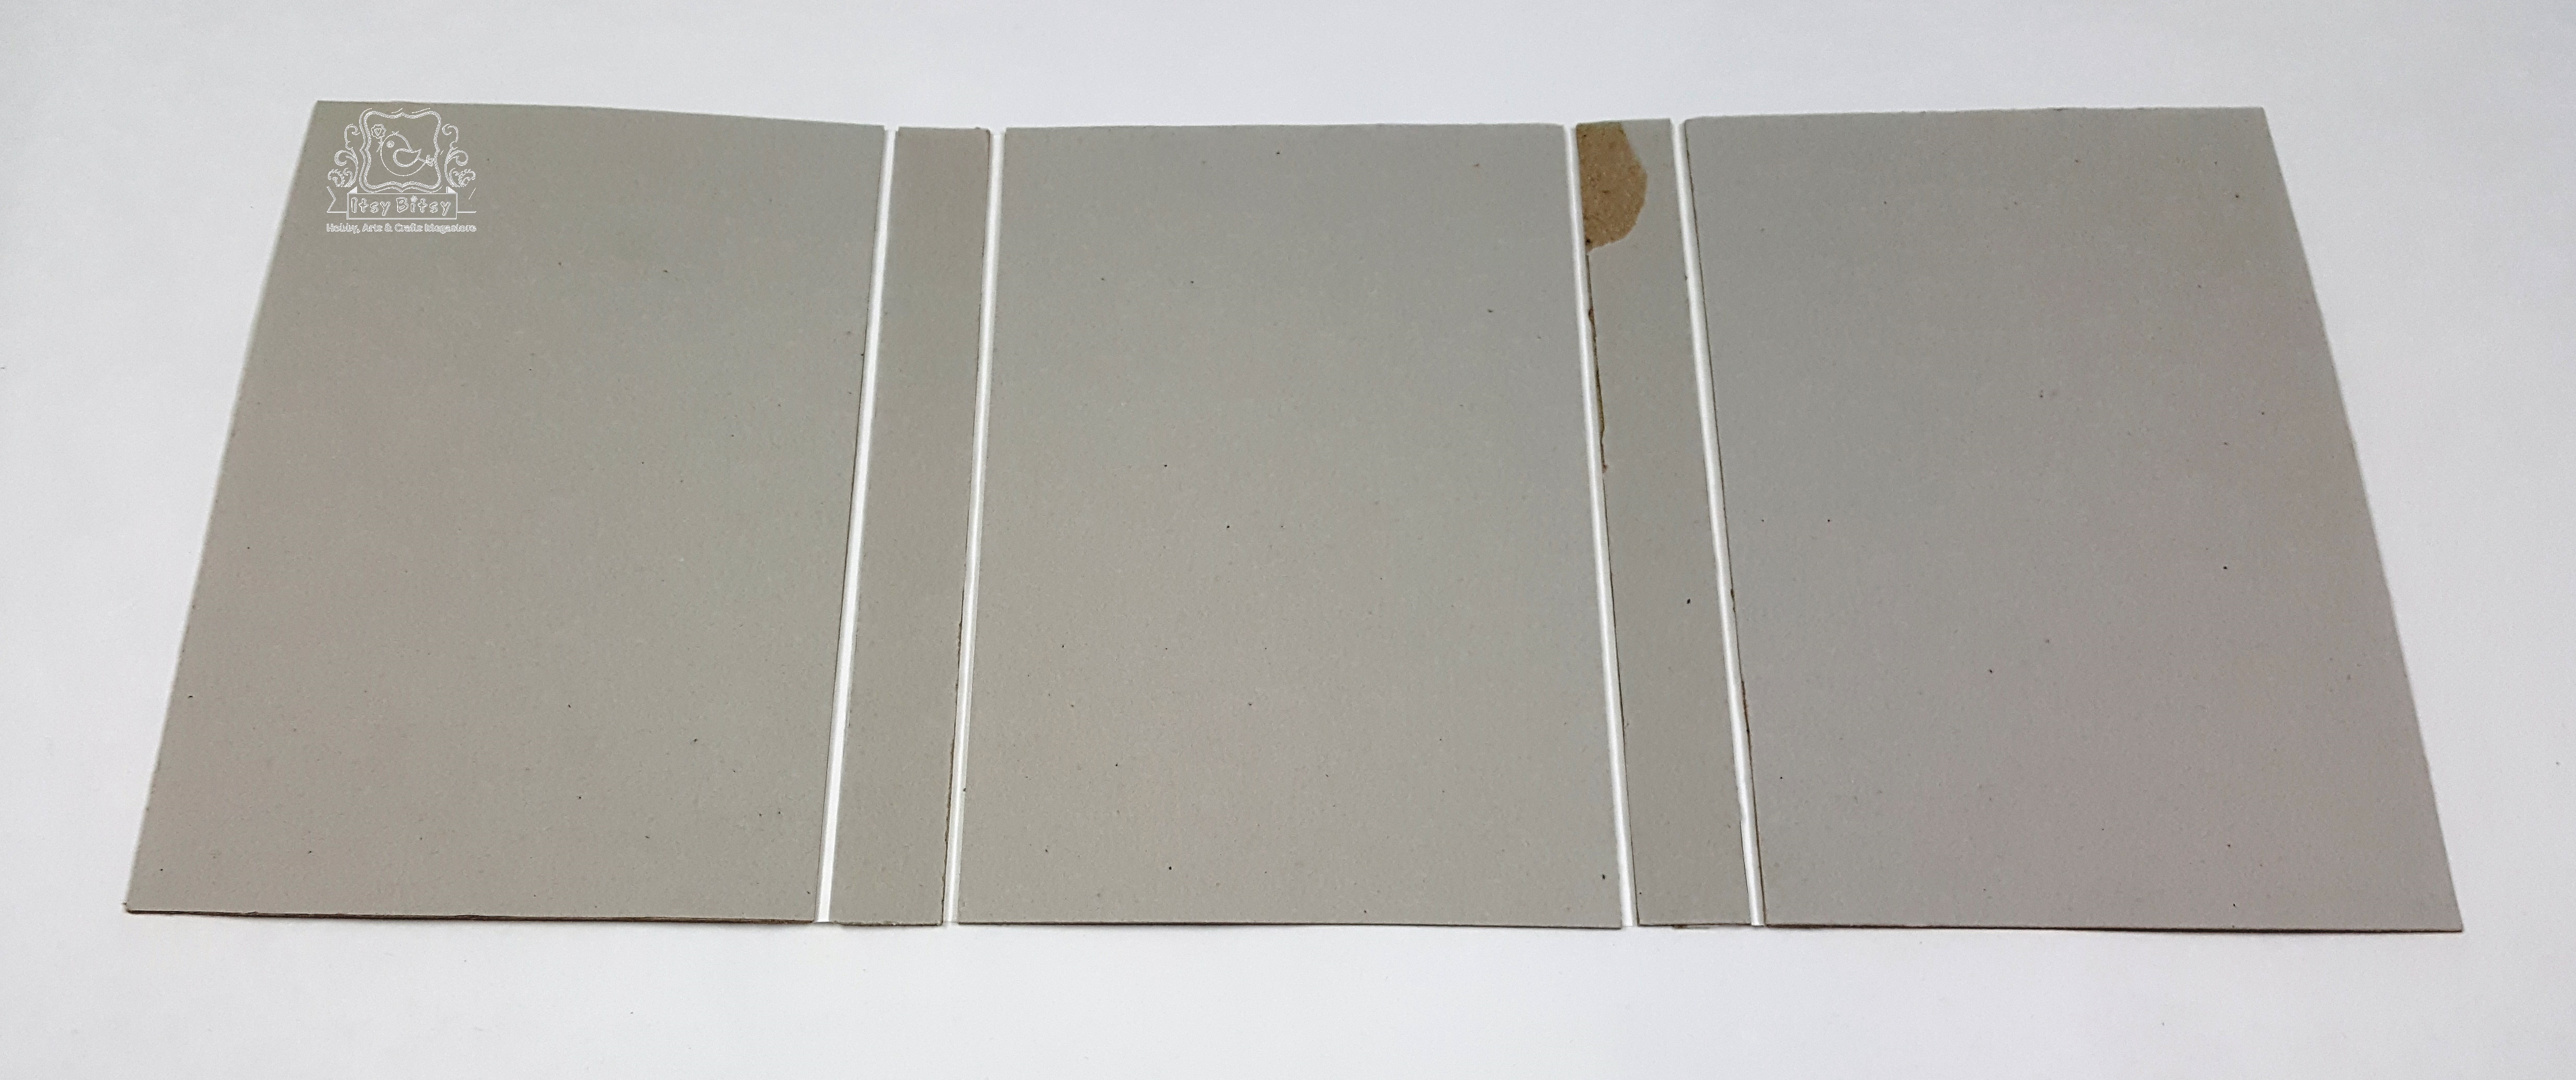
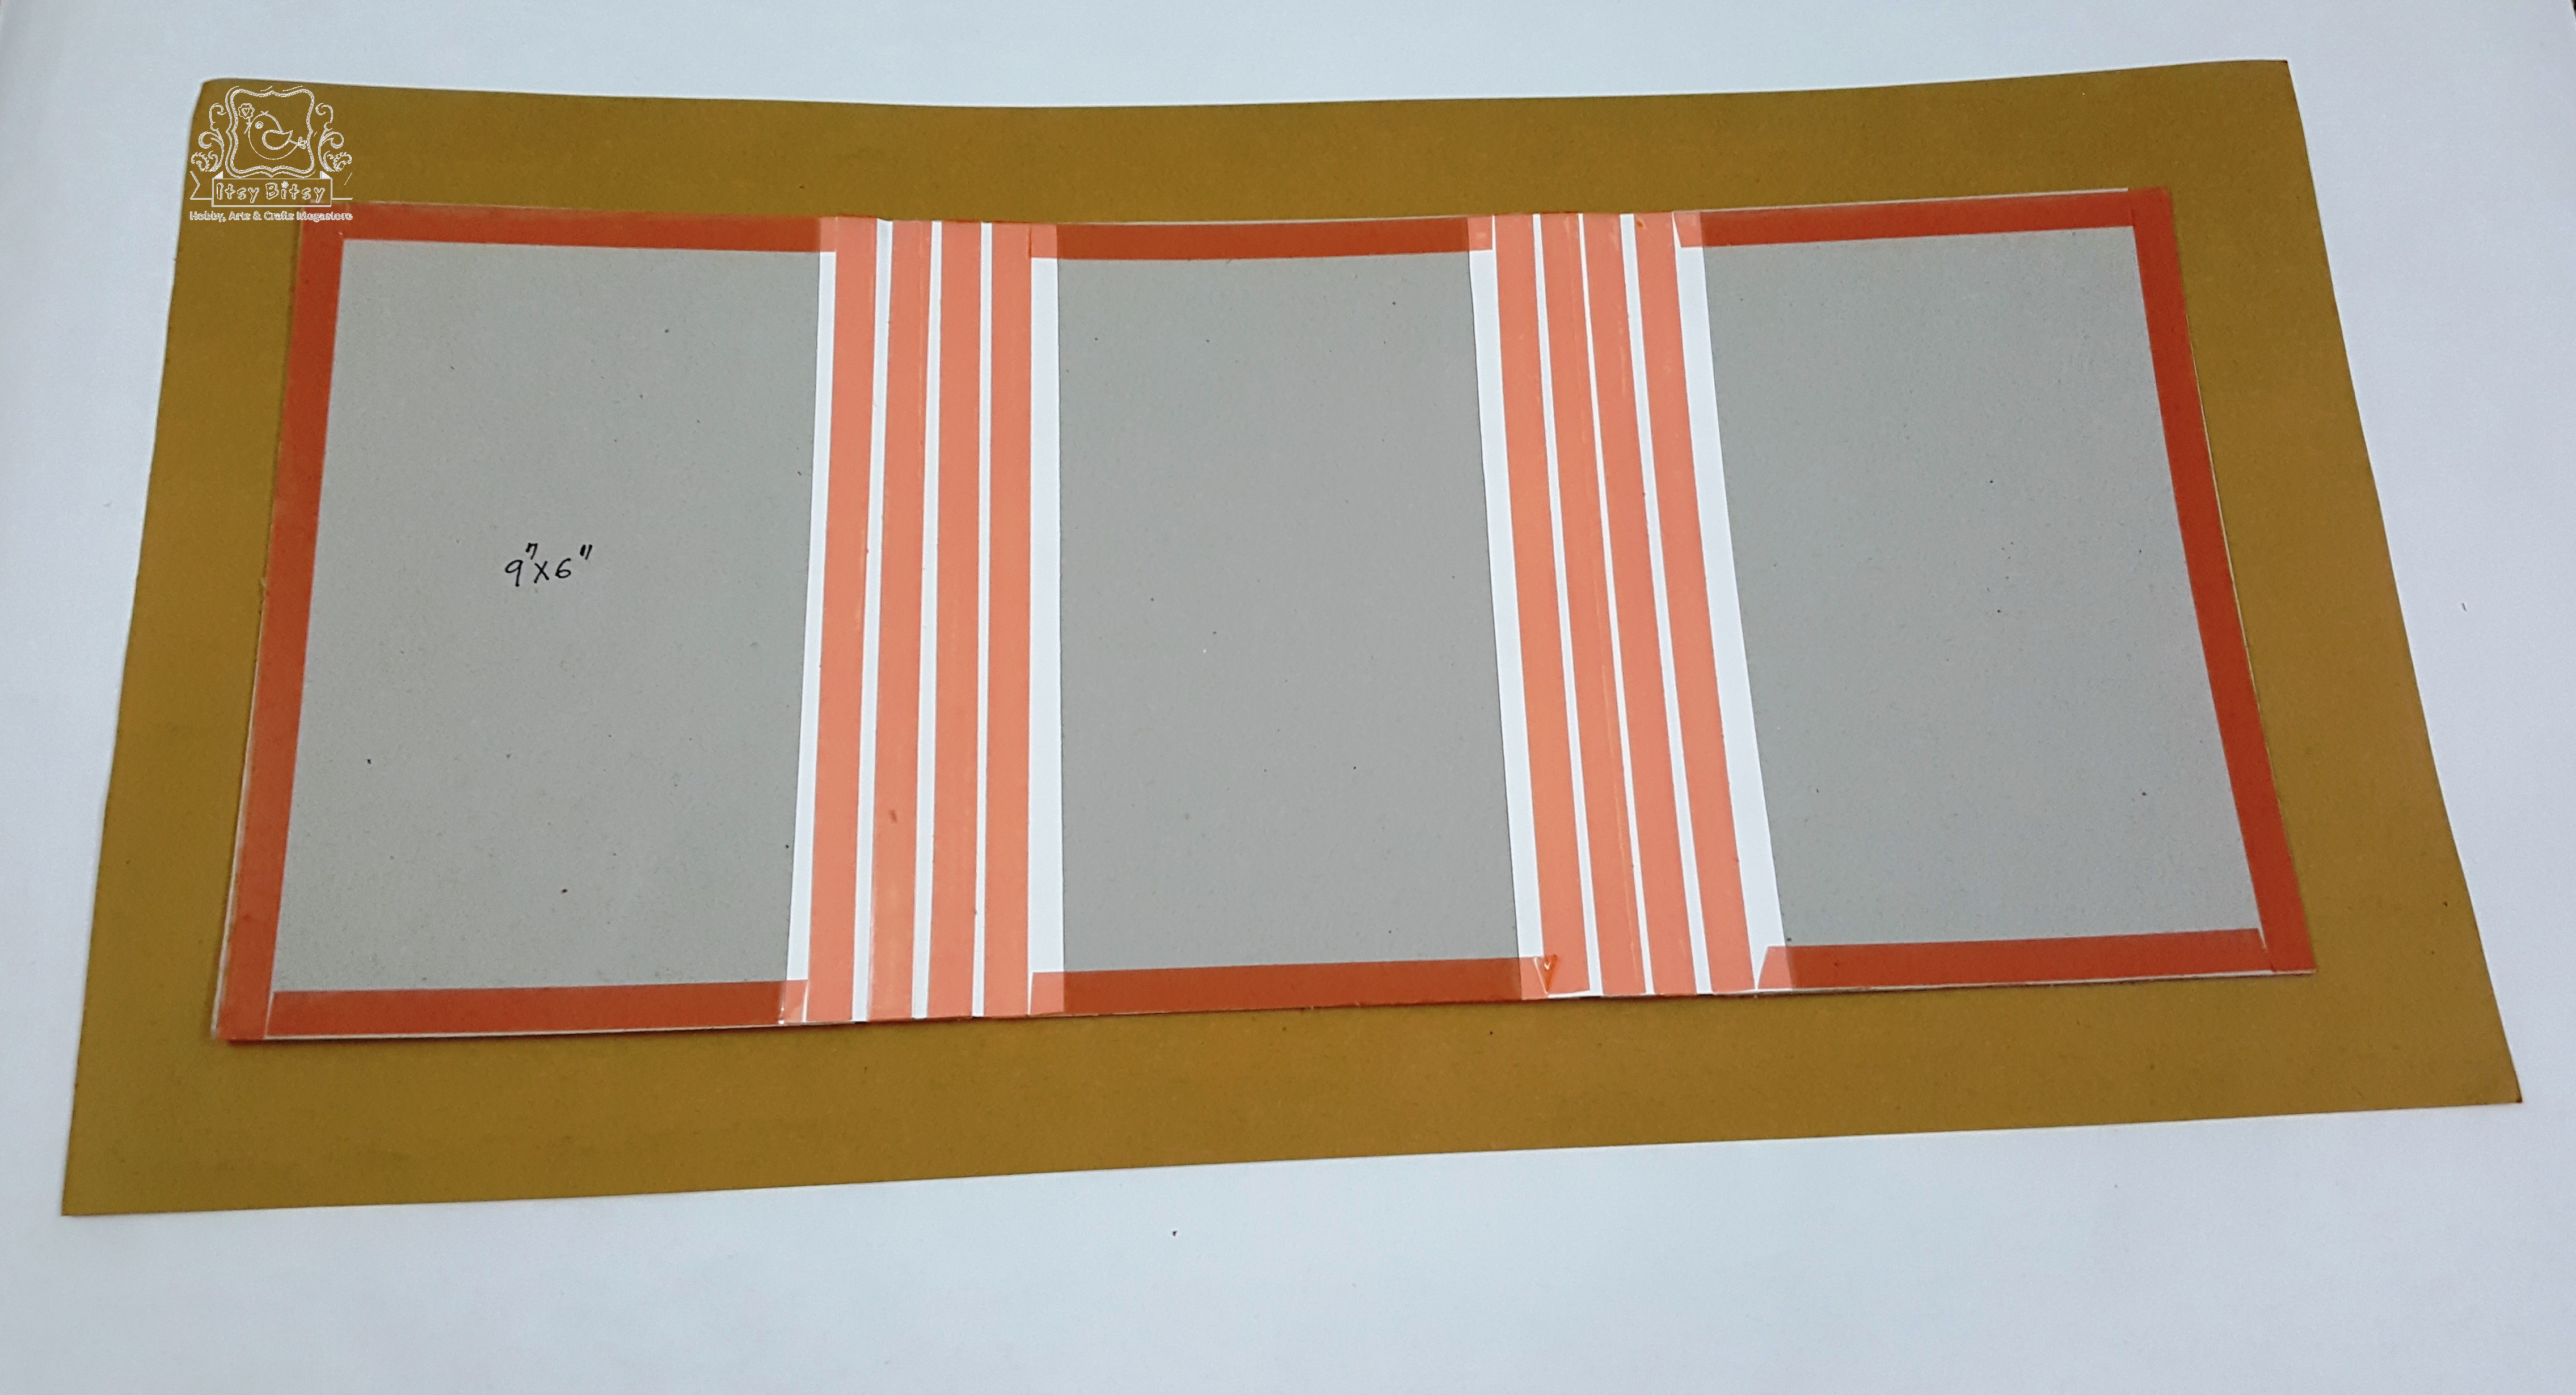
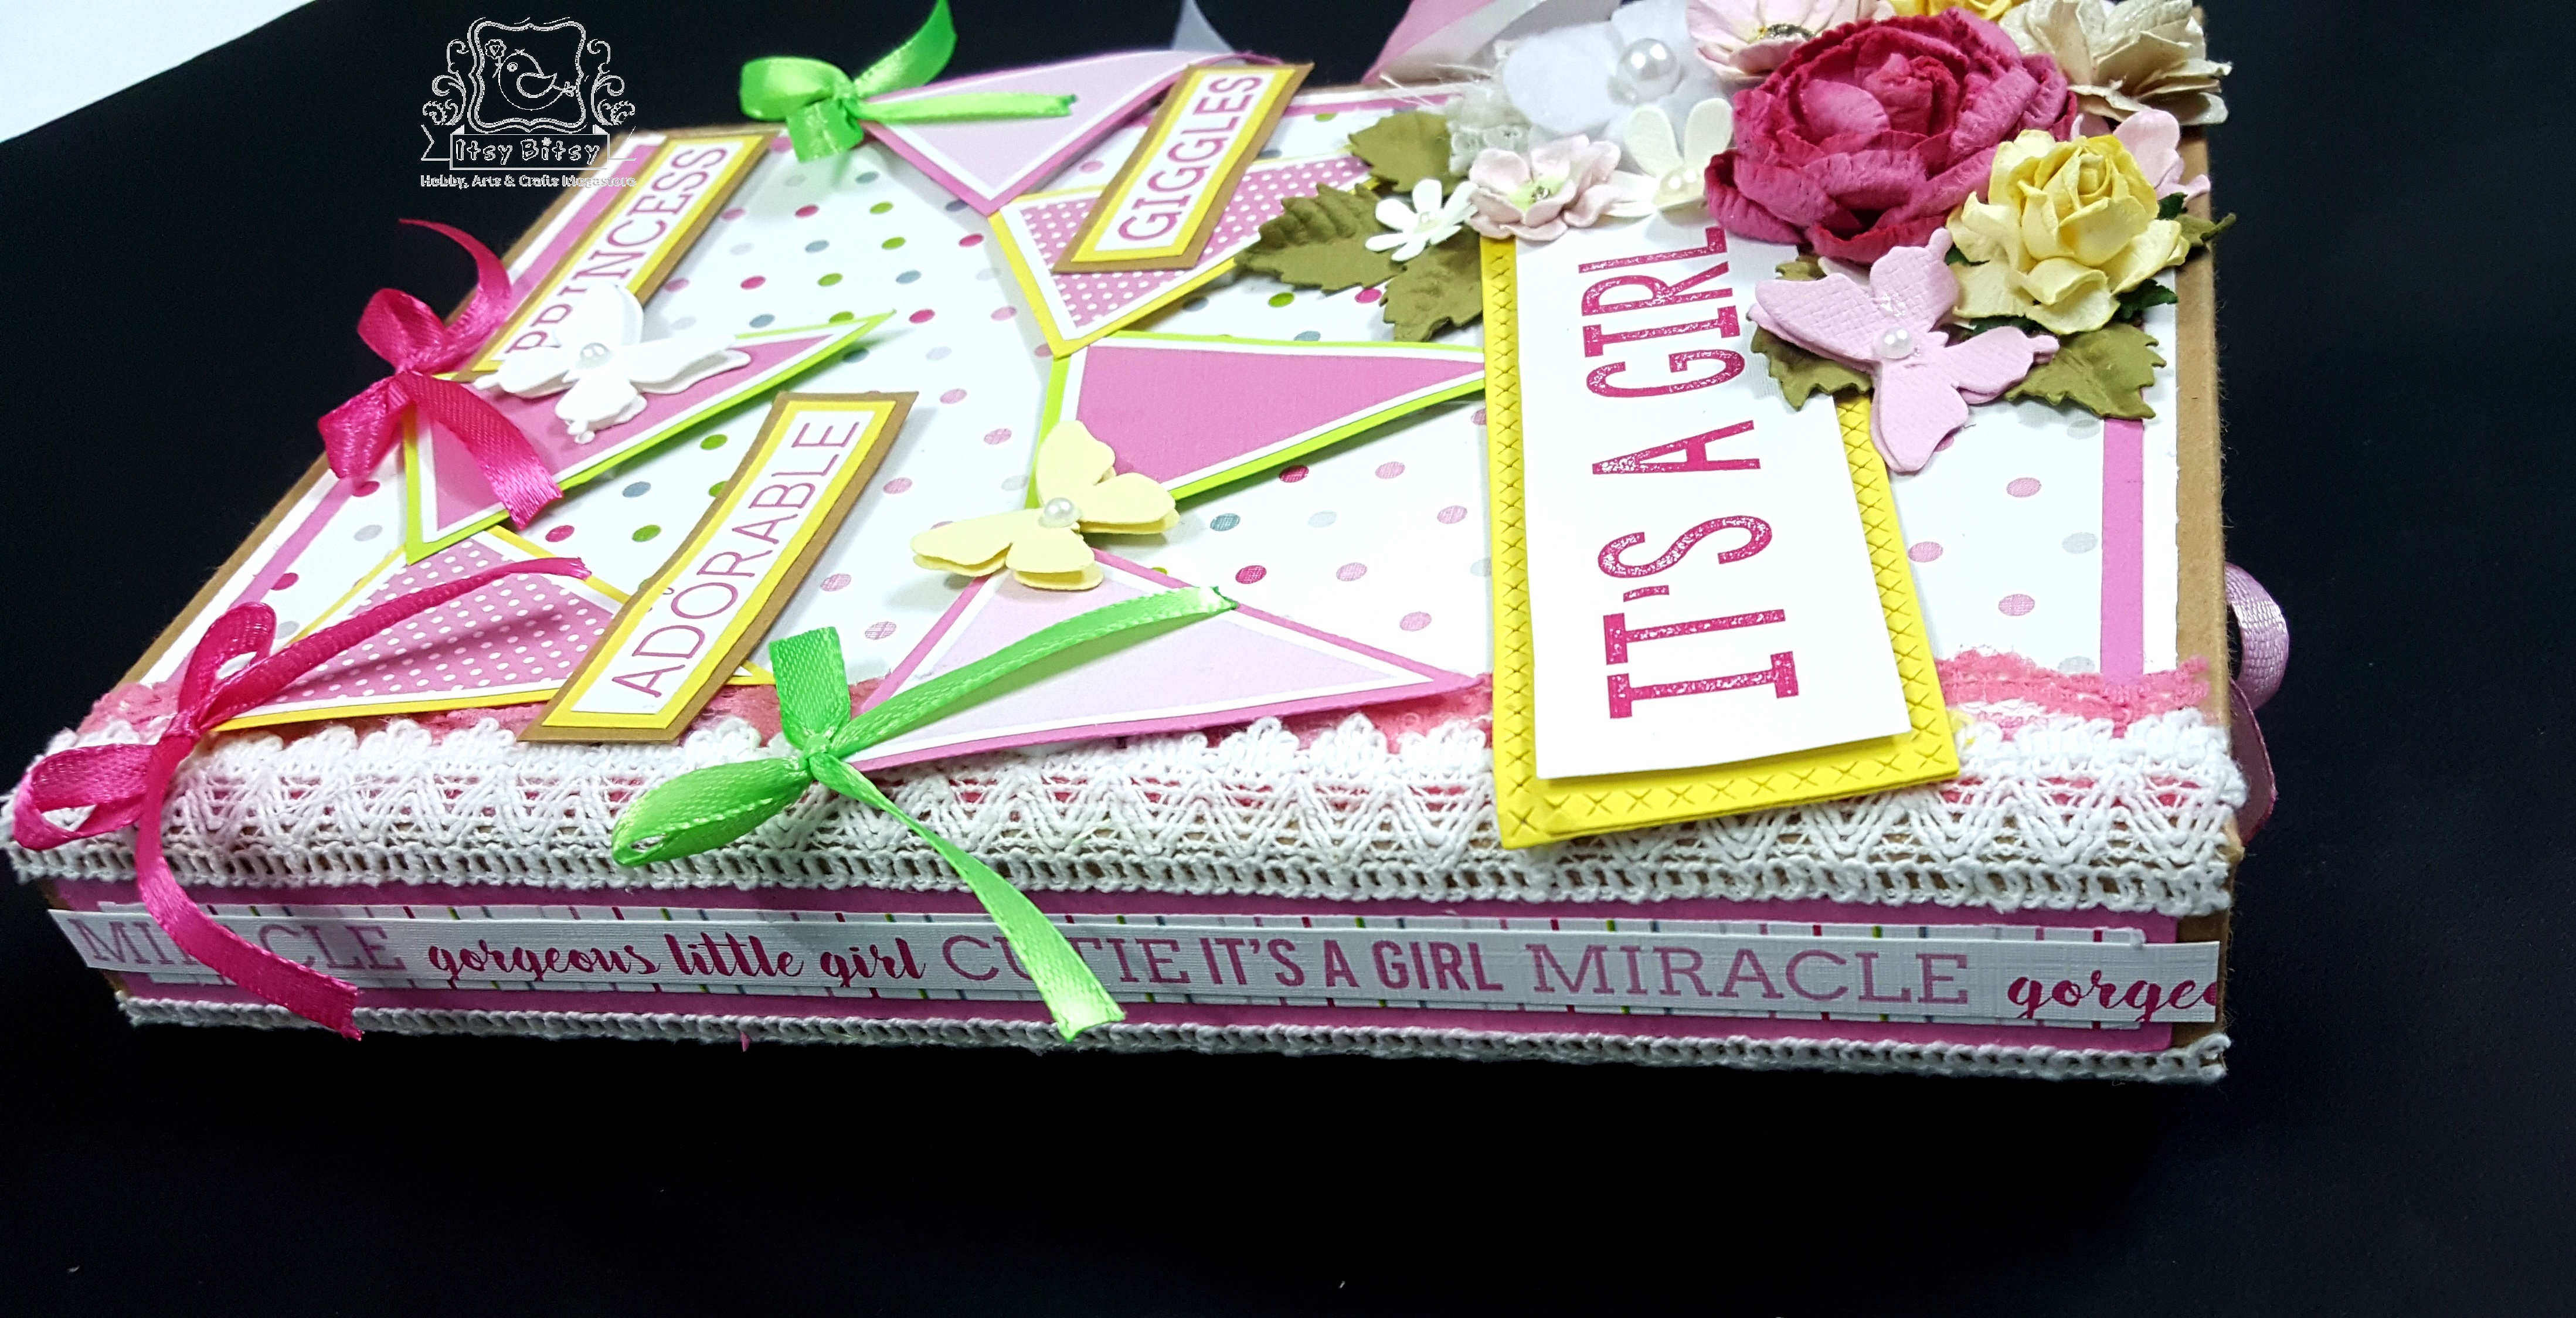
- This folio is 9″by 6″by 1″ in size and is a tri fold style. So we need 3 pieces of chipboard measuring 9″by 6″ and 2 pieces measuring 9″by 1″. I have used heavyweight chipboard to make this folio to make sure the book remains sturdy and takes all the weight.

- To bind my books, I used tyvek sheets. Its one thing I never skip and it really makes a difference. This makes sure that the book will never rip apart even if a tear occurs on the cover. This tyvek sheet holds the book securely together and that’s my little secret. I used the sheets that comes as mail envelopes that my husband gets from US. I have used 3 tyvek pieces measuring 9″by 2″.


- To adhere them to the chipboard pieces, I always use red tacky tape which gives strong adhesion. You can skip this if you can’t find tyvek sheets. Also, the important thing to remember is to leave a gap of 1/8″ or 2 times the thickness of the chipboard between the pieces of chipboard, this ensures that the book folds comfortably.
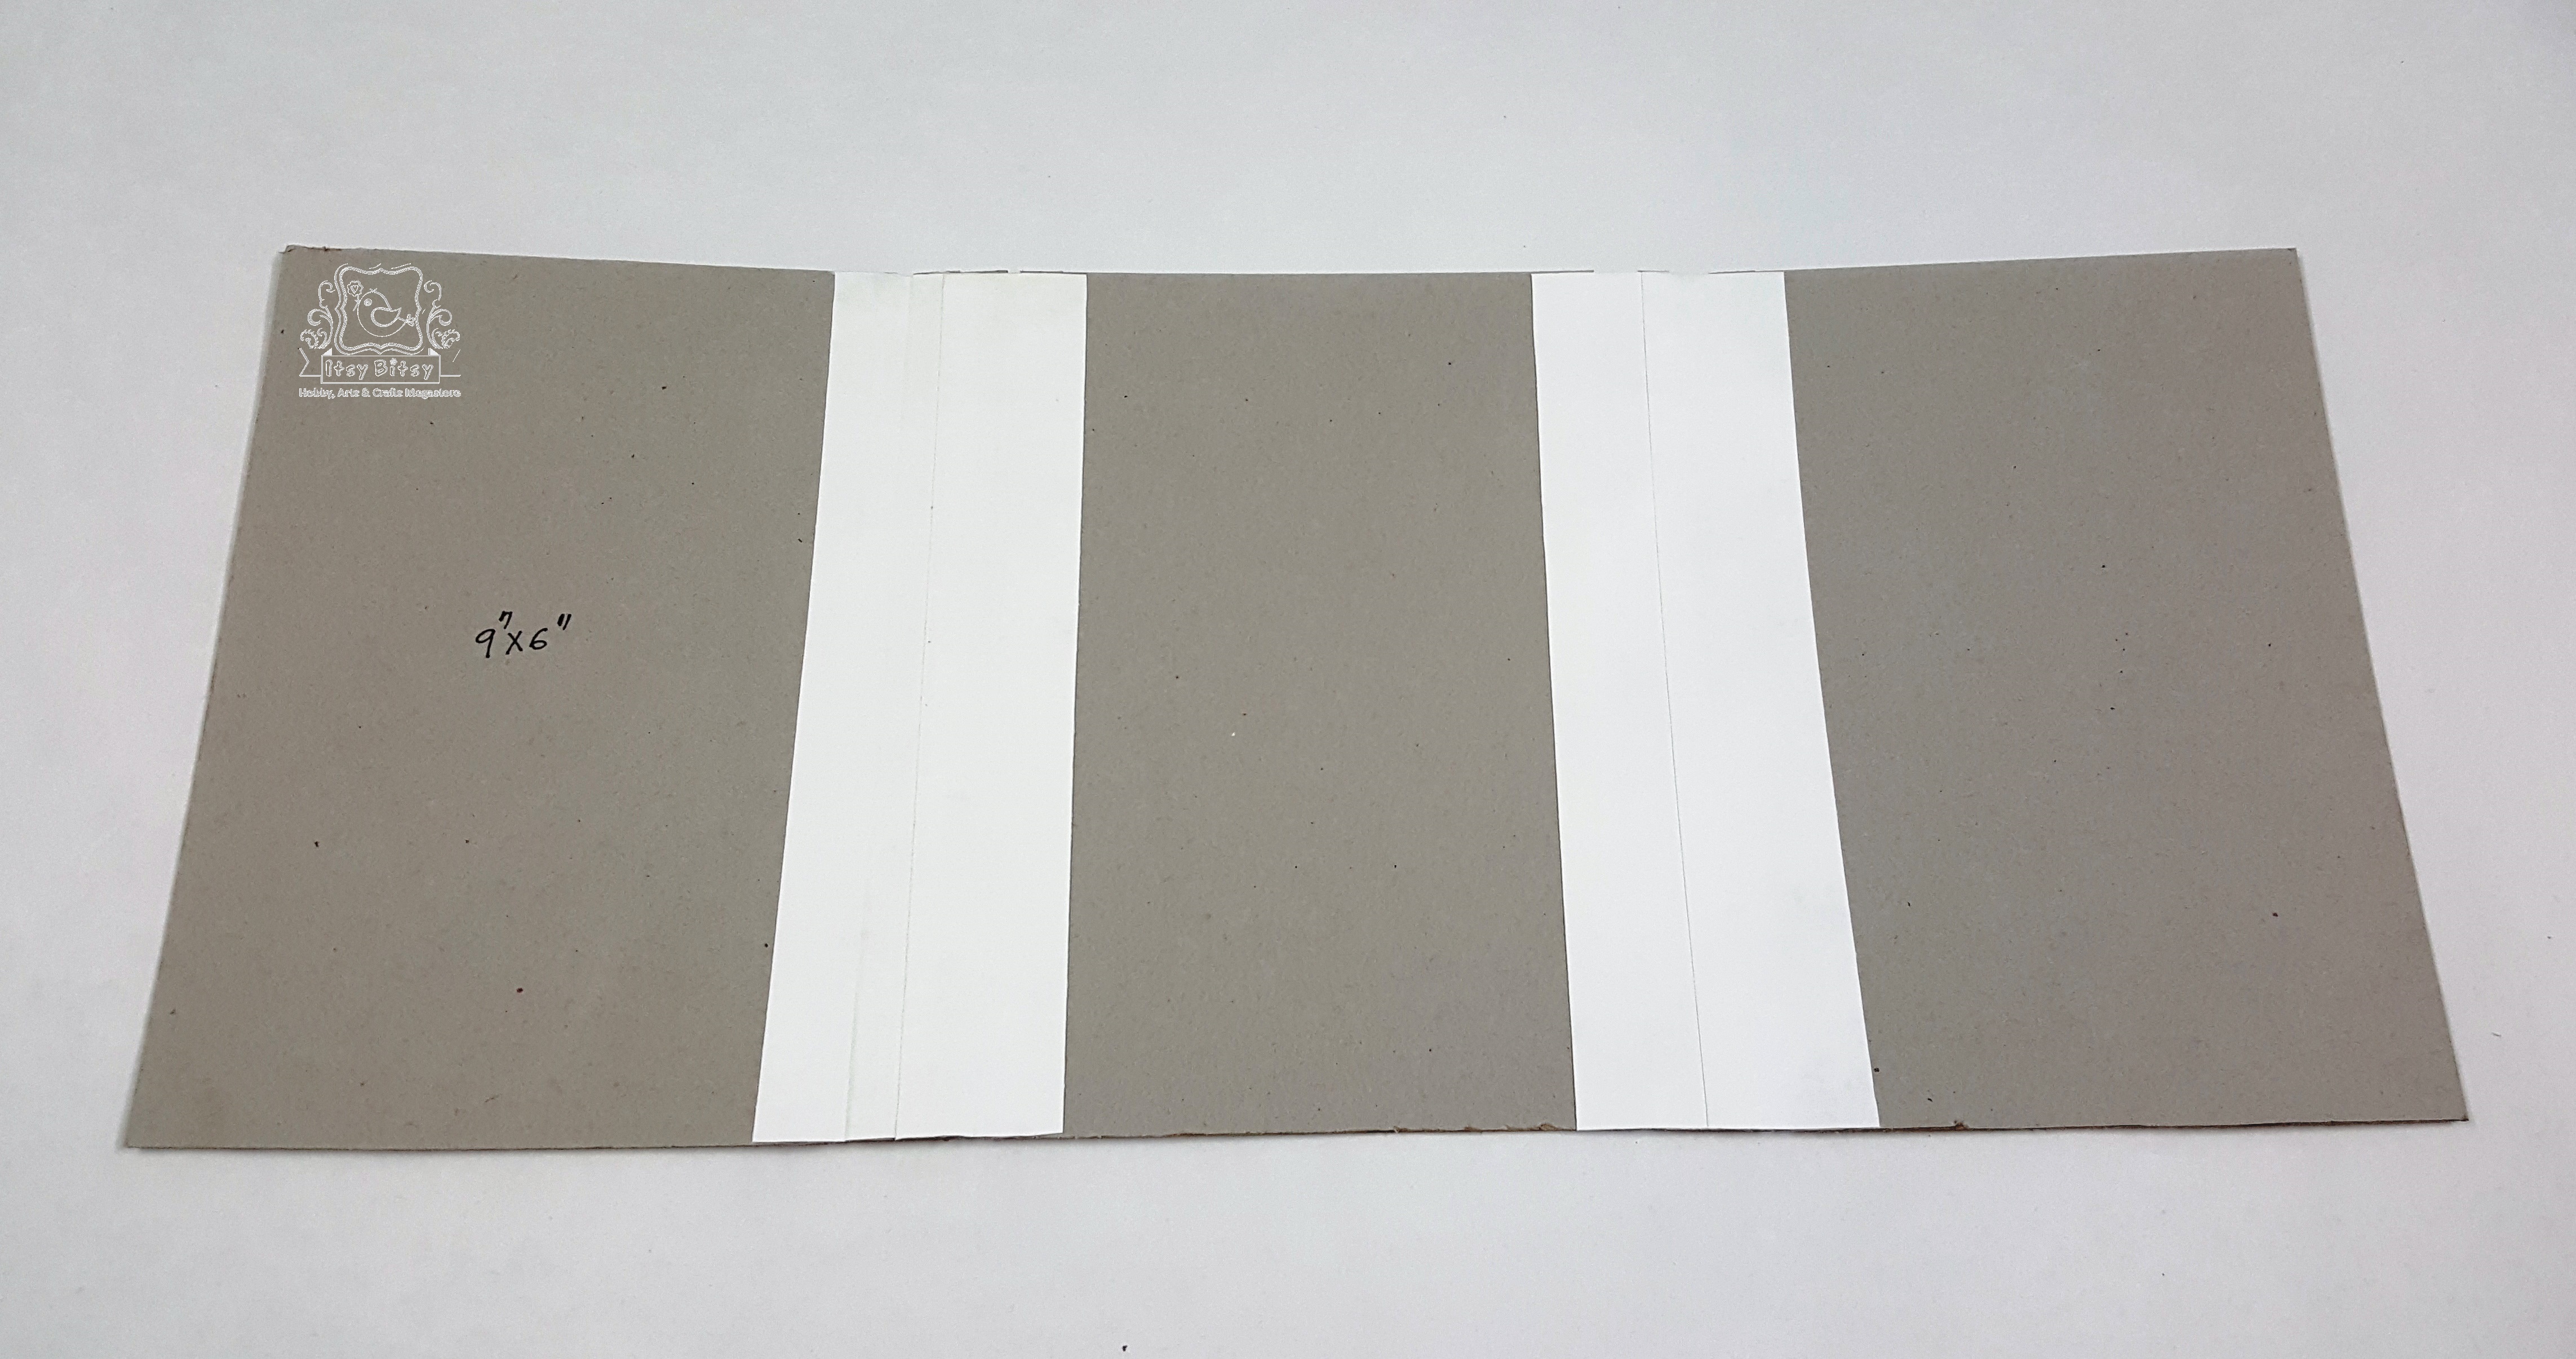
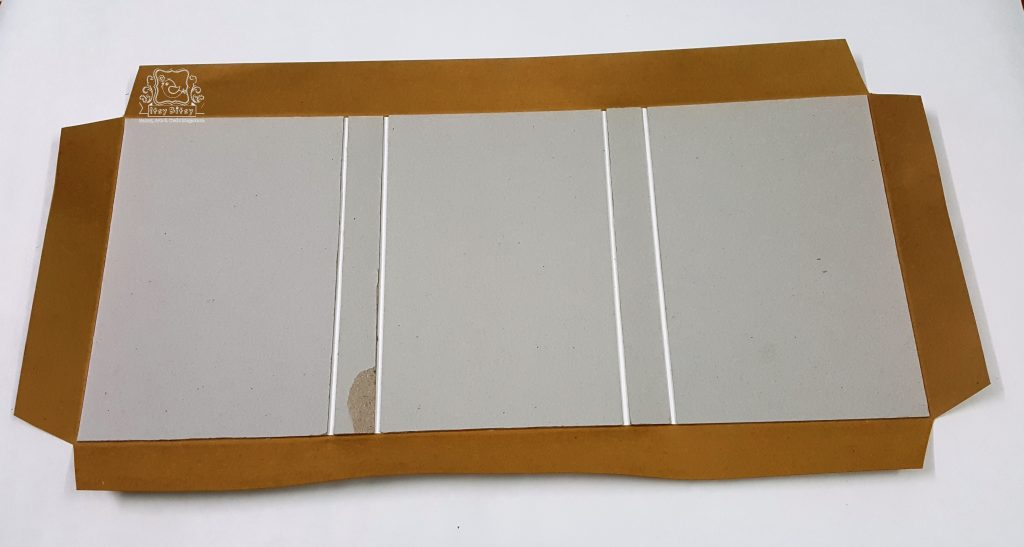
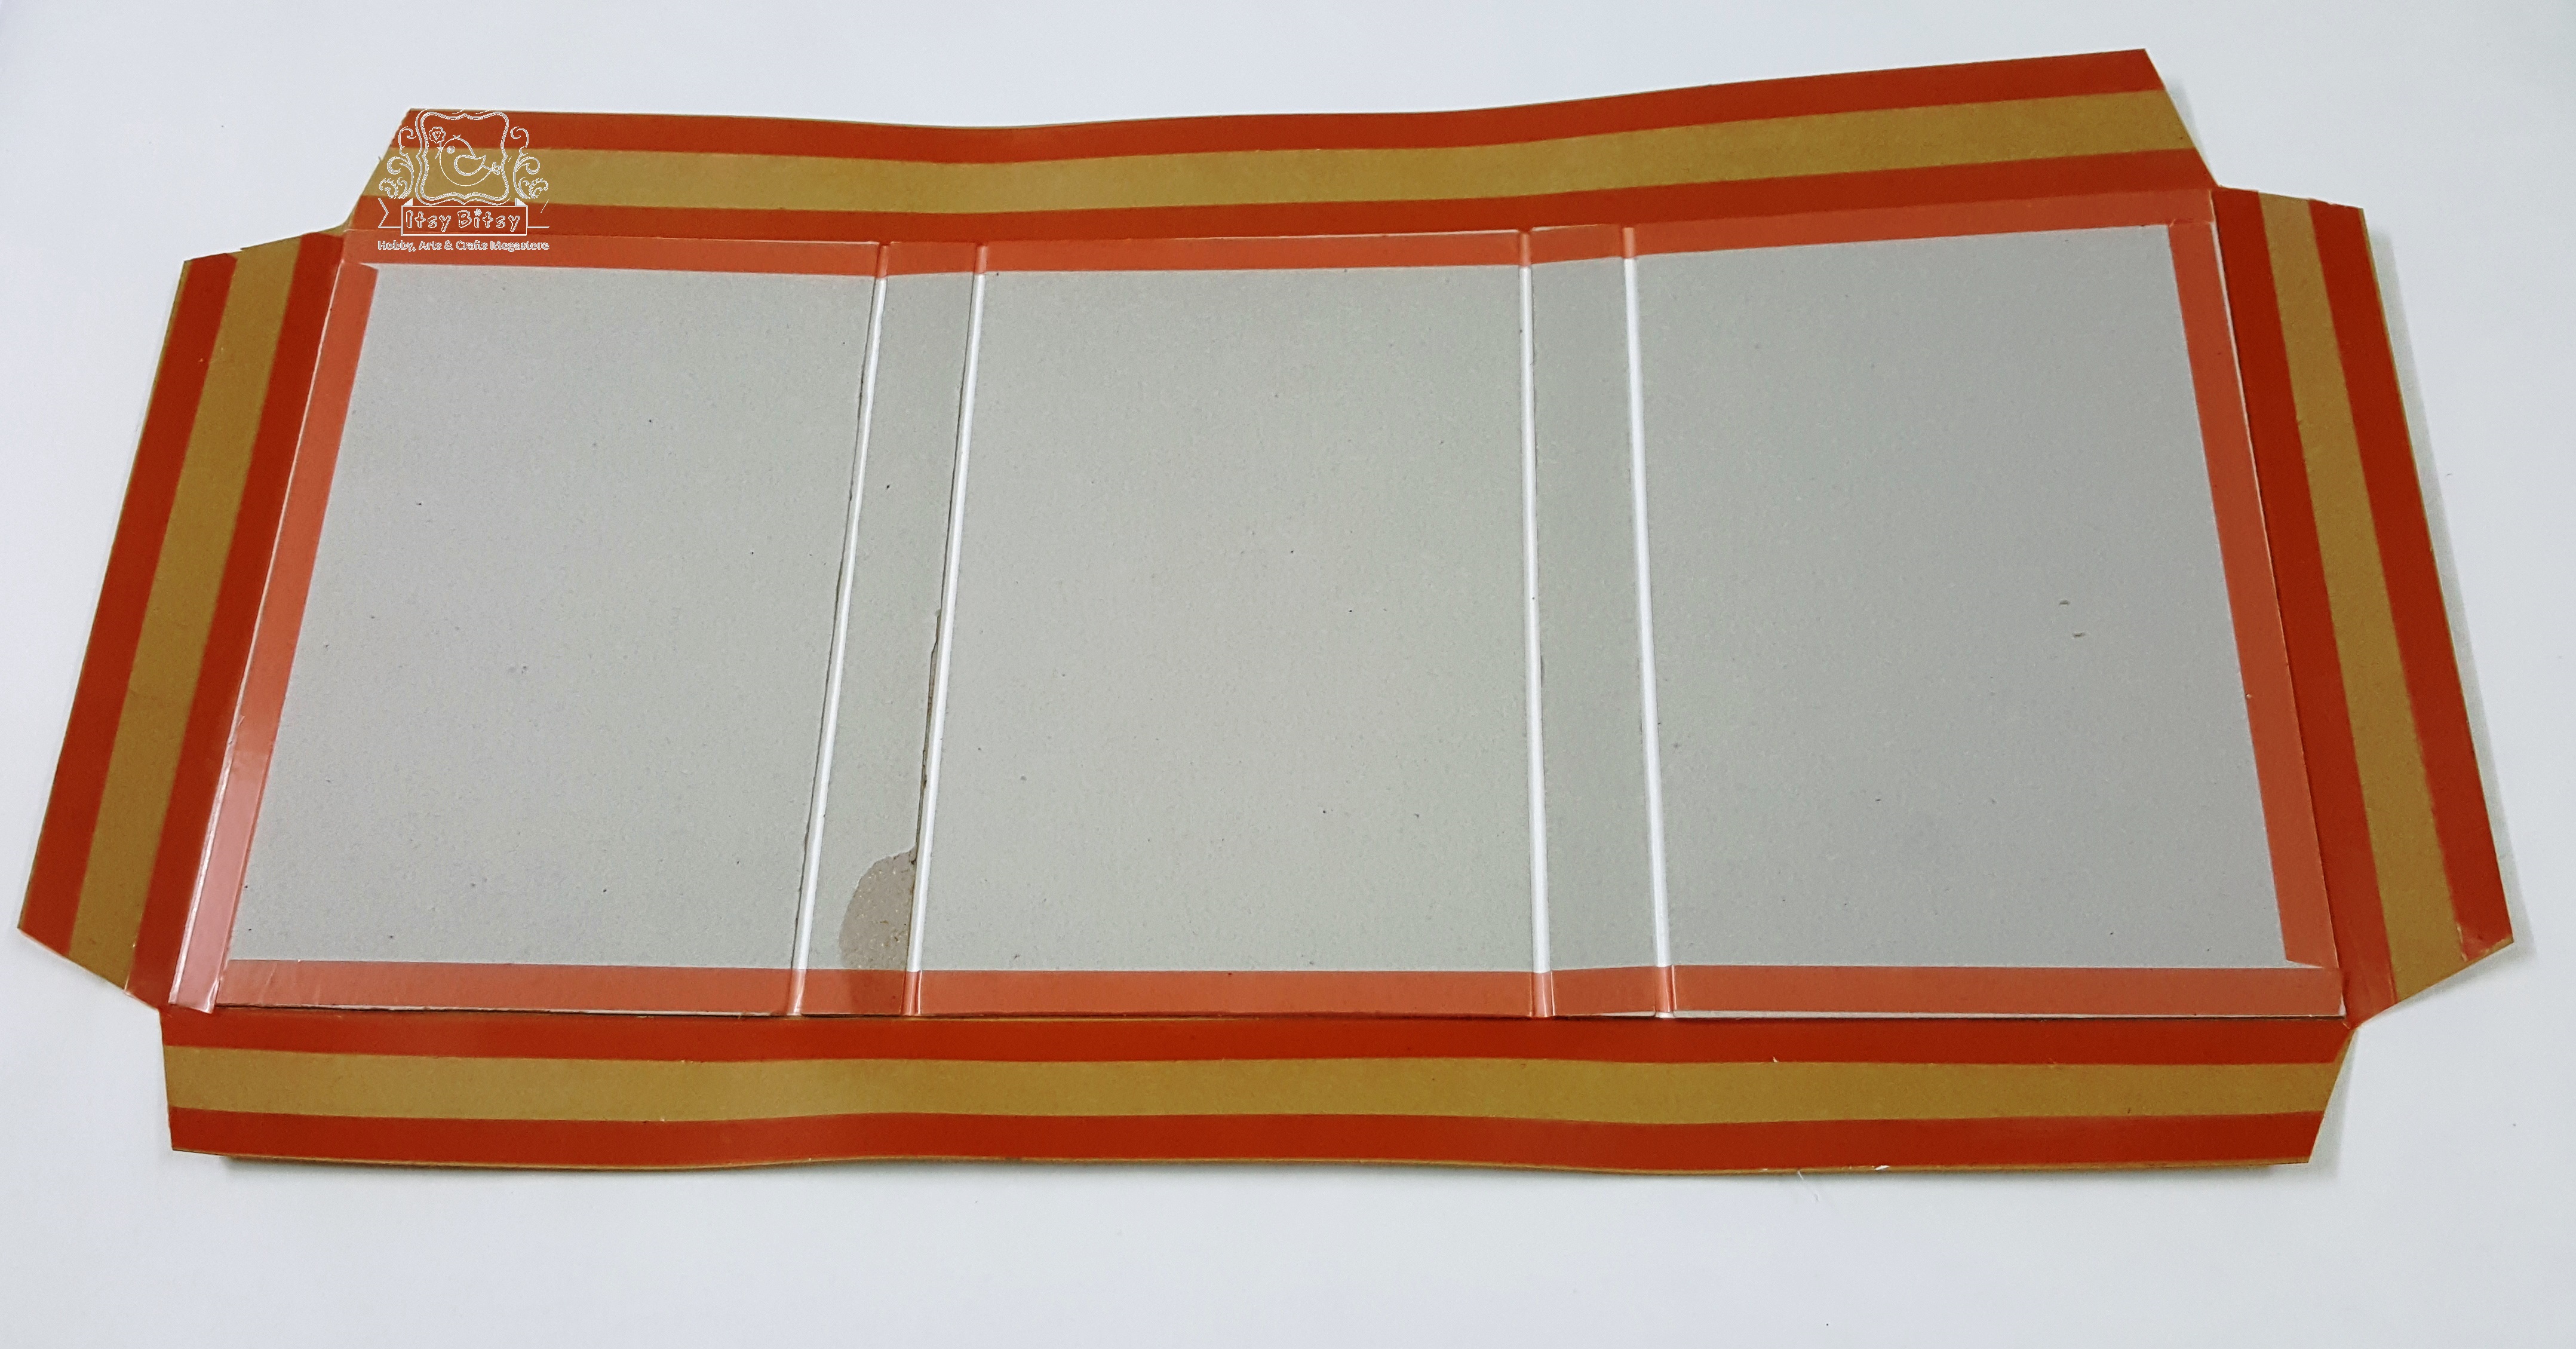
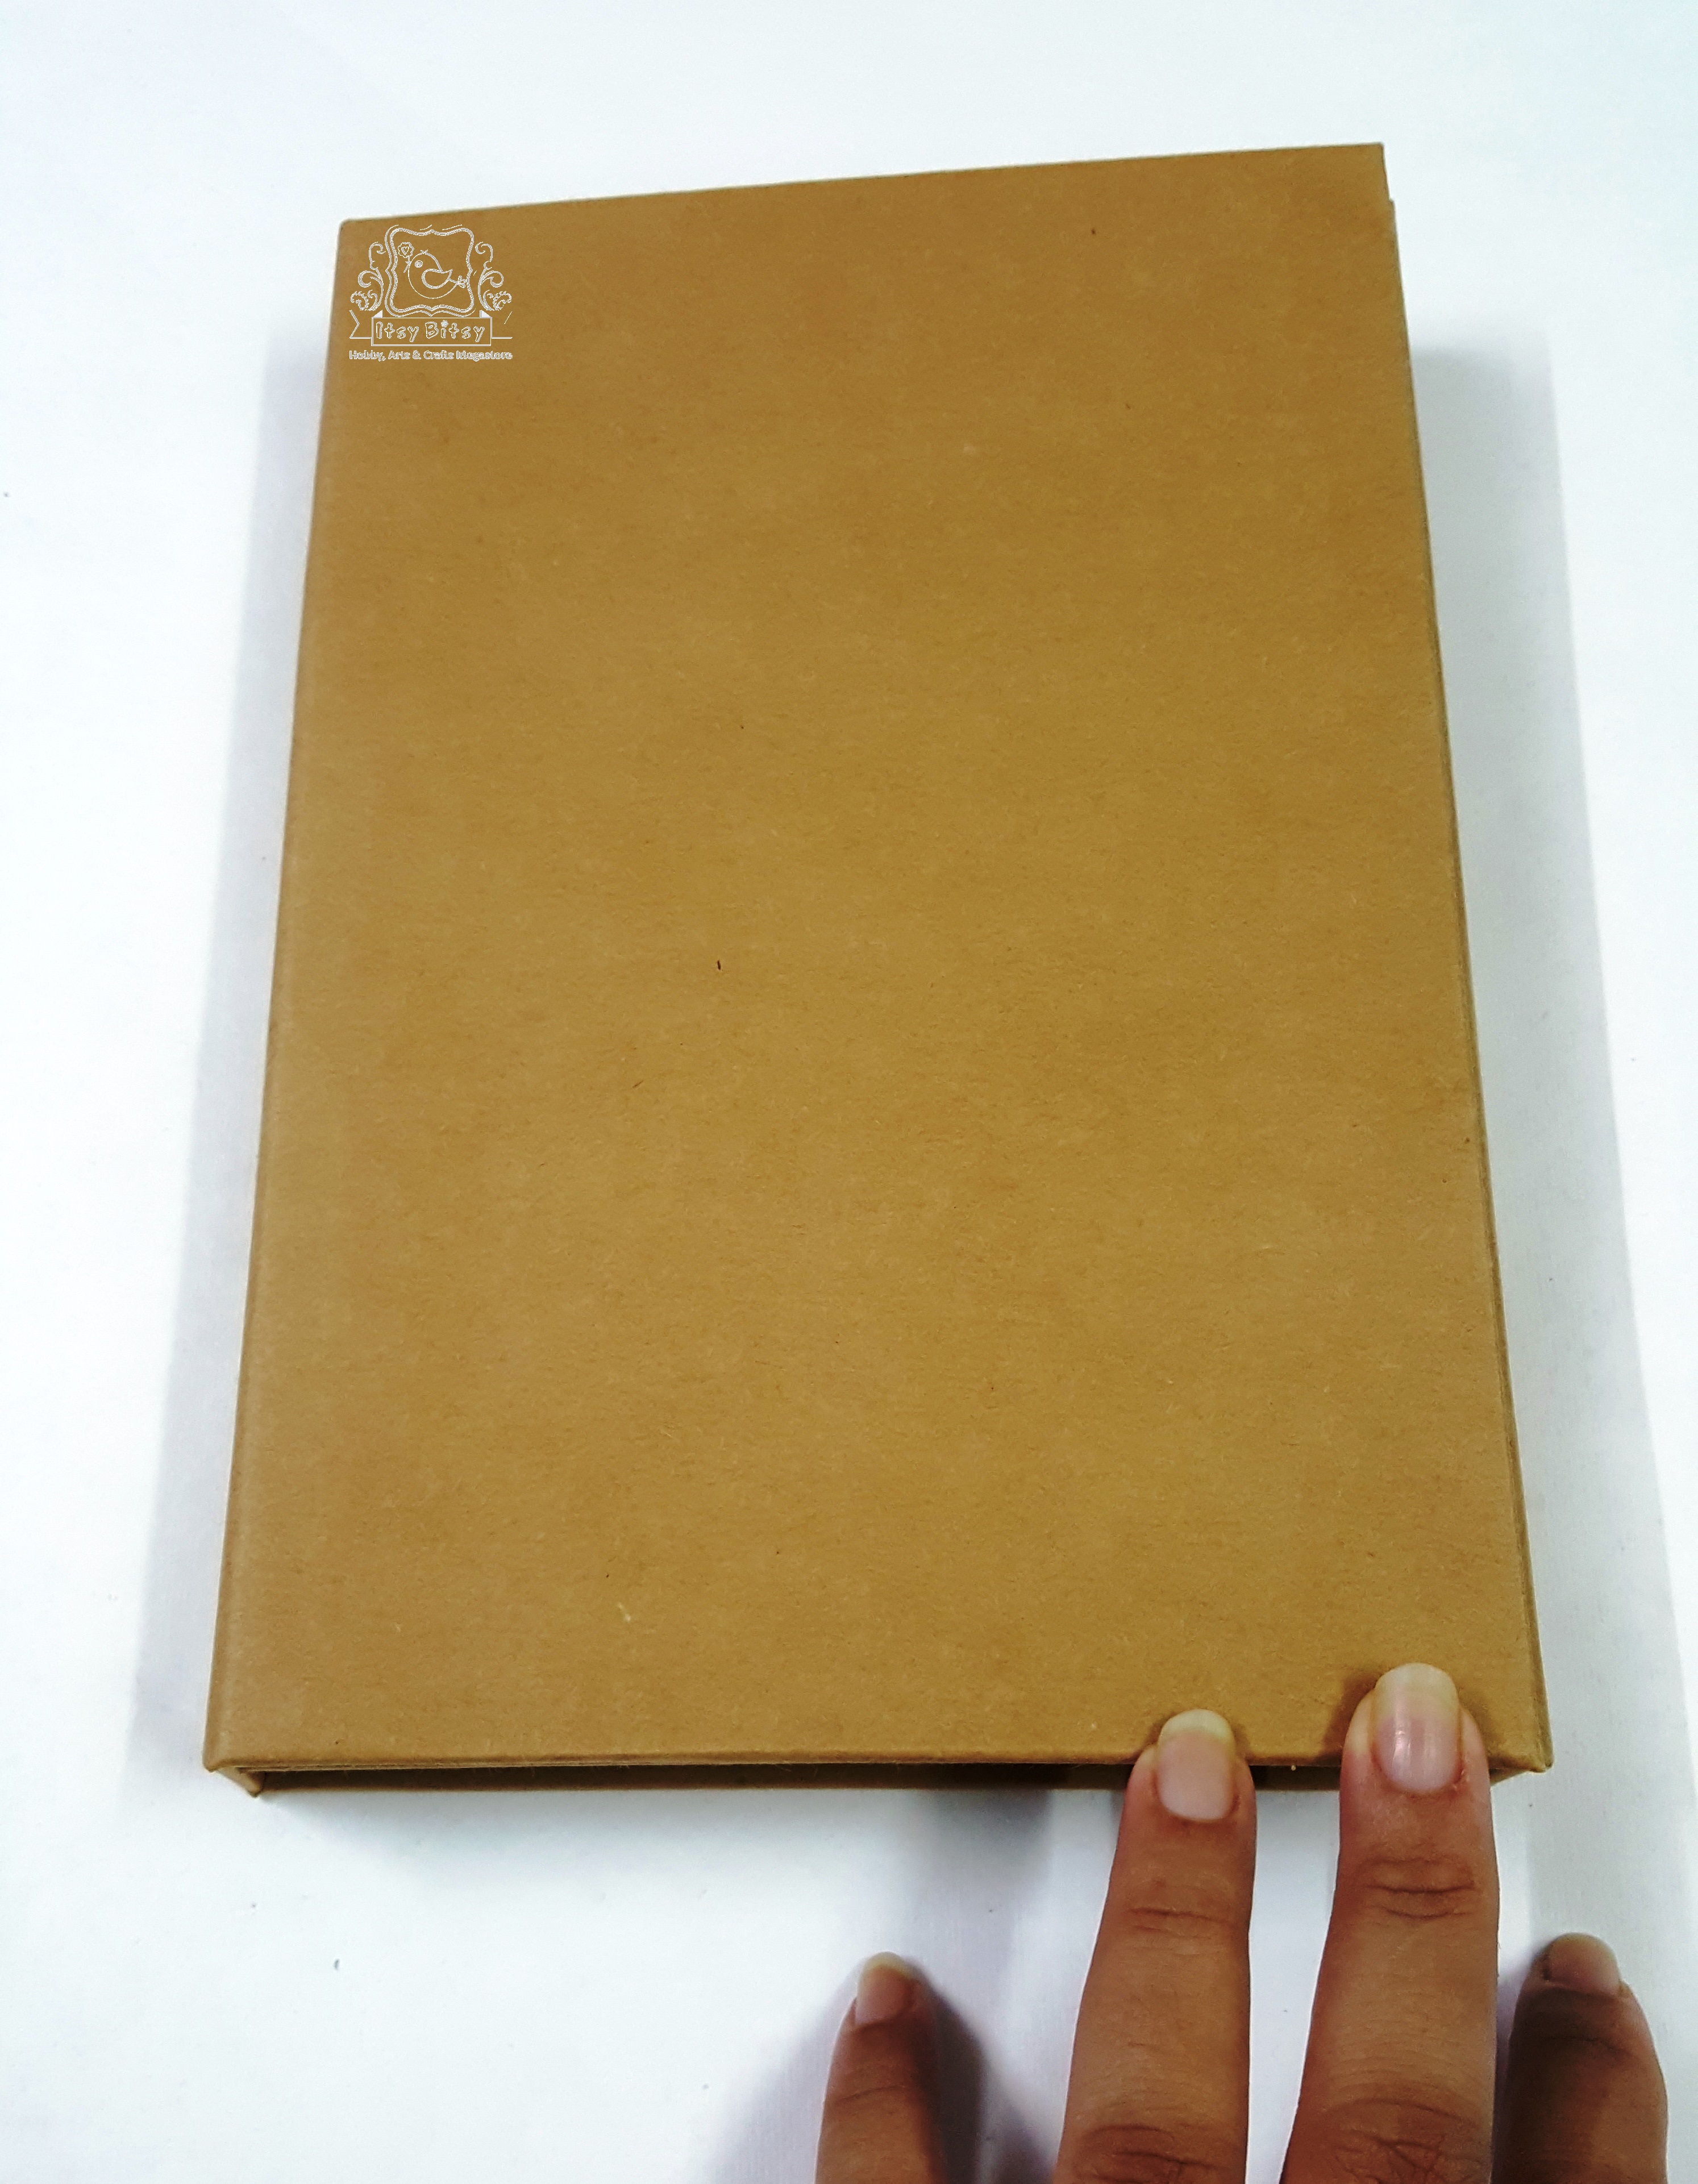
- Now, we need to cover the book with paper or cloth…whatever you choose. I have used a big kraft cardstock sheet from the IB store. They have big sheets of paper which always comes handy while making album covers. If you cant find big sheets, use 12″by 12″ sheets and join them and treat it as 1 single big sheet. To cover the book, I add tacky tape on all the edges and wet adhesive in the center. Be careful and do not apply any adhesive on the folds.
- Then, I just took the backing off and glued the cover to the chipboard frame. Make sure to burnish the surface properly to remove any trapped air bubbles. Then, just cut the corners off and slowly bend the sides and glue it to the frame.
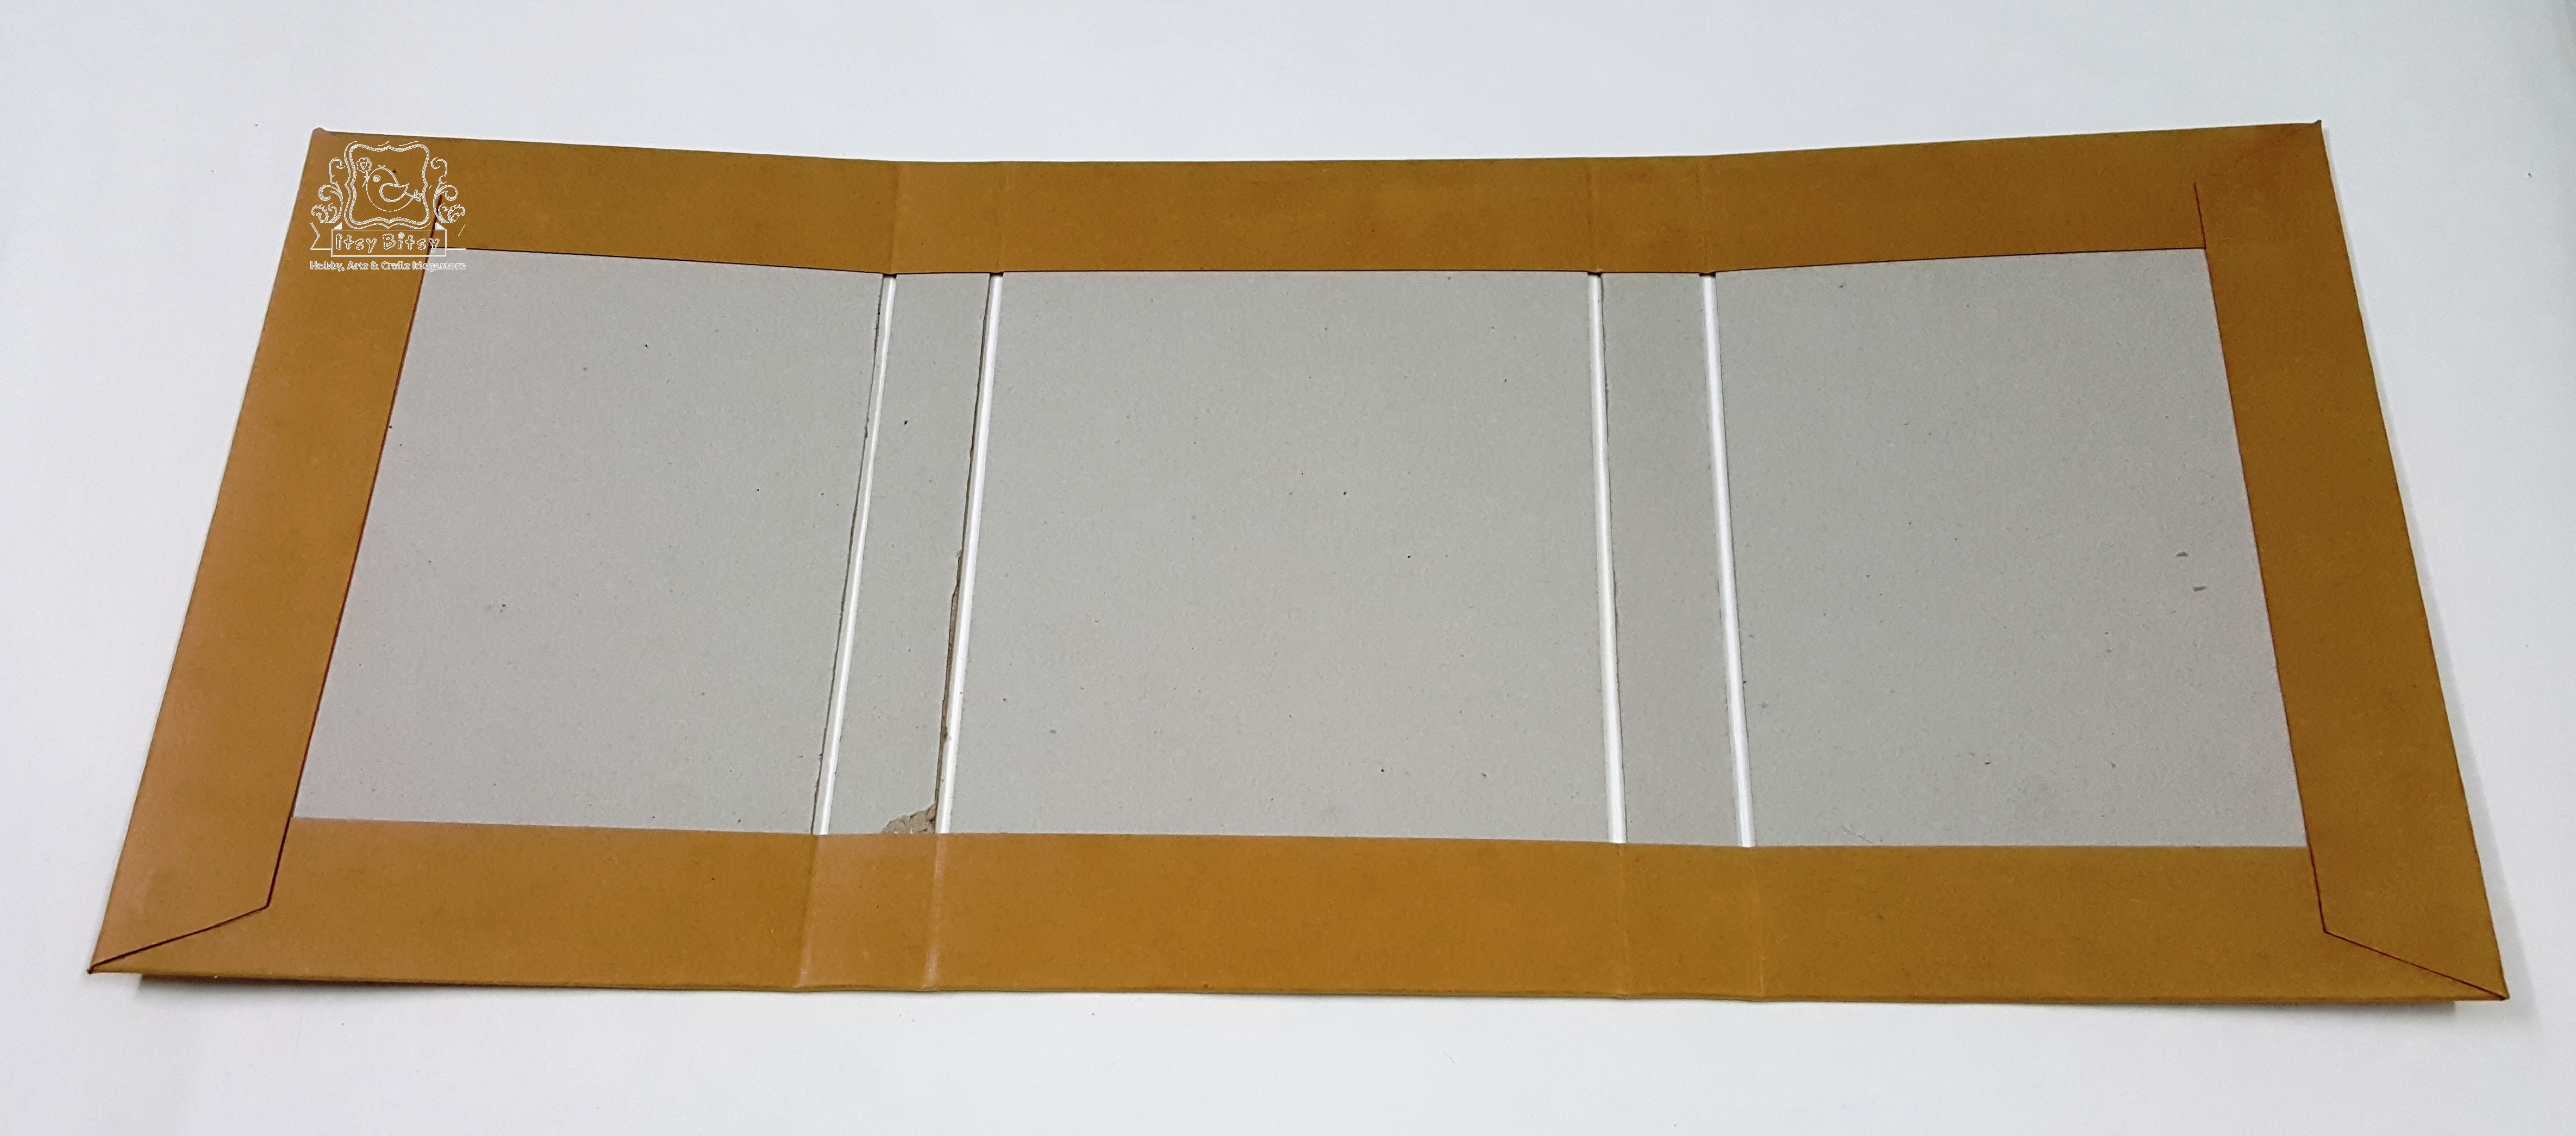
- Once, completely covered, slowly crease the folds and gently fold the book. You can use your bone folder for the same…please do not use anything sharp and do not apply force as you might poke a hole in the paper.

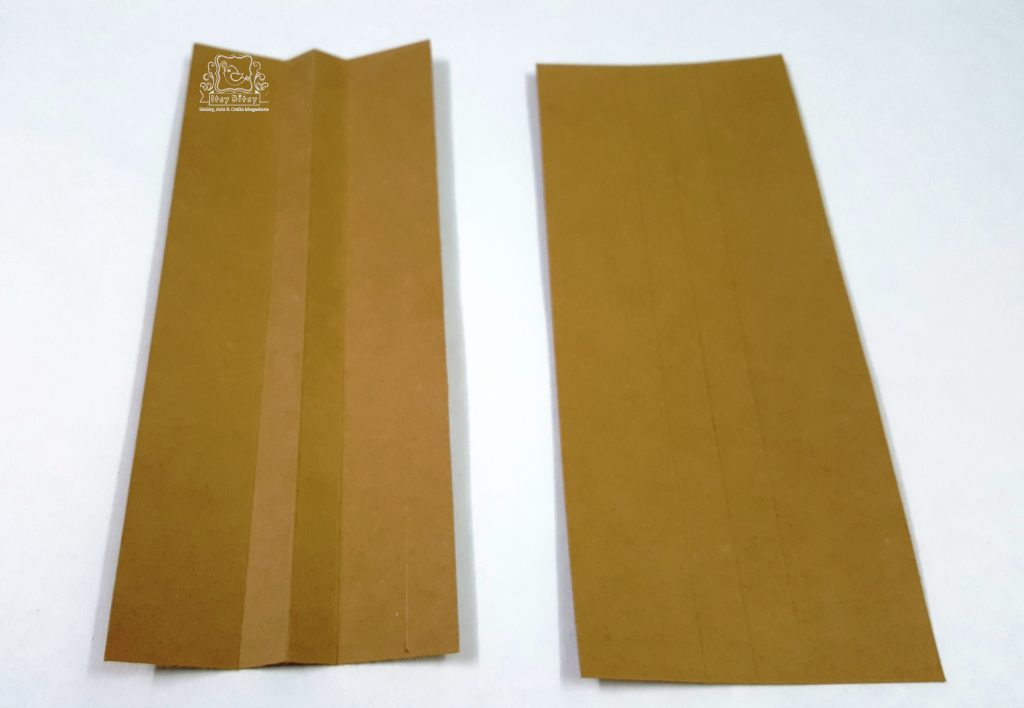
- Now, we need to make hinges to add pages to the spine. Since we have 2 spines, I have added hinges on both of them. So there is 1 page on either side. To make the hinges, we need 2 cardstock pieces measuring 8 1/2″by 4″. Score the pieces at 1 1/2″, 2″and 2 1/2″on both the pieces. Crease them and you will get a mountain fold and 2 valley folds as seen in the pic. Now, add glue to the mountain fold to get the hinge.
- To add the hinge to the spine, i have used tacky tape. This is how it looks when the hinges are added. You can even add 2 hinges on both sides but I was happy with one as I wanted to add 1 page only.
- The pages I made are pocket pages with a small pocket in the front and a big pocket to hold a big photomat. To make this page we will need 2 pieces of cardstock measuring 8 3/4″ by 12″and 2 pieces measuring 6 3/4″by 4″ which is for the front pockets.
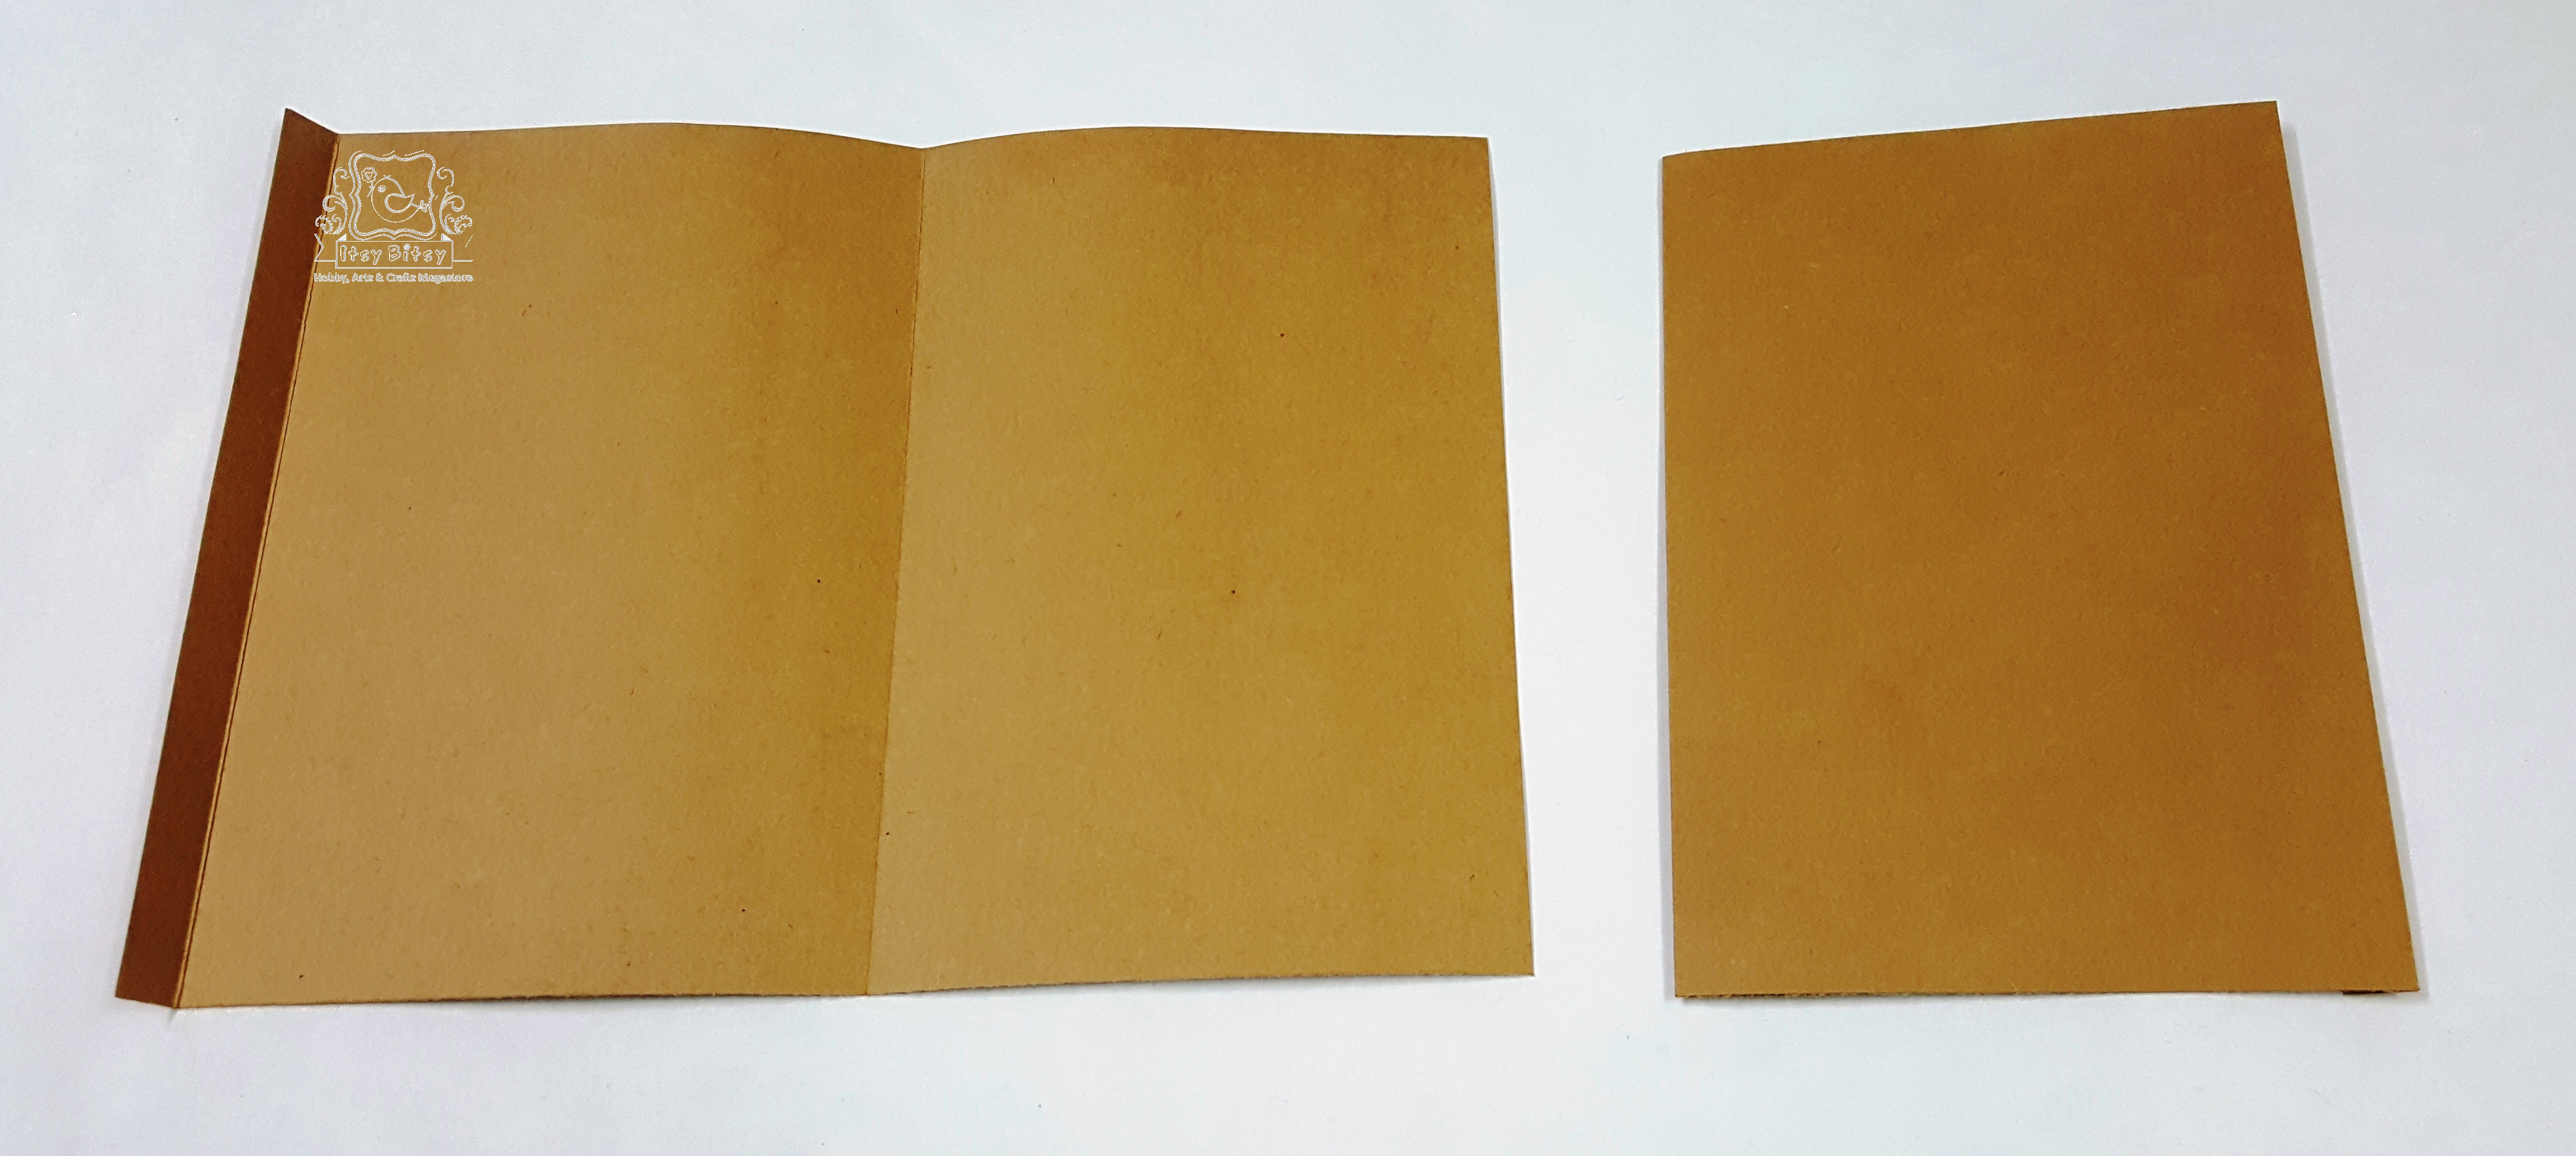
 Here is the scoring instructions to make the page.
 - For 8 3/4″by 12″- score at 53/4″and 11 1/2″ on both the pieces.
- For 6 3/4″by 4″ – score at 1/2″and 61/4″and rotate and score at 1/2″on both the pieces. Now, crease, fold and add the pocket to the page using tacky tape. Make sure to use the lower part of the pocket flap to seal the page. Add the page to the hinge using tacky tape.
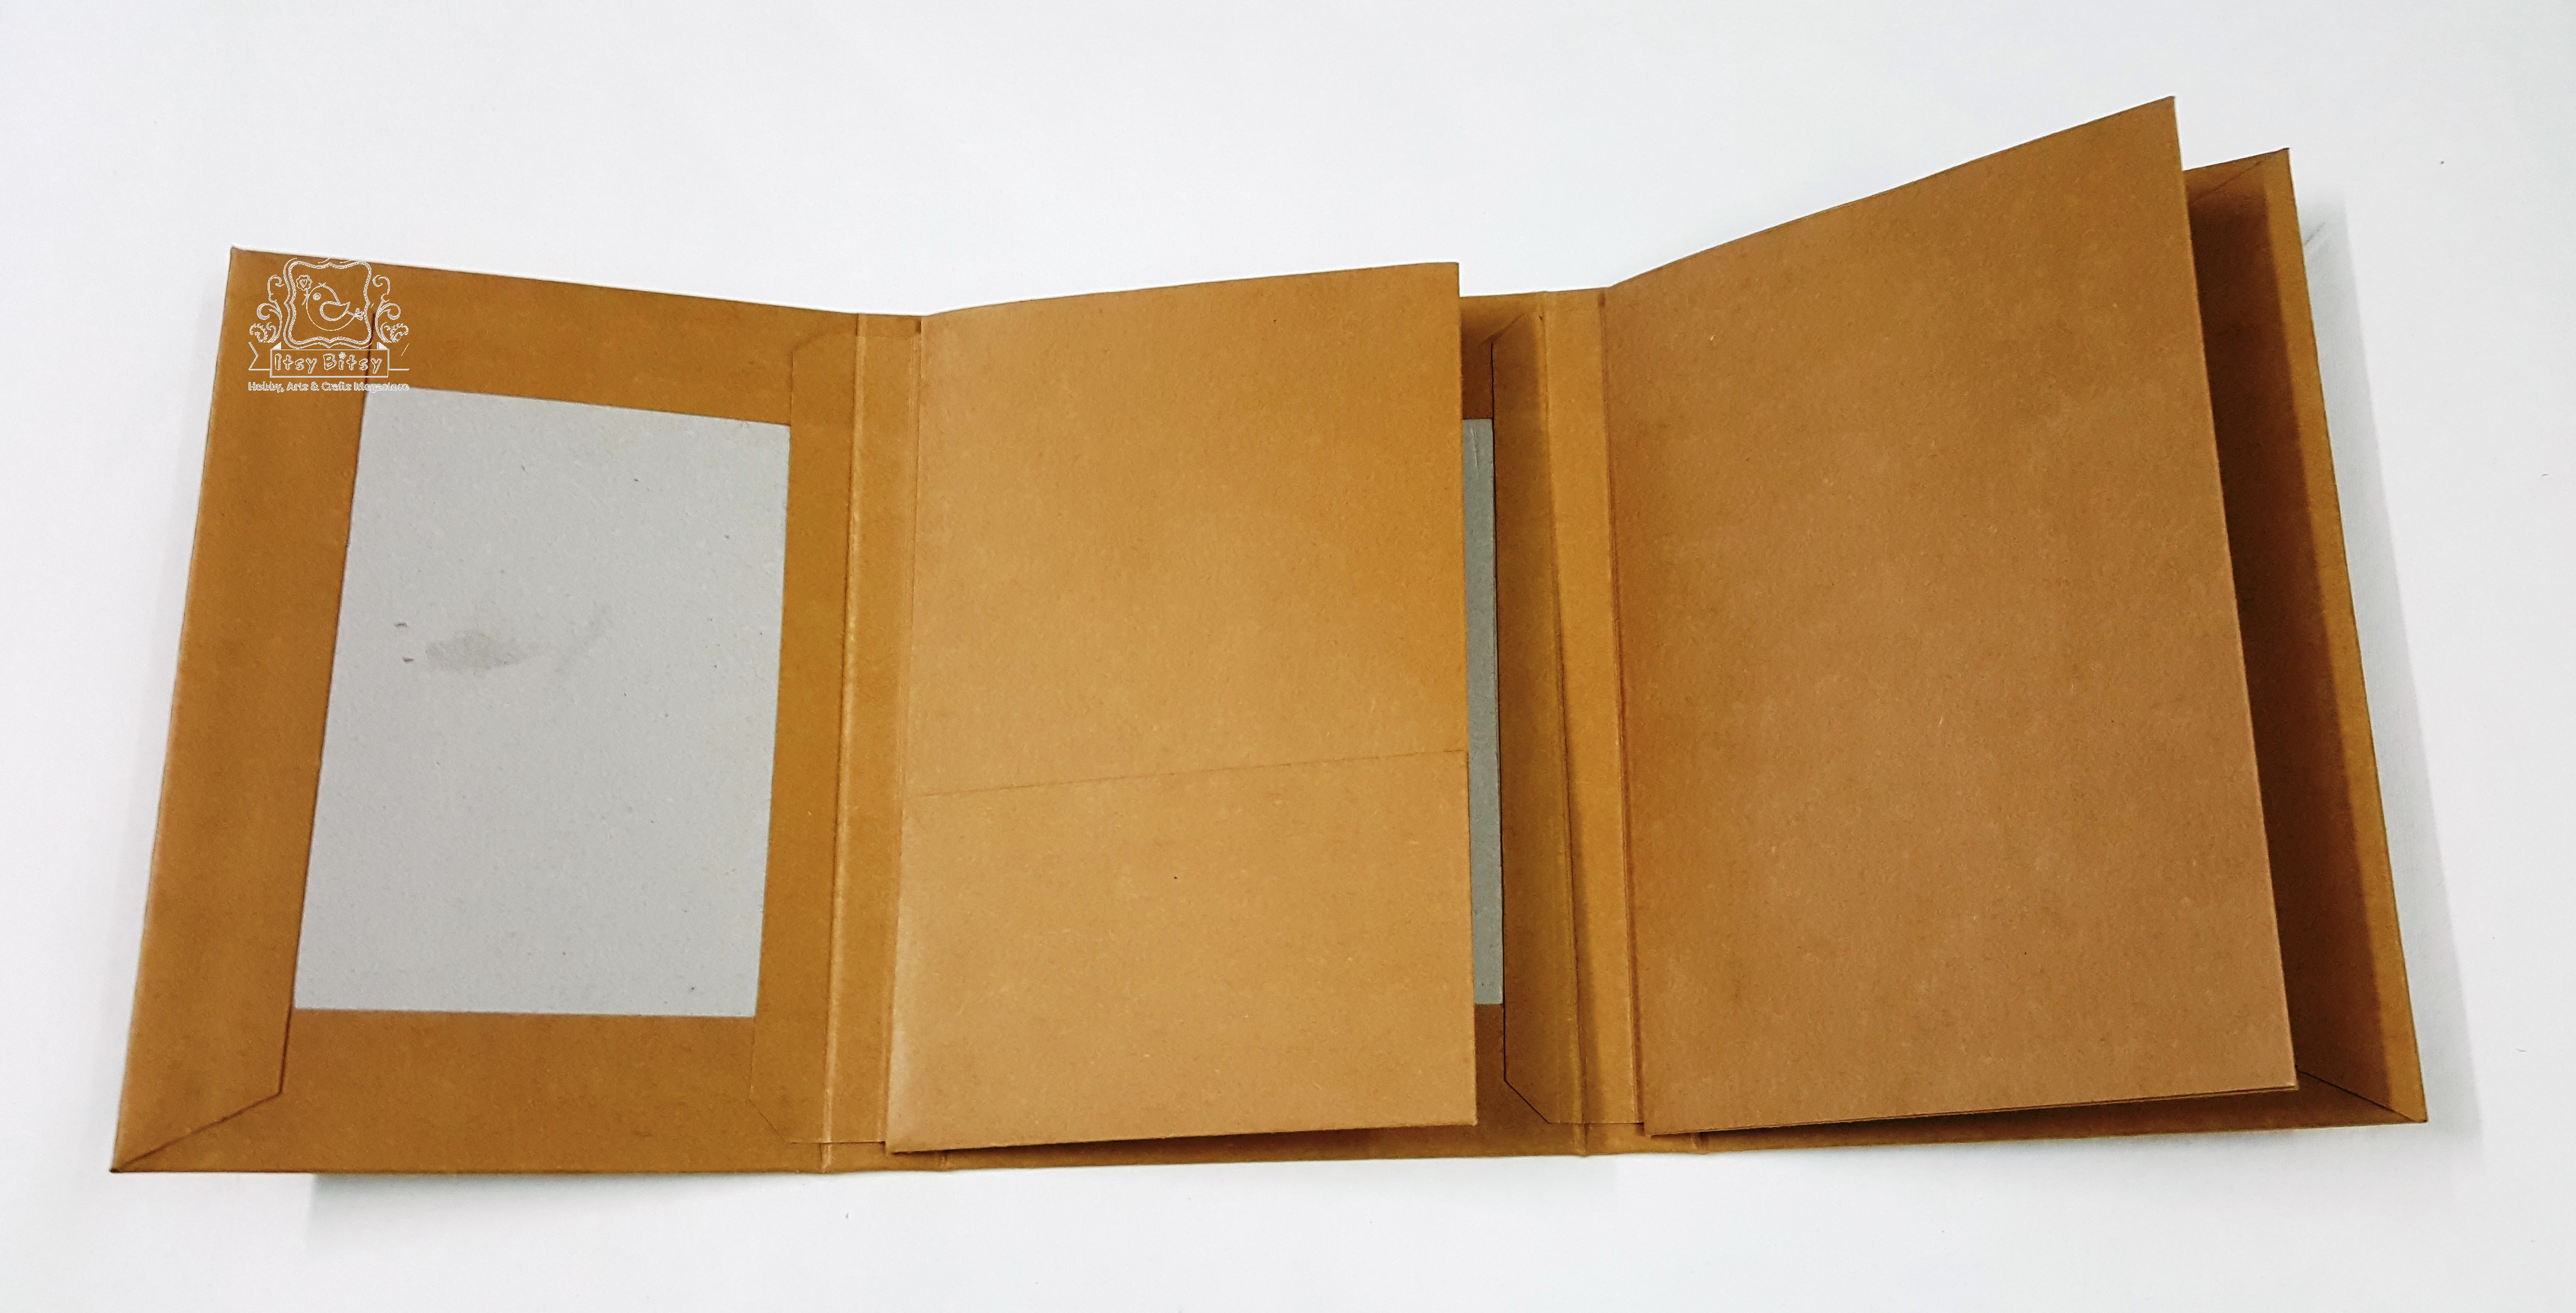


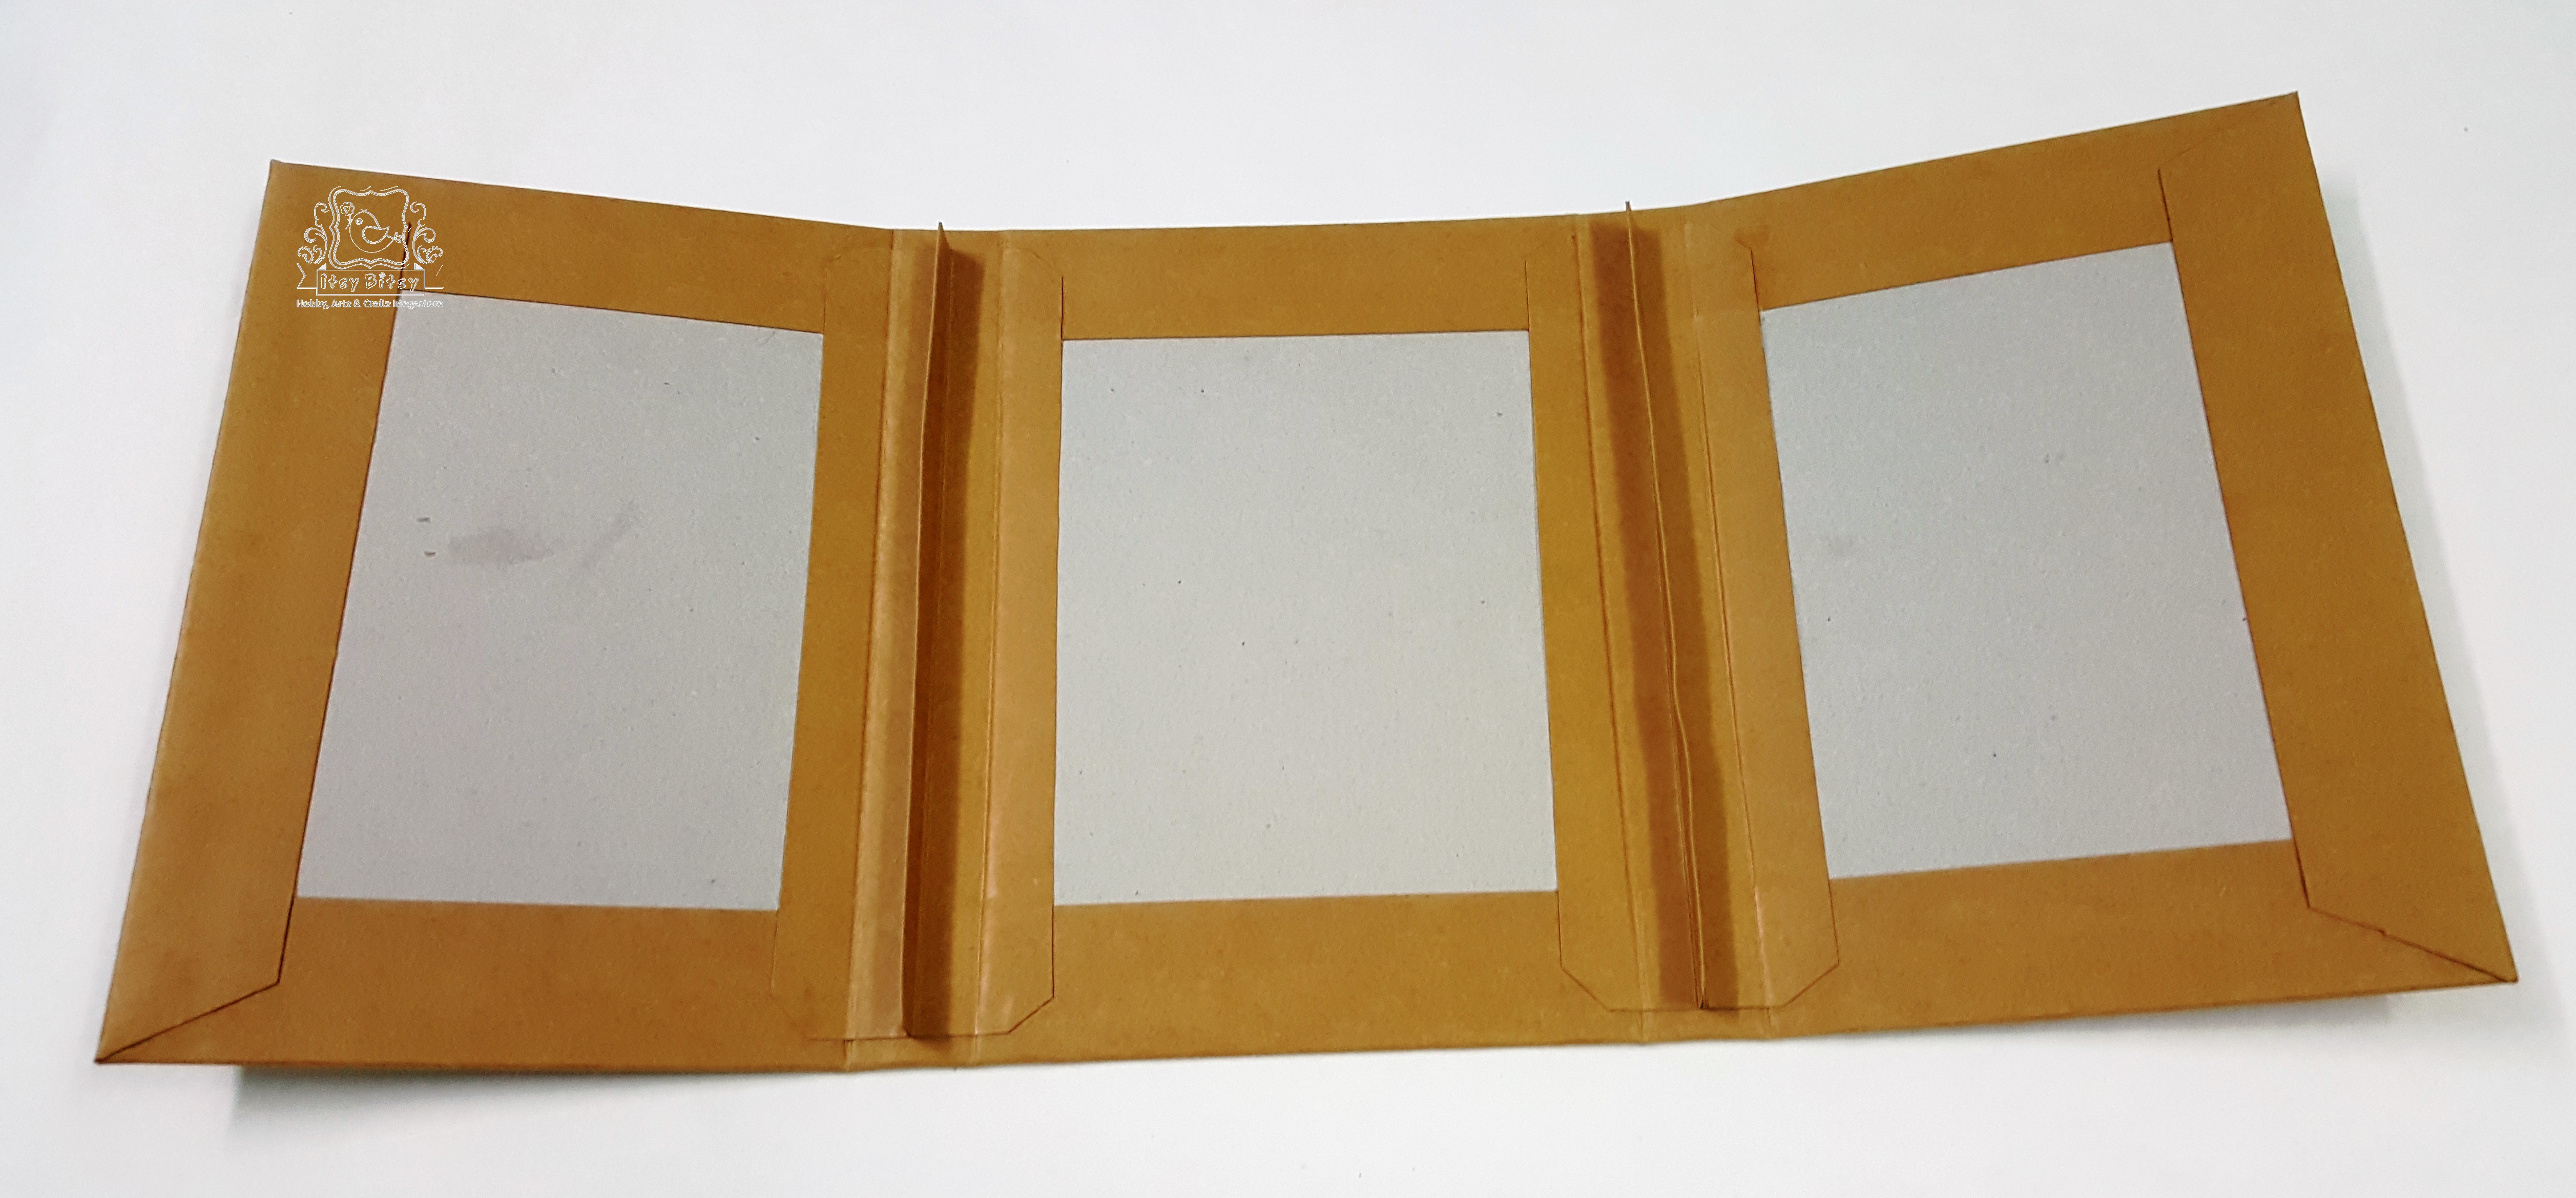
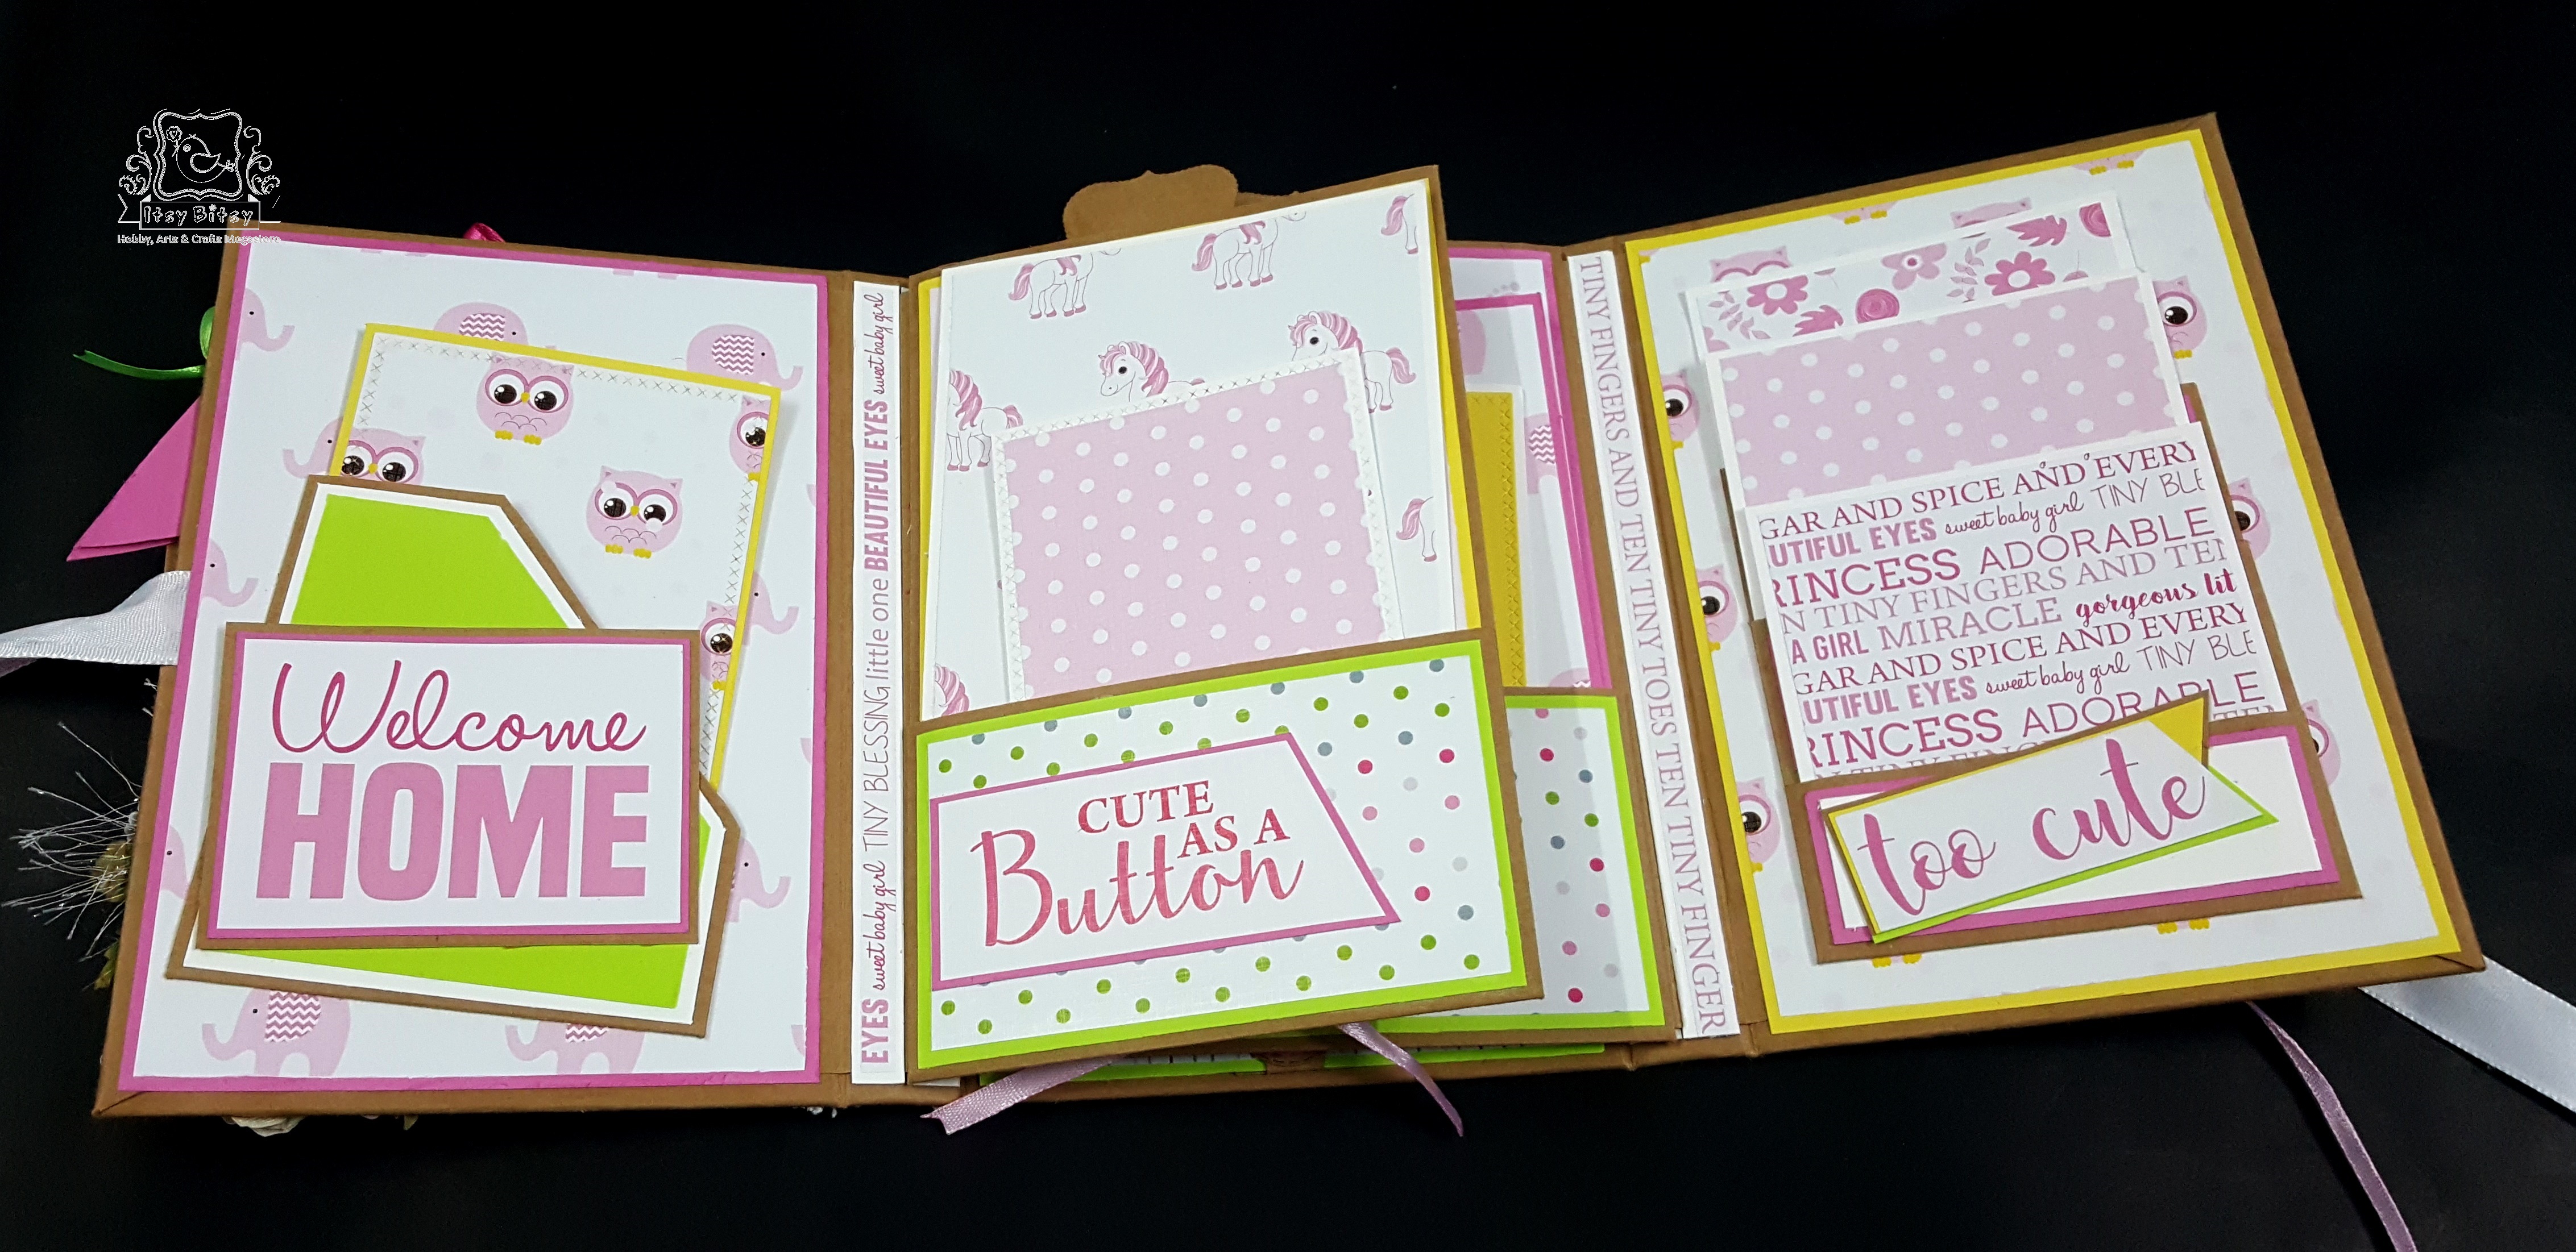
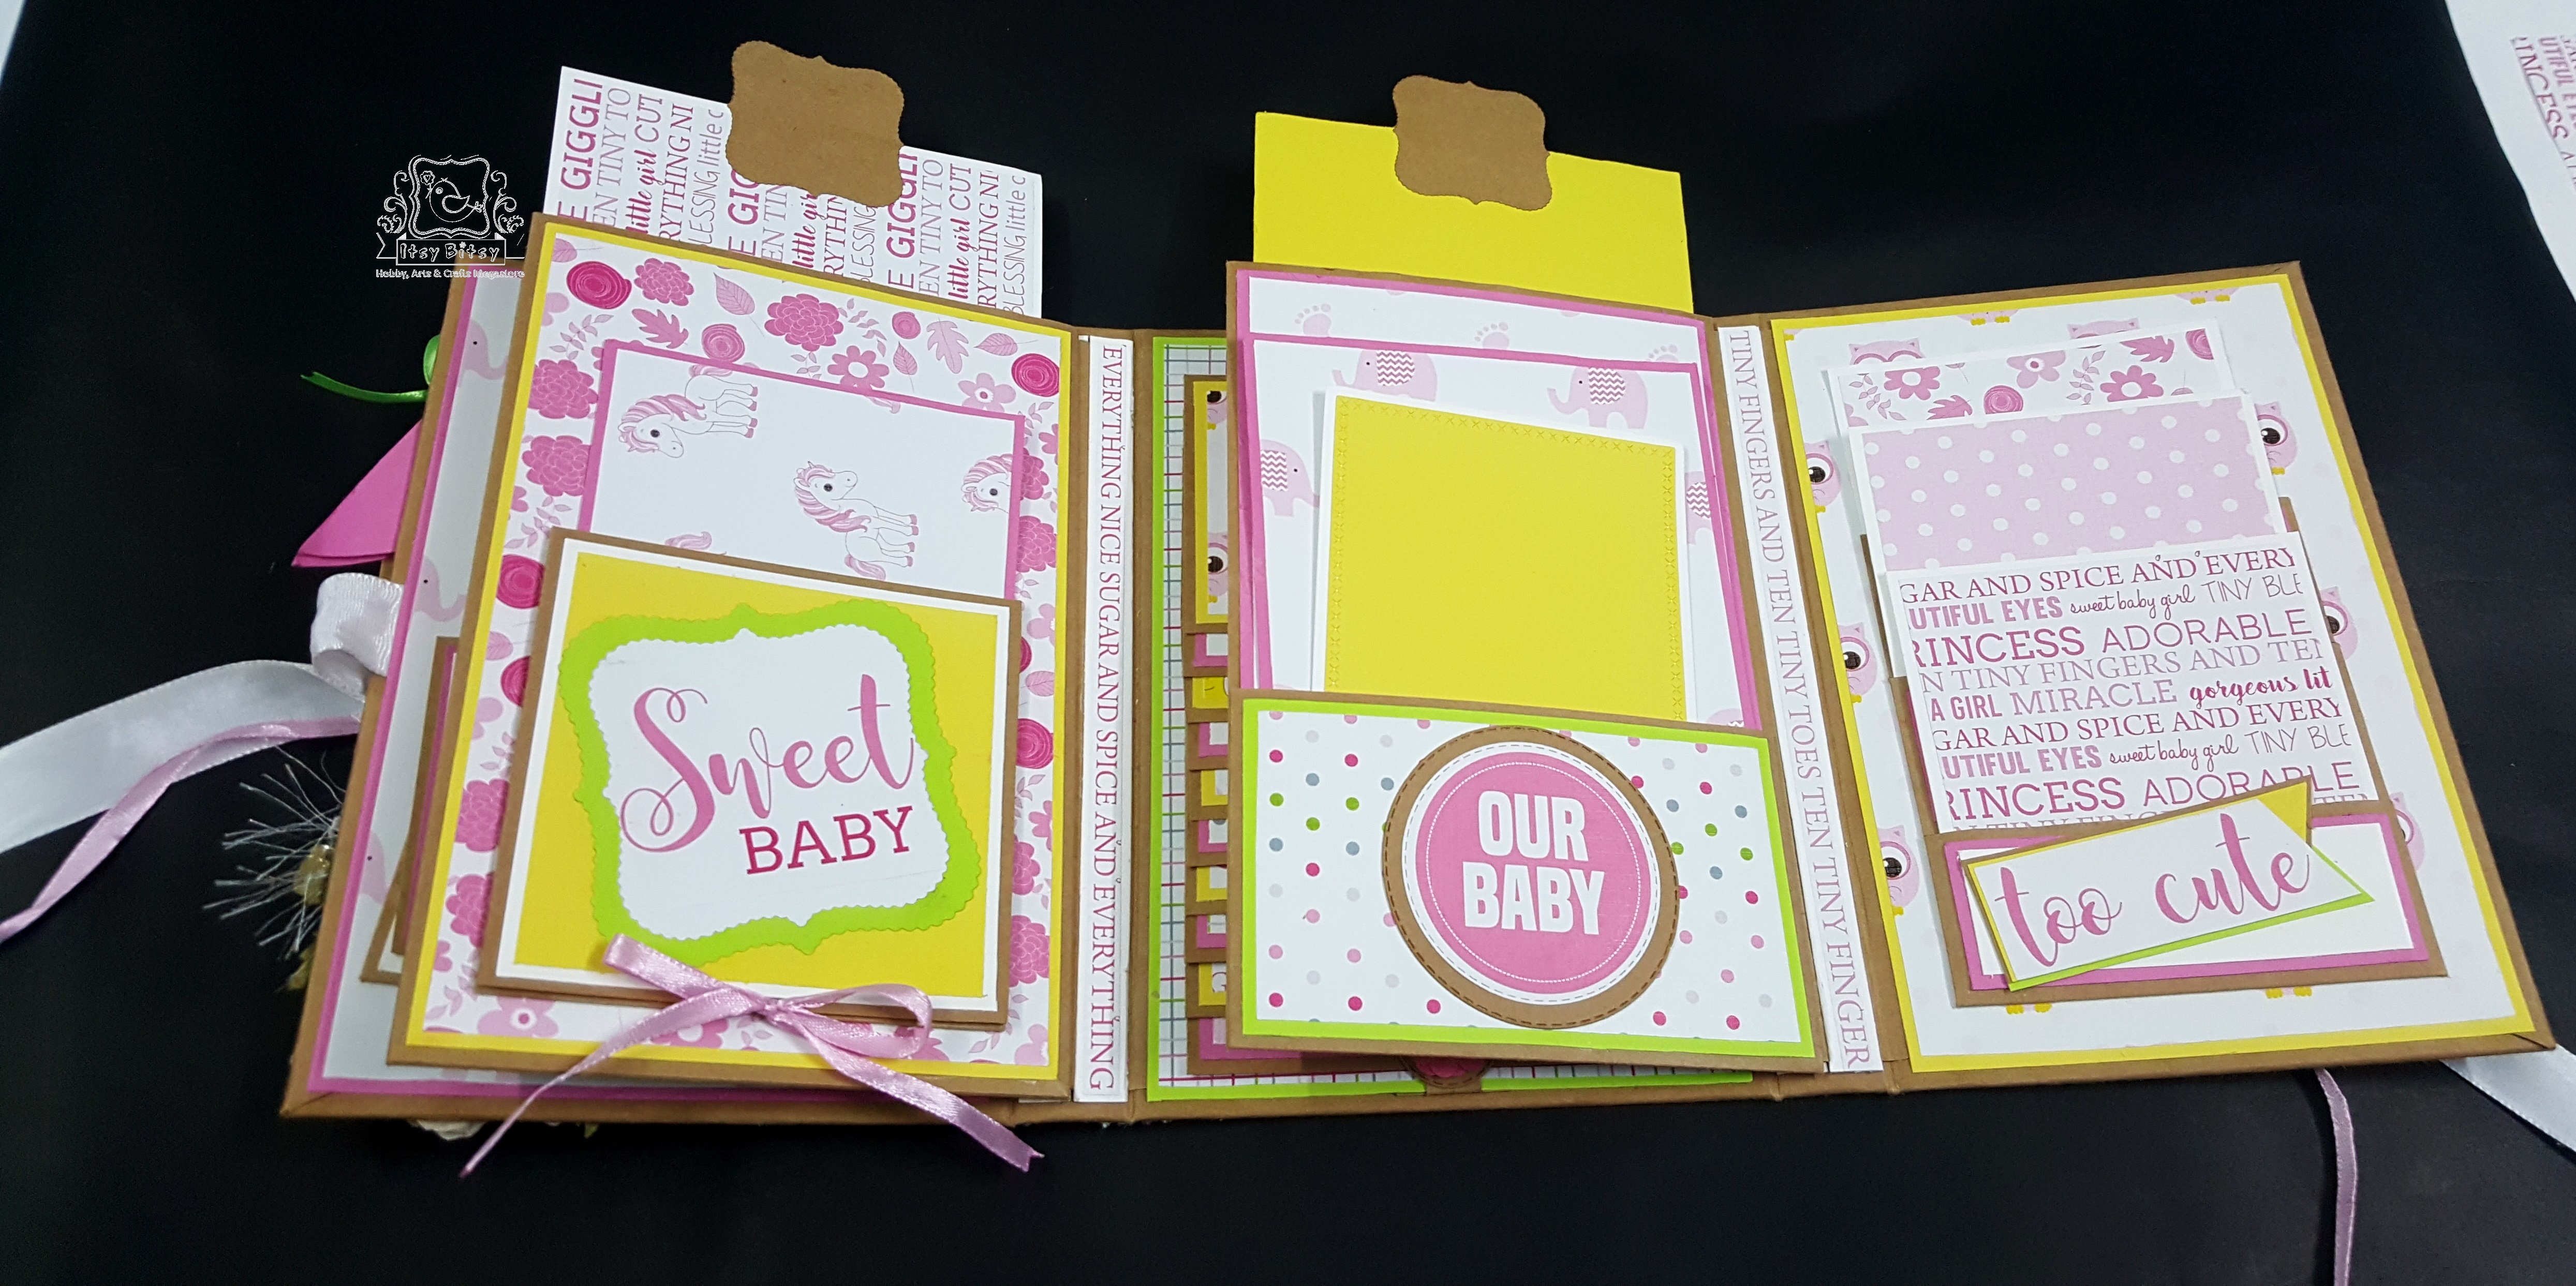
Thats all…our basic structure is ready. I started adding pattern paper and decorating my folio. here is how it looks on the inside. I added more pockets and photo mats on the inside, I did a waterfall which takes a lot of pictures. To see the inside better, I would encourage you to see the video below.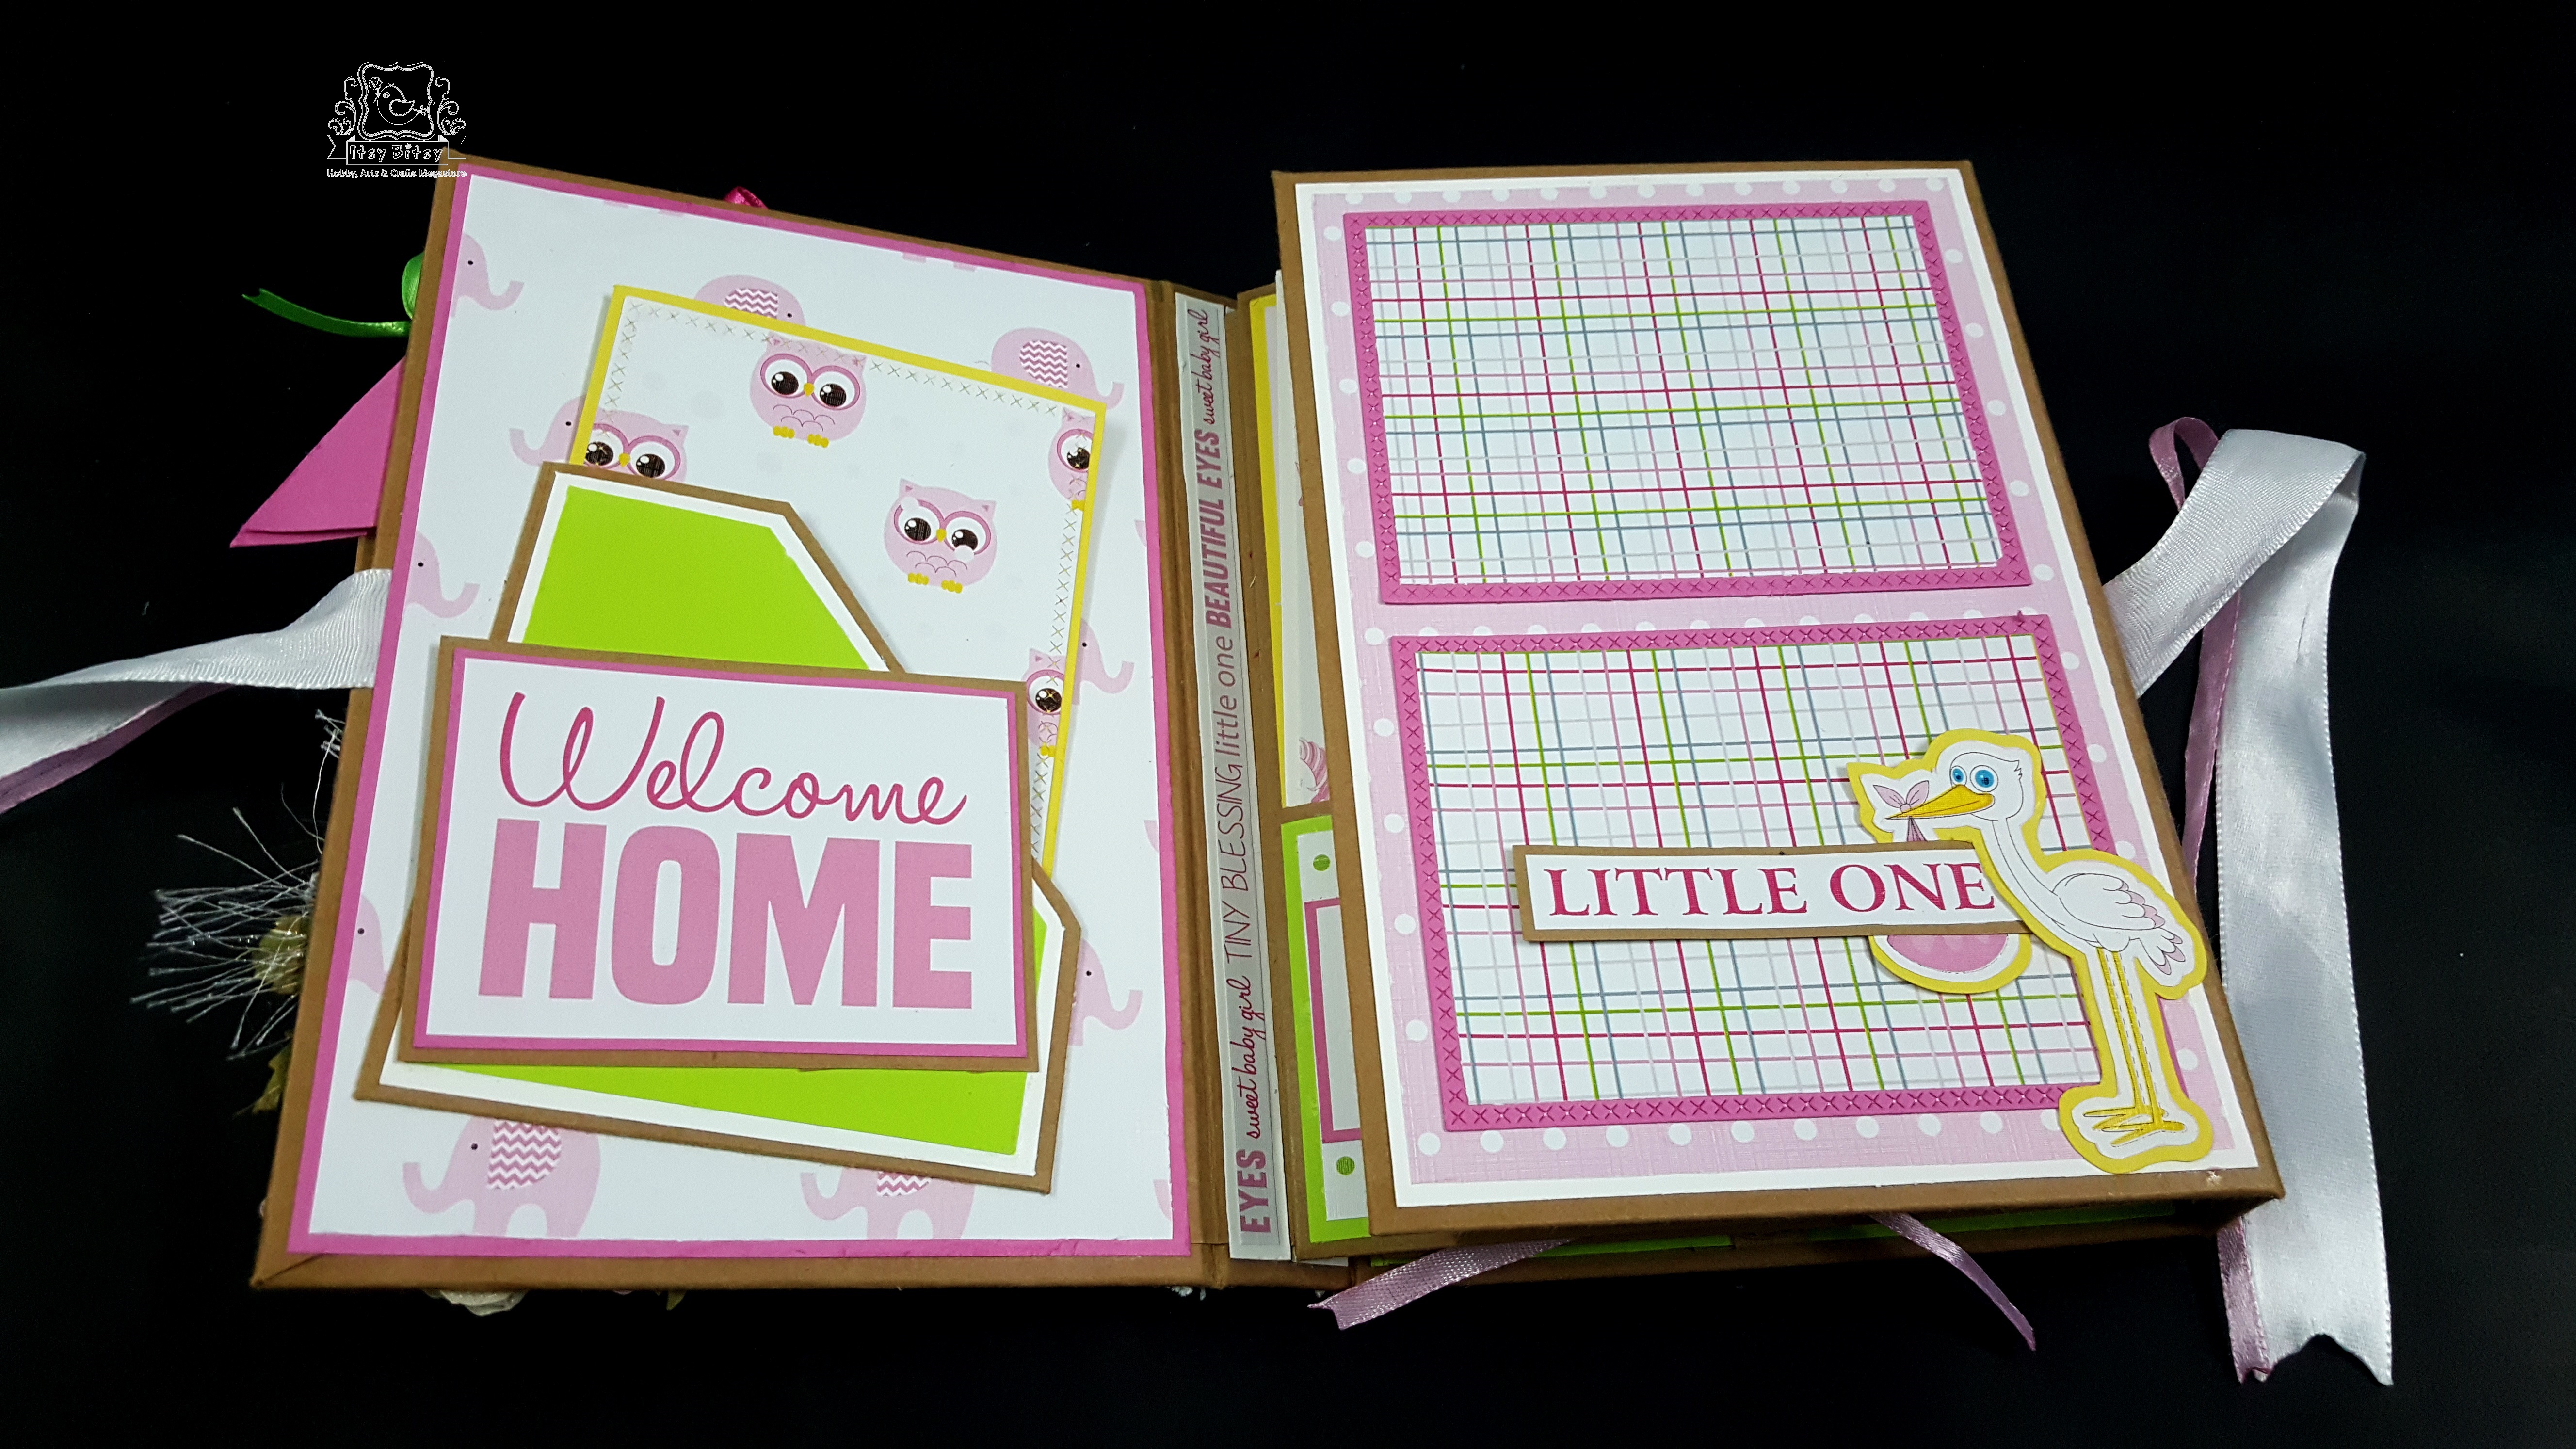
 Here is the video link for the folio.
Here are few more pictures of the folio from the outside. I have used loads of handmade flowers, laces, ribbons, trims, butterflies and decorated my cover.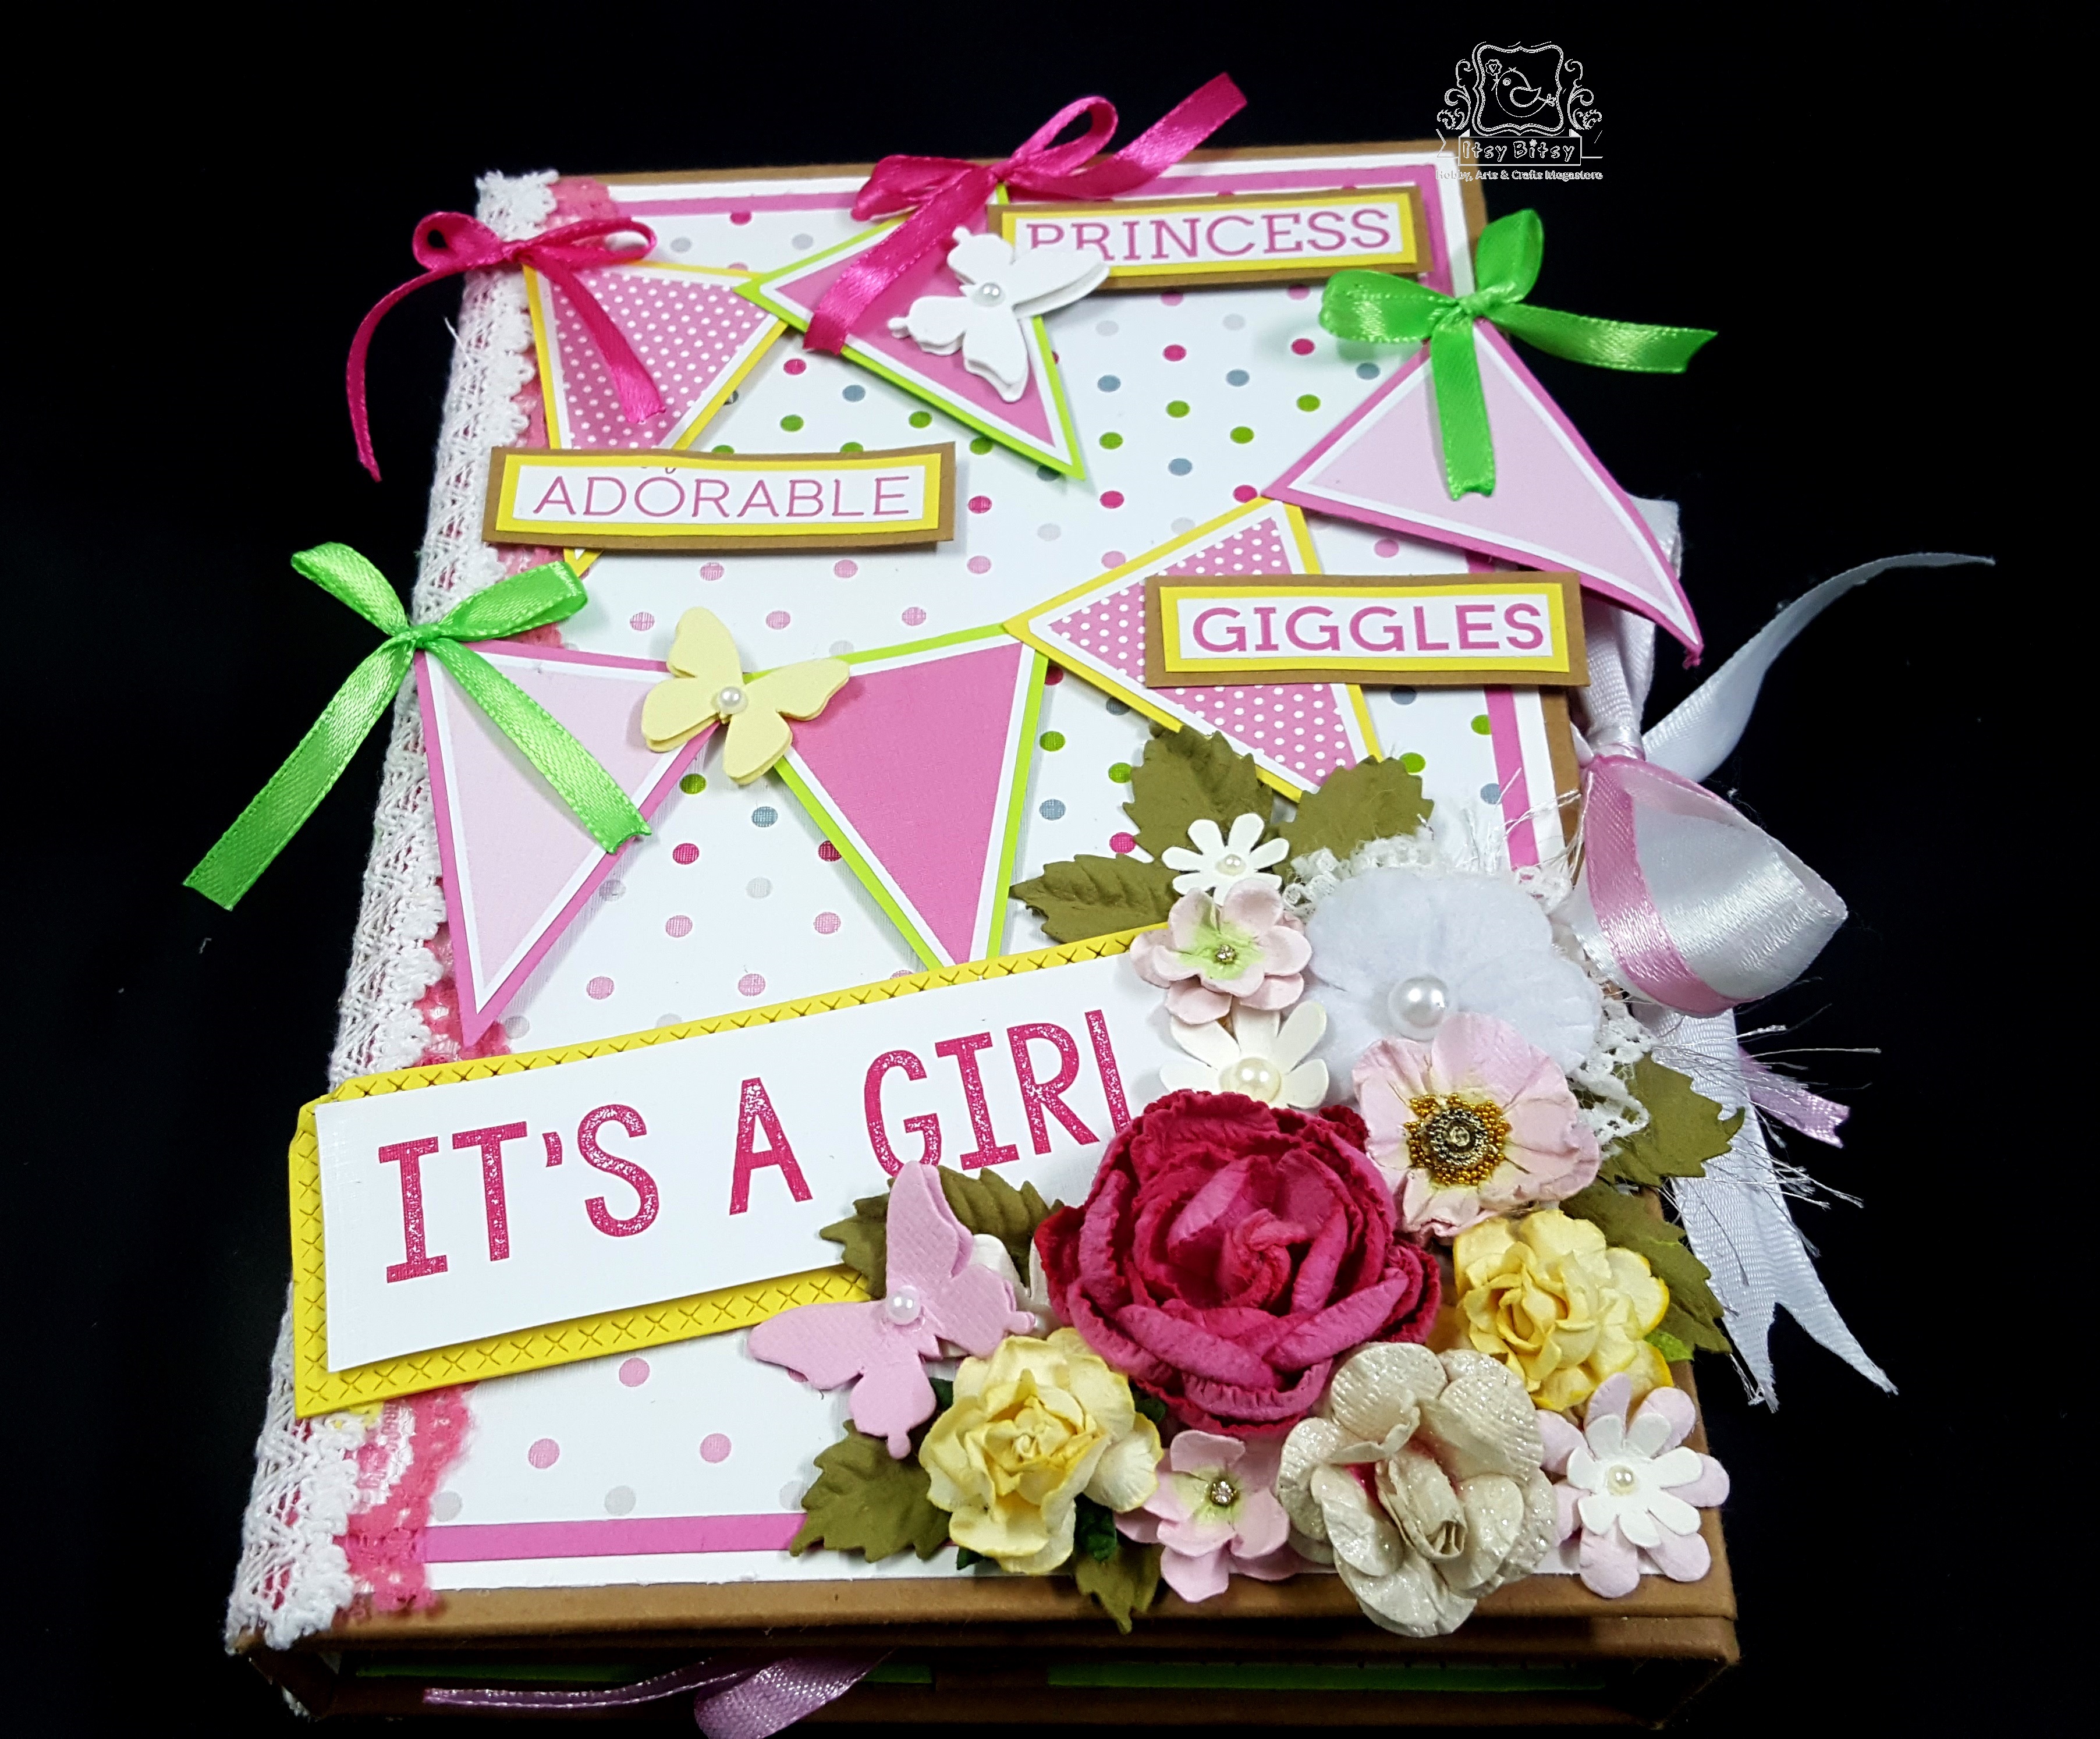


Here is the list of supplies I have used. Everything used to make this project is from Itsybitsy but I am listing only those things which are in stock and available online.
-
ANGEL ROSE CARNATION 8PCS IB

-
Renae Blush

-
Curly Rose – Yellow 30mm, 12pcs

-
Tie Dye Gypsies – Blush

-
PEARL BUTTERFLIES 20PCS IB

-
PEARL BUTTERFLIES BISQUE 20PCS

-
Baby Giggles

-
Card Stock – Textured White #1

-
Thin Cut Dies – Cross Stitched Rectangle

-
Satin Ribbon – Chartreuse

-
Satin Ribbon – Hot Pink

-
Double-Sided Tacky Tape

-
Silicon Liquid Glue #2

-
Crochet Lace – Pink #5

Wow mukta superb pretty album so beautiful well explained post loved it so much
Thank you much dear Pooja
Hugs
Awesome tutorial… Thank you for the the post… It is very detailed and you made it seem so simple.
Thank you so much my dear for stopping by…Glad you liked it.
Hugs
Awesome! Its in fact amazing paragraph, I have got much clear idea regarding from this piece of