Hello Friends…
Priya Mishra here with you…
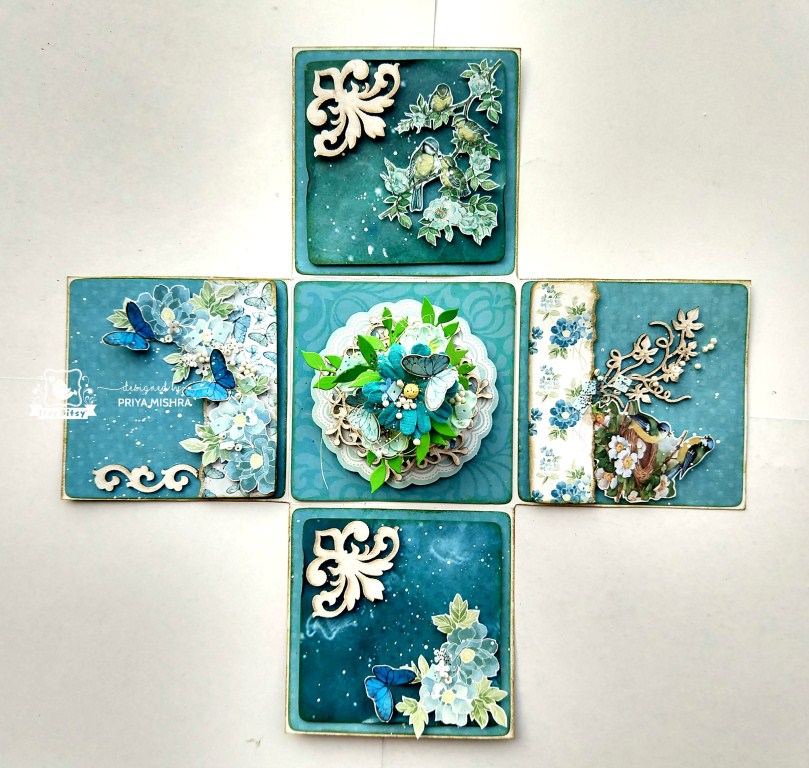
Cards help us mark some of life’s most memorable moments in a special way. They serve as a wonderful gift to recognize any occasion and an Explosion box is an over the top card which is a greeting card in a box. When you remove the lid of the box, the card opens up to reveal the decorated elements crafted by you.
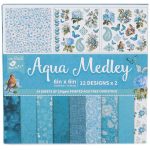
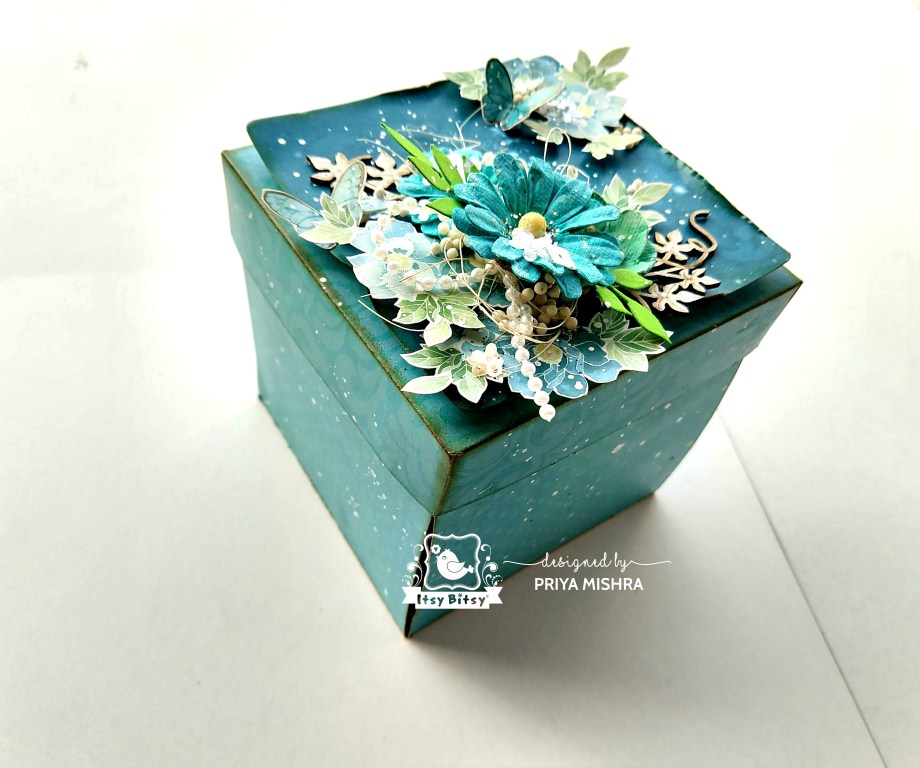
I made a beautiful Blue Explosion Box today. You might know the procedure to make one, but each Explosion box has it’s own style and elements. I will share the way I created my Explosion box using Aqua Medley paper pack and I also have a step by step tutorial for you.

Isn’t it beautiful ? Let’s Start the tutorial…
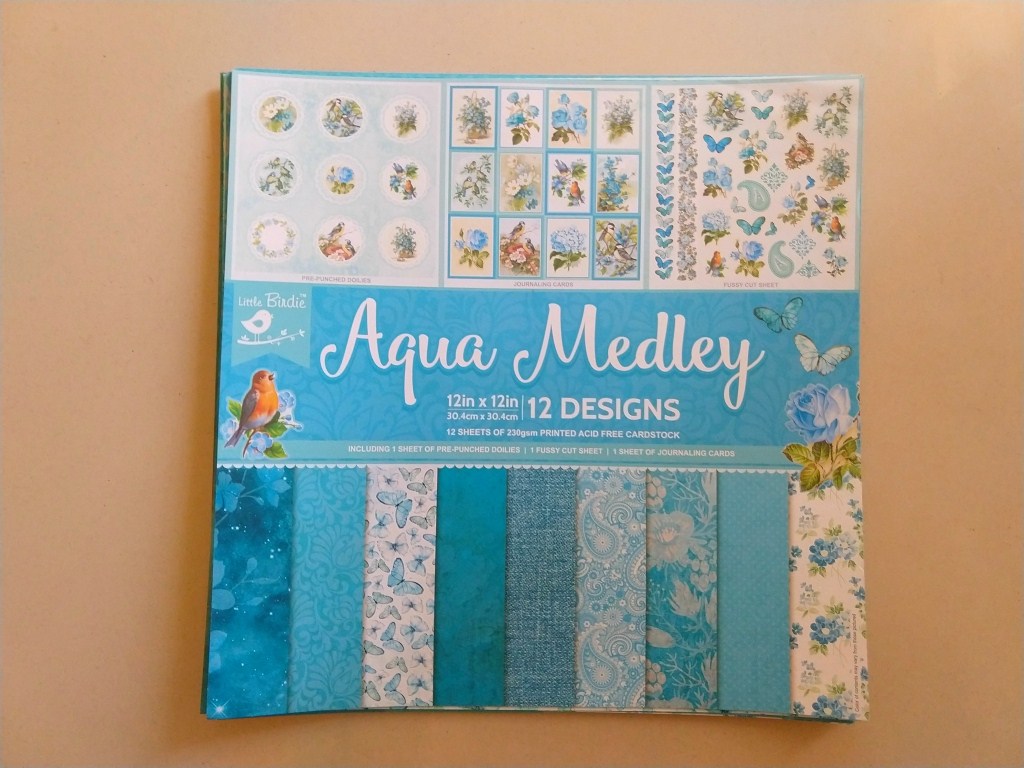
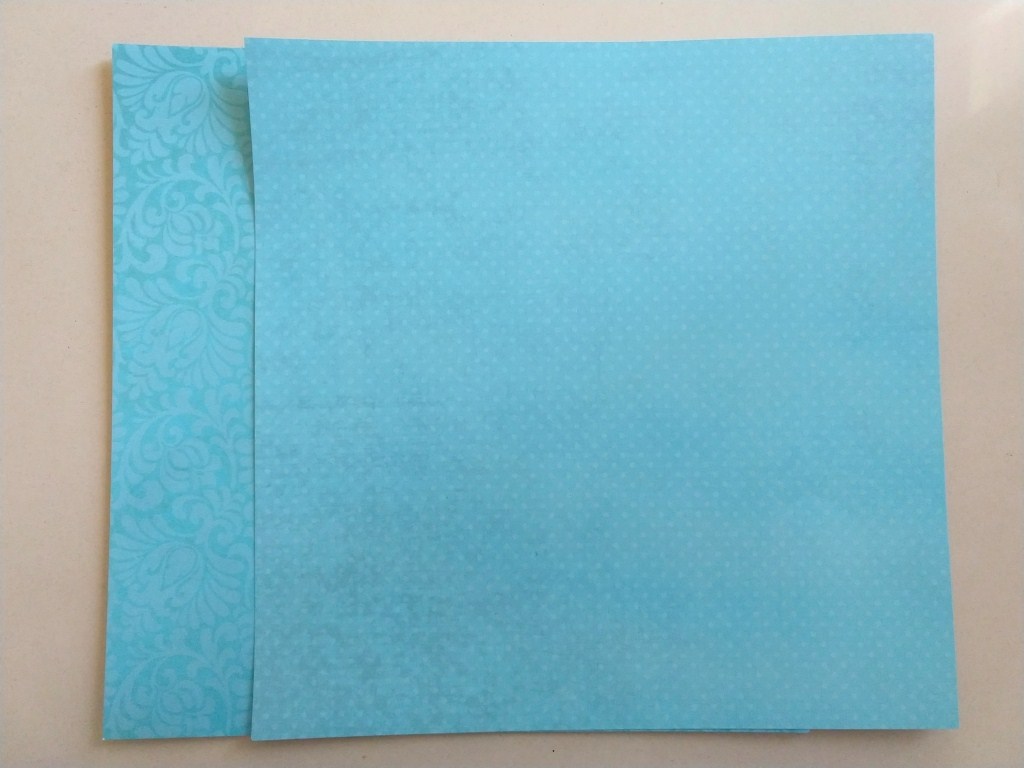
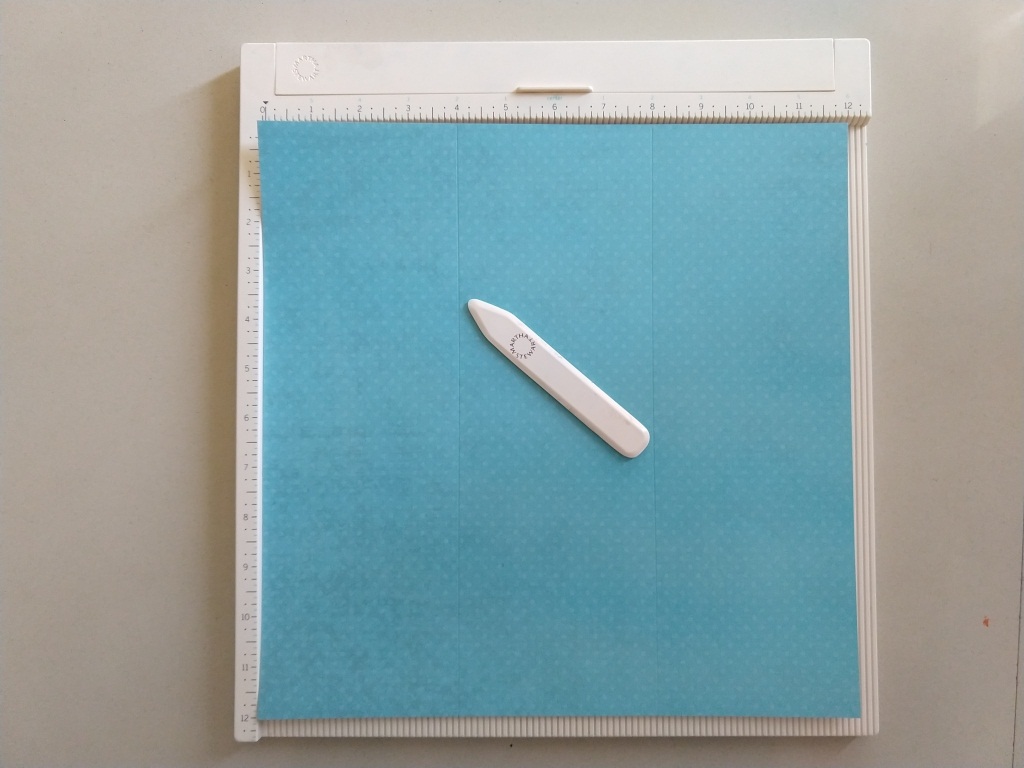
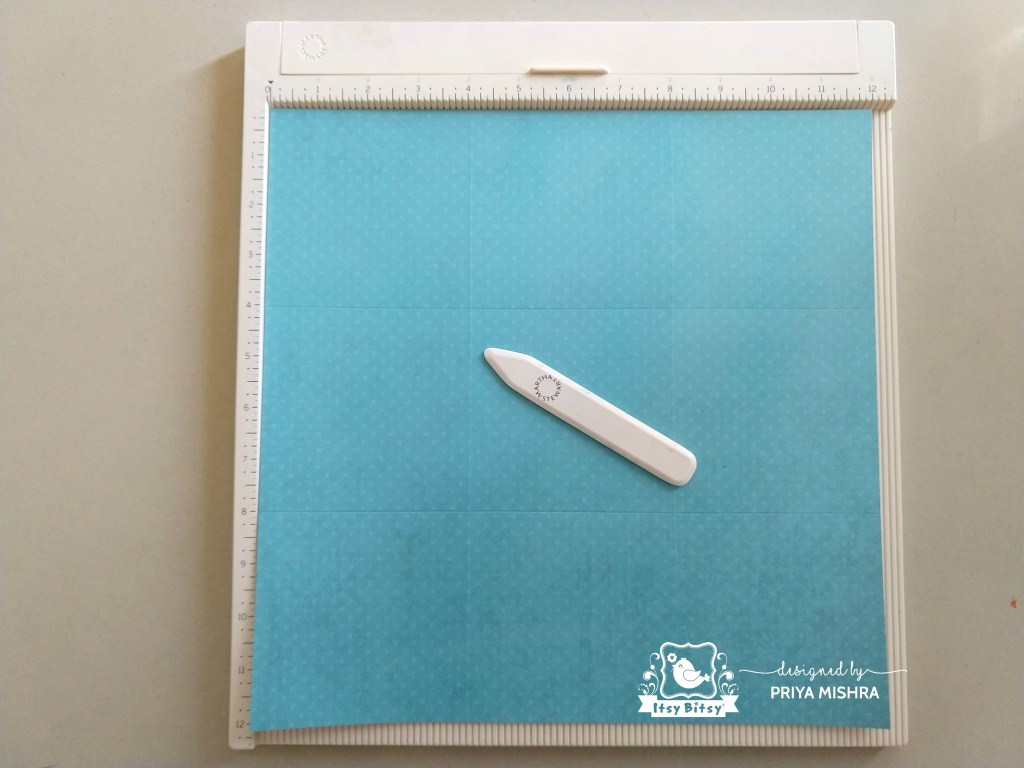
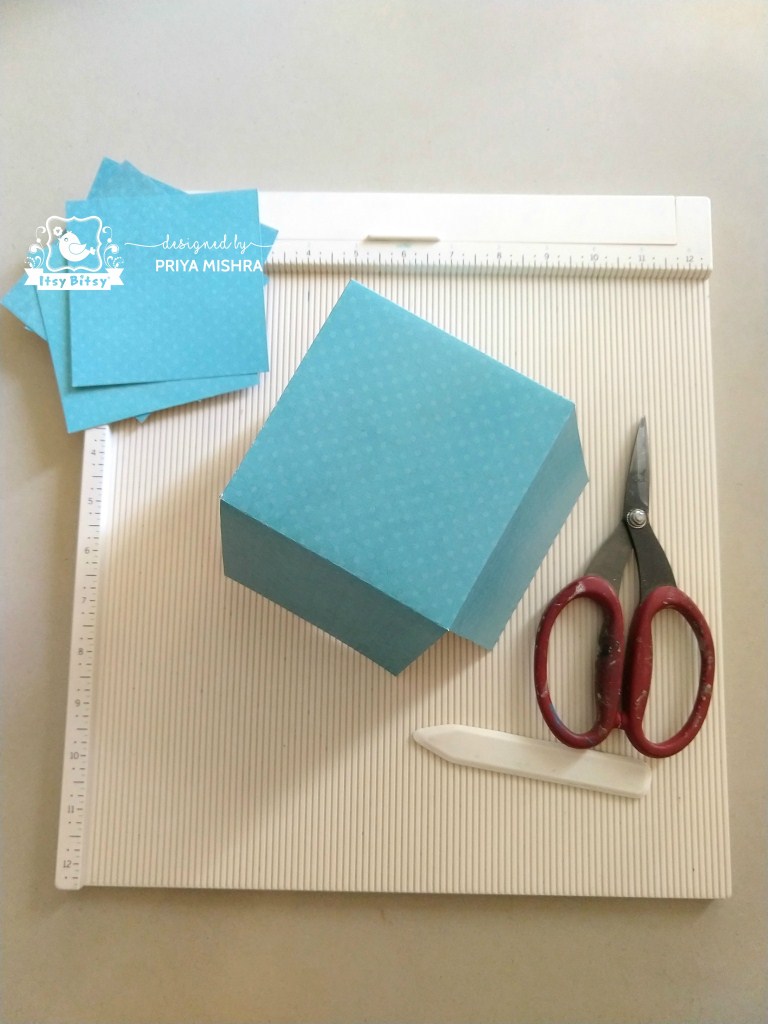
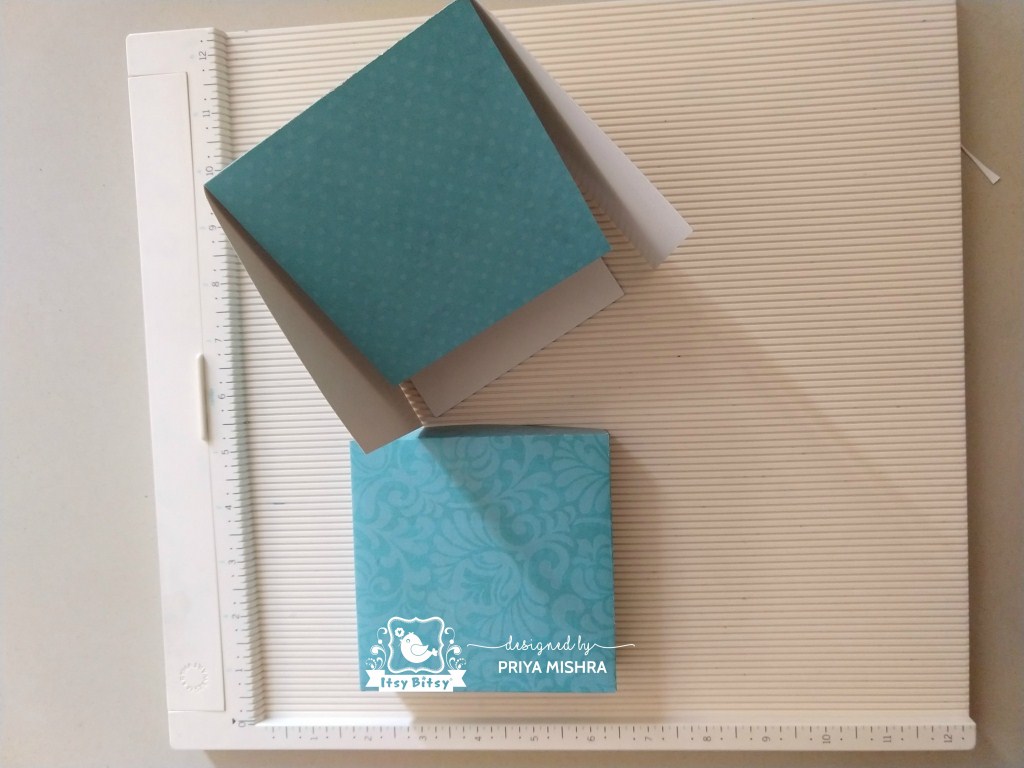
Step 1: Take a paper pack of your choice. I used Aqua Medley paper pack from the store. This is a beautiful pack with a lot of journaling cards, motifs, and an element sheet and they help in decorating the inside of any creation. I have not taken a separate base for this as the papers are quite sturdy and I’m already layering it from the inside. You can choose white or any base paper if you want. Take one 12×12″ sheet paper and score it on a scoreboard at 4″ and 8″ on both the sides. This will make the base of your card.
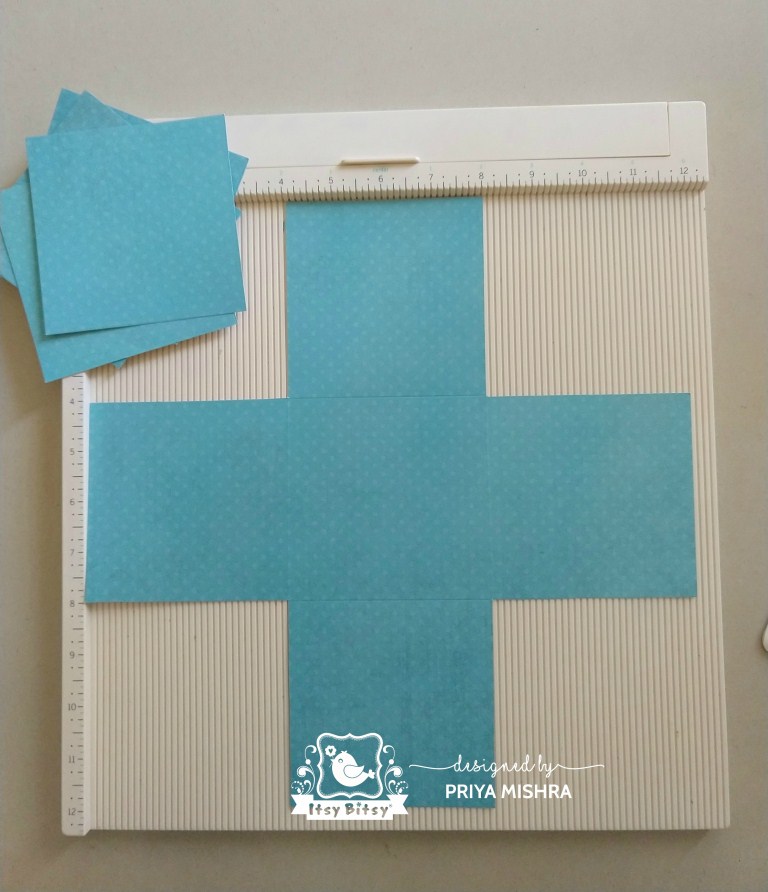
Step 2: Carefully cut the four corners of the paper and fold the square edges of each layer. Use a ruler or bone folder to ensure everything stays tight.
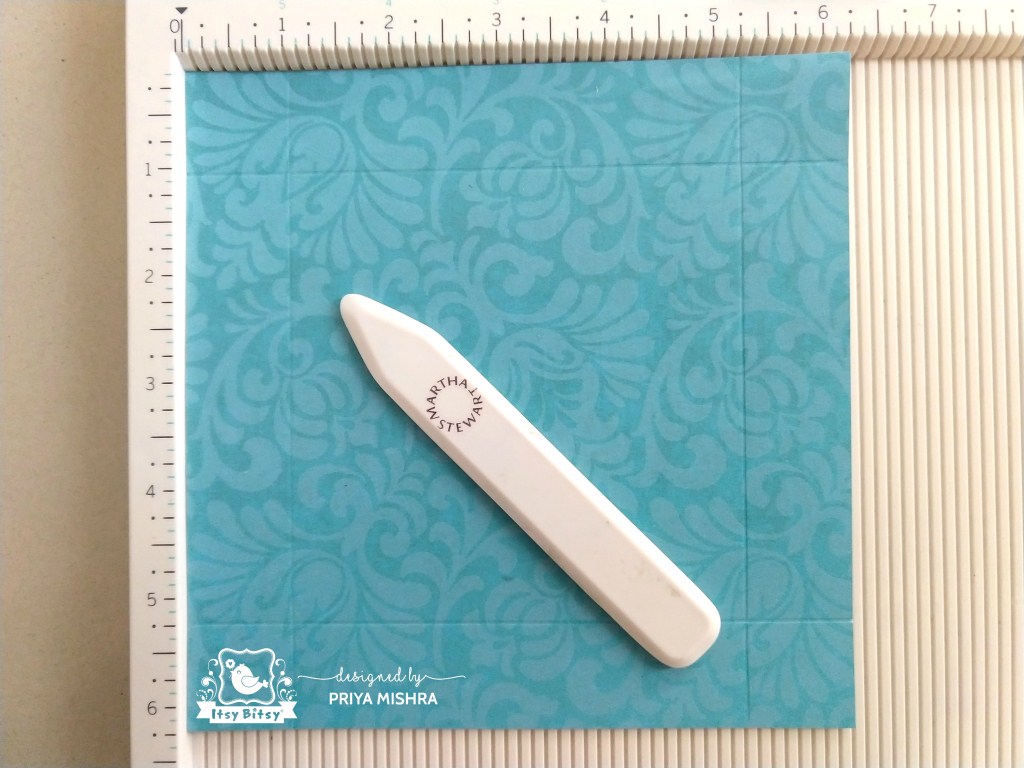
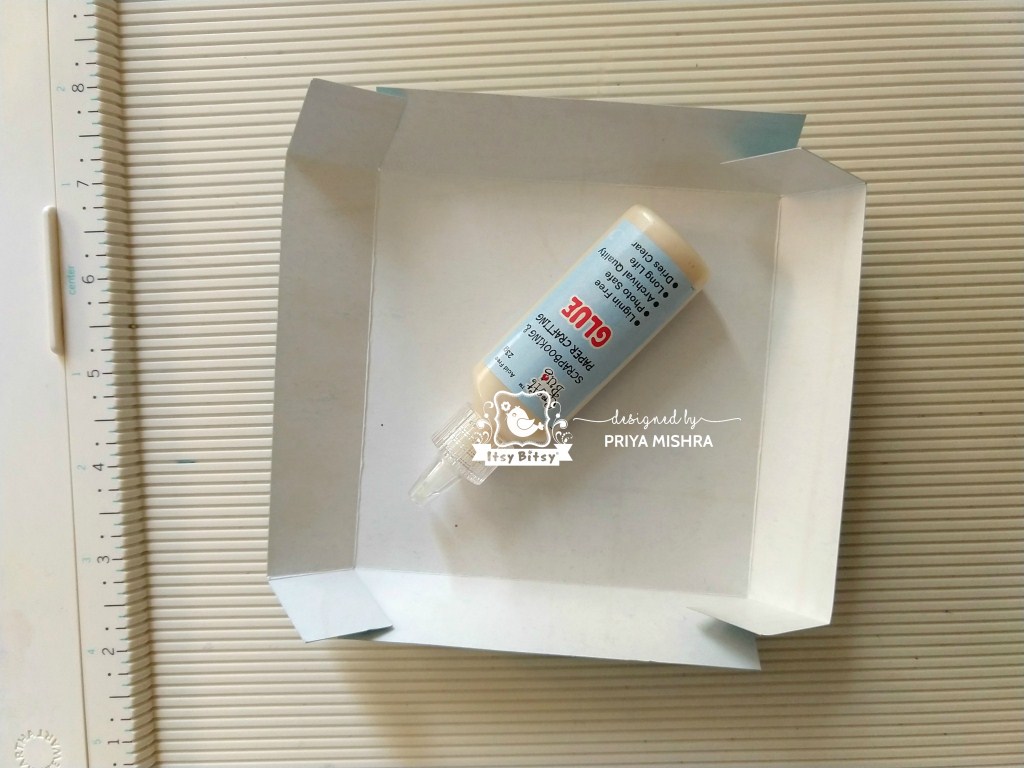
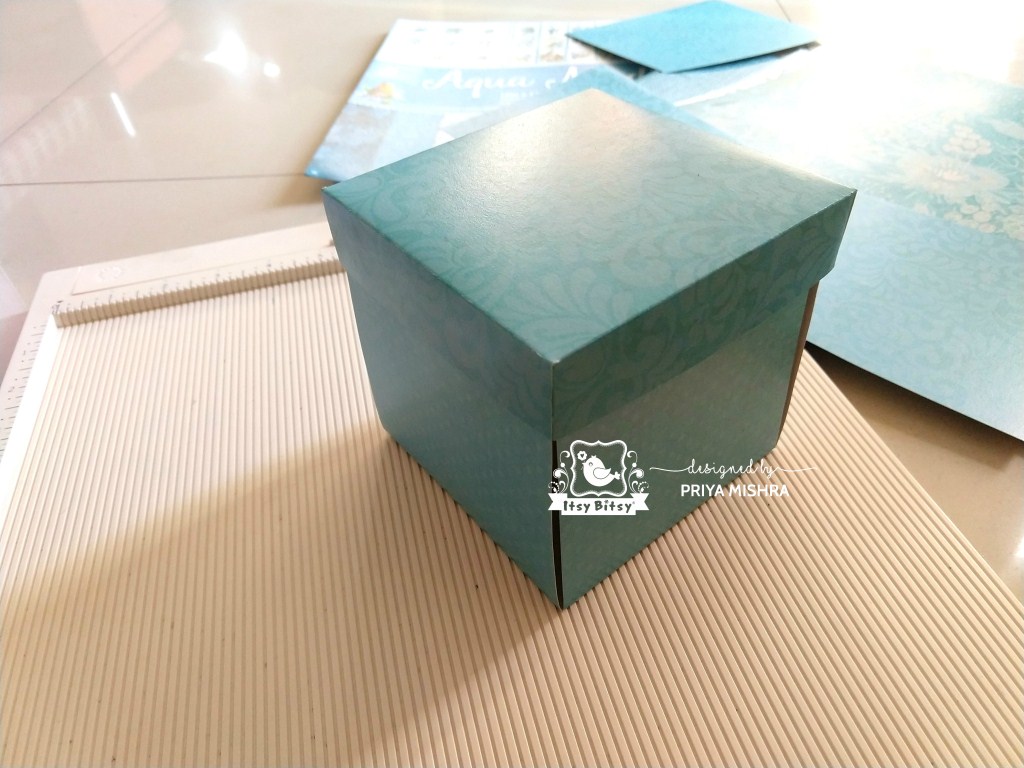
Step 3: Take a 6 3/4″ paper for the lid and score at 1″ on all sides. Cut a little along the corner folds to make it like a box and glue them together. Check the photos below to understand the step.
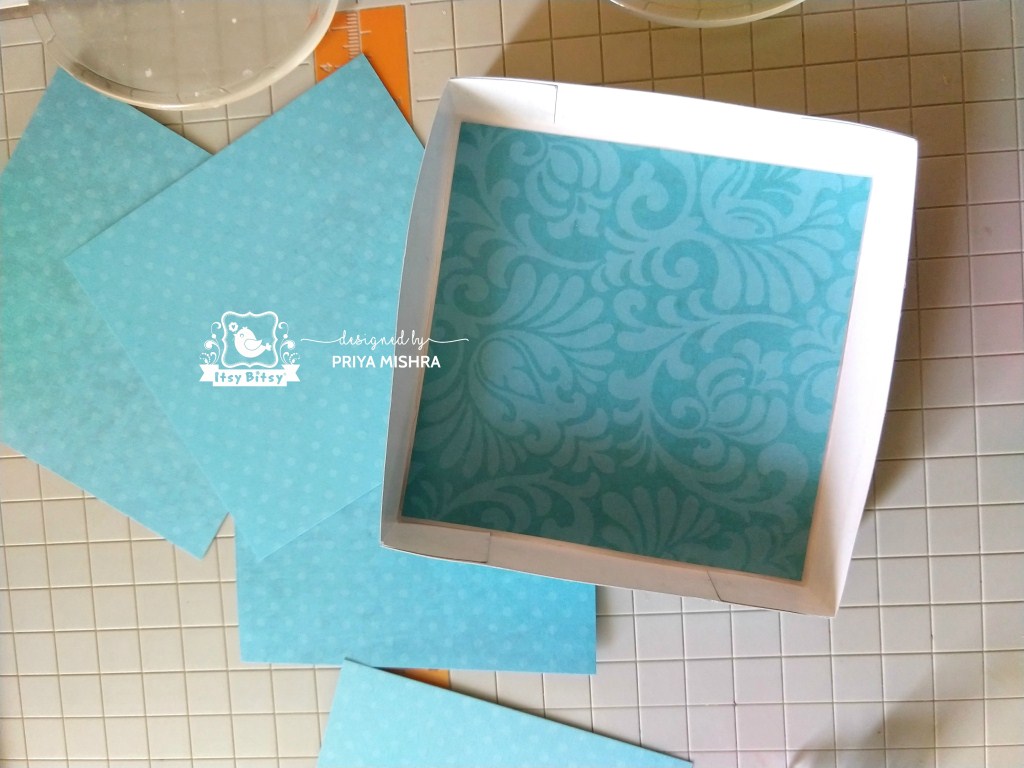
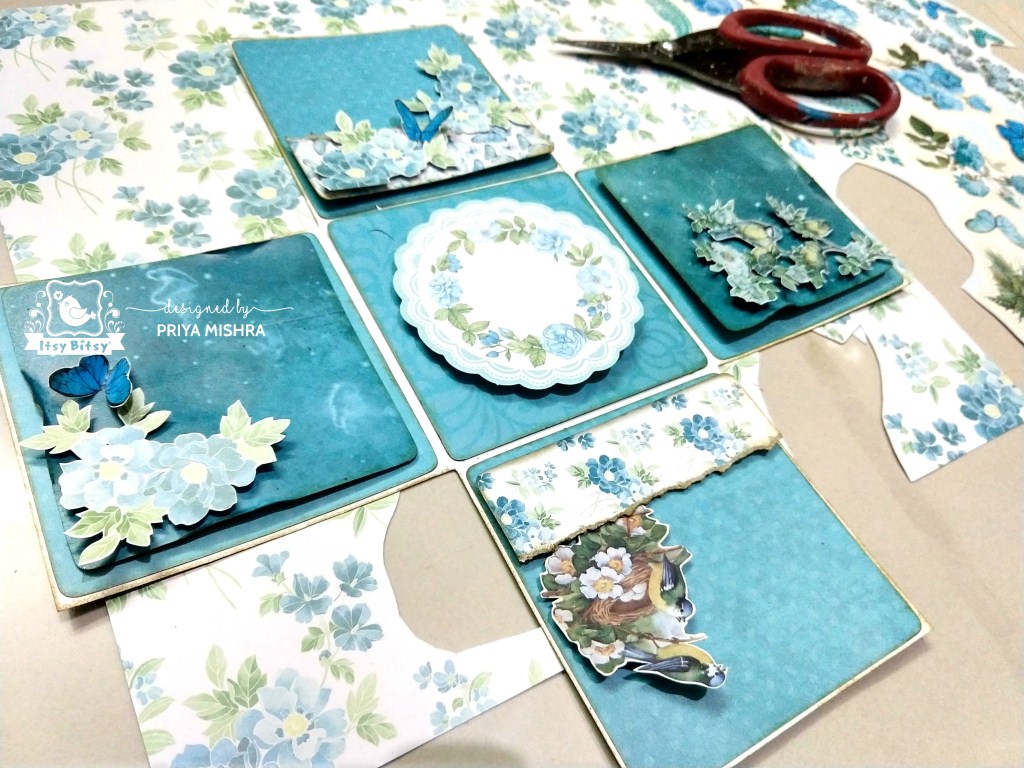
Step 4: To decorate the inside of the box, I cut 5 pieces of paper a little less than 4″ as all sides are 4″ in size. I’ll stick them on the inside of the box. I also cut another 4″ paper for the inside of the lid.
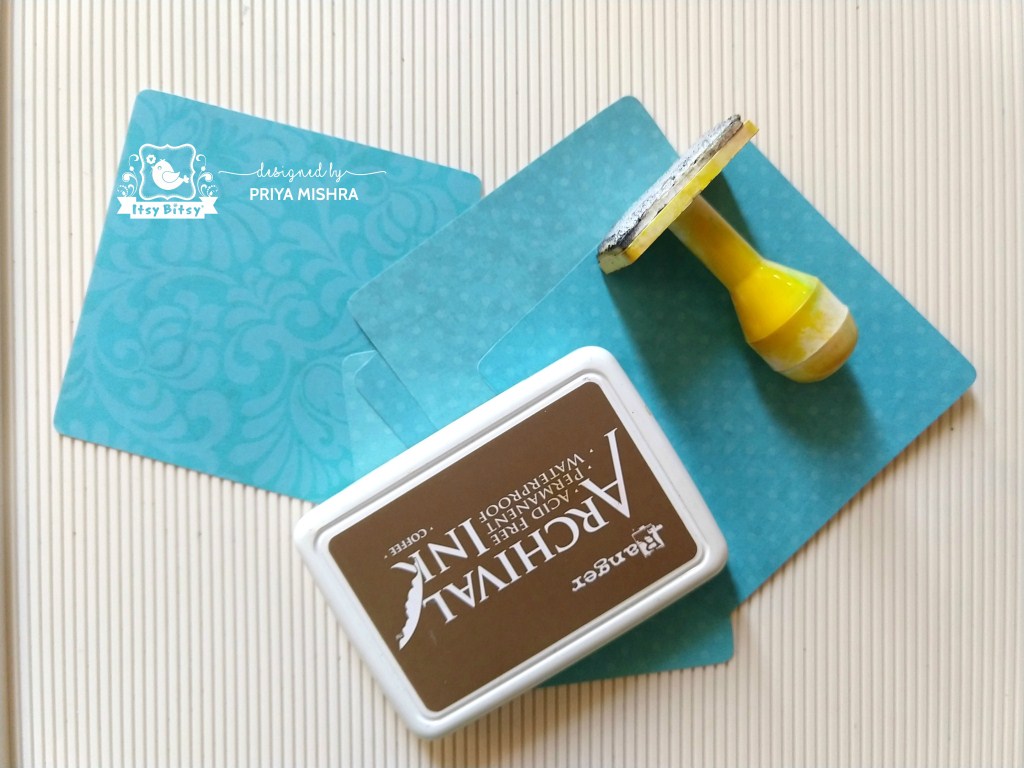
Step 5: I used a corner rounder to shape the corners of the papers and used Archival ink on the sides to give a distressed look. Rangers inks are available at the store at best price. You can use distress ink as well for this step.
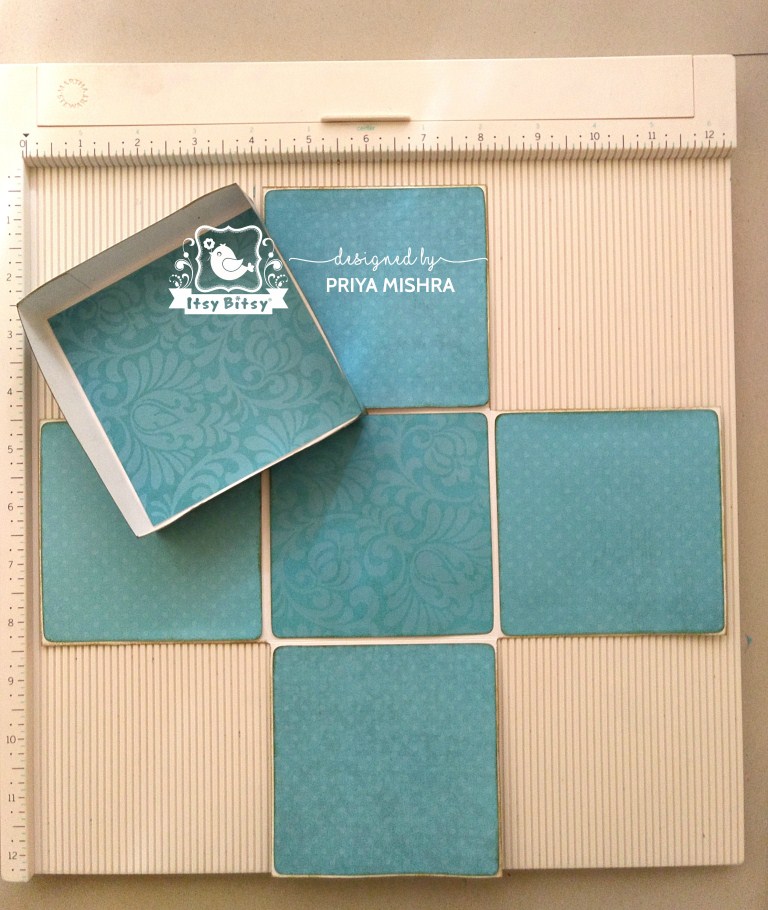
Step 6: Then I stuck the papers inside the box and the lid and now it looks like this.
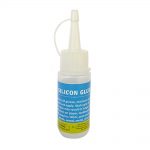
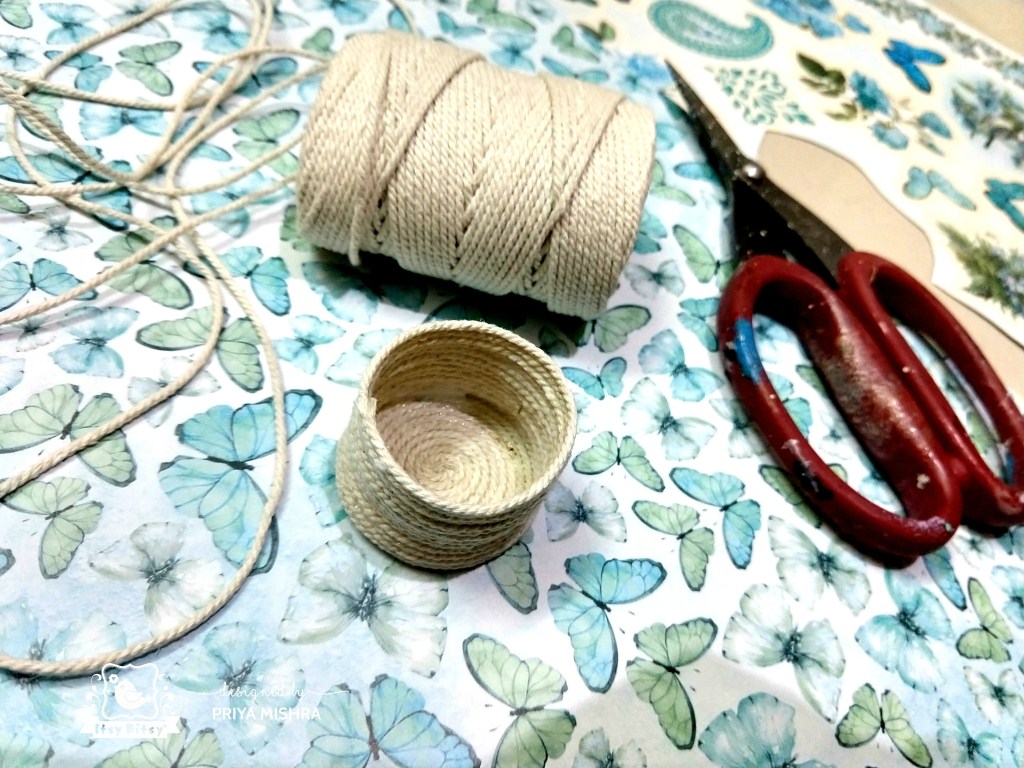
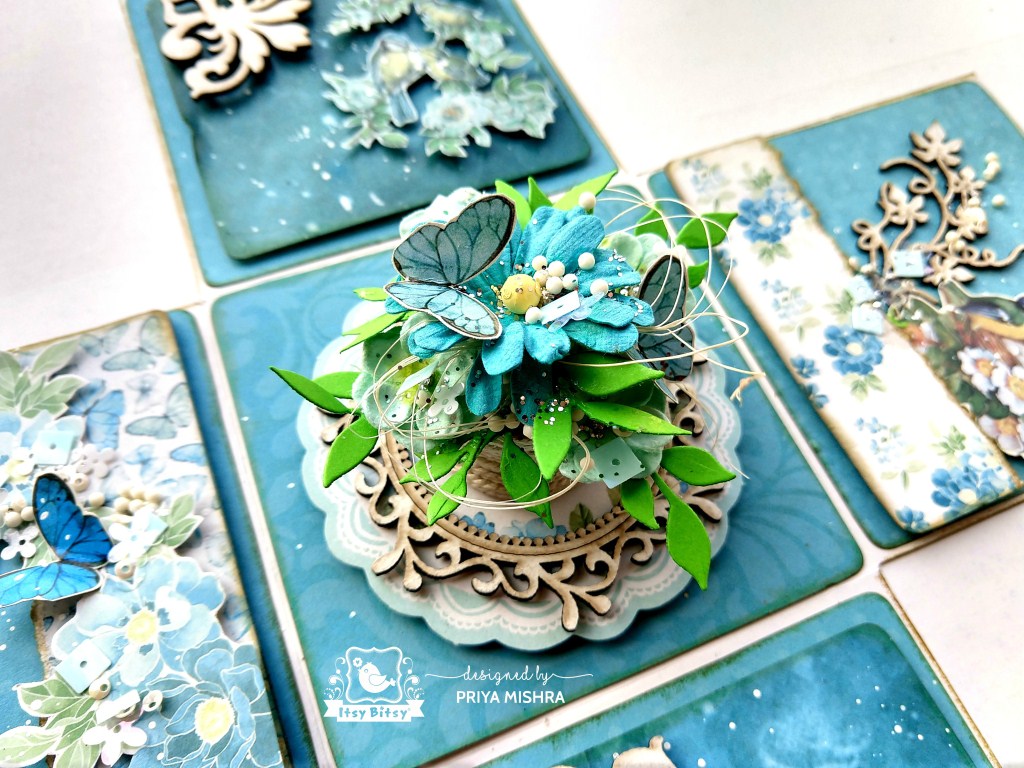
Step 7: I took this twine and using silicone glue. I made this in a vase shape. This will be placed in the middle of my explosion box.
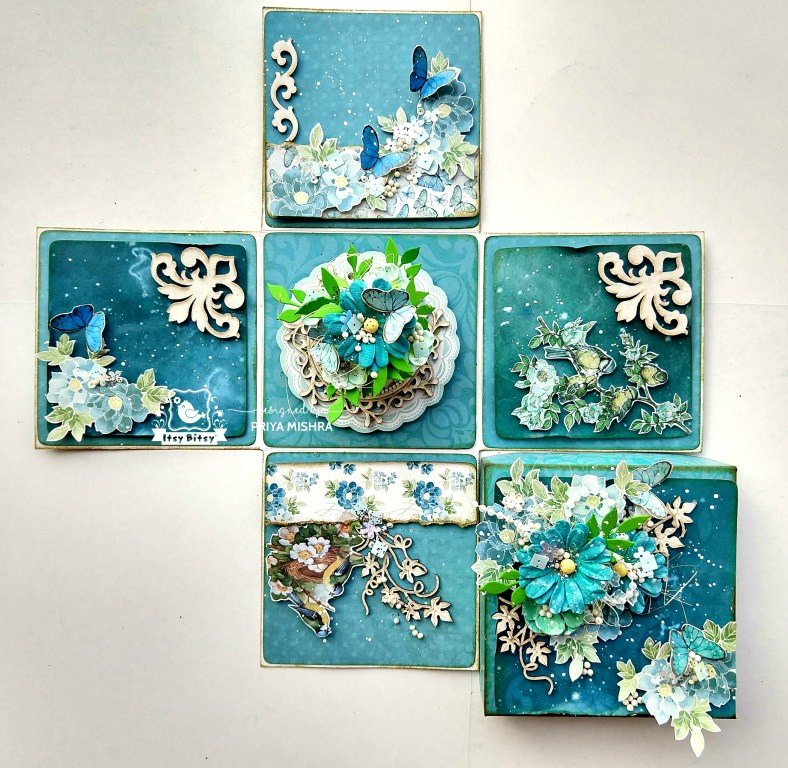
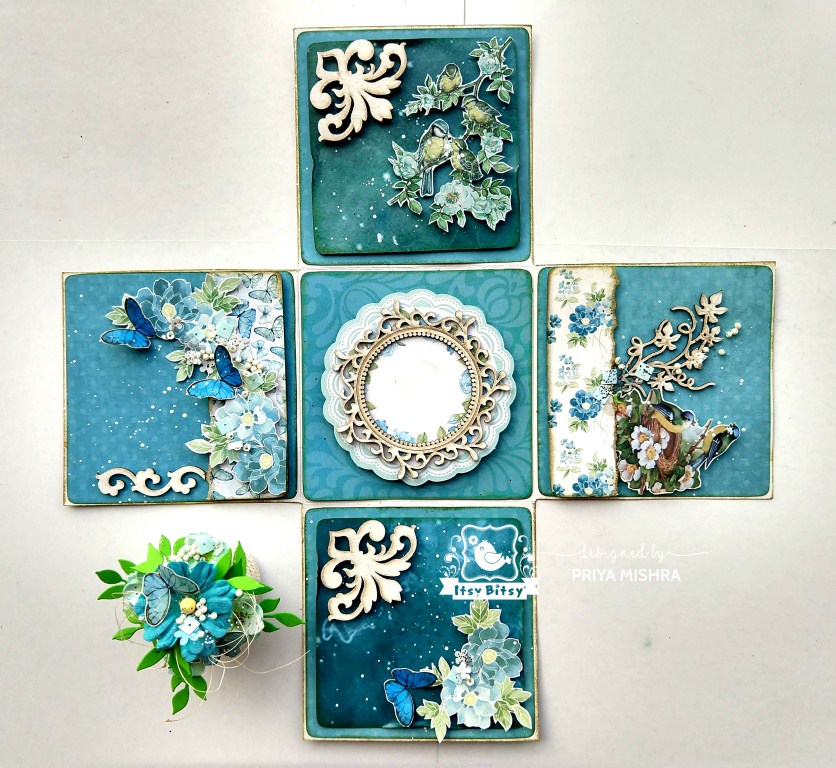
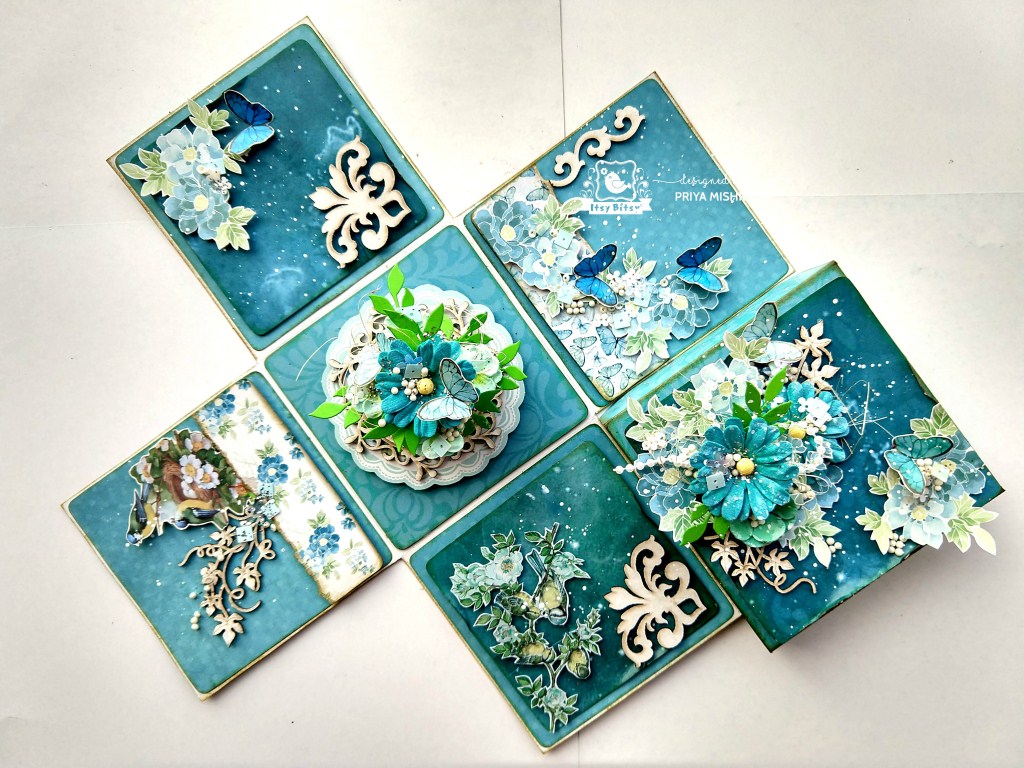
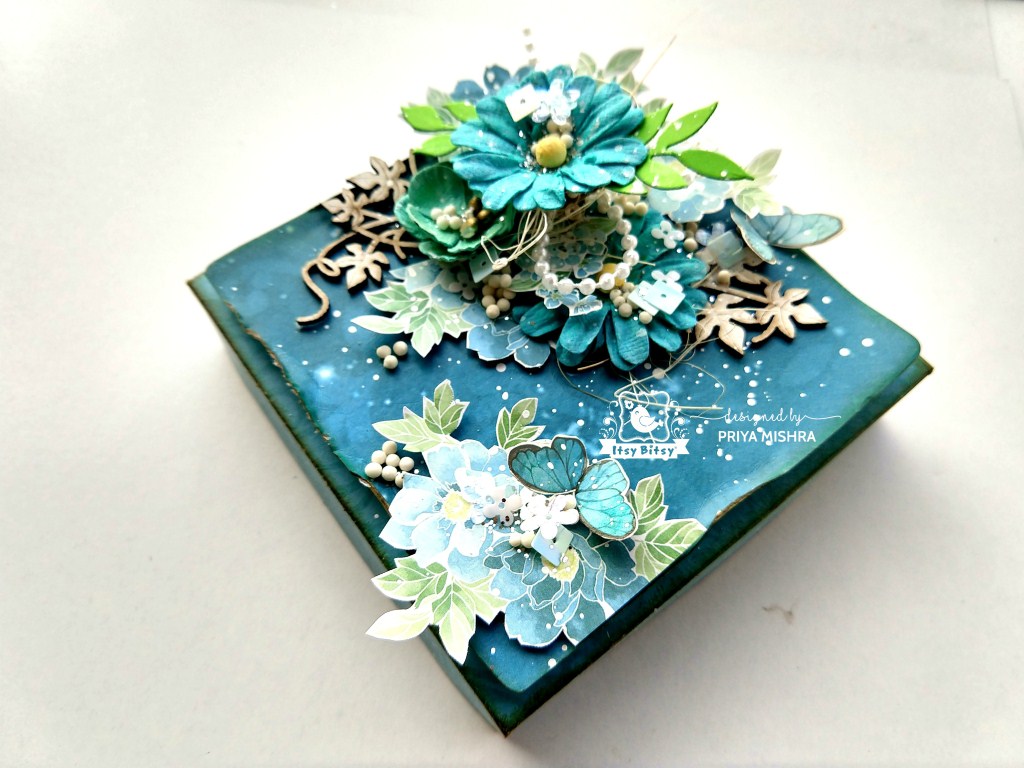
Step 8: Now its time to decorate! This paper has beautiful element sheets. I cut flowers, birds on branches, and butterflies to use as my decoration for the inside. The piece in the center is the beautiful element that comes with this paper pack.
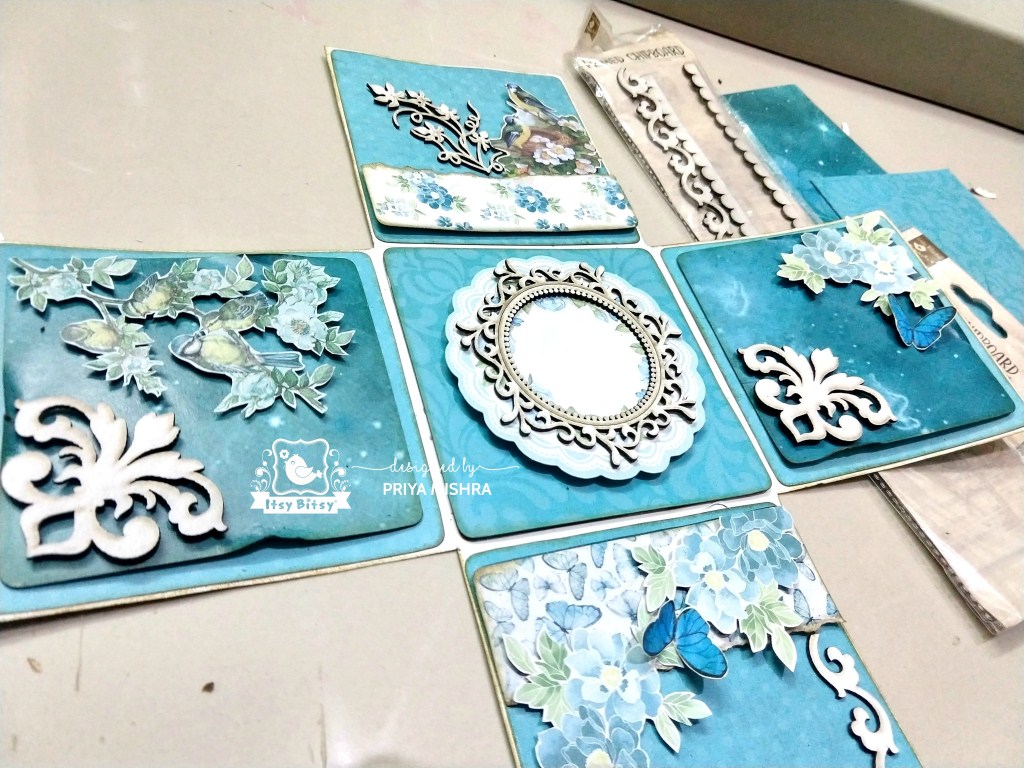
Step 9: Next, I added some beautiful Primed Chipboards from the store onto the inside pages.
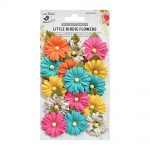
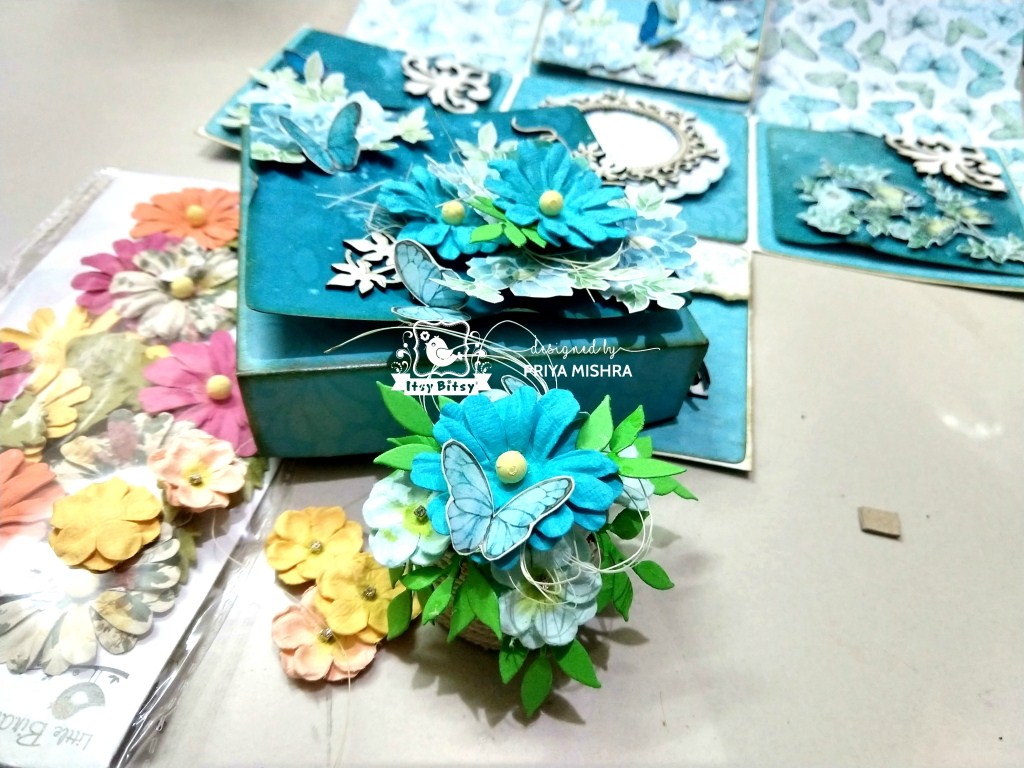
Step 10: Thereafter, I decorated the vase and the lid of the box with some beautiful handmade paper flowers from the store. I chose the blue and light green flowers only to colour coordinate everything.
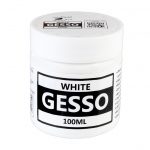
My Explosion box ready! I added some sequins and silver glitter powder from the store and sprinkled on the finished box. Also added craft pellets and splattered some diluted white gesso on the outside as well as on the inside of the box to give it a complete look.
Some more close up pictures of the project.
Thank you for visiting. Hope you like my project. Do not forget to participate in the challenge this month.
Supplies Used: