Hello everyone,
Vaishali here. Hope you all are doing well
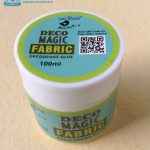
Blogging after a long time feels great and its also a pleasure to be on the Itsy Bitsy blog. This post is about Itsy Bitsy’s home brand Little Birdie’s Decomagic Fabric Decoupage Glue.
I am very happy with the results obtained in projects which I made using this product and would like to share my observations and findings. I am sure this review post will help many crafters who are keen to explore fabric decoupage but are looking for some clarity.
The Decomagic Fabric Decoupage Glue comes with QR code. When one scans the code, it provides a link. Follow the link to see the video that shows ways of using the product. This is a very useful feature which all Little Birdie products have. I find it extremely useful.
Let’s start with knowing the uses of the product.
USES OF FABRIC DECOUPAGE GLUE–
As the name suggests, the product is used in Decoupage art to create projects involving fabric.
- The fabric decoupage glue is used to adhere decoupage napkins and decoupage papers on any fabric surface.
- The glue is used to adhere different types of fabric on various surfaces like wood, glass, metal, clay, chipboard, plastic, etc.
- The glue is interestingly used to adhere fabric on fabric, where the two fabrics may be of the same or different kind.
- The glue can also be used to decoupage on leather and rexin surfaces.
Considering above uses of the fabric decoupage glue, one can decoupage to create various handmade products like tote bags, cushion covers, place mats, lampshades, pouches, banners etc. You can also give a personalized touch to wearables like canvas shoes, t- shirts, denims etc.
One can also up-cycle old handbags, alter diaries, add fabric to home decor products like trays, coasters, boxes, clocks, frames etc.
Below are few pictures of my creations that are made using
fabric decoupage technique.
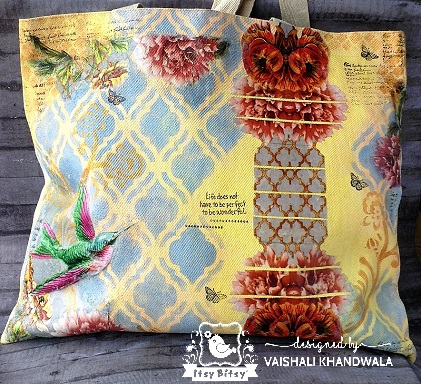
FABRIC TOTE BAG
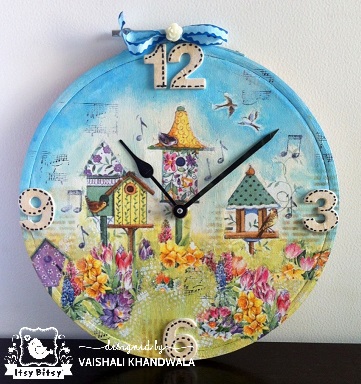
FABRIC CLOCK
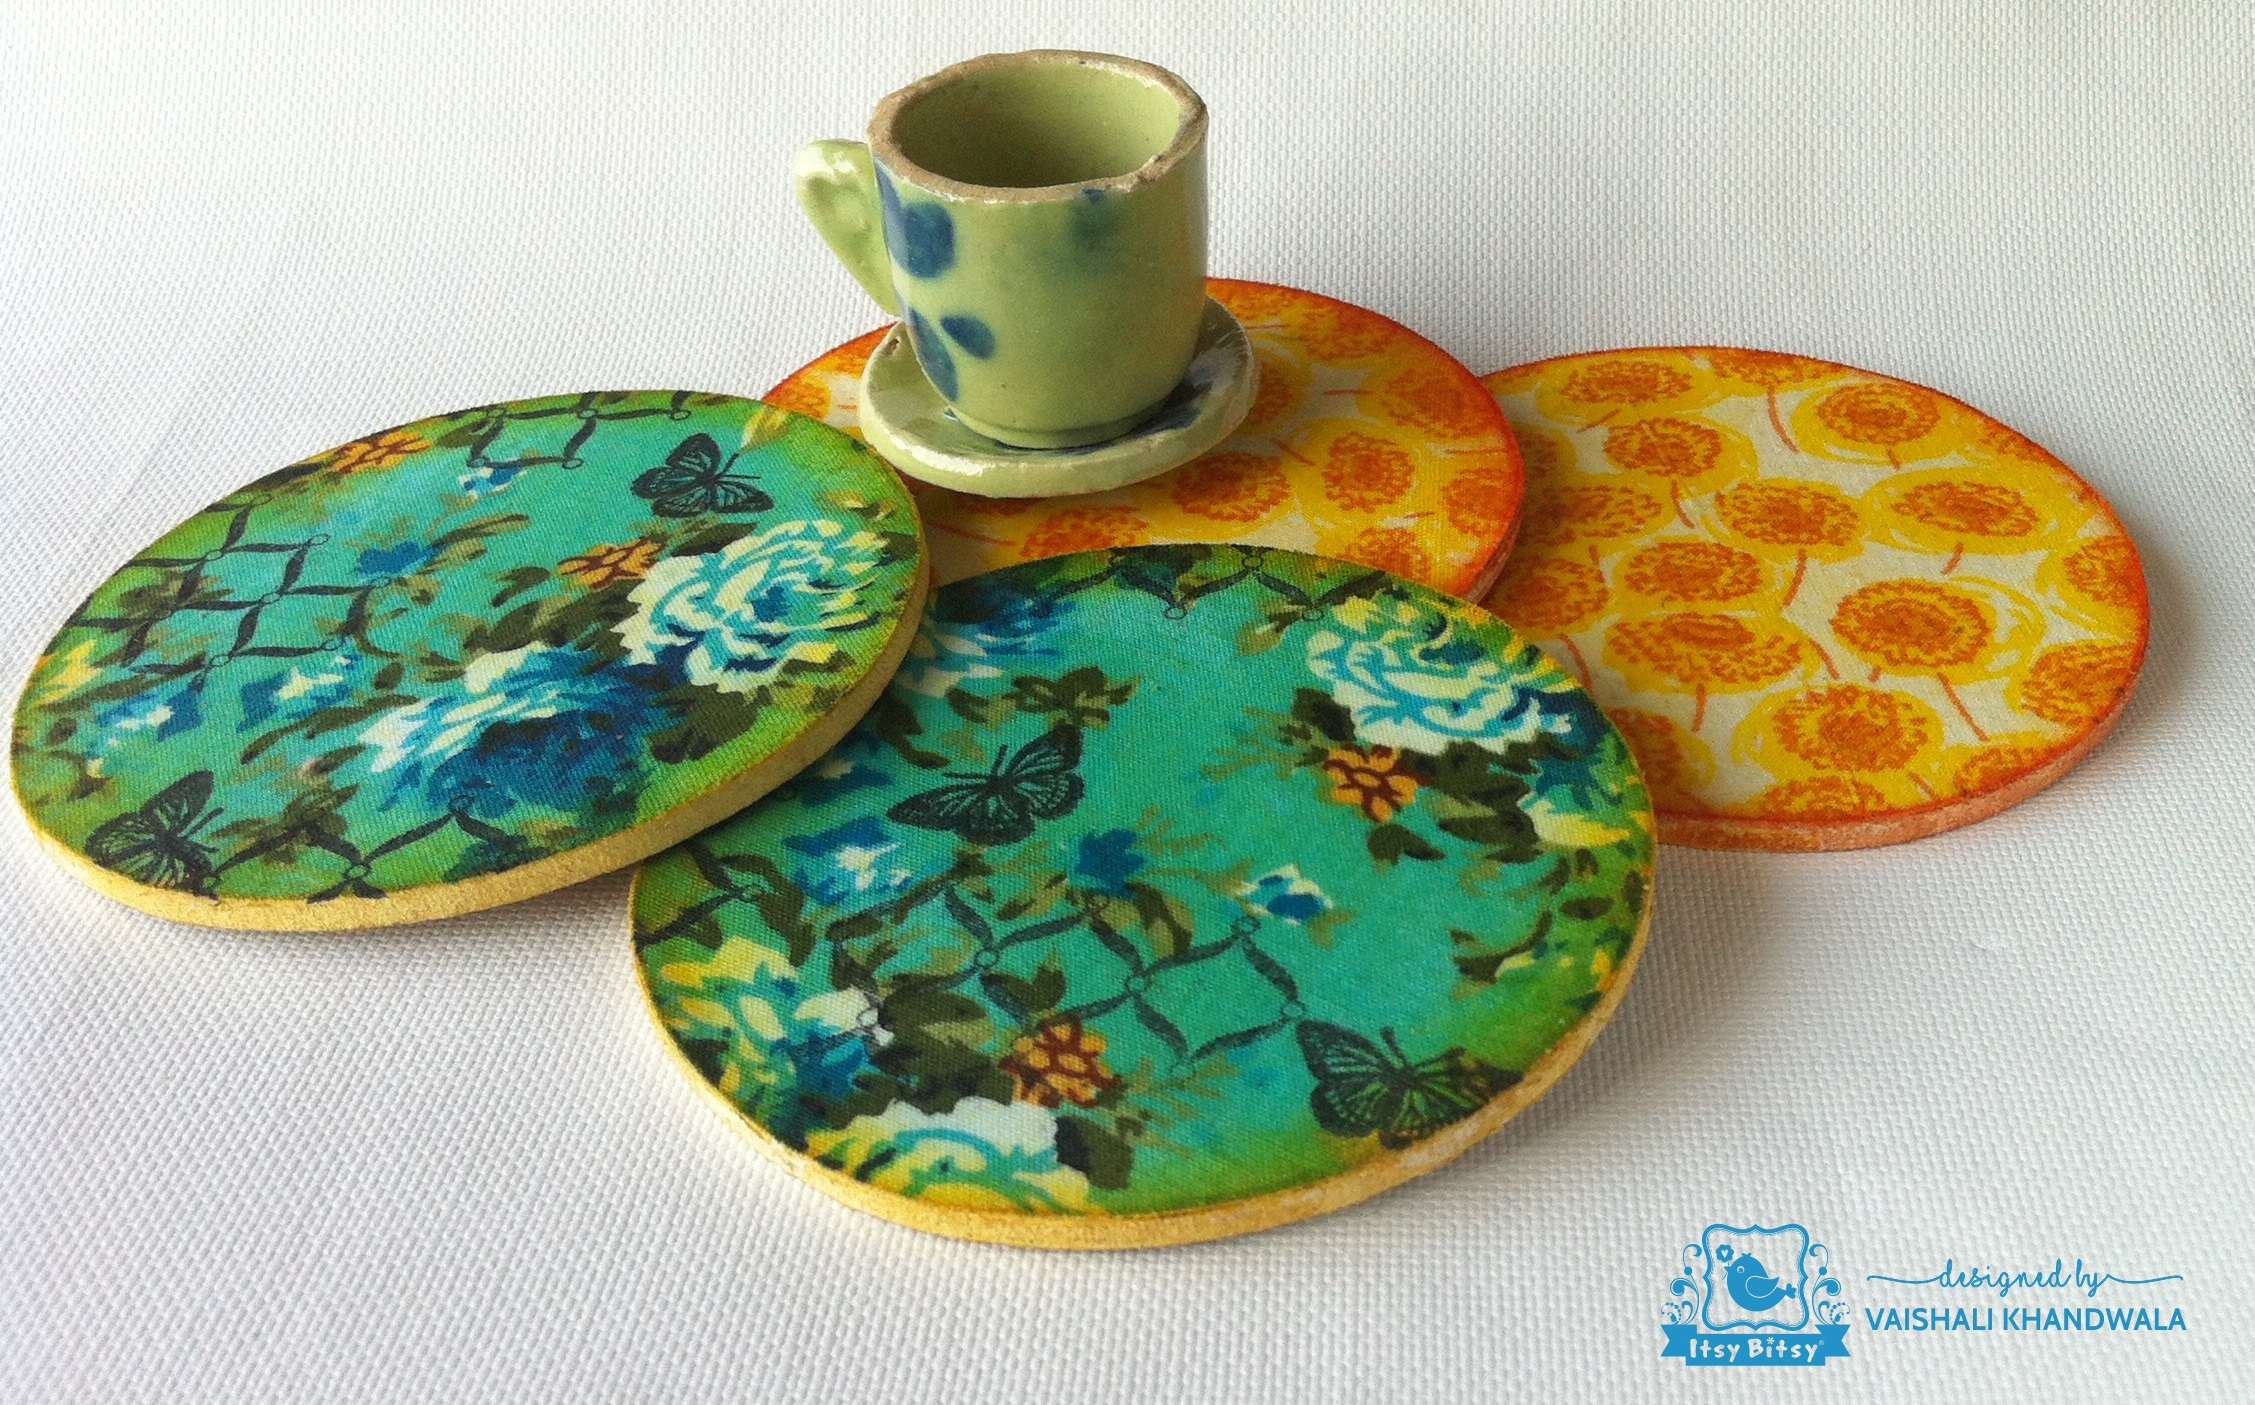
FABRIC COASTERS
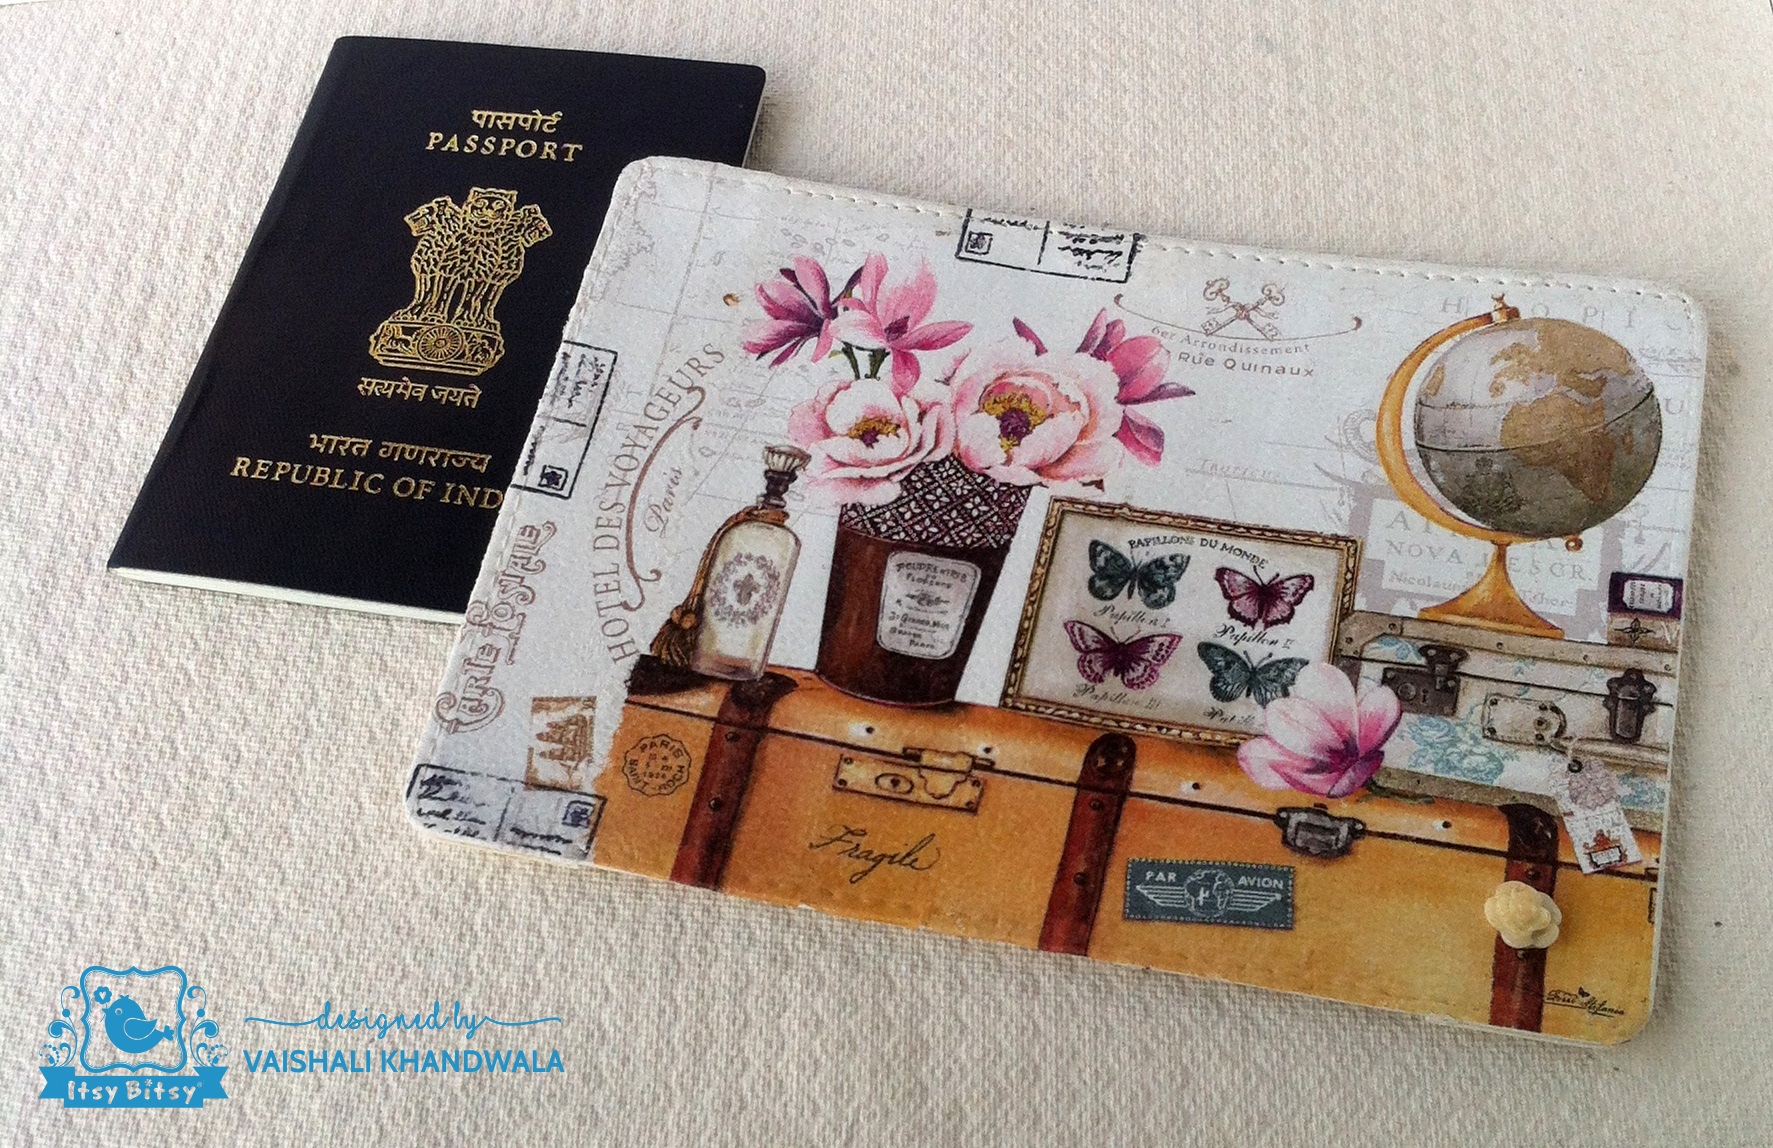
FAUX LEATHER PASSPORT COVER
There are endless creative options!
Let’s get on to knowing the important features of the Decomagic Fabric Decoupage glue that will help you use the glue.
CONSISTENCY OF THE GLUE-
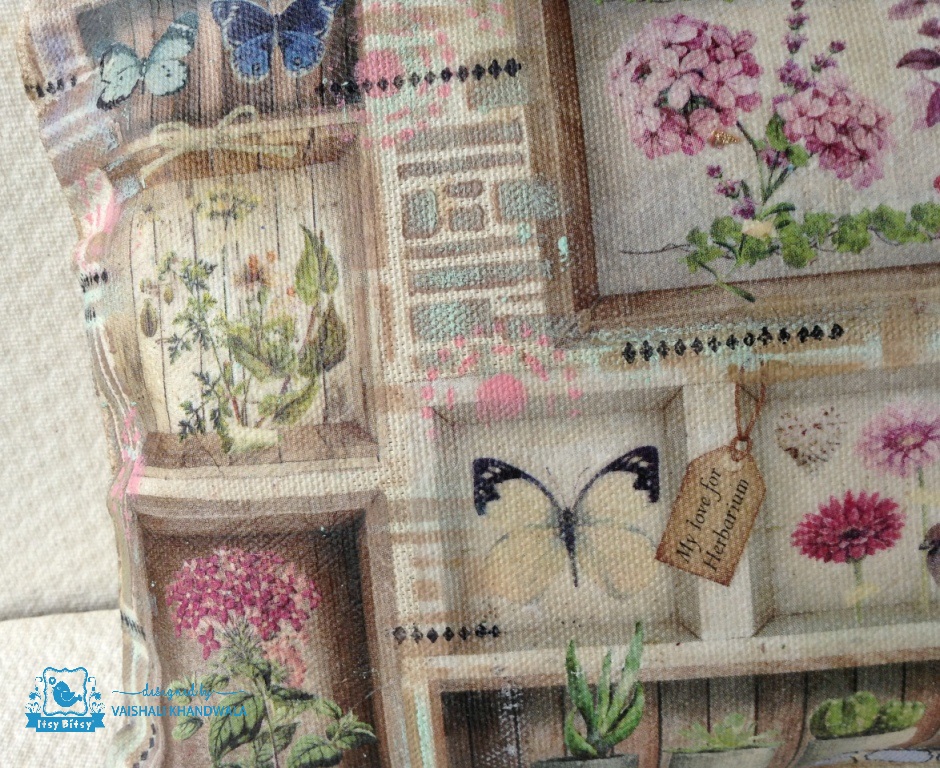
The regular multi-surface decoupage glue has flowy consistency whereas the fabric glue has a gel like, creamy consistency. Advantage of this type of consistency is that one can press the paper well with ease at the time of adhering. As a result, thin papers like decoupage napkins sit well into the texture of fabric surface, on which they are being decoupaged. Have a look.
The paper sits so well that it looks almost like a part of the fabric. It seems as if it’s a print on the fabric. This feature is enhanced when the base fabric has texture like canvas or burlap.
The
Decomagic fabric glue is very creamy. This gives a very smooth flow, when it is applied as a top coat.
STRONG ADHERING PROPERTY-
The
Decomagic fabric decoupage glue has very good adhesion property. This enables to adhere thick fabrics and also fabrics with heavy texture and weaves with ease.
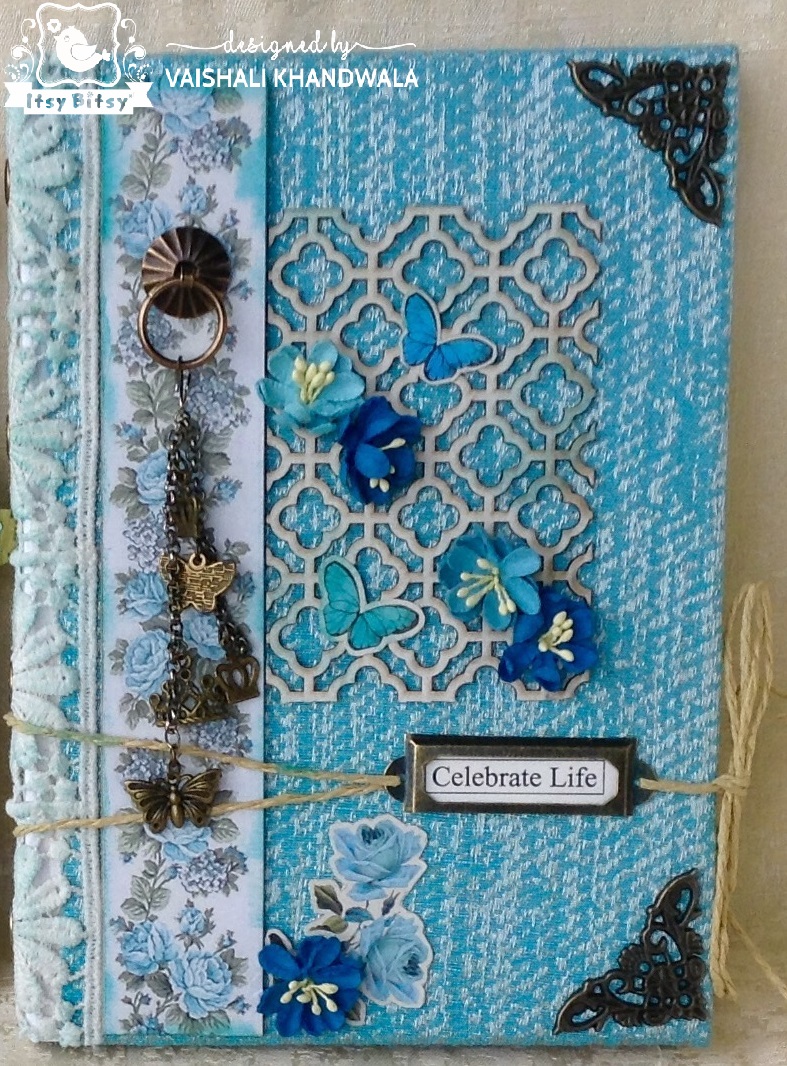
In the picture below, I have altered a notebook cover using thick, curtain fabric. The fabric stuck in a jiffy with the glue.
STIFFENING PROPERTY OF THE GLUE-
Sharing two examples here to explain the above-
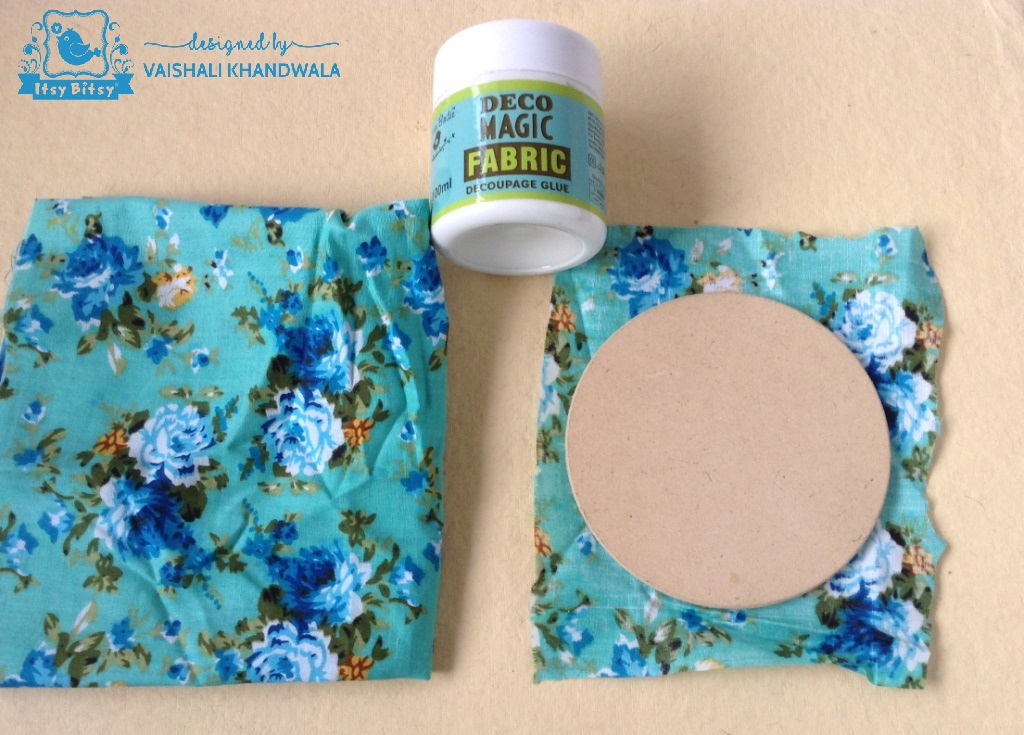
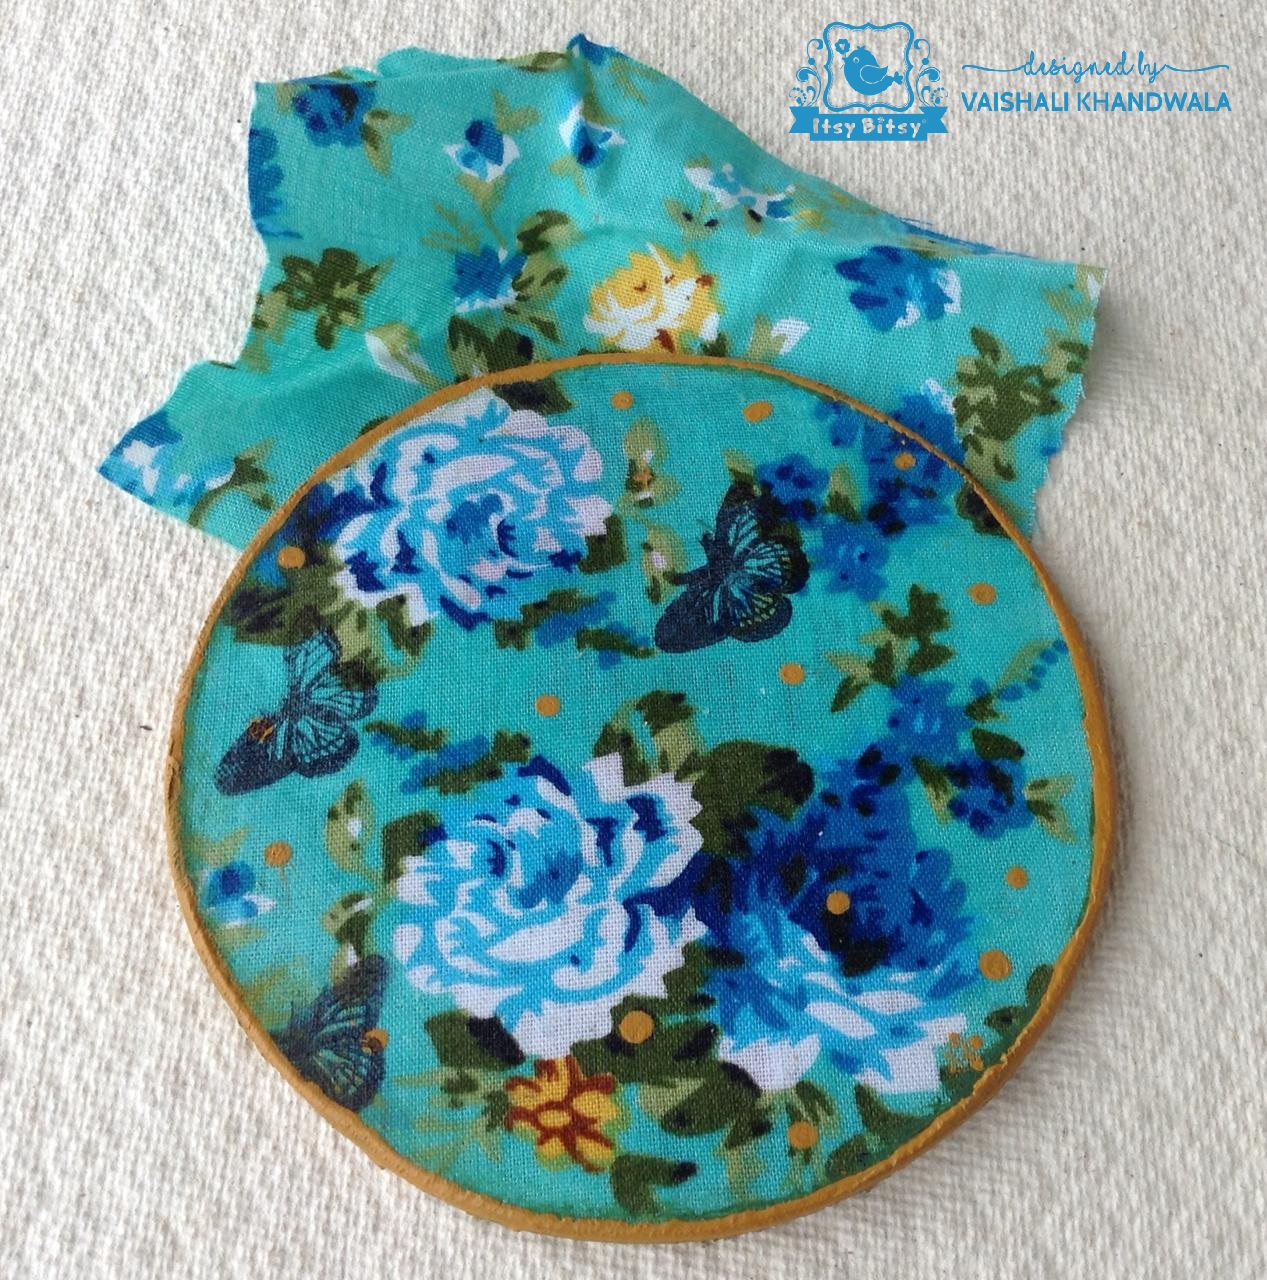
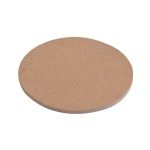
1. FABRIC COASTERS- To make fabric coasters, cut a piece of fabric of your choice. Always cut the fabric a little bigger than the base of the coaster. Now adhere the cut fabric piece to the base using
fabric decoupage glue. Leave overhangs as seen in the picture below. (picture shows the rear-side of the coaster after adhering the fabric).
Now apply fabric decoupage glue on the overhanging fabric. This will stiffen the fabric and as a result you will be able to cut off the excess fabric with scissors without fraying. Also you can sand off the overhangs with medium density sand paper easily without the fabric fraying.
This method gives a wonderfully neat finish and the stiffened overhangs makes it easy to achieve the desired result.
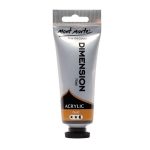
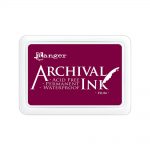
I have given a coat of golden acrylic paint on the edge of the cotton fabric coaster. Also stamped couple of butterflies with black archival ink for added interest.
Coming to the second example-
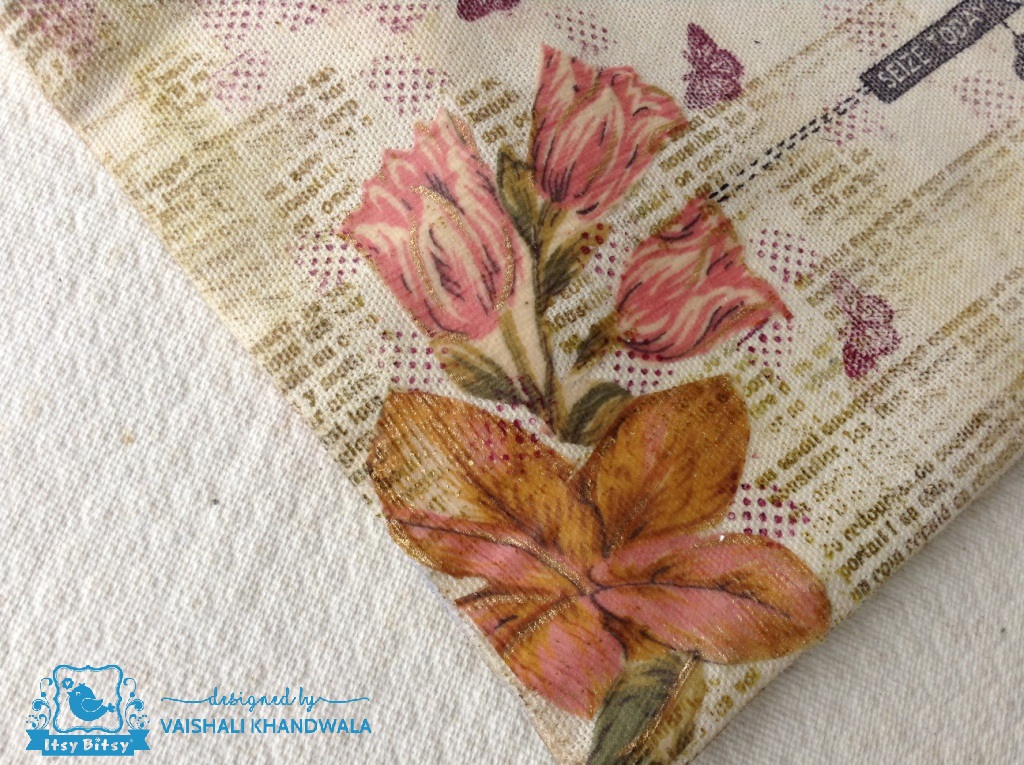
2. ADHERING A FUSSY CUT PIECE OF FABRIC-
I had a very thin fabric piece with beautiful flowers. It is very difficult to fussy cut such a thin fabric to a desired shape. So, first I applied
Decomagic fabric decoupage glue on a small area of the fabric (area from which I wanted to cut flowers) Applied glue on the rear-side of the fabric.
As a result of applying glue, the fabric stiffened, making it easy to cut shapes from it. This is a great way to create fabric embellishments also!
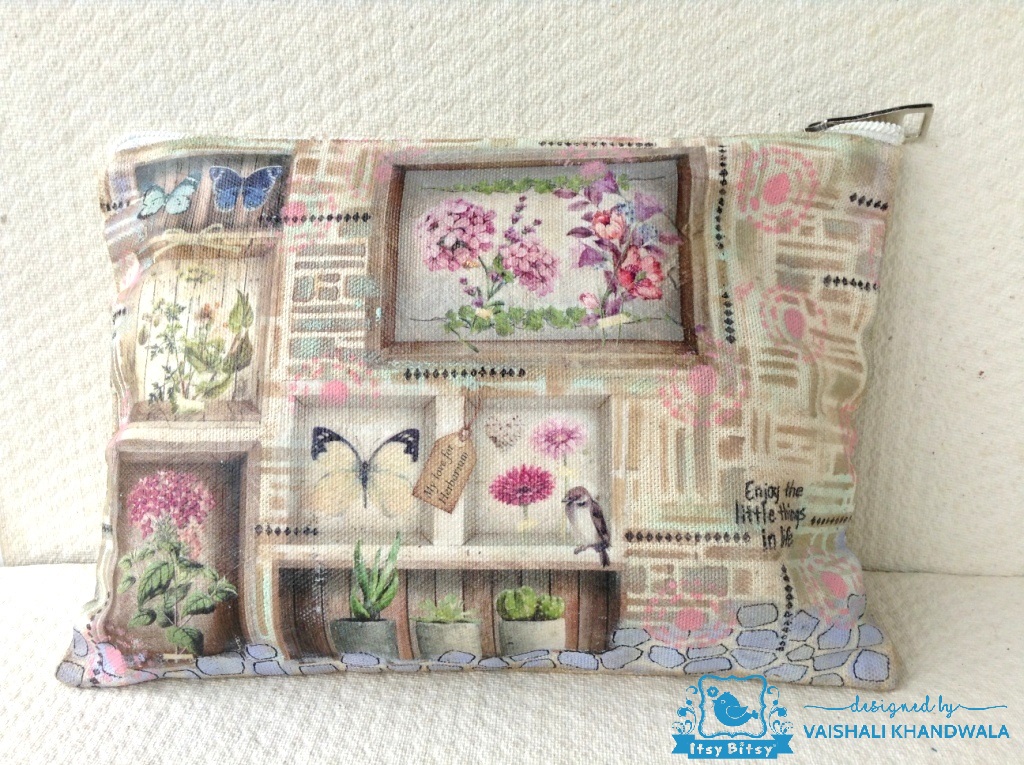
Having cut the flower shapes from the fabric, I adhered them to a fabric pouch, again using the fabric decoupage glue. Have a look.
I love adhering fabric on fabric using this glue. The result is unique. Have also done some stamping to complete the pouch.
SEALING PROPERTY-
The glue also works as a sealer. That means, it is applied as a top coat to seal the adhered piece of paper or fabric. As a result the paper or fabric does not yellow over the period of time.
As a last step, the glue can be applied all over the creation to seal the product and to make it washable. You do not need any additional extra varnish. The
Decomagic Fabric Decoupage Glue creates the required protective layer. Apply two coats, covering the entire surface (including the areas where there is any stamping, stenciling or colour blending also ).
Wash the product only once the applied top, final layer of glue dries completely. Drying time may be more in humid weather. The surface should feel completely dry to touch and not tacky.
Avoid machine wash. Hand wash in cold water is recommended.
SOFTNESS RETAINED-
As mentioned earlier, the glue mildly stiffens the fabric. However, that does not add any unwanted hardness. The fabric products made using the
Decomagic Fabric Decoupage Glue retain their fabric feel to a very large extent, even after the entire decoupage work and sealing is done.
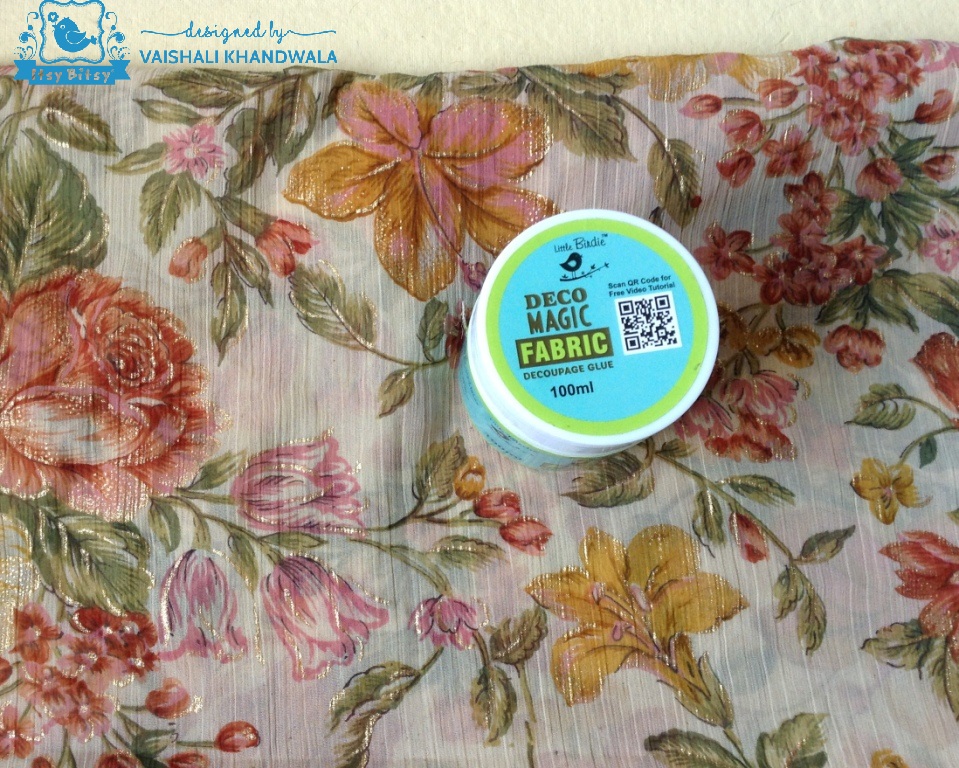
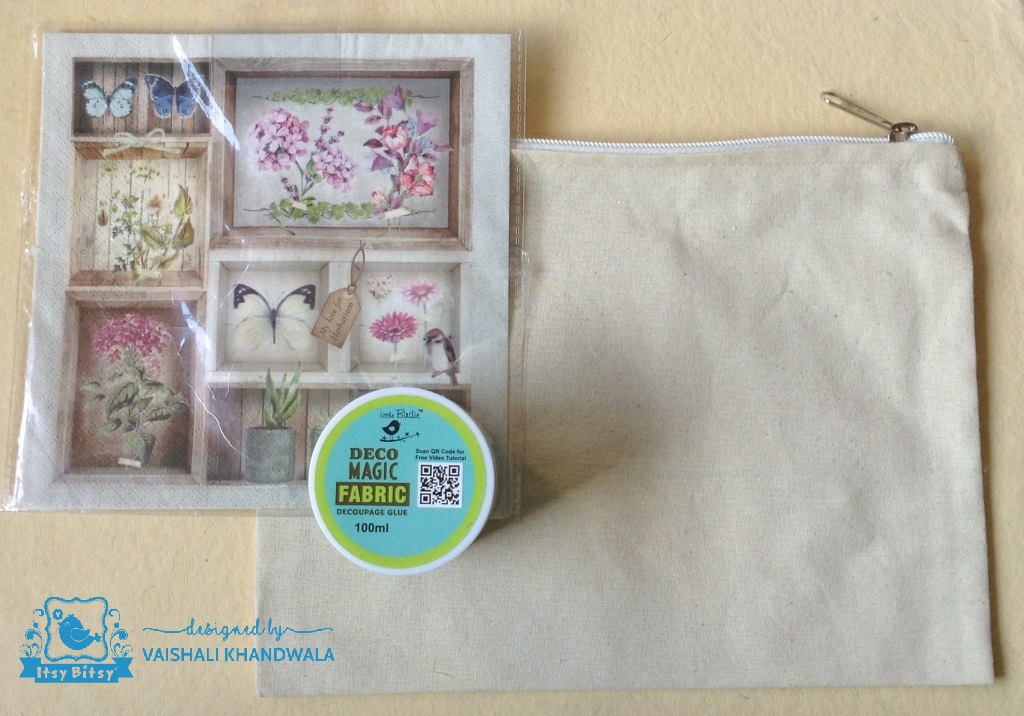
Having shared the key features of the product, here’s a quick step wise procedure of making a decoupaged fabric pouch-
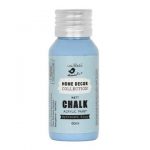
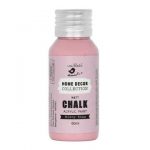
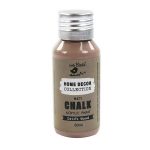
Material required-
Above is the picture of three main materials to be used.
Procedure-
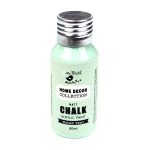
1. As the pouch is cream, there is no need to apply any base colour to it. In case of using a darker colour pouch, apply a layer of cream or white chalk paint. This needs to be done if you plan to decoupage it with napkin. As all napkins look good on a lighter base.
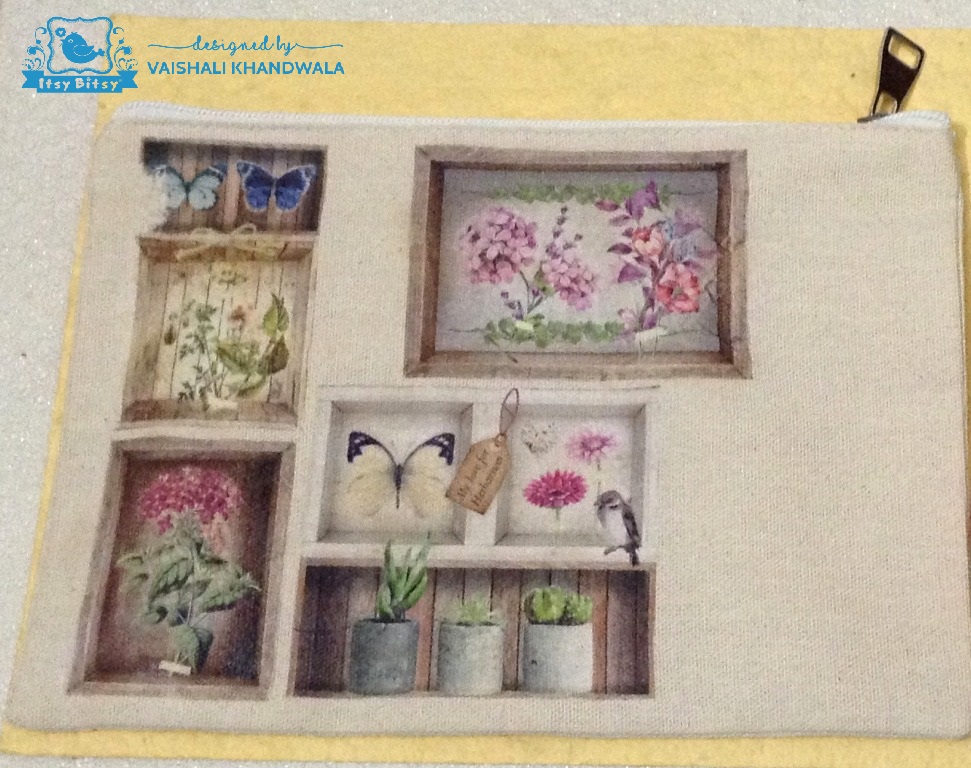
2. Decide on the composition and cut pieces from the napkin.
3. The napkins are 2 ply or 3 ply and what you will need is only the top printed layer. So separate the white plain layers, once the napkin is cut into desired parts.
4. Adhere the top printed layer of cut napkin pieces to the fabric pouch, using
Decomagic fabric decoupage glue. Apply the glue with synthetic hair flat brush. Do not apply too much glue. Use optimal quantity of glue and adhere one piece at a time. Press the napkin well, light handed. The gel like consistency of the fabric glue will help you adhere the napkin well into the texture of the fabric pouch.
5. Apply a top coat of fabric glue over the adhered napkin pieces after about 15- 20 mins. The fabric glue dries clear. The top coat will make the napkin archival and prevent it from yellowing.
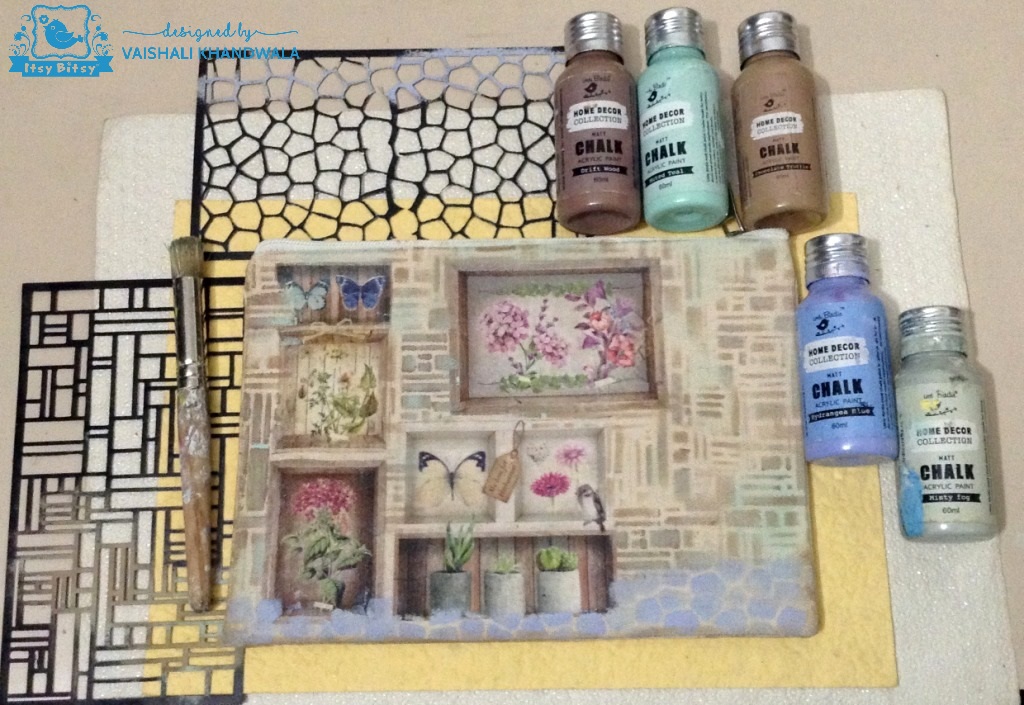
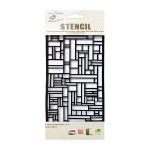
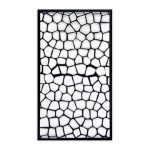
6. Now is the time to work on the background. Have done stenciling using chalk paints, to create oneness.
I have used stone and geometric patterned stencil. Use stencil brush for good stenciling effect. Have used the chalk paint colours that match the adhered napkin.
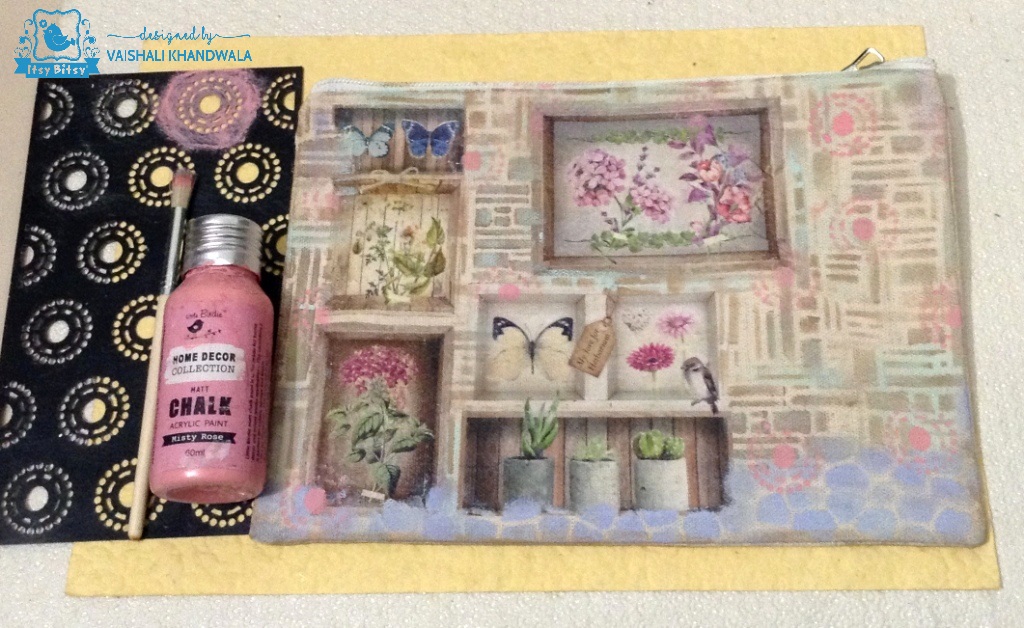
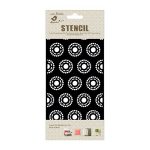
Have further stenciled a circular pattern as well with pink chalk paint.
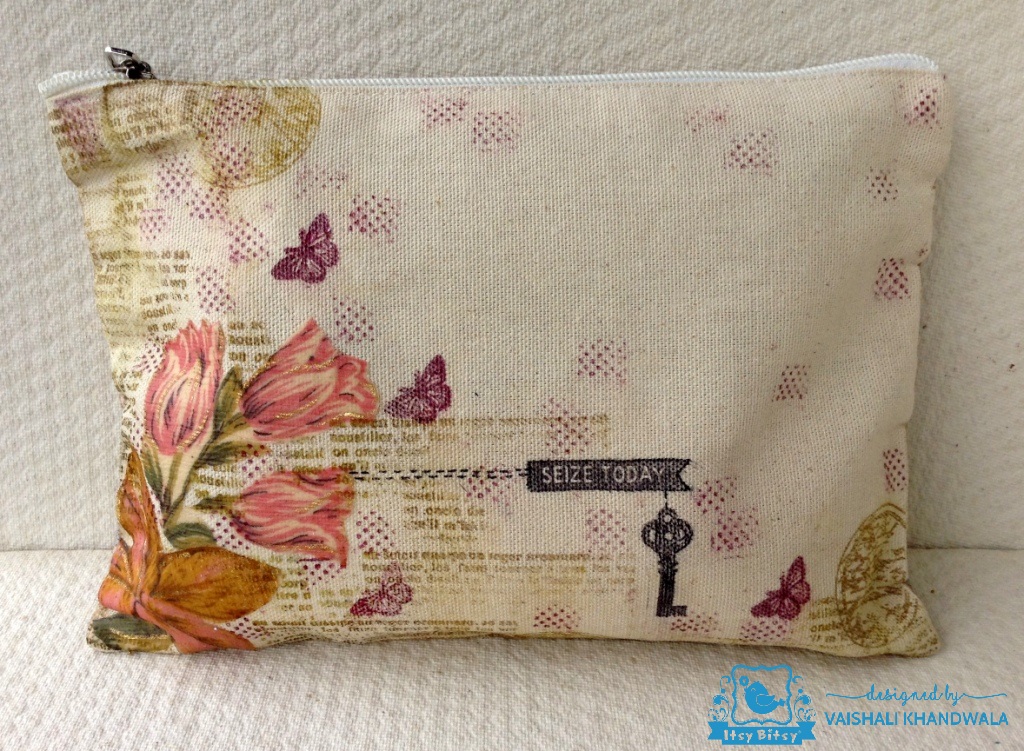
7. The final look of the pouch after stamping. Have used Ranger black archival ink and clear acrylic stamps to do so. Have also defined the stone stenciling at the base of pouch with black permanent marker.
8. The last step is to seal the entire surface of pouch with
Decomagic Fabric Decoupage Glue. This protects the decoupage work and also makes it washable. Follow the tips already mentioned earlier, for washing.
The pouch is ready for use. Hope you liked the creation and found the post informative. Looking forward to your amazing creations.
Happy Crating
Create, Express, Enjoy !!!
Vaishali Khandwala
List of materials used-