Hello everyone Pooja here,
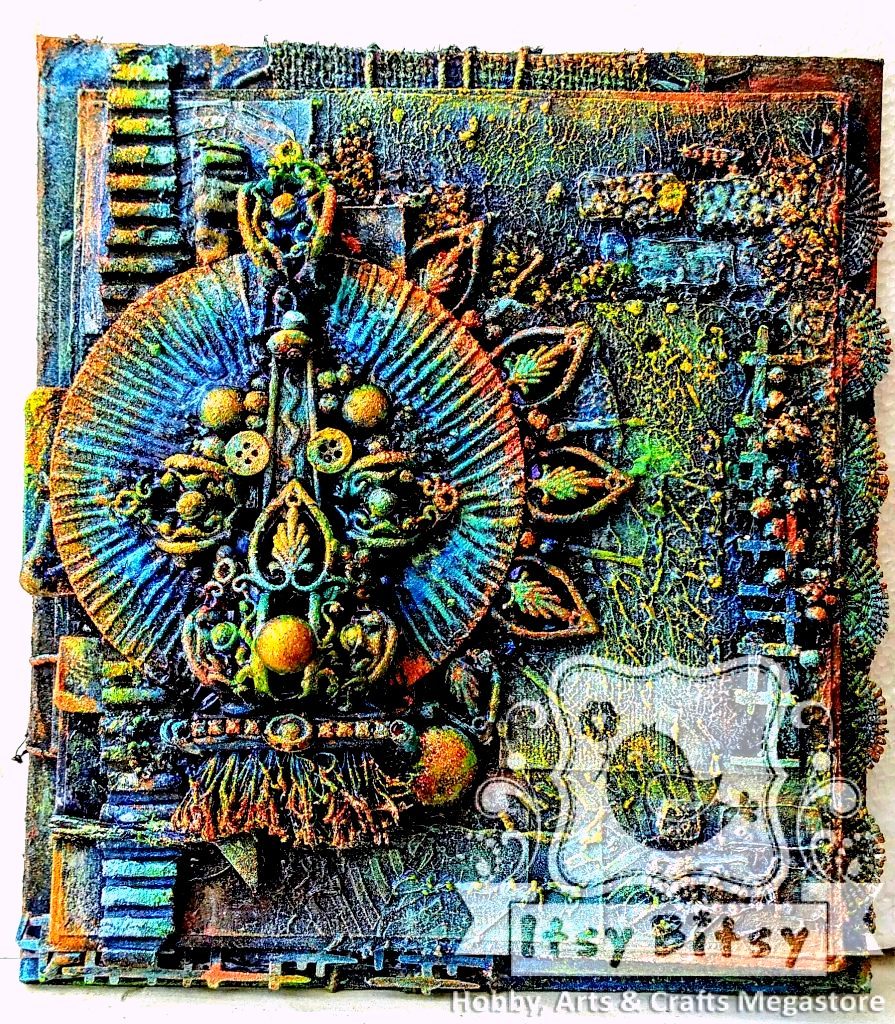
I am back again with a mixed media project. Many people ask me what are the basic products necessary for mixed media and what they should buy to make mixed media projects. I would like to mention that there are no specific products required for mixed media but I have decided to make a mixed media piece that requires very less products and mediums. You can take a look and get inspired to try out one on these lines….
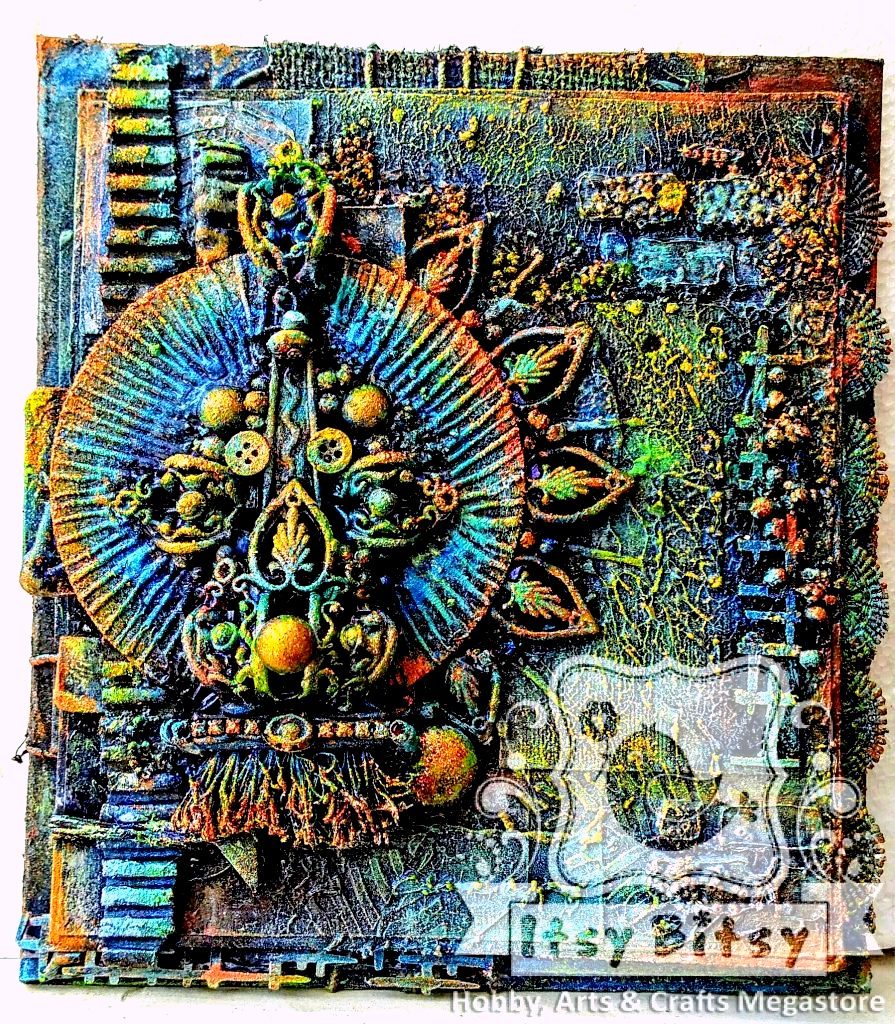
Now lets have a look how I made mine.
1. First of all you will require pieces of MDF or card stock and tags or some sort of paper that’s hard.
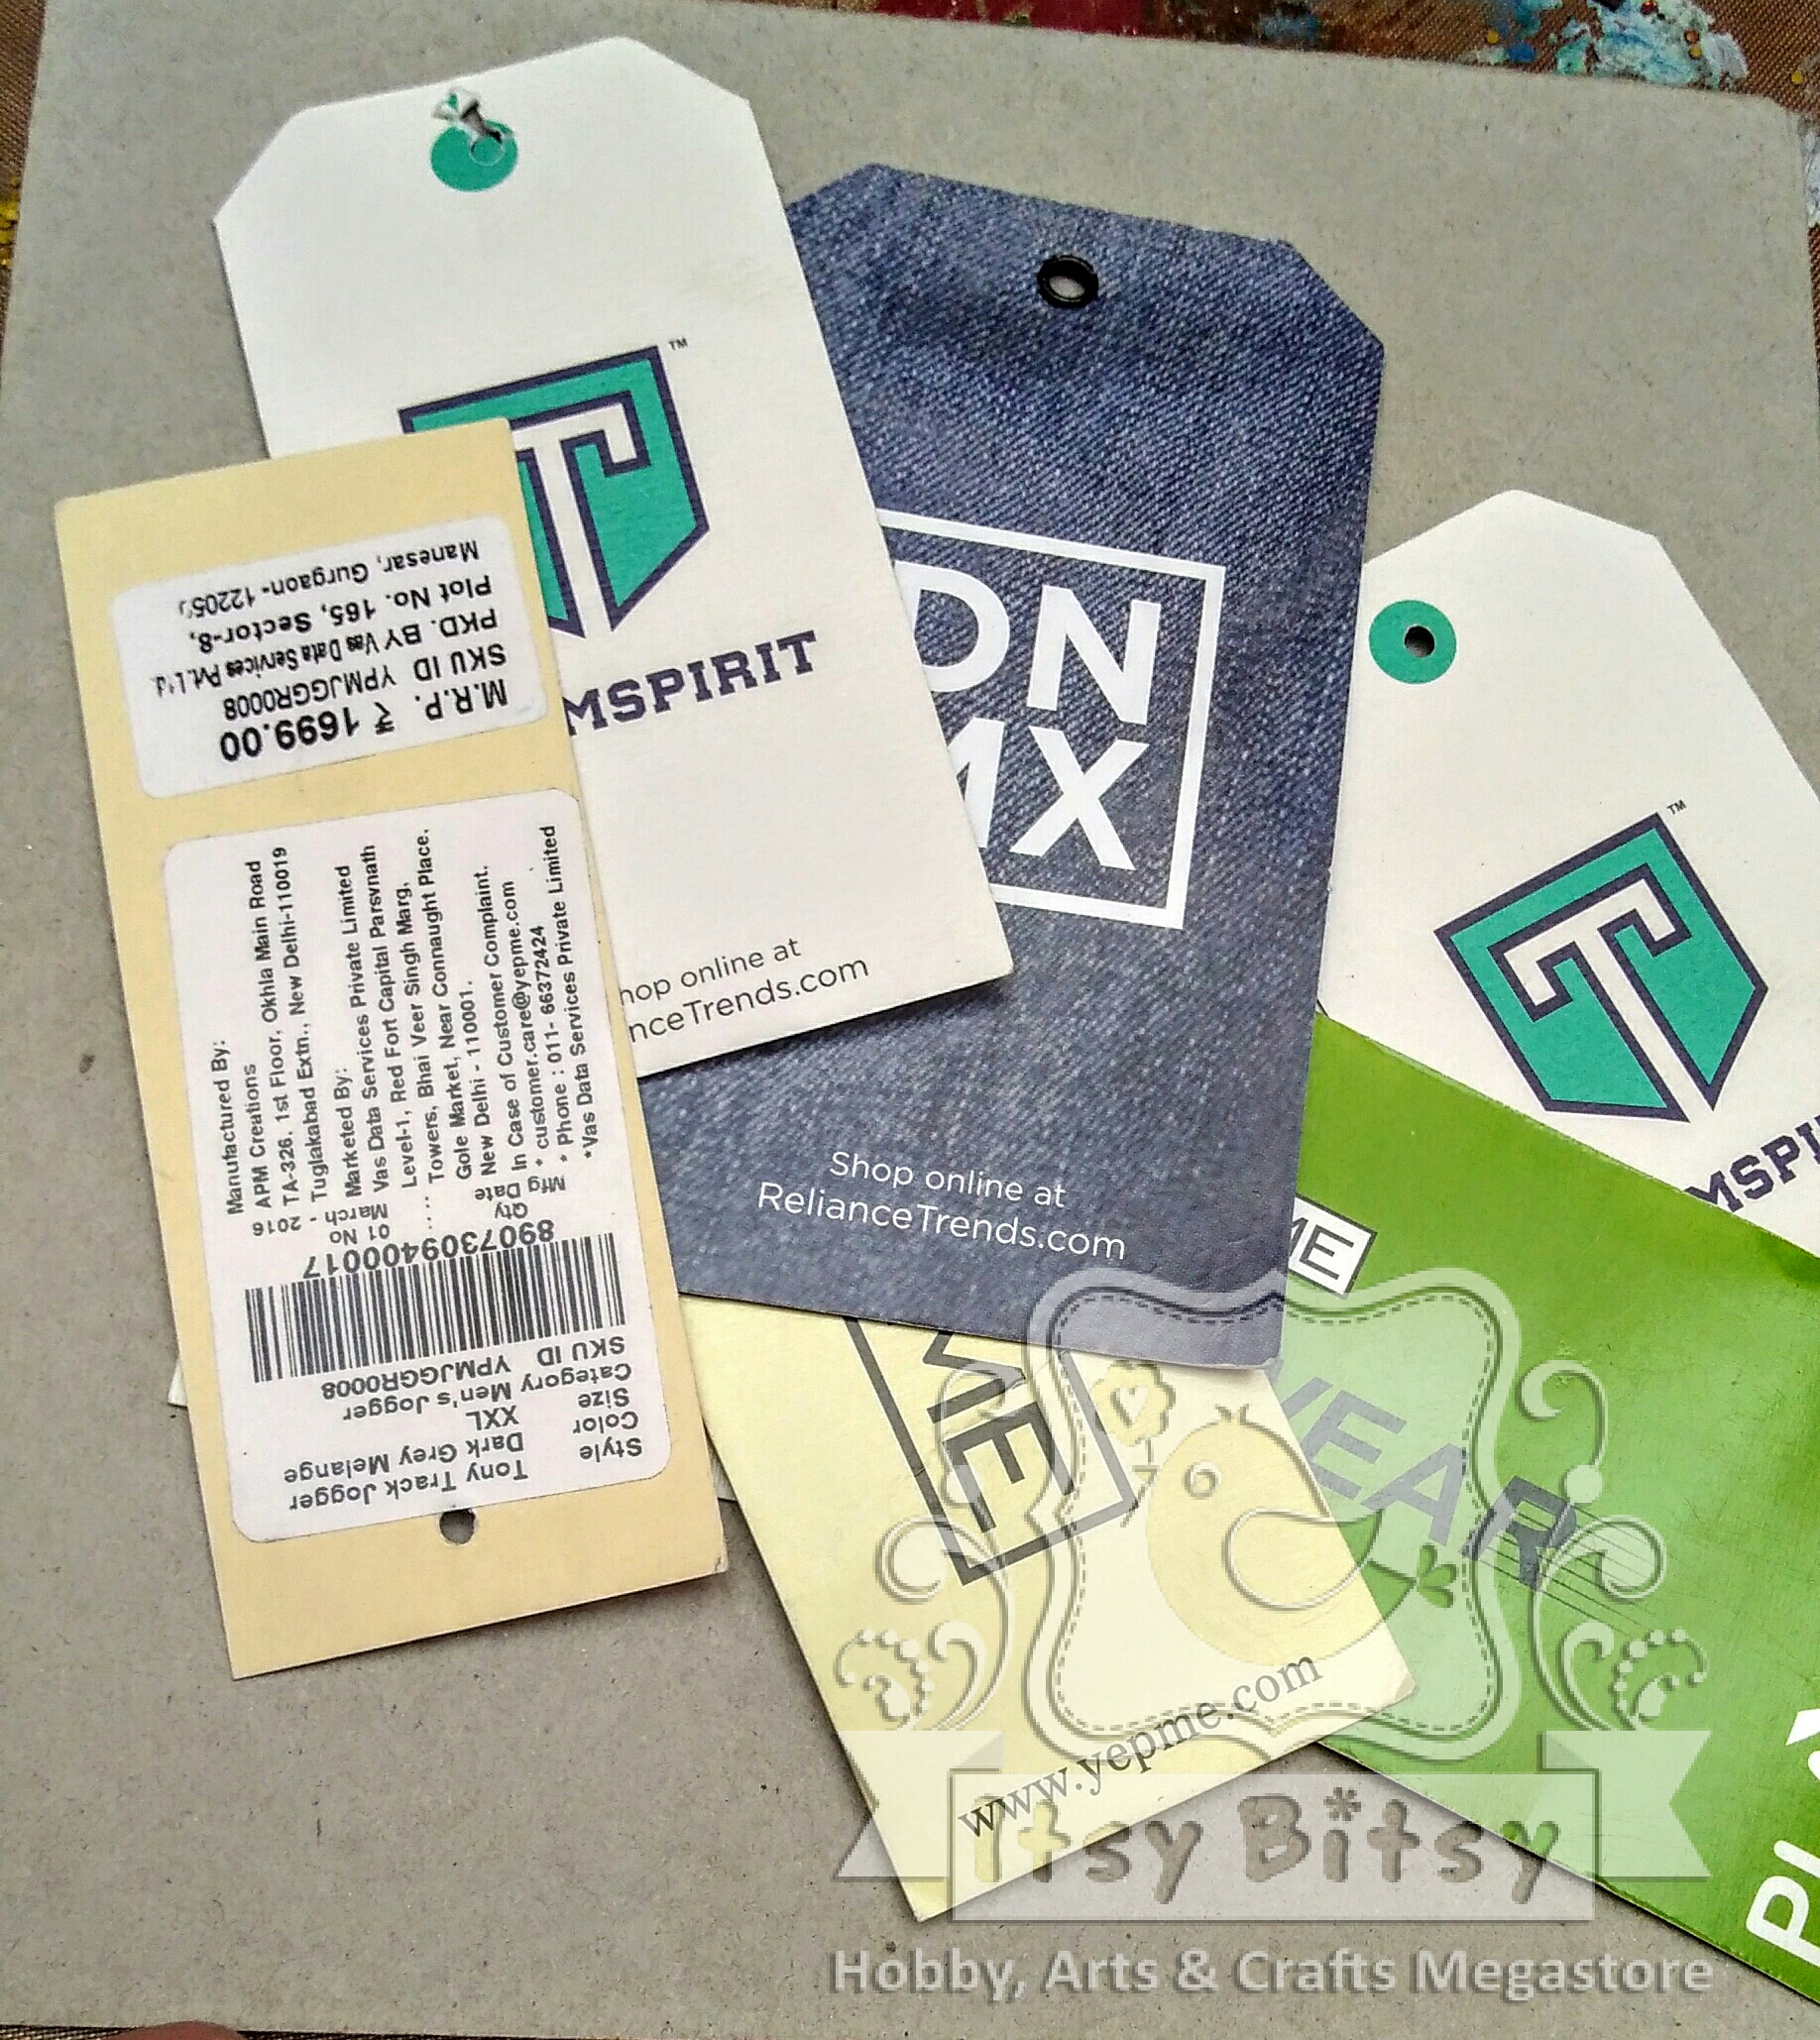
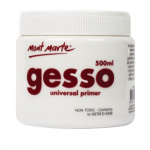
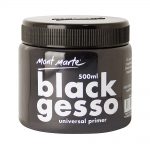
2. Paste them as you wish on the card stock. You can see in the picture below how I have pasted them. After that, I applied Mont Marte gesso over them.
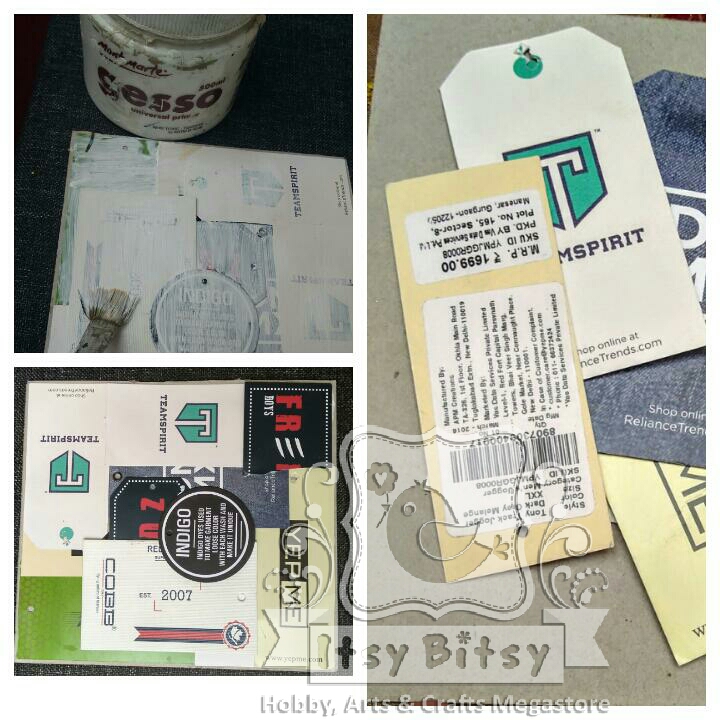
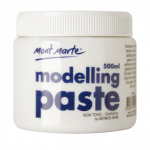
3. Now it’s time to add some texture to the project. I took some Mont Marte modelling paste on my spatula and started tapping it on some areas as you can see. Its an extremely easy way to get some beautiful textures.
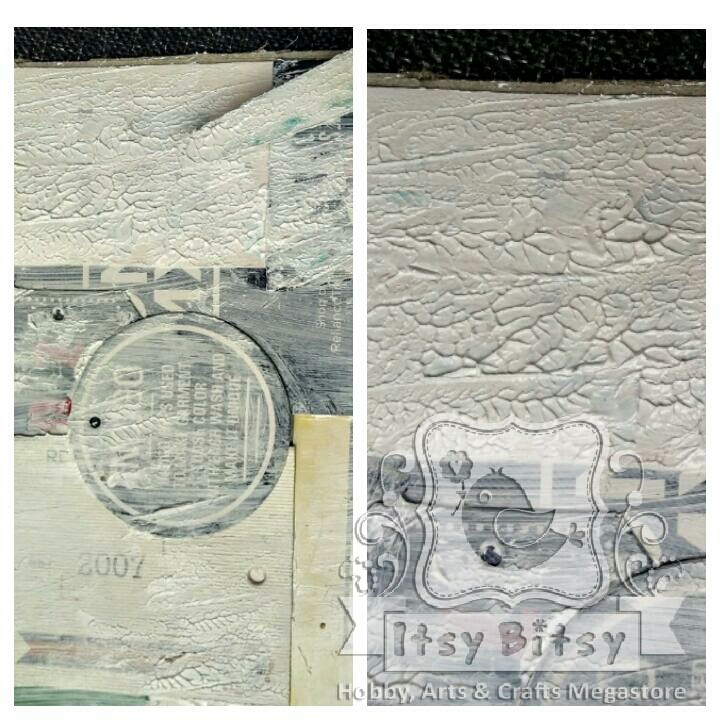
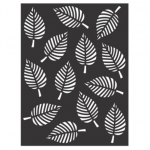
4. Thereafter, I used a leaf stencil from the store to add some more interest to the project with Mont Marte modelling paste.
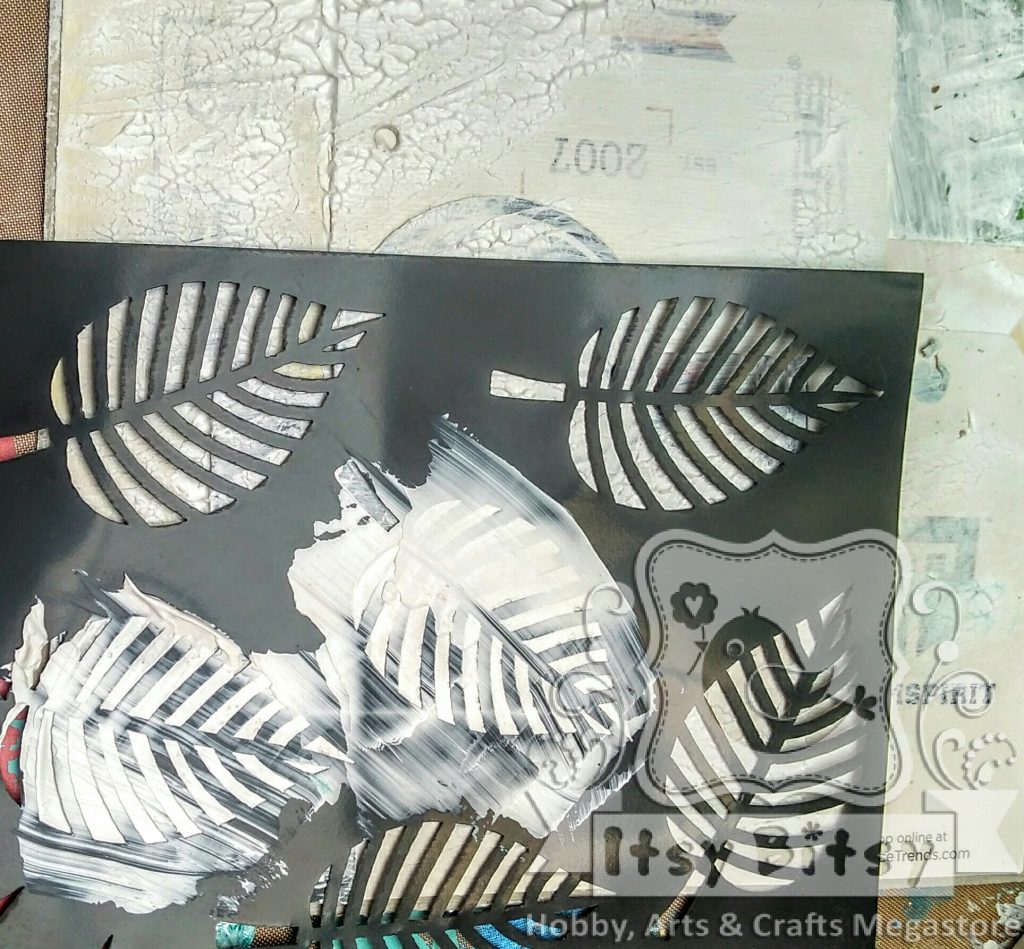
5. It looked like this after above steps were done.

6. I then used some more tags to create layers on top. I pasted them as I liked on the base.
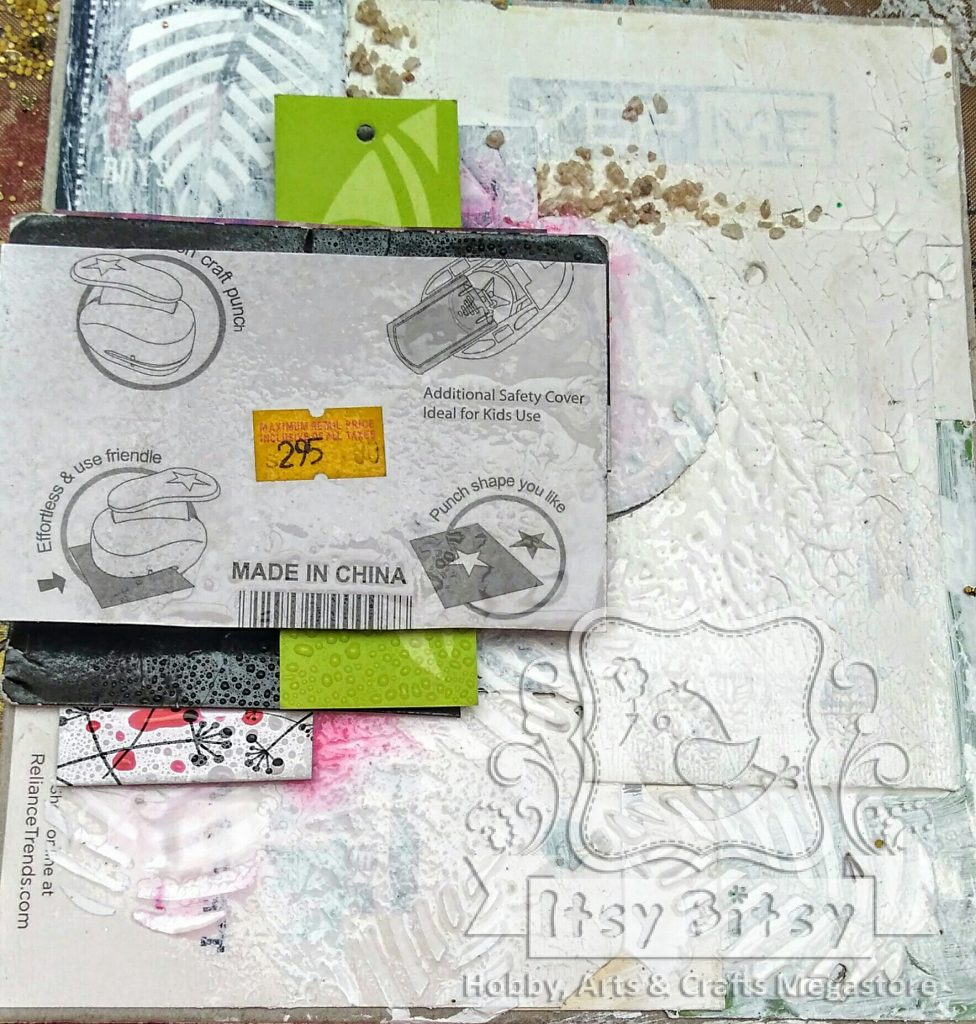
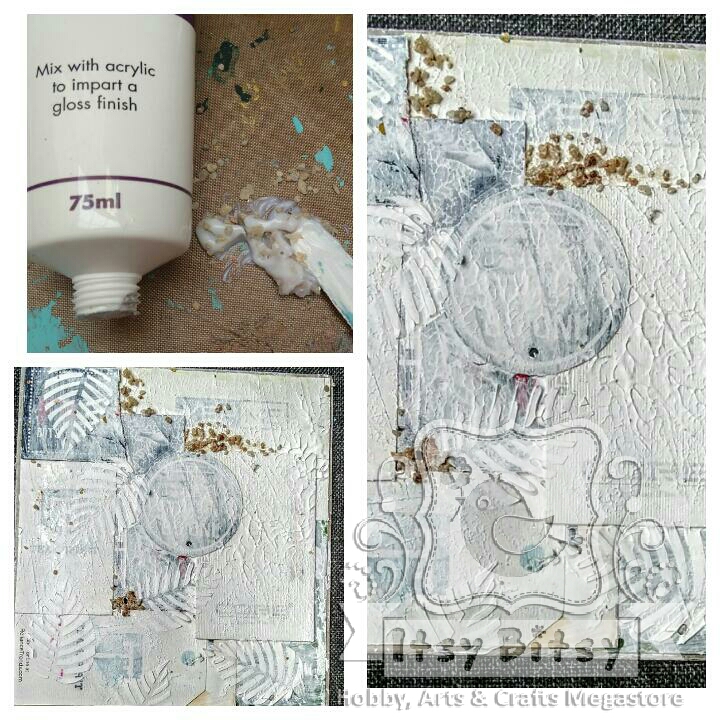
7. I mixed some small stones and sand with Mont Marte gel medium and applied this mixture wherever I liked.
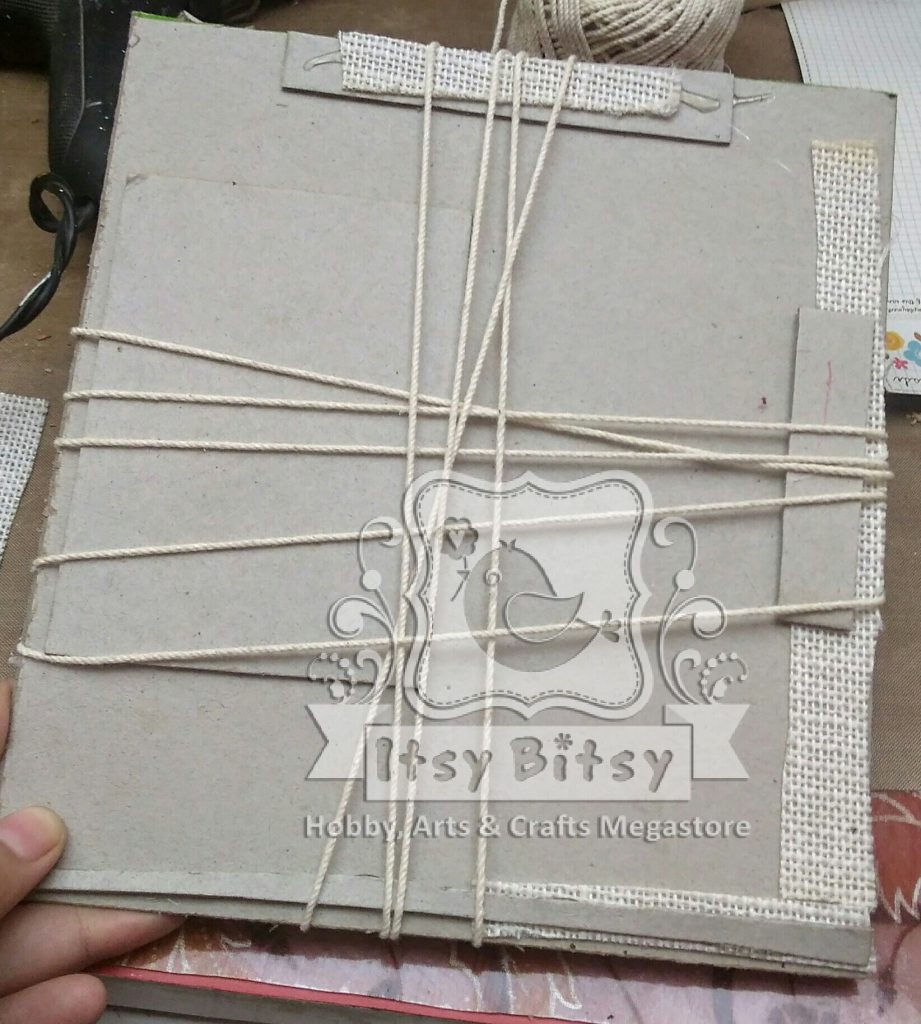
8. I created one more board with burlap sheet and card stock pieces and wrapped around some thread and lace. I wanted to paste this at the back of my main project to give it more layer.
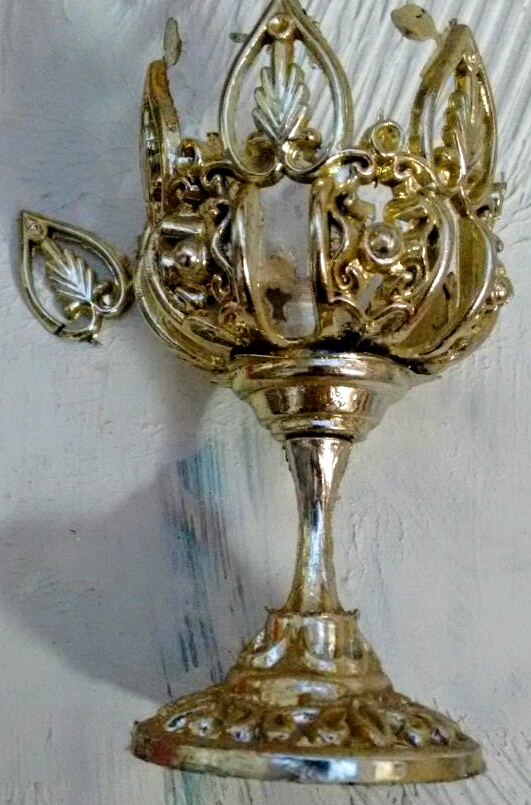
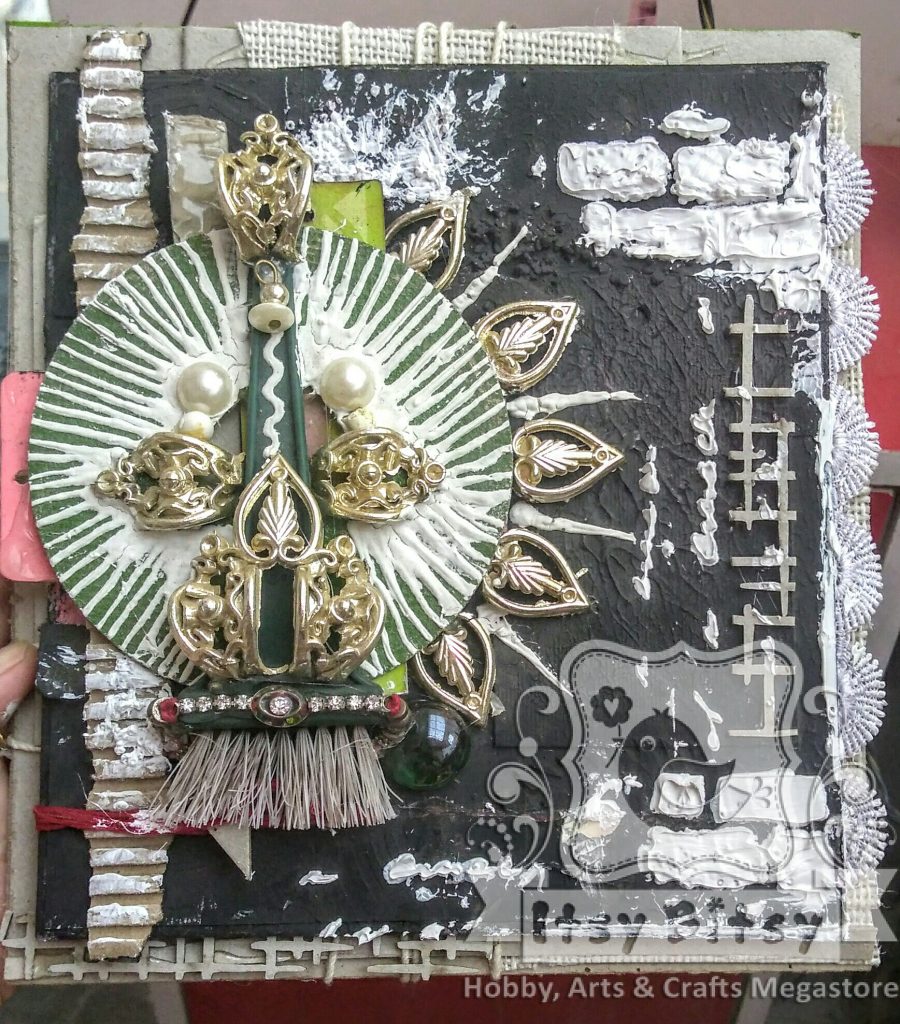
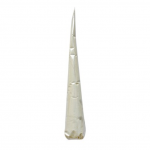
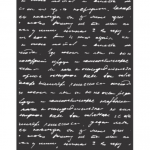
9. I used some old things which I had like an old candle stand, a round piece of thick material, an old brush, some beads and an old rakhi. I arranged them on the tags to give some extra texture and for adding some extra beauty. I did some cone work on the round piece with ceramic puffy paint. These cones from the store are perfect for creating different textures. You can use them in many ways to create beautiful designs. After that I used black gesso over it and did some more stencil work using the script stencil.
Now it looked like this
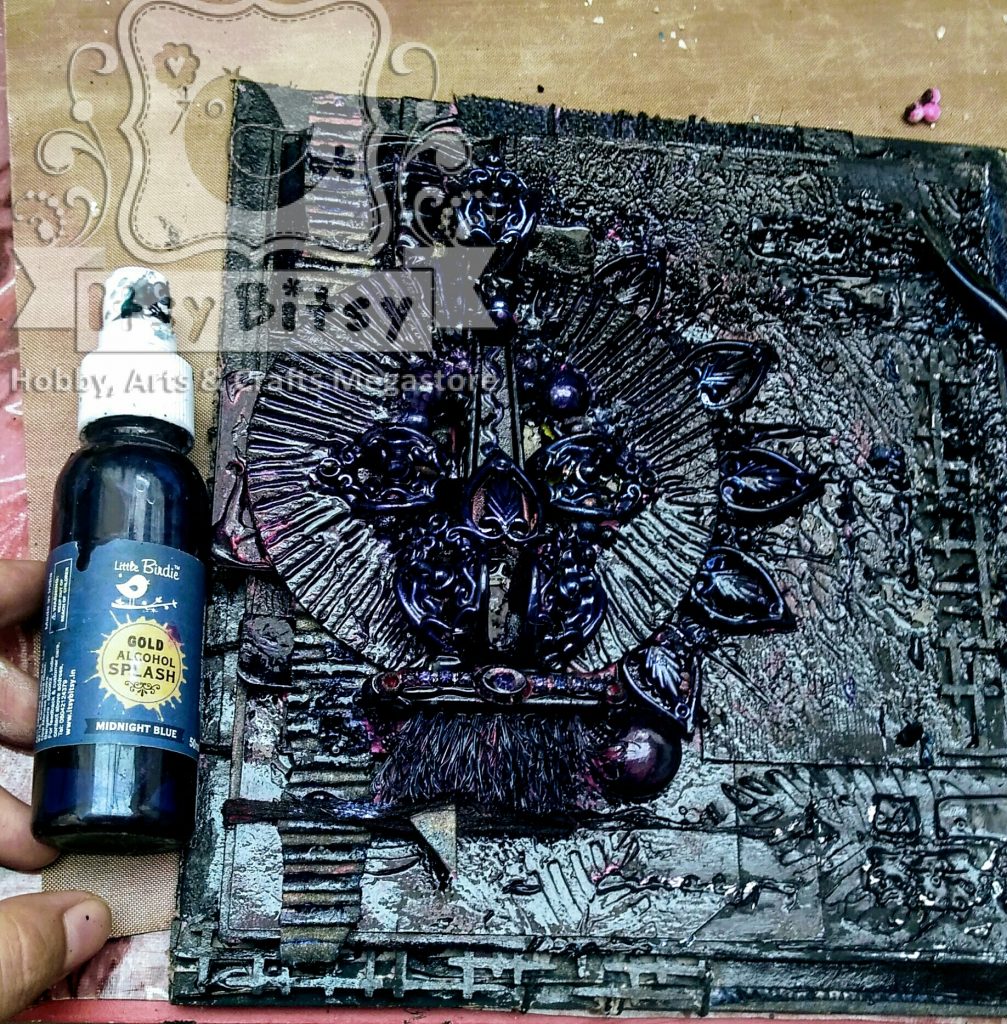
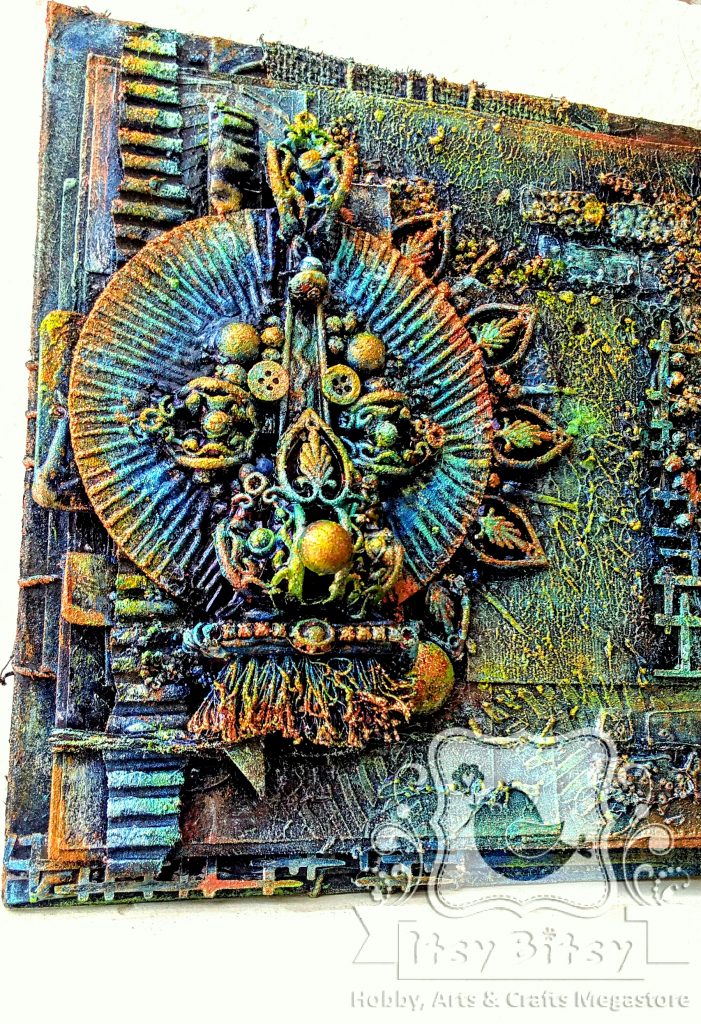
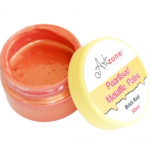
10. It was now time for adding some colors. I used Gold Alcohol Splash- Midnight Blue for the base. I like these colors because of their glossy finish and great coverage!
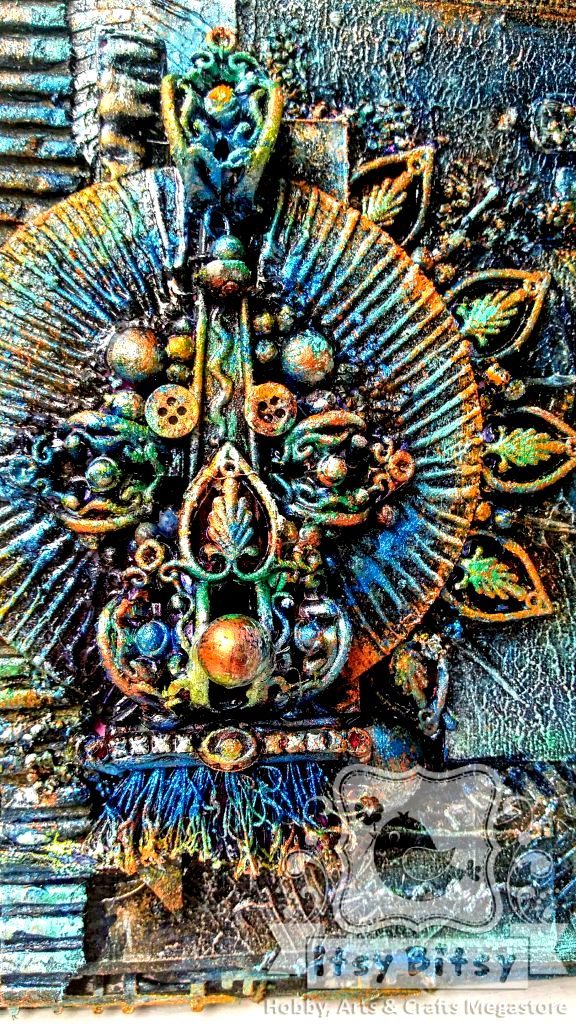
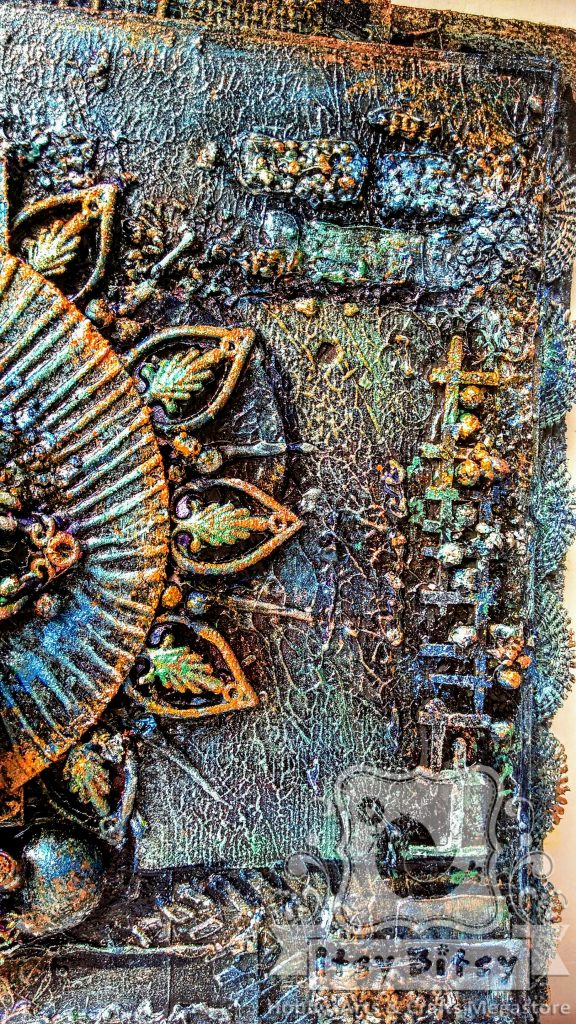
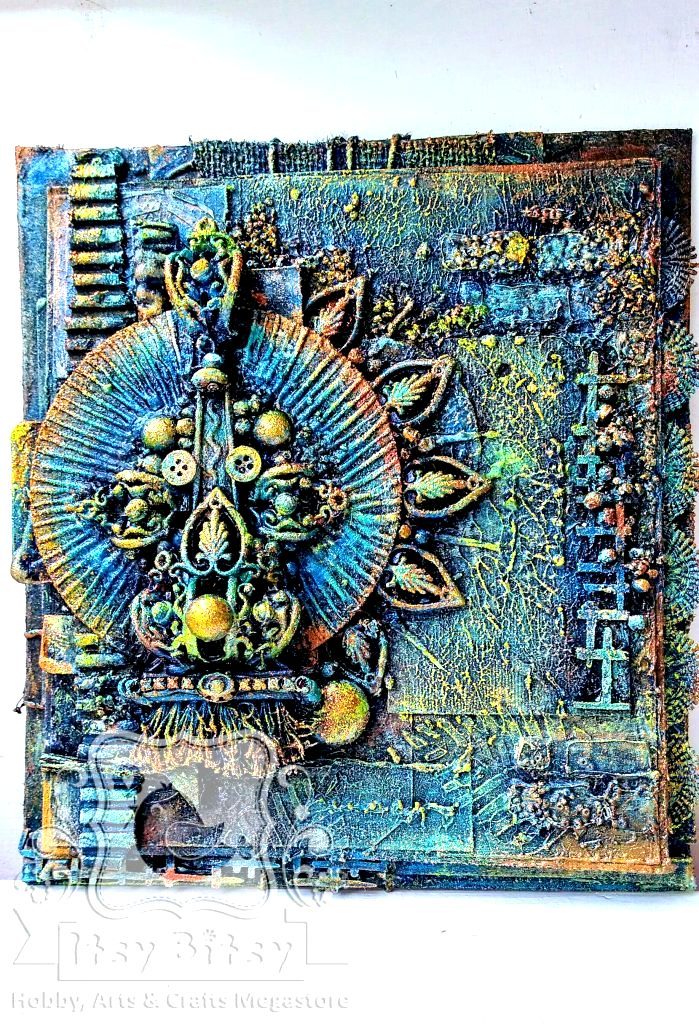
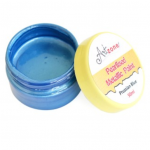
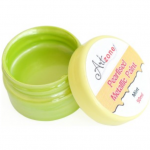
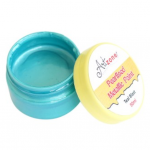
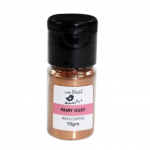
After it was dry I did some dry brush shading with different metallic paints like Prussian blue, Teal blast, Mint and Brick Red. You can see direct links of the colors I have used in the list of supplies used.
you can see how the layering of different colors pop up the things and the background in step by step pics
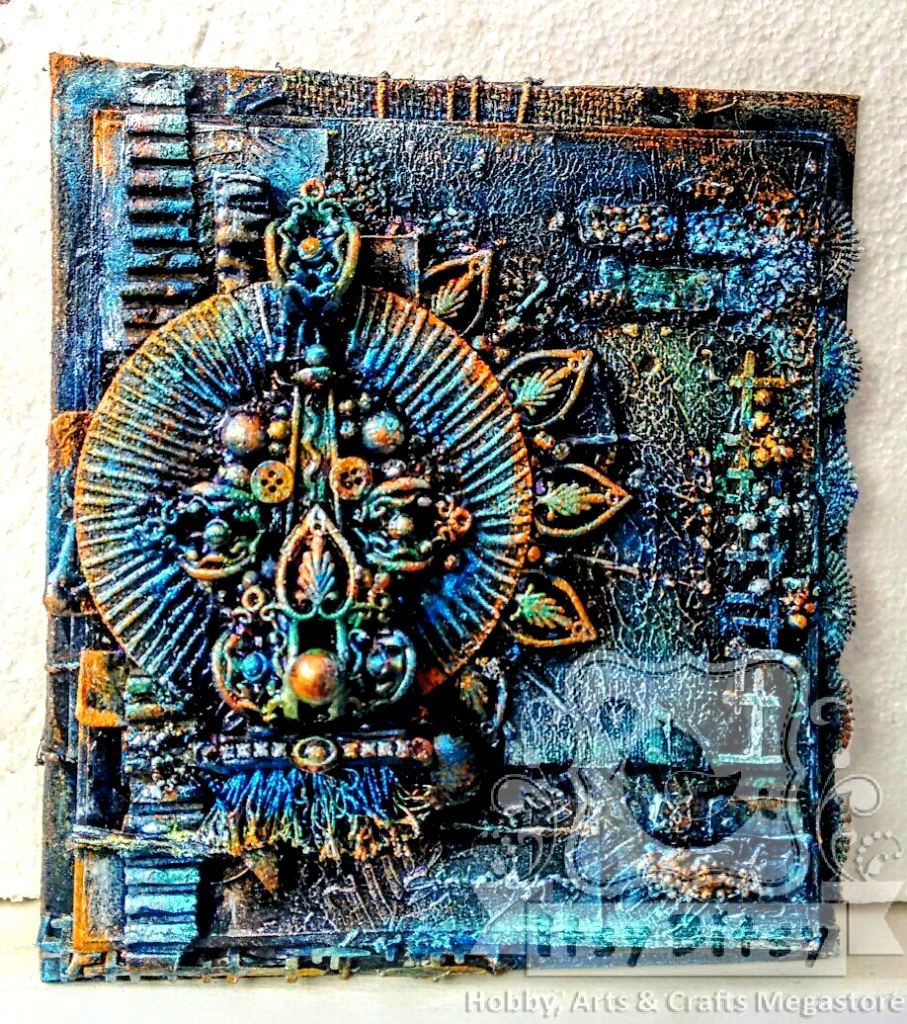
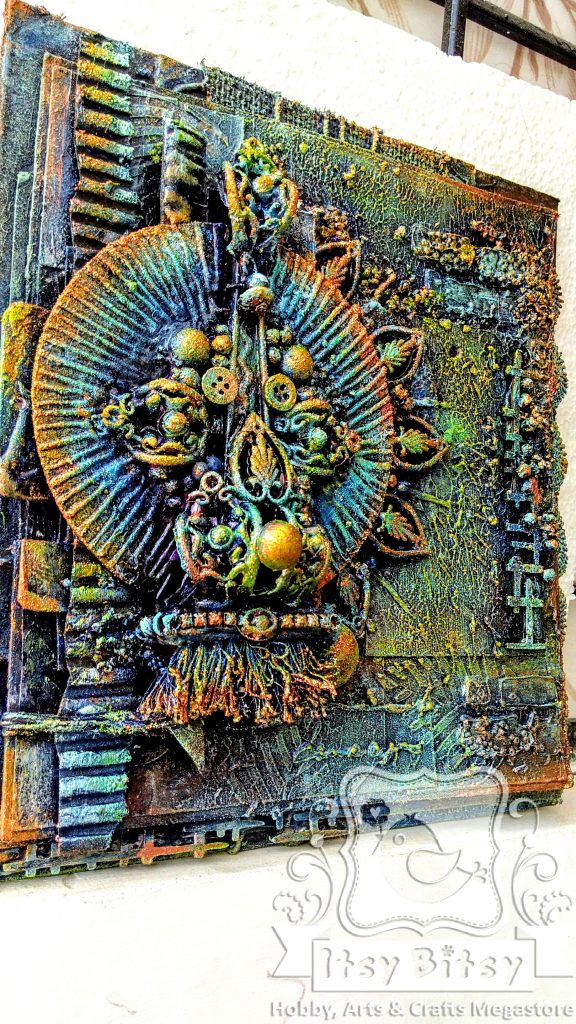
 some pics in day light

Supplies used
OMGosh! A great piece of art work in such a unique way. Love how all the colors pop! Brilliant work again Pooja!
Thank u so much for ur appreciation
beautiful composition and layering Pooja !! stunning work!!
Thank a lot mam happy that u like it
Such a fabulous creation & very well explained Pooja! You make Mixed Media seem so easy & doable! 🙂
Thank u so much so glad that you like it ☺
OMG WOW!! This is one STUNNING creation Pooja!! Totally love your work!!
Thank u so much for ur comment n appreciation ☺
Amazing creation ❤️ Loved the tags thing ❤️
Thank u so much for ur love☺
Wow loving this Pooja..now omwards i wil never throw anything..hehee
Haha thank you so much kriti for ur love so glad that it’s inspiring you
Very beautiful. Nicely explained and very easy to understand. Look forward to more tutorials from you.
Thank you so much happy to know this☺
Really marvellous piece of art!!! Very well explained also… too inspiring…
Thank you so much so glad to know this ☺
Wow, you make it look so simple! Thank you for the lovely tutorial pooja. I am yet to try mixed media, and now I am inspired all the more to go ahead.
Thank u so much our motivate is also to inspire people to try their own glad that u like n got inspired ☺
Very Beautiful layout…..Awesome.
Hugs
Mukta
O thank u dear mukta for ur love☺
Pooja….it’s just awesome….it’s really useful to take first step in world of mix media ..??
Thank u so much tanvi I will b happy if I can inspired u n others for trying mix media ☺
Beautiful work Pooja!! I love the colourful finish!!
Thank u so much Shanghai☺
Wow! What a lovely transformation from junk at home! Fabulous Pooja!! & Thanks for sharing the tutorial, so beautifully explained.
Thank u dear @priyanka for ur appreciation glad that u like
This is gorgeous Pooja. I love the colors. You have explained it so beautifully n rhe scraps u have used… Everything is stunning here. Lots of love…
Thank you so much @priya for ur appreciation dear☺
Wowww pooja, as usual u r just fabulous.
Thank u dear @payal ☺