Hi arty-crafty people,
Lekha here today! In my last blog post I had upcycled an old tray using the Little Birdie chalk paints and today its time to reclaim an old tissue box(which incidentally I had made a few years back for my home).
I had done decoupage on the tissue box previously, so the first step was to remove the decoupage paper. You can try using some sharp knife or a spatula to tear off the paper or use a sandpaper to get the surface of the box as smooth as possible.
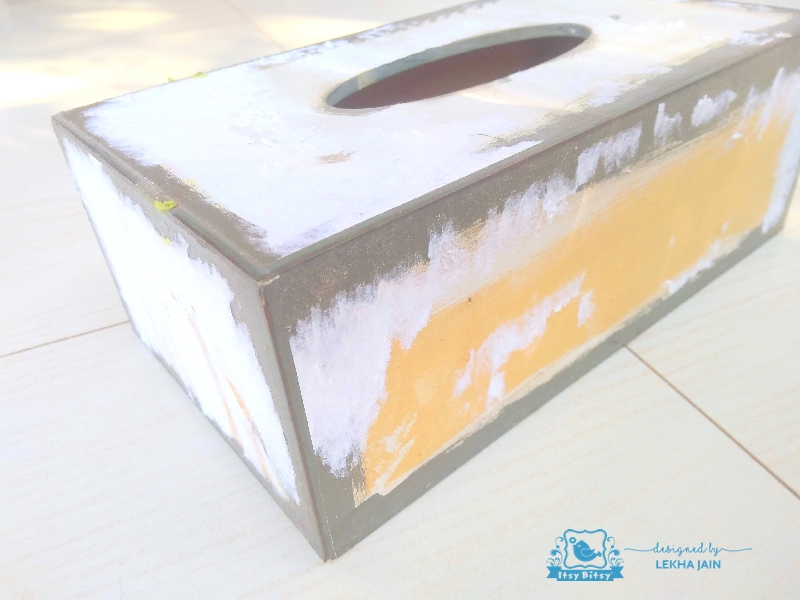
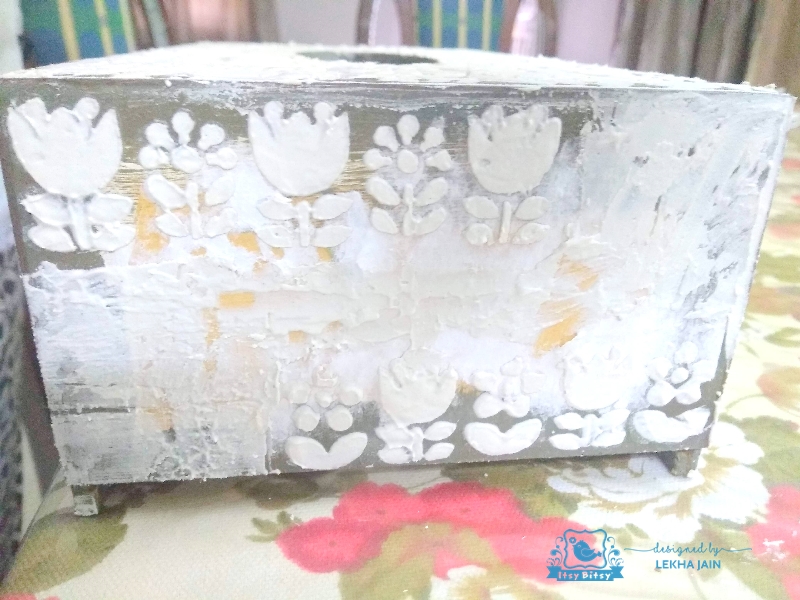
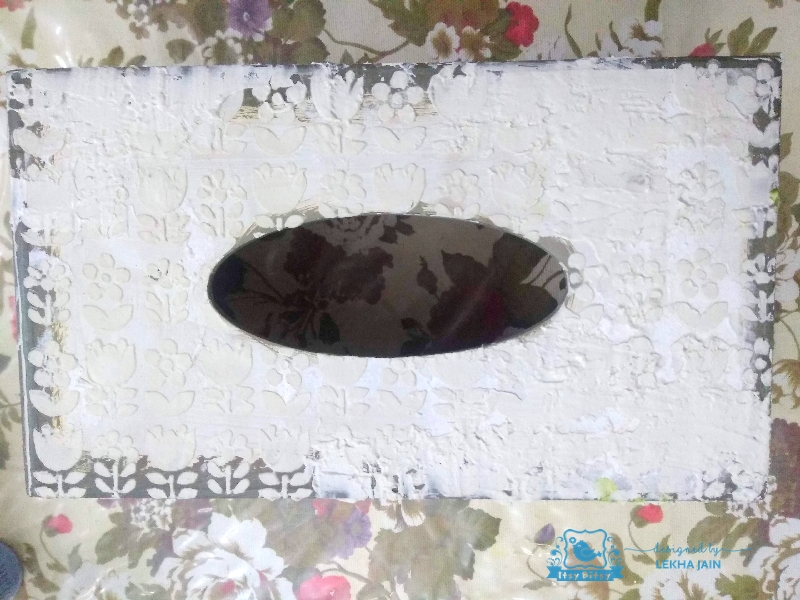
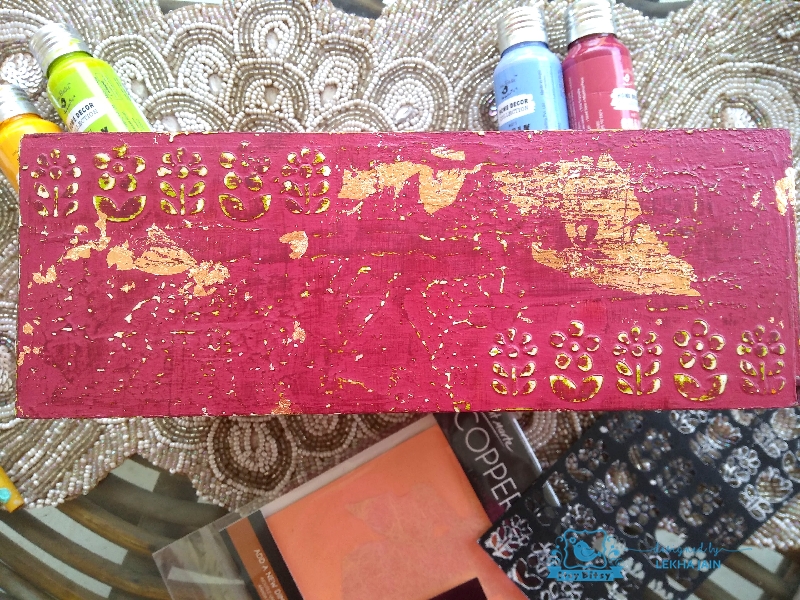
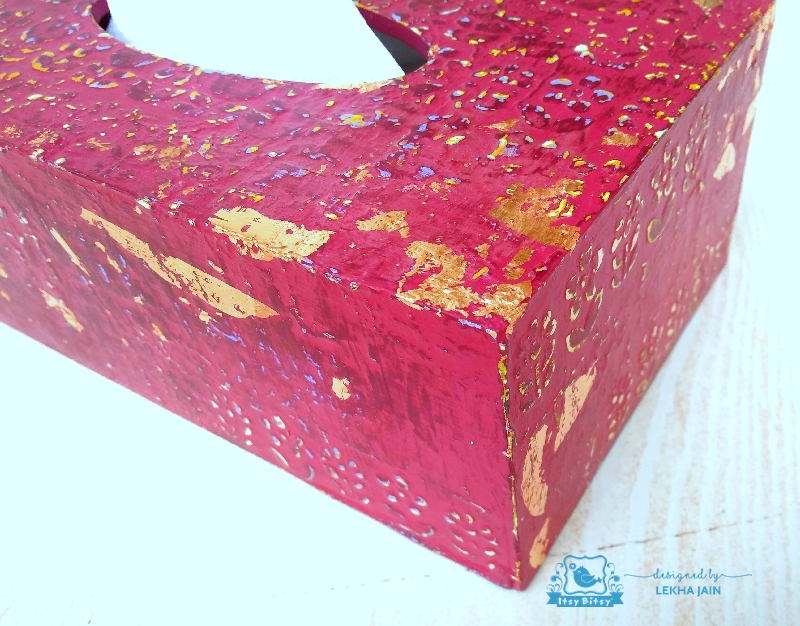
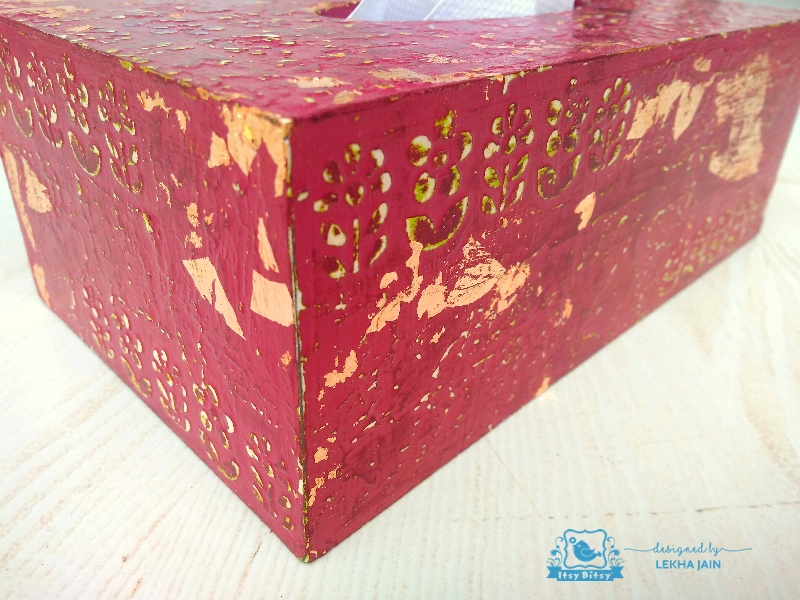
Next, I applied texture paste with help of a palette knife using the flowerful stencil. I applied it on the face and sides of the tissue box.
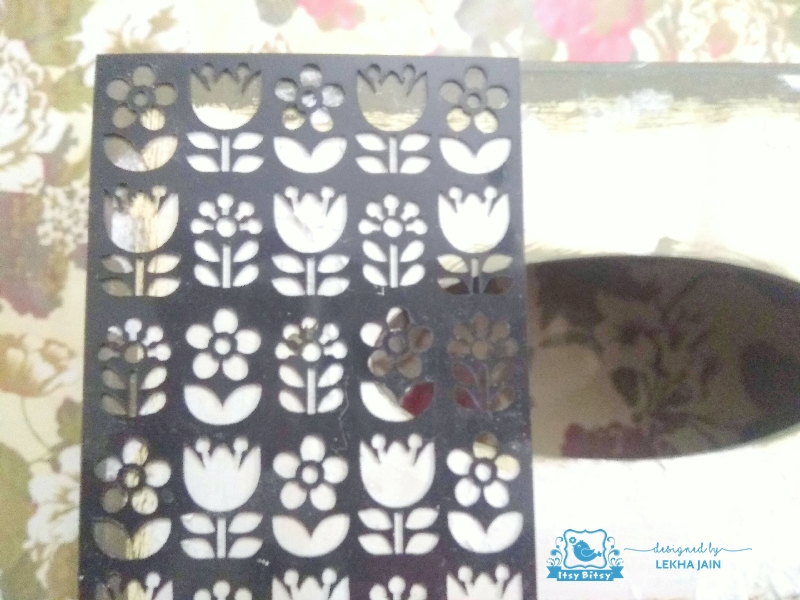
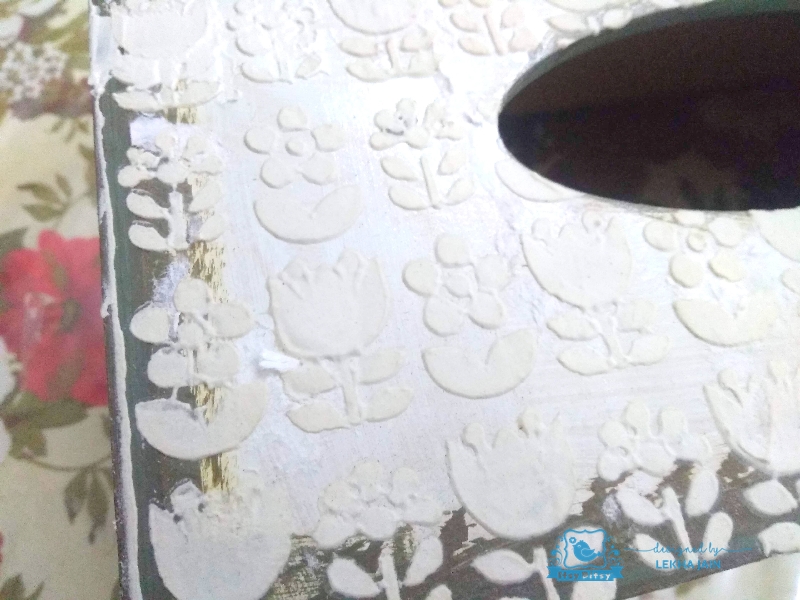
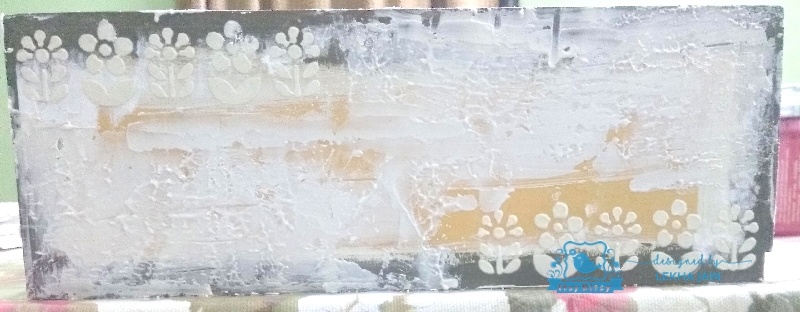
I also smudged the texture paste randomly at few places. Let the paste dry completely before starting the next step.
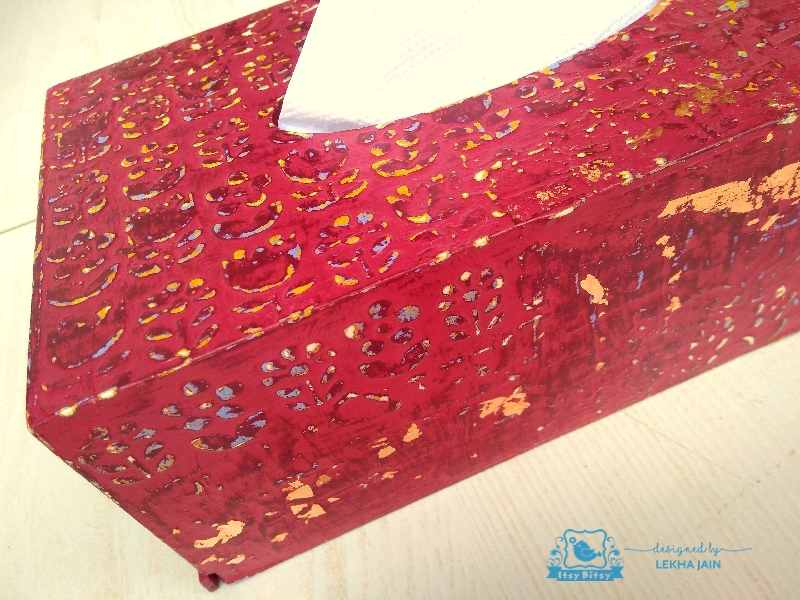
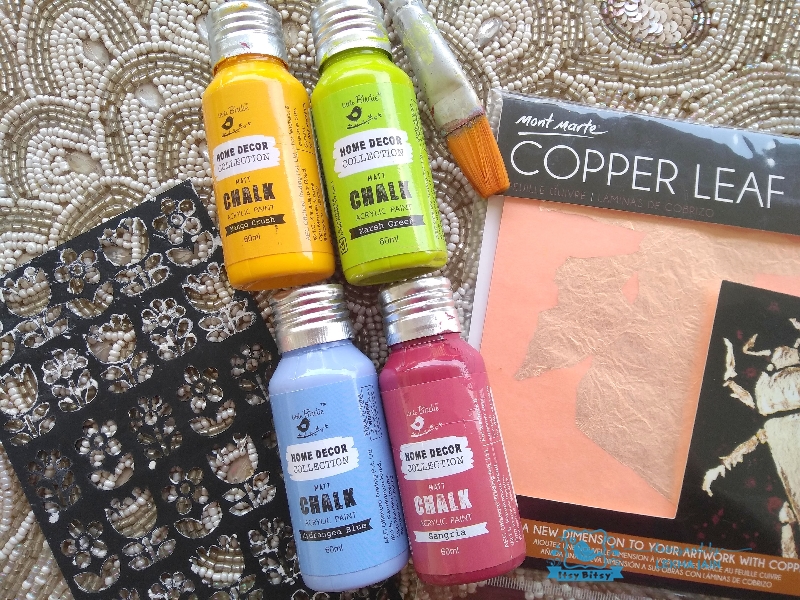
Next step involves layering the face and sides of the tissue box with different shades of Little Birdie chalk paints. Here I have used Mango Crush, Marsh Green, Sangria and Hydrangea Blue.
The first layer to go on the tissue box was Marsh Green (let it dry completely), then for the face and two sides of the box I painted Mango Crush and on the alternate two sides painted Hydrangea Blue. Once all the layers dried naturally (I would suggest not to hurry up drying process with a heat gun as it might bubble up the texture paste), painted the entire box with Sangria.
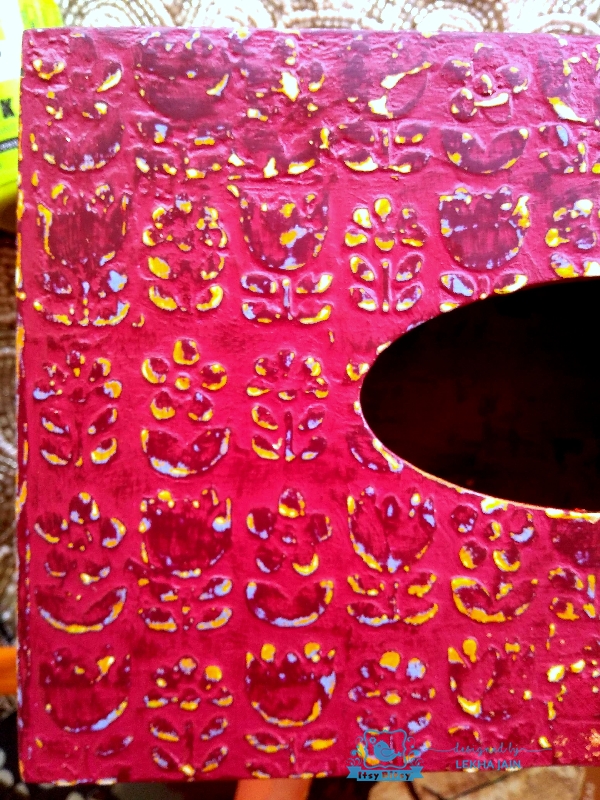
Once the last layer of chalk pain dries, sand the layers using fine grit sand paper. If you look closely the stenciled image has all the colors underneath the sangria chalk paint. Sand till you get the desired color effect. Keep dry brushing while sanding, to remove all the chalk paint powder.
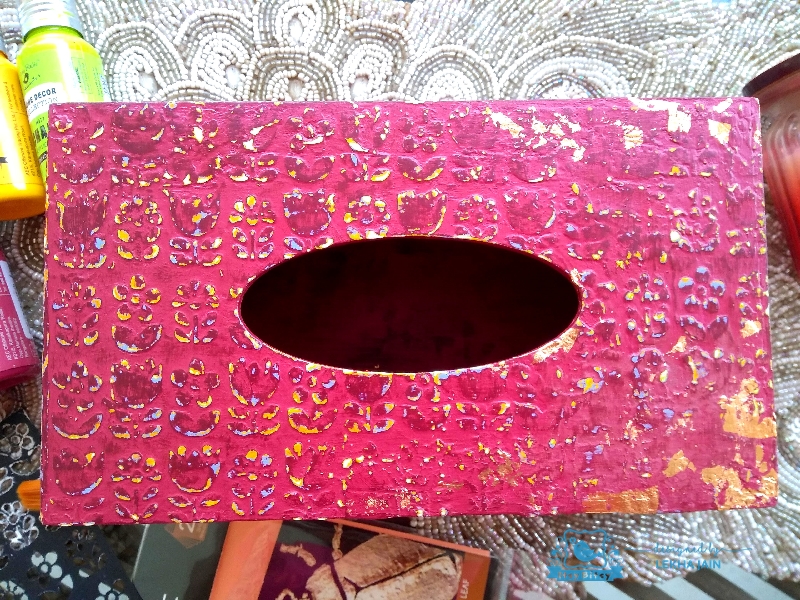
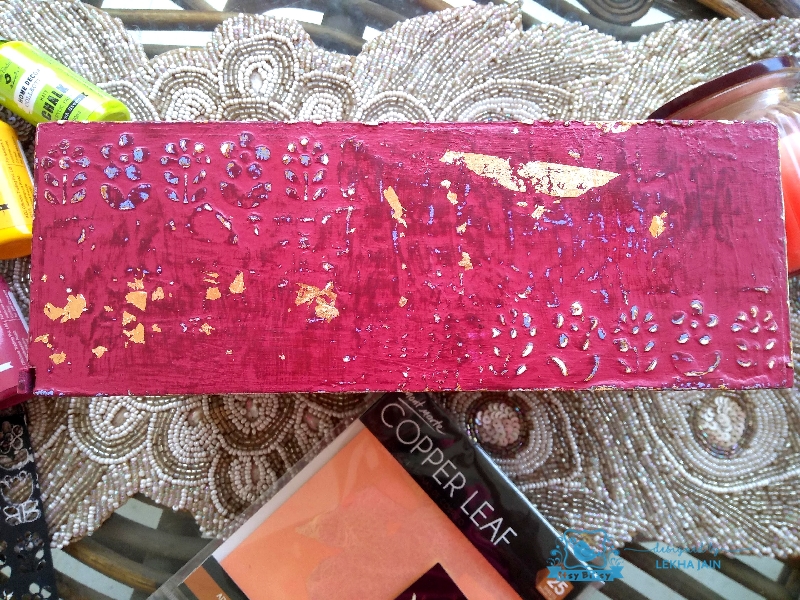
Lastly, to add a little dimension to the tissue box, I have added copper leaf. Completed the project using Little Birdie Decor Varnish.

Hope you like the new look of this tissue box. Do share your love in the comments.
Supplies Used:


