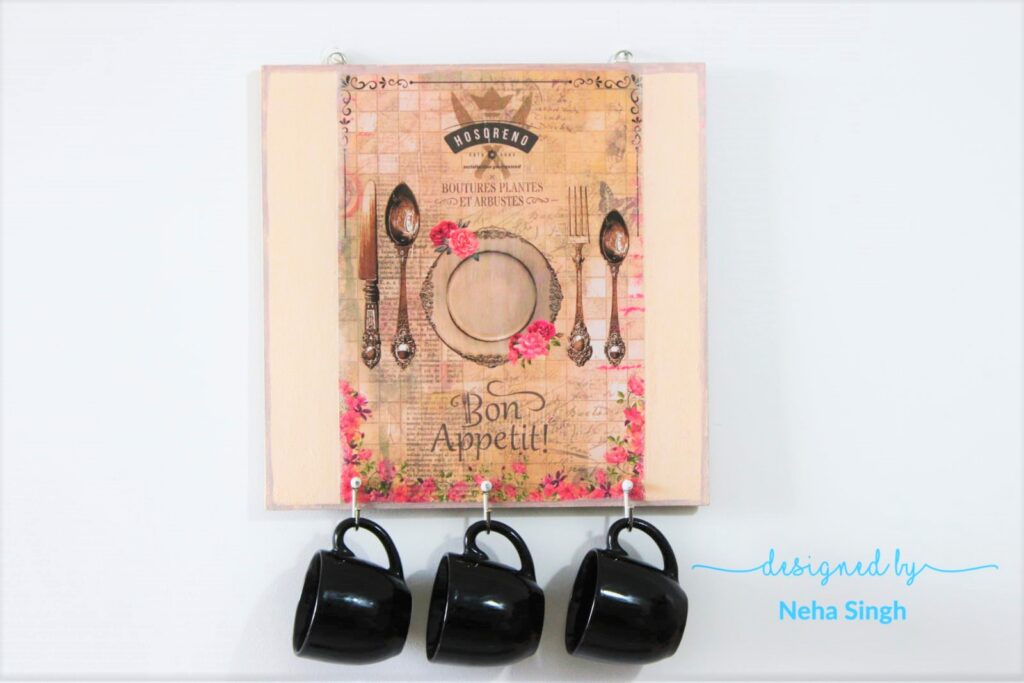
Hello crafters, Neha here and for todays blog I decided to make something for my Kitchen Wall and so I came up with this Wall Panel which has hooks for multipurpose utility. For this project I have used a square MDF Decorable Blank and Decoupage Filament Paper – Bon Appetite. I started by roughly applying gesso over the base. I covered only the area where I planned to paste the paper. After that, I painted the remaining area with Butternut Squash-Chalk paint and left to for drying. After Read more…
Tag: decor varnish
DIY Floral Decoupage Clock

Hello crafters, Neha here and todays blog is about floral themed wall clock. For this project I have used Little birdie PVC Clock face round- White , 10 inch Dia as base and Mdf clock- 10 inch for the numbers. I started by cutting the decoupage paper according to the size of the PVC Base using scissors. After that, I applied the decoupage paper over the base using Deco Magic glue. After drying, I applied another layer of Deco Magic glue over the print in order to seal it further Read more…
Decoupage Frozen Themed Box
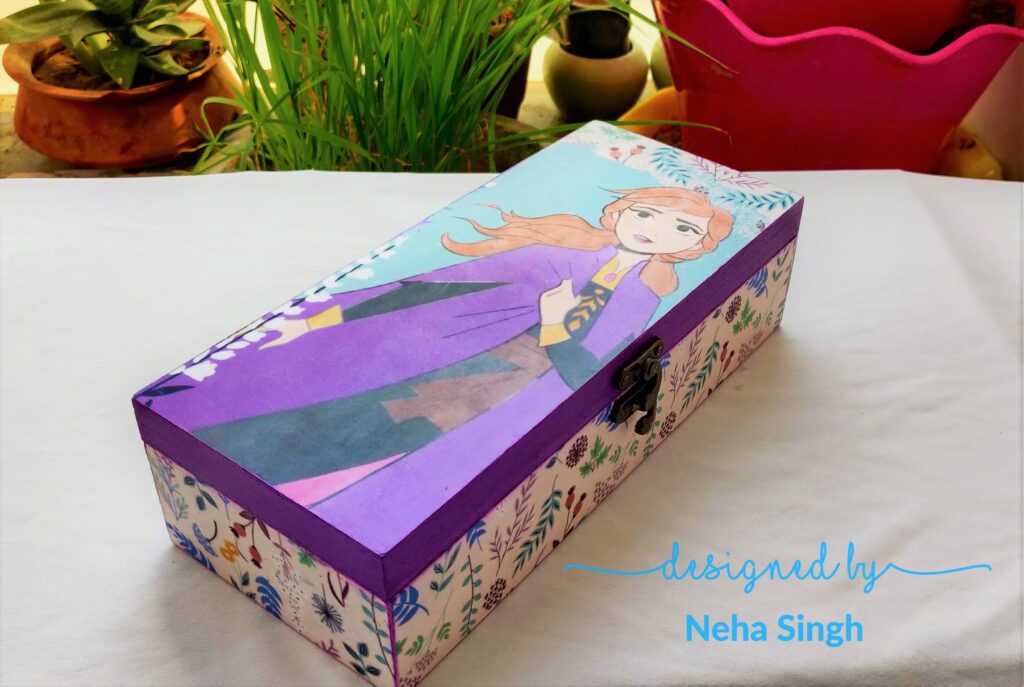
Hello crafters, Neha here and today’s blog is a kids special where I have used the newly launched Disney products by Itys Bitsy and created a Frozen themed Box. For this project I have used a wooden rectangular box. I started by unscrewing all the hardware from the box. After that I applied a thin layer of white chalk paint over the surface of the box where I wanted to do decoupage and then let it dry. After that I painted the remaining areas using Little Birdie Orchid Sparkle – Tinted Read more…
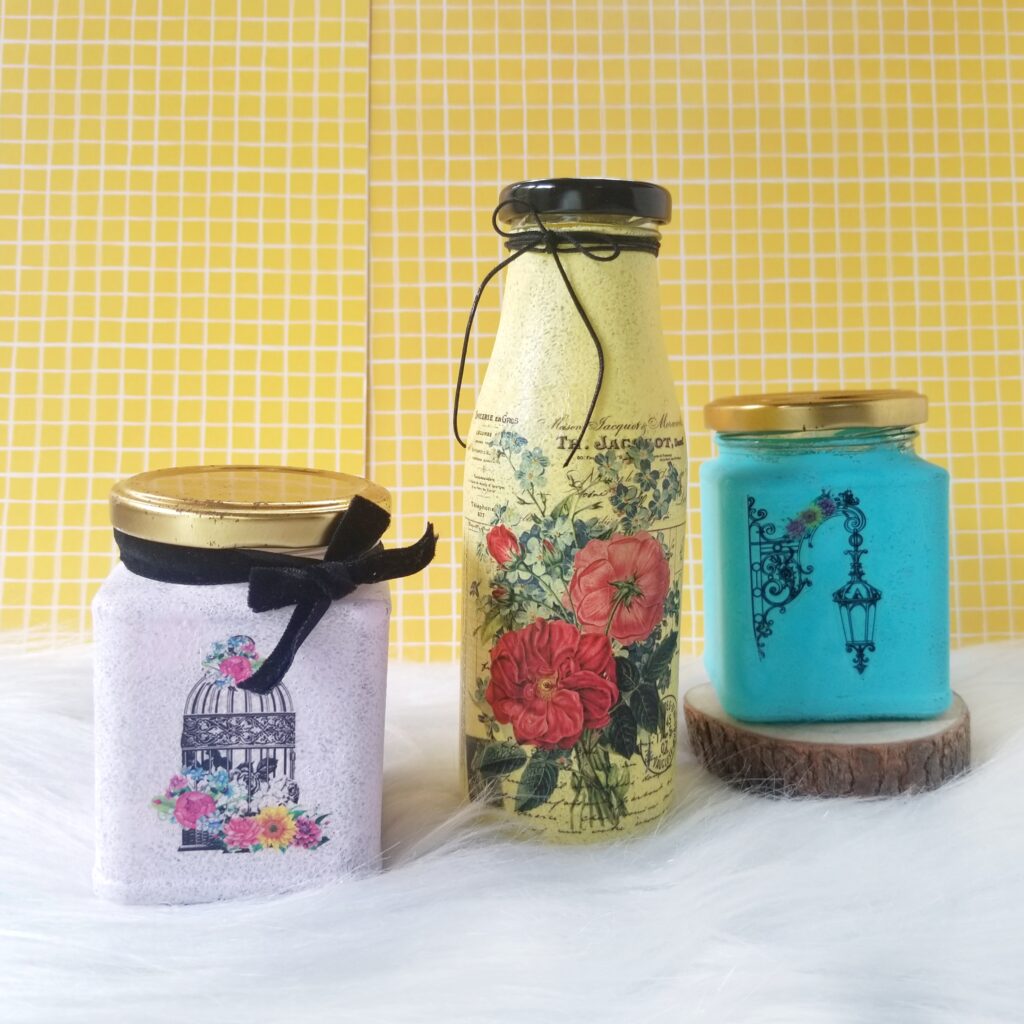
DIY Bottle Decor with Deco Transfer Designs
Hello,
I'm Minna Kareem. Today I have come up with a super easy tutorial using Little Birdie Deco Transfer sheets. See how gave a makeover to a glass bottle. Let's start...
I hope you loved this super easy tutorial...Don't miss to give it a try guys!
Materials I have used:
Little Birdie Home Decor Collection Matt Chalk Acrylic Paint Kit
Little Birdie Decor Varnish, 100ml
Deco Transfer Sheet - Old World Charm
Read more...
Floral Decoupage Tissue Box
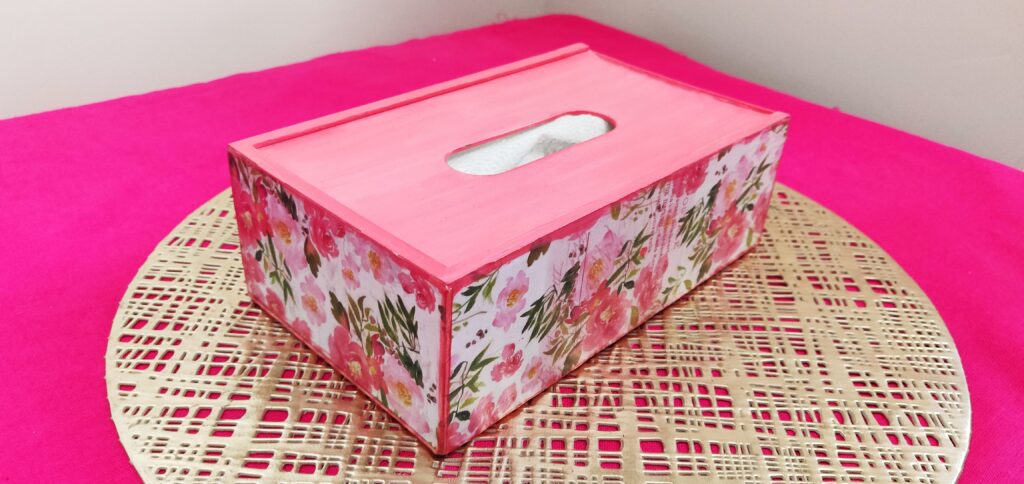
Hello crafters, Neha here and today’s blog is about creating a floral themed Tissue Box. For this project I have used a whitewashed tissue box. I started by cutting the decoupage paper with a floral design and cut it according to the size of the tissue box. I cut 4 pieces. After that, I applied the paper over one of the sides of the base using Deco Magic glue. After drying, I applied another layer of Deco Magic glue over the print in order to seal it further and left it Read more…
DIY Decoupage Tray
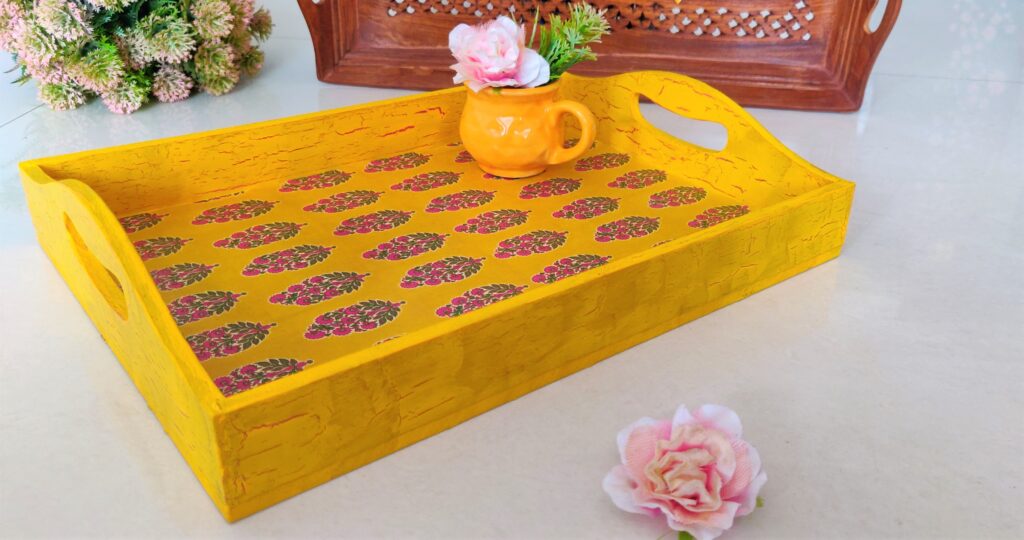
Hello crafters, Neha here and today’s blog is about creating a serving Tray. For this project I used an MDF tray measuring 11x8x2 inch. I started by applying a very thin layer of gesso over the base of the tray. After that I painted all the sides of the tray using Little Birdie chalk paint – Bubble gum further leaving it to dry. Then I applied a thick layer of one step crackle medium all over the painted sides and left it to dry. Next, I applied another layer of chalk paint Read more…
DIY- Decoupage Kids Name Plate
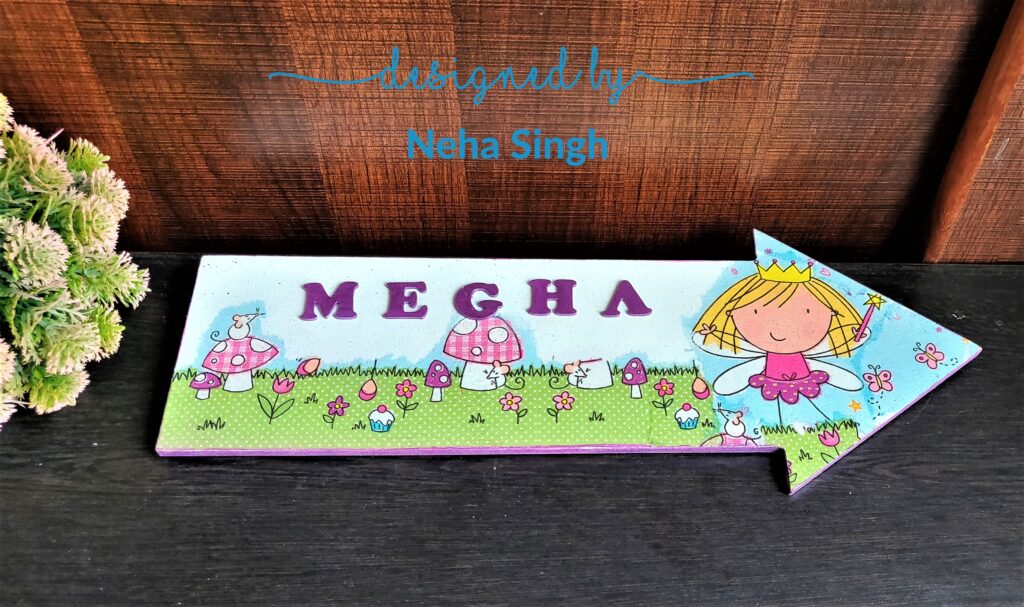
Hello crafters, Neha here and today’s blog is about creating a name plate for kids room. For this project I used an arrow shaped MDF name board measuring 15x6inch. I started by applying a very thin layer of gesso followed by a layer of Snow White chalk paint with the help of a sponge in order to achieve a textured finish. After that I chose a design from a decoupage napkin and then fussy cut it using a wet paint brush. Then I removed the extra layers from the napkin. Thereafter, I pasted Read more…
DIY Decoupage Box
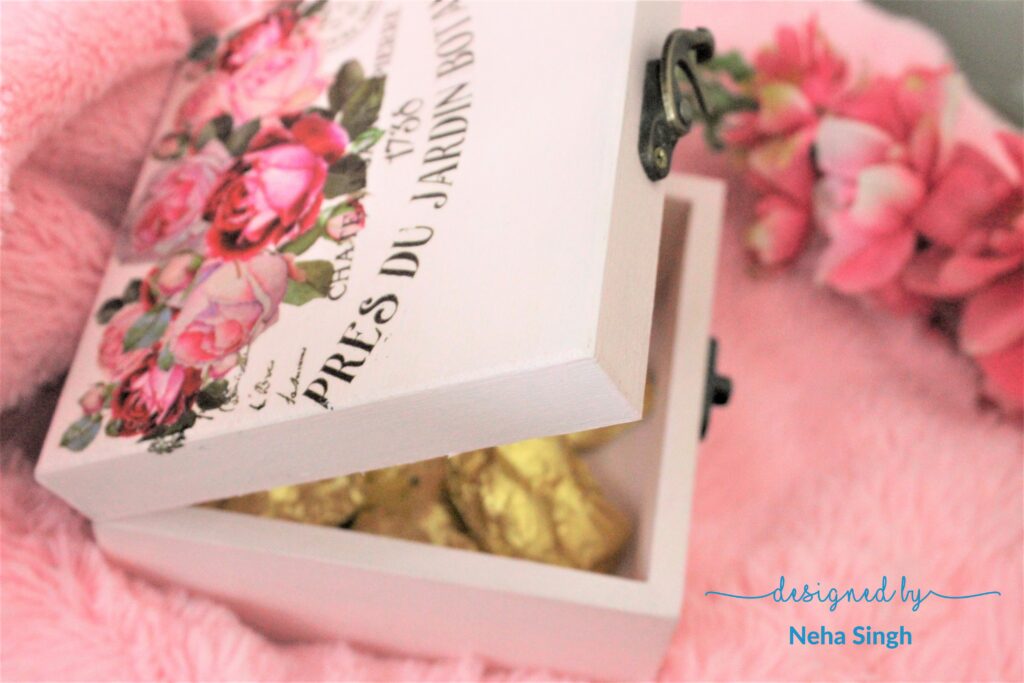
Hello crafters, Neha here and today’s blog is about creating a multipurpose gift box using the very versatile Little Birdie Deco Transfer sheets. For this project I used a wooden square box measuring 15x15x8cm. I started by removing all the hardware using a screwdriver. After that I painted the box inside out with Little Birdie chalk paint – Rose Blush. After that I chose a design from the Deco Transfer sheet and then cut it precisely using scissors. Then I peeled off the transparent layer Read more…
Decorative Caddy – DIY Decoupage
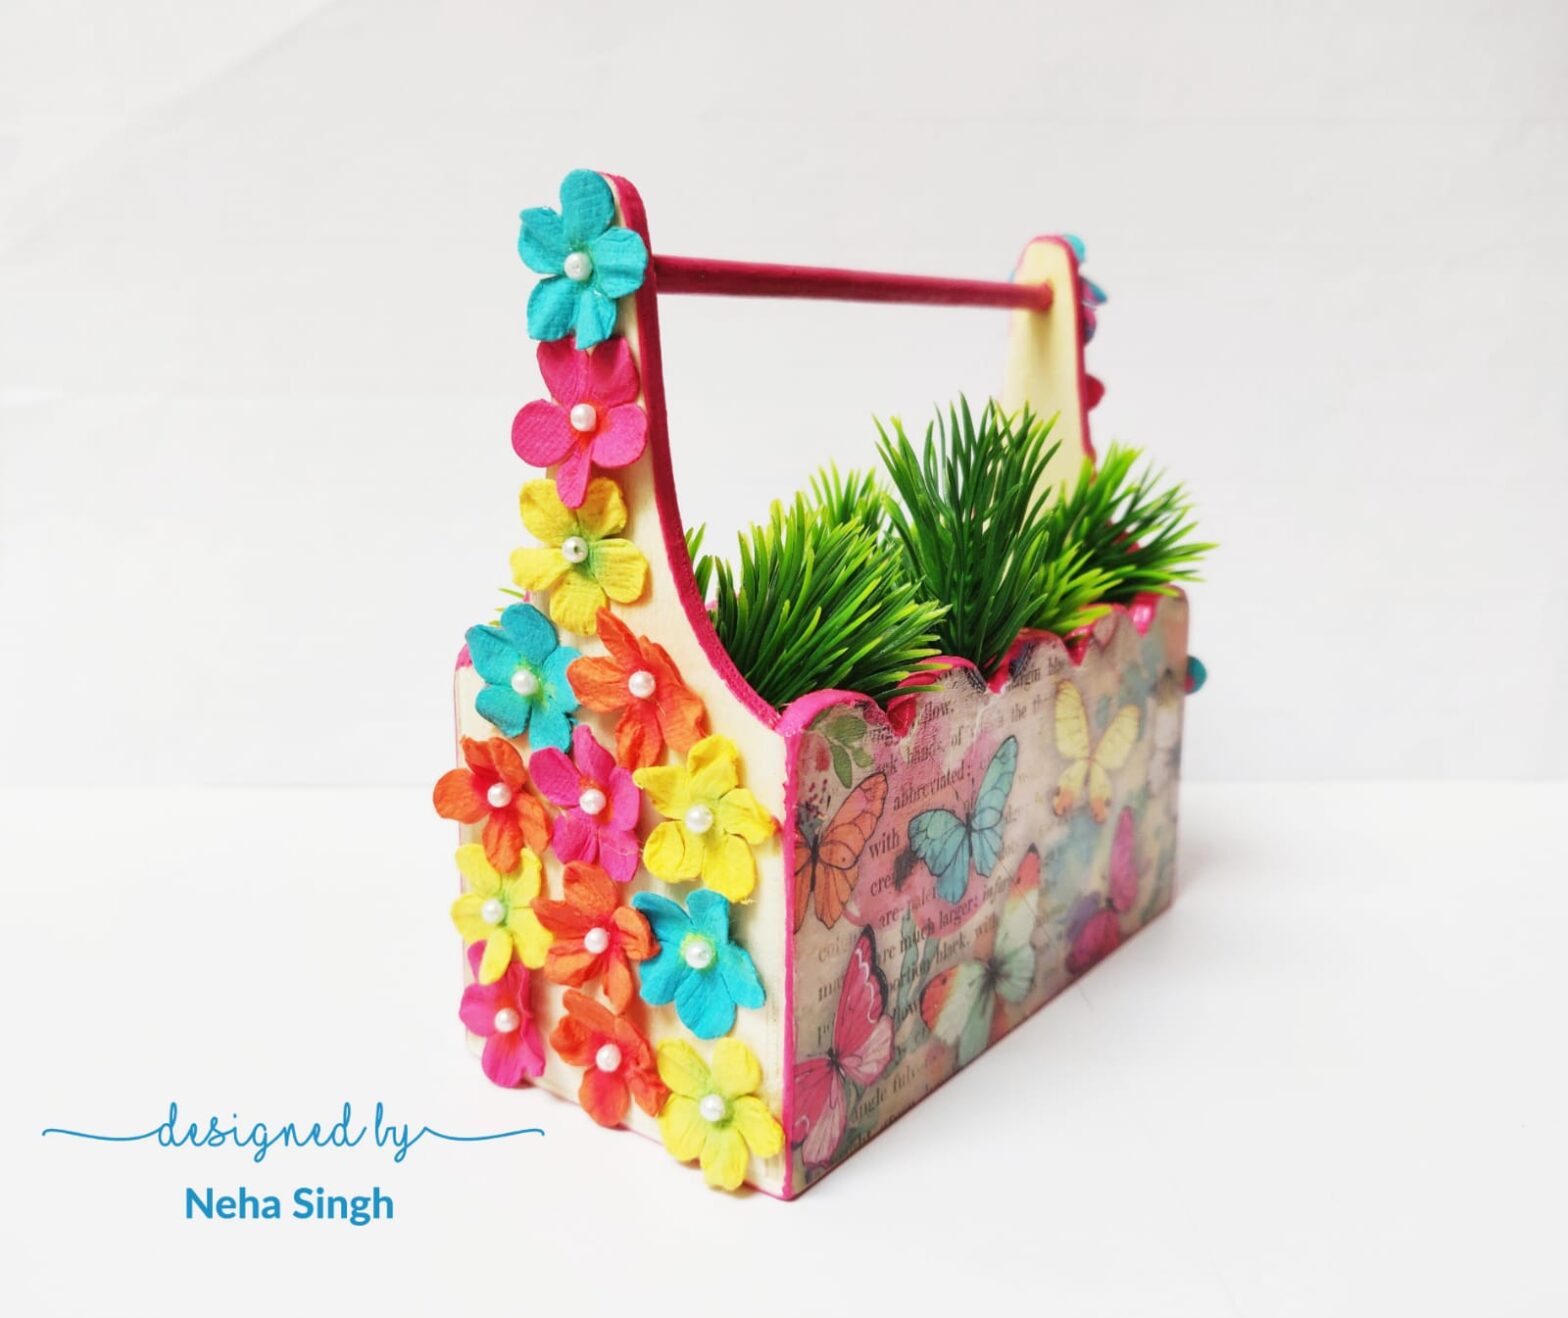
Hello friends, I am Neha Singh, Brand Ambassador of Itsy Bitsy. This is my first blog post. I wanted to create something very unique with very limited raw materials and something which is not very time taking to make. I saw this really cute wooden caddy on Itsy Bitsy's online store and decided to go with it.
For this project I used a mini wooden caddy of size 12x12cm. Colour of the caddy was of a light shade, so applying gesso as primer was not required. I have used a butterfly print Read more...
Deco Transfer Home Decor
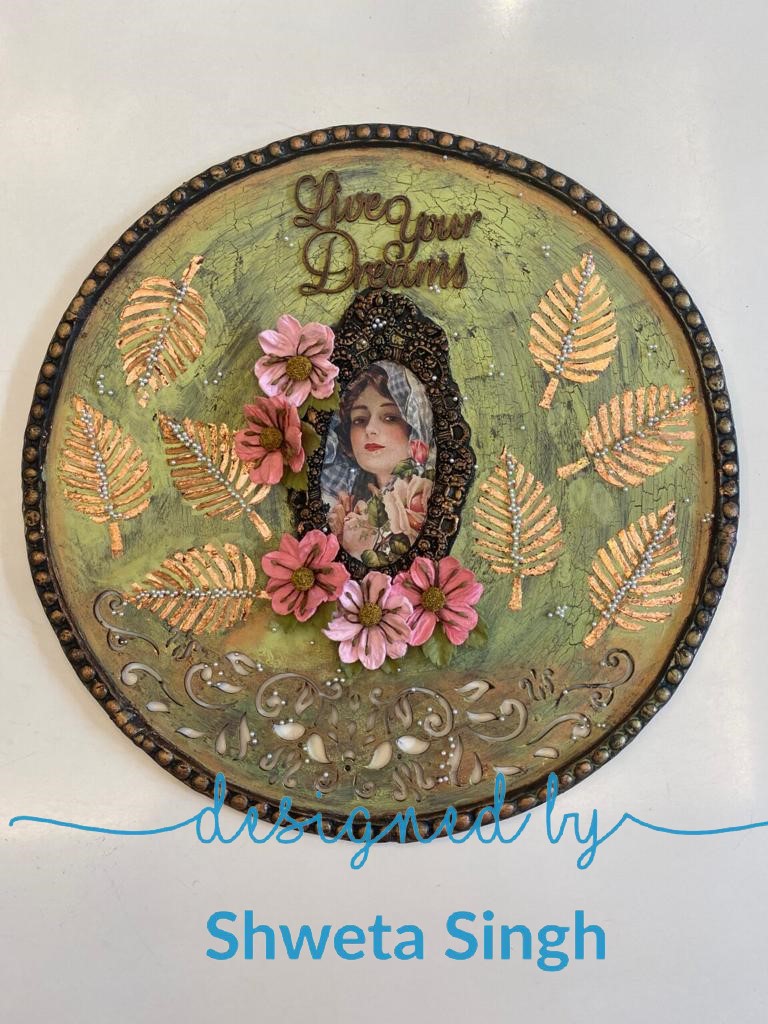
Deco Transfer Home Decor Hello all!! DT member Shweta Singh here with my first DT project . Step -1 I primed a circular MDF base with Little Birdie white gesso, then I let it dry. I created some designs with the help of a mould from the store and air dry clay. Without letting it dry I placed it on the base . Step-2 Before sticking the middle part of the mould, I took a deco transfer sheet and cut a design out of it. Now I gently removed the film Read more…