Hello dear arty-crafty friends,
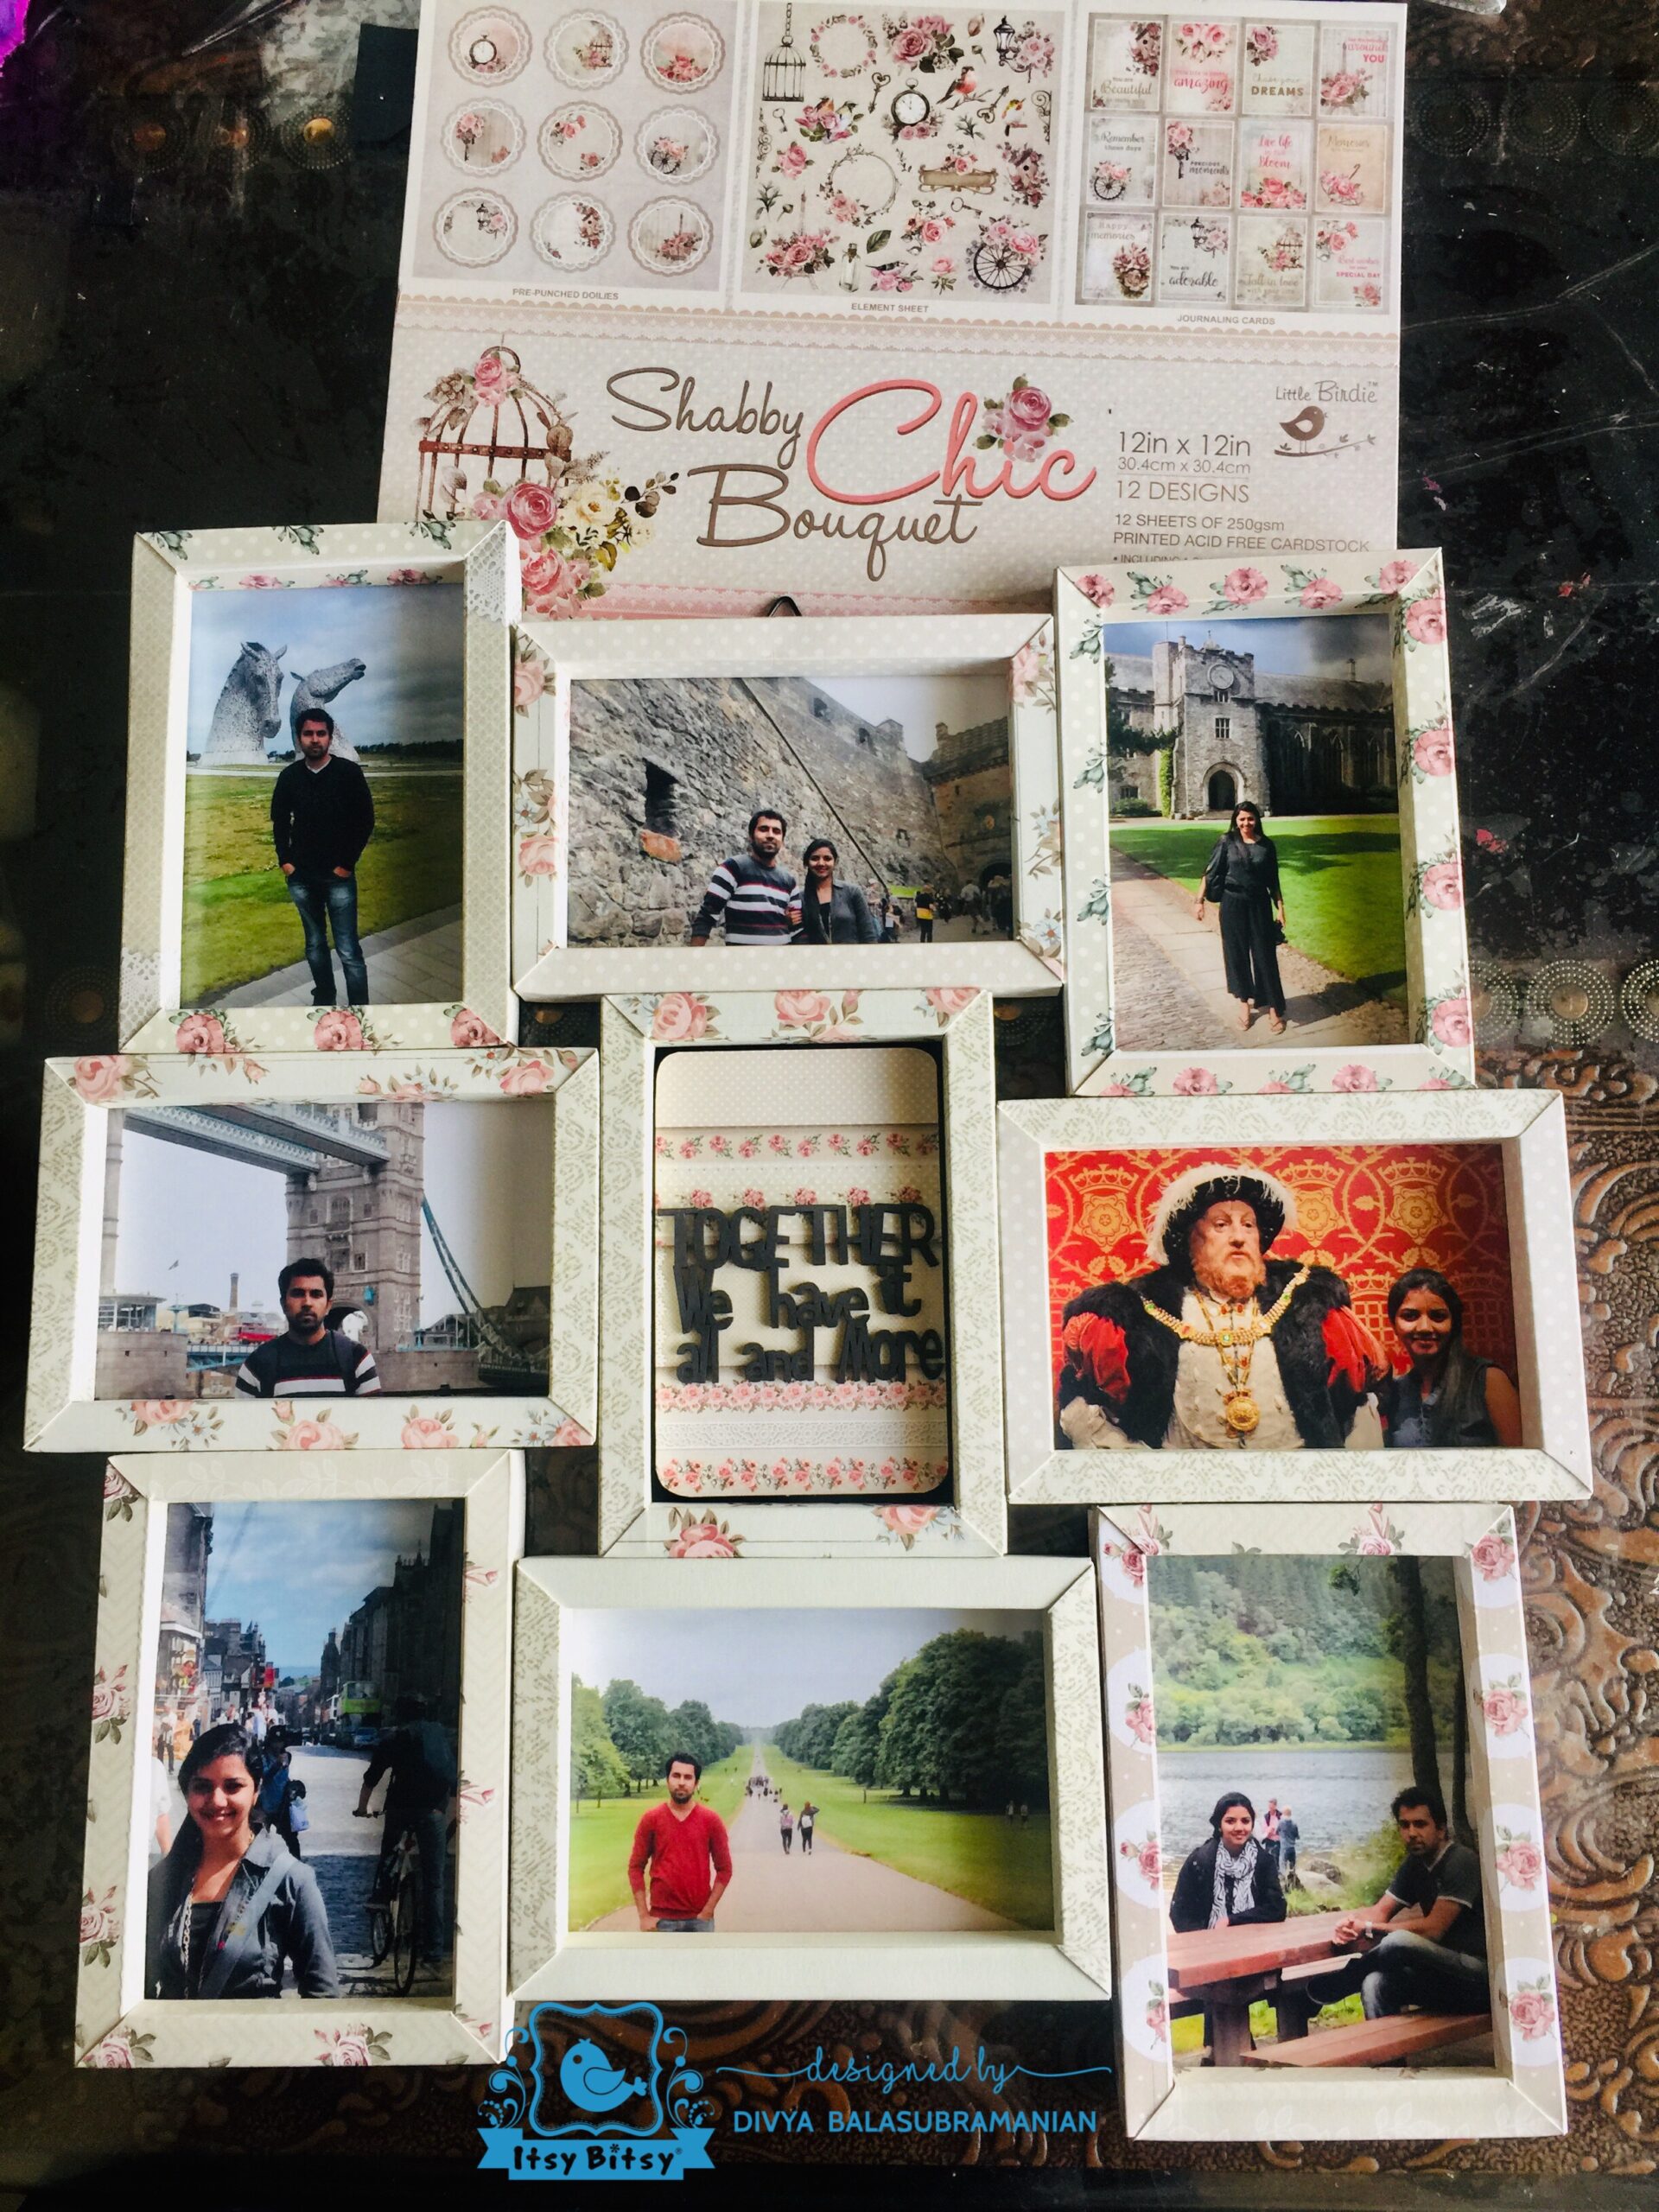
This is DT member Divya here with a new project. In this project I have made shadow box frames with the beautiful Little Birdie “Shabby Chic Bouquet” paper pack and made a collage of it which can be mounted on the wall. I have the process in detailed step by step . You can also get an idea about how to arrange them to make the arrangement look attractive on the wall. So let get started.

I have chosen a couple theme.
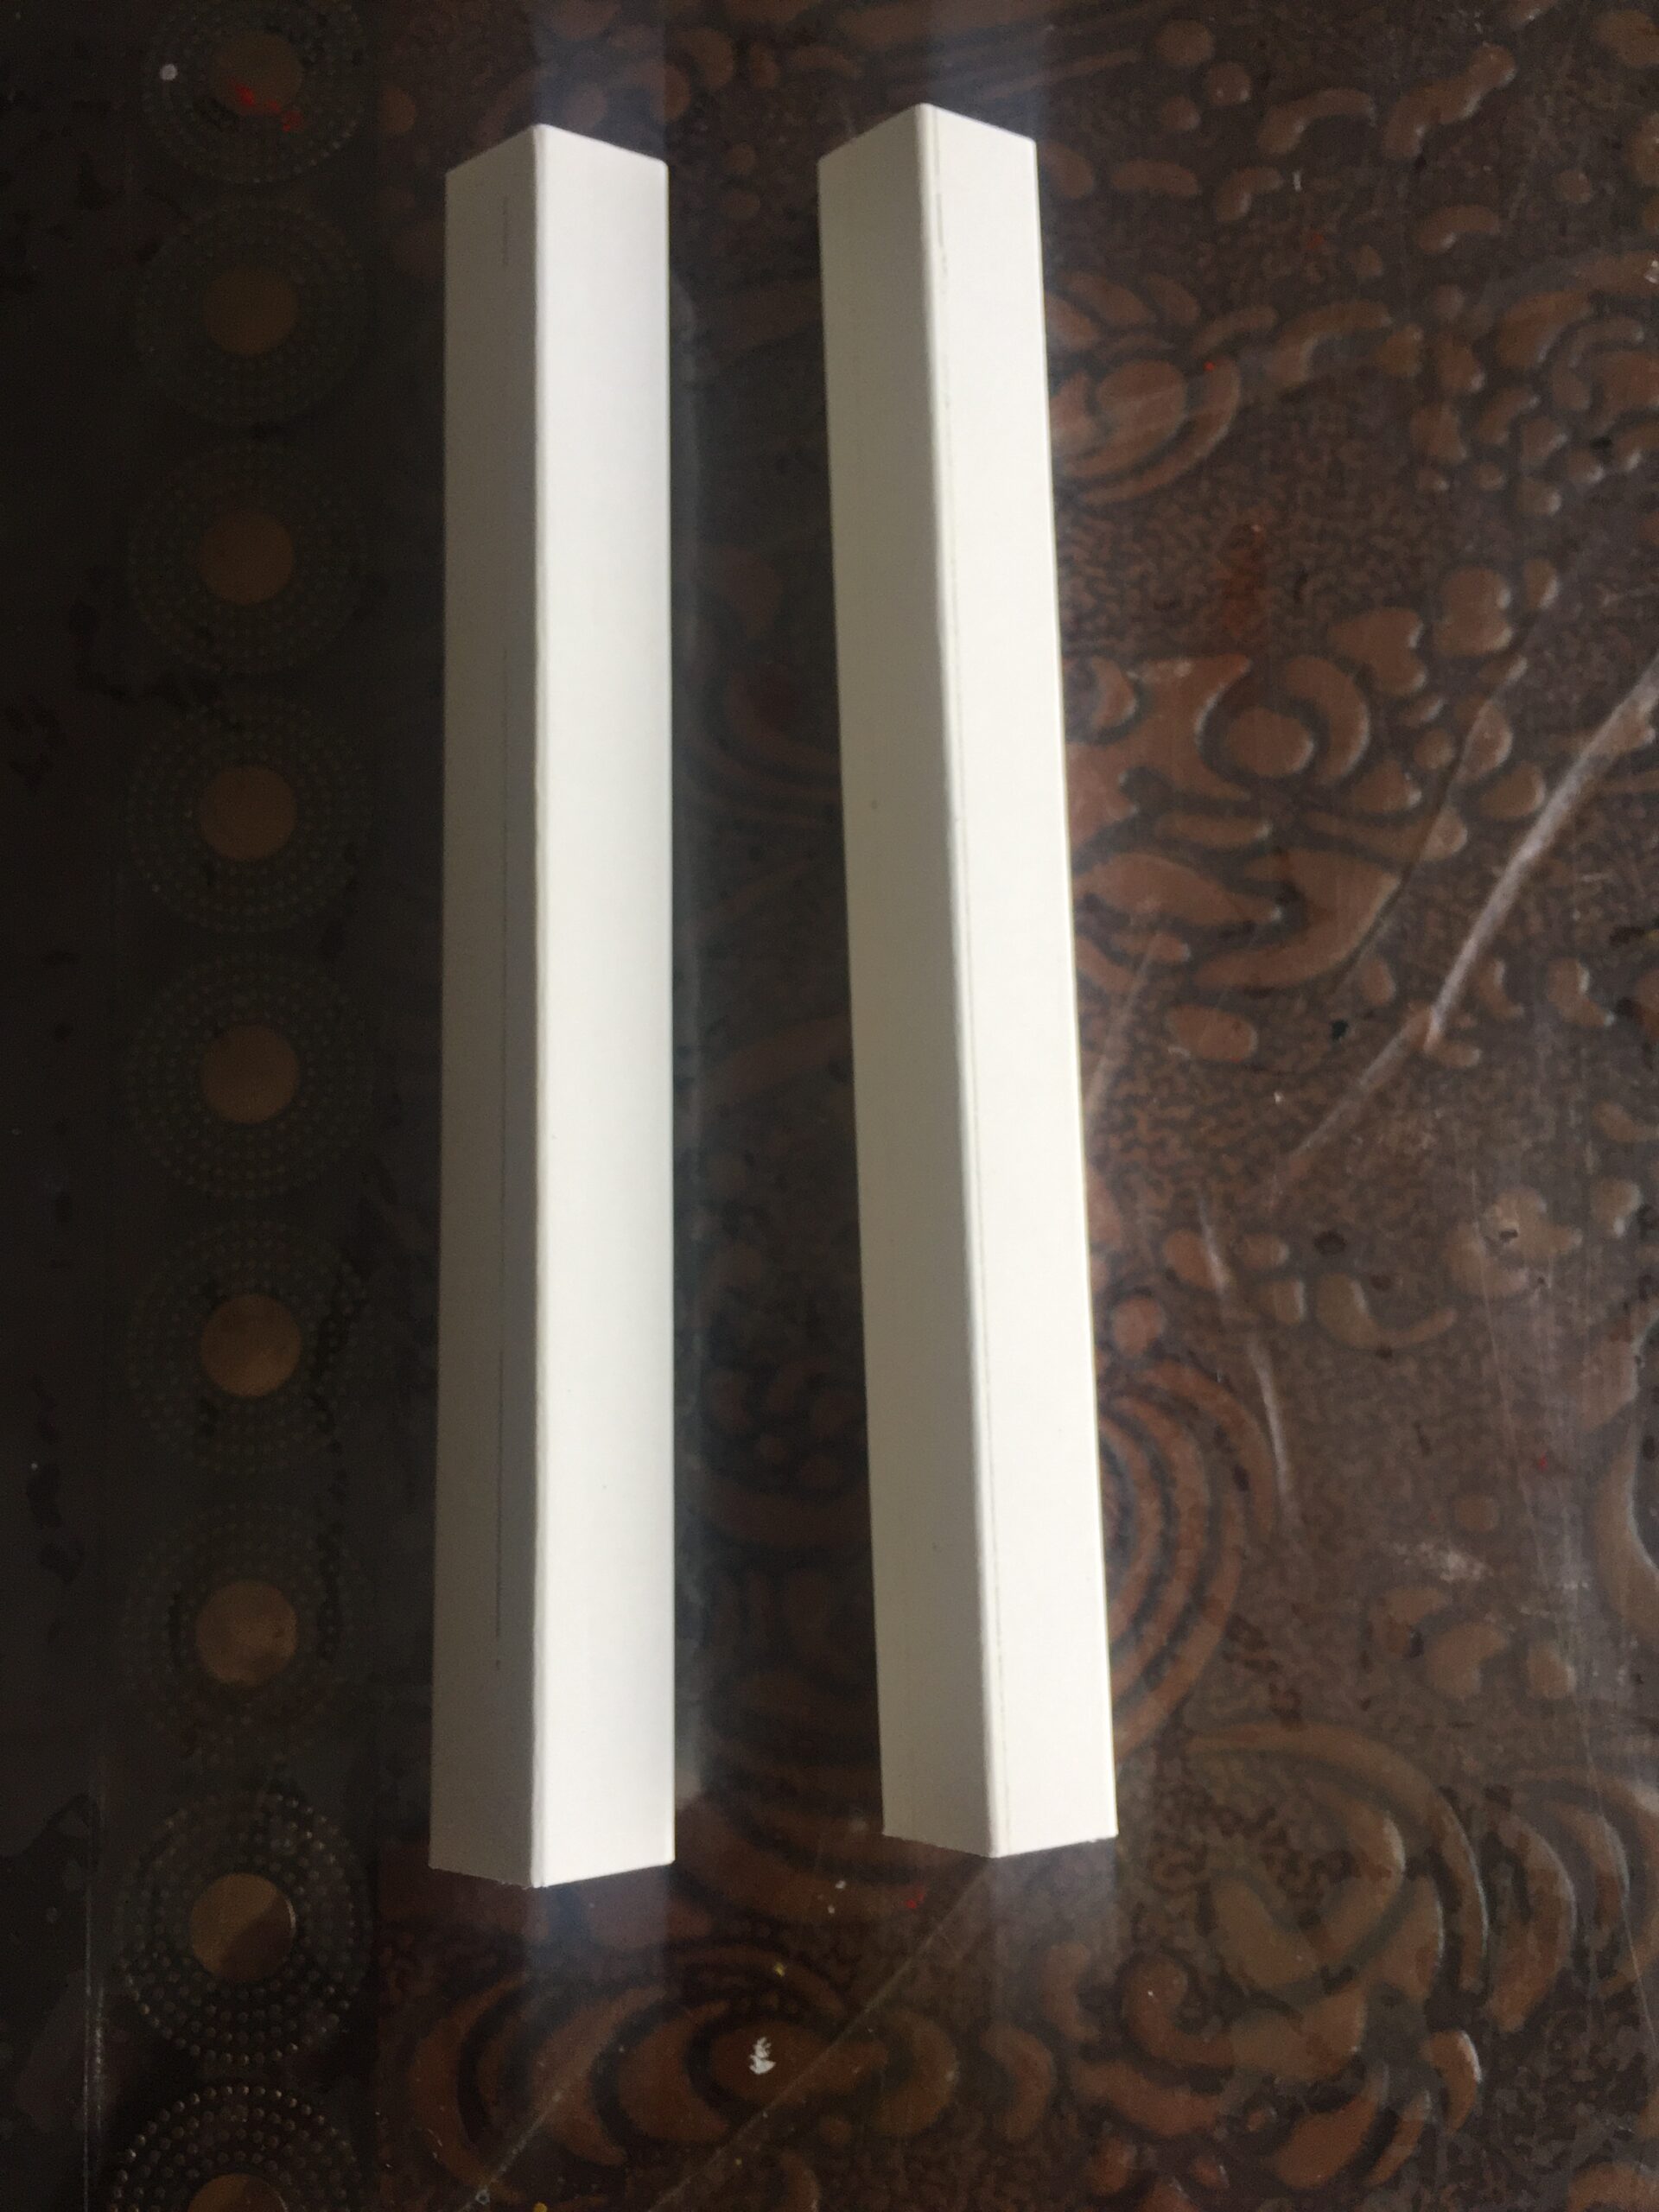
STEP 1- Take any four pattern papers from your paper pack and cut them in 15.5 cm and 13.5 cm. Keep aside the remaining strips. Its very easy to cut them with a paper trimmer. Do the same for all four sheets.
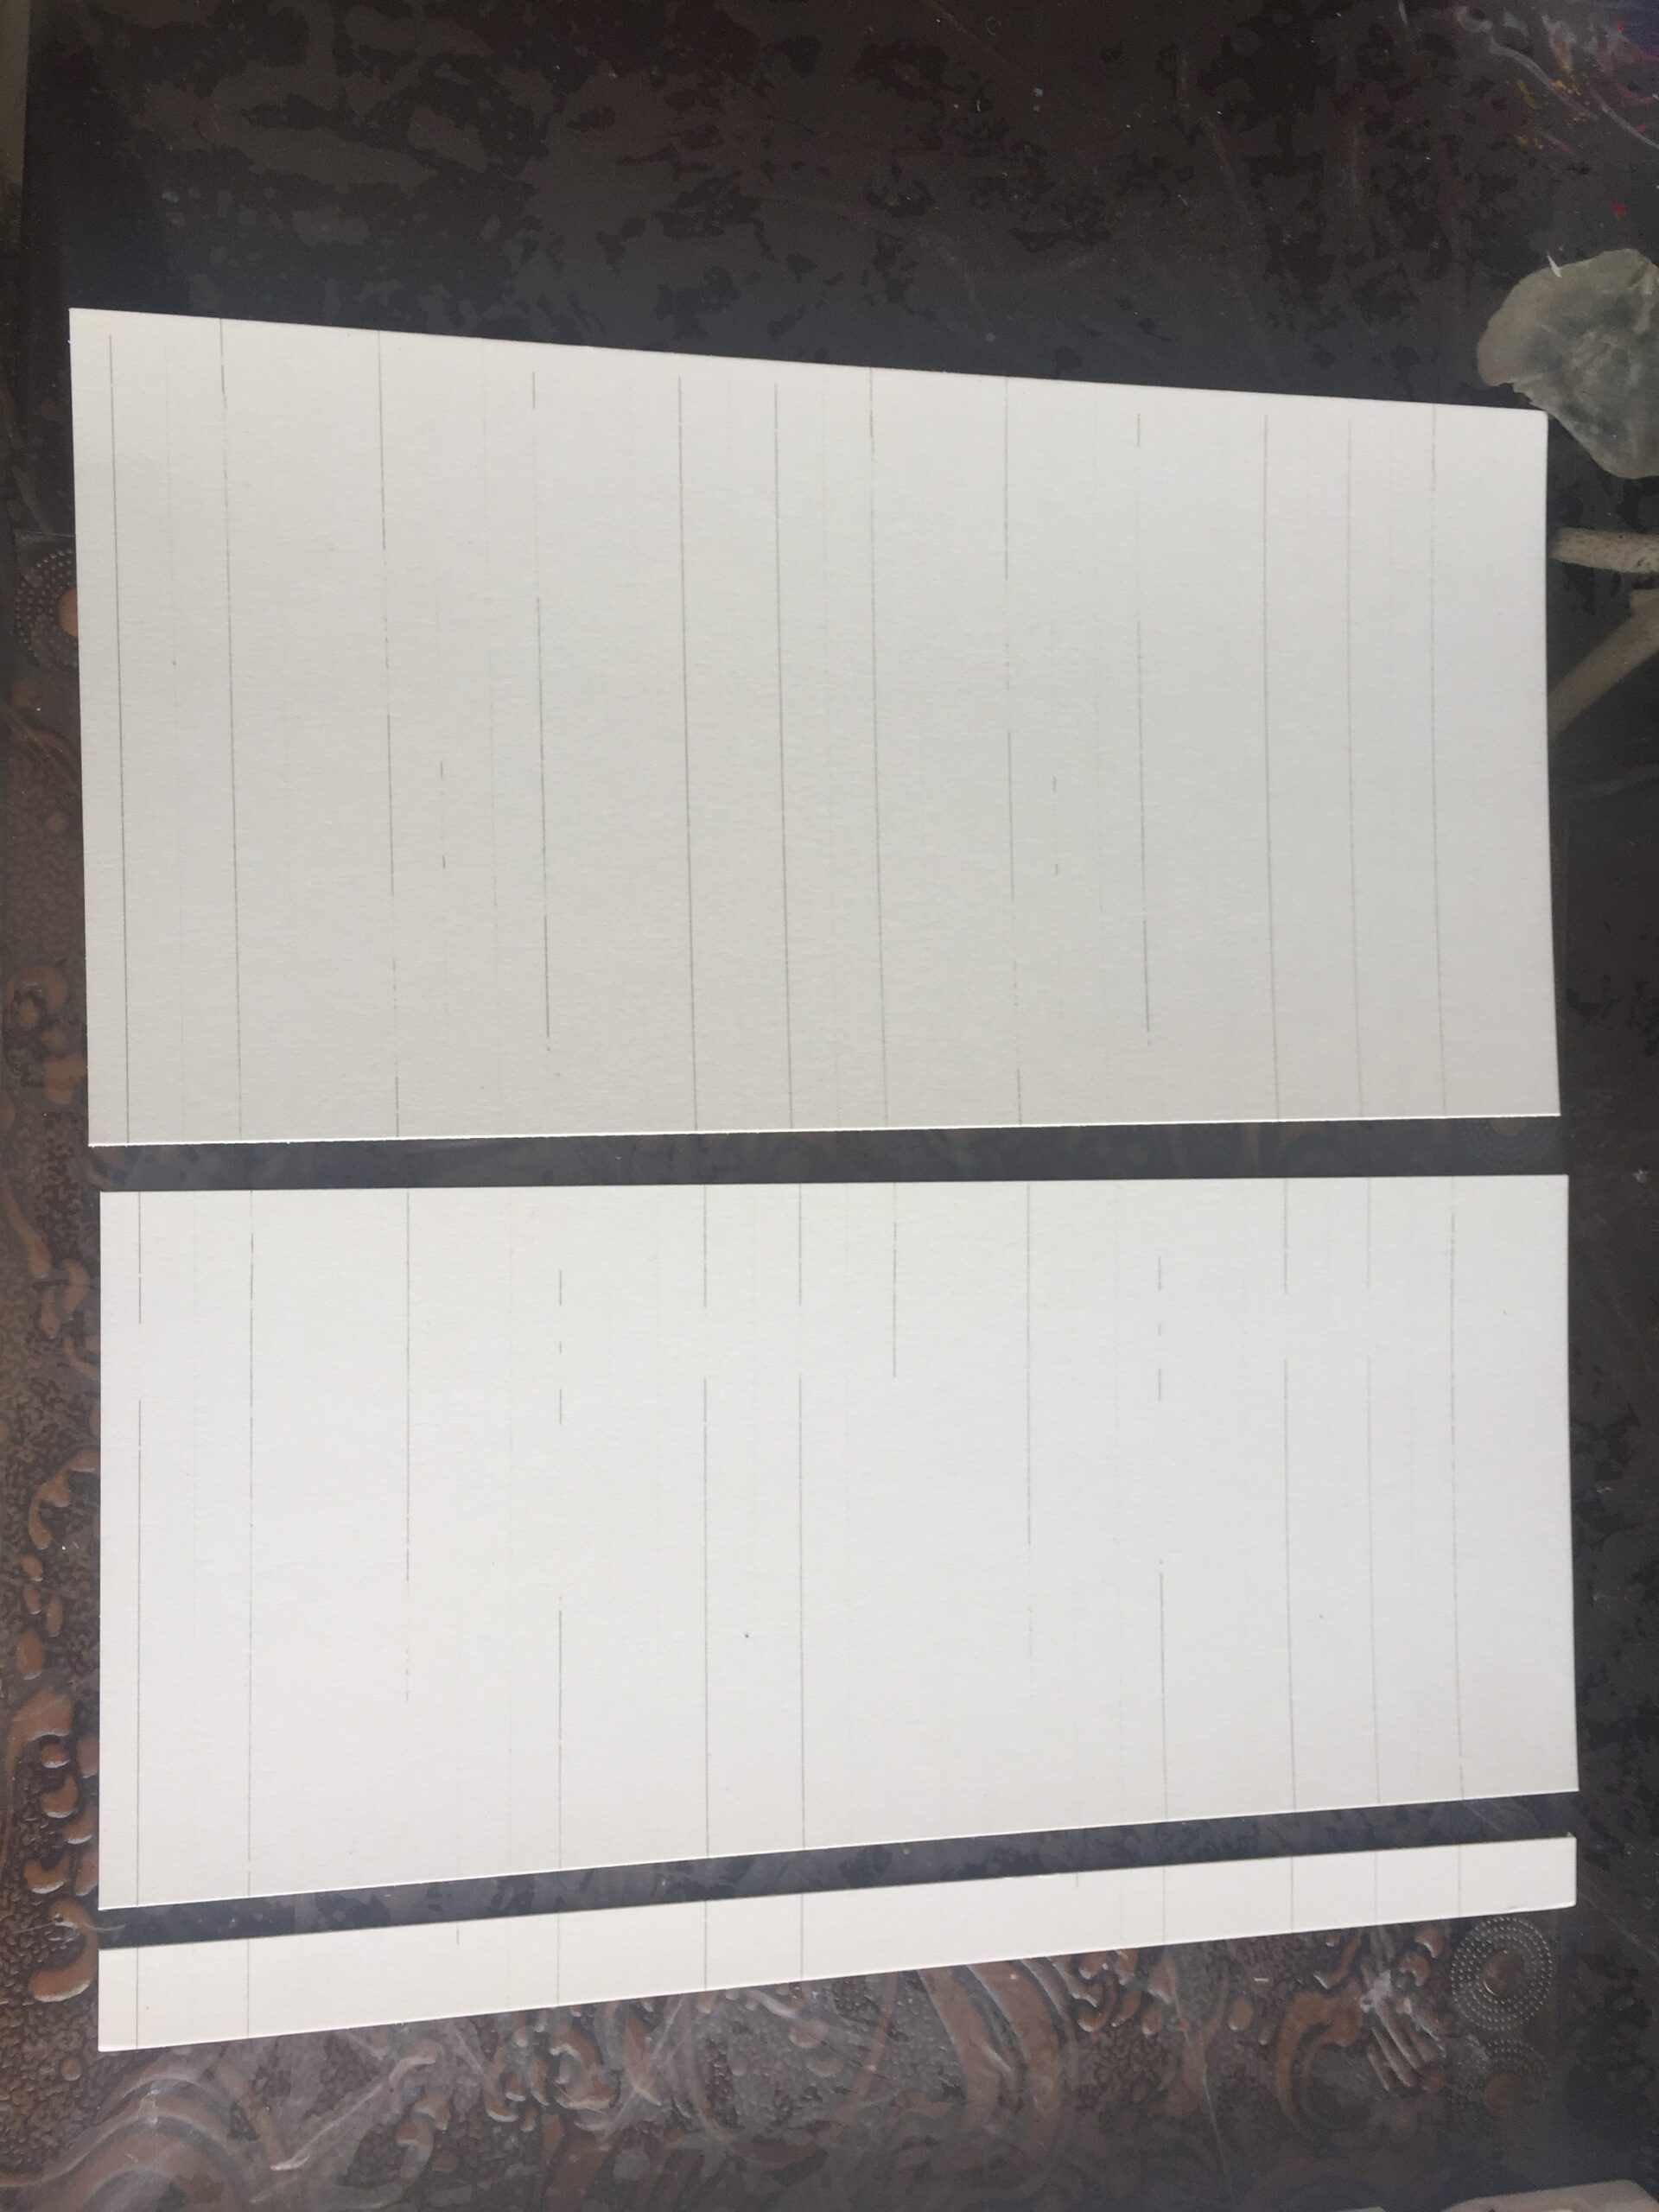
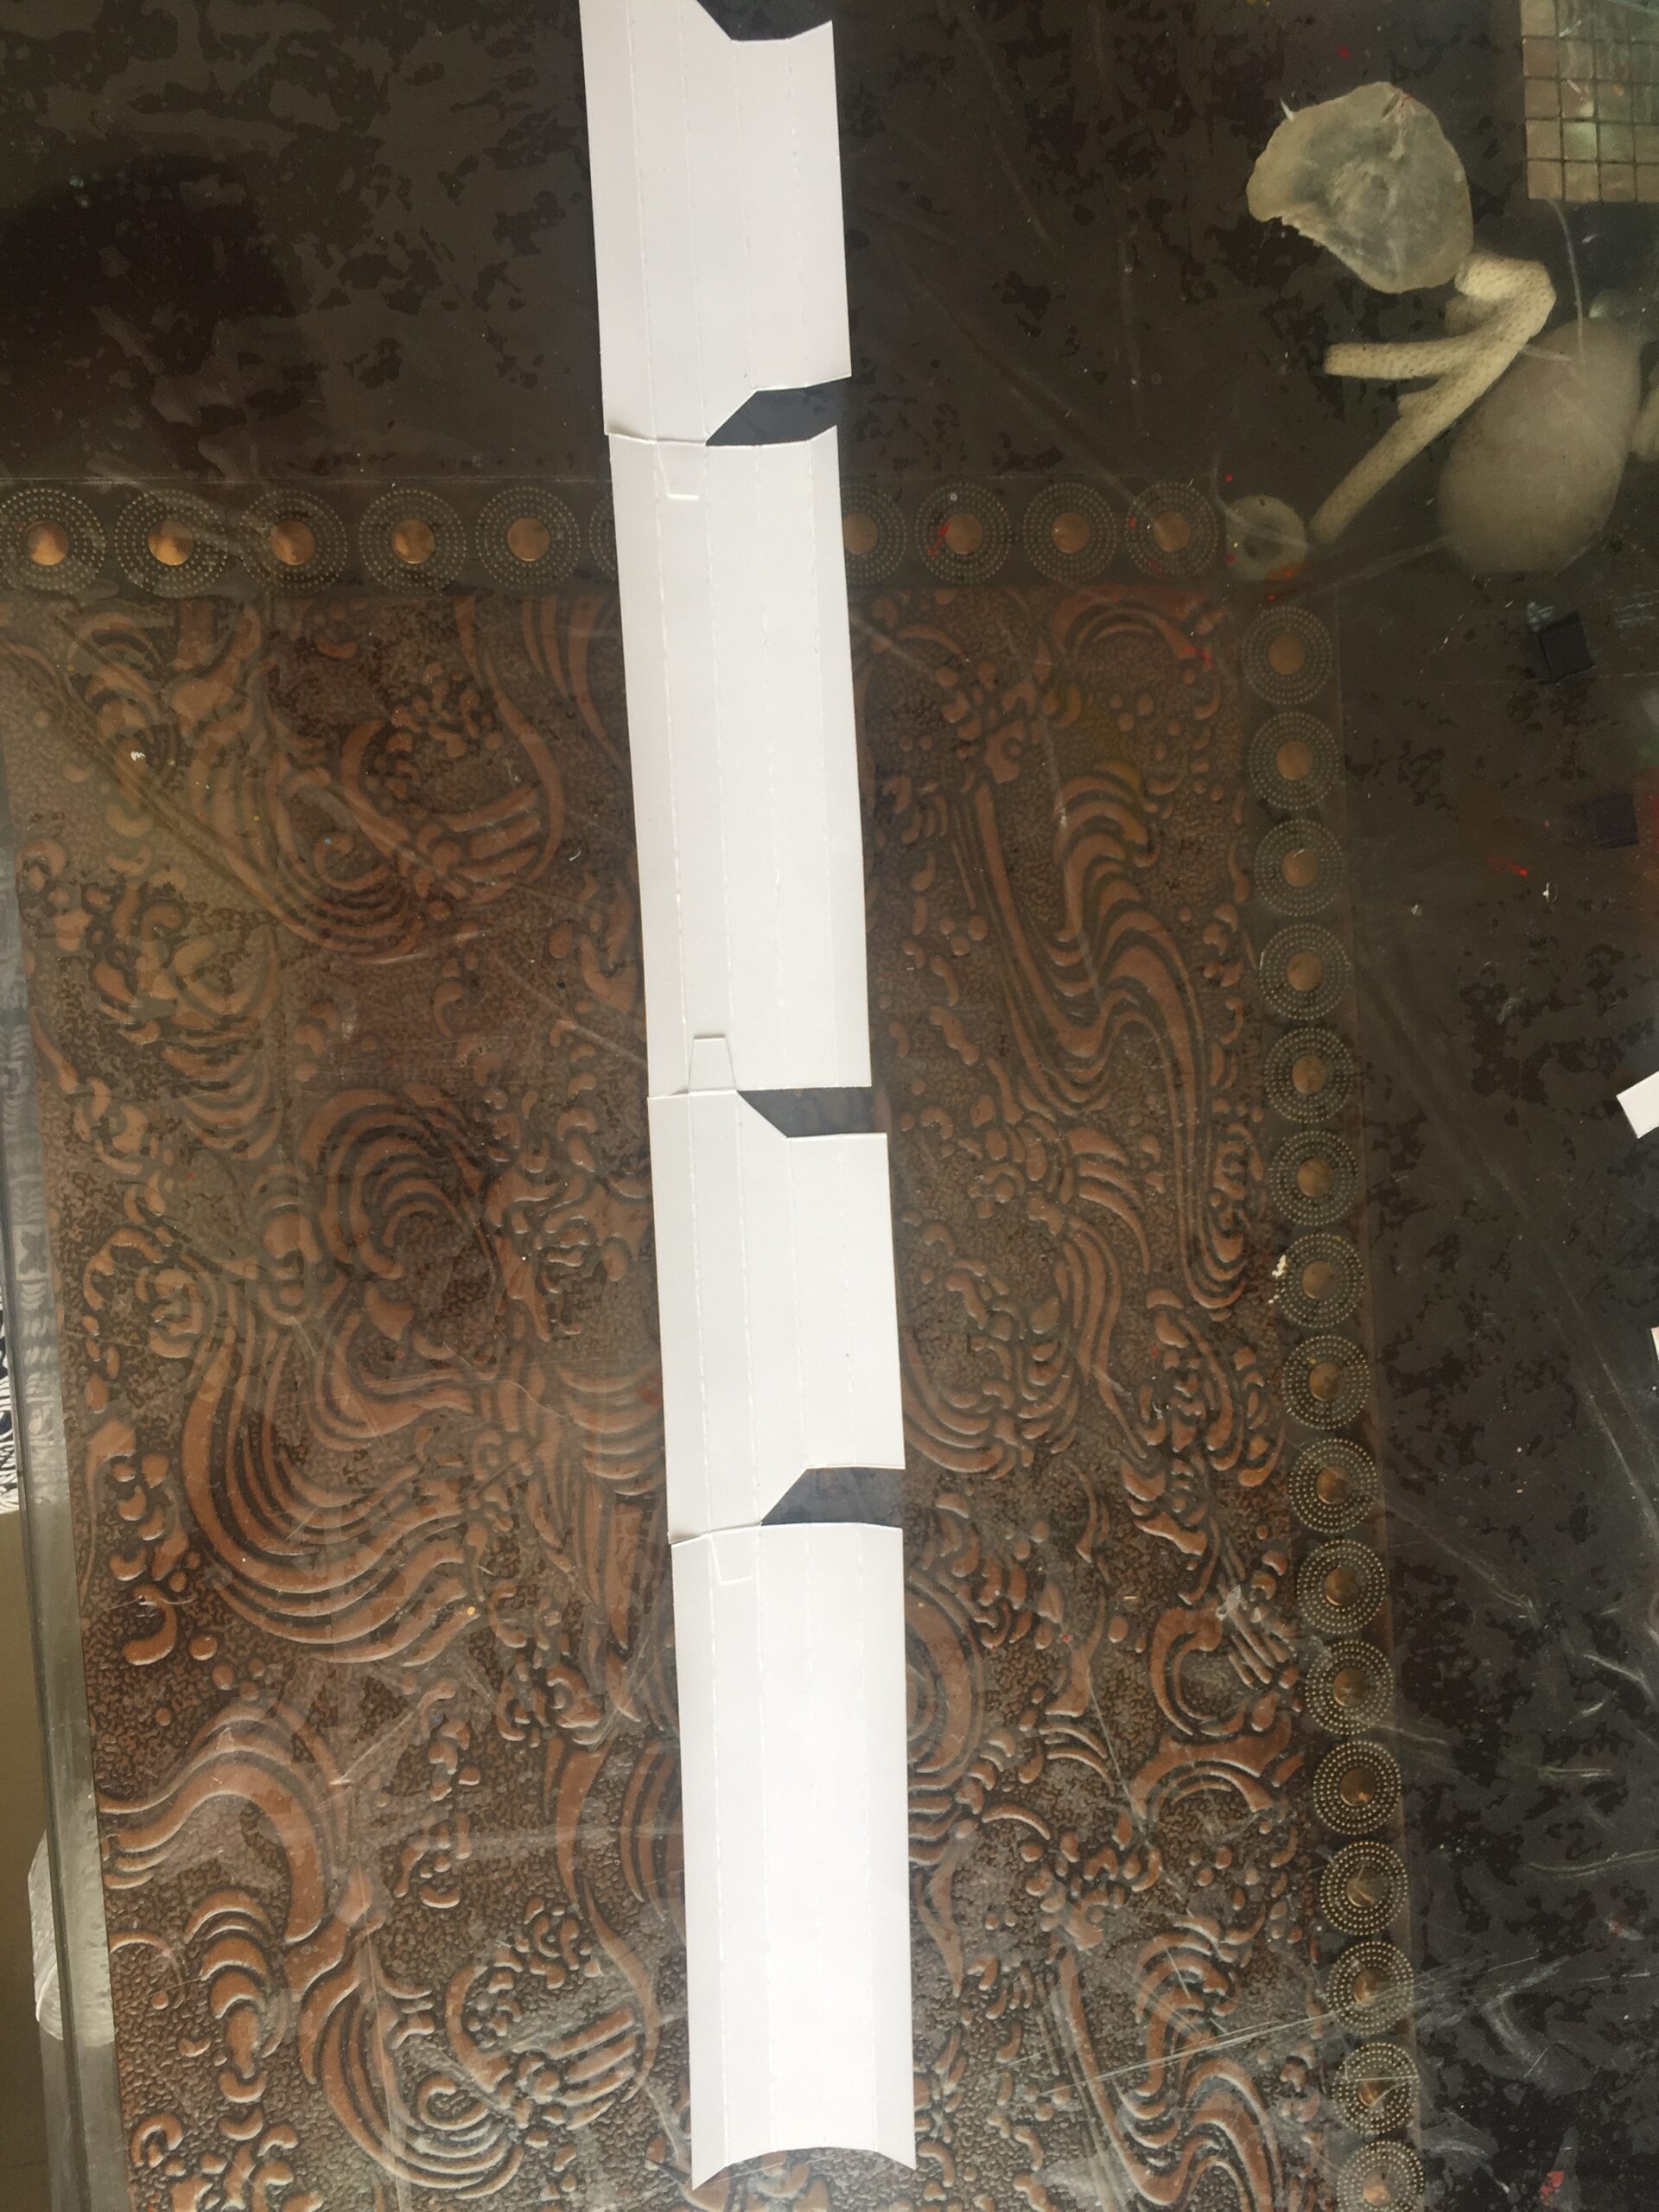
STEP 2- Now take 15.5 cm piece and keep it horizontal and score a line after every 1/2 inch. Make ten scoring lines. Then trim the extra sheet and reserve it for later use. Now trim the scored part into half i.e. cut in 2 1/2 inch. So you get two pieces like this as shown in the picture. Now in the left over sheet repeat the same procedure. You can make 2 shadow frames out of 1 pattern paper.
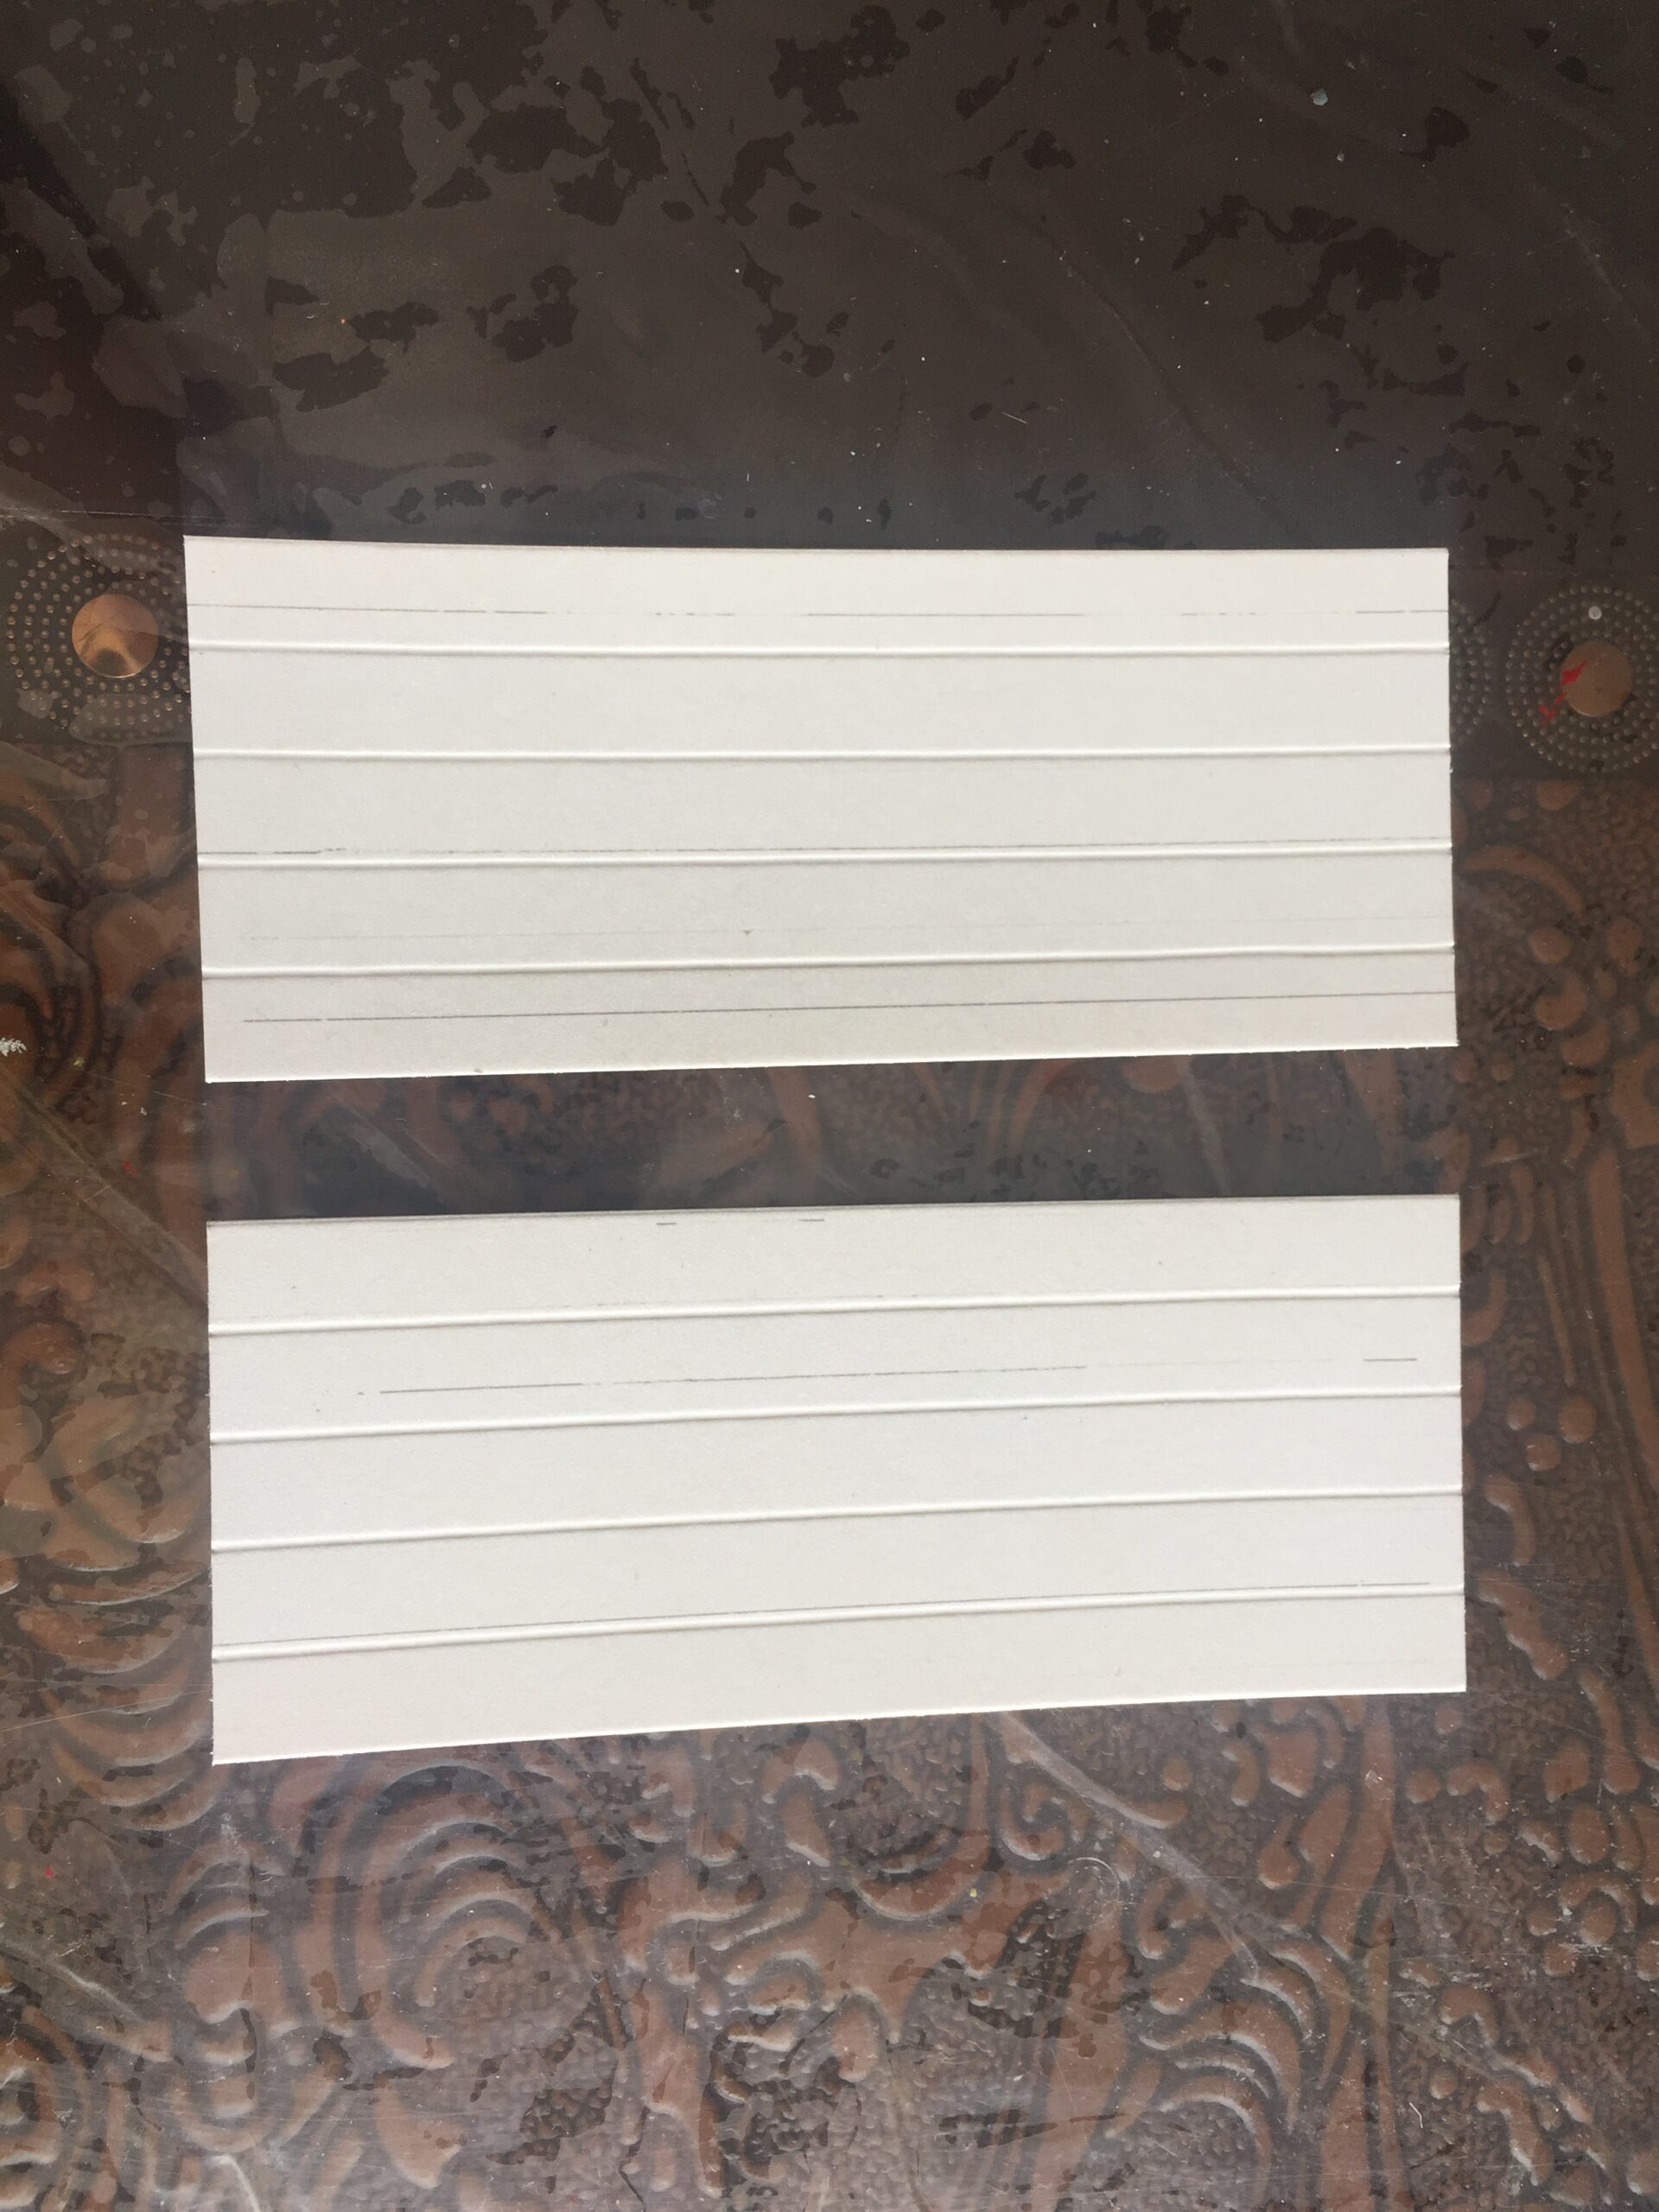
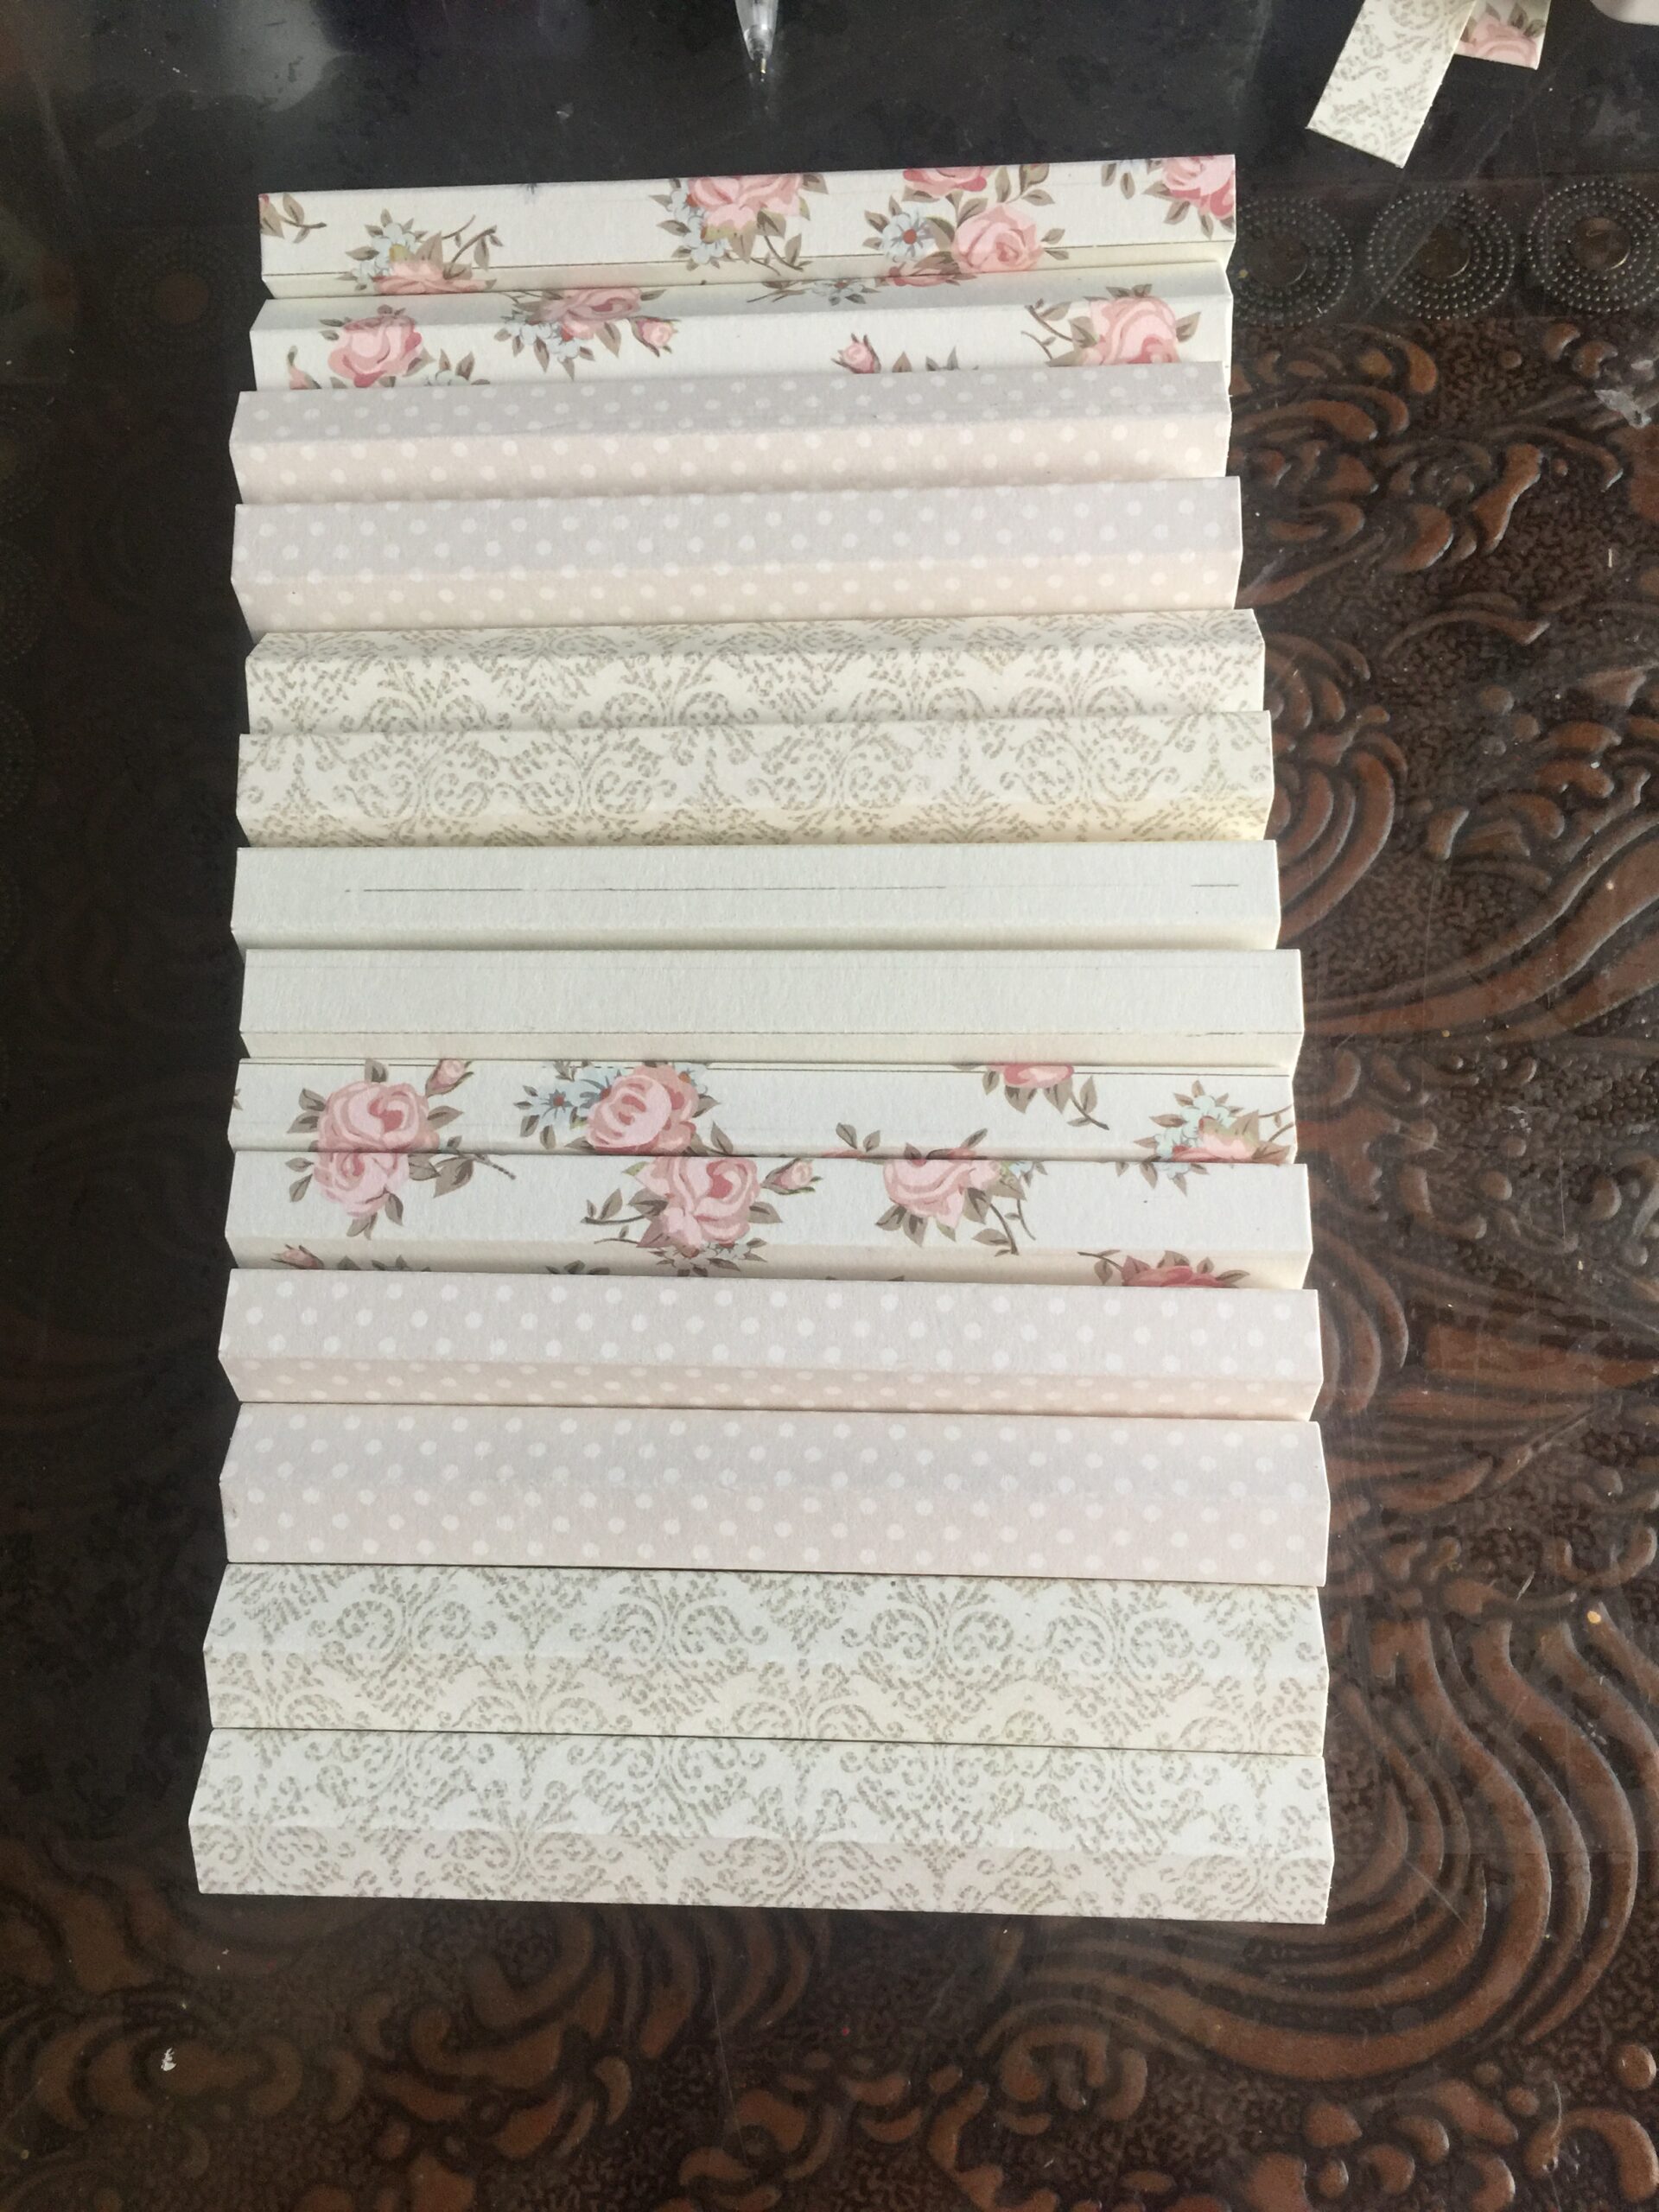
STEP 3- Now burnish the scored lines and when you fold all the lines it will look something like this.

STEP 4- Now take the other piece which is 13.5 cm in width and repeat the step no. 2 . Now after making horizontal score lines keep the 13.5 cm piece like this as shown in the picture and score 1/2 inch from both the edges. And again score at 1 inch till second line.
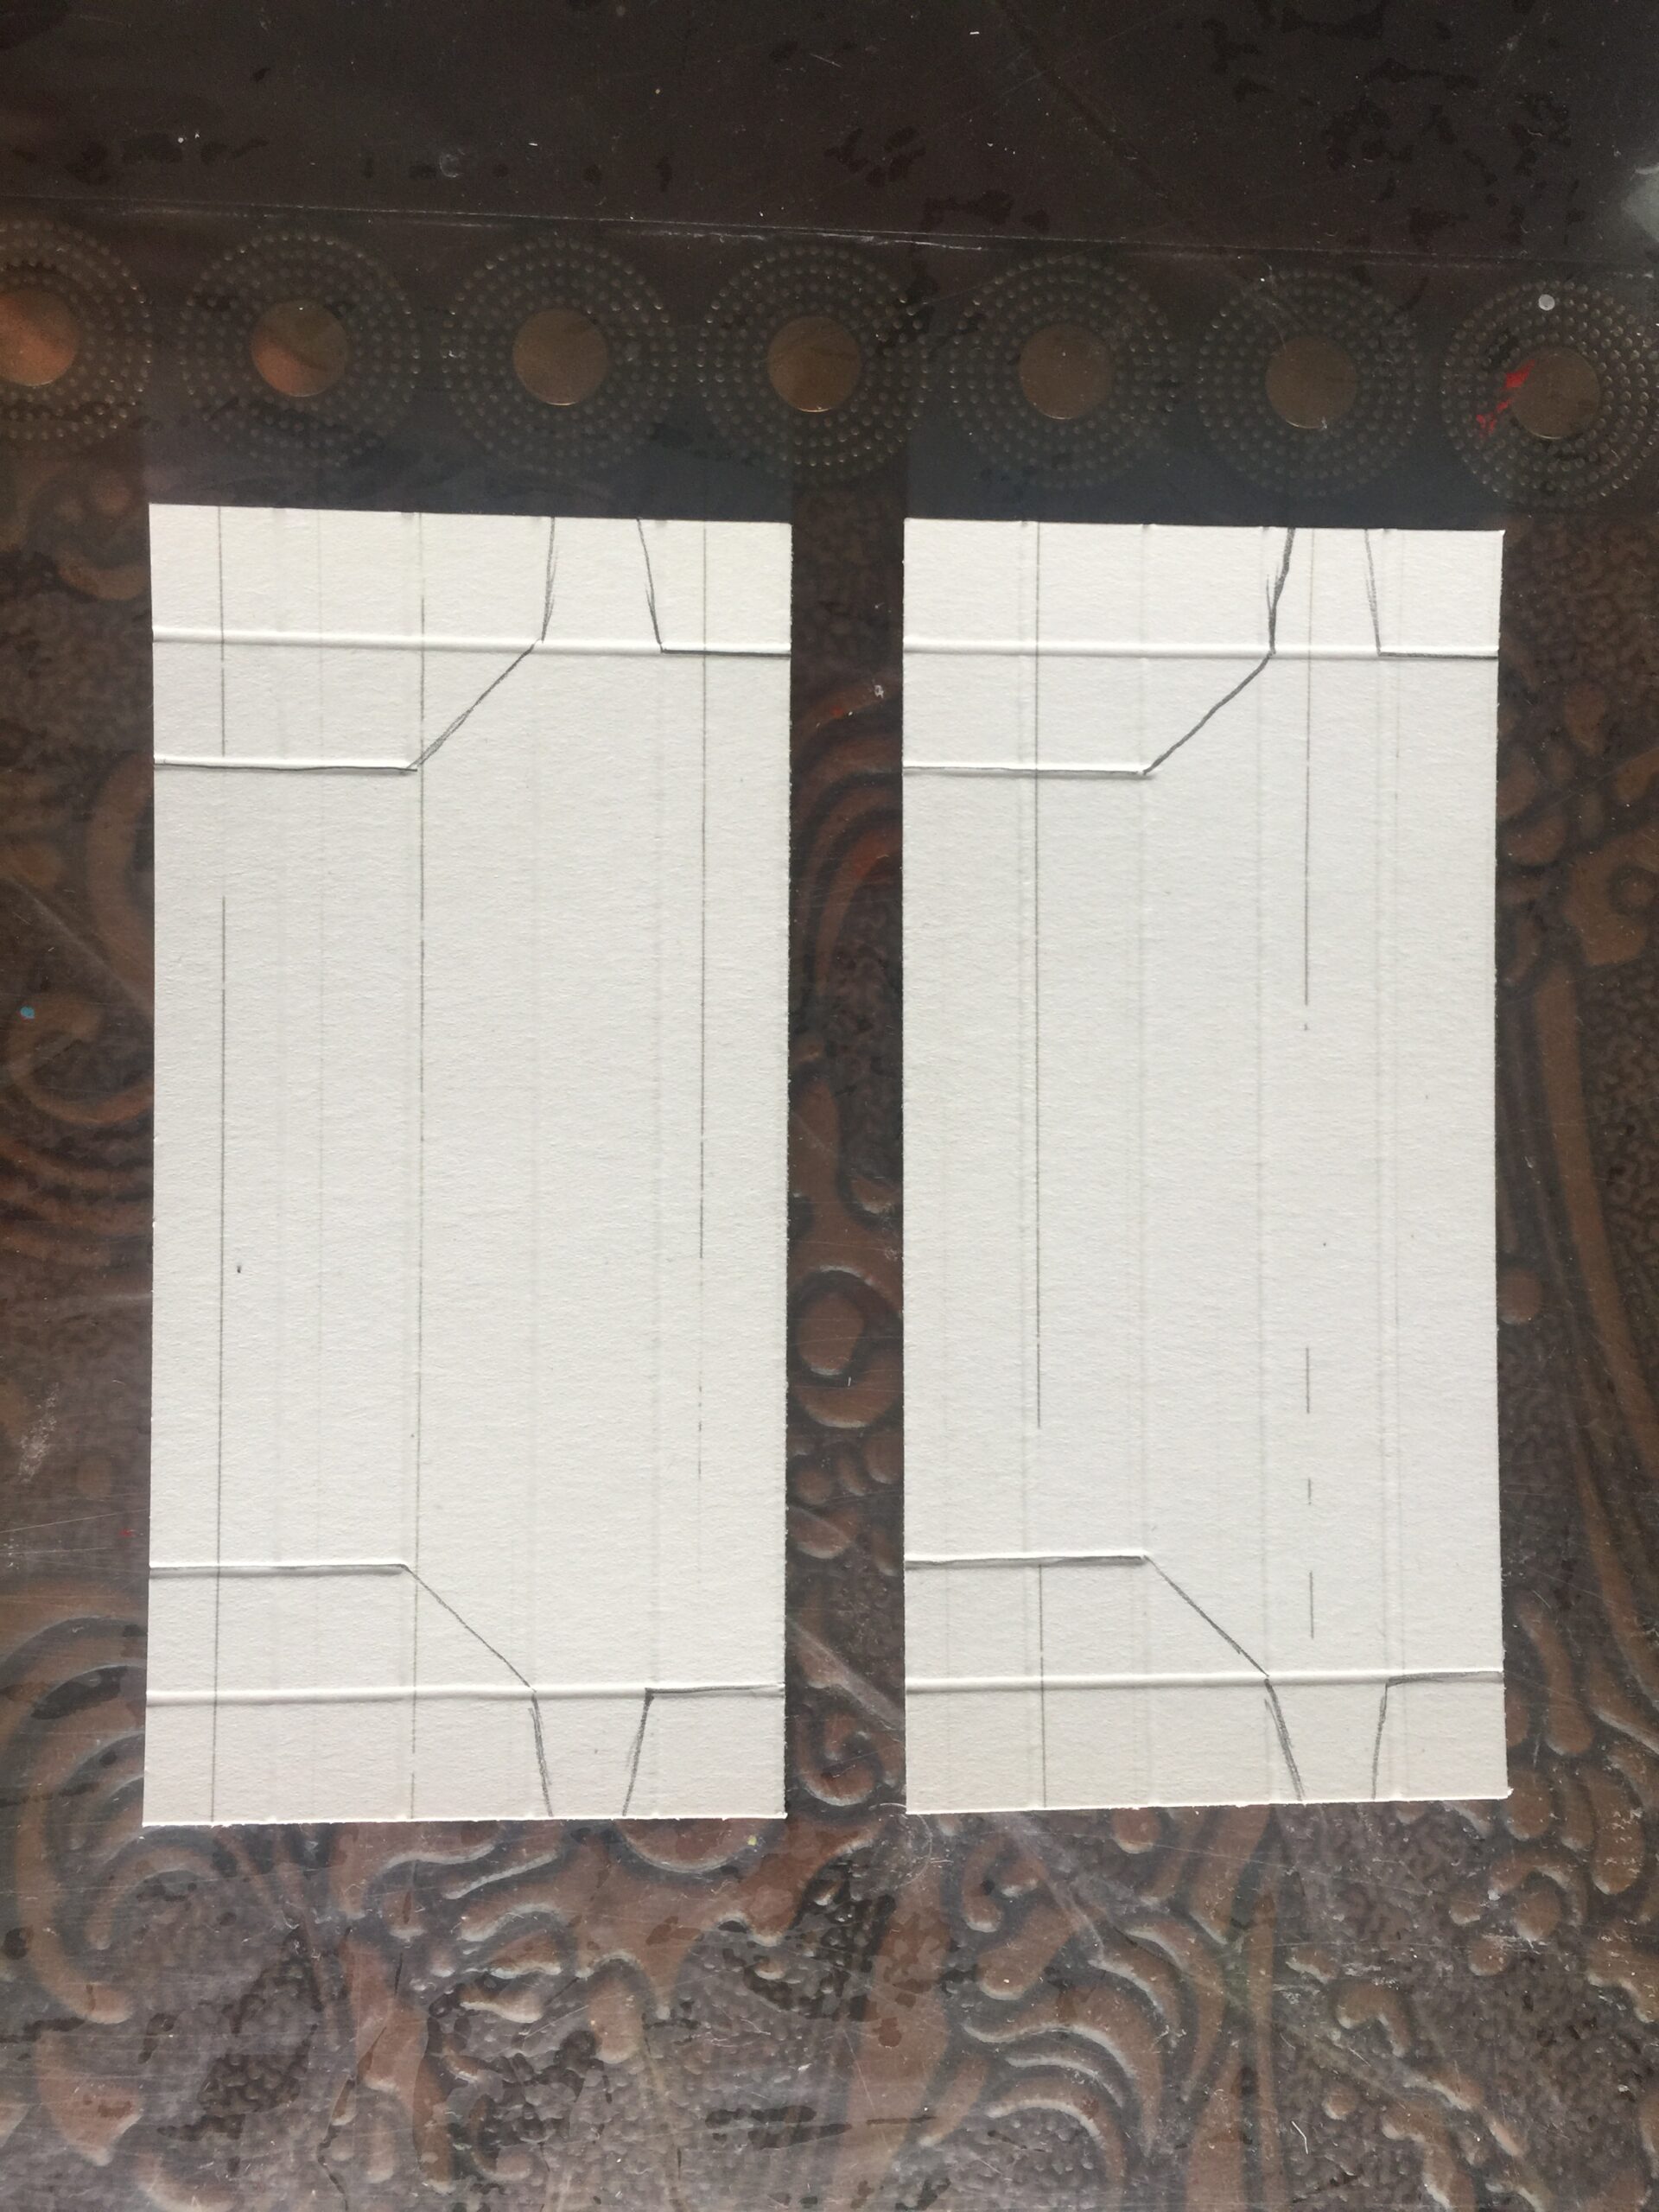
STEP 5- After scoring it will look something like this. Now follow the pencil lines as shown in the picture as we need to chop that portion.
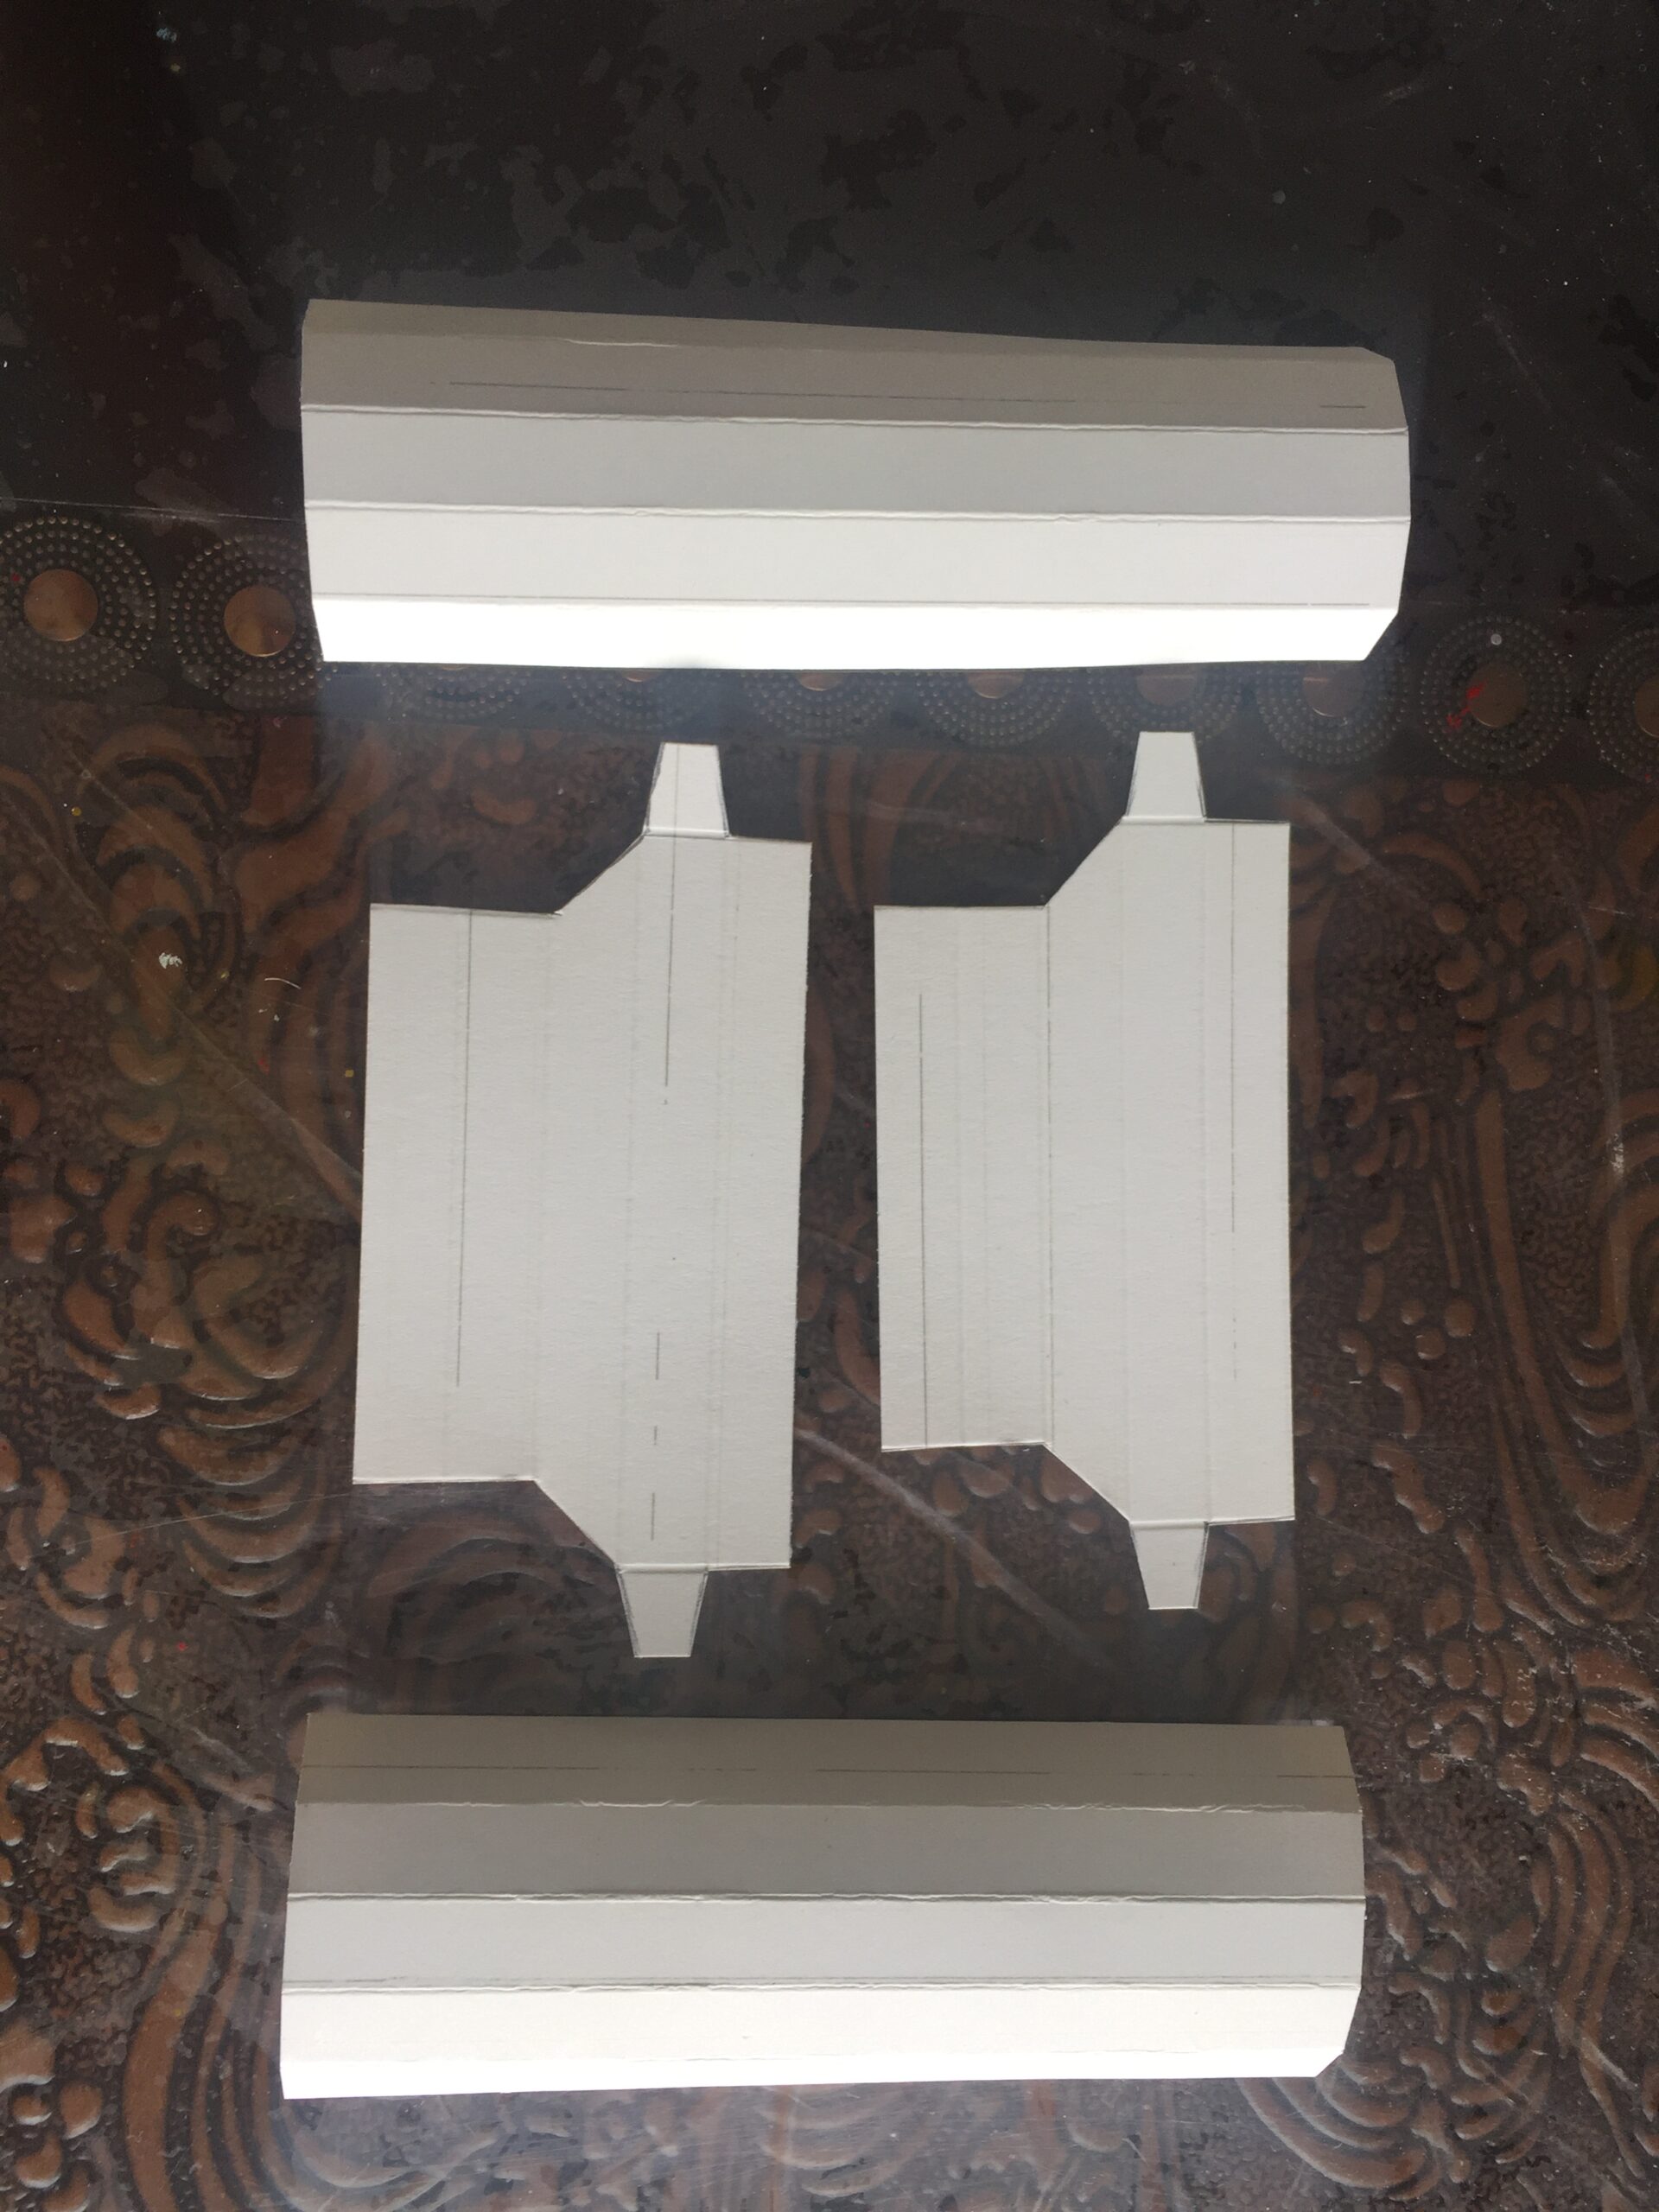
Now we have 4 pieces like this, from which 2 is of 15.5 cm and the other 2 is 13.5 cm.
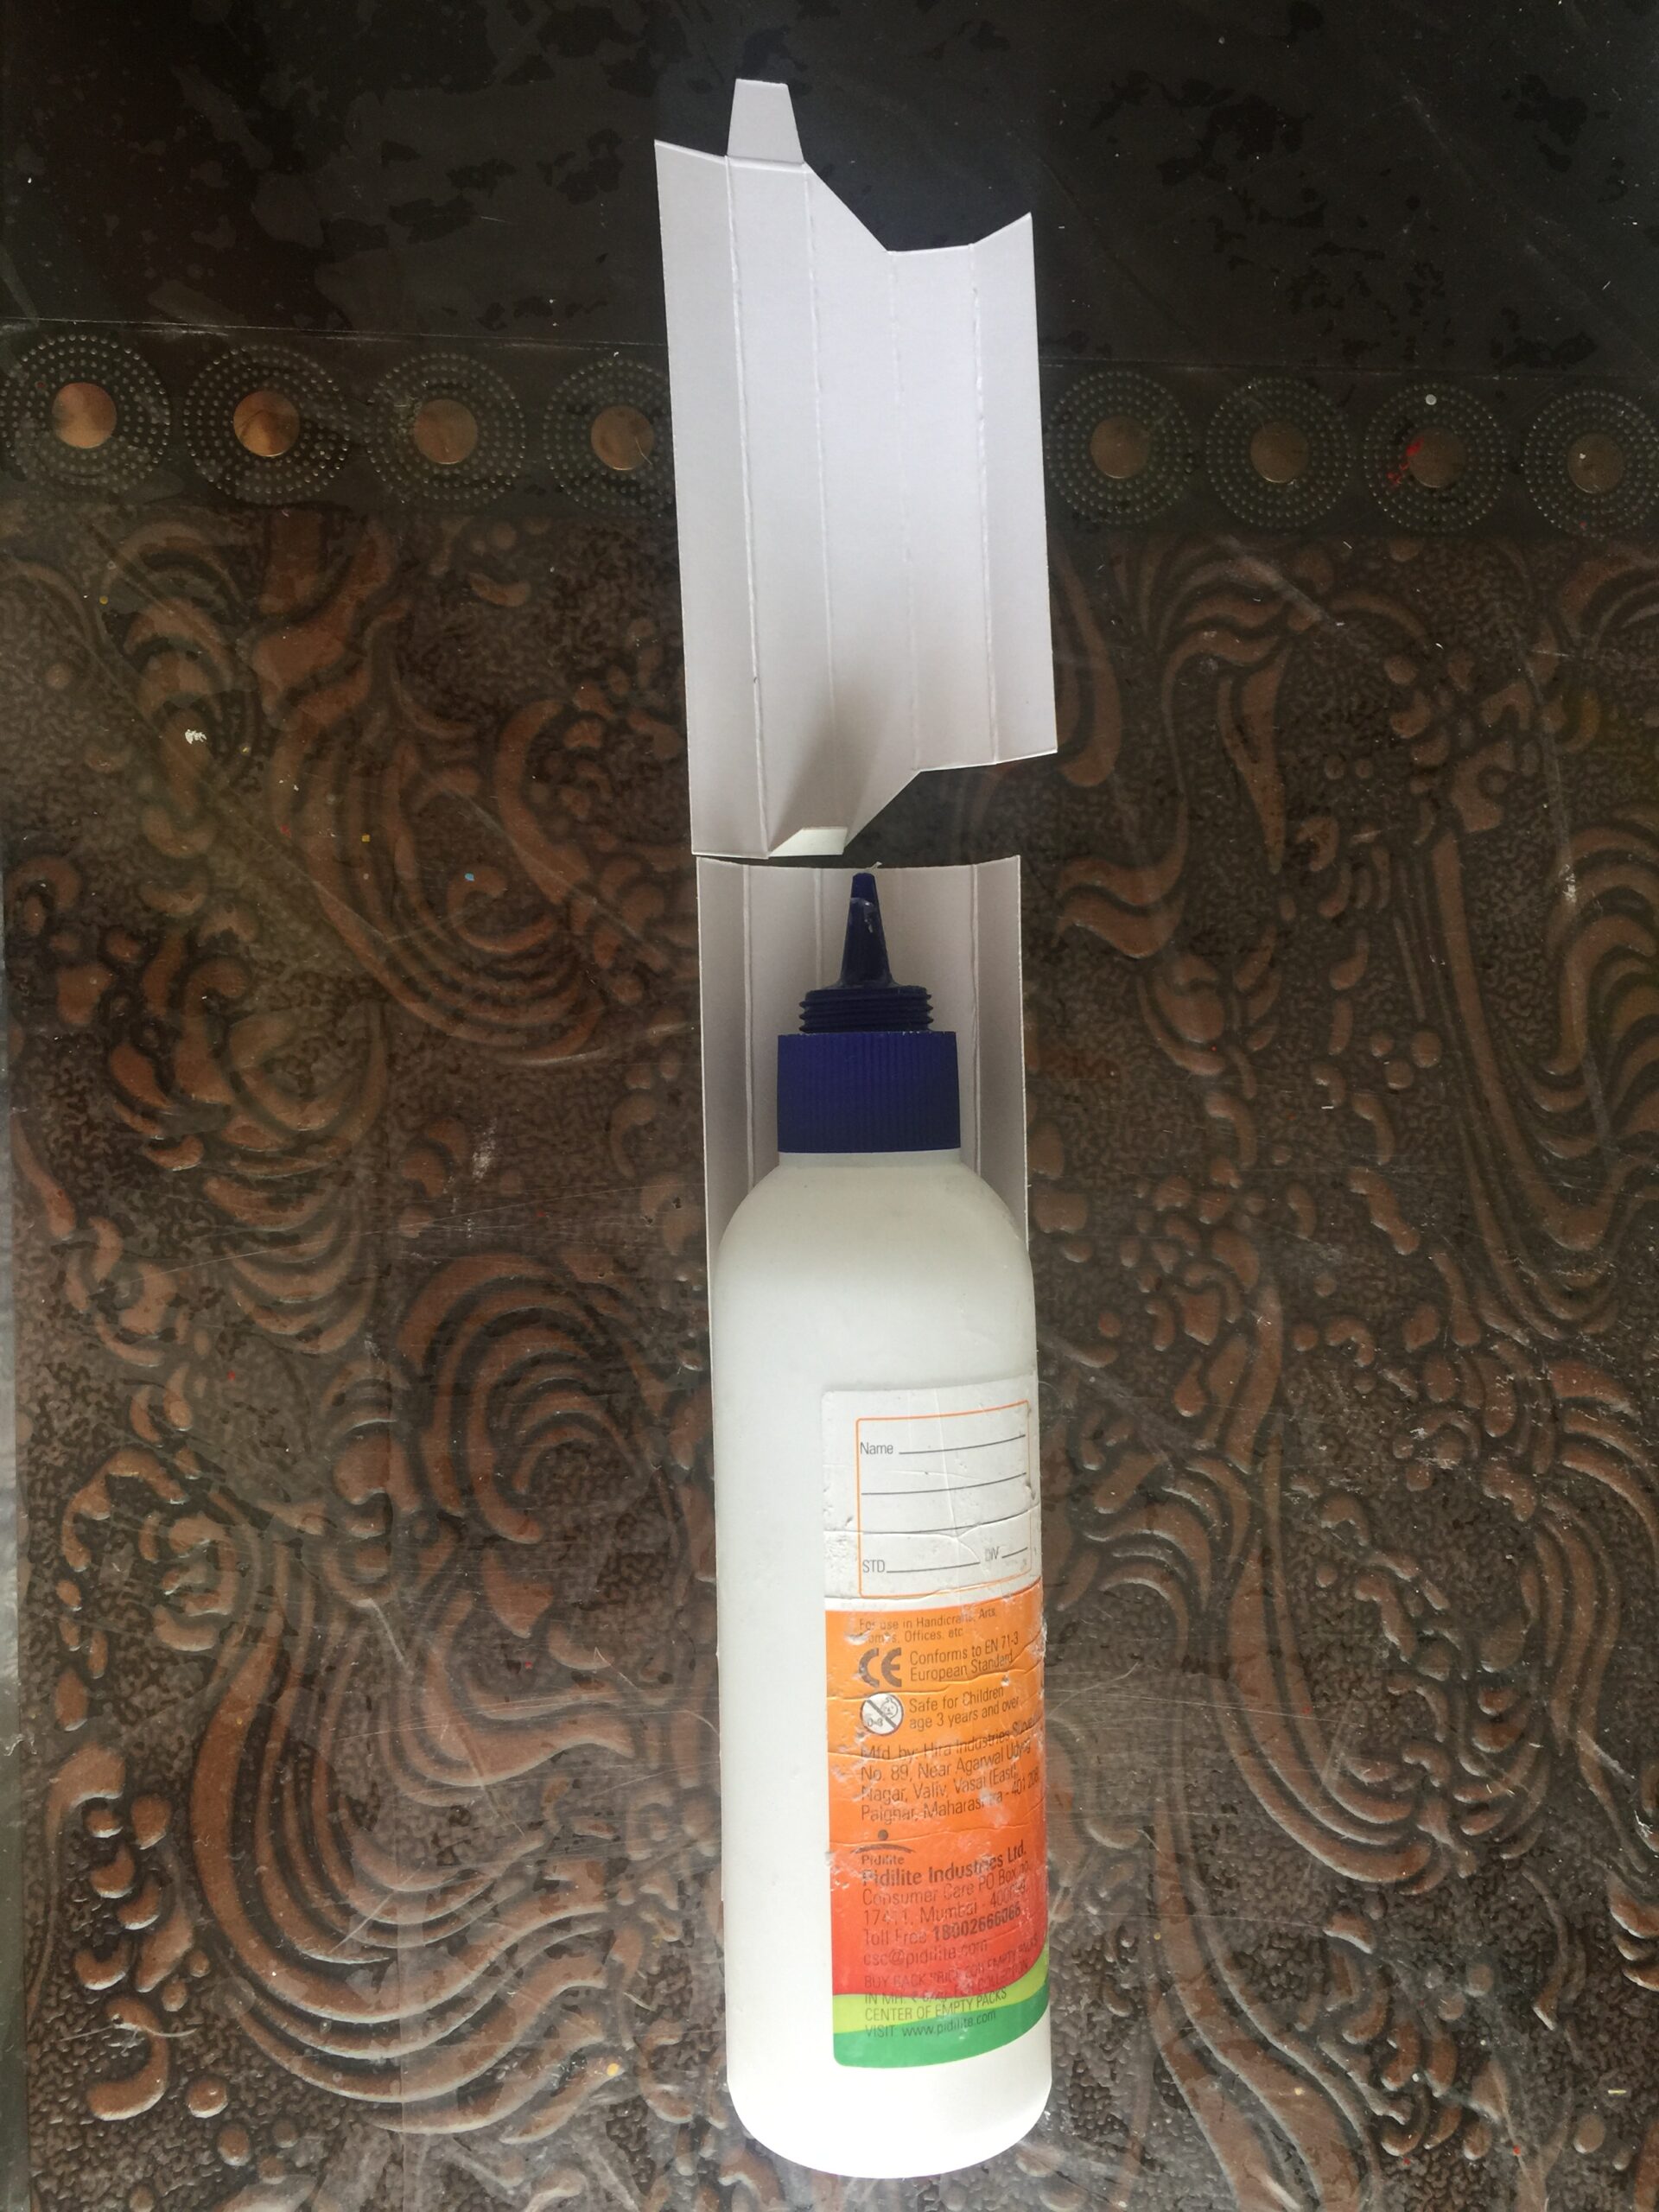
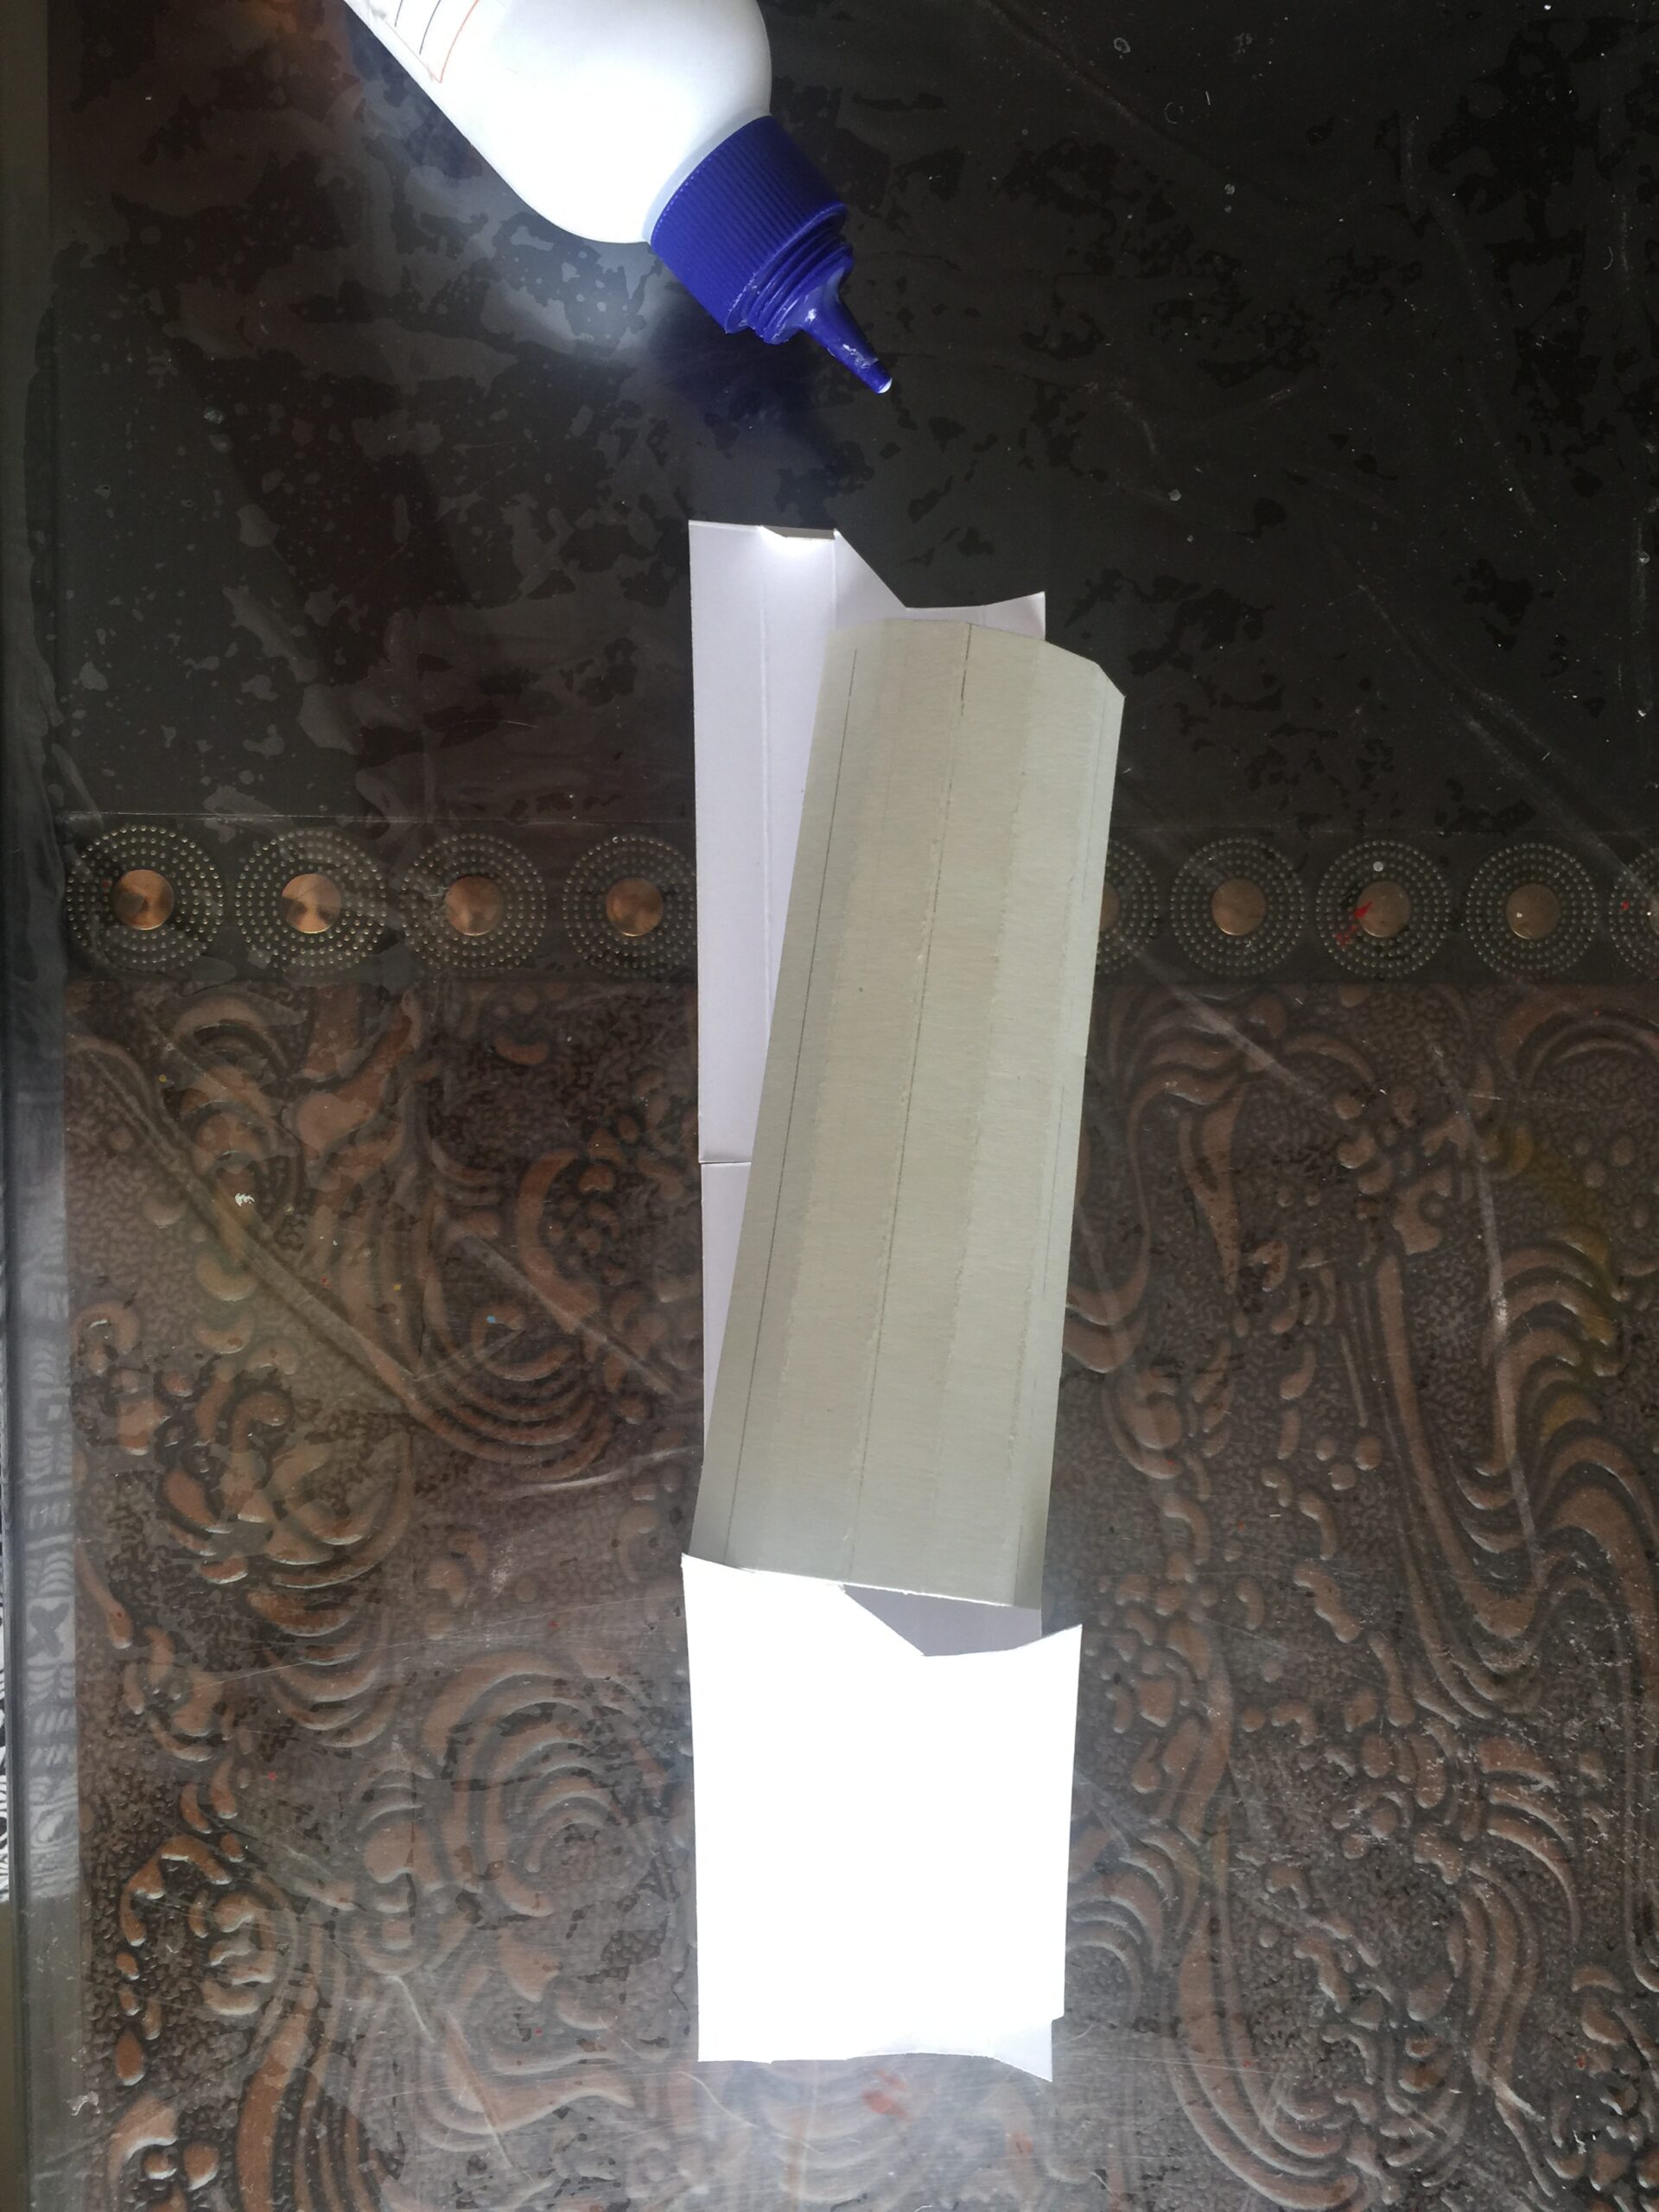
STEP 6- Now in the step I have shown how to arrange all the 4 pieces and stick them. In the last pic I have folded two pieces and stick the 4th and the 1st one.
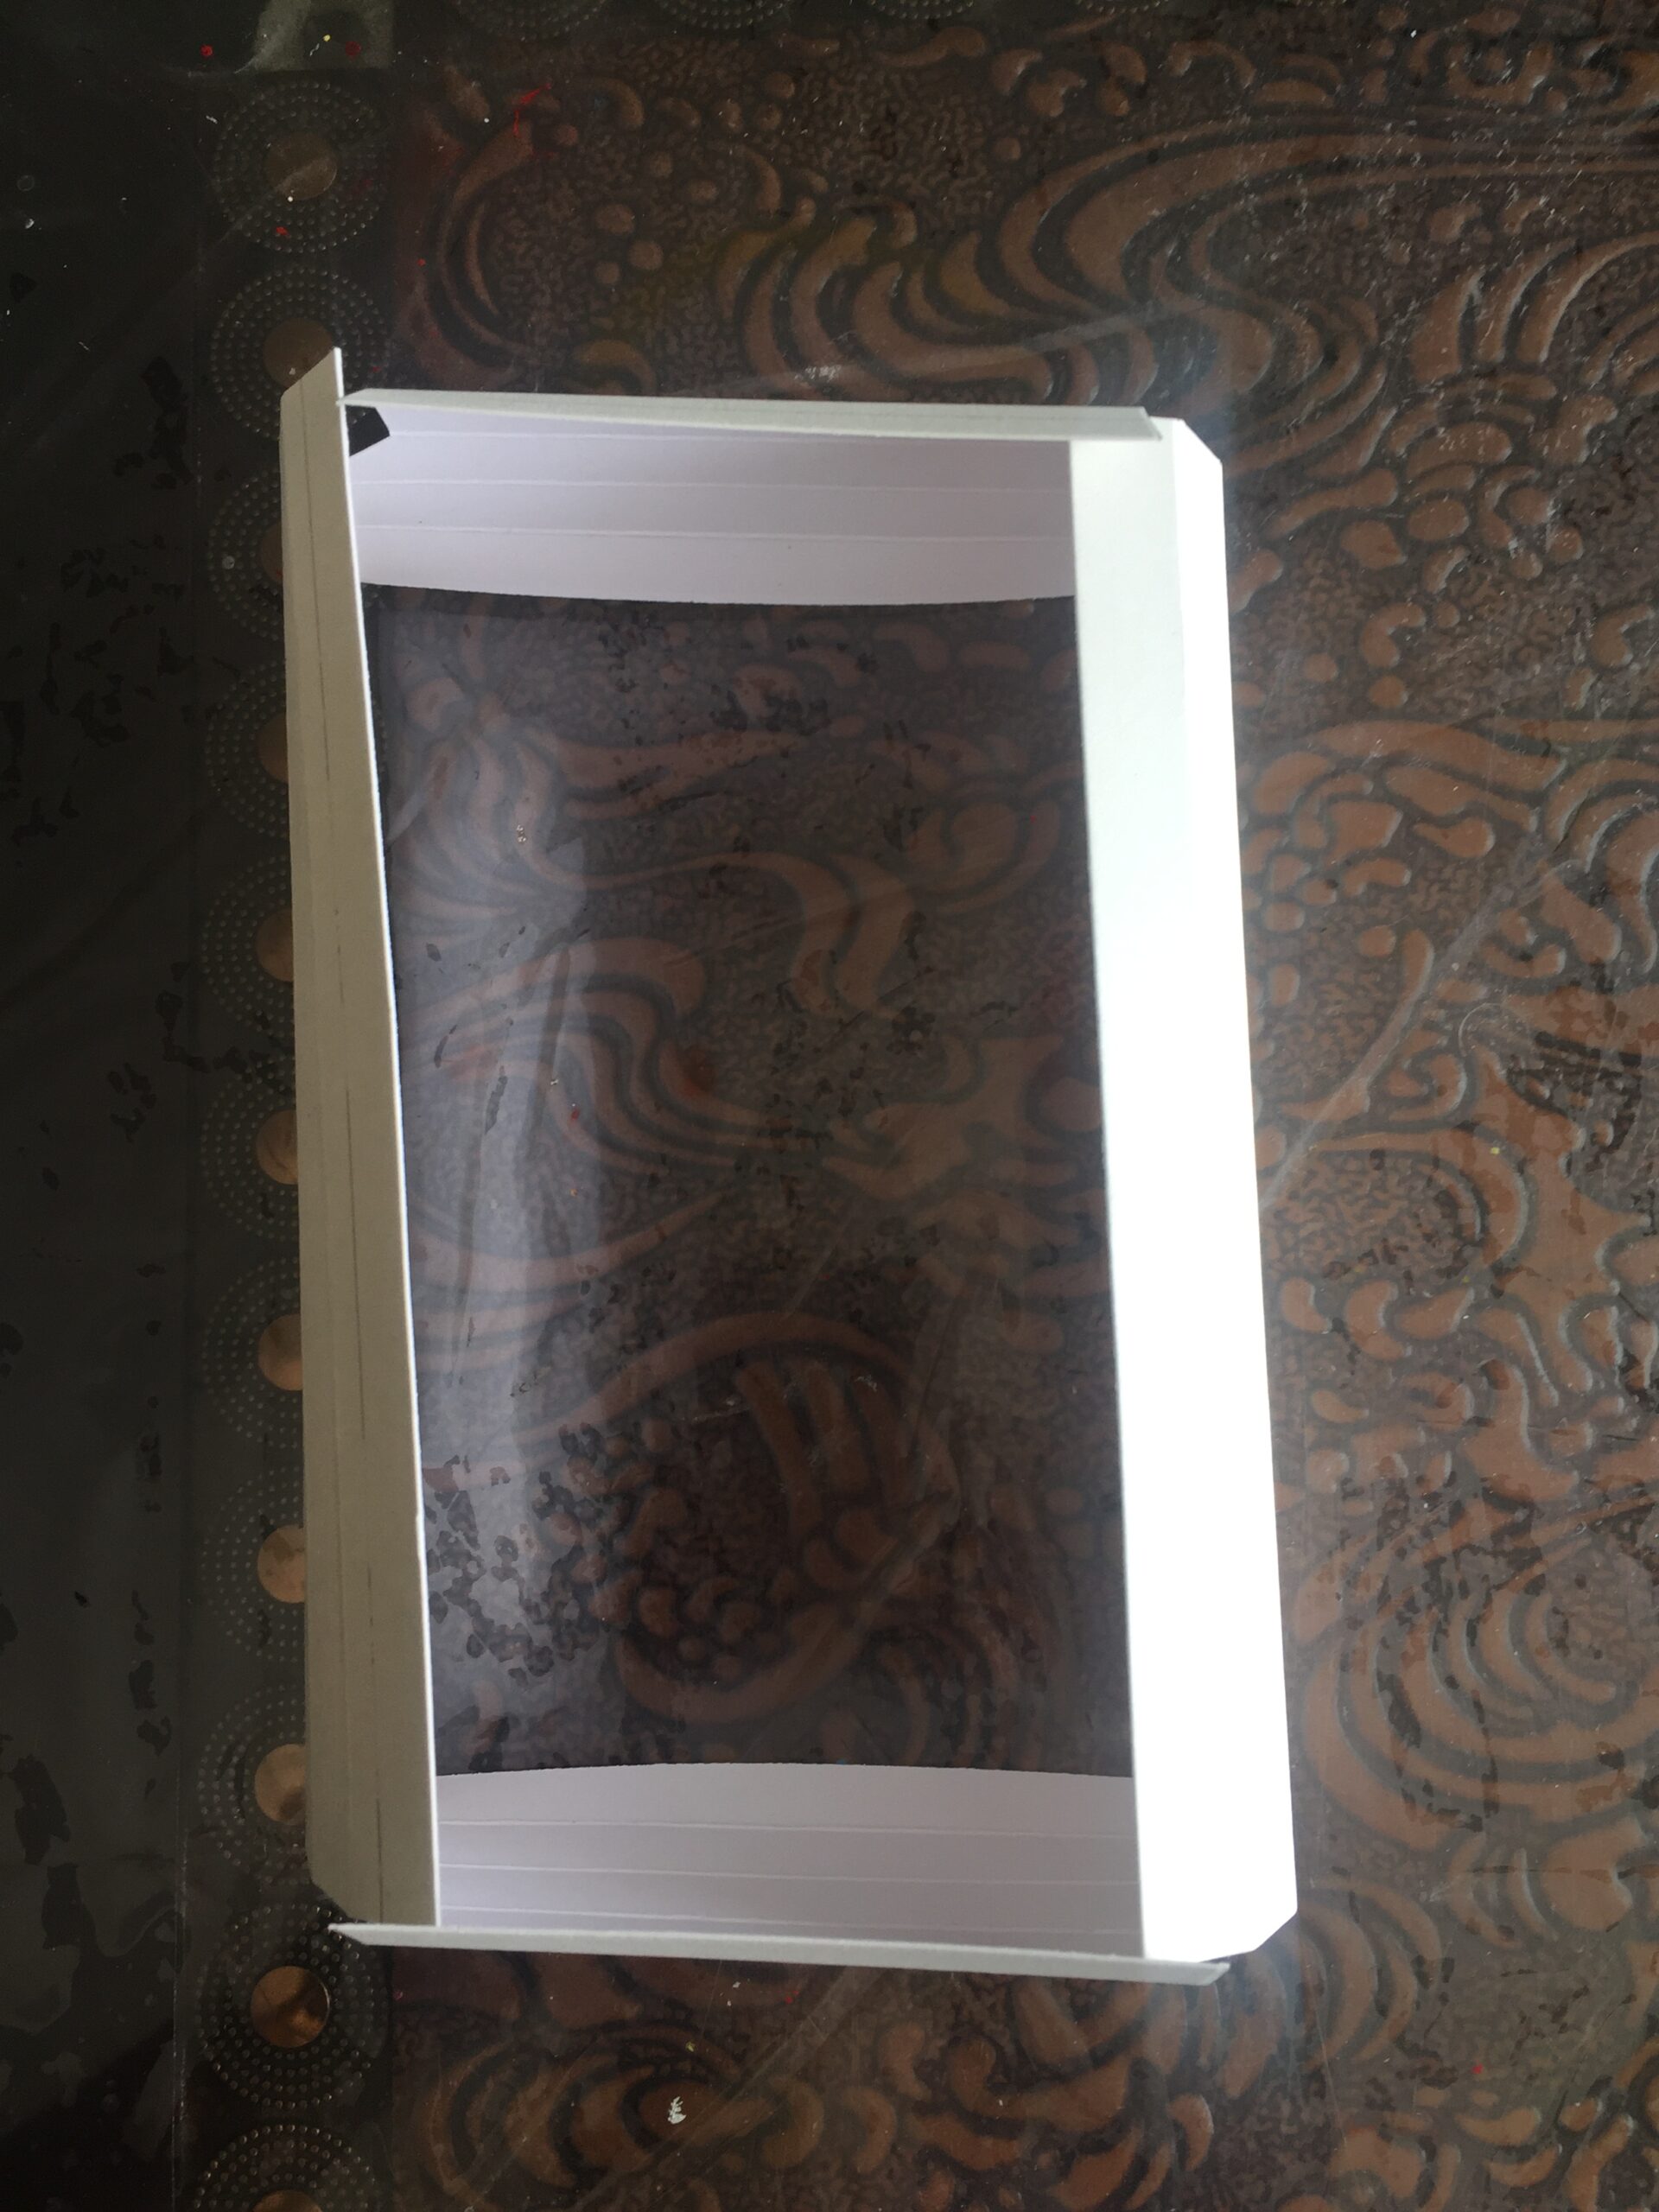
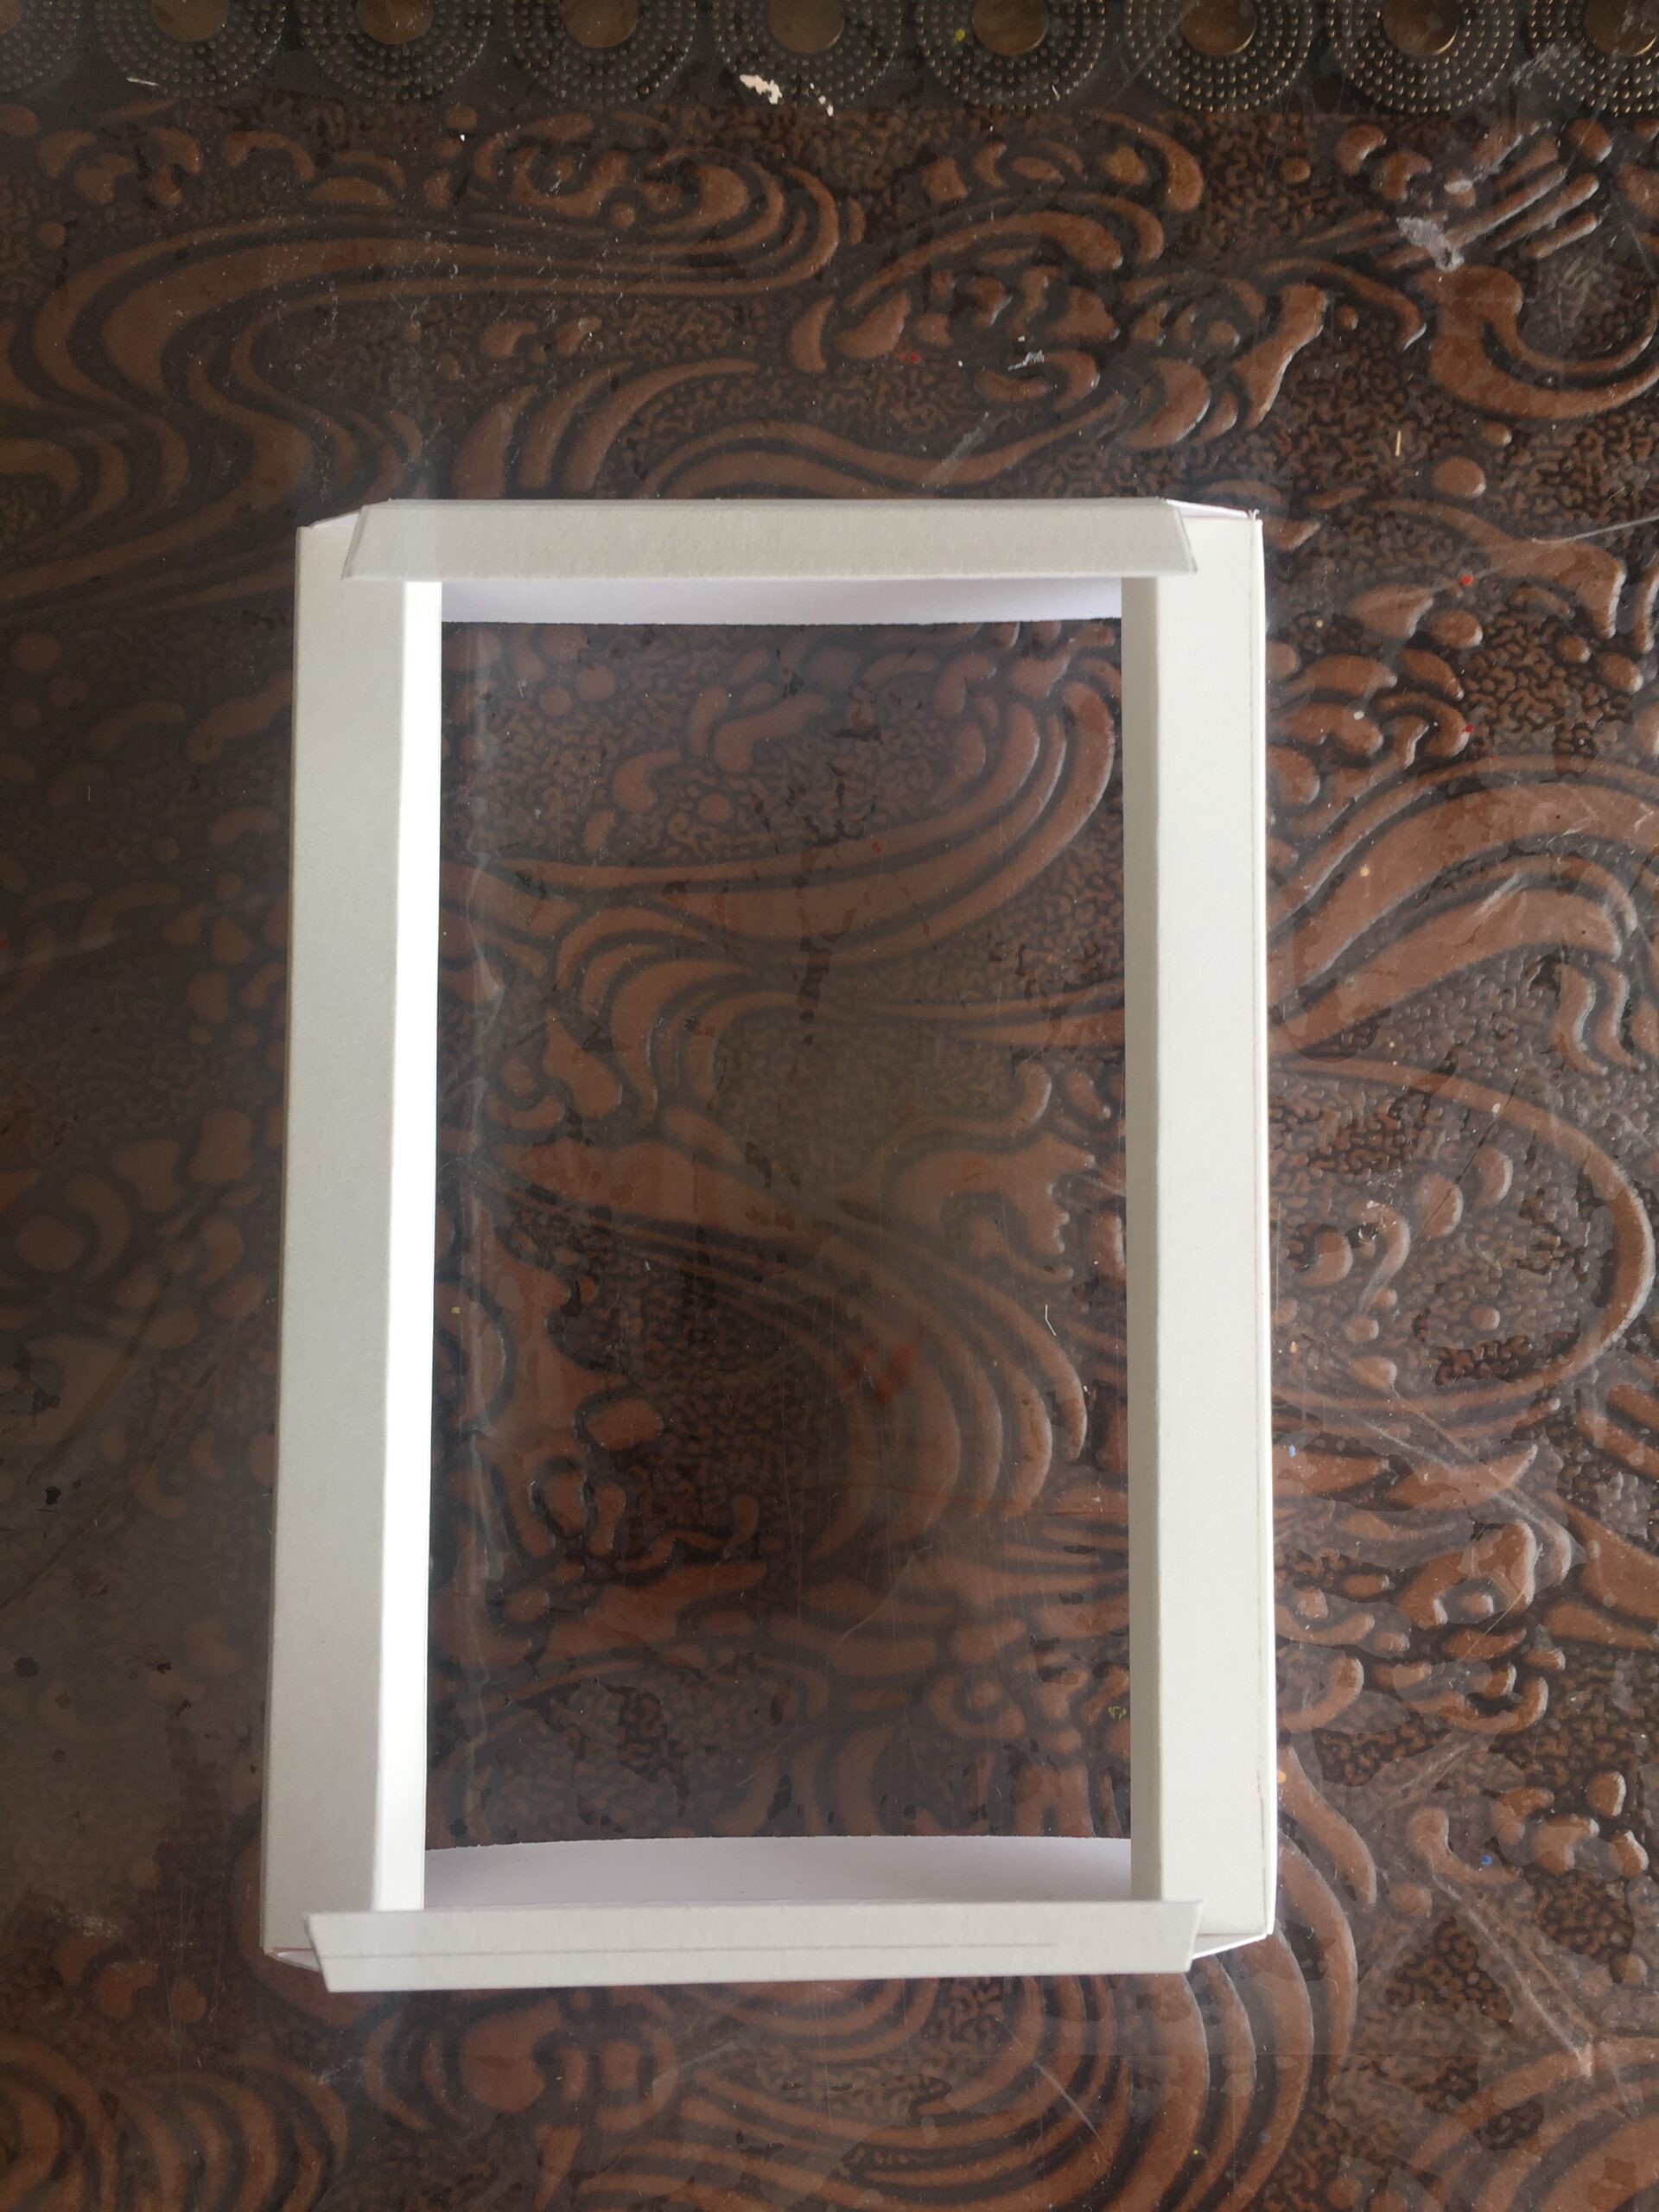

STEP 7- So here you can see a rectangle in the 1st image and later on just fold it on the scored line and stick it as shown in the images. This is how you shadow frame will look like.


STEP 8- I have repeated all the above steps to make some more frames. Measurements used to make this frame is take for 6’/4′ photograph.
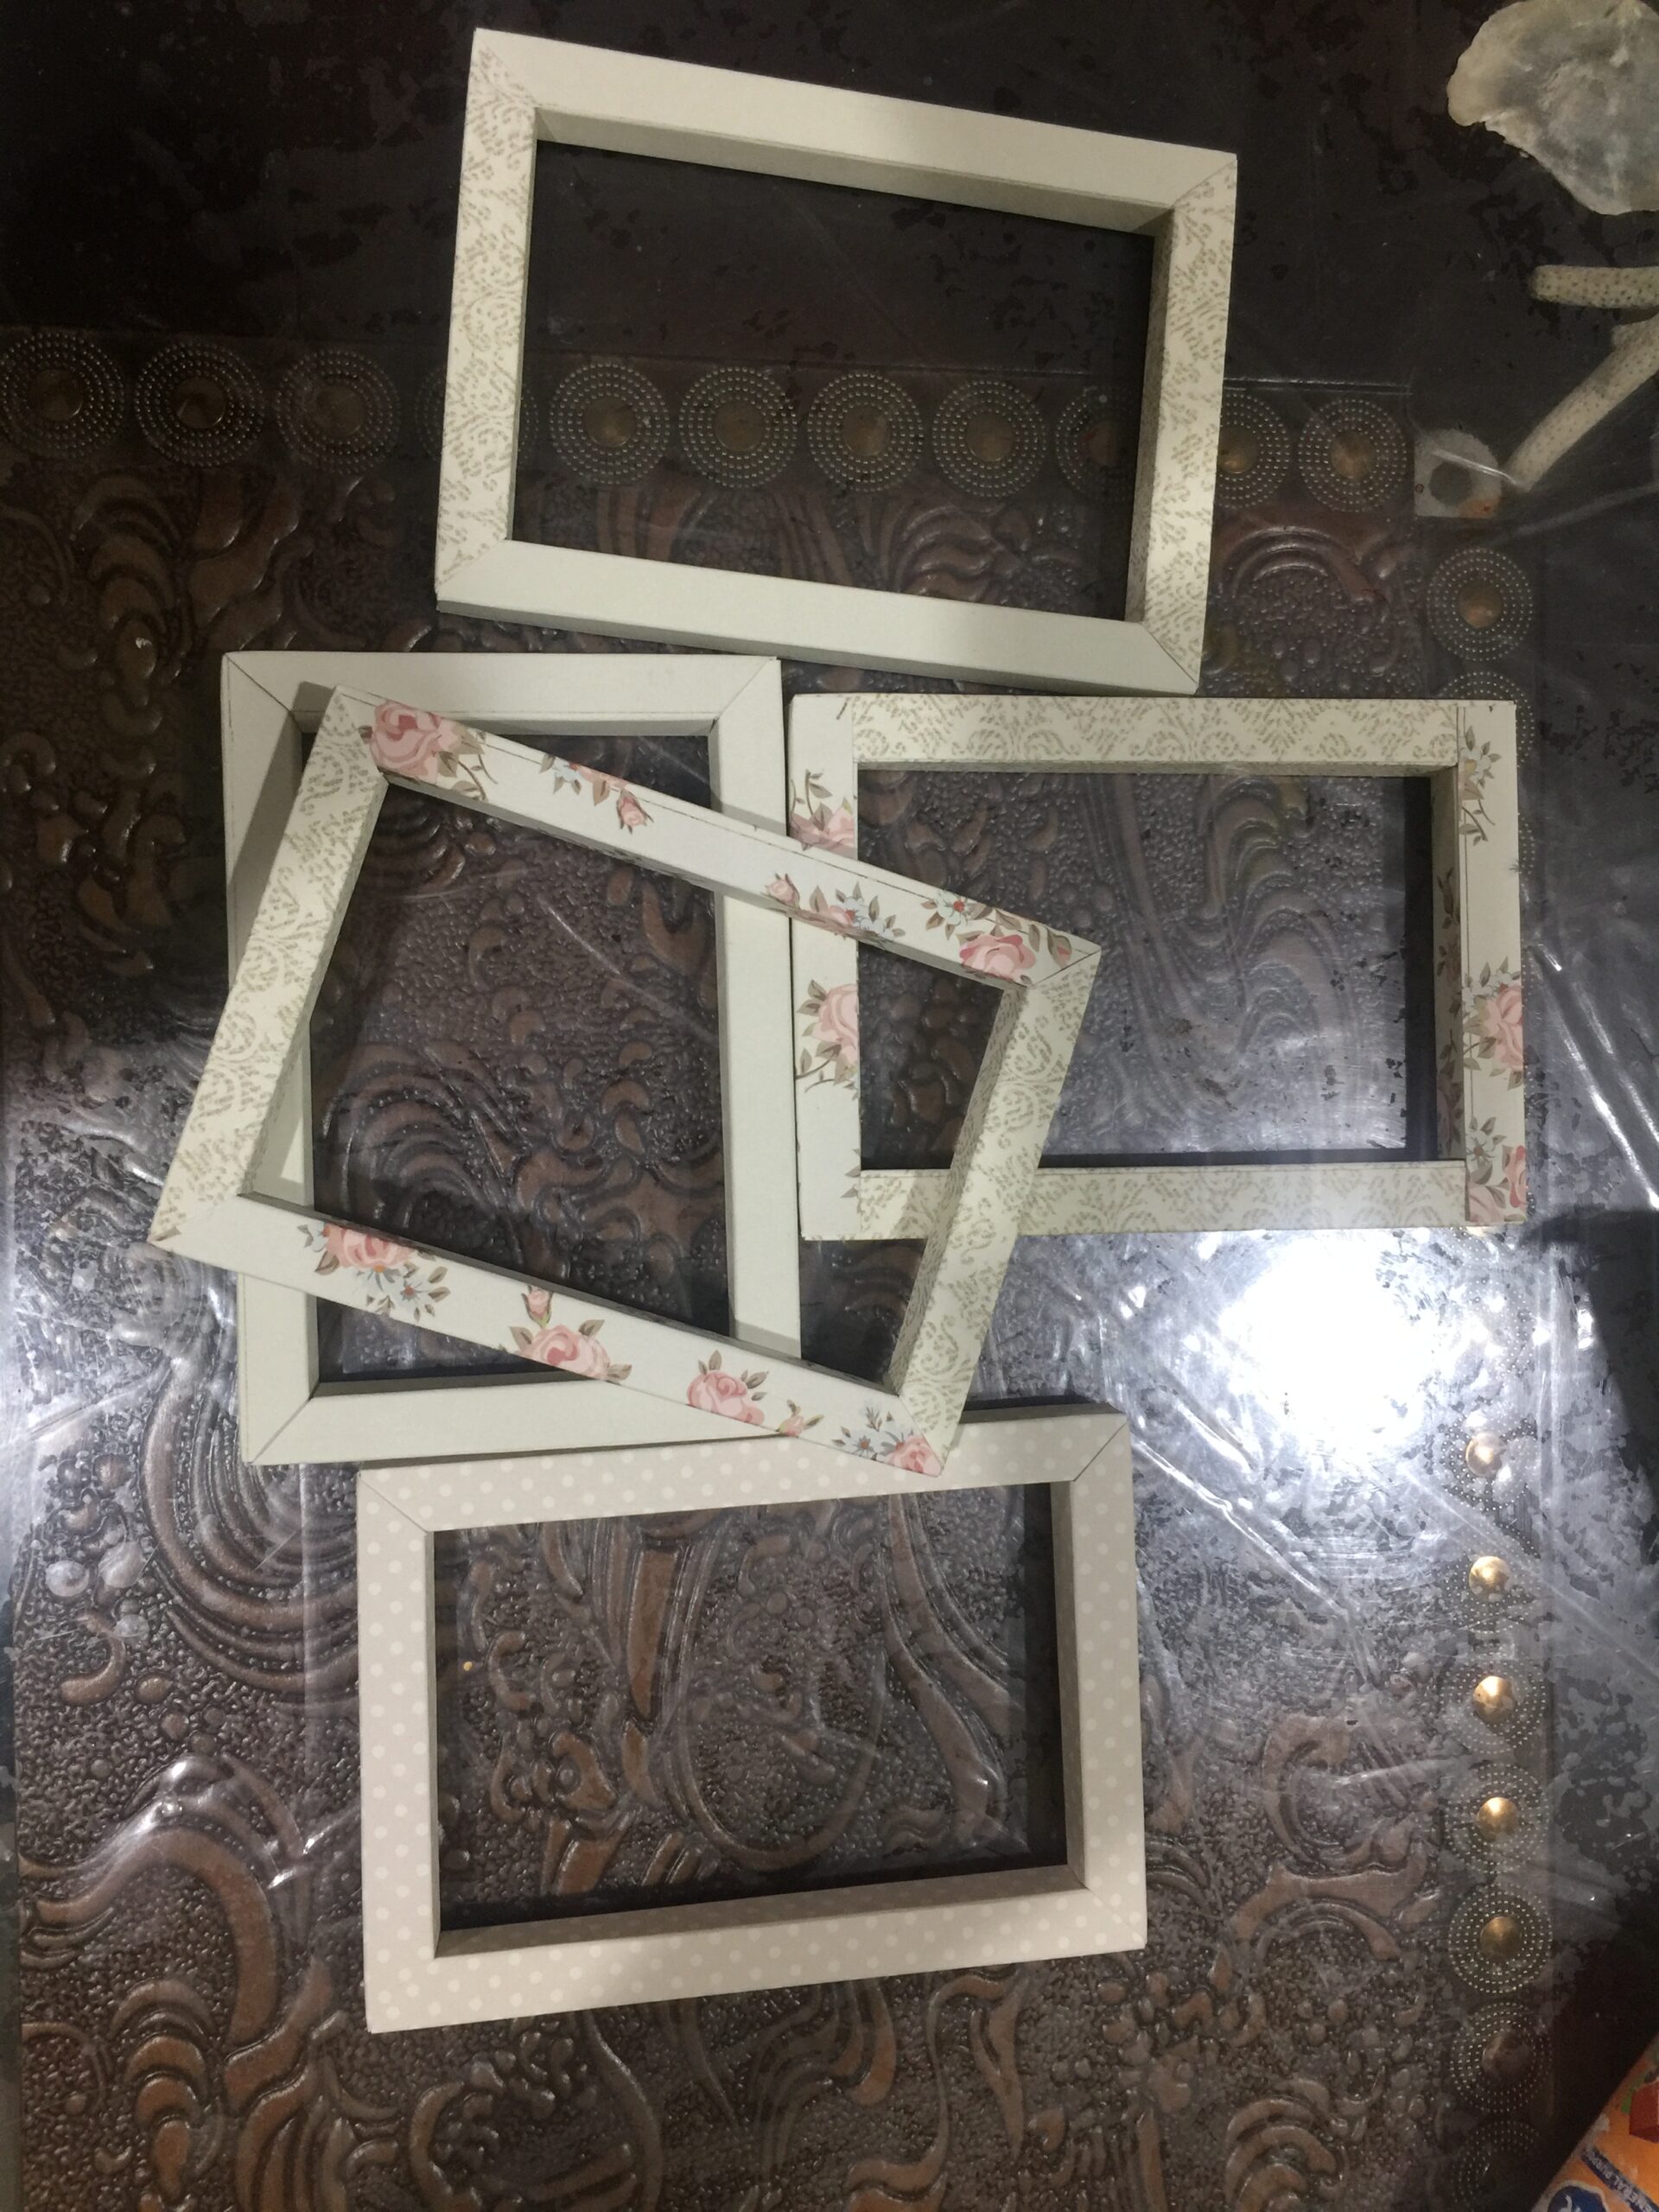
STEP 9- In all I have made 9 such shadow frames

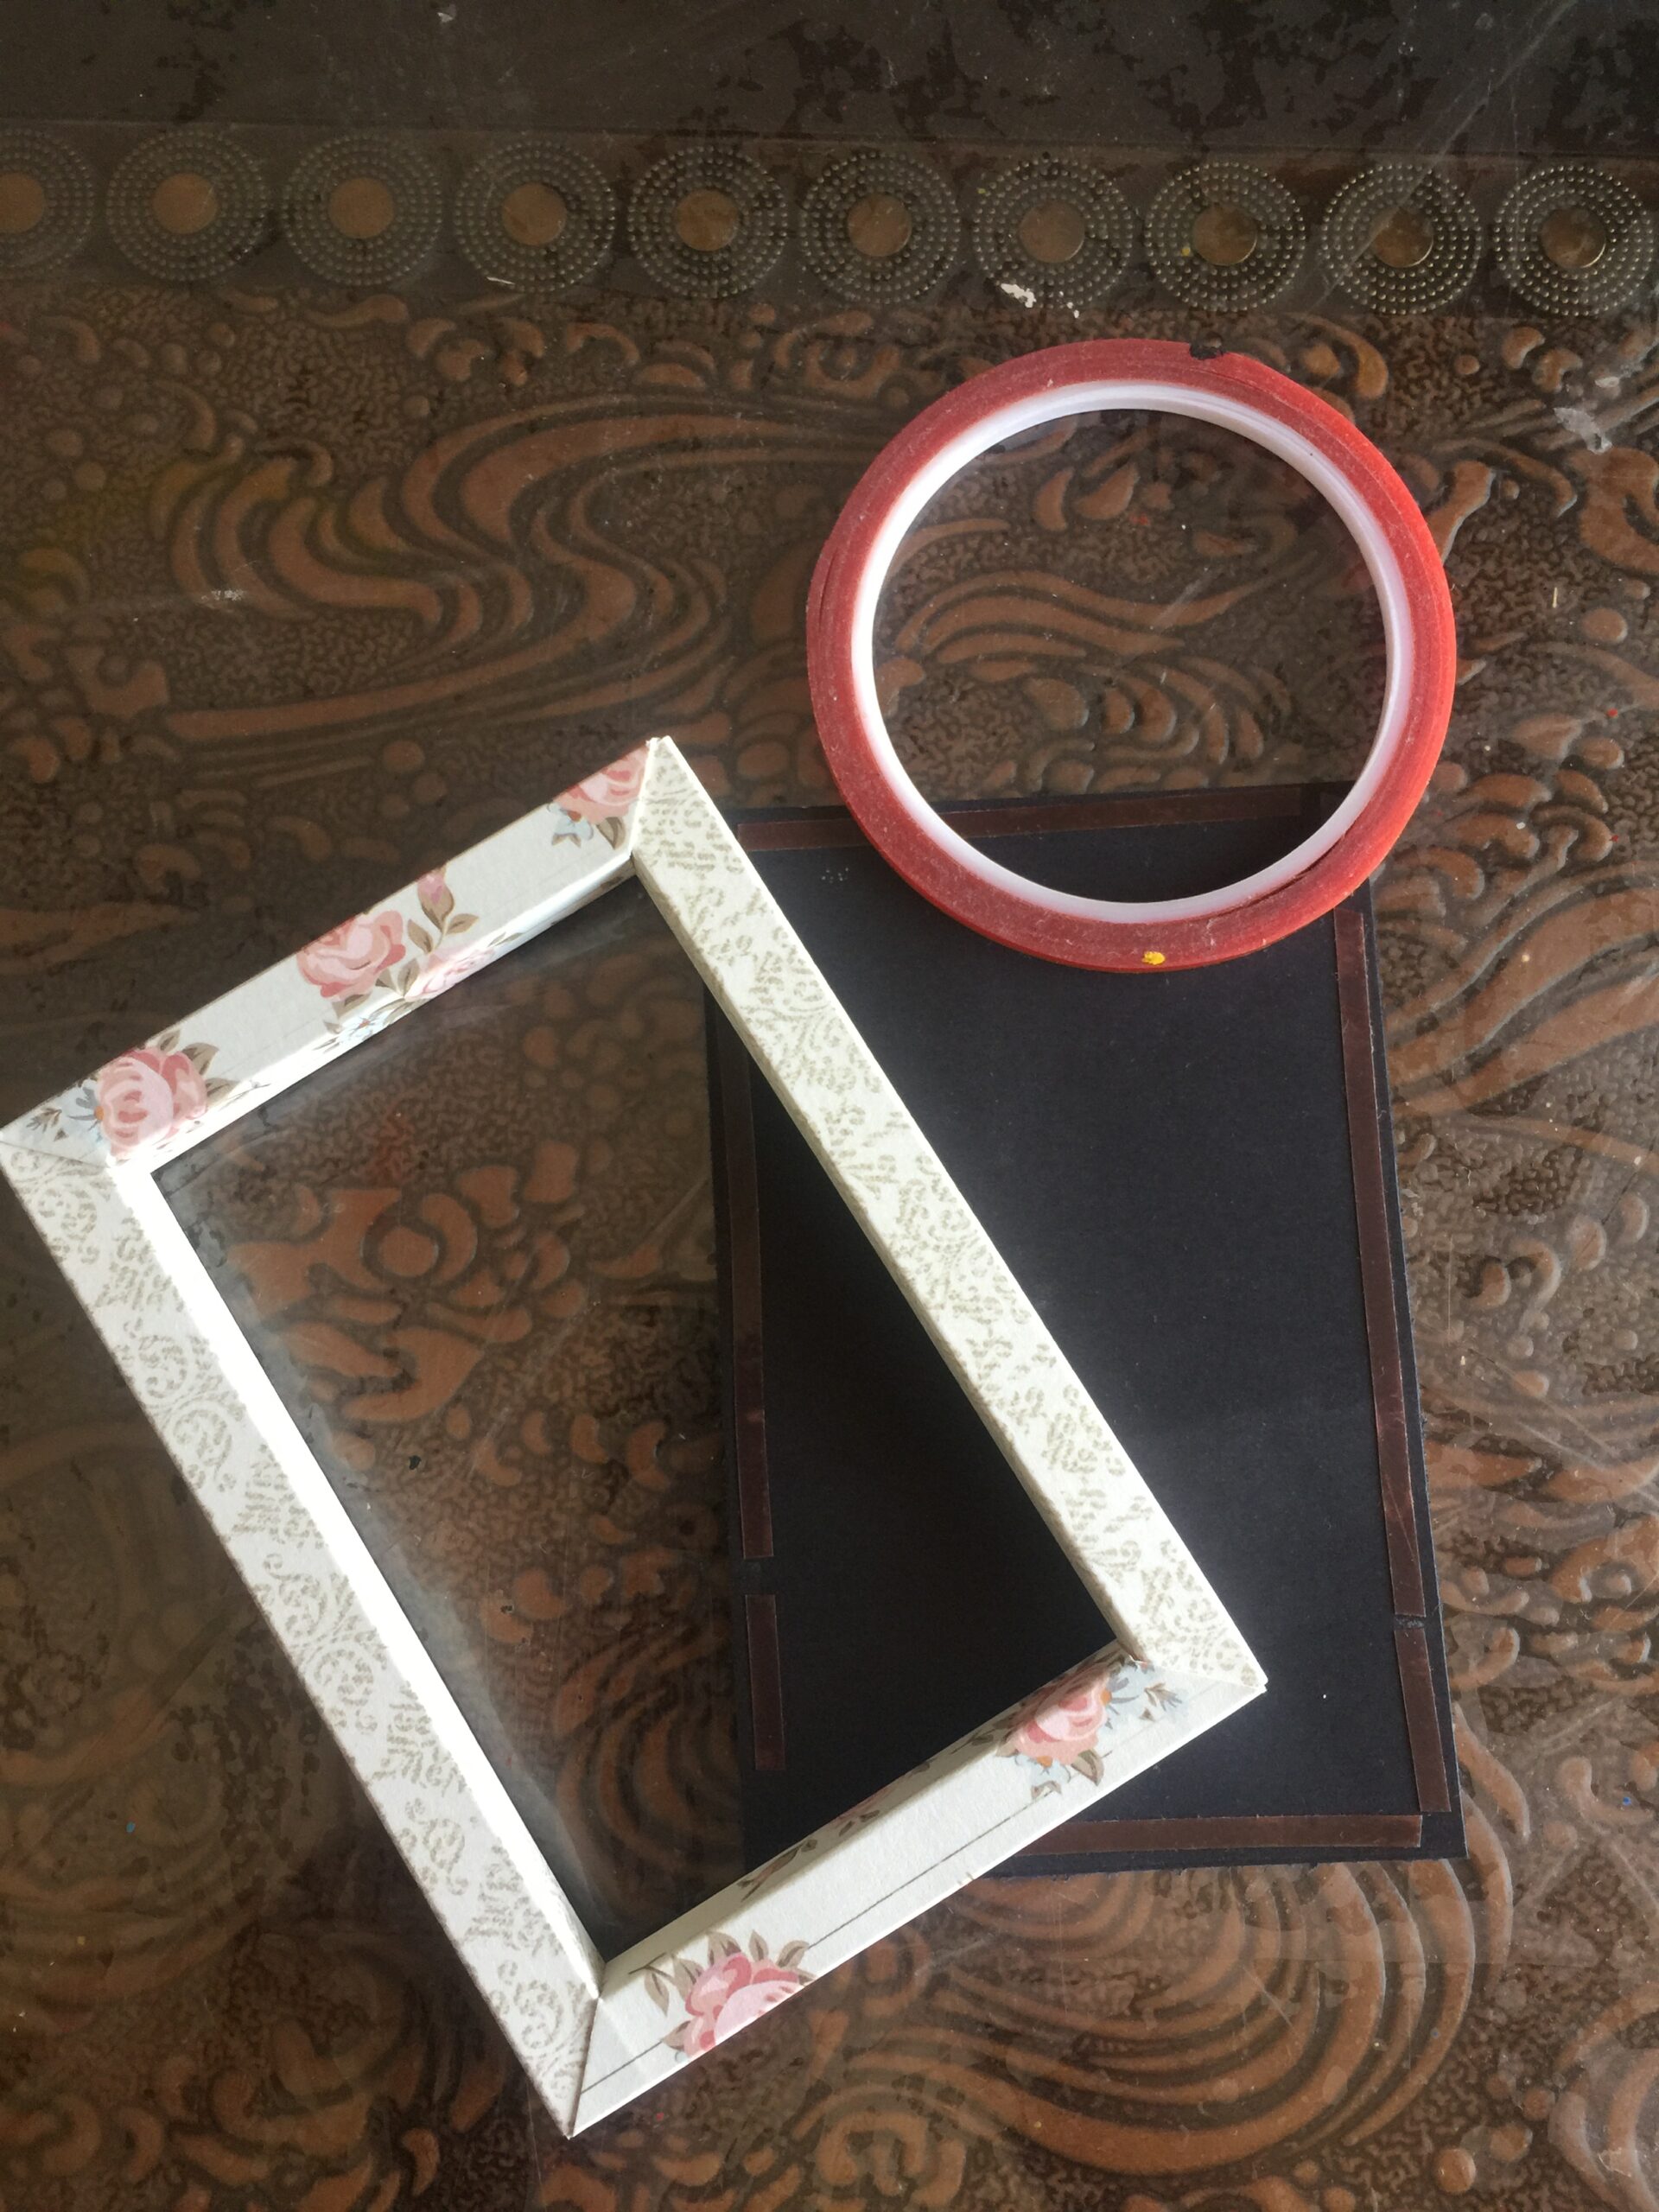

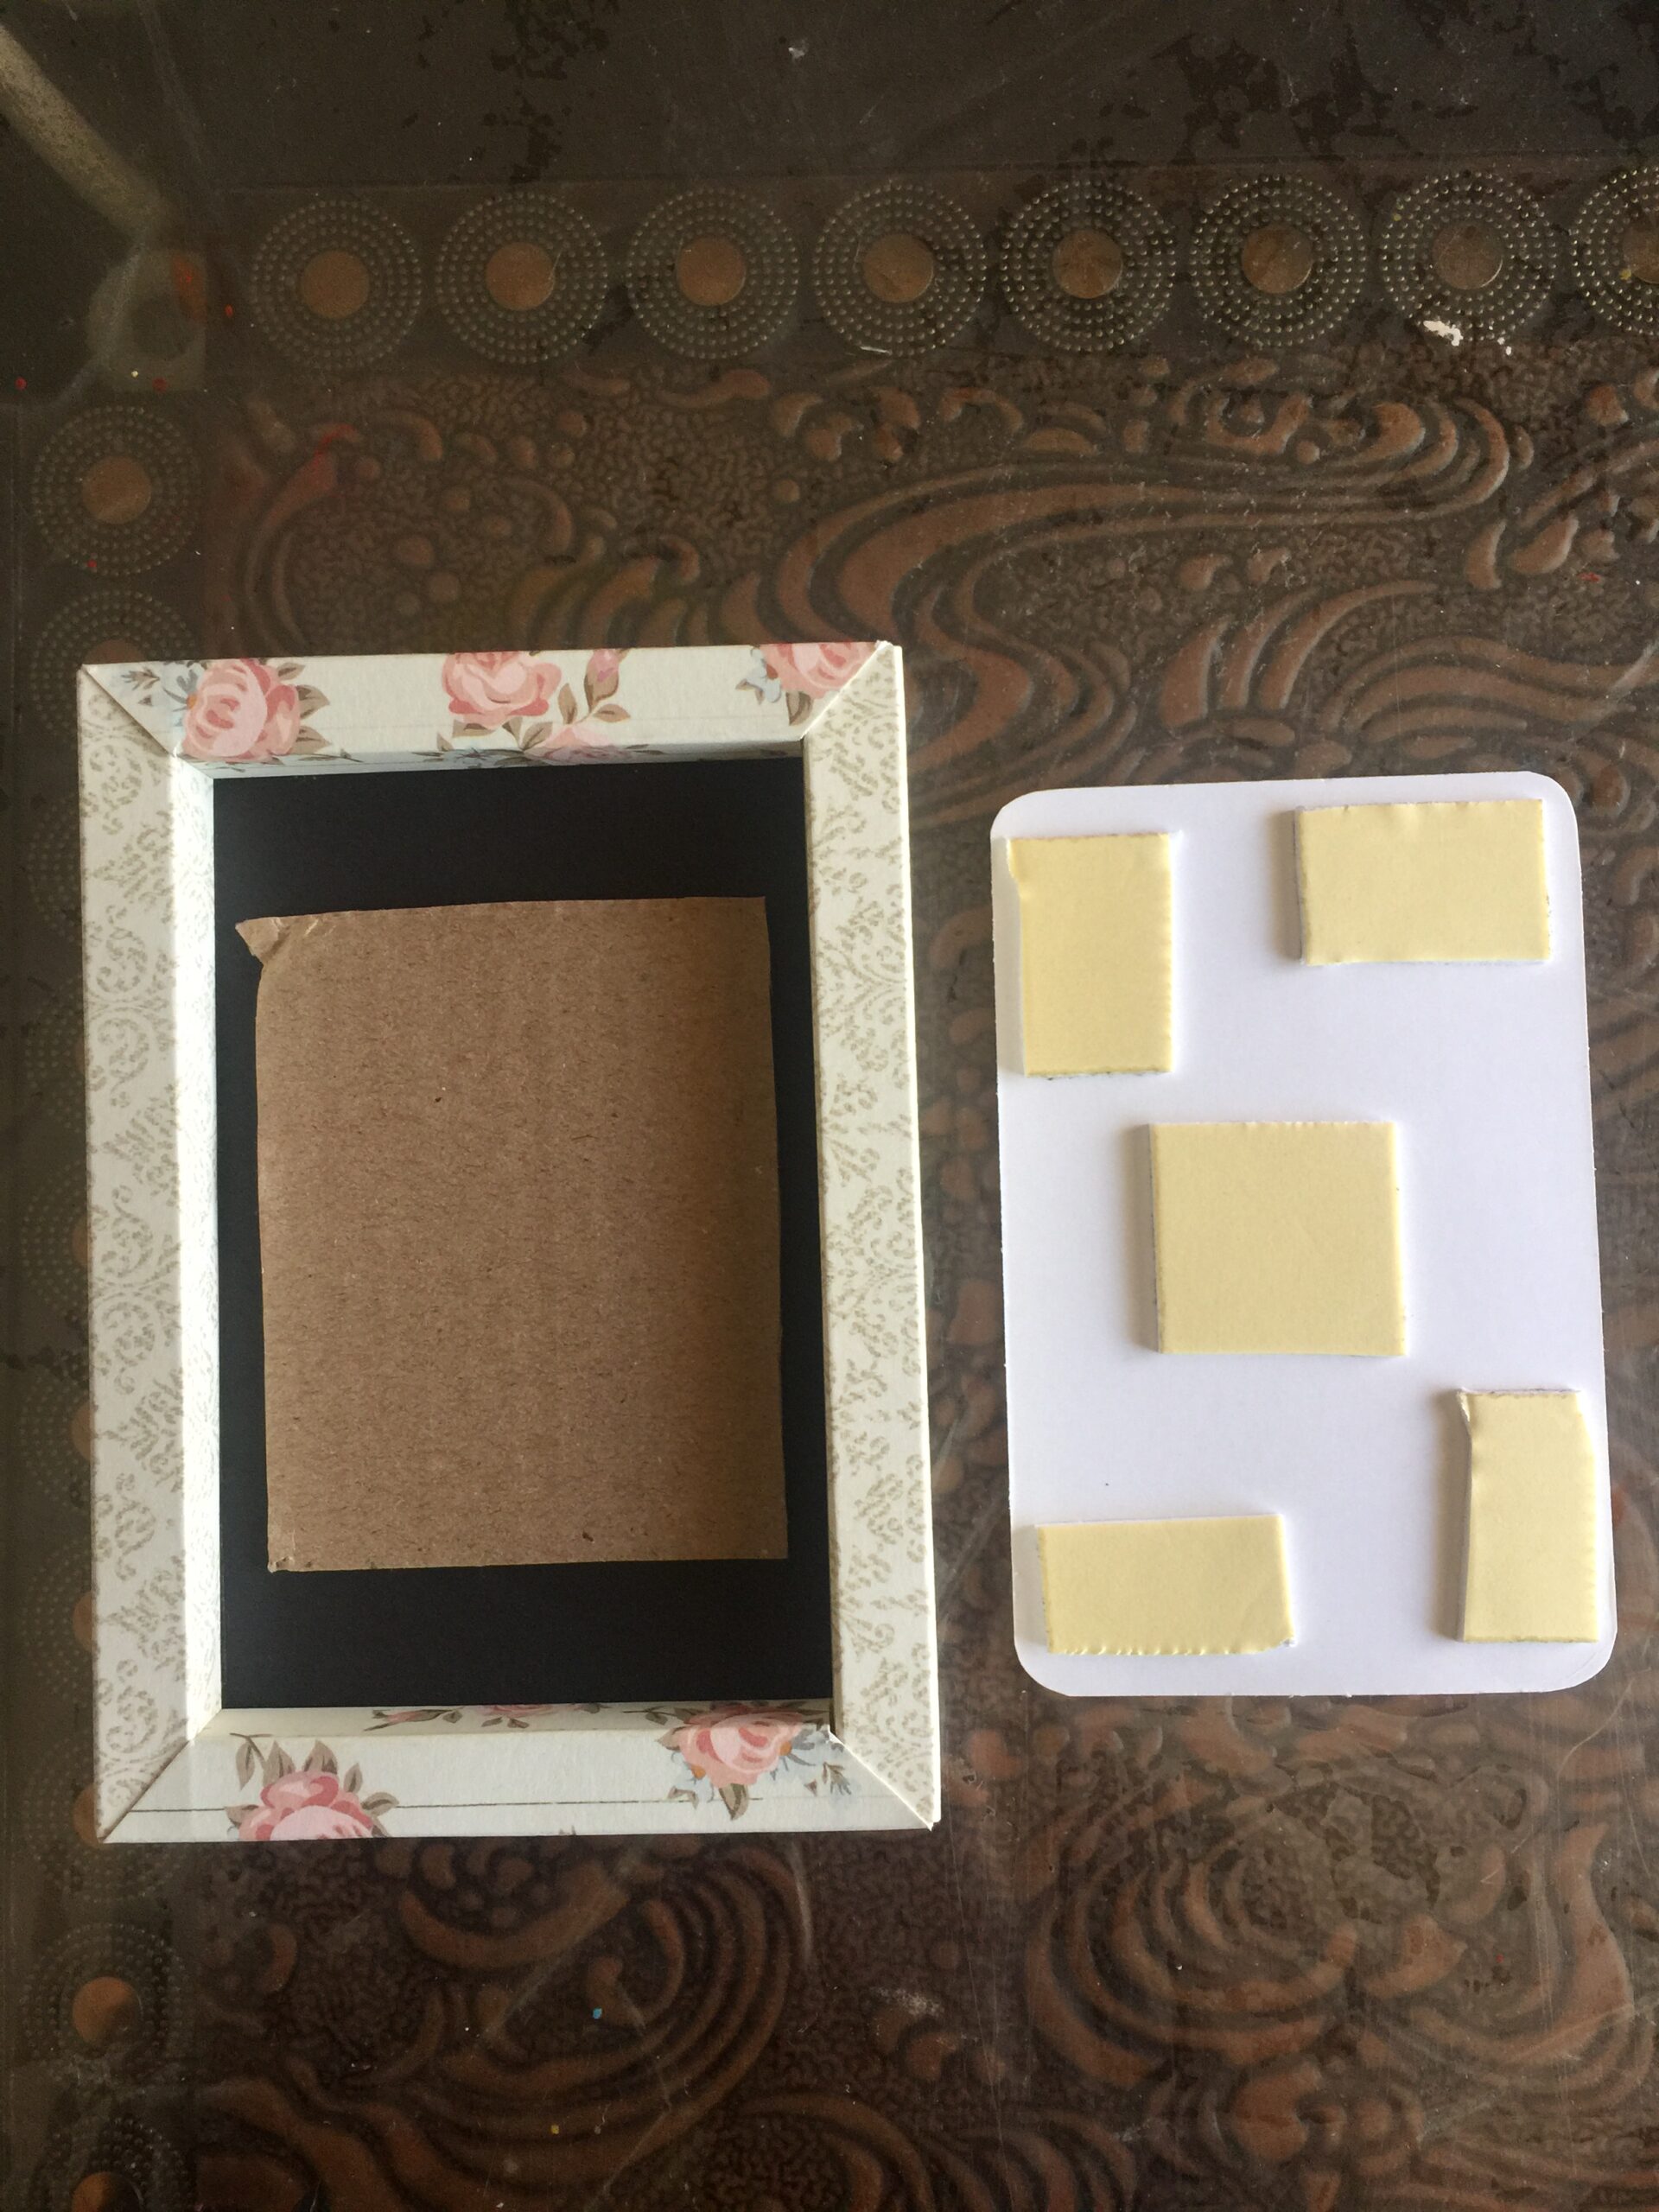
STEP 10- In one of the shadow frame I have attached a chipboard sentiment. For that I have taken a black card stock of 6’/4′ and adhere red tacky tape on all the 4 sides and attached it with one of the shadow frames. Then I have cut 8cm / 12.5cm from the cover page of the paper pack and trimmed the corners and attached double sided foam tape to it. Now to give extra embossed effect I have used a piece of cardboard and fixed it in the center of frame. Then place the pattern paper as shown.
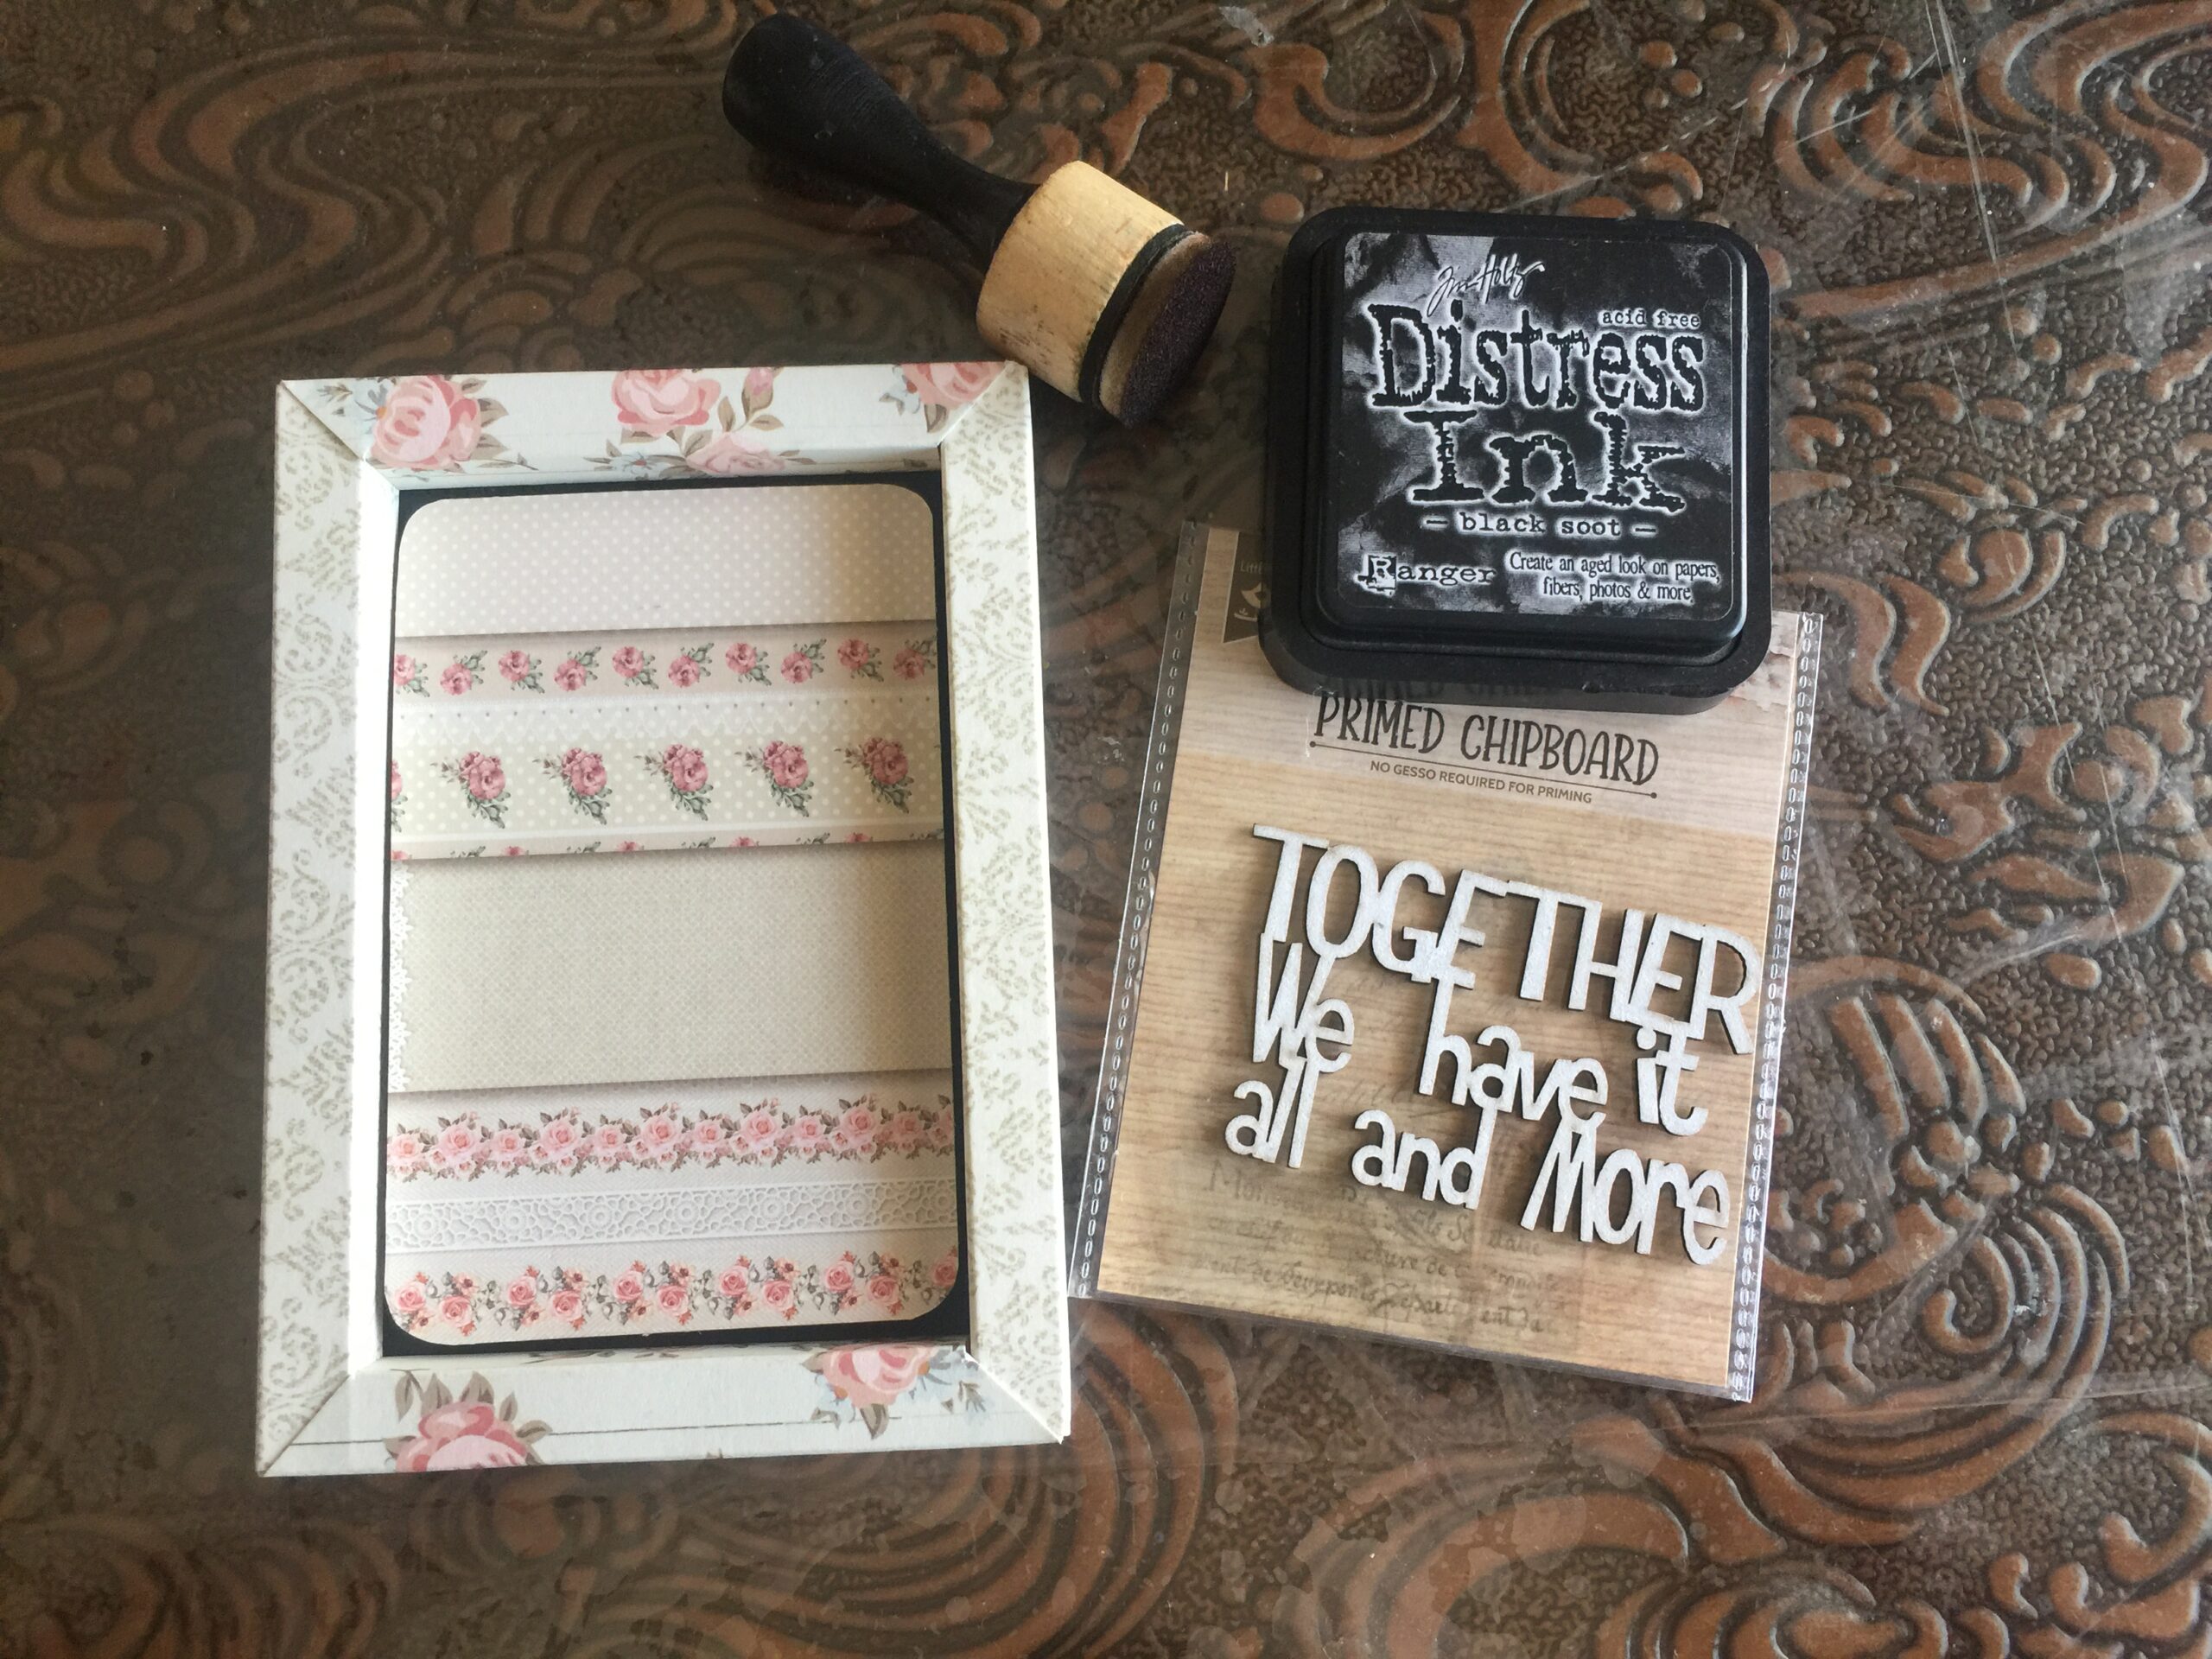
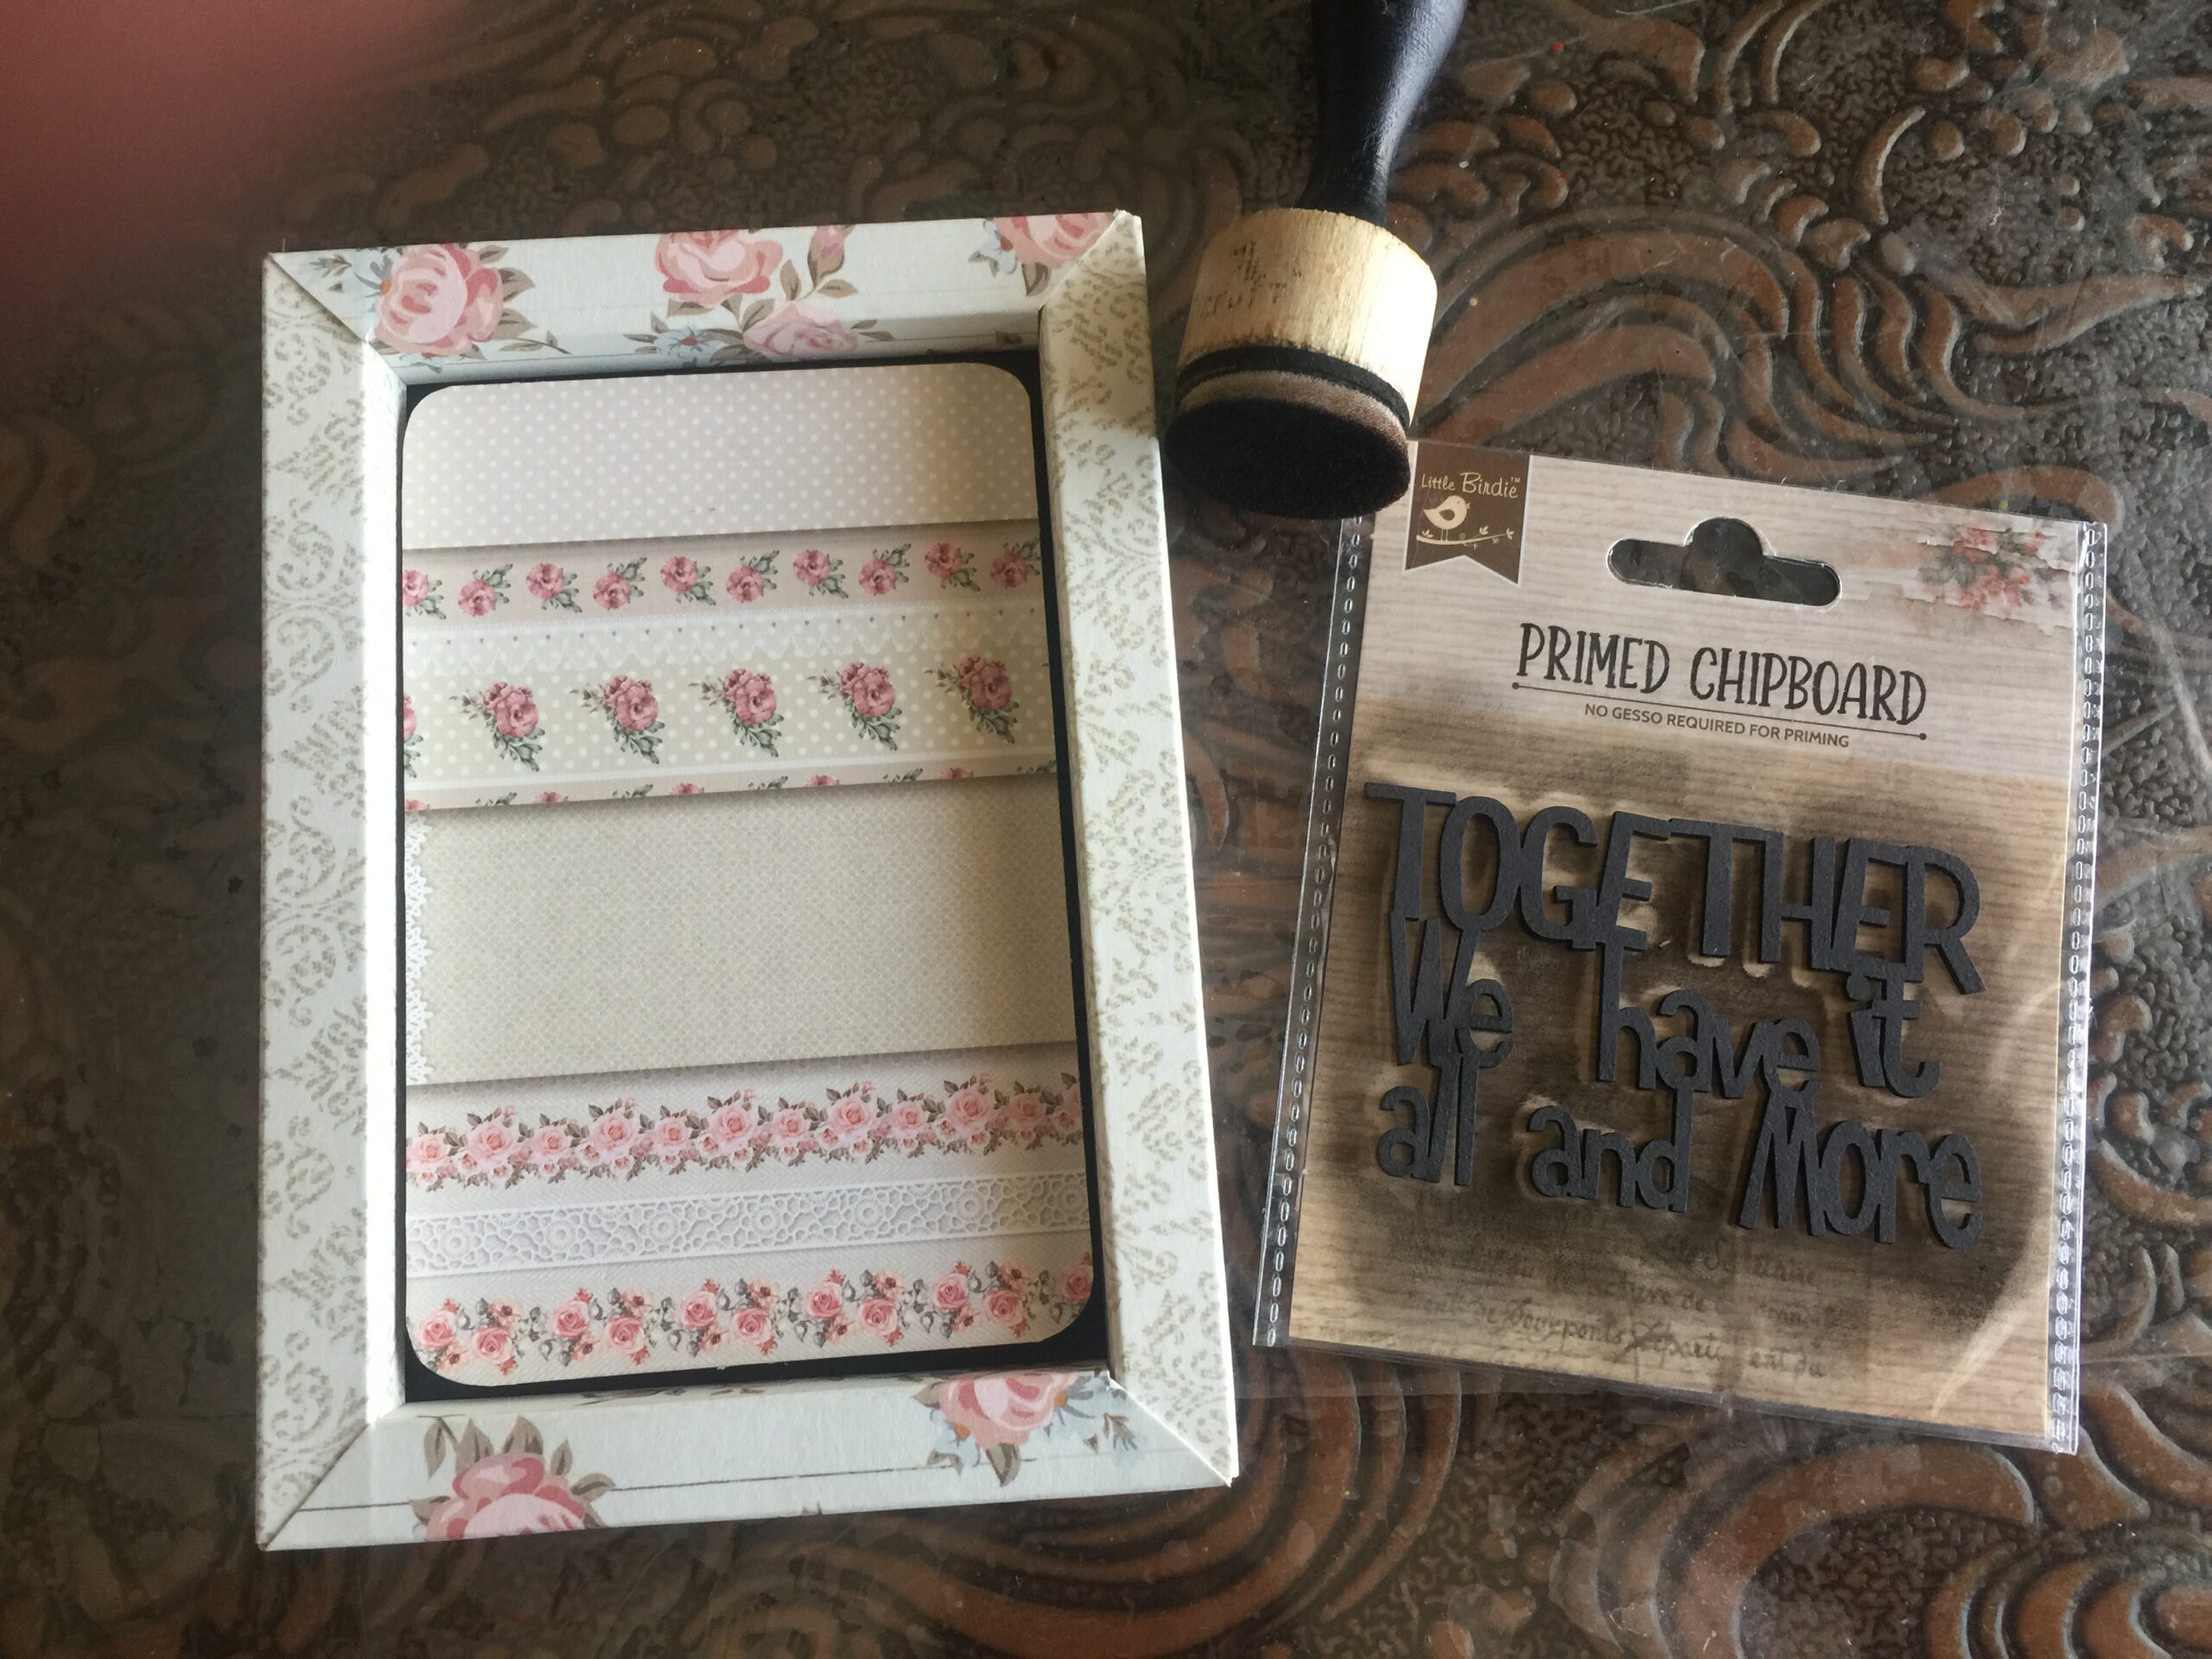
STEP 11- I have used primed chipboard and colored it in black with black distressed ink and fixed it with glue.
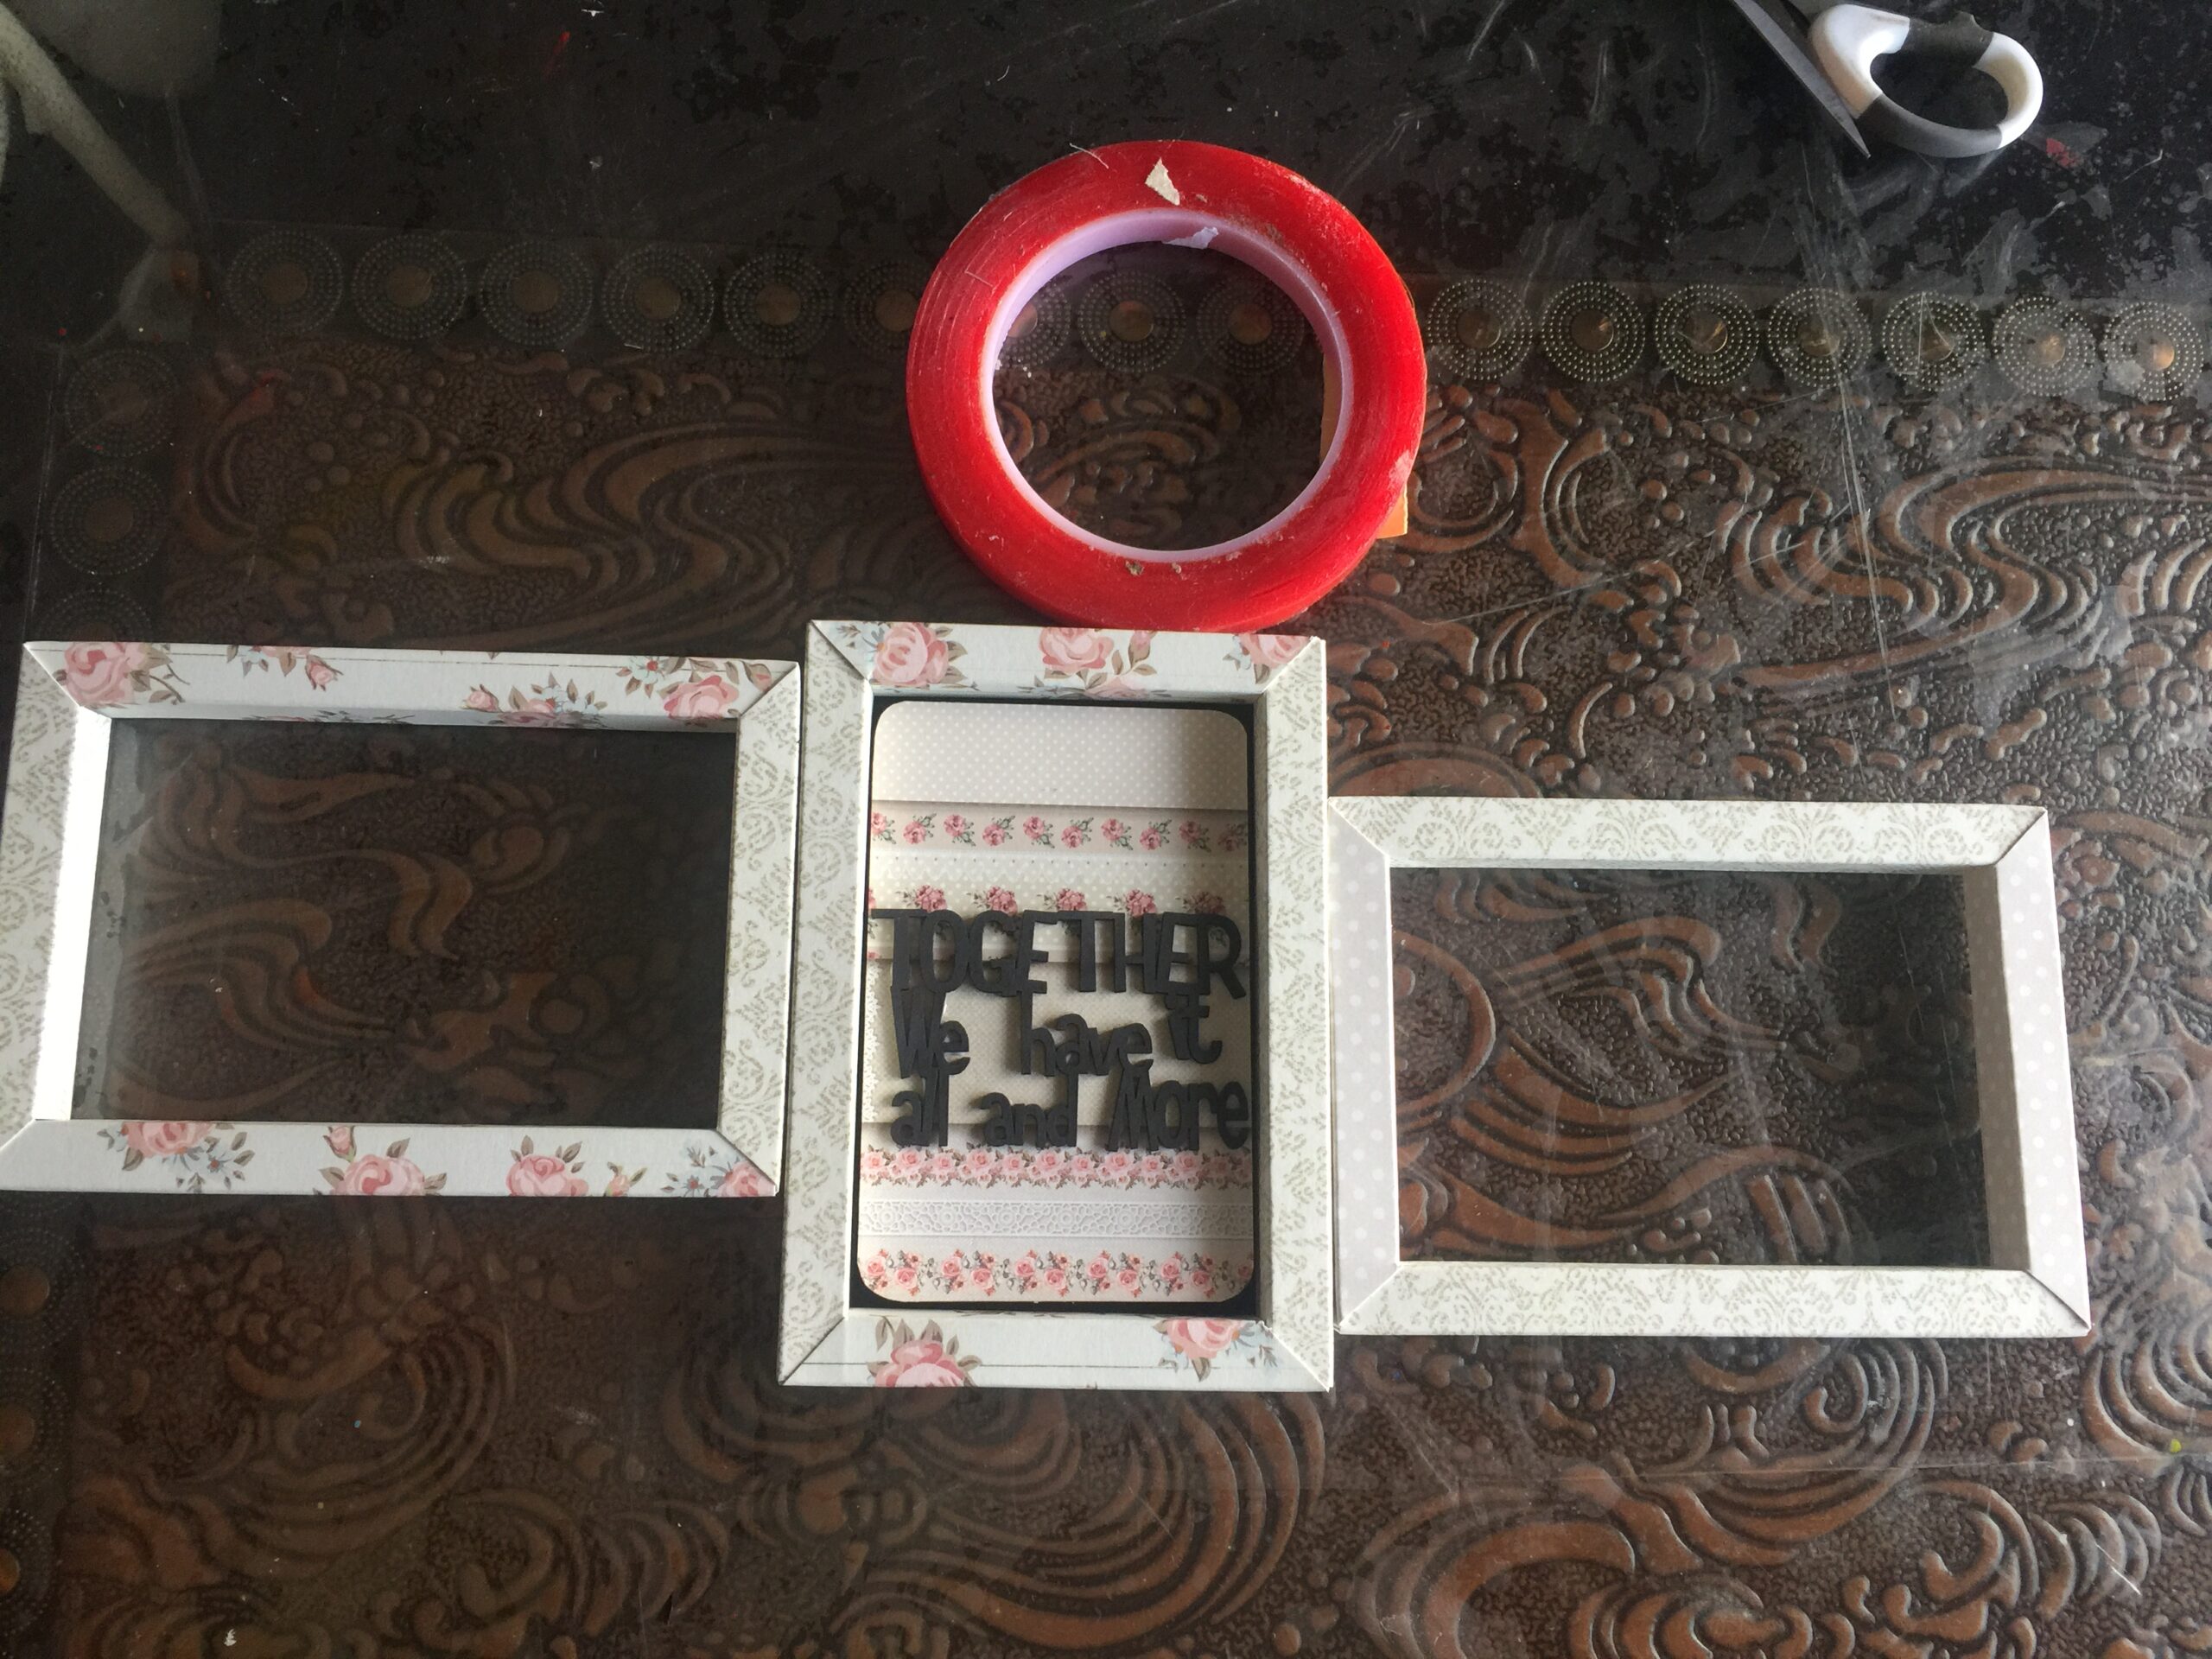
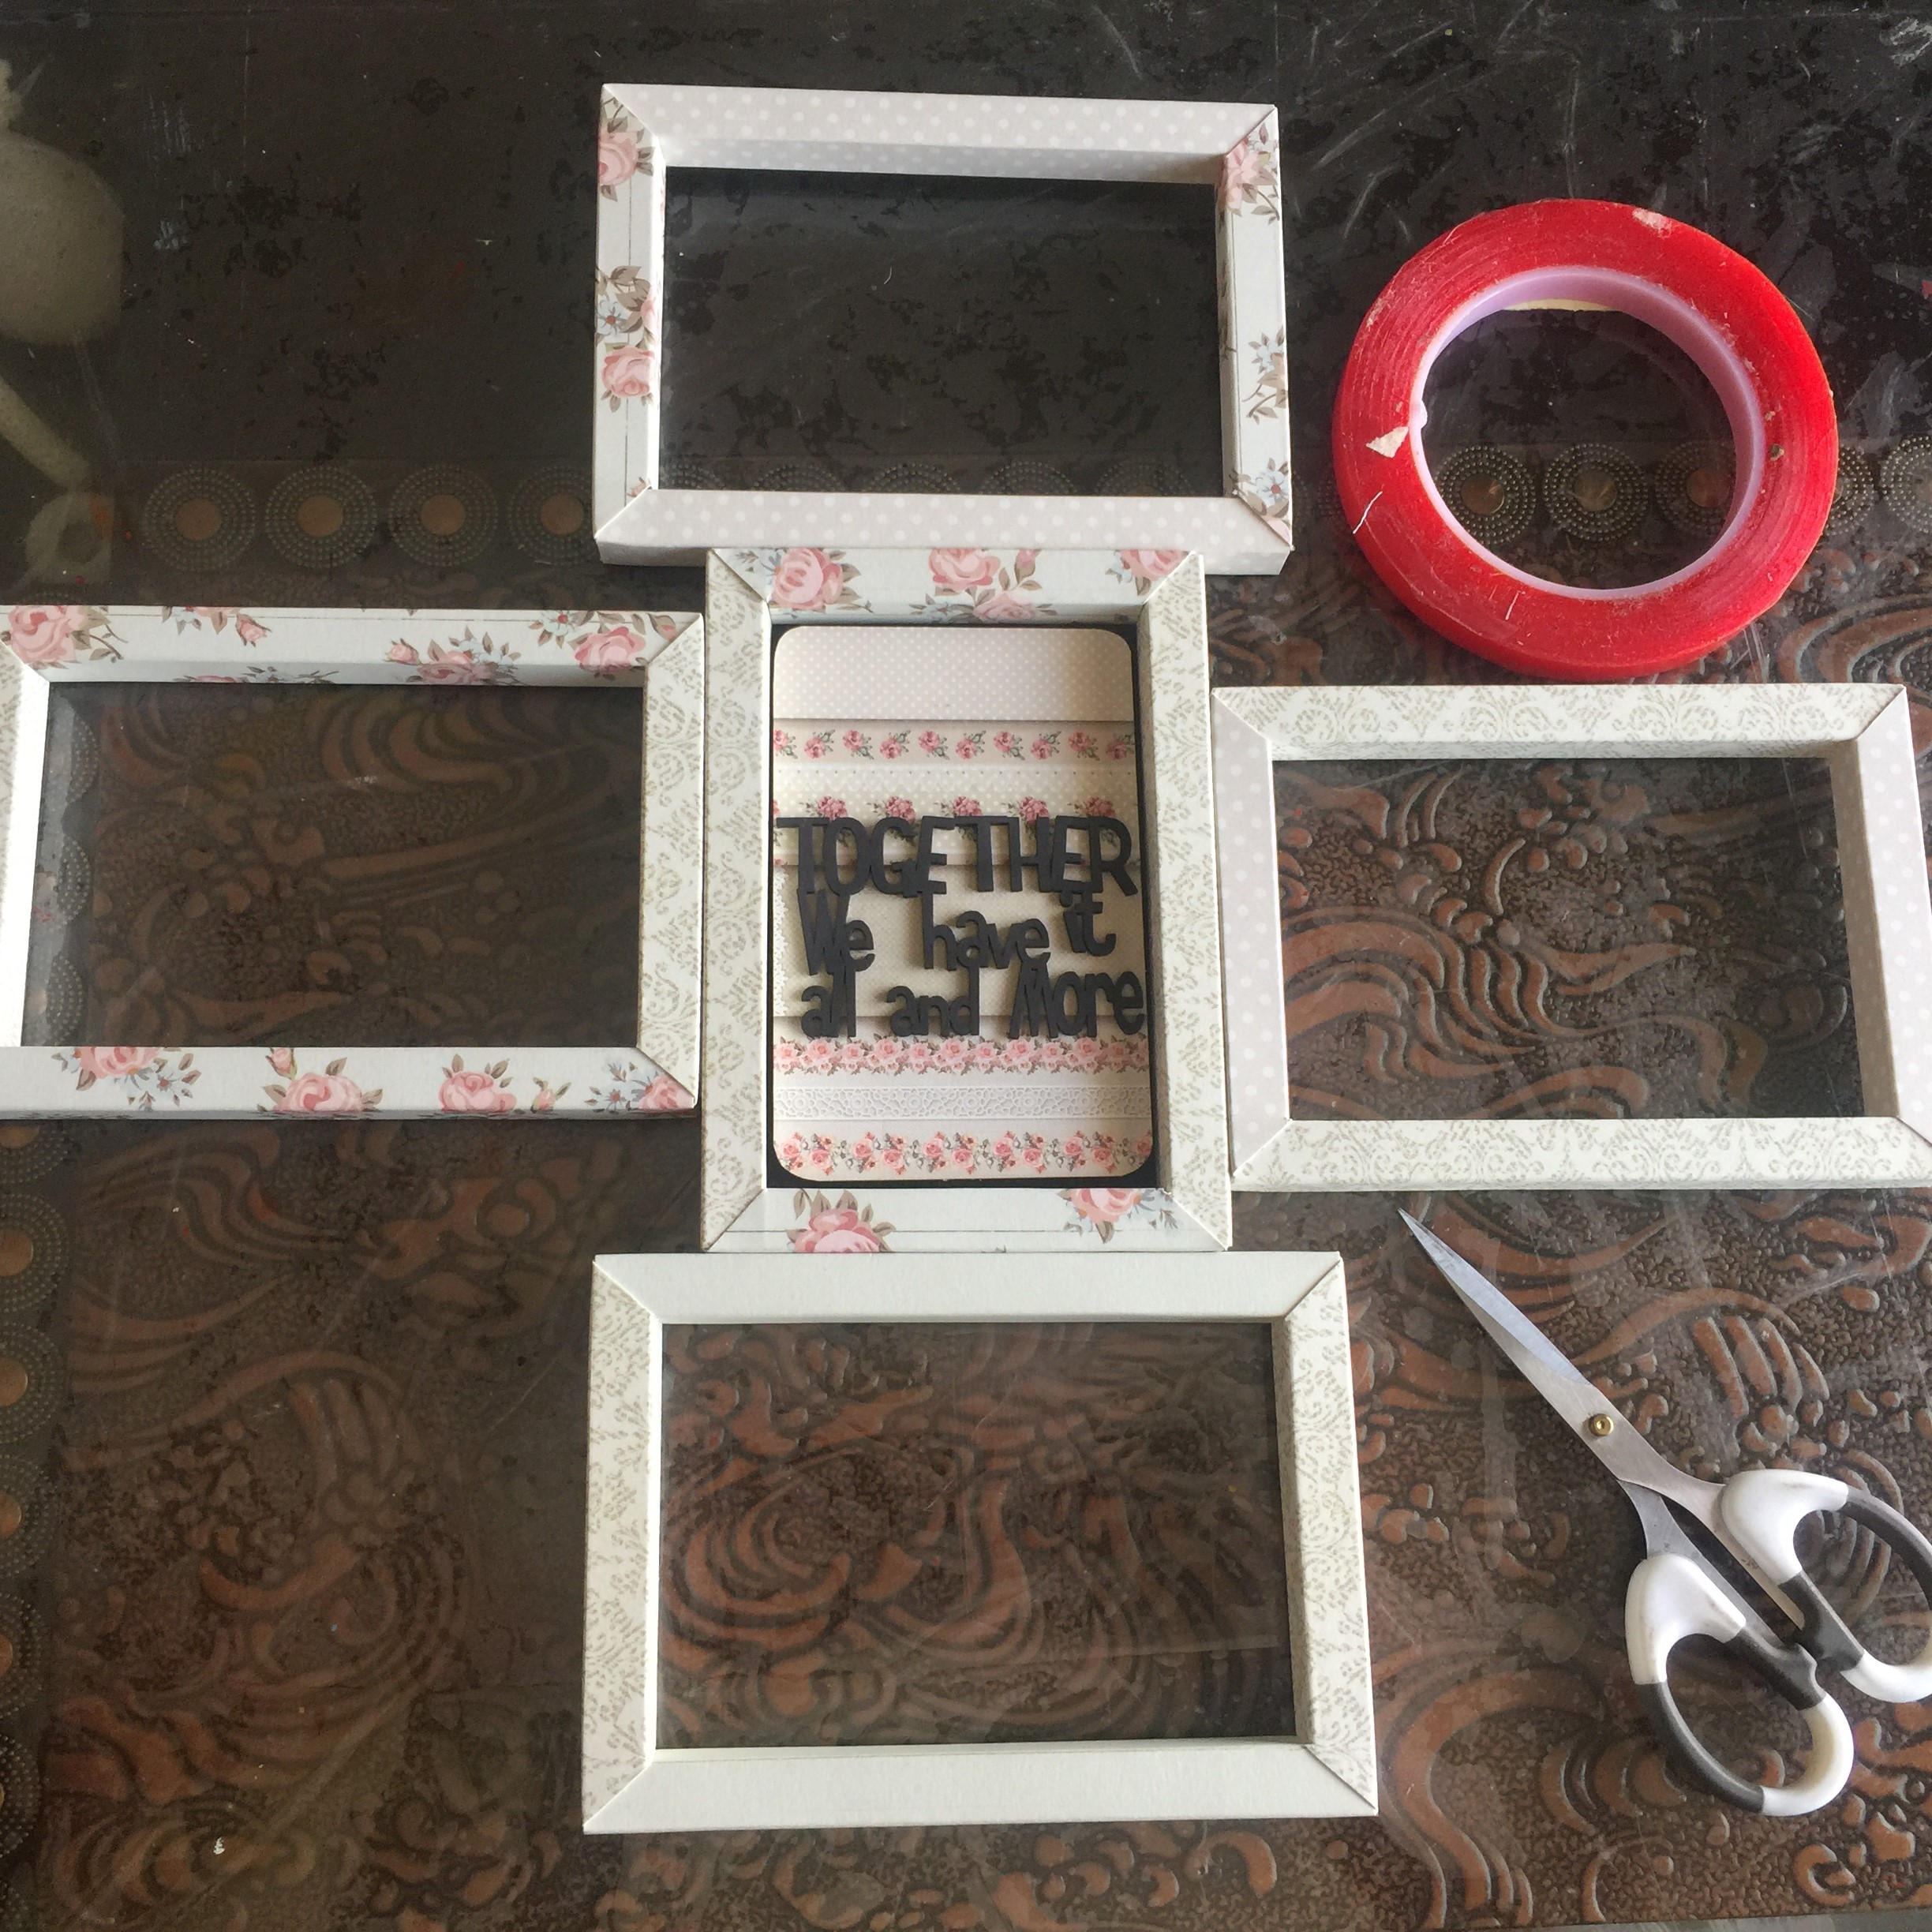
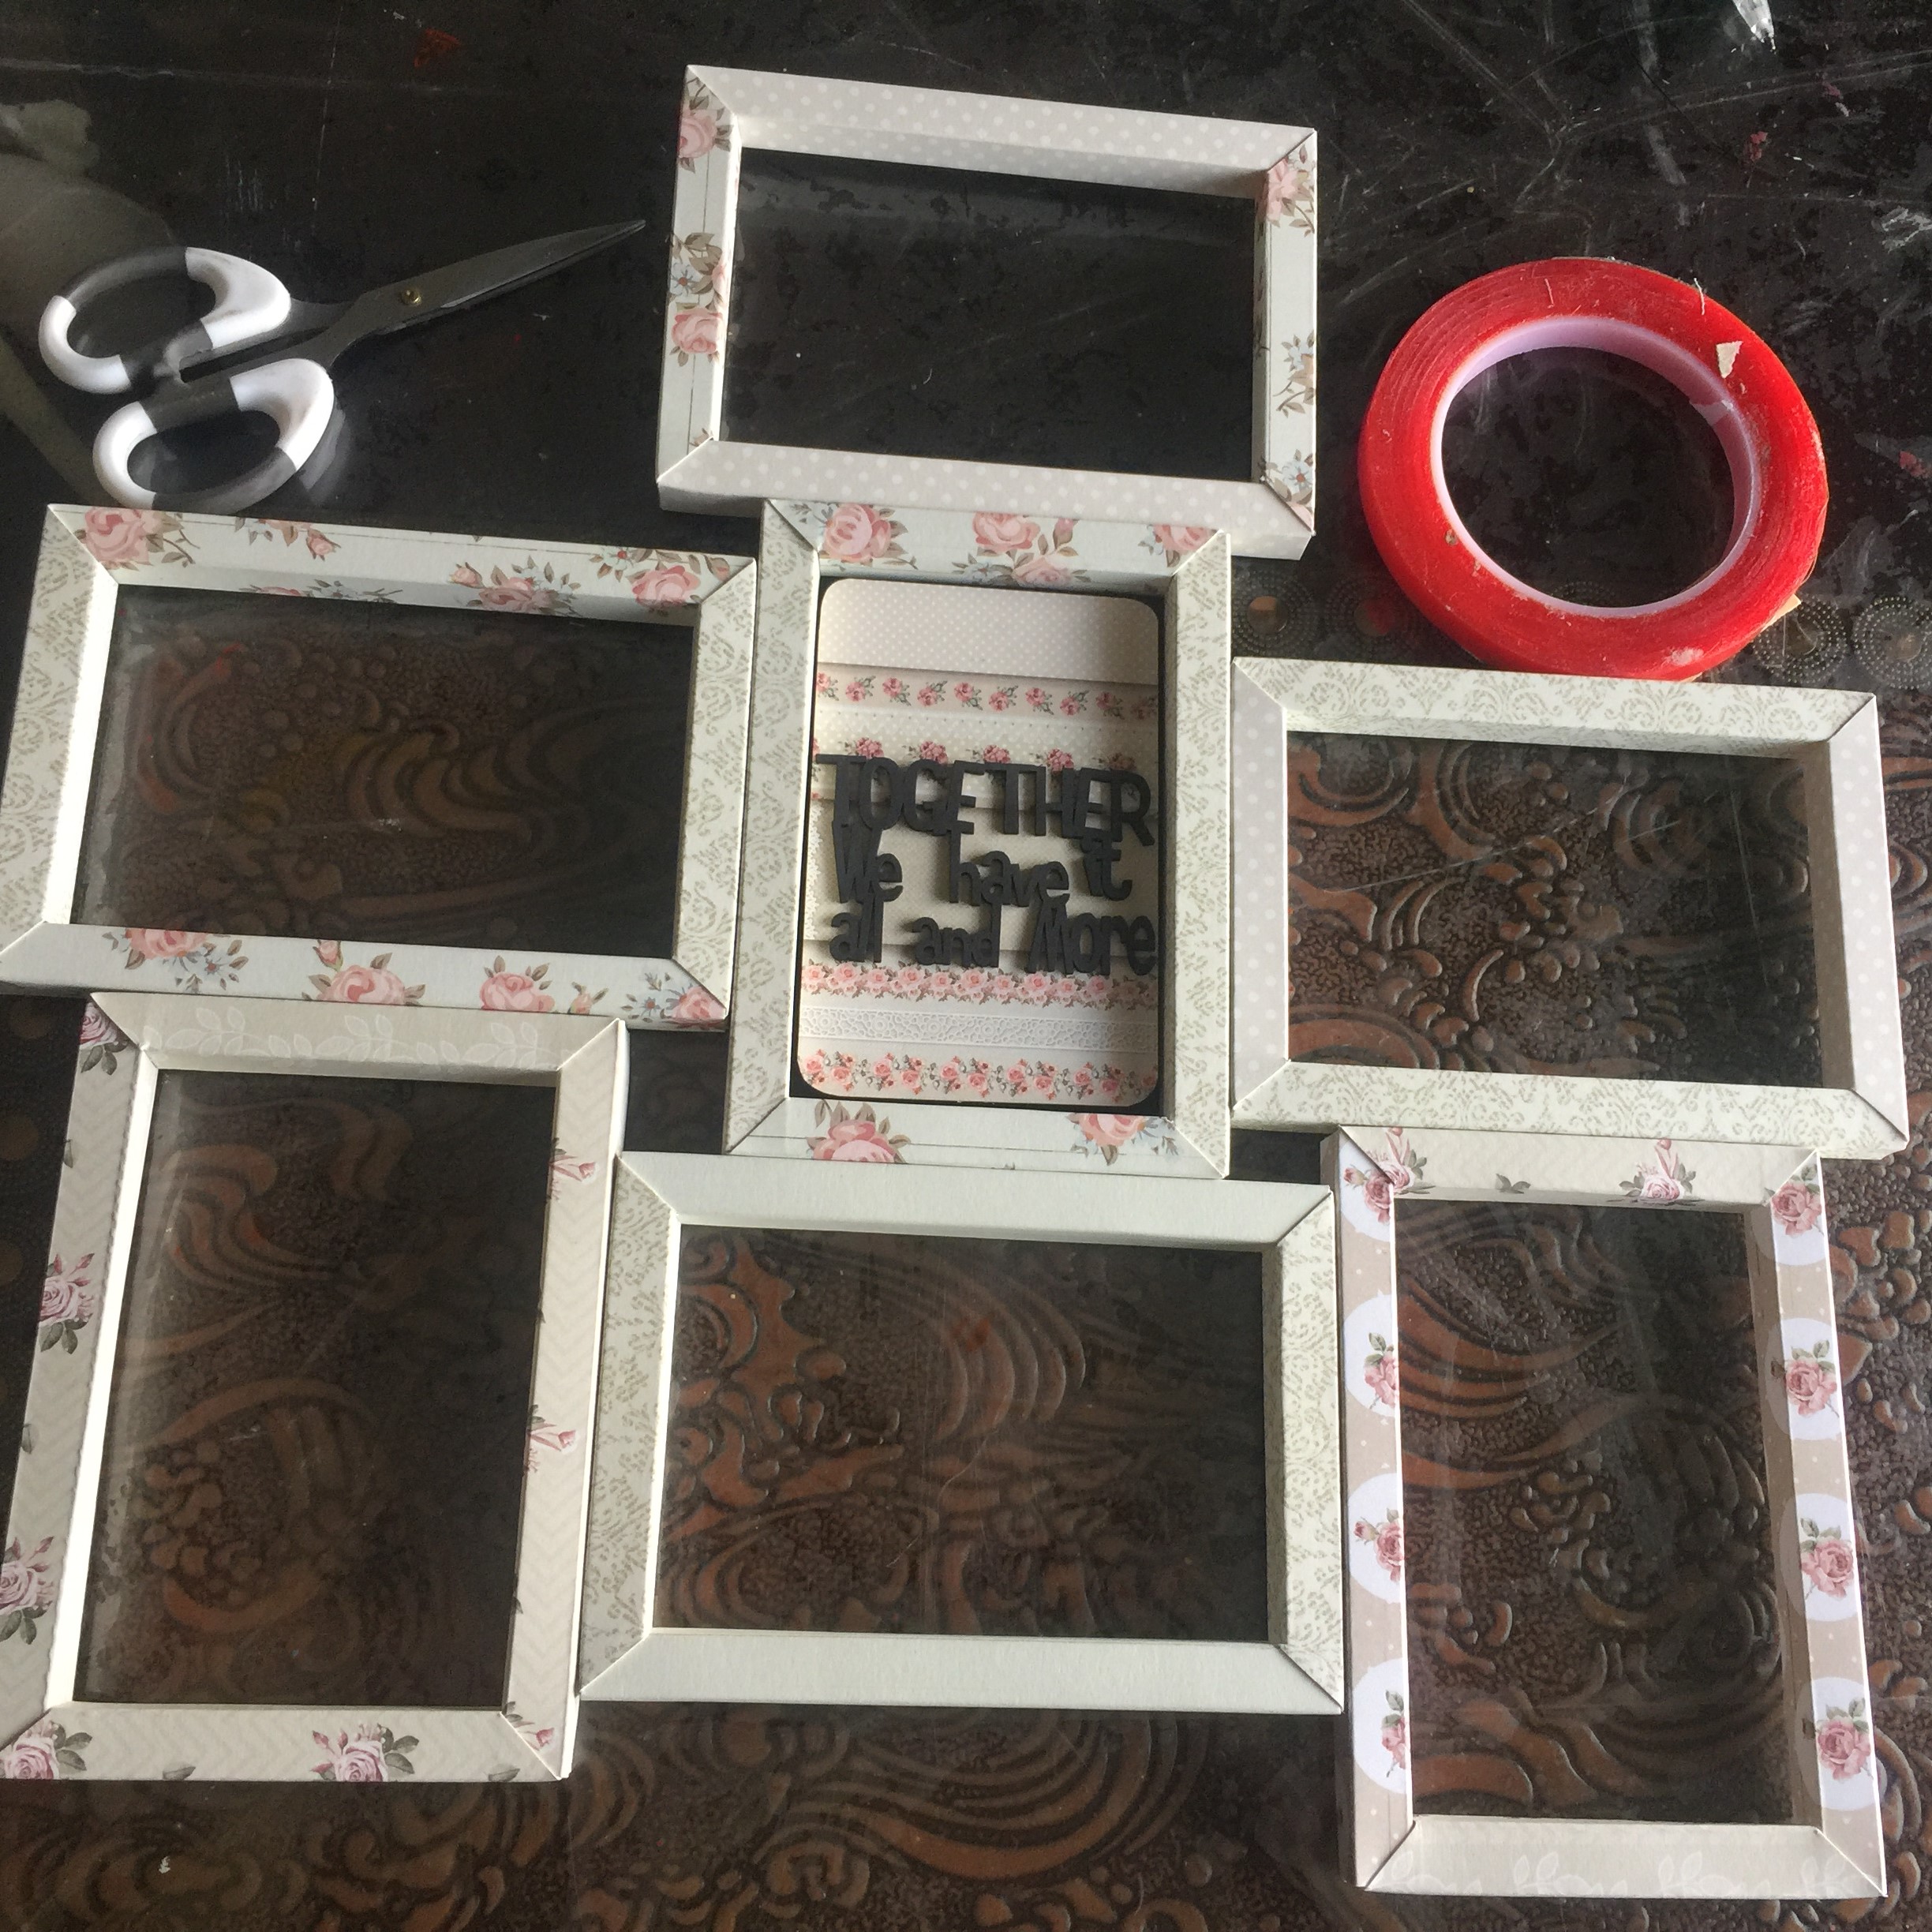
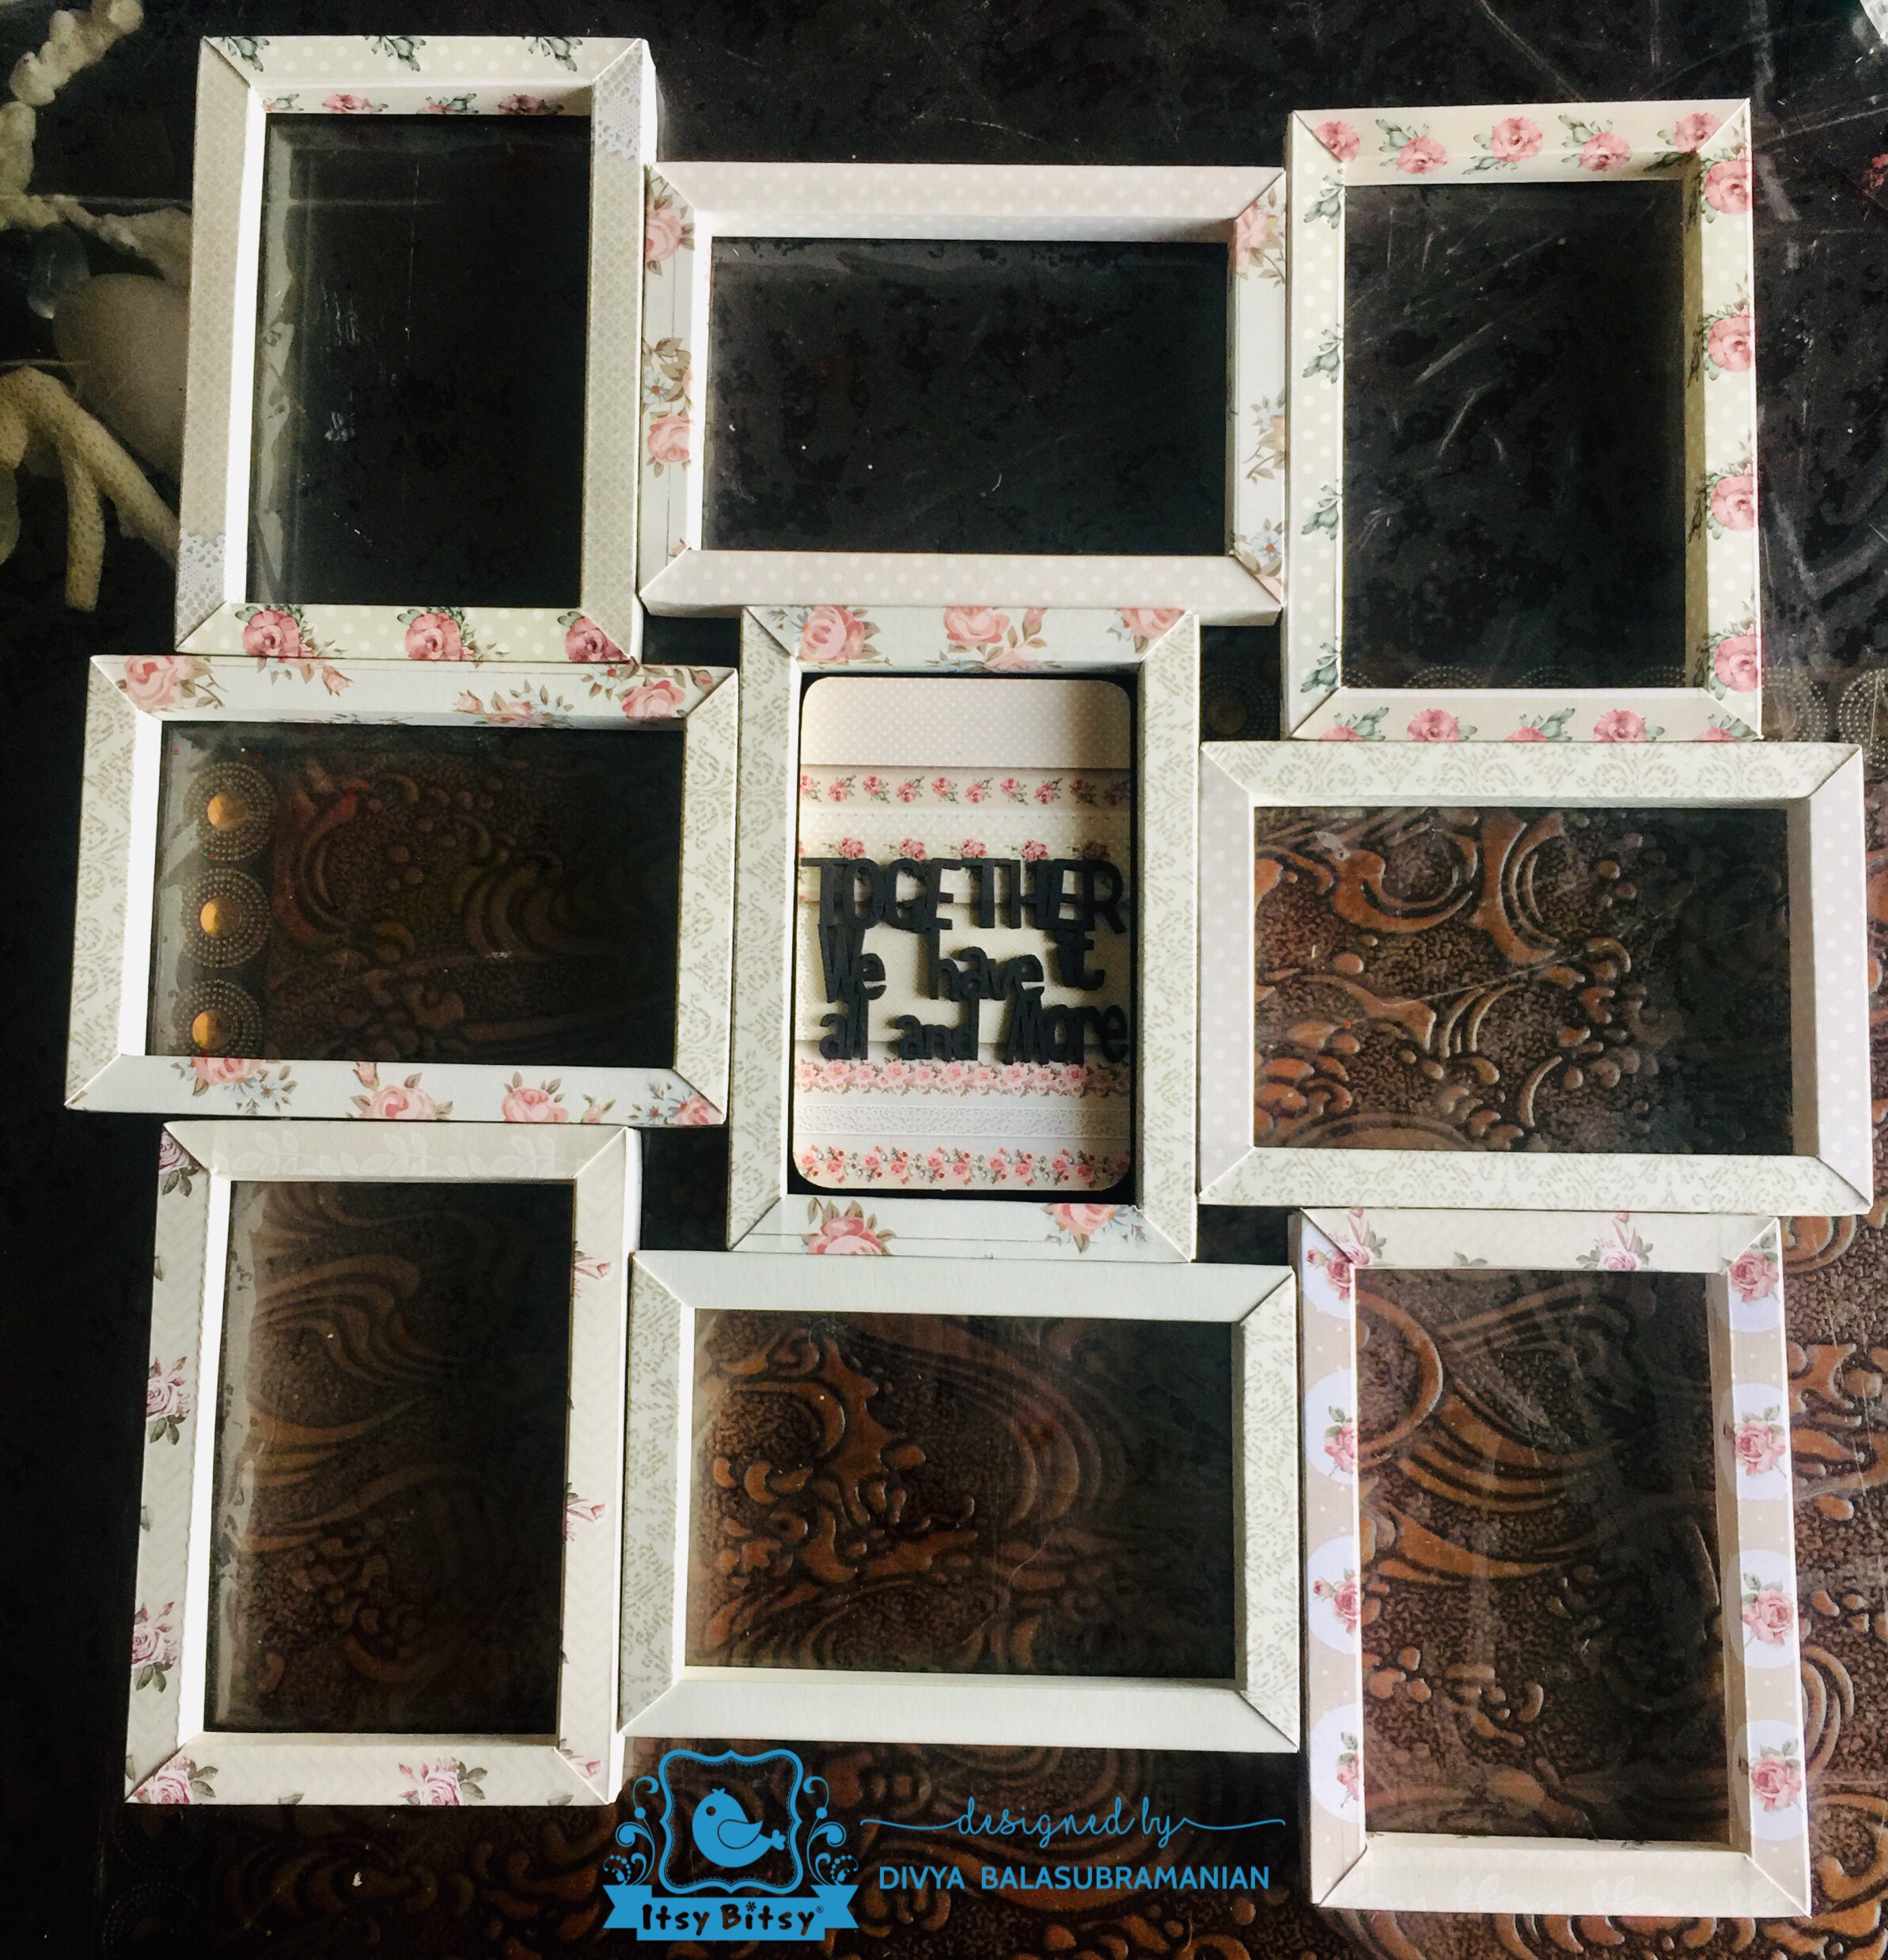
STEP 12- Next, with the help of red double sided tacky tape arrange your frames as shown in the picture.
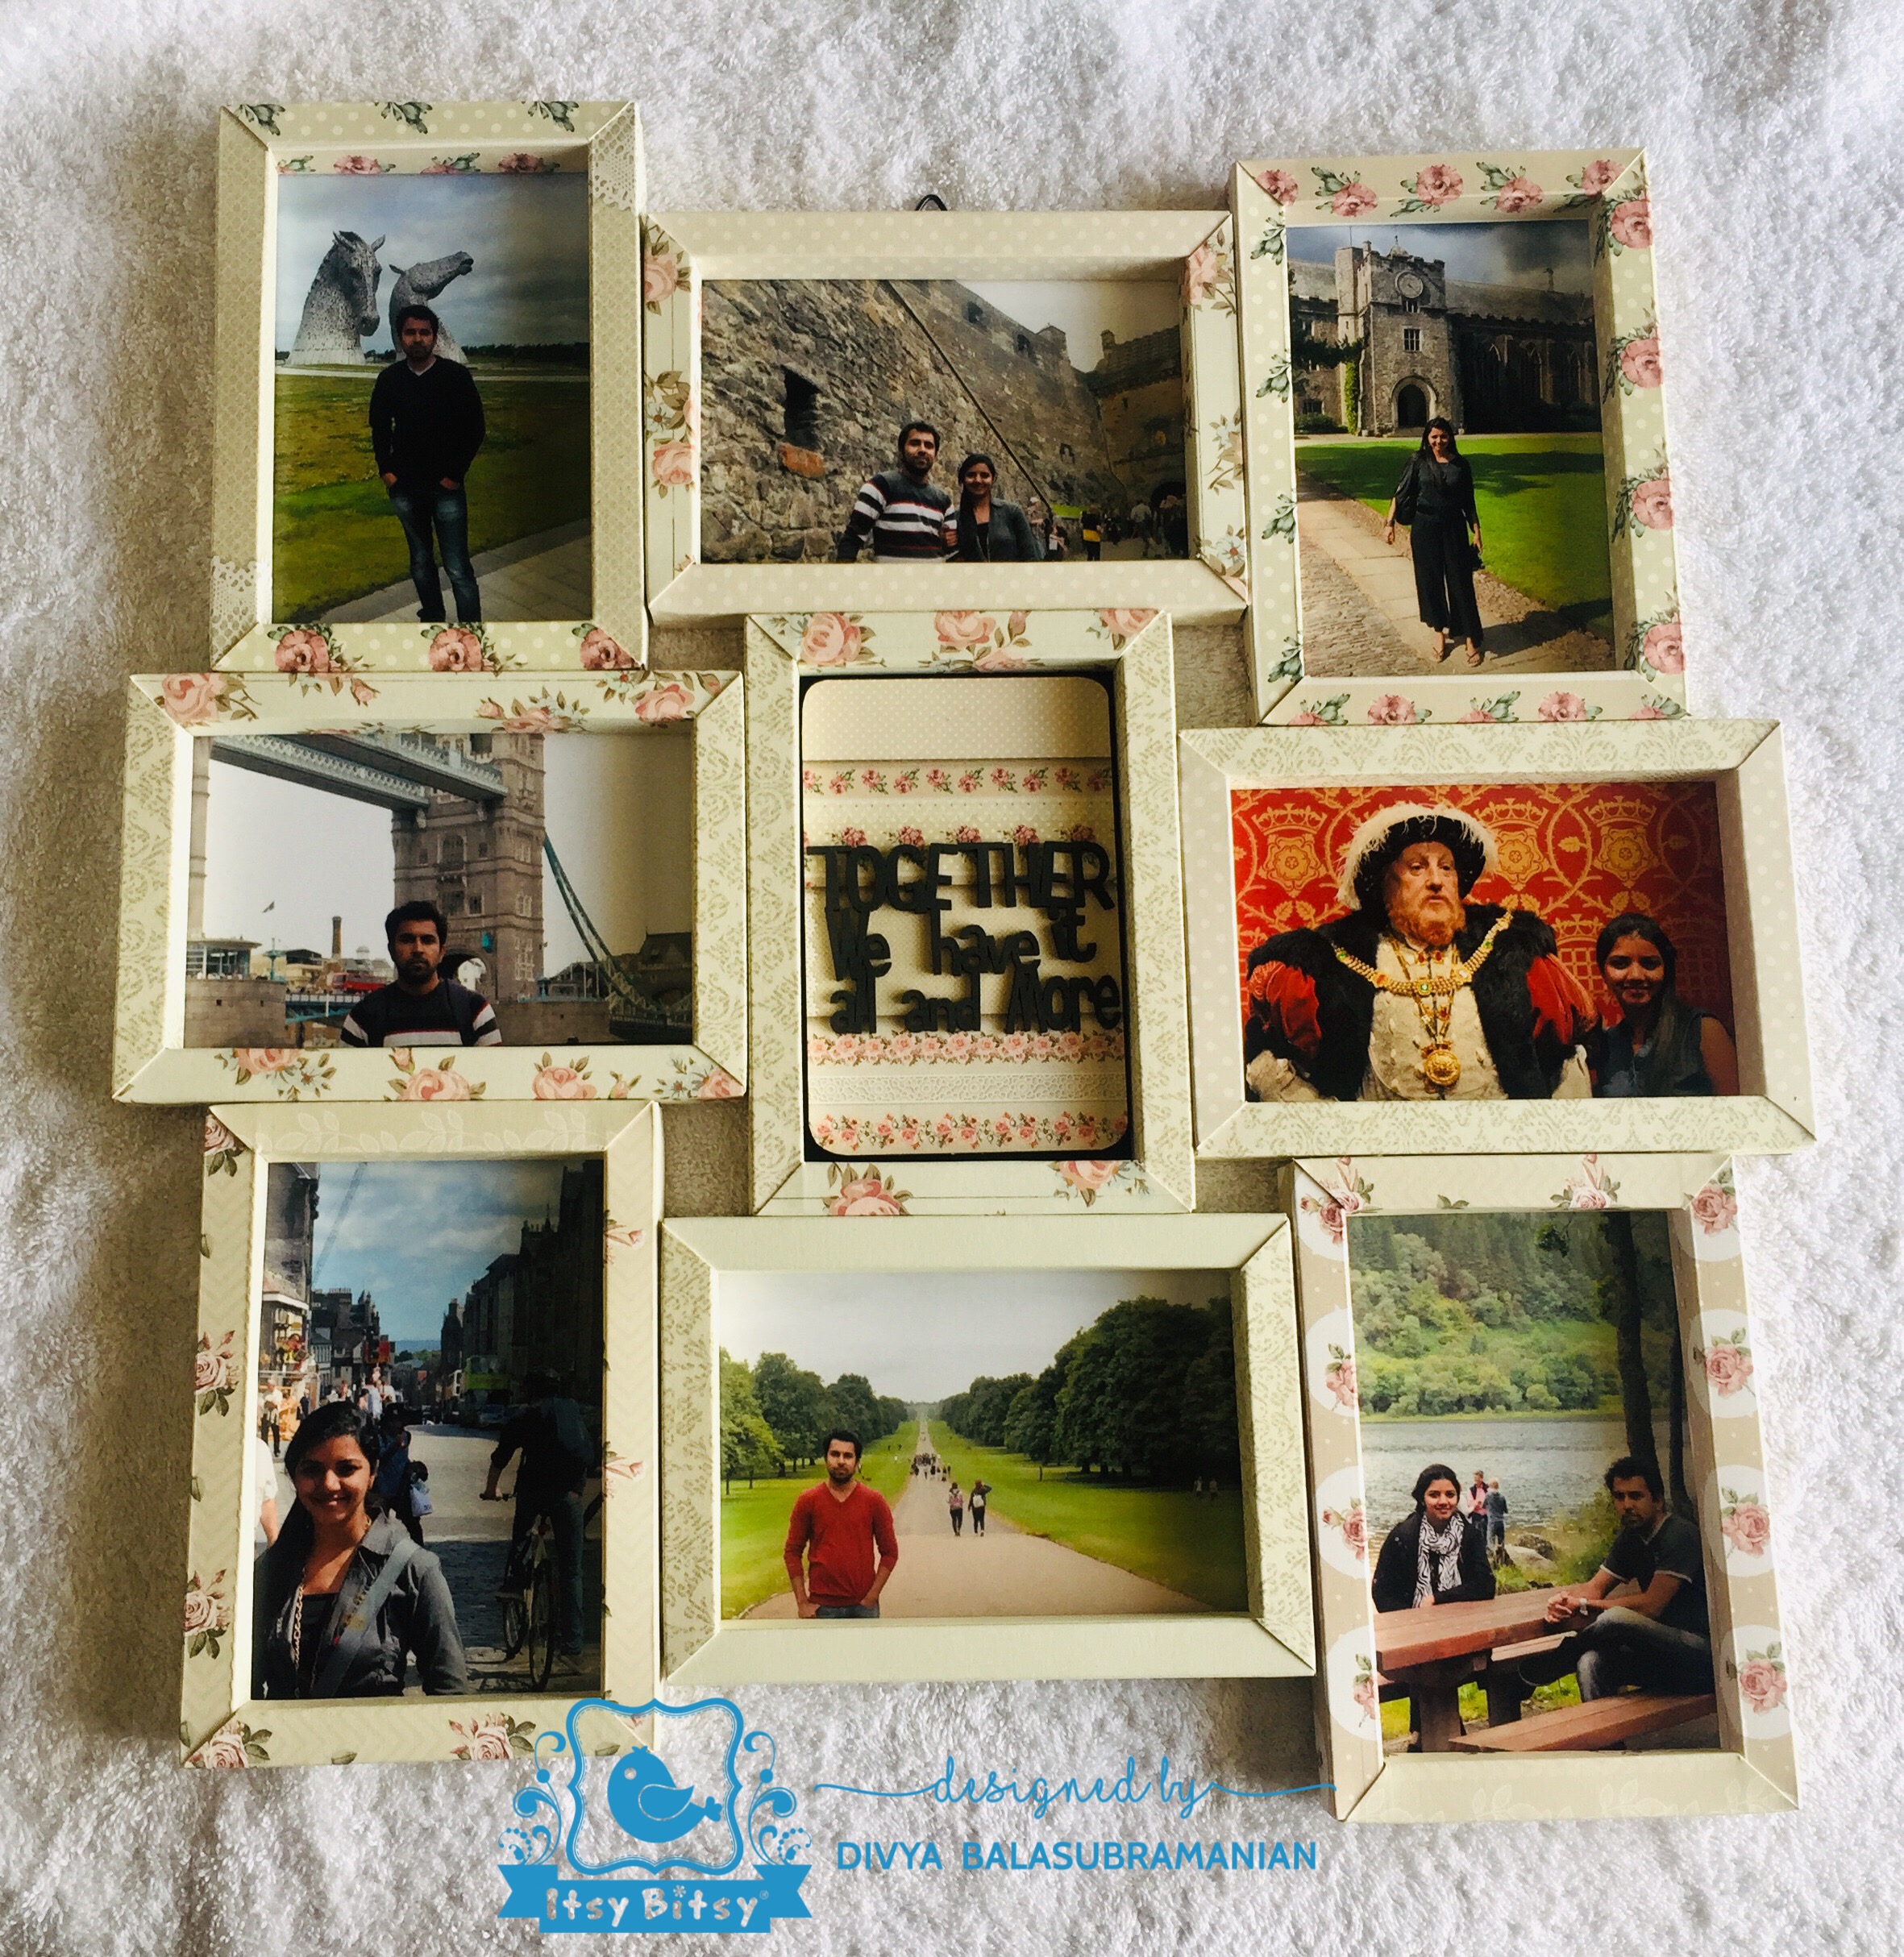

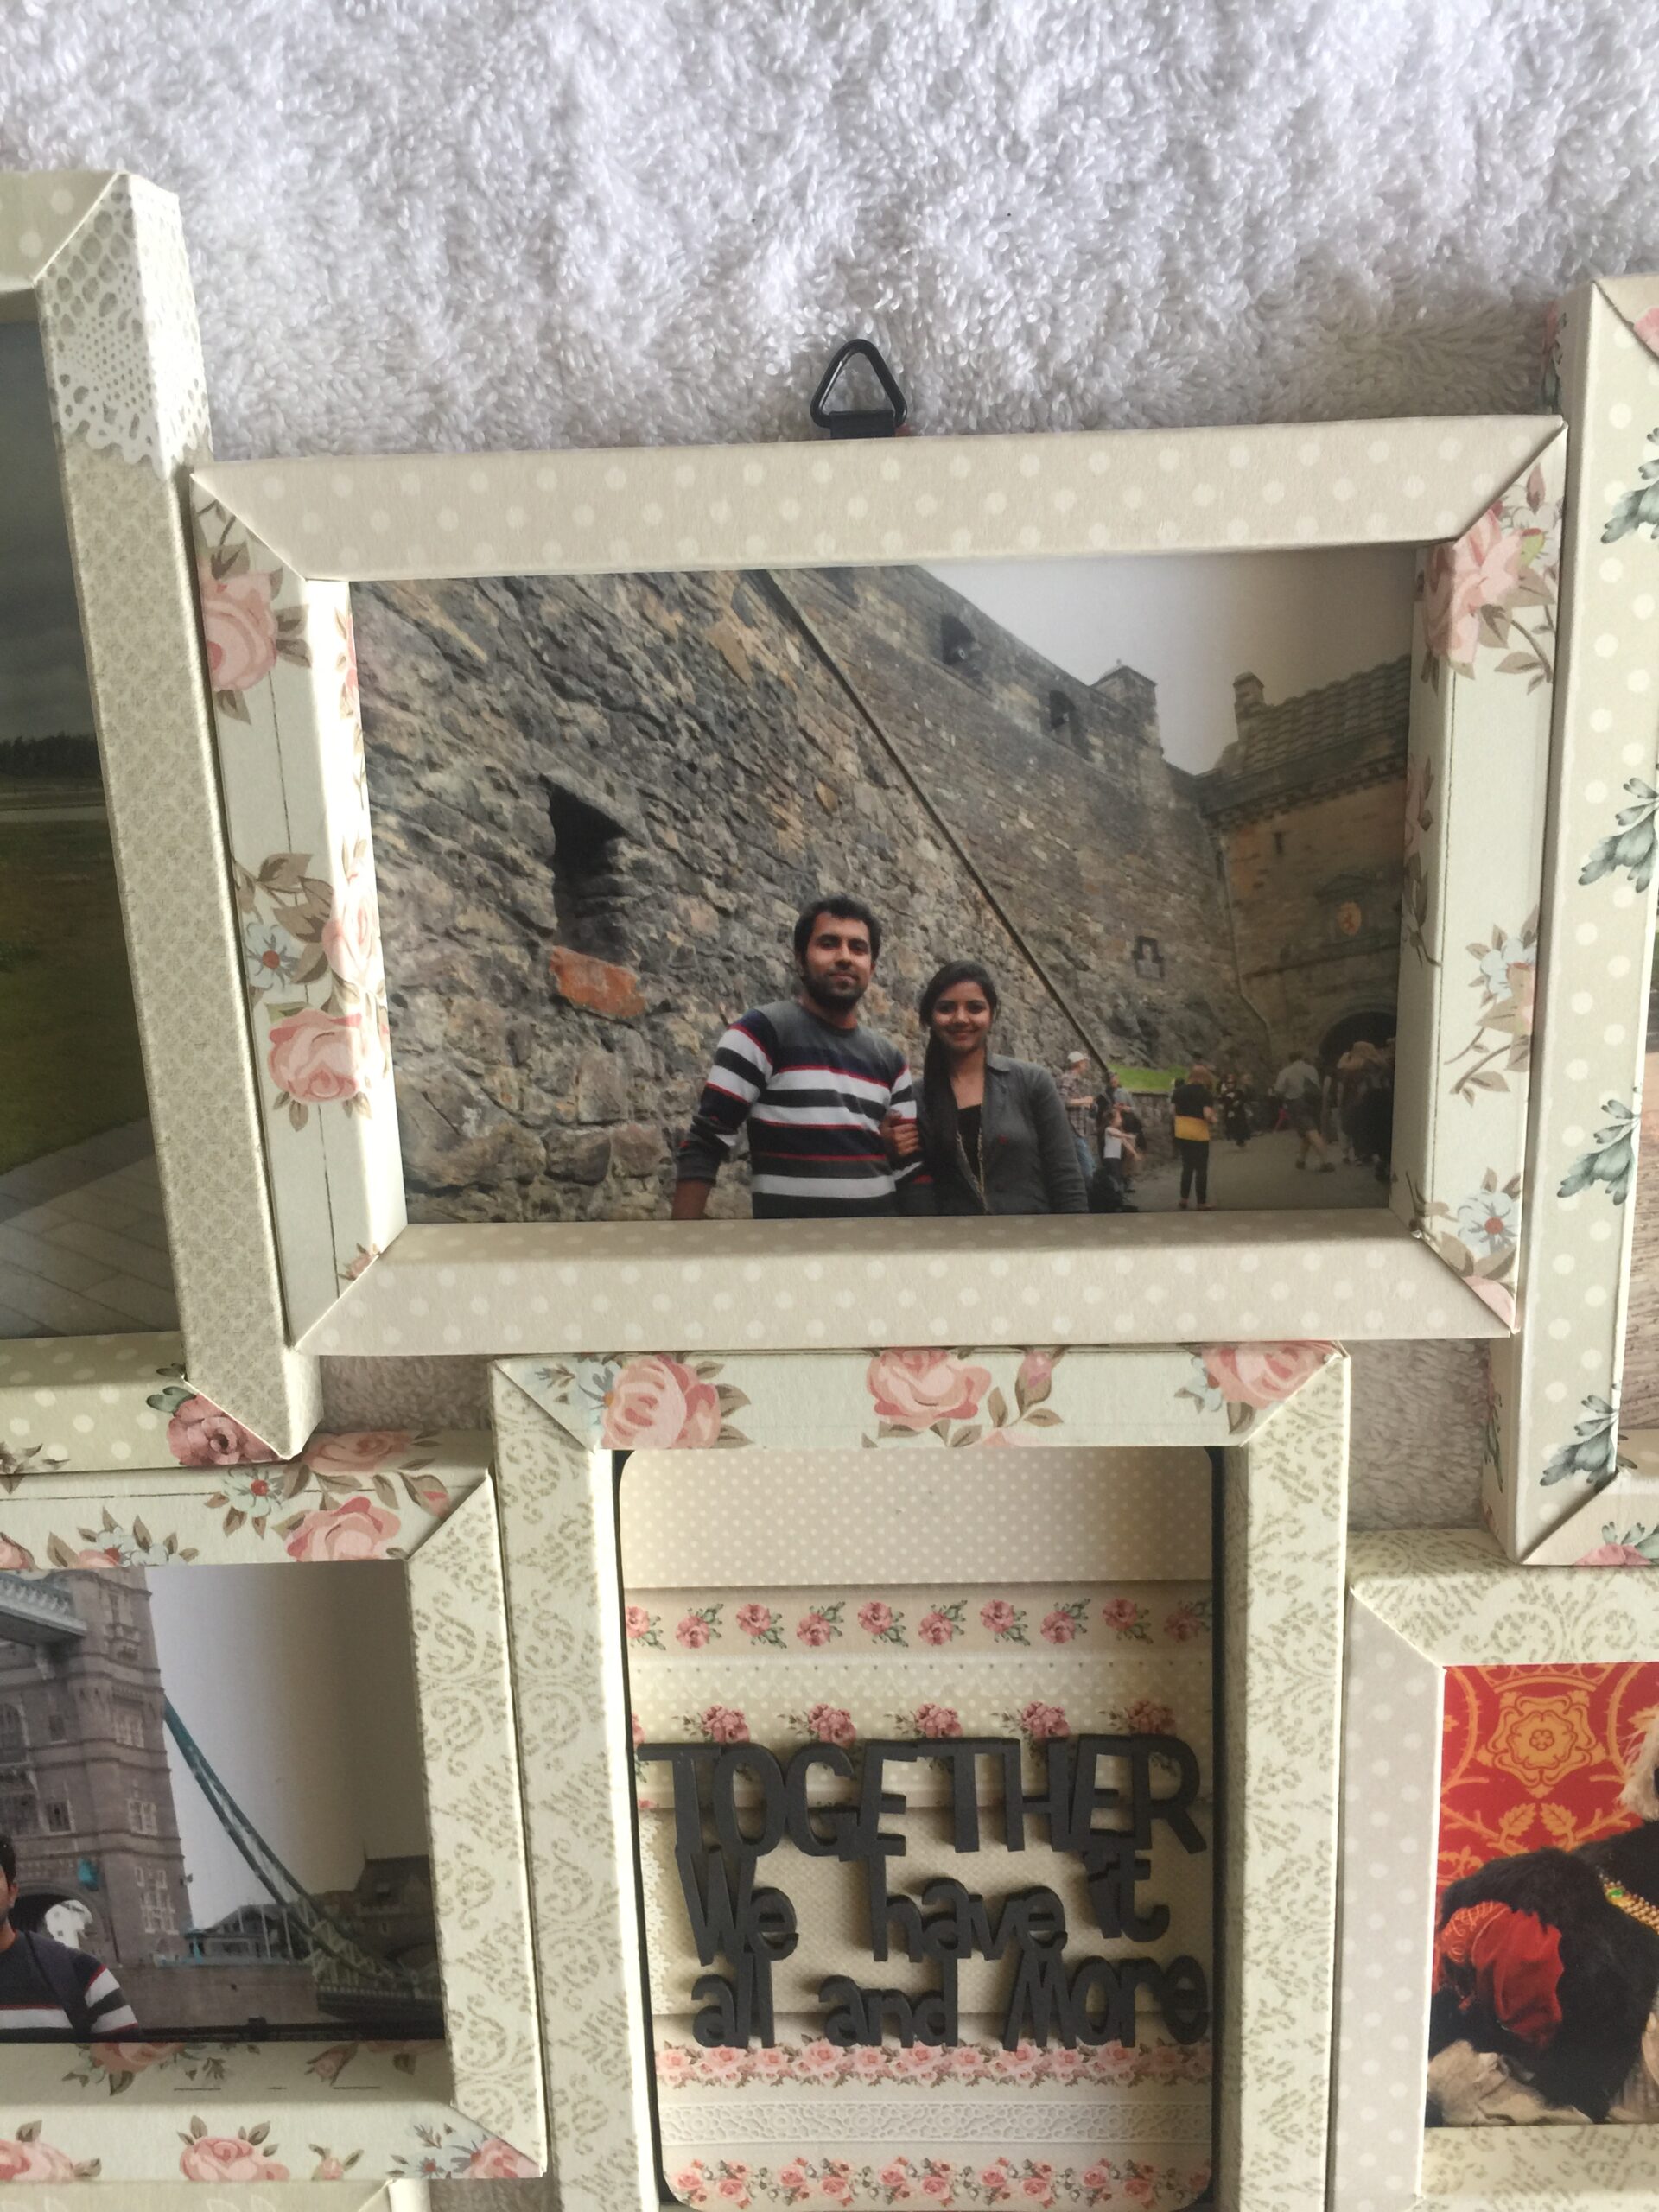
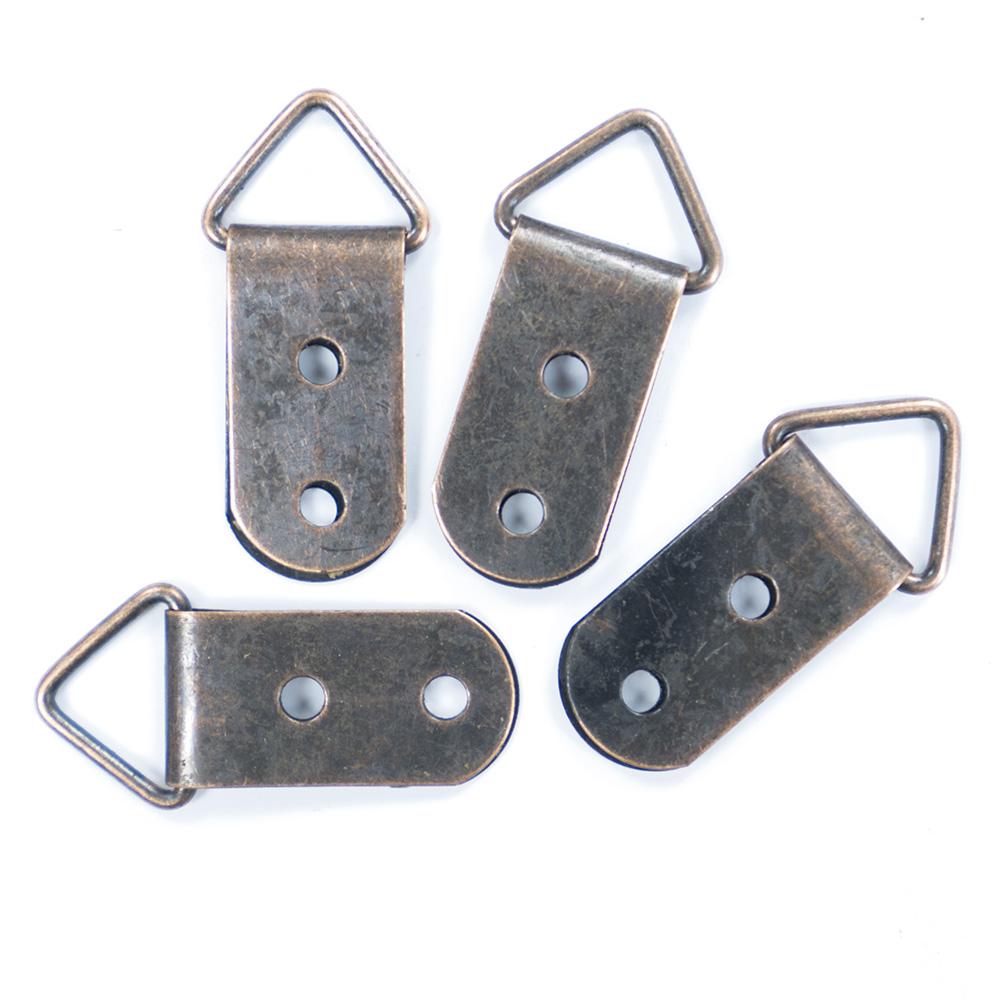
STEP 13- Then attach a metal holder to it so that it can be mounted on wall. These cute metal holders are available in Itsy Bitsy. And fix your photographs with red tacky tape. Then your photo frame wall mount is ready.
Materials used in the above project is linked below :

Little Birdie Printed Cardstock Pack 12" x 12", 12 Sheets, 250gsm – Shabby Chic Bouquet
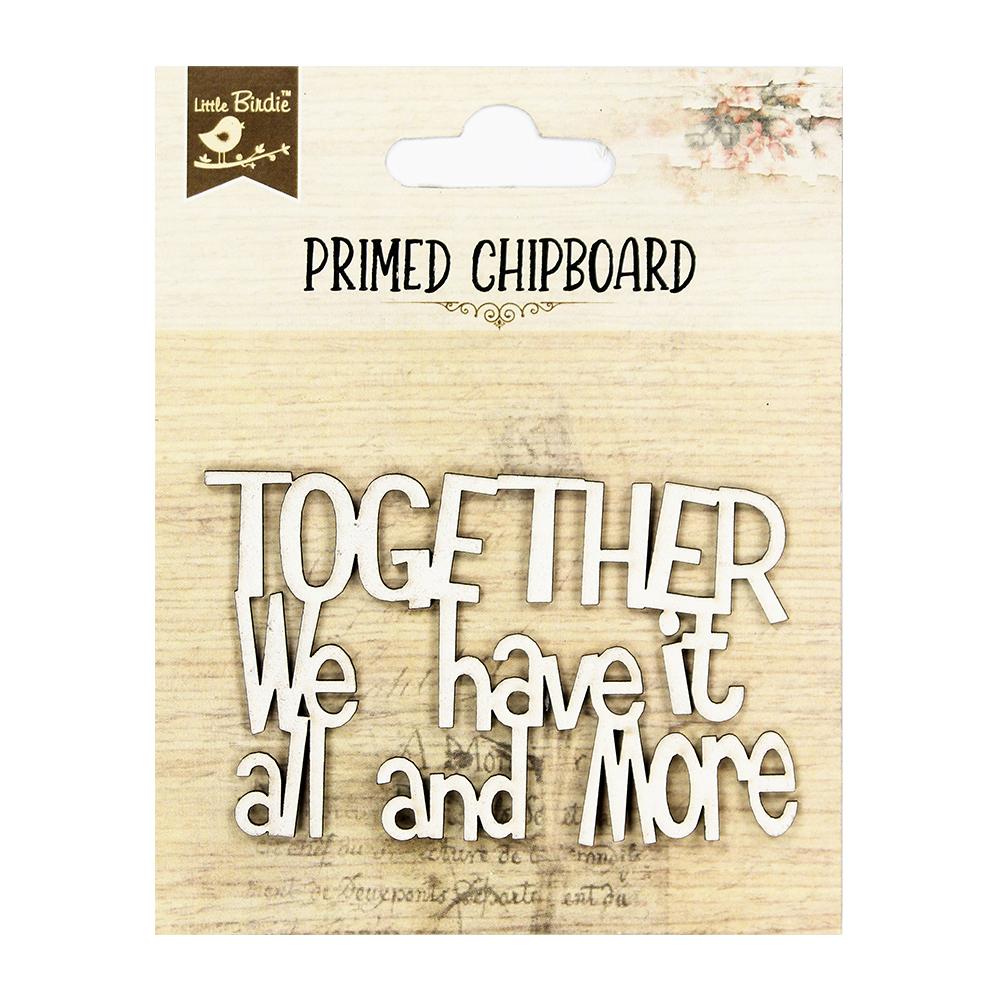
Little Birdie Primed Chipboard Sentiments – Together More
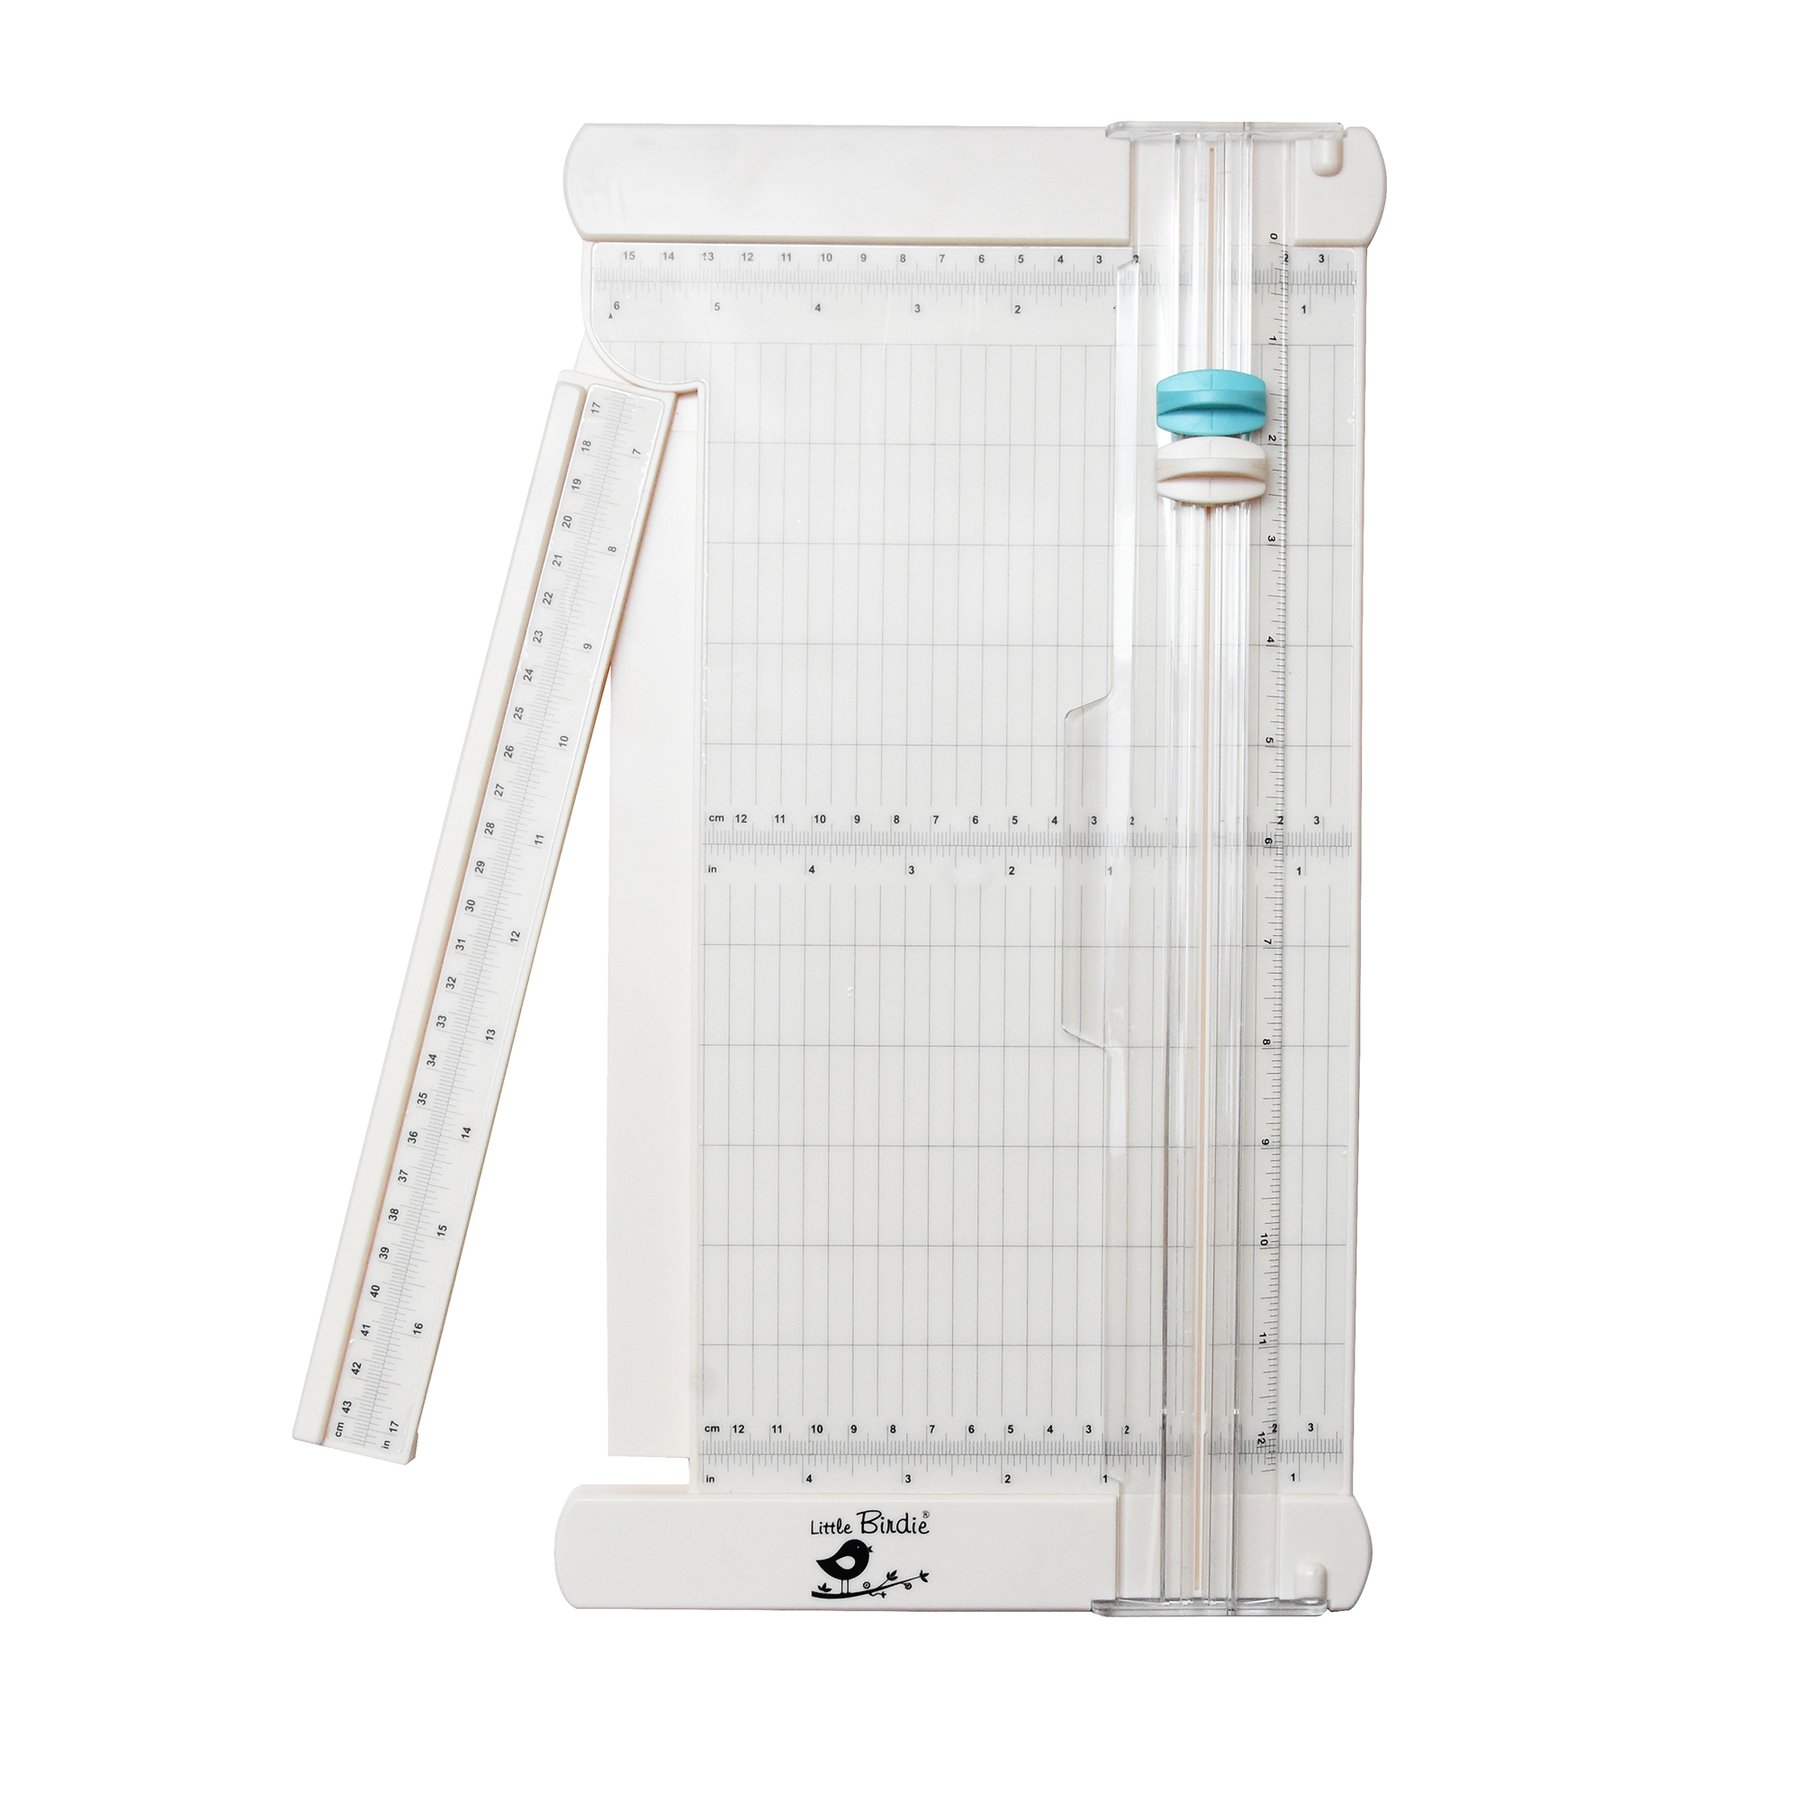
Little Birdie Paper Trimmer 6in x 12in, 1pc

Double-Sided Tacky Tape – 10mm
Tim Holtz Distress Ink Pad – Black soot, 3" X 3", 1pc