Hello friends, DT member Nandhini Vasandan here and this time I have brought you an interesting creation that will help you add an attractive twist to how you serve food to your guests at home.
I have made a beautiful tray using awesome supplies from Itsy Bitsy. I hope you guys take this project as an inspiration and participate in the ‘Decoupage Challenge’. I will share tips and tricks of using the wonderful collection of decoupage supplies, to make an exciting floral theme tray.

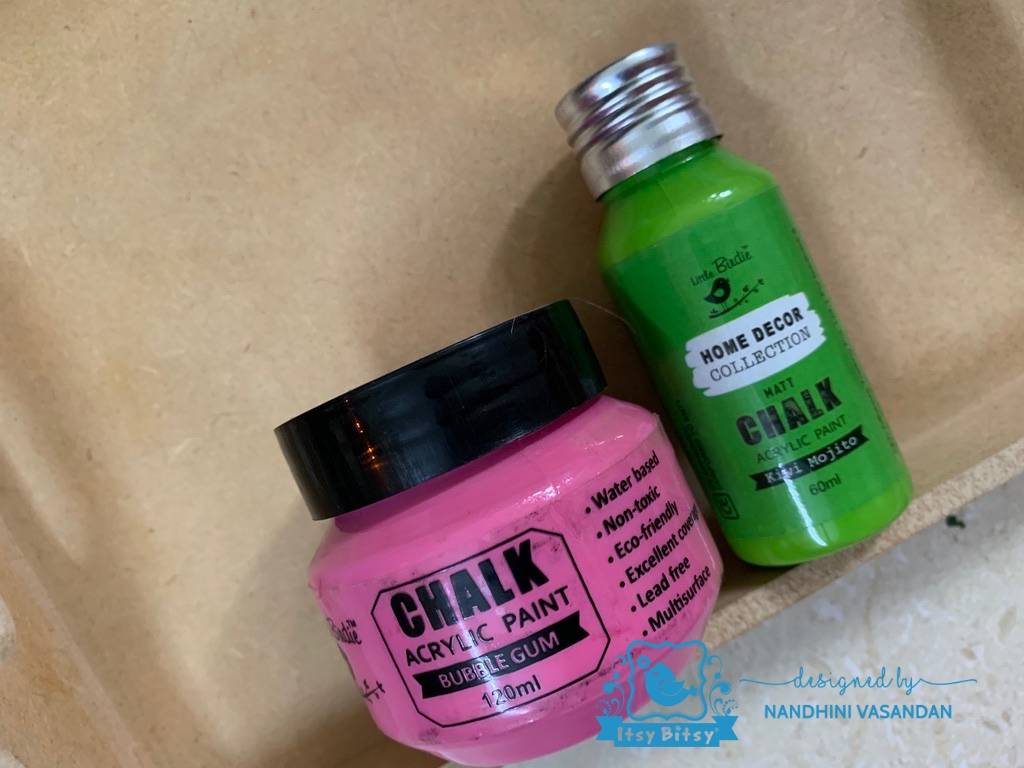
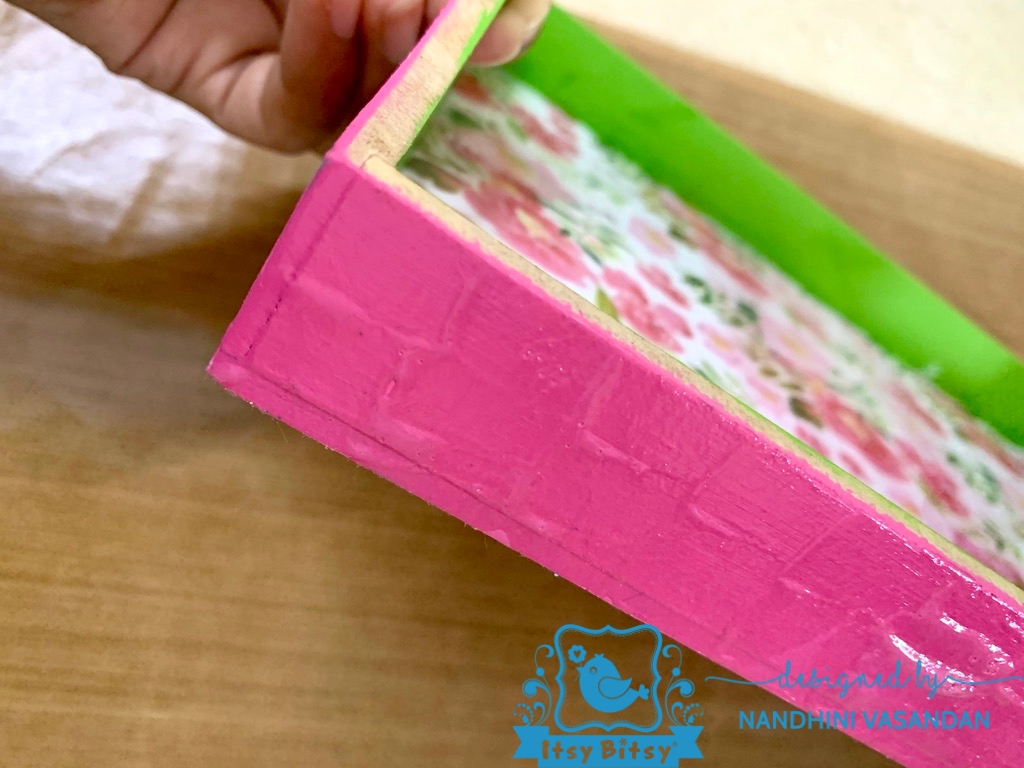
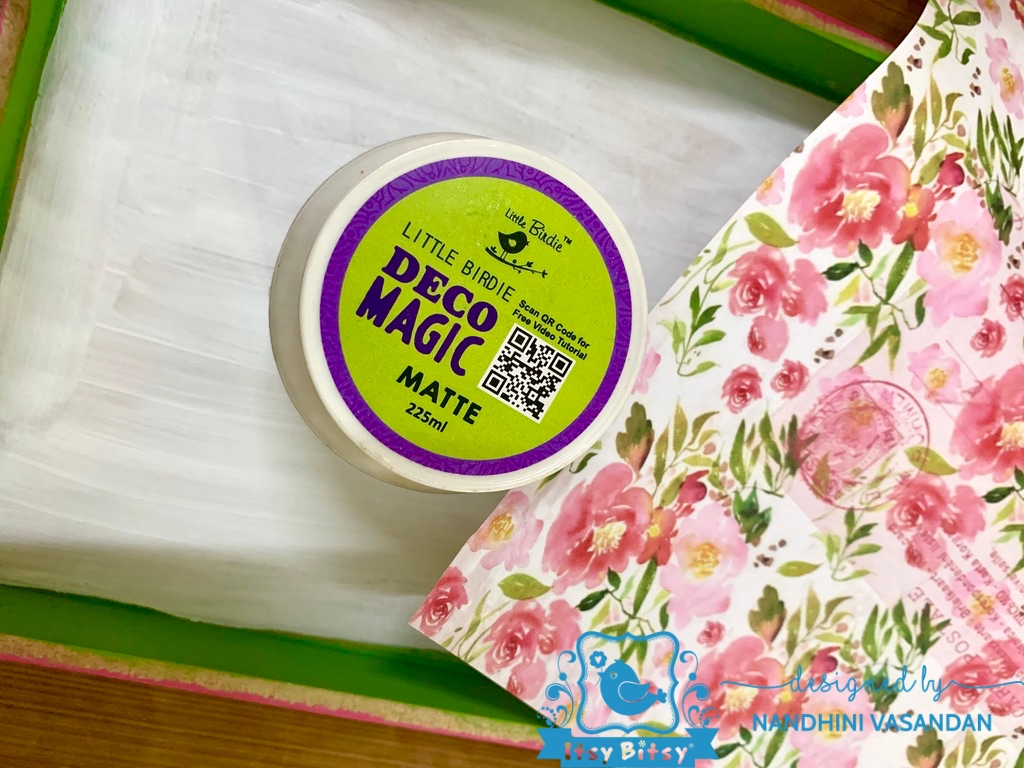
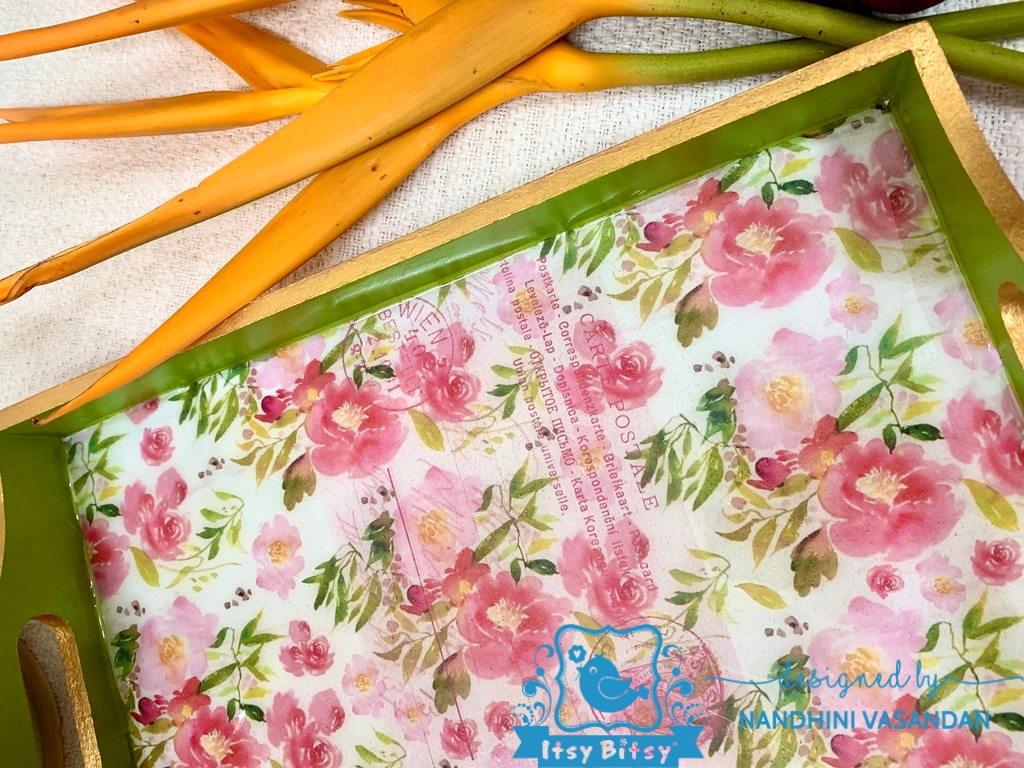
Here is how I went about making this beautiful project. First I tooka MDF tray from my stash and sanded the surface to smoothen the edges and sides. I chose a decoupage paper with watercolour floral patterns. The paper is a single layer 70 gsm paper, and is available in set of 4. Then I chose chalk paints Bubble Gum and Kiwi Mojito, matching with the paper and painted the inner and outer sides of the tray.


I have cut the decoupage paper as per tray measurements. Applied white gesso on the centre of the tray where I planned to decoupage the paper.

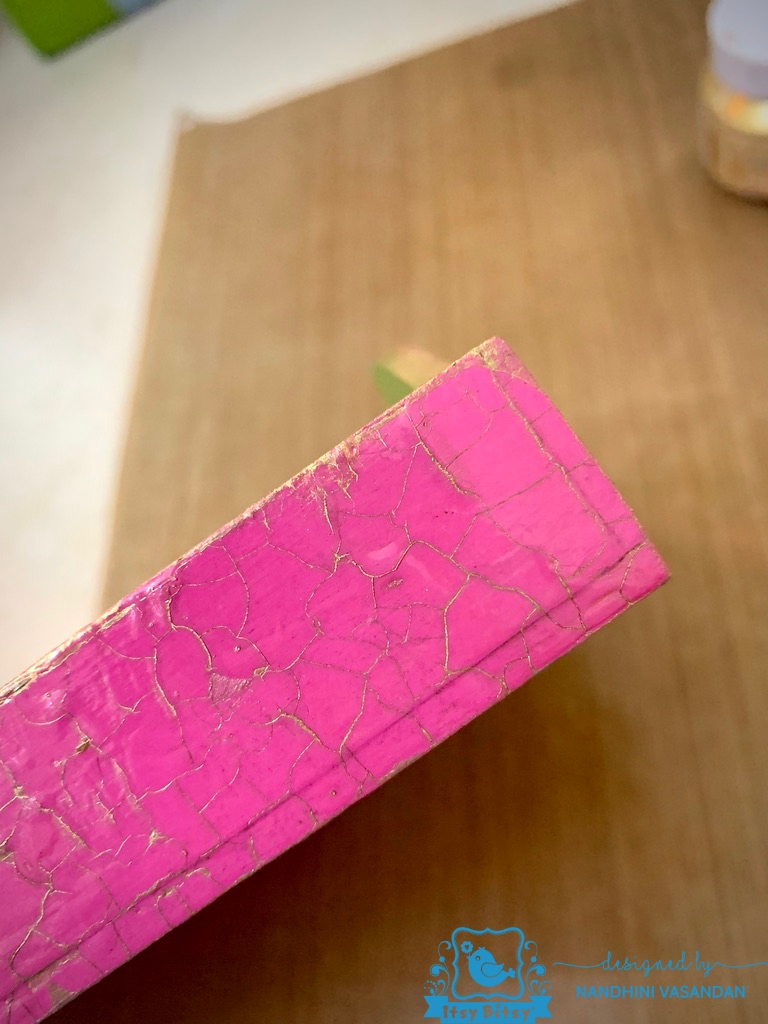
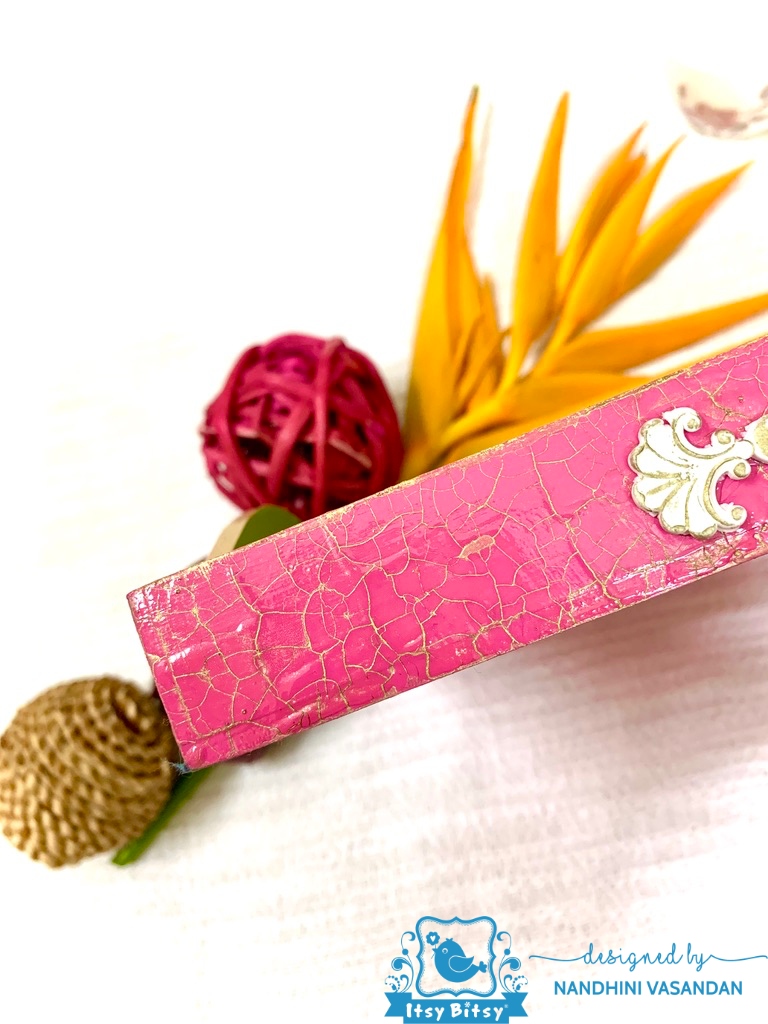
Until the gesso dried out, I thought of adding some antique effect on the sides of the tray, So I used 2 step crackle medium.
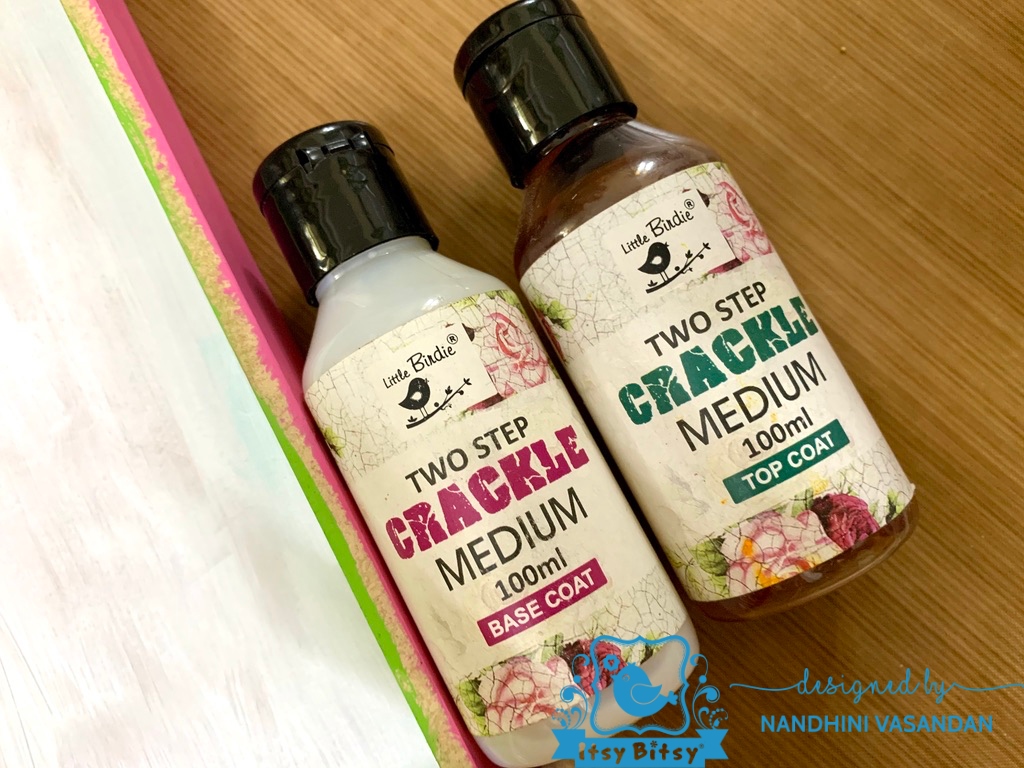
This can be used on different paint mediums and also on decoupage sheets. It works on all porous and non-porous surfaces. The base coat appears milky and dries transparent. But it stays tacky after drying. The top coat looks like honey and it dries transparent and non tacky. Remember to use a flat brush to apply the crackle medium. Both the base and top coats should be applied in the same direction to get uniform cracks.
It is very important to dry both top and base coats naturally.
Once the gesso dried, I decoupaged the paper using Deco Magic – matte glue.
Top edges of the tray has been highlighted with tinted metallic paint.

Now, I applied varnish over the tray using Little Birdie Decor varnish – gloss.

Since both the base and top coat of the crackle medium dries transparent, we need to use metallic wax, to highlight the cracks. I used metallic wax – Rich Gold to highlight the cracks. Rub the metallic wax over the cracks with your finger and wipe the extras with a clean cloth. We can now see that the cracks are highlighted beautifully.
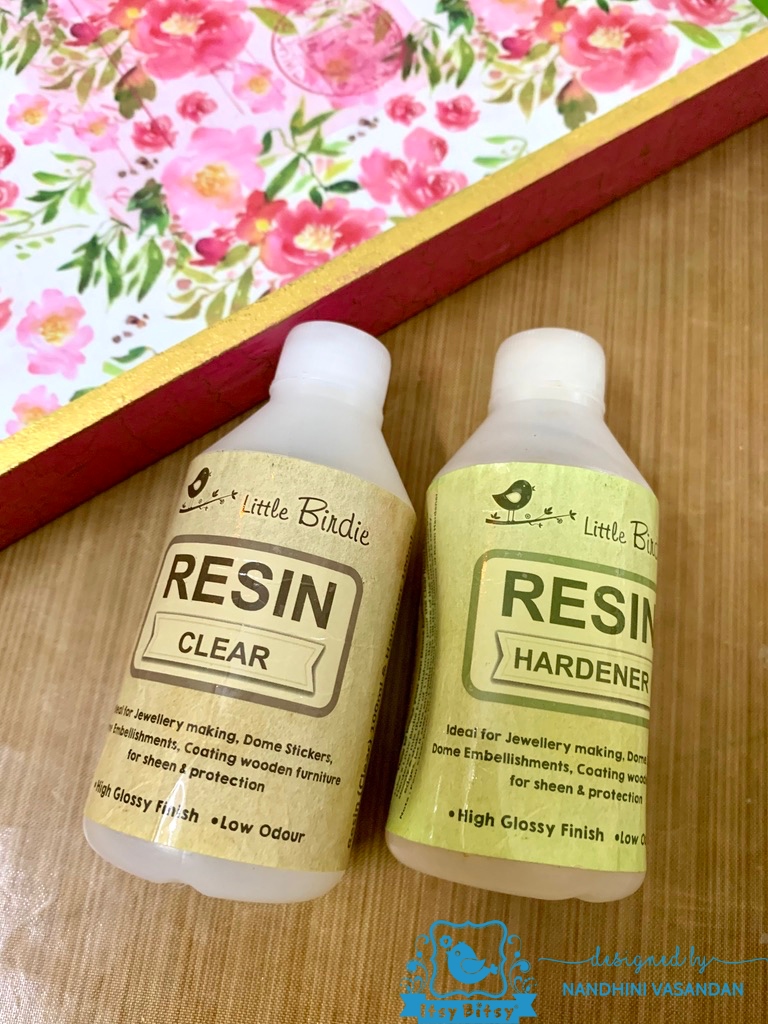
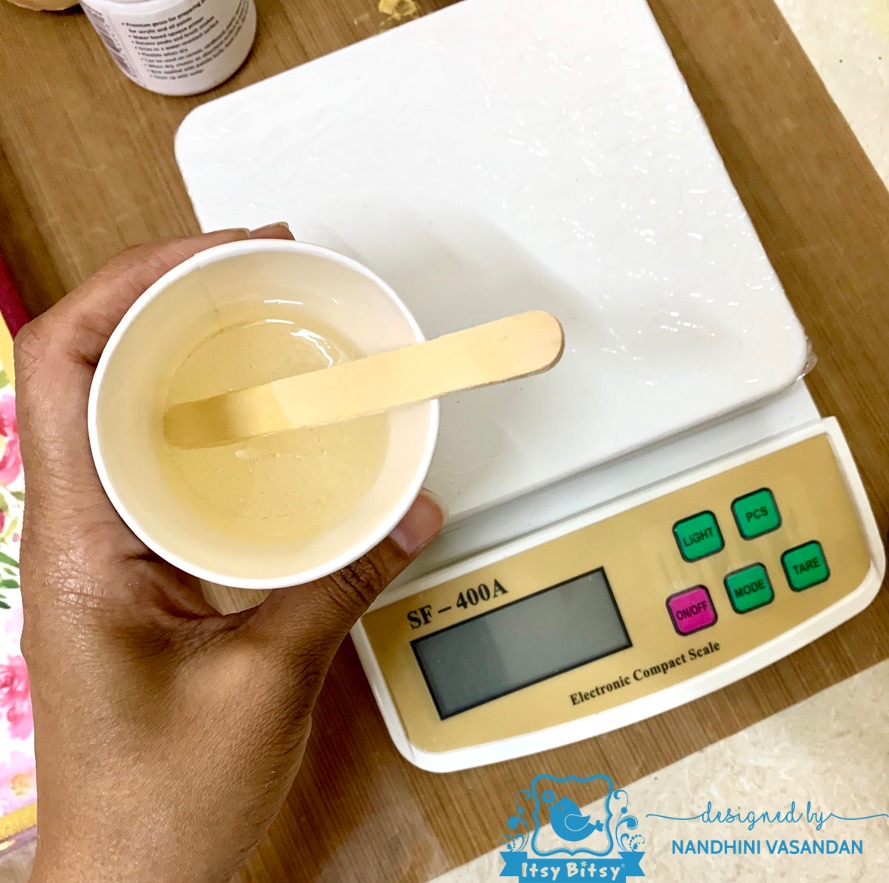
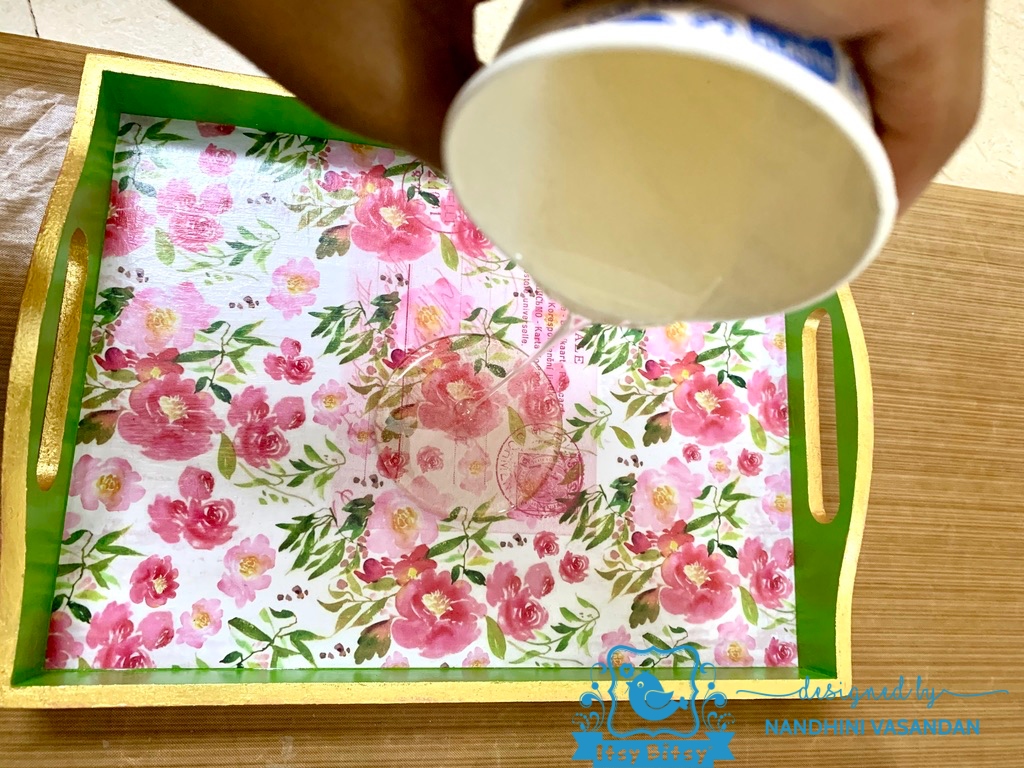
To make the tray water resistant, I used Little Birdie resin. I mixed the resin and hardener in 1:1 ratio with the help of a wooden stick. Then poured the resin over the tray. The resin is quick drying and the project would be ready within an hour.
To further enhance the looks of the tray, I used silicon mould and clay to decorate the edges. Used metallic wax again to highlight the mould embellishment.
Itsy Bitsy has a wide range of moulds and different varieties of trays. Do not forget to pick one for your next project.
Here are few more images of the project.

Hope you all found this project interesting and engrossing. See you soon with another inspirational project.
With love.
Nandhini Vasandan
Here is the list of materials used:
Little Birdie Home Decor Chalk Paint 120ml – Bubble Gum
Little Birdie Home Decor Chalk Paint 50ml – Kiwi Mojito
Little Birdie Acrylic Gesso 100ml- White
Little Birdie Decoupage Paper A4size, 4sheets – Blossoming
Little Birdie 2 Step Crackle Medium- Top and Base Coat 200 ml
Little Birdie Metallic Wax – Antique Gold, 20ml, 1pc
Clear Resin And Hardener -100ml
Little Birdie Deco Magic Glue Matte -225ml
Little Birdie Tinted Metallic Paint 50ML – Golden Glaze, 1pc
Little Birdie Decor Varnish, 100ml – Gloss
Silicone Mould, 3x2x0.2in – Decorative Ornament
Gorgeous ❤️❤️ well explained
thank u
Wowwww superb… Lovely shades 💕❤️