Hello crafty friends!
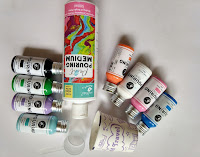
Daksha here! Today’s project is with Little Birdie acrylic pouring paints. I have used a 12″ MDF circle base for my acrylic pour art. I have not started with any plan as to what I will create after the pouring is complete. However, slowly and gradually ideas stated pouring into my head and began to take shape in my mind. Finally I have made a beautiful nameplate for my house, which I was planning to do for a long time.
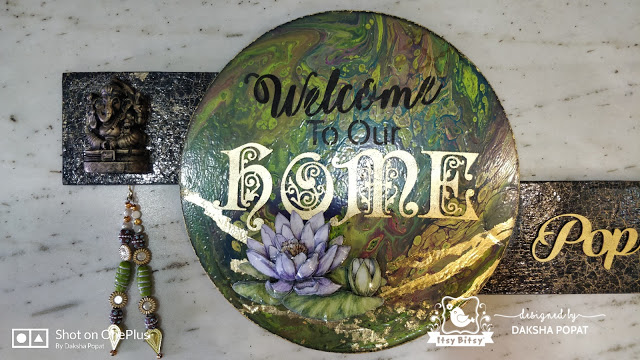
Here is the final outcome…


Let me explain the project step by step:
I started with a 12″ MDF circle base. Selected few shades of pouring paints. Then diluted each paint with pouring medium in disposable cups in half-half ratio. Mixed them well with disposable spoons. Then I took one more disposable glass and added each color one by one in layers. Next, I flipped the glass on the base. Poured out the colours on the base. Then slowly by rotating and tilting the base, I spread the colours and covered the base completely.

Here, I have added white spray color on the base first.

Mixed pouring medium and pour paints in 1:1 ratio in disposable cups.


After flipping the pouring paints from the glass here is the end result…

Got beautiful cells which you can see in the above picture.

Next, I selected one 3D painting with which I have done 3D volume decoupage..

This is the actual design on which I have applied sospeso sheet. Once it dried, I fussy cut each of the layers.

Here you can see the different fussy cut pieces. On these I did volume decoupage and layered each fussy cut piece.

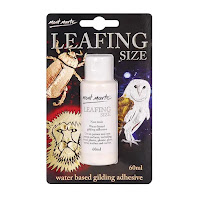
Then I took Little Birdie alphabet chippies to spell ‘home’ and did metal leafing on them.


On the base I have used gold leafing on few places to give a flow kind of look. I did stenciling with black color ‘welcome to our’ and then arranged the gold leafing letters ‘Home’ and also placed the 3D lotus .

Once my base got ready, my mind changed and I converted this base into a name plate. I am very happy with the end result!

For the name plate I prepared a wood base.

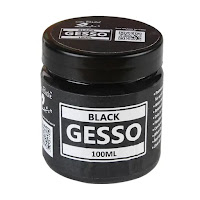
On it, I applied a coat of black gesso. Then I applied a coat of black chalk paint. Afer it dried, I applied two step crackle medium. In the meanwhile when it was drying, I prepared the base for the surname with Little Birdie metallic gold colour..( one of my most favourites!!)


I made this latkan or hanging with beads. Though I wanted to use bells but I didn’t have it in my stash so I used this hanging temporarily.

I had this resin Ganesha me. I coated it with black chalk paint and over it I used Antique Gold metallic wax.


After the two step crackle on the black wooden base was dry, I used Little Birdie Antique Gold metallic wax. Now you can see the beautiful crackle effect.

Then I roughly arranged everything on the black base. Once I was happy with it, I stuck everything using the hot glue gun. Use nails in few places at the back to hold the circle base in place. Fixed fittings for hanging at the back. Here is the final picture.

Thanks for being here with me today. Hope you got some inspiration here. See you again soon…till then happy crafting!
Love and hugs
Daksha
Supplies used:
https://itsybitsy.in/search?type=product&q=Little+birdie+pour+paints
 https://itsybitsy.in/collections/gilding/products/mont-marte-leafing-size60ml
 https://itsybitsy.in/collections/gilding/products/imitation-leaf-14x14cm-gold
 https://itsybitsy.in/collections/mediums-textures/products/acrylic-gesso-black
Little Birdie Decor Varnish, 100ml – Gloss

Little Birdie 2 Step Crackle Medium- Top and Base Coat 200 ml

Little Birdie Metallic Wax – Antique Gold, 20ml, 1pc


Itsy Bitsy Ornate Chipboard Alphabet- M
 https://itsybitsy.in/collections/painting/products/spray-paint-400ml-white

https://itsybitsy.in/collections/painting/products/tinted-metallic-paint-50ml-golden-glaze