
Hello all crafty friends, Divya here with a new craft inspiration .
Here is my version of an album which I named “Mini oval album” . I wanted to share this oval shaped album which you can be make for someone special anytime of the year. I have used my Little Birdie die cut machine in this project to make the base of the album. Let’s get started with the tutorial and look into the details.
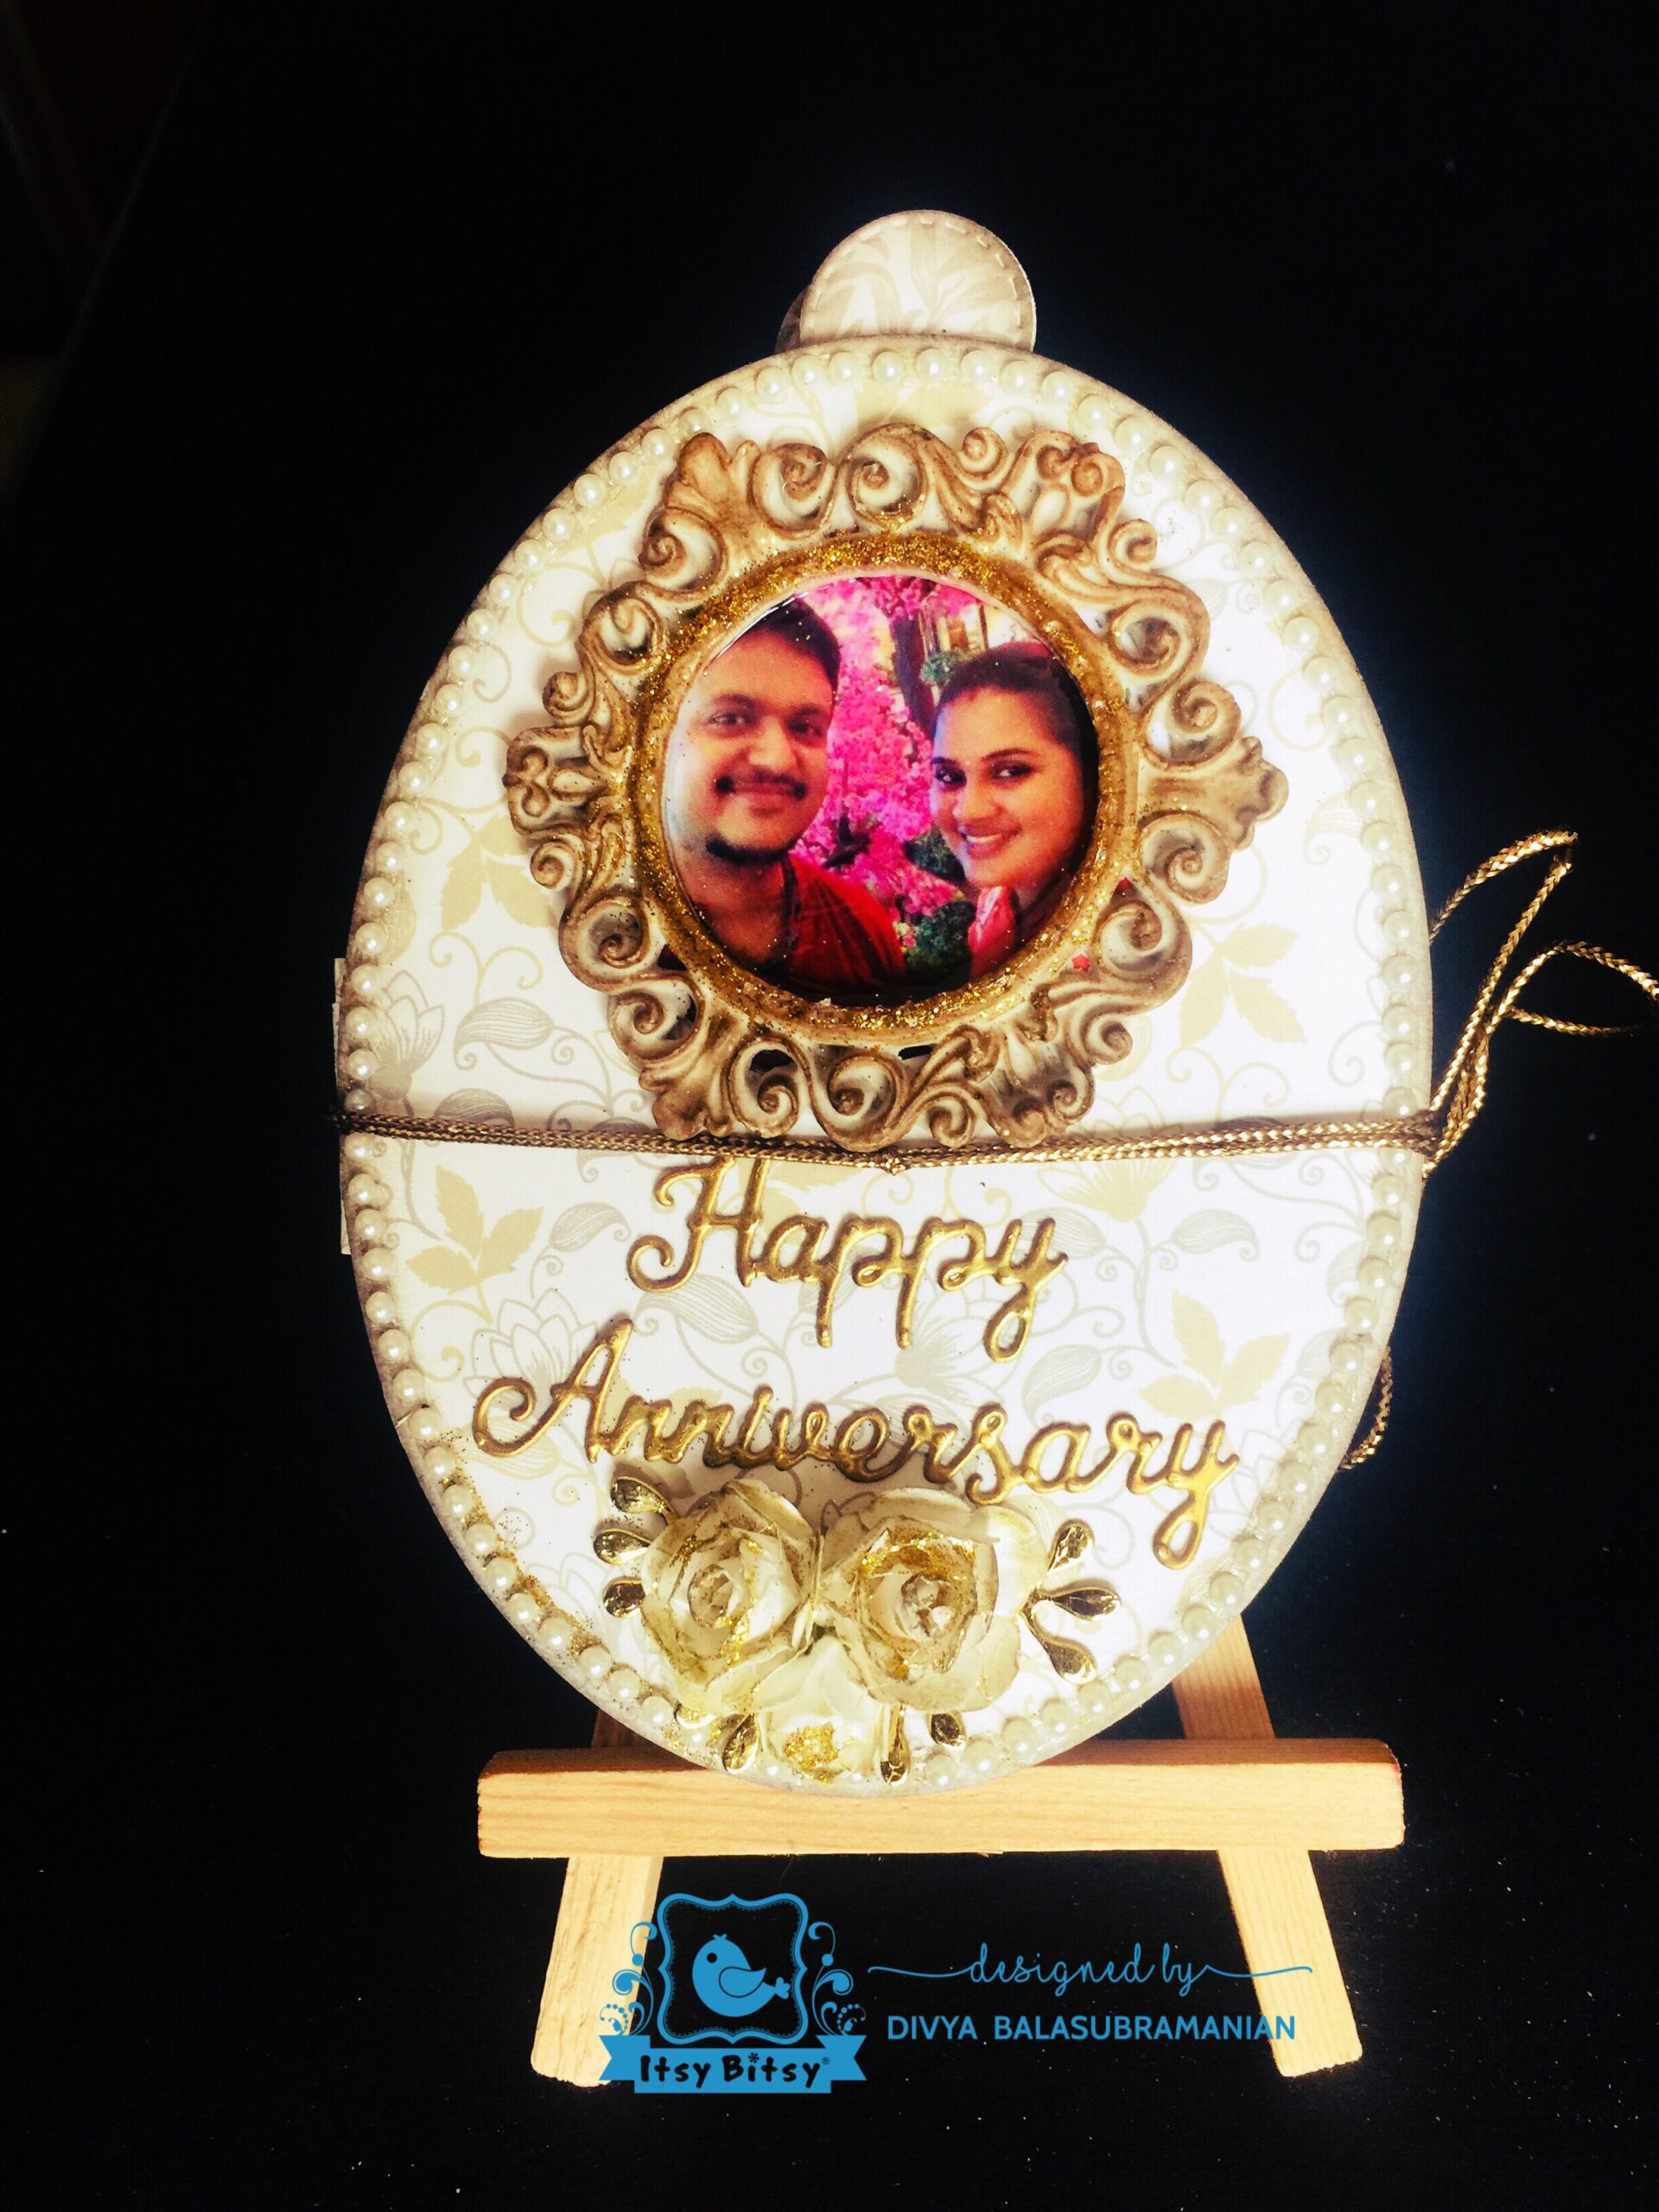
Here is my mini oval album on a easel stand. Inside this you can write your messages and accommodate 15 photographs. There are 4 pages in this Album – 1st – Cover Page , 2nd Page , 3rd Page & 4th Page.
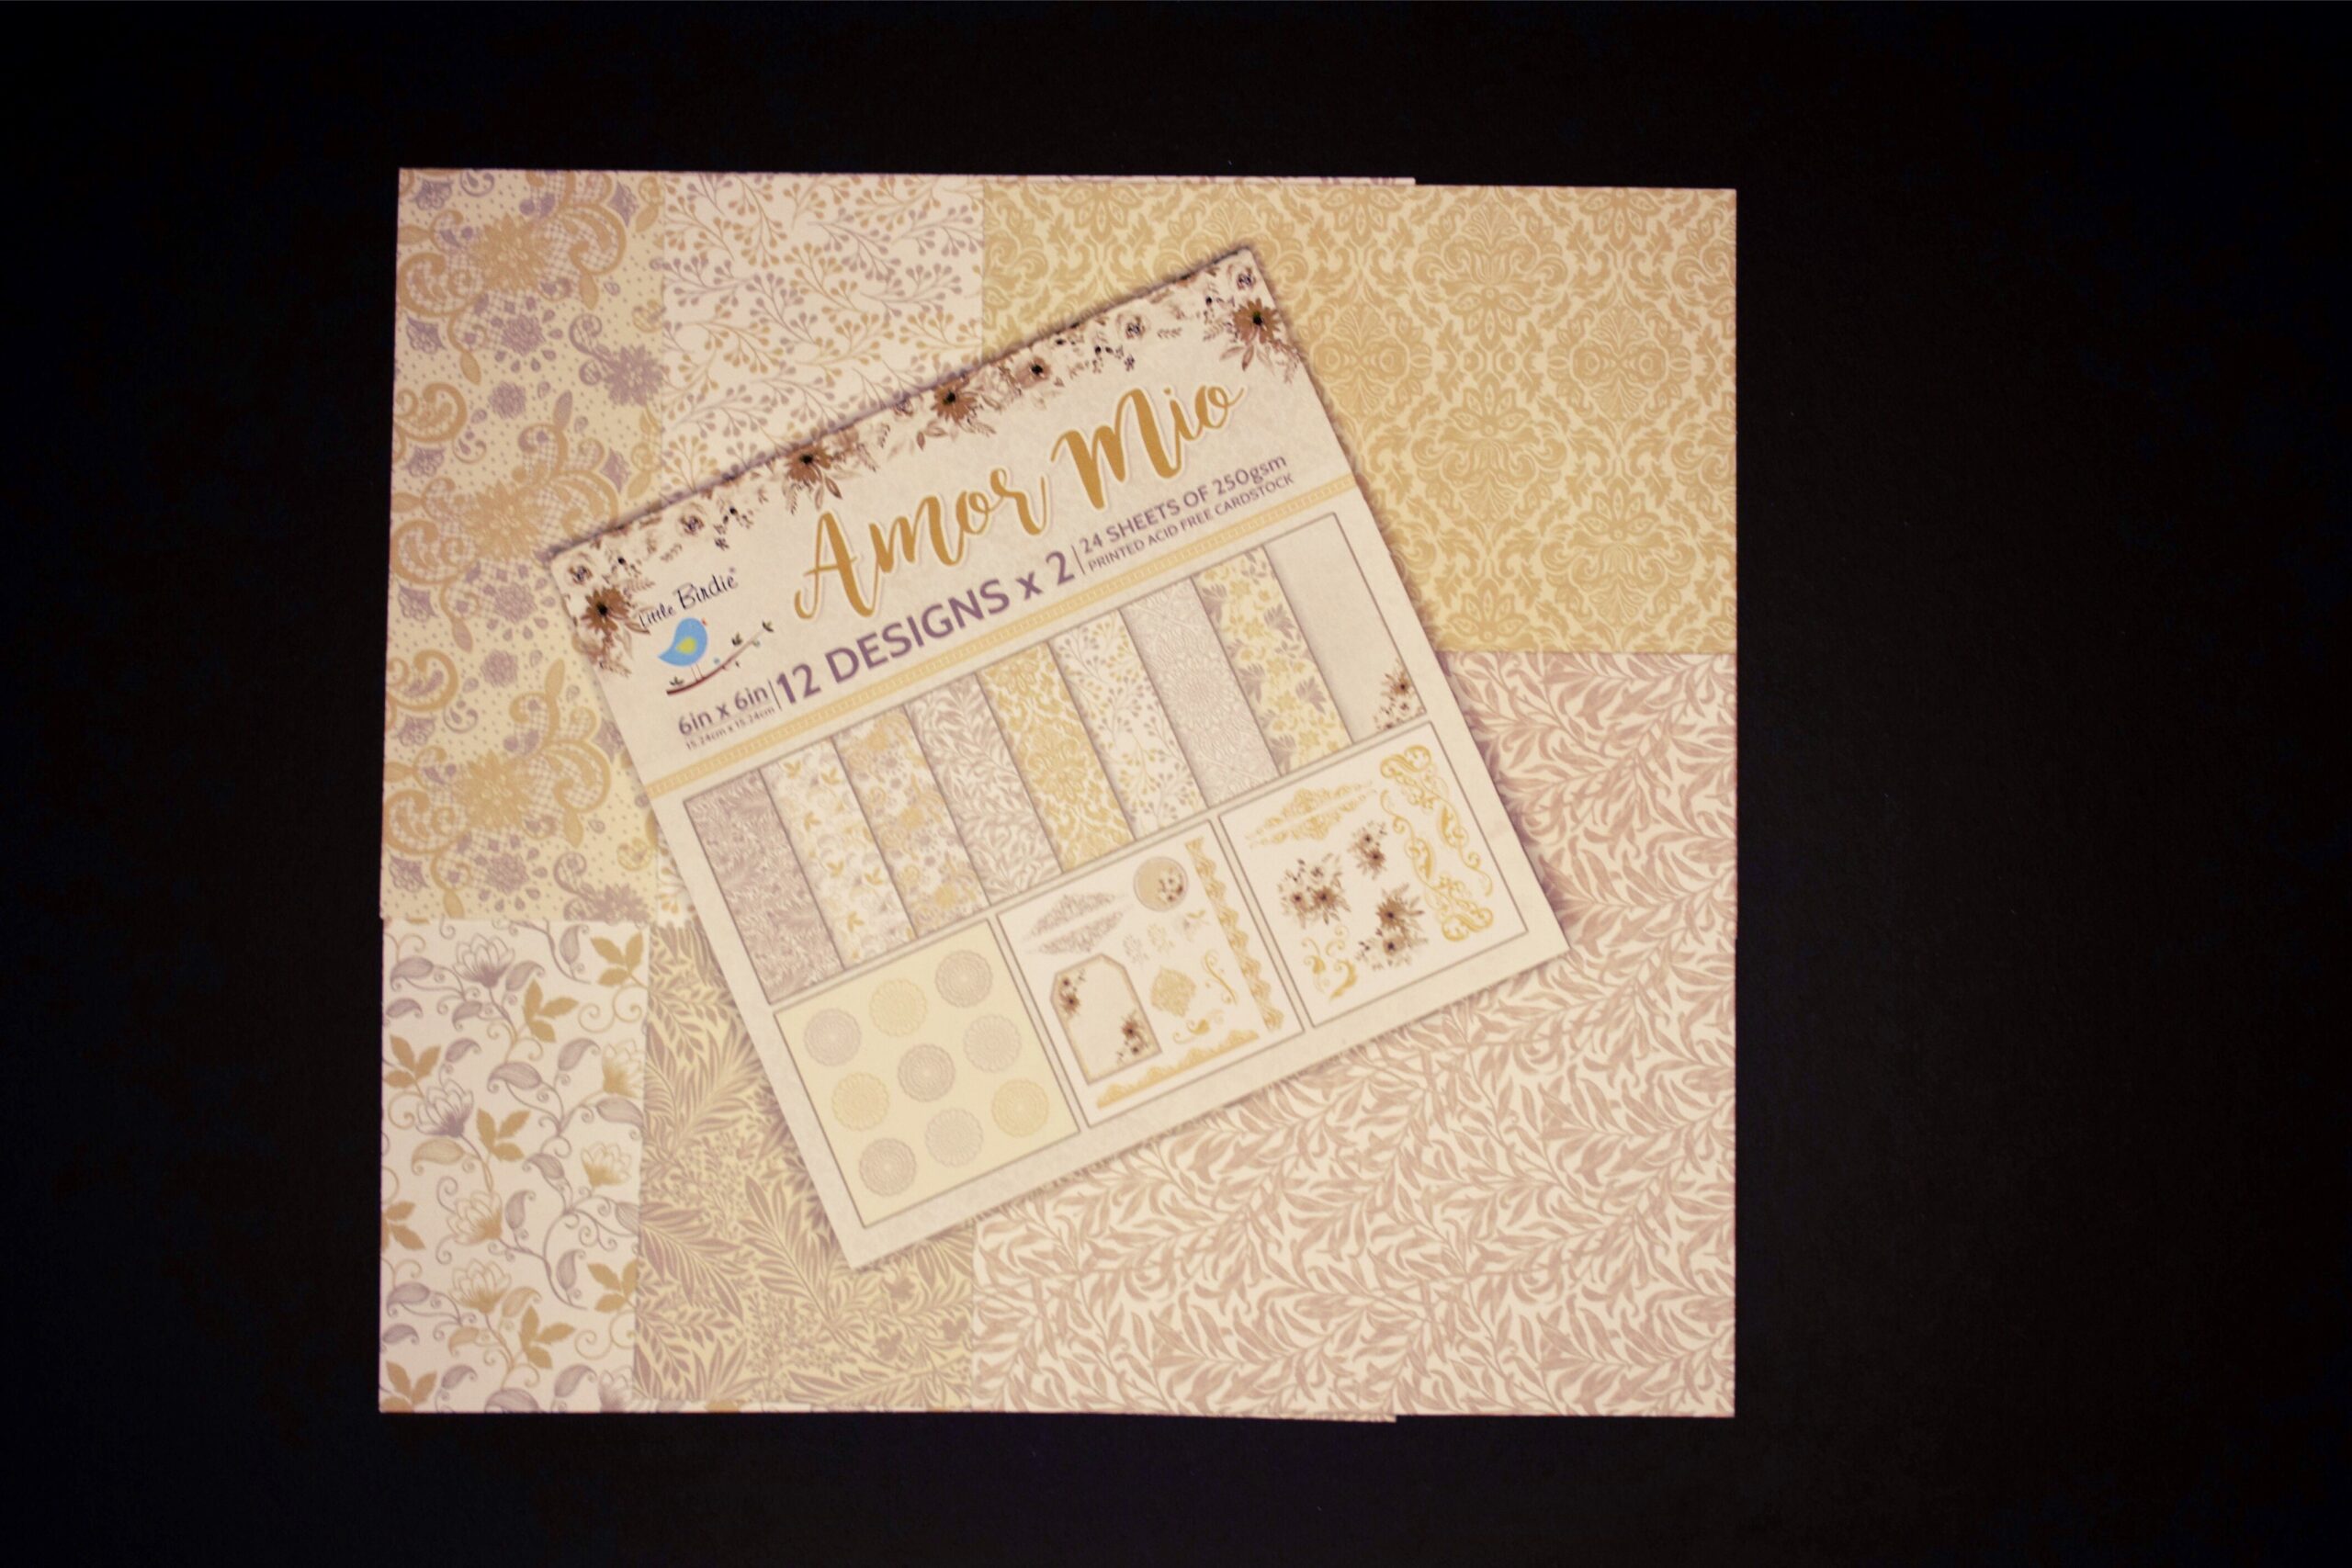
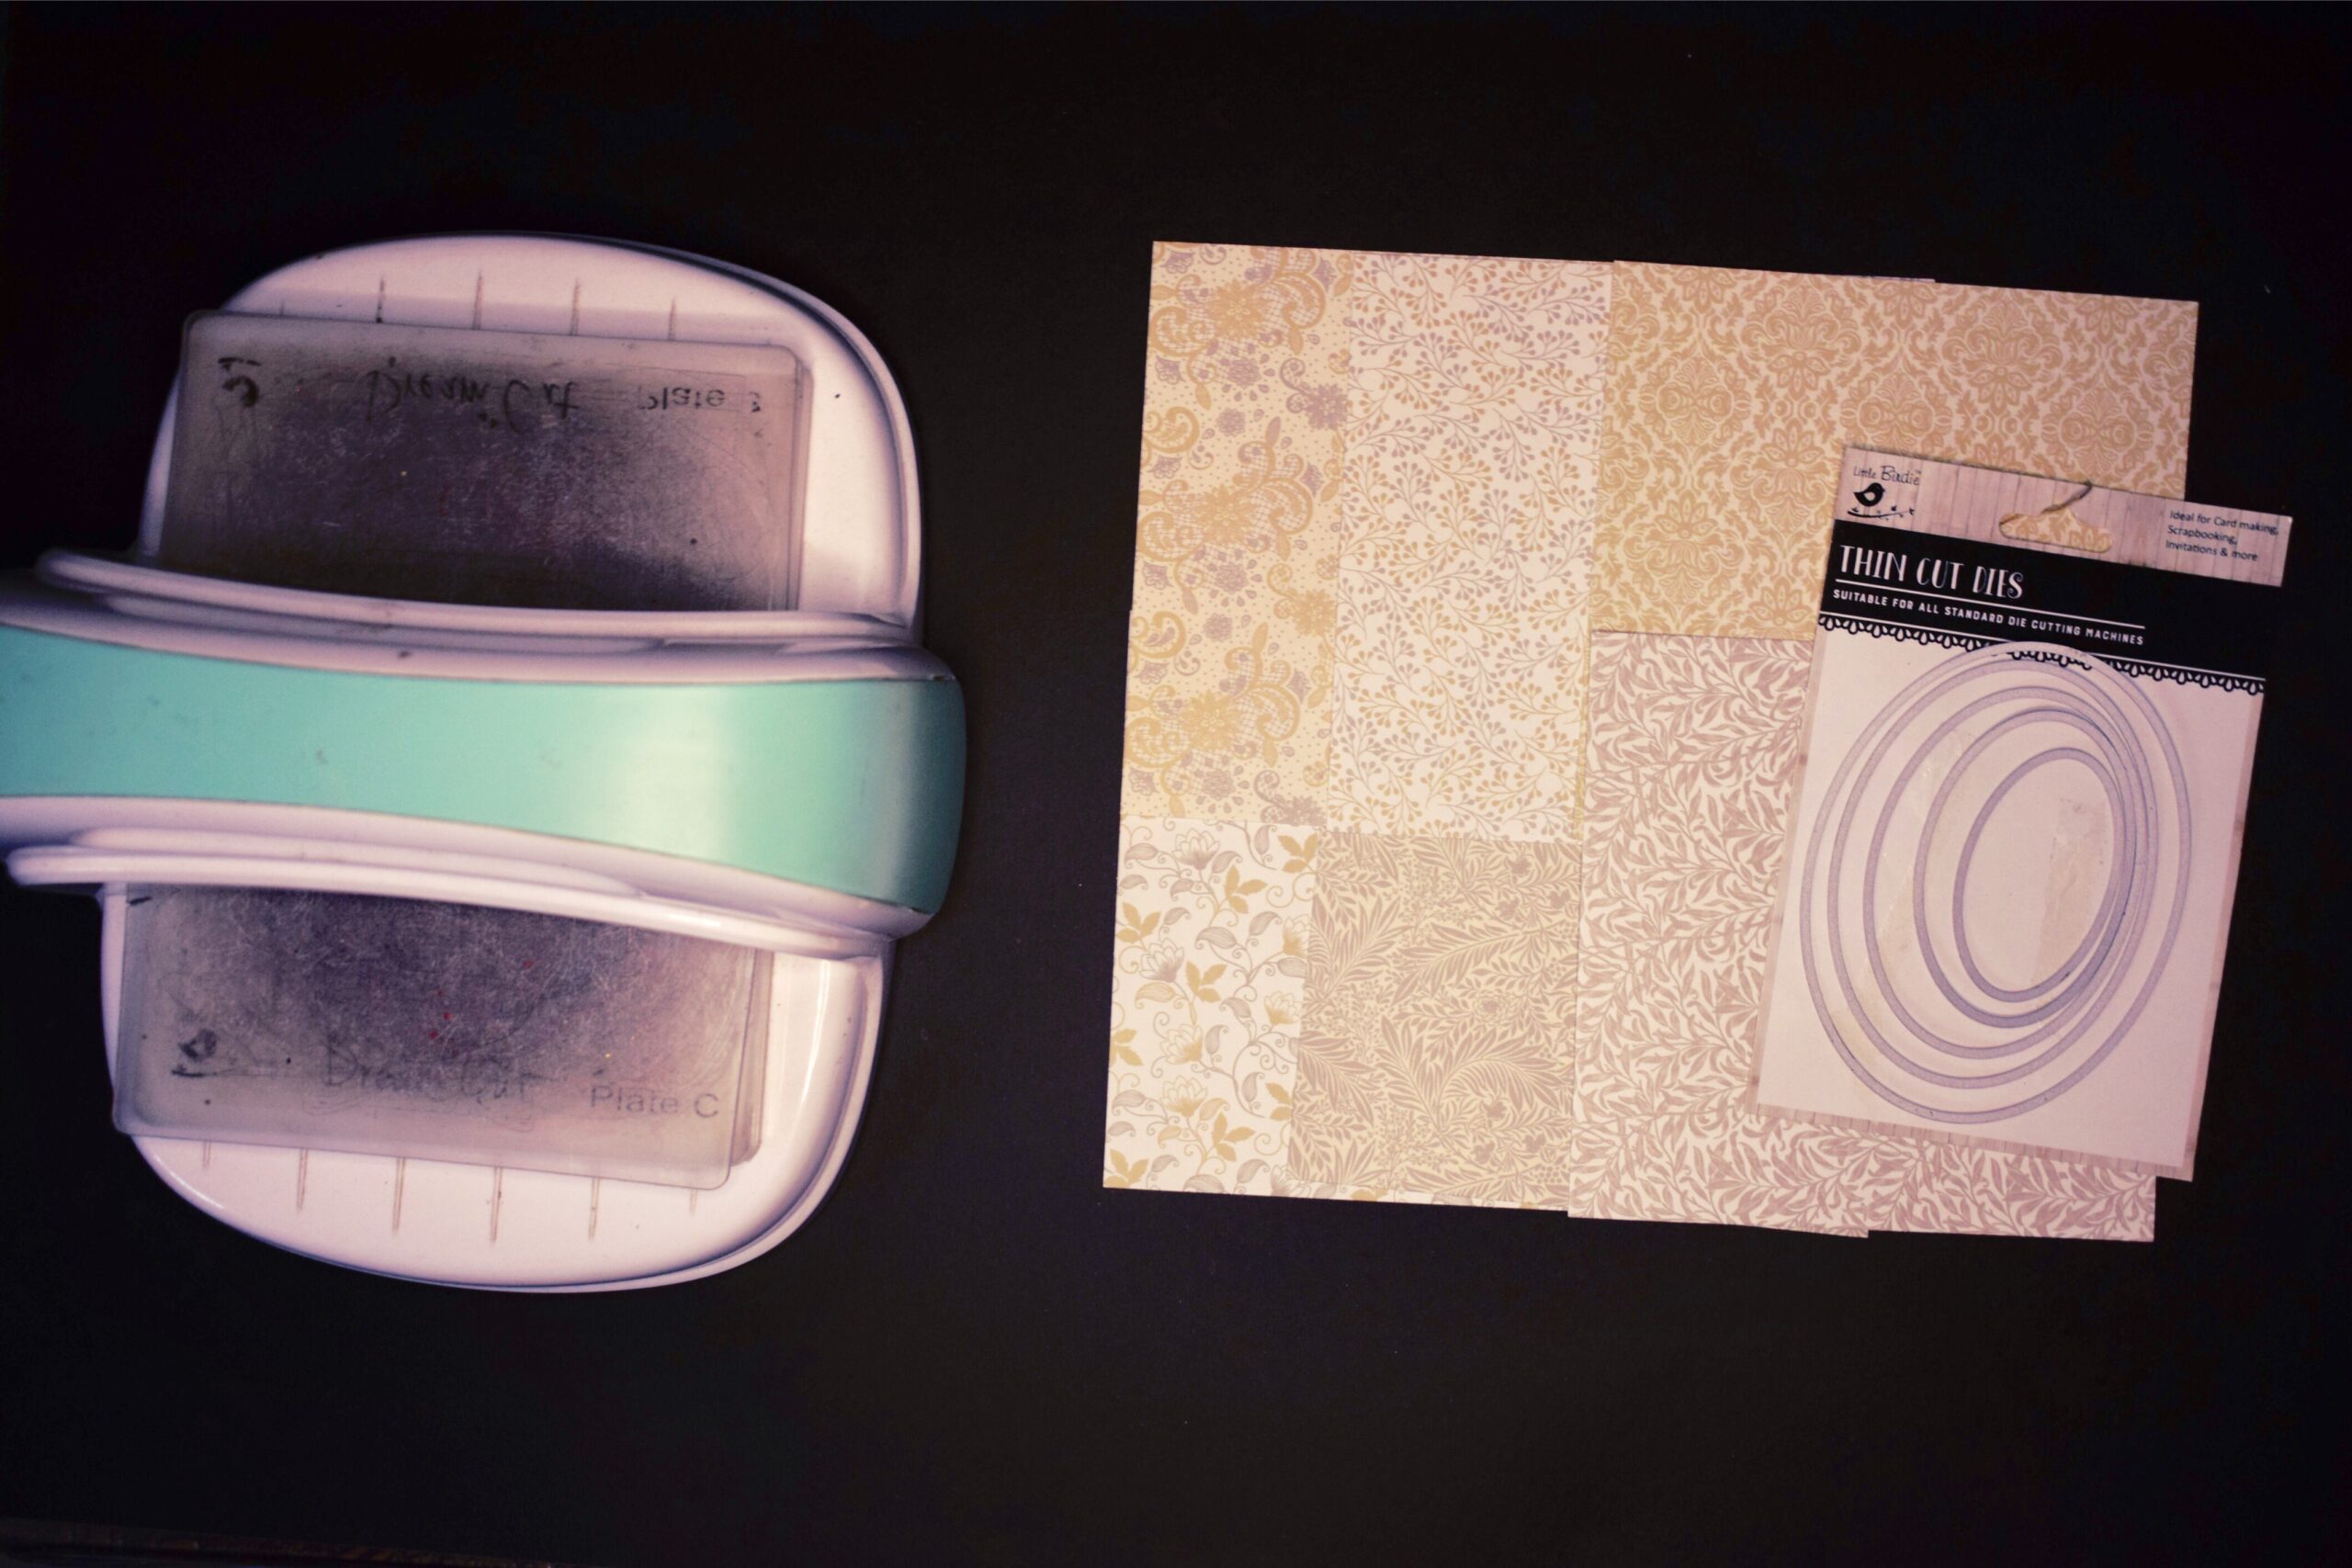
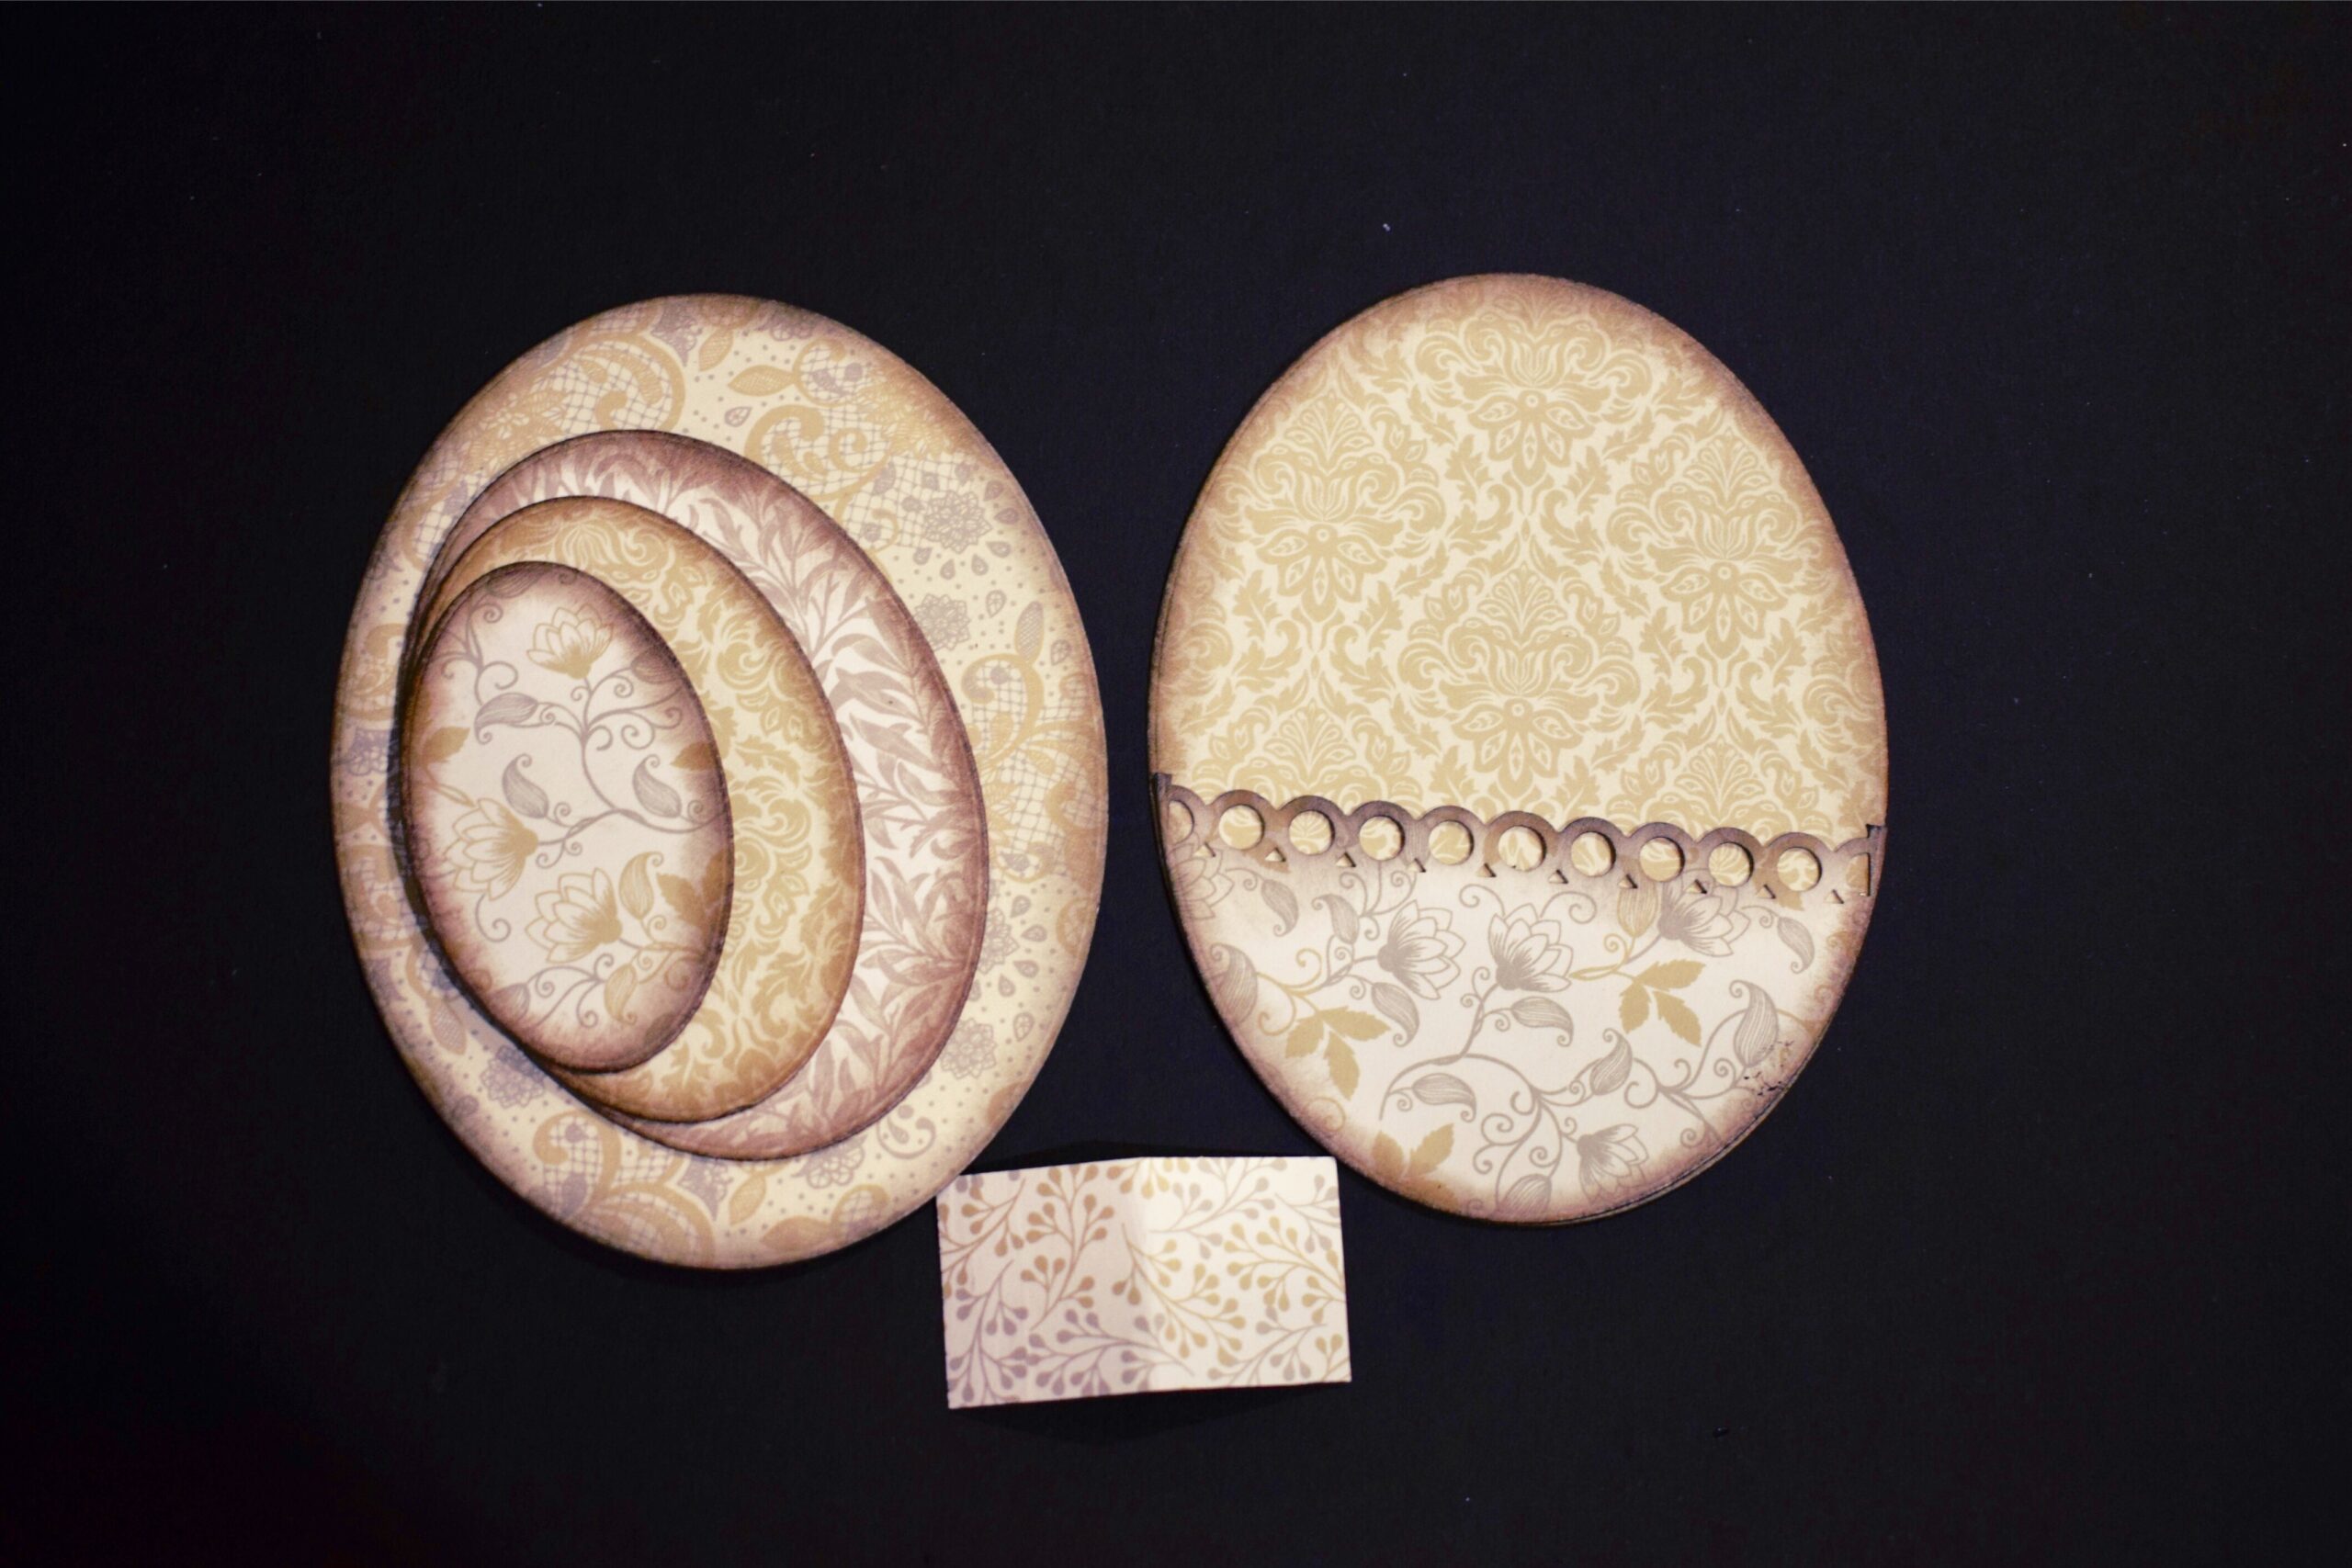
I have used Little Birdie “Amor Mio” 6″/6″ paper pack and cut the papers in oval shape with the help of an oval die cut from ‘ Little Birdie’.
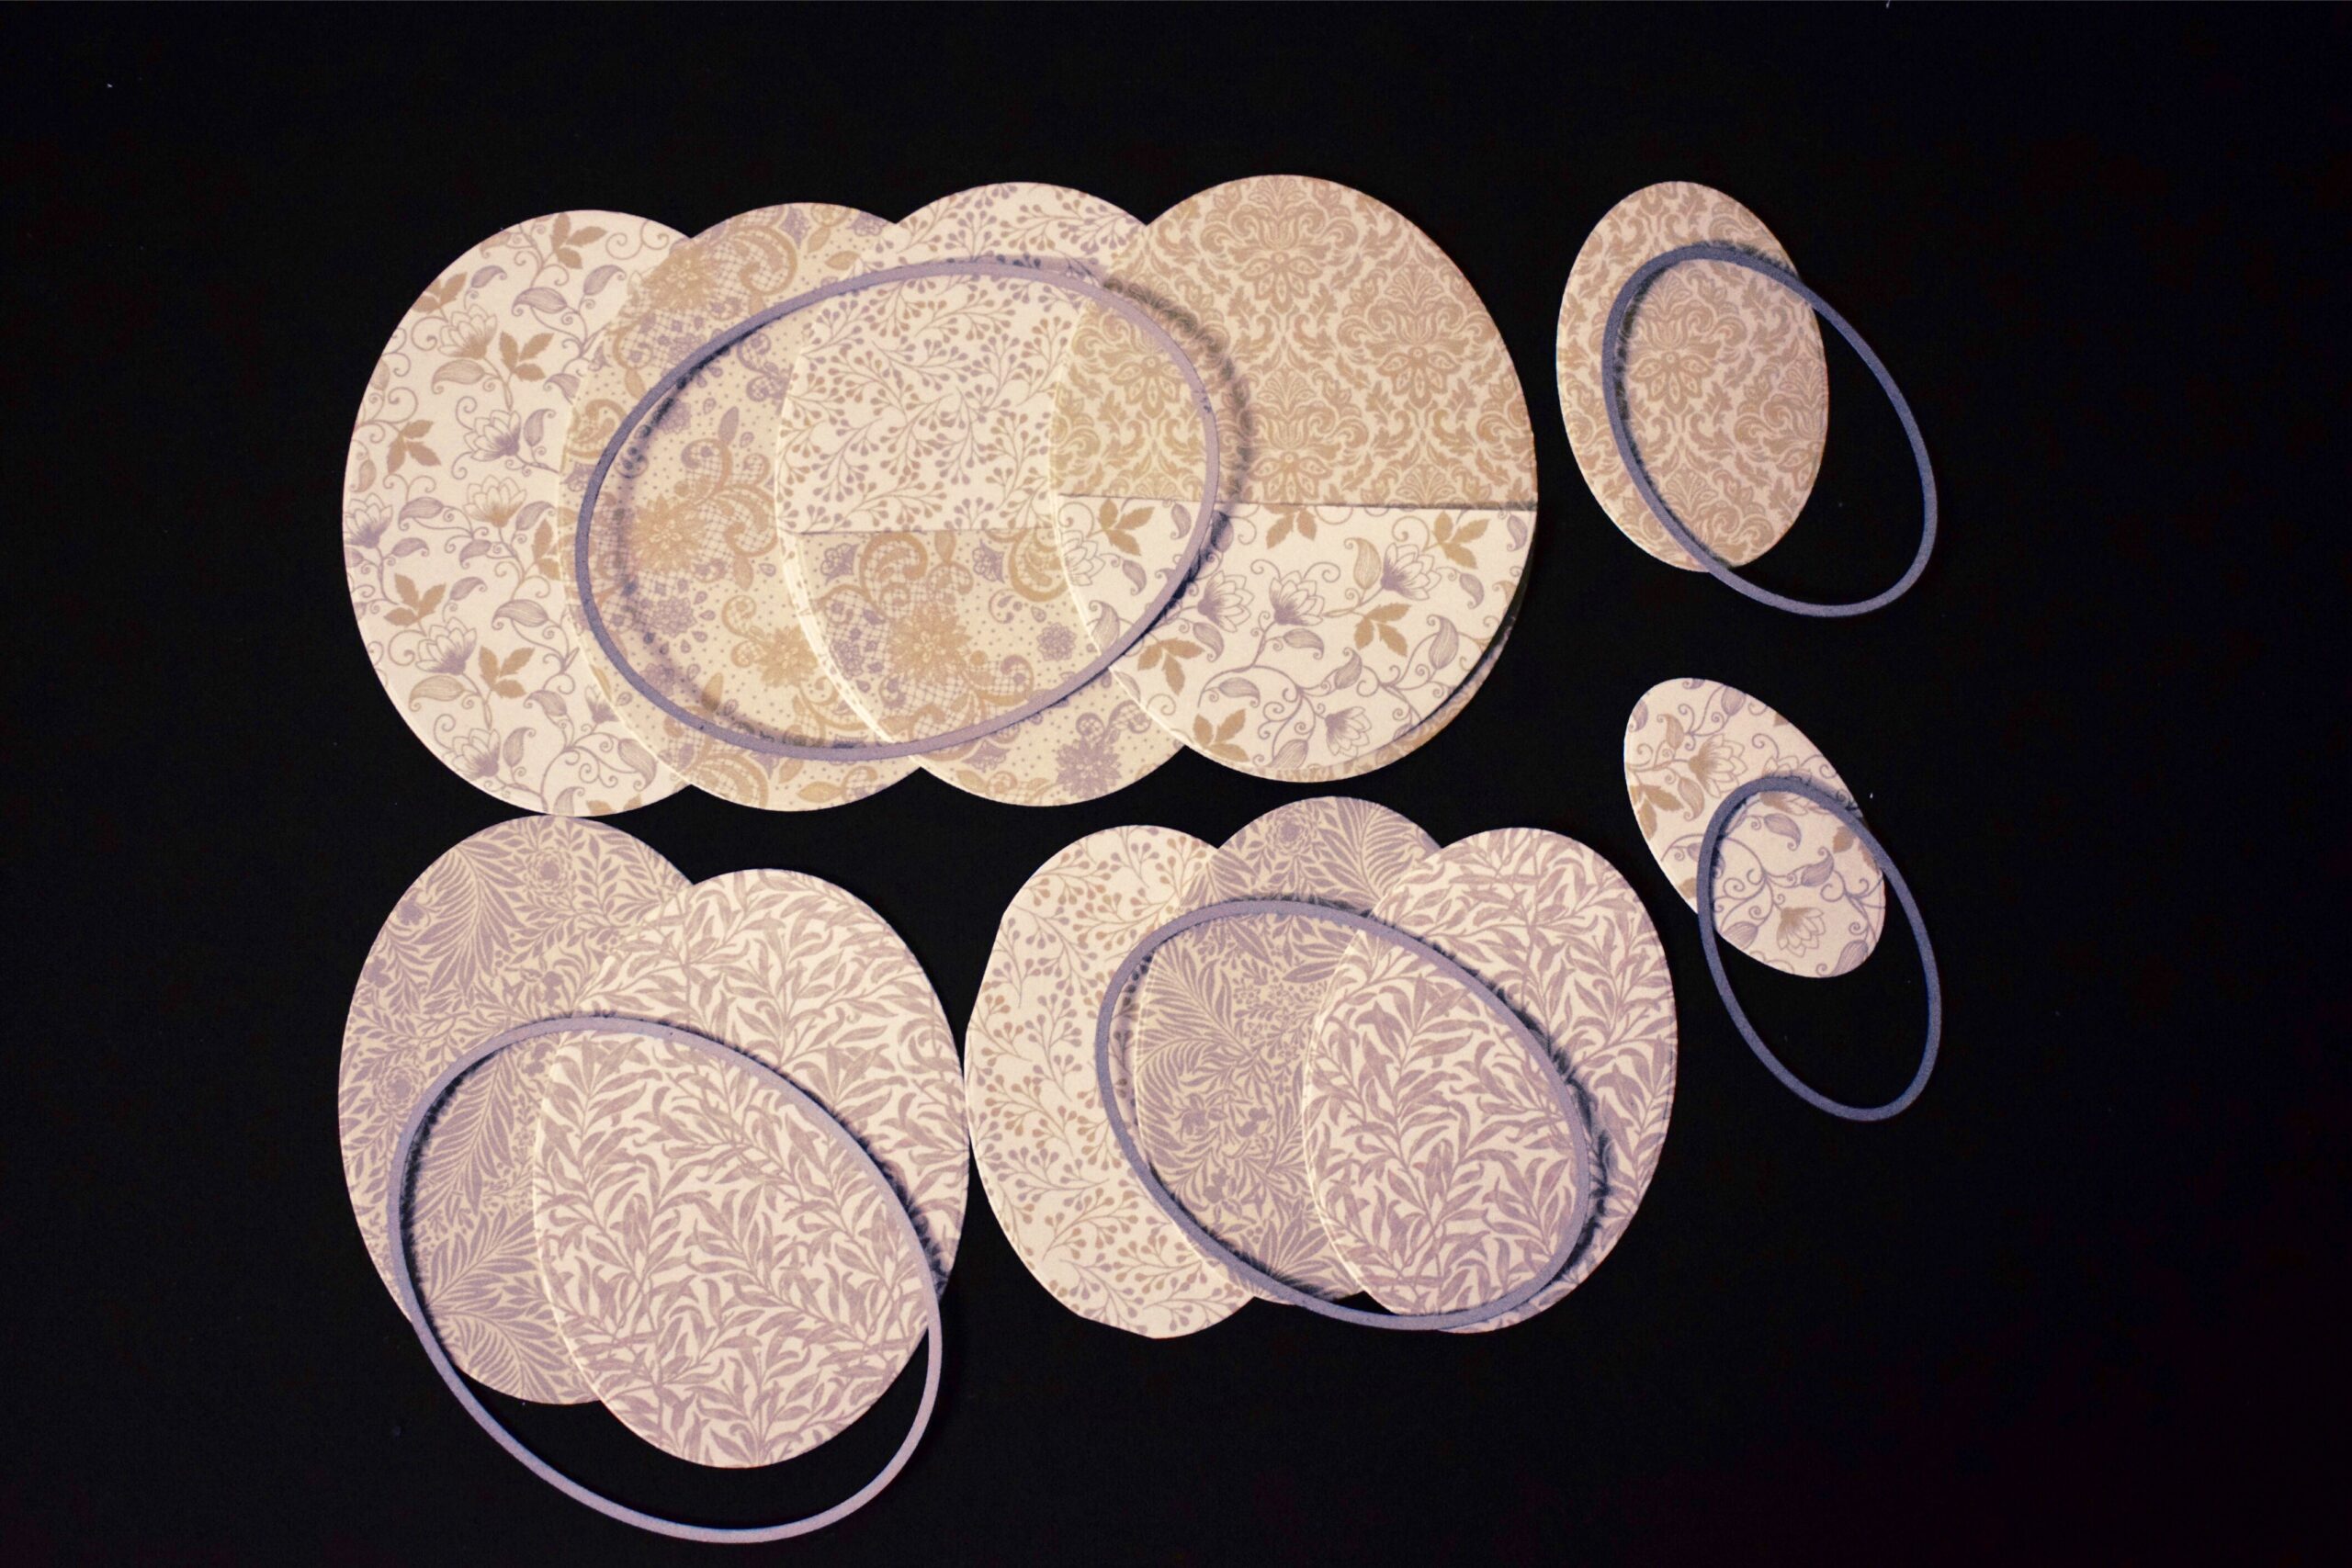
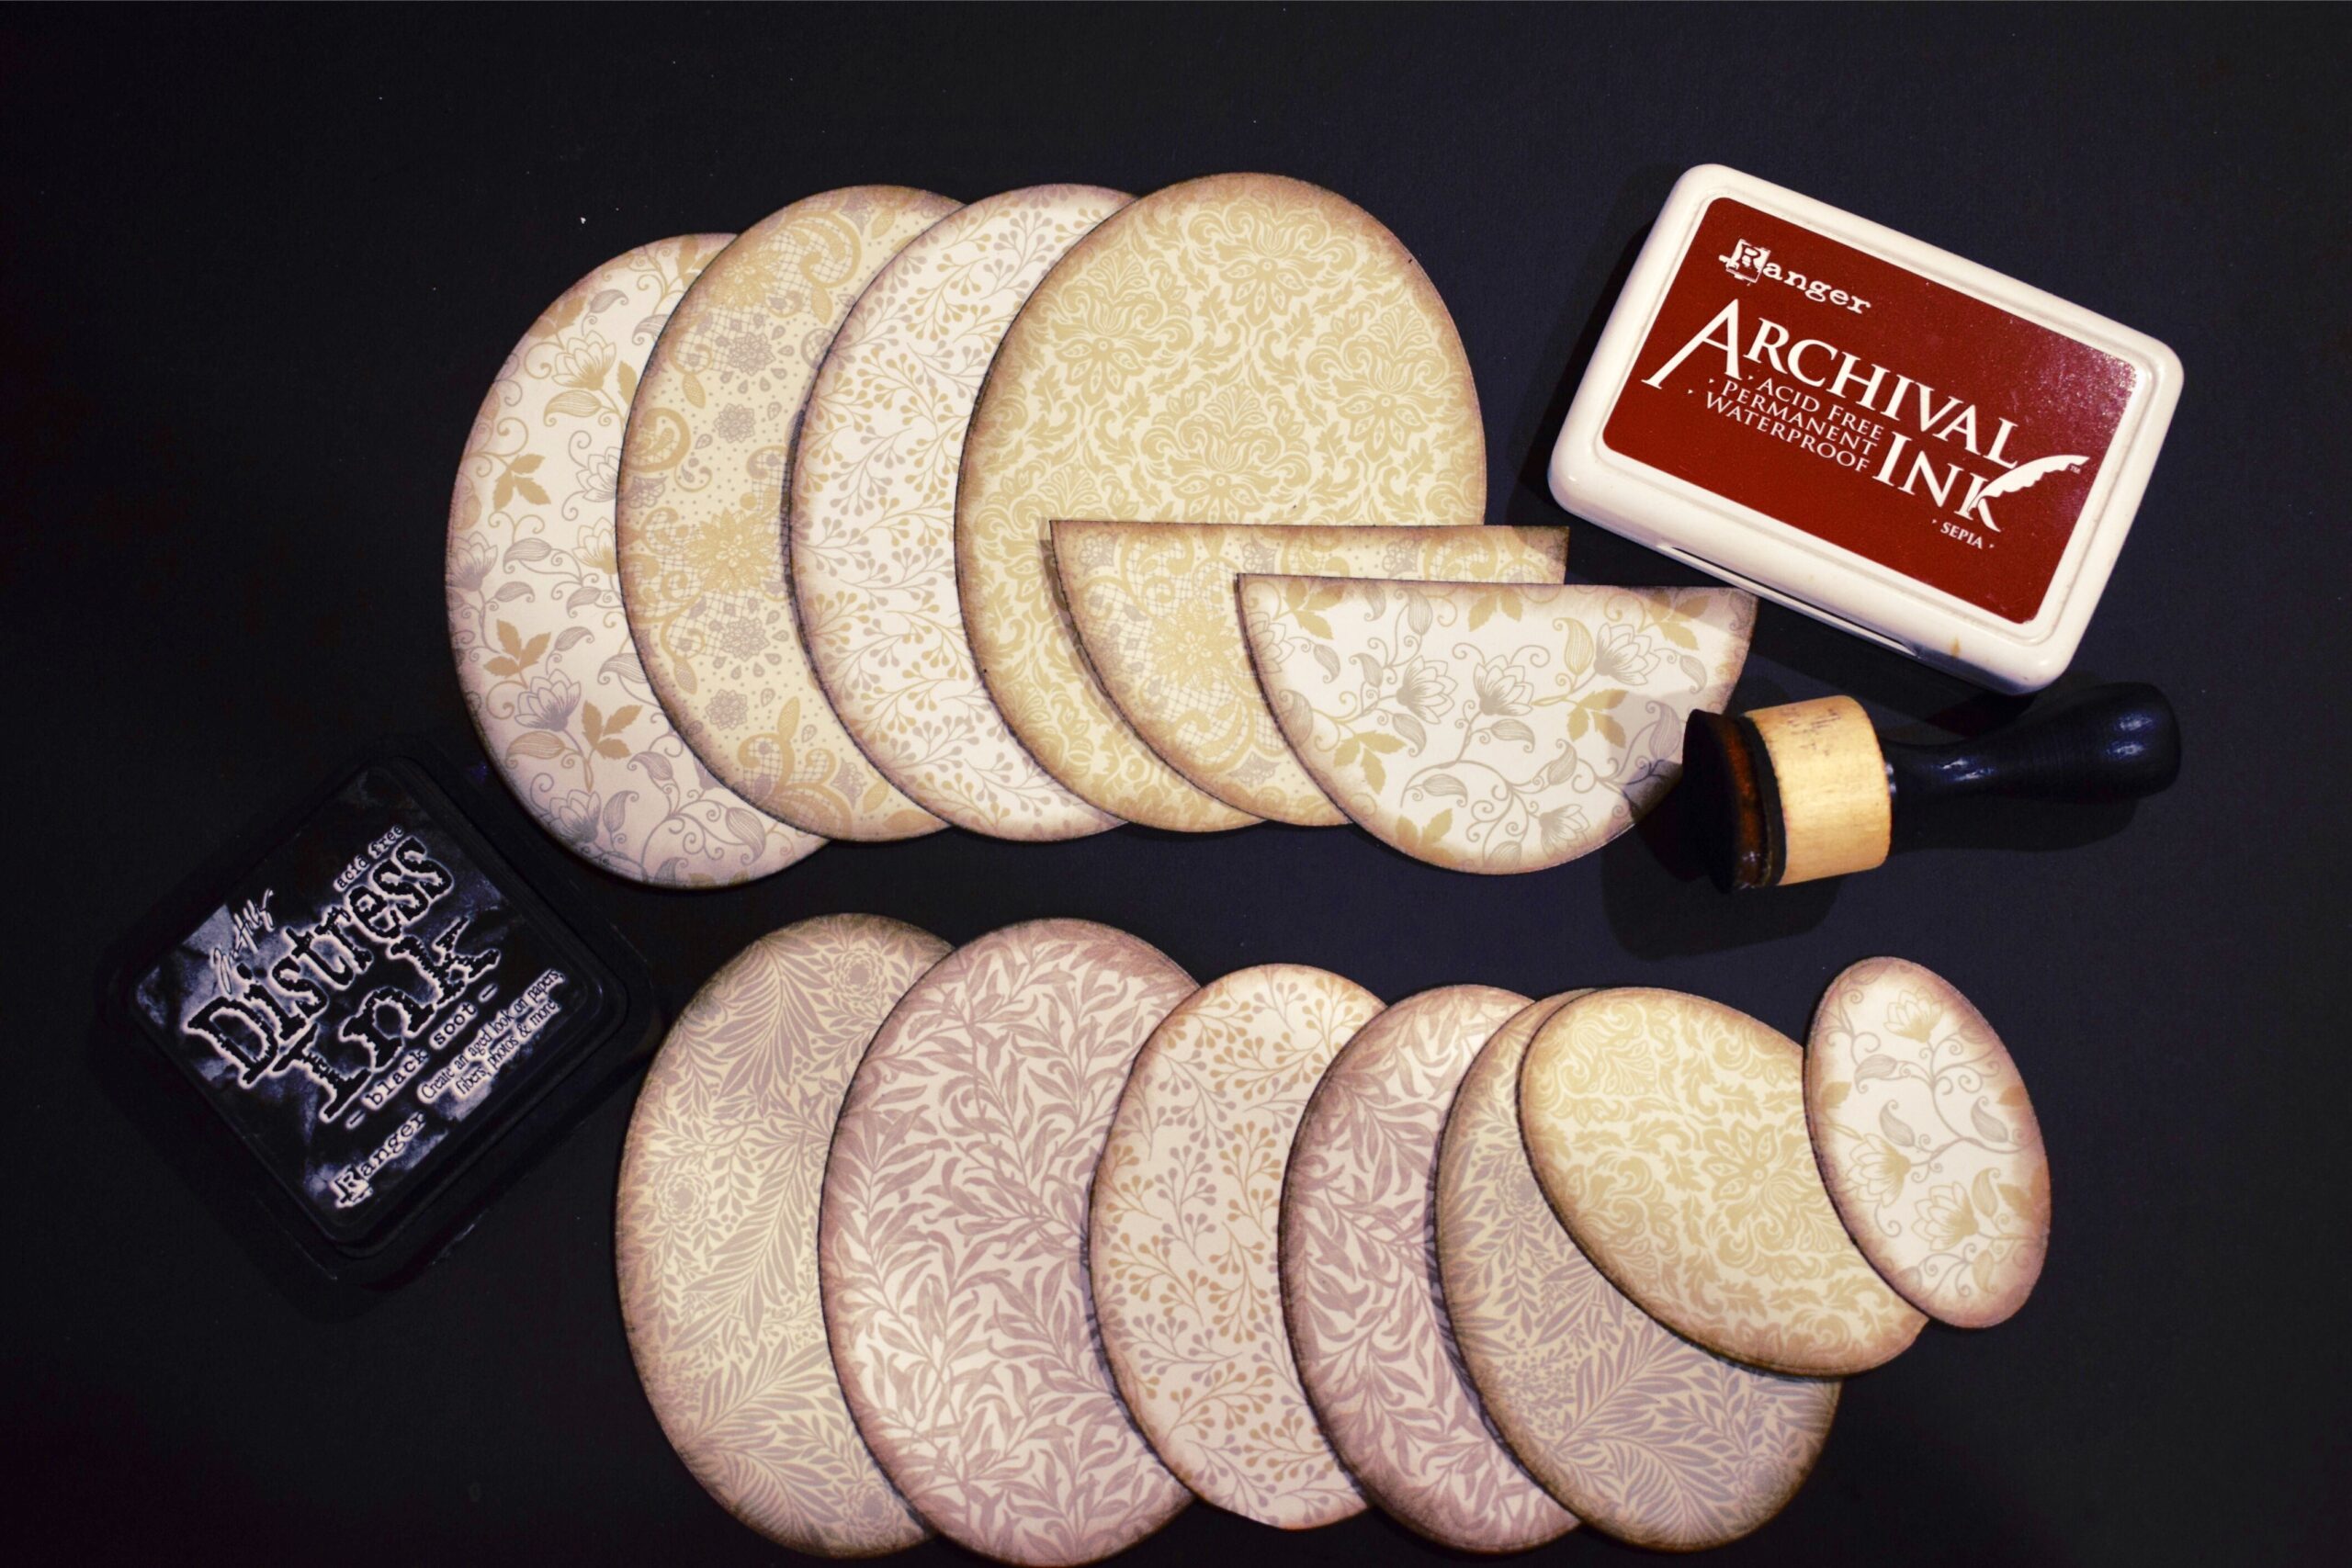
There are 5 different sizes of ovals in the pack from which, using the biggest oval I have cut 4 pieces for making the base, 2 pieces of next size for making the secret pocket insert , 4 pieces of the smaller size for making pocket inserts, 1 piece of medium size for making a mini book page & 1 piece of the smallest die to make another page of the mini book. After cutting all the pieces I have distress them at the sides with back distress Ink and brown archival Ink.
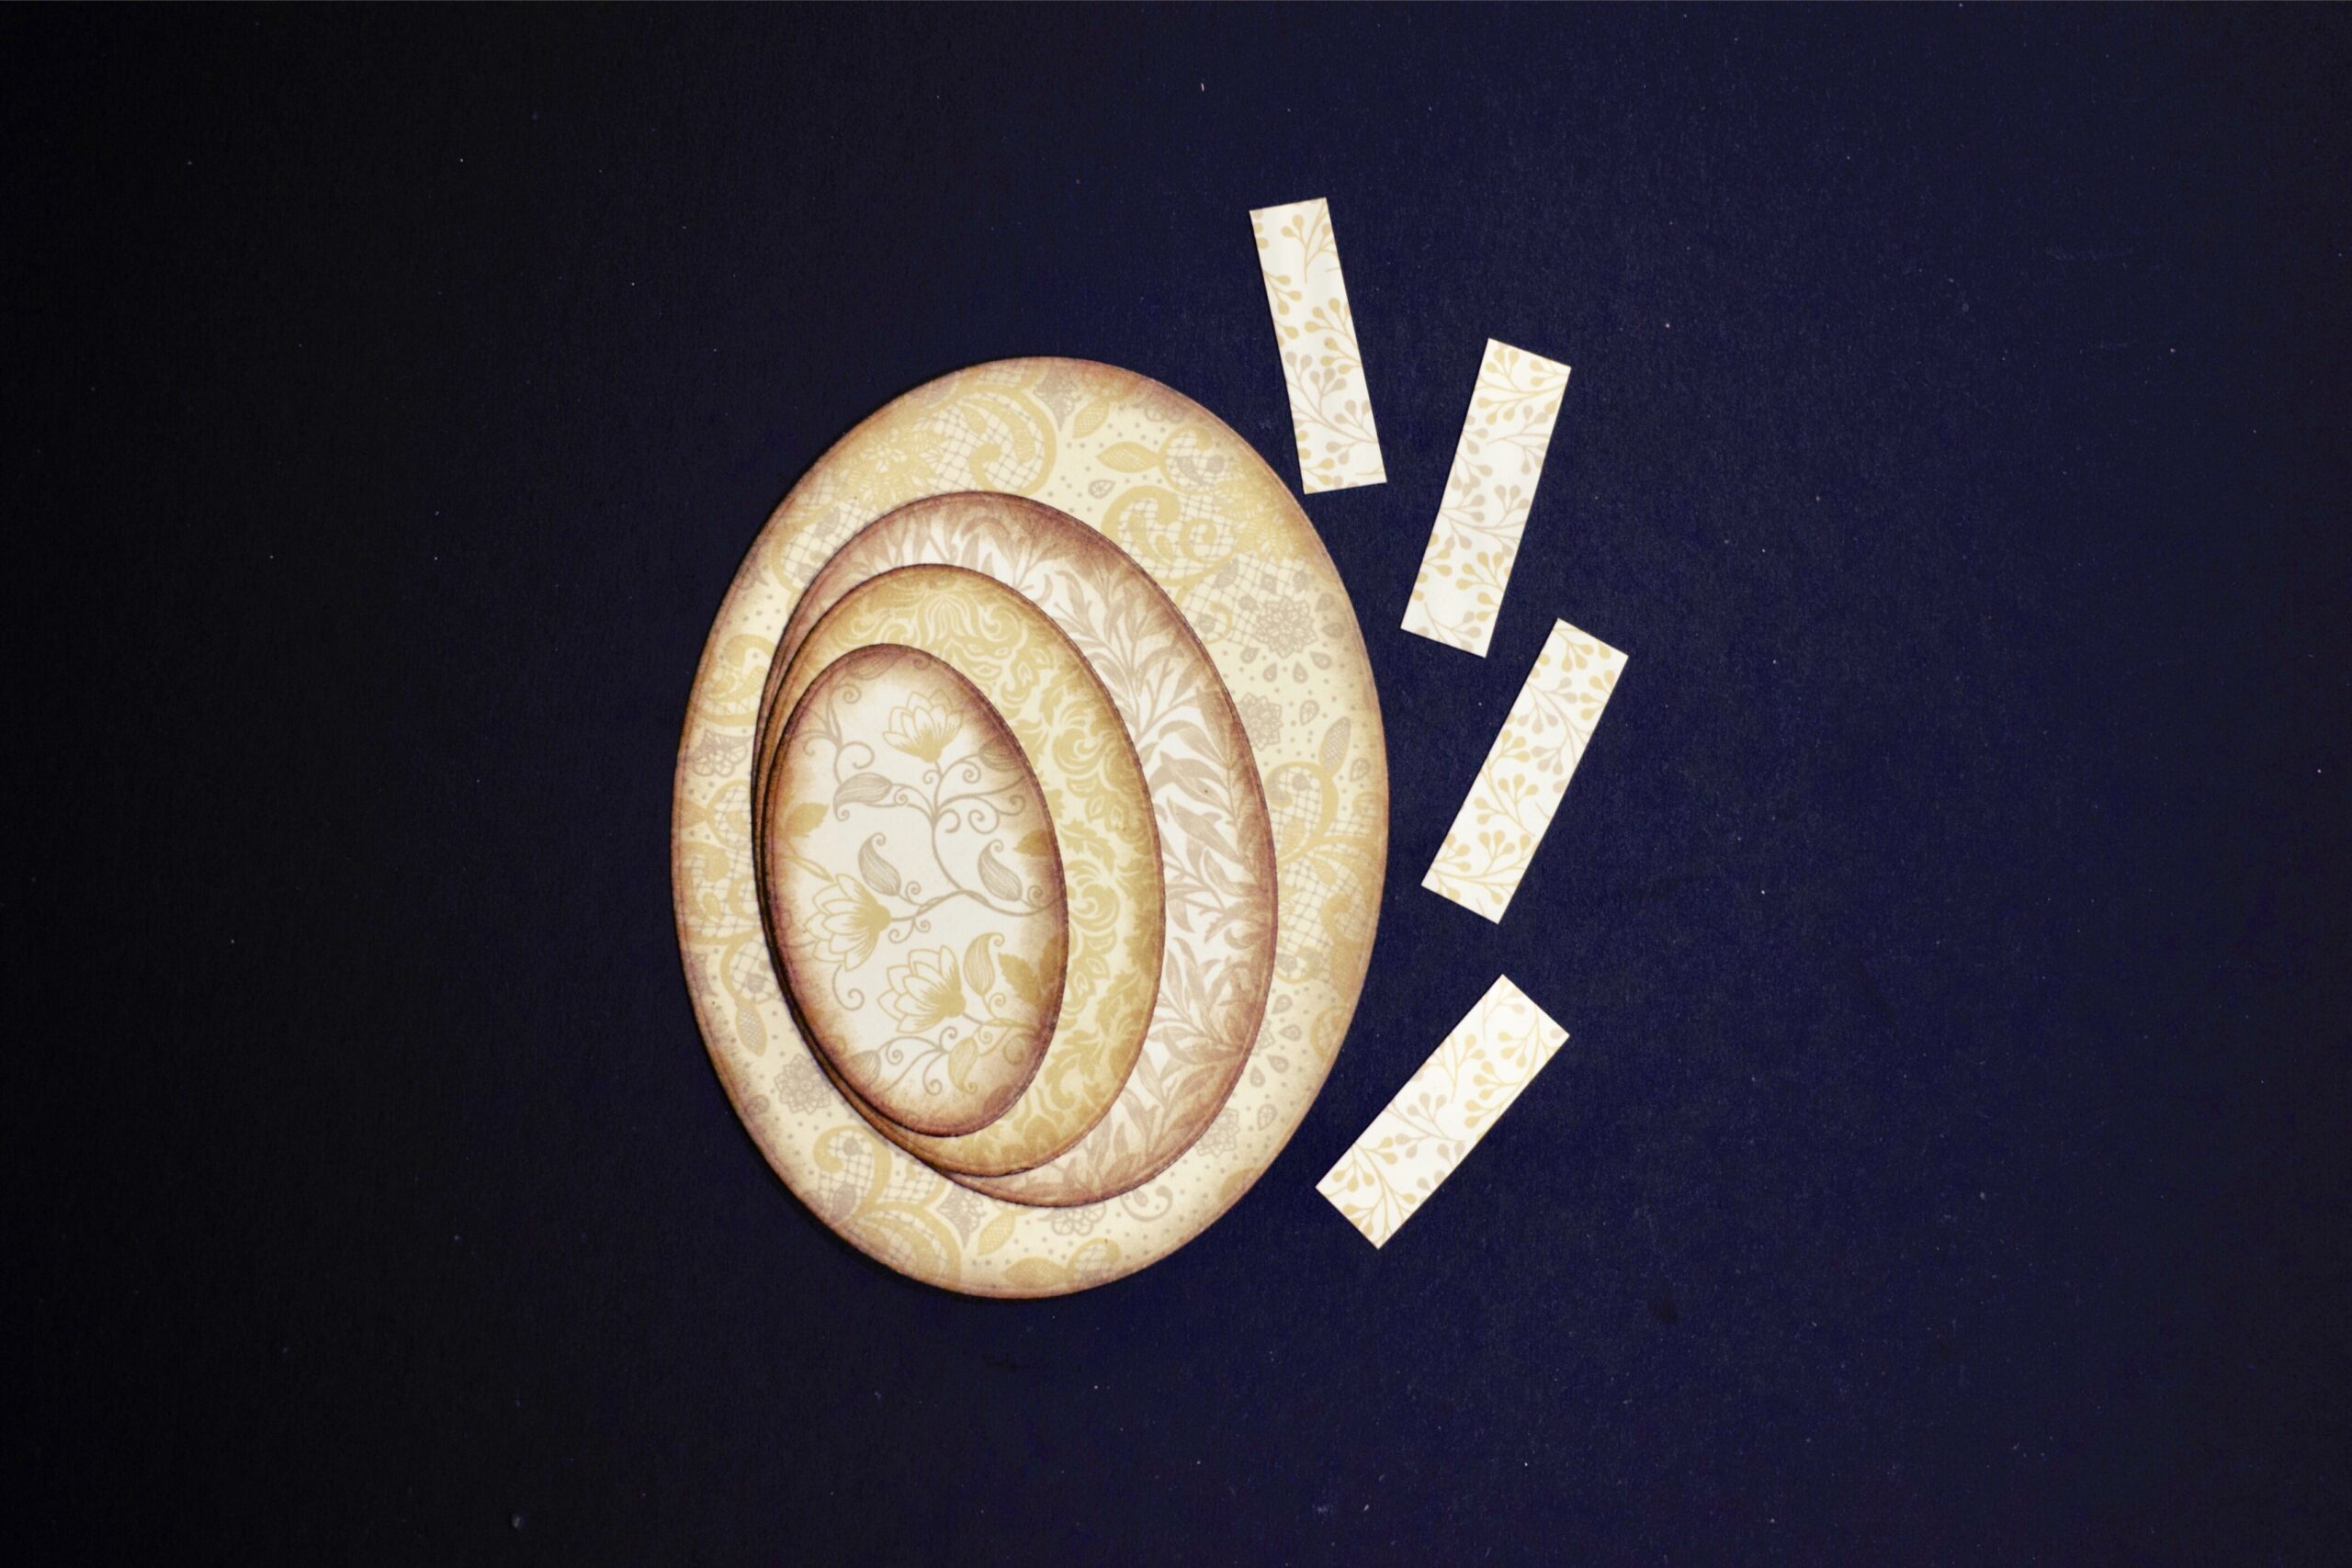
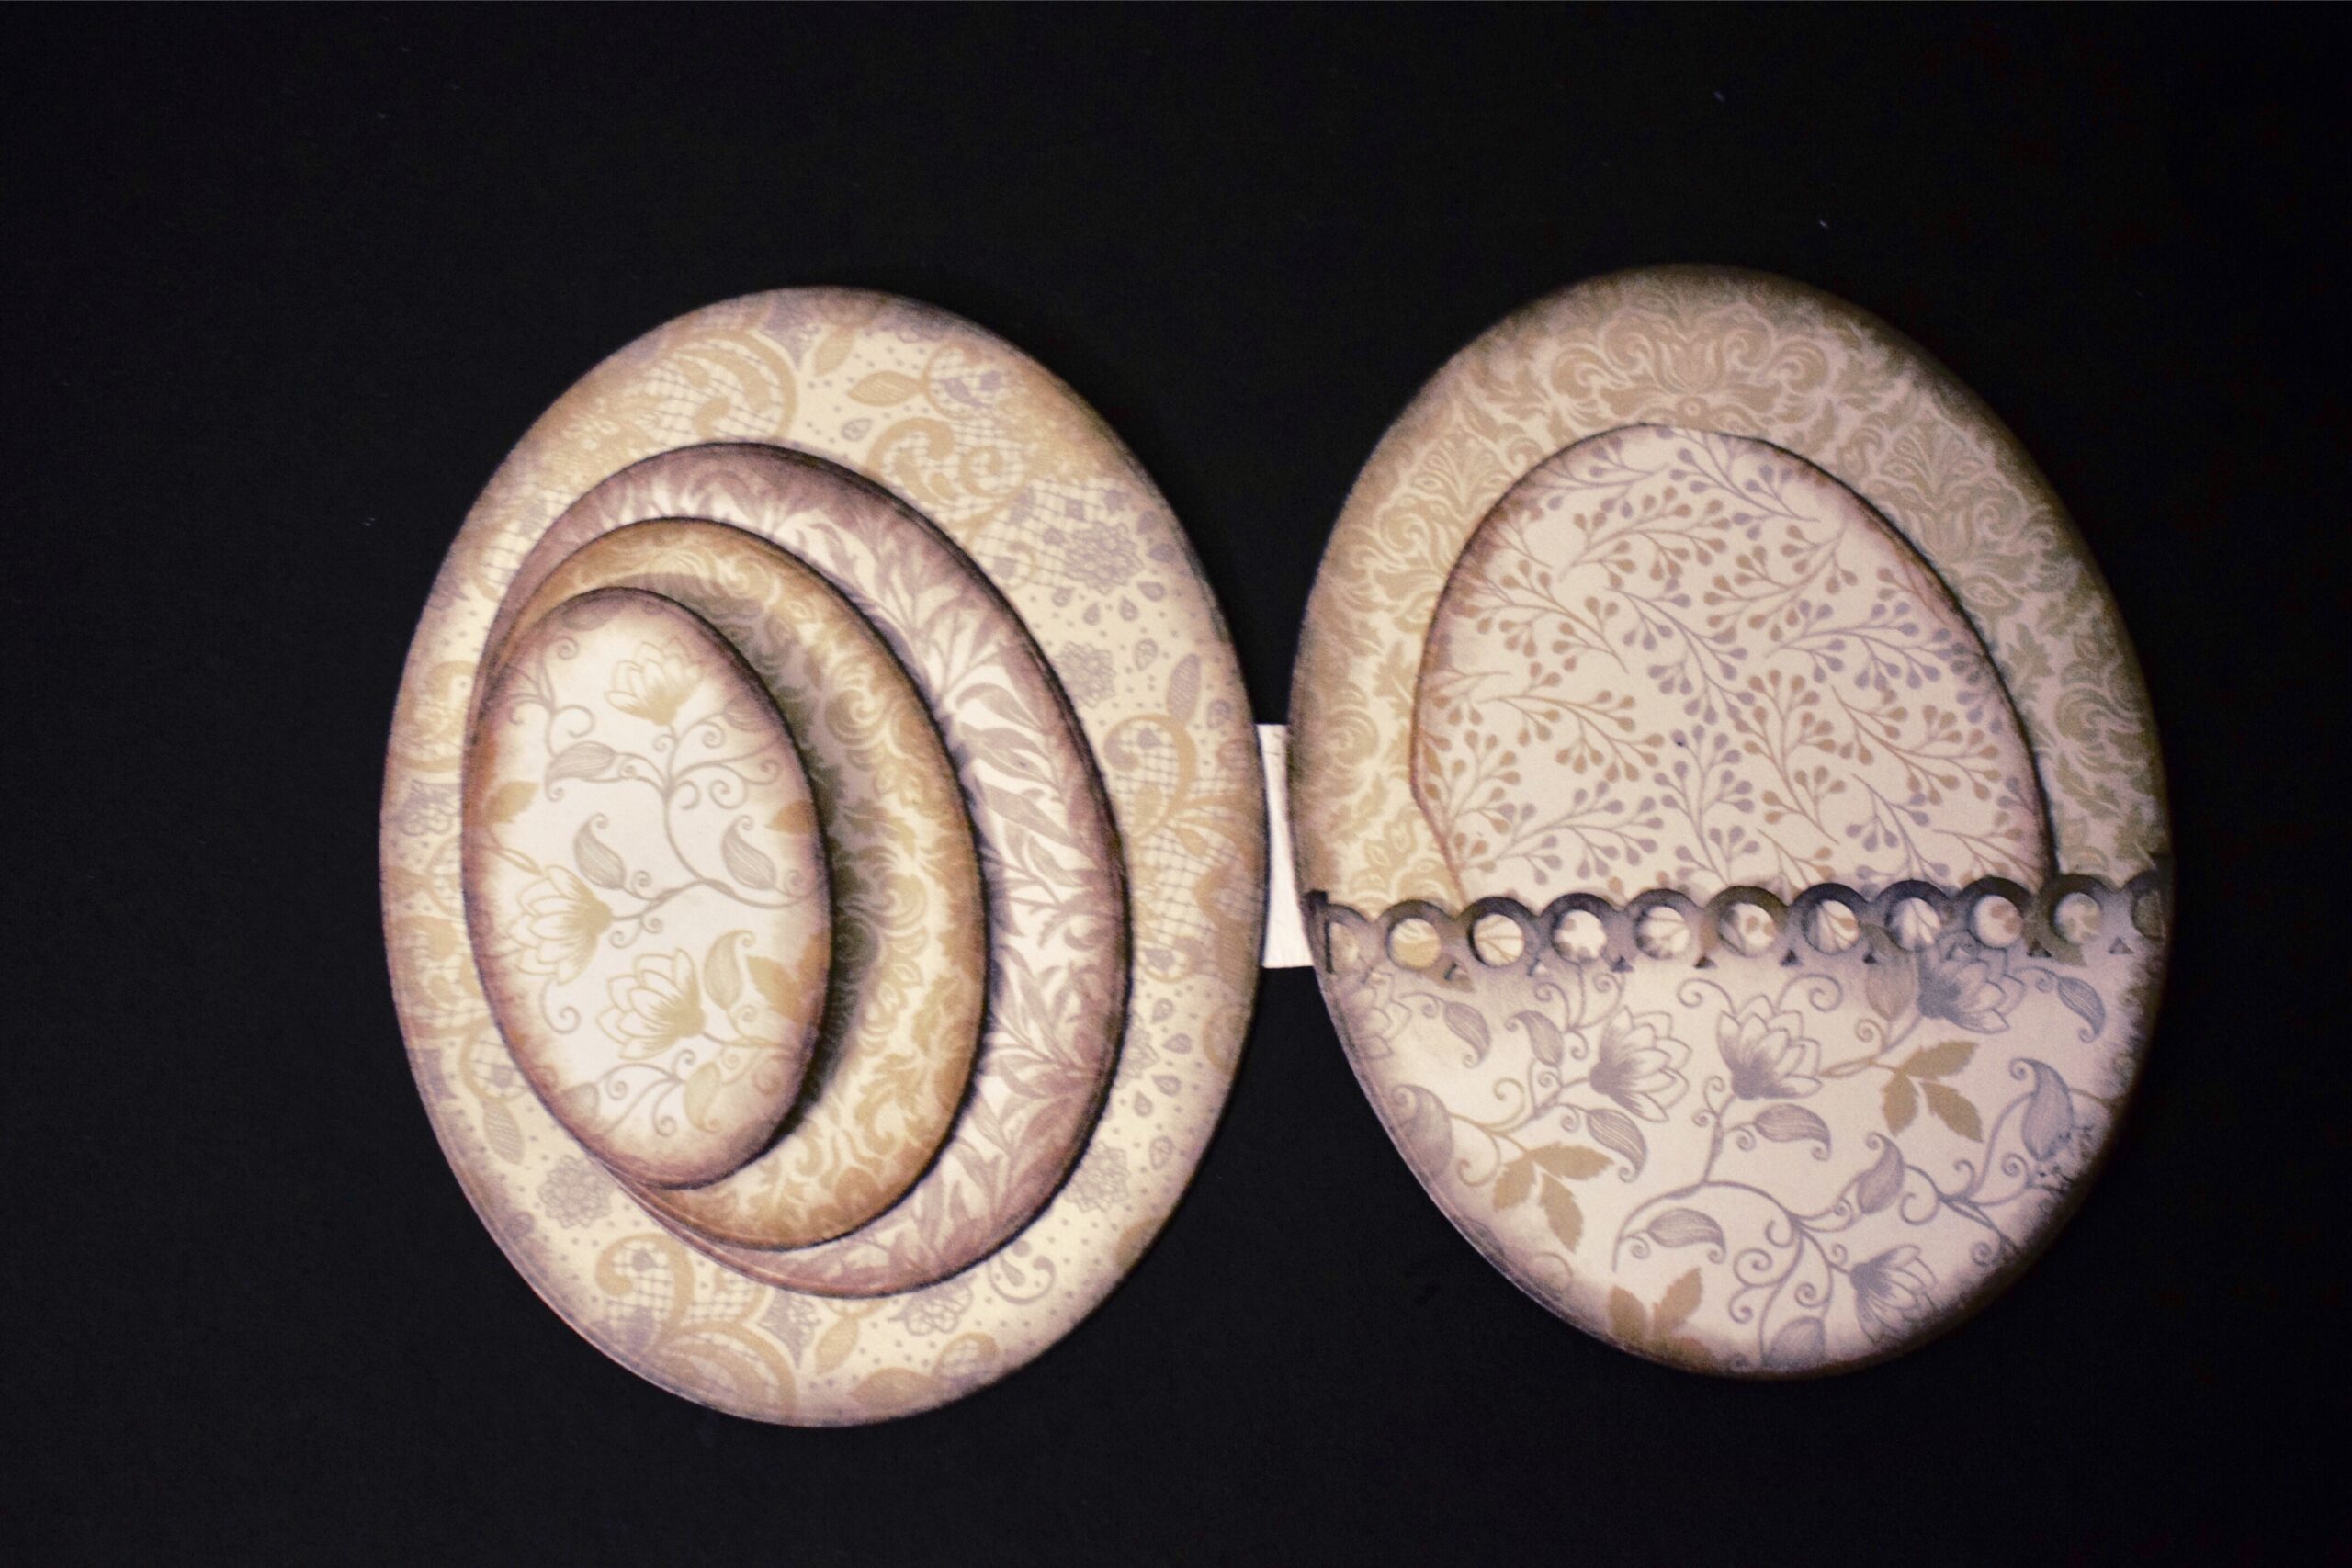
Now starting with the first page …I have shown how to create a mini book, inside which 6 photographs can be inserted. To make this book, I have taken all the sizes of oval and arranged them one upon the other and attached them with a piece of strip and made a book like opening.
This is how the mini book looks. Later on while adding photographs I have adhere magnets inside each page.
.
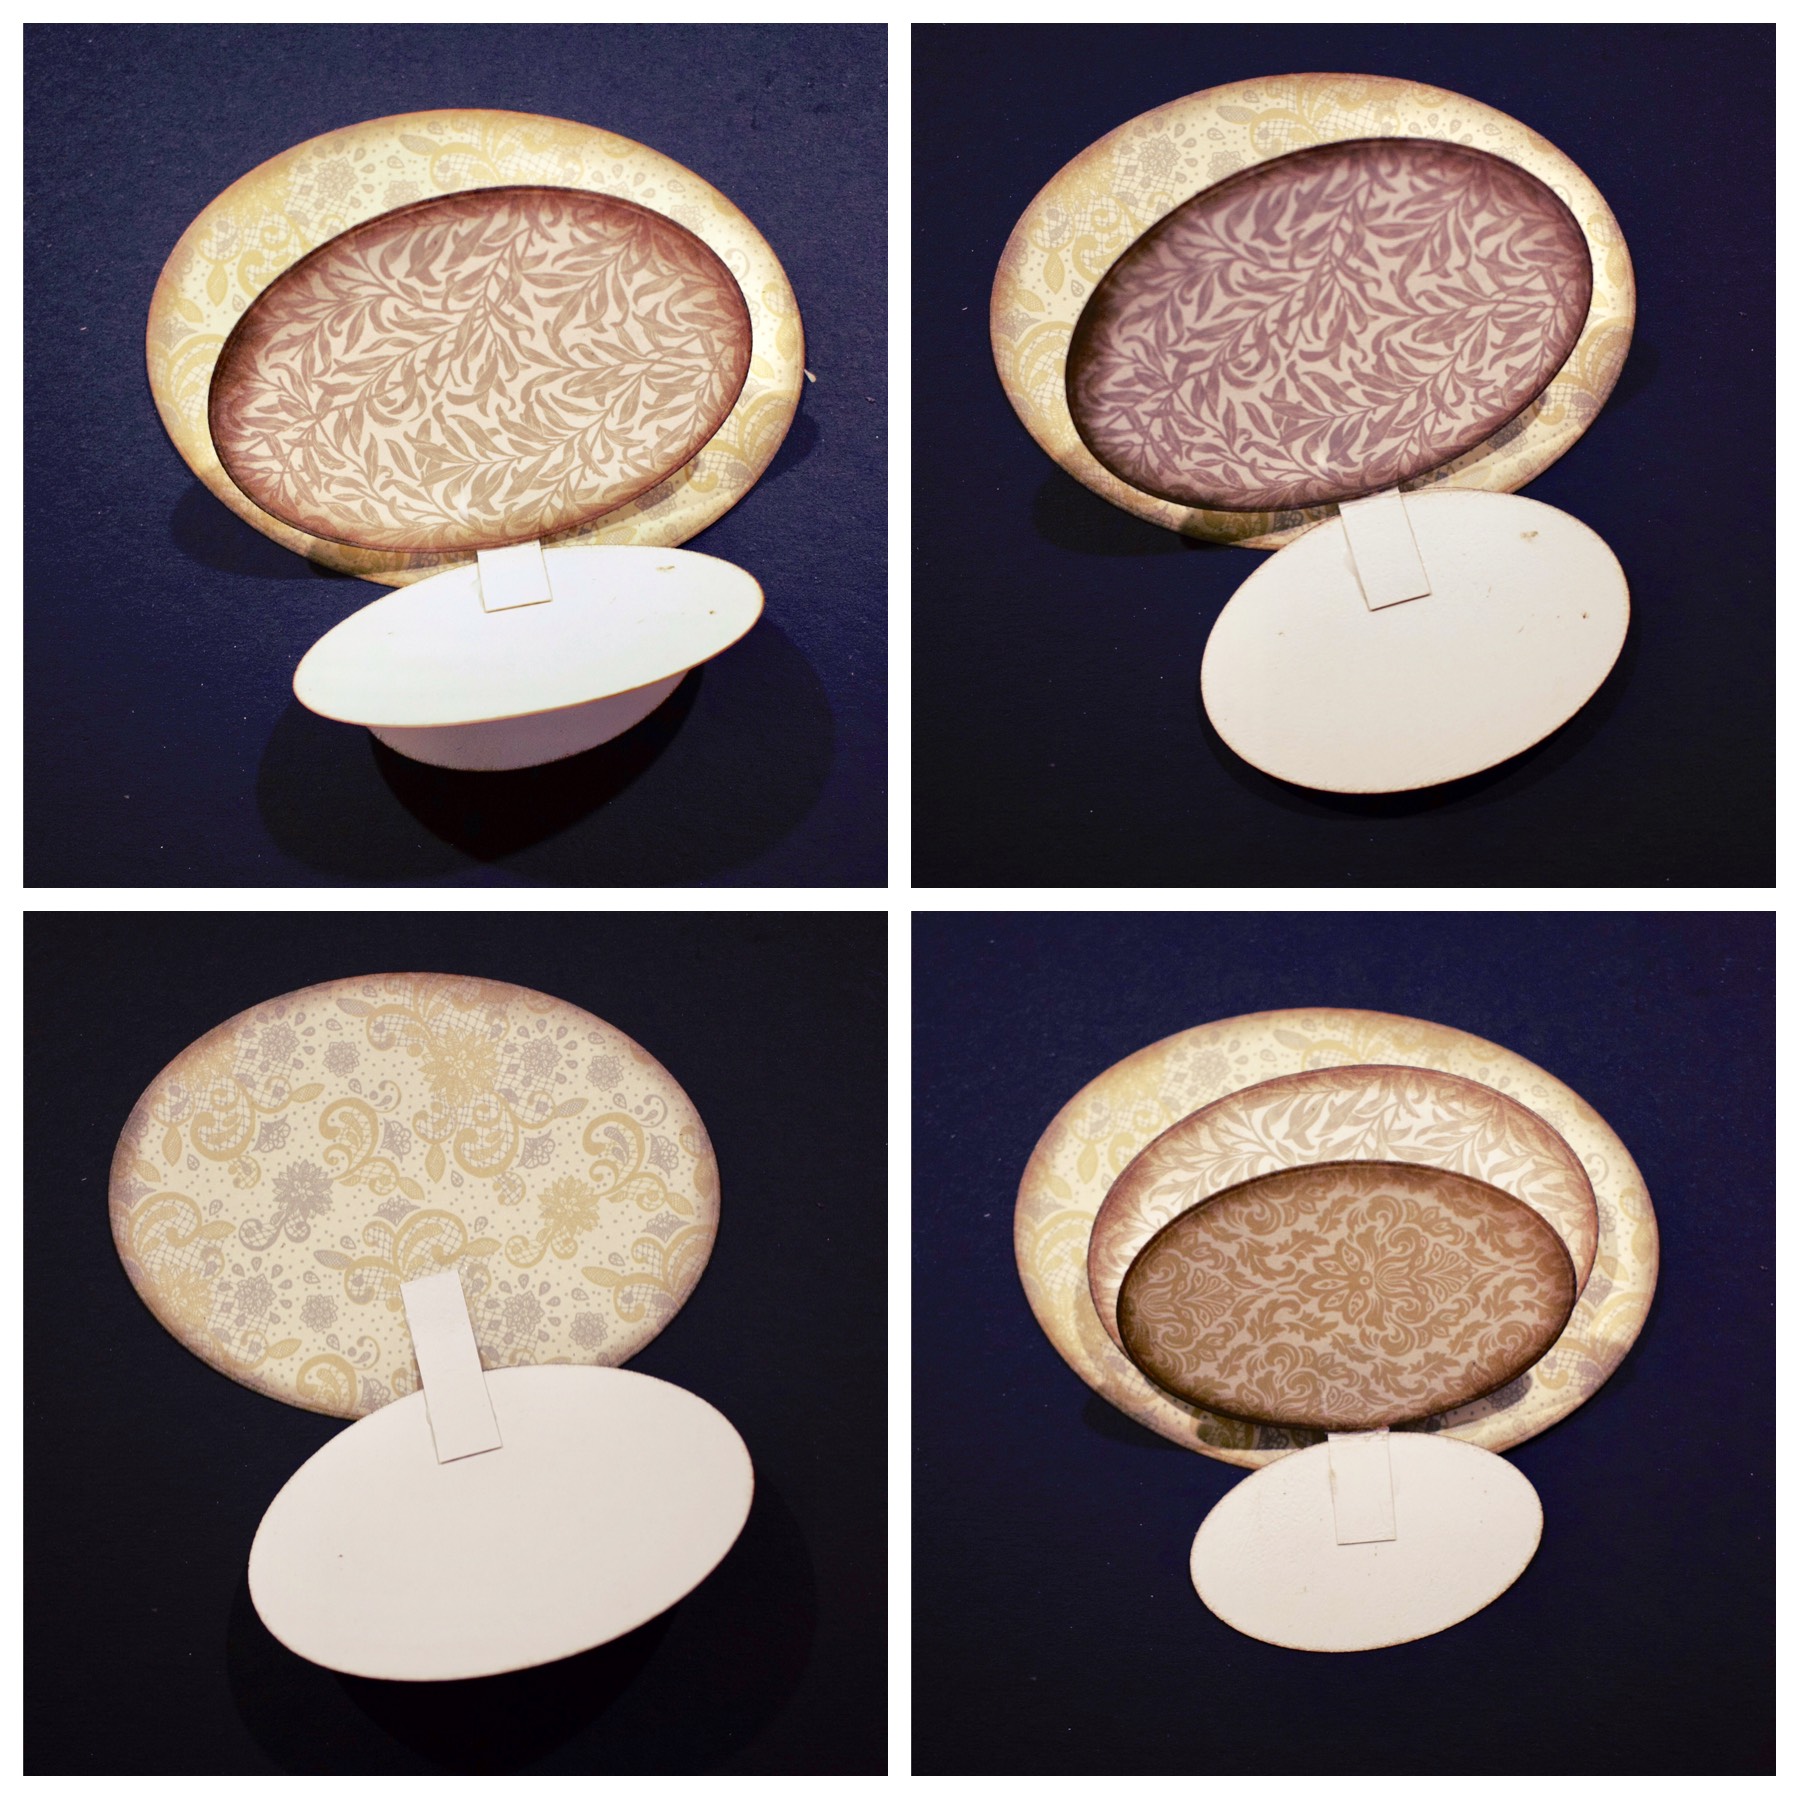
Now for the next 2 pages I have taken a biggest size oval and cut it into half. One of the halves, I have adhered on one page to make a pocket insert. For making a pocket take the half piece and apply glue only on the edges of the oval.
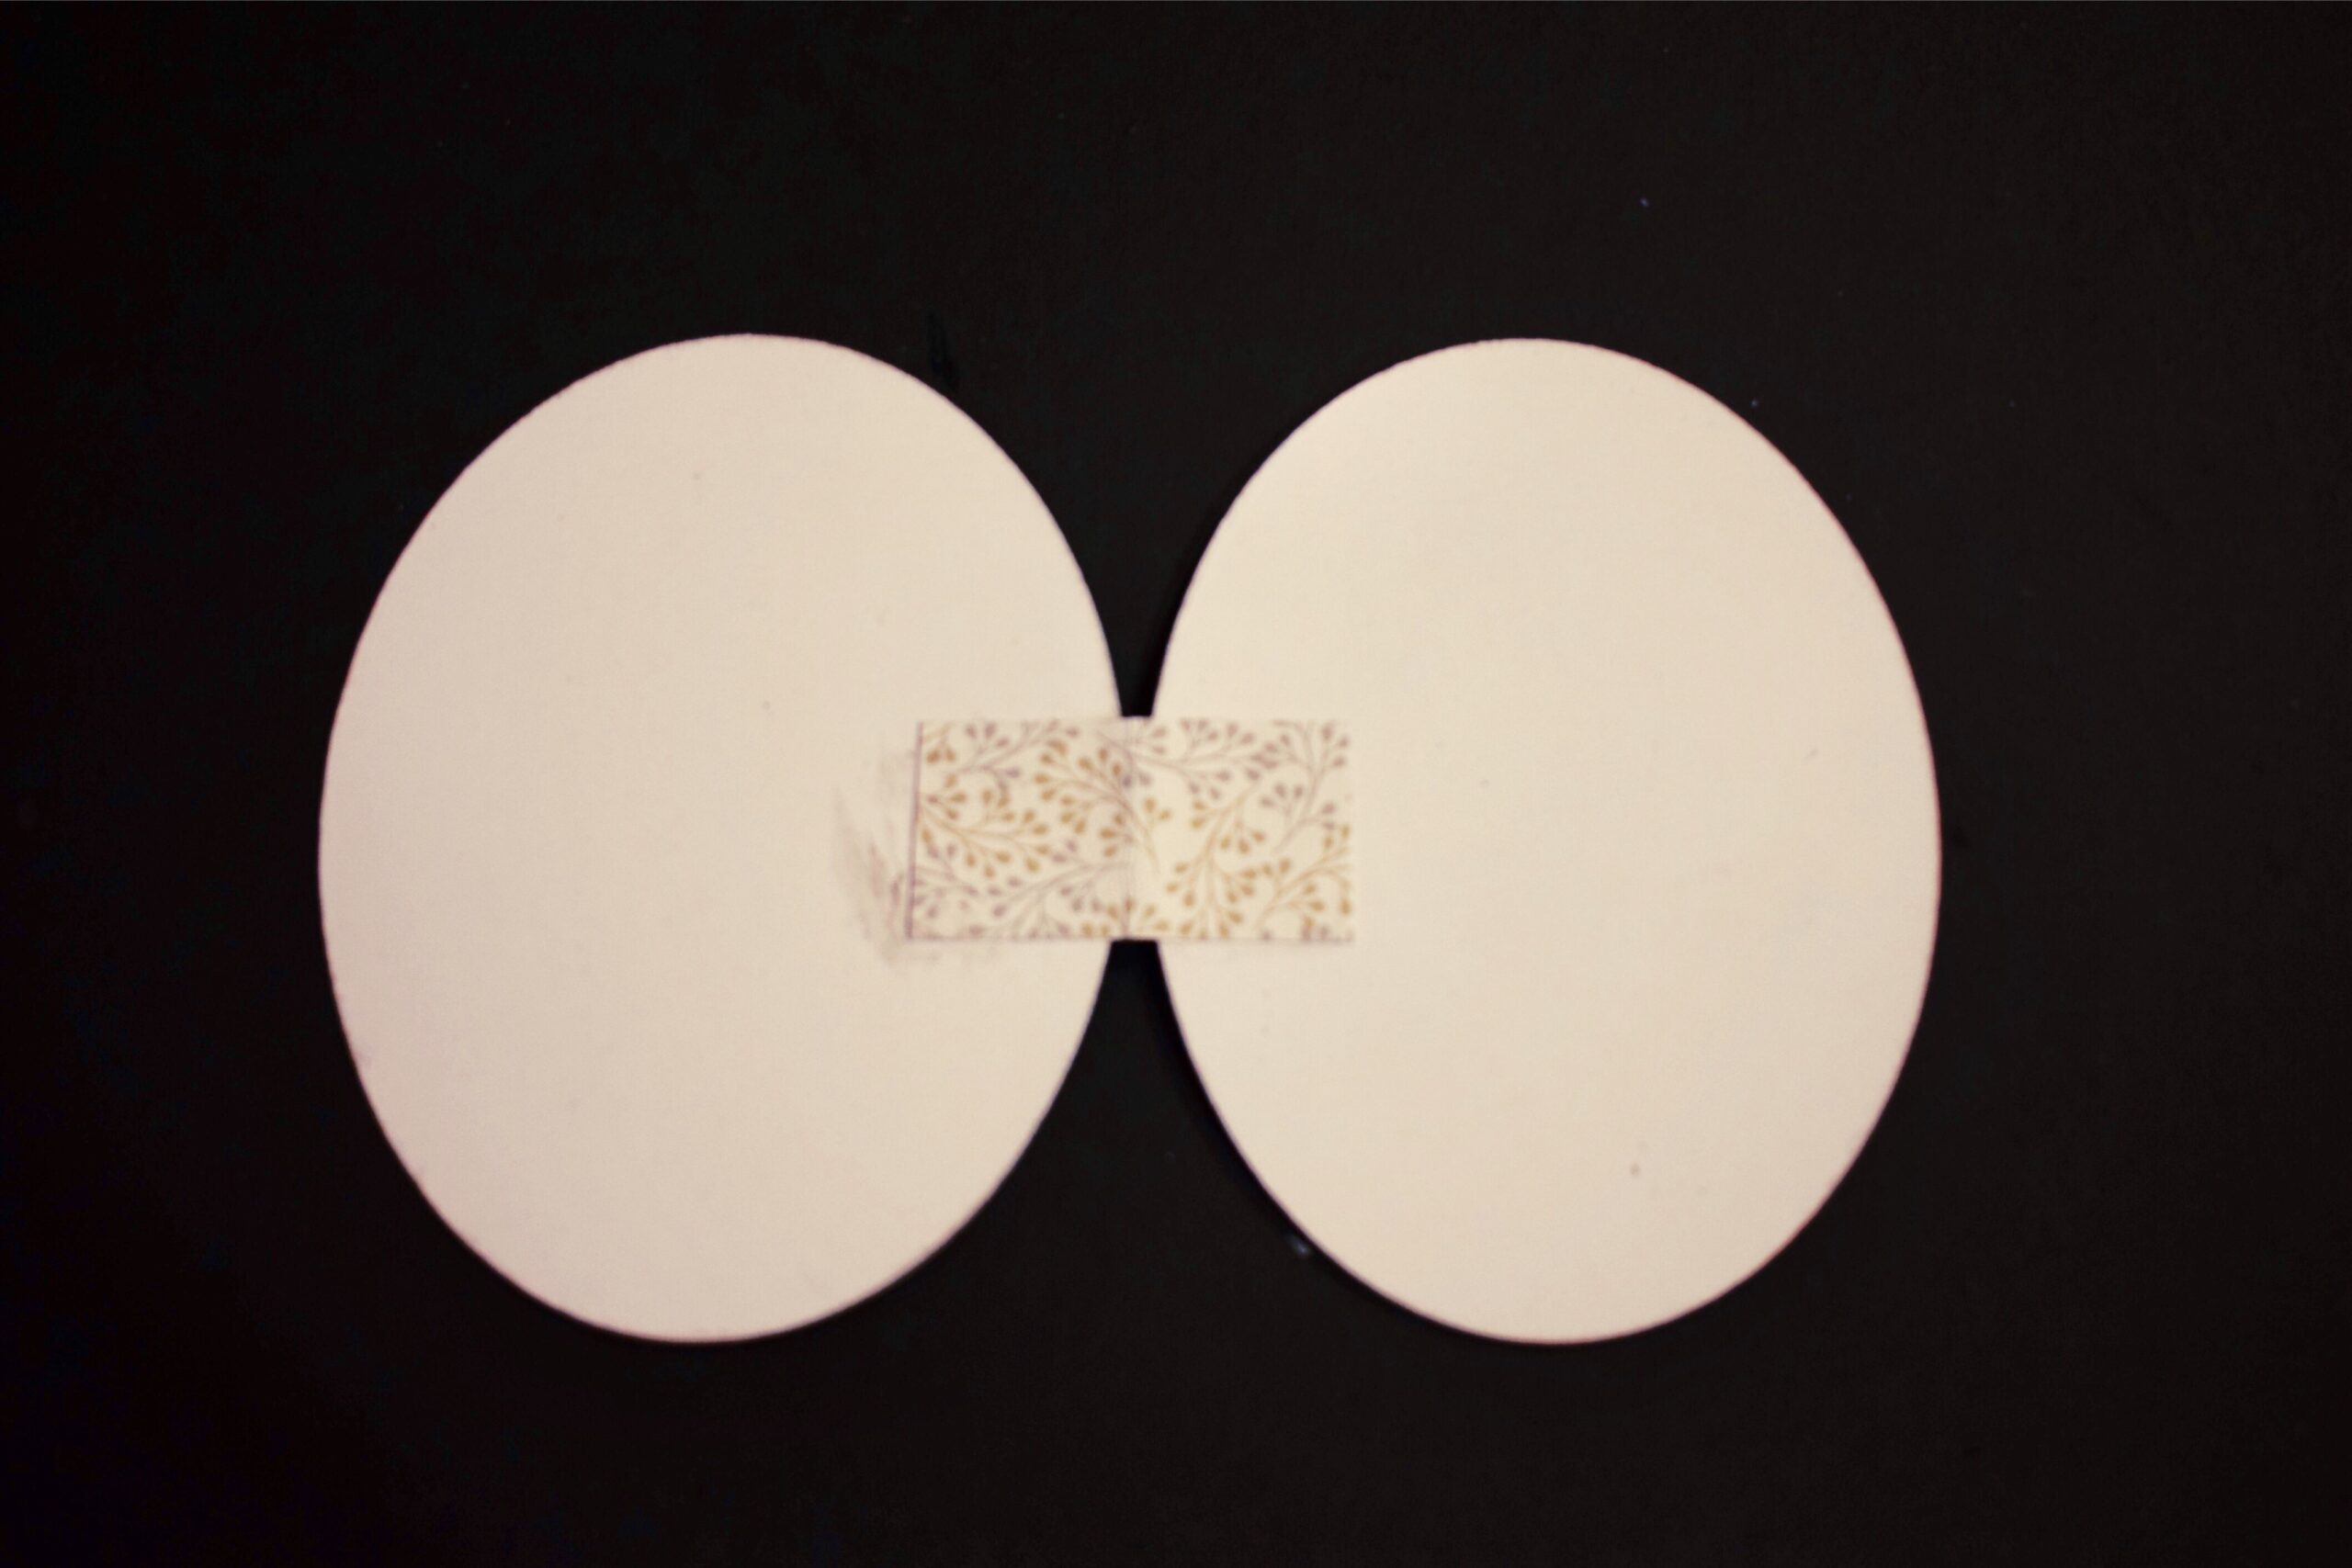
Now with a piece of paper I am making a spine for the album and attaching them together as shown in the images.

These 2 secret pocket inserts are little smaller then the base size oval . I have cut 4 small circles and distressed them from the edges and made a holder for the ovals

Now fold the 2 pages which we have already attached and place the secret pocket insert as shown in the image and mark its edges so that we know where to place our double sided tape.
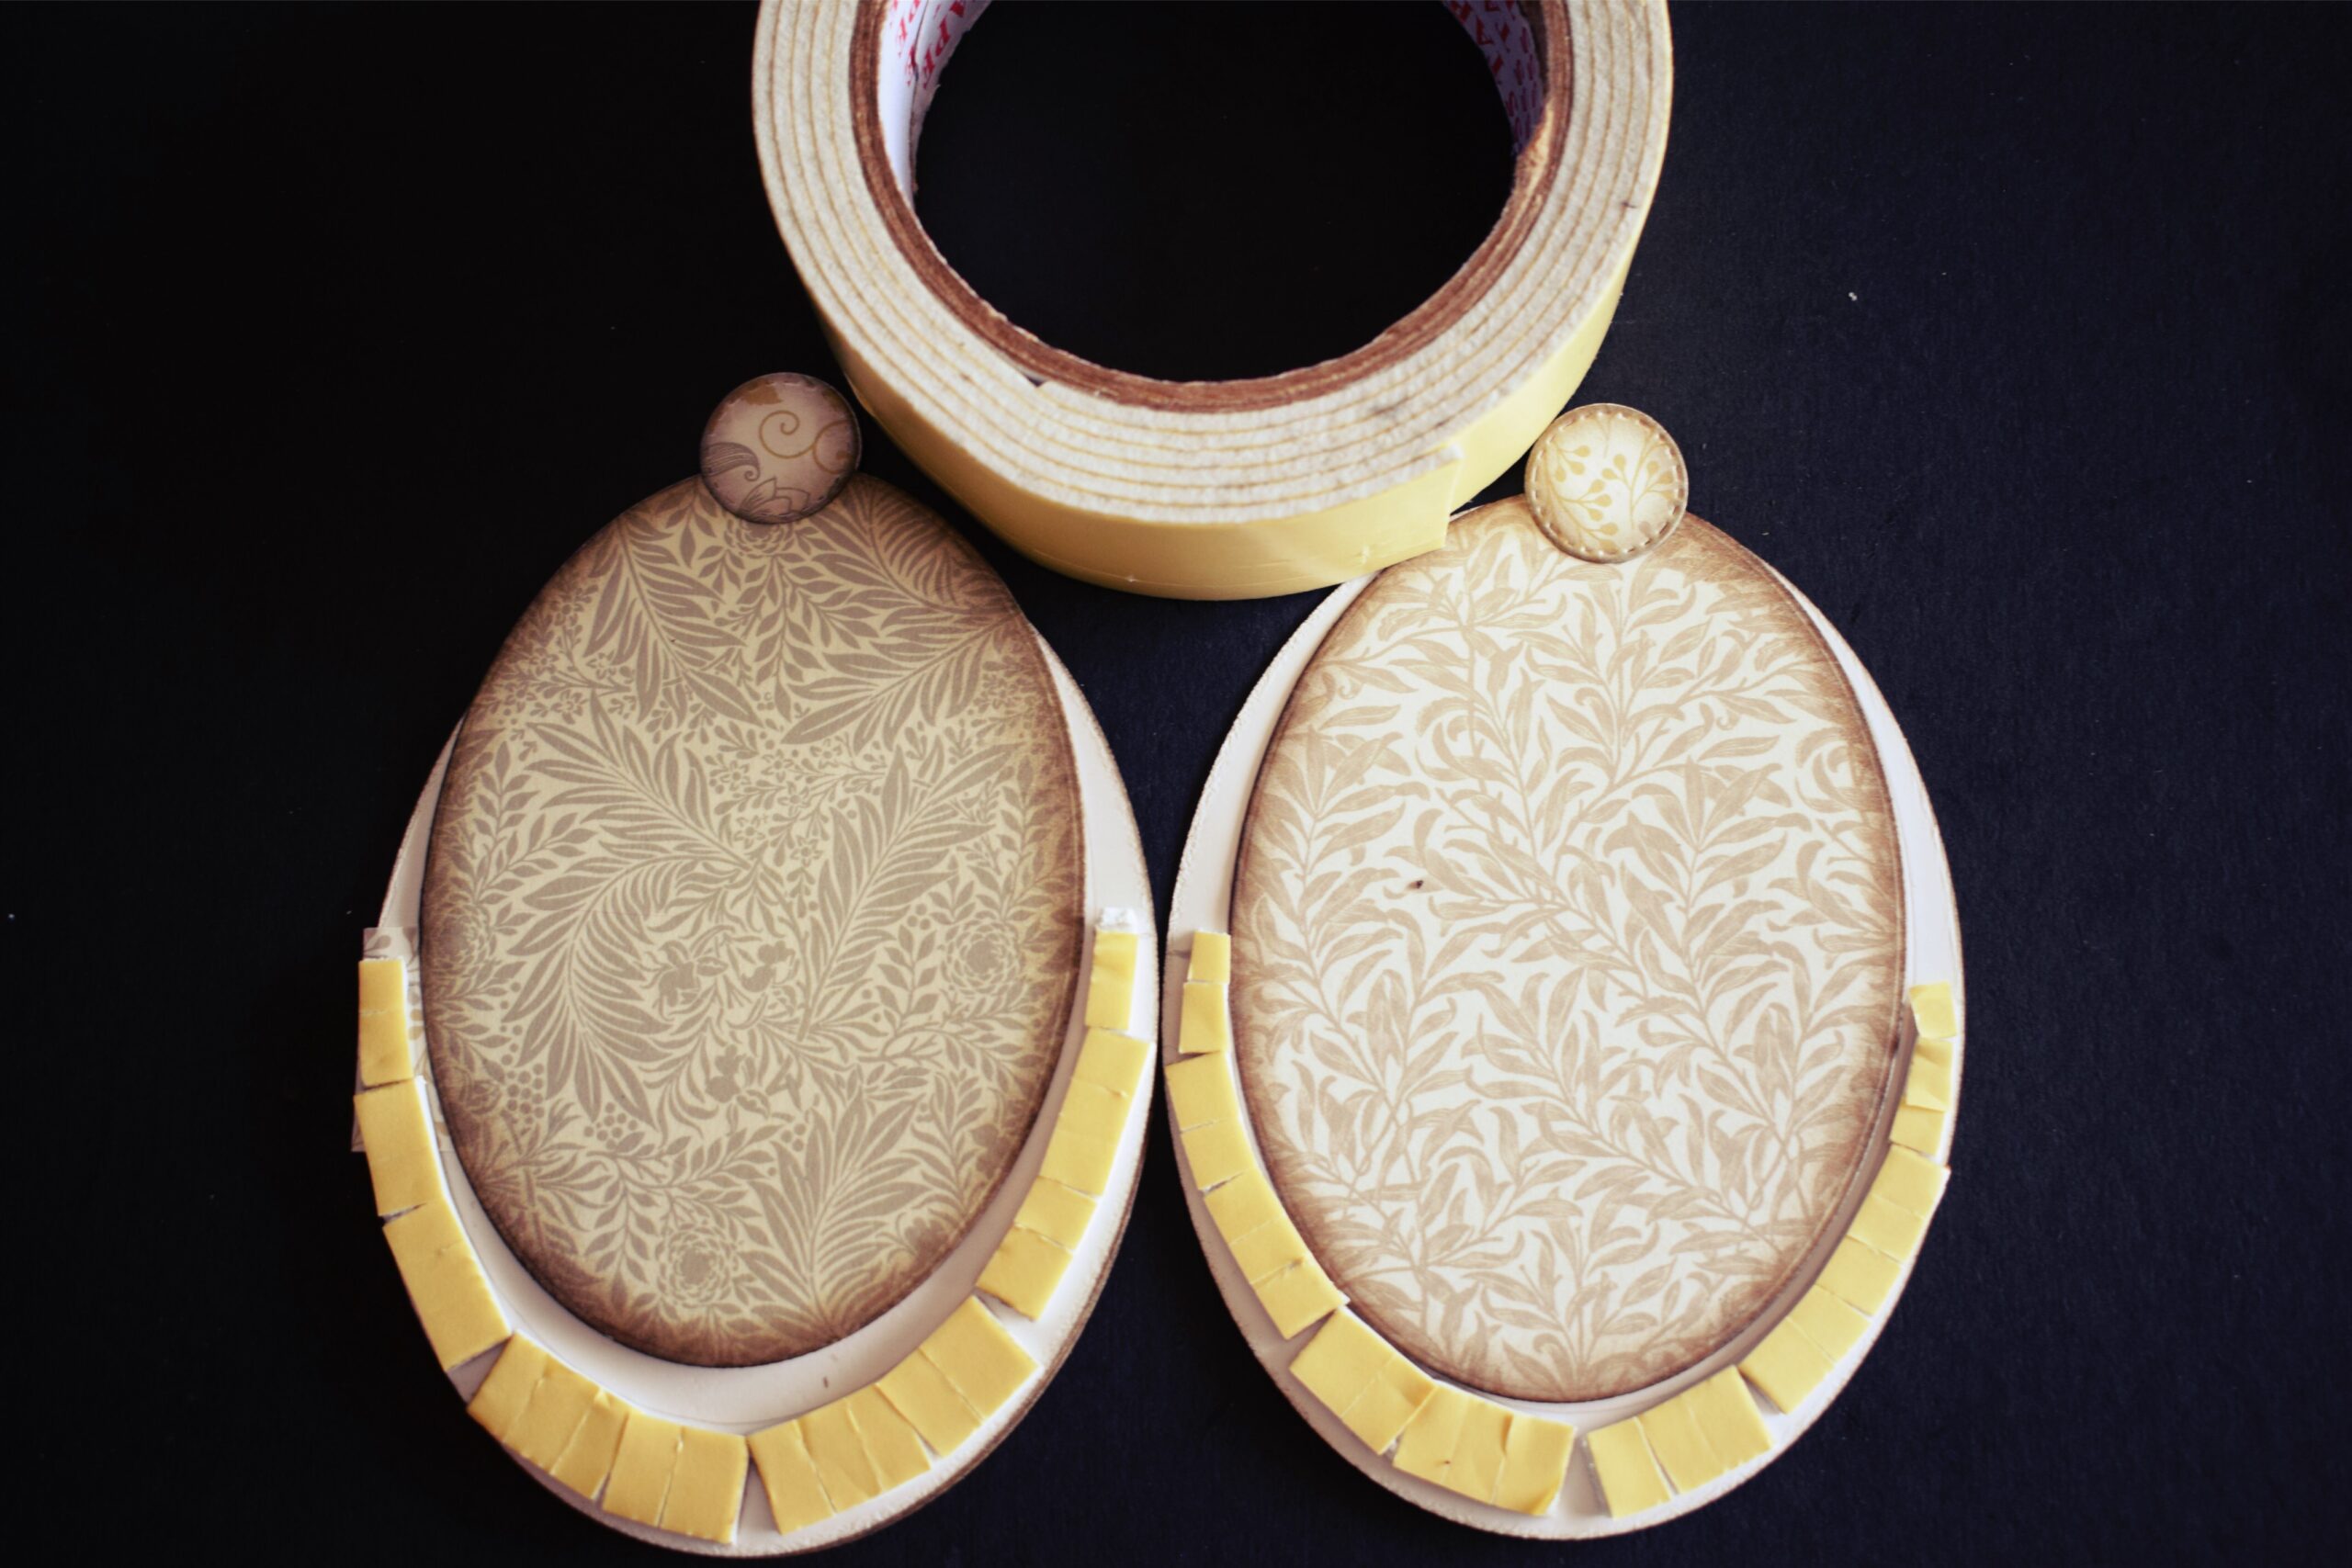
After marking, cut double sided tape into small stripes and stick them as shown. Repeat the same on the other side of the page.
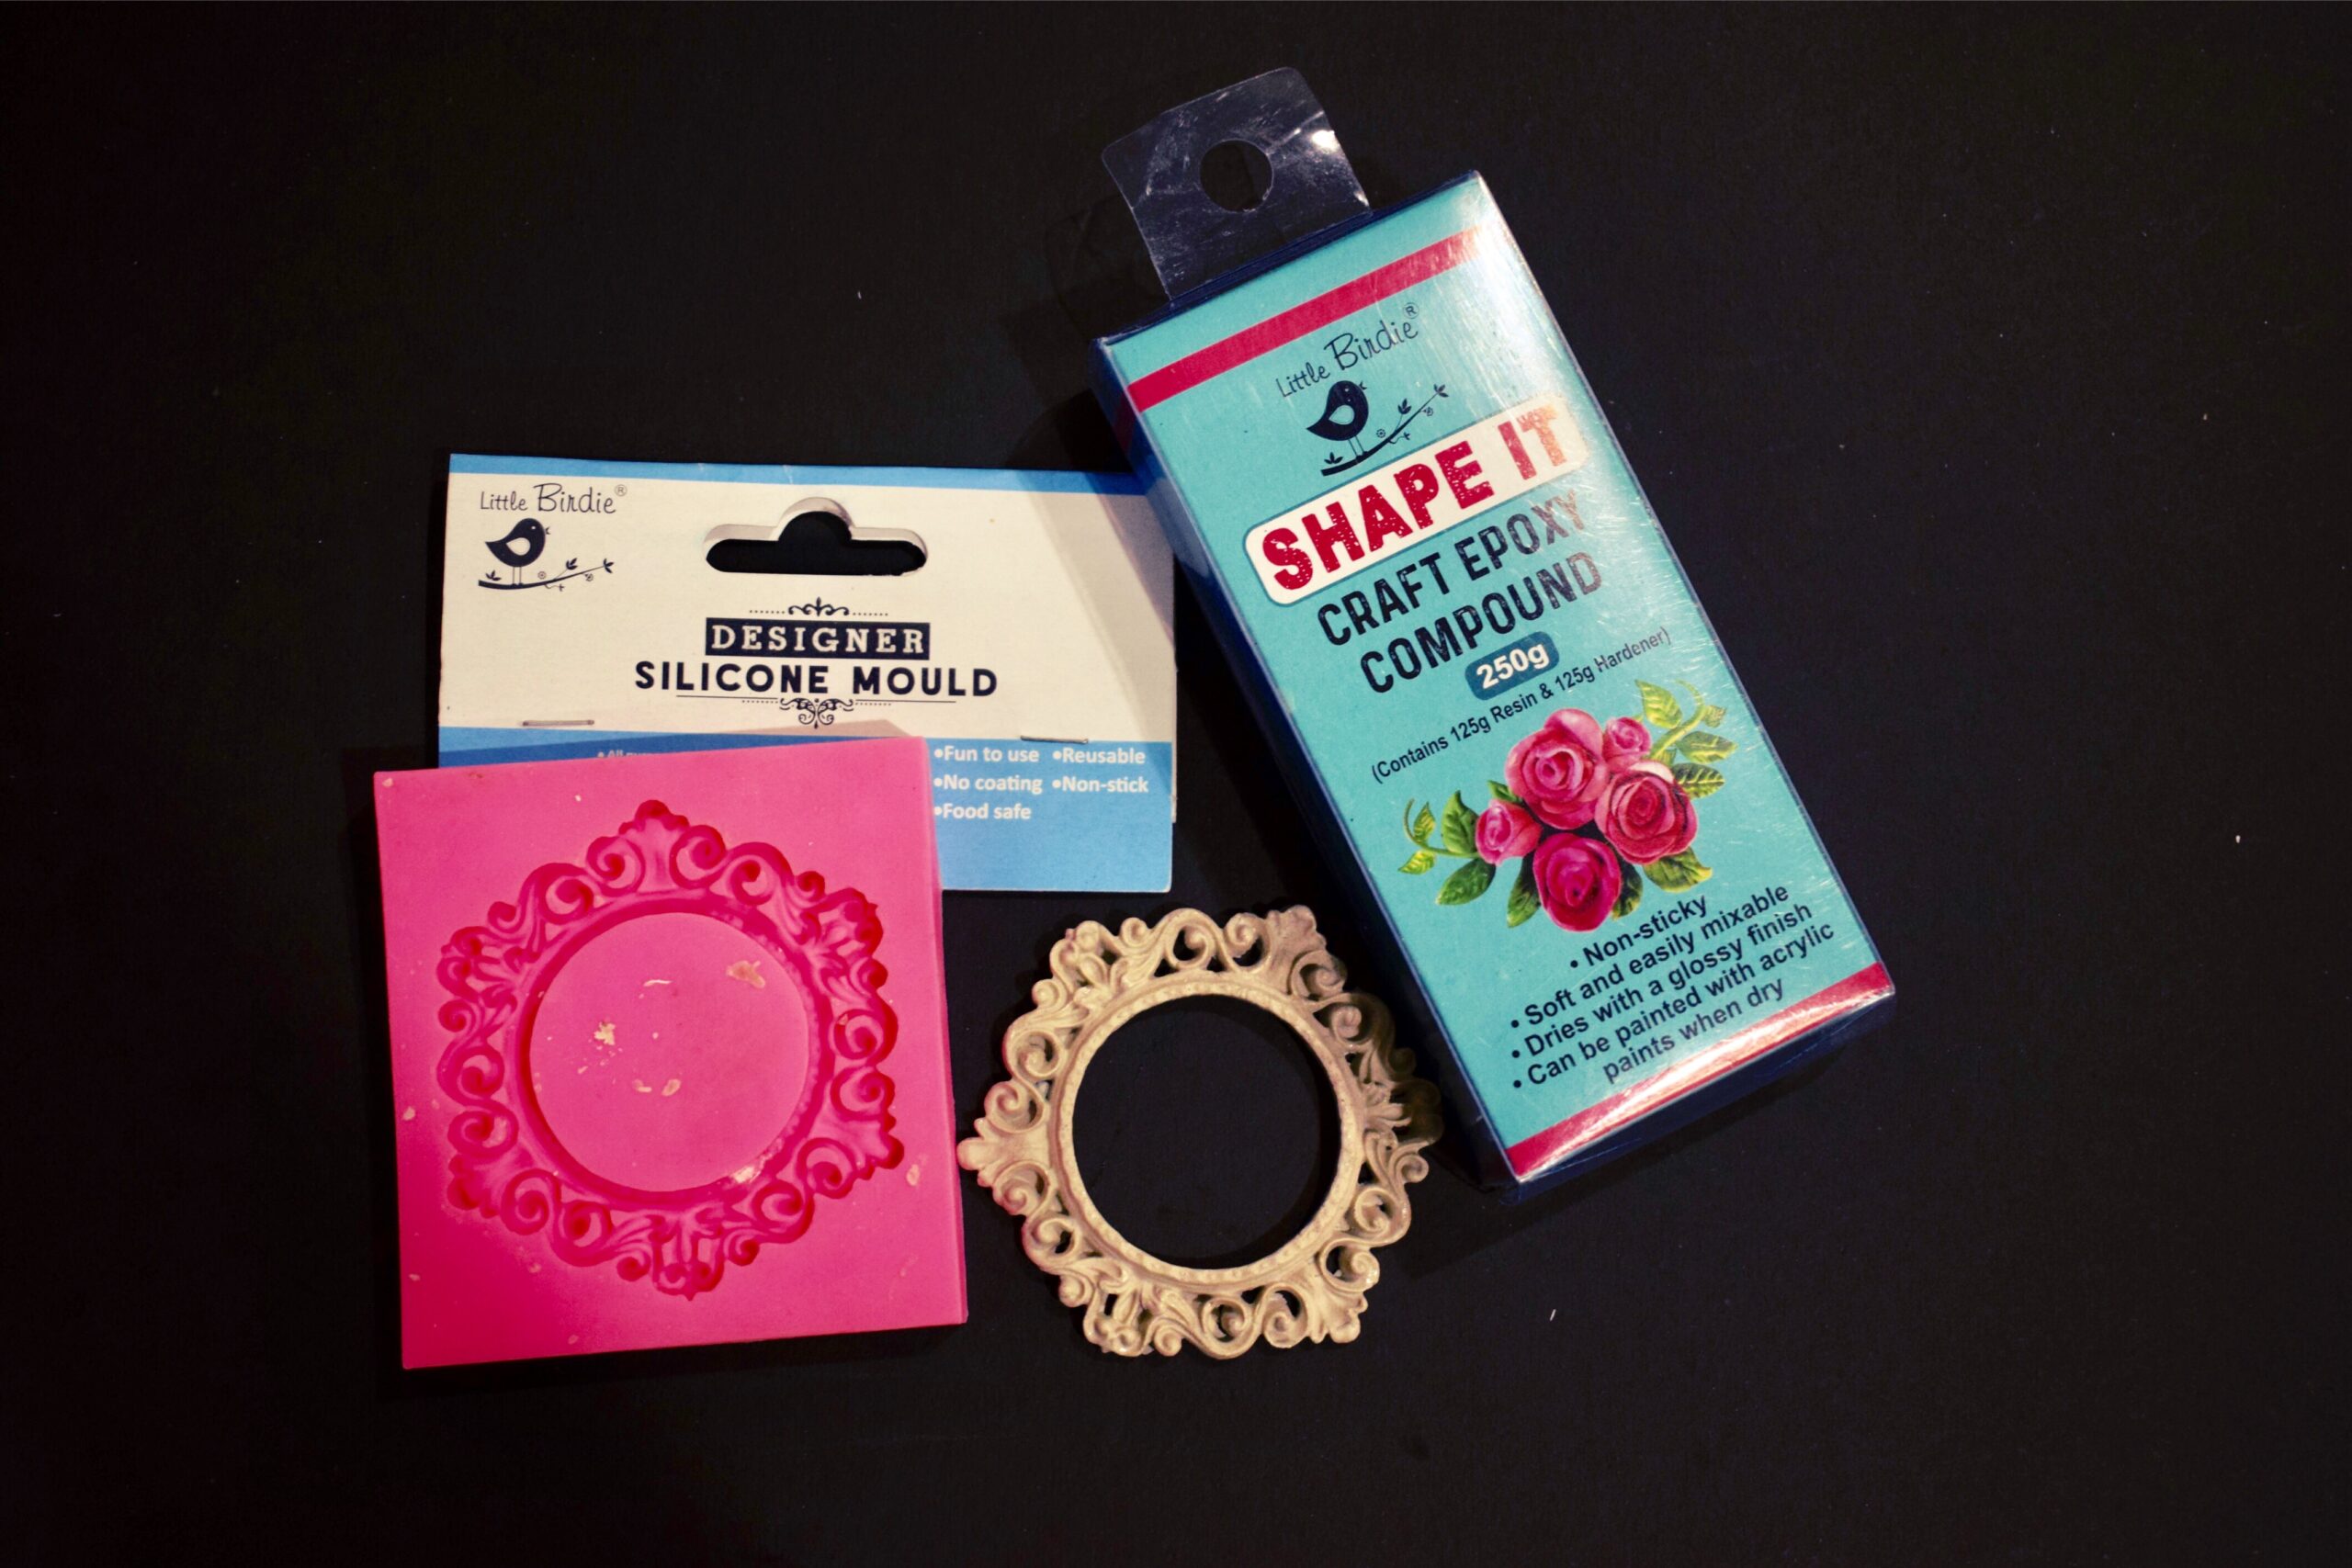
For the cover page, I have made a frame out of this mold I got from Itsy Bitsy and also used Little Birdie ‘Shape It’ clay to make this.
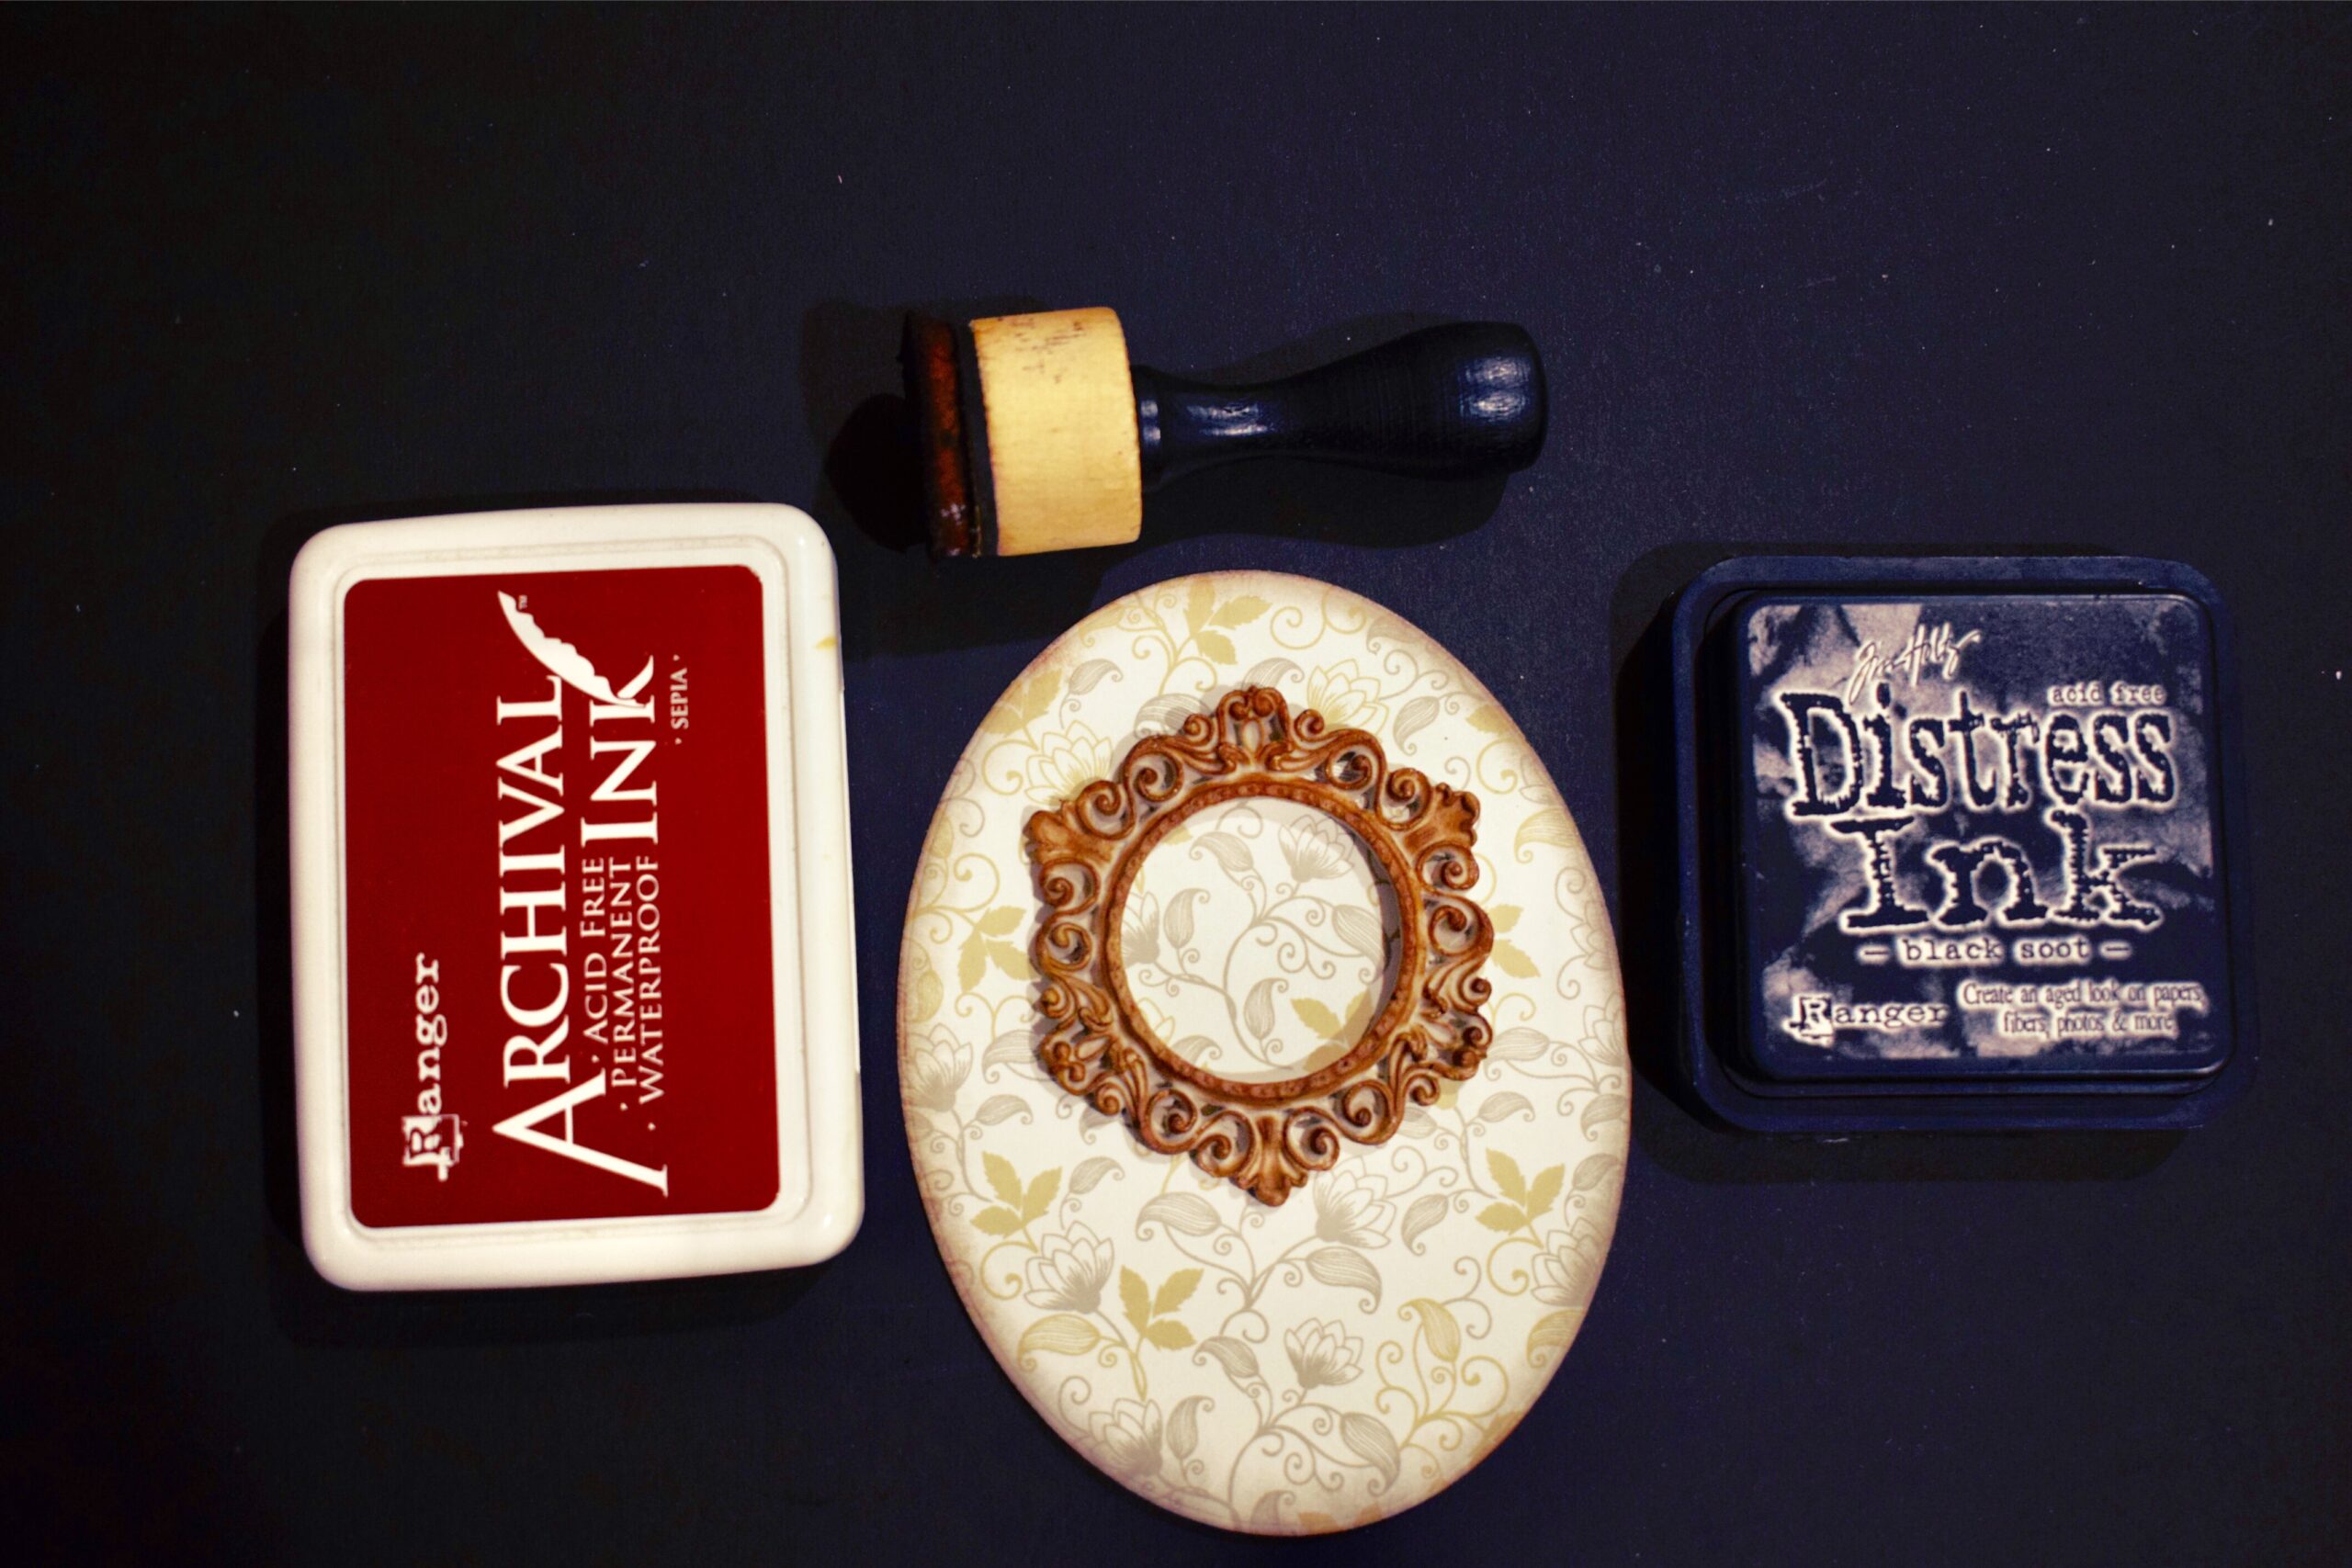
Then I have used black and brown Ink pads to colour the frame.

Now to add some decoration, I have used self-adhesive mini pearls all around the edges and pasted an anniversary sentiment as I have made it as and mini anniversary album.
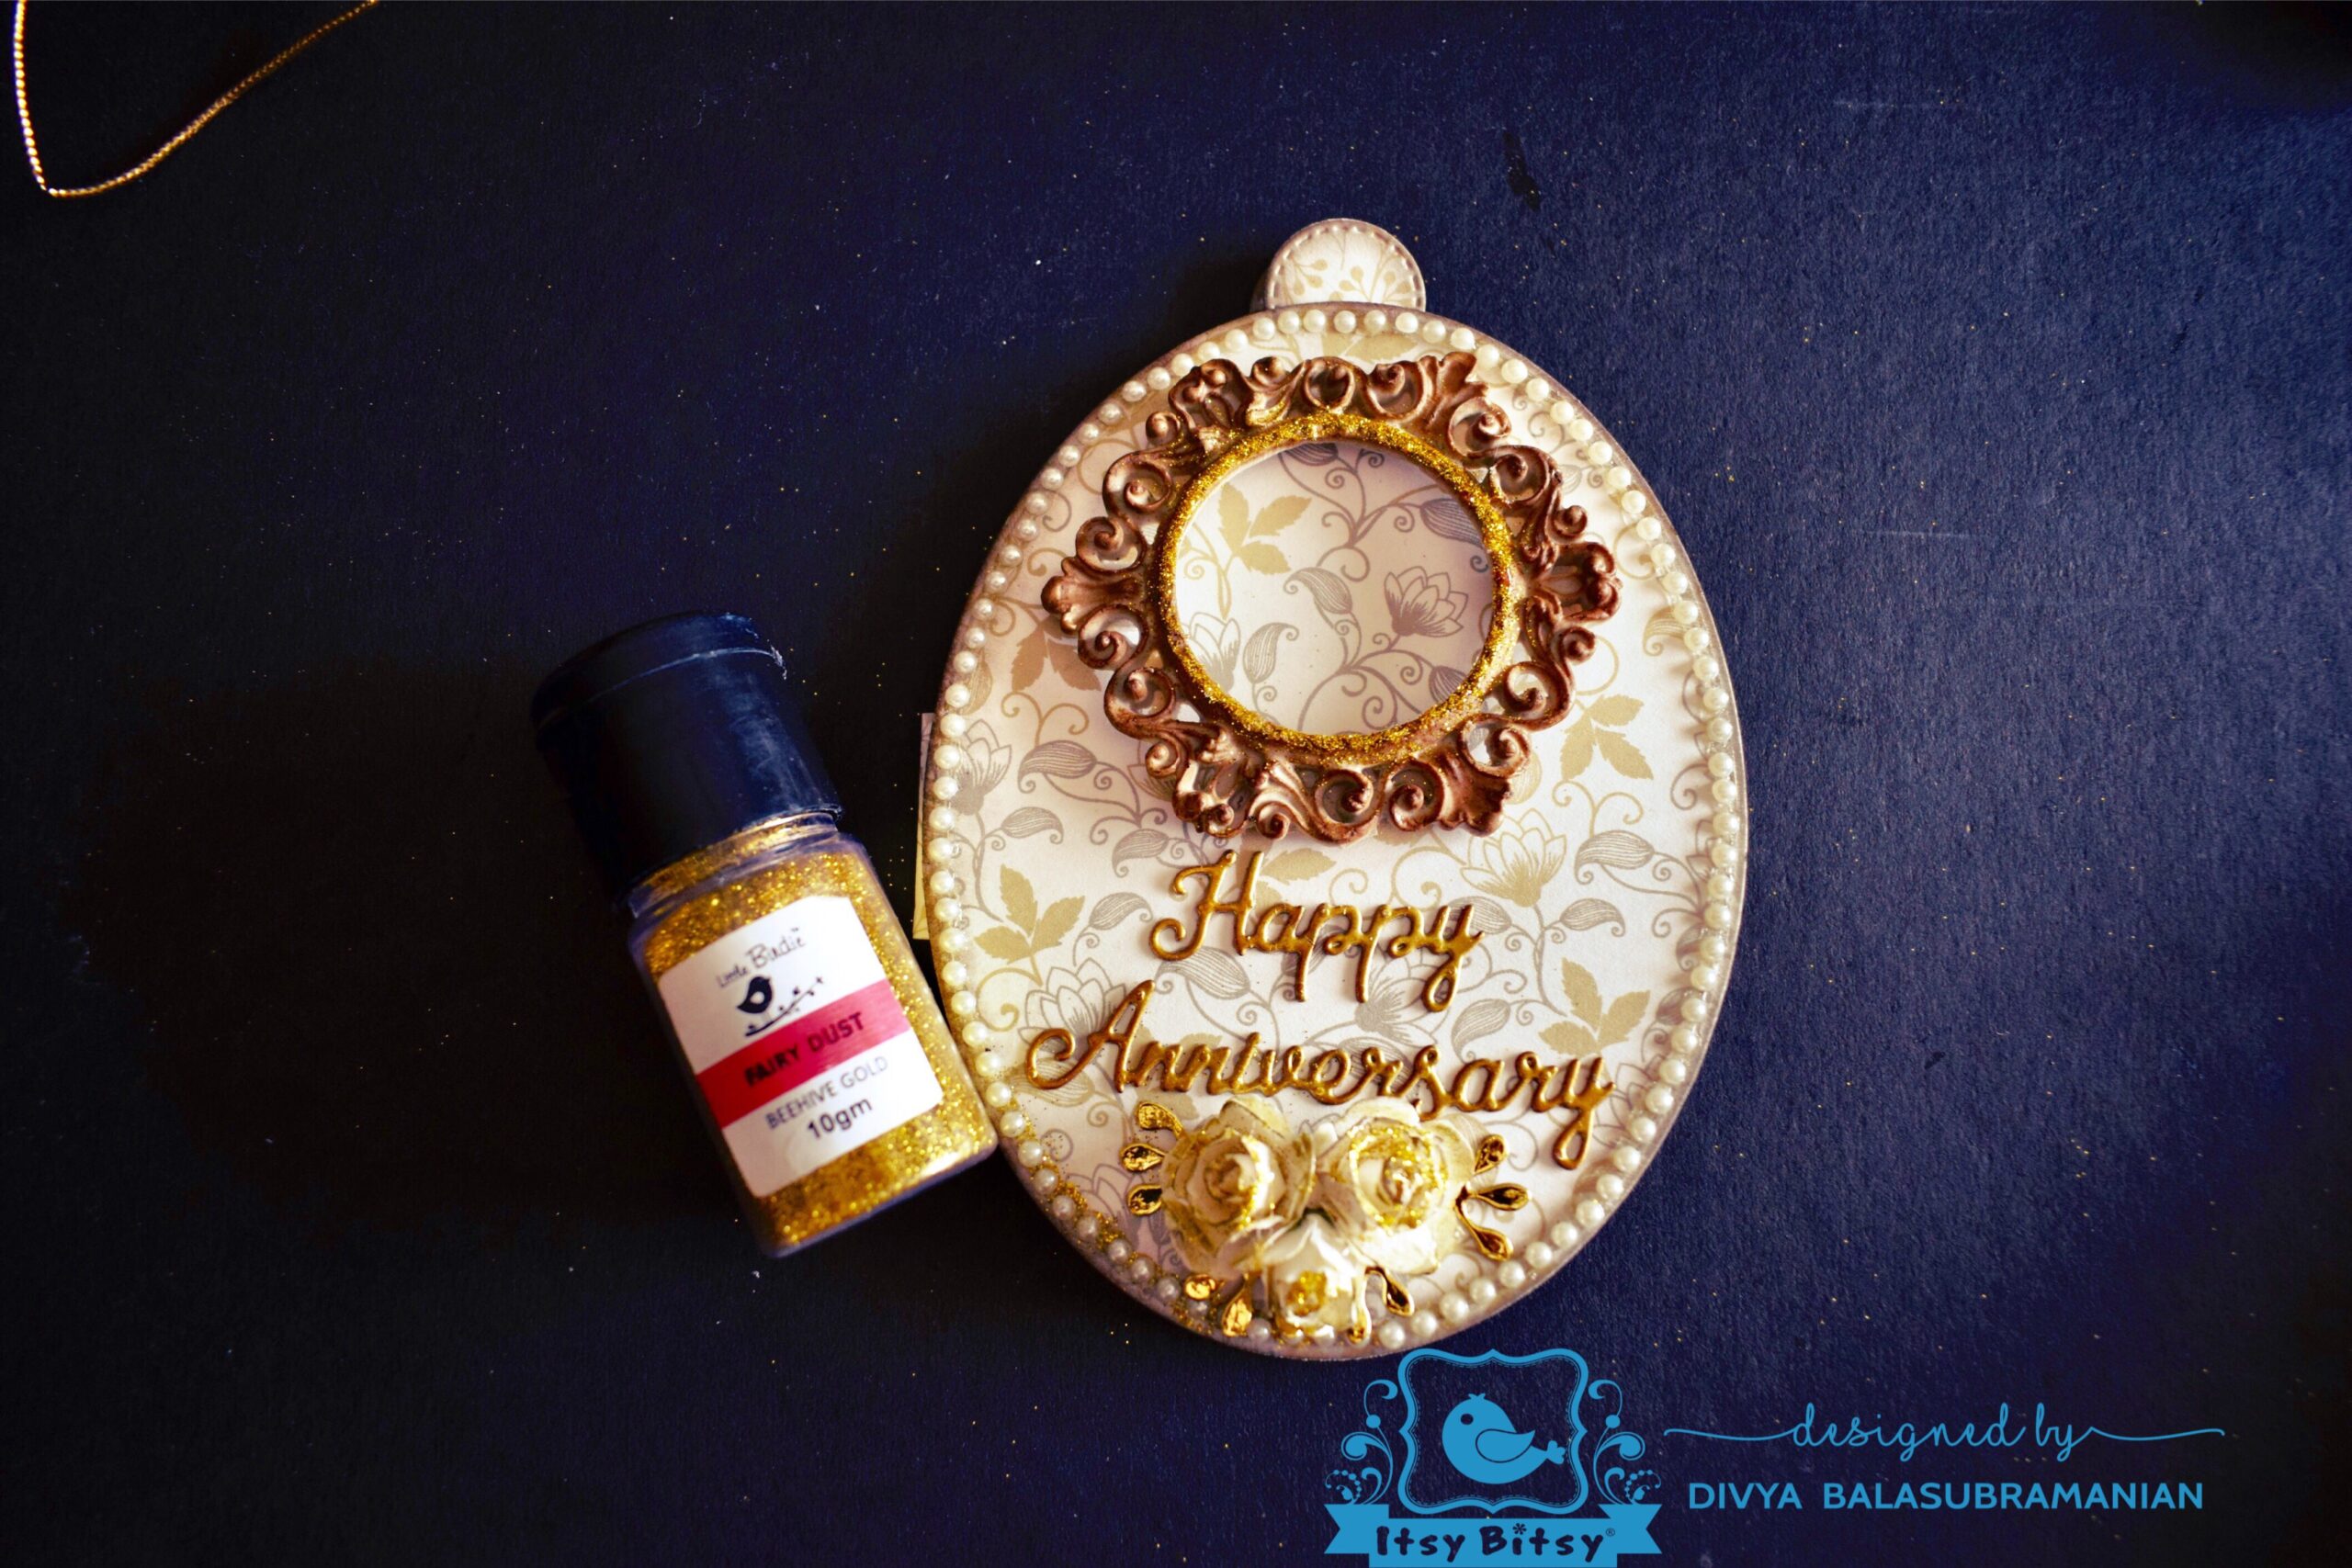
Here I have used some flowers and golden glitter dust to decorate it further.
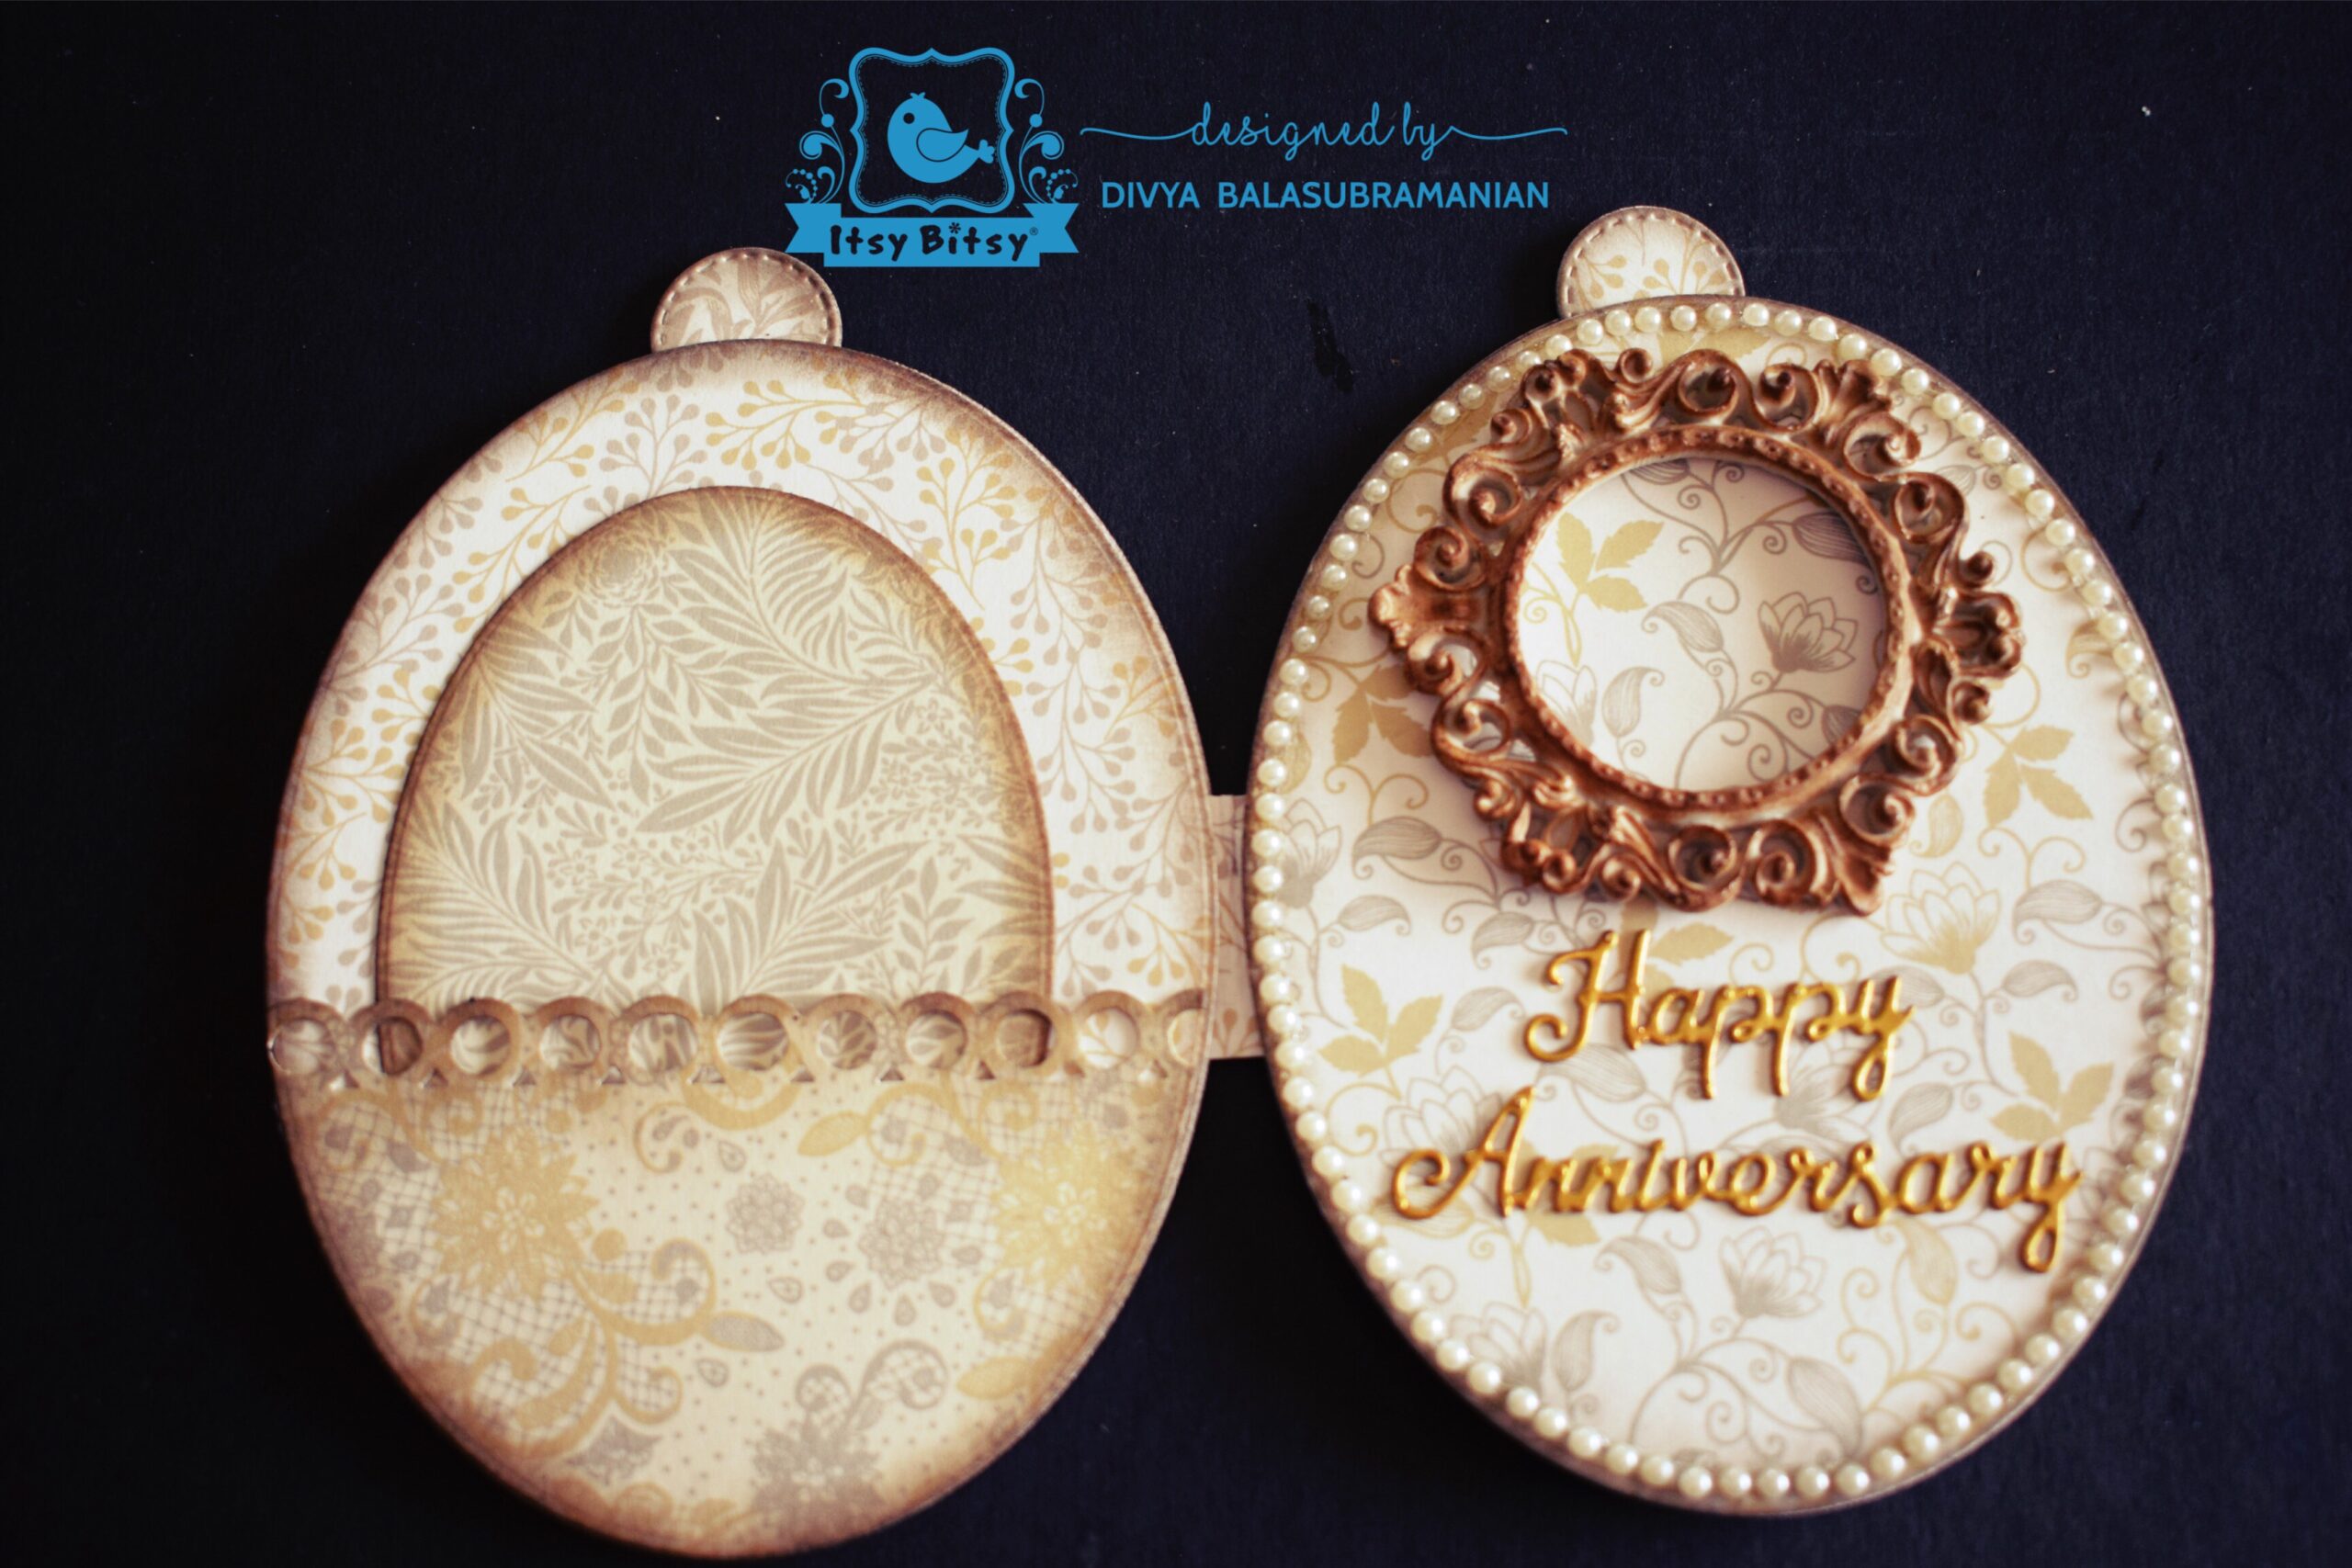
Then attach the cover page to the rest of the album by just removing the double sided tape cover. Now, you can see a pocket between the cover page and the 2nd page in which you can insert your photographs or messages.

This is the last page of the album in which another pocket insert is there and I have further decorated it with Little Birdie ‘Butterfly’ Die cut.
Hope you like this Mini Album. I am also sharing the complete video of the album below.
Links to buy the materials :
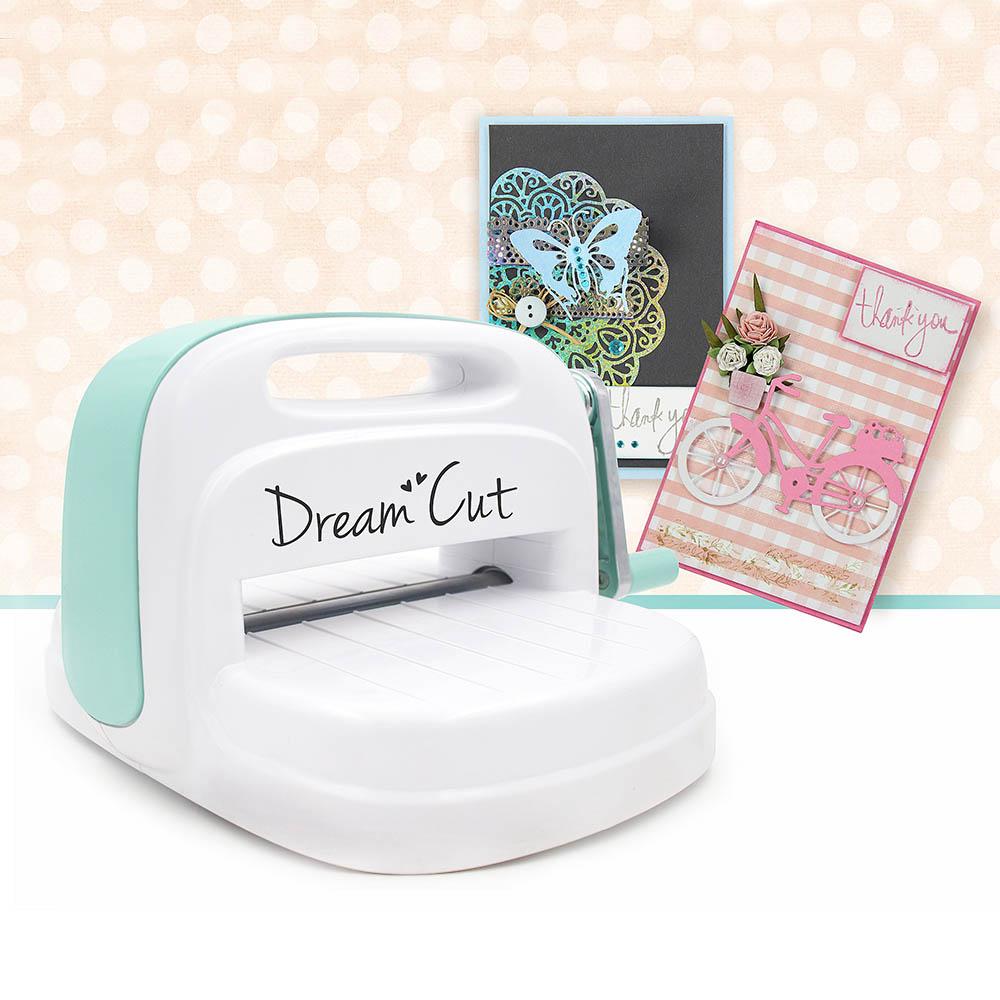
Little Birdie Dream Cut Manual Embossing and Die Cutting Machine

Little Birdie Thin Cut Dies – Cross Stitched Oval Dies – 5Pcs

Ranger Archival Ink Pad – Sepia, 1pc
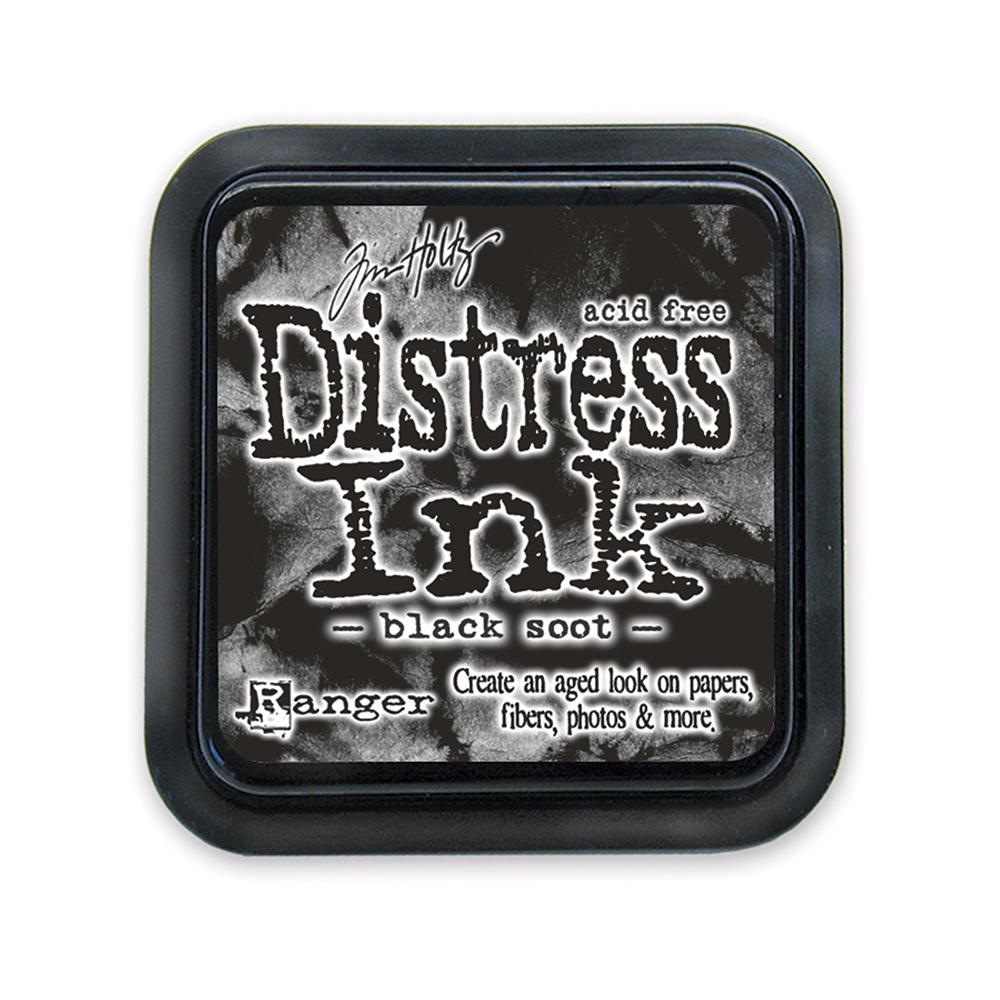
Tim Holtz Distress Ink Pad – Black soot, 3" X 3", 1pc

Silicone Mould, 2x2x0.2in – Damask Circle
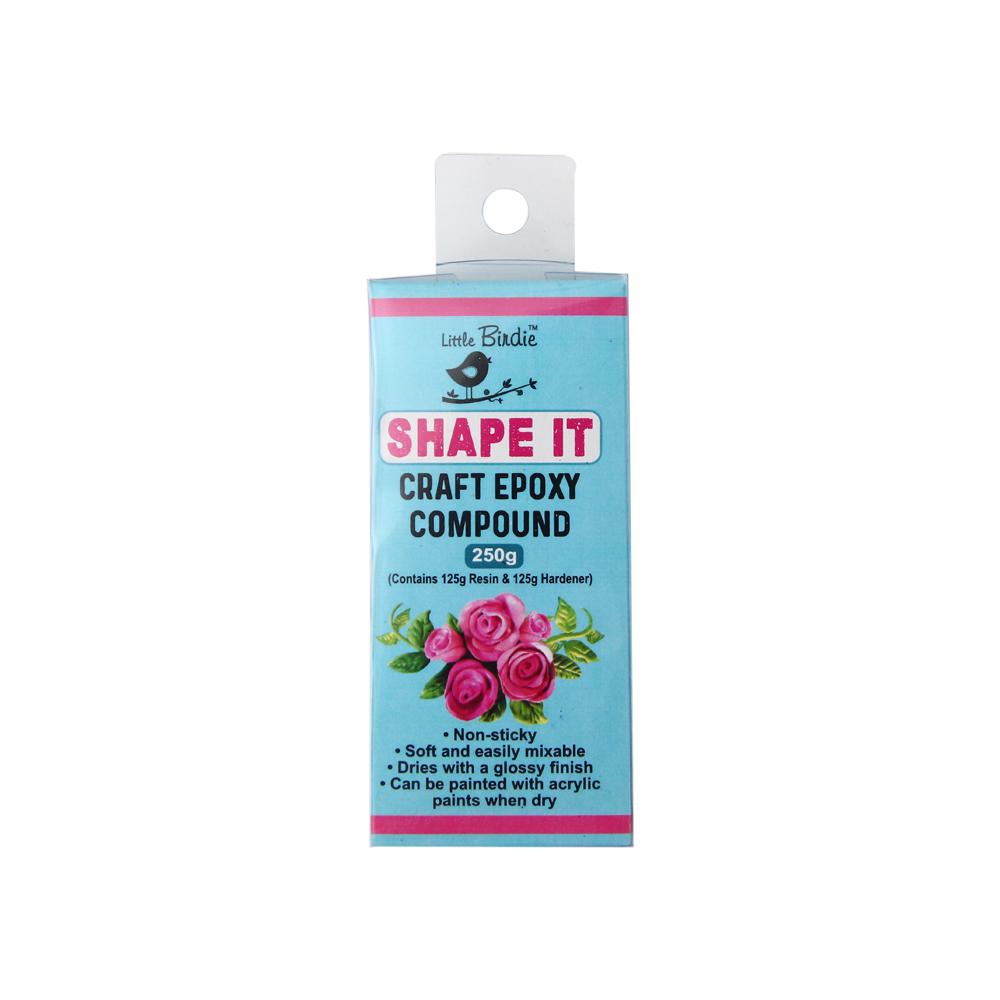
Itsy Bitsy Shape It Craft Epoxy Compound- 250g, 1pk
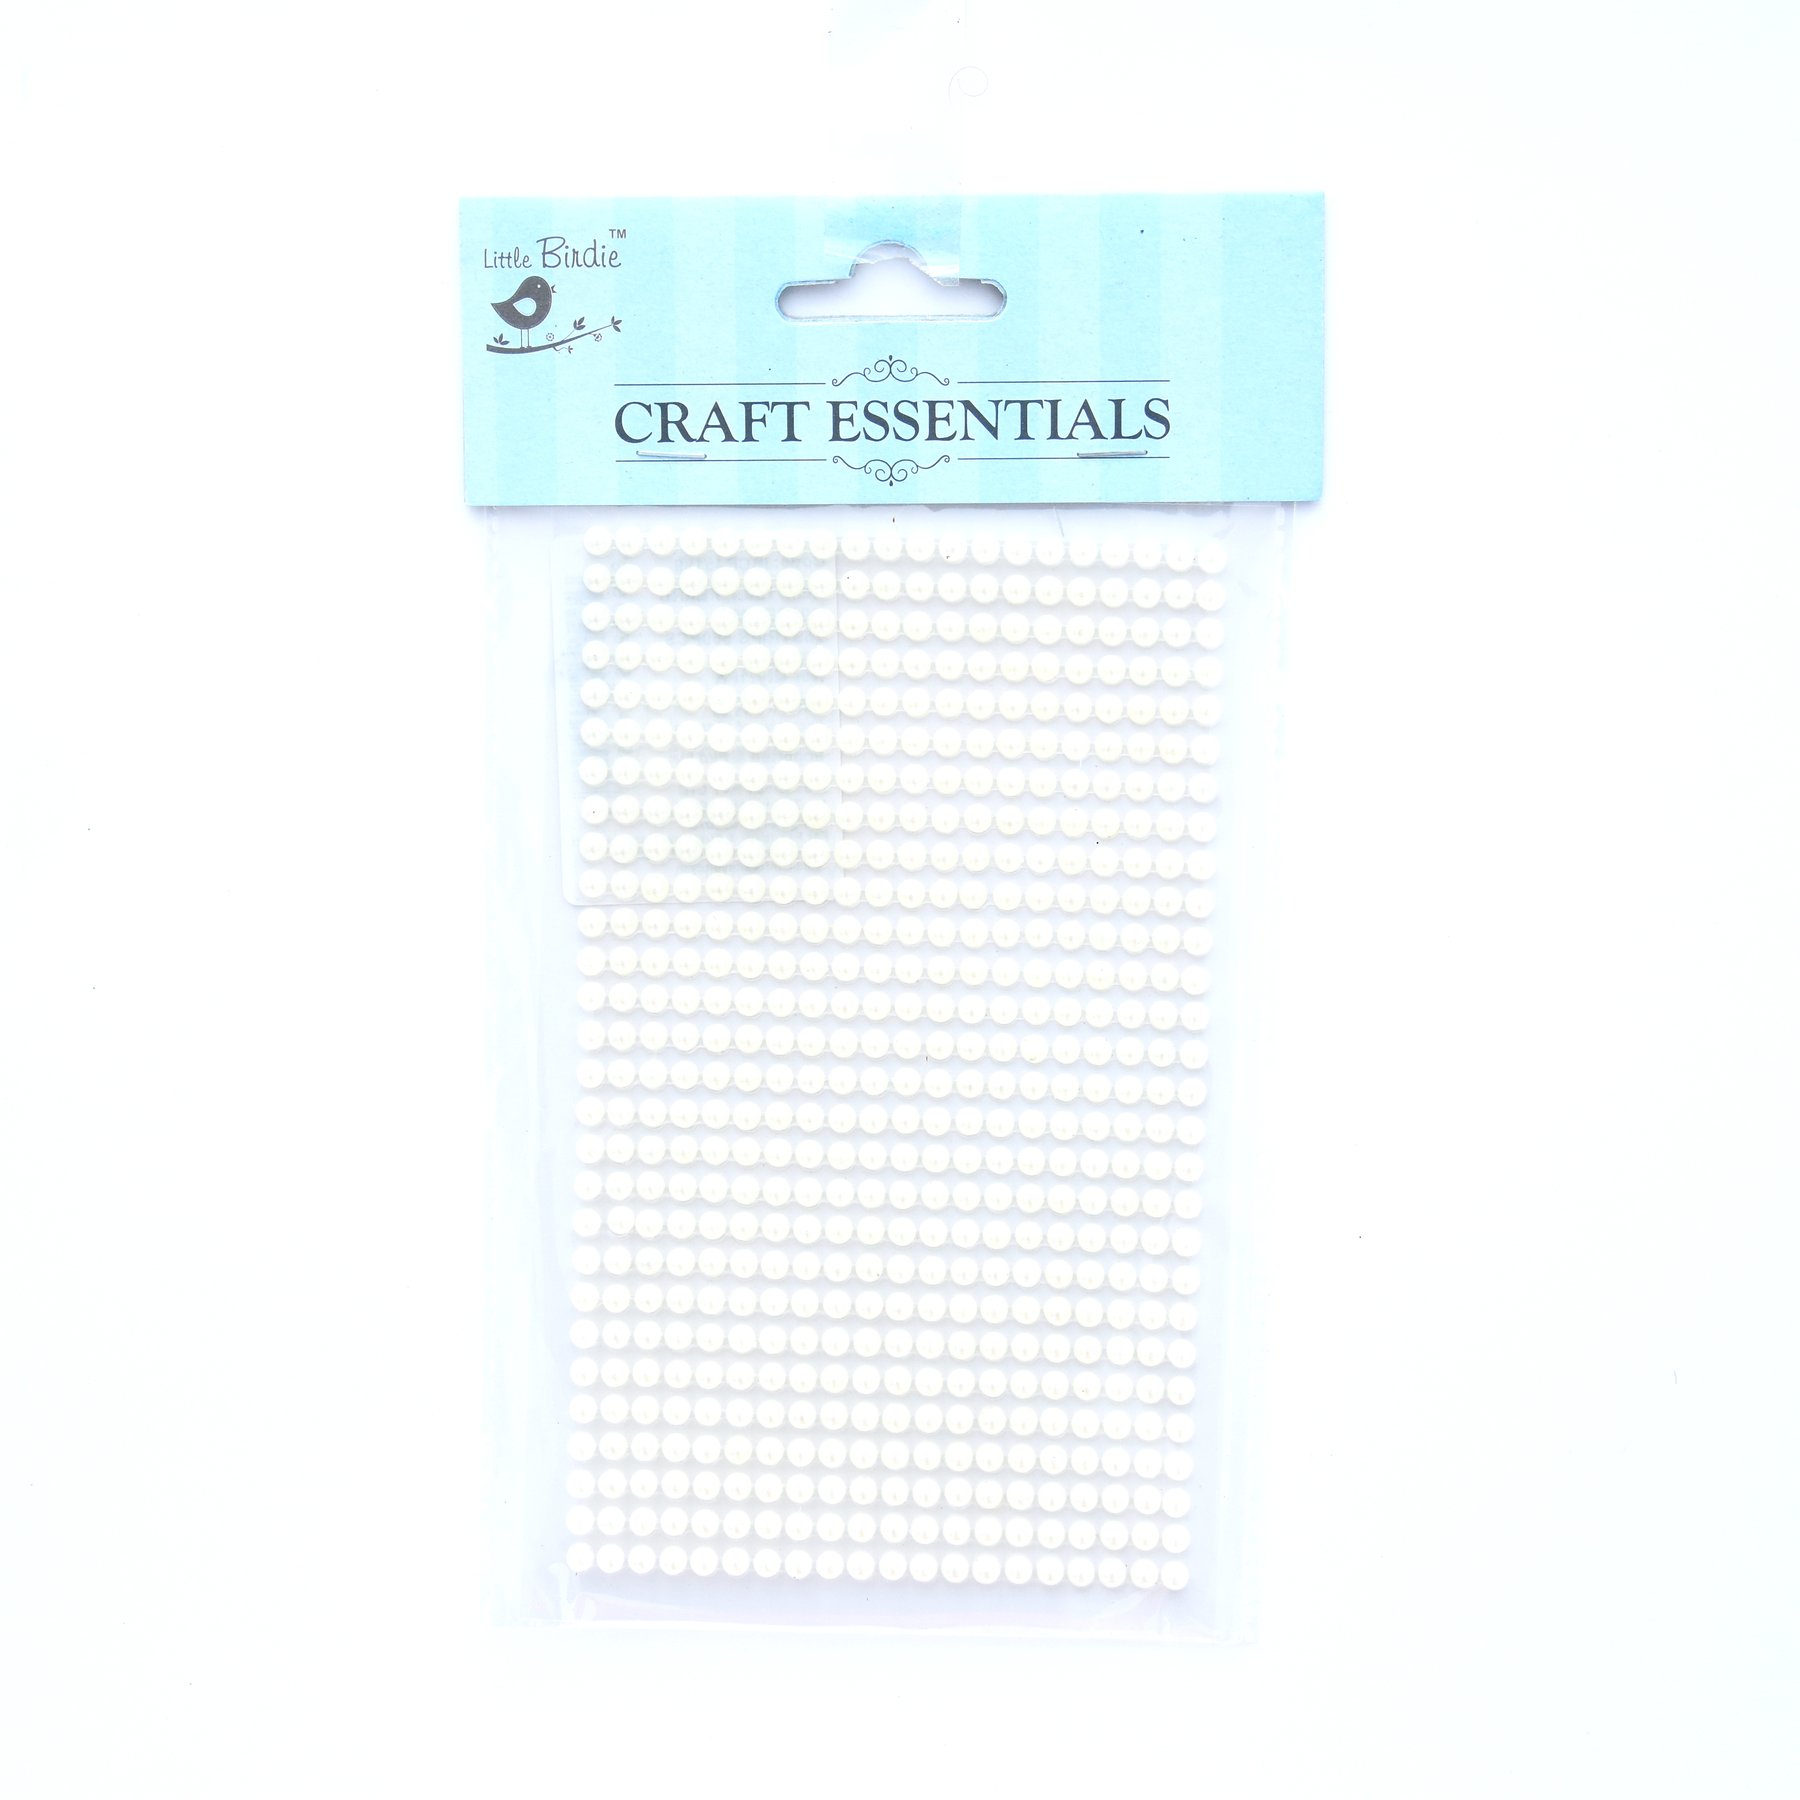
Self-adhesive Half Pearl – White, 6mm, 260Pc
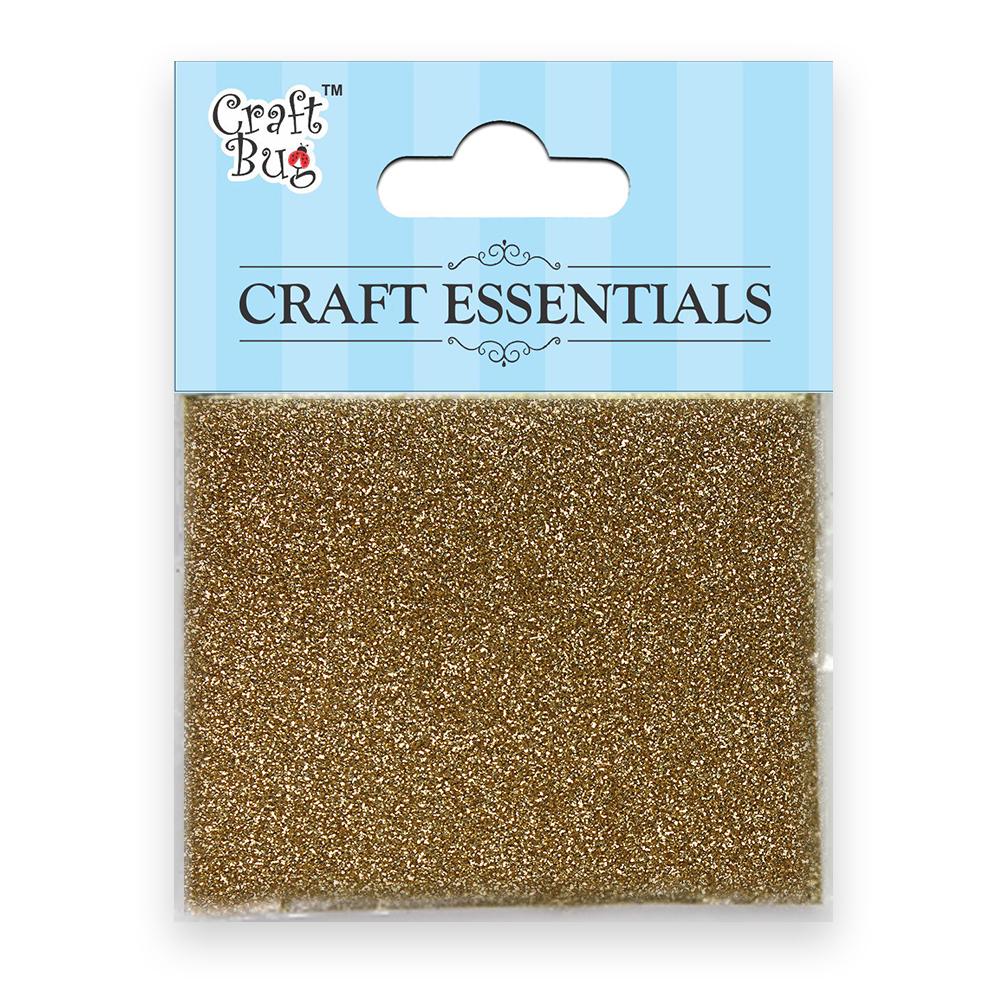
Little Birdie Glitter Dust – Gold, 30gm

Little Birdie Thin Cut Dies – Butterfly Medley