Hello crafters, DT Jyotirmoy here today!
I am back to our favorite Itsy Bitsy blog with another quick tutorial of a wall decor. Today I am going to make a wall decor item in Dhokra (or Dokra) style using my favorite Little Birdie Shape It. (air hardening clay)
Dhokra is a non–ferrous metal casting using the ‘lost-wax casting’ technique. It has been used in India for over 4,000 years and is still in use. The name ‘Dhokra’ comes from the Dhokra Damar tribes, traditional metal smiths of West Bengal. Today I am going to make an art piece in Dhokra style.
Let’s start.
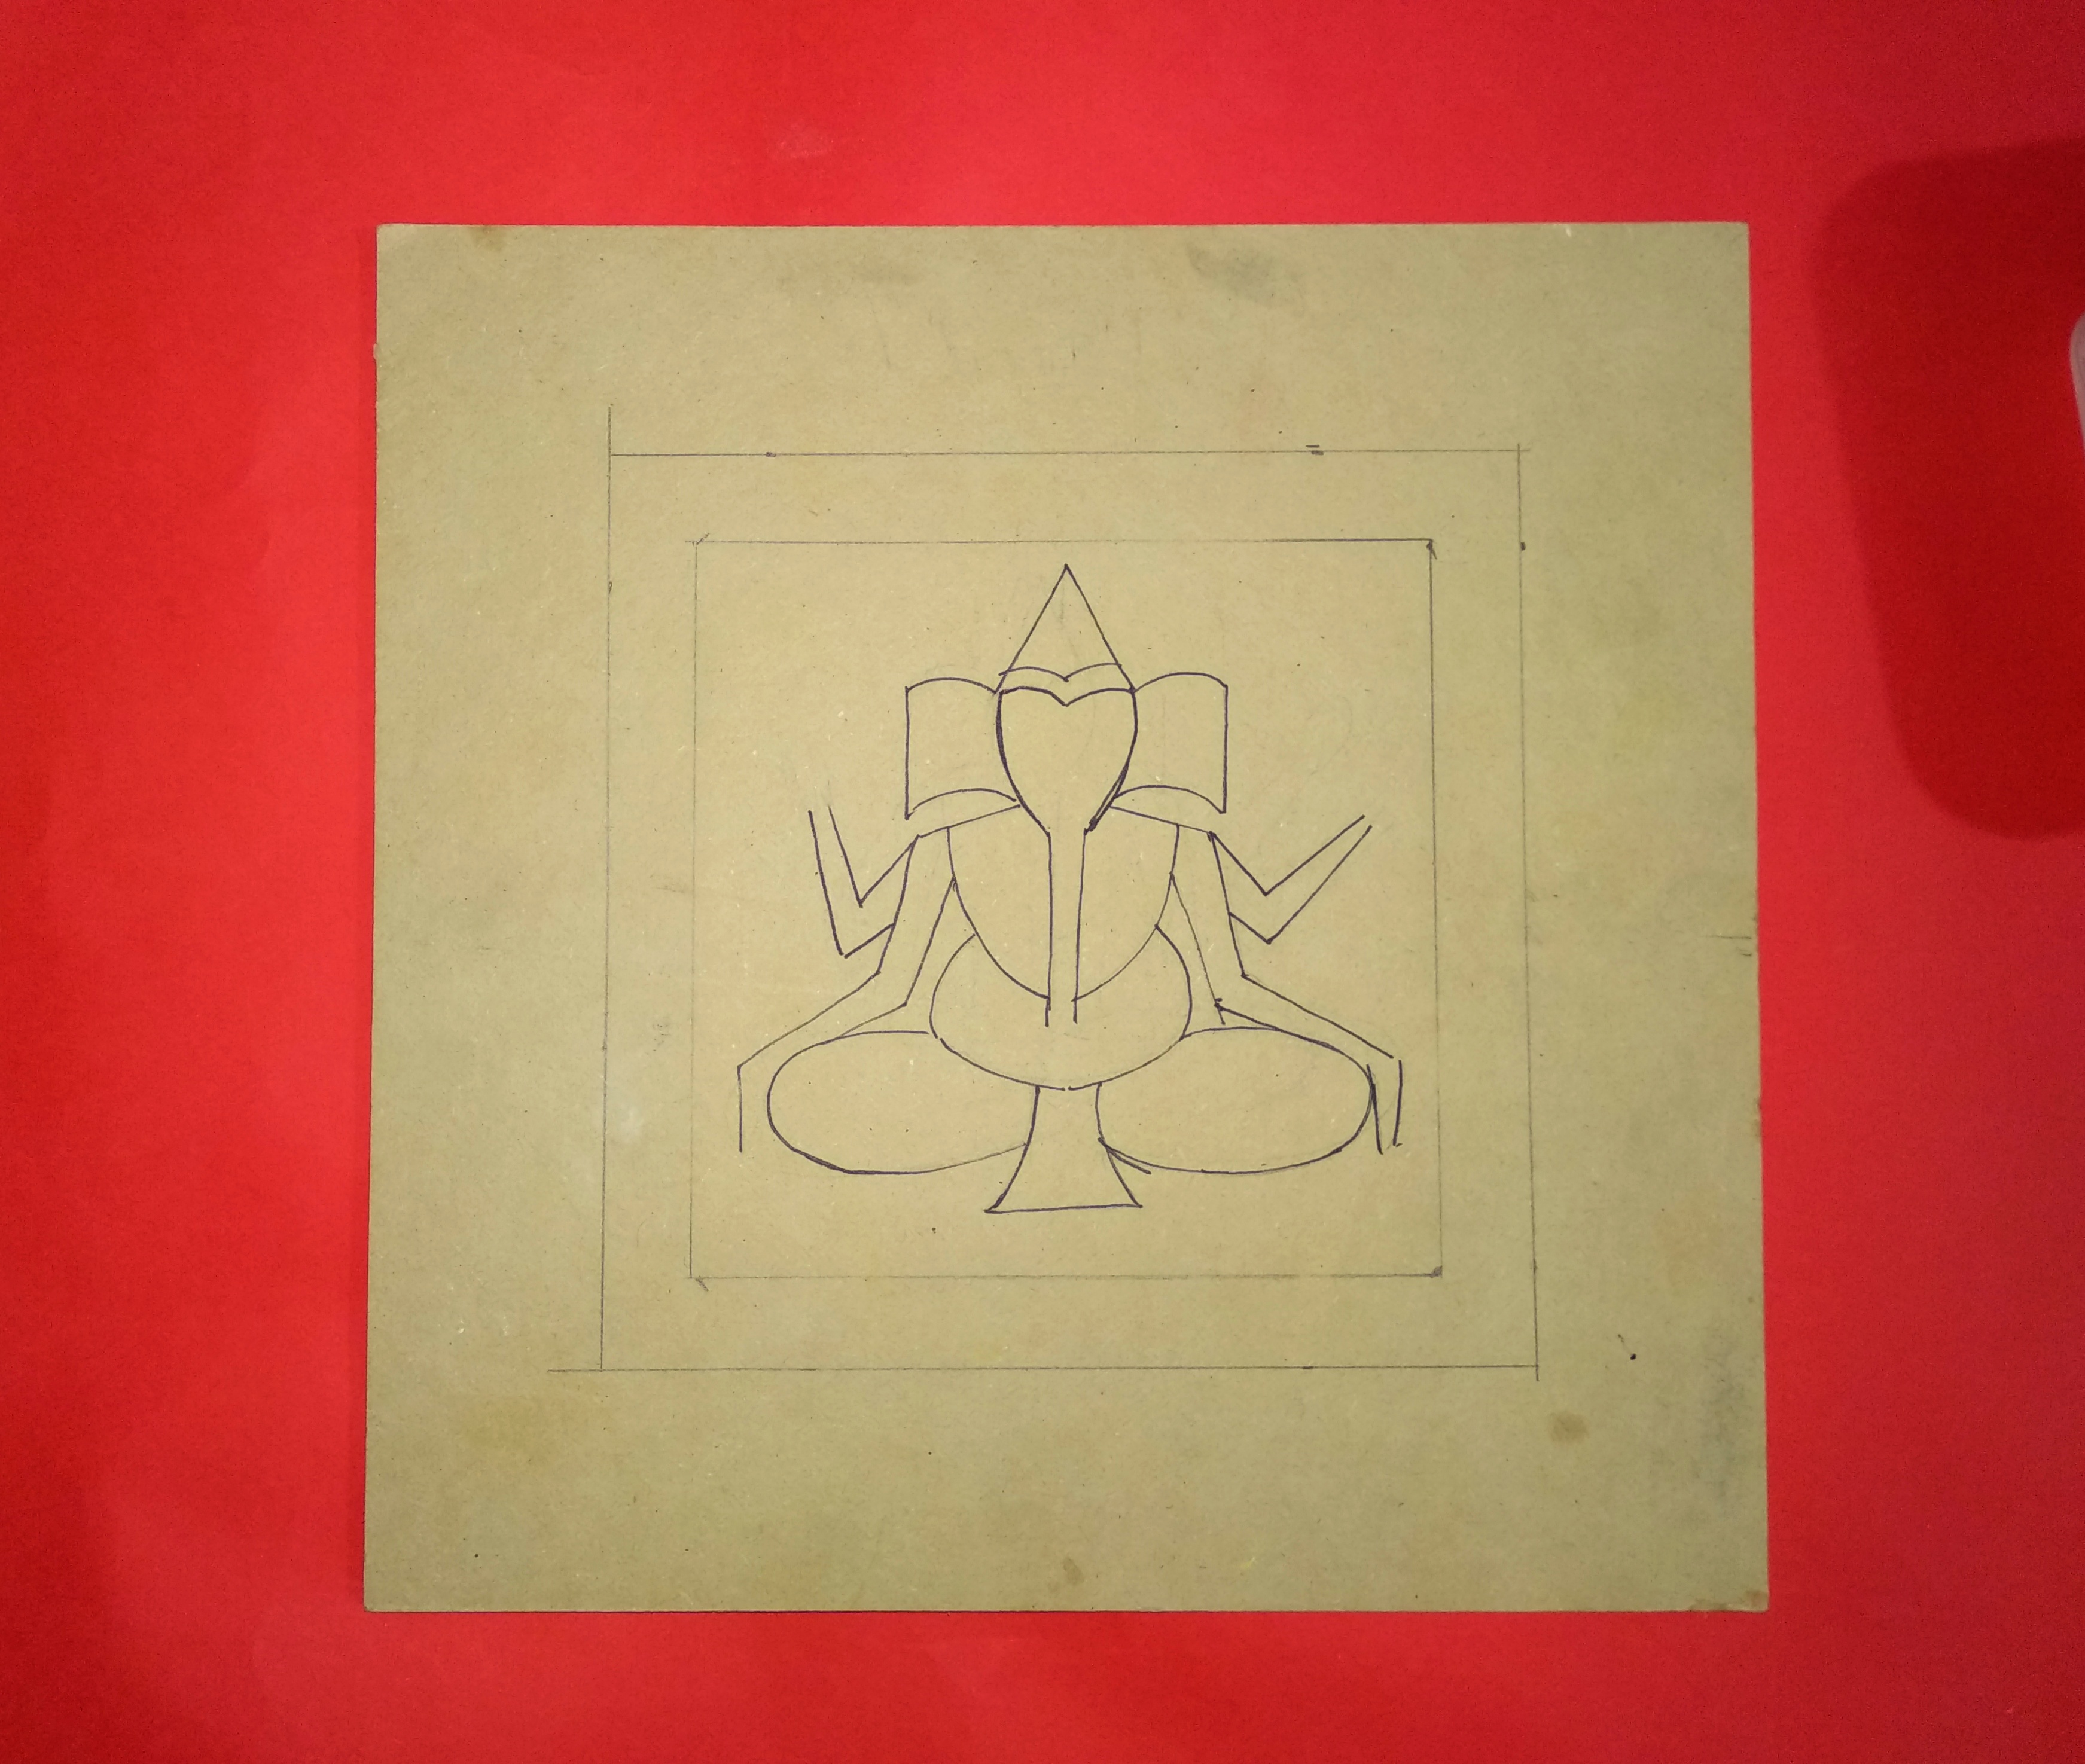
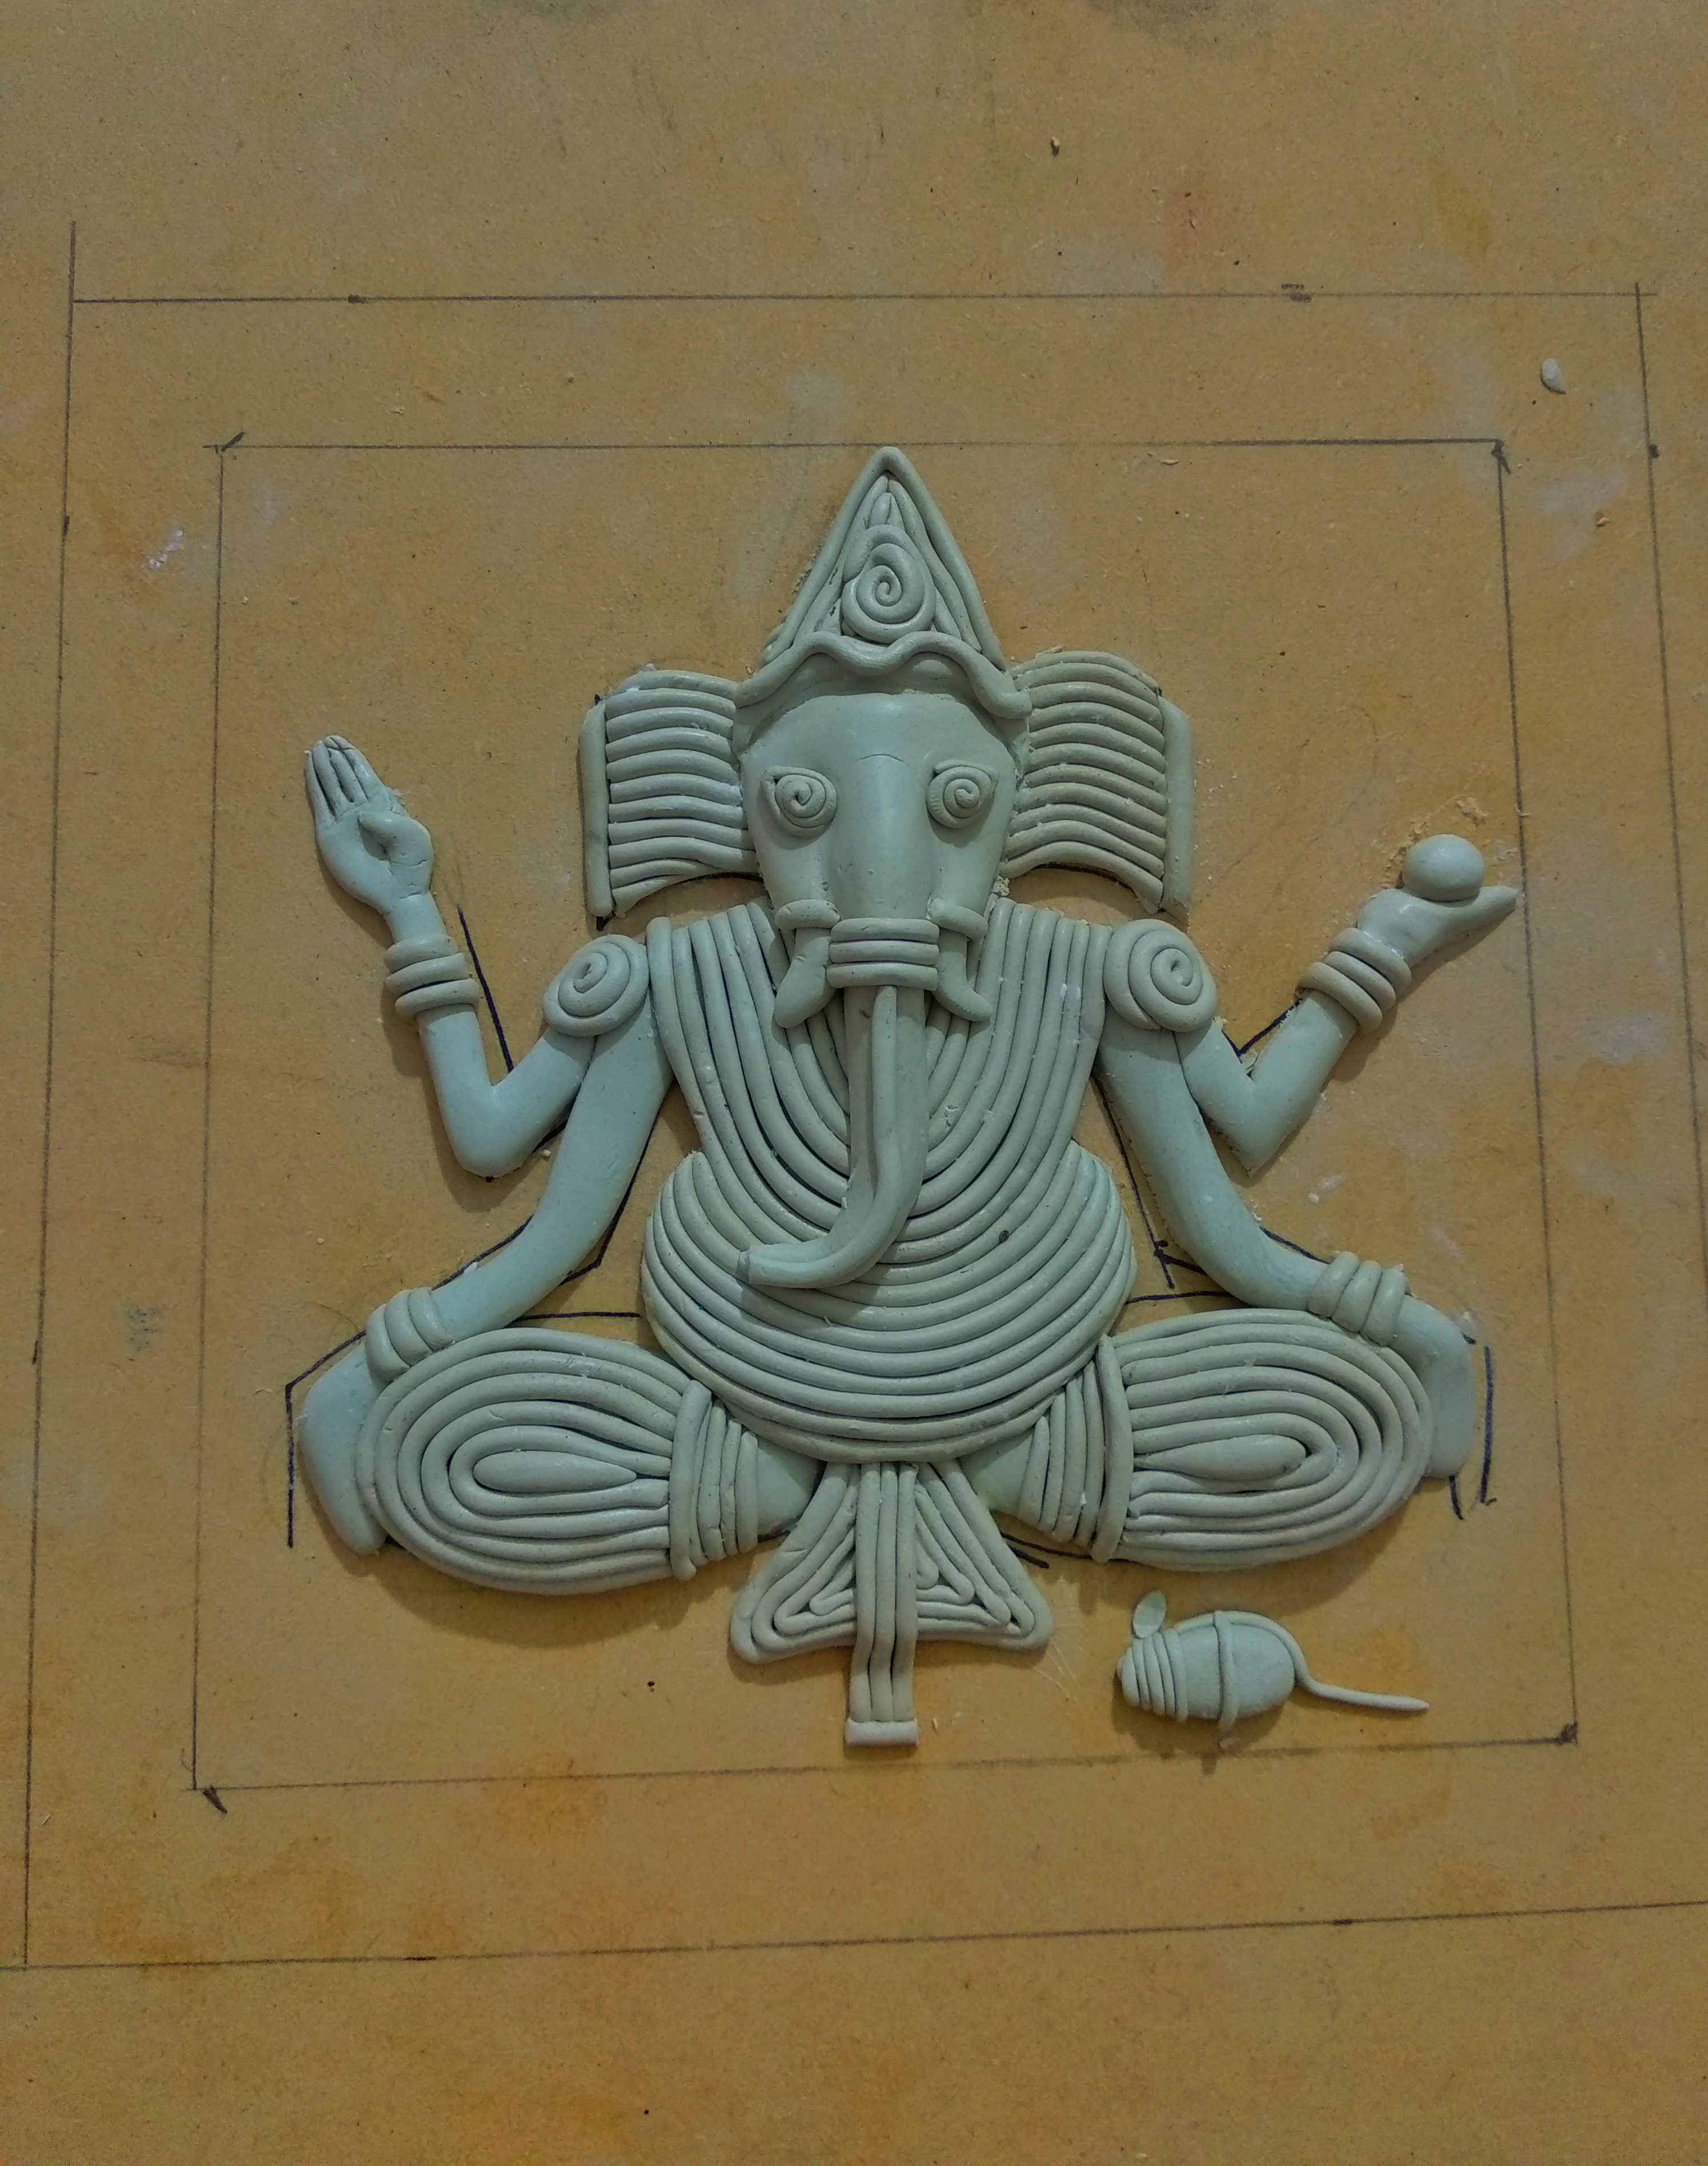
Step 1: First of all I have taken a 12*12 inch wooden decorable and draw a square in the middle with a pencil and then draw a simple sketch of lord Ganesha in the middle of the square.
Step 2: Next take Little Birdie Shape It and mix the Shape It resin and hardener(1:1 ratio) equally. Mix both well by rolling between the palms or kneading until a uniform colour is achieved. Use some talcum powder while mixing.
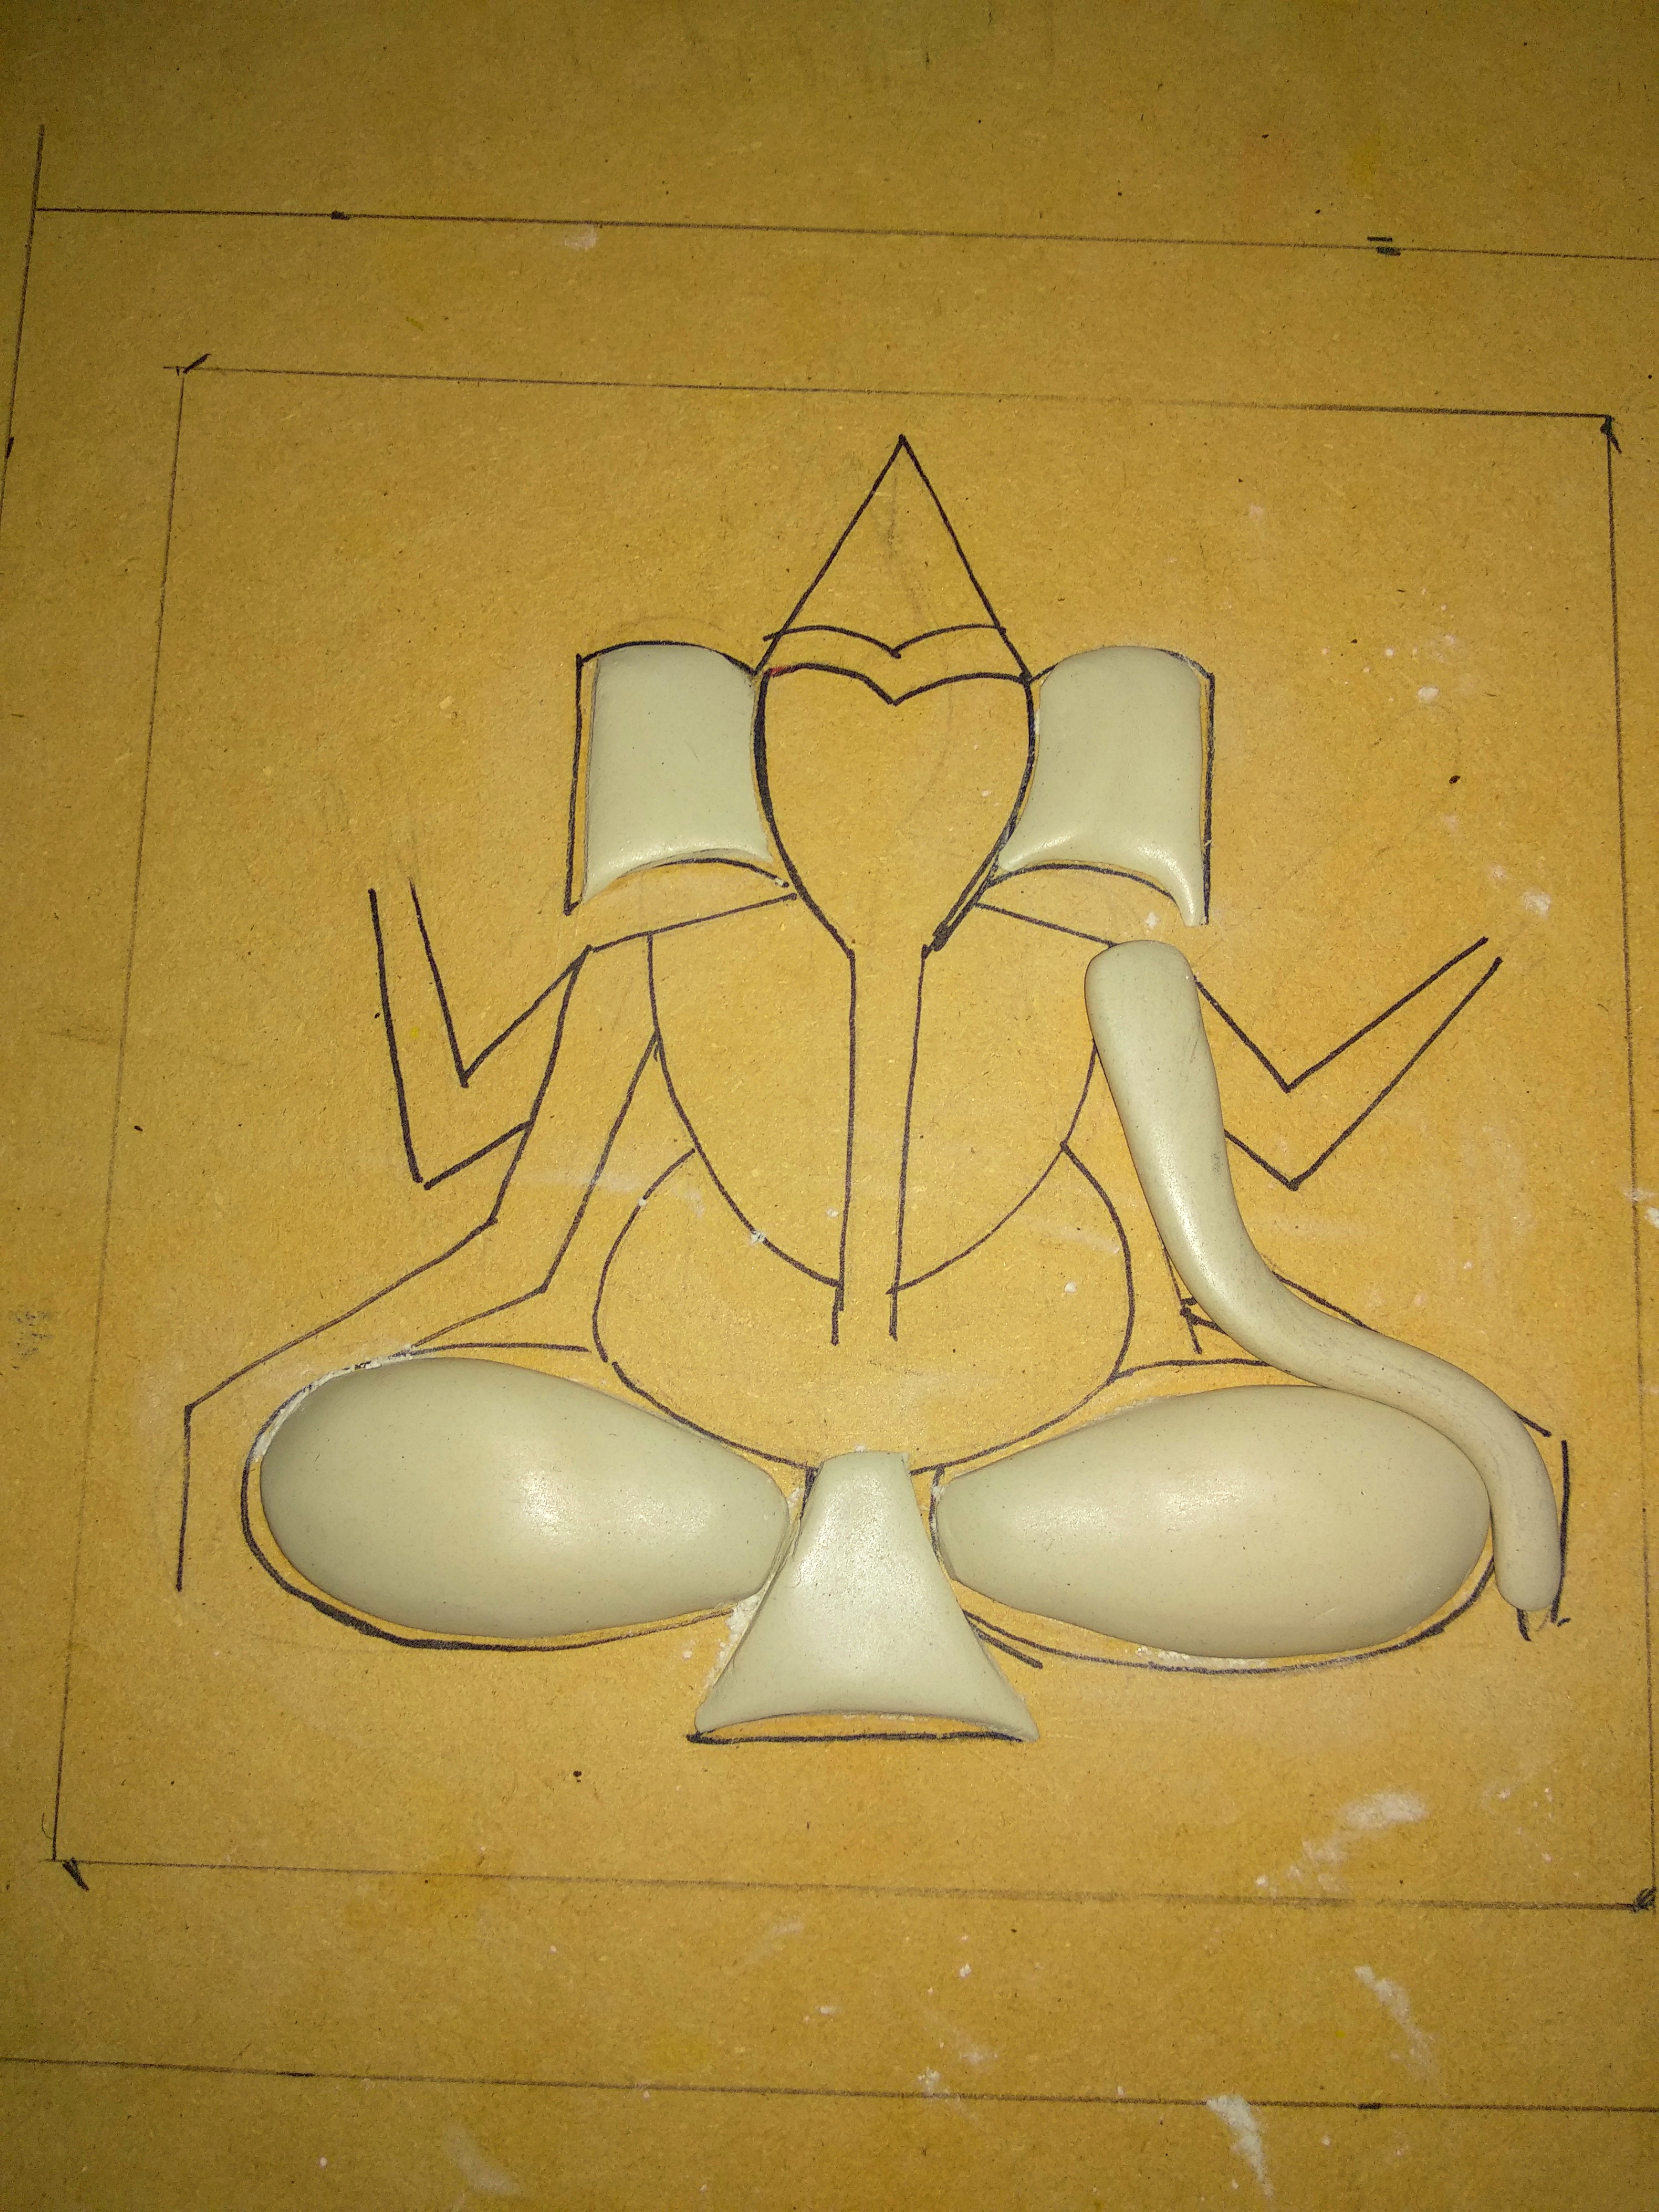
Step 3: Next, put the mixture of Shape It resin and hardener on the drawn parts of lord Ganesha. Start from the lower parts to the upper.
Step 4: Then make some threads of the clay and paste the threads on the clay base of Lord Ganesha.
Here is a picture after pasting the threads completely.
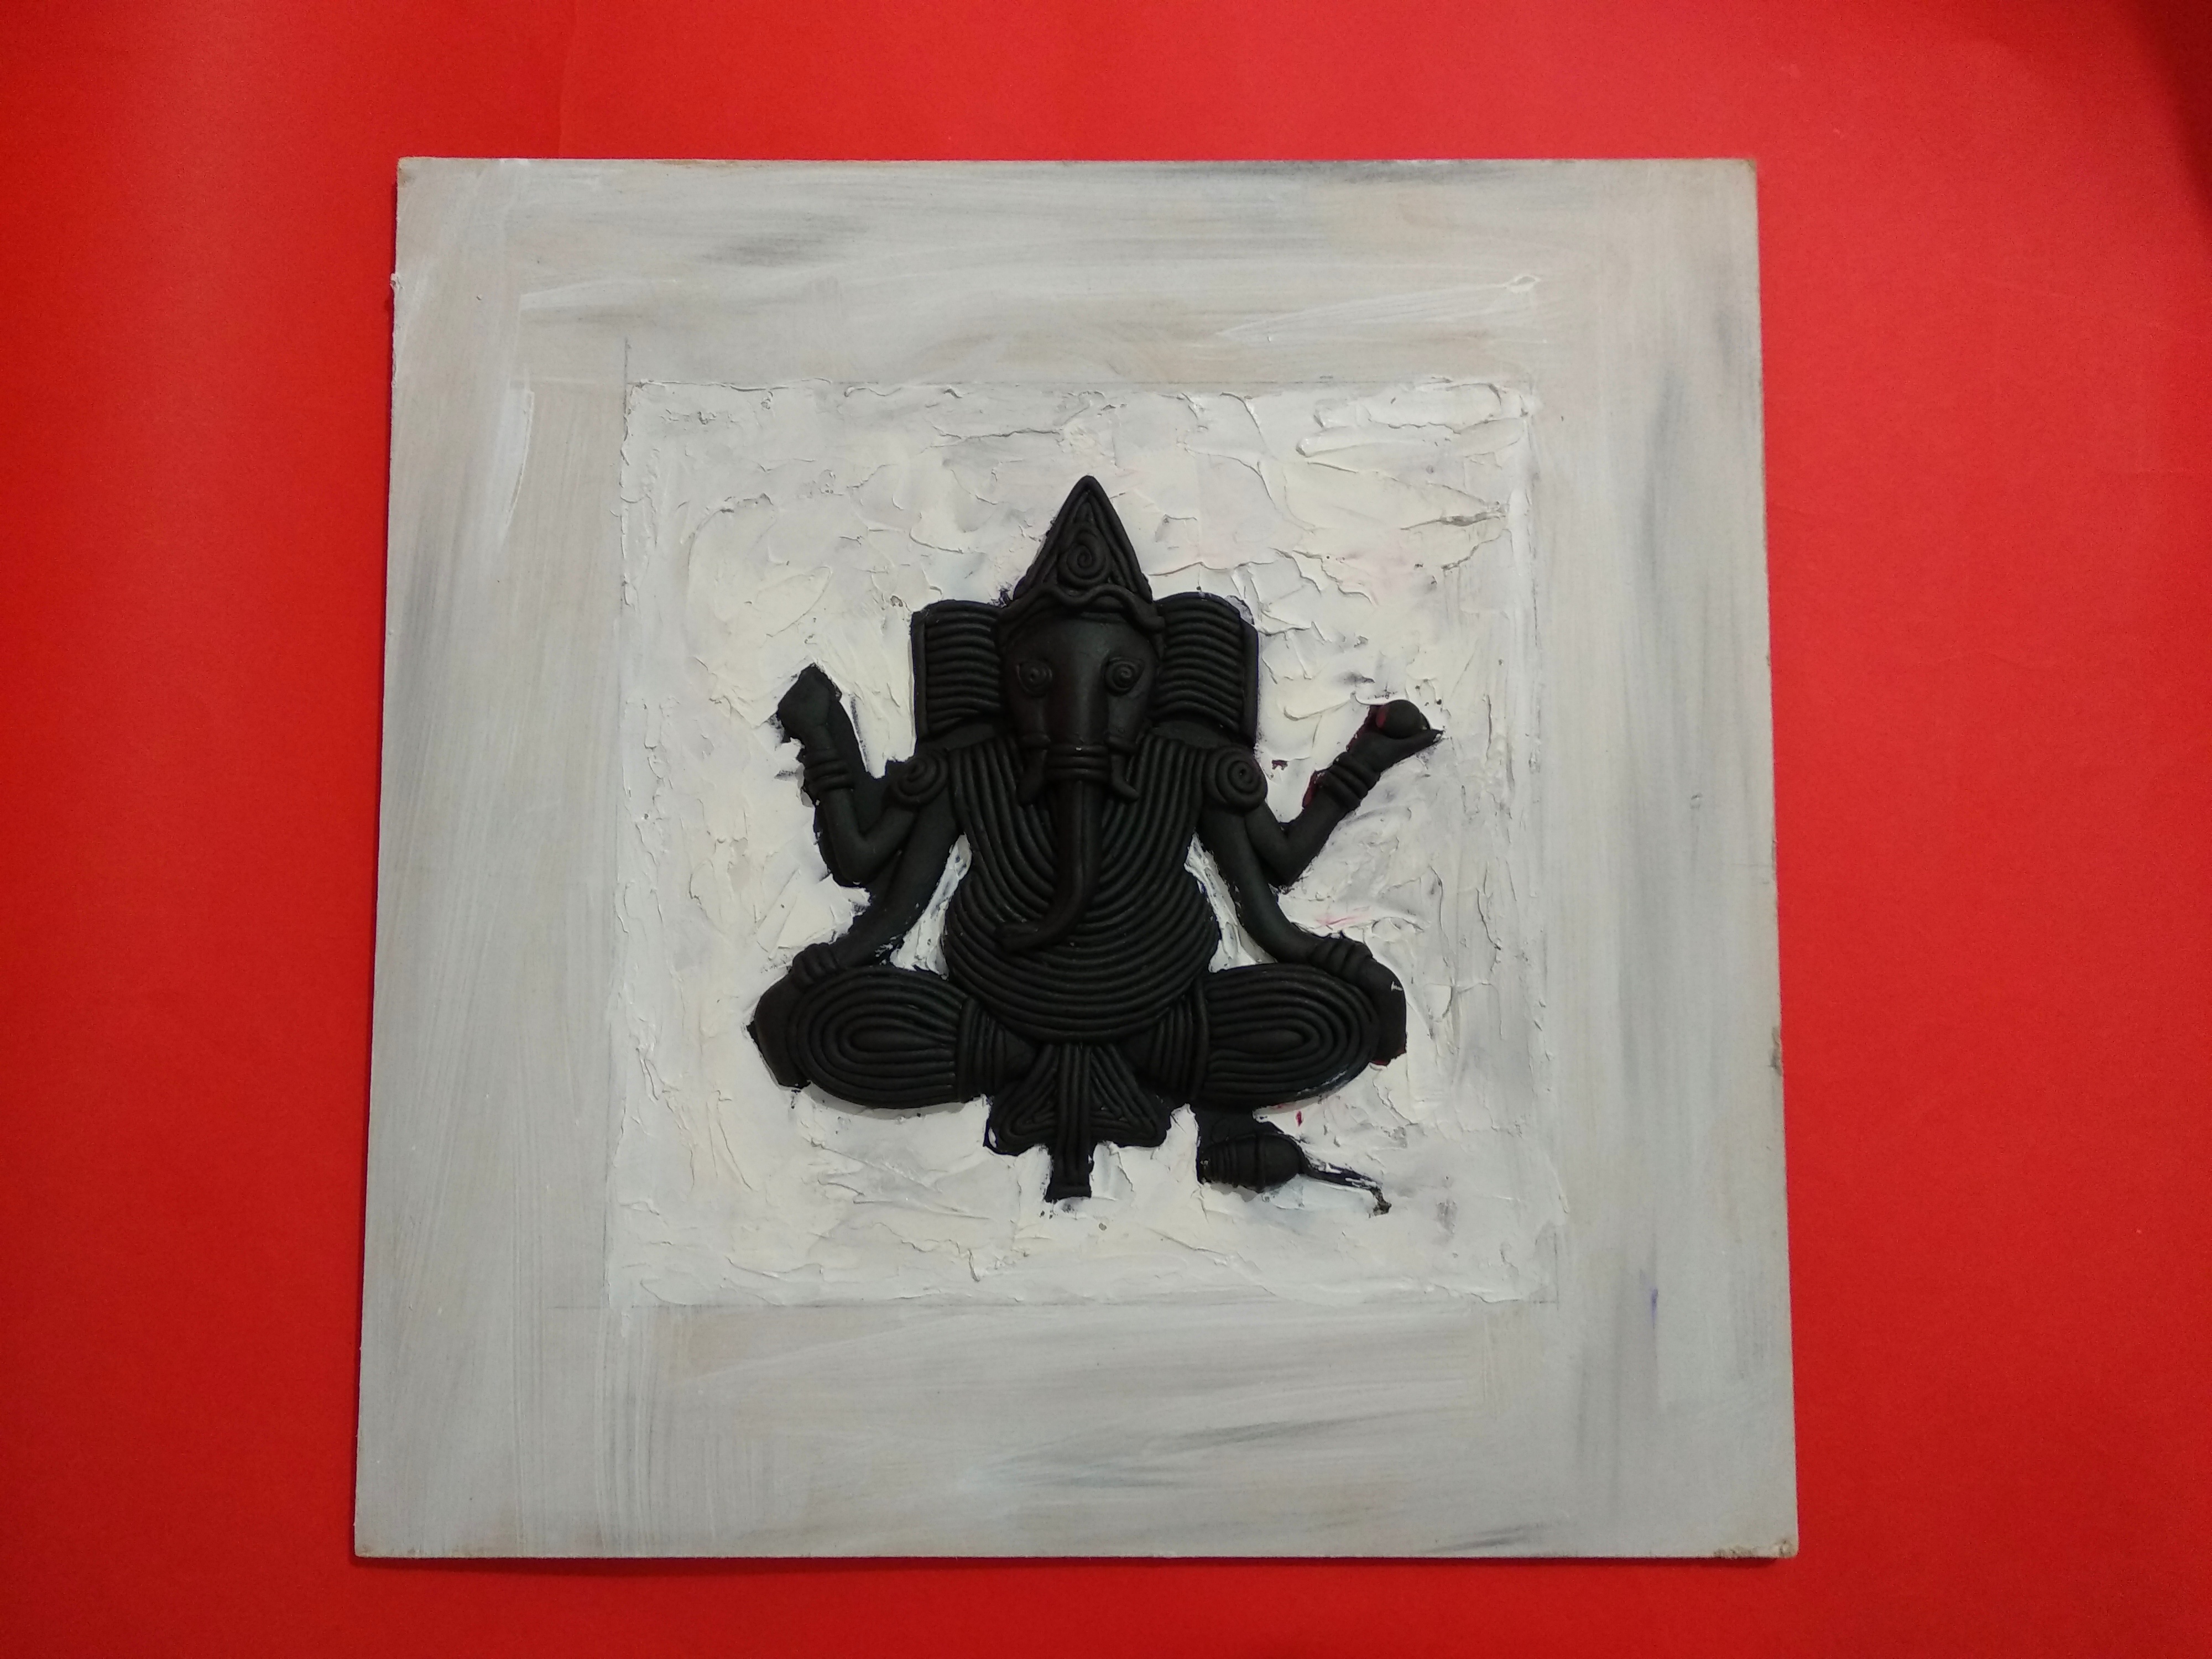
Step 5 : Next, Apply Little Birdie black gesso on the clay work and then use a palette knife to apply Little Birdie white 2 in 1 Mixed media paste on the square portion that has been drawn with pencil on the wooden decorable.

Step 5 : Next, apply white gesso on the remaining part of the wooden decorable.
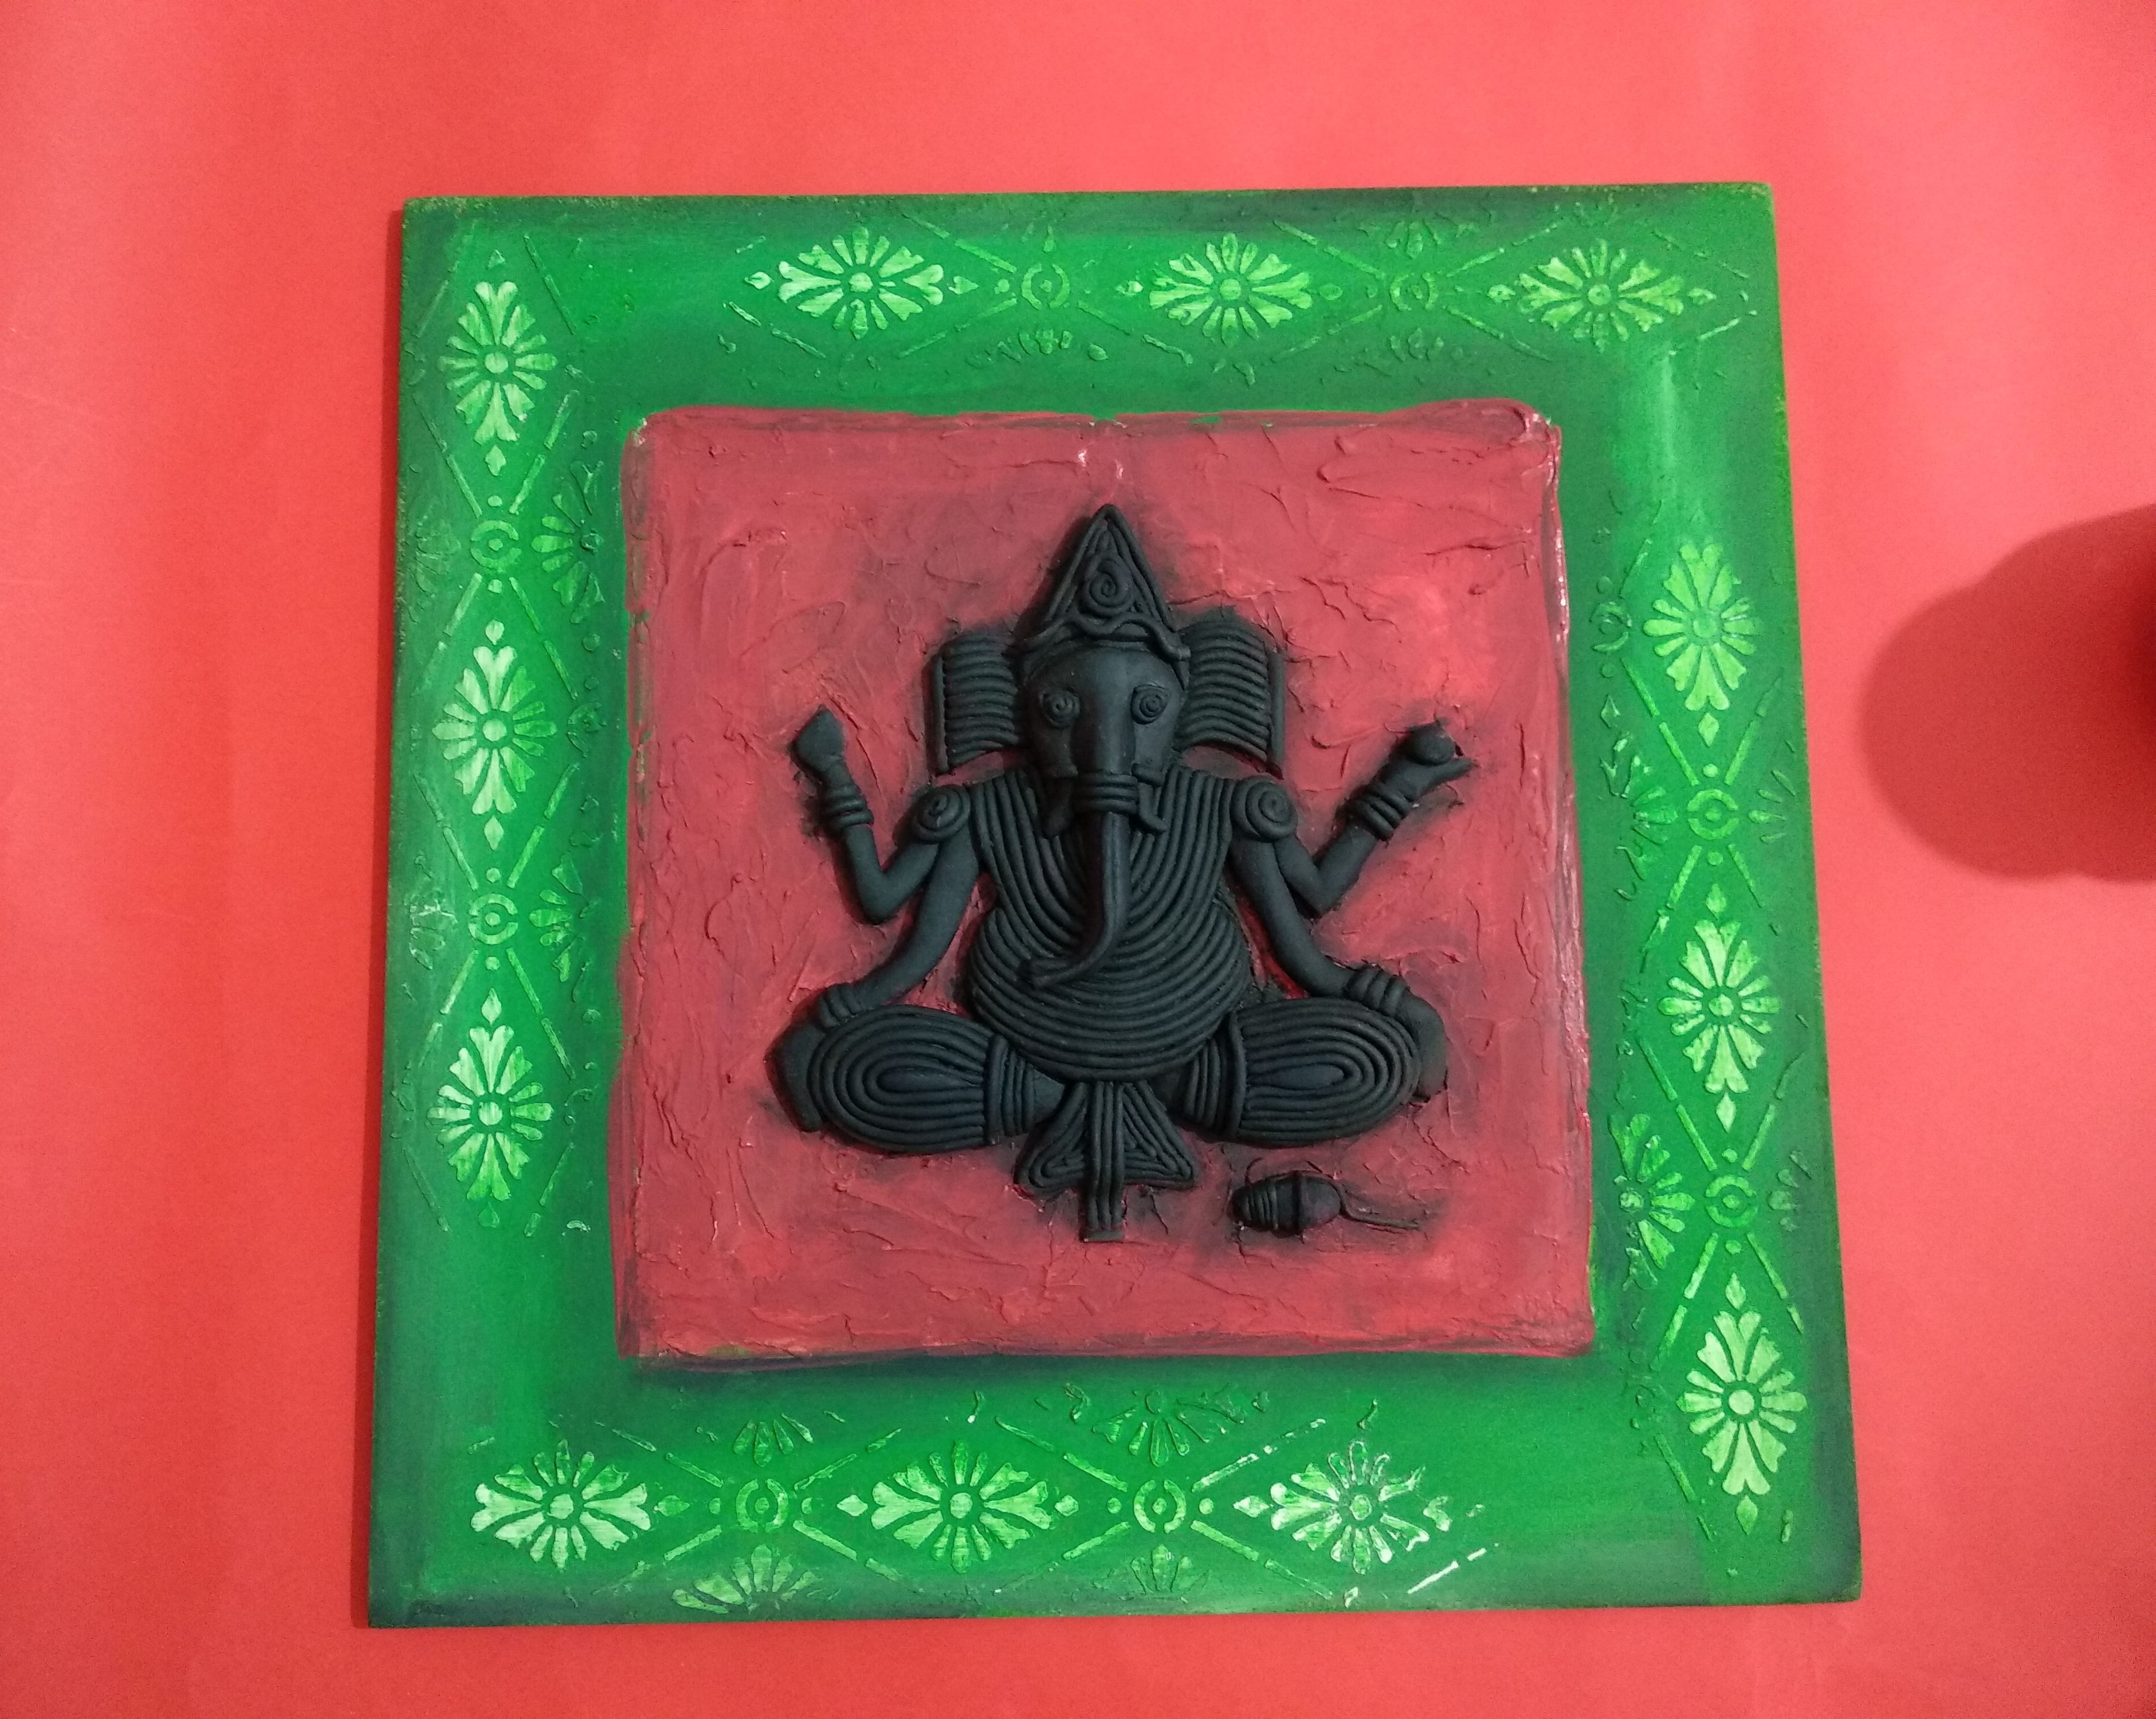
Step 6: Then apply Little Birdie Salsa Red chalk paint on the textured area.
Step 7: After that apply Lime Mint chalk paint on the remaining part of the wooden decorable. After drying, add texture using the stencil Flora Enchante and white mixed media paste.
Step 8: Next apply a thin coat of Kiwi Mojito chalk paint after diluting it with a little water.
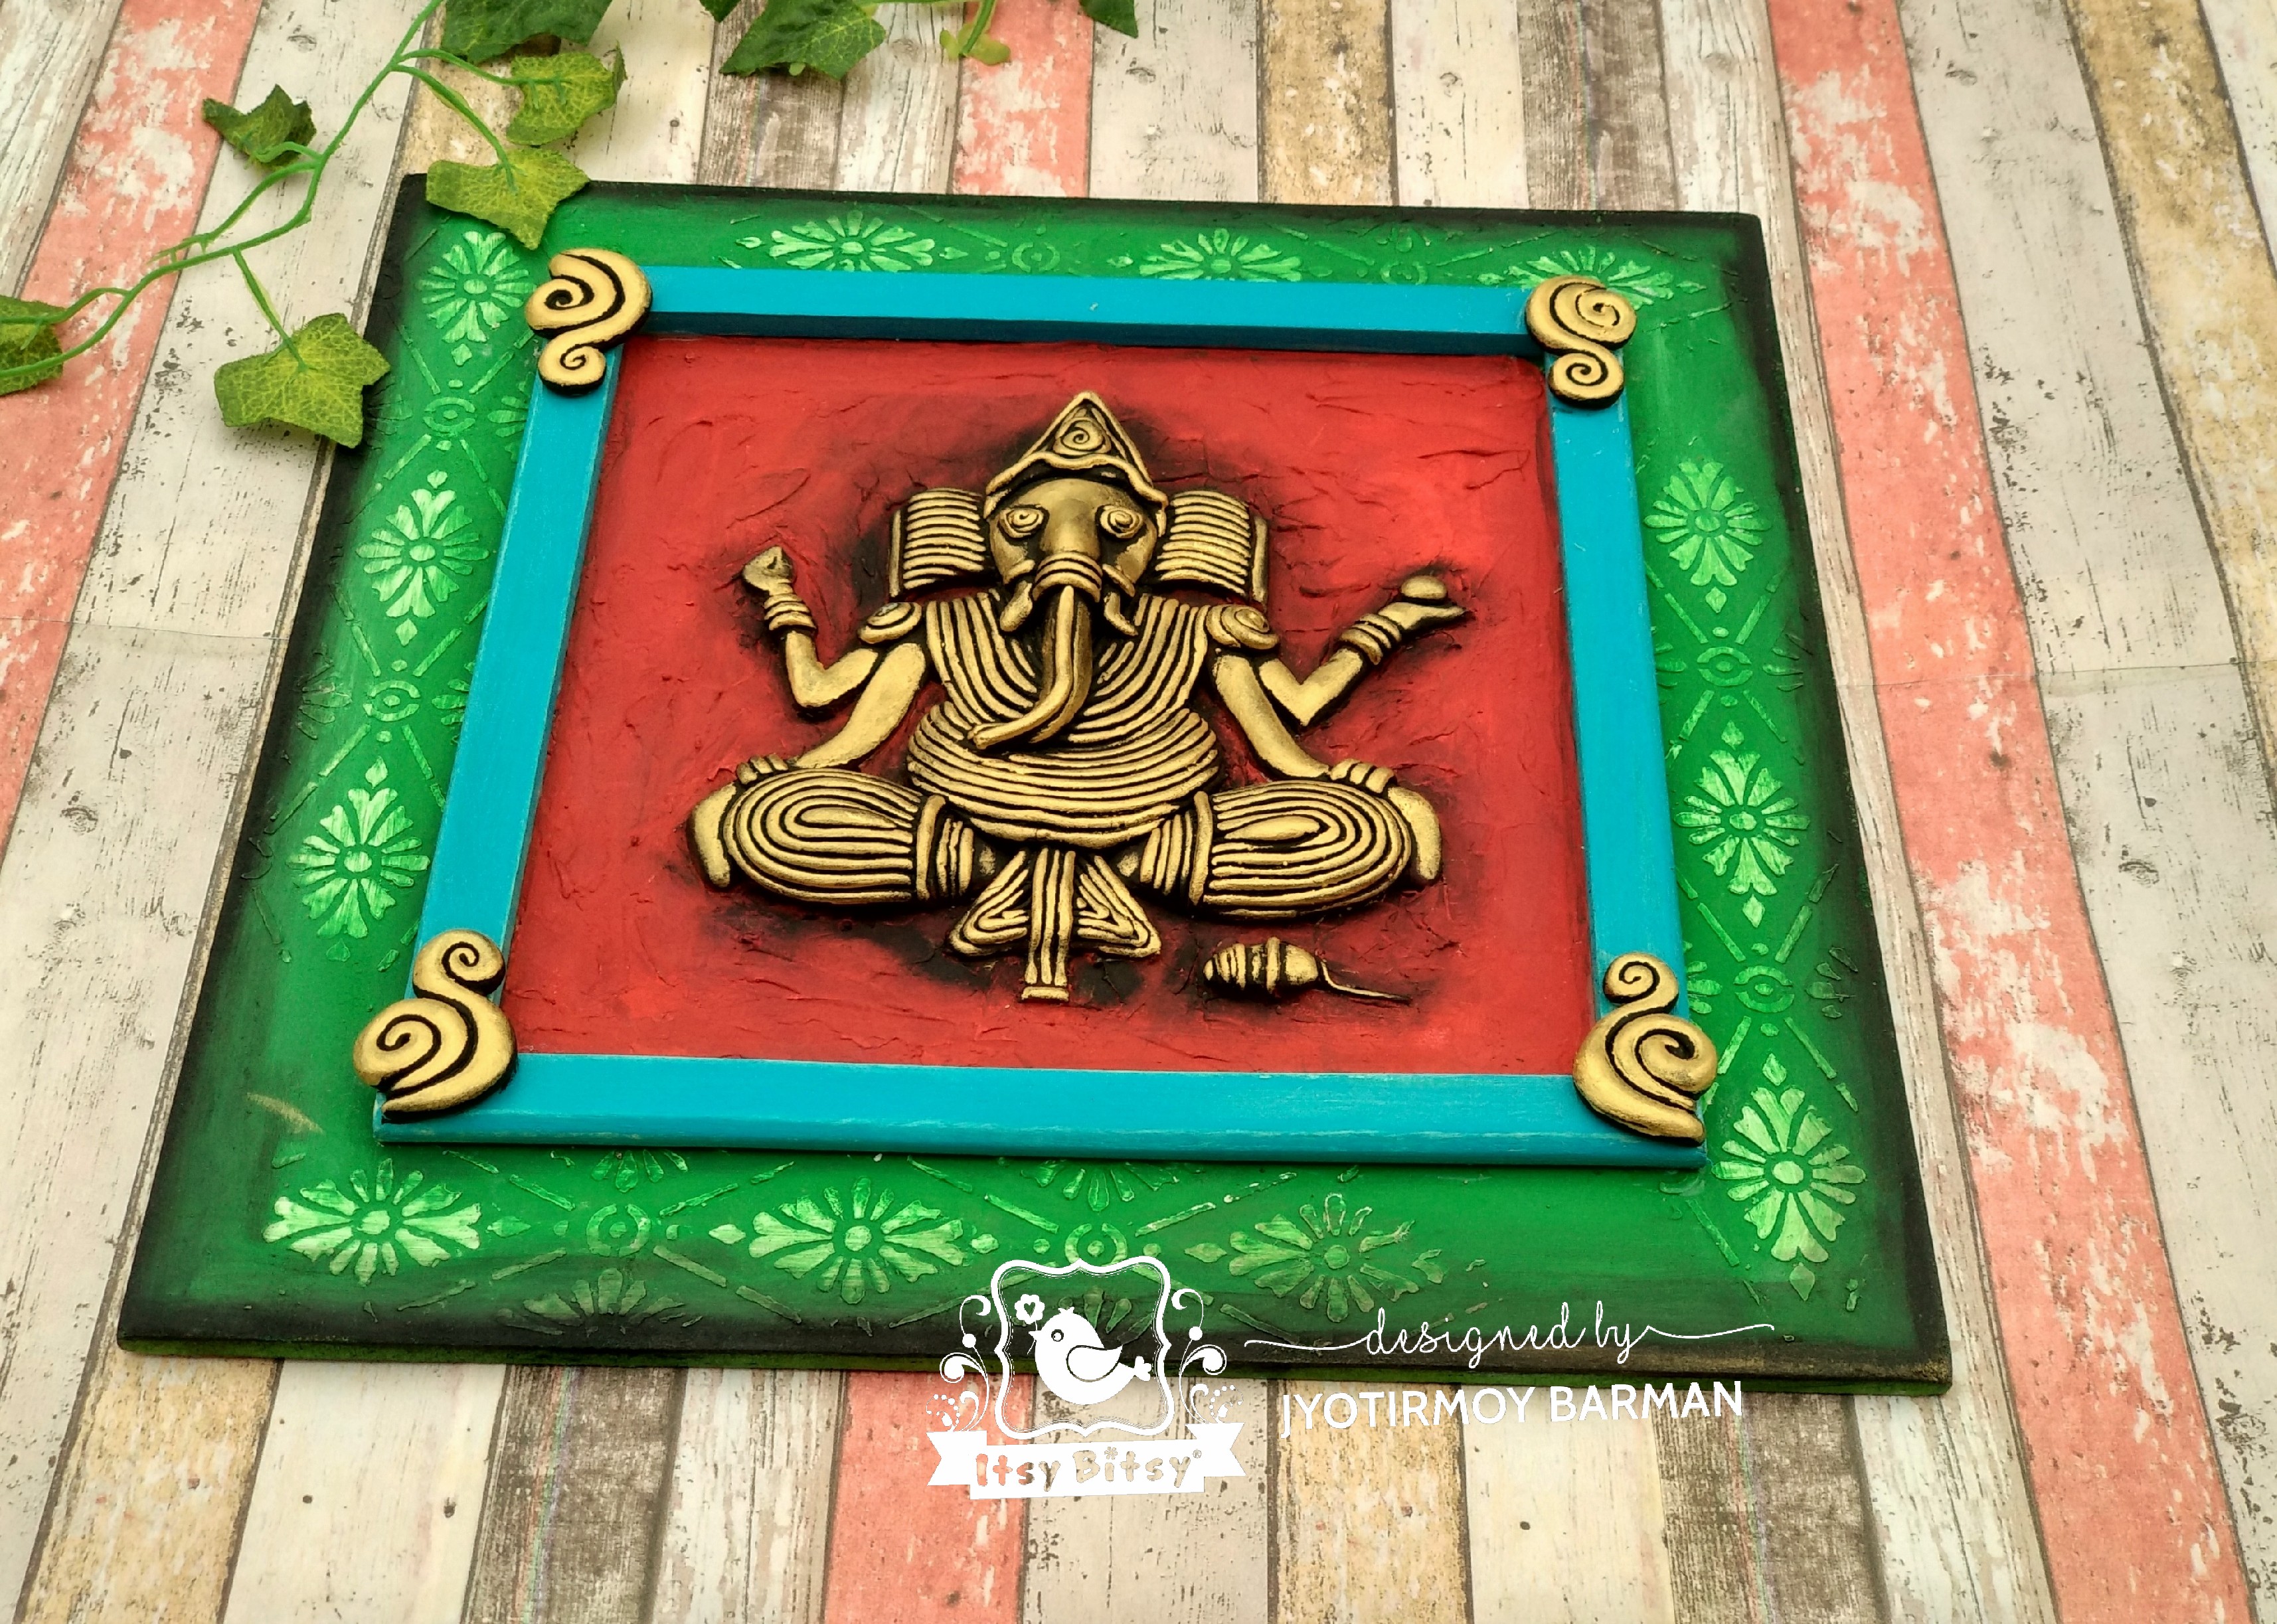
Step 8: When everything has dried use Little Birdie tinted metallic paint – Golden glaze using your finger tip. Here I suggest you not to use a brush.

Step 9 : Next apply Little Birdie decor varnish matte to protect the color.
Step 10: Then cut 4 pieces of wooden strips after measuring and colour them with chalk paint Blue Spa and paste them using heavy gel medium.
Step 11: Next make some designs with Shape It and paste them on the corner of the frame and colour them with Little Birdie tinted metallic paint – Golden Glaze after applying black gesso and varnish it.
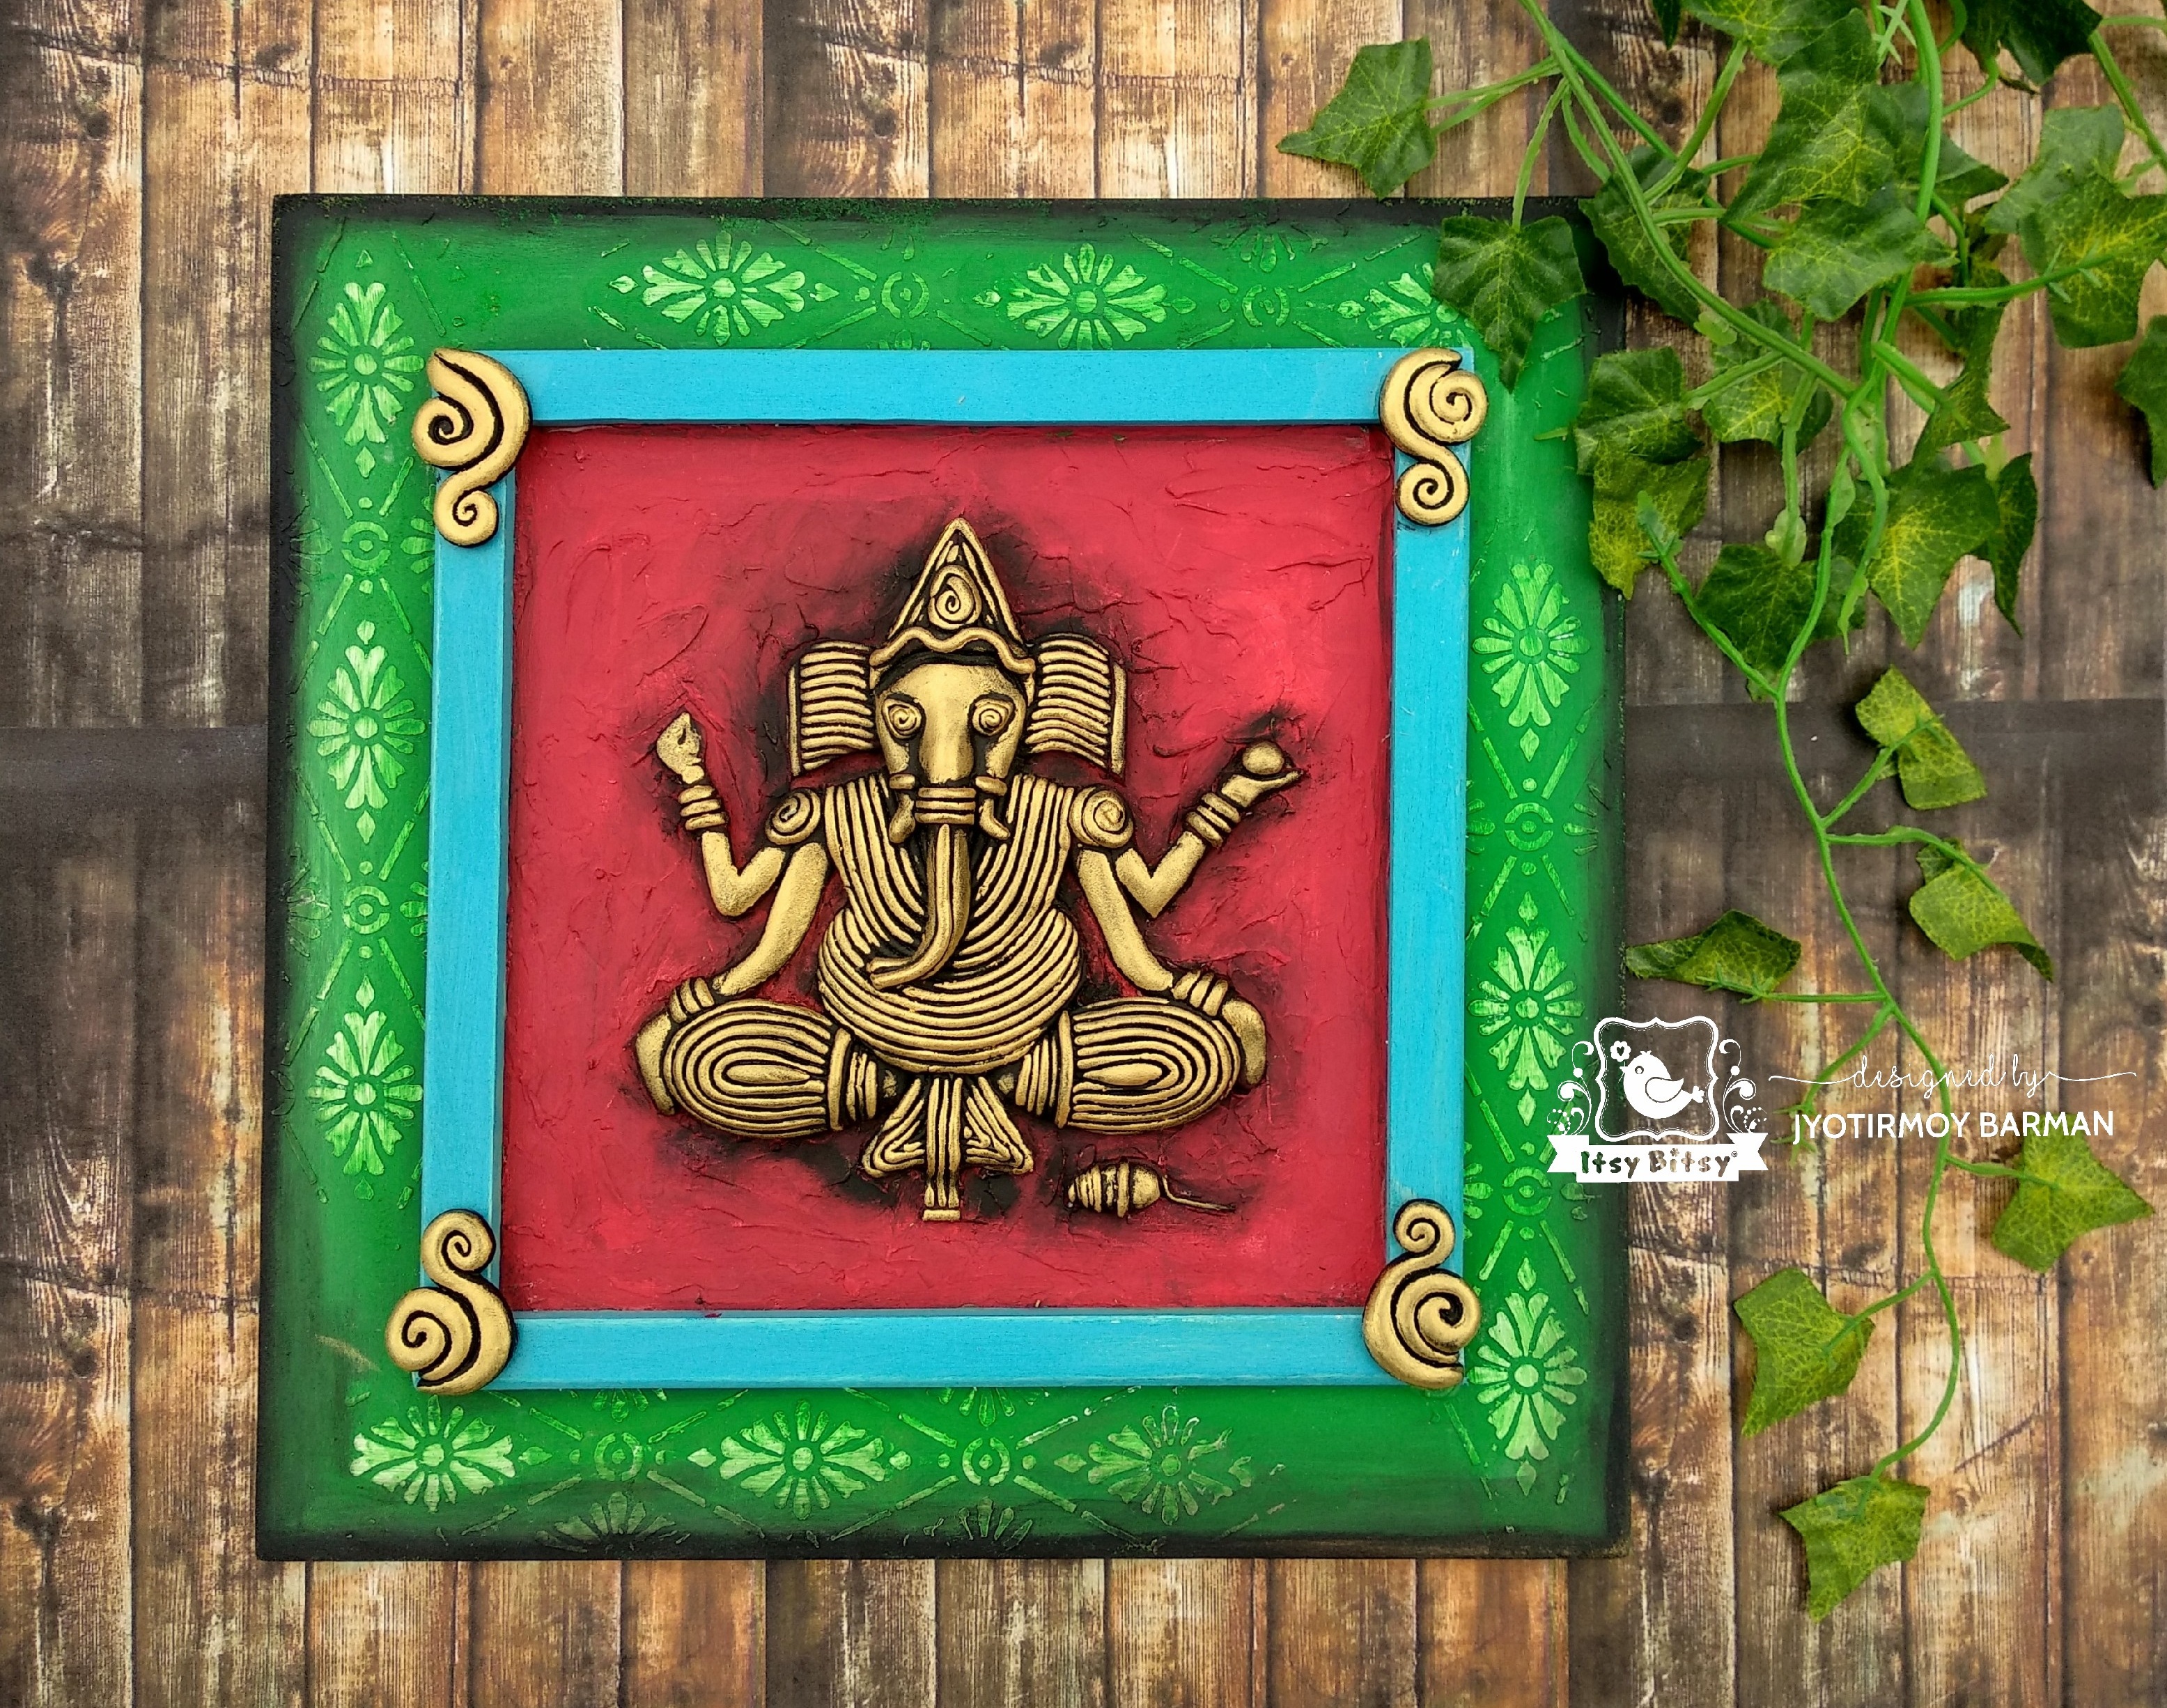
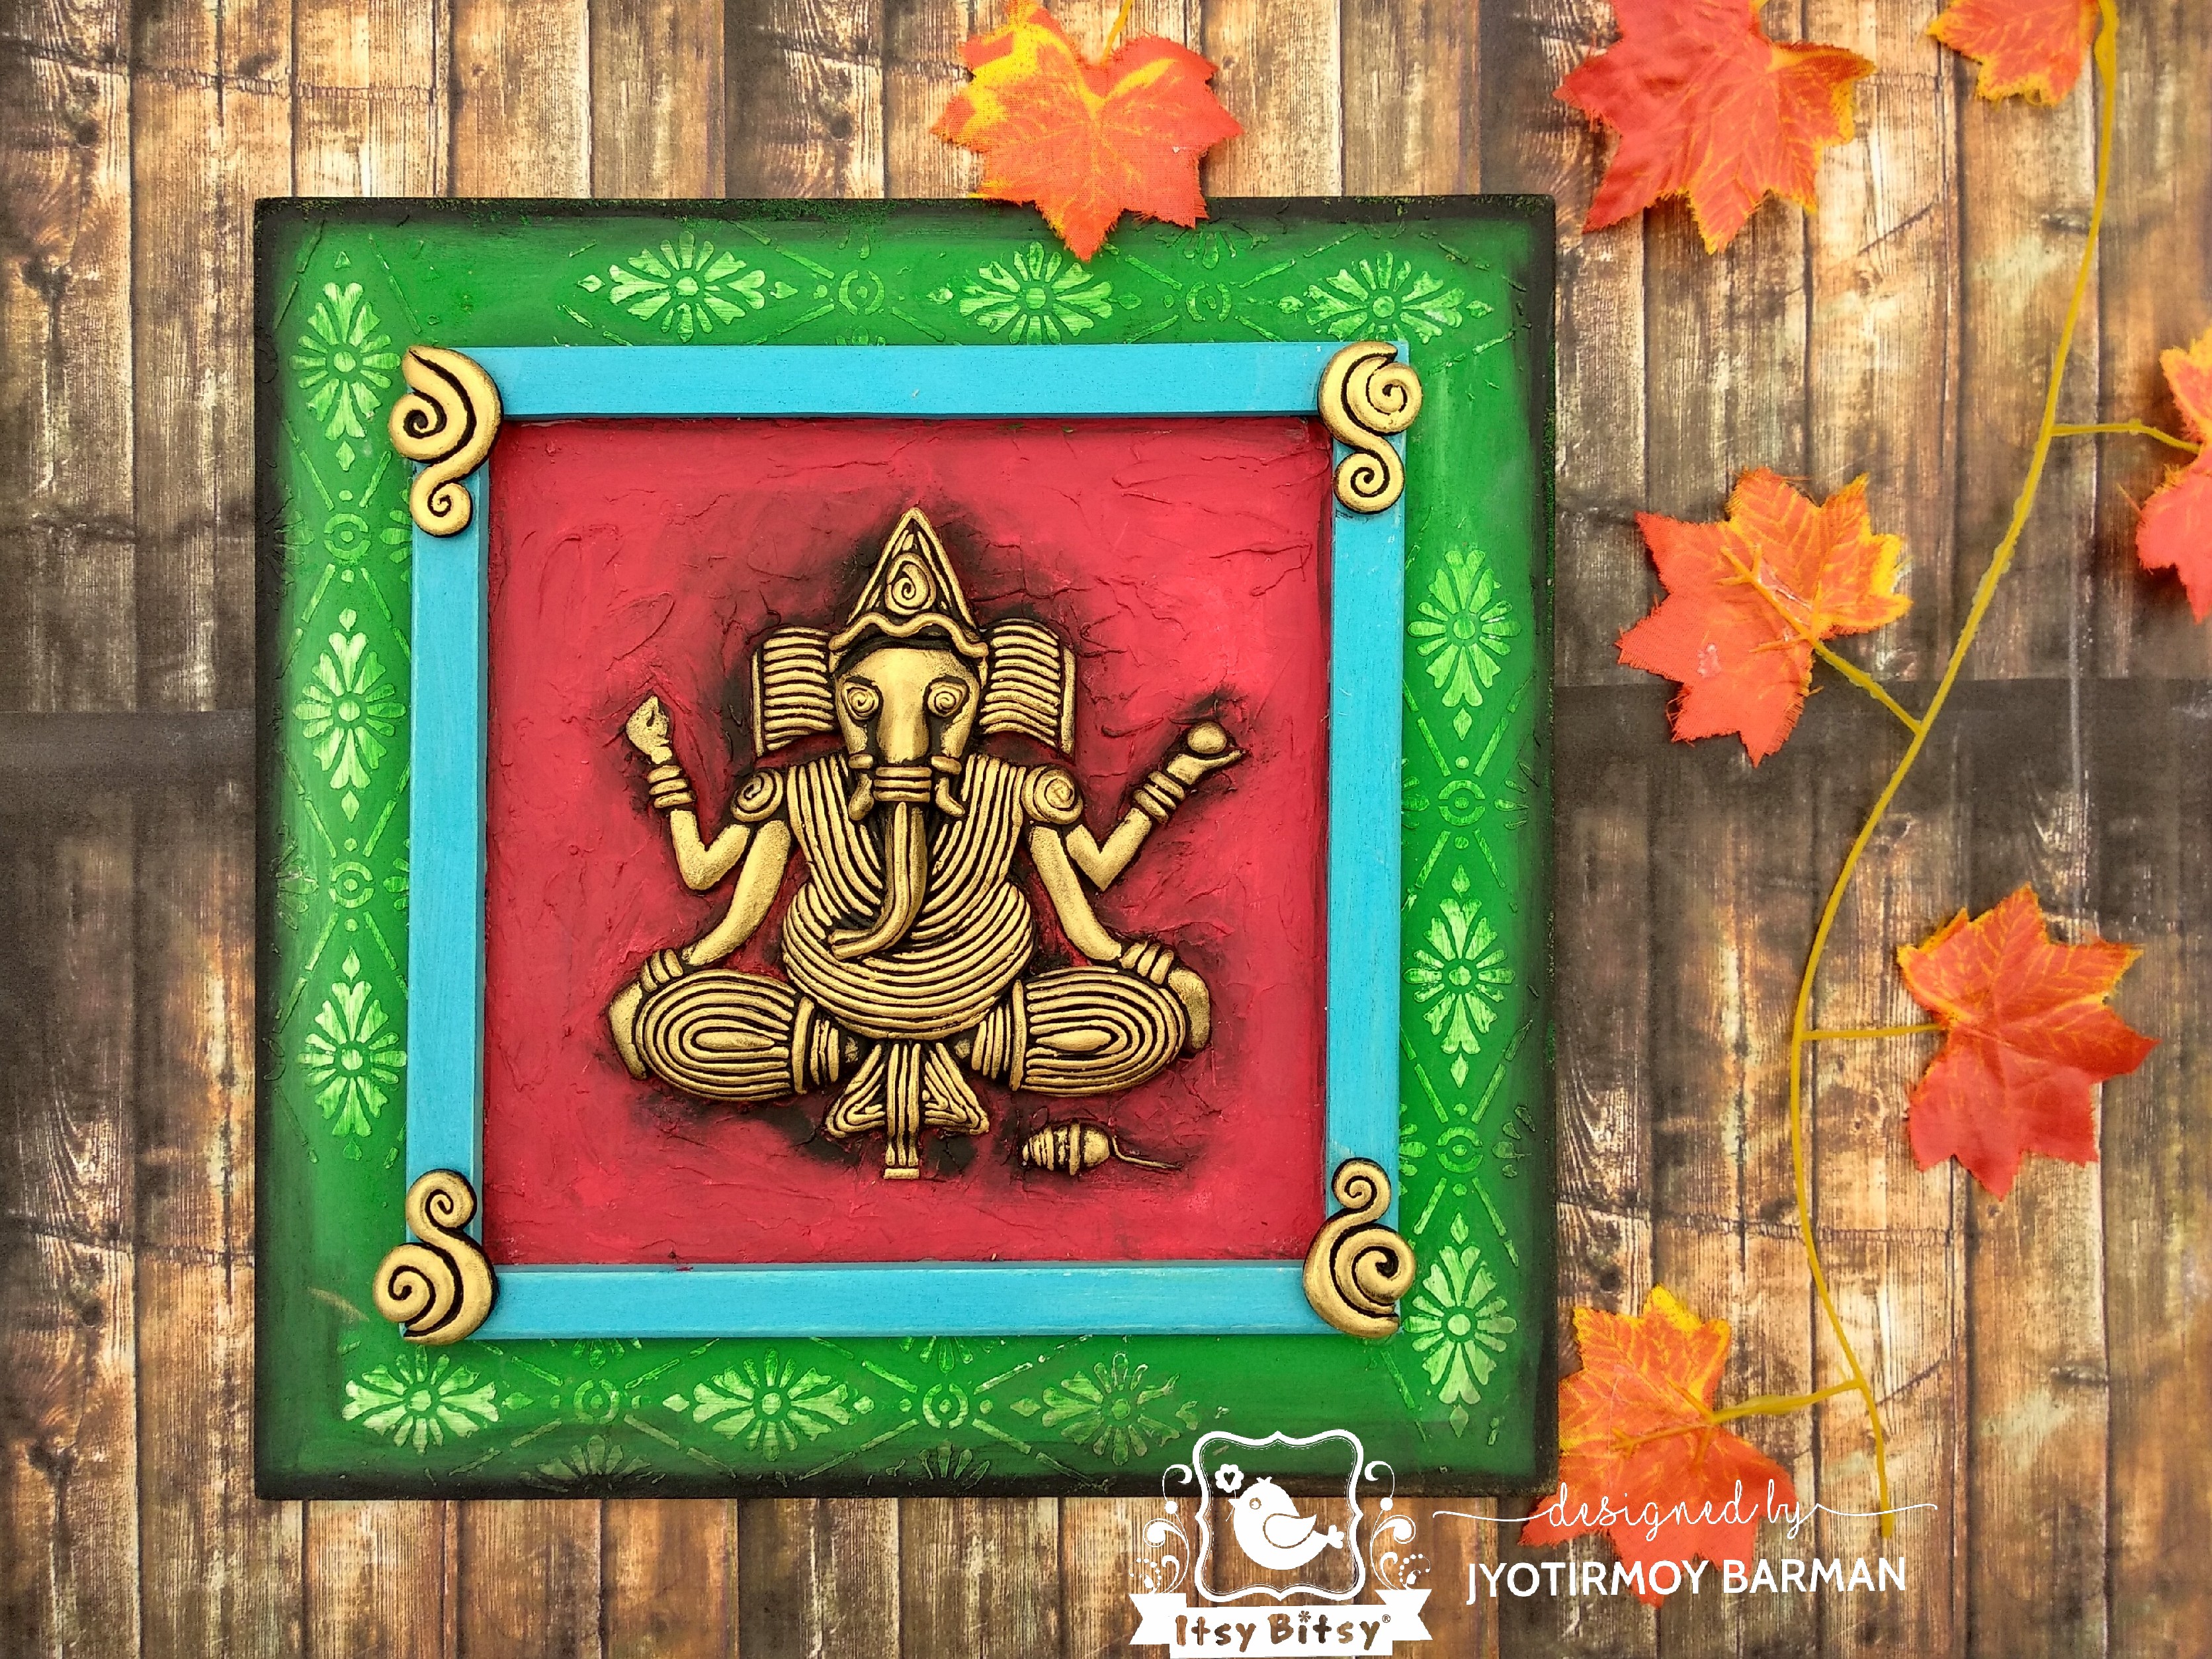
Step 12: Finally give a dark shade on the edges using black chalk paint and now it is ready.
Hope you enjoyed this tutorial. Stay home and Stay safe. Here are some glimpse of my project for you.


I am excited to inform you that all these products come with a unique QR code!
Point your mobile phone at the QR code on the product & scan them to take you directly to our YouTube links where you can see how each of these products are used! Check out all our new products for QR codes in the future ( this will be either on the label or on cap of the bottle).
Use code JYOTIRMOY5 to buy any product at itsybitsy.in and get 5% discount on your total bill.
Supplies used
- Wooden decorable
- Little Birdie Shape It
- Chalk paint Blue spa
- Chalk paint Salsa red
- Little Birdie black gesso
- Little Birdie white gesso
- Little Birdie white mixed media paste 2 in 1
- Decor varnish matte
- Metallic paint Golden glaze
- Stencil Flora Enchante
- Chalk paint Lime Mint
- Chalk paint Kiwi Mojito
- Wooden strip
- Chalk paint Charcoal black