
Hello Crafty Members,
DT Charu here with another simple fun and easy project with watercolor embellishments.
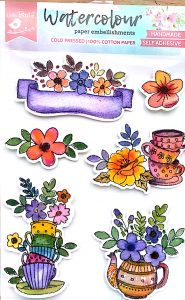
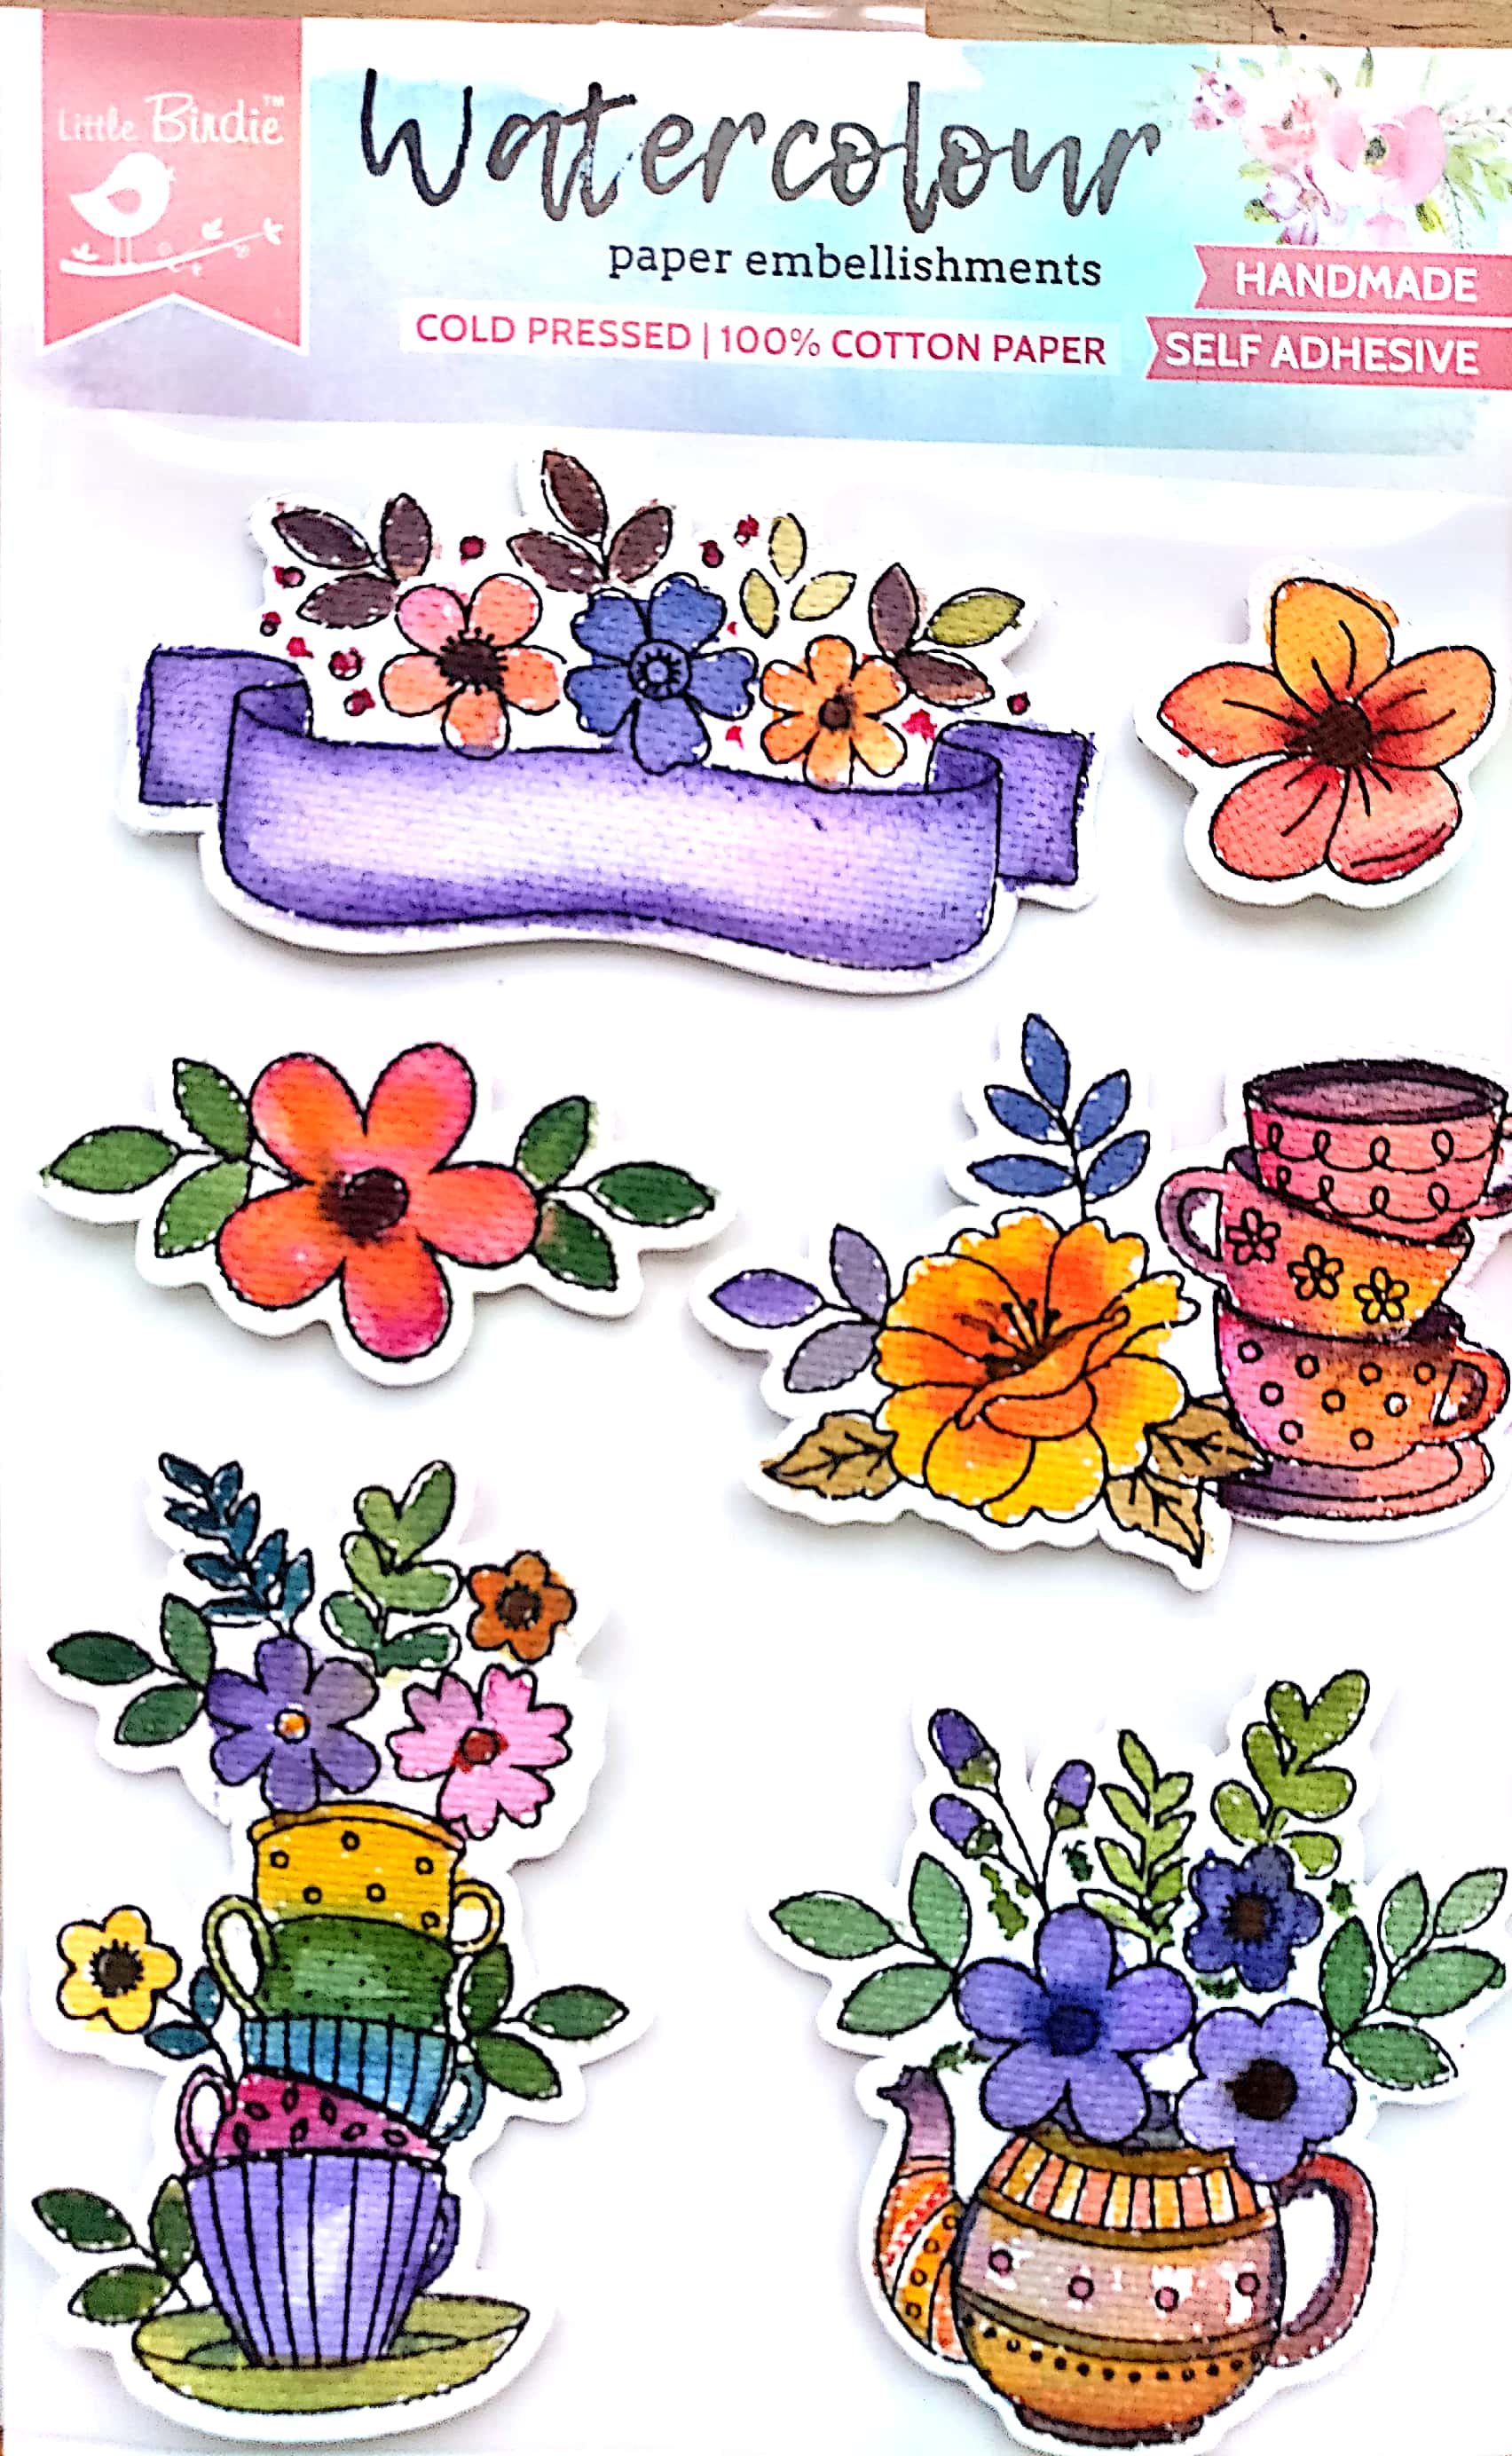
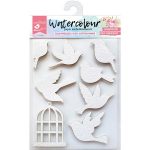
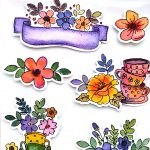
One of the most popular craft activities right now is watercolor painting! Itsy Bitsy has designed some wonderful new Watercolor Art embellishments to appeal to a broad range of ages and abilities. The watercolor embellishments pack comes in different designs like windows, flowers, succulents, vintage cars, flowers etc. Each design is printed on 100% cold pressed watercolor paper. That way you don’t have to start with a “blank canvas”, but can have the flexibility and fun of personalizing it with different colors and styles!
Let us understand difference between Watercolor and gouache first
A primary difference between the two paints is that gouache is more opaque than watercolor. When a layer of watercolor is applied, the white paper and any preliminary drawings underneath will show through, whereas when a layer of gouache is applied, the paper will not show through nearly as much. Due to the transparency of watercolor, the light is able to travel through the pigment and reflect off of the white paper, giving it a luminous quality that differs from gouache’s matte finish.
Difference between Watercolor and acrylics
Acrylics on the other hand, as we know them, have only been around since about the 1950s. *Watercolor paints are comprised of just pigment and water, whereas acrylics also have a polymer called acrylic mixed into them, hence their name, which accounts for their more oil paint like texture.
- Watercolor paints are delineated by property: some are transparent and others are opaque. Transparent colors allow you to see the white of the paper, giving the paint strokes a luminescent quality. Opaque colors can also be quite vivid, but they have a tendency to look dull since they block the light from coming through the paper.
- Watercolor paints may also be either non-staining or staining. Non-staining paints stay on the surface of the watercolor paper, making them easy to lift or blend with other non-staining paints. Staining paints seep into the paper permanently and they’re more difficult to blend with non-staining paint.
Points to remember before you start
- Don’t use too much water. Start with just a little, then add more if necessary. It’s more difficult to achieve a richer color by adding more paint than it is to dilute a color by adding a little water.You will get an Ombre effect when you add water slowly.
- Fill your palette with the different colors you are using. Squeeze just a bit of each color into the individual palette wells. I will suggest keep color palette limited!
- Watercolor paint dries several shades lighter than it appears when it is still wet. Keep this in mind when you’re figuring out how to make a color lighter or darker.
- Try not to over-mix your colors. They don’t need to be totally blended. One brushstroke may contain distinct gradations of color, rather than a solid blend. That’s part of the beauty of watercolor.
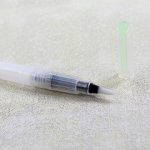
- You may want to blot after loading your brush. To do this, simply touch it to a paper towel to remove some of the excess paint. You can also blot lightly or blot well.
- If you’re cleaning several brushes, you may want to change the water. You won’t be able to clean brushes with dirty water.Tip :Keep two container of water
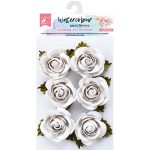
Itsy bitsy has also come up with some wonderful watercolor flowers, frames, canvases and again are 100 percent cold pressed. I am sure you all must have grabbed those wonderful embellishments or canvases by now. There are endless possibilities with this paper flowers, canvases and embellishments.
There are many different techniques and materials you can use for watercolor projects. I used several different ones for these art starters and each creates it’s own unique design. Here are some options:
- Wet paper + watercolor: Wet the paper first, then add watercolor. This will create a more pastel and blended look.
- Dry paper + watercolor: If you start with dry paper and then add watercolor, you will get a darker color and bolder brush strokes.
- Watercolor pencils (or crayons) + water: Use a water based colored pencil to shade and/or outline the design. You can then go over the colored areas with water and a paintbrush for blending.
Keep in mind, the color intensity will also depend on water to color ratio. The more water you use, the lighter and more pastel it will look. Another important thing to remember with watercolor painting is that it’s perfectly fine to paint “outside the lines”. The faint gray lines are merely there to add subtle definition to the artwork.
Today we are going to make two projects. A dream catcher and a mailing hoop.
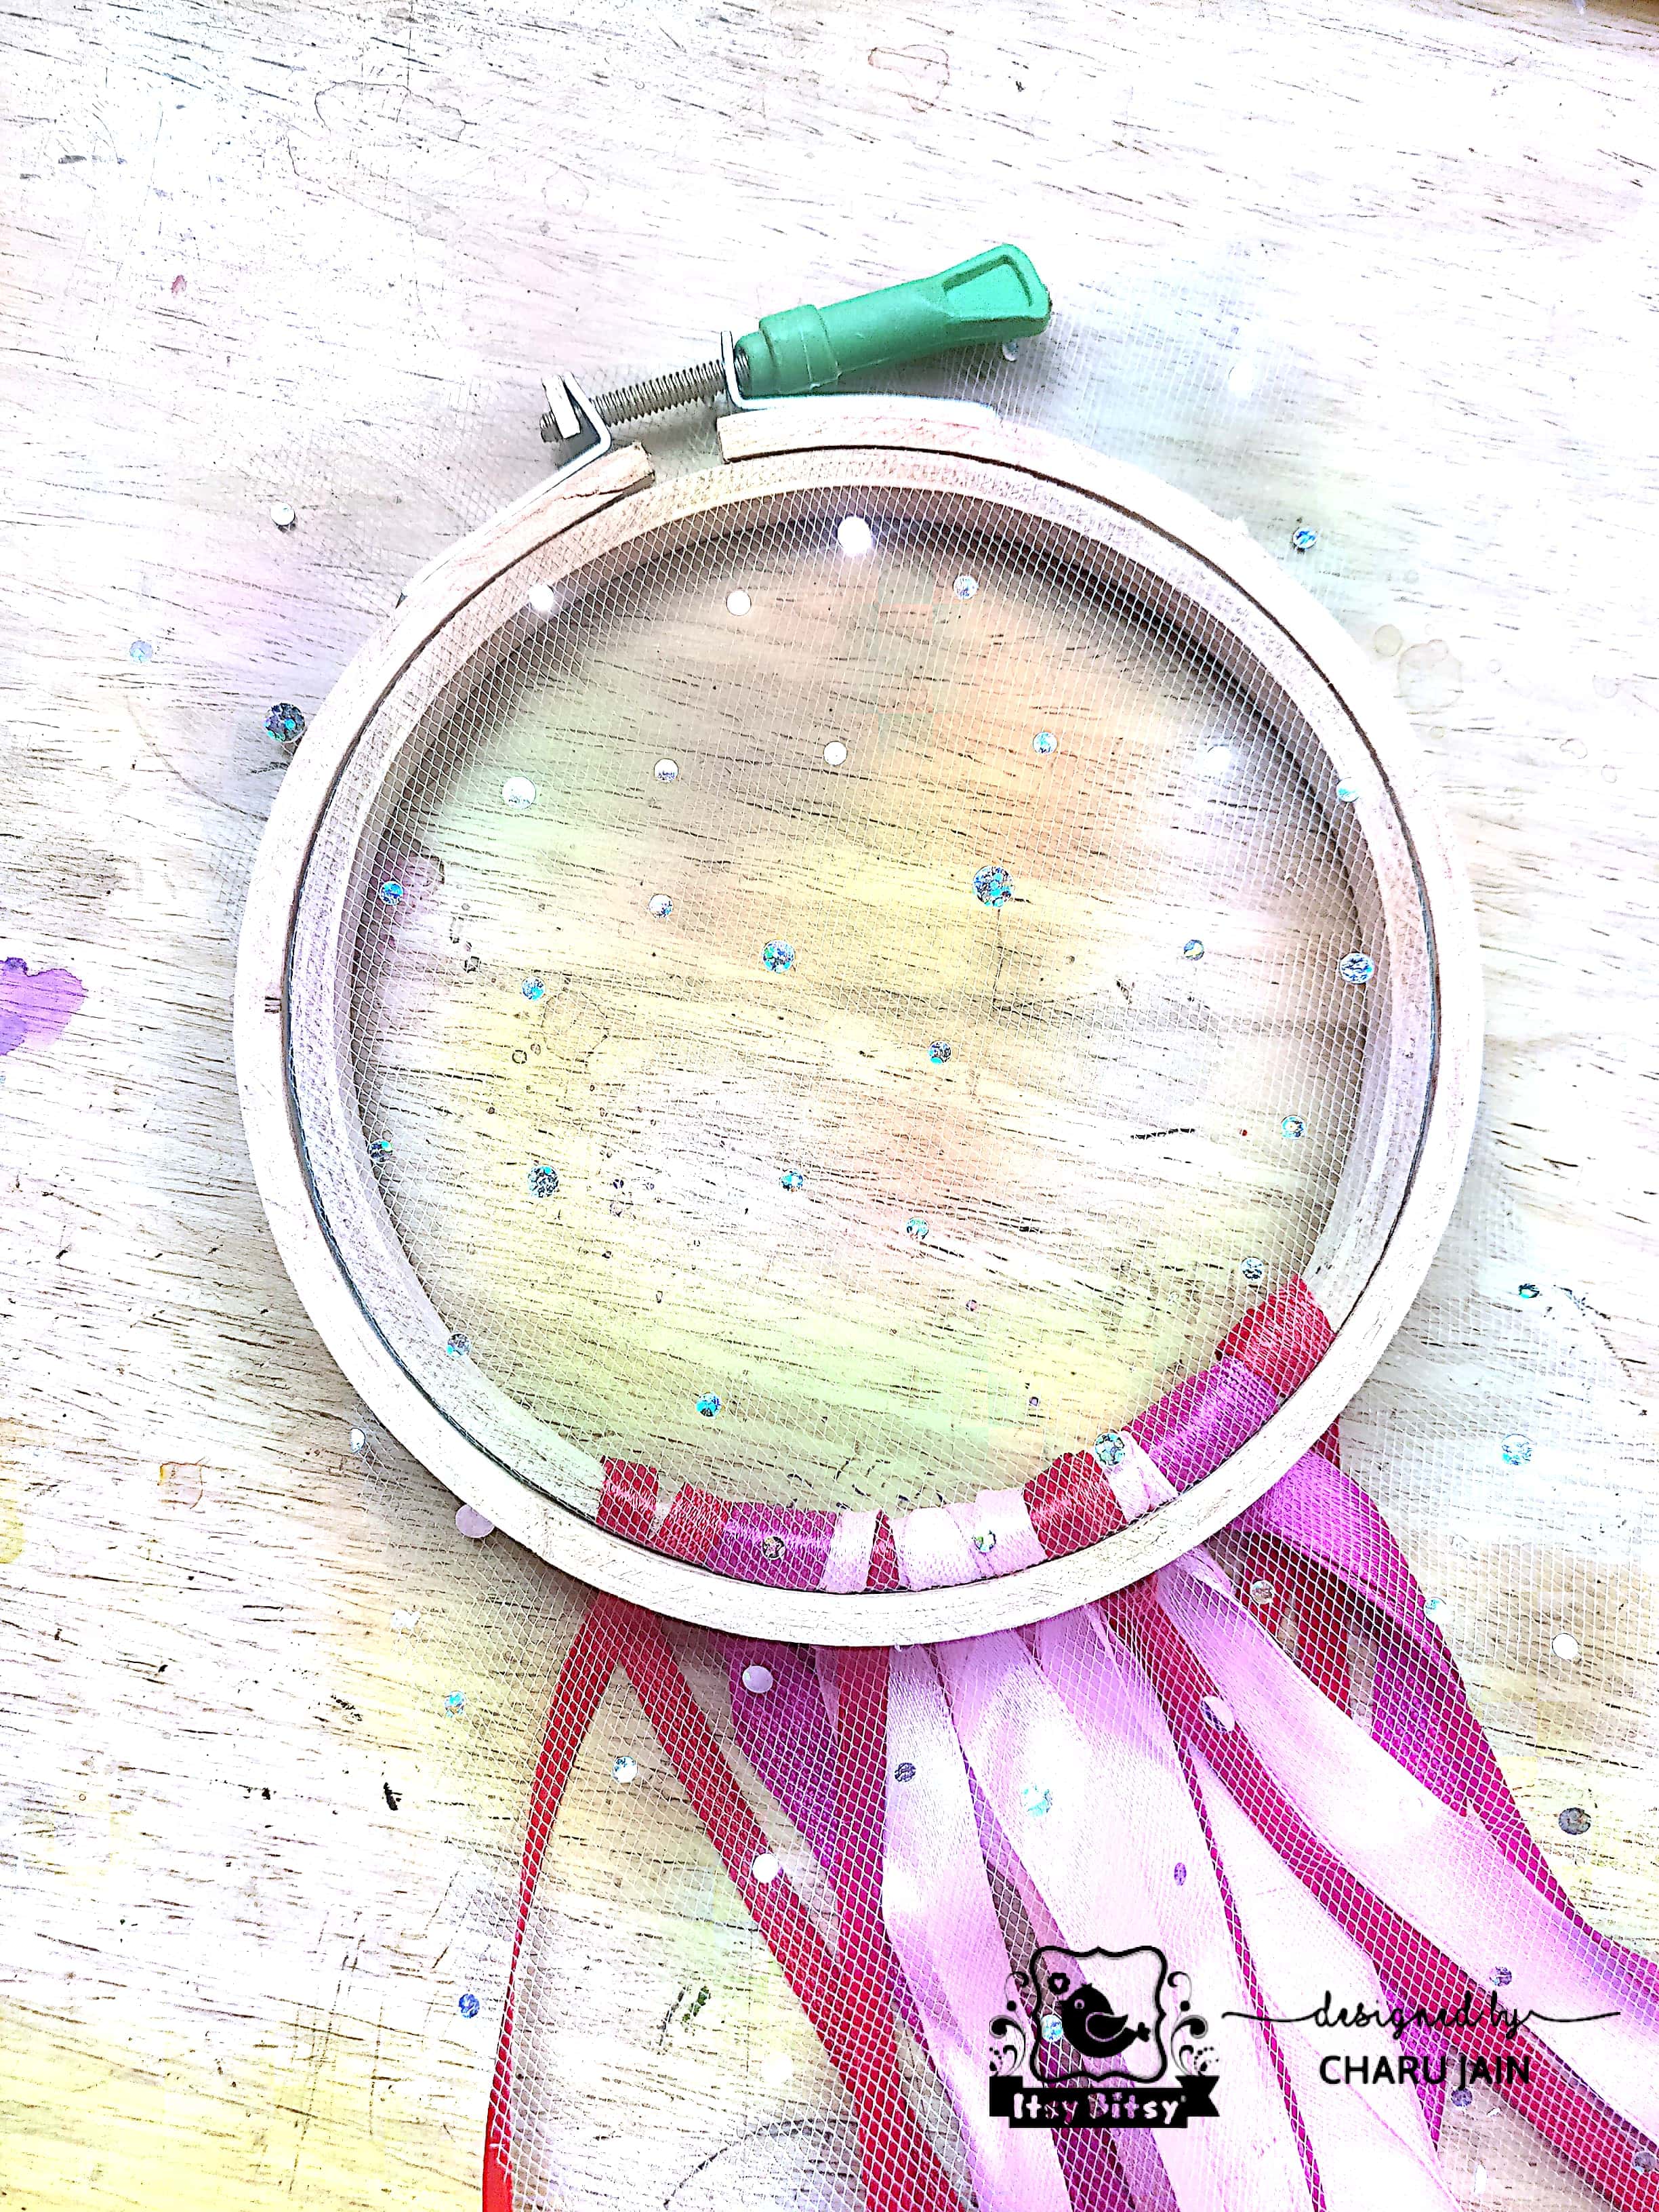
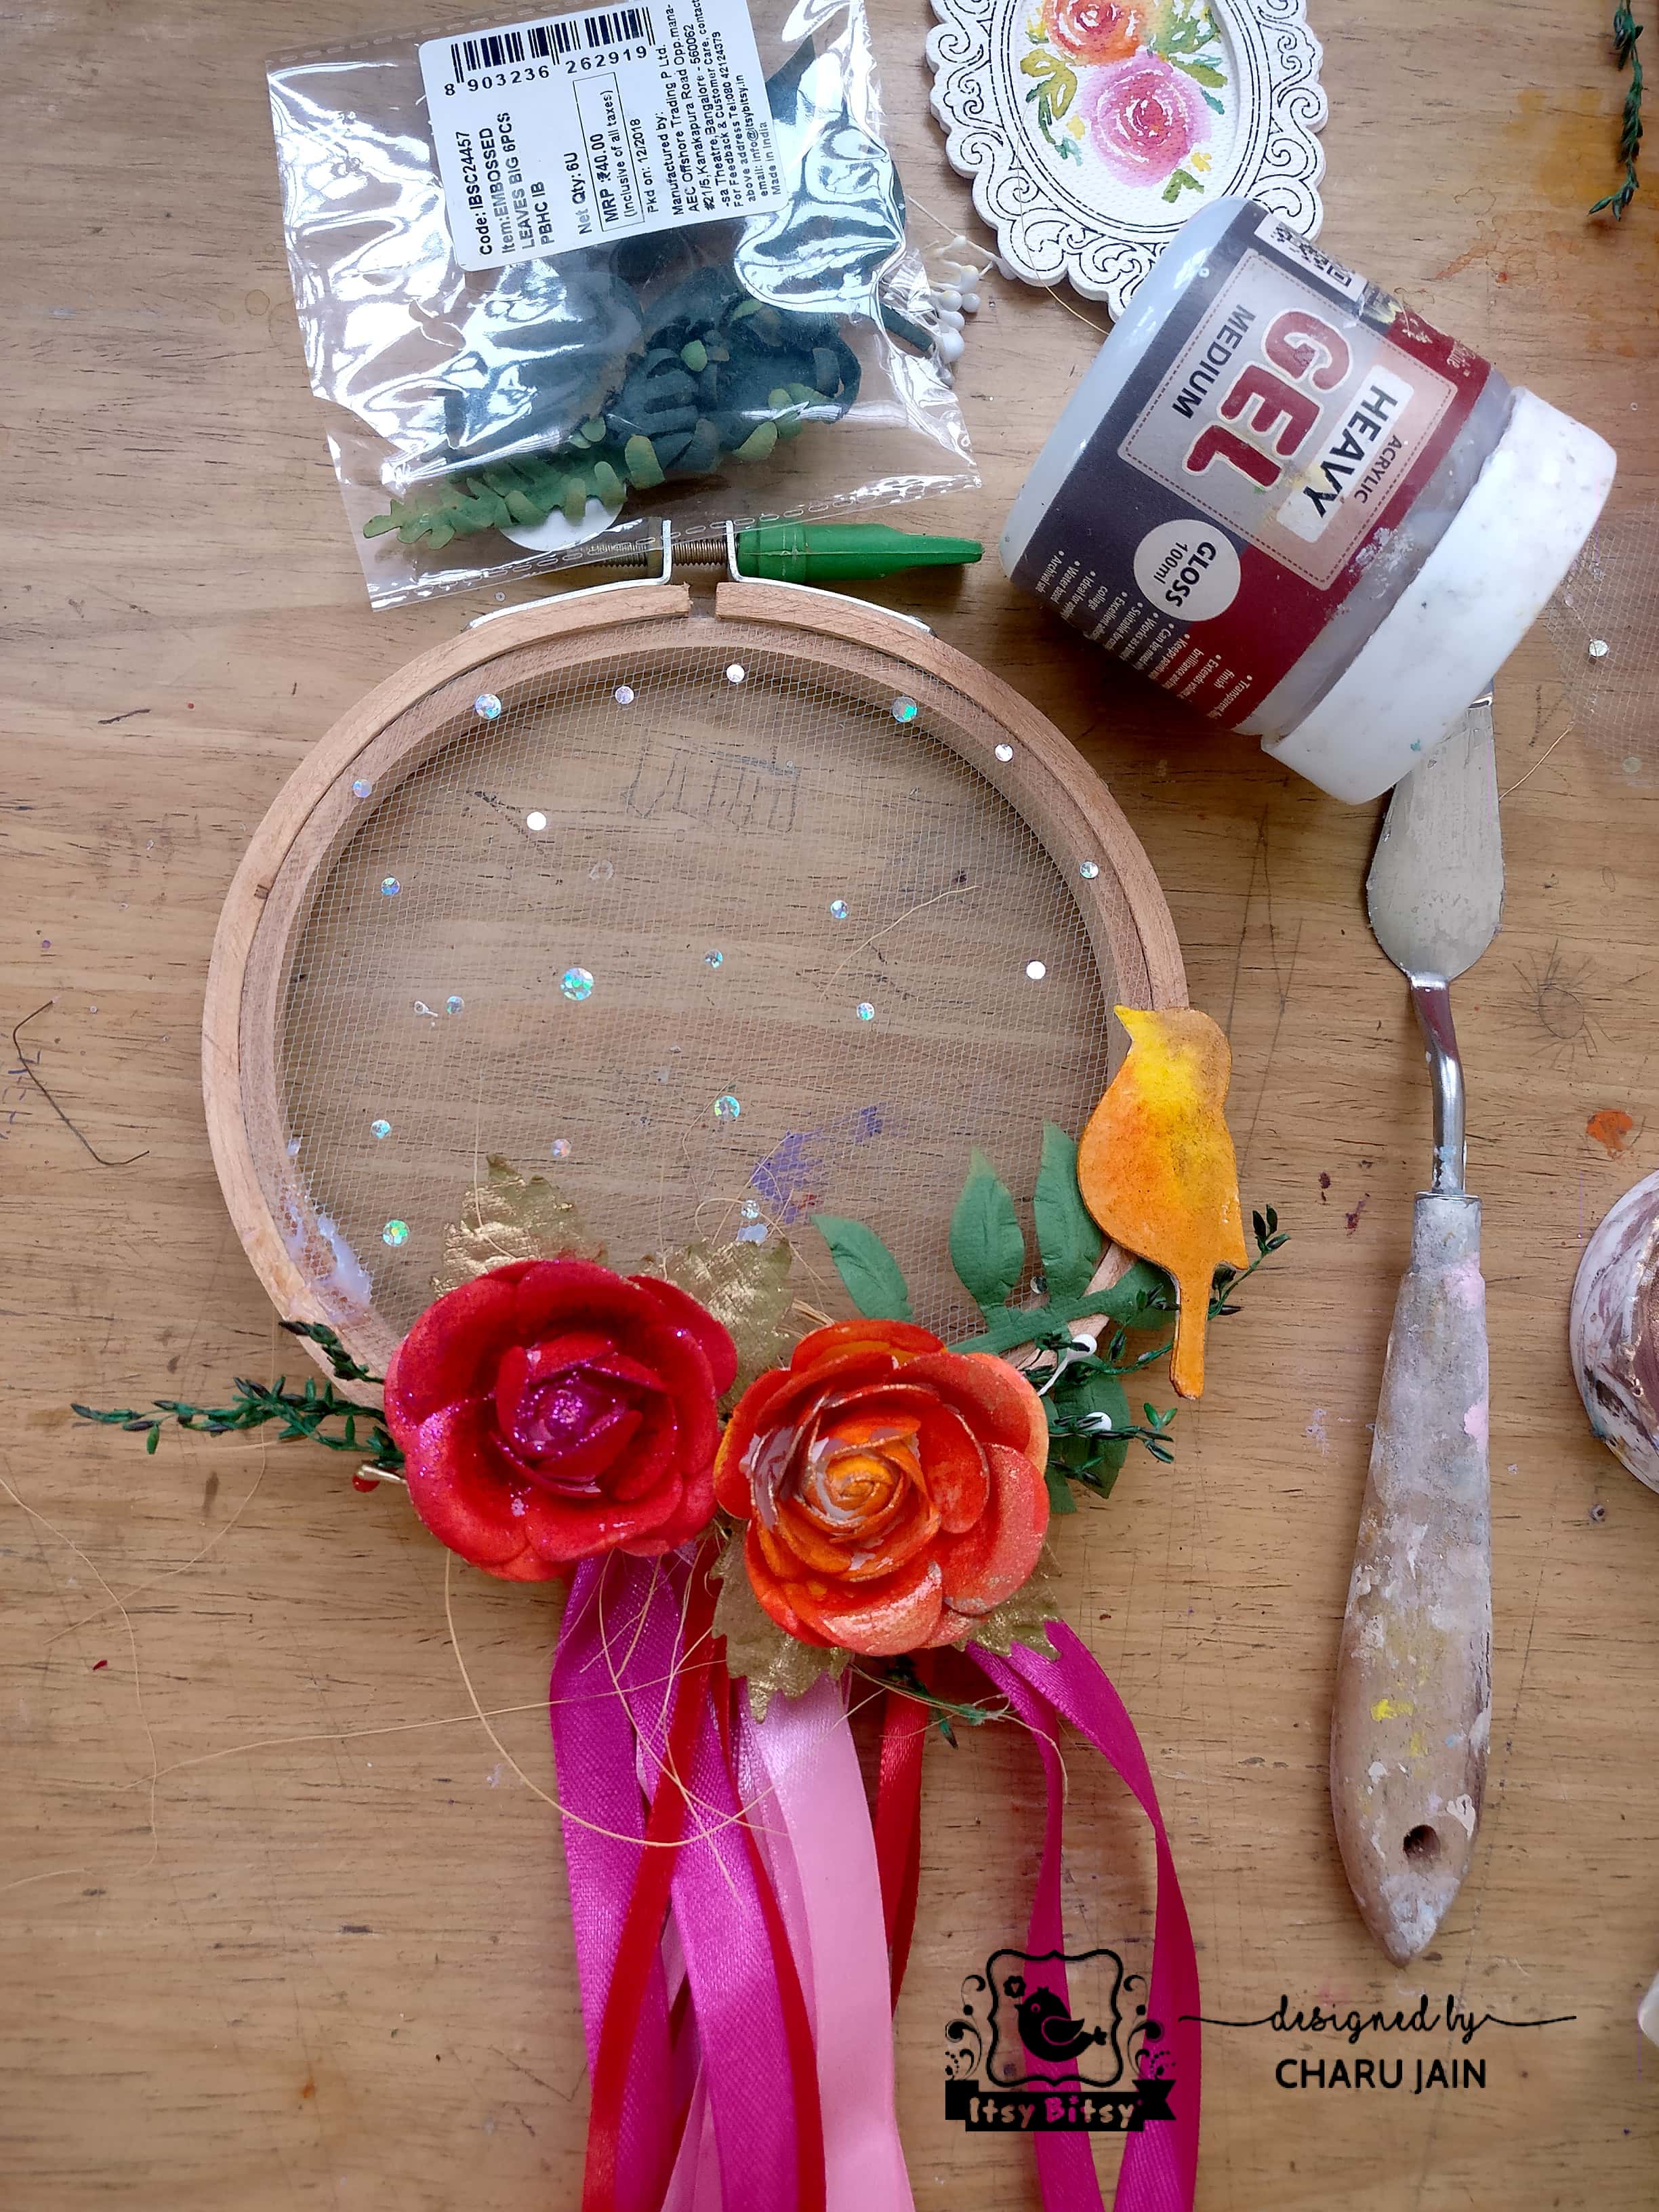
So lets create a modern Dream catcher with beautiful watercolor roses. The base for this dream catcher is stitching hoop which I got from an Itsy bitsy store .
I tied some satin ribbons around the hoop.

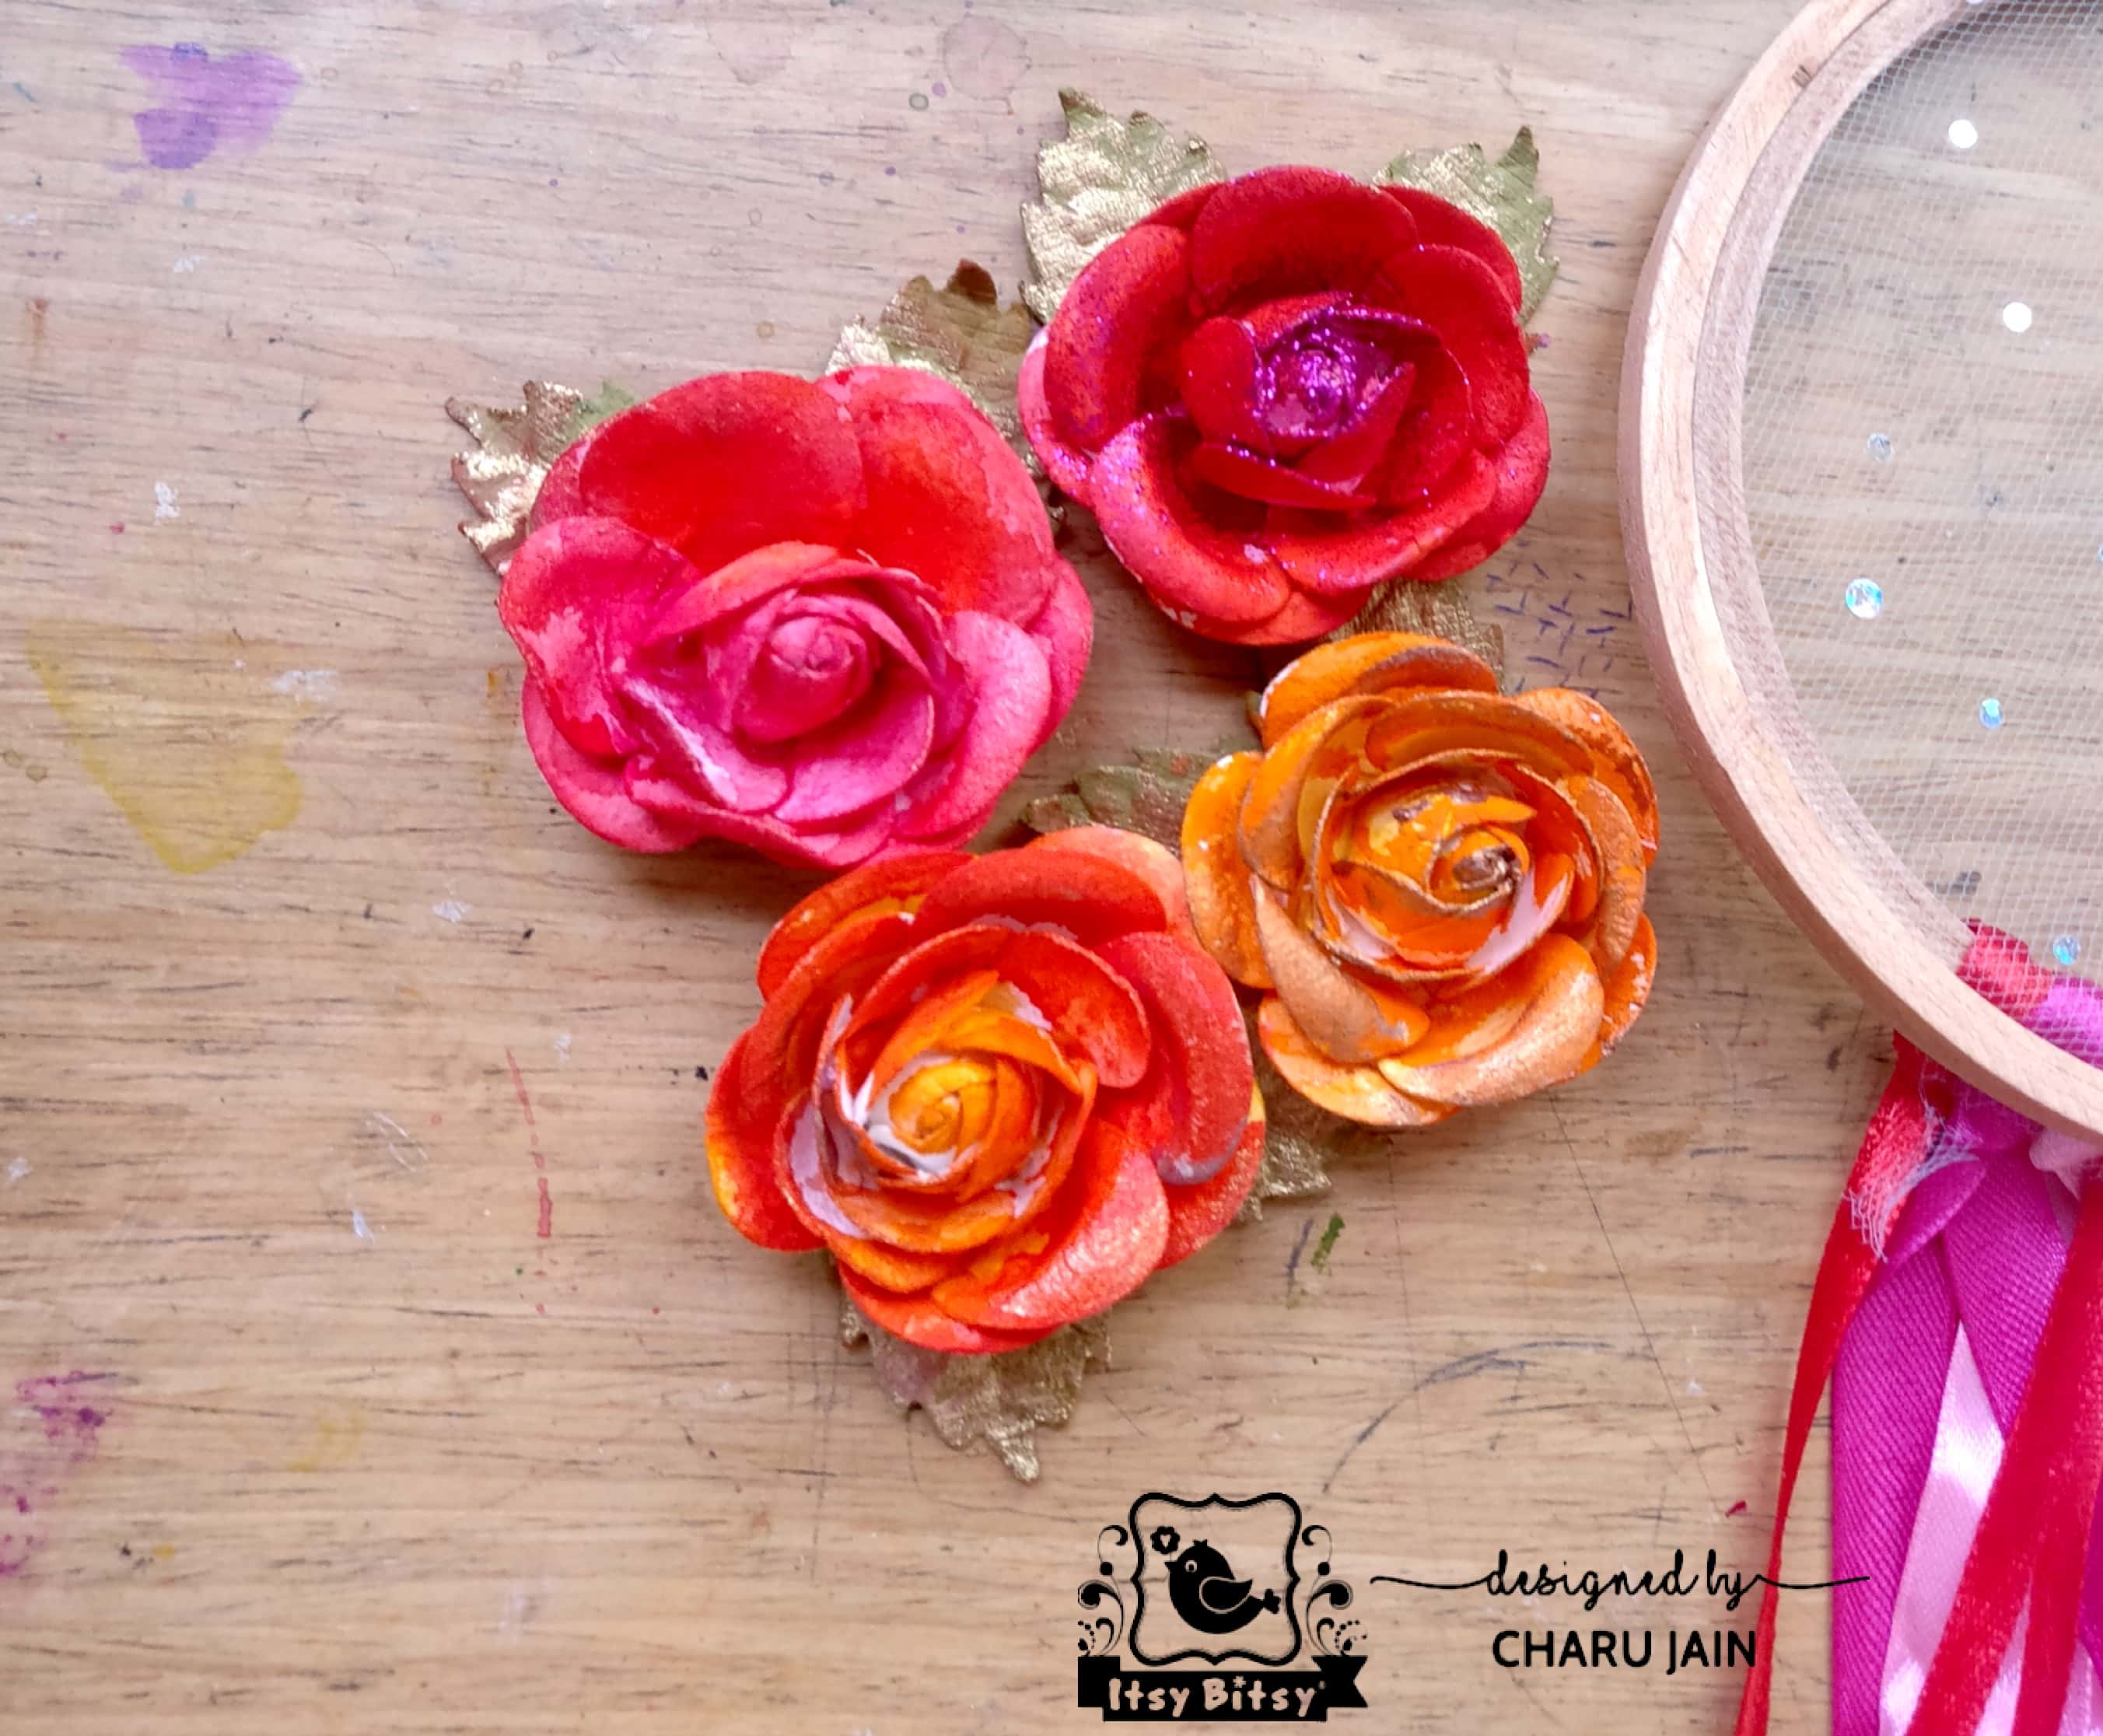
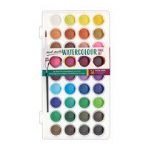
Now comes the fun part I painted the watercolor roses in vibrant red yellow, and orange shades with Mont Marte watercolour .
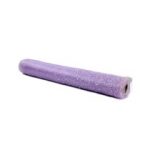
I made it more dramatic by painting the flowers with tinted metallic colors and also added some pixie dust to them.
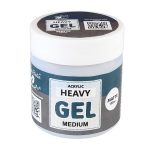
 Then I started arranging the flowers and leaves around the stitching hoop with the help of heavy gel medium.
I also painted a cute birdie to go along with this lovely flowers.
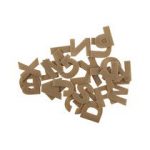
 I used some paper alphabets and decorated it with pixie dust.
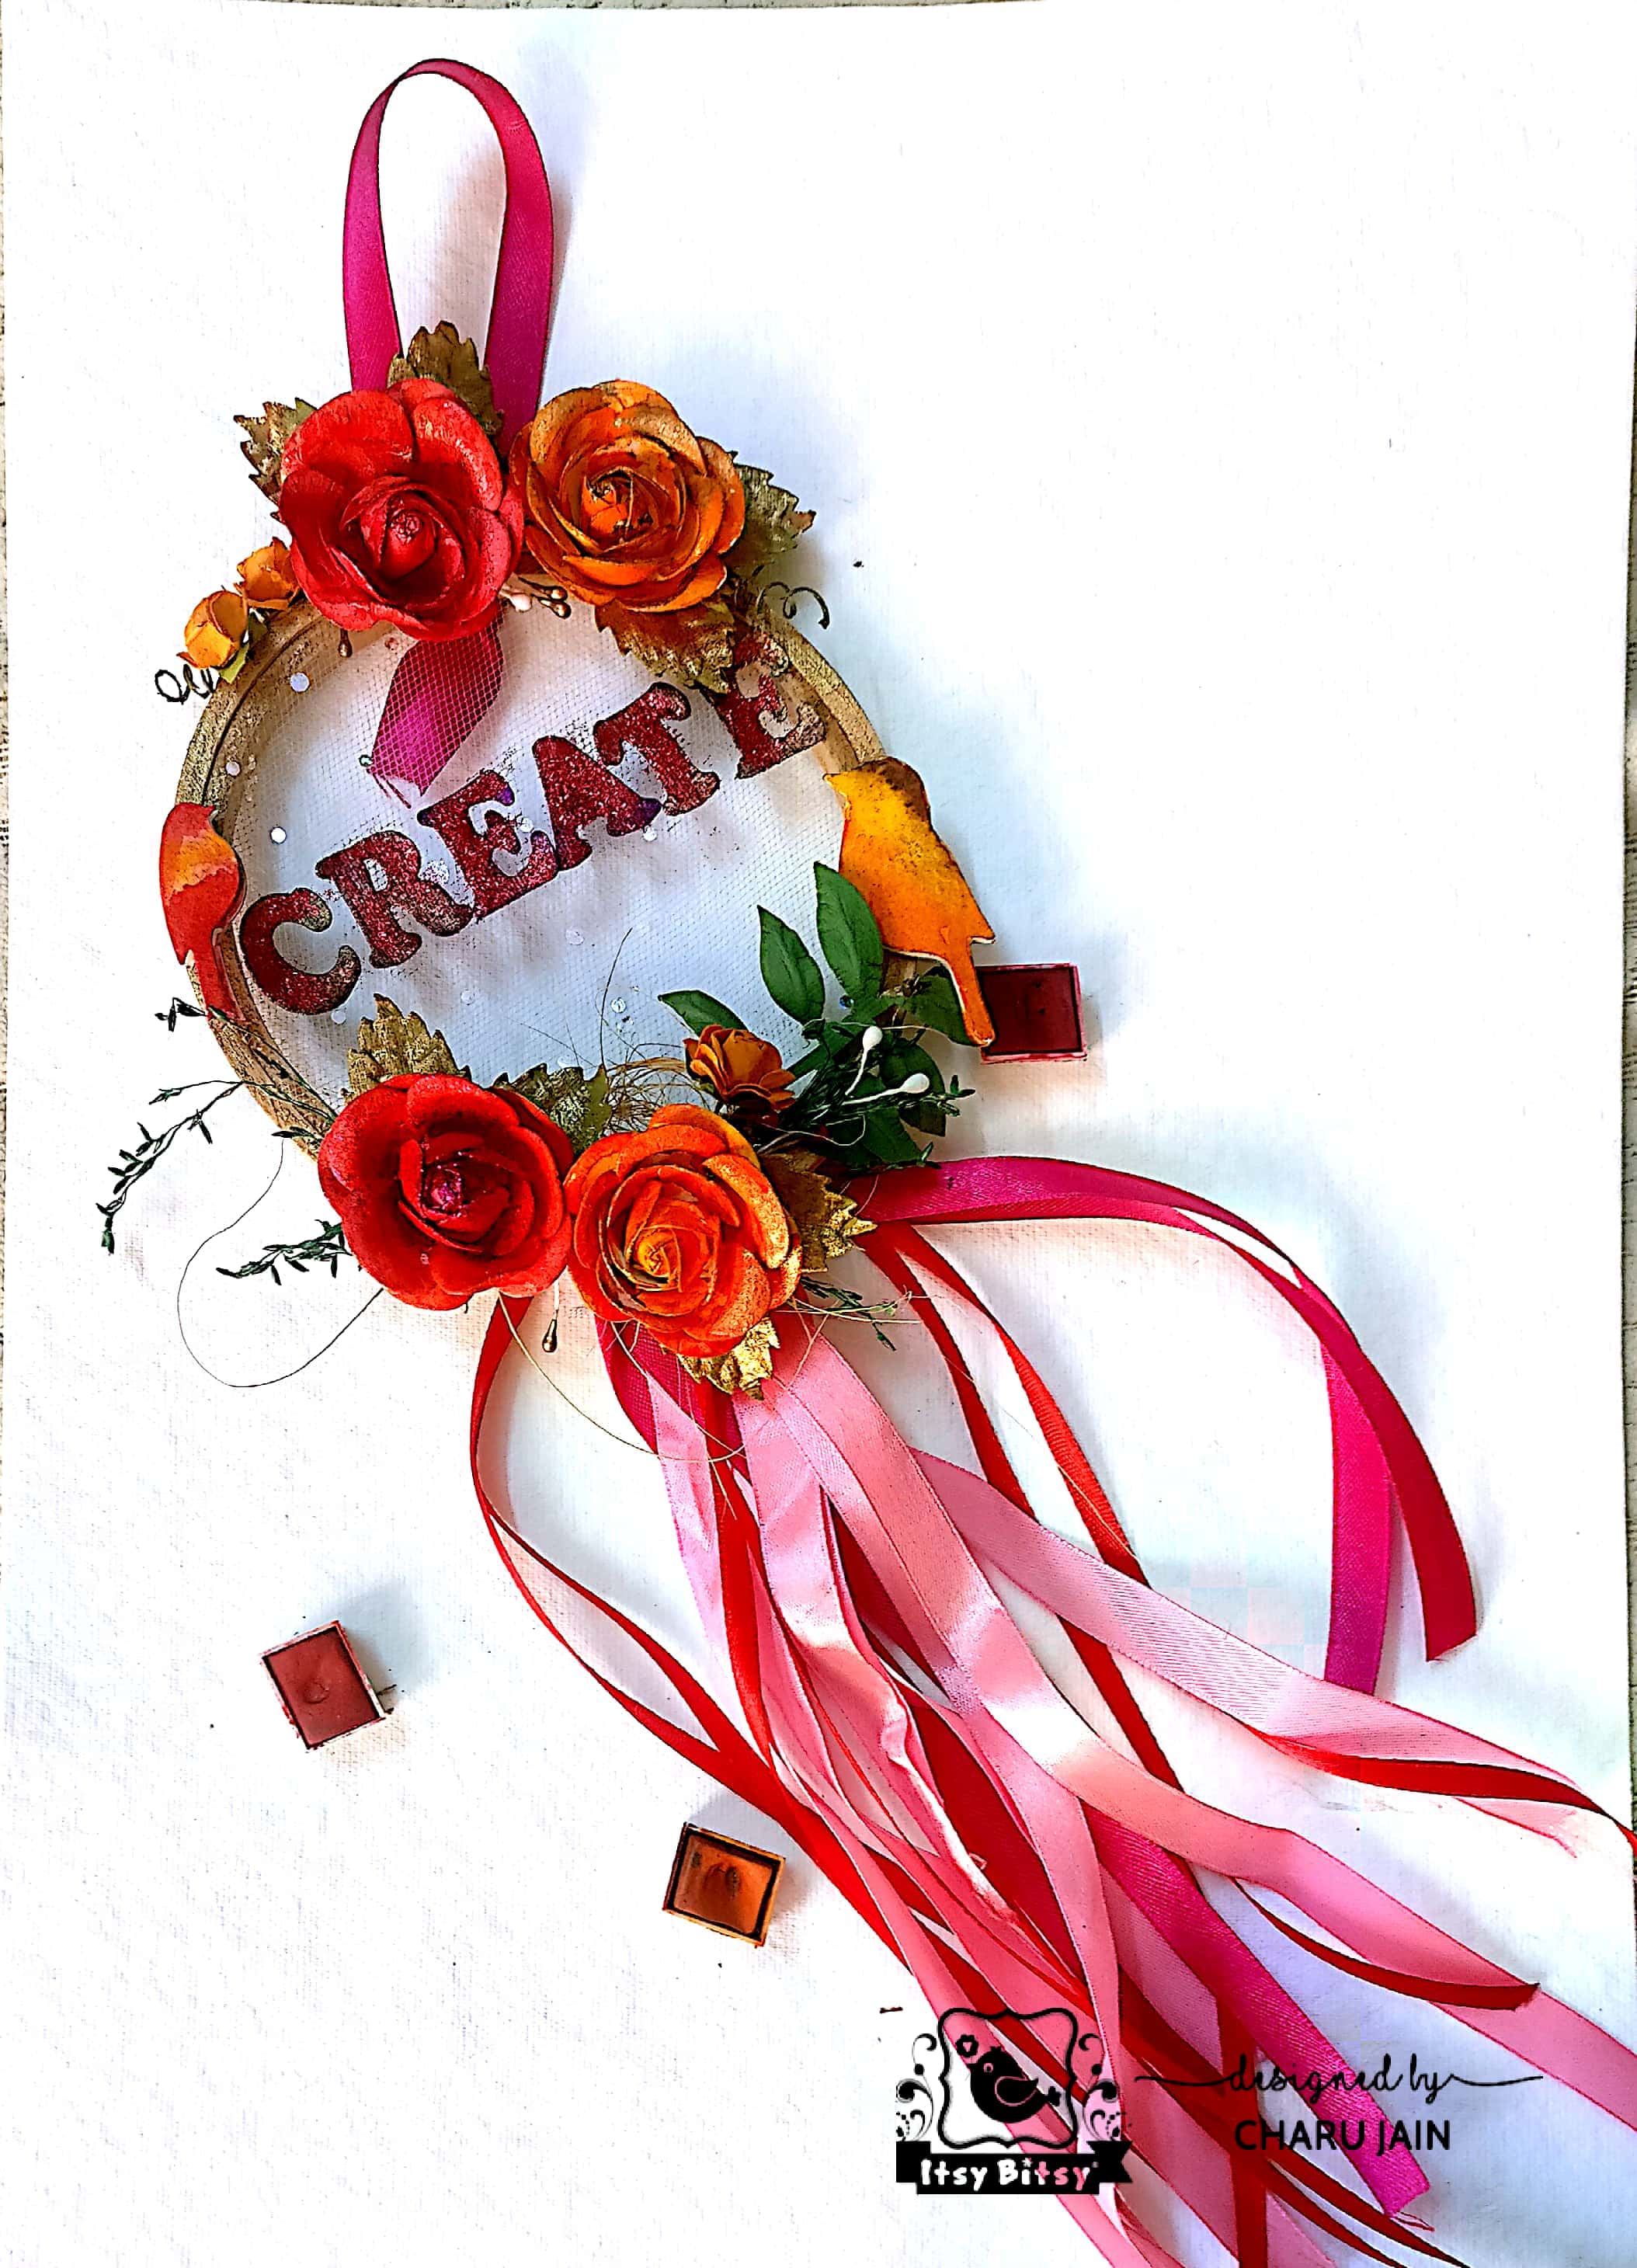
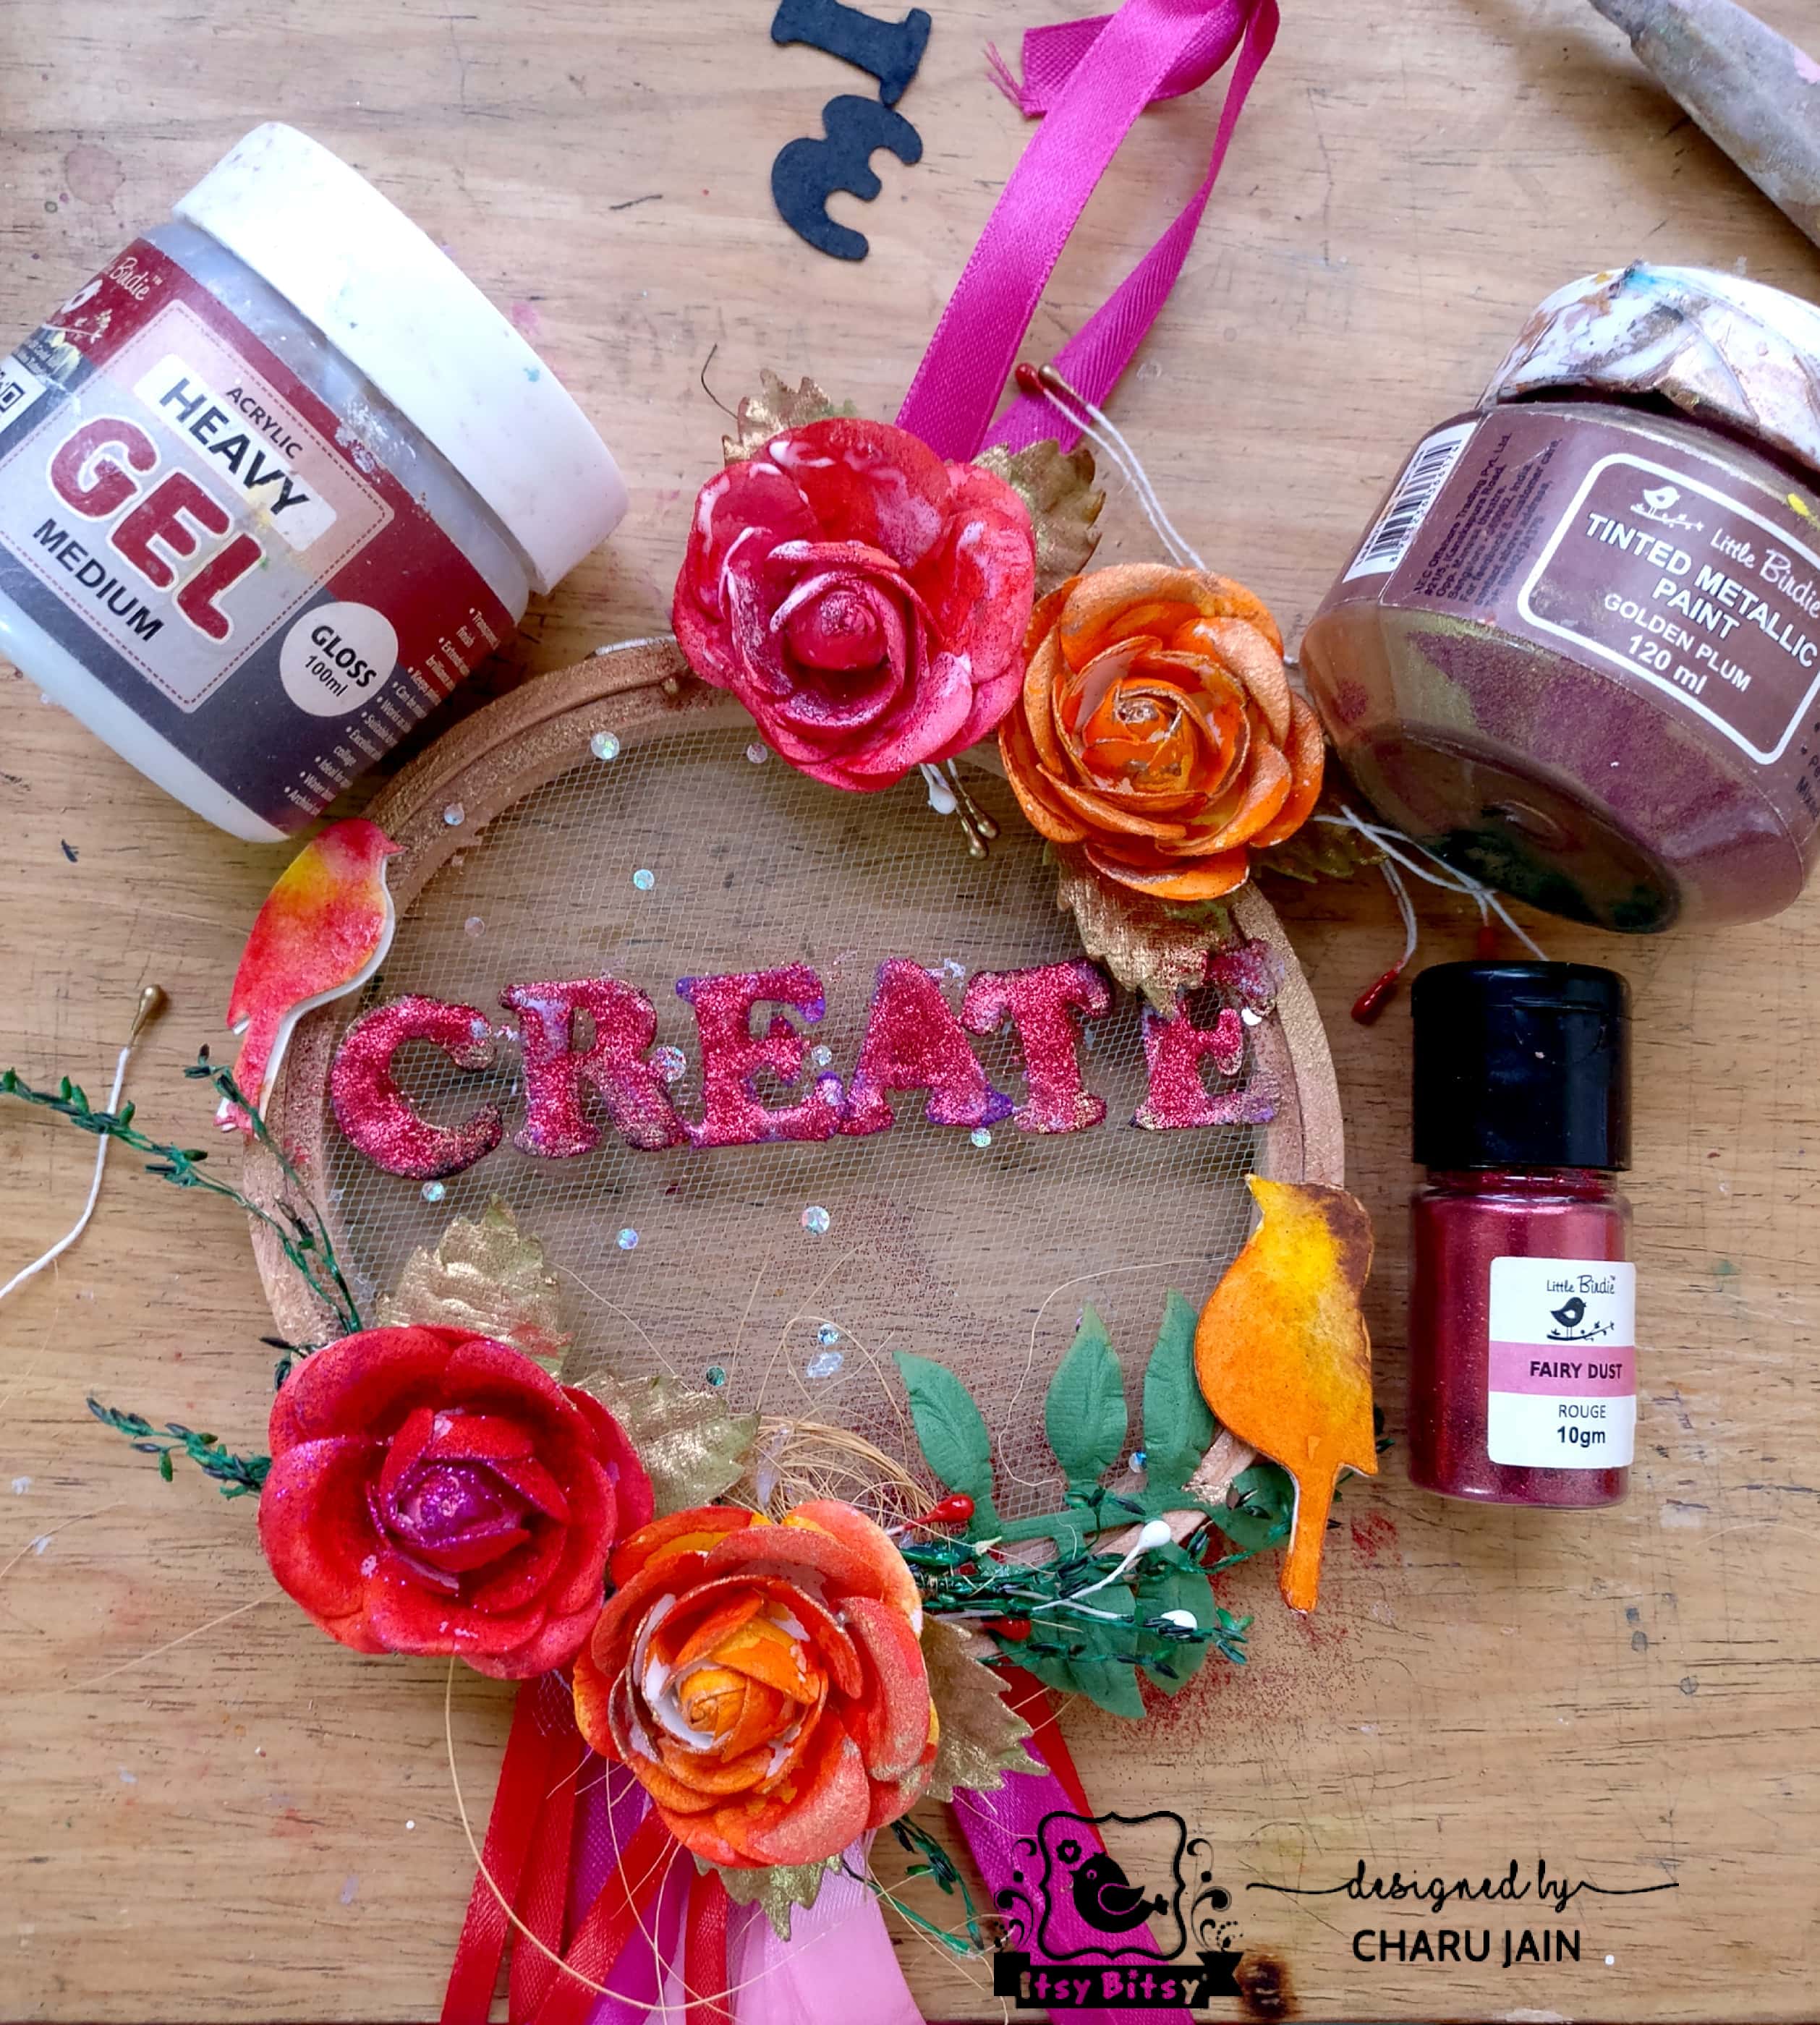 And here you go your beautiful Dream catcher is ready to flaunt!
 Let’s create one more project! Isn’t it fun to create some home made decor which is useful also for holding some of your mails or cards or important papers.
So here we go. Now I am making an altered hoop mail home decor with watercolor embellishments.
In the first step I painted the hoop with my favorite chalk paint.
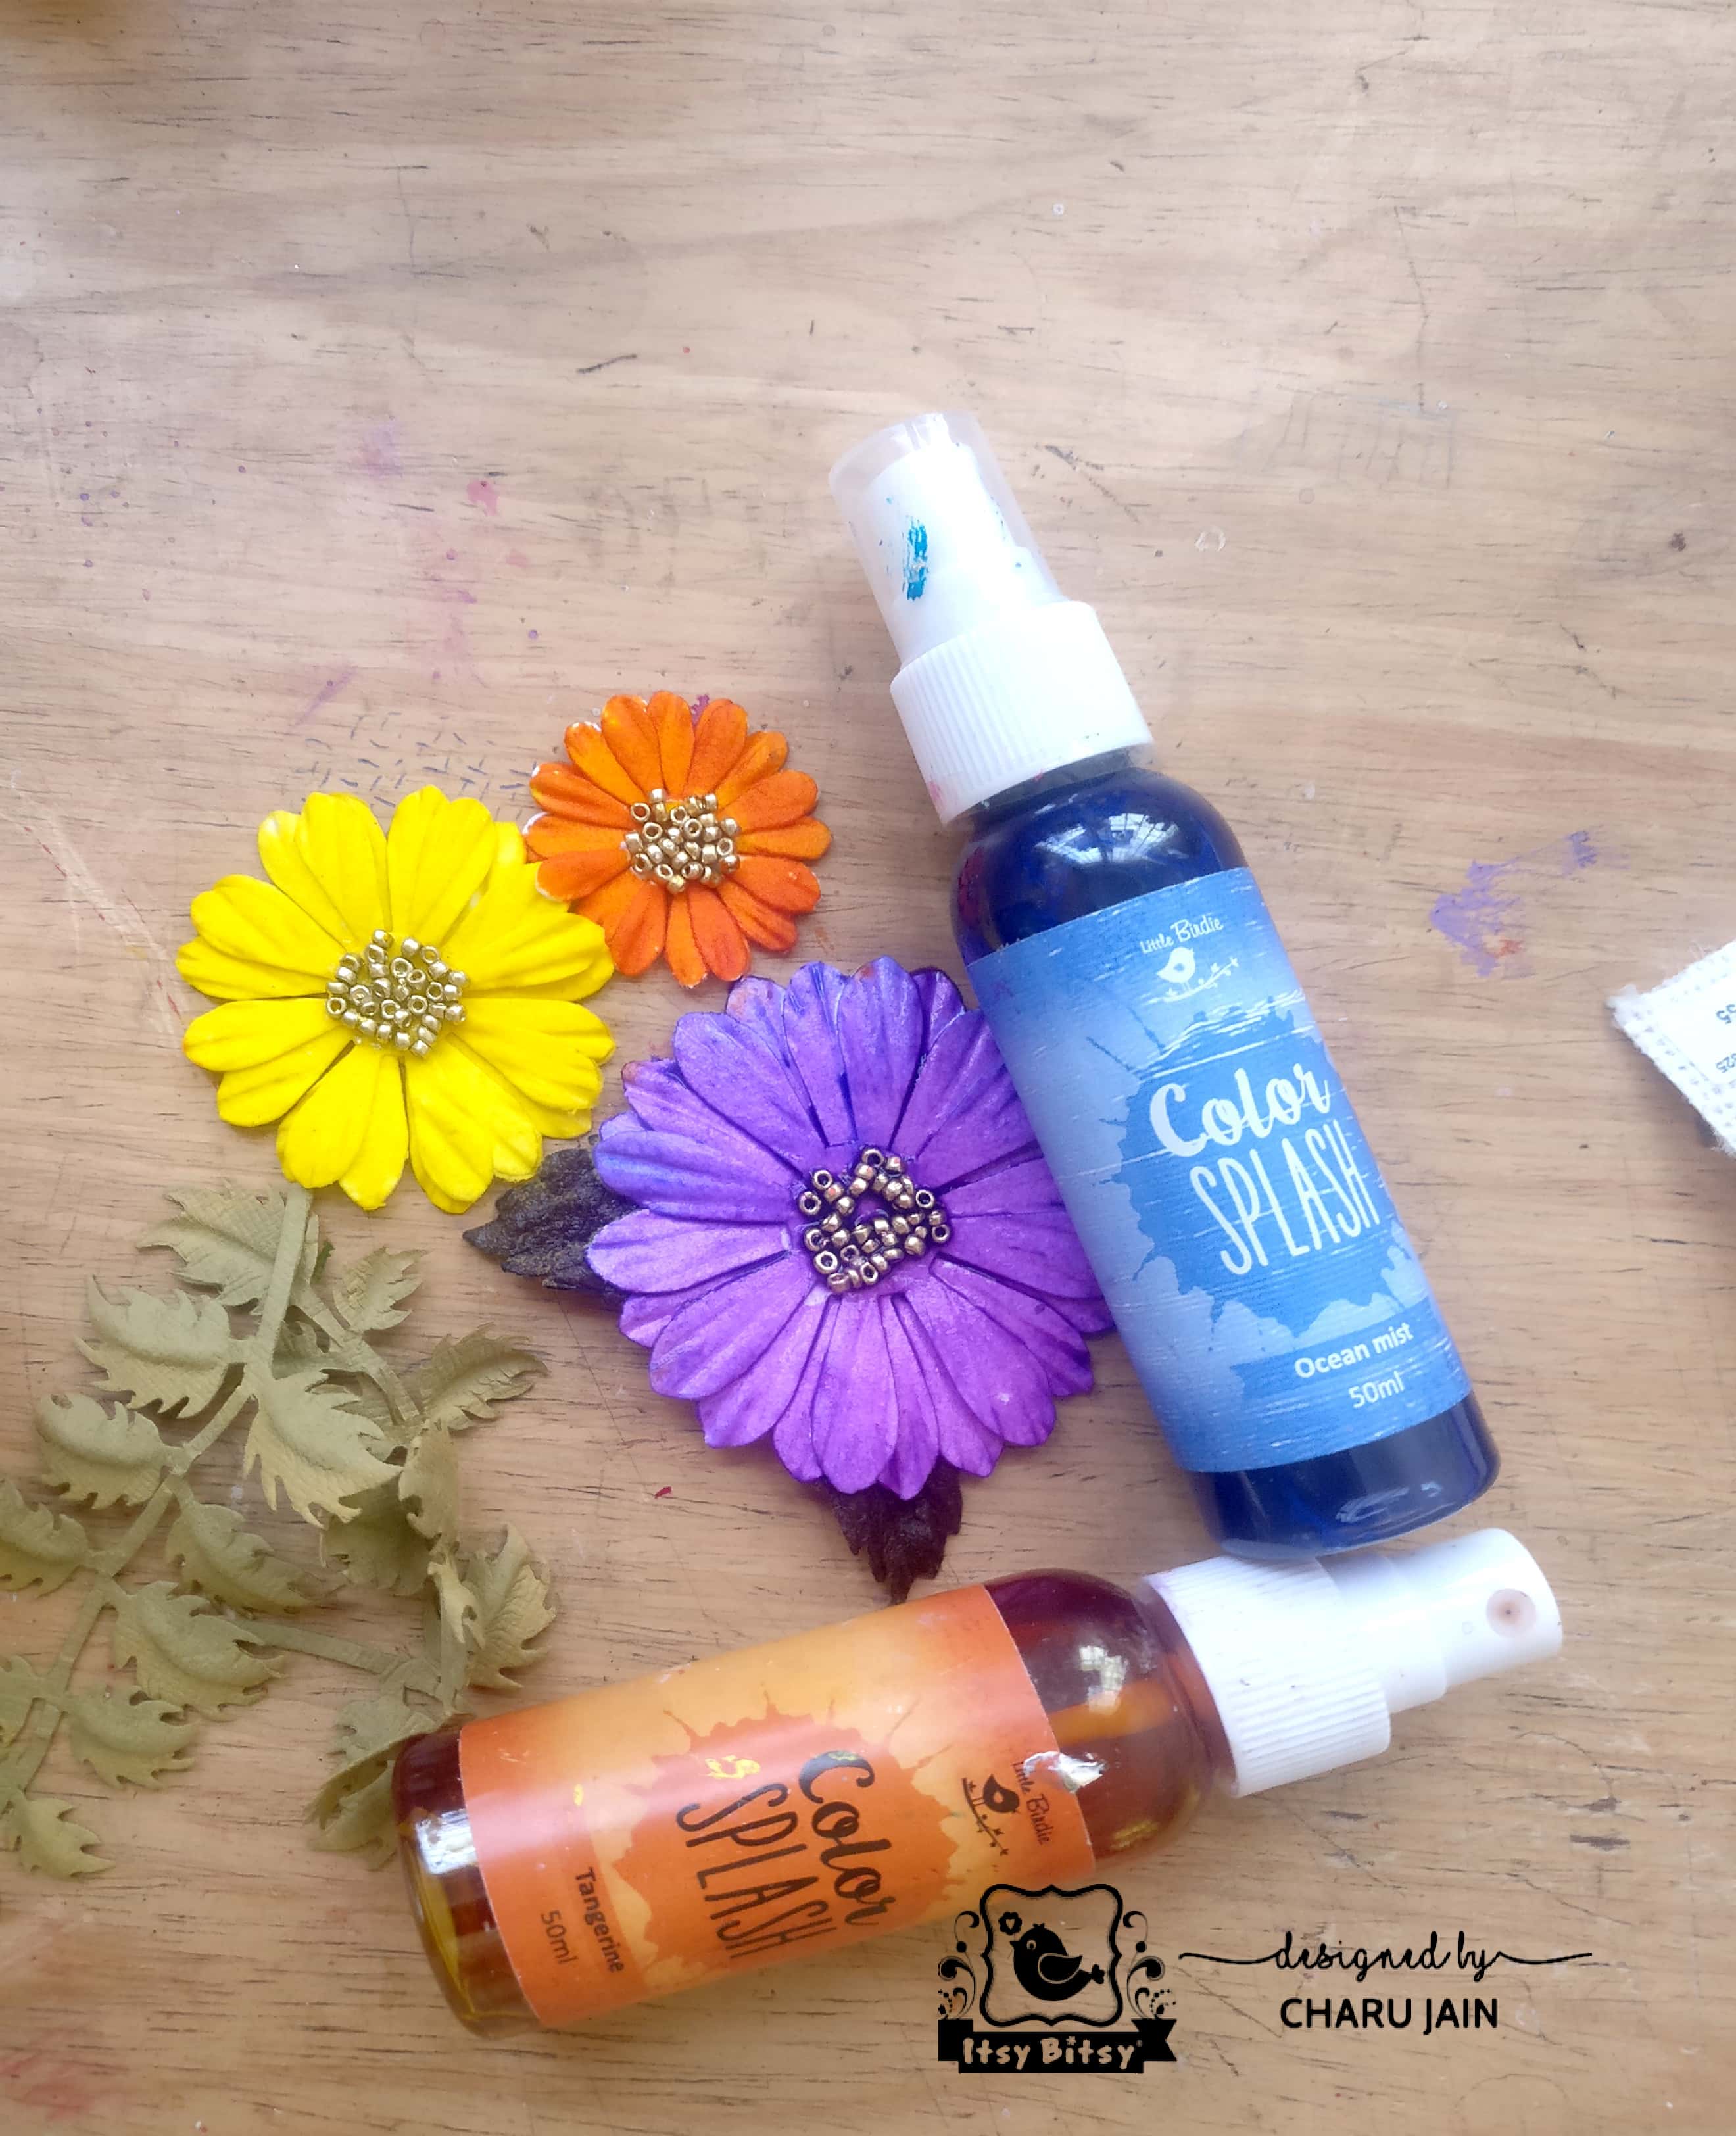
 Now I am going to use alcohol splashes to color this watercolor flowers this time.
I applied some water to my flowers first and then spread it with some bright alcohol splashes.
 Now lets prepare the base for our hoop with burlap cloth. I drew the size of burlap I want to stick on the ring.
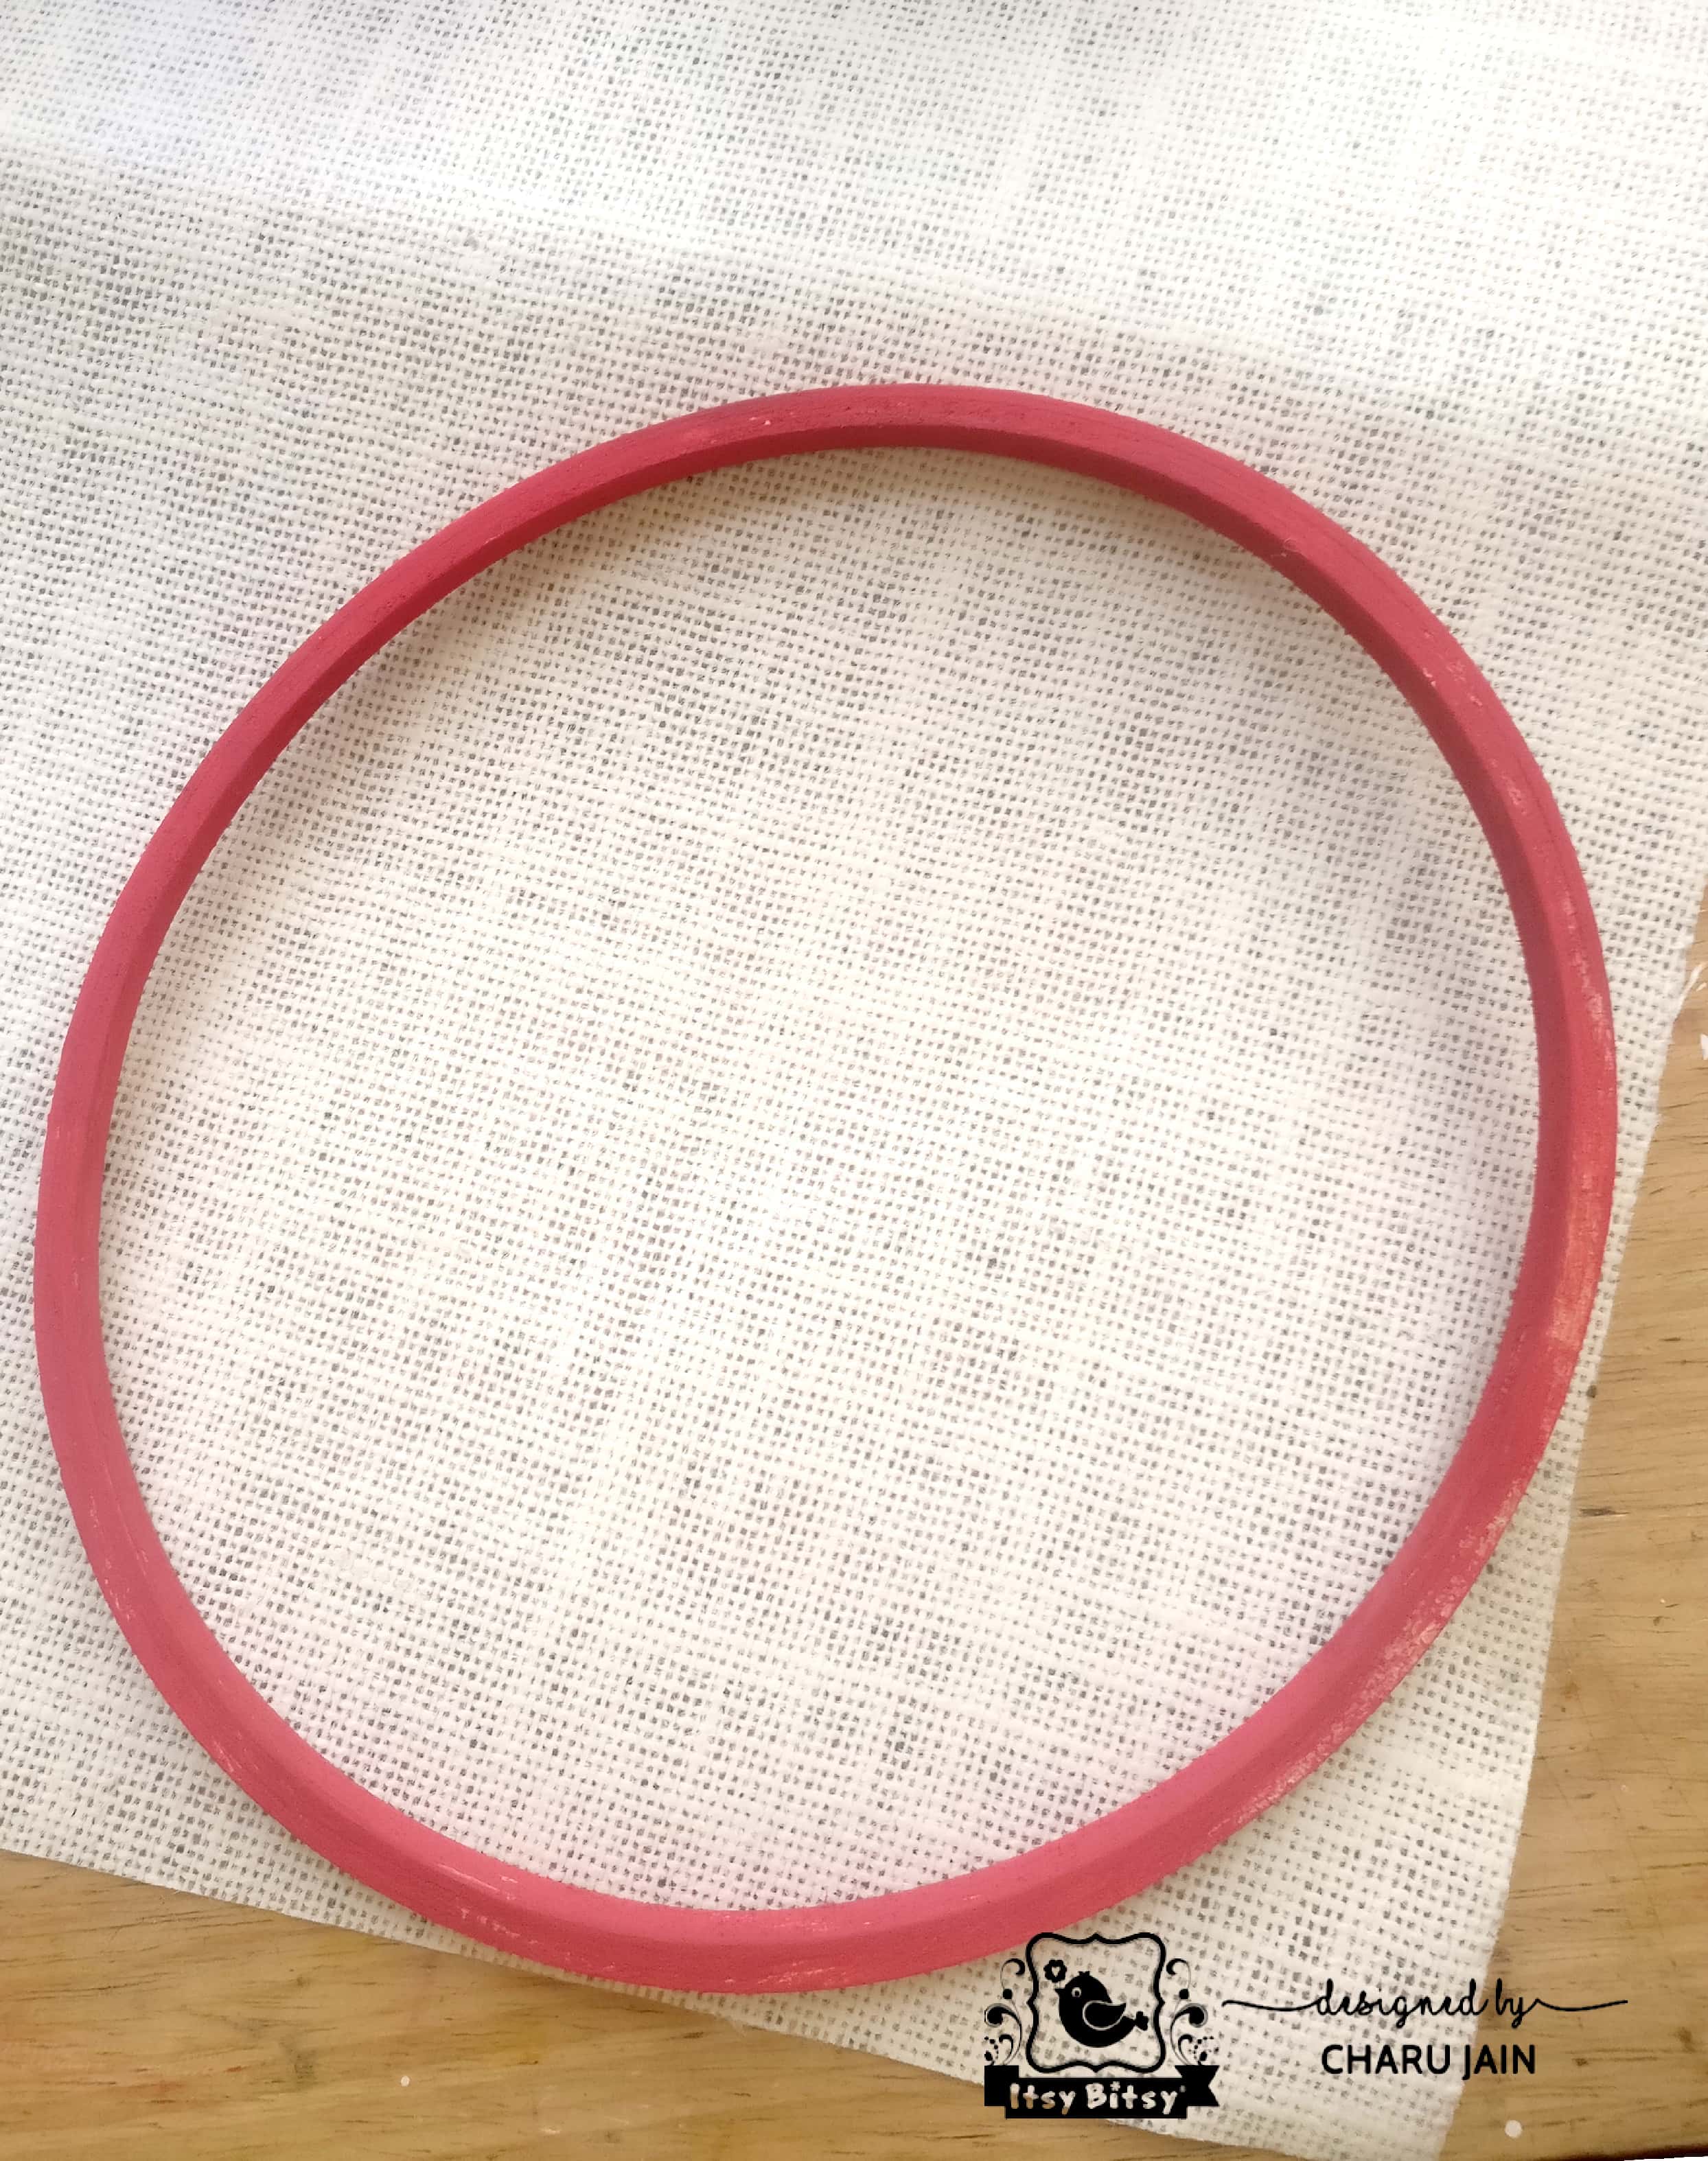 To create the pocket of the mail I cut the burlap in half like this.
So it will look something like this. I stuck the burlap to the hoop with heavy gel medium.

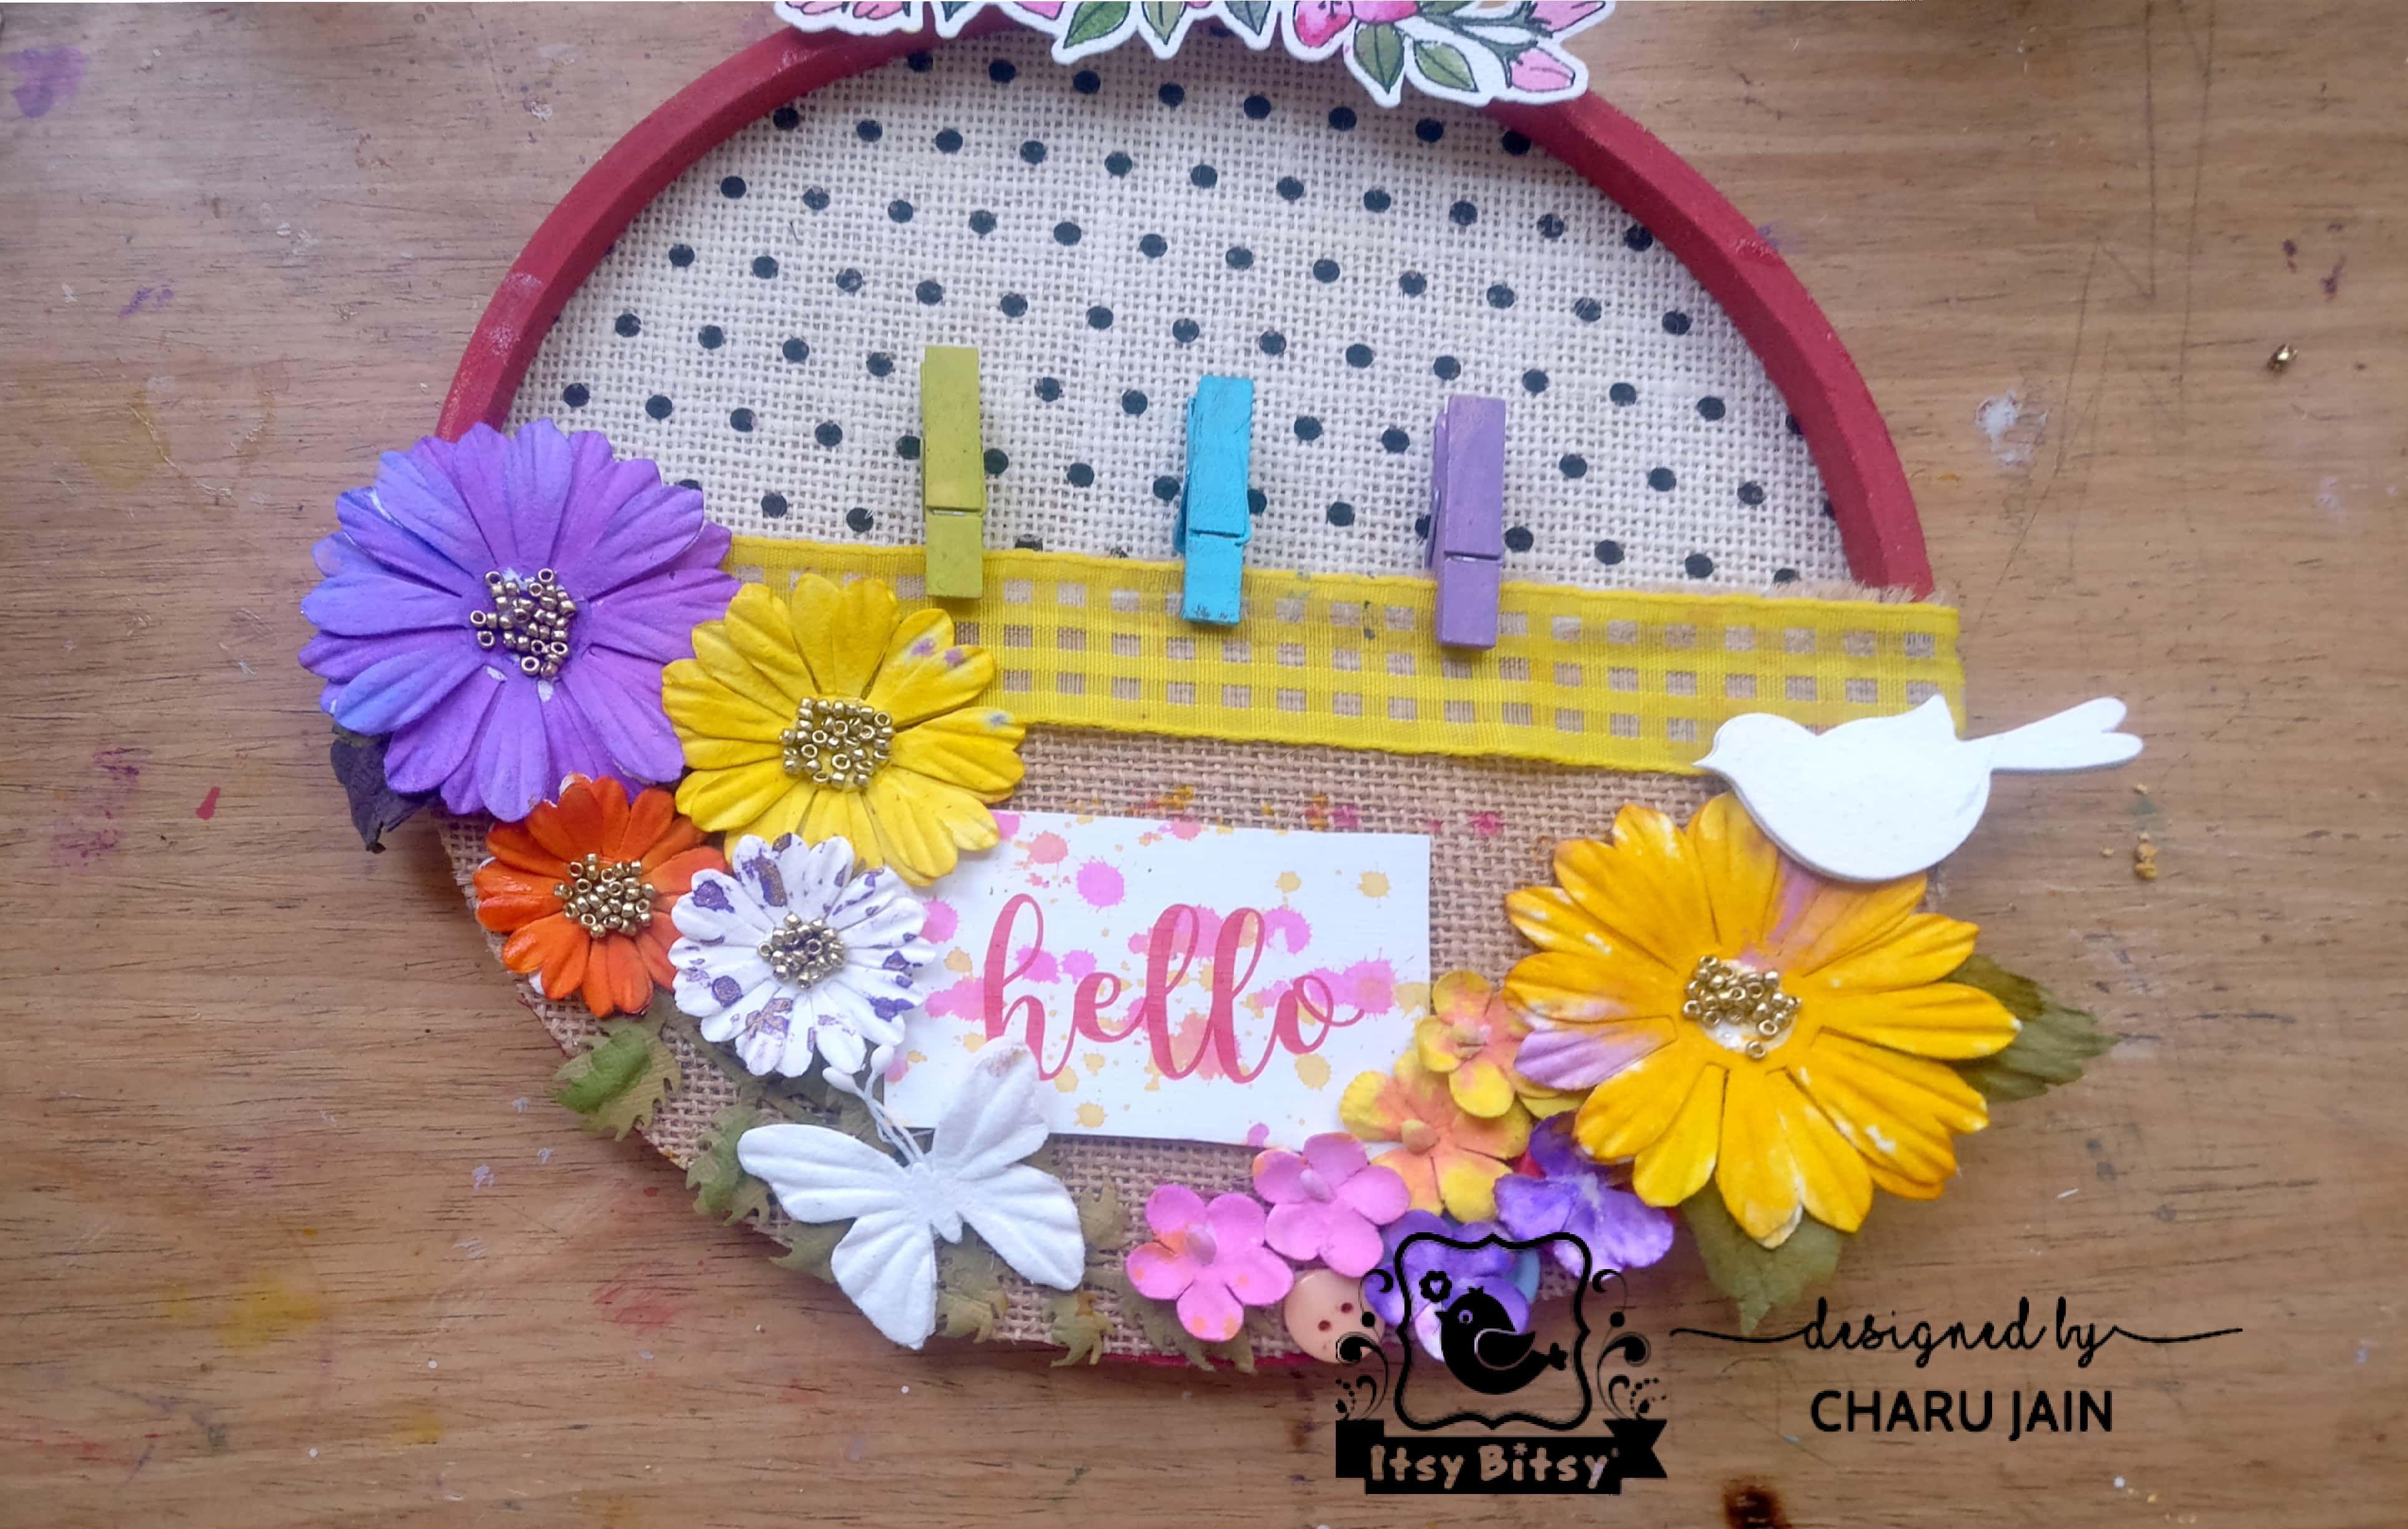
At the back of the hoop I stuck a magnet so that I could stick it on my fridge too.
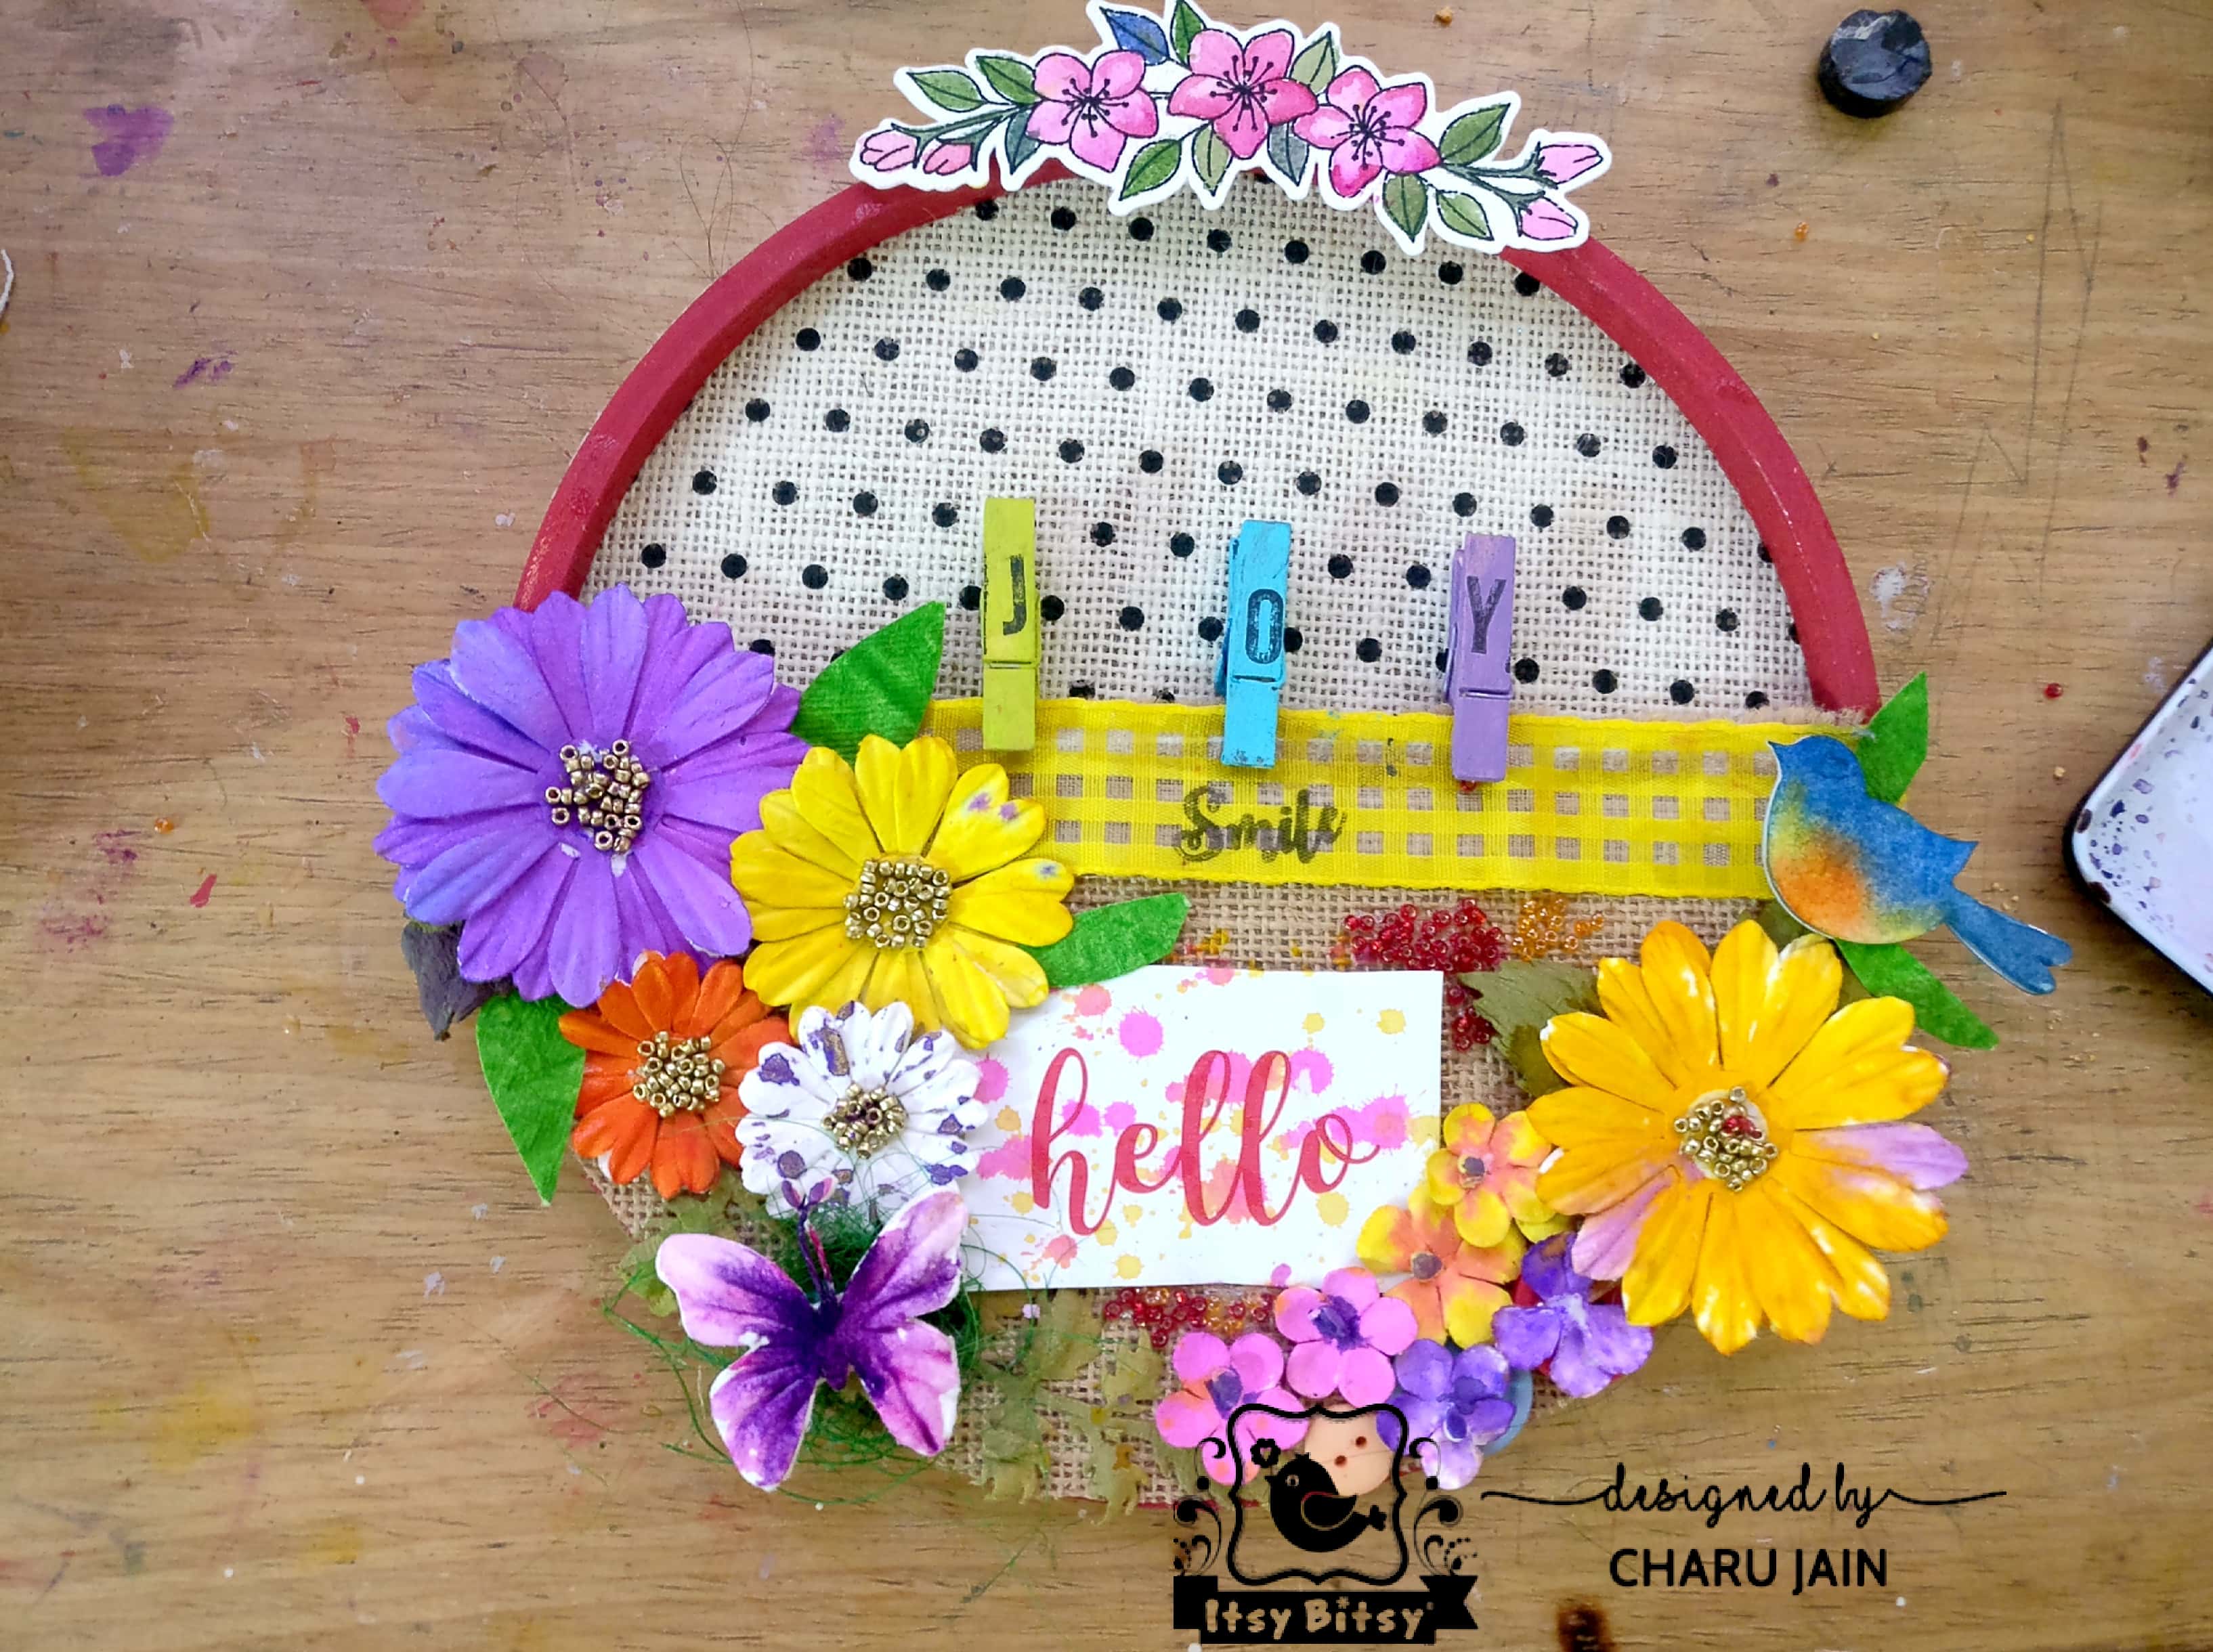
Now it is all ready to hold my favorite flowers and stickers in my art room.
You can also stick some personal note to this or picture of your loved ones too.
I hope You liked both the projects.
I also hope that I inspired you to create some of your own cute DIY home decor or cards for our ongoing watercolor embellishments blog challenge.
Cant wait to see your lovely projects
All the best
God bless you all
Love and cheers!
Charu
Lovely well explained tutorial Charu