Hello Creatives!!
Kasturi here your fellow artist, and Design team member.
First of all a happy New Year to all of you. Let 2021 become a year of health, hope and healing. As you all are aware this month’s Blog Challenge is all about Decoupage.
Decoupage is a very interesting technique and it is no more limited to only gluing the paper or napkin on to a wooden box. Take any object of your choice and you can transform that dull and old thing into a completely new and attractive object with the help of decoupage. Today we are going to create something with an old diary. We all have diaries with us and the cover is generally so boring that even if their are empty pages we don’t use it anymore. So let’s transform it to a brand new diary for 2021.
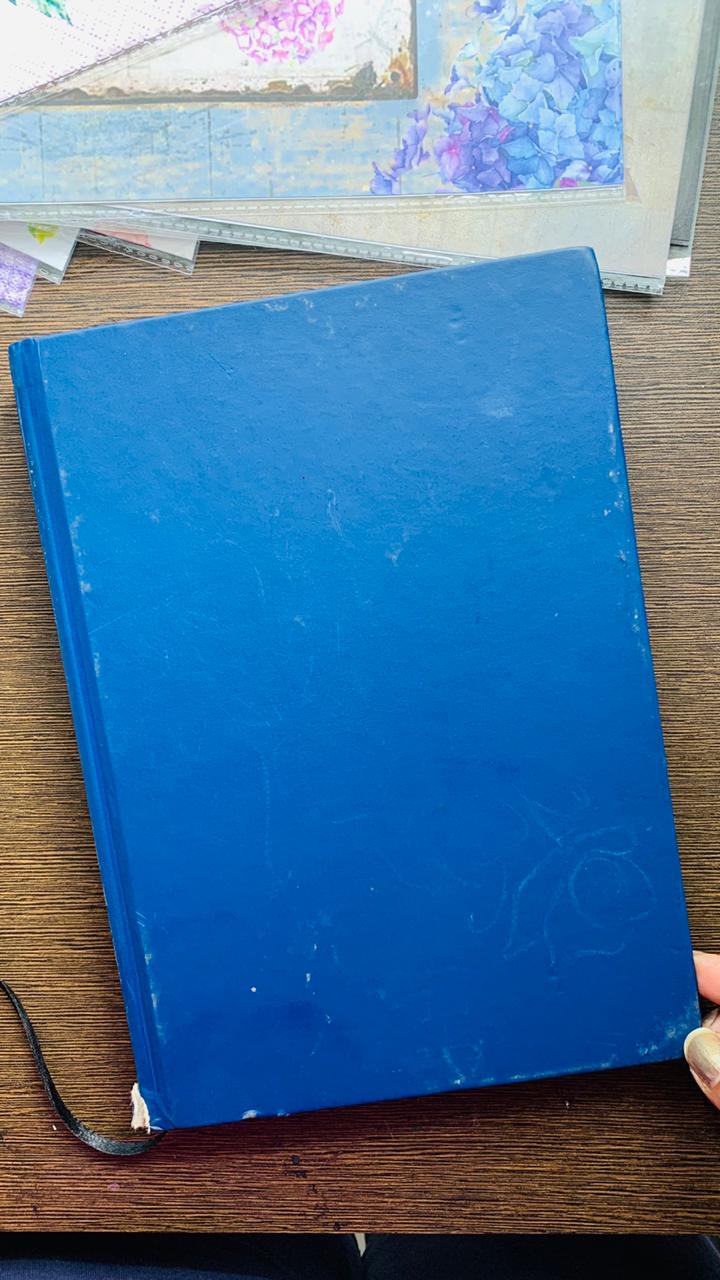
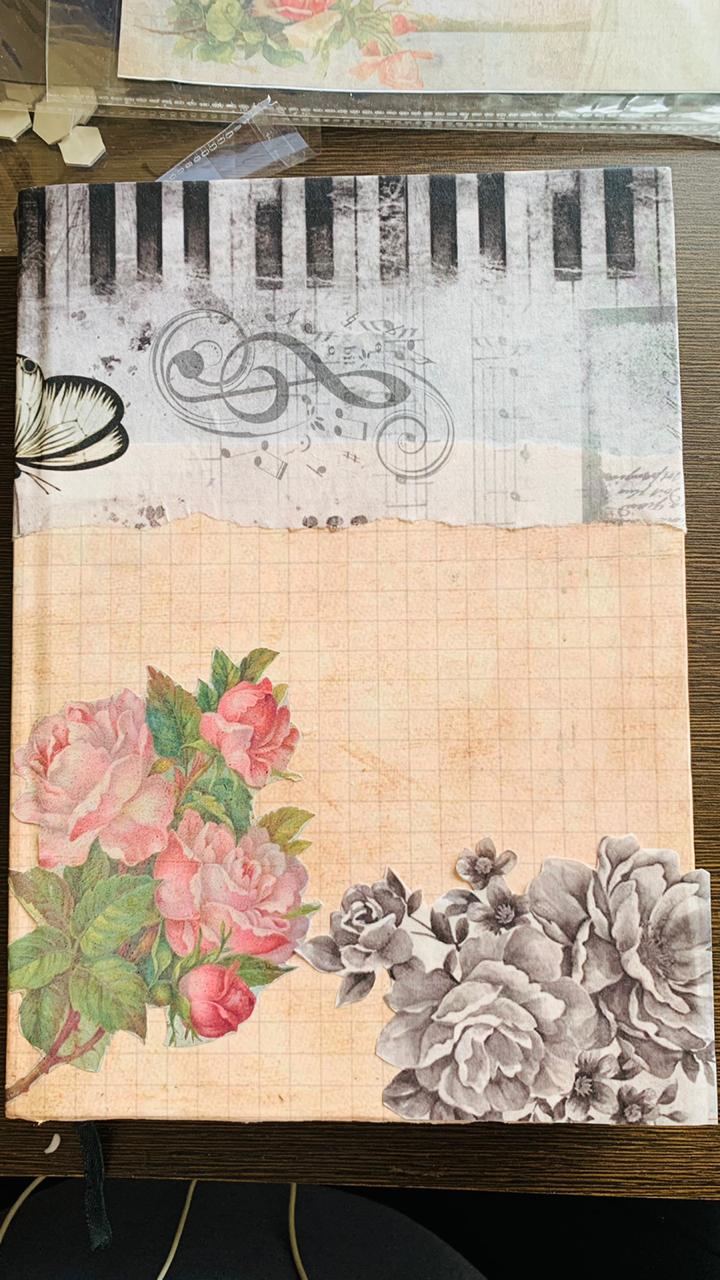
This is my old diary and it was with me since 2013 🙂 yes, that long!
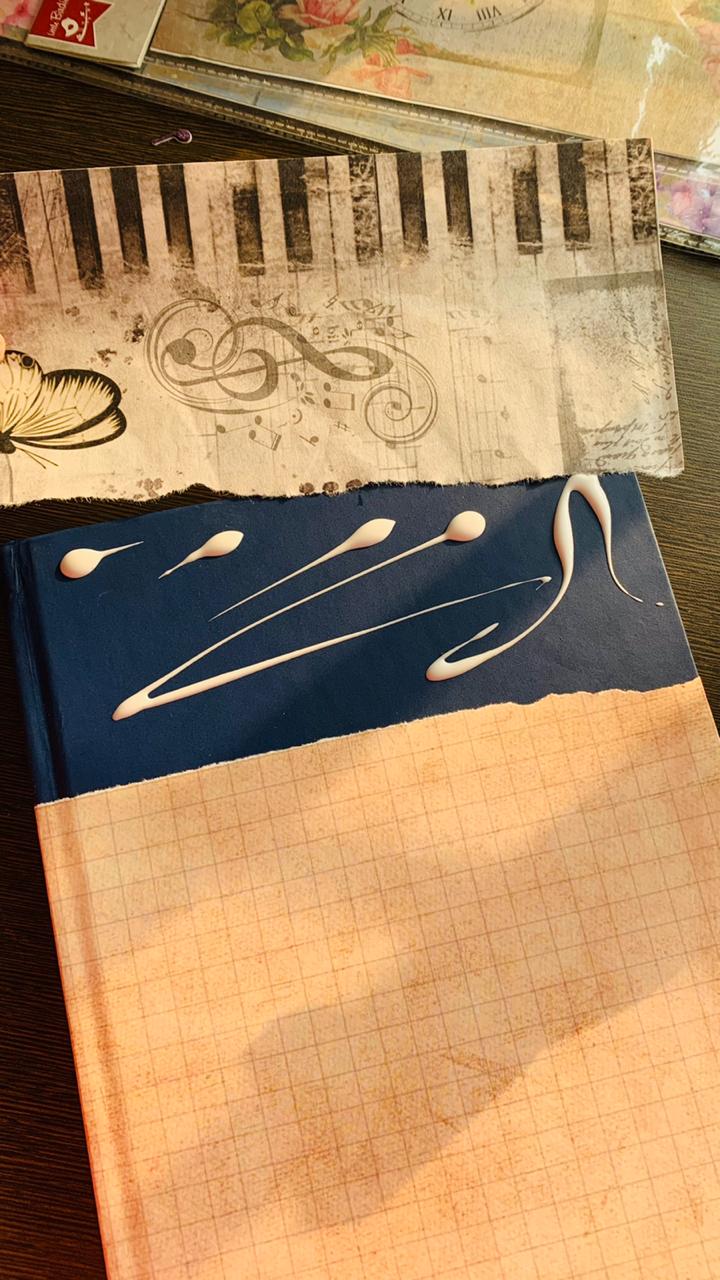
Let’s start with gluing basic decoupage paper on diary with the help of Little Birdie Deco Magic decoupage glue.
STEP 1 – Apply the decoupage glue with a flat brush on the diary cover and then place the paper gently. Make sure there are no air bubbles.
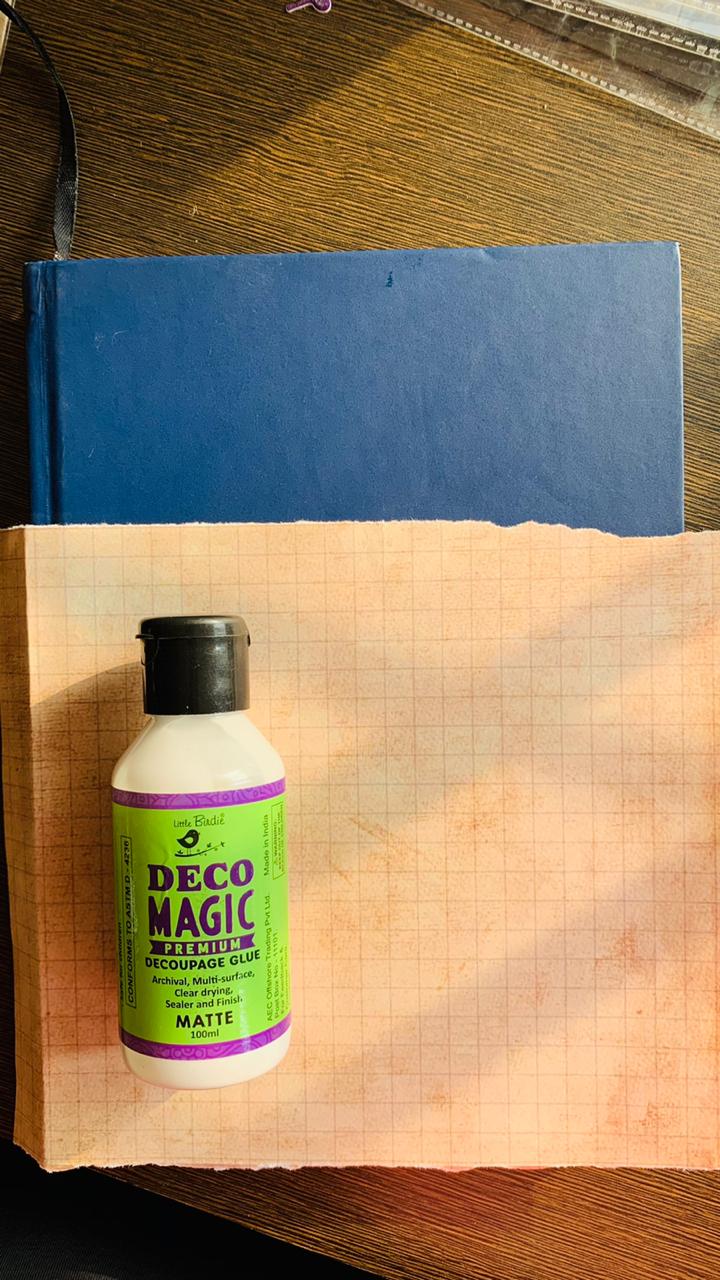
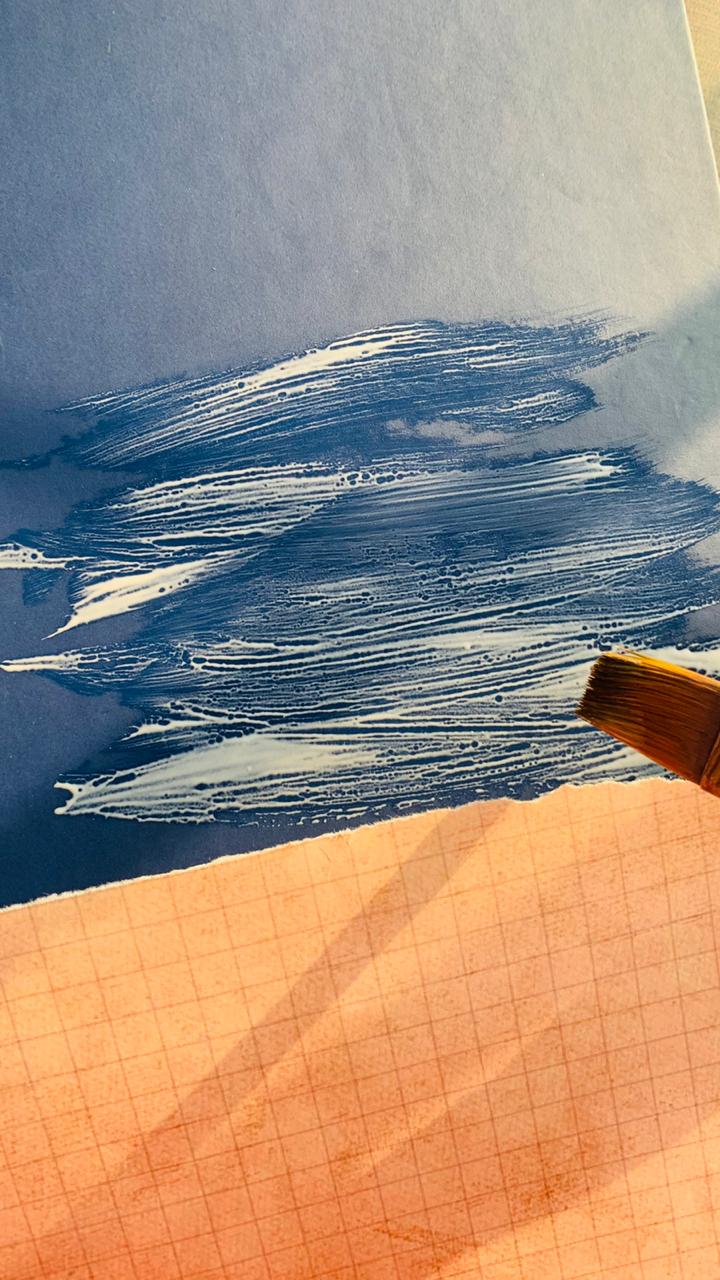
I did a combination of two decoupage papers, just tear the page in the middle and stick to the diary as shown.
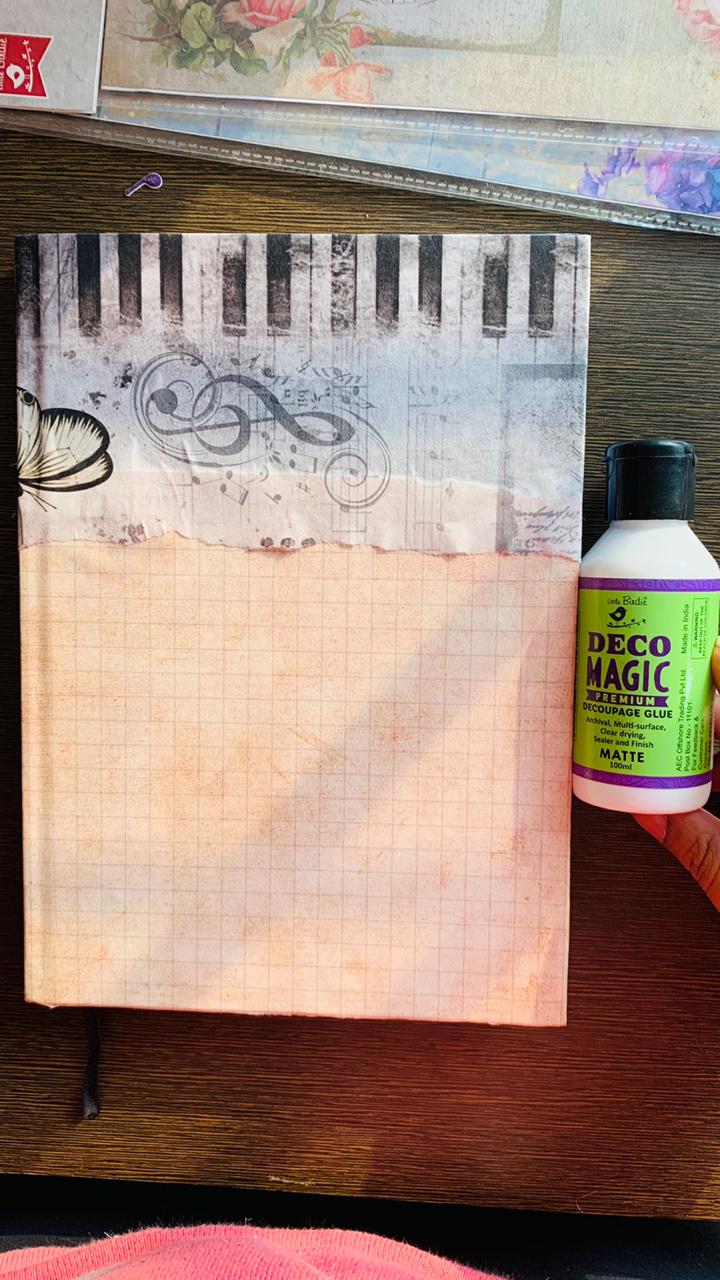
It should look like this. And then apply a layer of decoupage glue on the paper again so that it looks flat and is sealed.
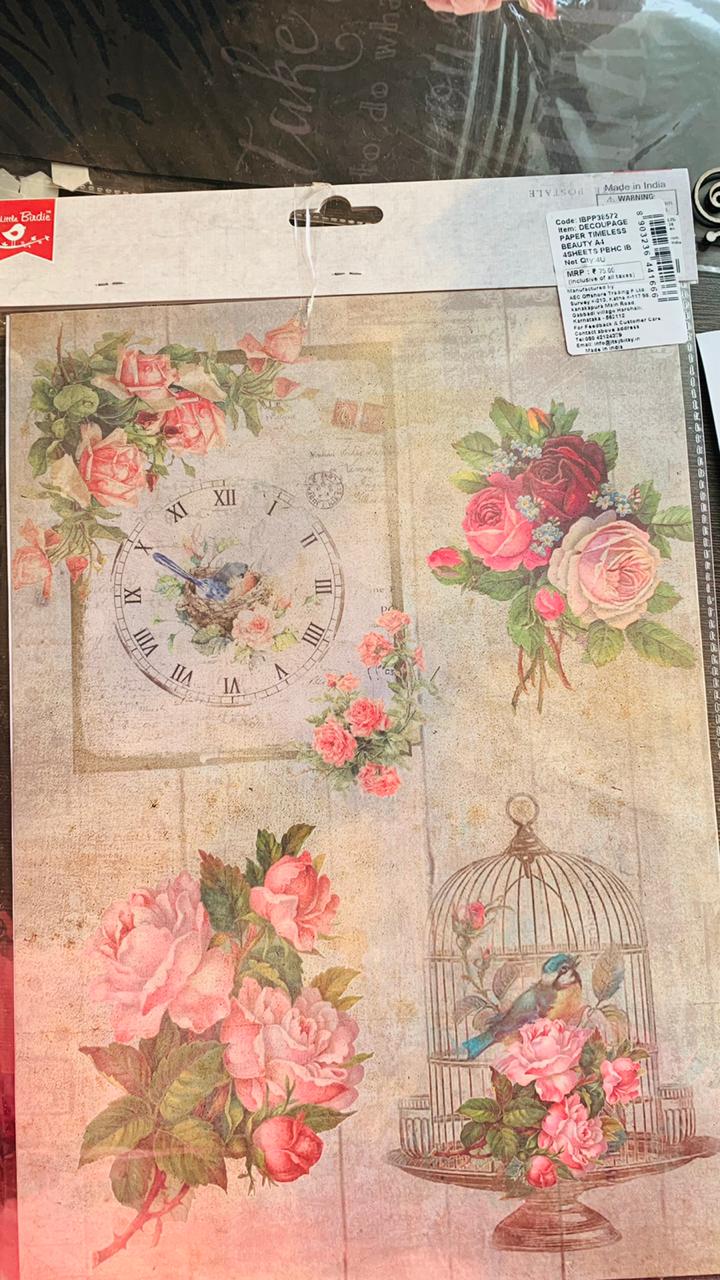
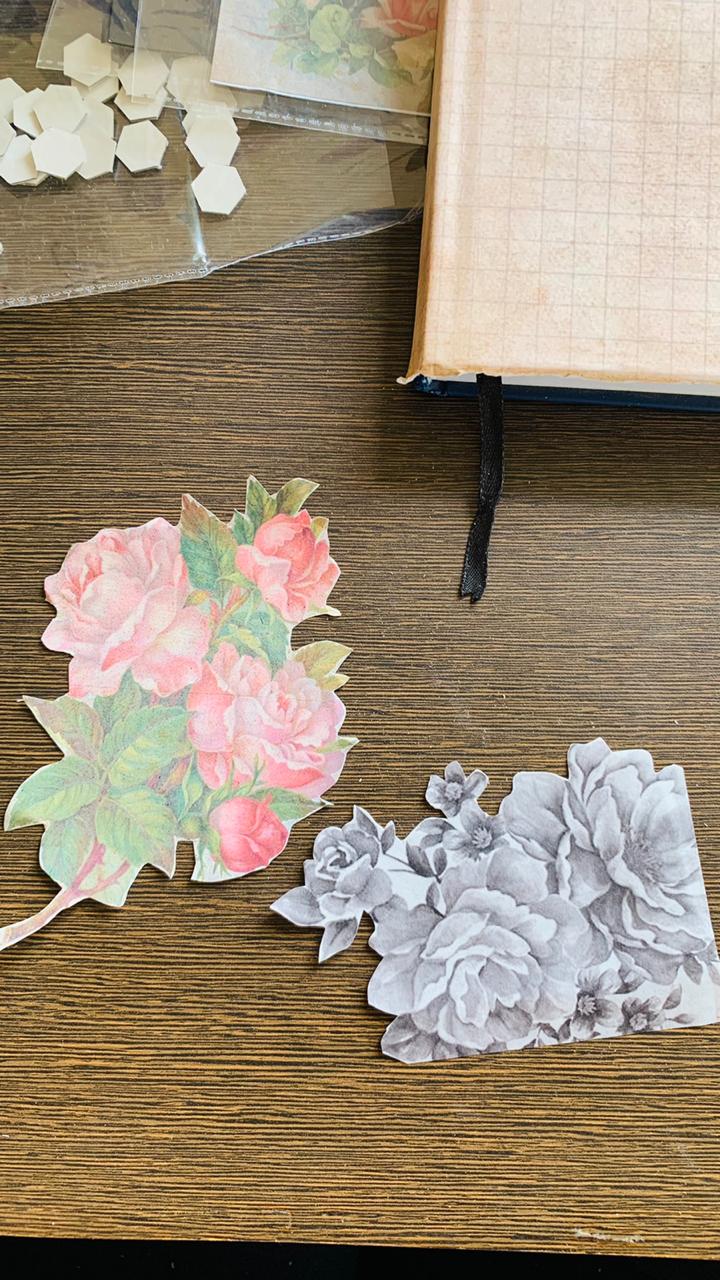
STEP 2 – Let the first layer dry, till then Cut out with the help of scissor the desired shape from another decoupage sheet and again paste it with the help of the glue.

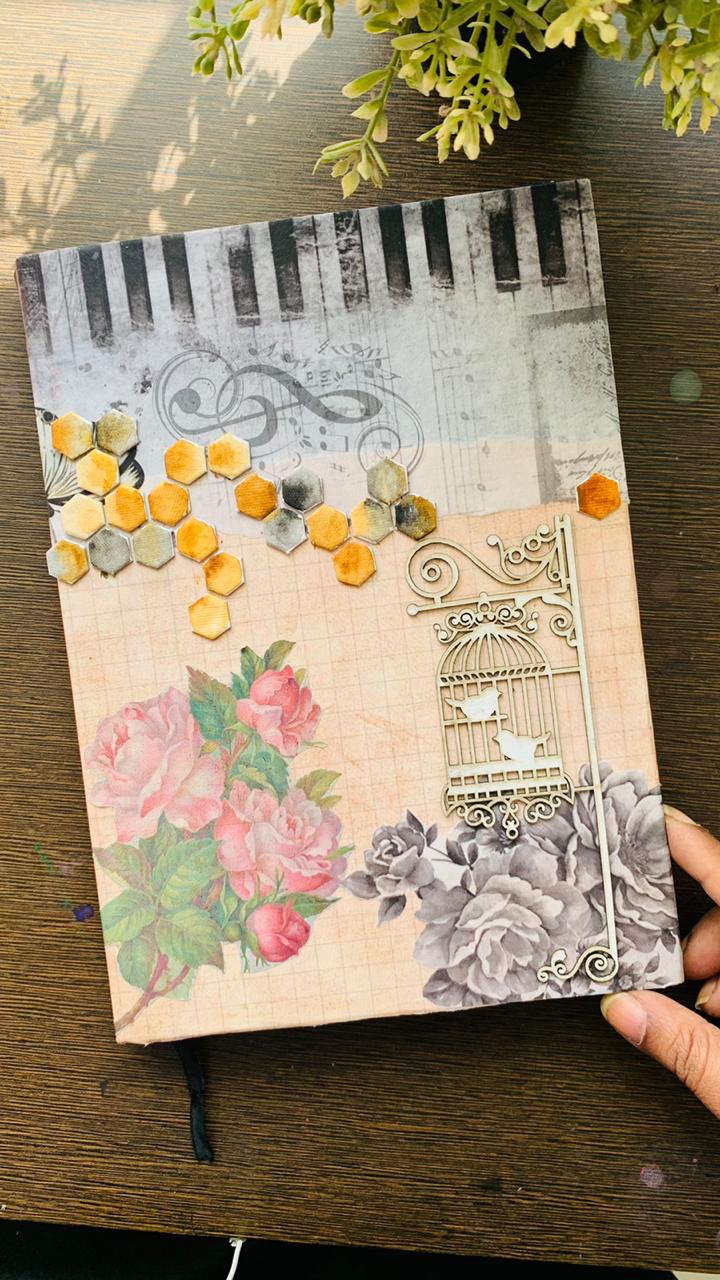
STEP 3 – Now the sticking paper part is done, let’s add some more elements to make it attractive. I am adding this Little Birdie primed chipboard. This beautiful element gives a 3D look to the diary.
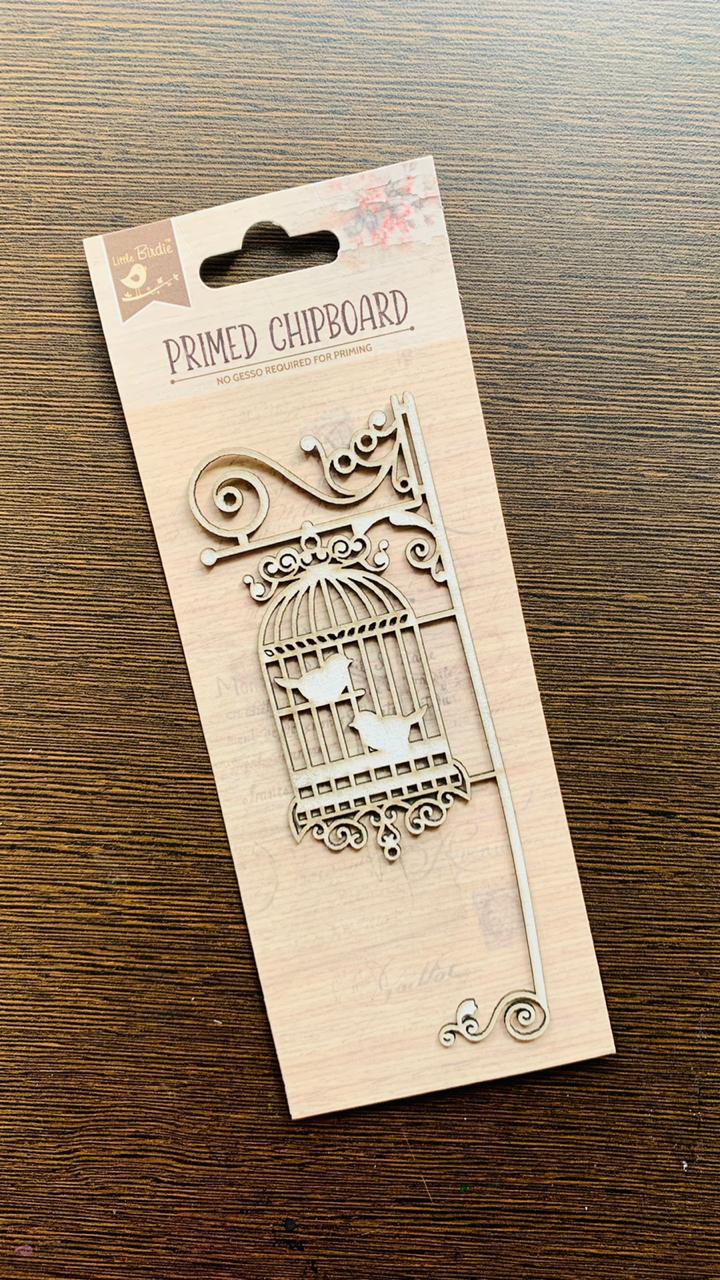

I preferred not to color it because it has such a natural rusty look which adds beauty to anything.
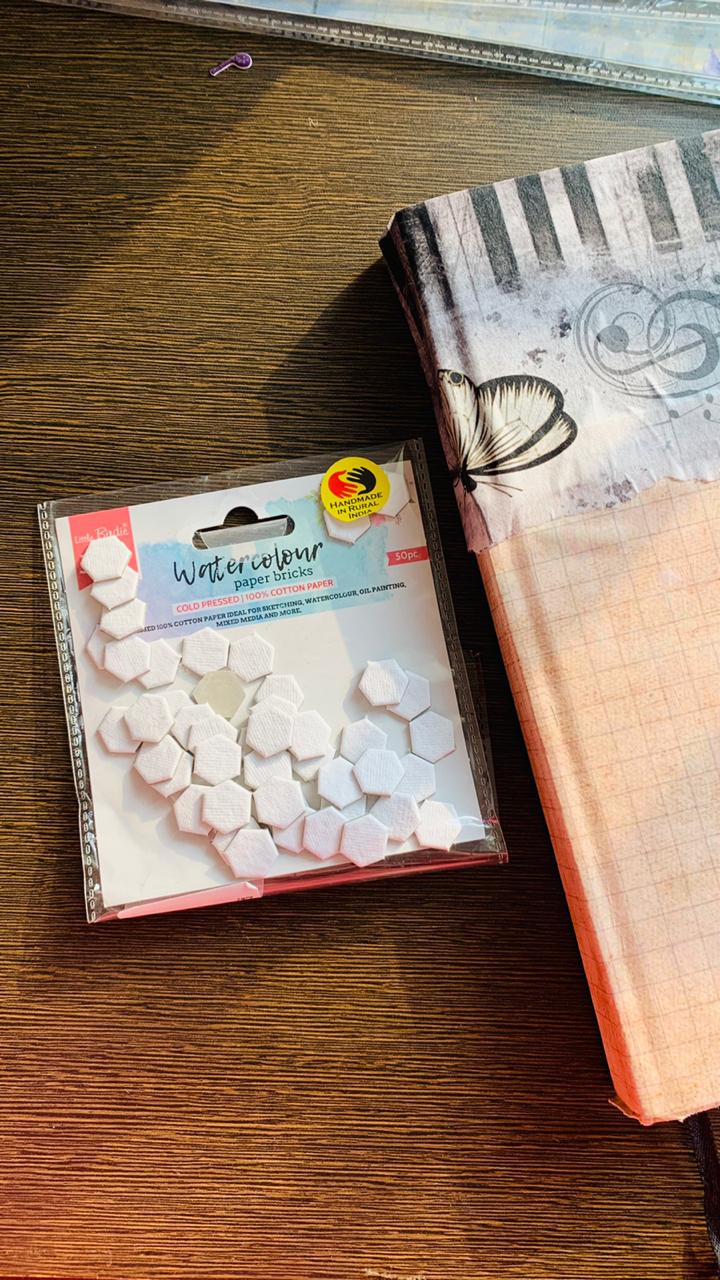
As, you all know by now that I am a watercolor artist and I constantly search to experiment with watercolors in every project.
STEP 4 – These are watercolor paper bricks which are really cute and I always wanted to experiment with them. They have sticker so that you just have to peel it off and stick to anything.
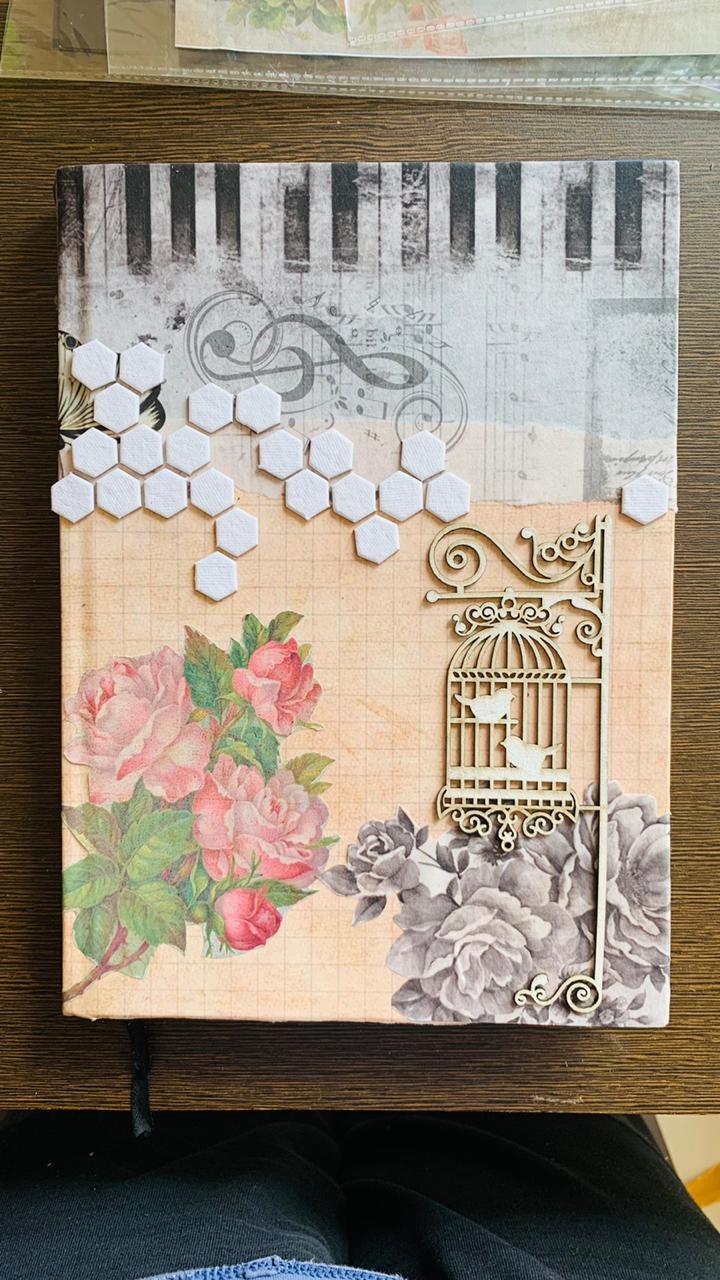
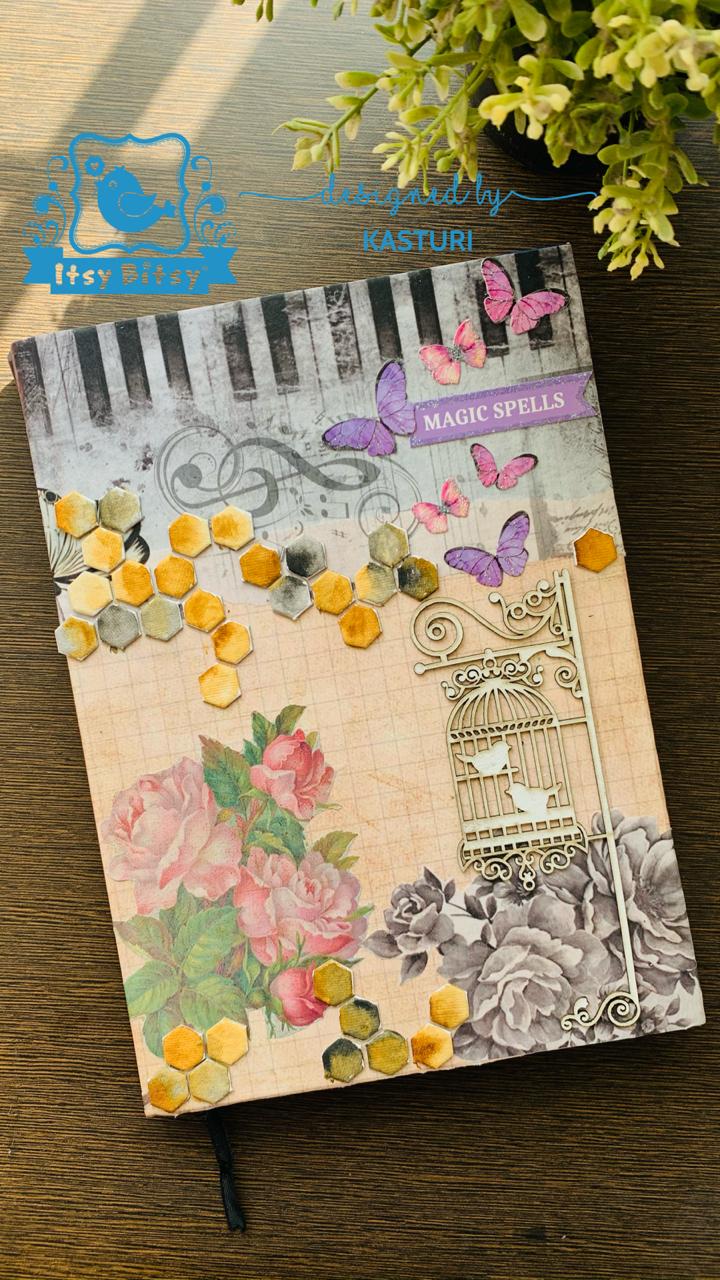
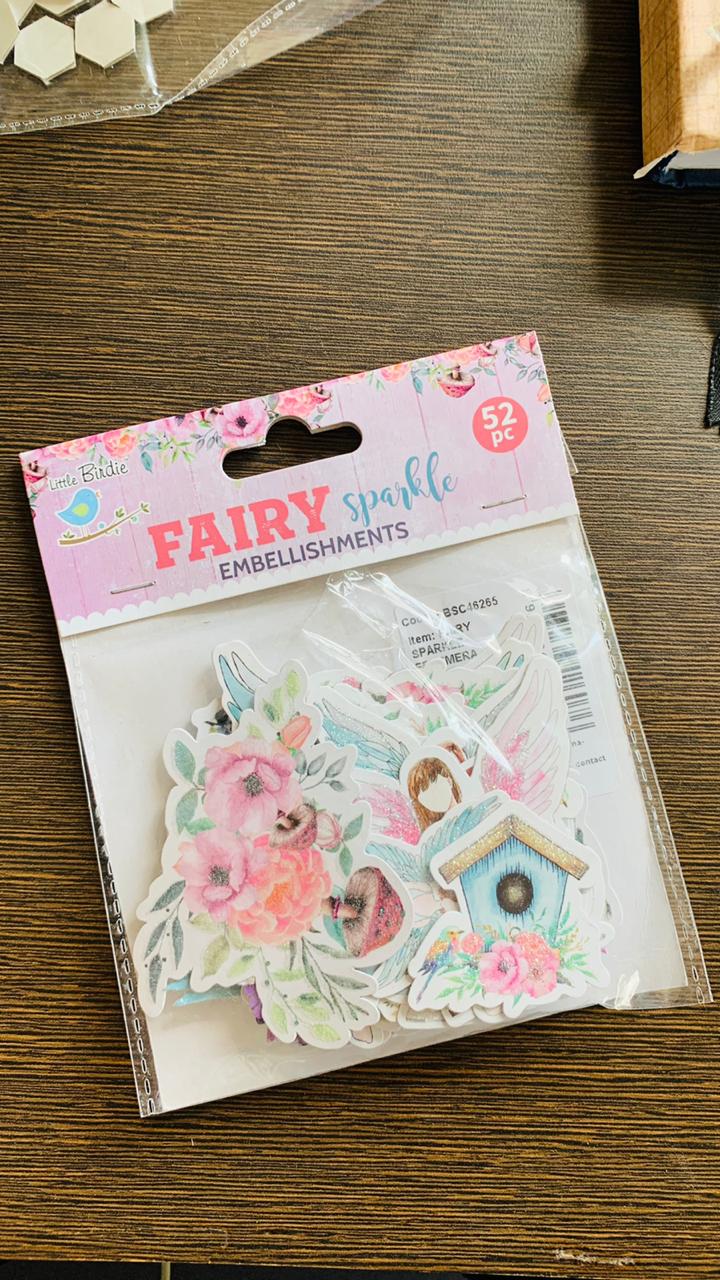
STEP 5 – Now this is the last step and we are going to add some extra beauty to it by sticking cute embellishments. And done.
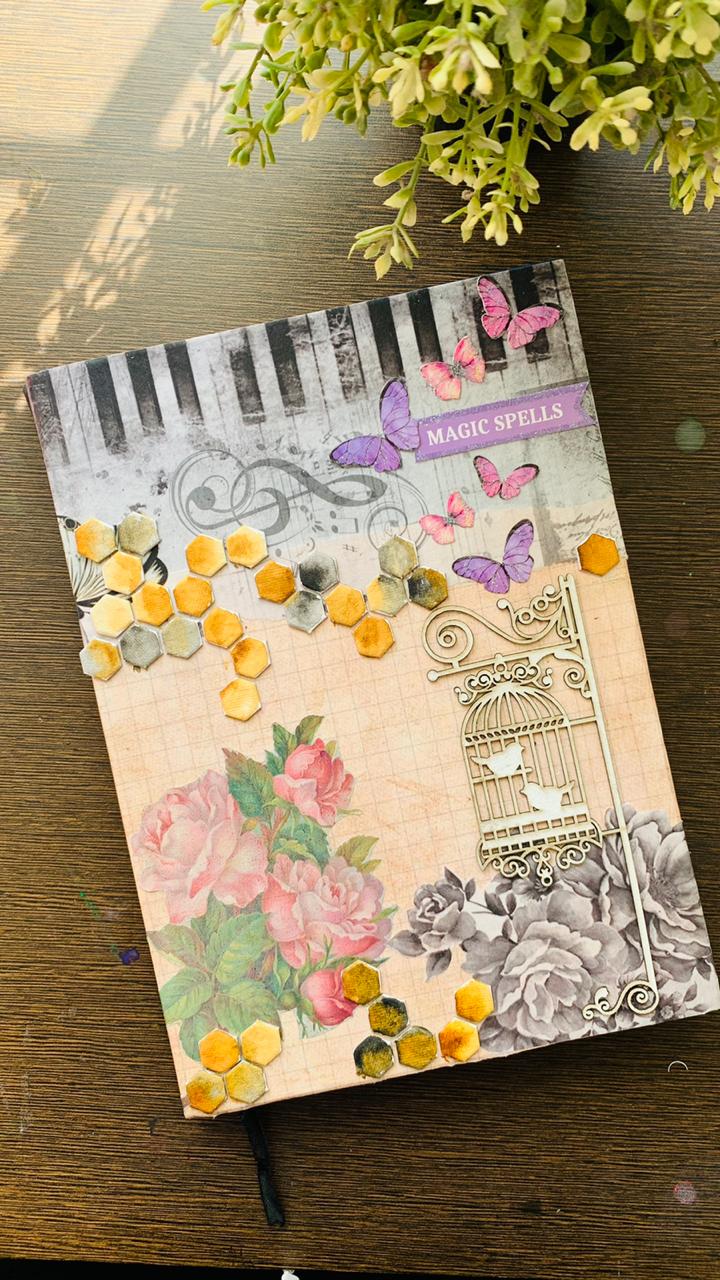
Enjoy the process and feel free to add your touch to this DIY. This is my version, please give it a try and share pics on Instagram and Facebook with your final image.. Now I know I am going to use this diary for sure.
Happy Crafting to all of you guys.
Here is the list of all the products I used for this project. You can buy them on ITSYBITSY craft store and don’t forget to use this code KASTURI5 for extra discount.


