Hello everyone!!
First of all wishing you all a very Happy New Year from your craft friend Virti Mehta.
Another year with so many more possibilities and opportunities has arrived.
I can’t wait to soak in all the positivity and New Resolutions.
I’m here today with an inspiration to motivate you to make the New Year even more meaningful with a calendar using Little Birdie Birds and Berries paper pack.
This paper pack is very versatile and full of positive thought which is something we need for a wonderful start of 2021.
So, lets starting making that!!
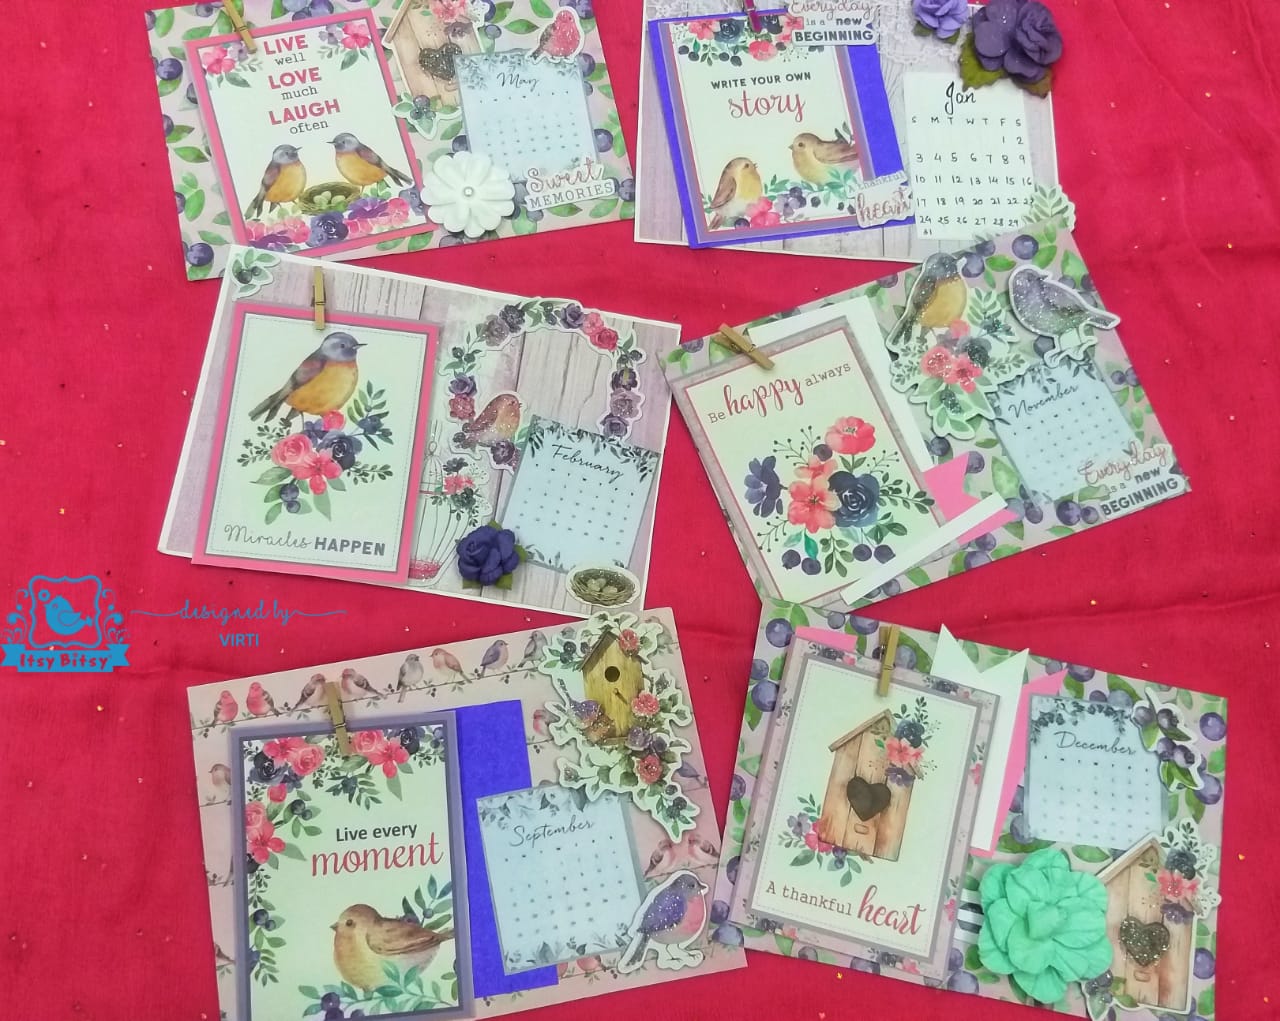
So basically, we will be making 12 different layouts for 12 months.
Step 1 :
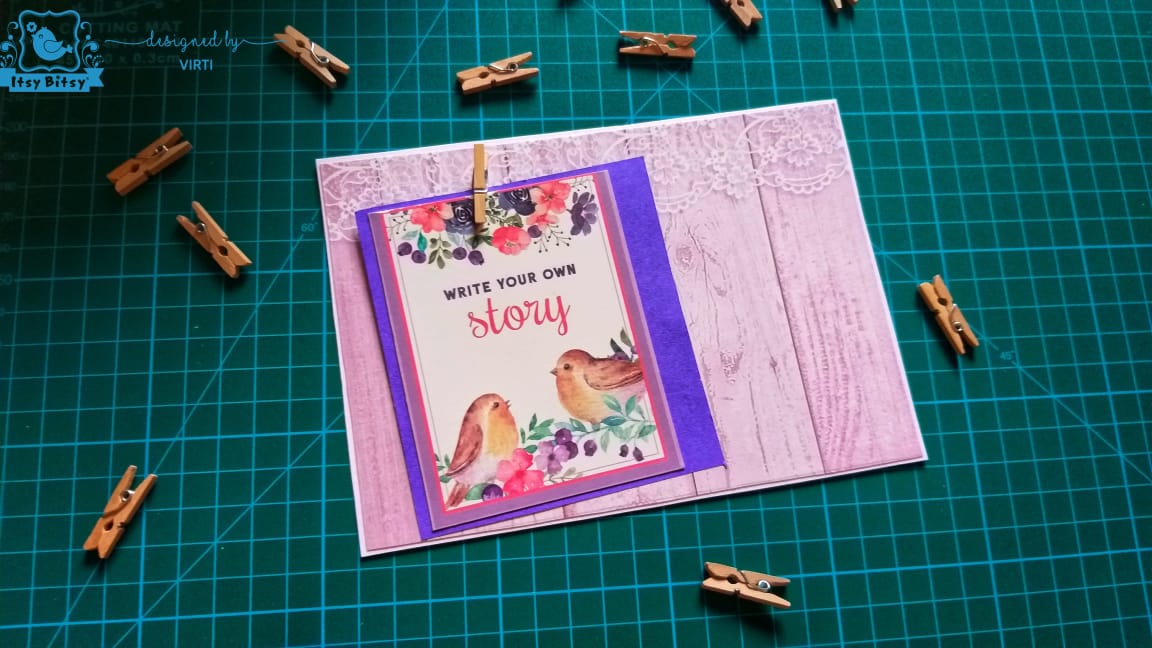
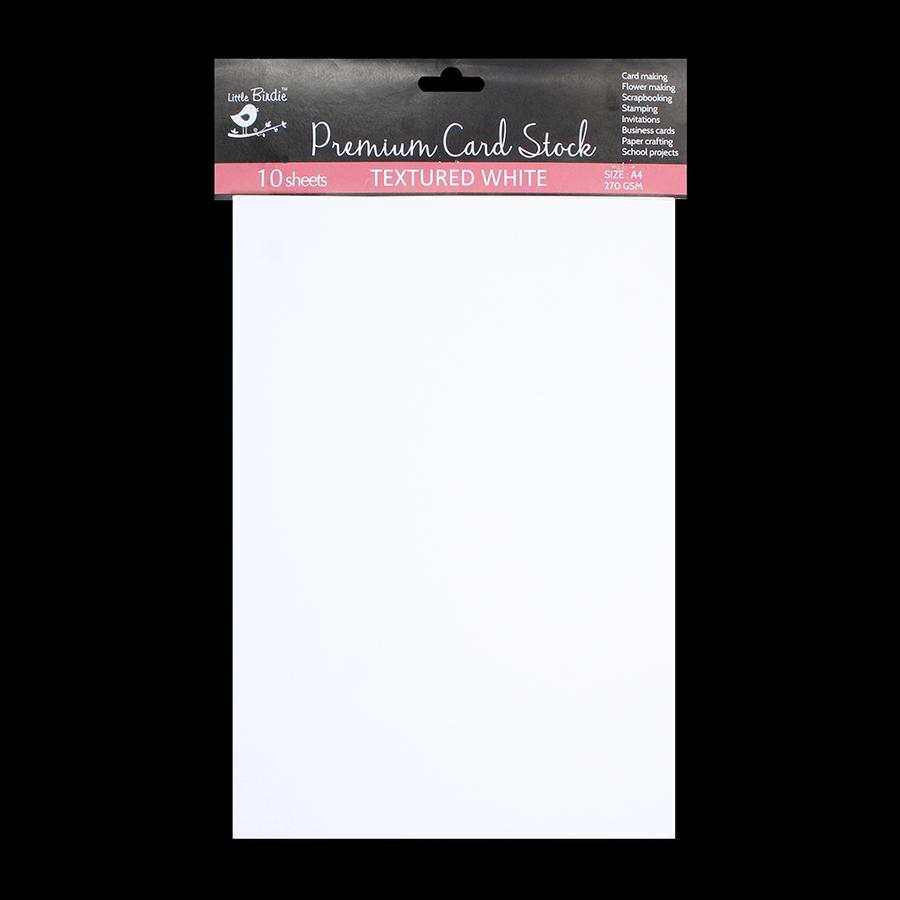
I have used white textures cardstock as a base because it is of superior quality, 270 gsm thick, which gives strong support to scrapbooking projects. I have used it in the size 7″ × 5″.
This is ideal size and can be easily placed on your work desk.

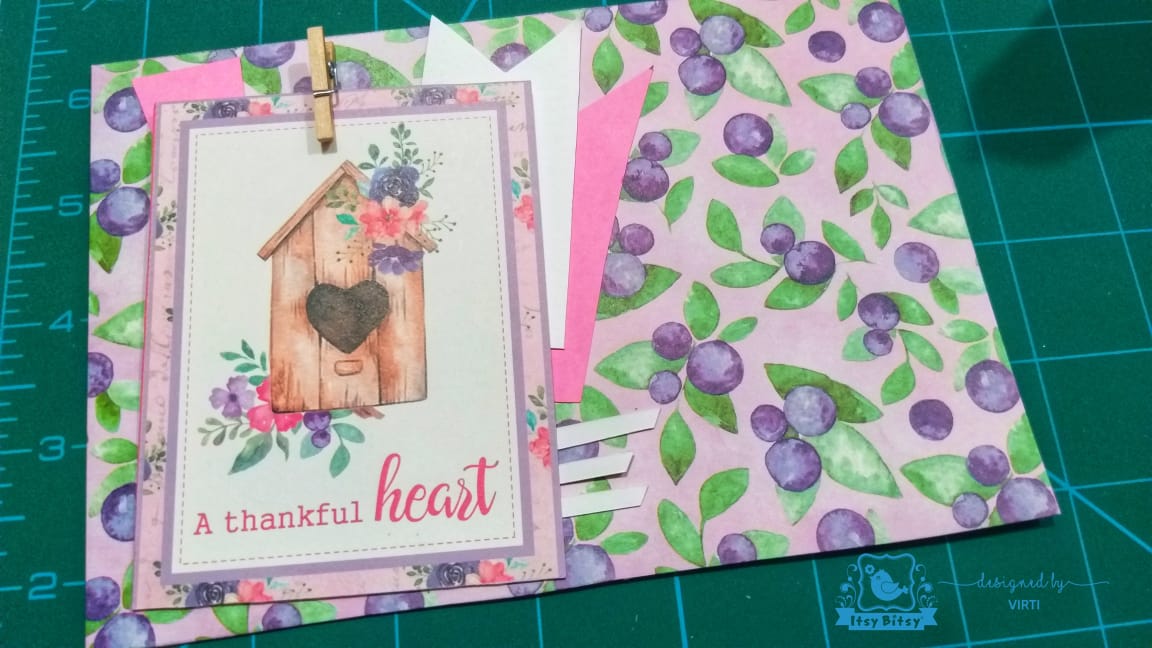
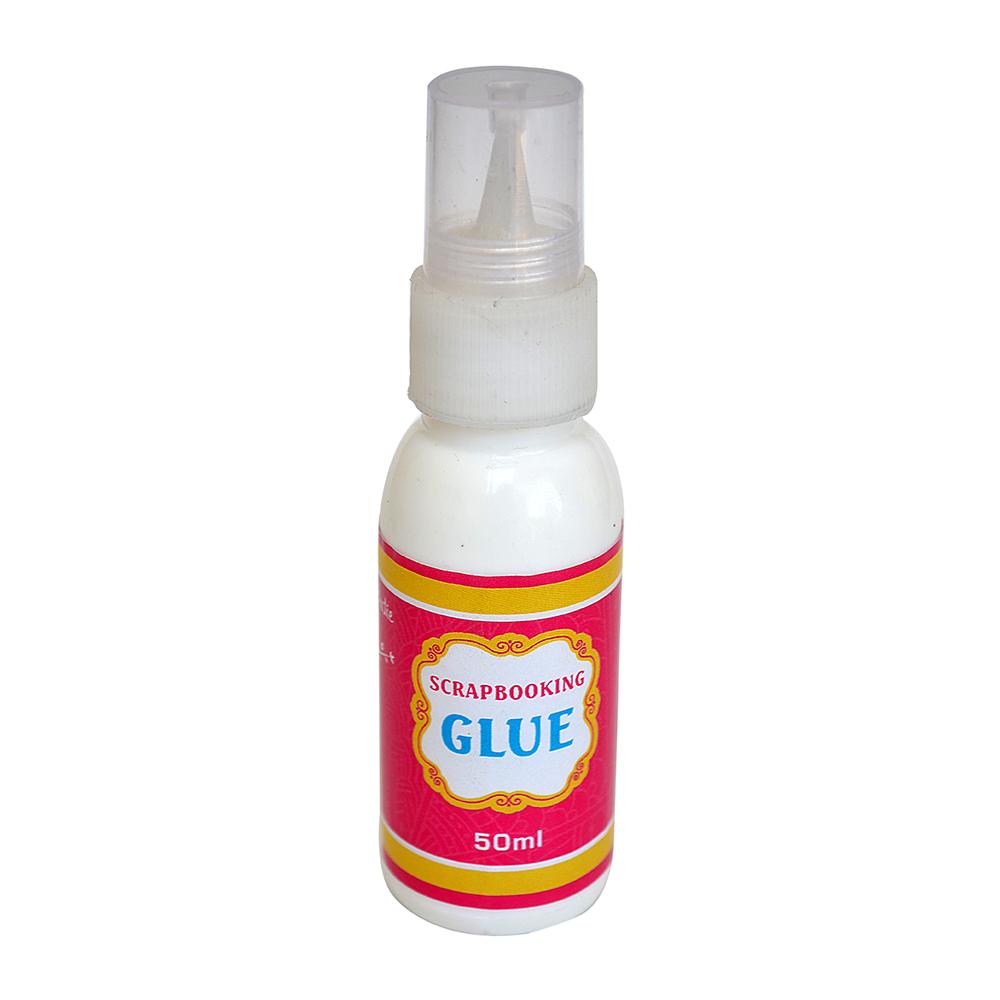
Next, I have a cut smaller piece of paper from the Birds and Berries paper pack in the size 4.8″ * 6.8″ and pasted it on the card stock using scrapbooking glue. I particularly used this glue as this is perfect for adhering scrap papers and dries clear. Then I used a tag from the store that comes along with the paper pack with the text “Write your own story”. It is perfect for the first month of the year! I also added a little purple card stock to highlight the tag.
 Also, I have attached wooden clips for hanging more tags so that I can replace it with other tags, images, or texts. Honestly, I love how creative one can be in a single project. Do share your creative ideas with me in the comment section below.
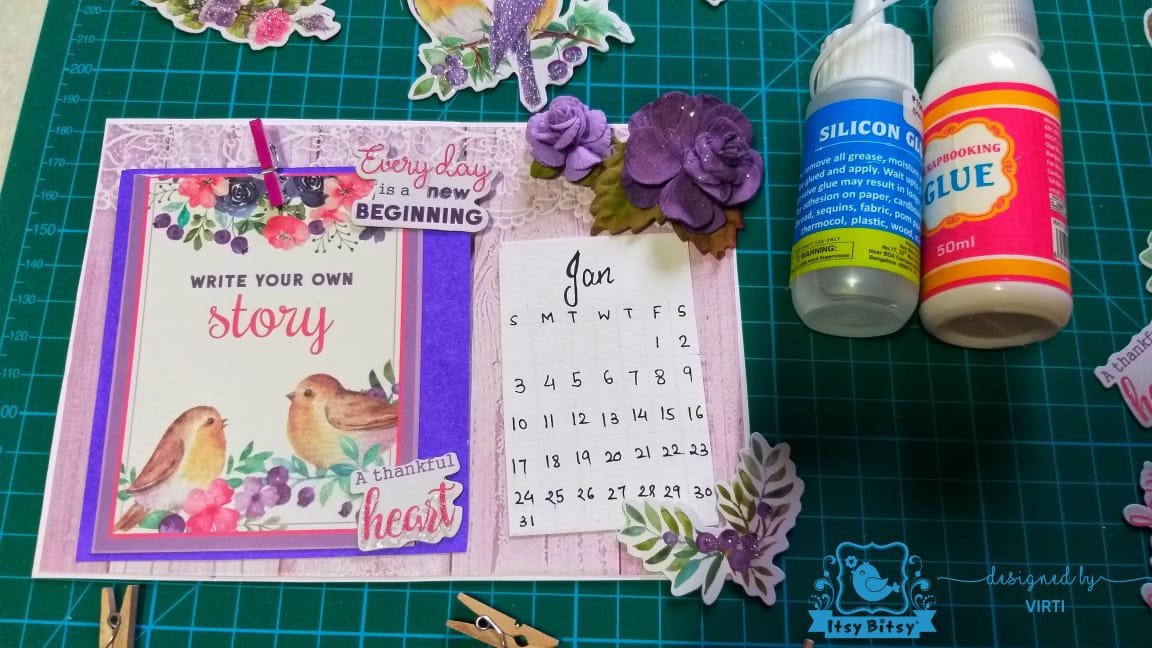
Now, comes the main step of adding the monthly calendar. For that too there are two ways, one is to make the calendar like I have shown below and other one is where you can get it printed like you will see in the other photos.

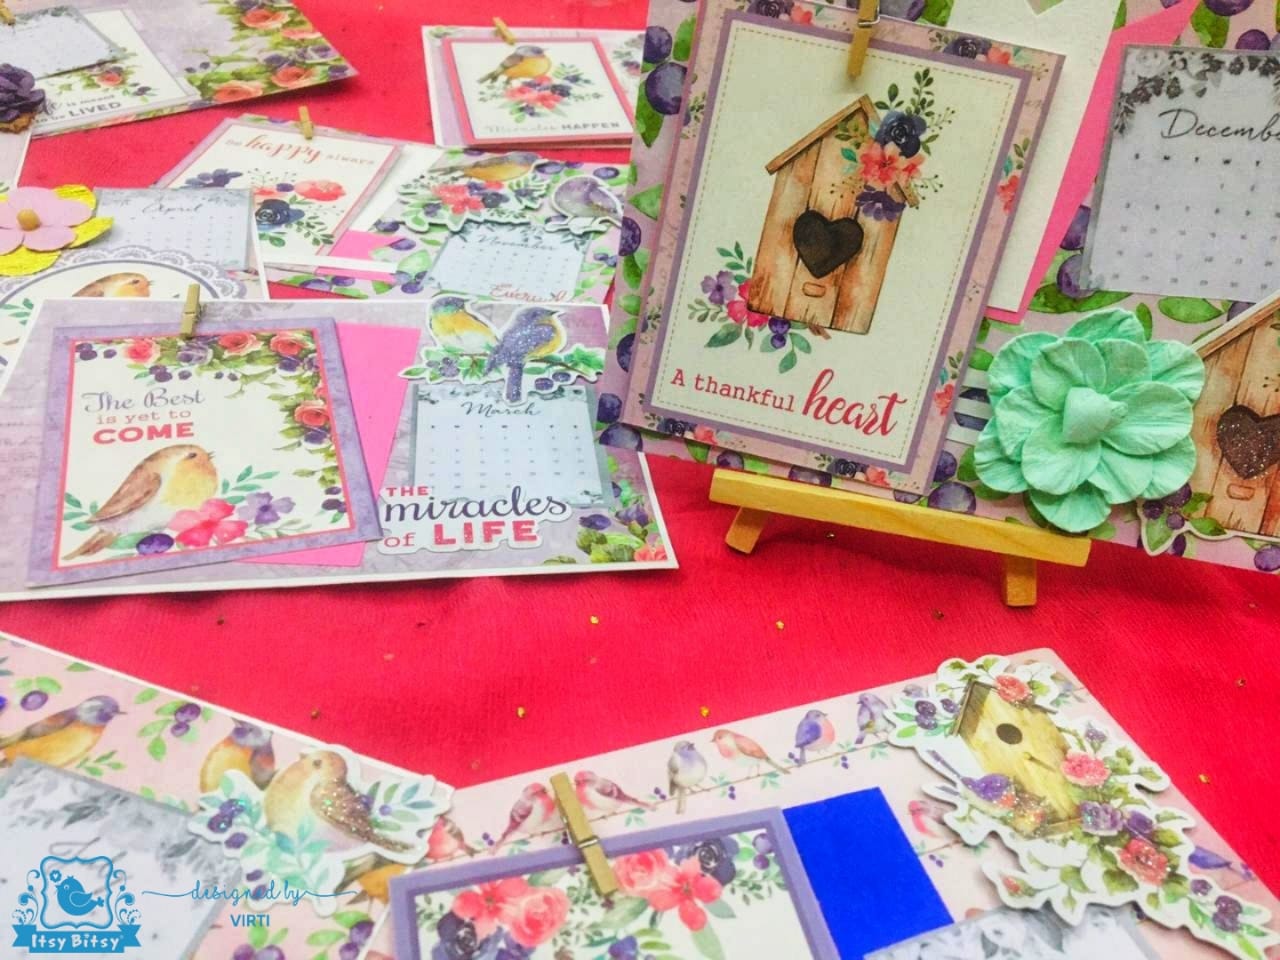
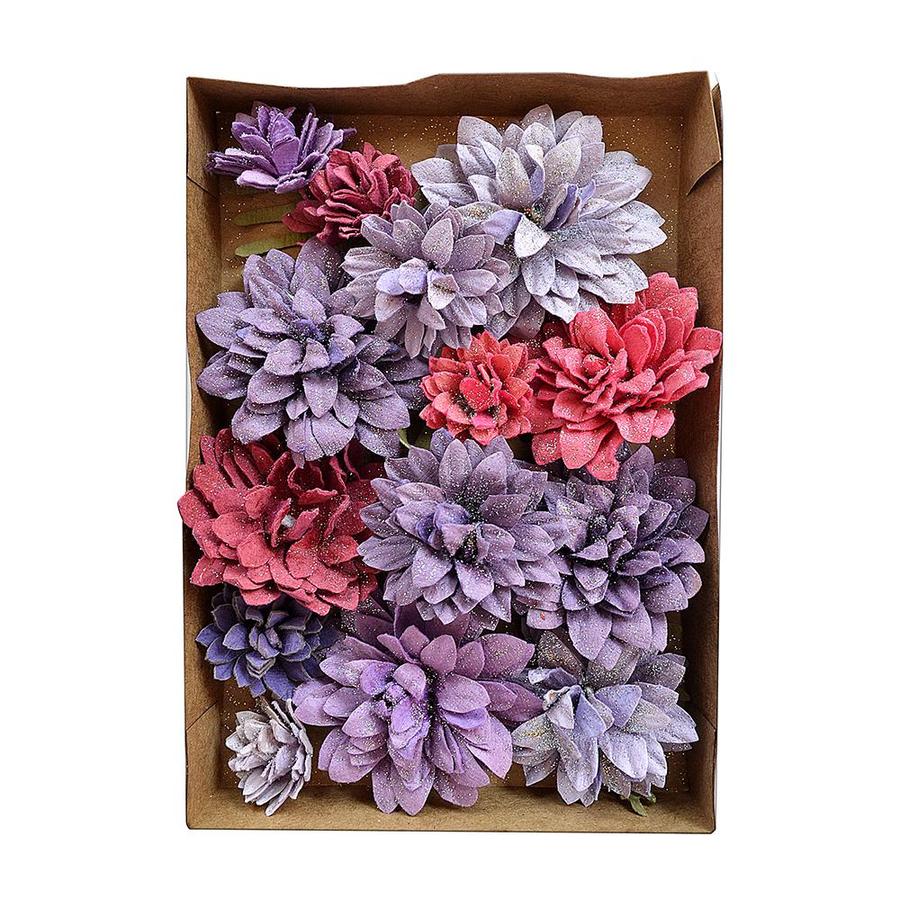
Its time to dress up our calendar and add some make up to this beauty! For that we will be adding some cute, glittery and colorful embellishments. See the next image to know how I did it.
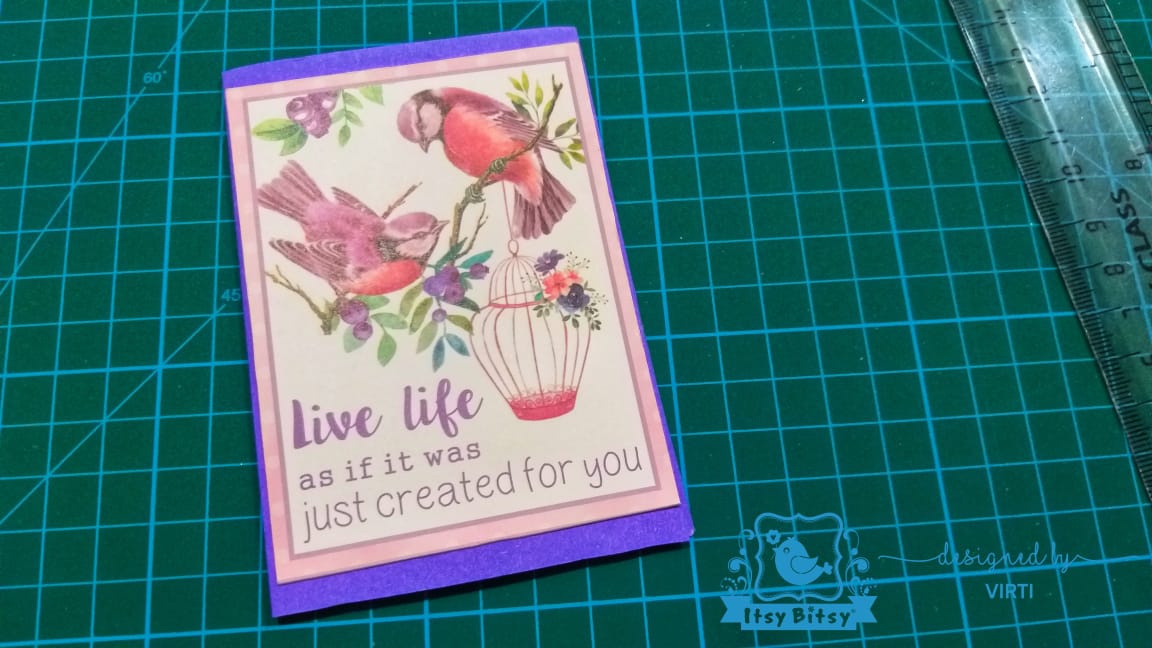
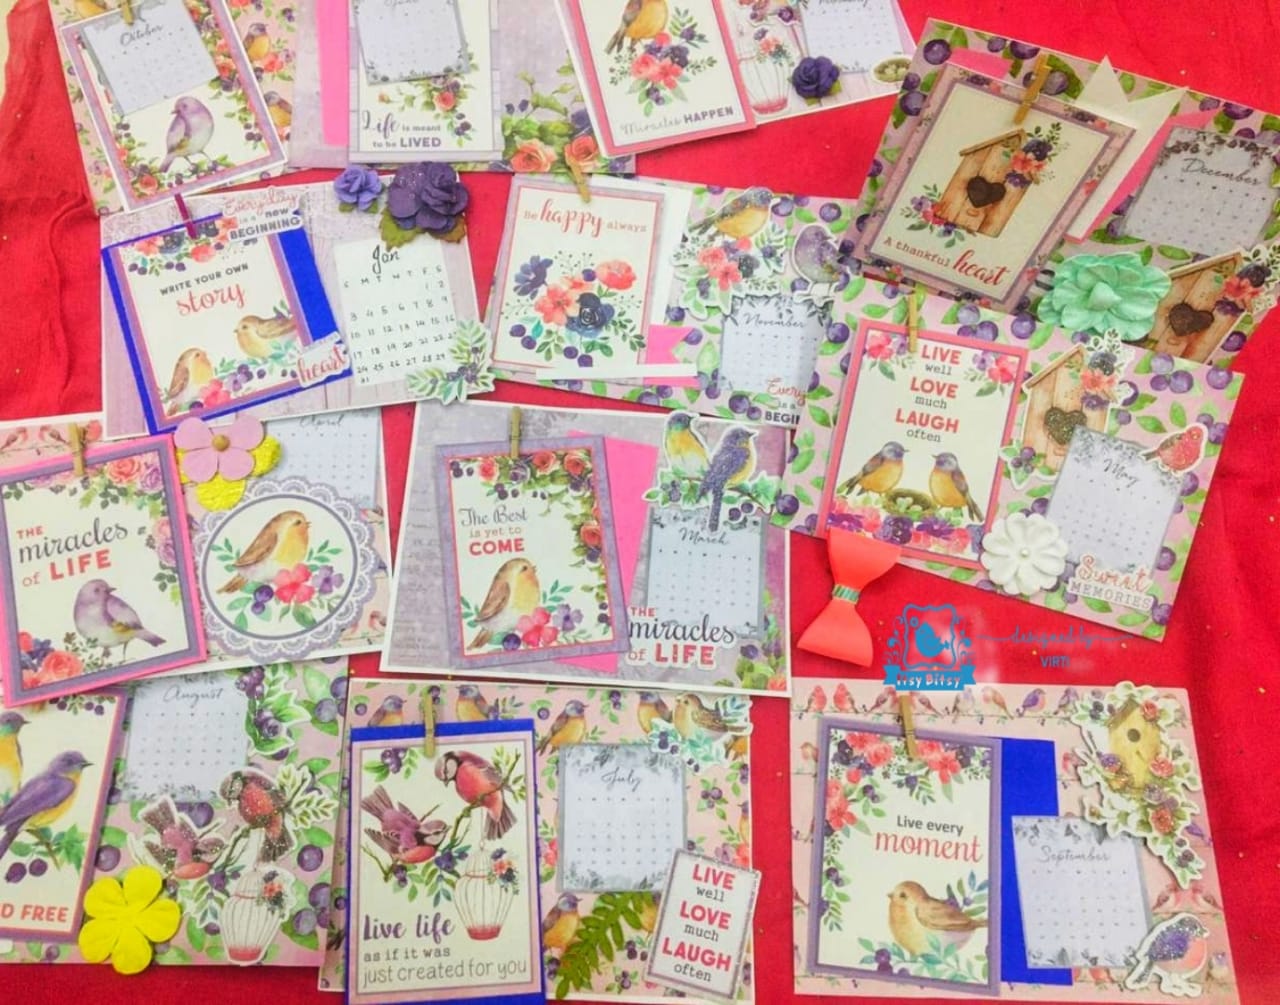
Likewise, we need to make such 12 pages for all the months in different pages. I will be sharing handful layouts. You can always add your own unique arty-crafty twists to them.
For this I took a piece of paper in the size 4*6 inches and folded it into half. Next, I added the tag sheet and one end. Now we have a message on the top and can add text or photos inside the card. Check the above image. This quote in the image is my favorite.
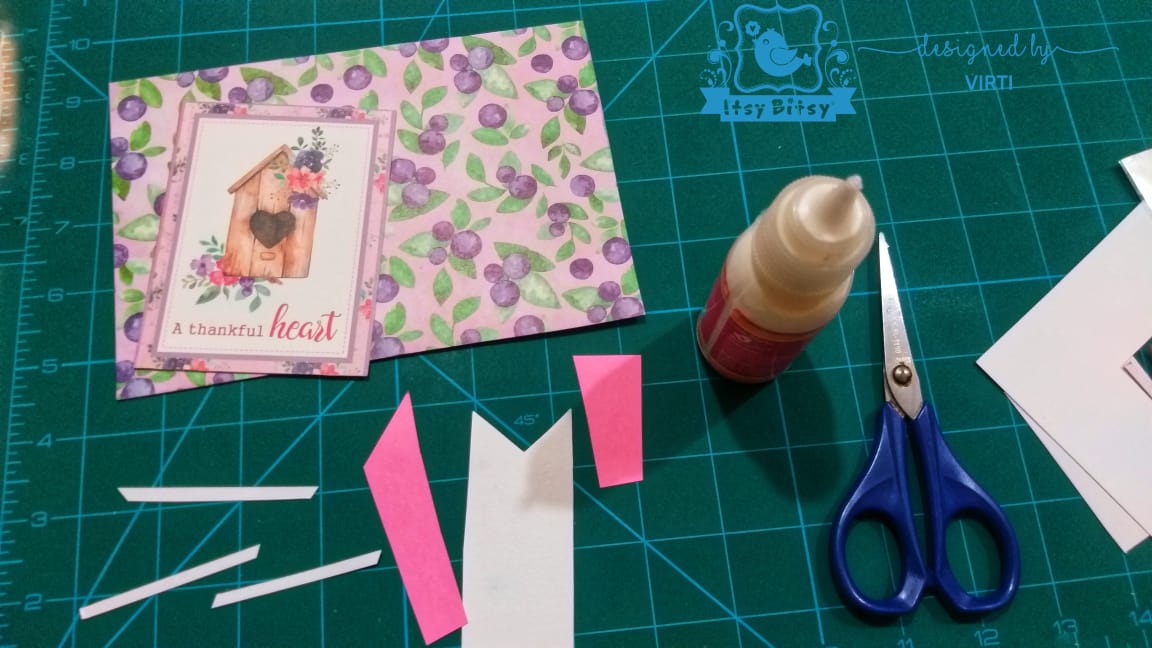
For this one, I have used all the left over sheets and strips from this project. I always try my best to make maximum use of the raw materials.
Now randomly, over lay these small leftover pieces and here you have your new layout.
Likewise, create pages for all the 12 months and arrange the one with the current month’s tag on an aisle stand. Voila! Your calendar is ready!
I have shown all the images below. Do have a look at those to have an idea.
Thank you for reading♥


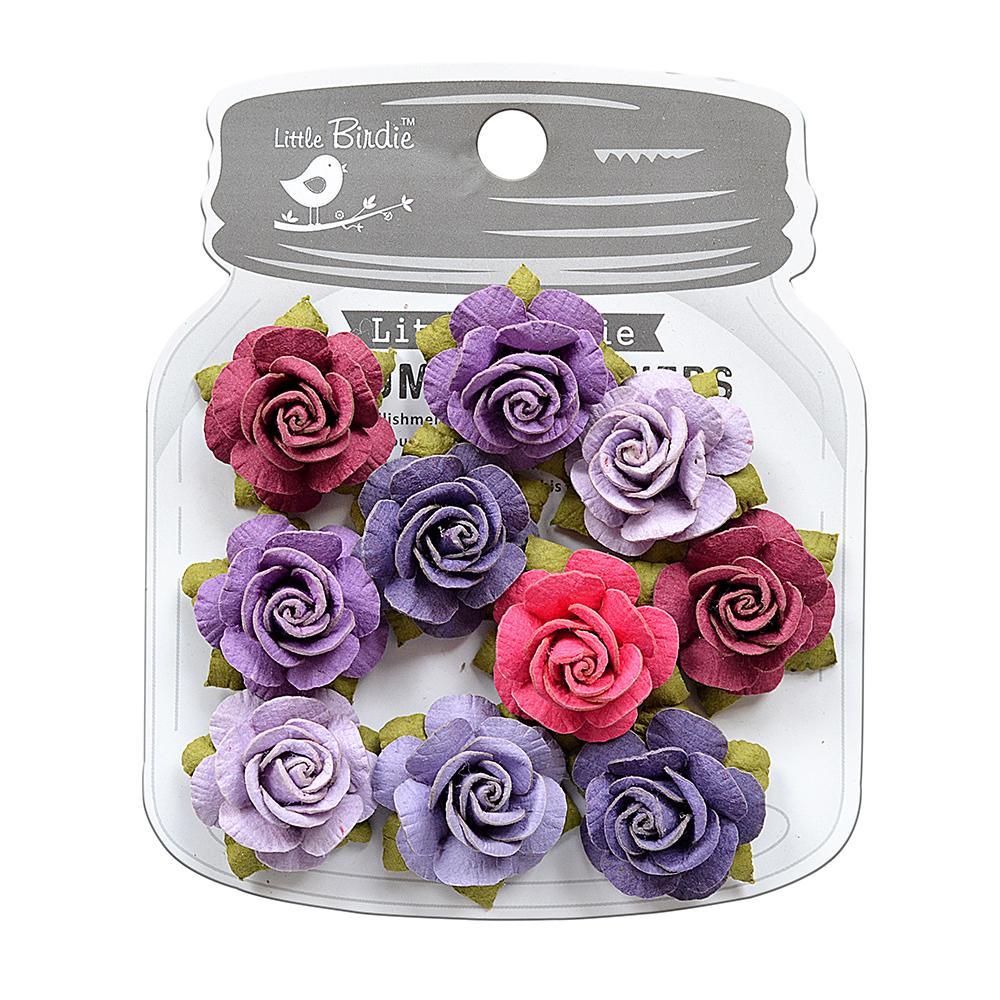
Below mentioned are the list of products I used to create this project.


Aesthetically pleased ❤