Hello Creatives!! Kasturi here again your fellow artist with another interesting project.
As we all know that current month is all dedicated to decoupage, I wanted to try this challenge on something which we all have at home and is readily available at some point plus I thought let’s try decoupage to completely transform an old object.
So let’s start this super cool DIY with an old fry pan.
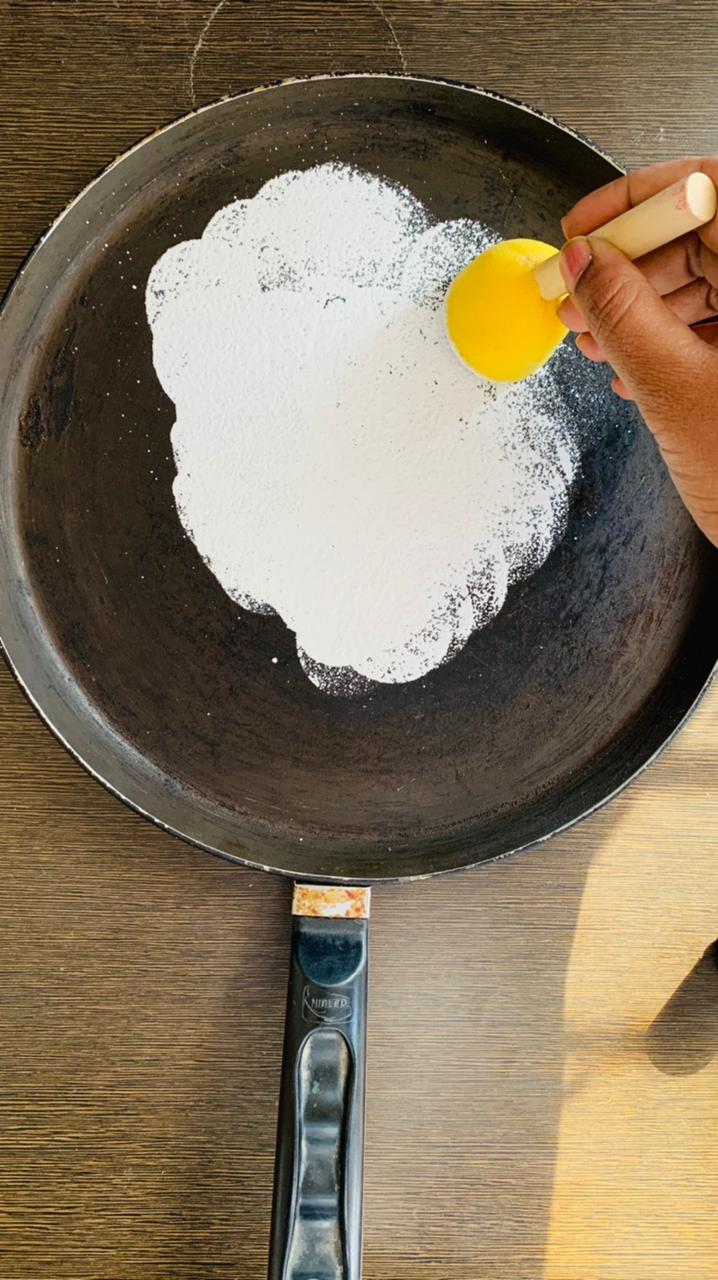
STEP 1 – Clean the fry pan and make sure it is smooth.

Then apply white multi-surface paint with the help of a sponge on it and apply pink on the handle.
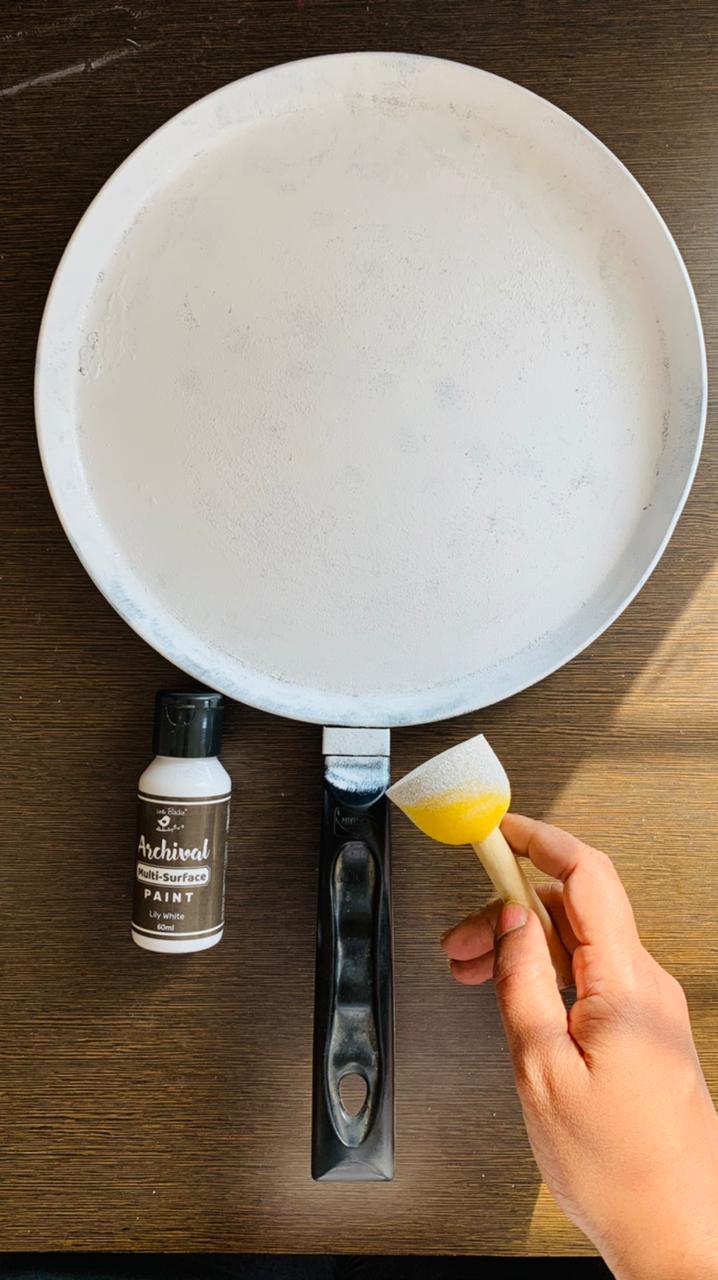
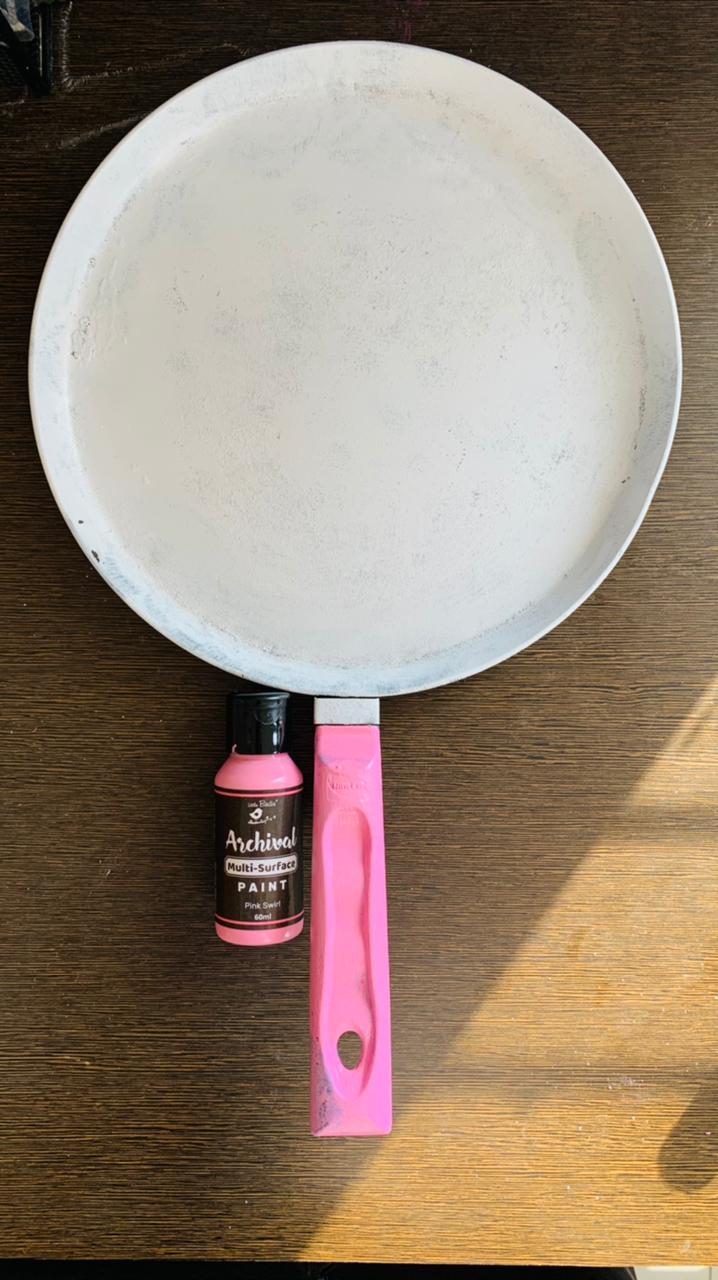
Let it dry. Again select any-multi surface paint of your choice and apply it on the base.
r.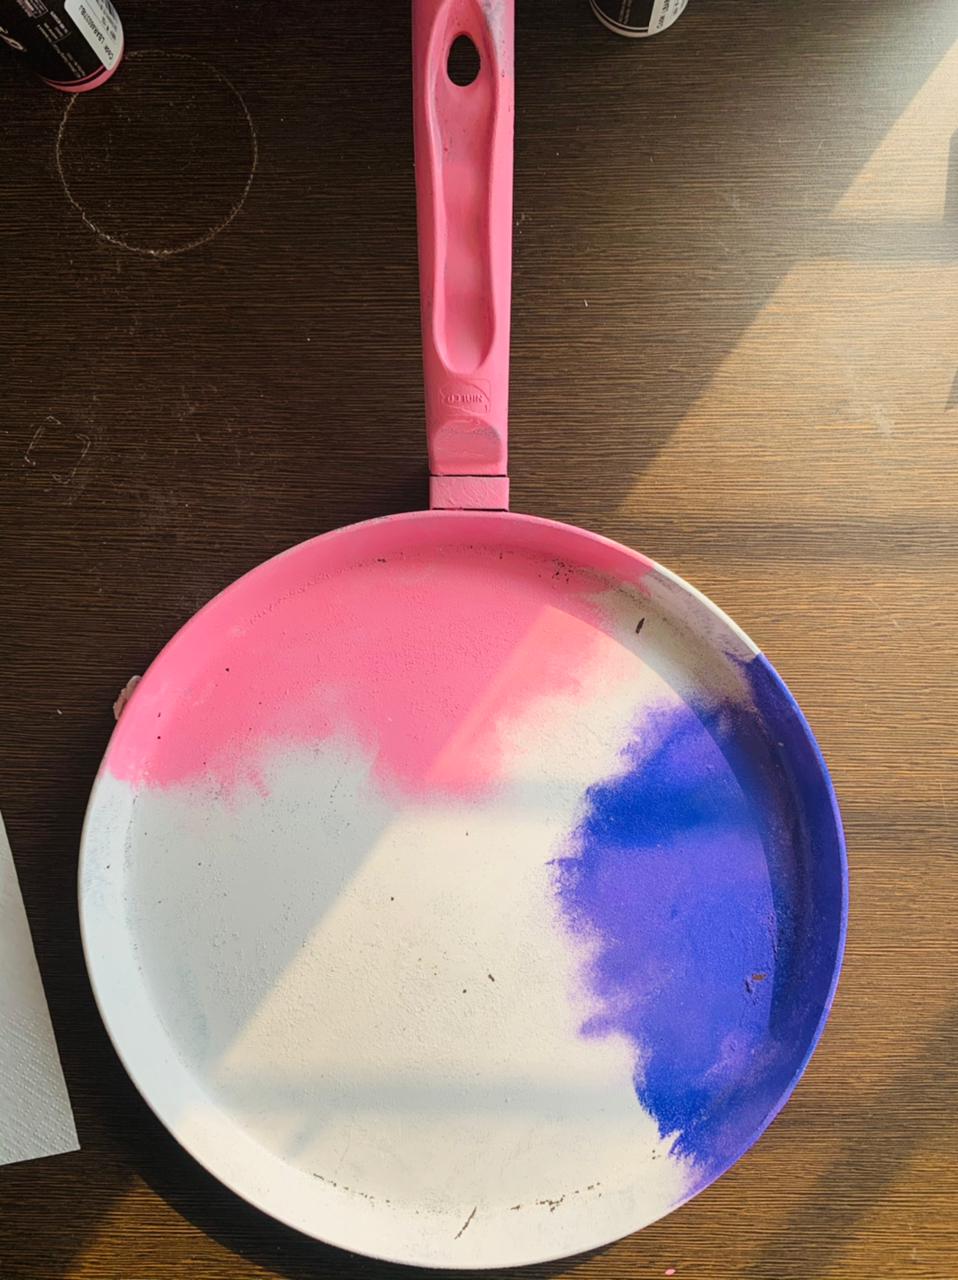
STEP 2 – Now apply Deco Magic decoupage glue on the pan. Cut decoupage napkin of your choice, remove one layer and stick carefully on the pan. Make sure there are no bubbles. Apply a layer of Deco Magic glue on the napkin to seal it. Let it dry.

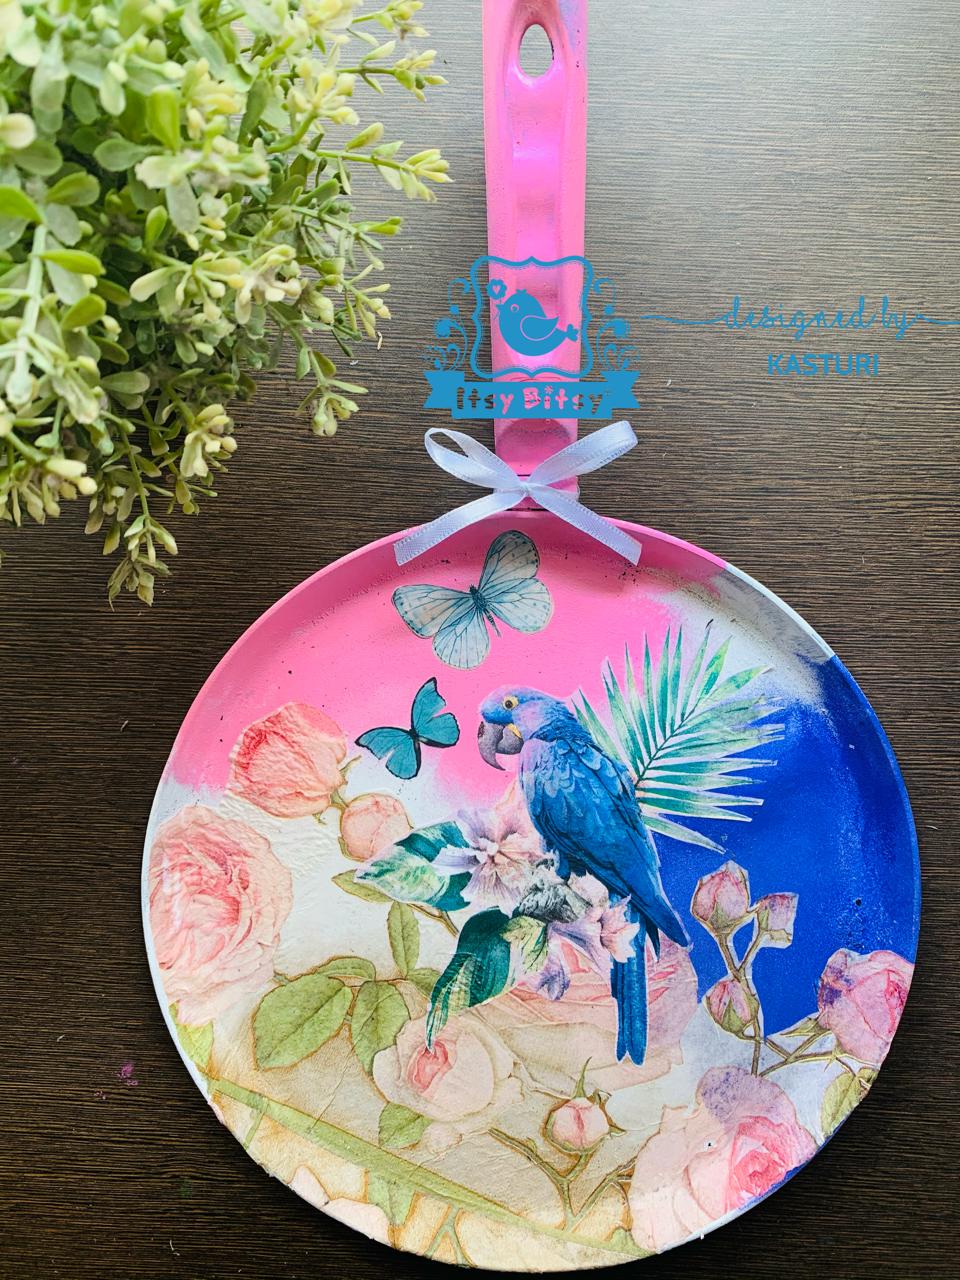
I chose this paper napkin for the center. I cut a bird removed the layer and stuck it to the pan at the center. Applied Deco Magic glue on it once again.

Followed the same steps with these two butterflies.

STEP 3 – This would be the final and the last step for this DIY project. Apply Little Birdie Decor Varnish to seal all the paints and paper and to add that final gloss to the product.
Decorate it with a cute ribbon and Ta Da!! It is ready to hang.
I hope you enjoyed this simple yet really refreshing DIY decoupage creation.
Thank you so much for going through my blog. Do try this DIY out. Its fun and simple. It will completely transform your old fry pan. Experiment with different decoupage papers. There are so many different designs and varieties on the website.
Check them out!!
And don’t forget to use this unique code KASTURI5 for some extra discount.
Below is the list of all the products I used for this project. Click on it to directly purchase it.
Happy shopping and happy crafting.


