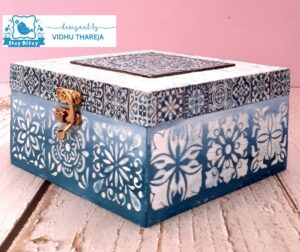
Hello my arty crafty friends. I hope you all are having a great crafty time. DT member Vidhu Thareja is back on the blog with a new inspirational project. I have designed a beautiful box which makes a perfect gift for our loved ones. I have a step wise picture tutorial for you all but before starting the tutorial have a look at my project…..
I select a MDF box measuring 6*6*3 inches from my stash. I started by removing the hardware and sanding the surface. Removing the hardware helps to get a professional finish. Then I applied 2 coats of Little Birdie Acrylic White Gesso using a flat brush. Make sure to give enough drying time between each coat. I primed the whole box with gesso but did not apply gesso on the rim of the box. Avoid applying primer on the rim and keep a cloth handy to clean the rim while applying decoupage glue, varnish. Paint the rim only with chalk paint.
 The next step is to decide the paper and colours for my project. I received a beautiful design of Little Birdie Filament Decoupage Filament Paper ‘Mandala Window’ in my DT kit. When it comes to mandala designs, we always prefer to use them for trays and coasters but this time I thought of using it in a different way.
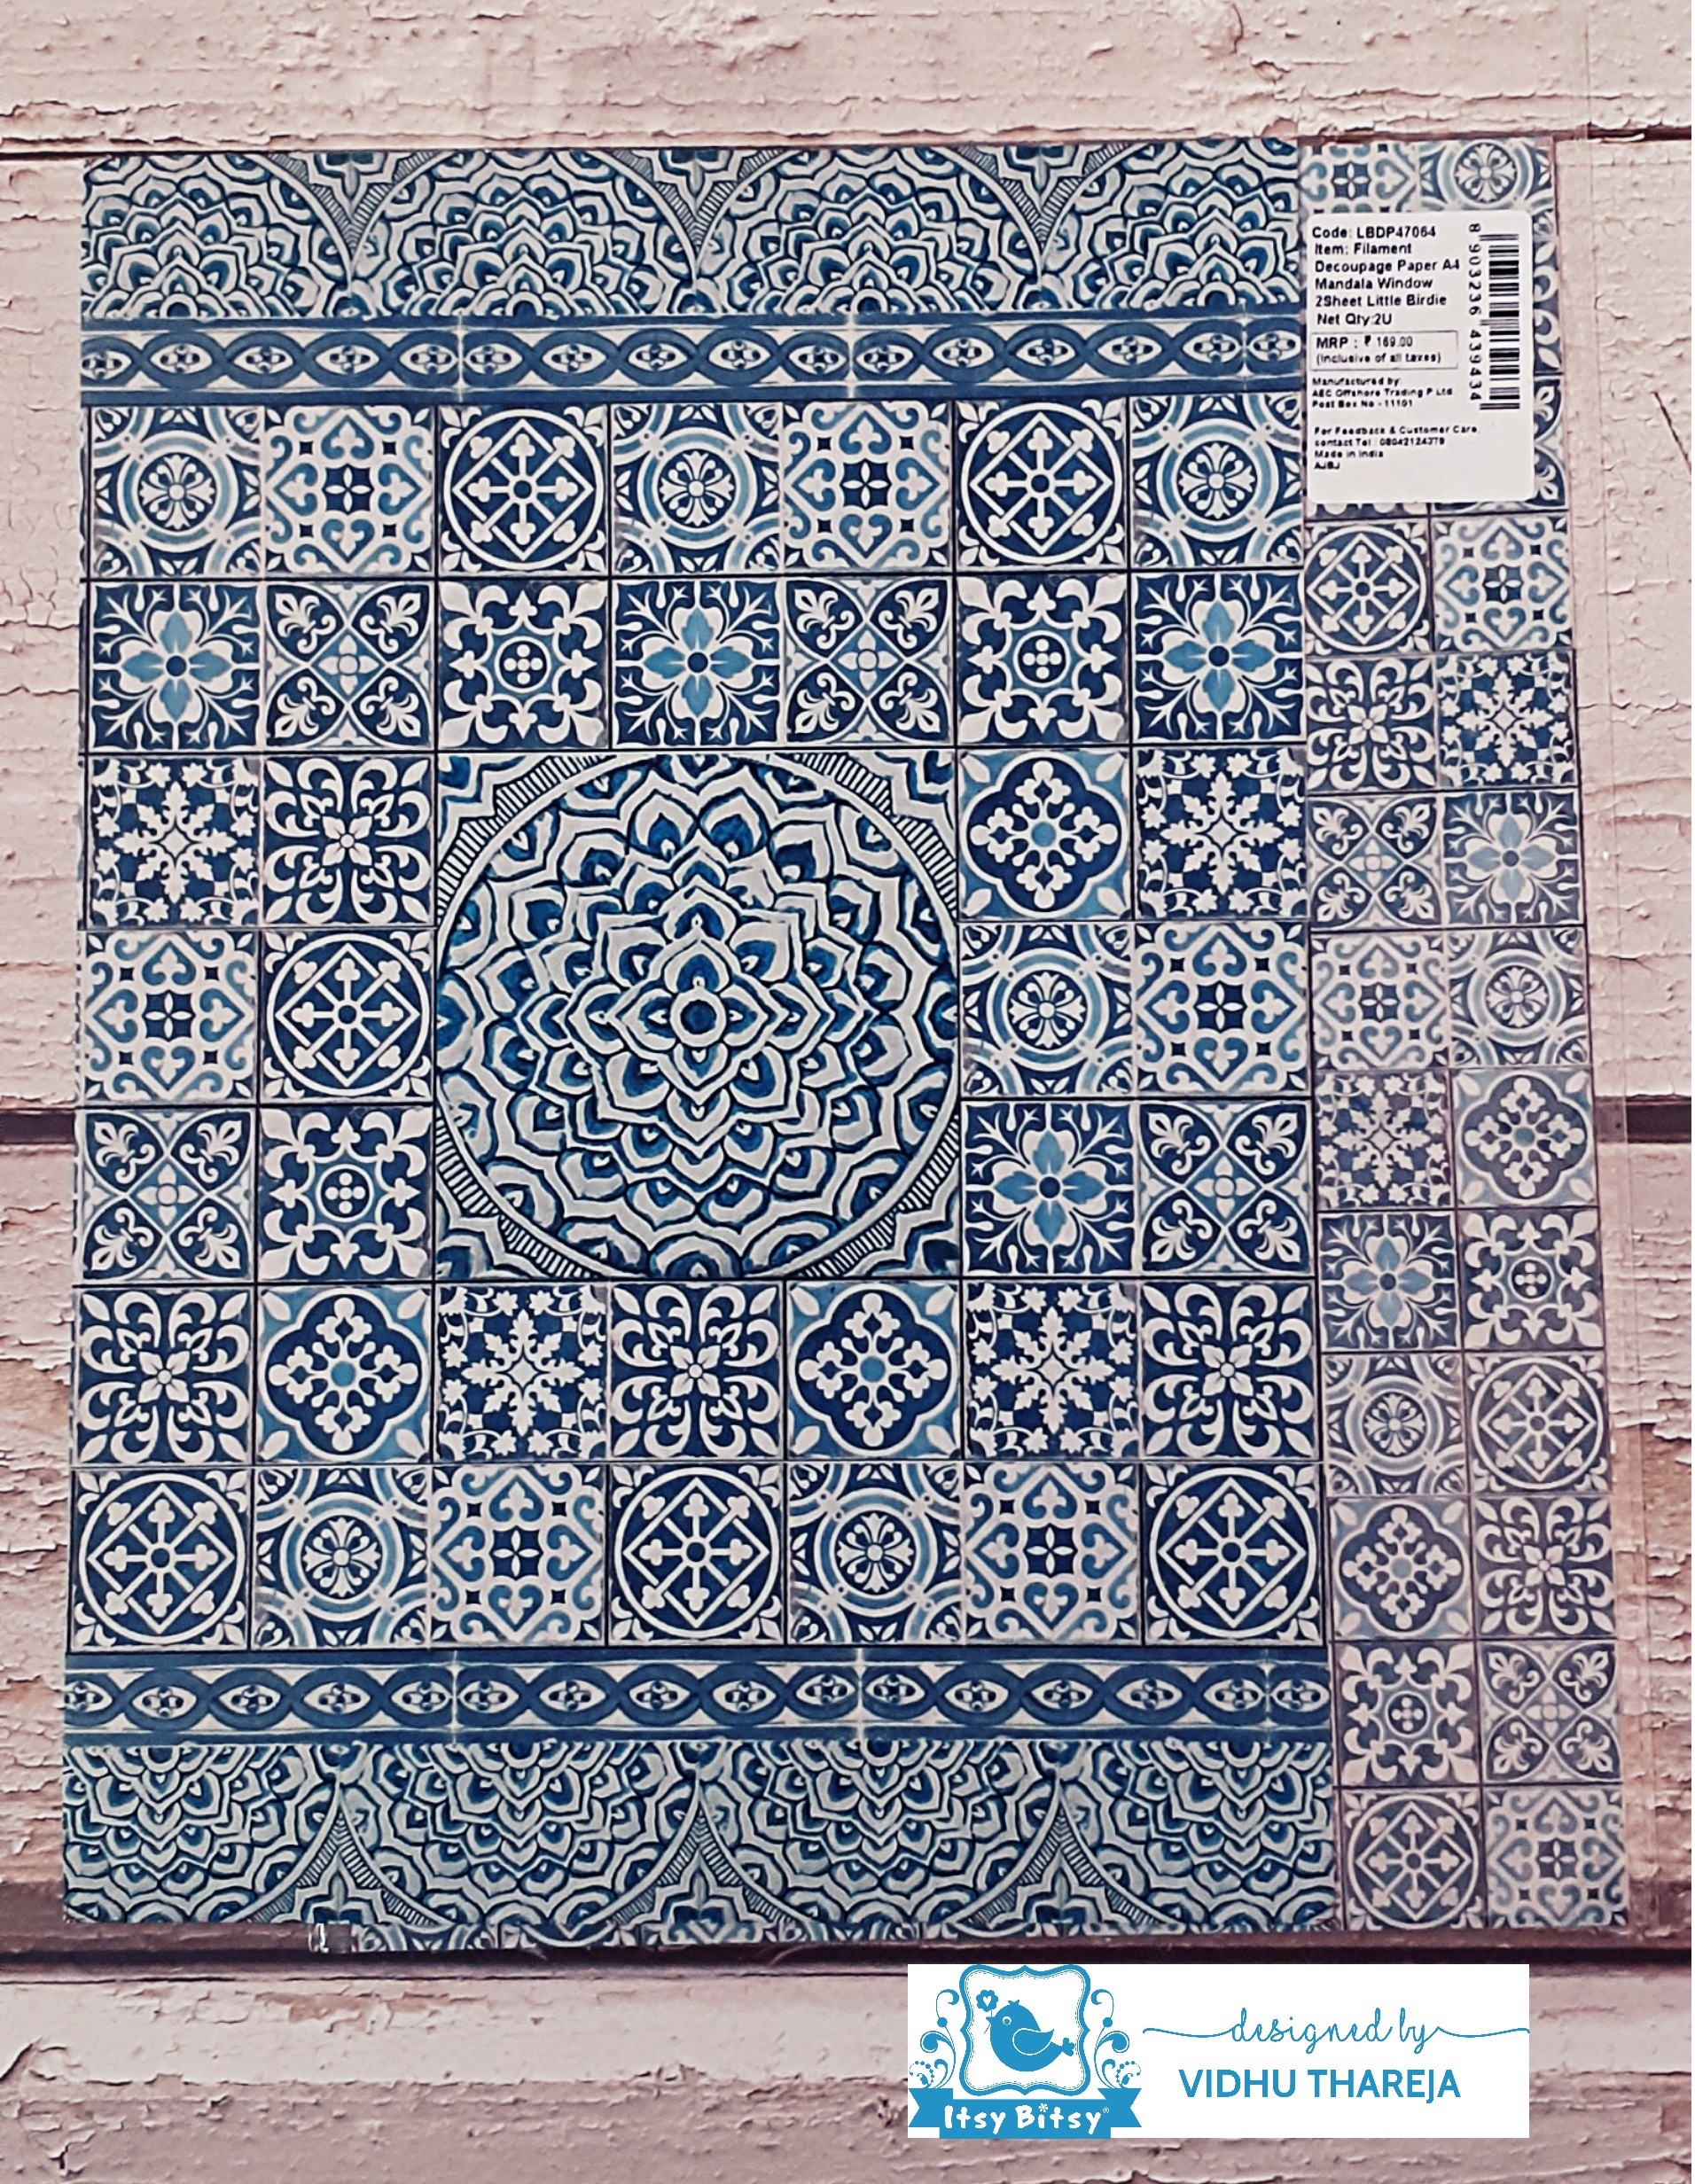
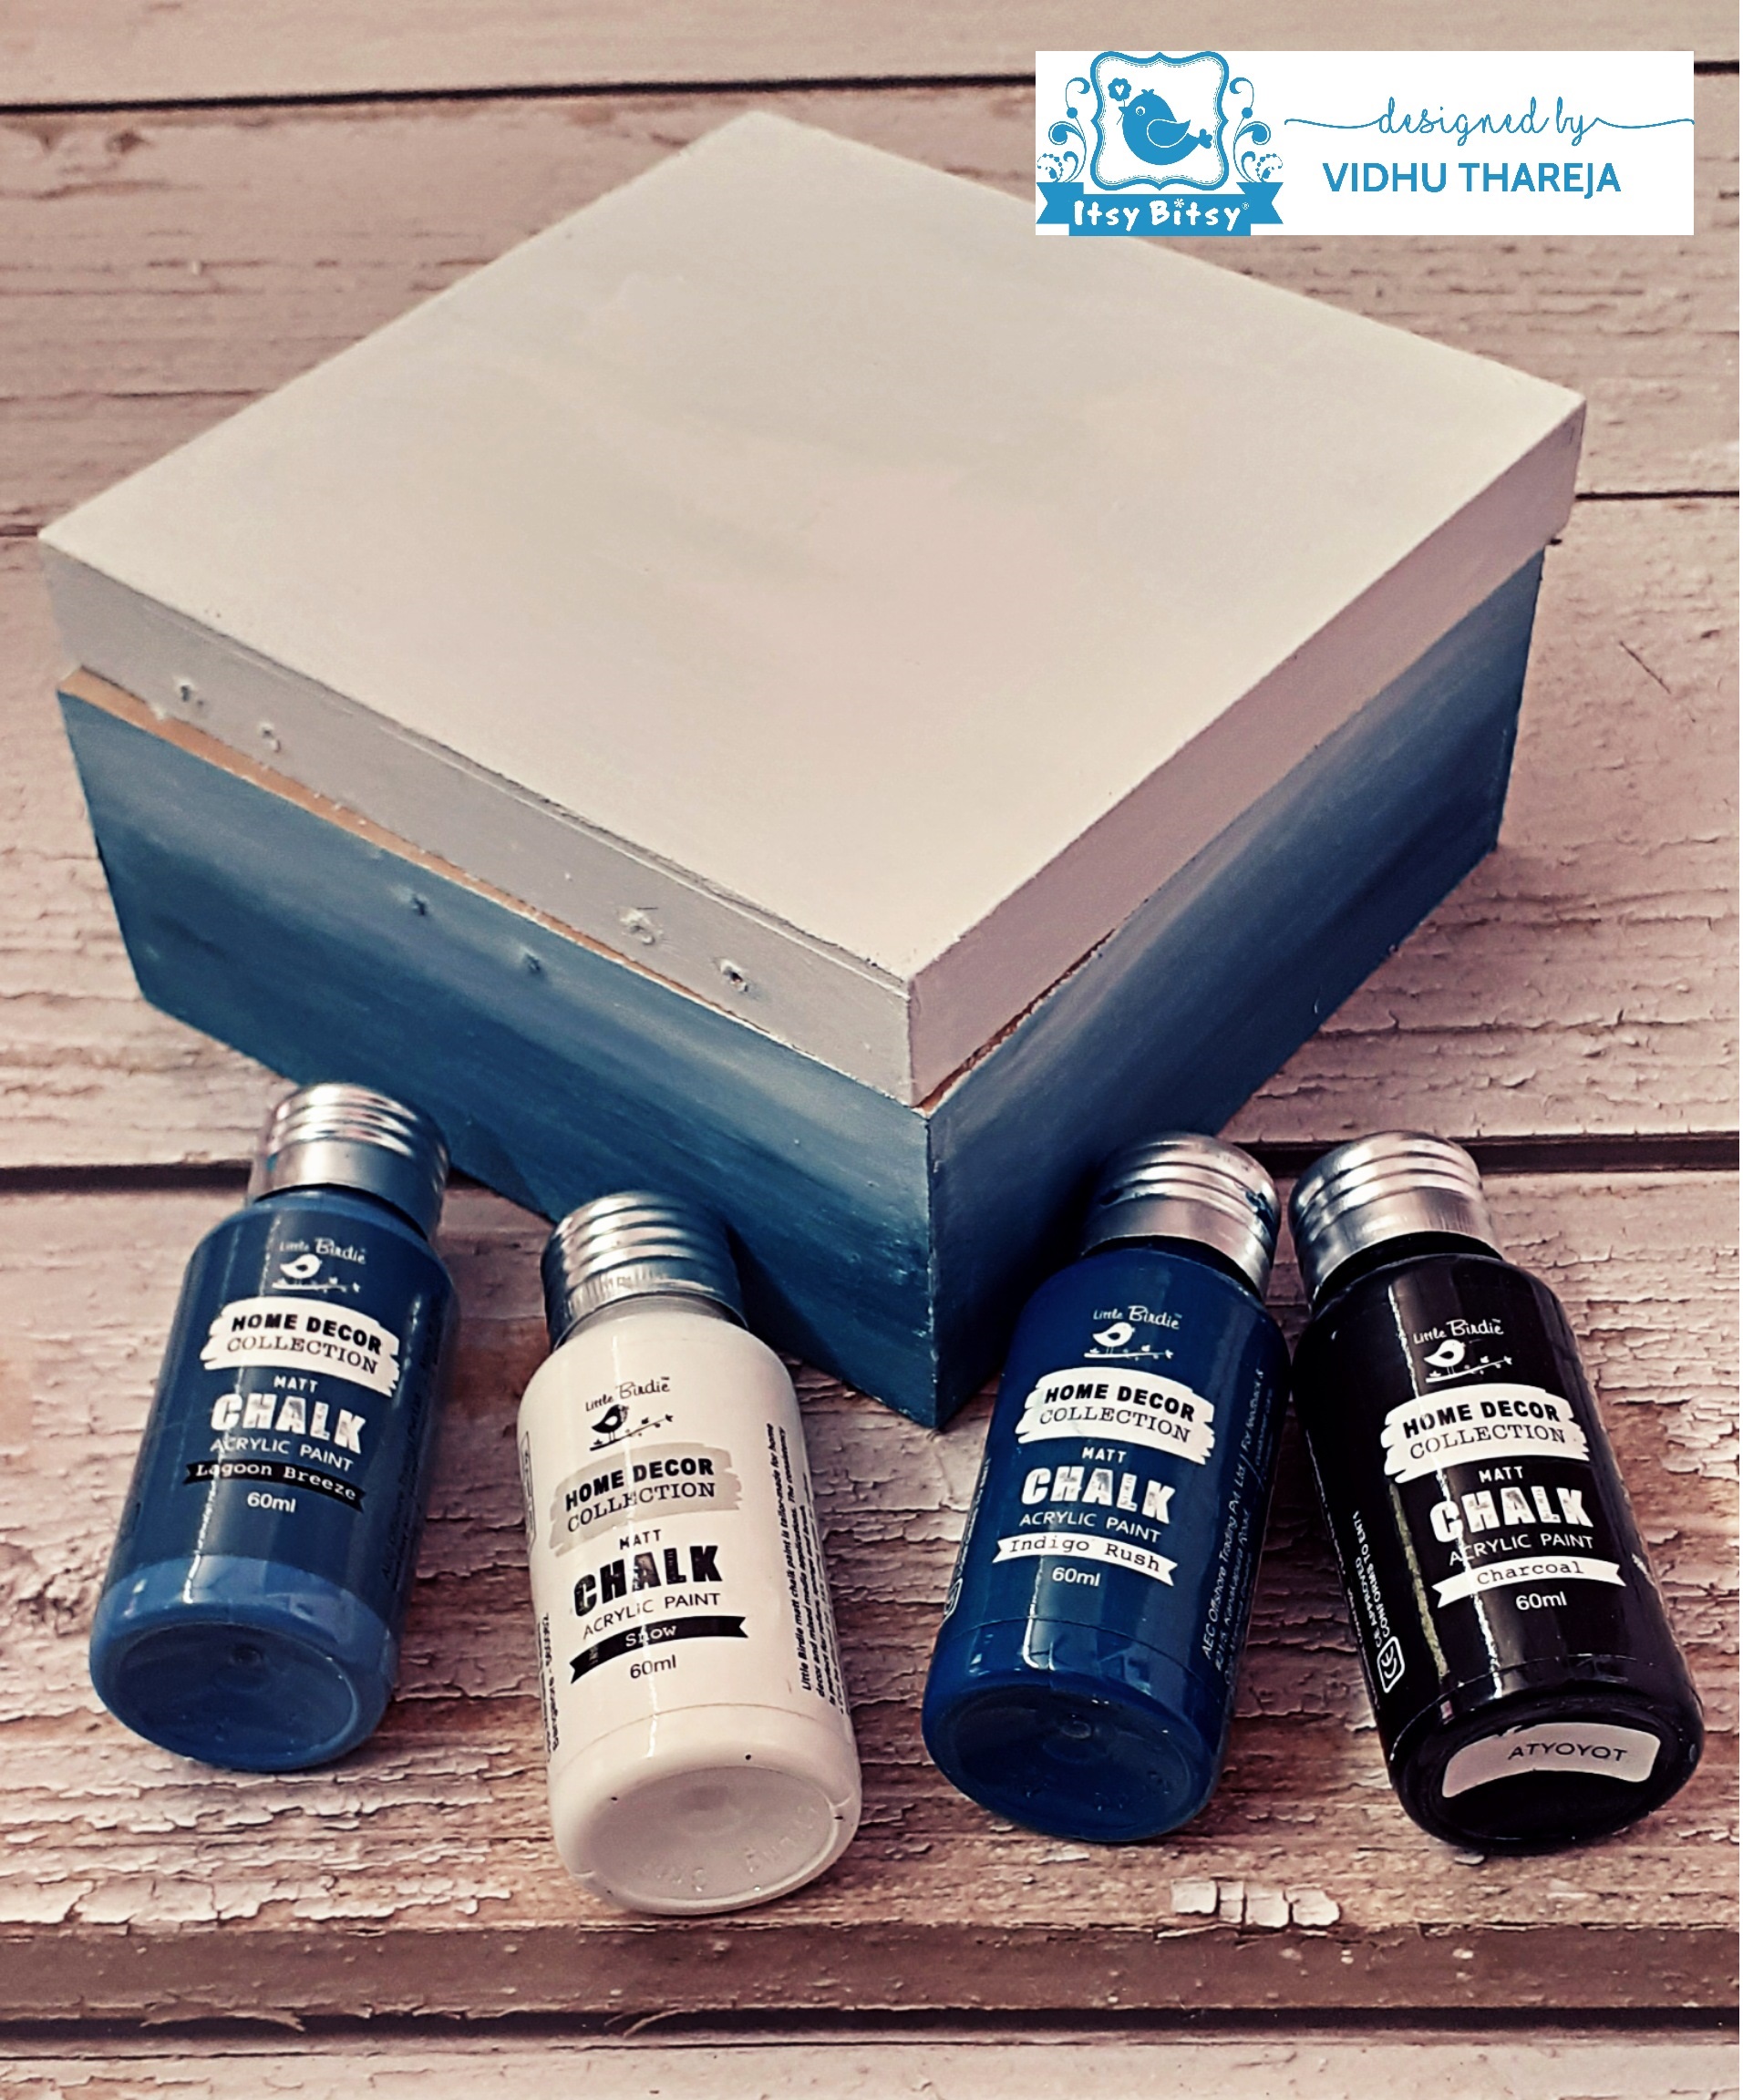
Now it is turn to select the colours that will go well with my paper. I selected Little Birdie Chalk Paints – Indigo Rush, Charcoal, Lagoon Breeze and Snow for my project. I applied Chalk Paint – Snow on the lid and on the bottom part of the box. Decided to blend the Chalk Paints – Lagoon Breeze, Snow and Indigo Rush mixed with little bit of Charcoal chalk paint. Here I have used a flat brush. I have mixed Mont Marte Acrylic Retarder in chalk paint so that paint doesn’t get dry very fast and it also helps to blend the colors easily.
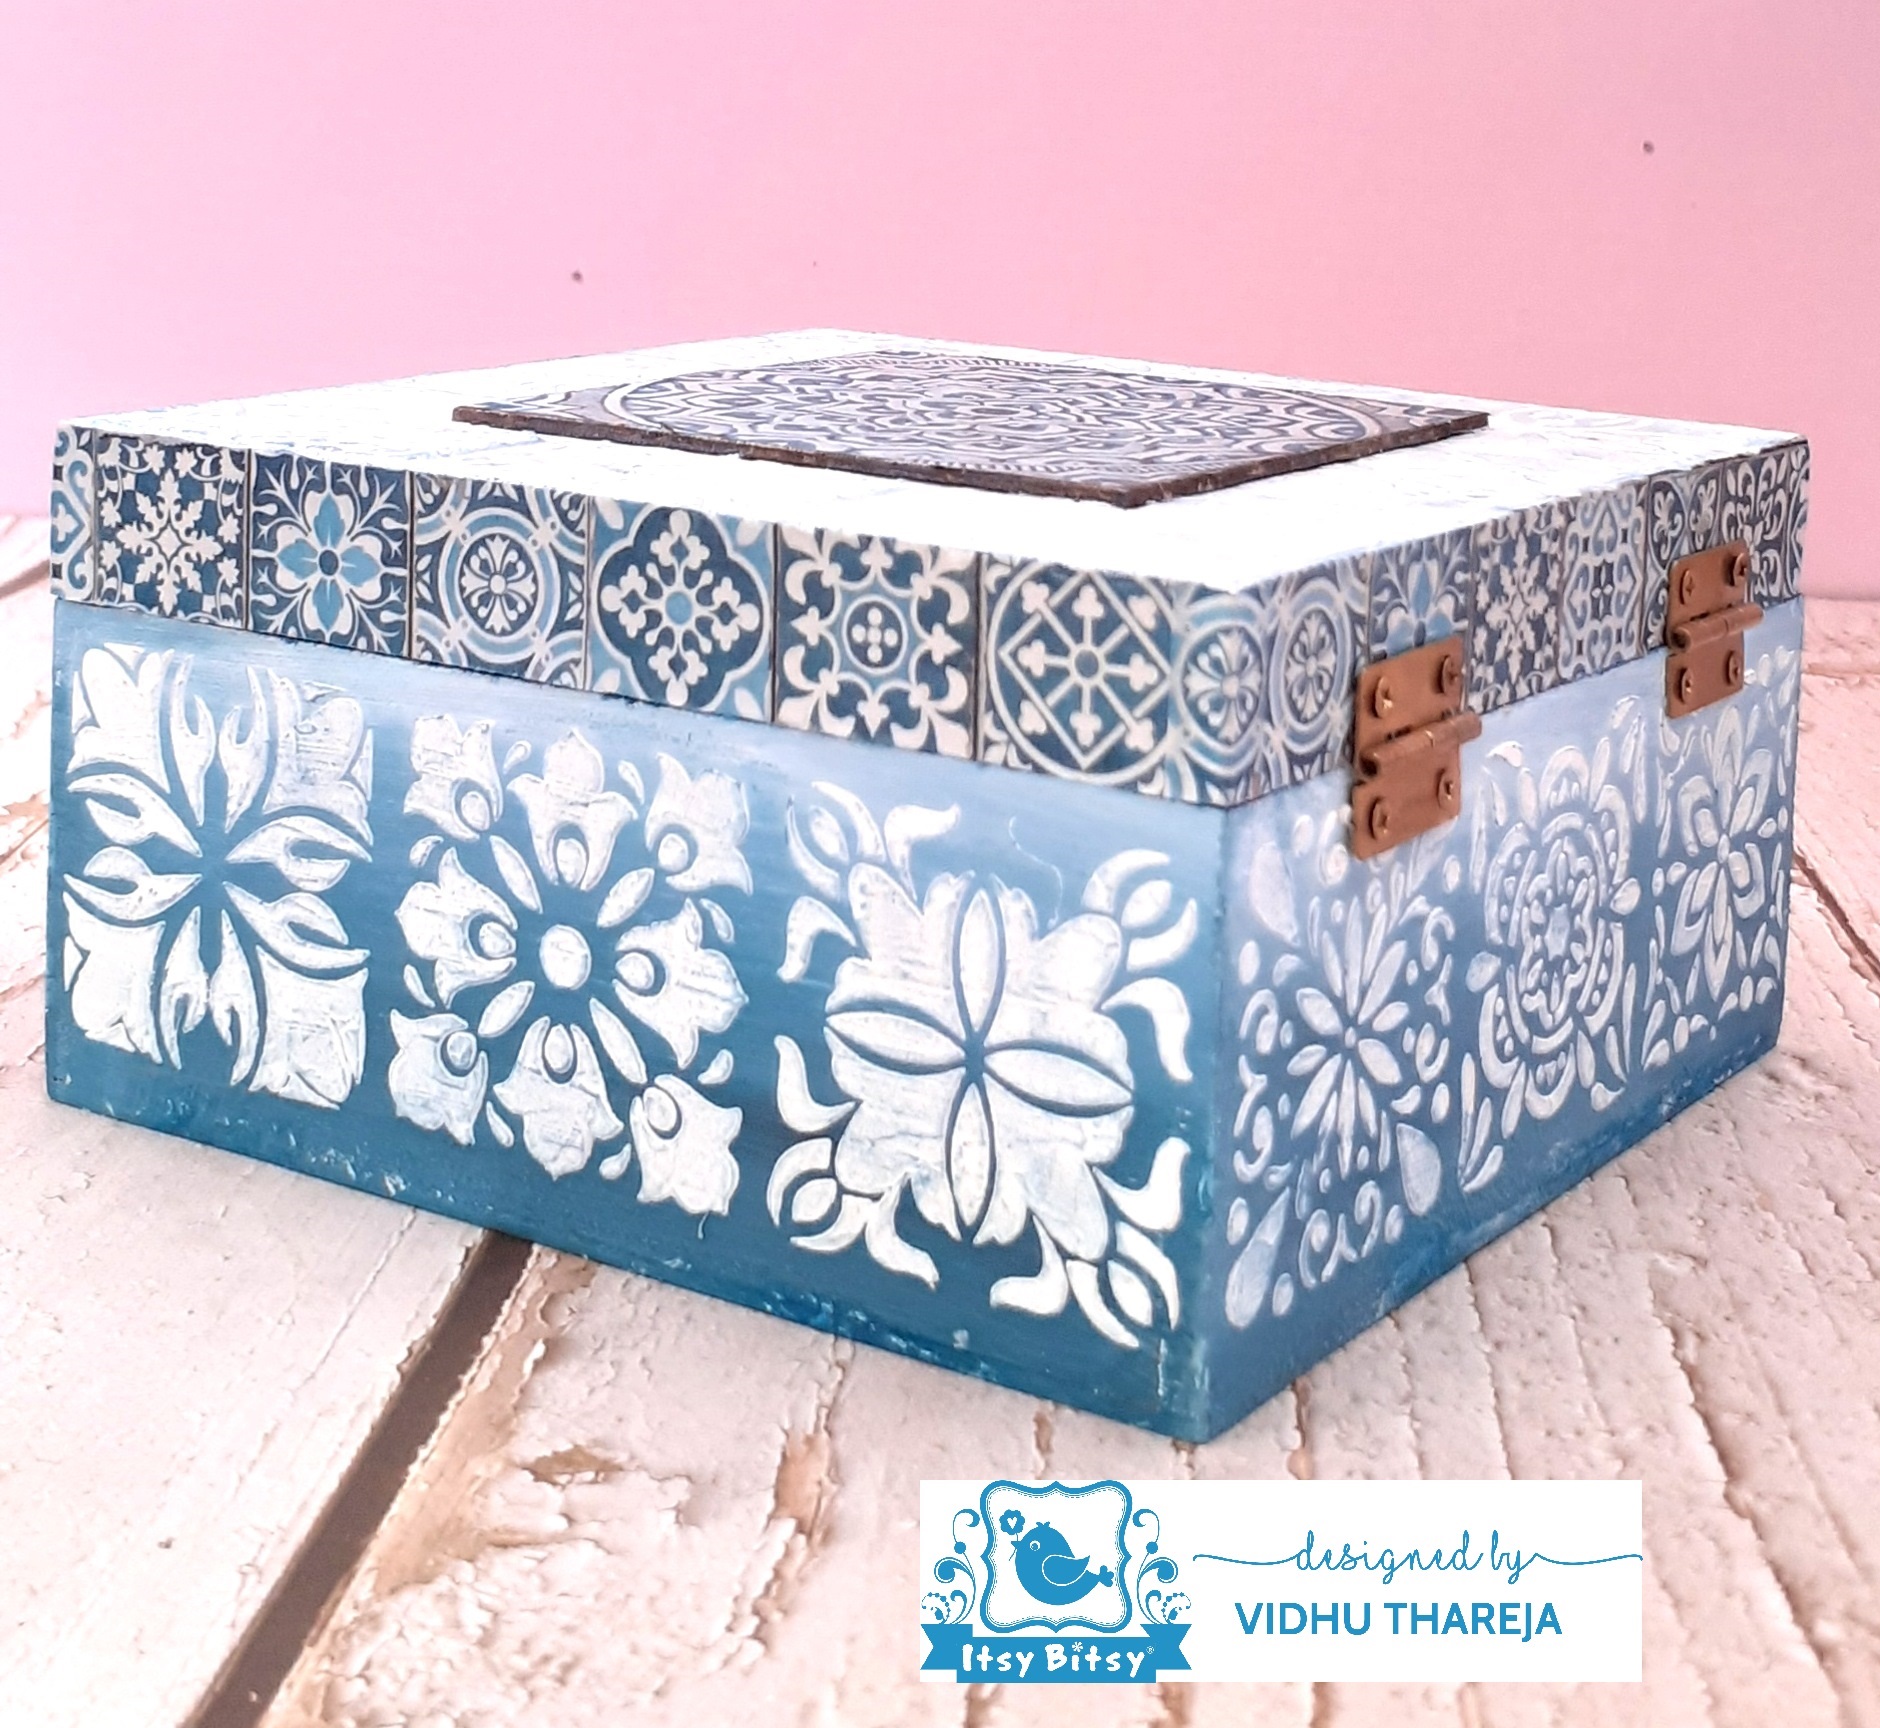
I left it to dry. I decided to incorporate stenciling with decoupage and for the purpose I have used one of my favourite product ‘ Little Birdie Mixed Media Paste- White’. I applied it using a palette knife through a stencil. I did stenciling on top of the lid and on all the four sides of bottom part of the box.

Mixed Media Paste dries very fast. On the lid I did not want a raised effect. My aim is to create a background… so I have sanded it with a gentle hand. This is the most impressive feature of the mixed media paste that we can sand it which doesn’t spoil the stenciled effect.
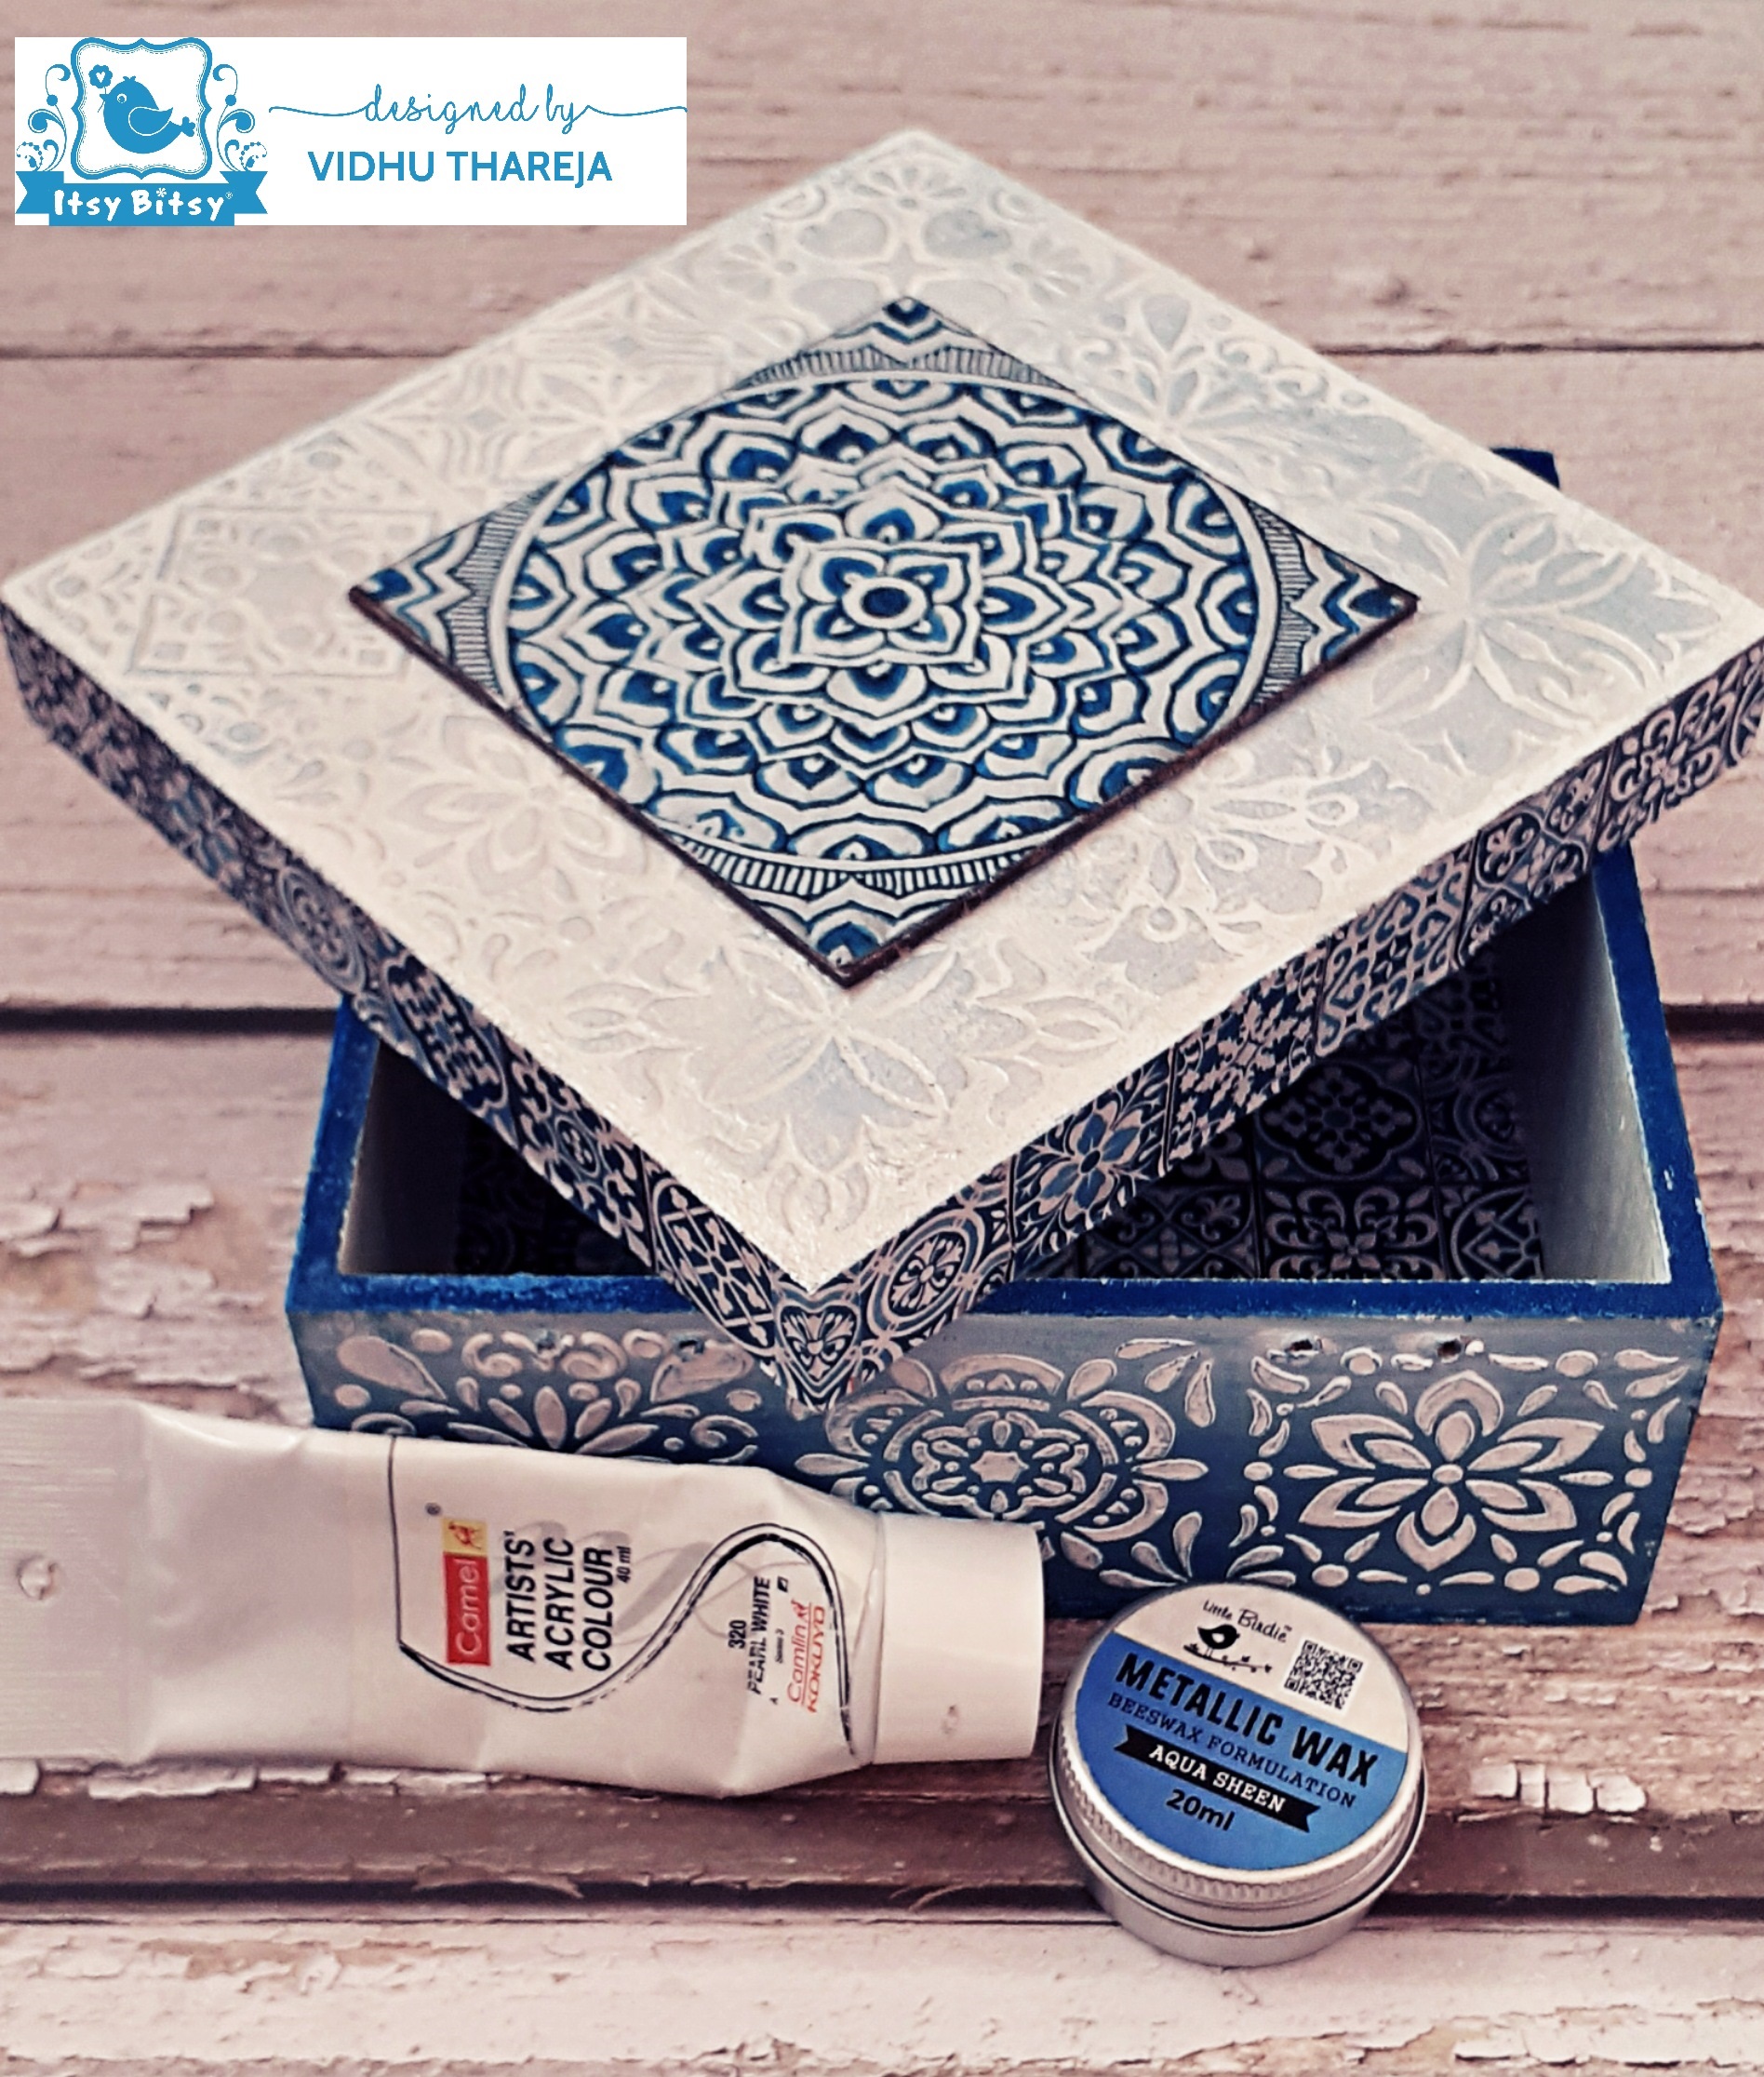
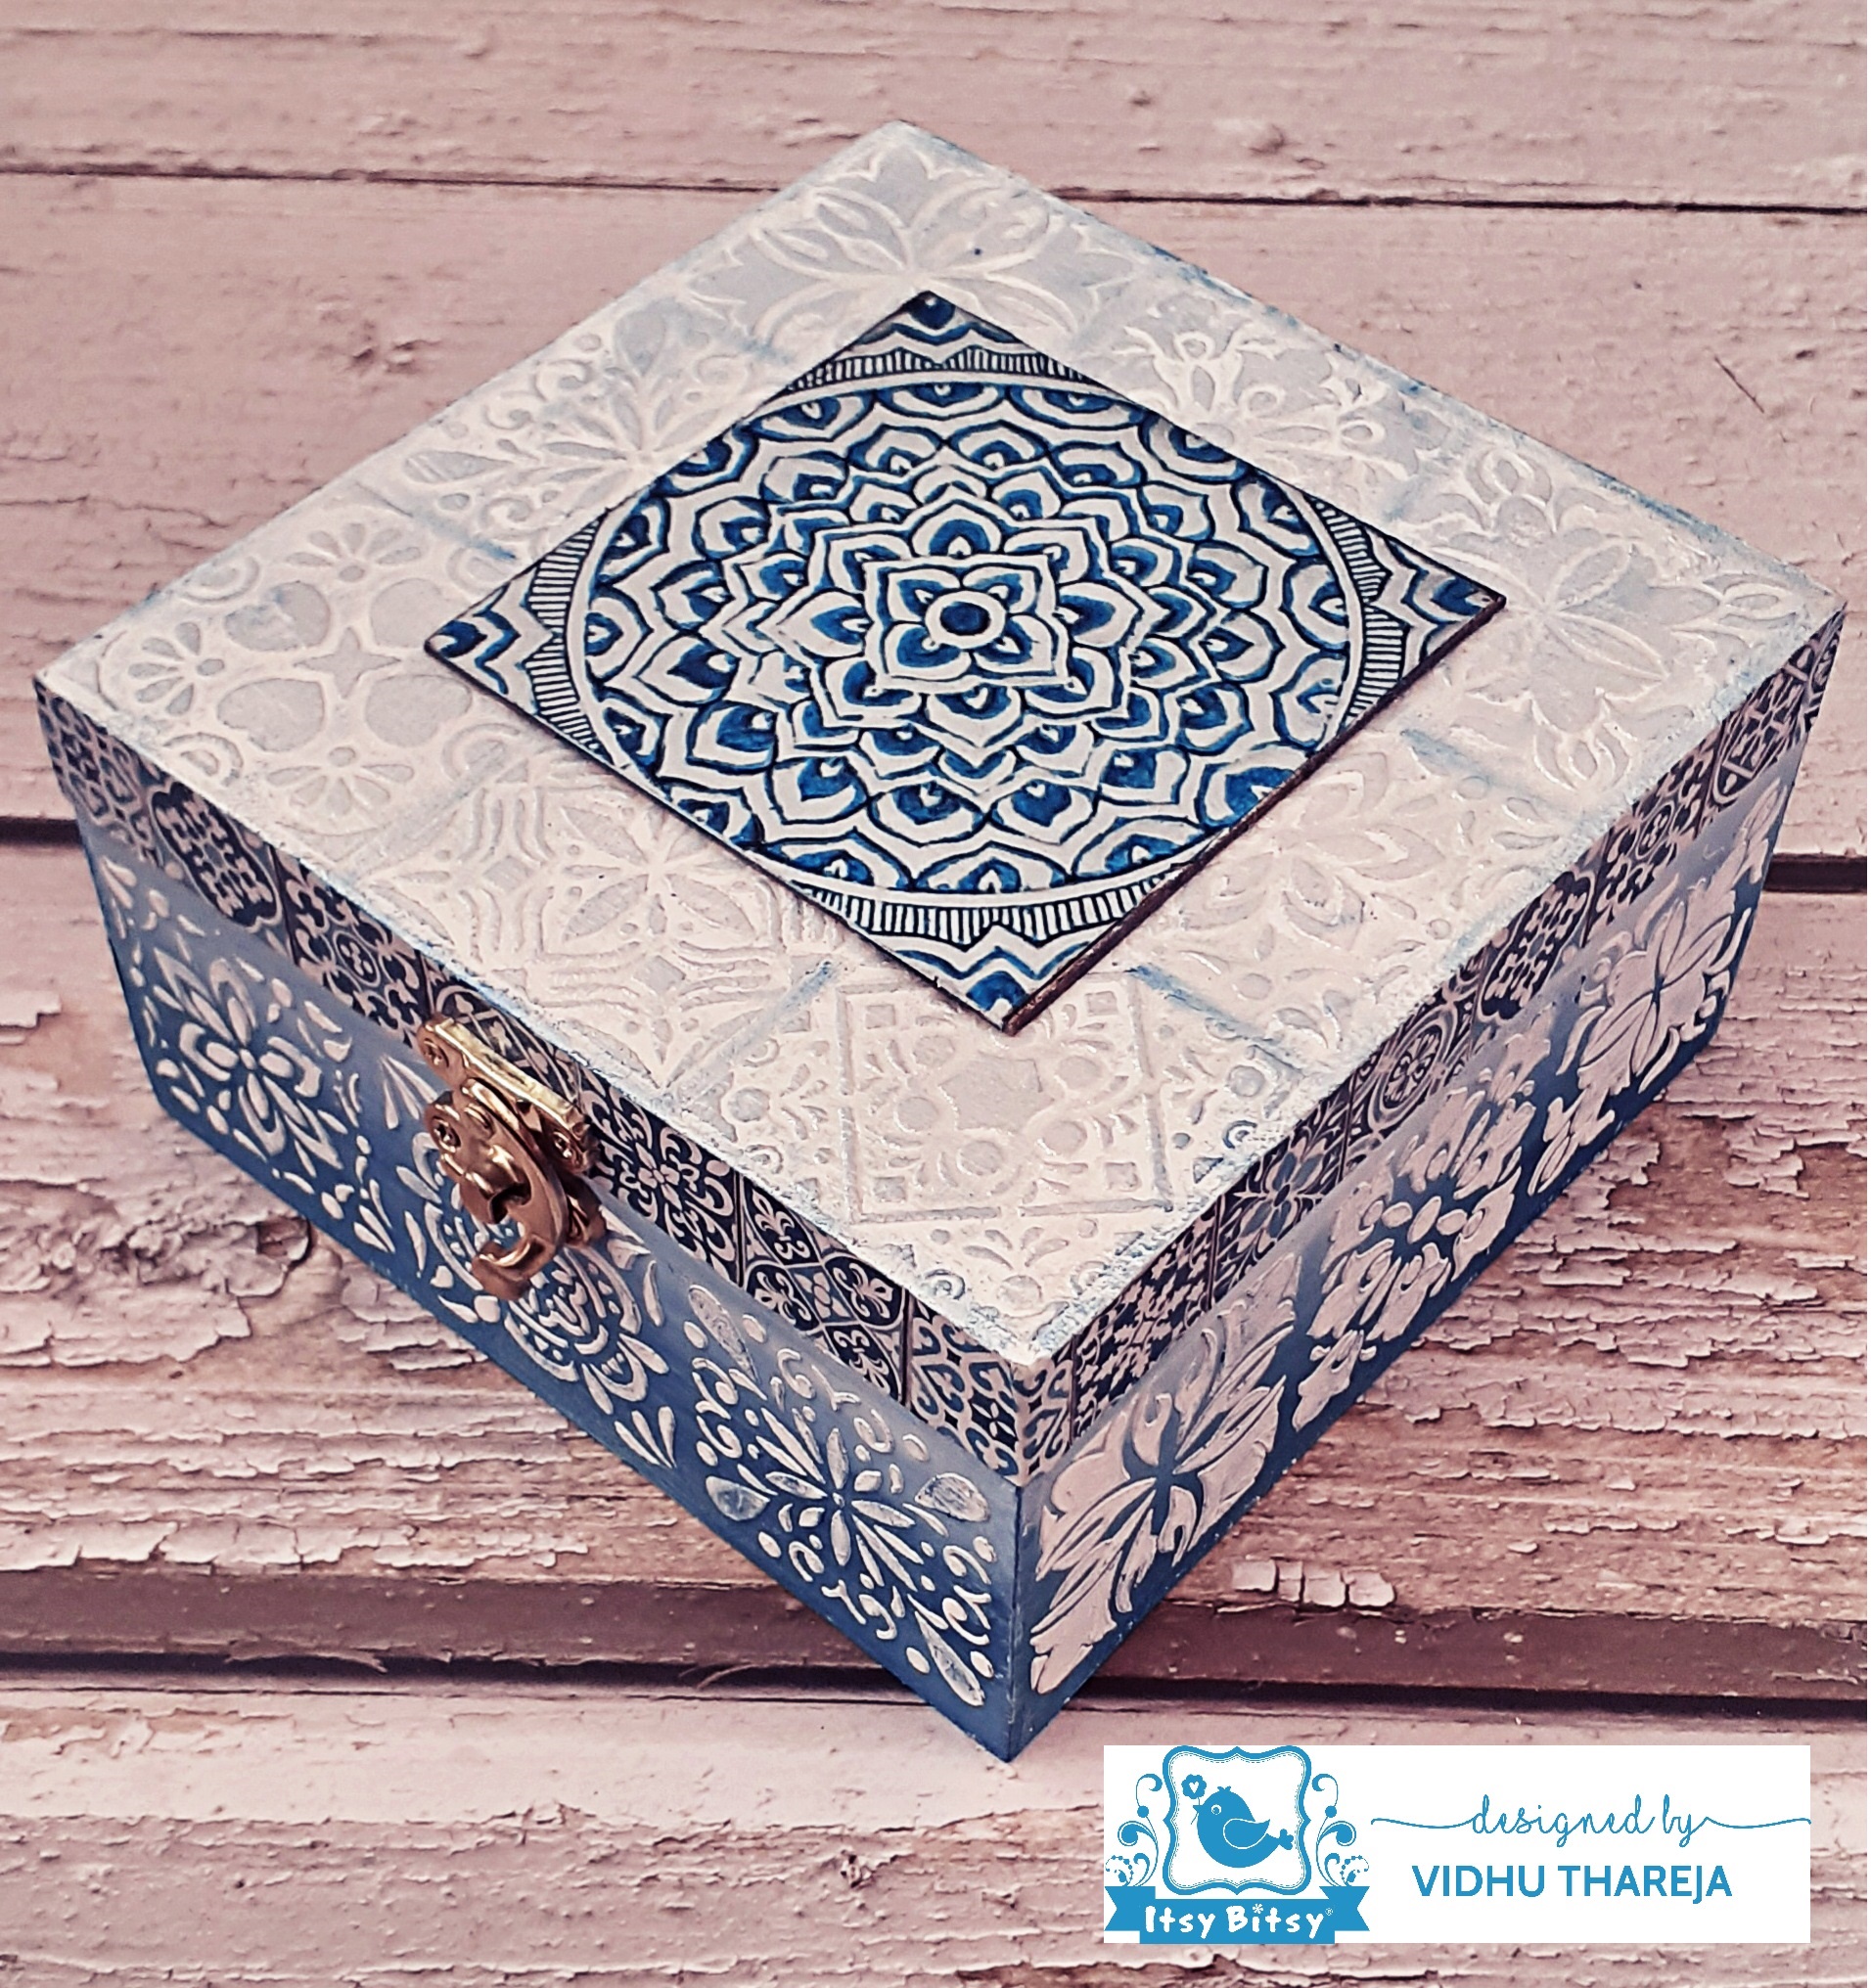
Now it comes to my favourite part of project and that is Decoupage. One sheet of Filament Decoupage Paper had a square mandala design. I decided to use it on top of the lid but instead of adhering it directly, I adhered it on a square chipboard cutout using Little Birdie Deco Magic Glue- Matte. Chipboard sheets are available at Itsy Bitsy. 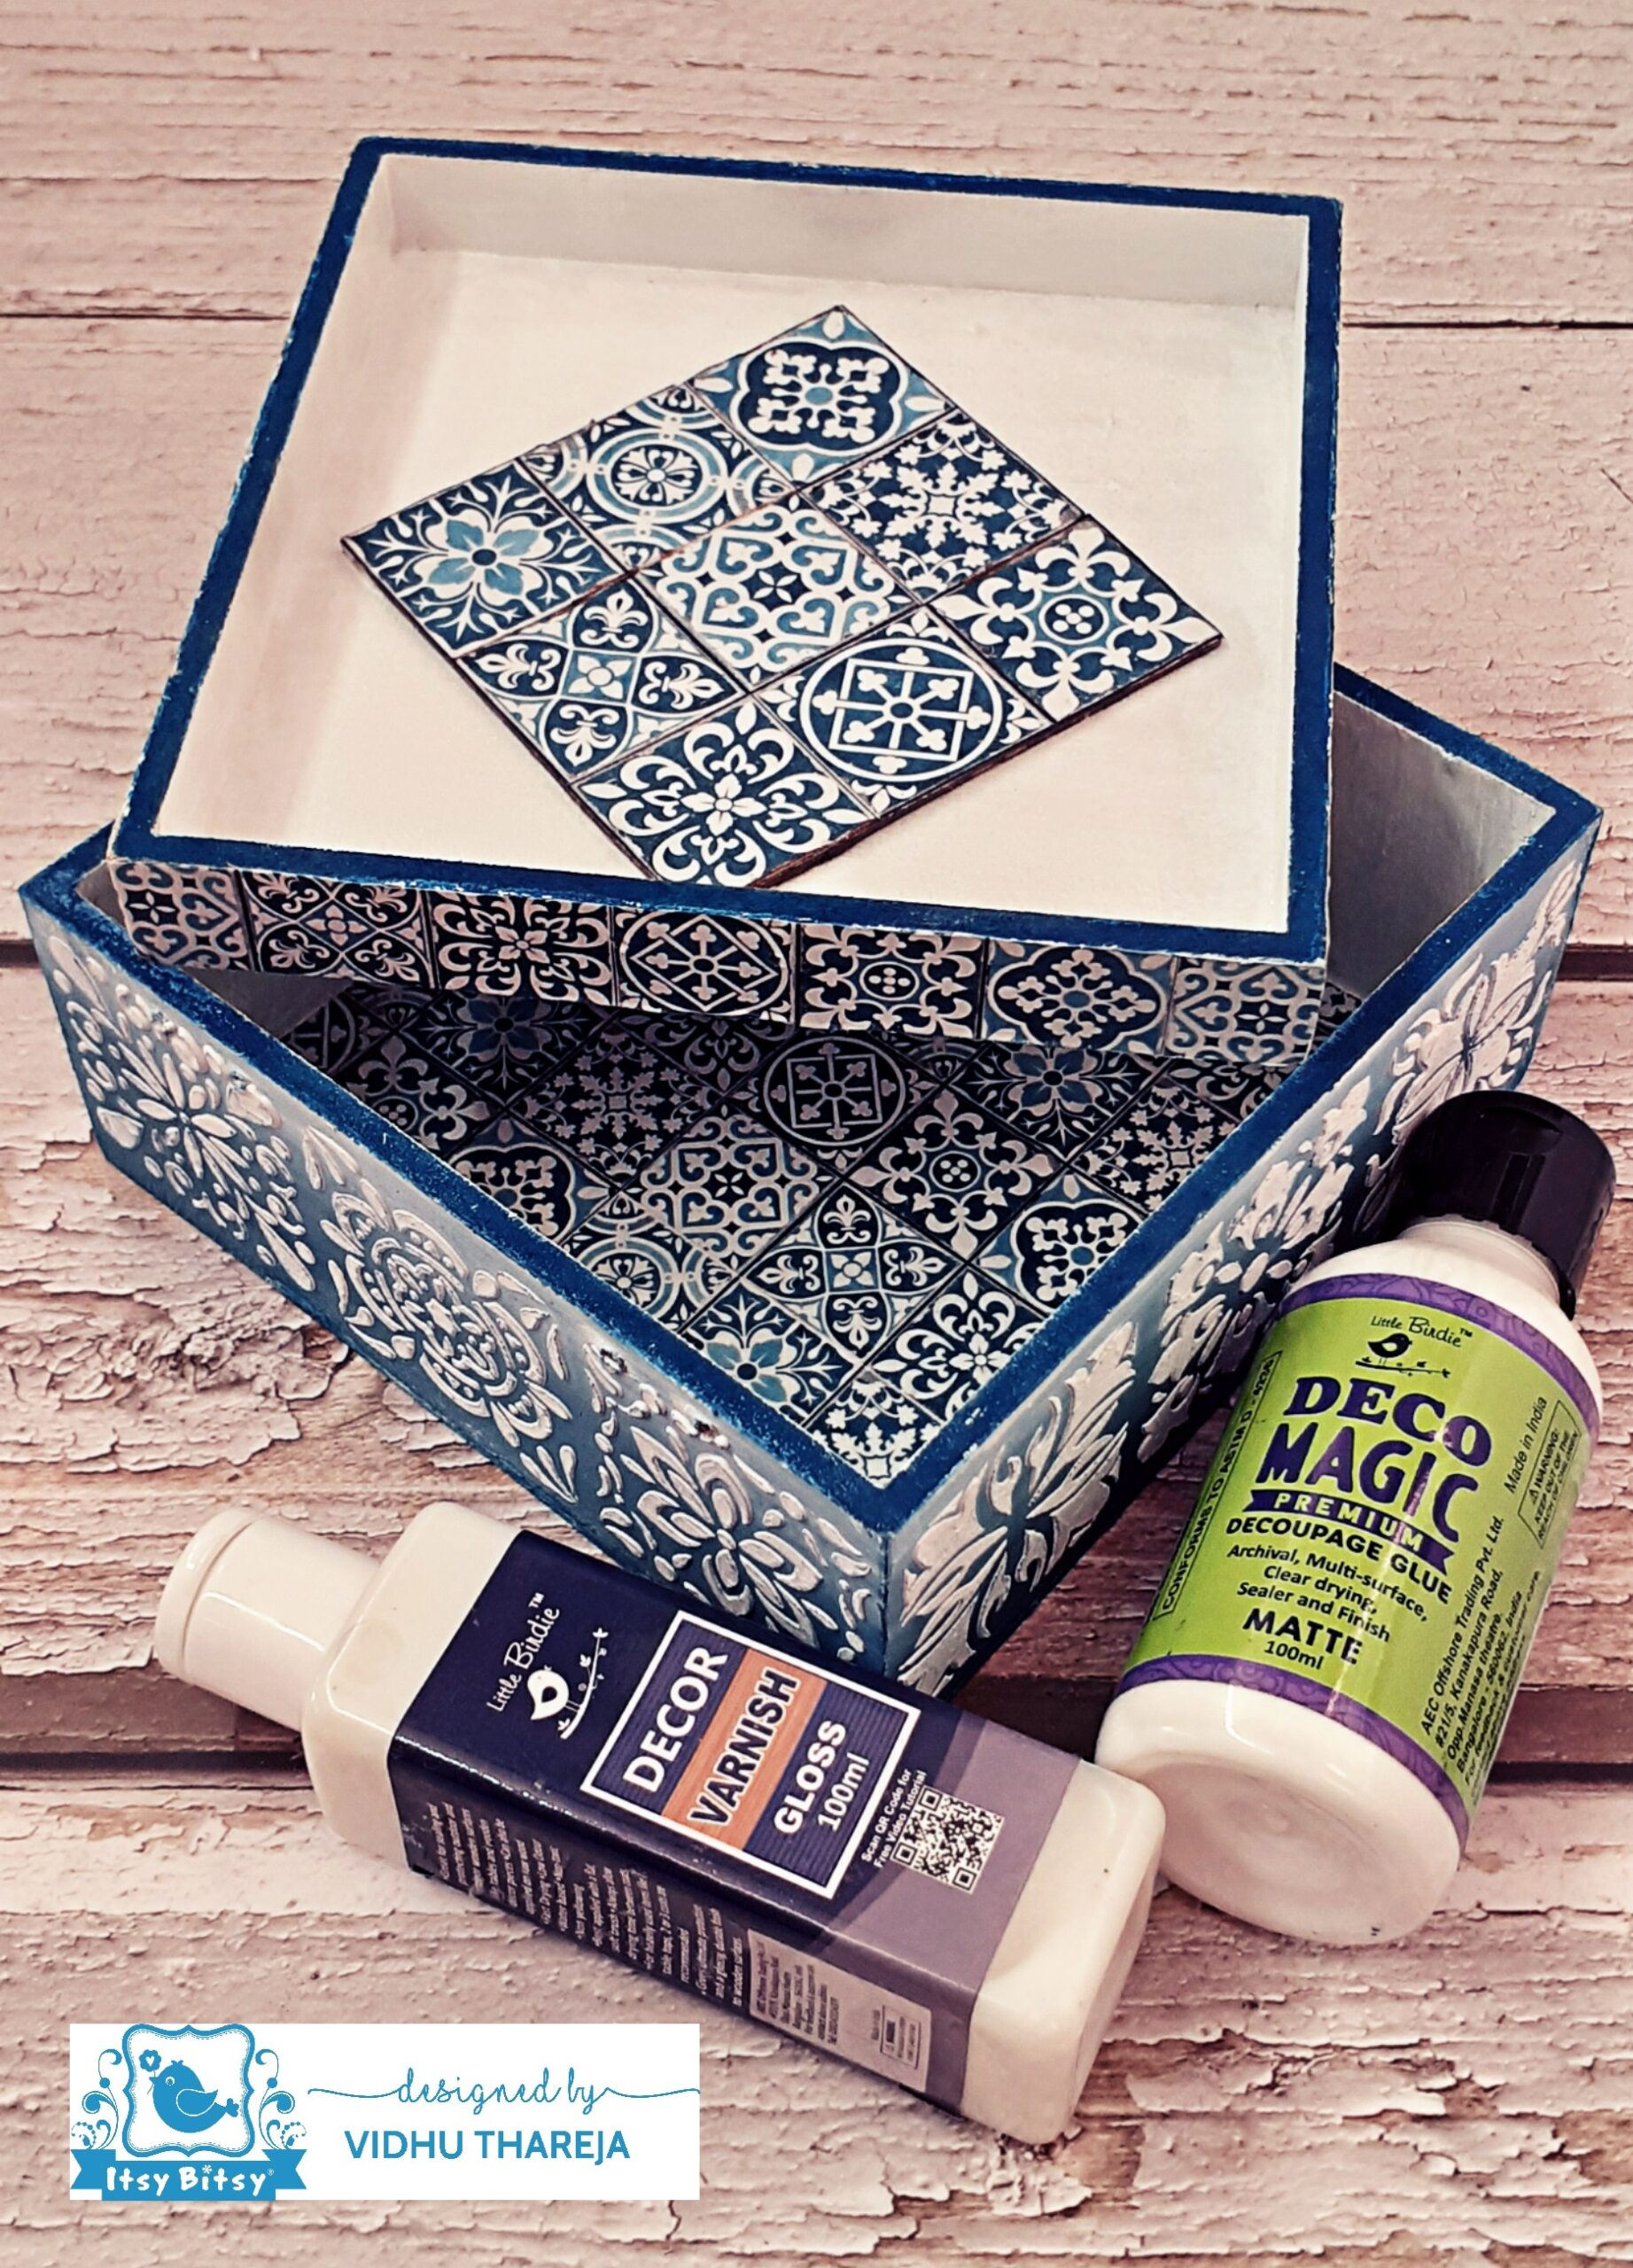
I wanted to add some interest inside the box so I have used a chipboard cutout adhered with paper. I have distressed the edges of chipboards cutouts with dark brown acrylic color before pasting them with the help of Little Birdie PVA Glue on the base. I cut the strips from the second coordinating sheet and adhered it on the four sides of the lid. I adhered the same paper inside the bottom part of the box. I left it to dry and then sealed the decoupaged area with the same Deco Magic Glue and then apply Little Birdie Decor Varnish – Gloss, leaving enough drying time between the coats of glue and varnish. I have painted the rim of the box with Little Birdie Chalk Paint – Indigo Rush. I have not applied varnish on those areas where I have rubbed metallic wax. 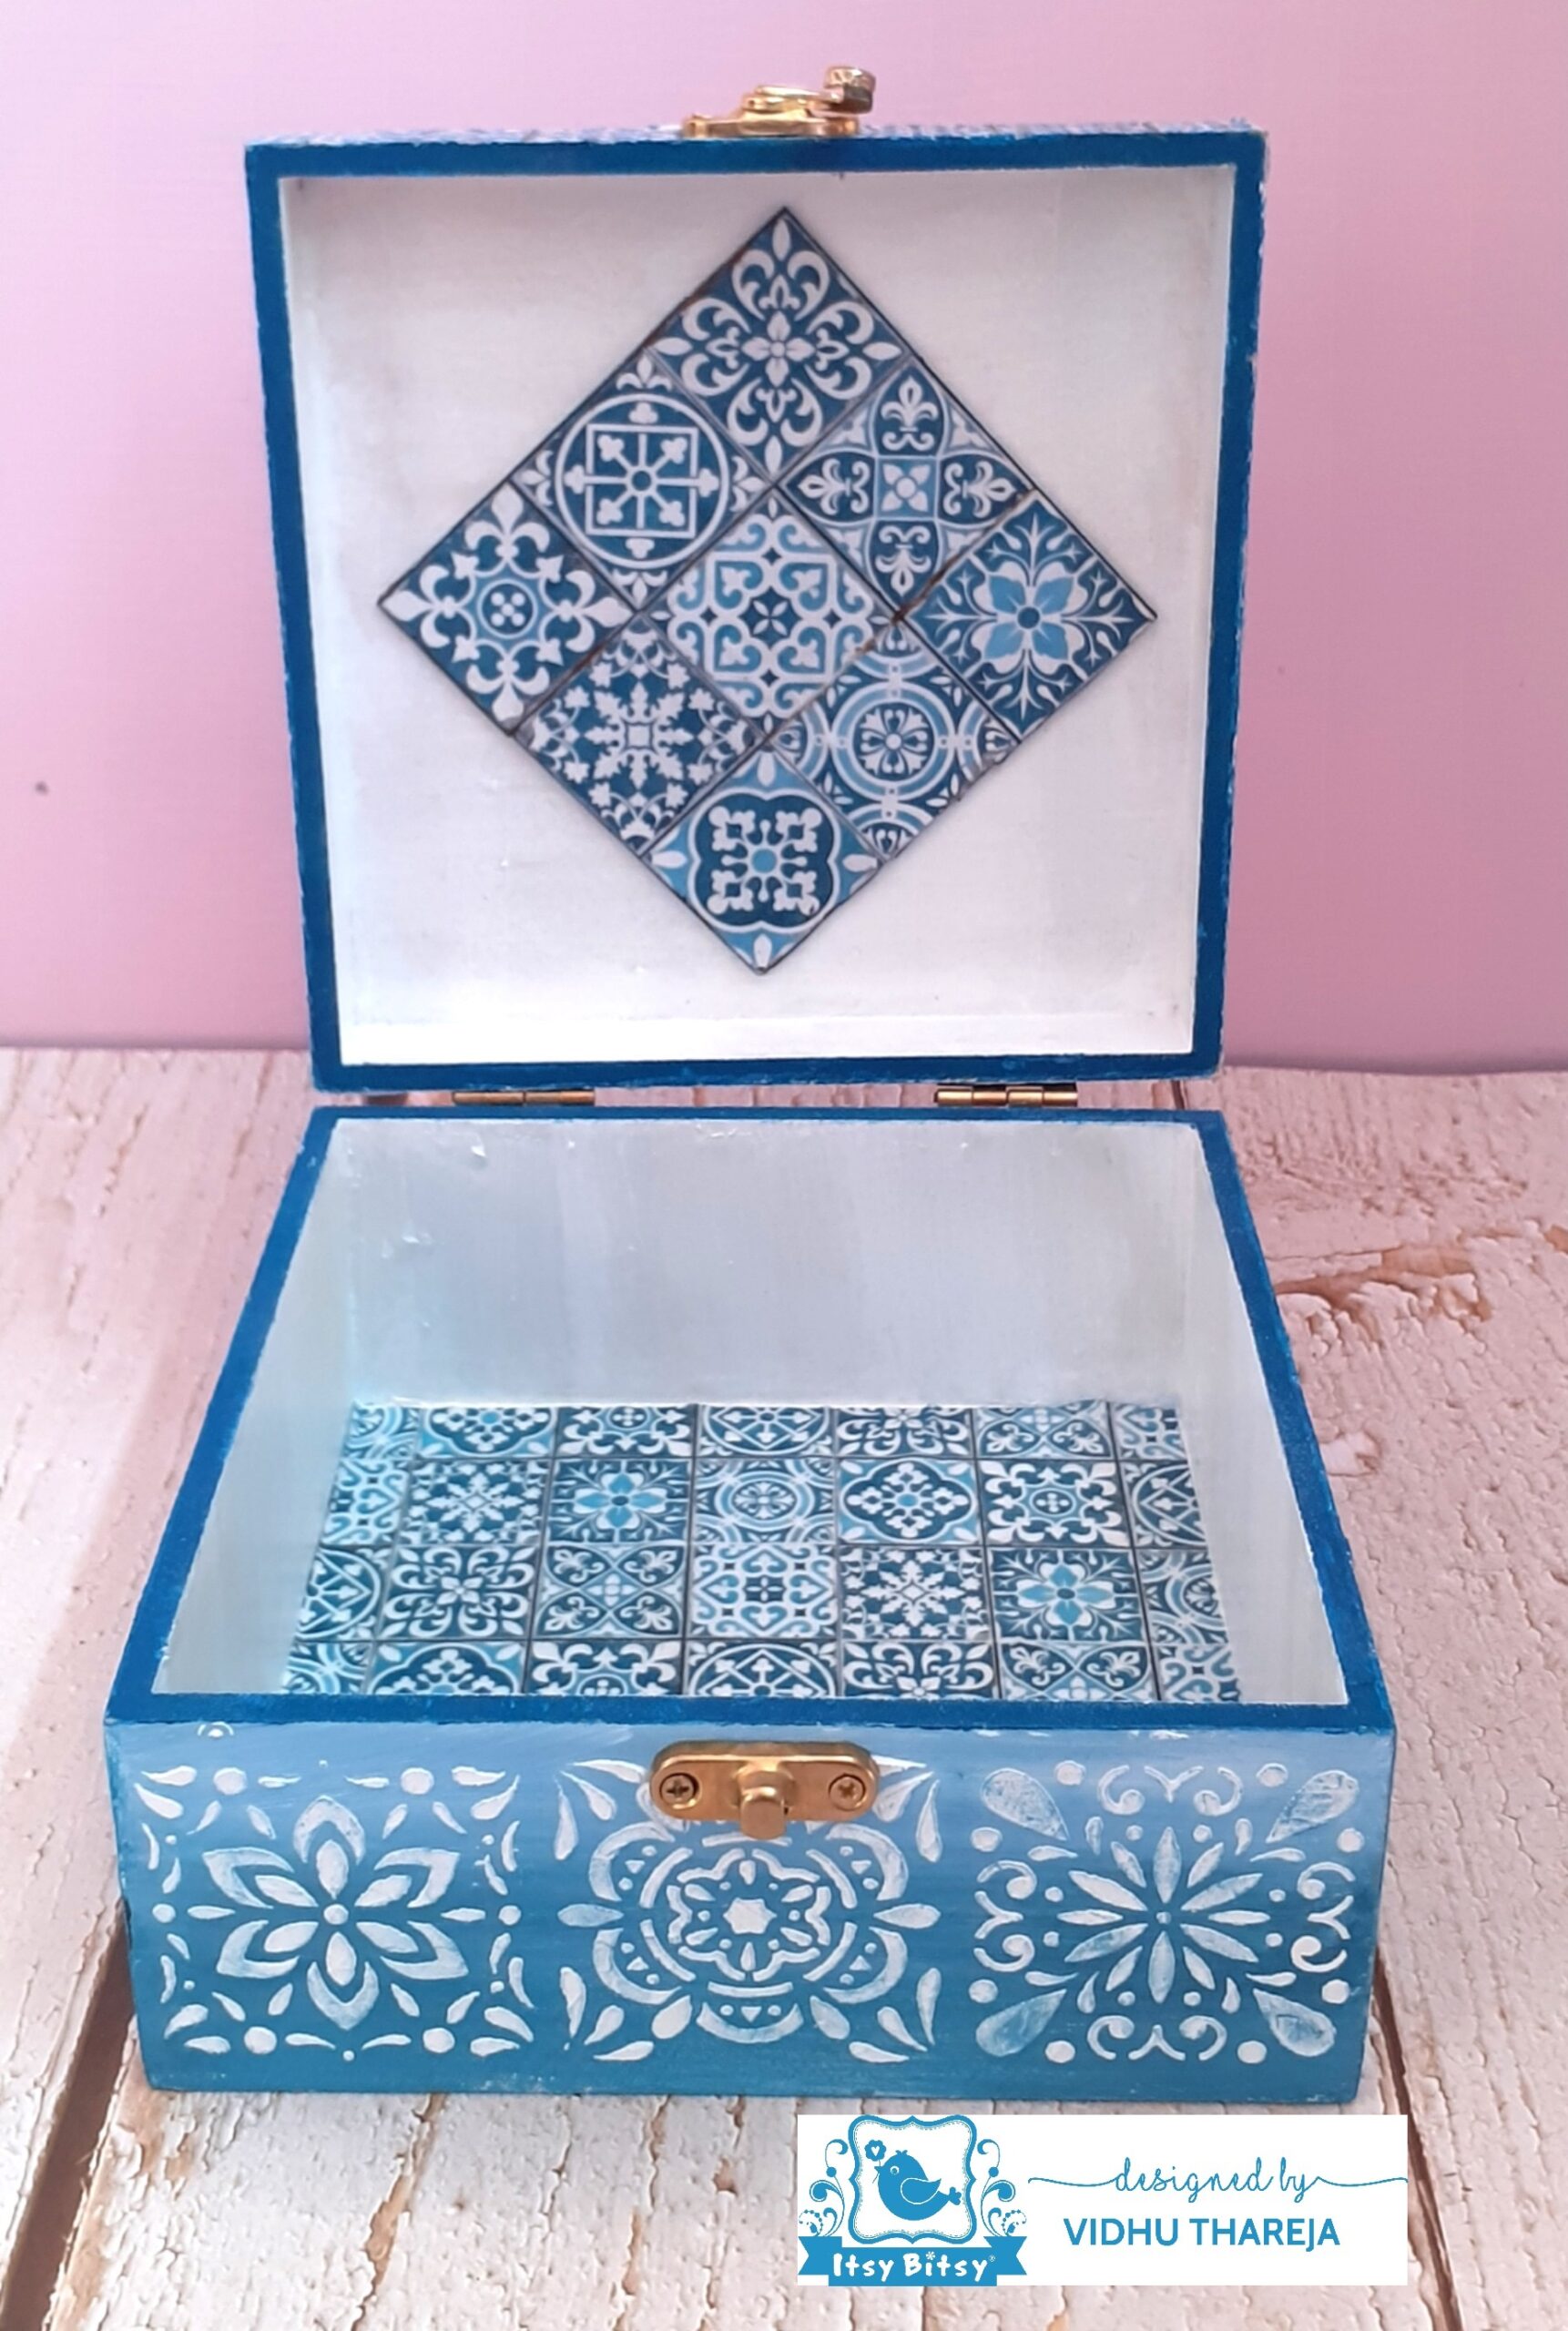
A beautiful box is ready to store all your pretty things. This makes a beautiful gift for all age groups. Sharing a few more images of my project….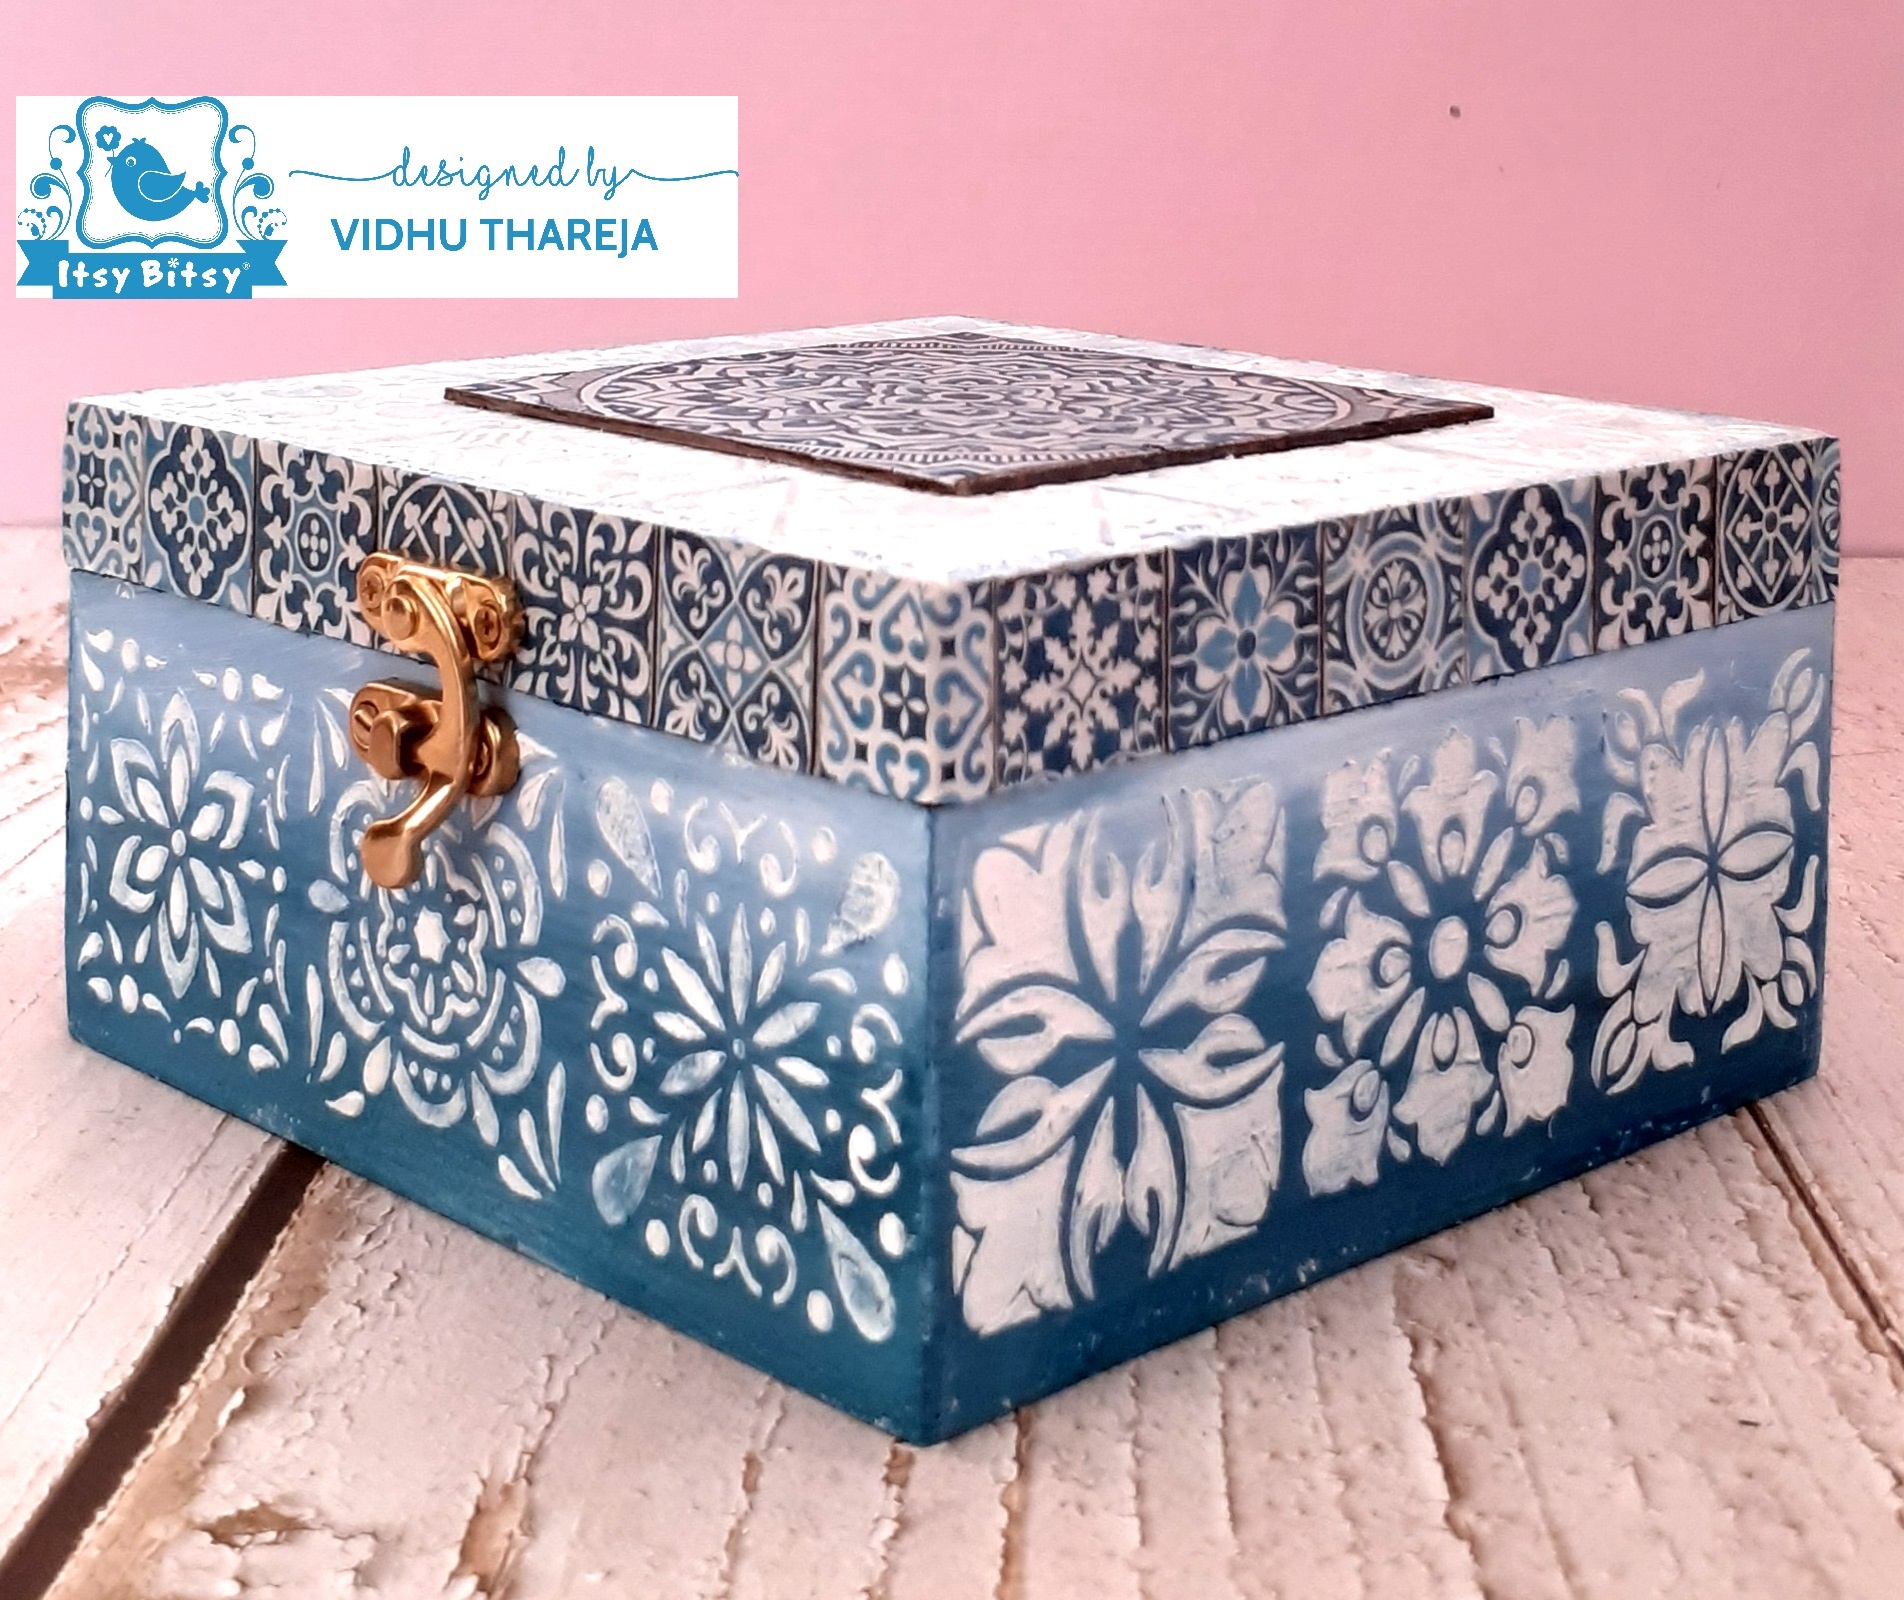
I hope you liked my project and it inspires you to create something unique and beautiful for yourself or your loved ones. Do not forget to share your beautiful projects with all of us.
I am excited to inform you that all these products come with a unique QR code!
Point your mobile phone at the QR code on the product & scan them to take you directly to our YouTube links where you can see how each of these products are used! Check out all our new products for QR codes in the future ( this will be either on the label or on cap of the bottle).
Use code VIDHU5 to buy any product at www.itsybitsy.in and get 5% discount on your total bill.
Happy Crafting…
Vidhu Thareja
List of material used;


