Hello friends!
It’s Vinita here. I would love to show you how to create easy art using basic acrylic paint pouring techniques in two styles! As this month’s blog challenge theme is Acrylic Pouring….here is an inspiration for you!

Have you seen those crafty paint pouring videos popping up at Itsy Bitsy Instagram and Itsy Bitsy Crafter Cafe FB page? I’ve been seeing them everywhere and I can bet Acrylic Pouring Art is just so much fun!
If you are yet to try it, you are in for a real treat! Let’s get started….
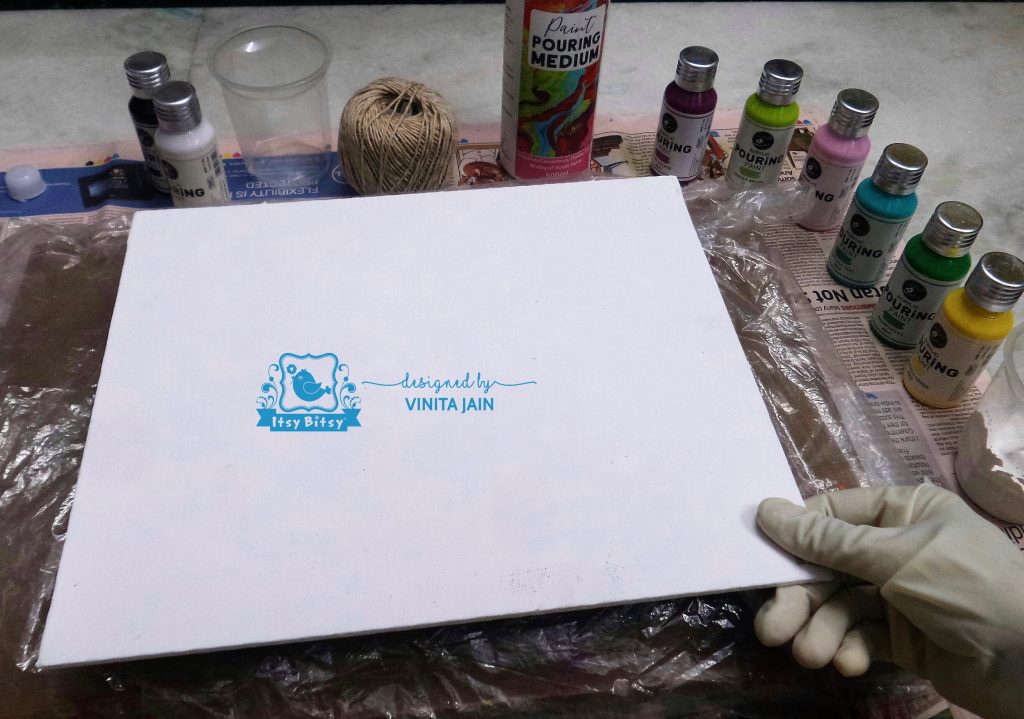
First, you will need to collect all the supplies and prepare your work-space.
Acrylic Pouring Art can be a messy process and paint will run off the canvas so take precautions to protect your work surface and floor. I used some newspapers, plastic sheet, and also used a circular stand to catch the bulk of the paint runoff and it was also helpful to lift my canvas.
Work-space supplies:
- Newspapers, paper towels, plastic sheet
- plastic cups/glasses to pour your acrylic colors
- Gloves
- Any type of stand to lift up your canvas
- Ice cream sticks or any other type of sticks to mix the colors and medium
Painting Supplies:
- Canvas
- Acrylic pouring paints
- Acrylic Pouring Medium
- A Thin Plastic sheet for the technique
Now let’s mix our paints!
Tip and technique: Successful pouring art is all about paint consistency. The pouring recipe I prefer is 1 part acrylic paint and 2 parts acrylic pouring medium mean 1:2 ratio. You can go ahead and experiment according to your choice. It doesn’t matter whether you add the paint first or the medium first, but it does matter how well you mix it. It is also important when you mix your paint to stir and not whip. Whipping created air bubbles. And let the stirred mix sit for at least 15 to 20 minutes for better results.
Now the paint is free of air bubbles. Its time to load the cup.
Flip the cup Technique No. 1
My first technique is to flip the cup.
There are no rules when layering your colors in the cup but typically white go in first since it pulls down through other colors.
I would suggest starting with only 2 or 3 colors for the newbies.


While you wait for the color to sink to the bottom, add a thin layer of white paint mix to the canvas all around the cup as shown in the pic. Spread it using a brush or spatula. This will help the colors flow and spread on the canvas after the cup is lifted.


Once the cup is loaded, set the canvas on top and flip over the cup and canvas together.

It’s always a surprise to see what pattern is going to form when the cup is pulled away and the paint begins to spread.

At this point, you can pick up the canvas and gently tilt the canvas to help the paint spread.
Tip: Be careful though, if you tilt it too fast the paint might fall off.
Once the paint has covered the canvas to your liking, set the painting on a level surface to dry. It takes between 1 to 3 days for a painting to be dry to the touch. When the painting is fully cured, resin can be used to add further brightness to the colors out and give the painting a beautiful glossy finish!

Here is my final outcome! I am pleased to see a magical creature appear in my painting…… Can you find it?
Yes!!!! It’s a Unicorn!

Now it’s time for another canvas. I could not stop myself for another experiment!
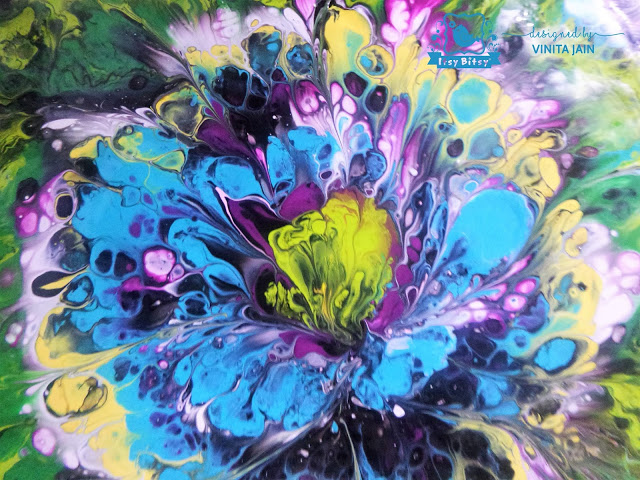
Reverse Flower Dip with Circles Technique No. 2
It means you can easily convert the circles to flower using a thin plastic sheet!
Let me show the steps.
First I covered my entire canvas with black Acrylic pour paint. Start from the middle point of the canvas.

In the excitement, I forgot to take a pic of my pouring colors in the cups.
For this technique, it is essential that the colours are of a thicker tendency.

I poured the colors one by one in a circular shape as shown in the pics.

Now carefully cover the canvas with a plastic sheet without creating air bubbles.
And spread the circles slowly with the help of your finger in circular shape to merge the colors properly.
Now slowly lift all the corners of the plastic sheet one by one towards the centre and then completely remove it from the centre carefully.

I was so surprised to see those circles converting into a beautiful flower just with the help of a plastic sheet. It is called reverse flower dip technique…..That’s so easy! And every time you will get a different pattern!

And then with the help of 0 no. paintbrush, I gave it more definition of a flower to create clearer petals and to add depth.

Have a close look at the middle part of the flower in yellow with blue petals!

I totally love this black beauty, love the beautiful cells, don’t you? I think I could play with this pouring art all day just to experience the different outcomes and color combinations.
I really do hope you’ ll give pouring art a try, it’s crazy fun and I hope I have inspired you to take part in our ongoing challenge!
For more fun watch me on Youtube channel!
https://www.youtube.com/watch?v=CNm2o9yCG24&feature=youtu.be
Have a messy pouring day!
Product list:
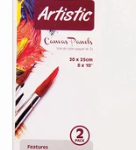
Artistic Canvas Panels – 20x25cm, 2pc
Little Birdie Acrylic Pouring Paint, 60ml – Pearl White
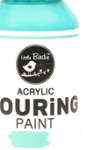
Little Birdie Acrylic Pouring Paint, 60ml – Timeless Teal
Little Birdie Acrylic Pouring Paint, 60ml – Pearl White
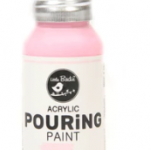
Little Birdie Acrylic Pouring Paint, 60ml – Pastel Pink
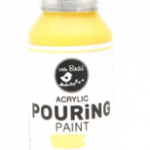
Little Birdie Acrylic Pouring Paint, 60ml – Pineapple Crush
Little Birdie Acrylic Pouring Paint, 60ml – Rainforest
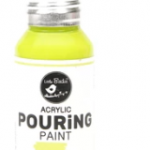
Little Birdie Acrylic Pouring Paint, 60ml – Grassy Green
Little Birdie Acrylic Pouring Paint, 60ml – Plum Orchid
Itsy Bitsy Oval Wooden Craft Spoons – Natural 120X20mm


![]()
Little Birdie Paint Pouring Medium- 500 ml
Artistic Canvas Panels – 20x25cm, 2pc