Hi friends!
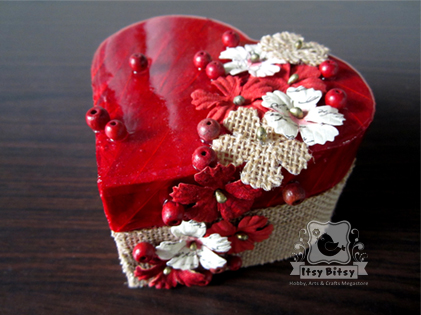
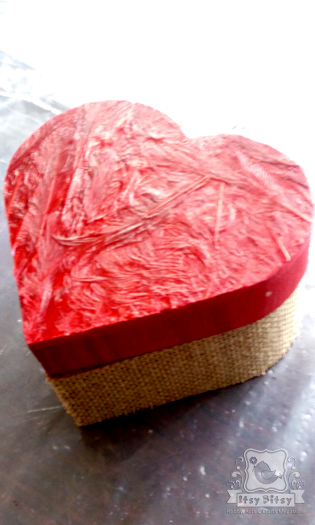
I’m back on the blog after a long break with a new tutorial! Wanted to try out something different with the supplies available at the store. So, I tried using feathers for decoupage and it turned out pretty good just as I’d visualized! This is what a plain wooden box turned into!

If you’d like to try it out, please follow my tutorial….
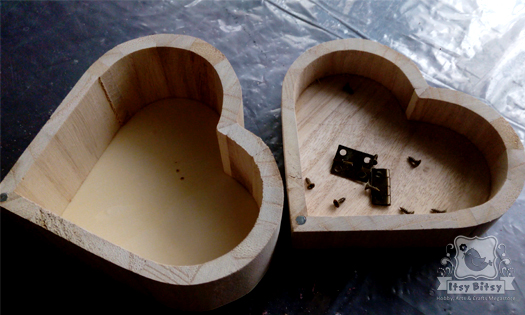
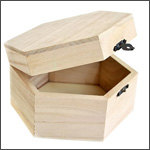
Step 1: First unscrew all the hinges and latches of a box and save them carefully.
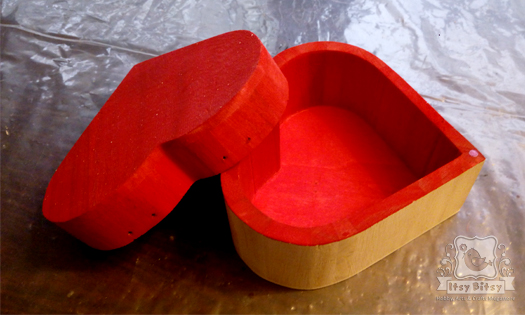
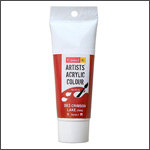
Step 2: Paint the bottom part of the box (interior) and the lid (interior & exterior) with Acrylic paints and let it dry.
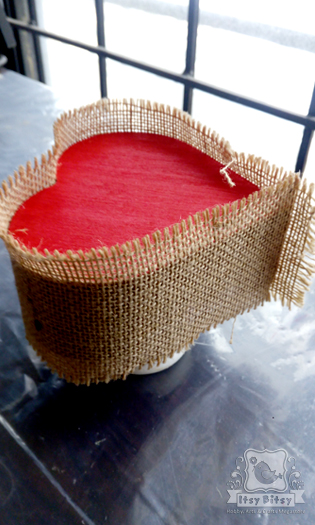
Step 3: Coat the exterior of the bottom part of the box generously with Decoupage glue.
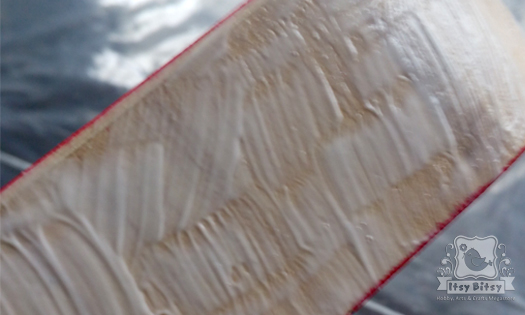
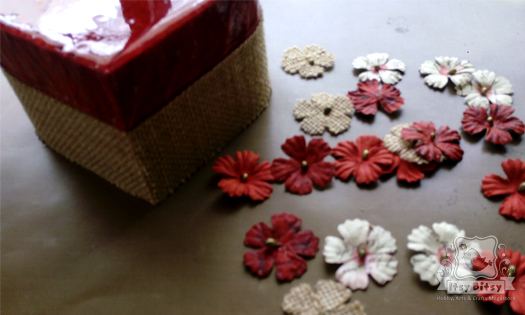
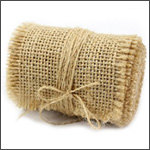
Step 4: Stick burlap on the glue and leave it to dry. Once dry, snip off the extra.
Step 5: On the lid, place feathers and stick it with decoupage glue. Use a generous amount of glue and make sure the feathers are adhered to the lid properly. This takes a while to dry. It’s best to let it dry overnight.
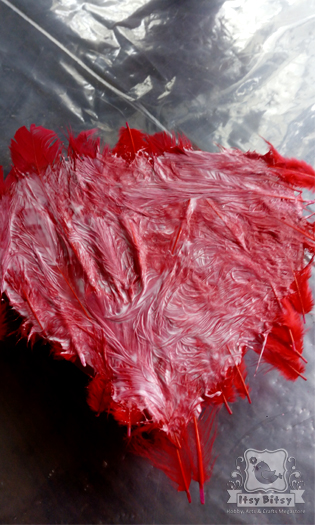
Step 6: When it’s totally dry, trim the edges with a pair of sharp scissors.
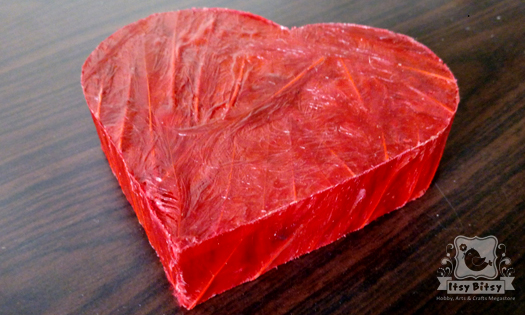
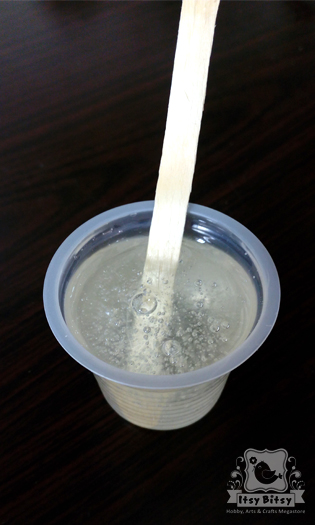
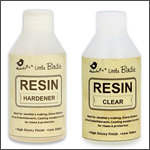
Step 7: Mix Resin and Hardener (follow the proportions mentioned on the label) in a disposable cup with a craft stick. Make sure you stir the mixture well enough.
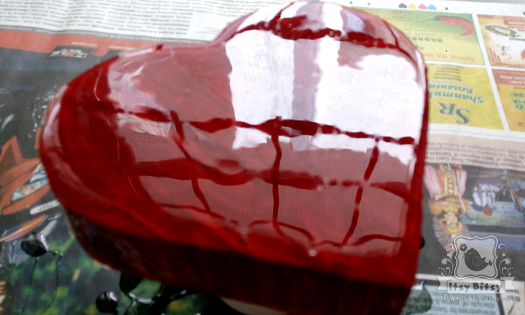
Step 8: Pour the Resin mixture on the lid and even it out with the craft stick ; getting rid of all big bubbles. Let it dry well enough.
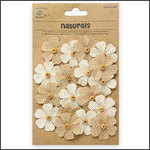
Step 9: Stick some metal embellishments or flowers with hot glue and let them dry.
Hope you like it! Thanks for going through my post! 🙂
– Charitha
List of Supplies (click on the image for product details)

Great use of resin and decoupage texture with feathers, love this project!
Wow…so unique and wonderful
So very beautiful and innovative Charitha. …loved every bit of it !
Thanks for sharing the detailed steps 🙂
Awesome it is??….you’re an inspiration!!
Beautiful creation and unique.
Lovley it s so easy n beautiful.
It’s beautiful
Fabulous! It’s amazing how to try out of the box ideas every single time!
Wow it’s totally amzing and wonderful loved it completely ☺️
So beautiful and totally unique
Fabulous
Who knew you could do this with feathers…out of the box thinking. Thank you for sharing it with us.