Hello friends, a cool and snowy greetings to all the art lovers out there.
I hope you all are excited about the New Year and happy days ahead and get over the past difficult times. DT member Nandhini Vasandan here with an exciting and stimulating piece for the happy days ahead of us.
All the cute kids out there are looking forward to the exciting and wonderful festivities that lies at the end of the year.
Here is a boy waiting to meet all his friends and celebrate the festivities. Come, let us see how I created this beautiful shadow box using element sheets and other awesome supplies from Itsy Bitsy.
Here is the step by step tutorial.

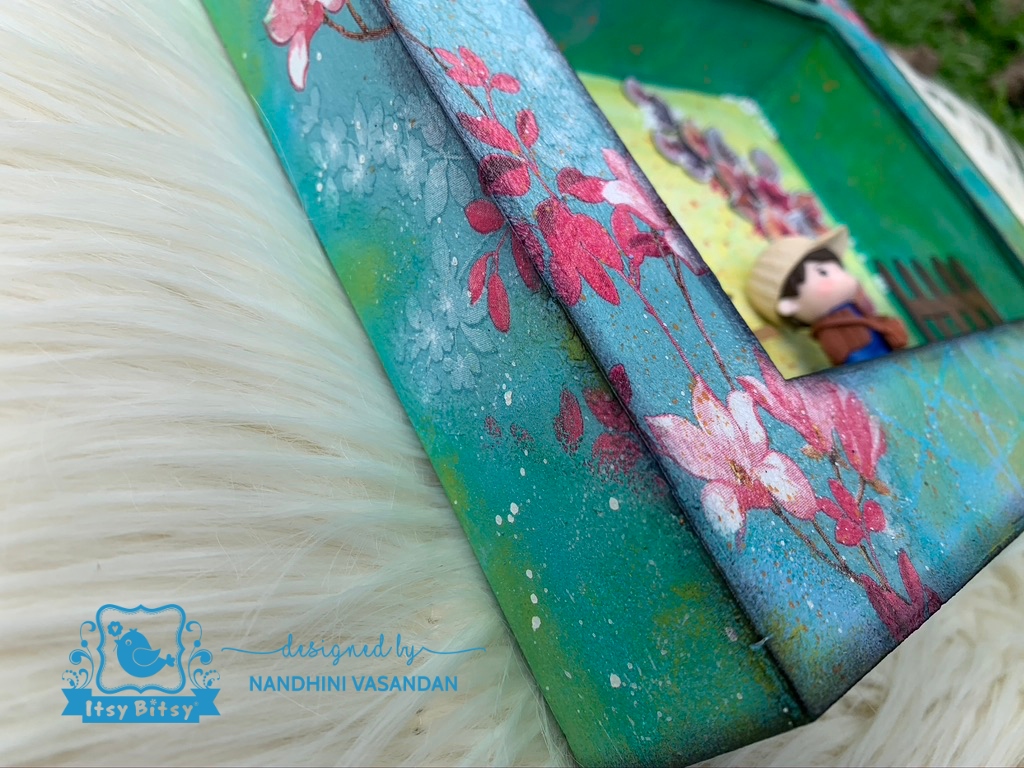
I took a white washed shadow box from the store and applied one coat of Little Birdie white gesso over it for good coverage. Then I chose a beautiful decoupage tissue and tore it off according to the desired pattern using a wet brush. Never use scissors to cut the tissue since it leaves sharp edges and colour blending will not come out perfect.

Then I adhered the tissue to the shadow box at few places by using Little Birdie Deco magic glue and let it to dry. Then seal it with another thin layer of Deco Magic glue.
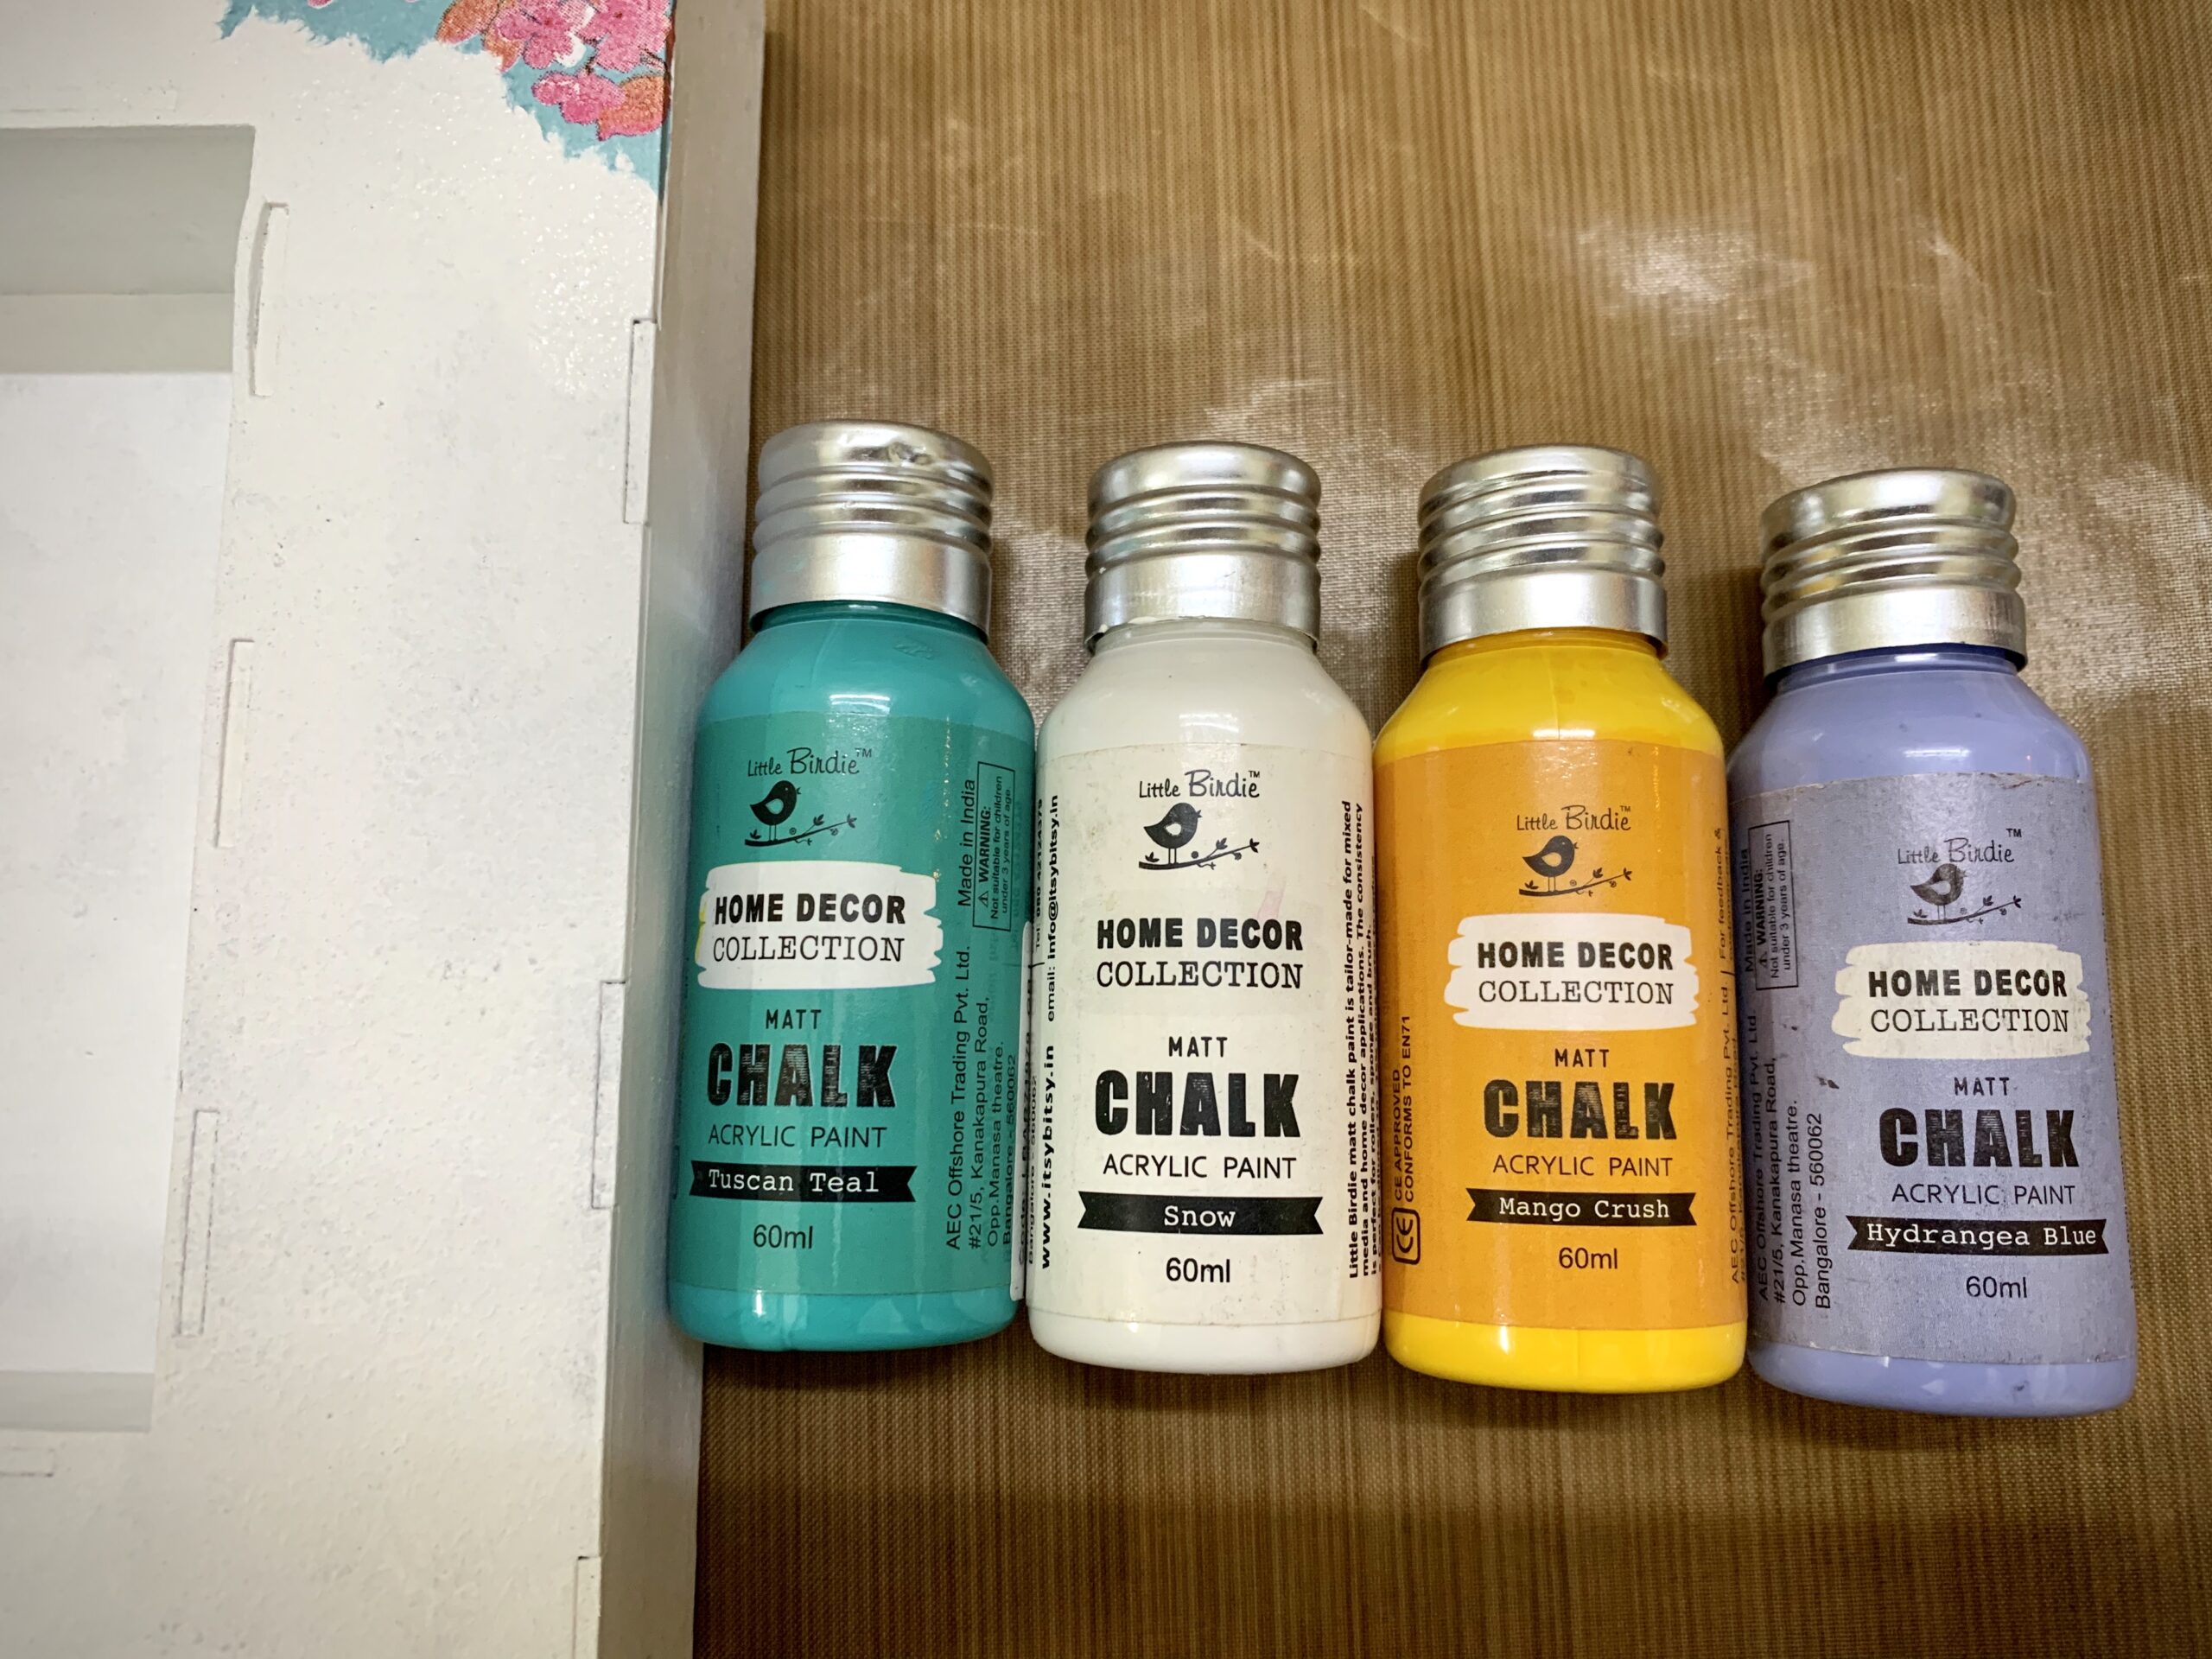
I chose chalk paints Mango Crush, Tuscan Teal, Snow, Hydrangea Blue and used sponge to colour other places and merge with the tissue.
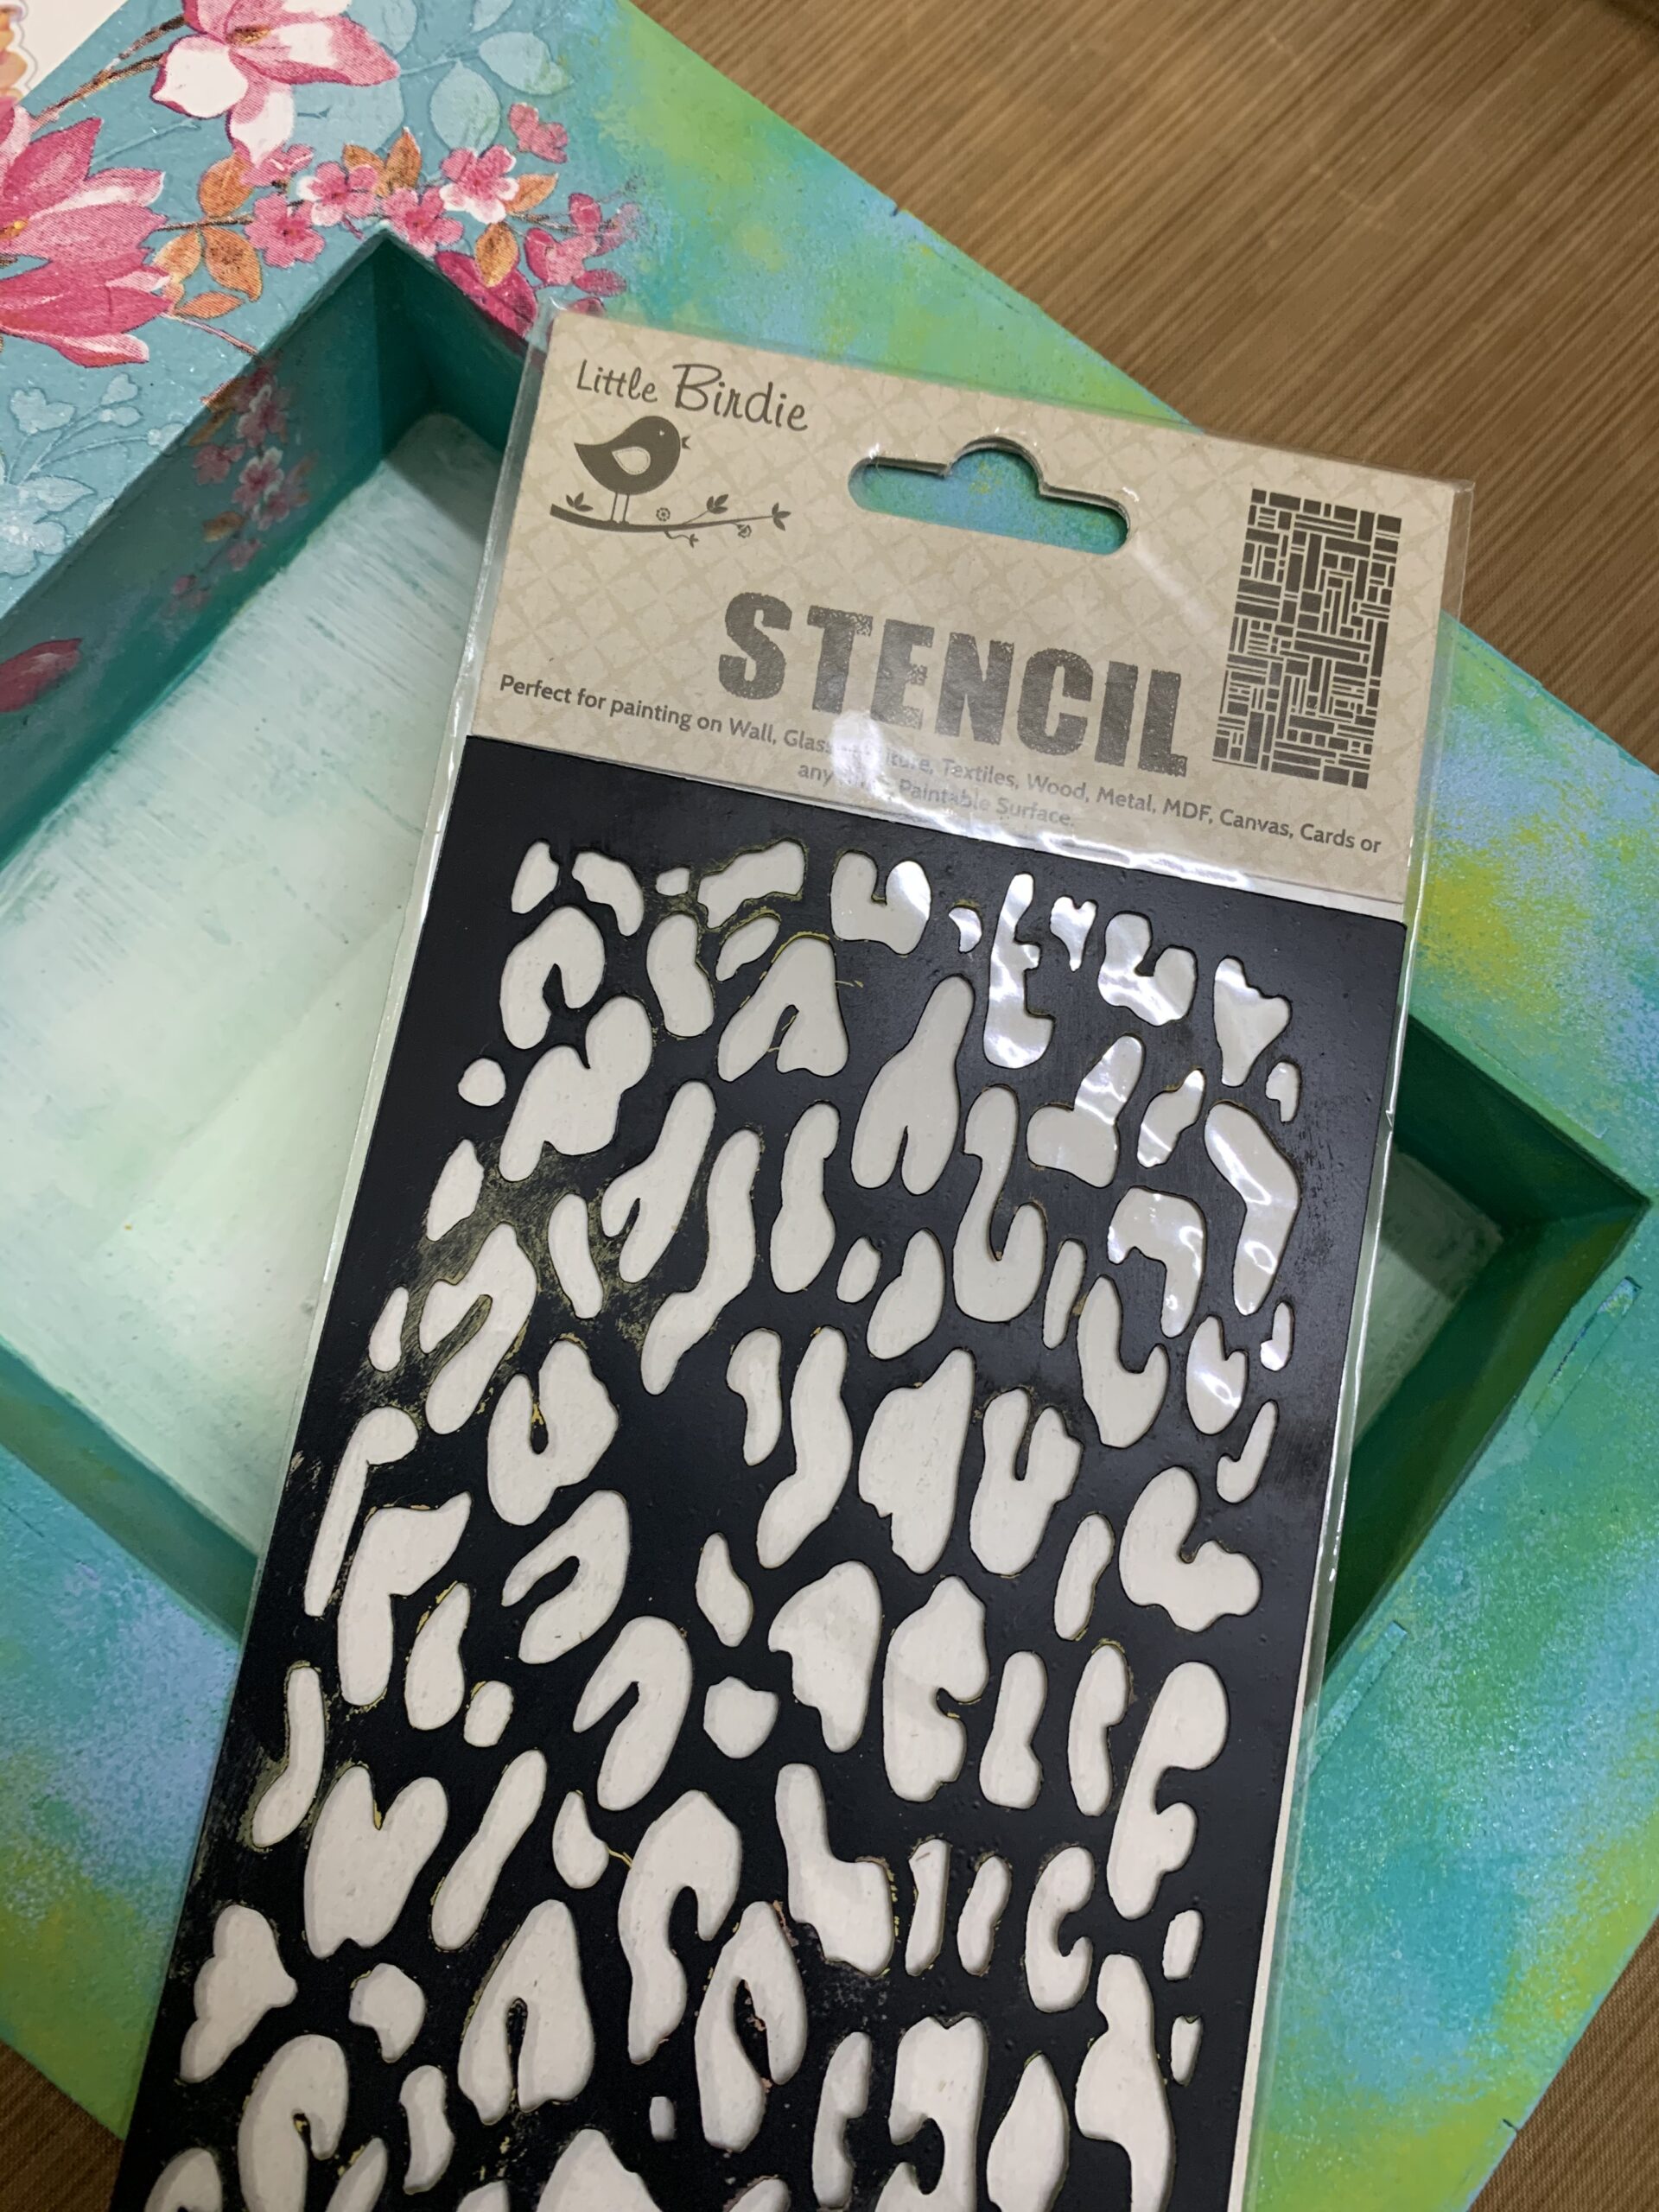
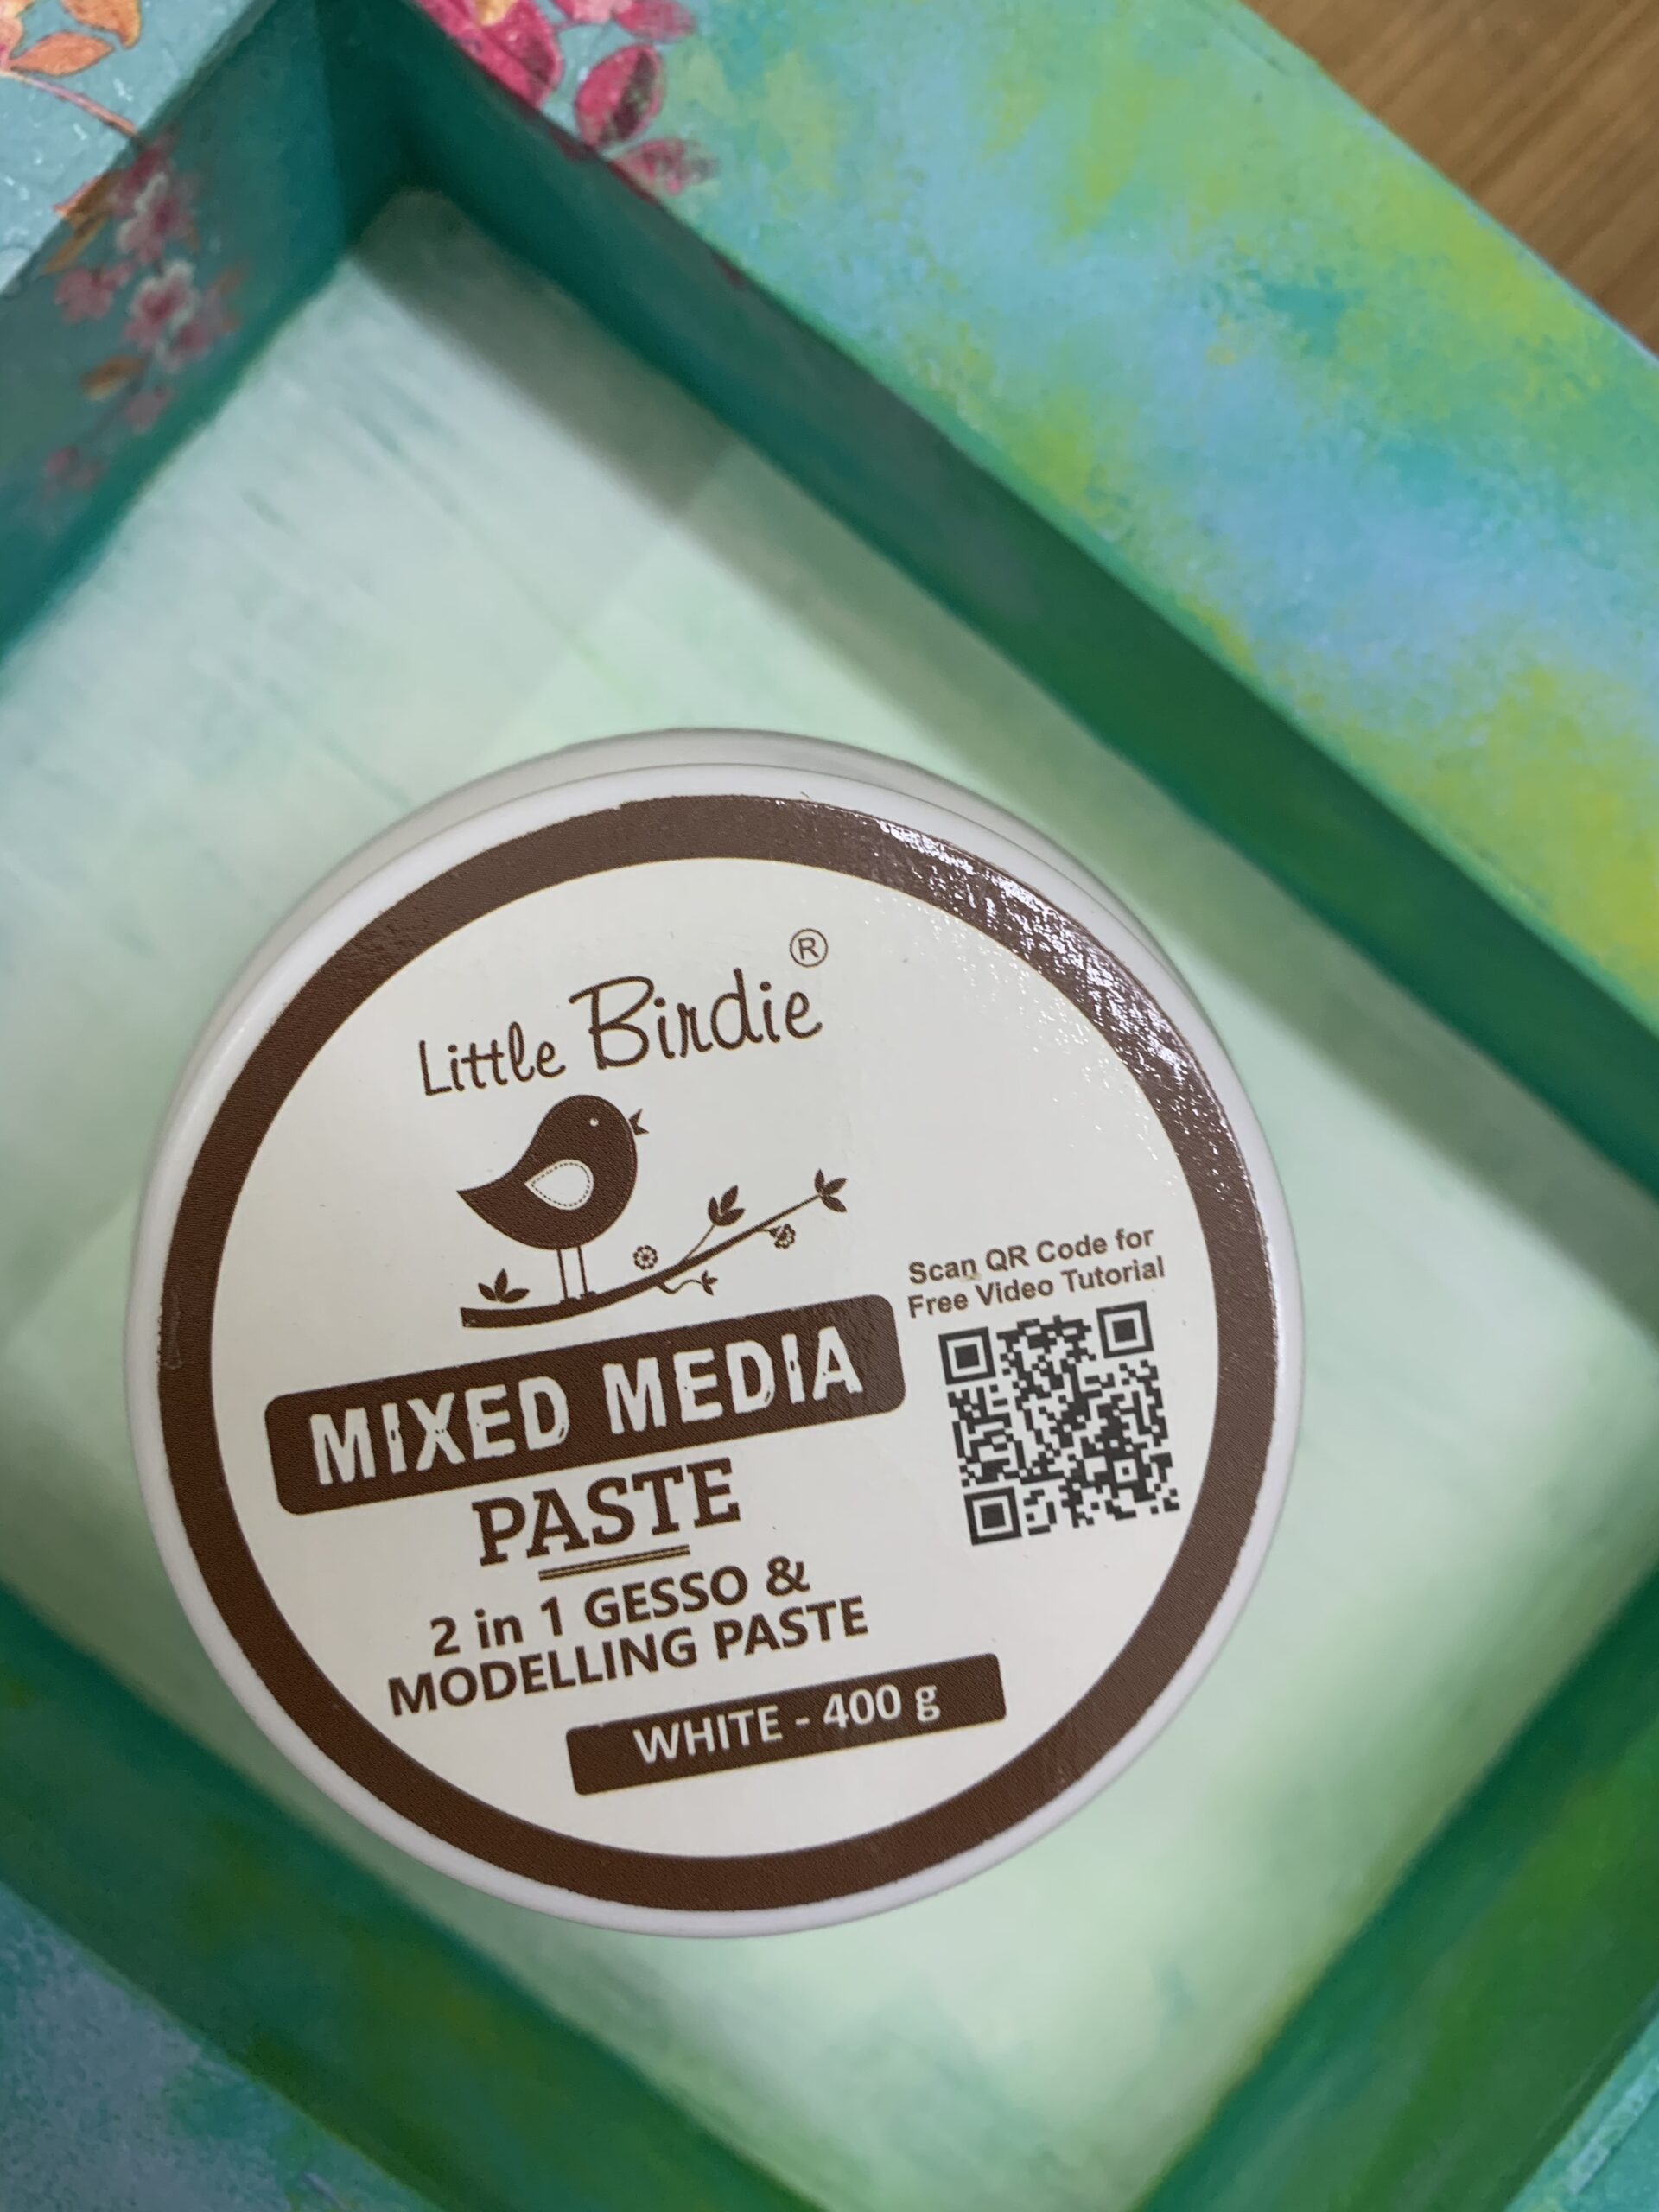
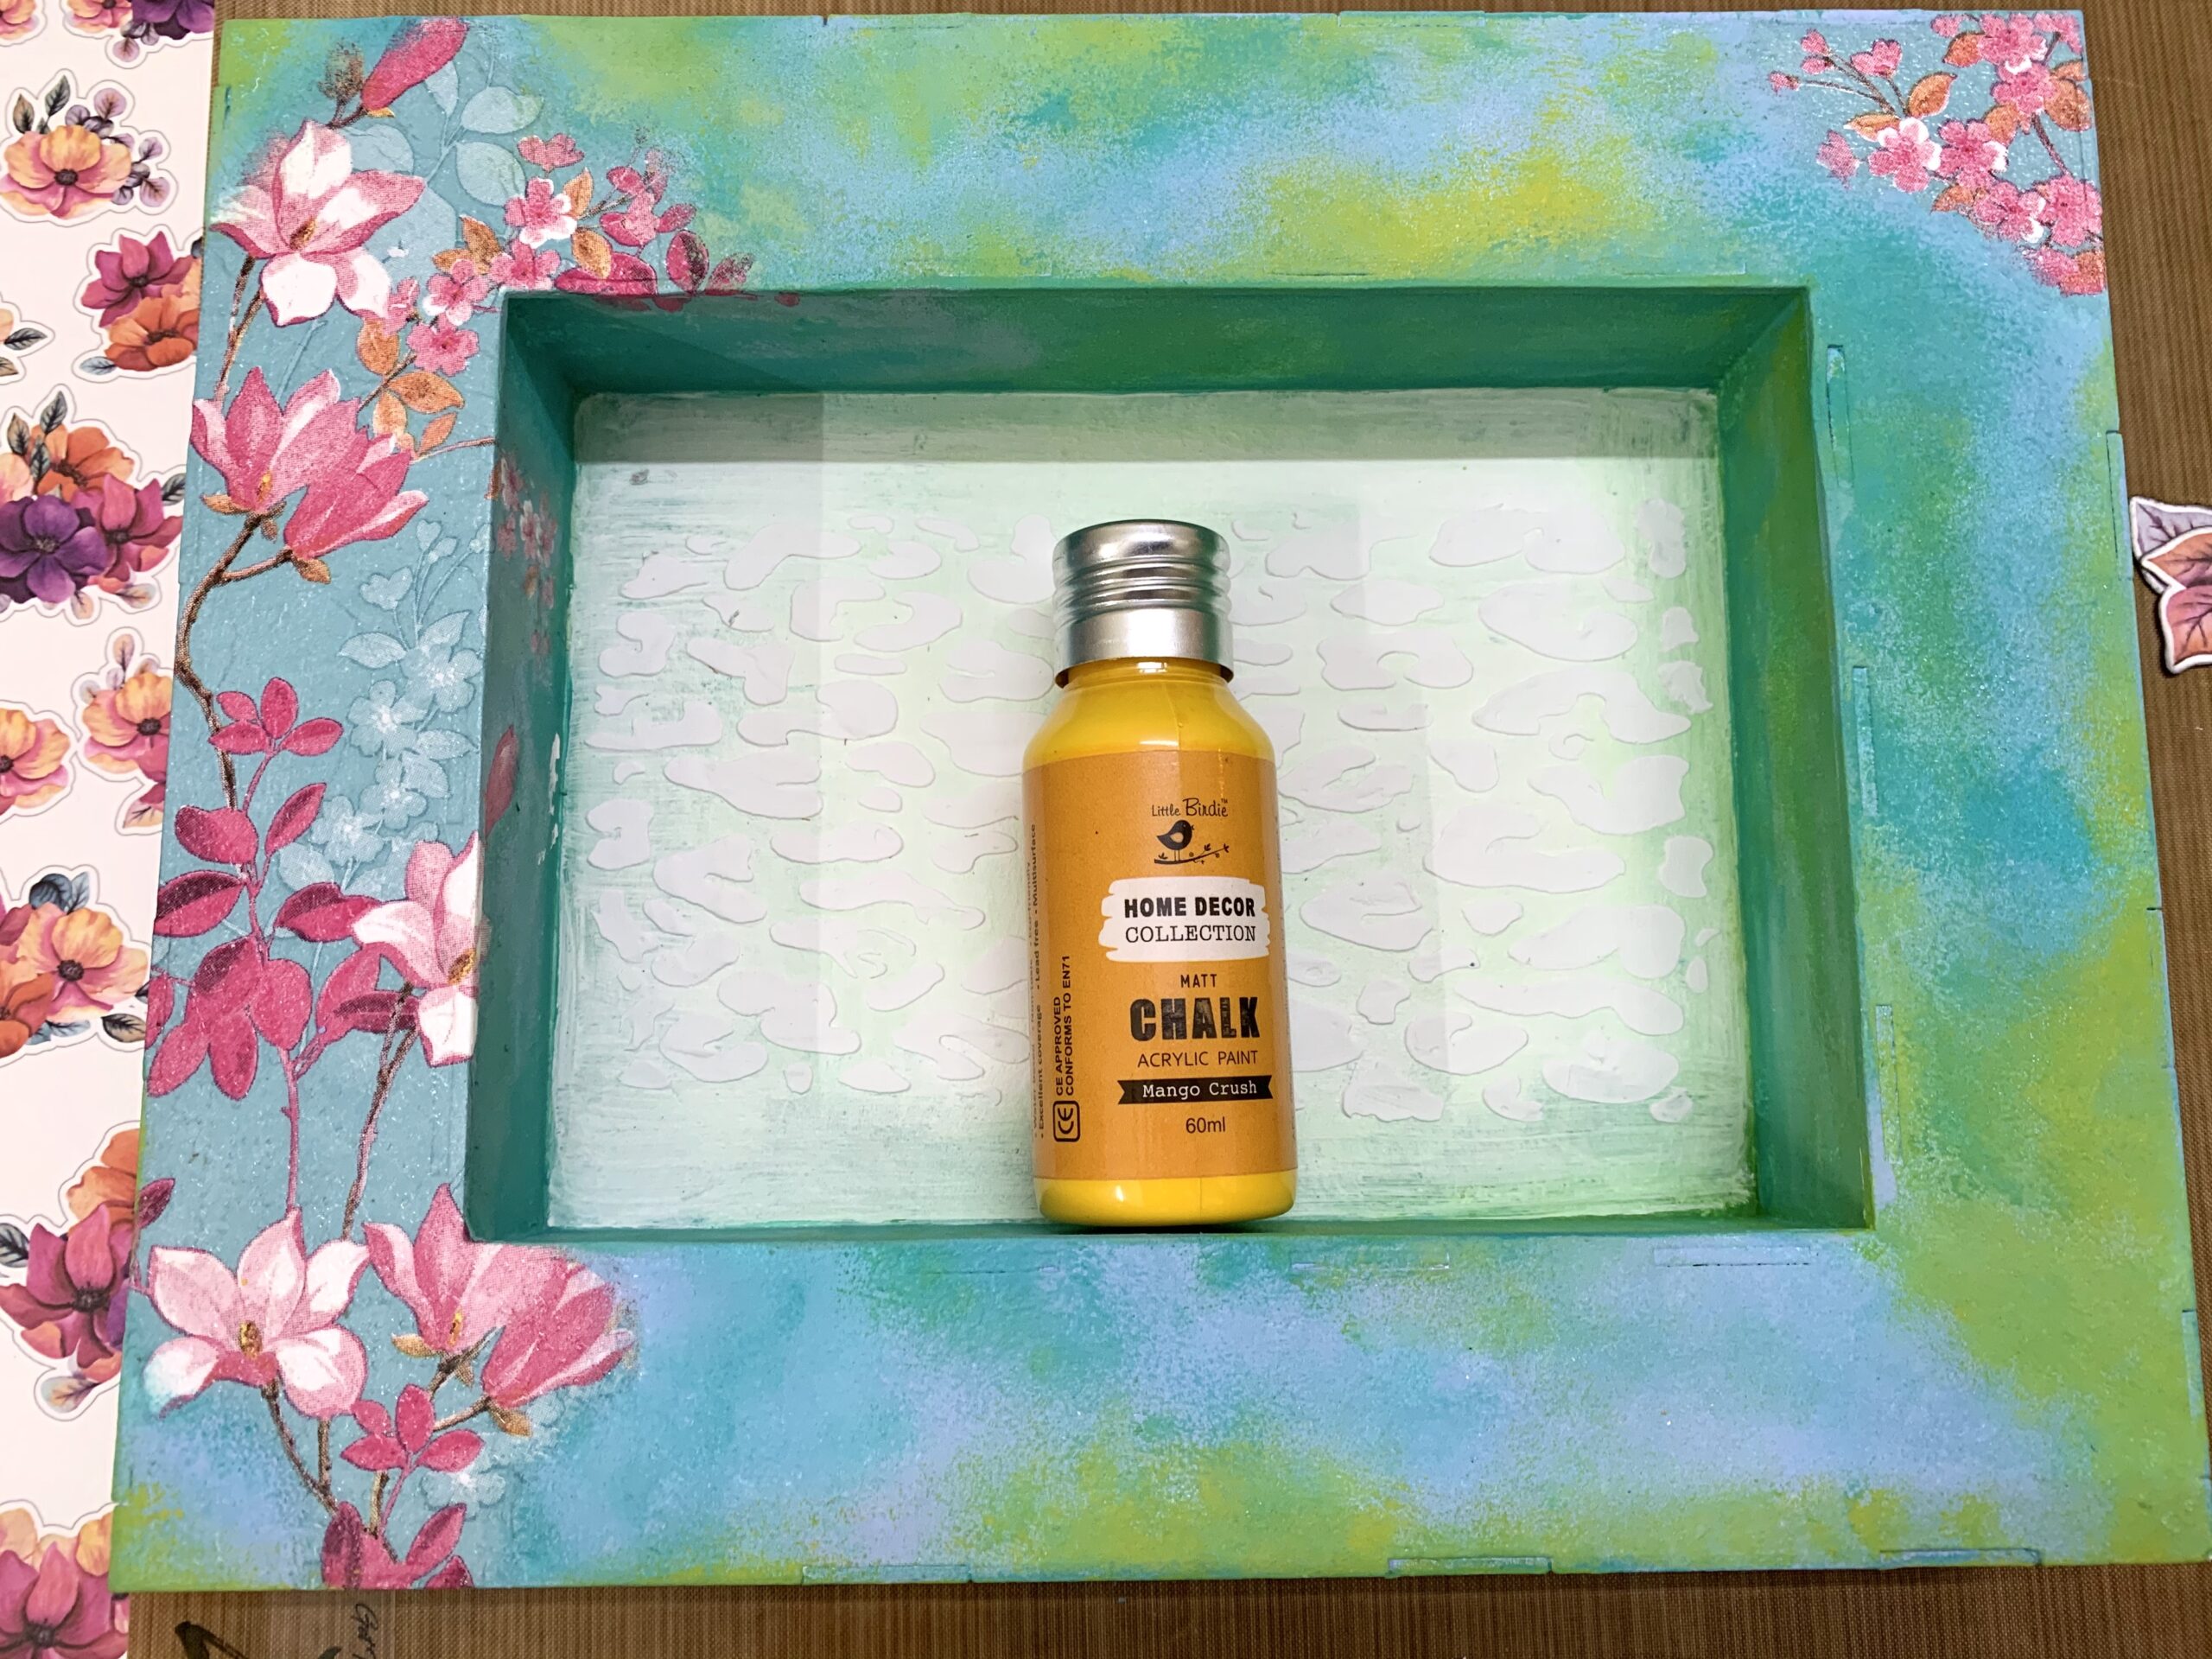
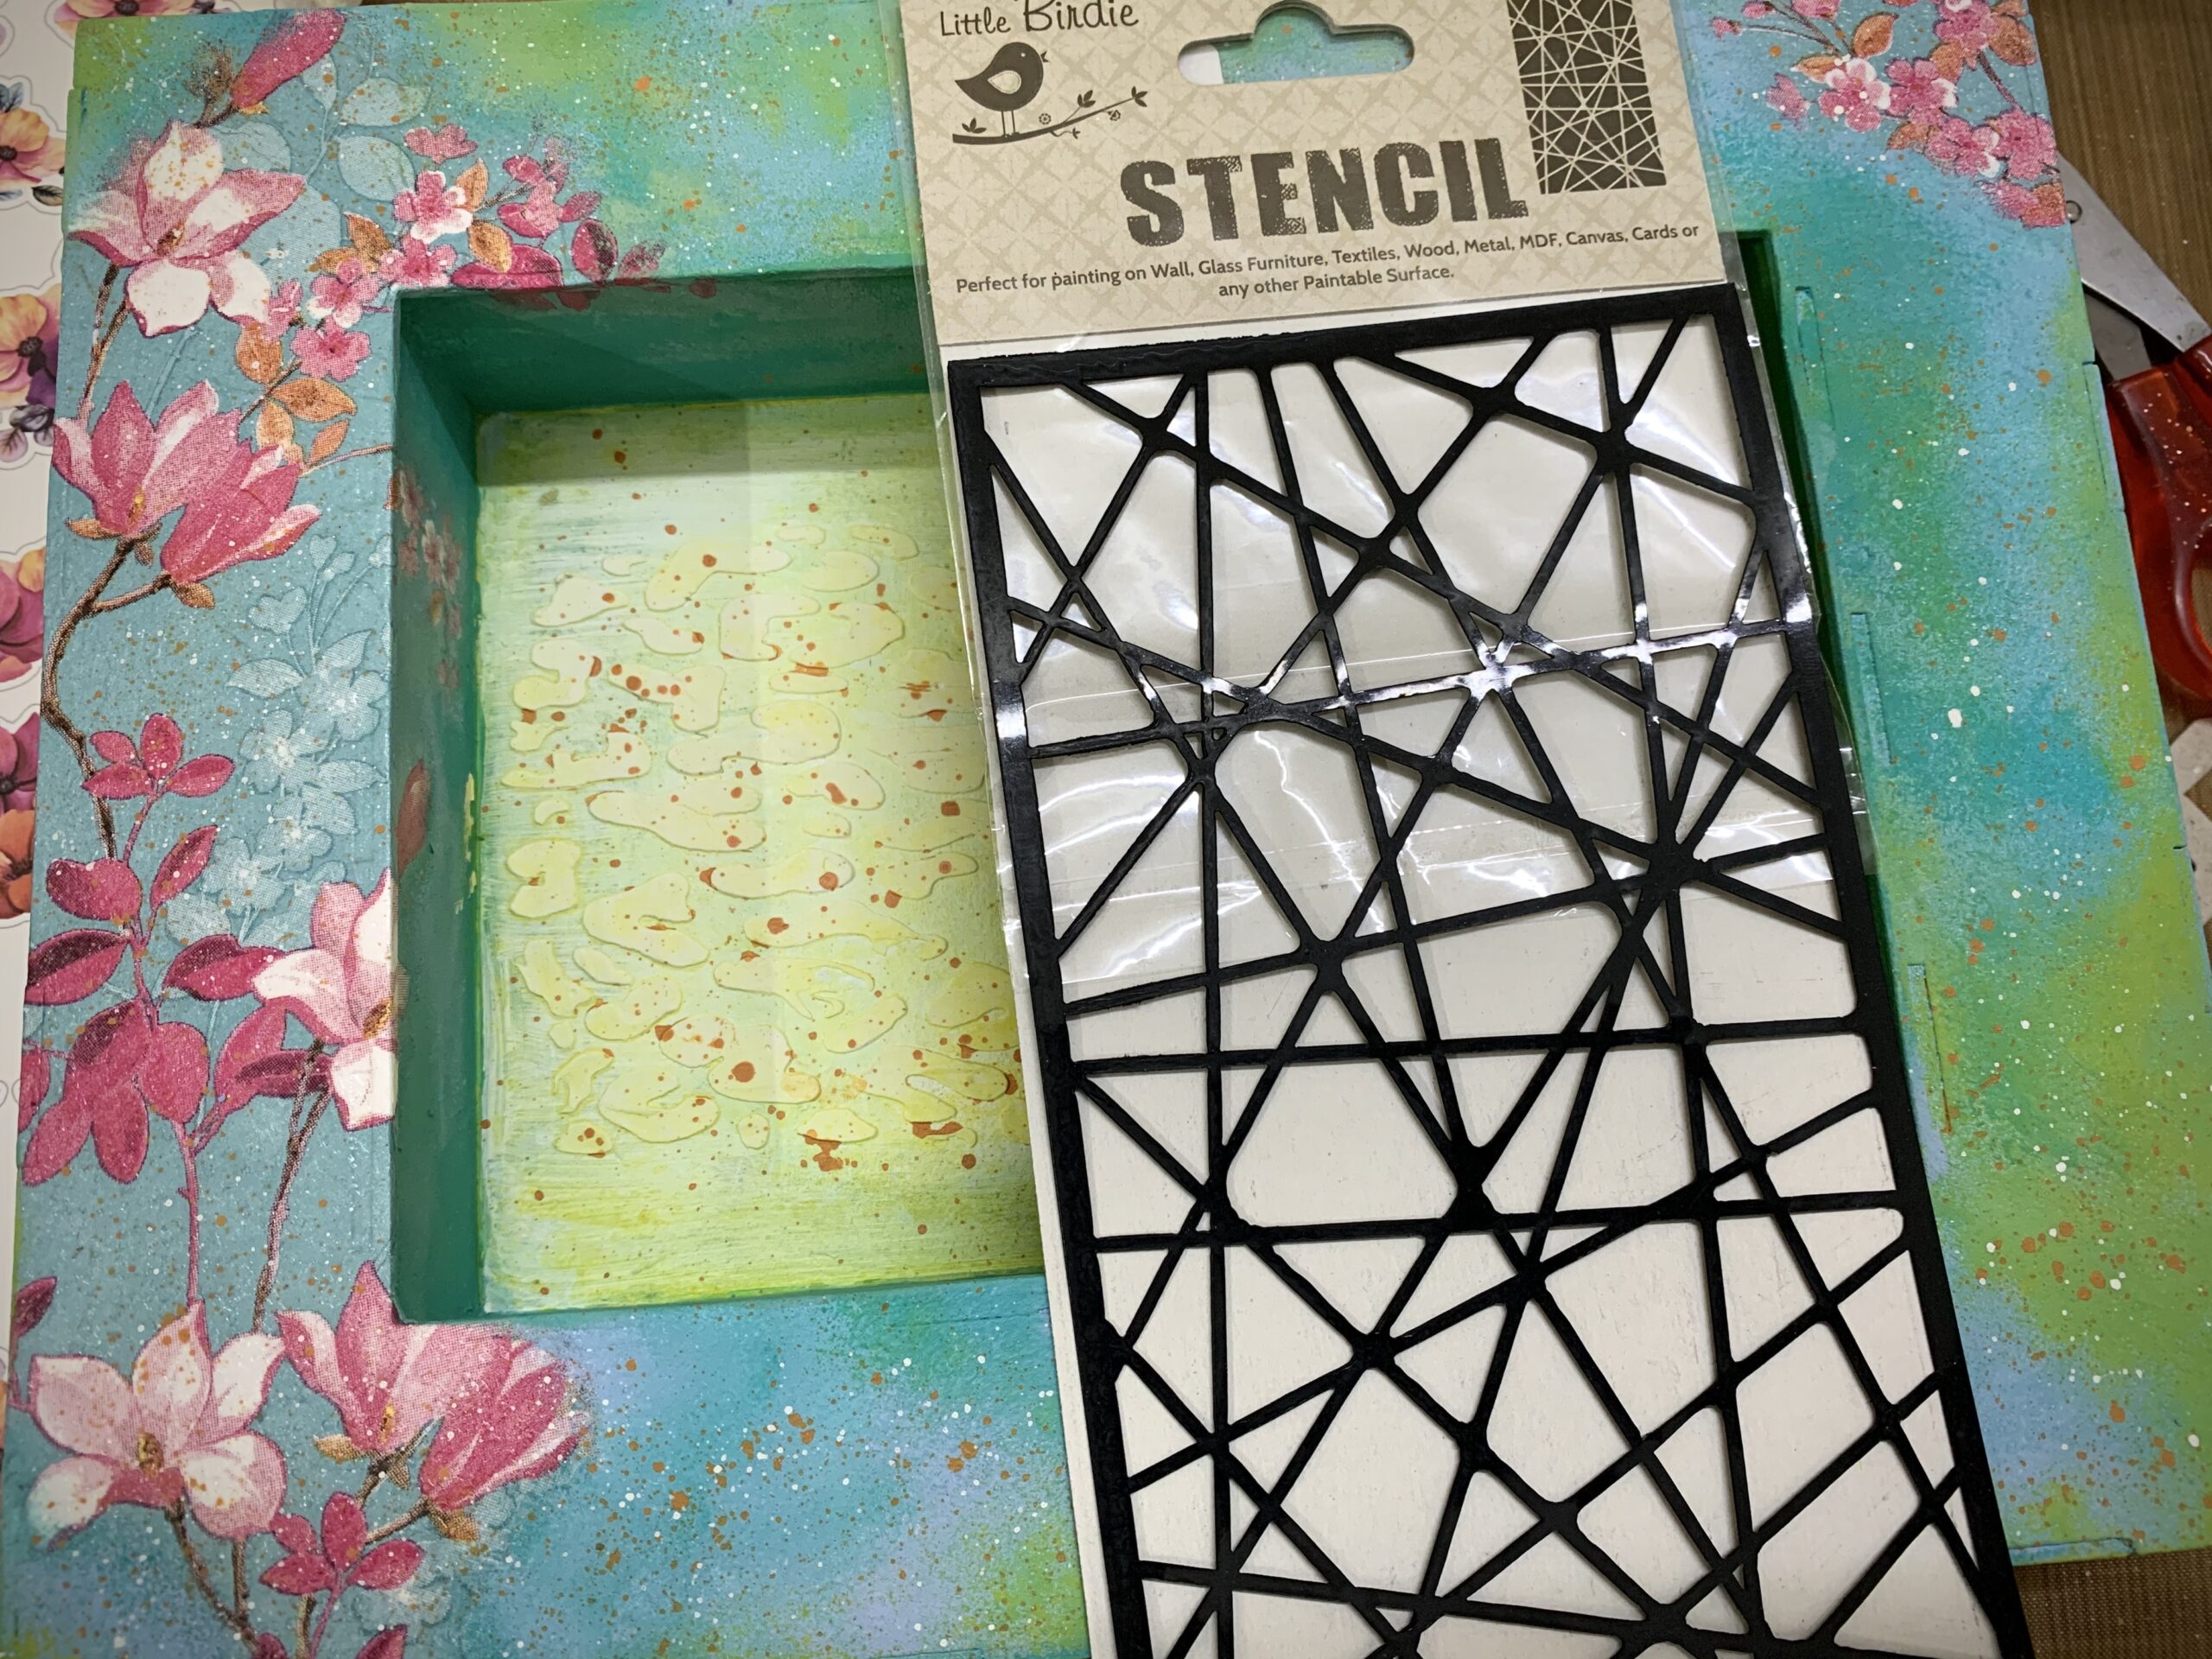
After that I decided to give some texture in the centre of the shadow box using a stencil and Little Birdie mixed media paste.
Then water-washed the textured area with Mango Crush chalk paint.
Then created colour splashes with Snow chalk paint and Apricot Butter multi-surface paint all over the shadow box to add more interest. Then used another stencil from the store to create some shadow effect in few places using all the left over colours.

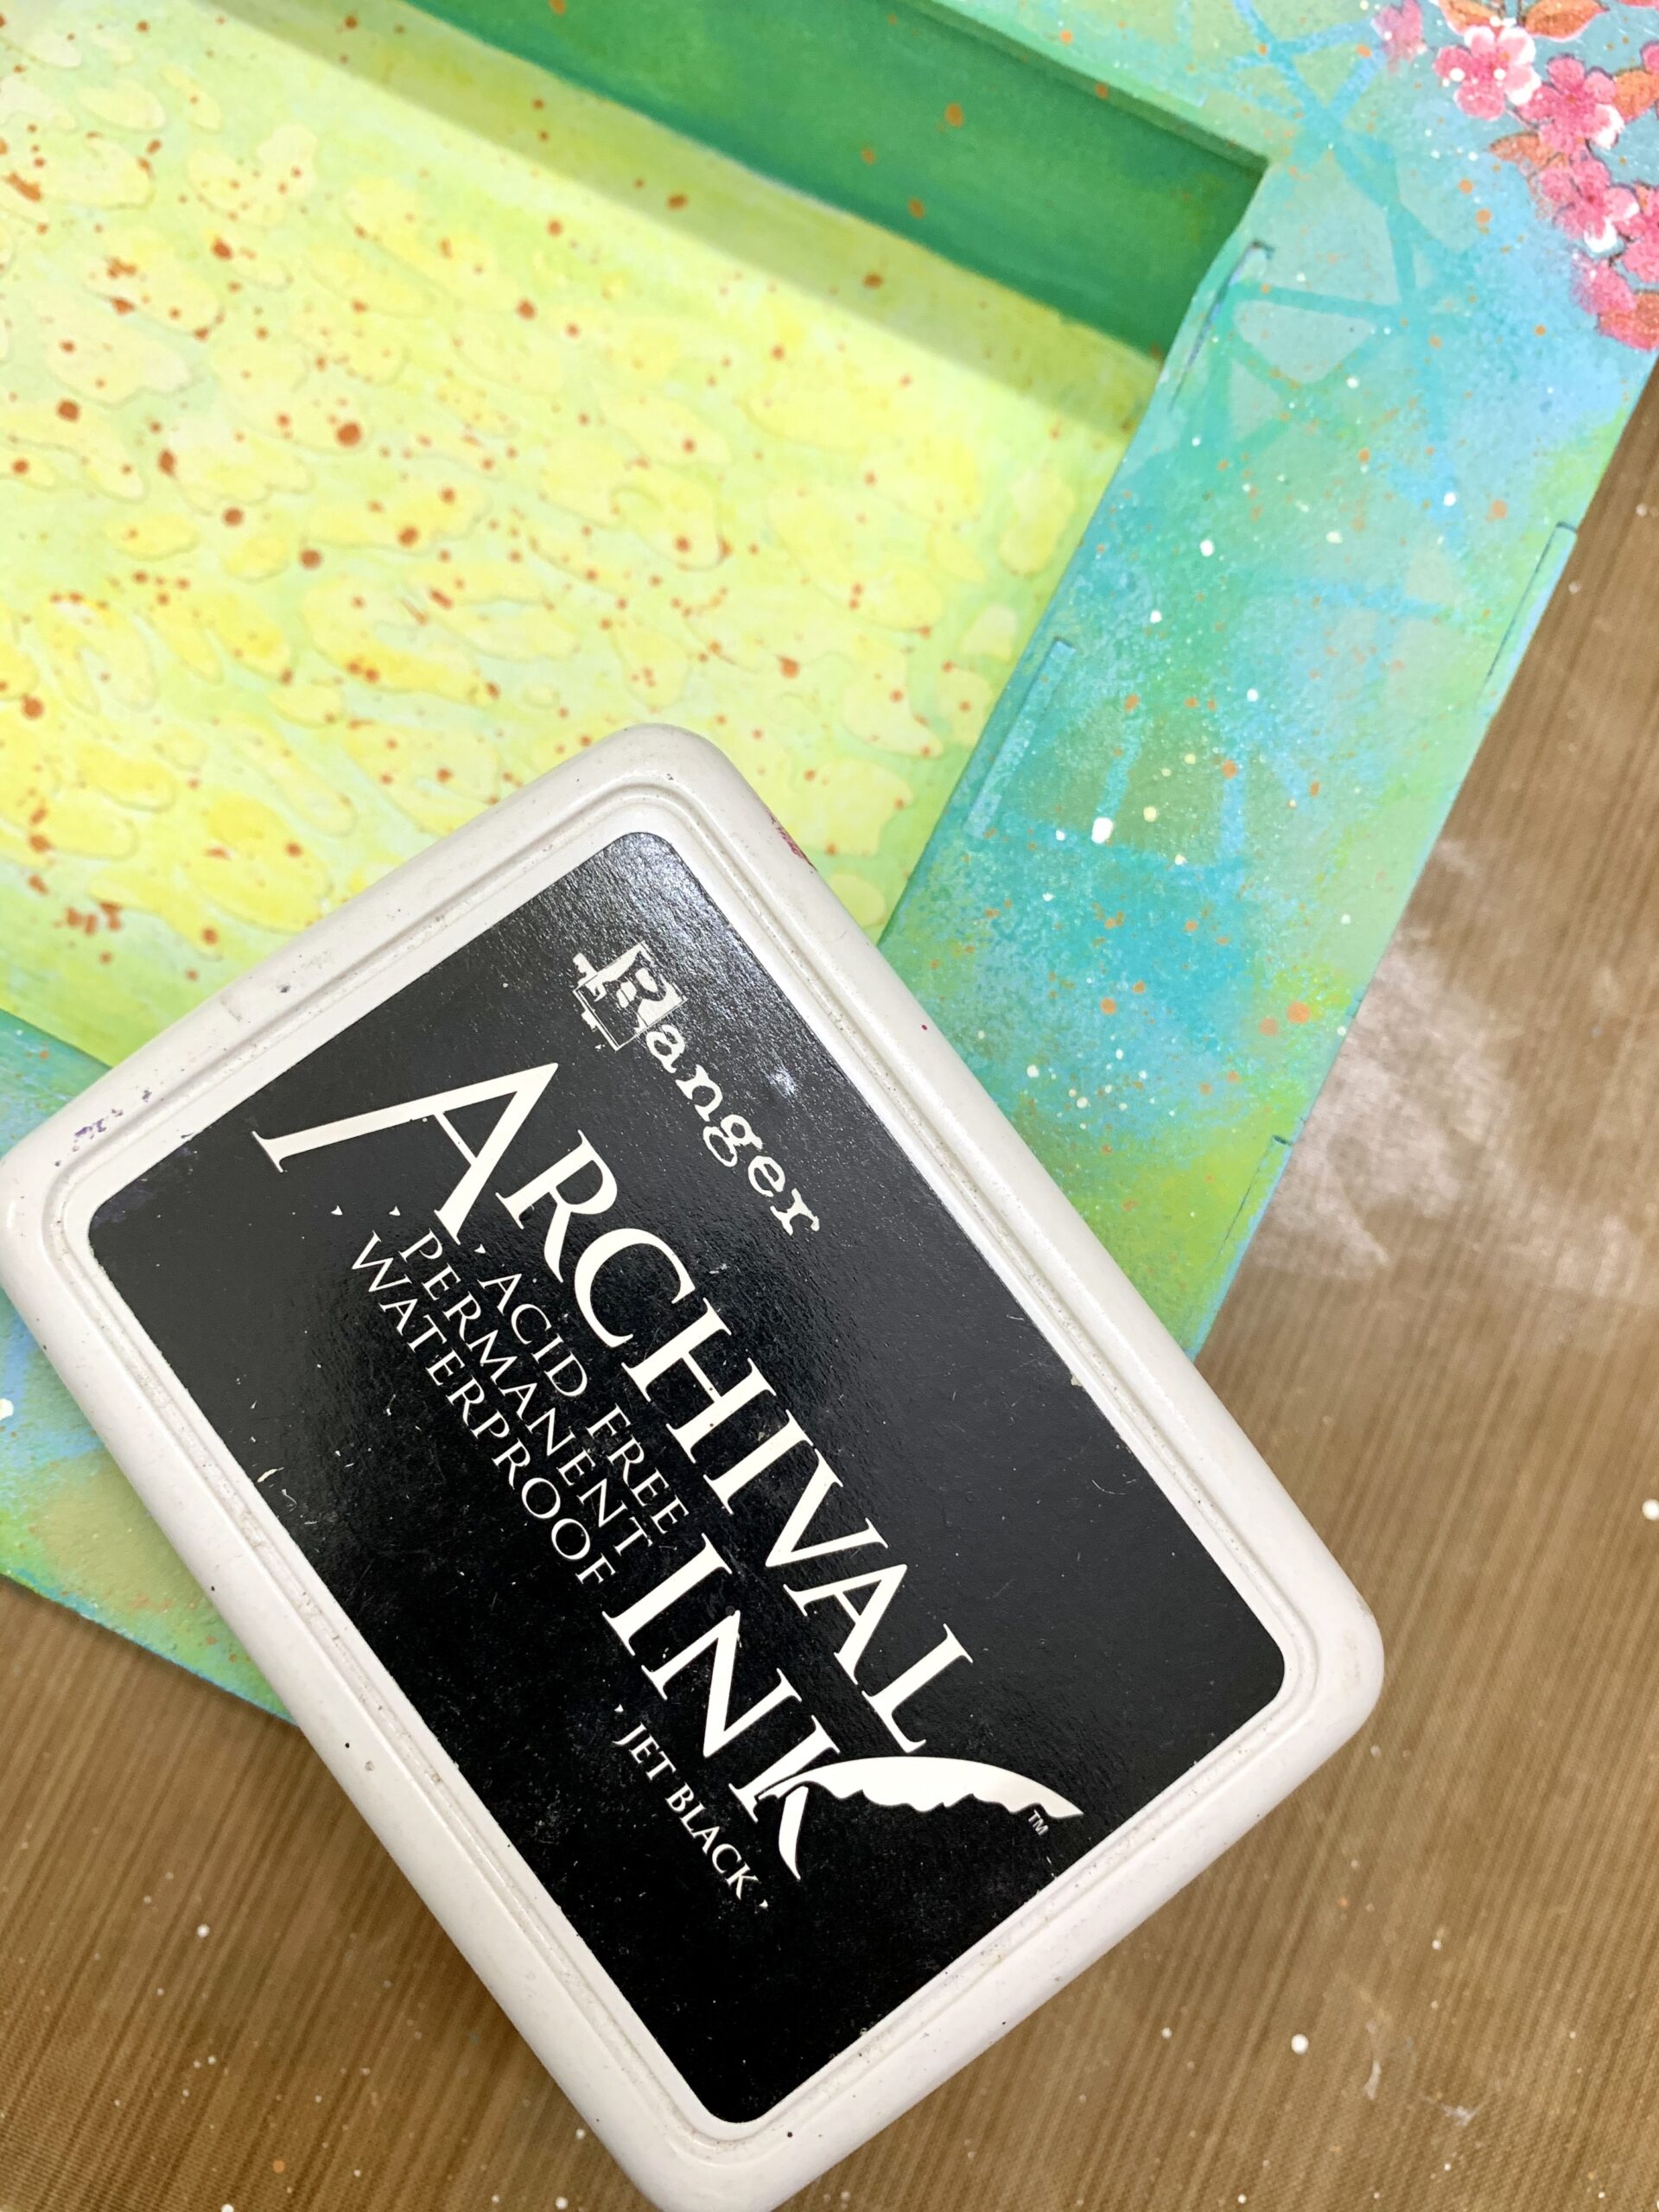
I had distressed the edges of the shadow box with black archival ink. After that I varnished the entire shadow box with Little Birdie home decor varnish.
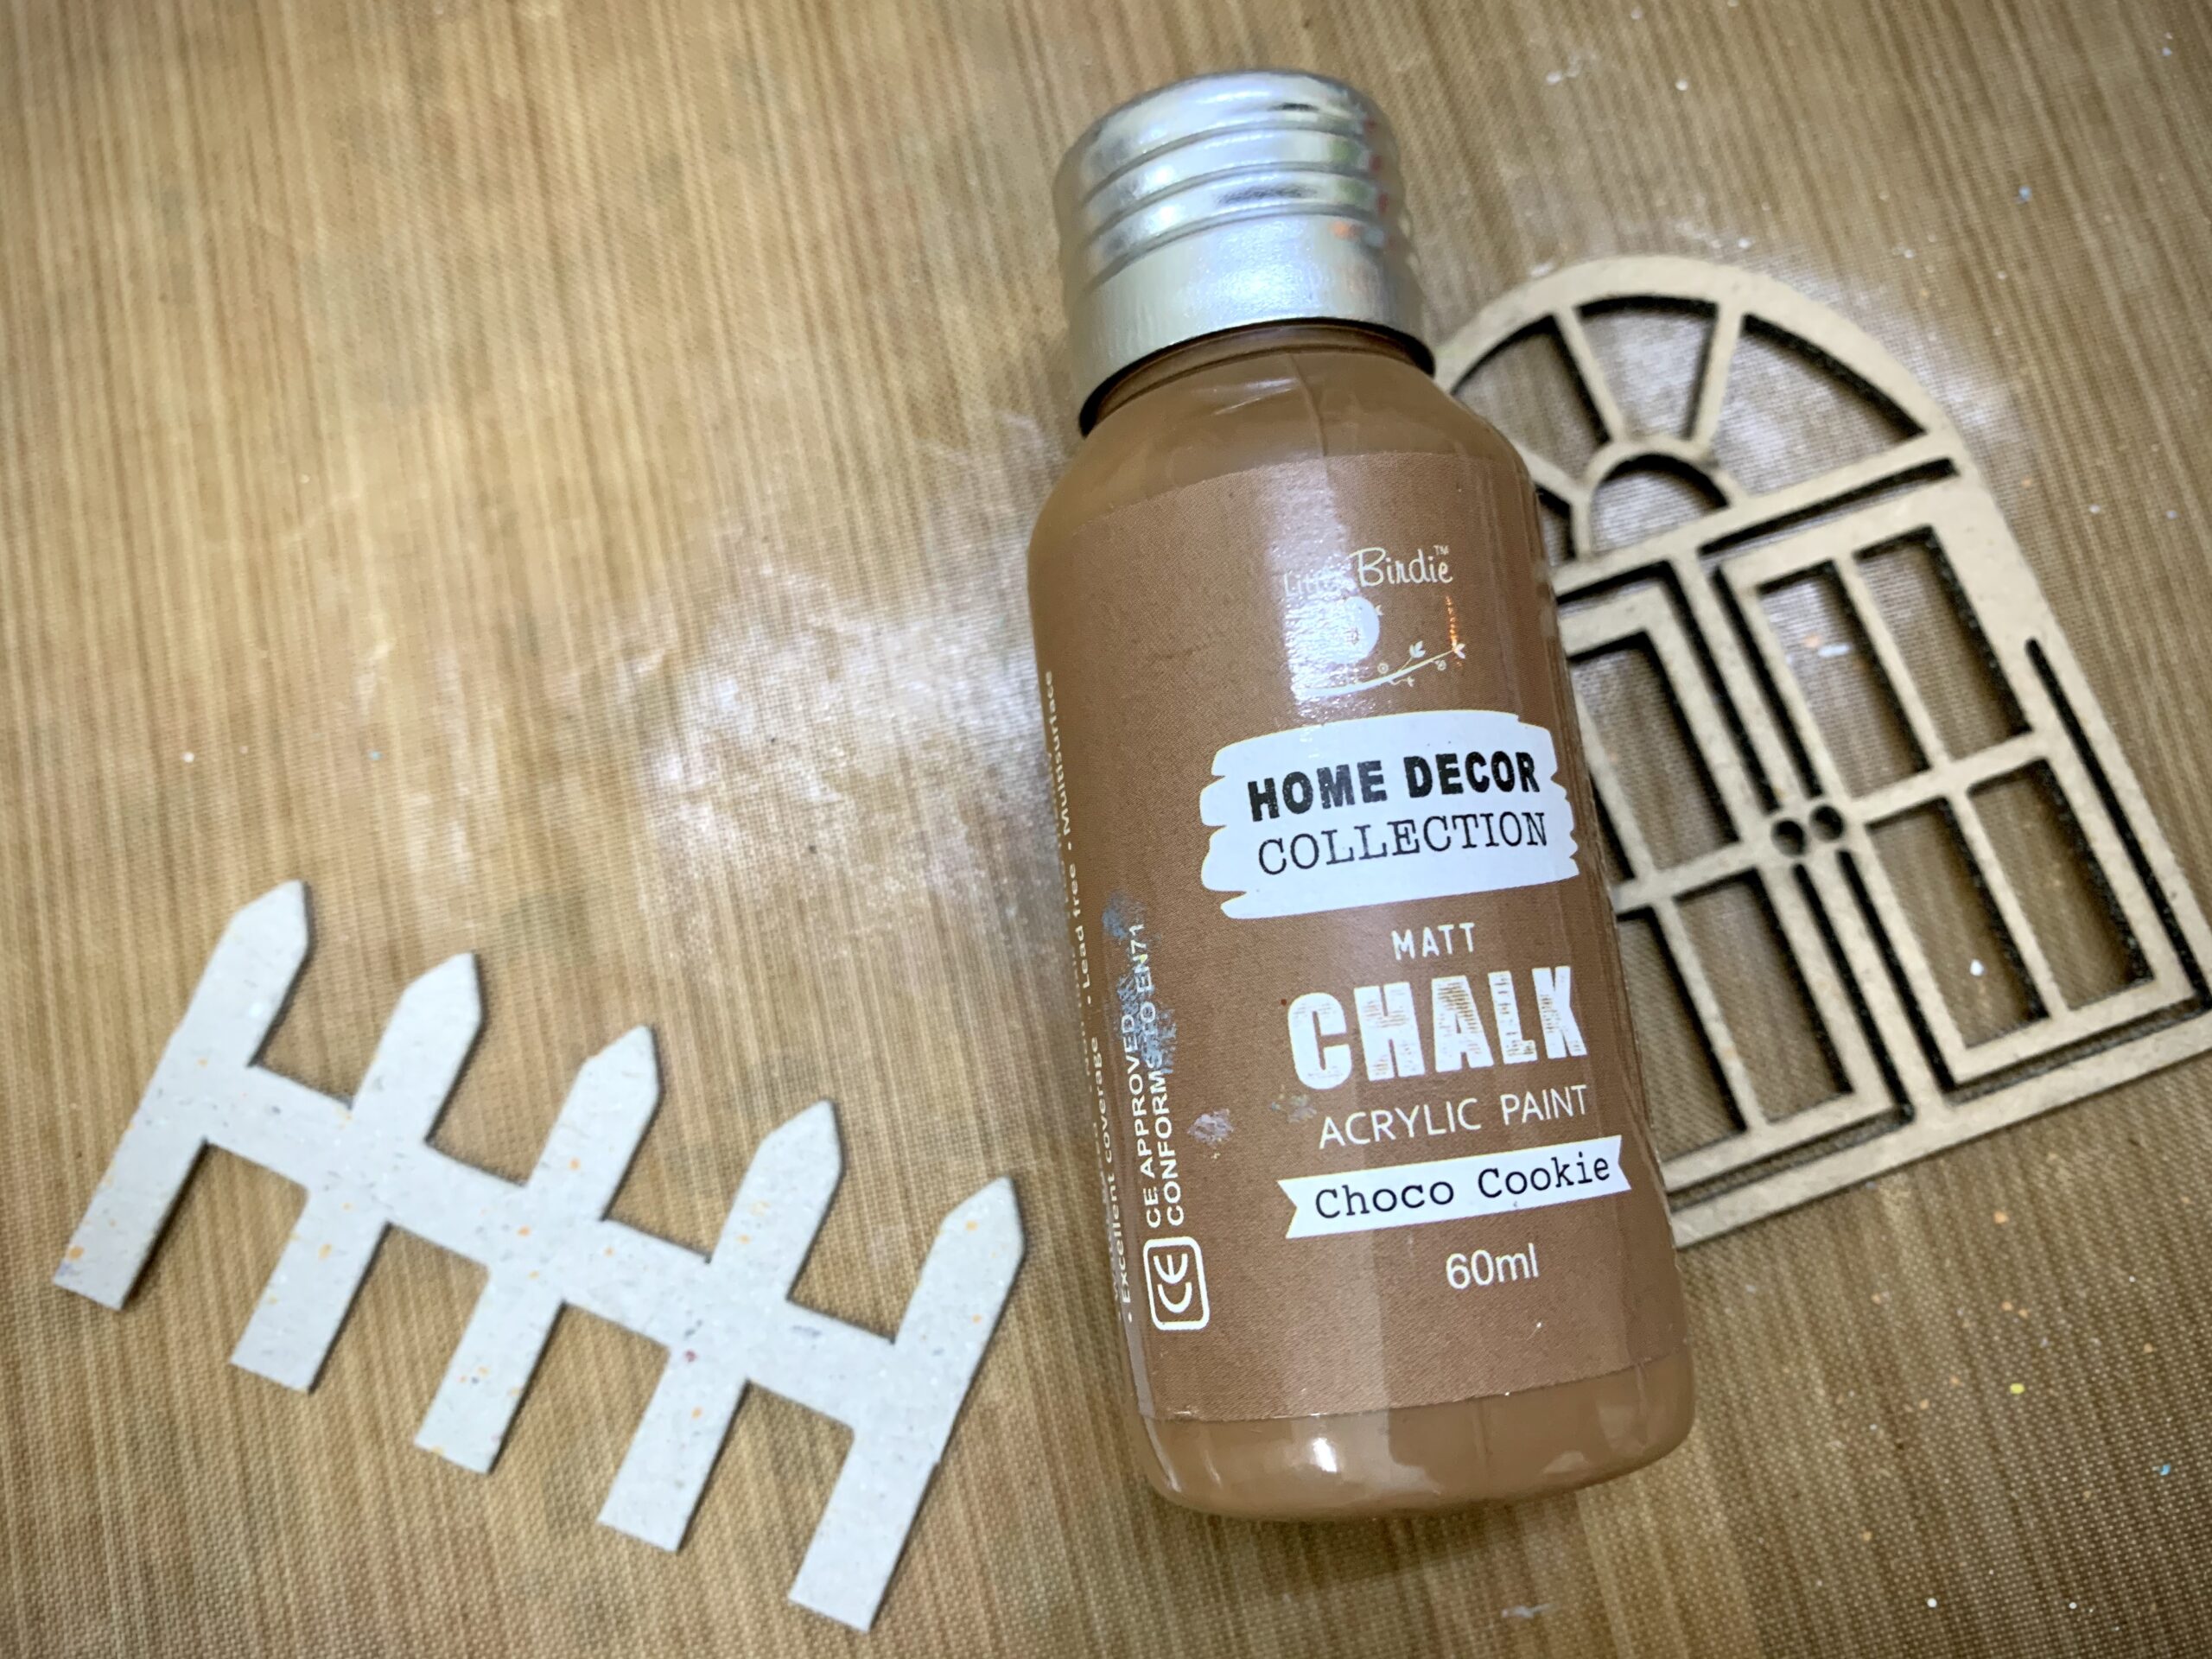
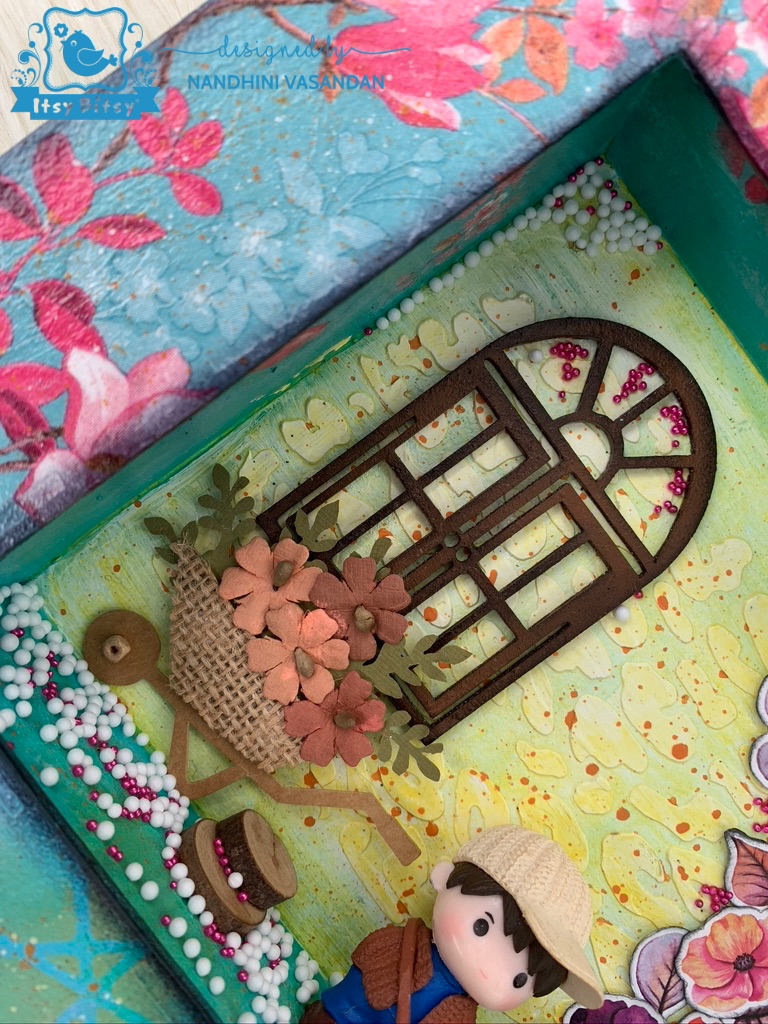
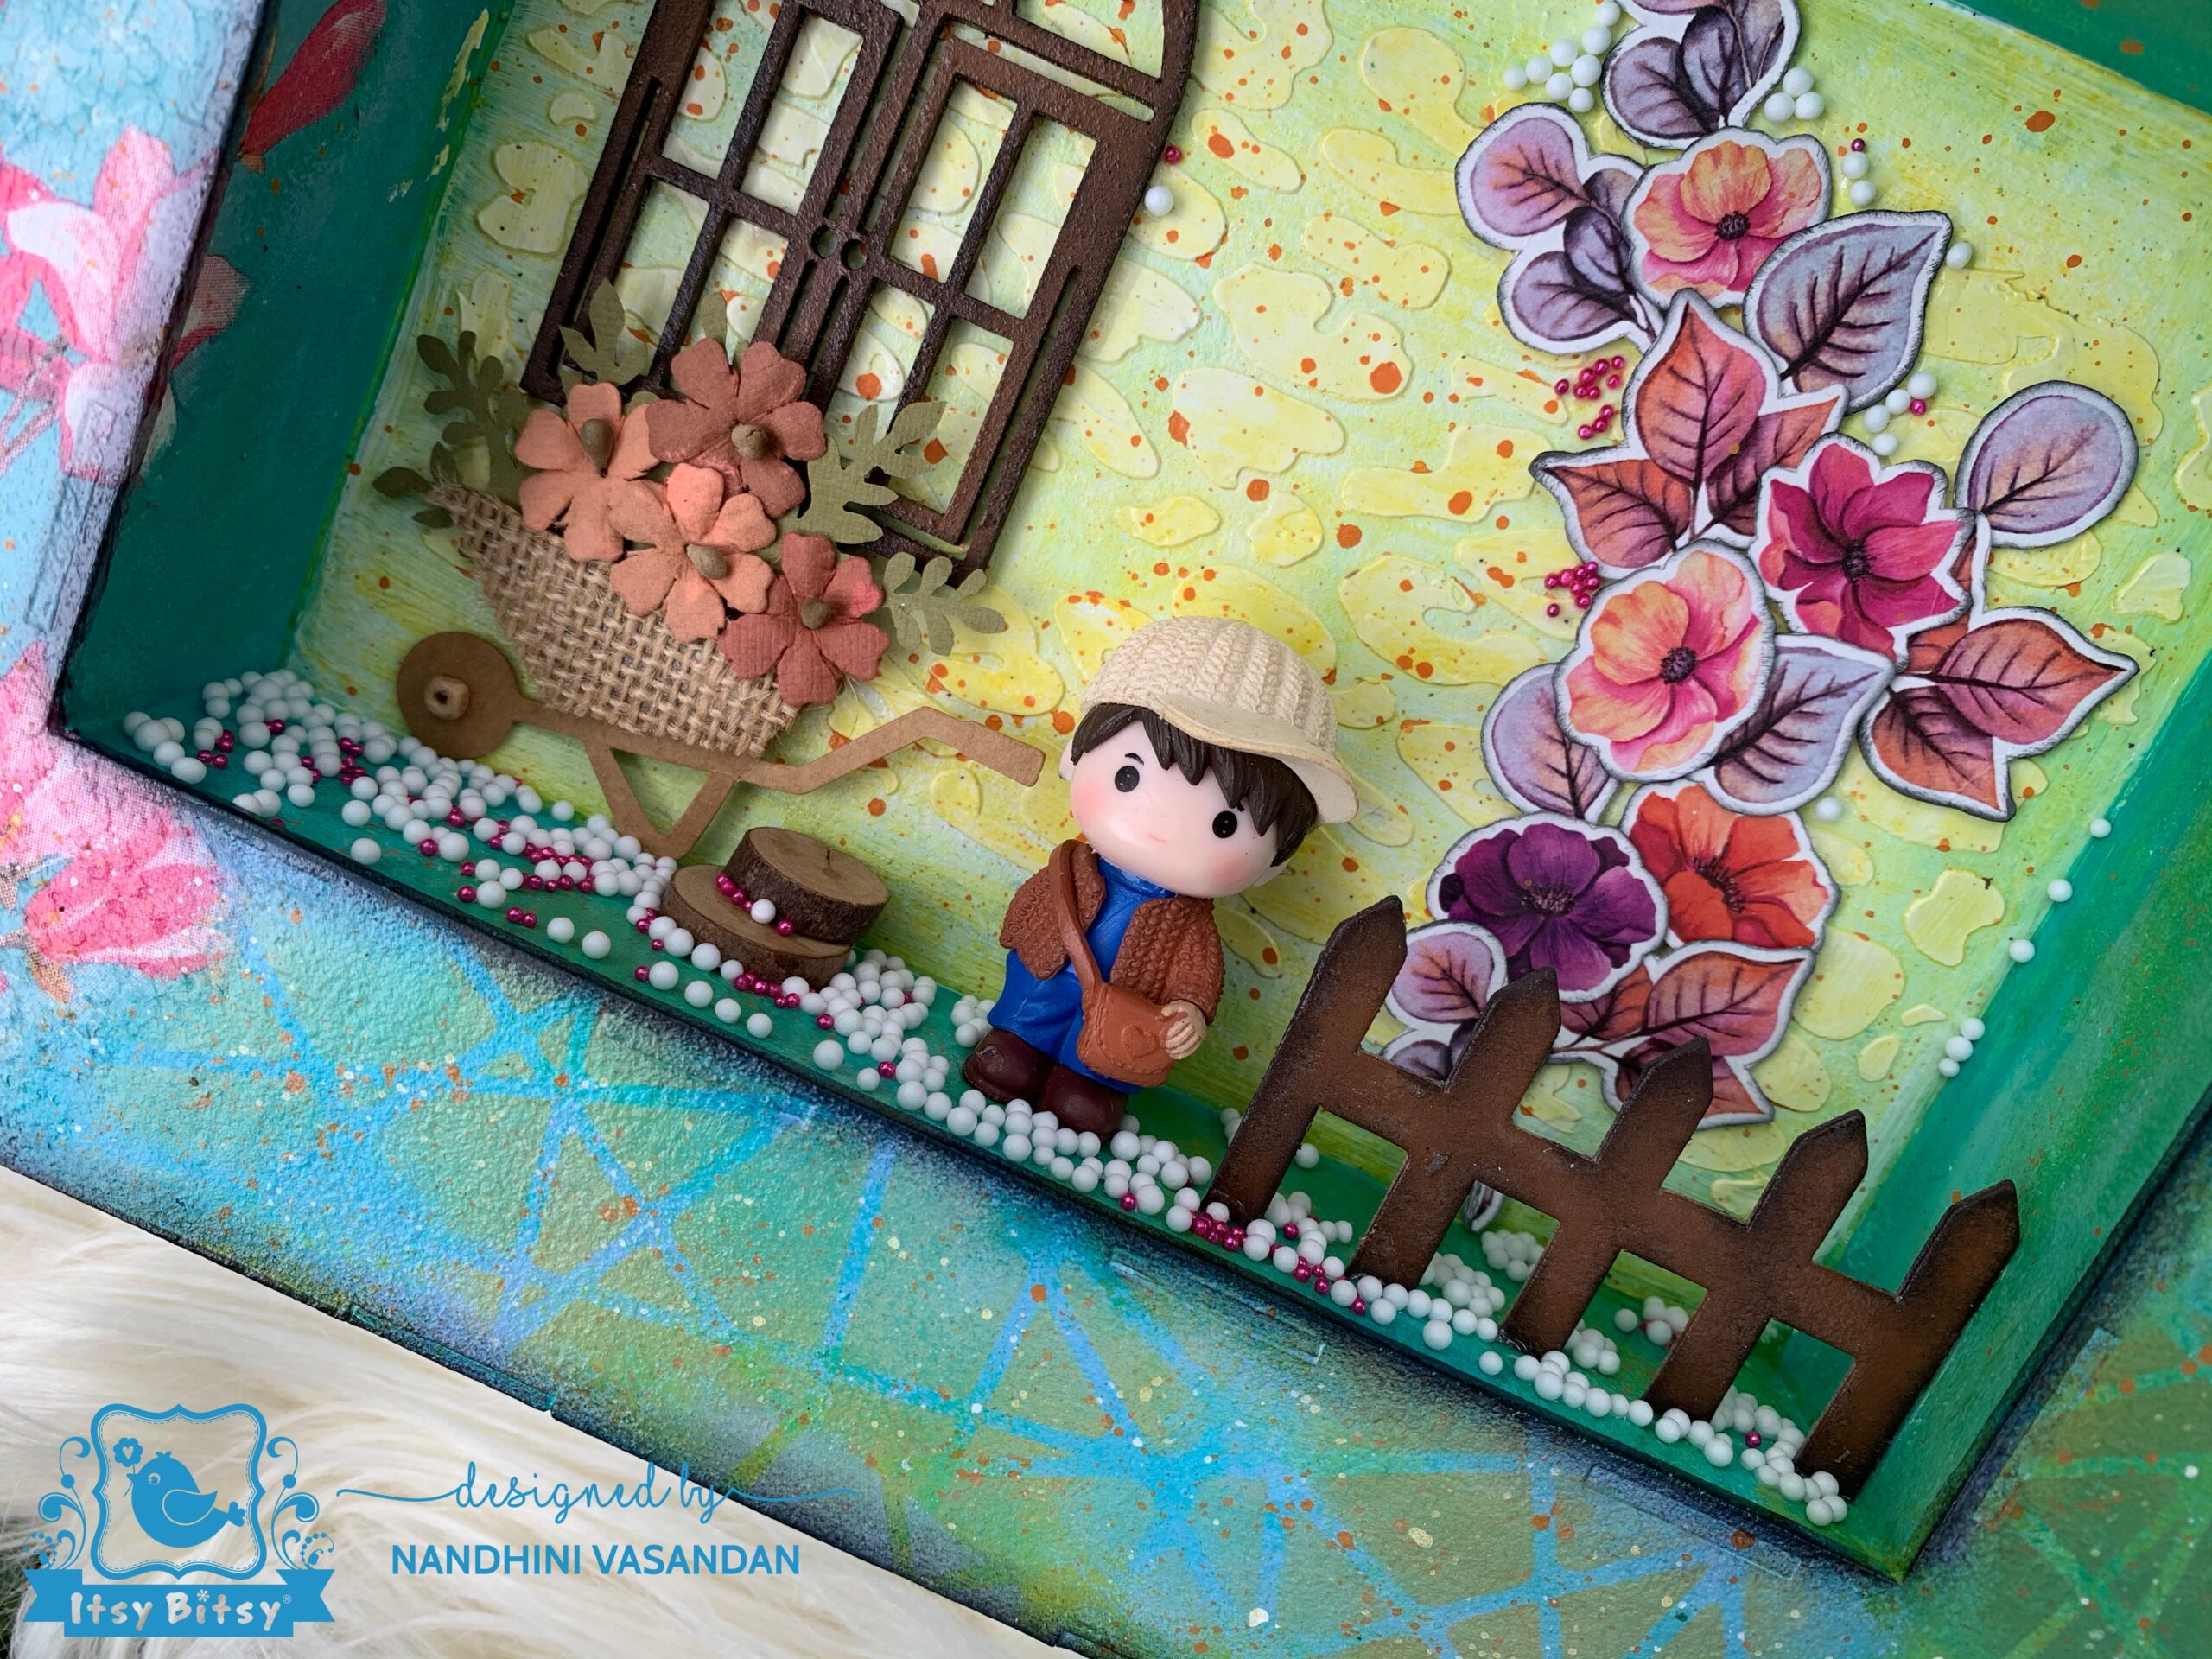
Thereafter, I took a window MDF cutout from my stash and a fence chipboard from the store and coloured them with Choco Cookies chalk paint and stuck them with silicon glue.
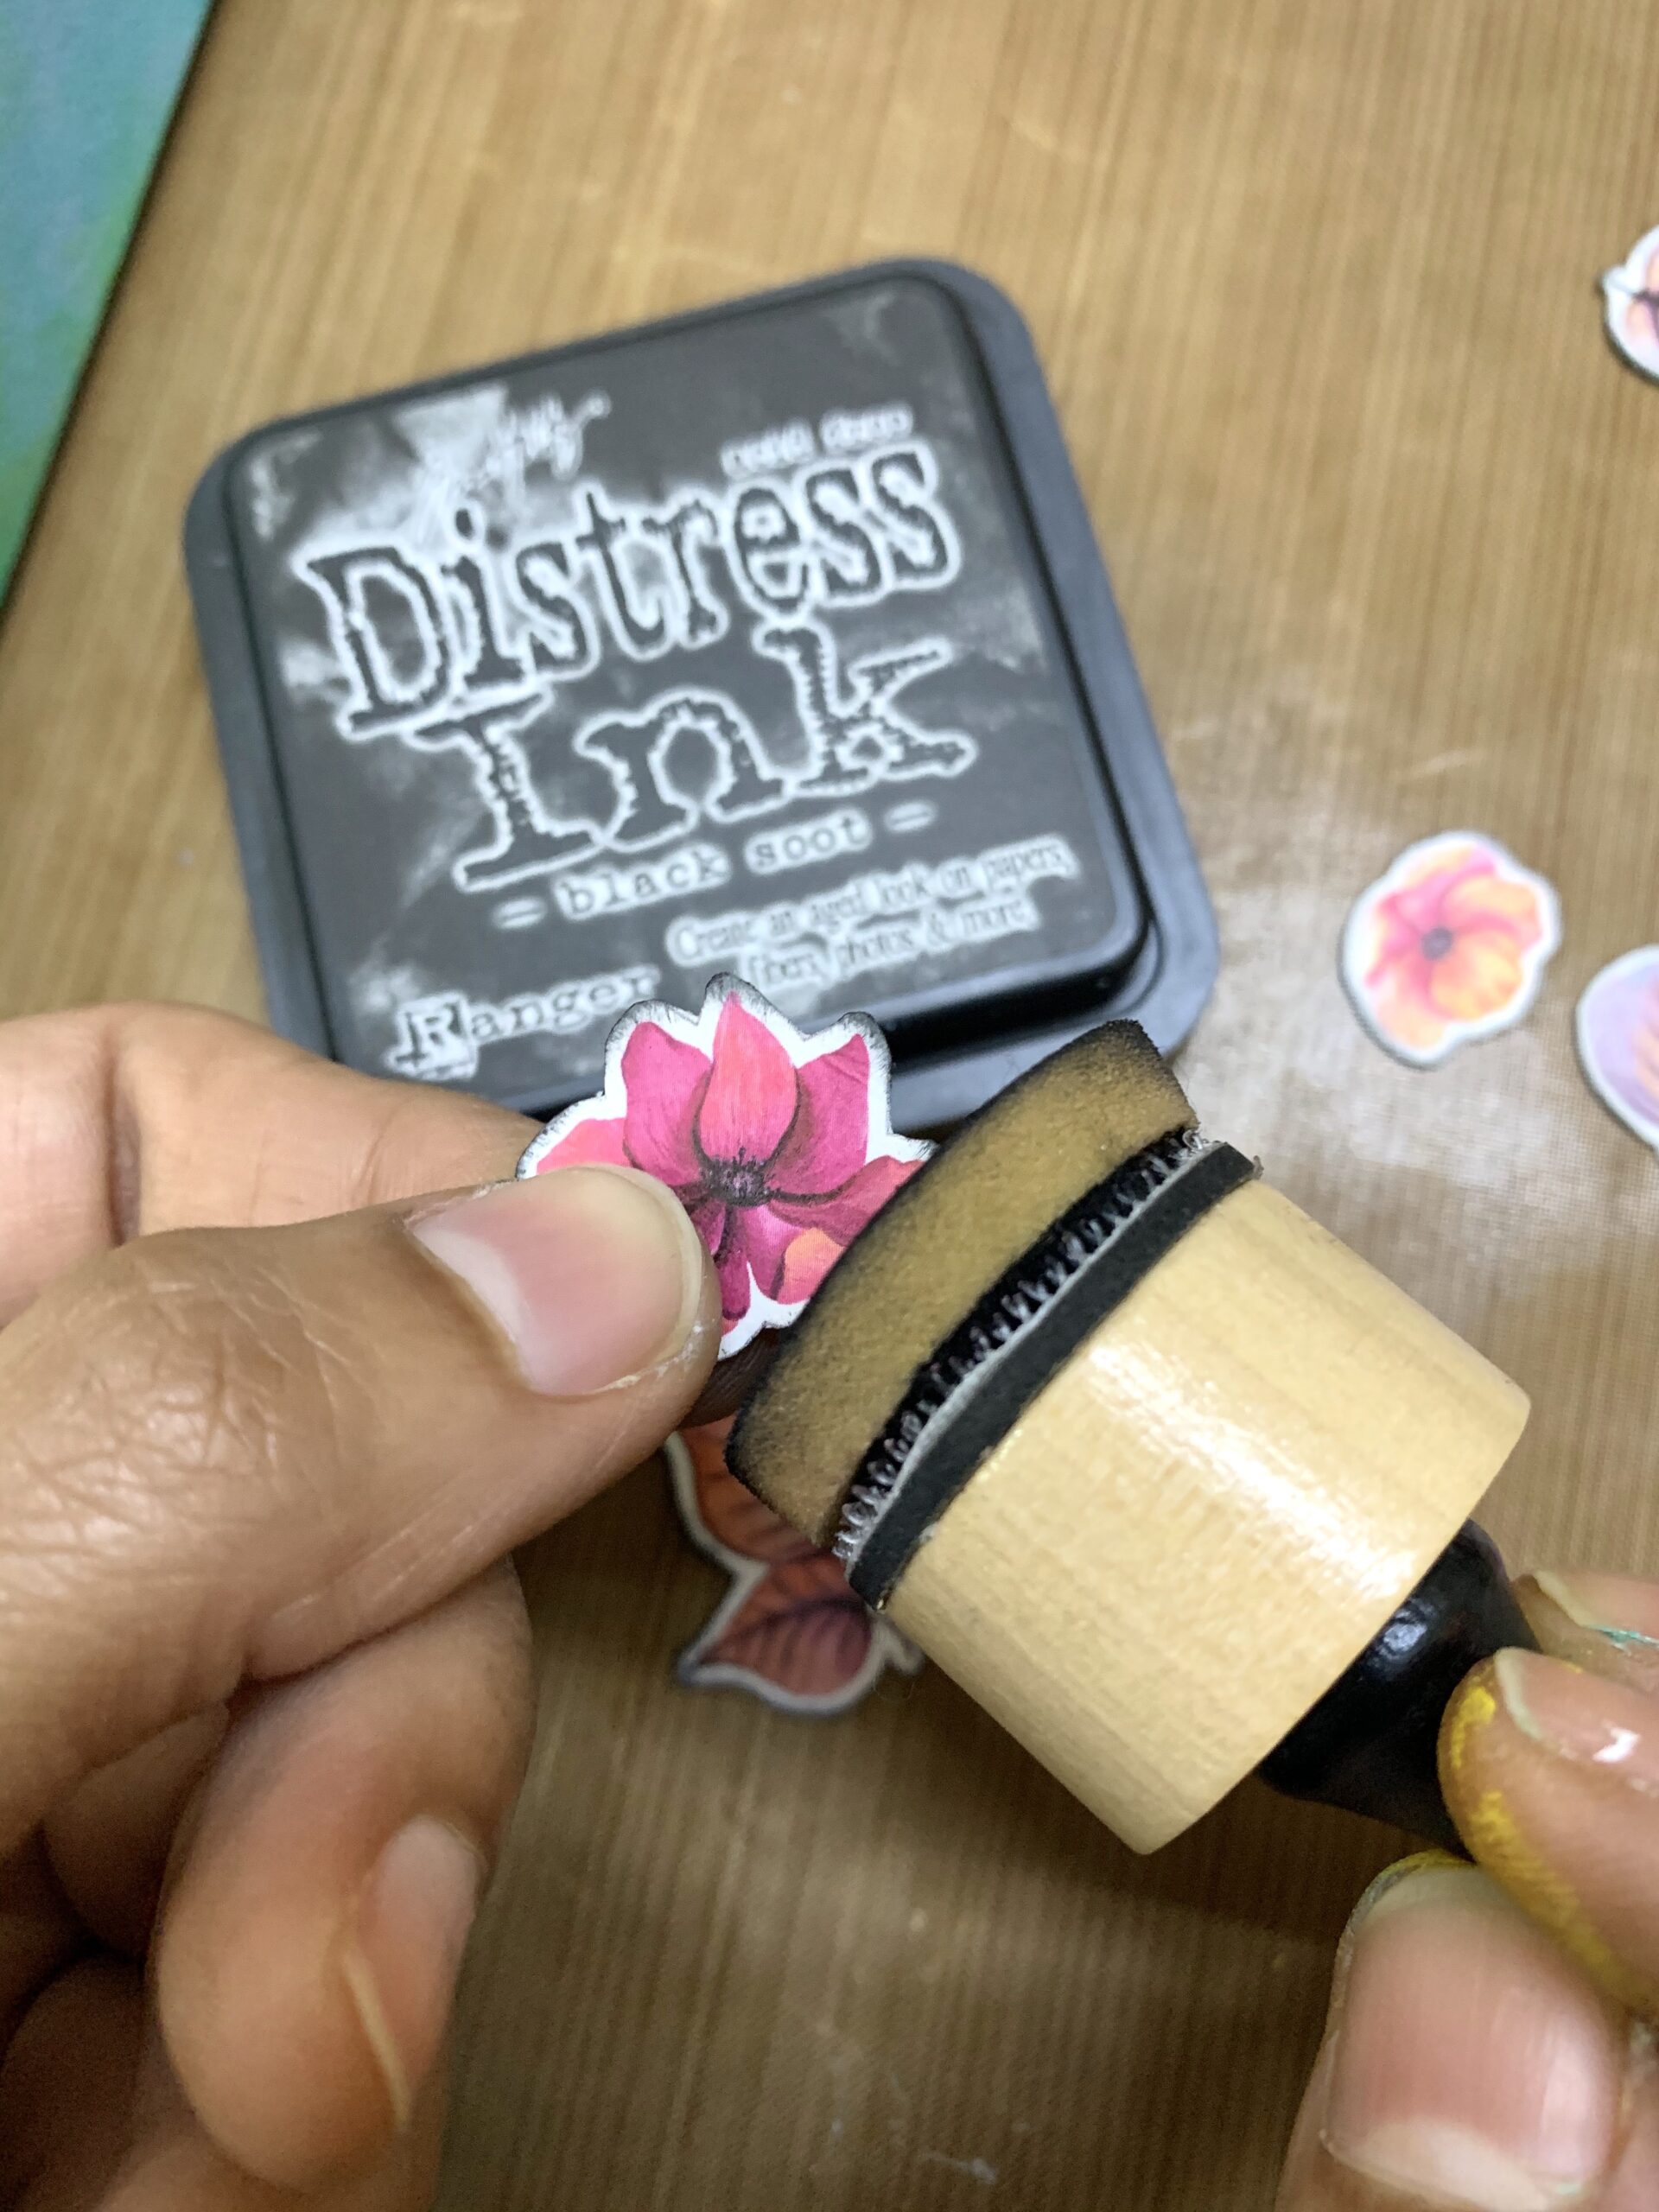
I incorporated this month’s Blog Challenge Star product “Element Sheets” in my project. I loved the ‘Floral Carnival’ element sheets which I got in my DT kit. I fussy cut few elements and distressed the edges with distress ink Black Soot and arranged them in a way that I liked using double sided tape.


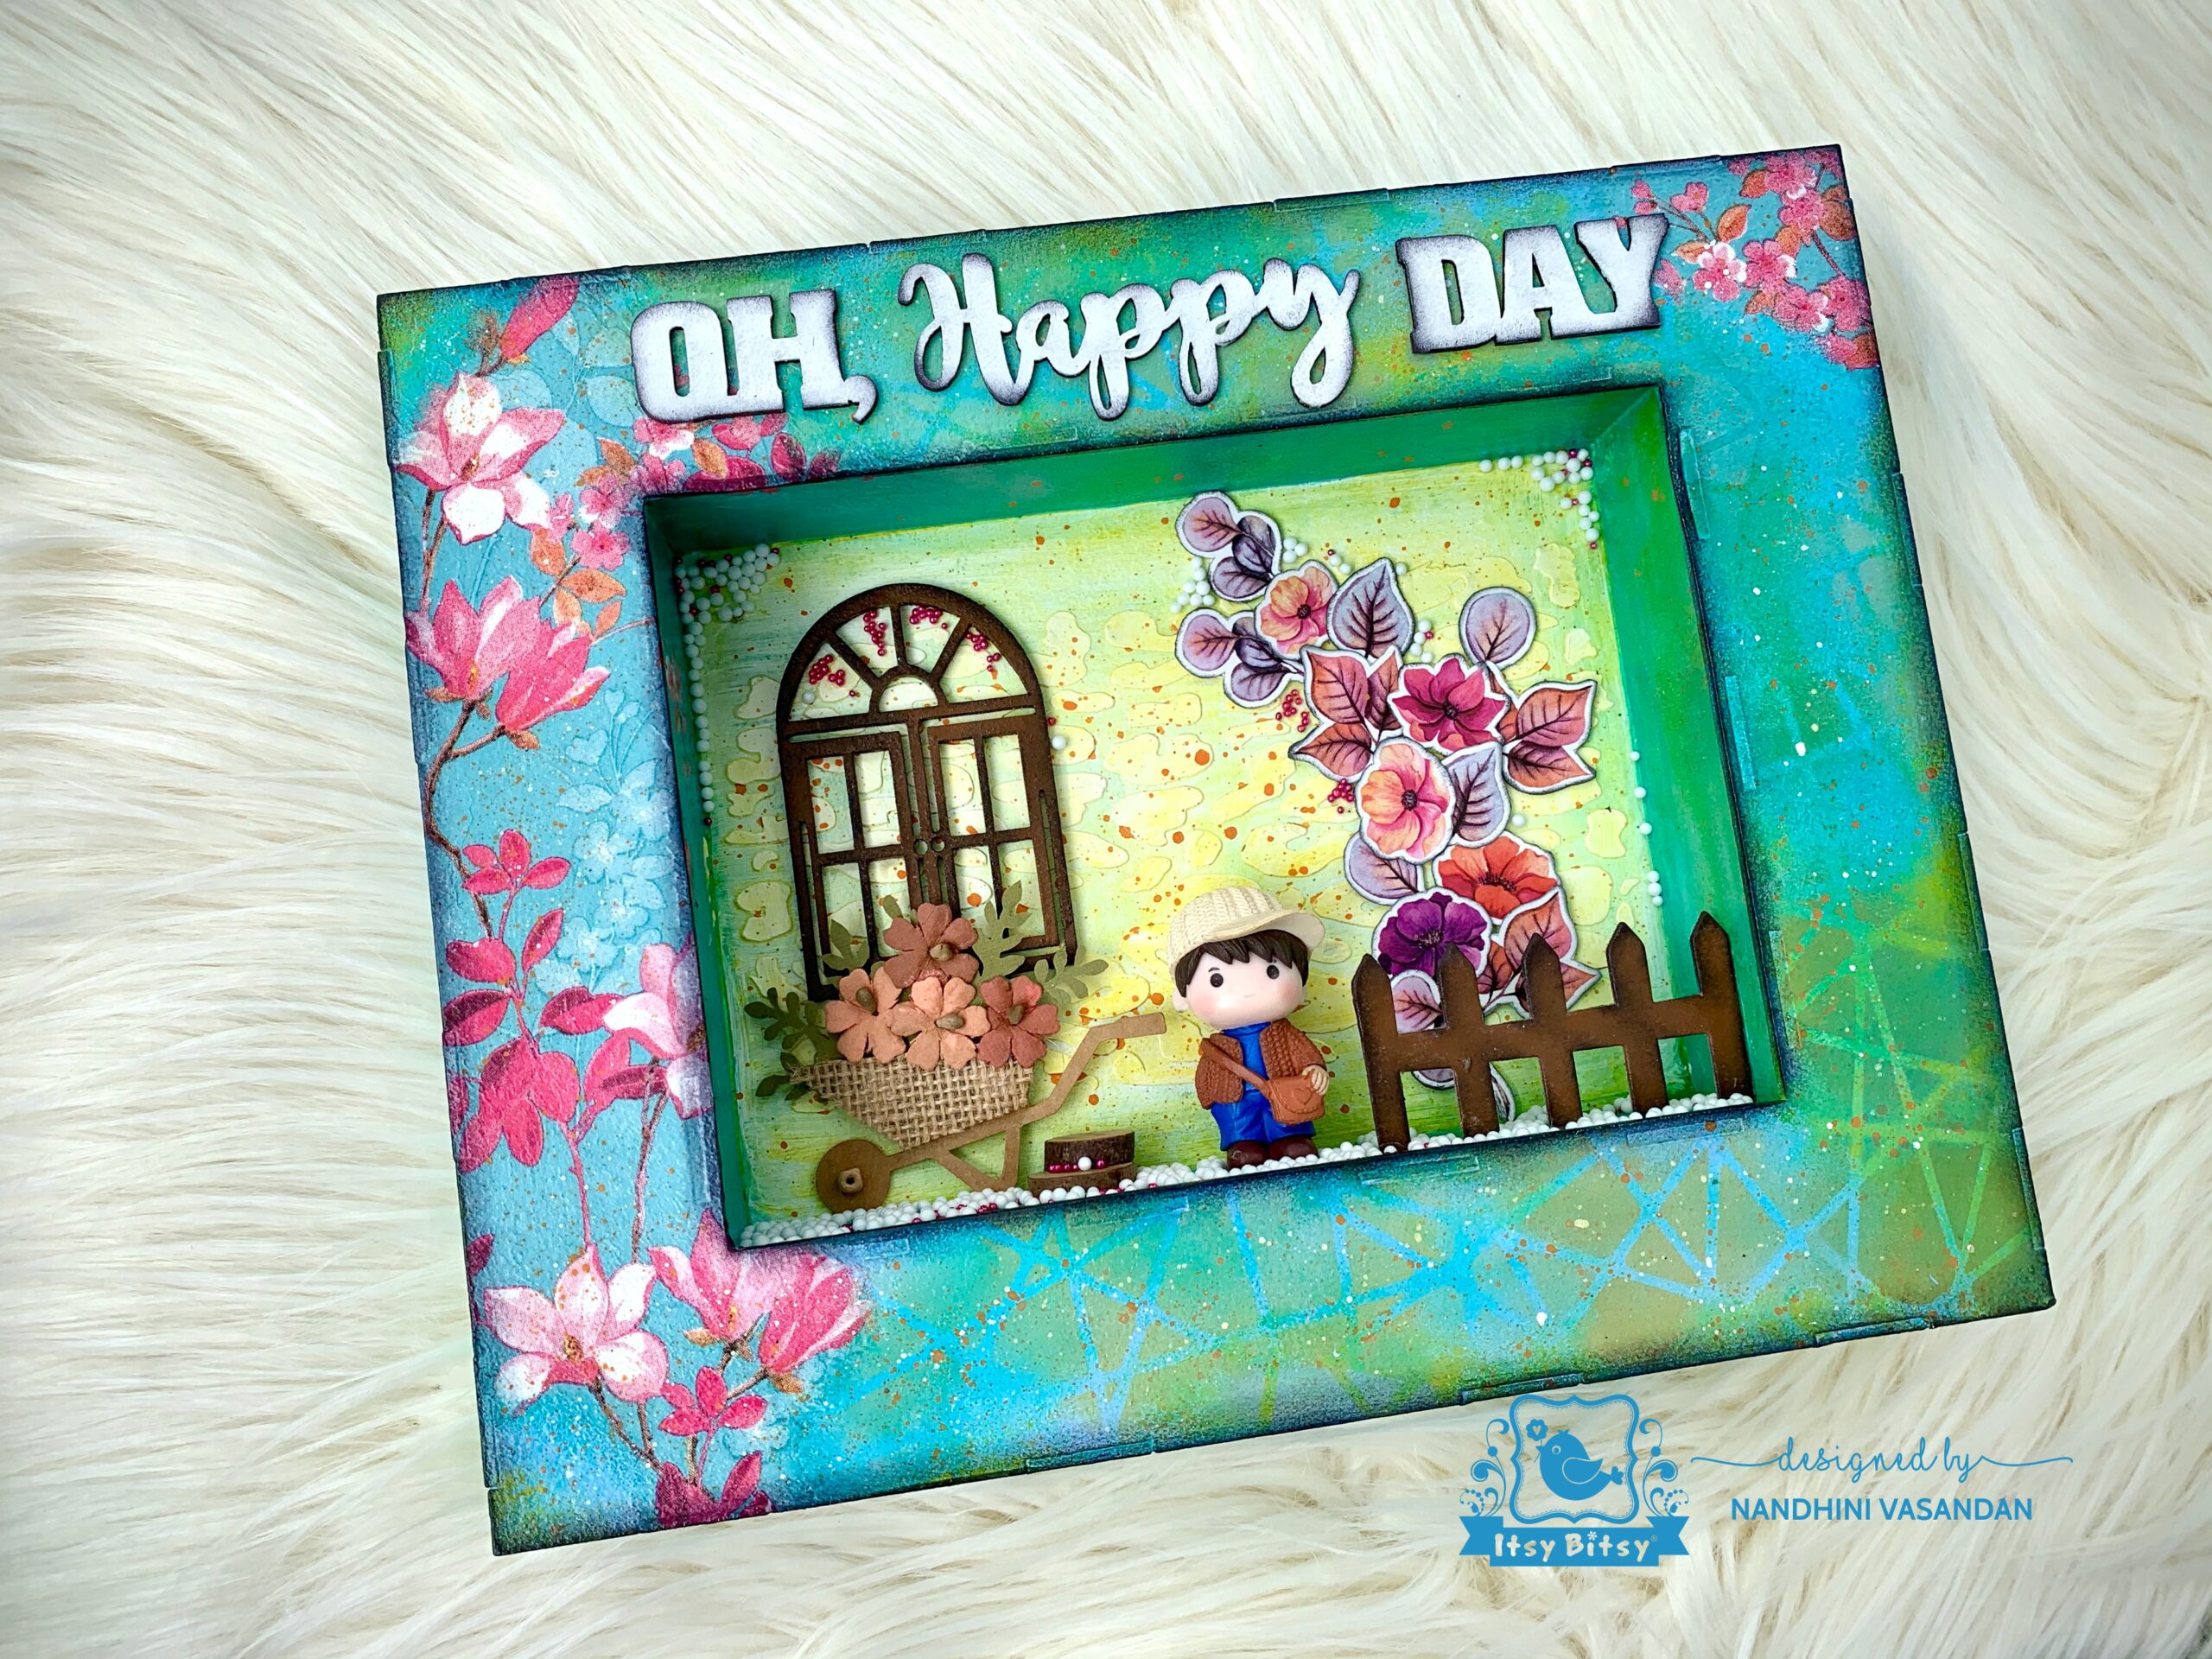
I created a beautiful natural scenery using a miniature boy, handmade flowers, wooden slices, fence, metal micro bead – Gala Pink from the store. I also used thermocol balls to create a snowy effect according to the season. Finally I added the cutout “Oh! Happy day” chipboard to finish my project.
Hope you all liked my tutorial and find it inspirational.
The ideas to incorporate element sheets are endless. Do share your creations with us using element sheets and participate in the blog challenge.
Here are few pictures of the project.
Use code NANDHINI5 to buy any product at www.itsybitsy.in and get 5% discount on your total bill.
Happy crafting
Nandhini Vasandan
List of materials used:
https://itsybitsy.in/collections/all/products/white-washed-alterablephoto-frame
Little Birdie Stencil – Entangled, 4" X 7"
Little Birdie Home Decor Chalk Paint 50ml – Mango Crush
Little Birdie Home Decor Chalk Paint 50ml – Hydrangea Blue
Little Birdie Home Decor Chalk Paint 50ml – Snow
Little Birdie Home Decor Chalk Paint 50ml -Tuscan Teal
Little Birdie Acrylic Gesso 100ml- White
Little Birdie Deco Magic Glue Glossy -450ml
Little Birdie Decor Varnish, 100ml – Matte
Little Birdie Home Decor Chalk Paint 50ml – Choco Cookie
Little Birdie Element Sheet- Floral Carnival, 250gsm, 2 Sheets
Ranger Archival Ink Pad – Jet Black, 1pc
Tim Holtz Distress Ink Pad – Black soot, 3" X 3", 1pc
Little Birdie Metal Microbeads 30gm – Gala Pink
Itsy Bitsy Tiny Thermocol Balls – 1.2mm
Itsy Bitsy Chipboard Shape -Fences, 4Pc
Little Birdie Archival Multi-Surface Paint, 60ml – Apricot Butter
Little Birdie Primed Chipboard Sentiments -Happy Days, 3Pc