Hello, Itsy Bitsy Crafter fans!
Vinita here!
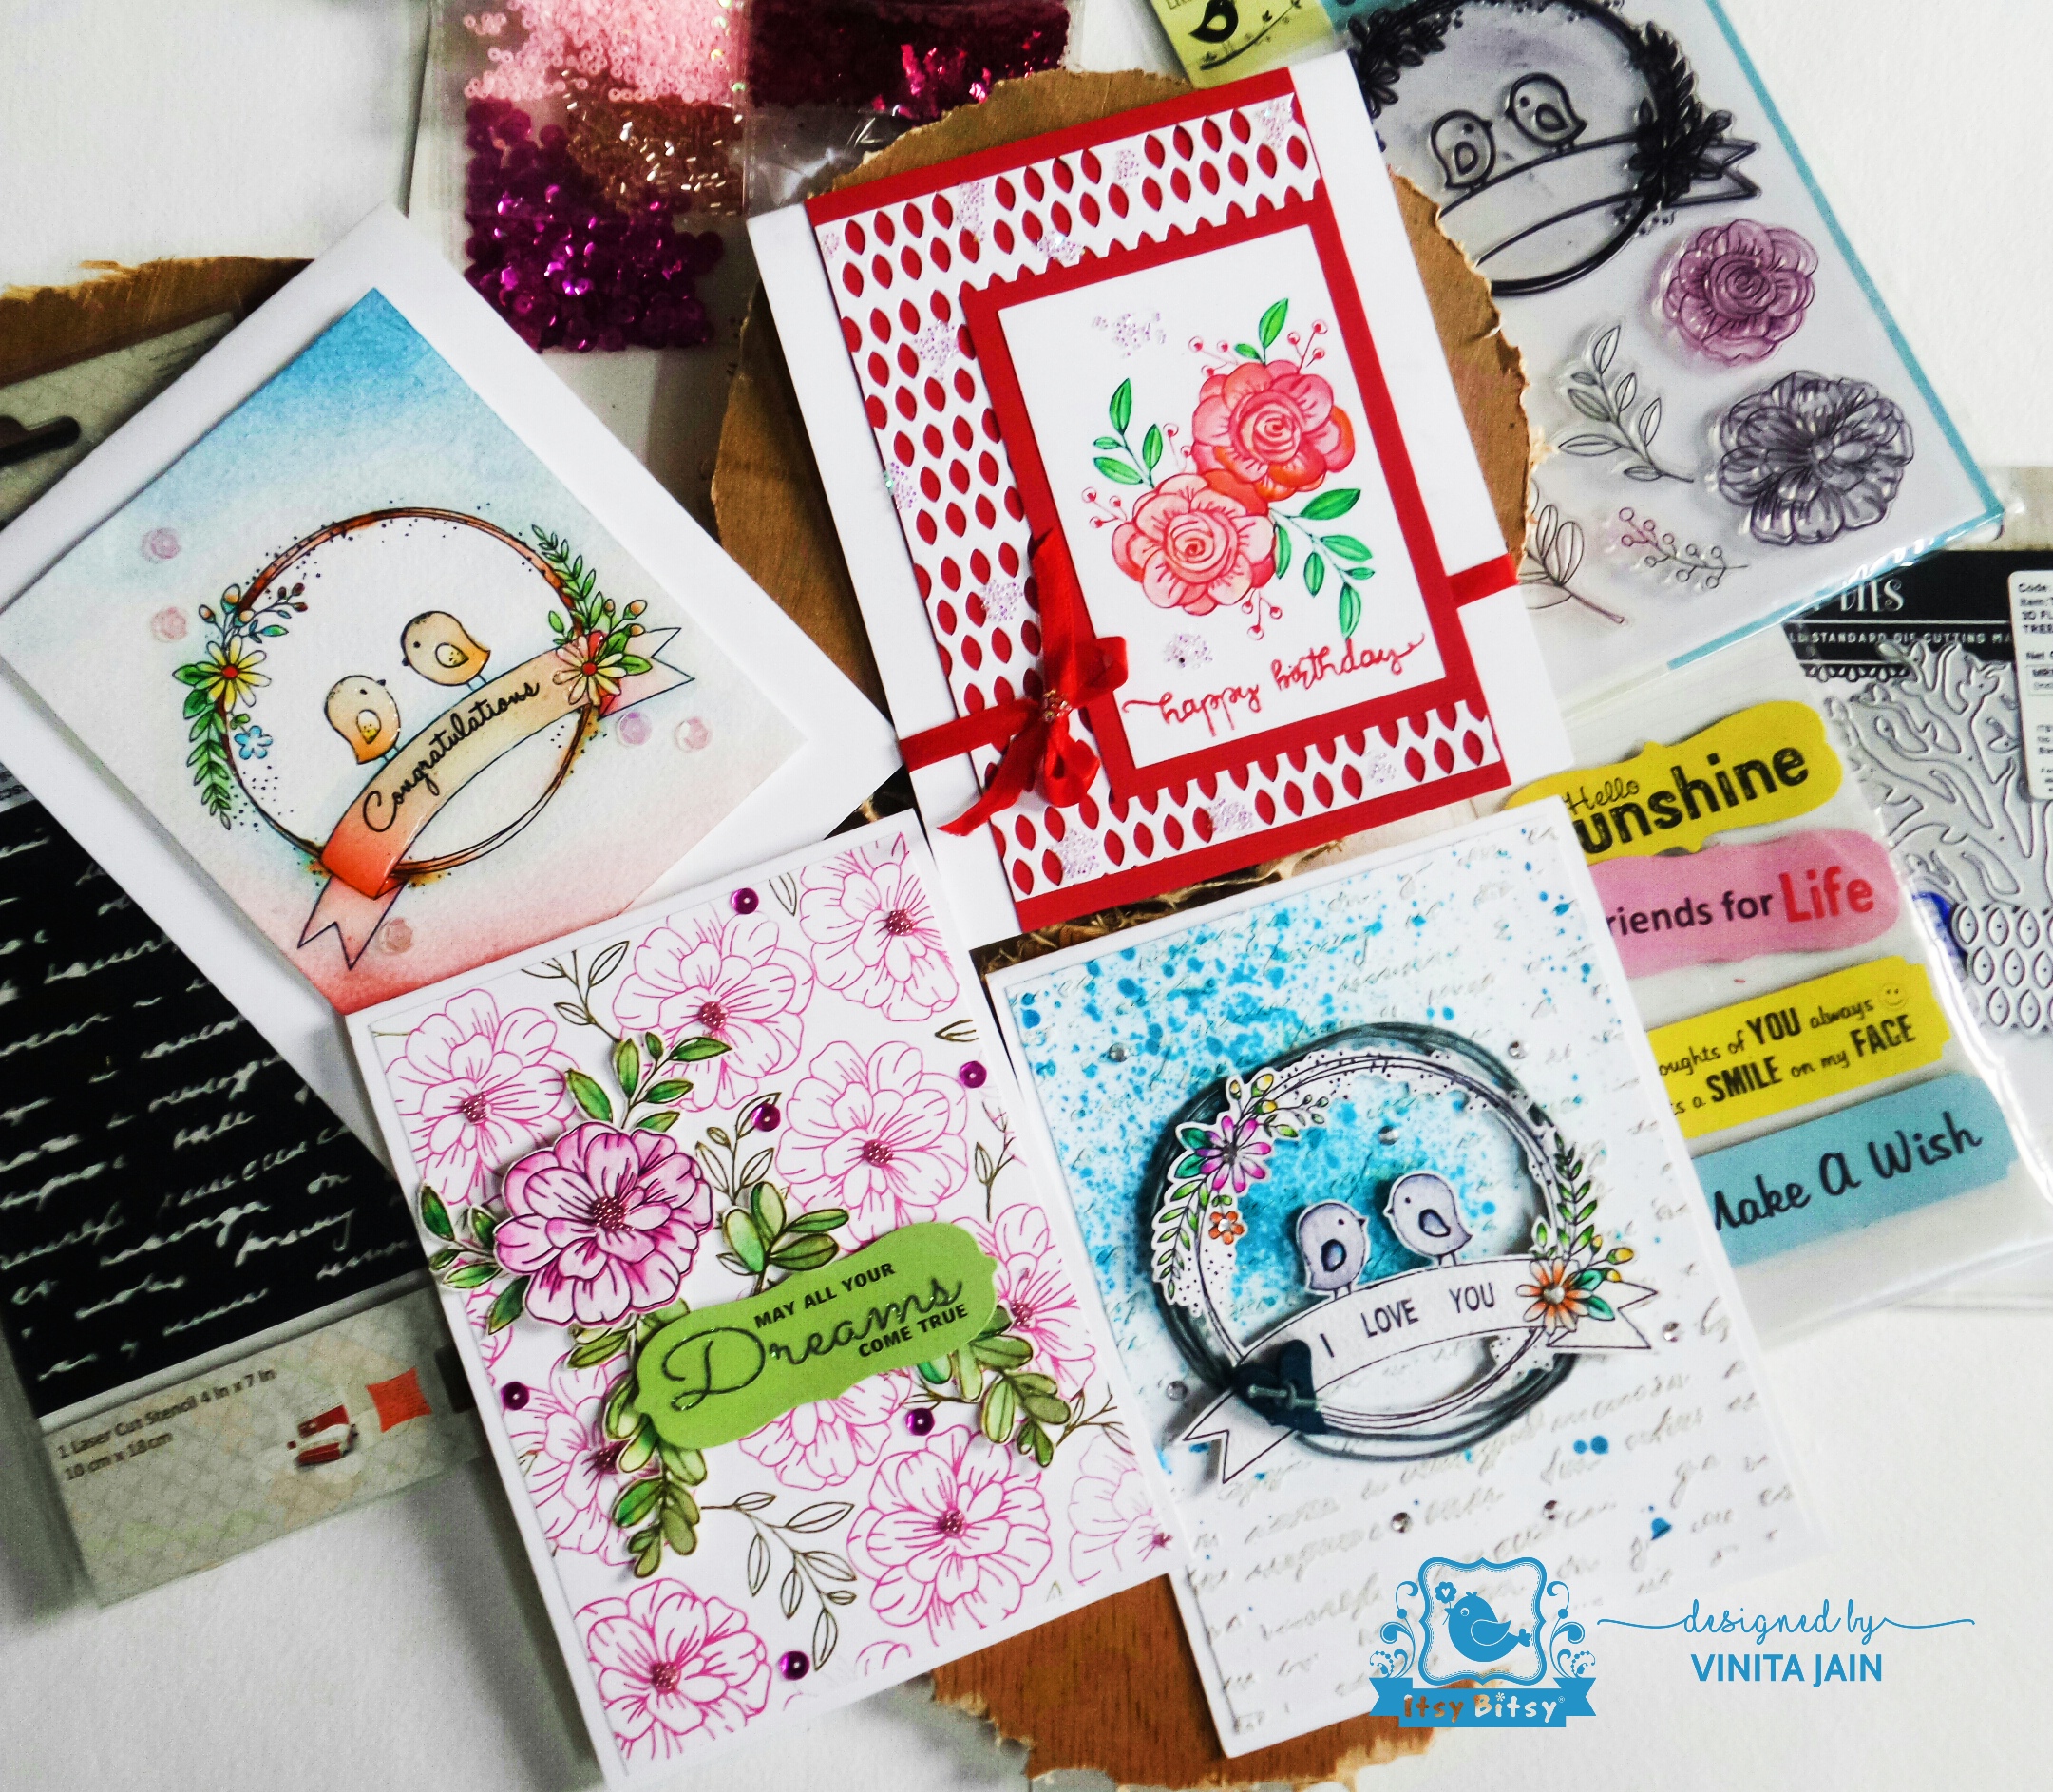
Today, I am showcasing how you can use a single stamp set to make different cards for different occasions. It’s stamping and watercolouring you need to get some lovely cards ready! Only for the sentiments from different stamp sets.
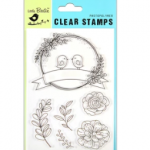
I love this circle frame along with flowers and cute birds on a banner which creates an elegant image from ‘Chirpy Garden’ stamp set. Such a fun set to play with! You can add any sentiment to the banner for a more personalized touch!
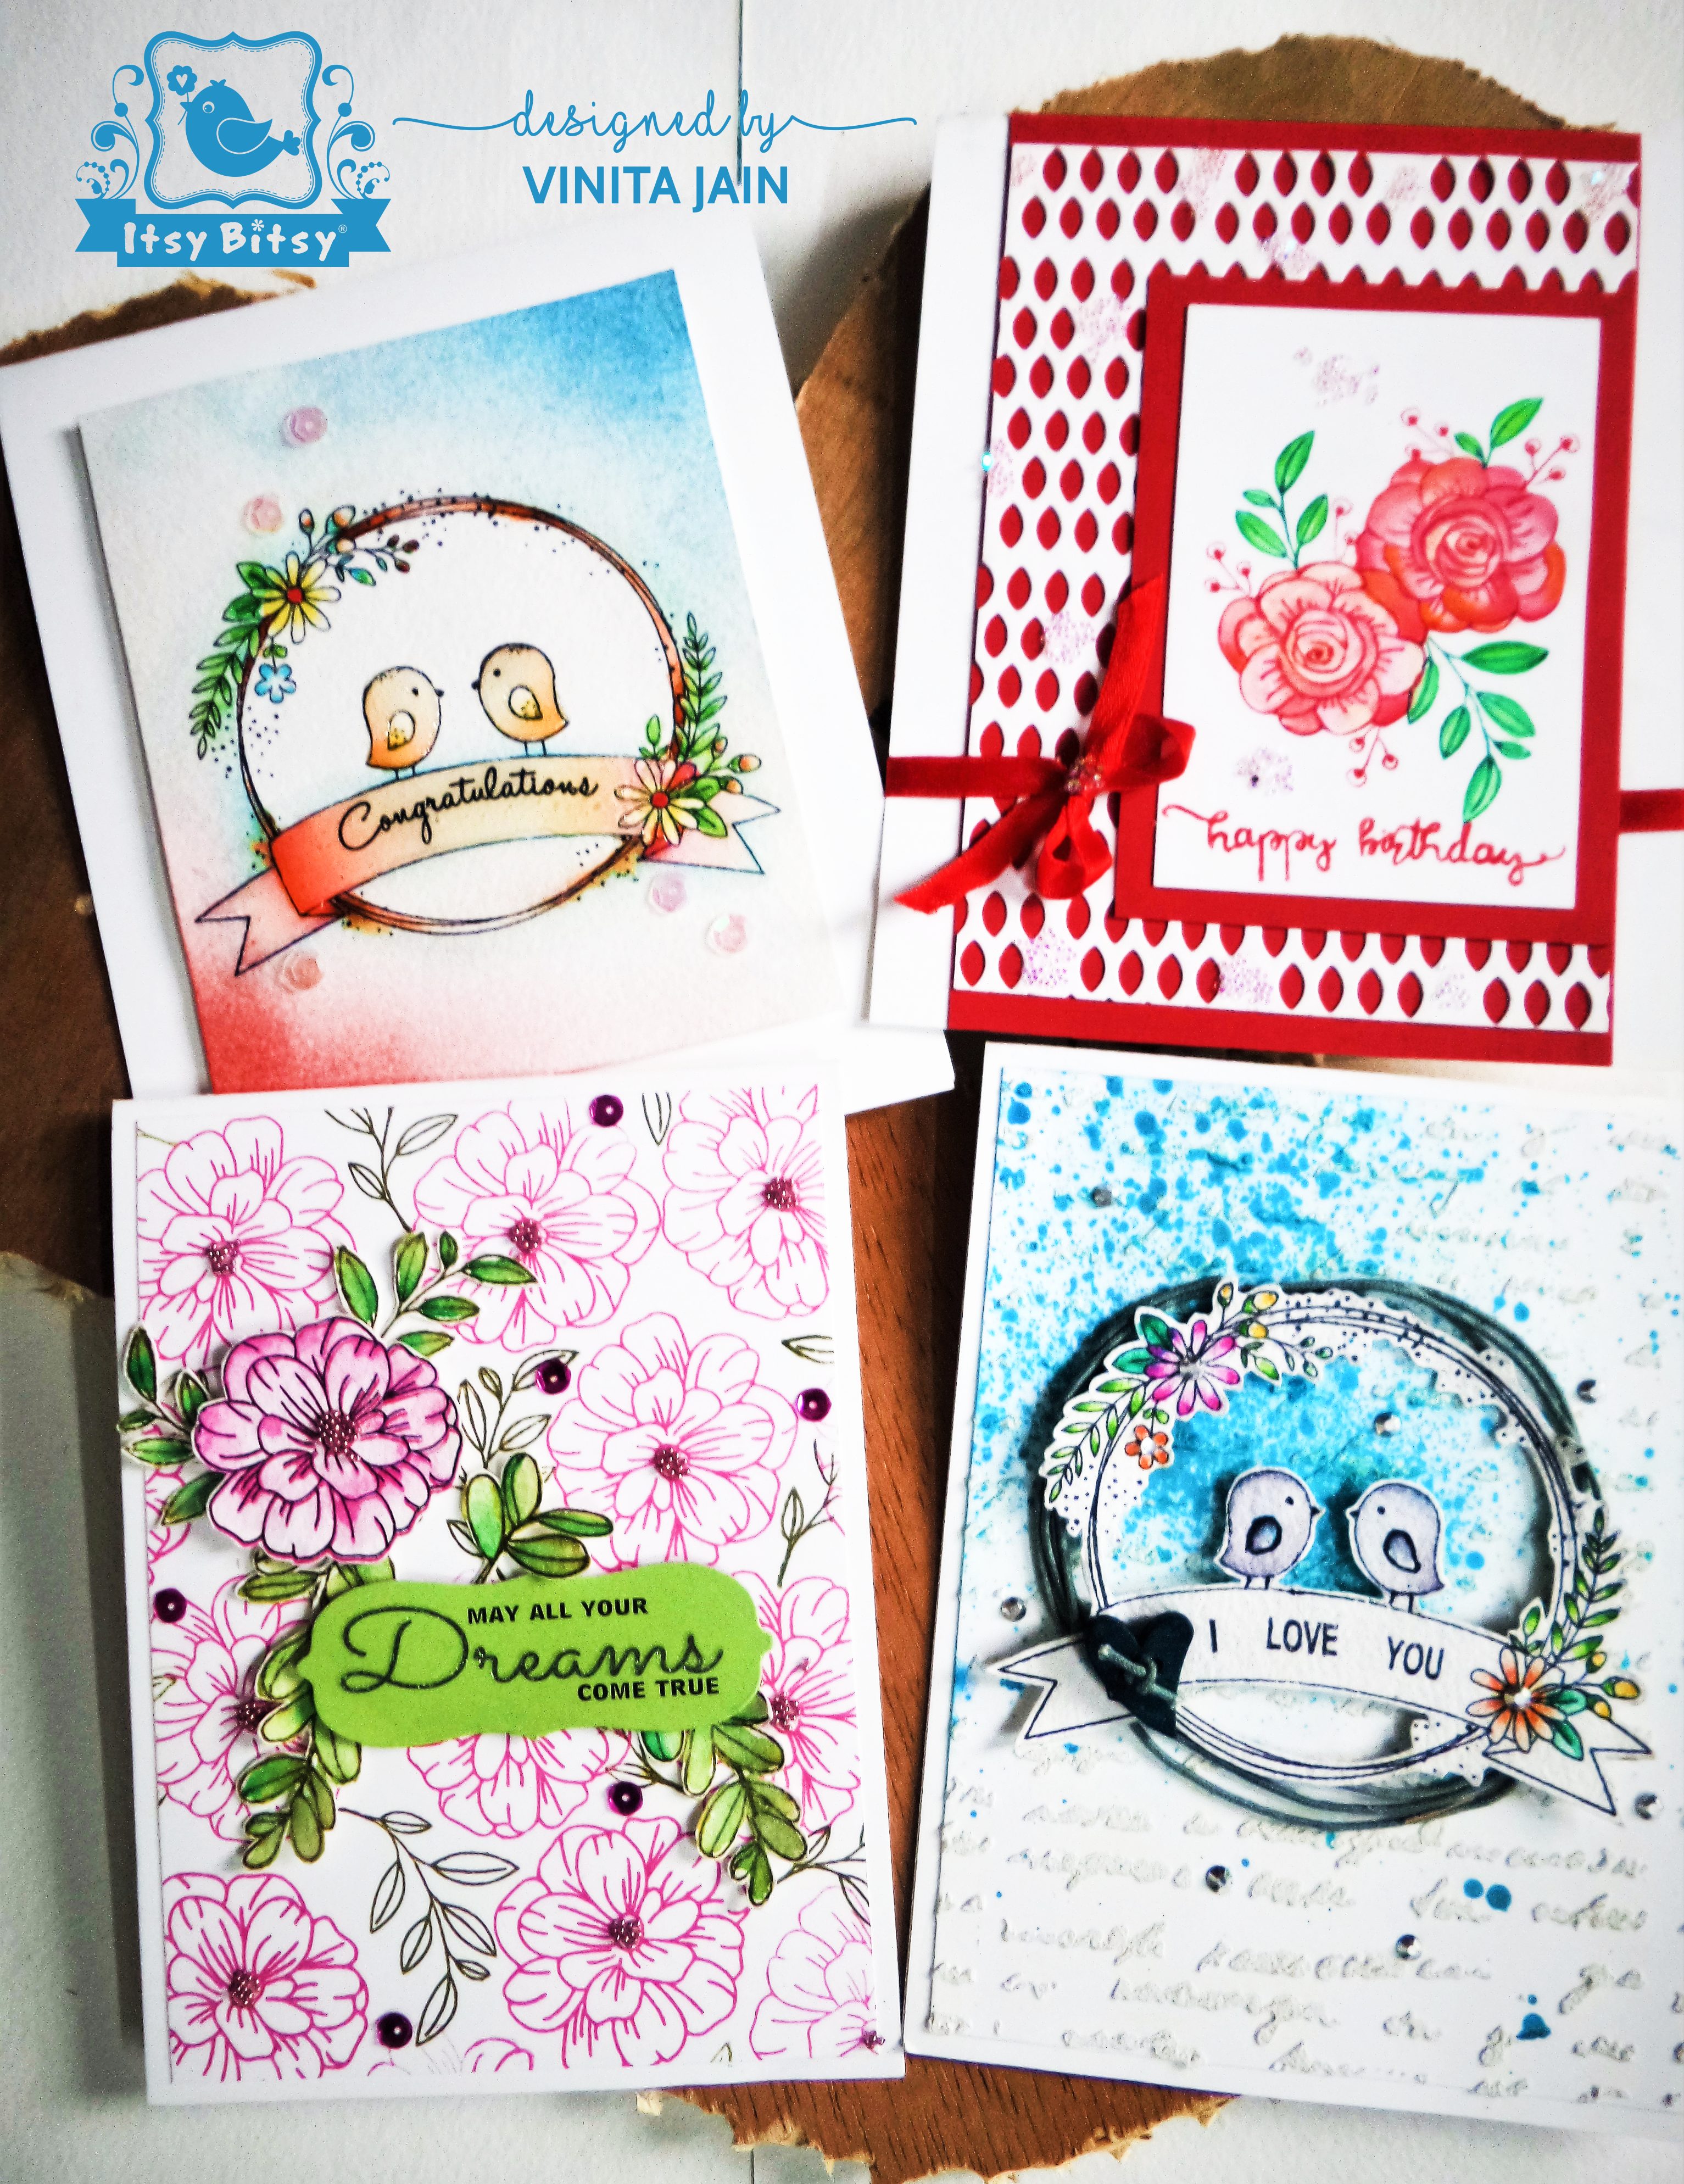
Card#1
Perfect for weddings, Valentine’s Day, showing affection!

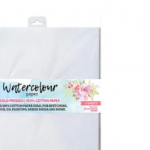
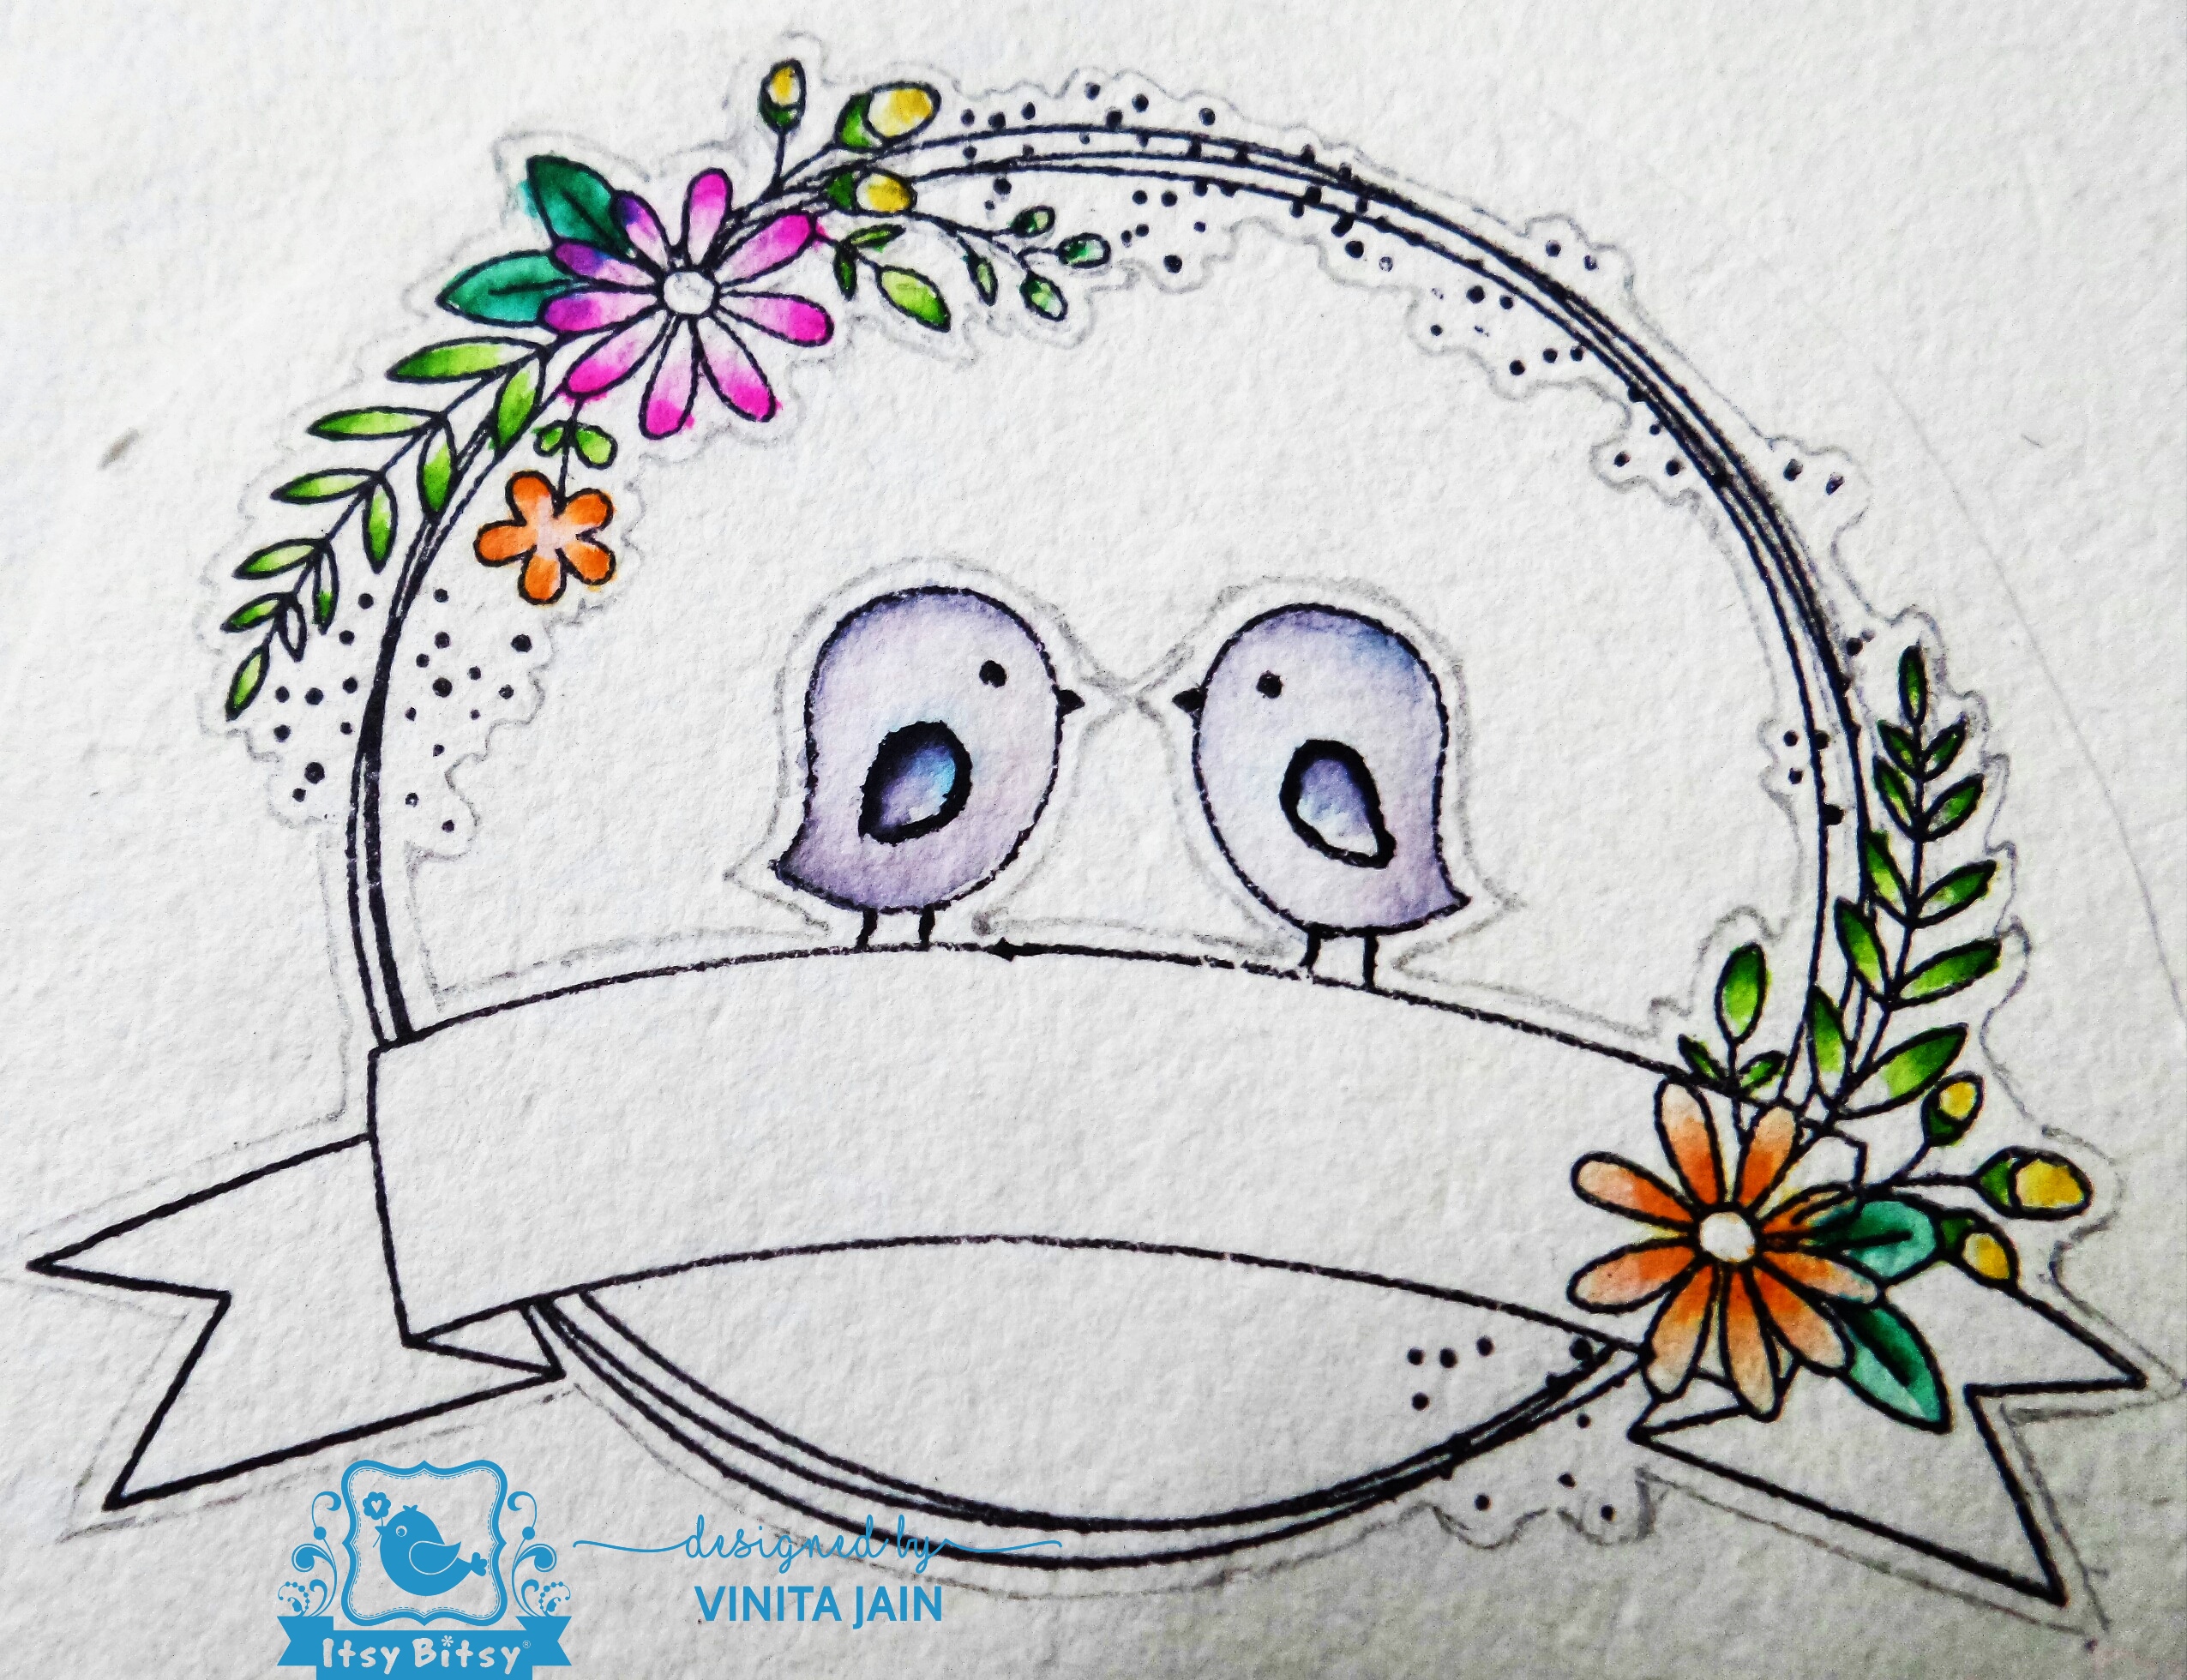
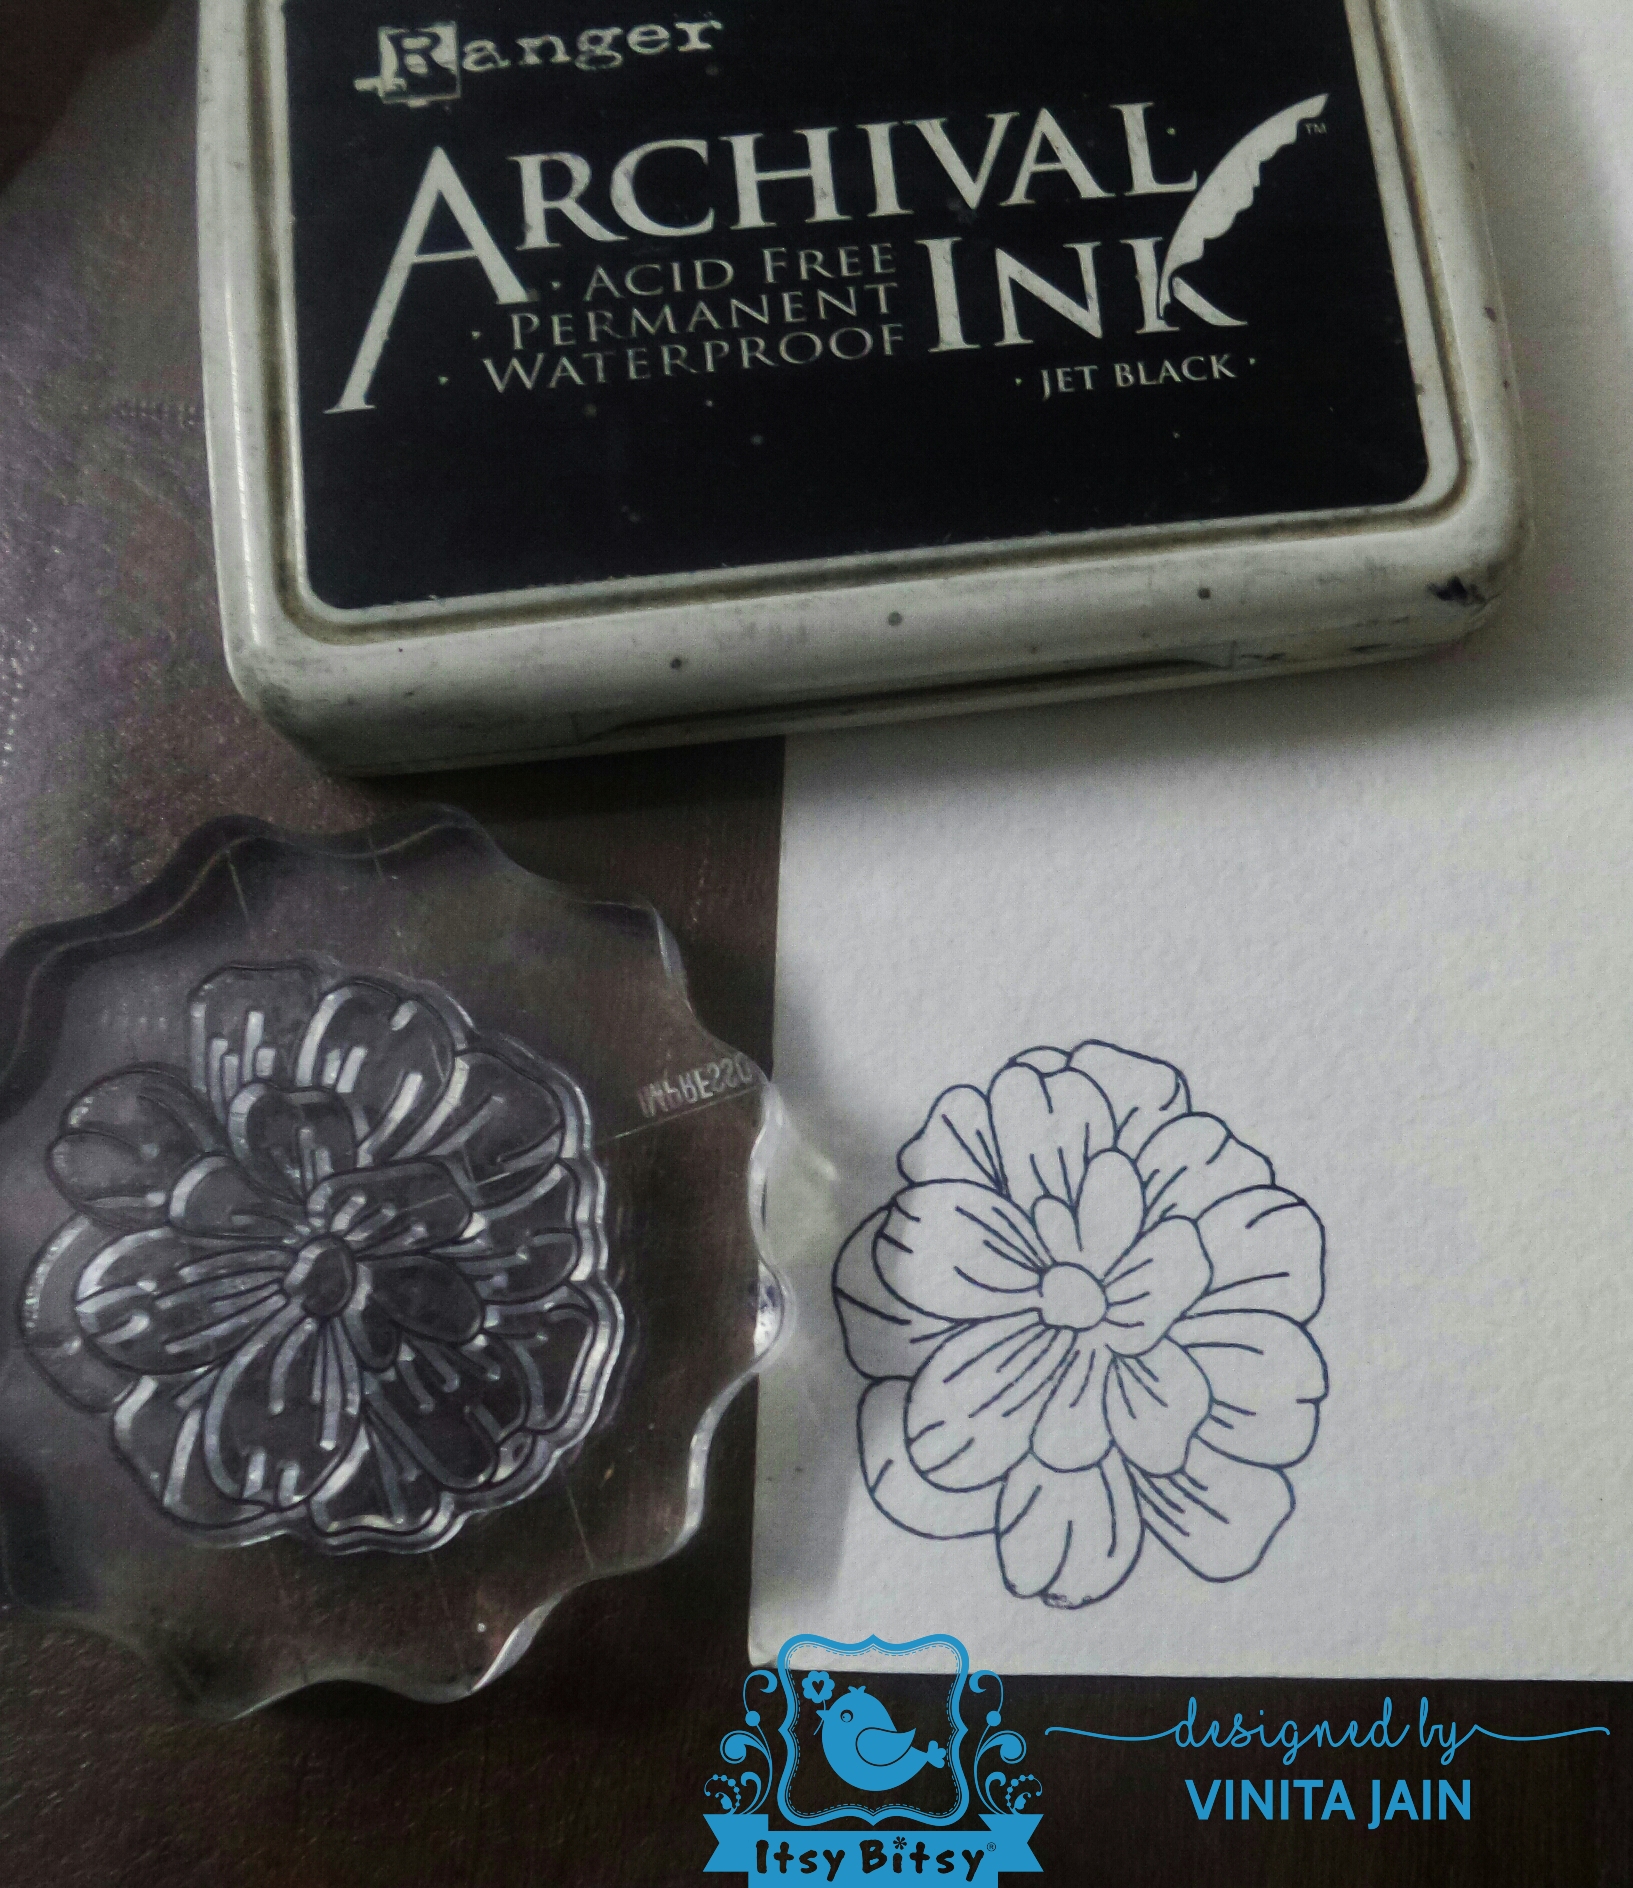
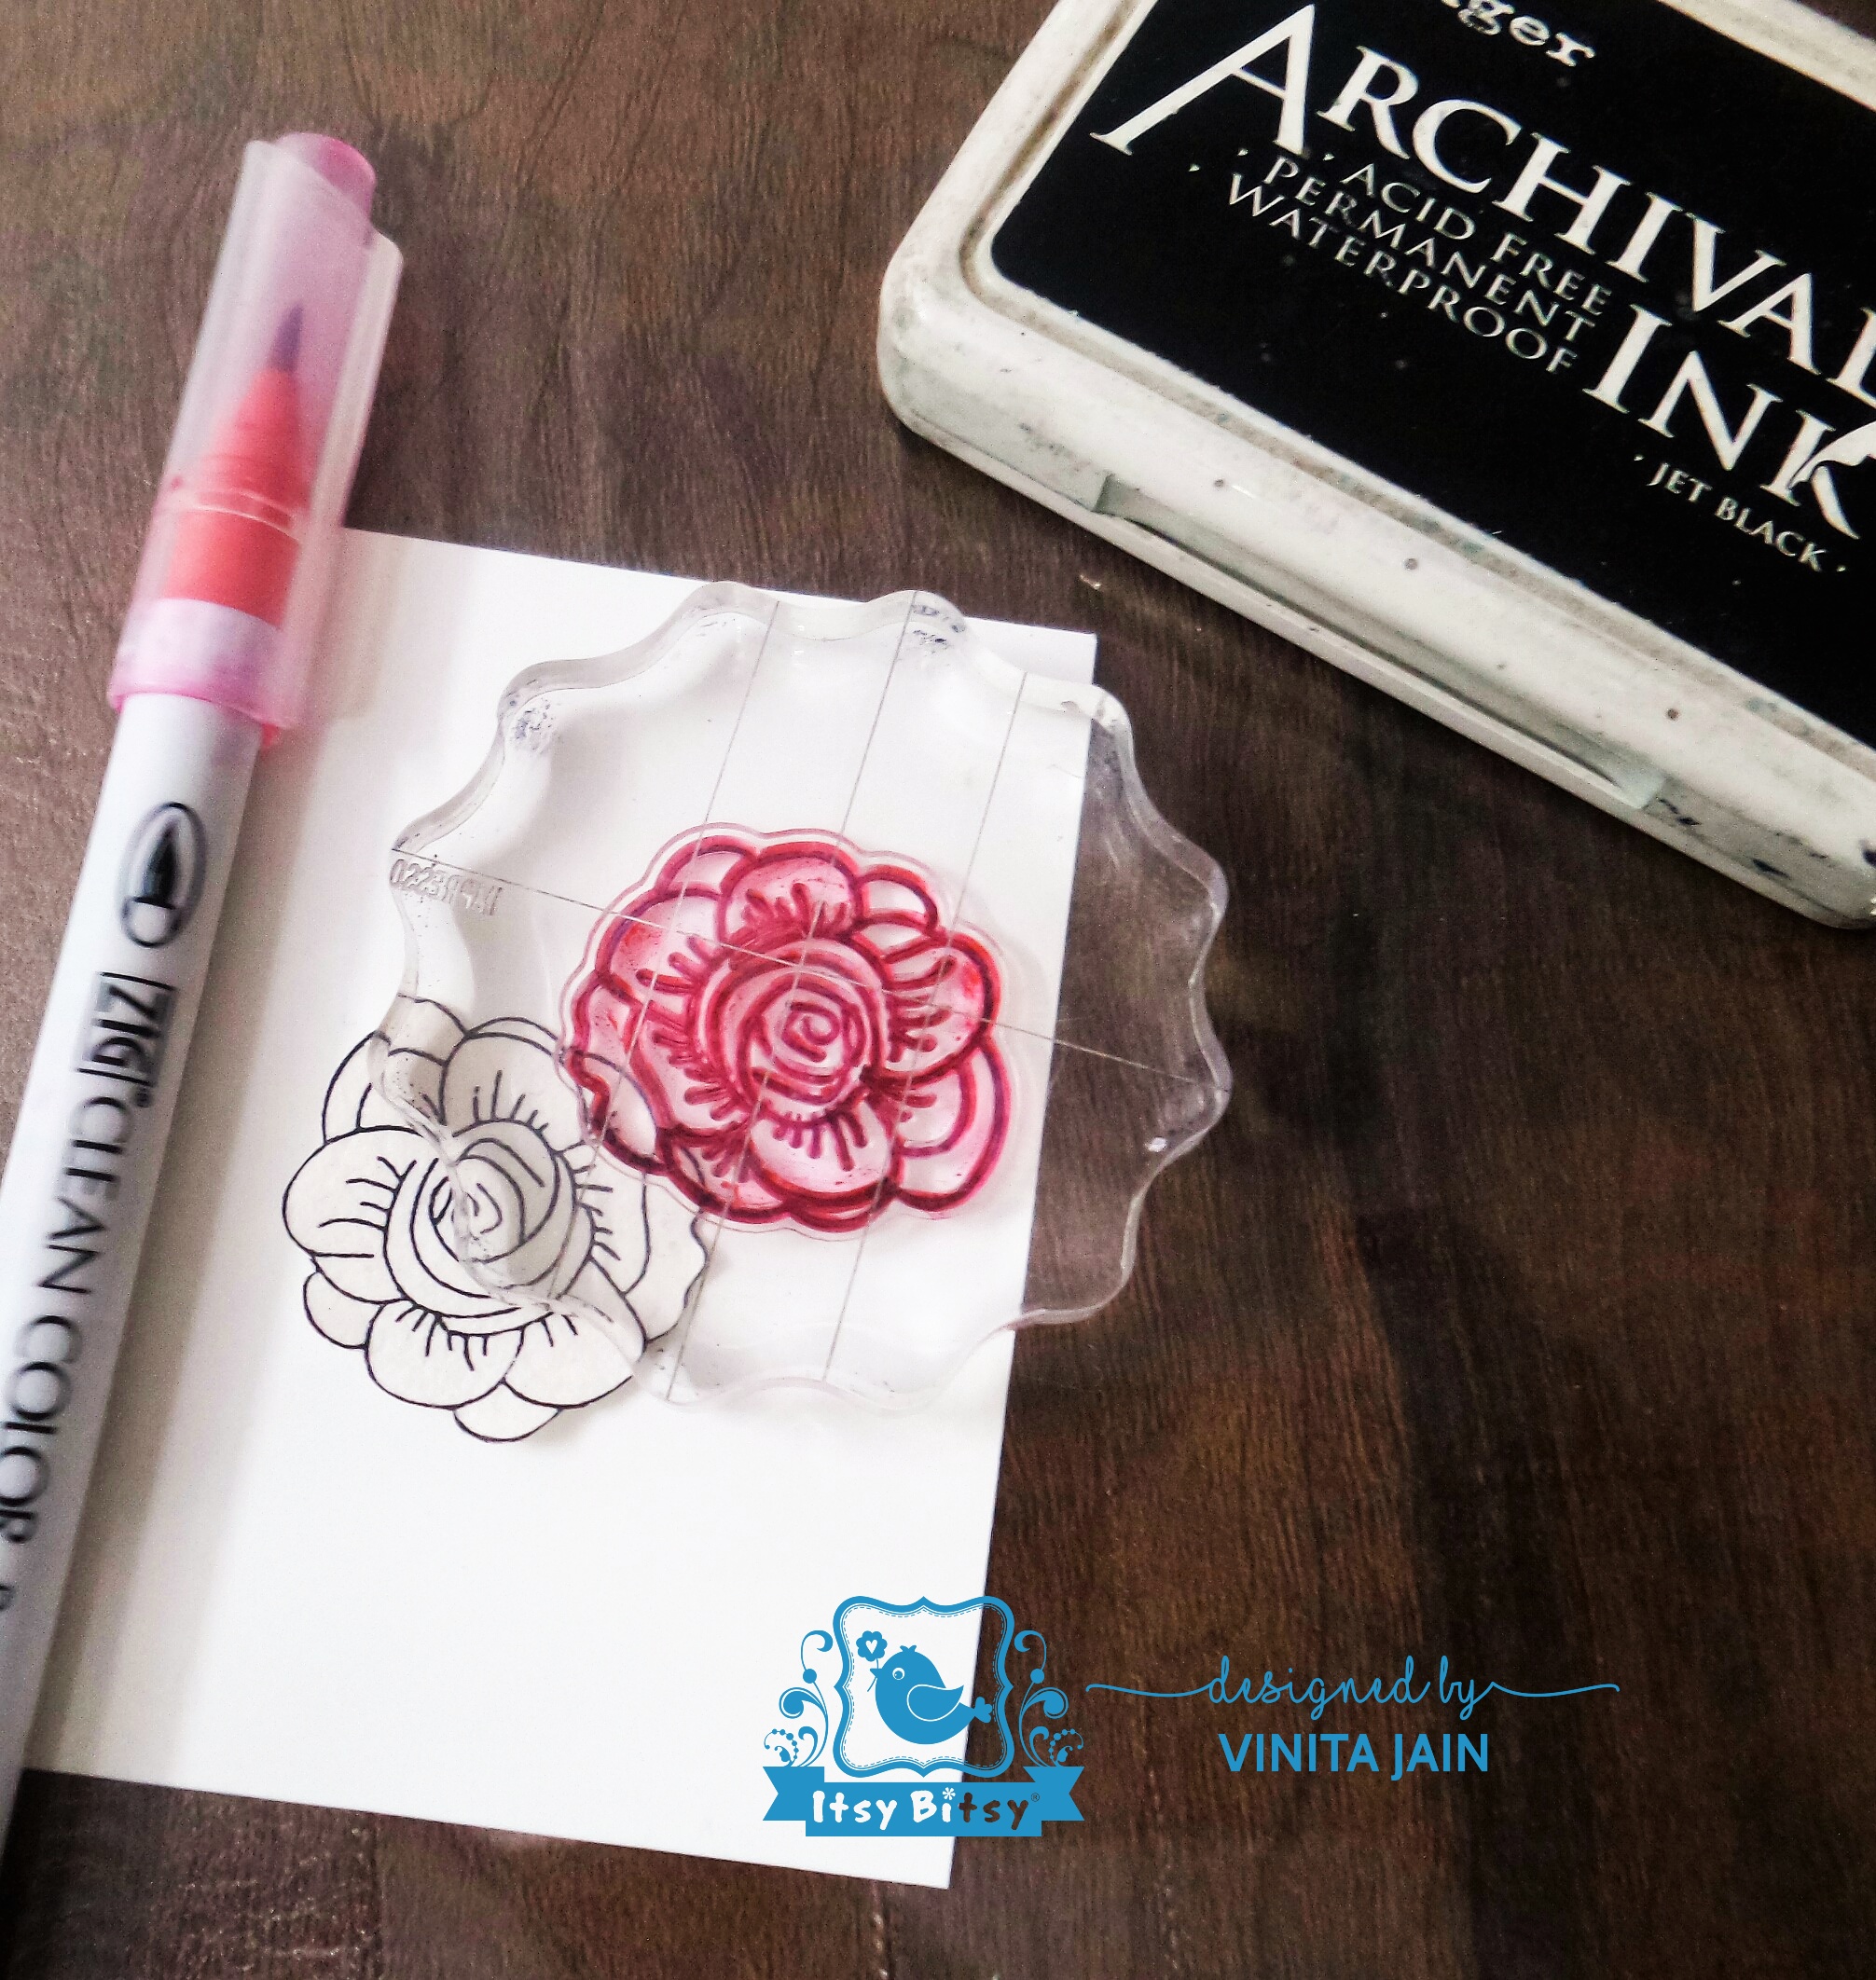
Firstly, I wanted to experiment with Little Birdie’s cold pressed watercolour paper by stamping the image….I love the results! It worked so well. I stamped the image using black Archival ink because it is acid-free and waterproof.

I coloured the chirpy garden wreath using ZIG watercolour brushes, you can use Little Birdie’s newly release watercolour half pan sets too. Next, hand-drew an outline using a light pencil all around the image as shown in the pic below for fussy cutting (makes the work easier for beginners) or you can directly cut using pointed sharp scissors.
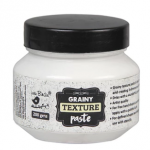
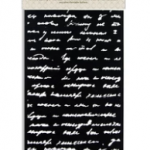
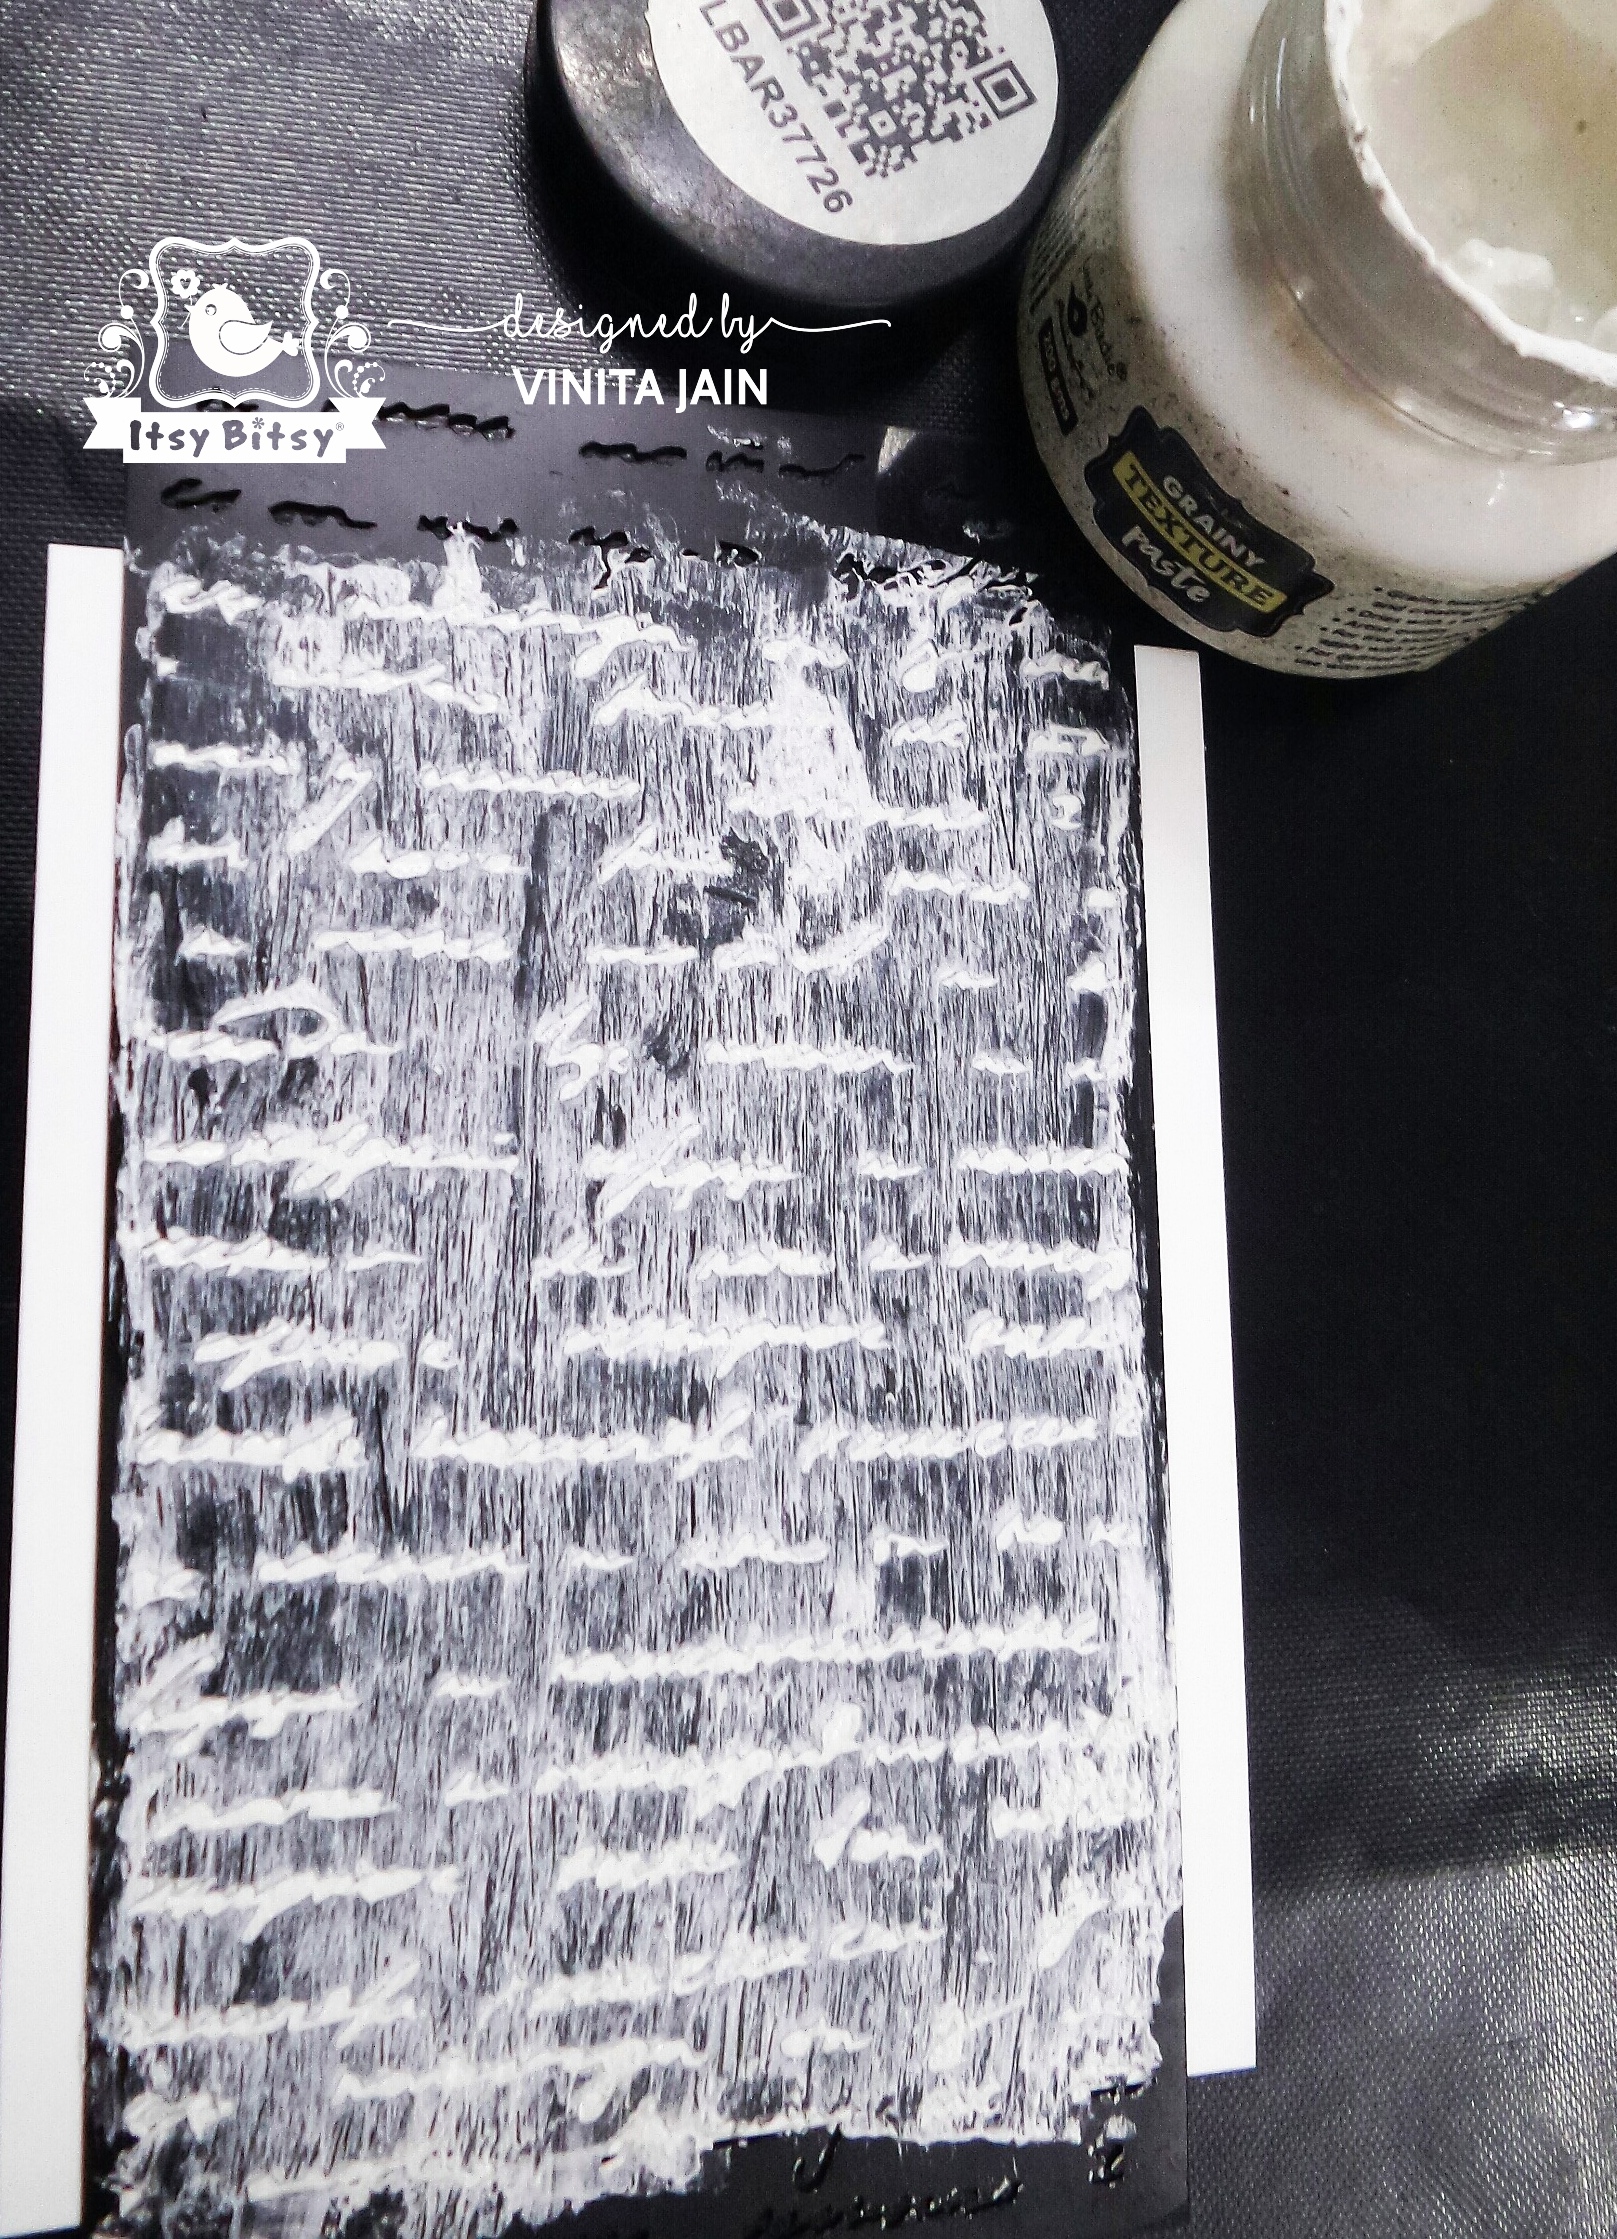
The background is created with Script stencil and Grainy Textures Paste. I love how crisp the script appears.
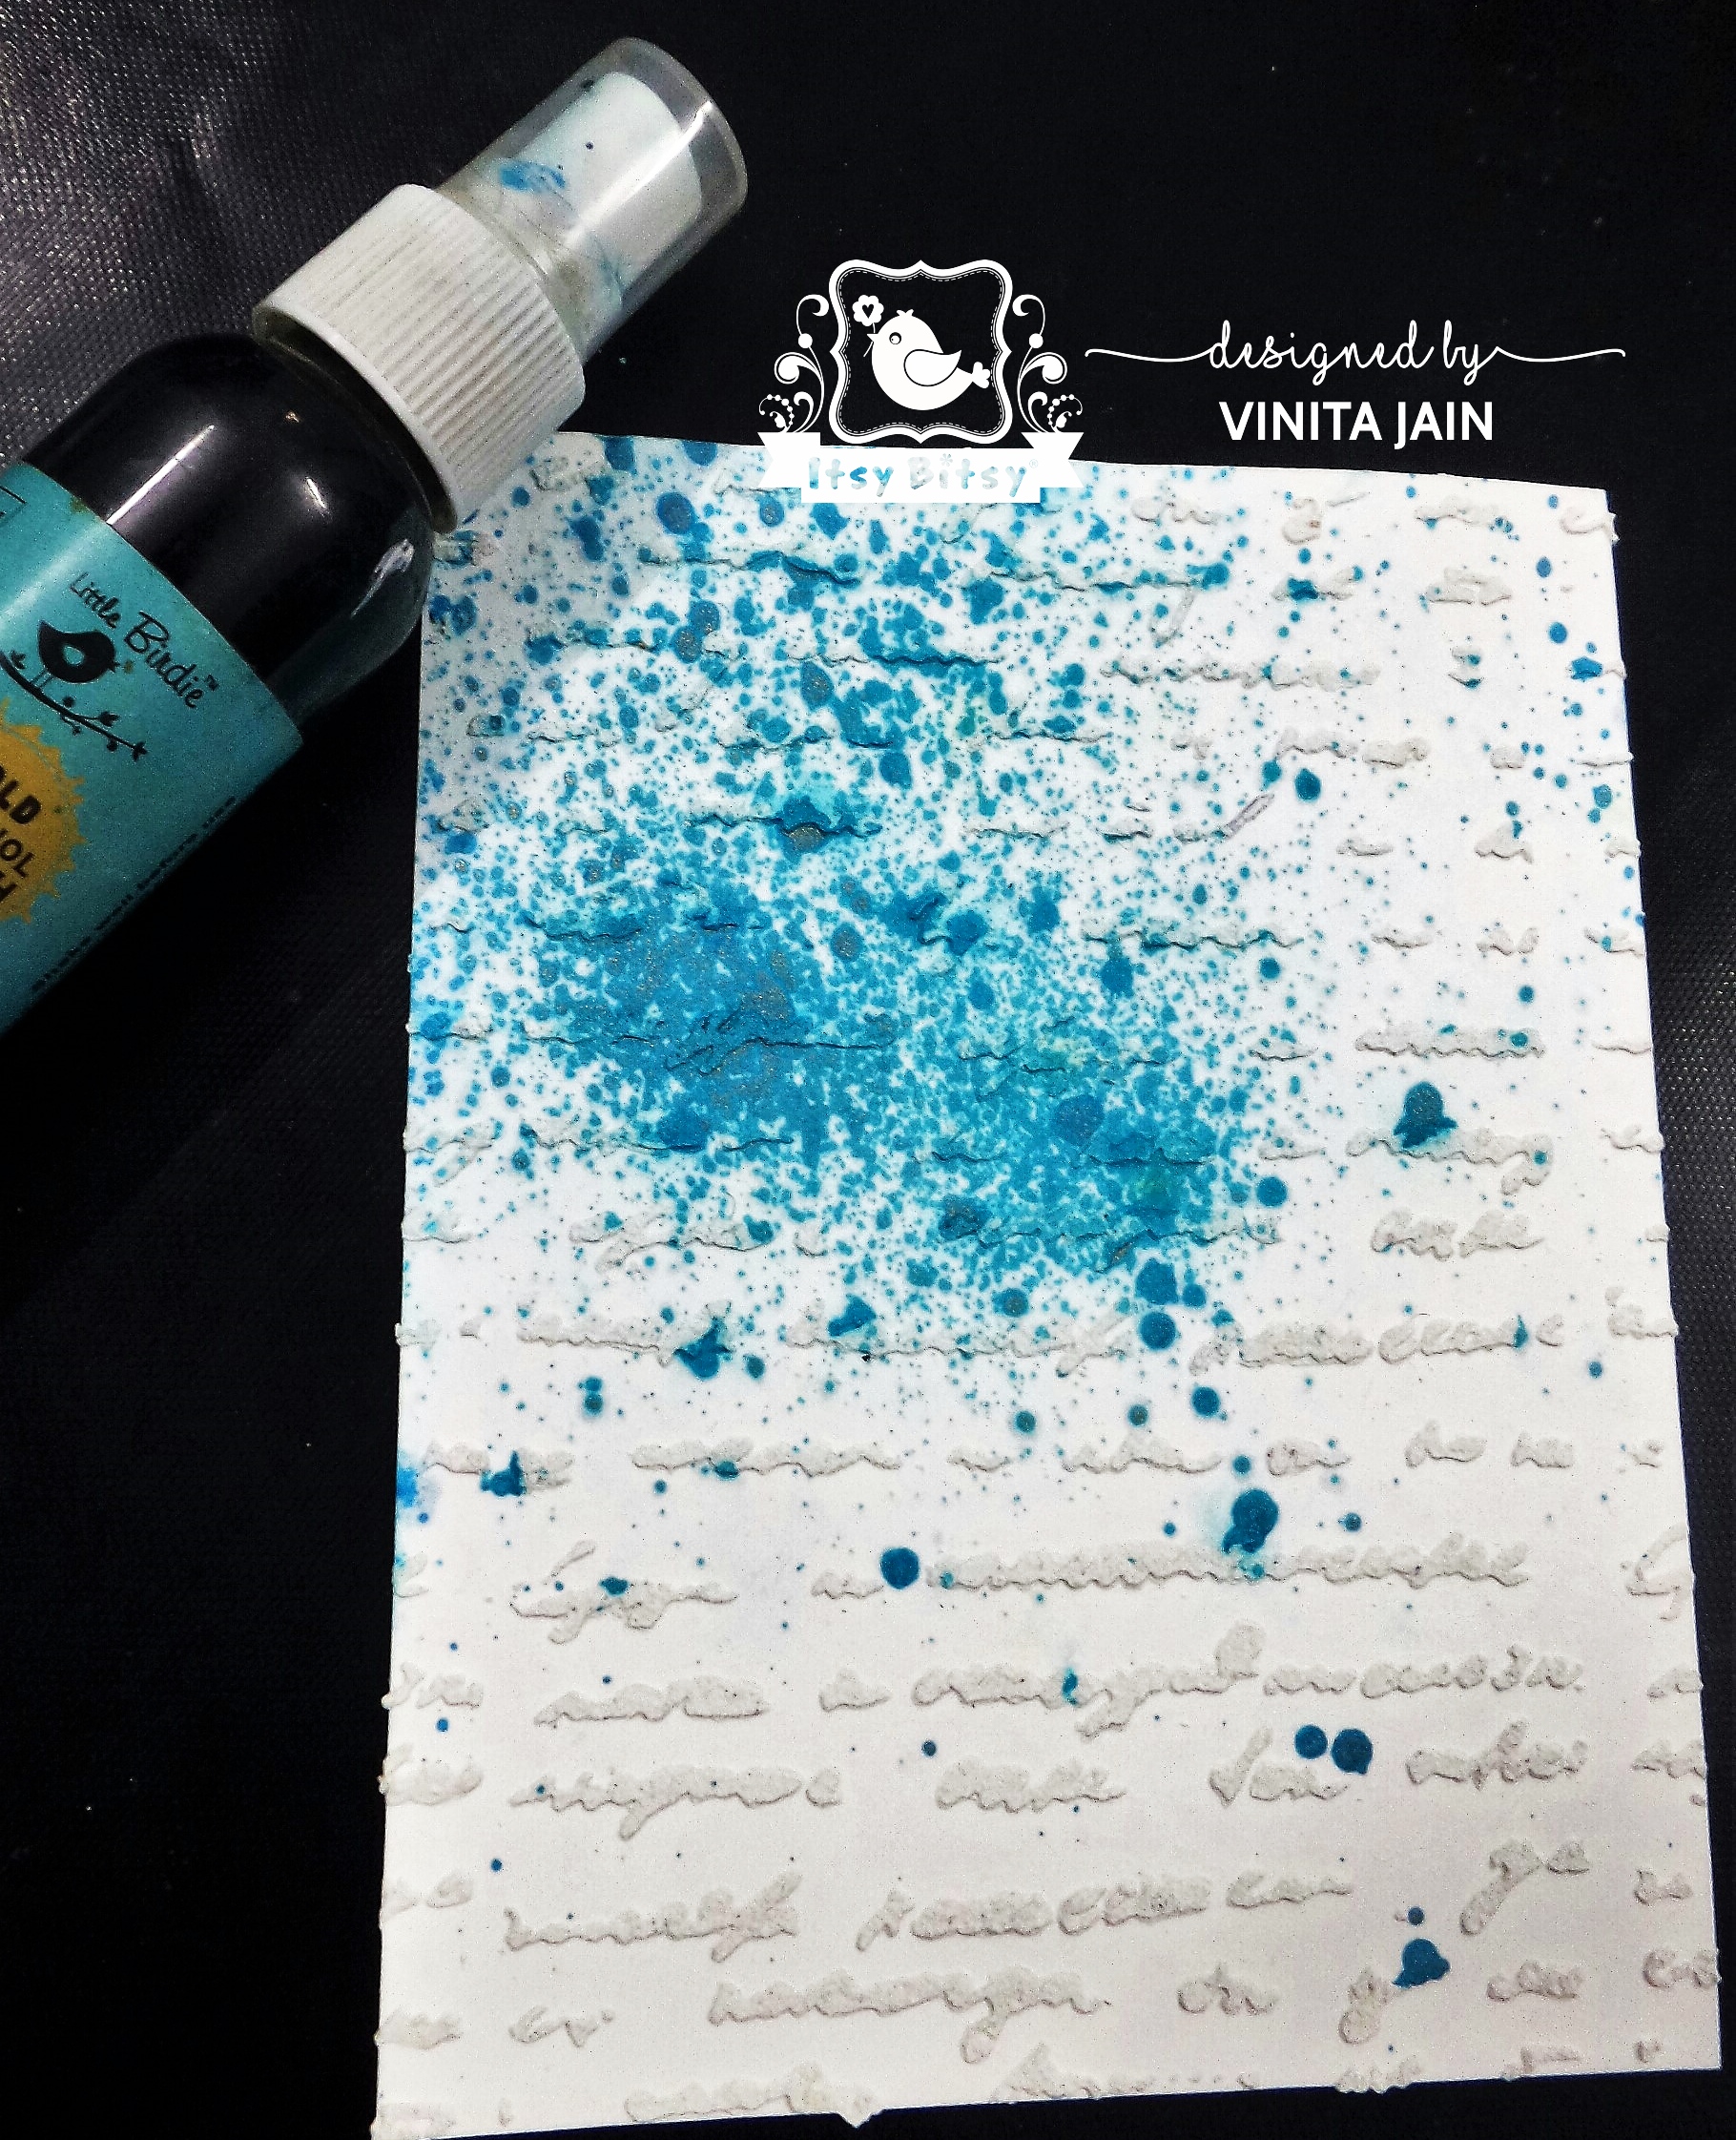
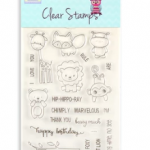
I popped up the scripted background using Frosted Pool Gold Alcohol Splash. Time for the sentiment! I added the sentiment ‘I Love You’ on the banner from the Jungle Birthday stamp set.
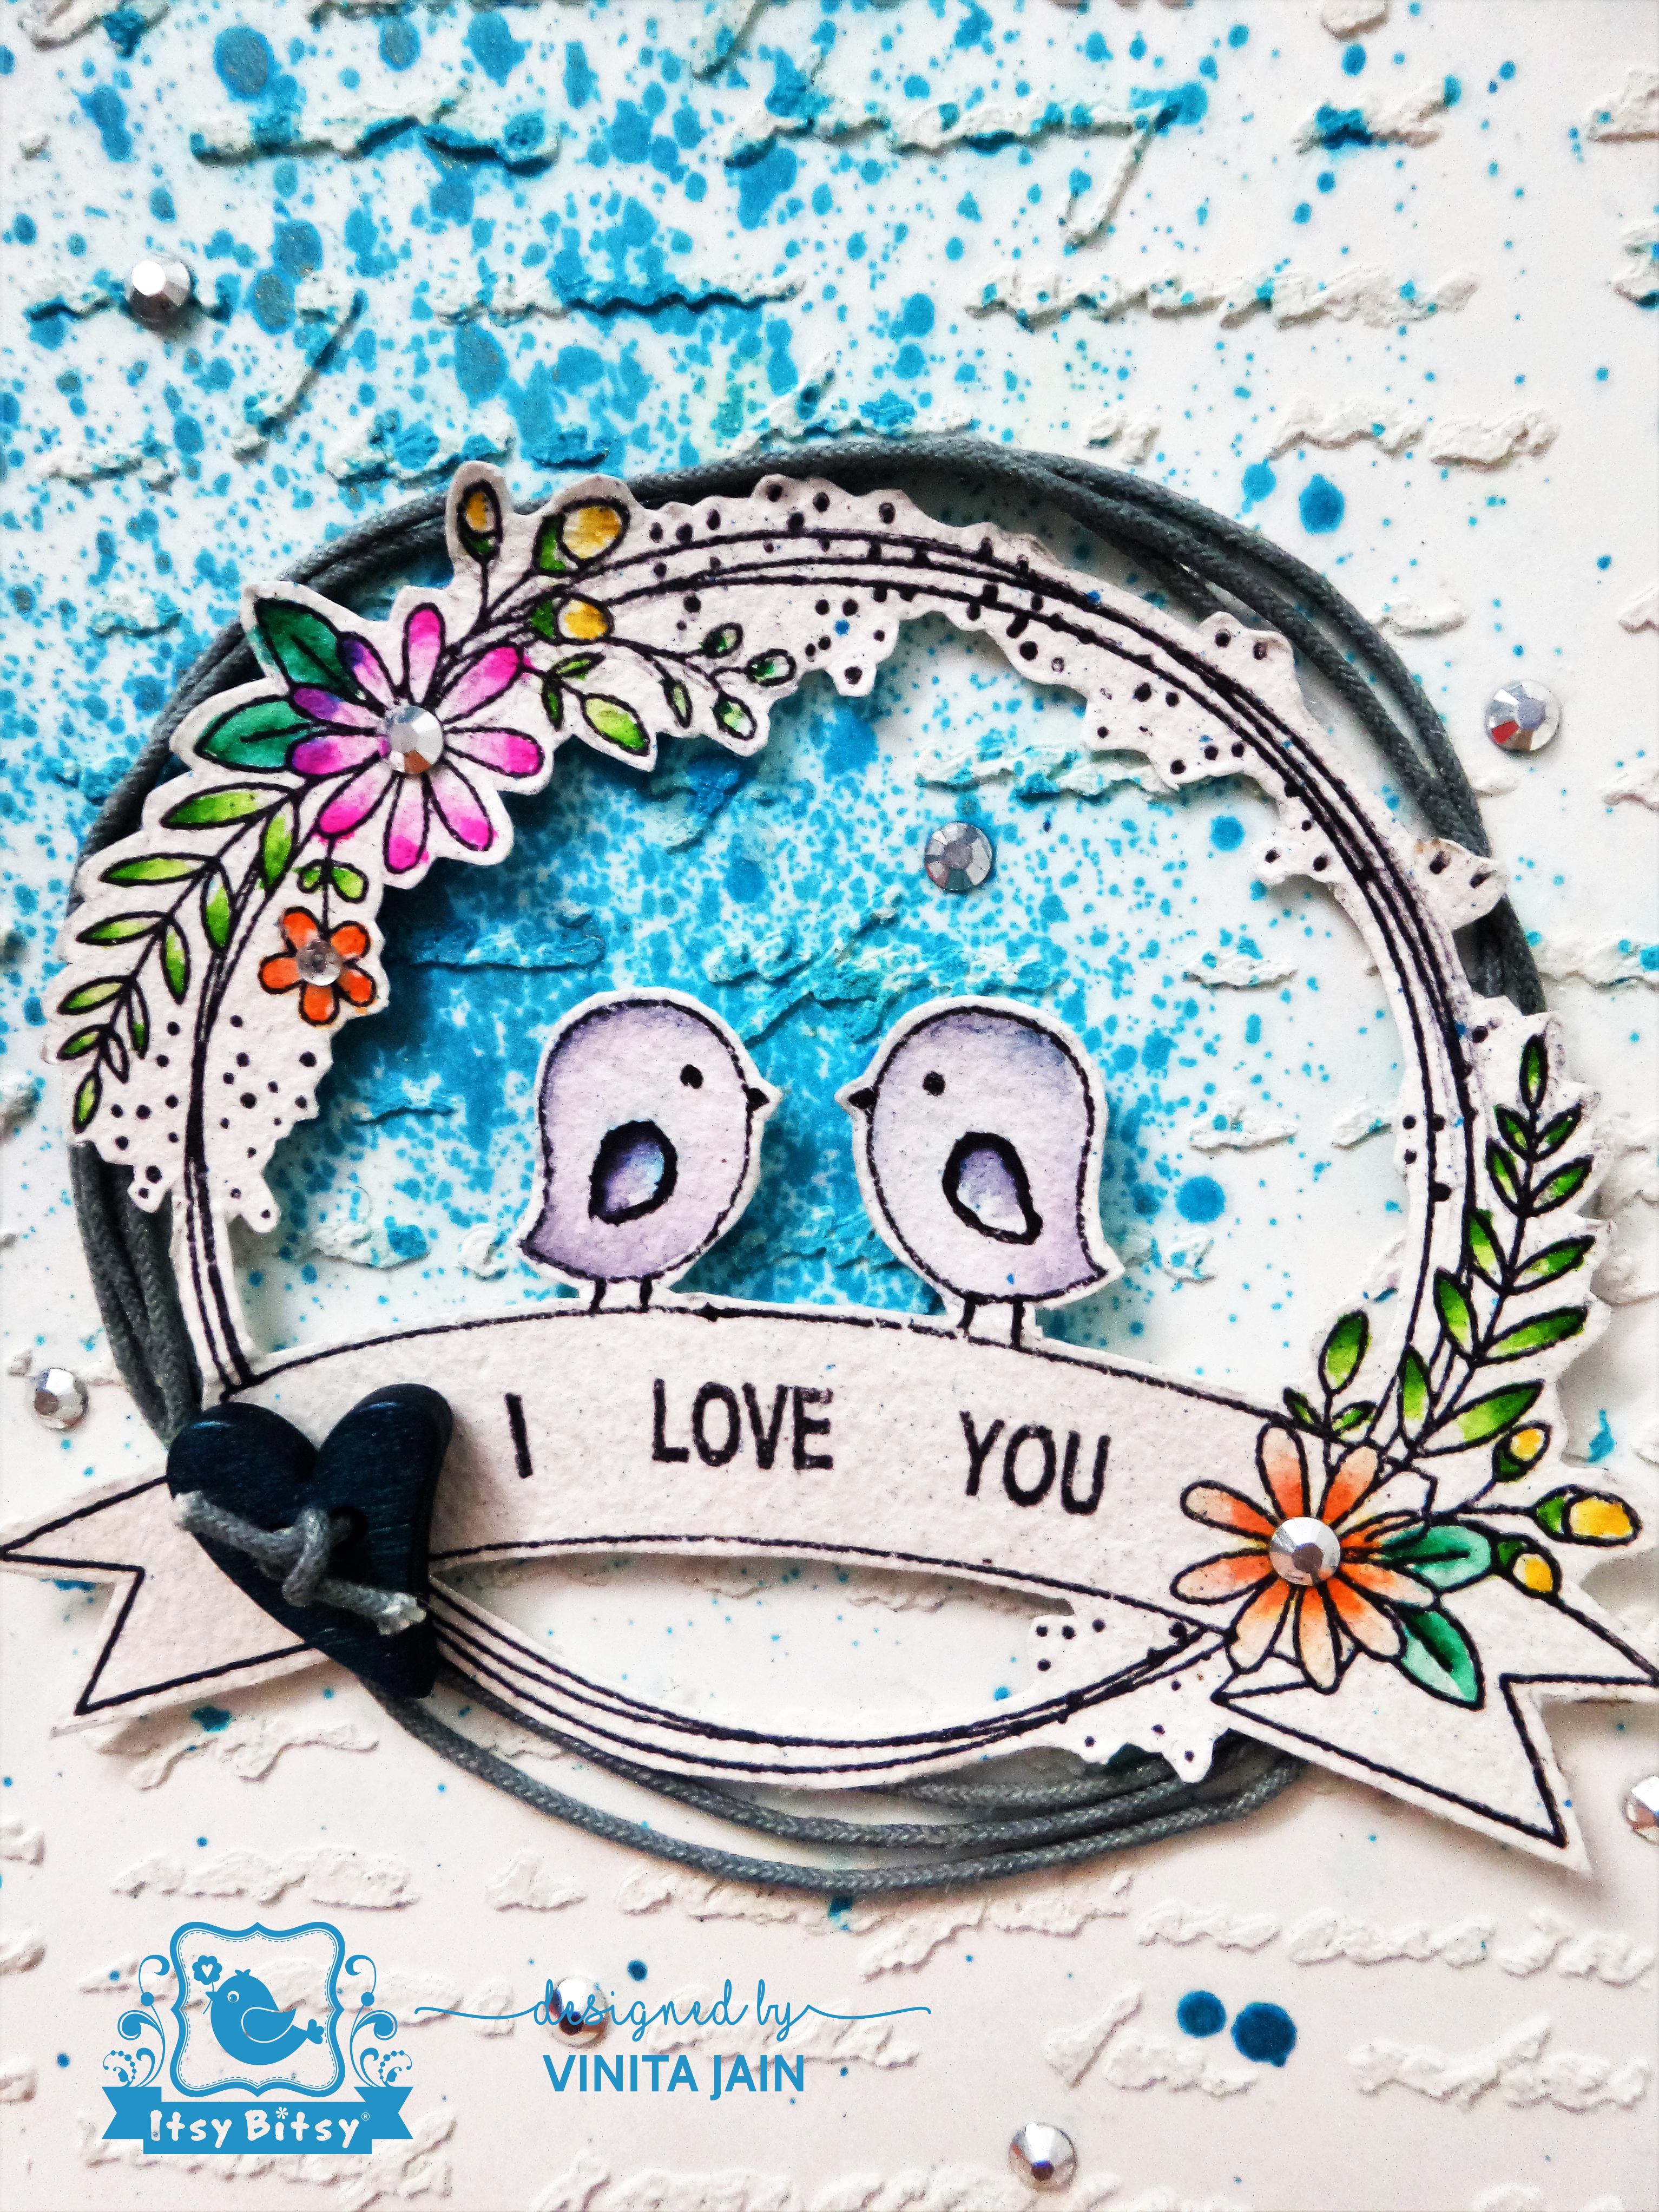
Now embellished it with a cotton cord, a wooden blue heart and some sequins. Adhered the panel on a white card base!
Card#2
Simply so elegant and a CAS beauty!
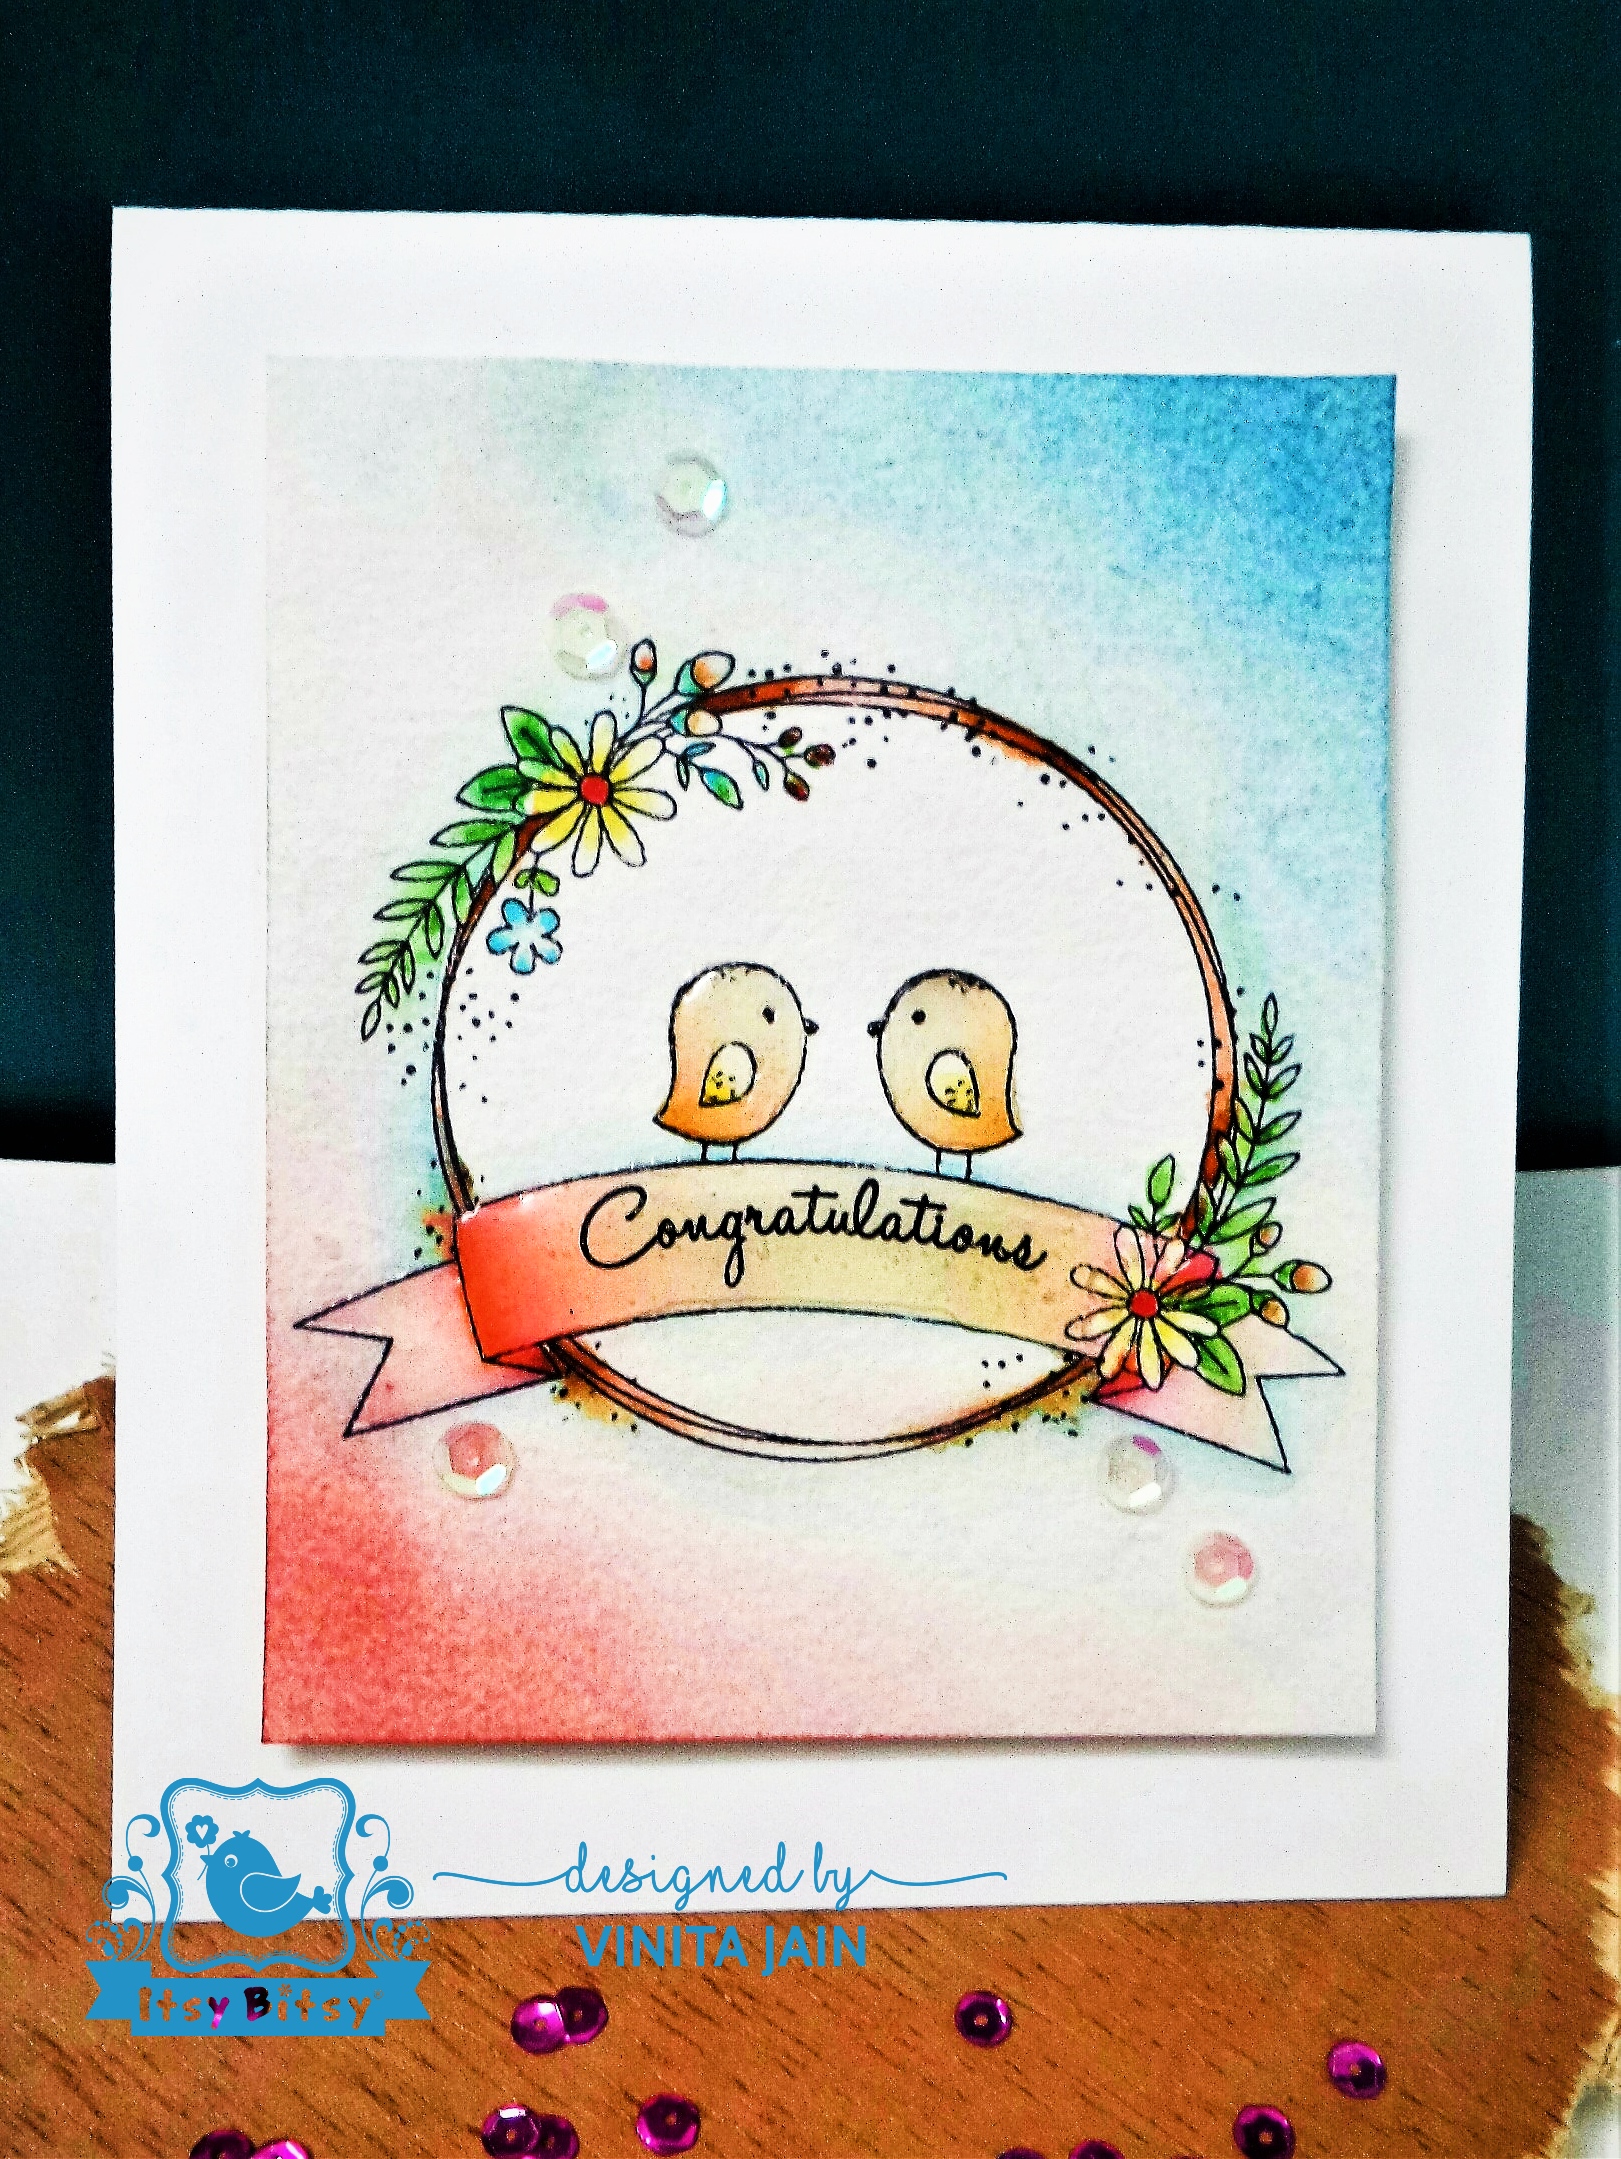
I simply stamped the Cheerful Birds wreath again onto cold pressed watercolour paper in black Archival ink. Watercoloured the gorgeous image using Zig clean clear brushes, blended and added shadows using a wet brush around the wreath. Added the greeting from a diffrent stamp set.
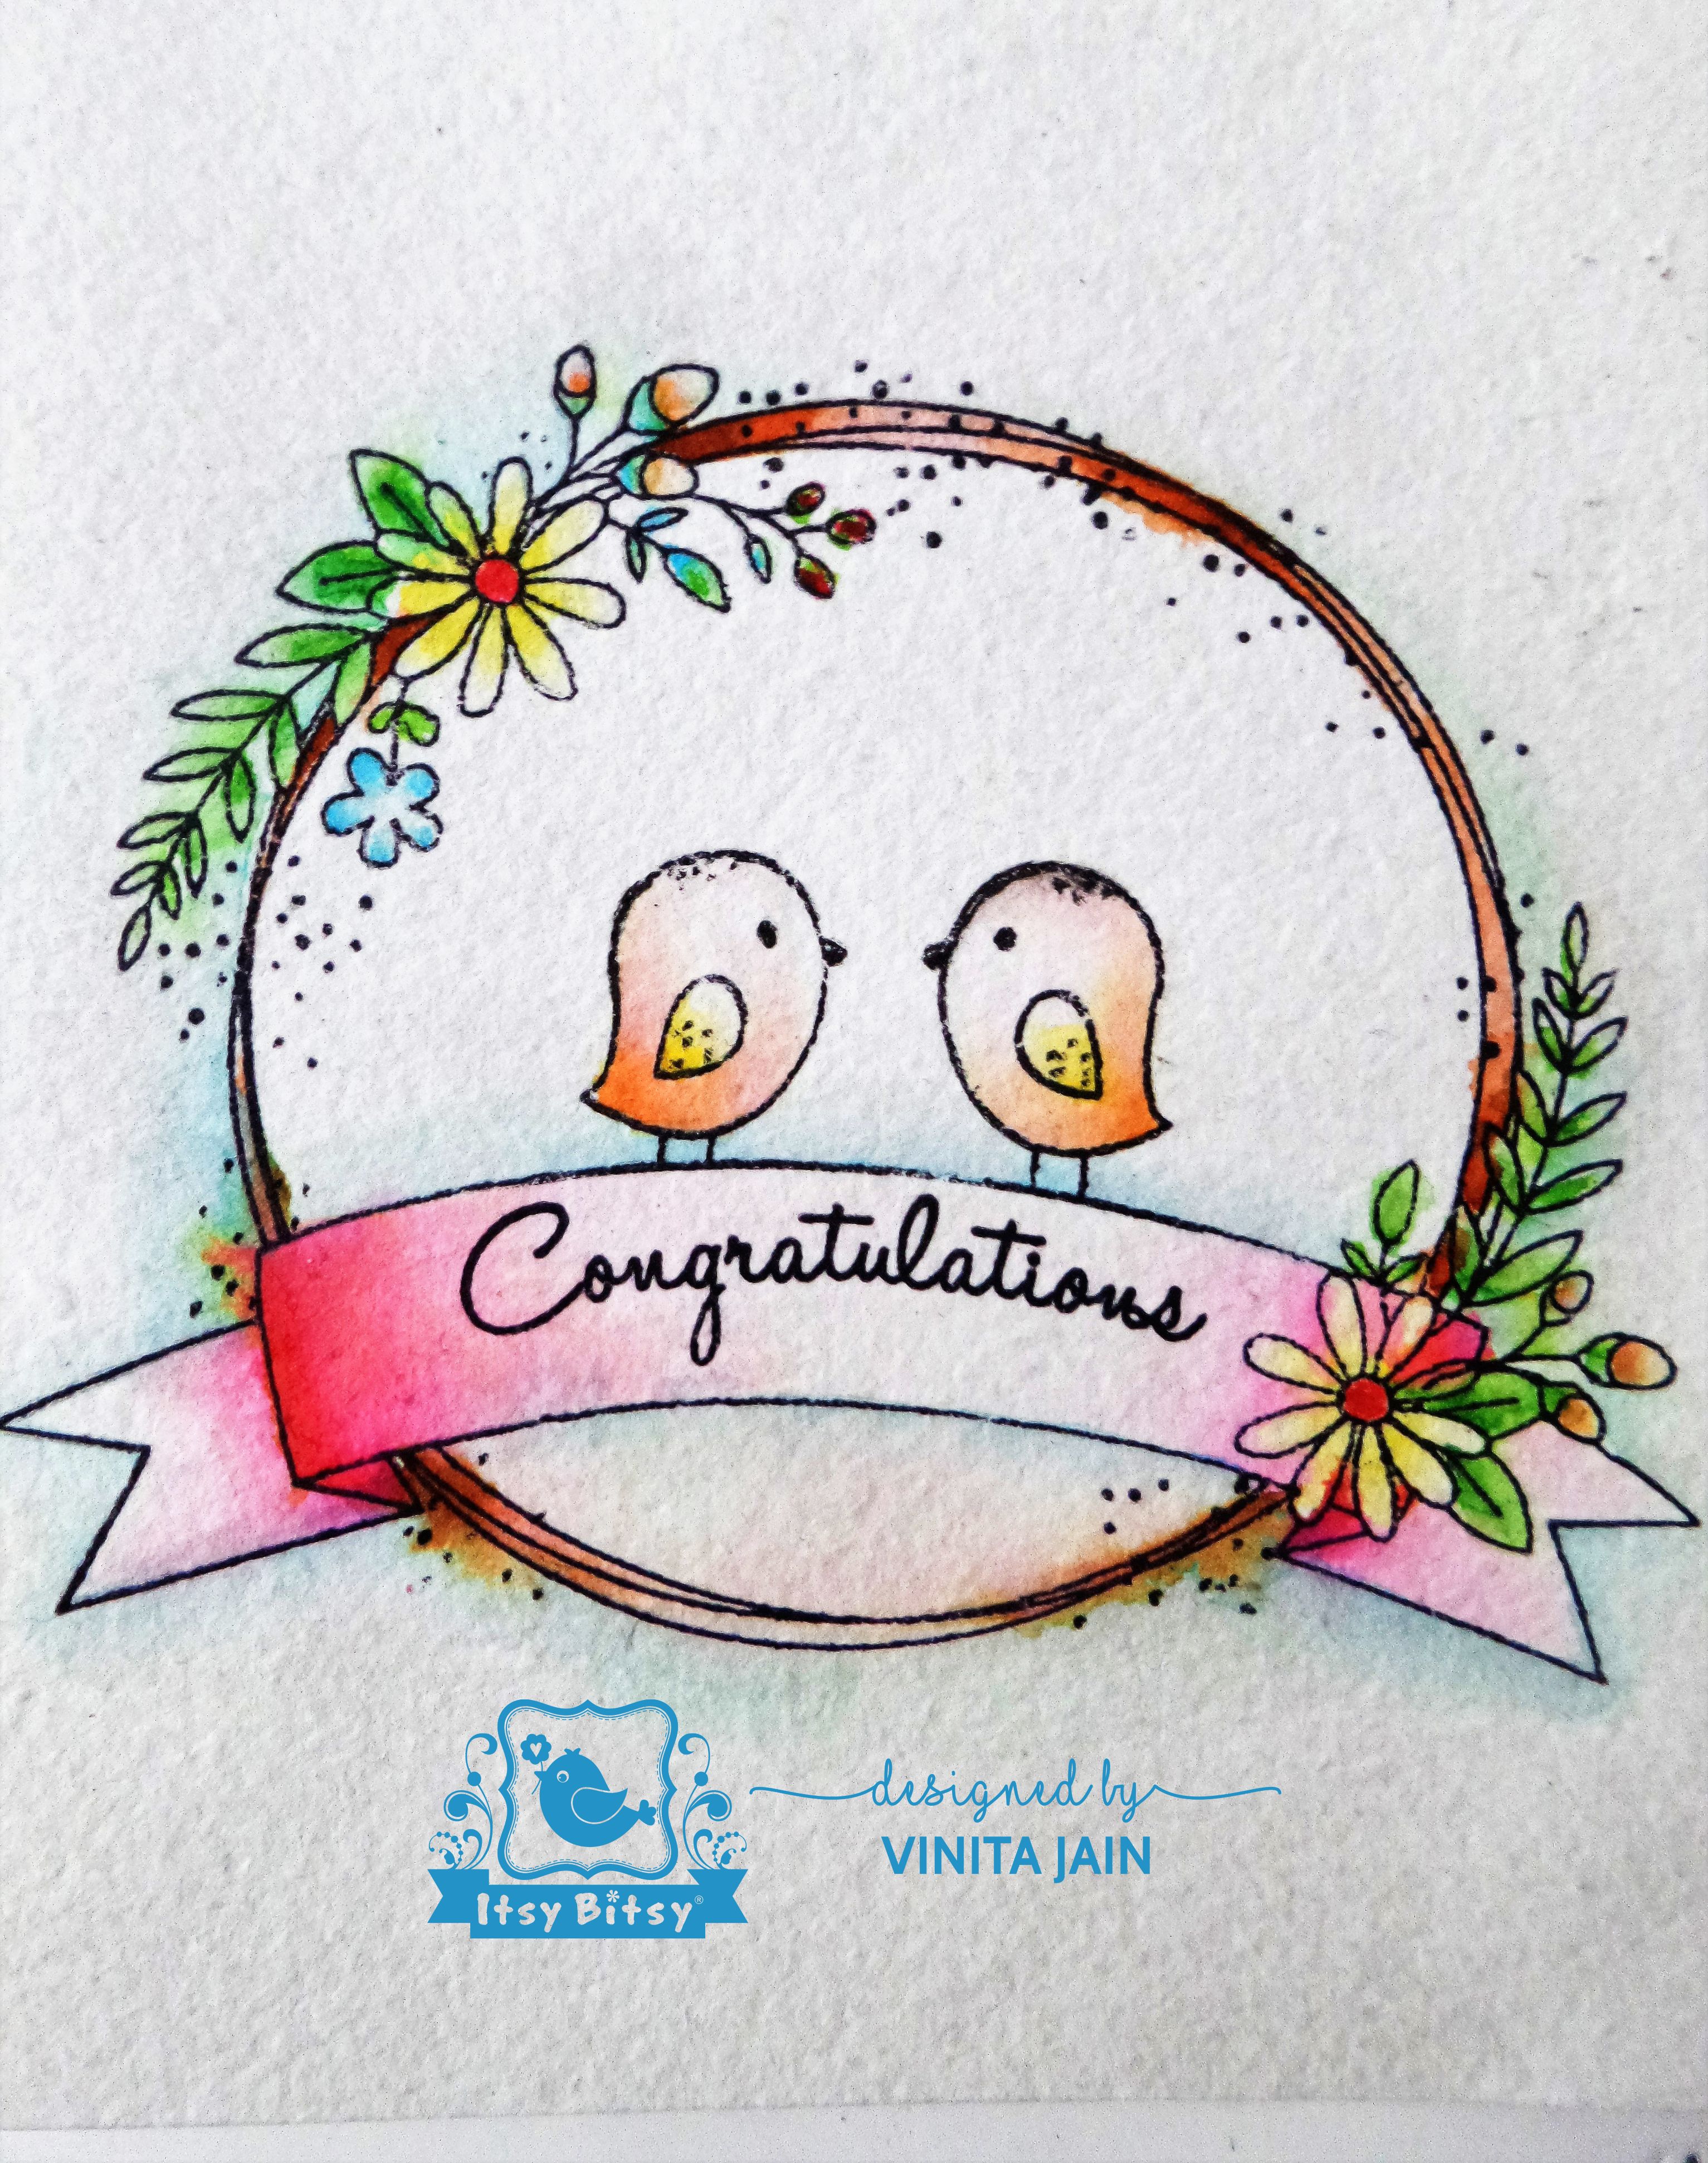
For the background, I blended some distress ink at the corners. Added glossy accents on the birds and banners for more dimensions. The final touch was a smattering of some Sparkling Dotties.

Card#3
Love the colour combination on this and Little Birdie’s self-adhesive sticker embellishments always enhance the beauty of any project so easily!
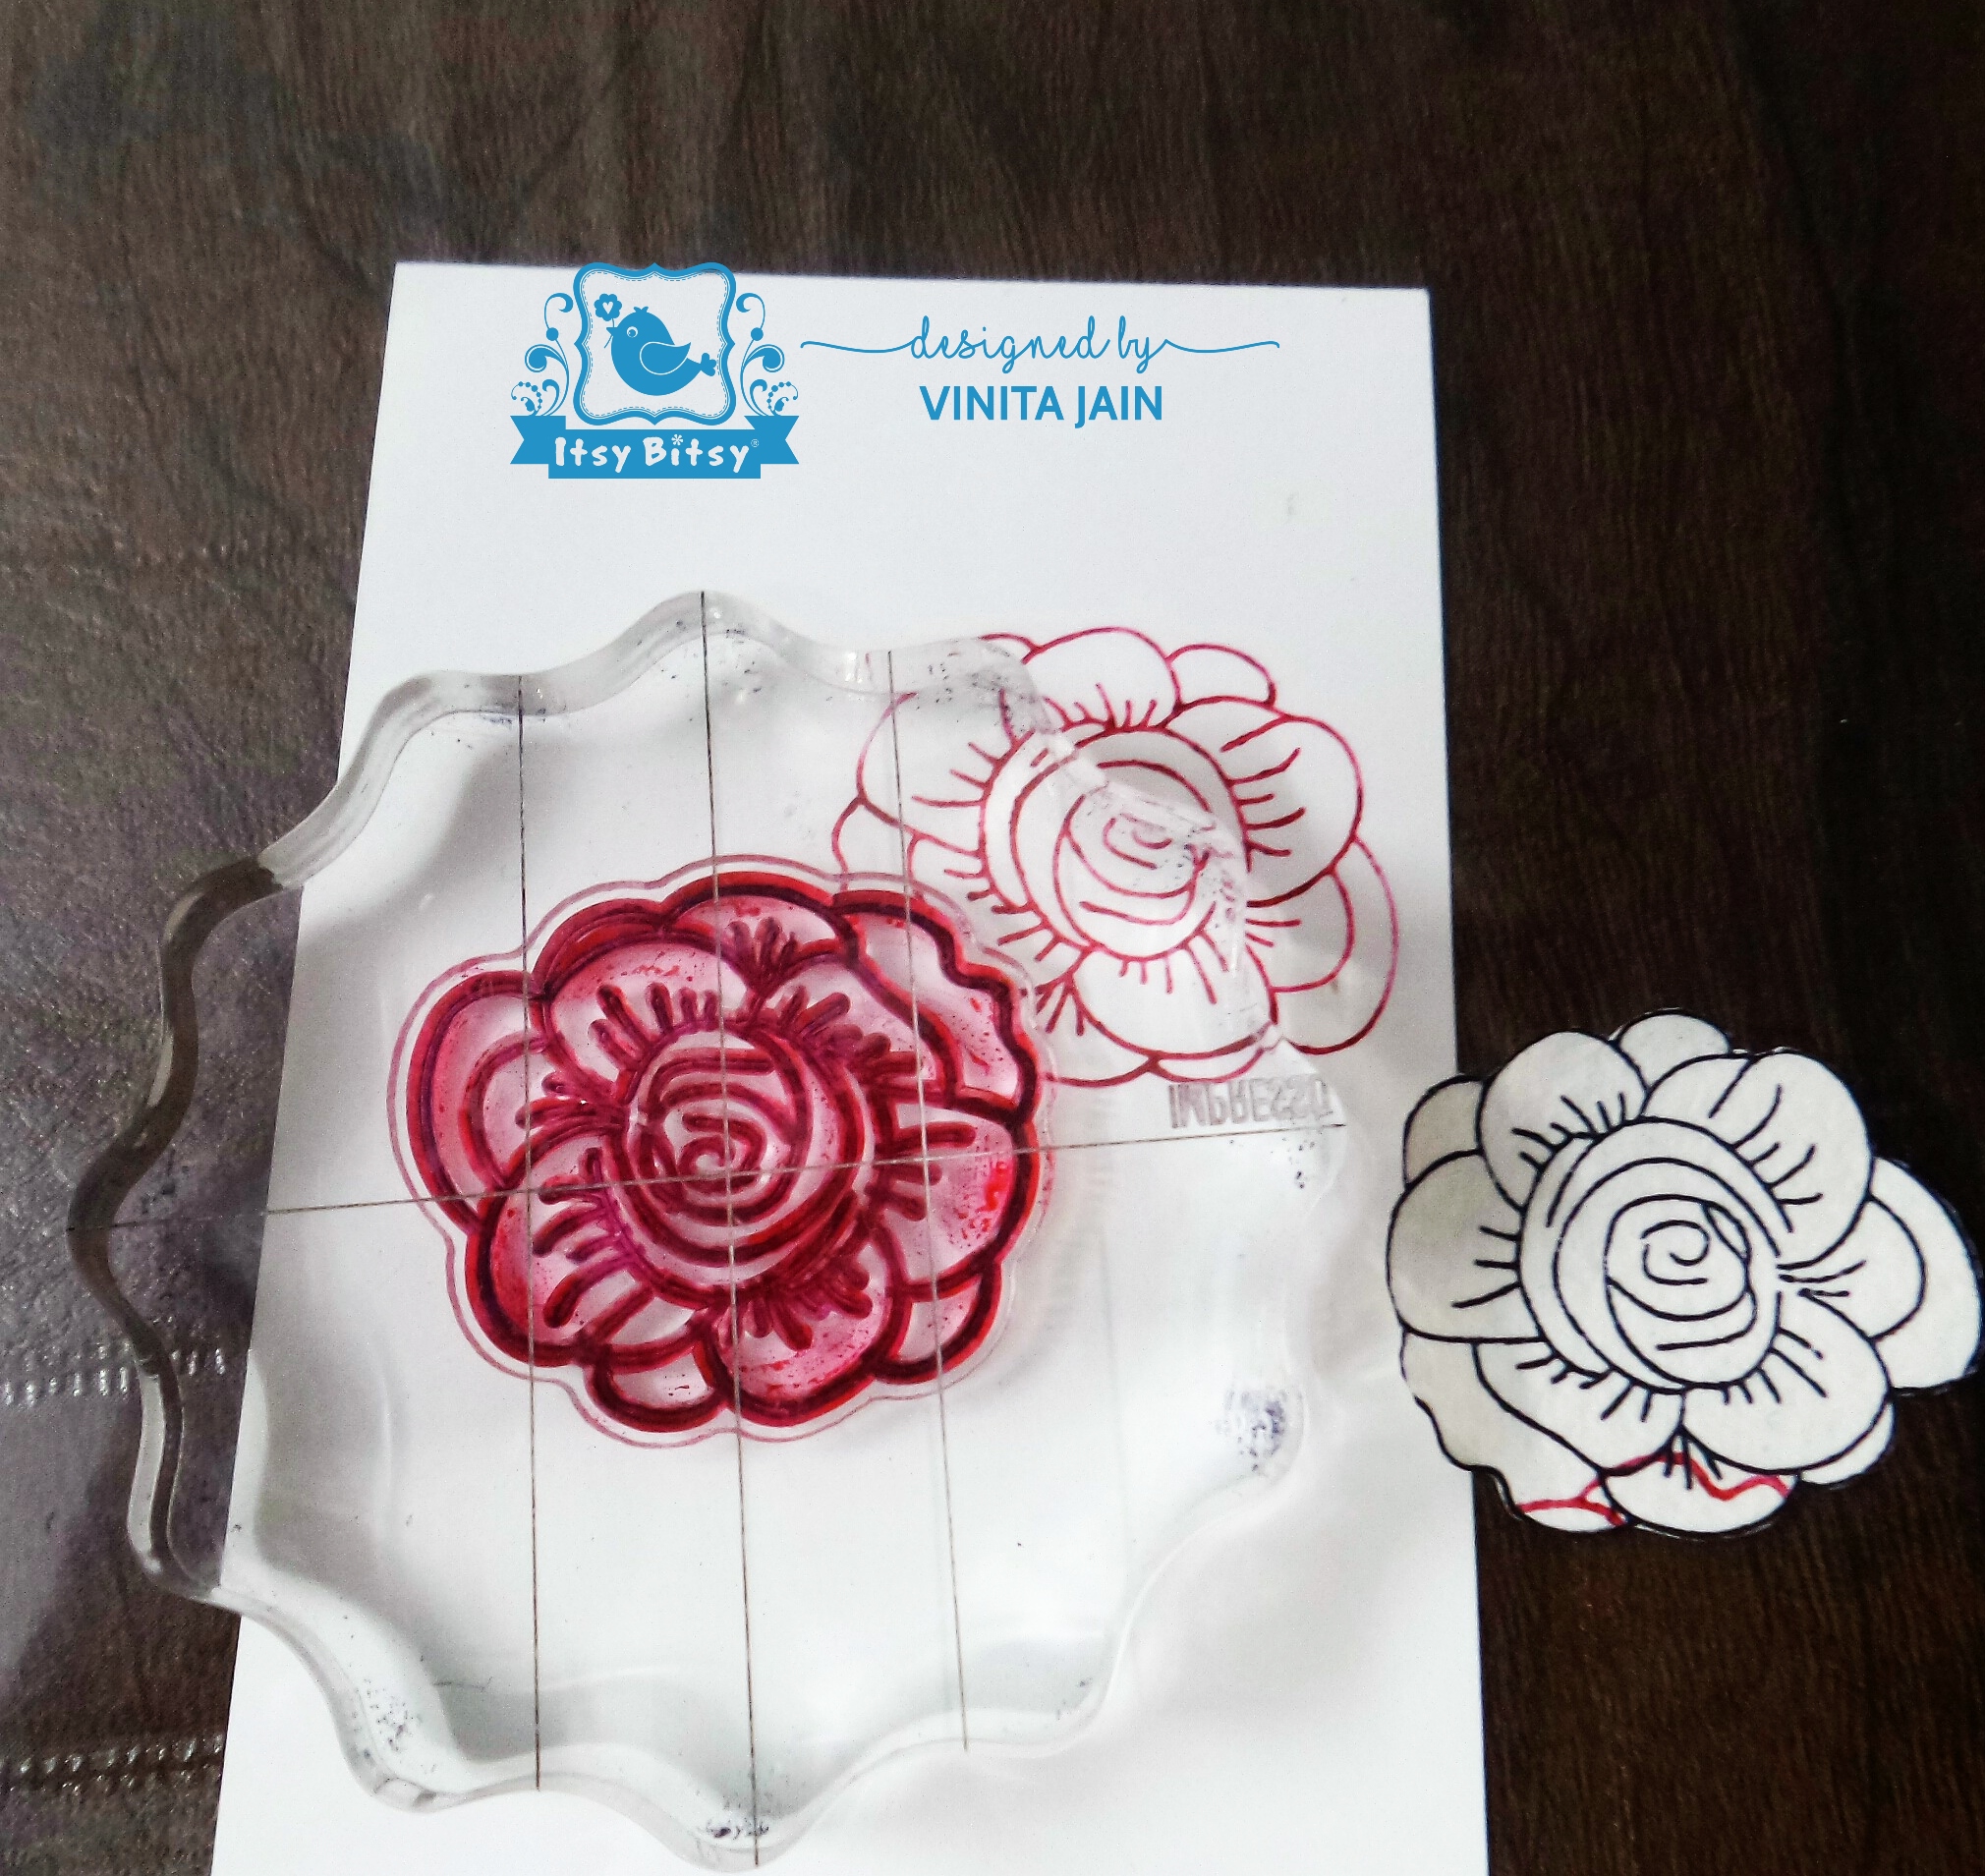
For my third card, I stamped the flower image on cold pressed watercolour paper using distressed ink.

Then stamped one of the flower images on cold pressed watercolour paper with black archival ink.
Coloured it with Zig brushes and again stamped the outline image using Raspberry distress ink. Stamped the leaves in Forest Moss distress ink and watercoloured them. Then I fussy cut the images.
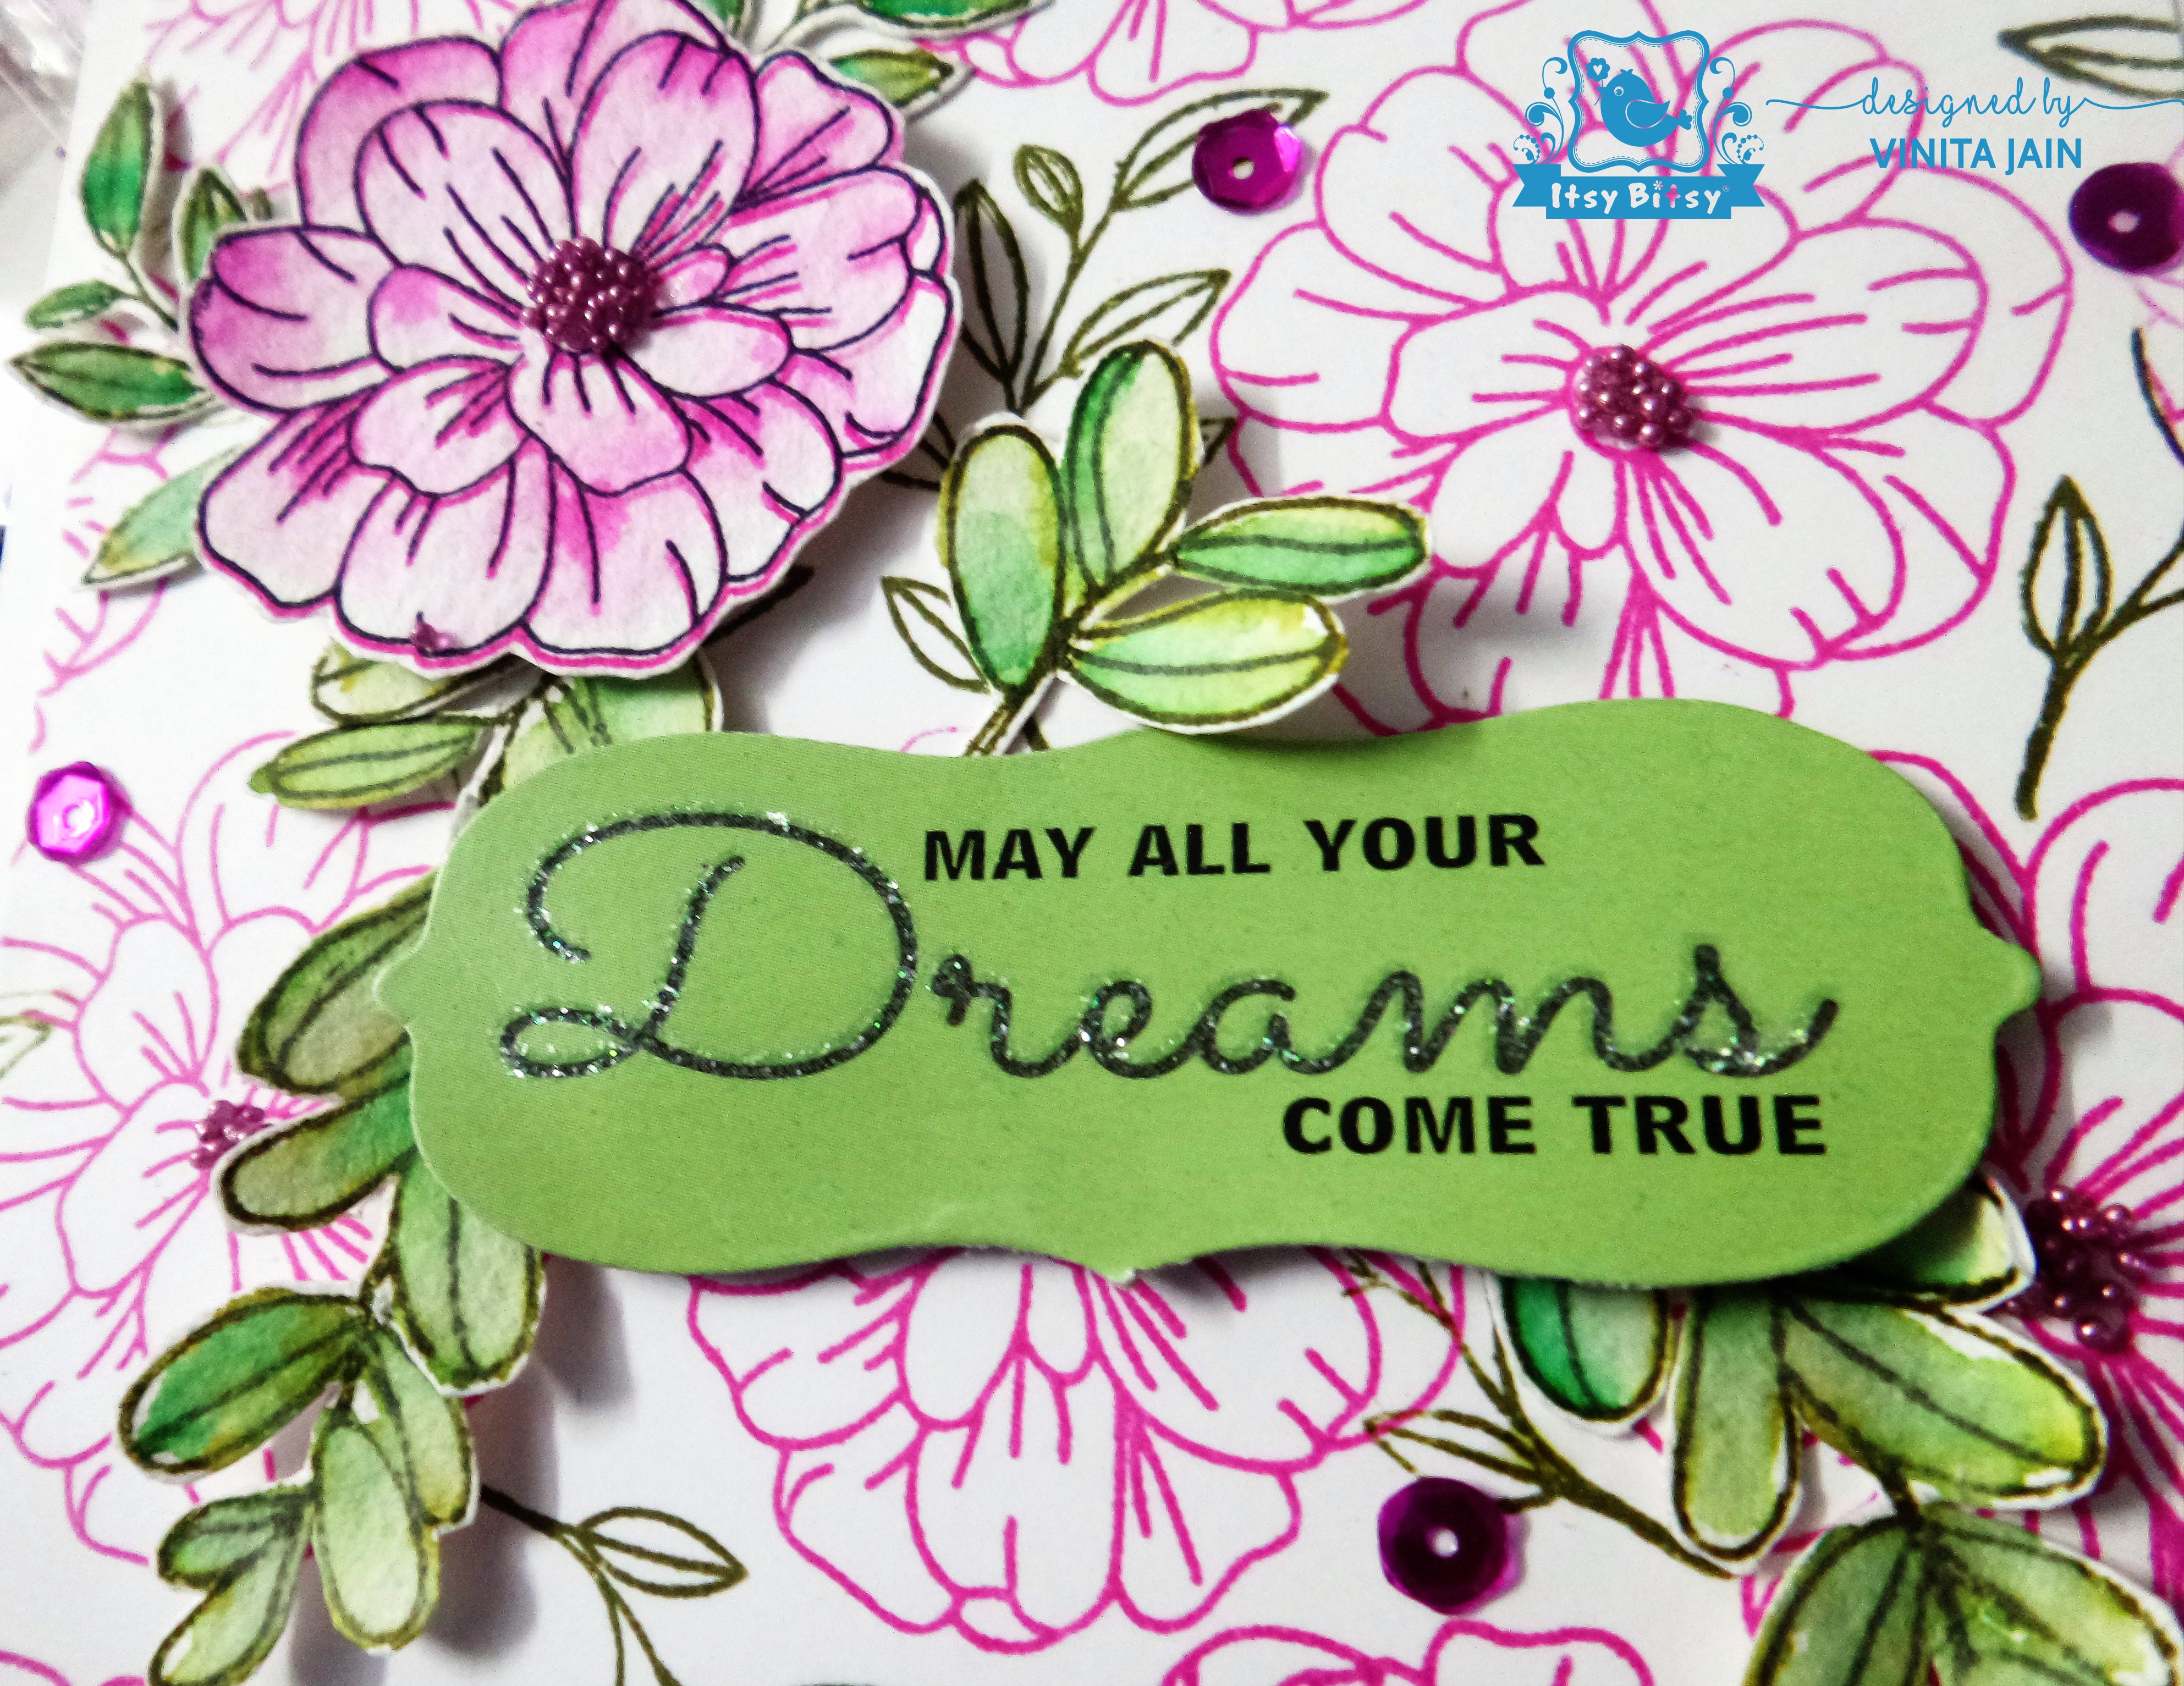
Mounted the fussy cut flower with foam dots and tucked those coloured leaves around my flower with a printed sentiment sticker in green.
Then sprinkled some tiny beads in pink at the centre of flowers using Texture Tack glue. This glue from Little Birdie is really awesome and works great for sticking anything securely.
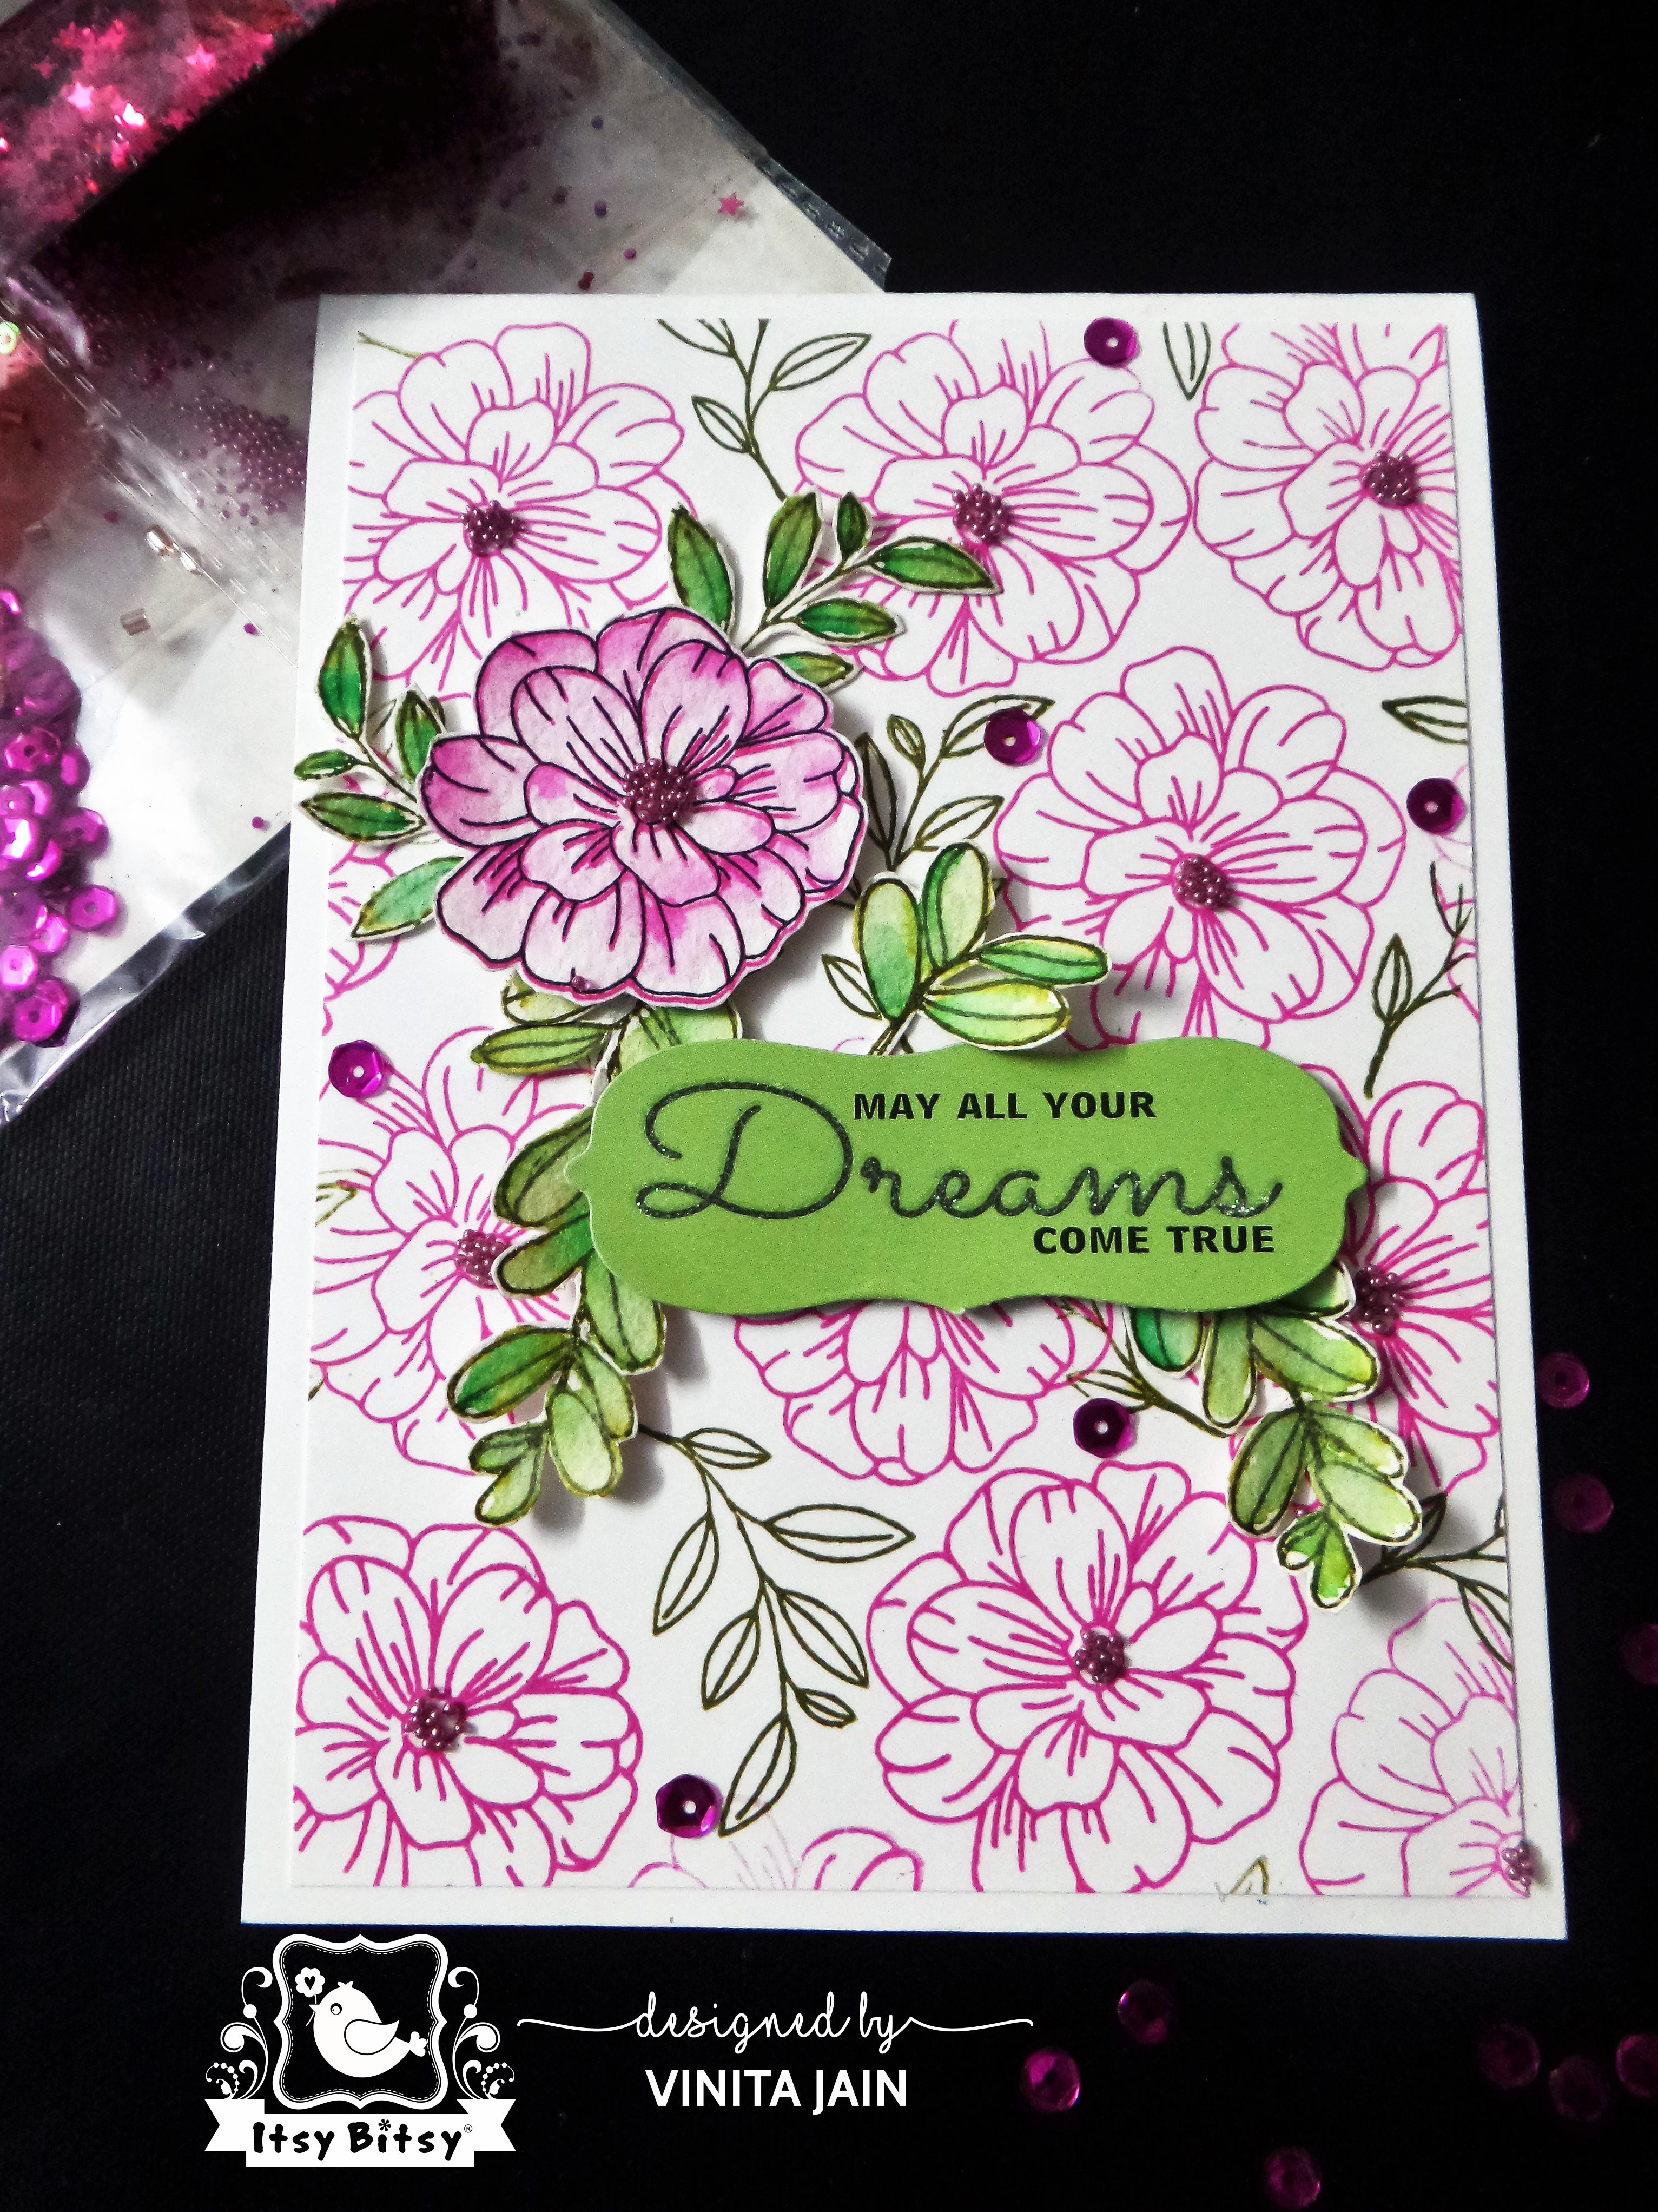
Card#4
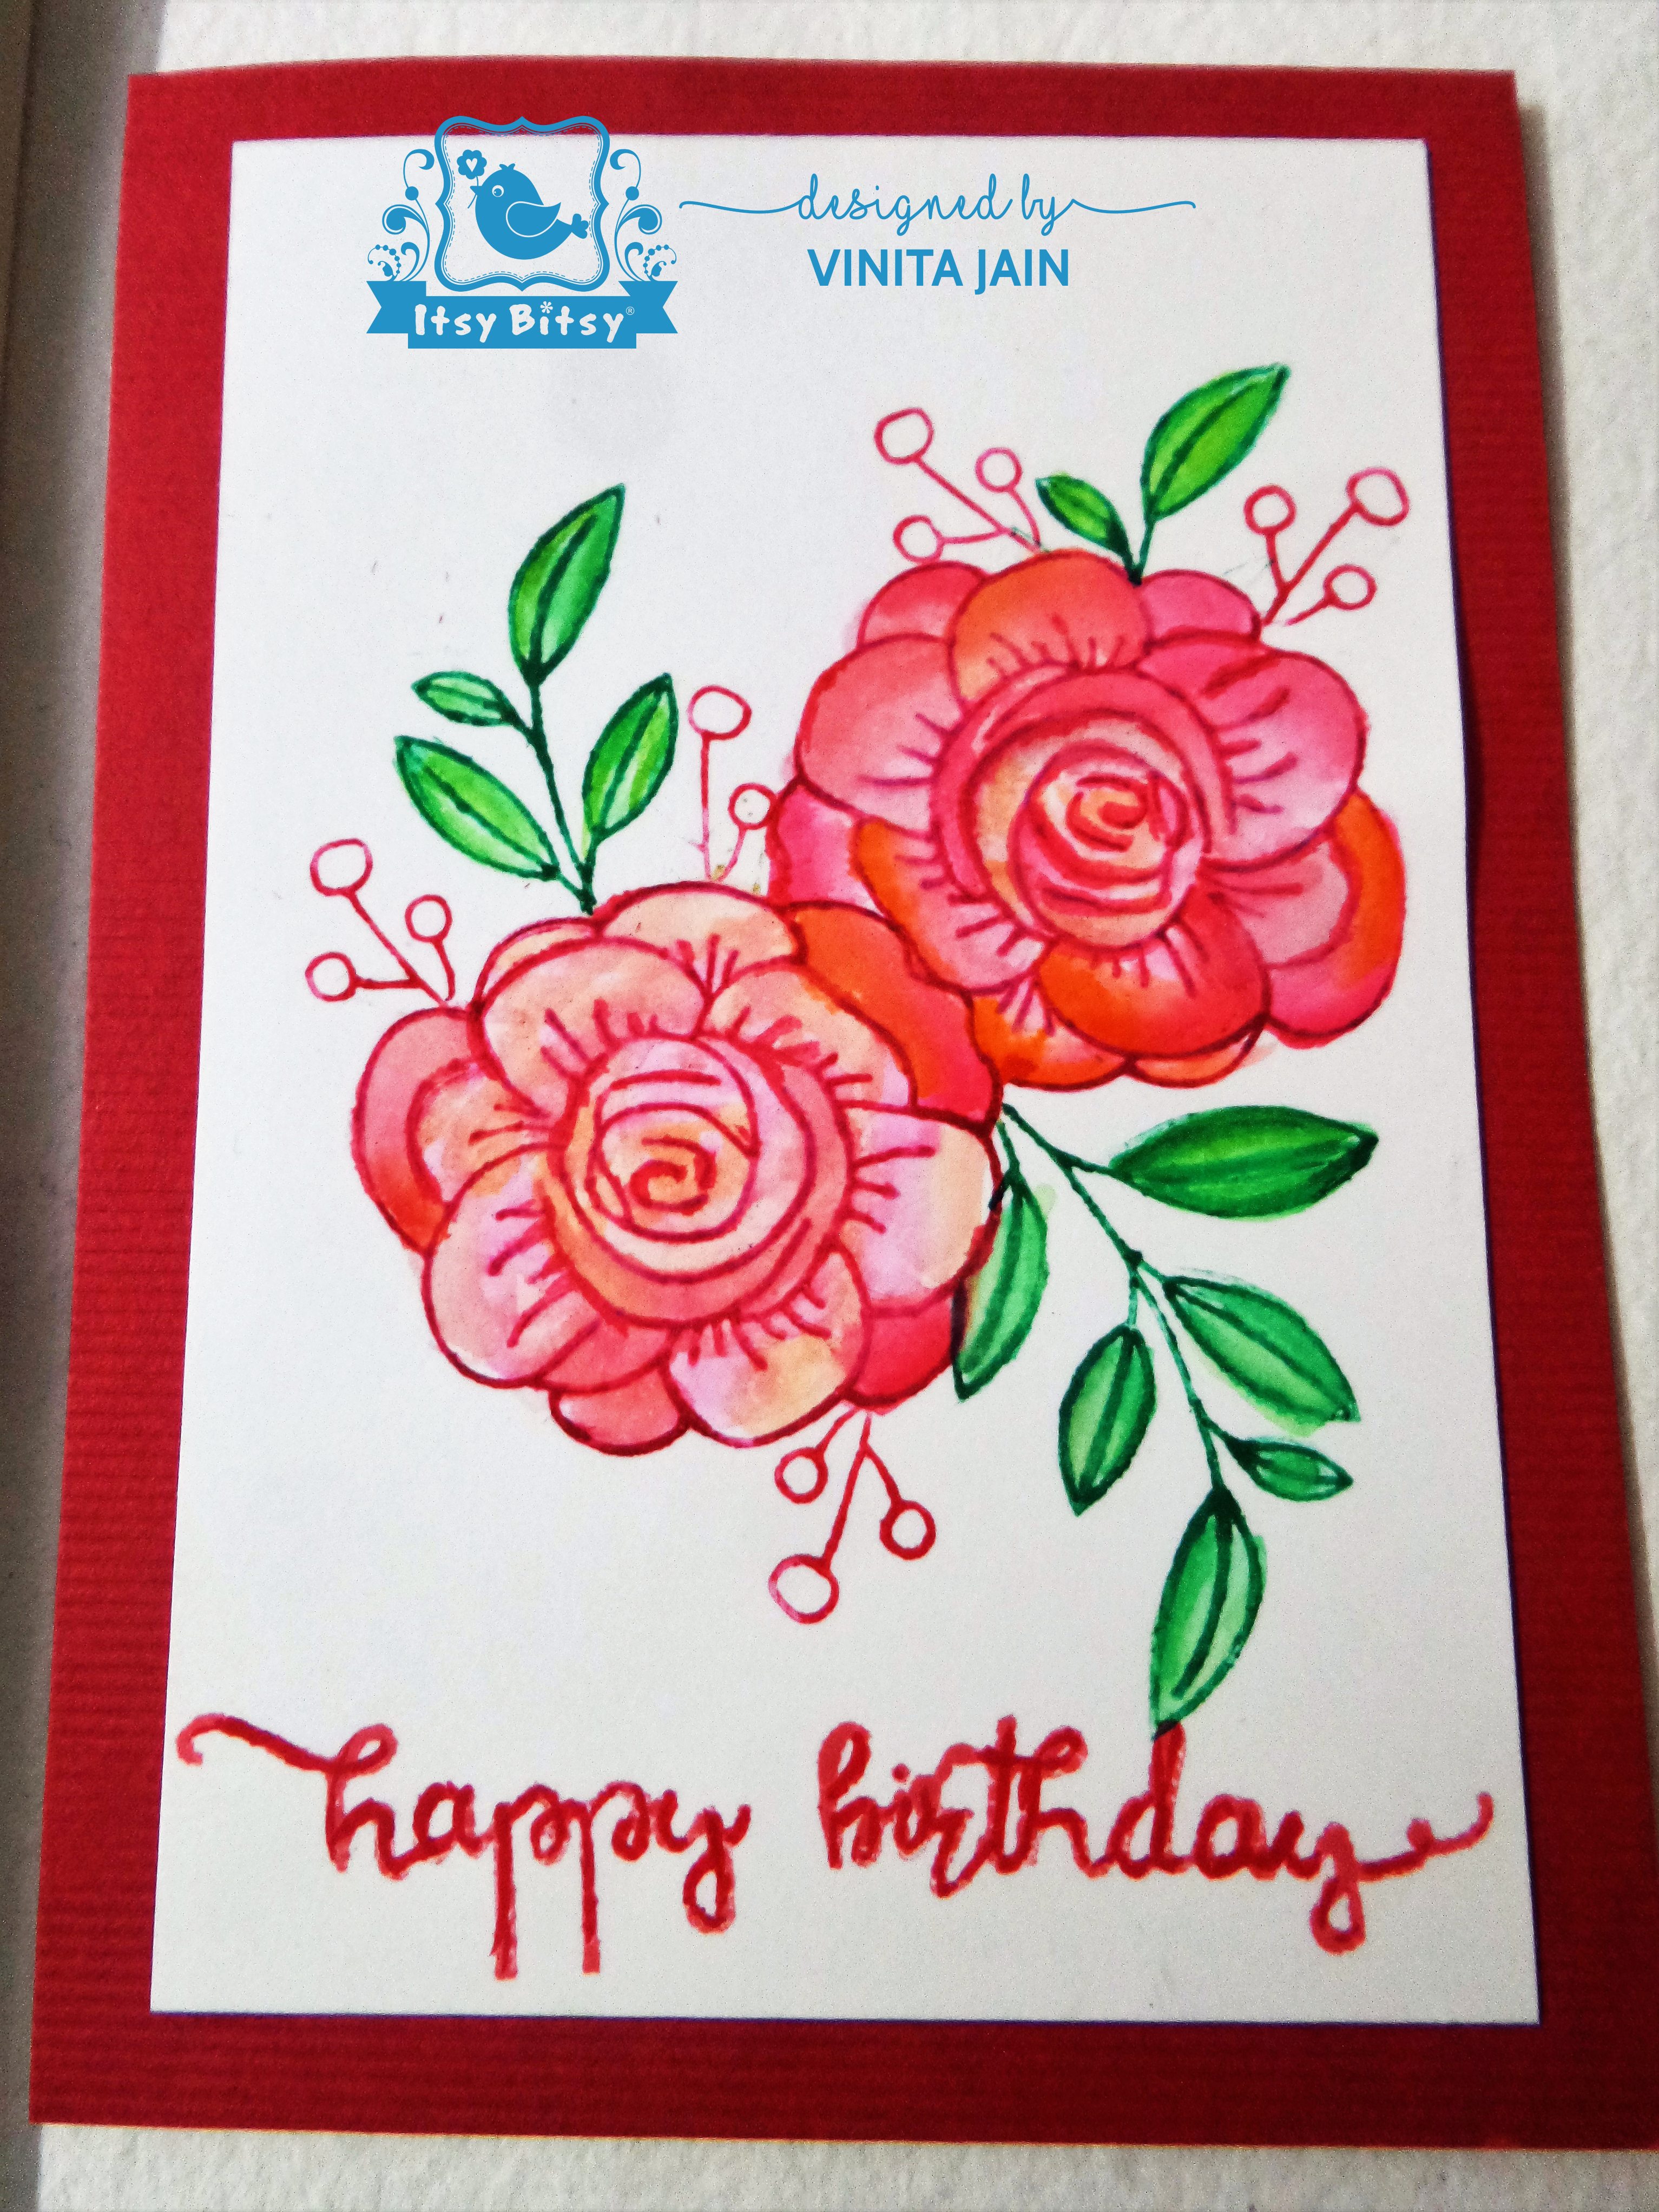
The last one is to send birthday wishes with some pretty red florals.
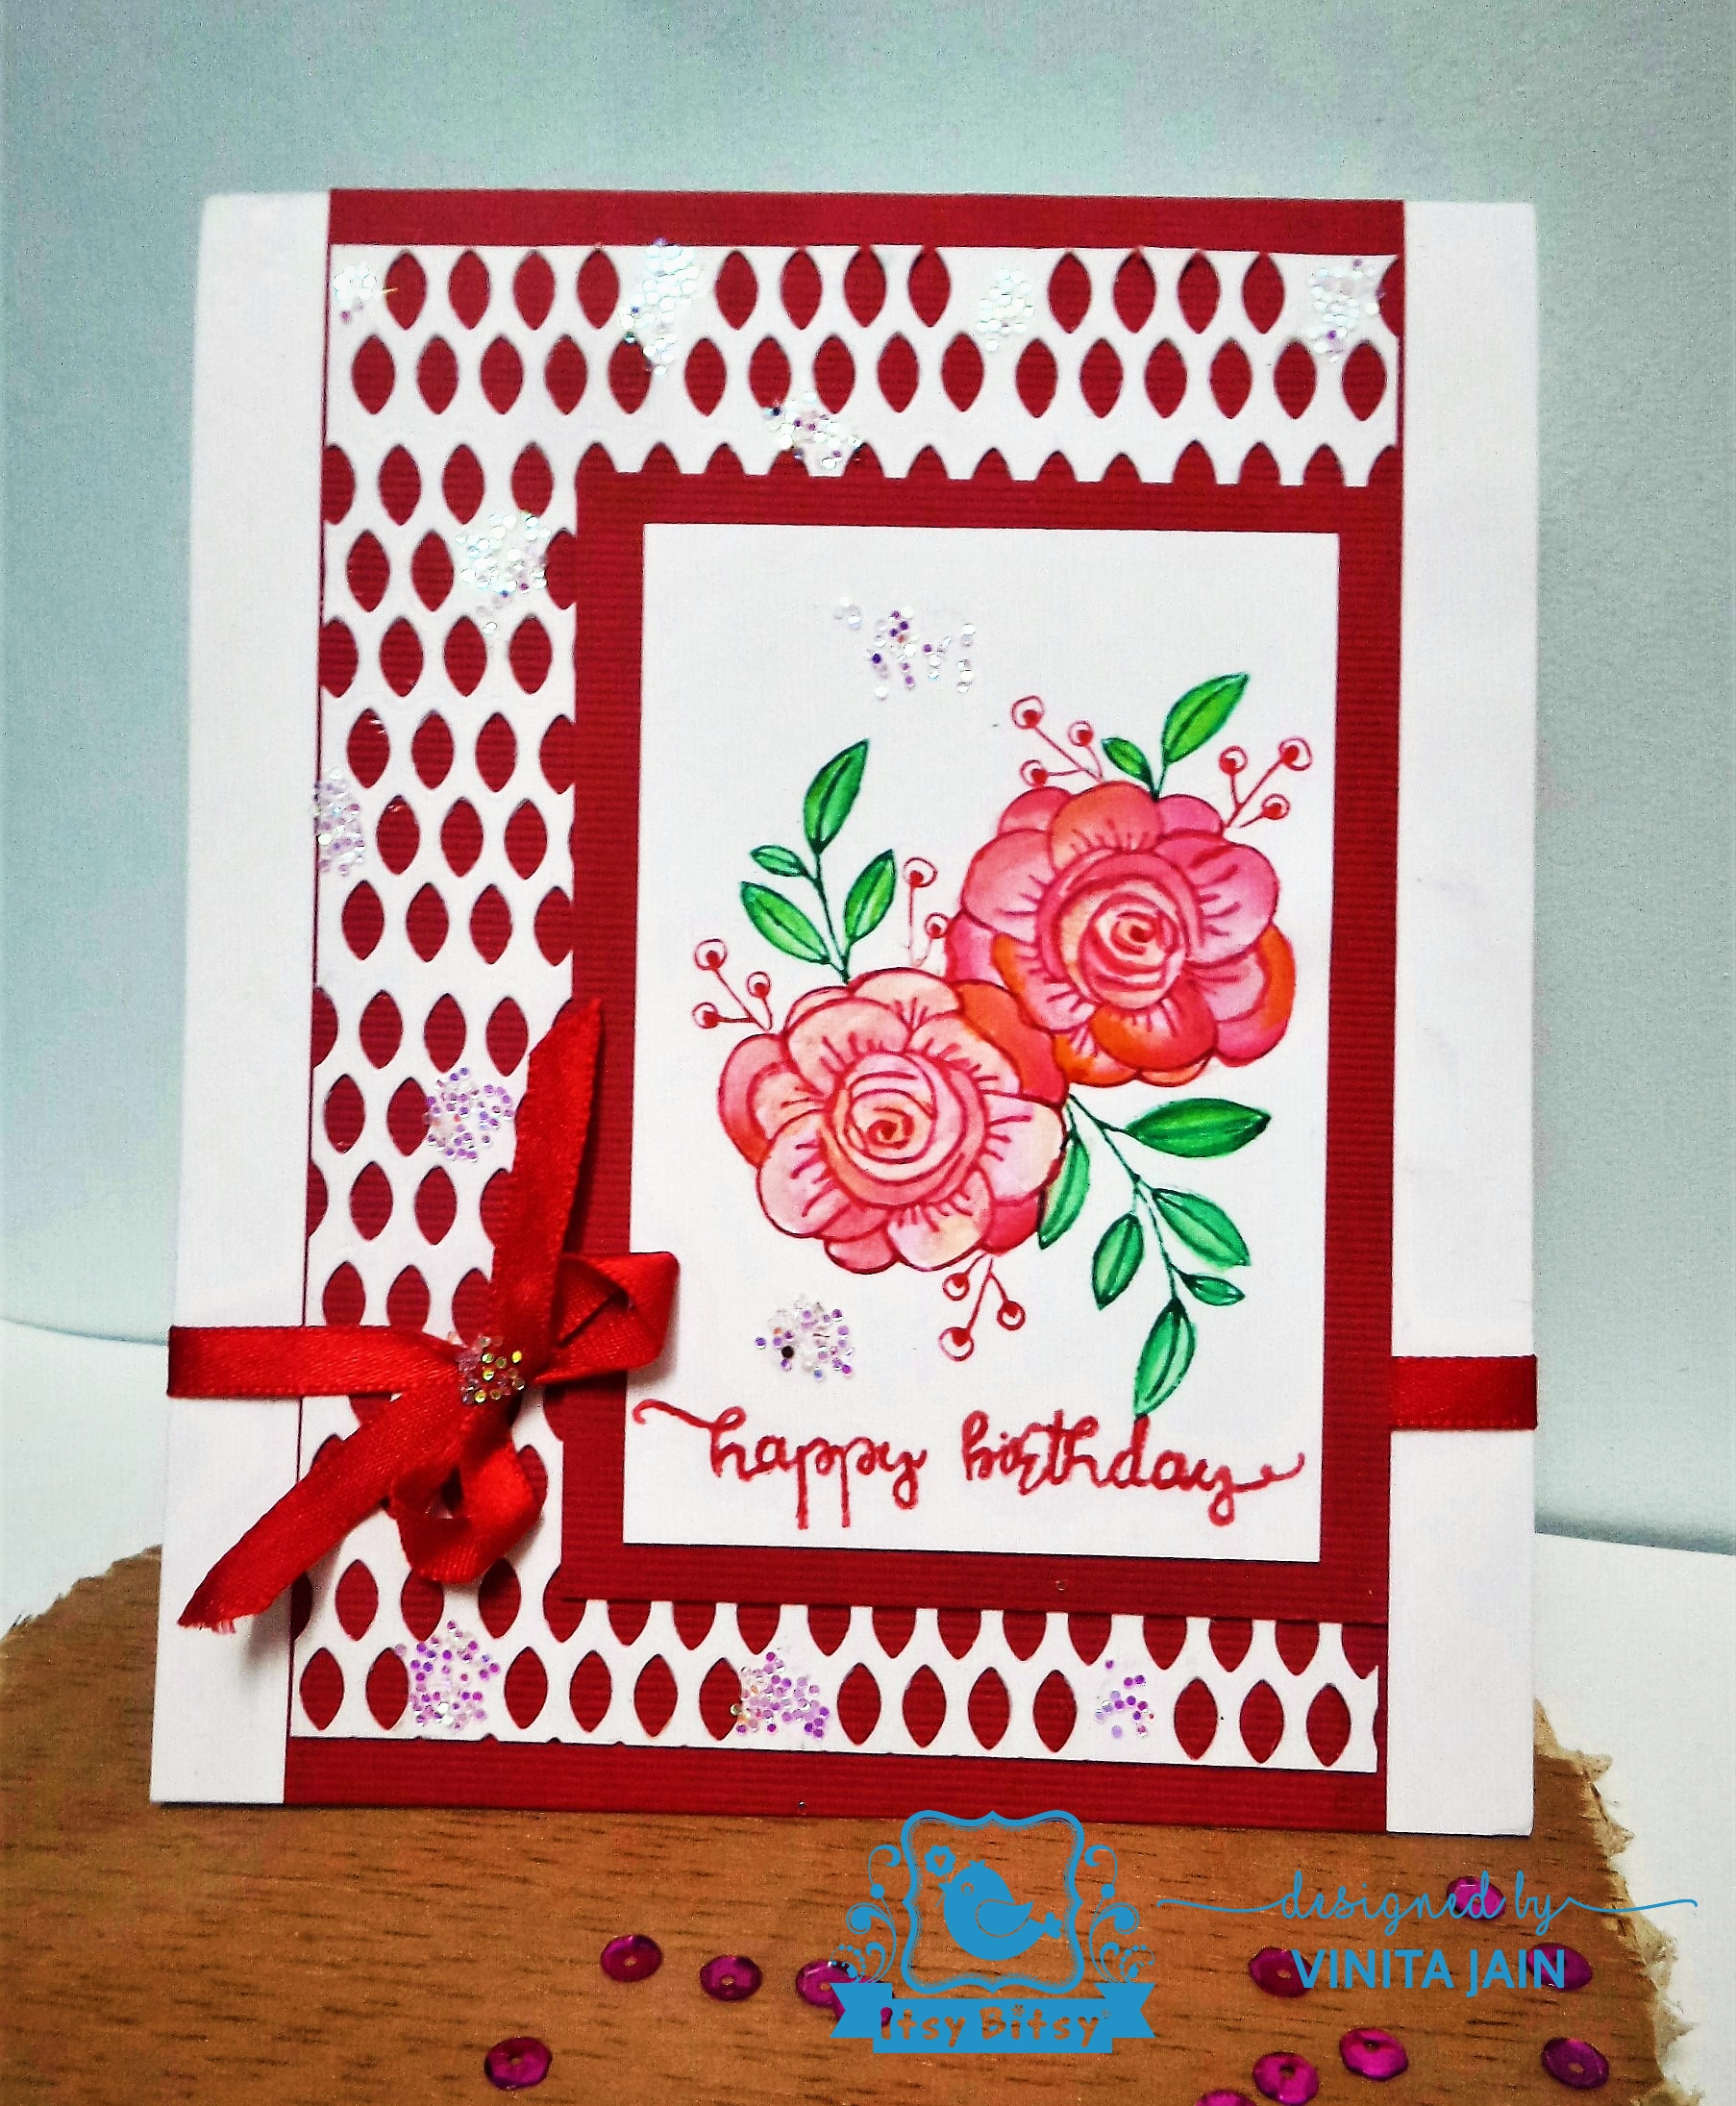
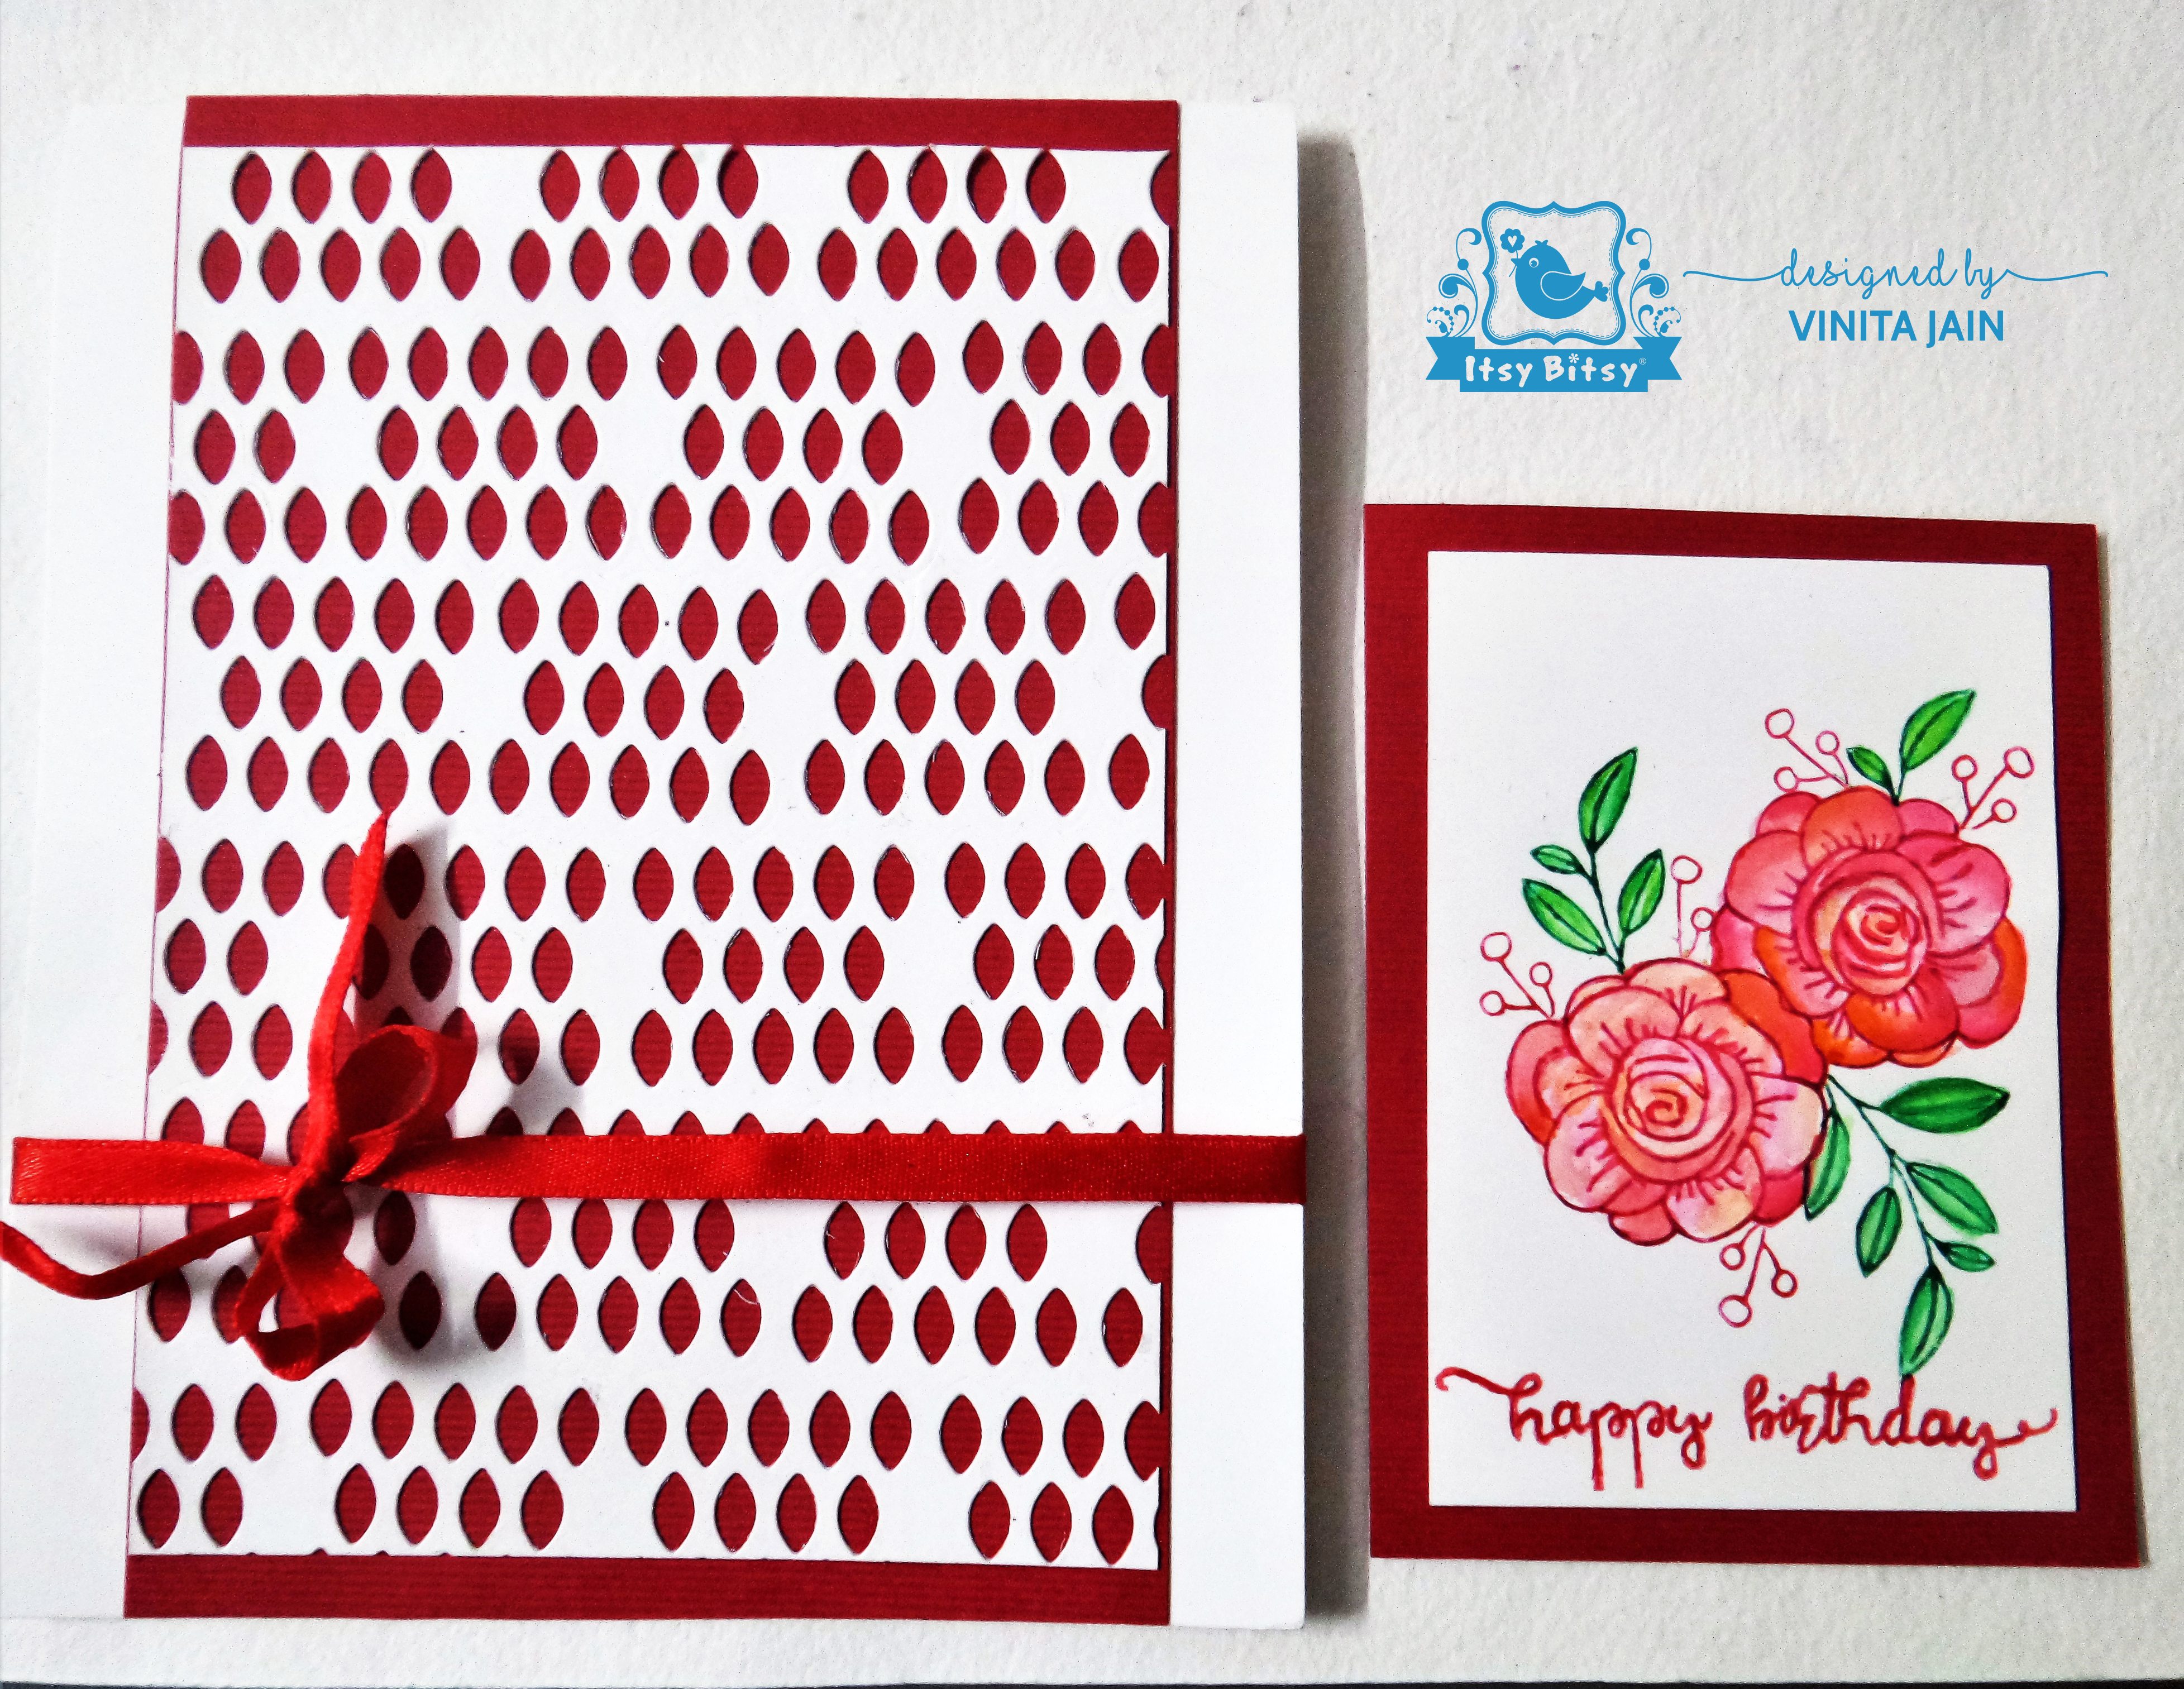
First, I created my own dimensional die cut panel using the tiny leaves die from the ‘Flowering Tree’ die set on a white panel.
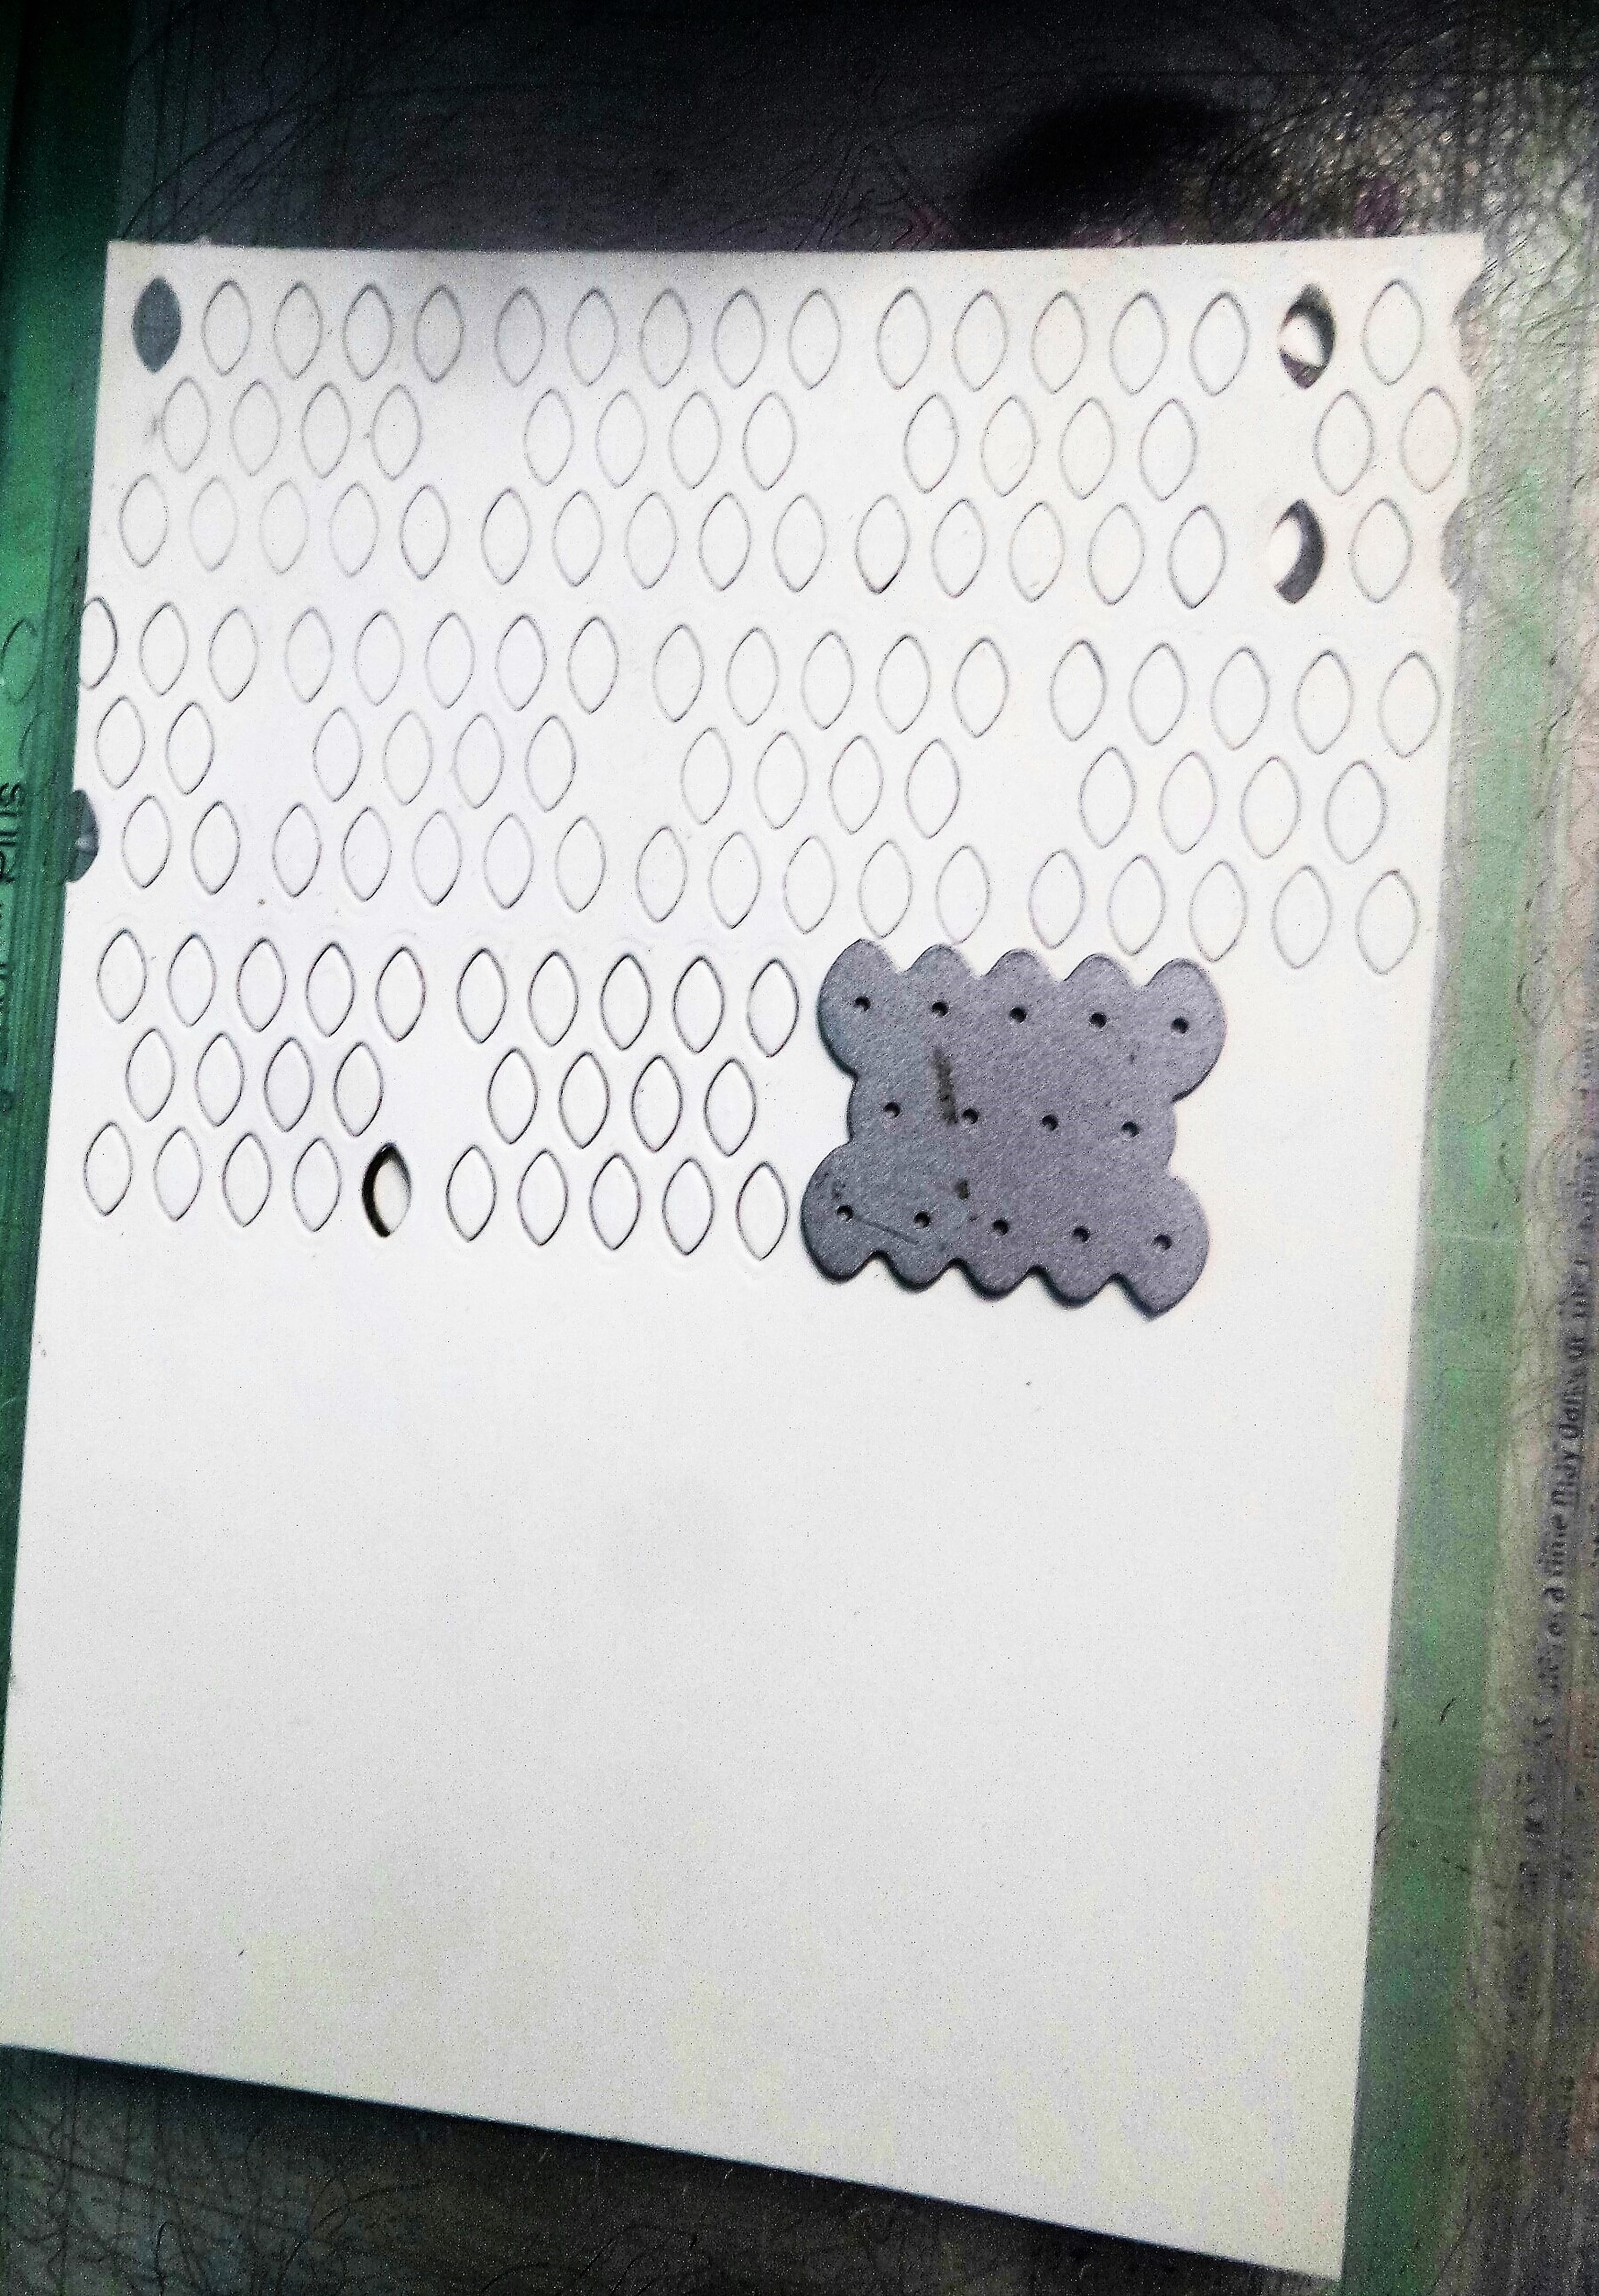
Using the masking technique, I stamped the floral image as shown in the image below.
Next stamped the leaves. I used distress inks for stamping as they are water-soluble.

Coloured the flowers and leaves with distress ink. Adhered them on a red panel with Happy Birthday sentiment.
I adhered my own die cut panel onto a red colour panel to create more interest and textures and then on a white card base. I also wrapped my card base with a satin red ribbon. In the end, I added some sparkly dots using Texture Tack to embellish my card.
This is such a beautiful and dynamic stamp set with so many possibilities. It makes it extremely versatile for a variety of looks.
I hope you have enjoyed my projects!
Well, that’s all for me today!
Thanks for being here with me.
Products list used in the project: